
The very first thing I did on the Pokemon Plamo Collection Mewtwo, Mew & Pikachu Set was get to painting.
Pikachu comes with an awful lot of stickers, and face stickers especially just do not look great on these kits. For the cheeks, I used my red marker from the Gundam SEED Destiny Marker Set, and for the black details I used a standard black Gundam marker. The mouth was tough — I tried to use the brush pen from the SEED Destiny set first because it has a fine tip, but it just didn’t go on dark enough (it’s supposed to be for panel lines). So I very carefully ran the tip of the black marker over the indent for the mouth to fill it in.
As for the eyes — I didn’t want to ruin Pikachu and I don’t have a white marker, so I decided to go with the stickers. The brown stripe and tail details will be stickers, too, since I don’t have a brown marker.
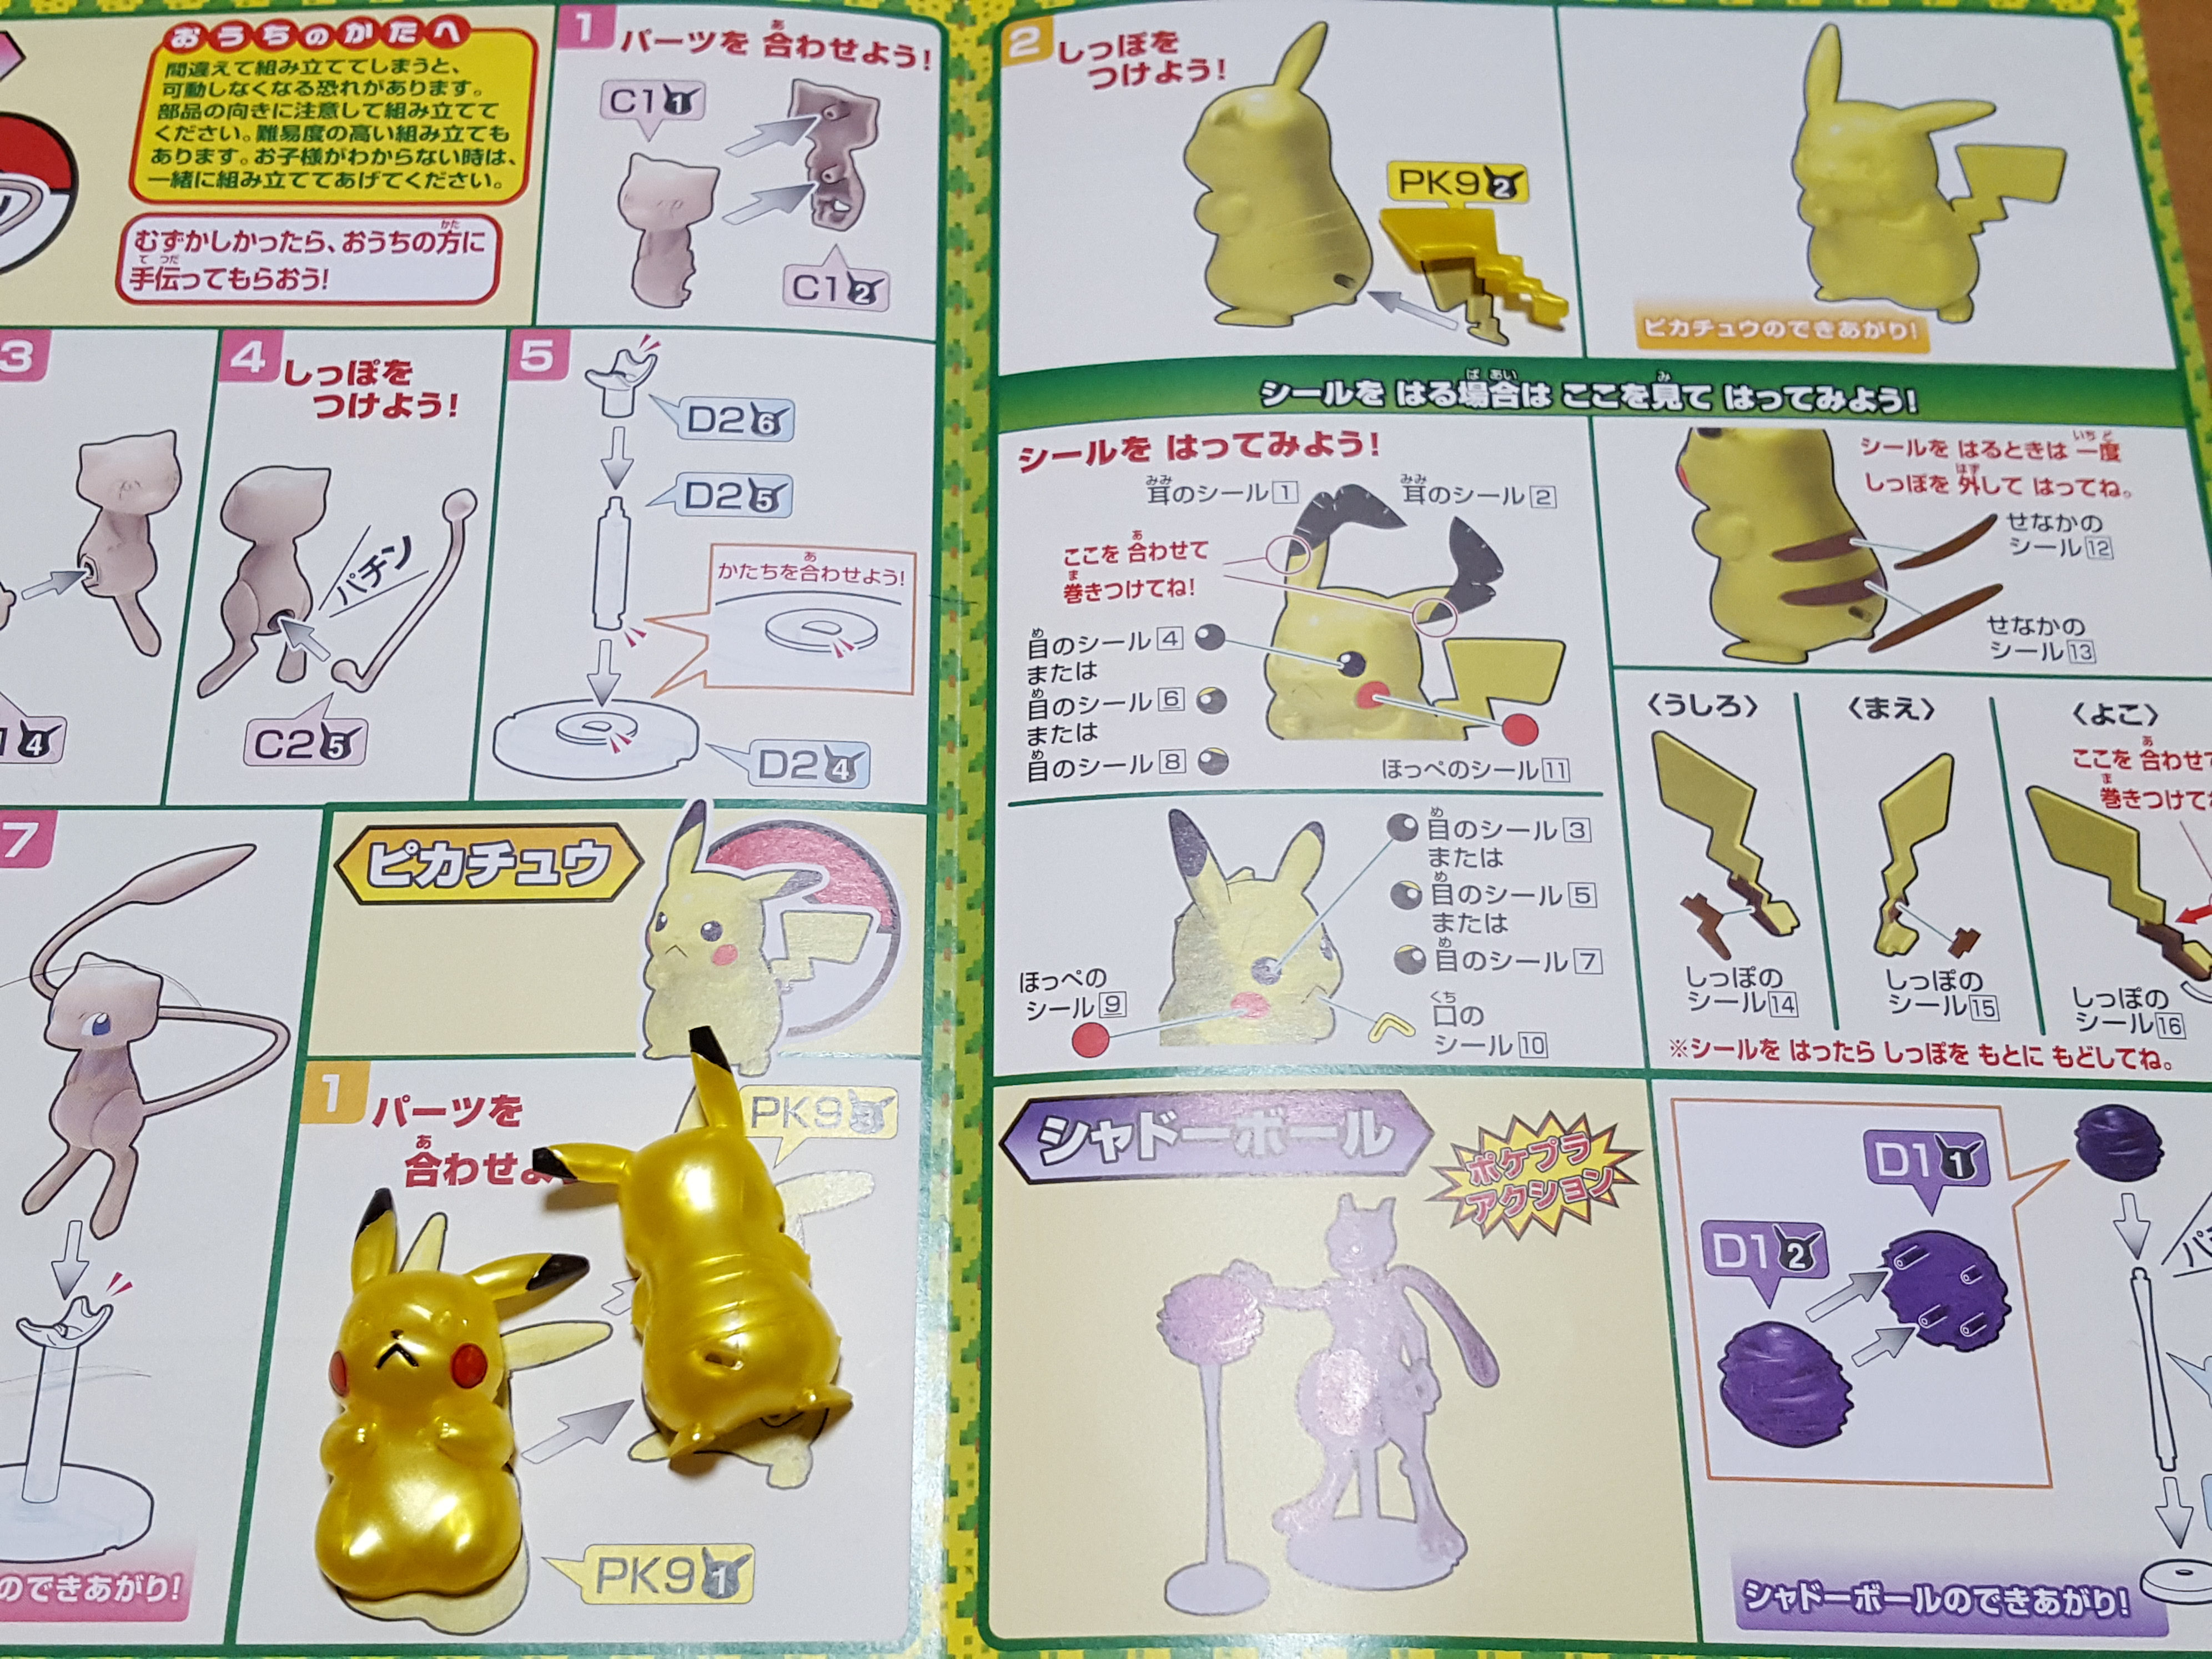
Pikachu is just 3 pieces, and his instructions are laid out in the same booklet as Mew.

All finished! I went with the angry eyes but didn’t get the angle right, so I just ended up with a tired-looking Pikachu who’s done with your s***.
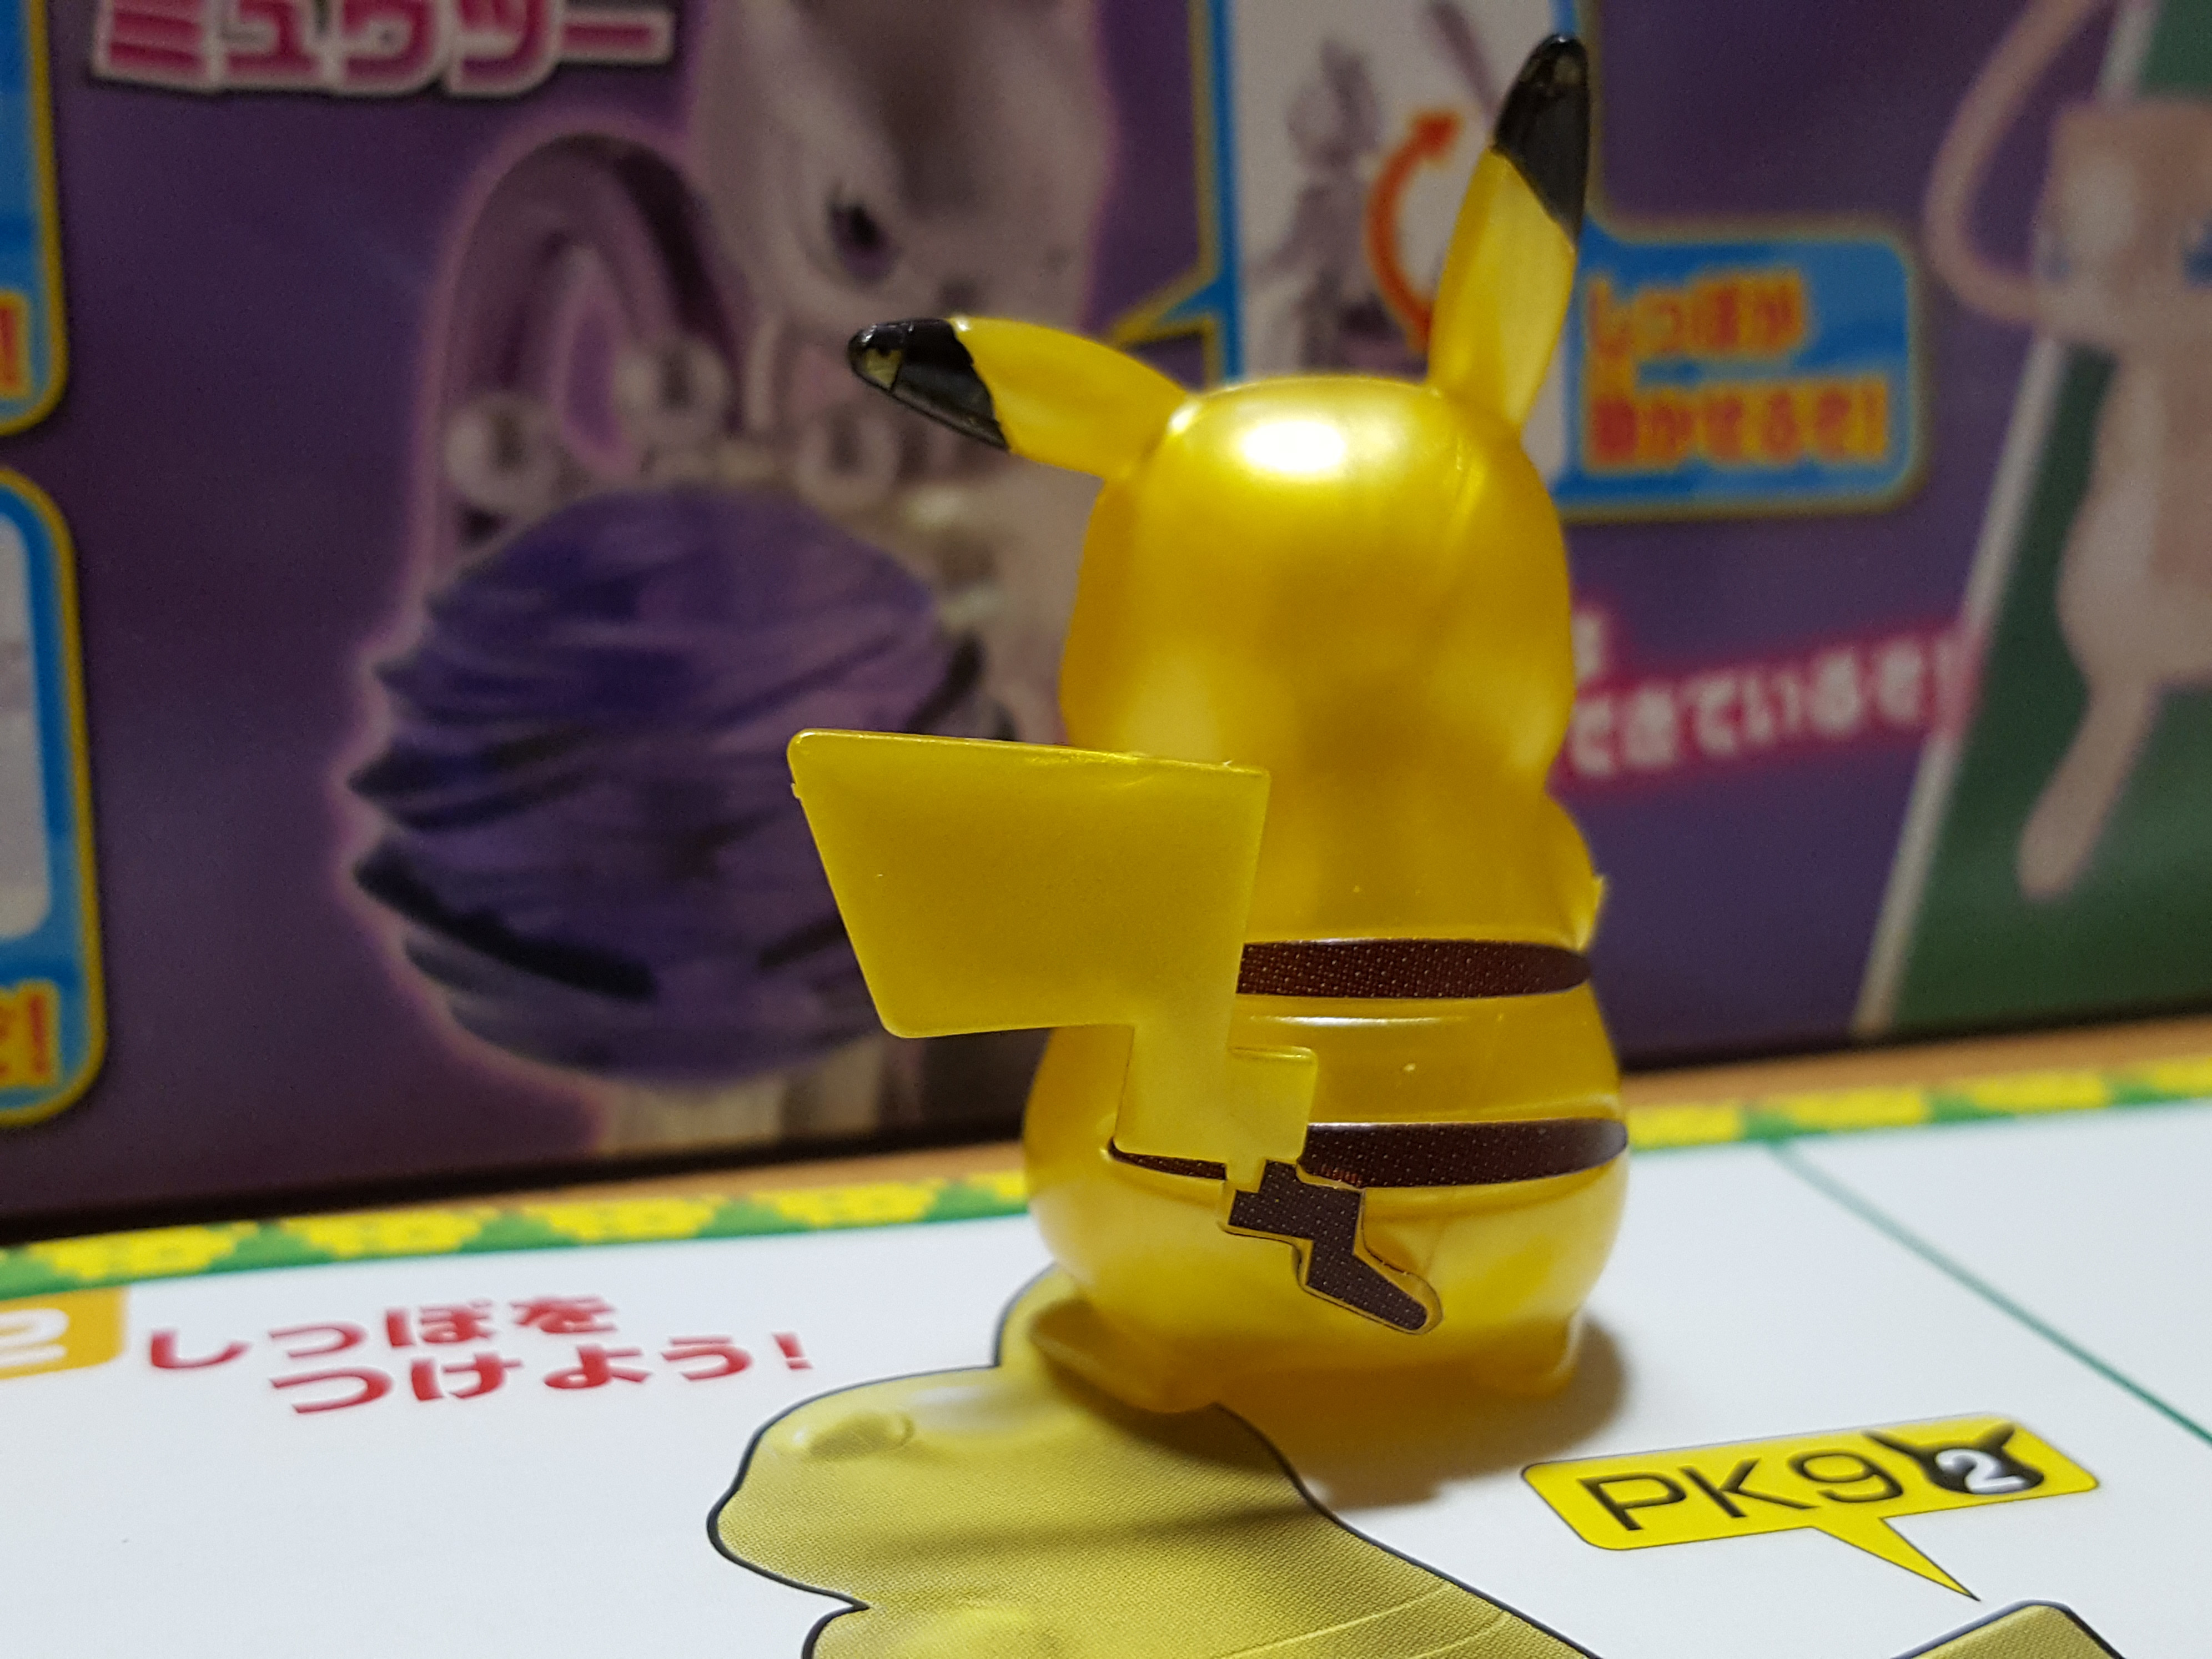
From the back! Here are the brown stickers.
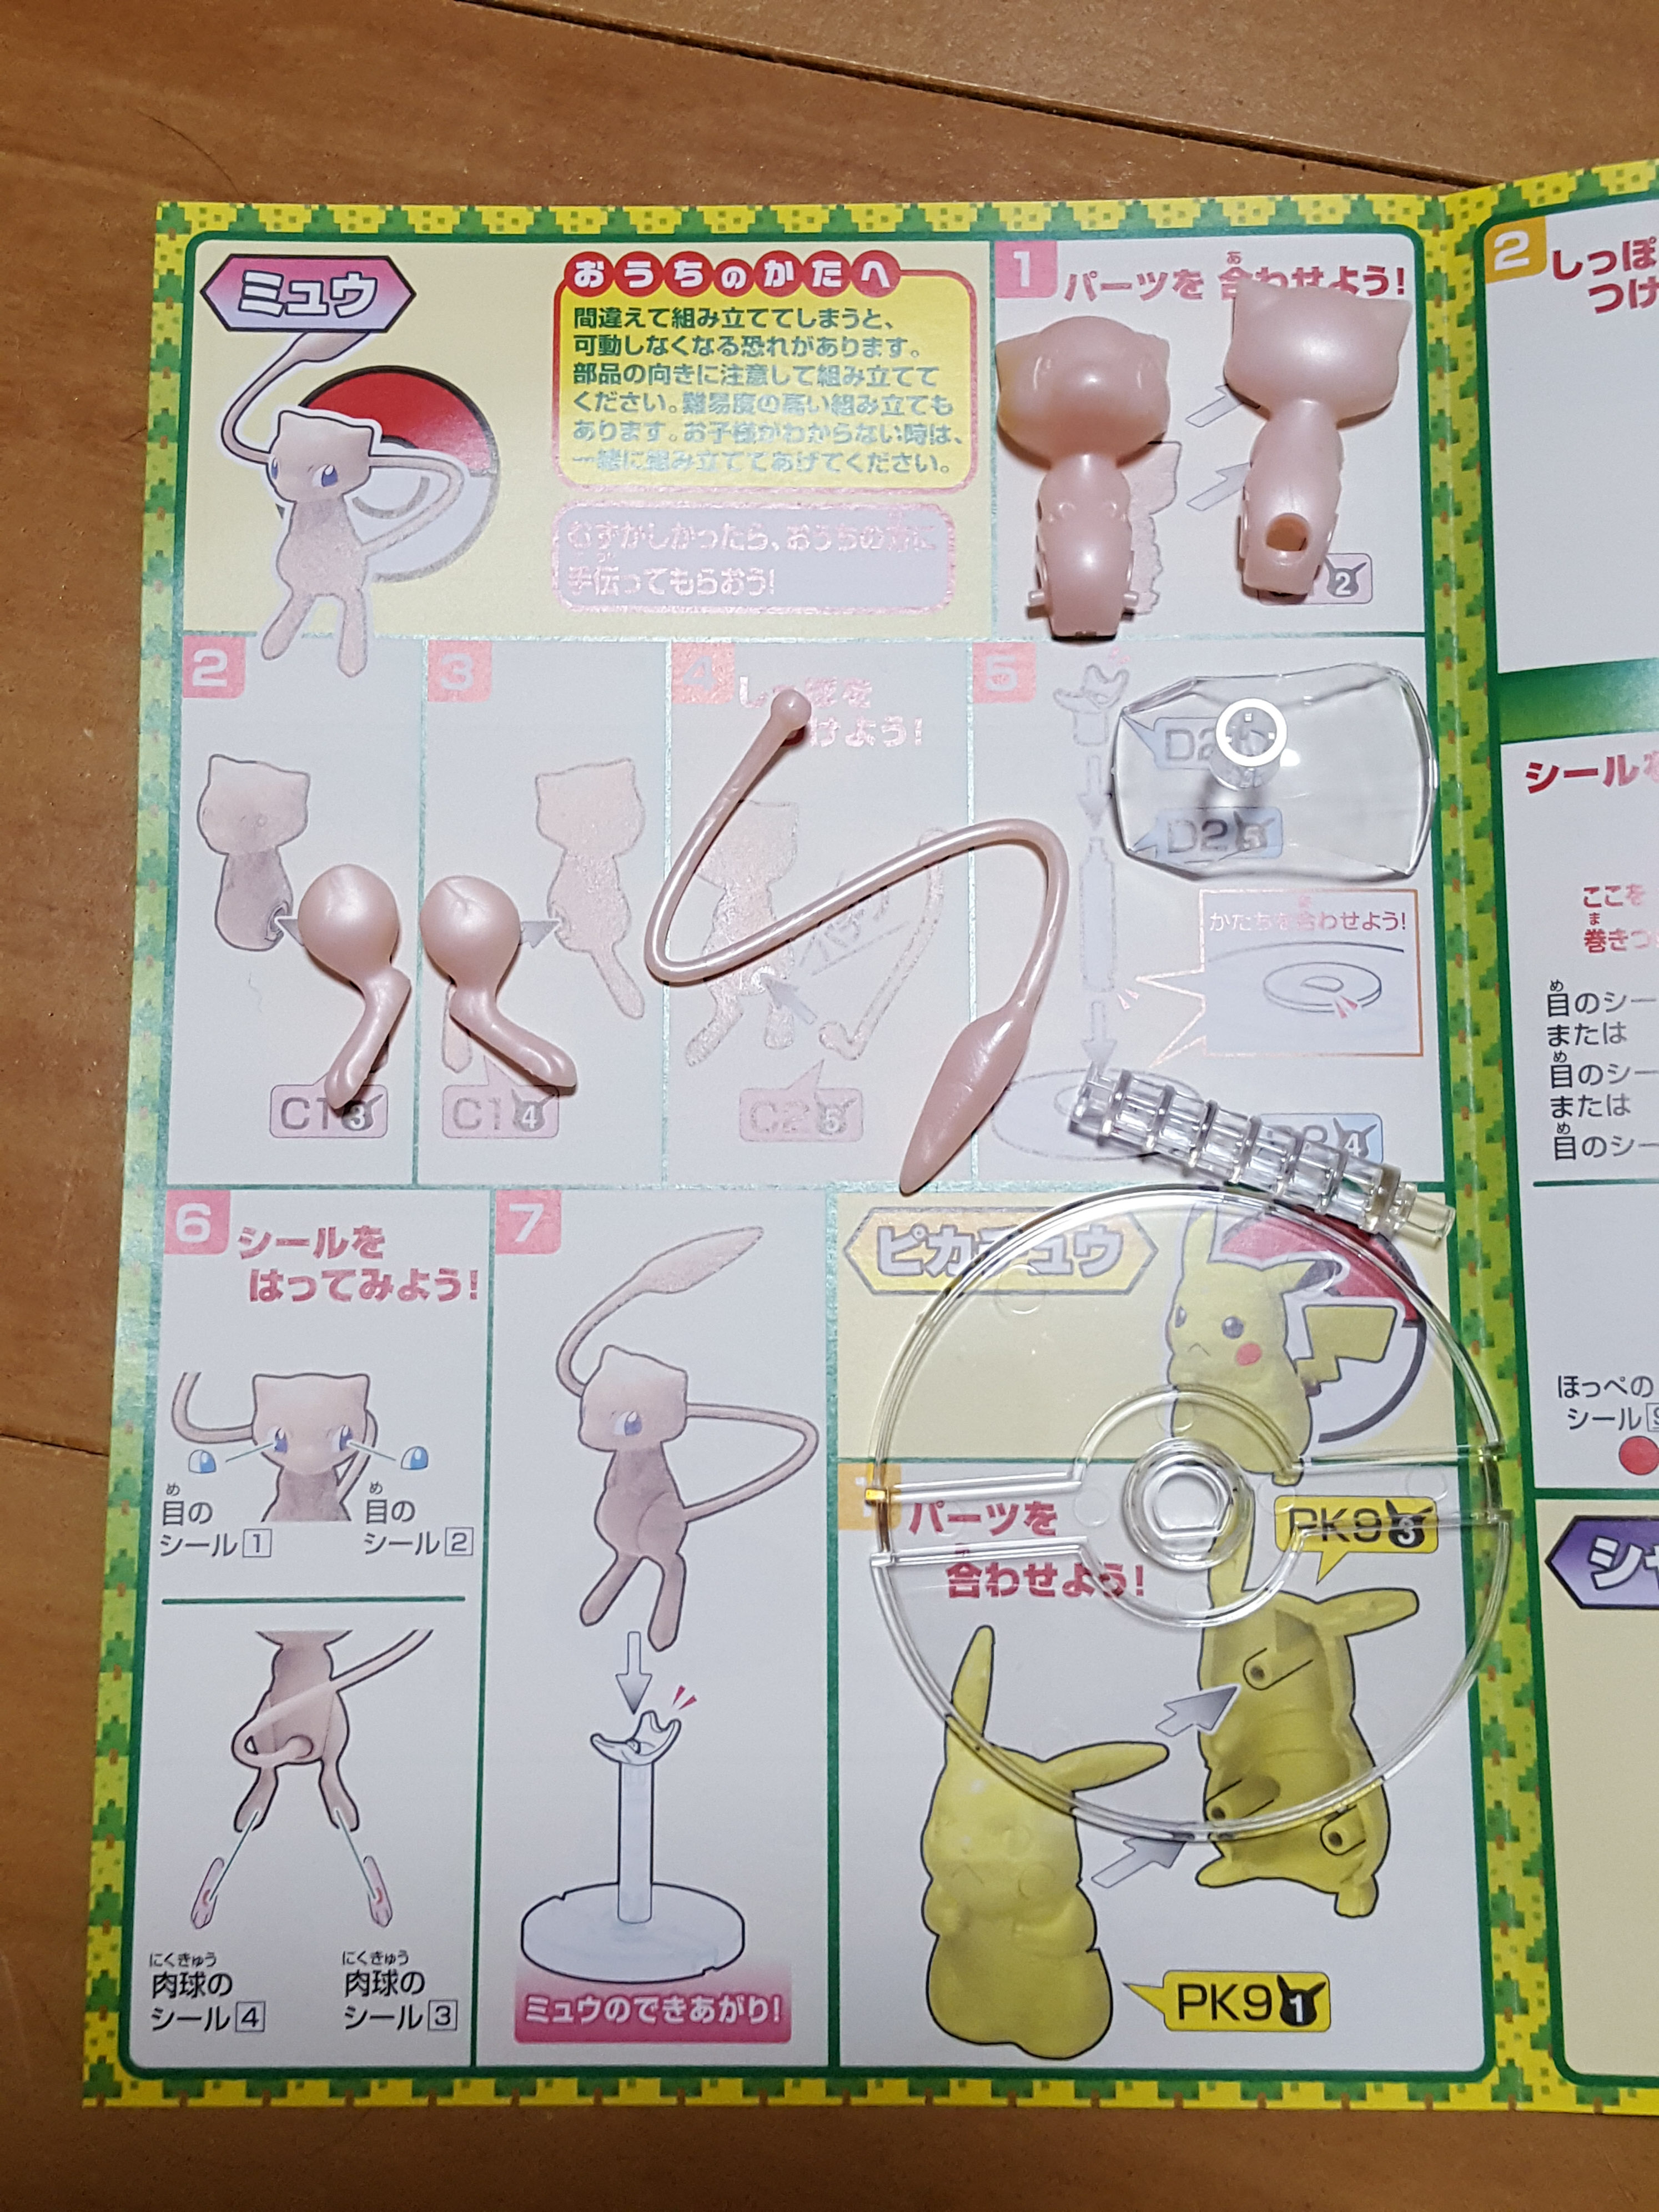
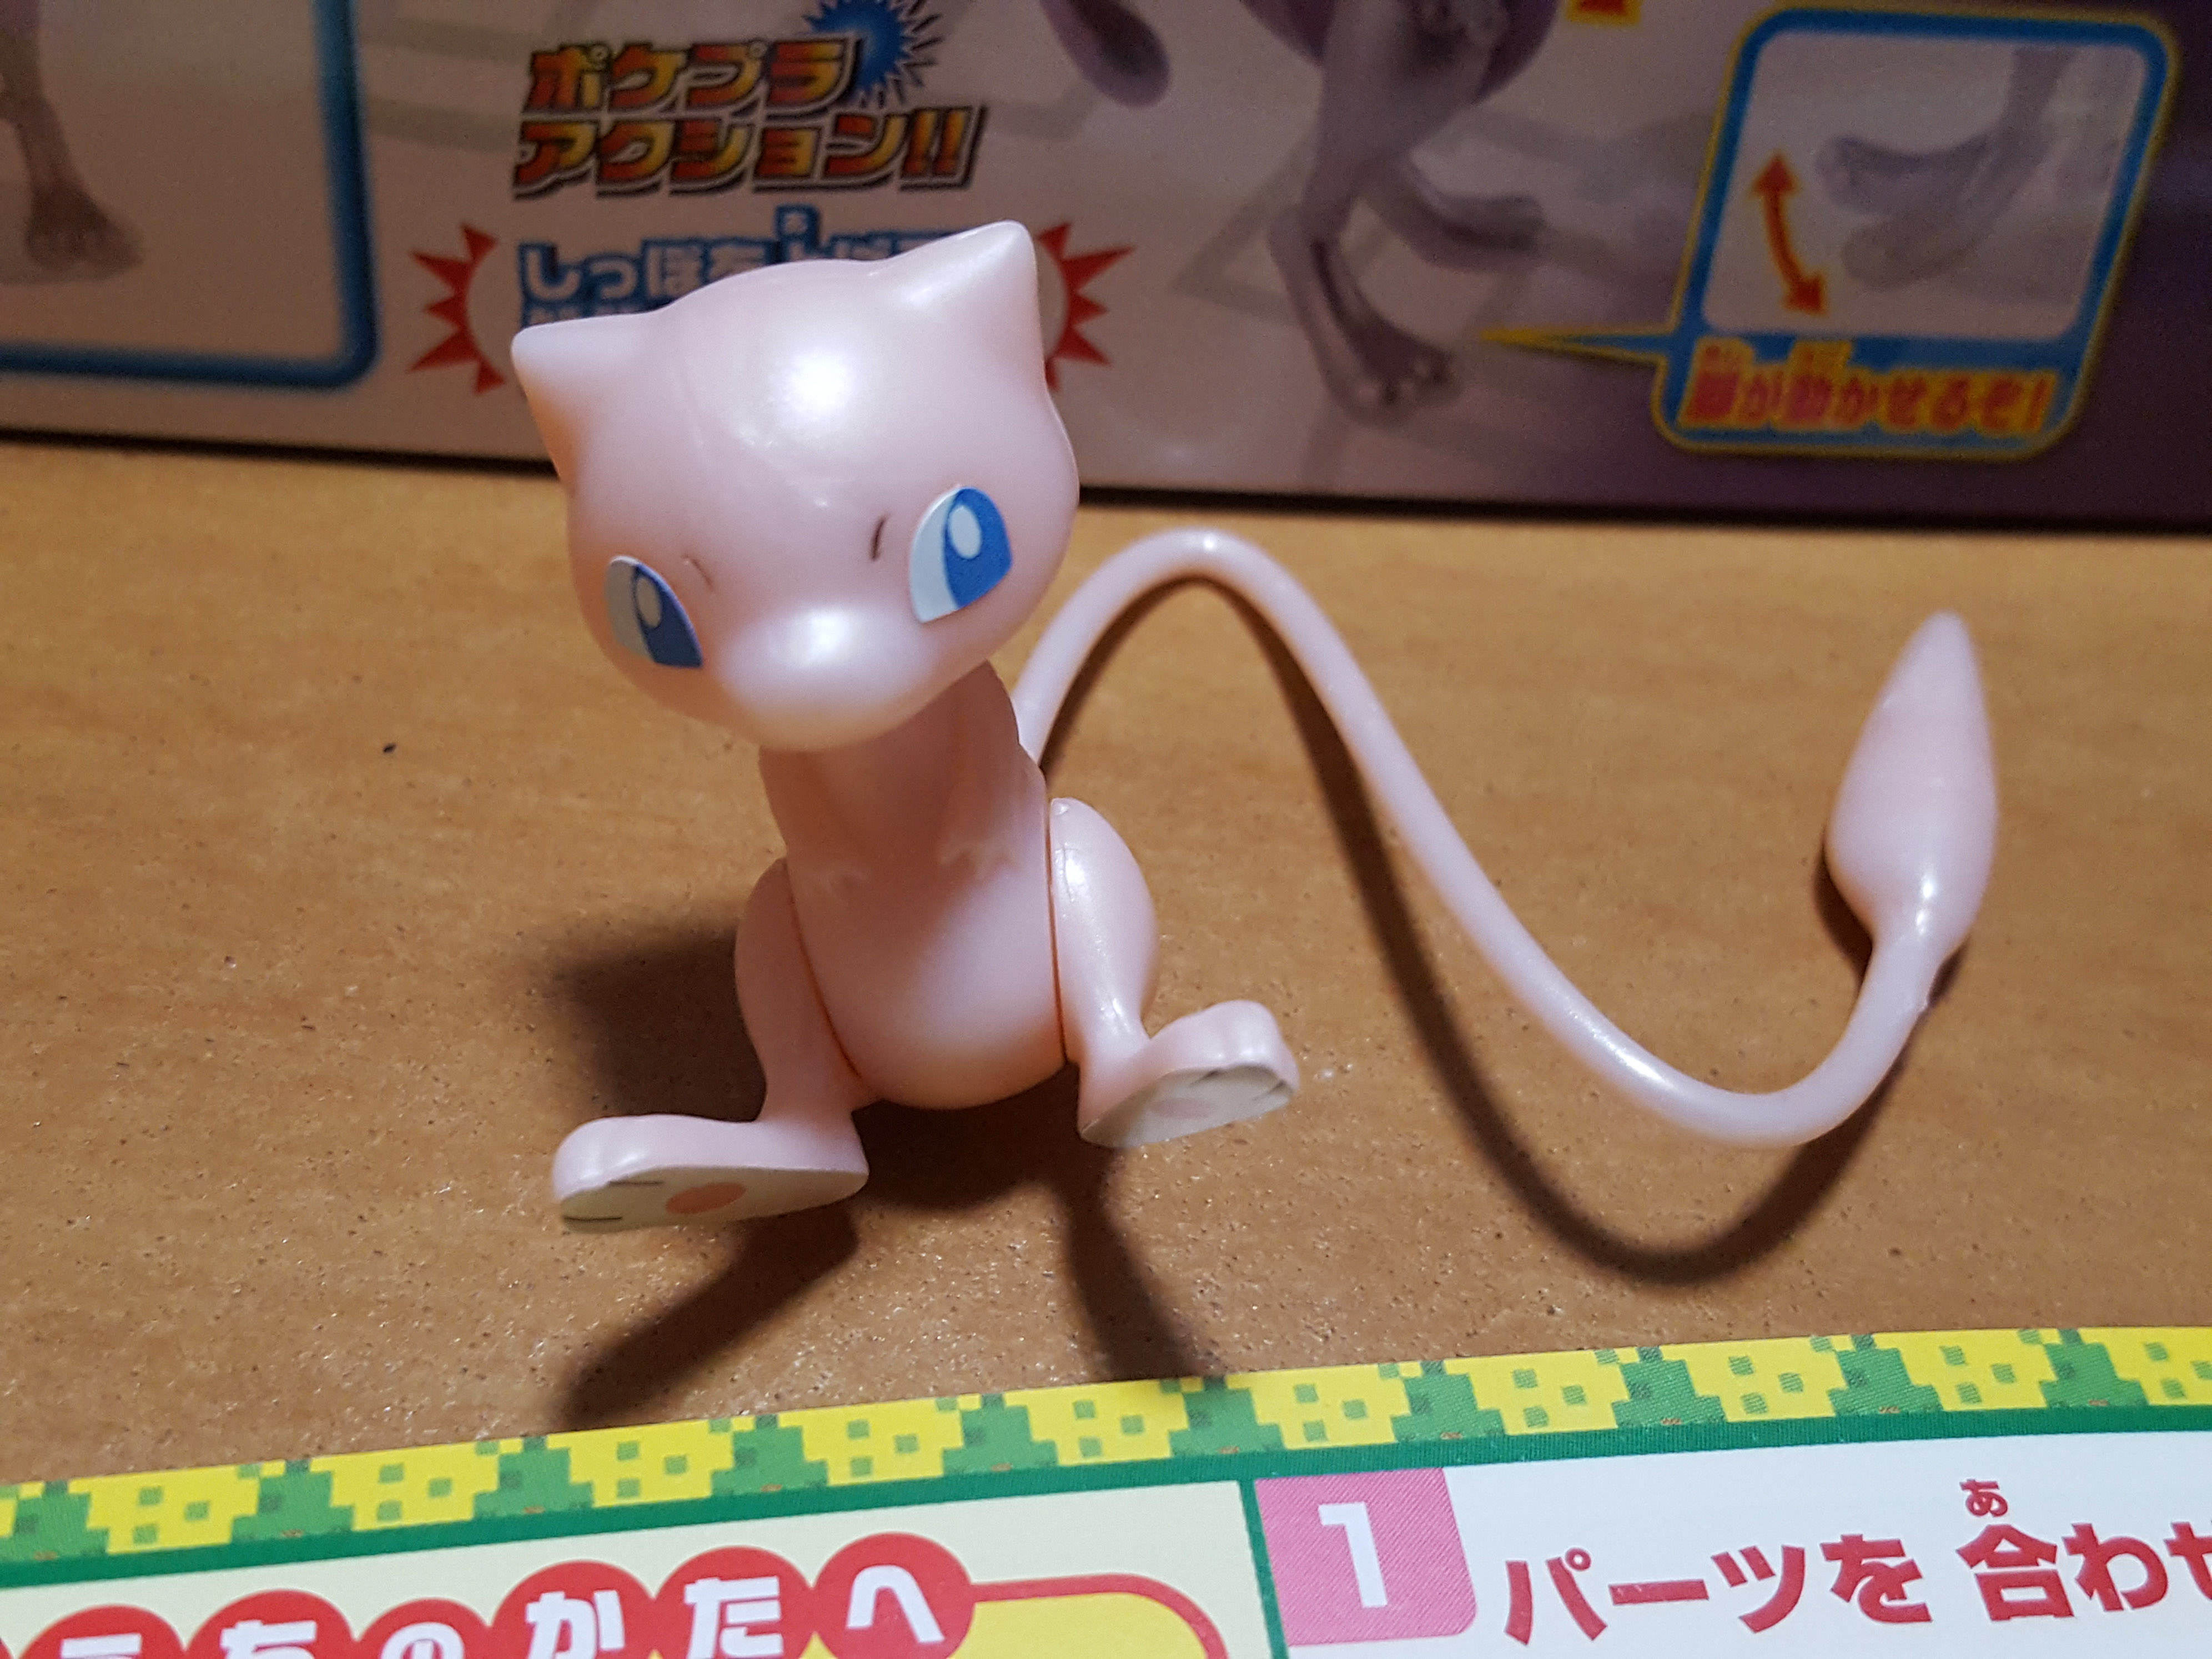
Mew consists of 5 parts and a tiny 3-part stand. Actually, in the photo I put Mewtwo’s stand in there by mistake, but quickly realized my mistake.
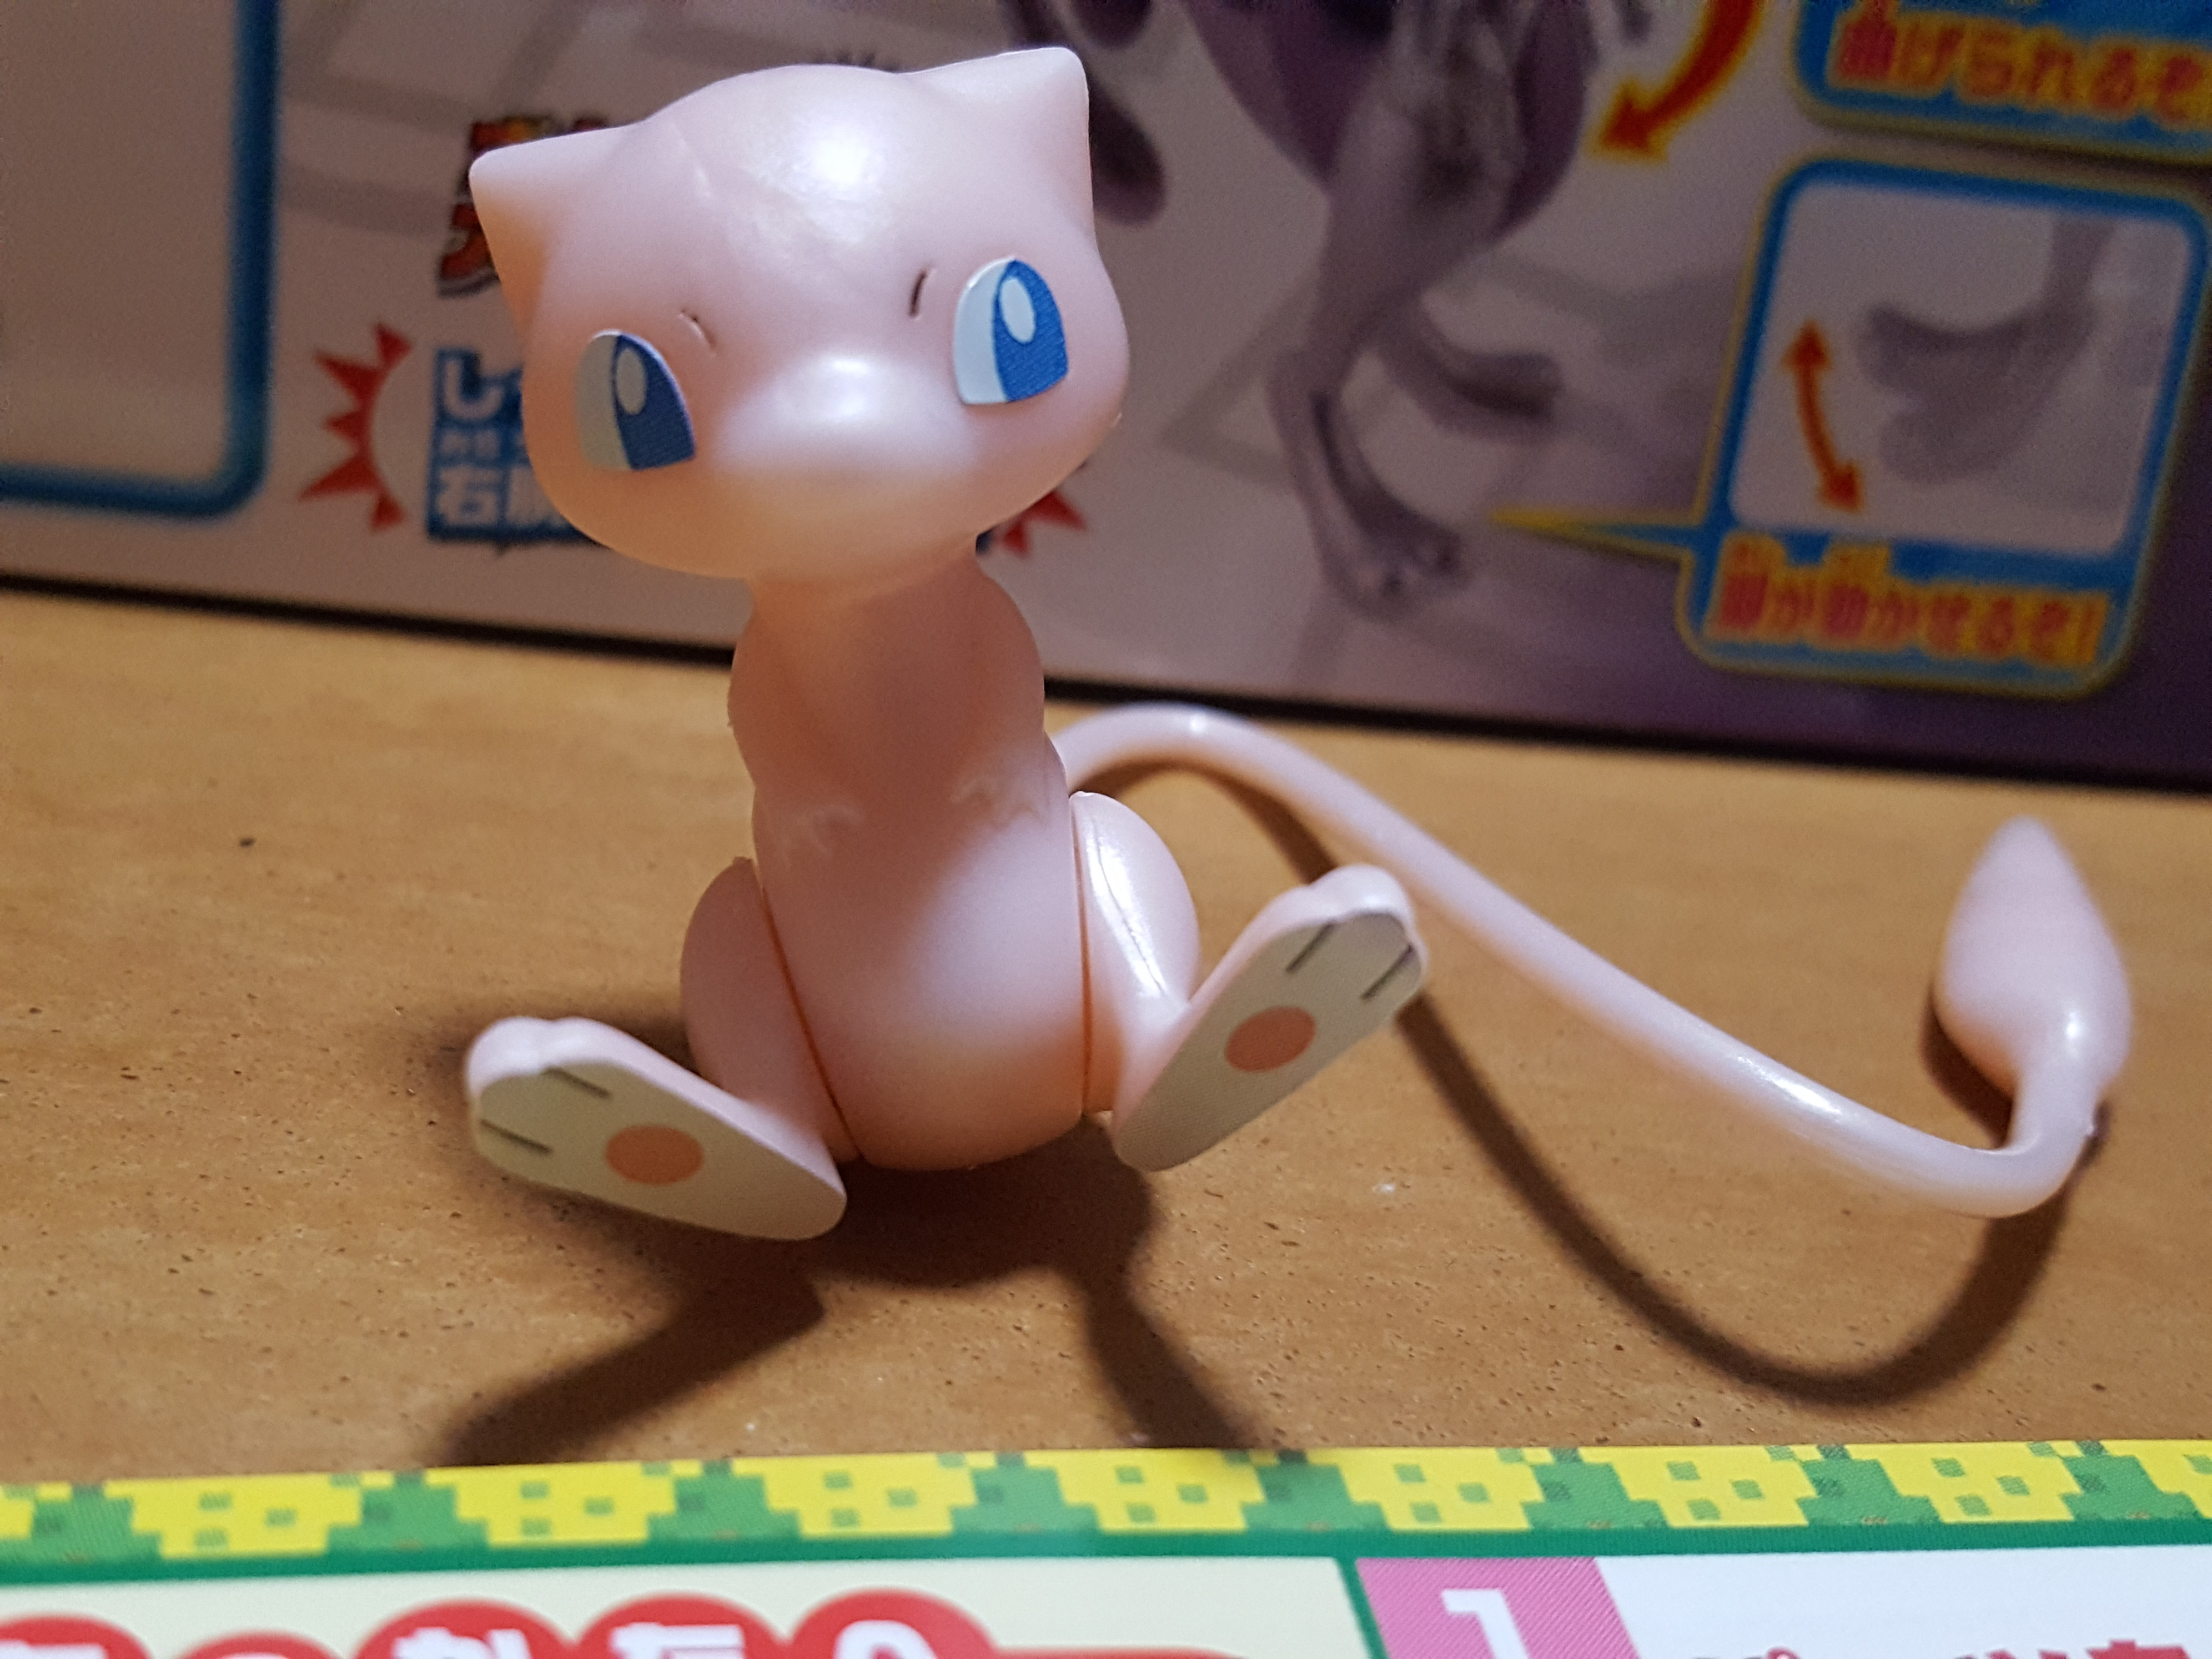
Because the stickers all have more than one color on them, I kept them for Mew to avoid any blunders. I used the SEED Destiny set’s brush pen for the eyebrows, though they’re supposed to be pink. I don’t have a pink marker, and I didn’t want to just leave them.
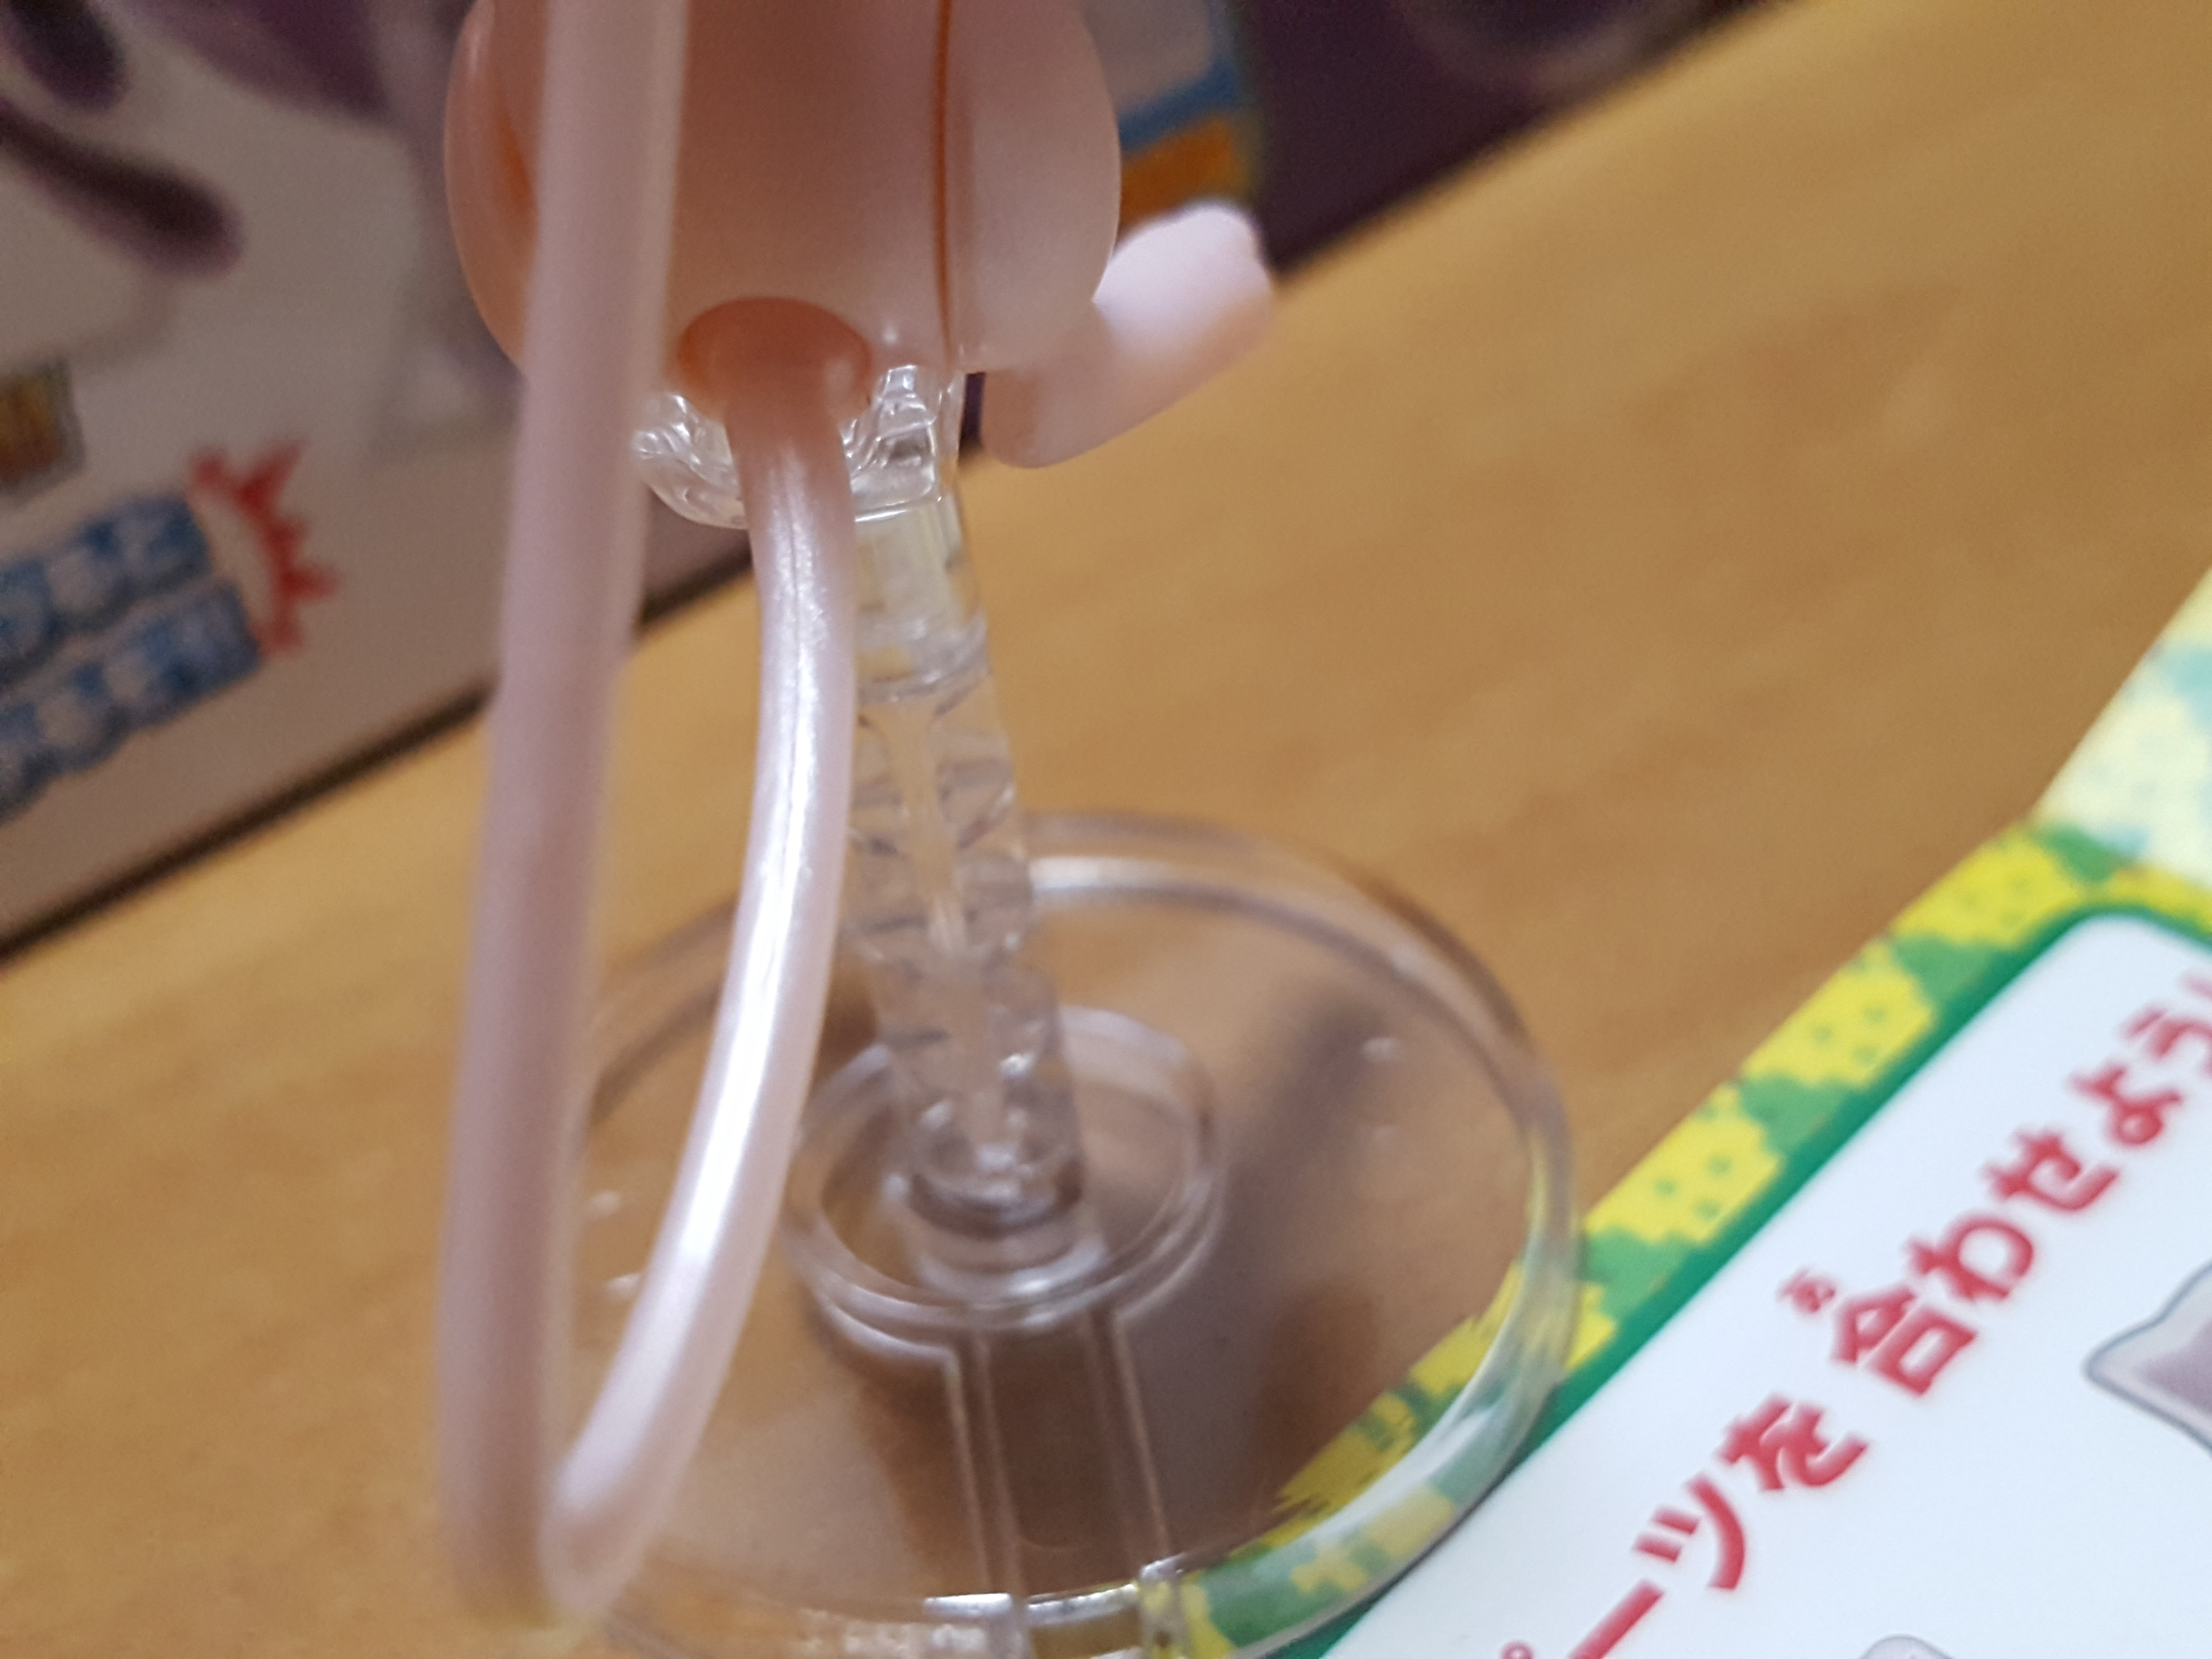
Mew’s stand has an indent for his tail, so he fits just right!
Next, we’re building the very simple effect part for Mewtwo.
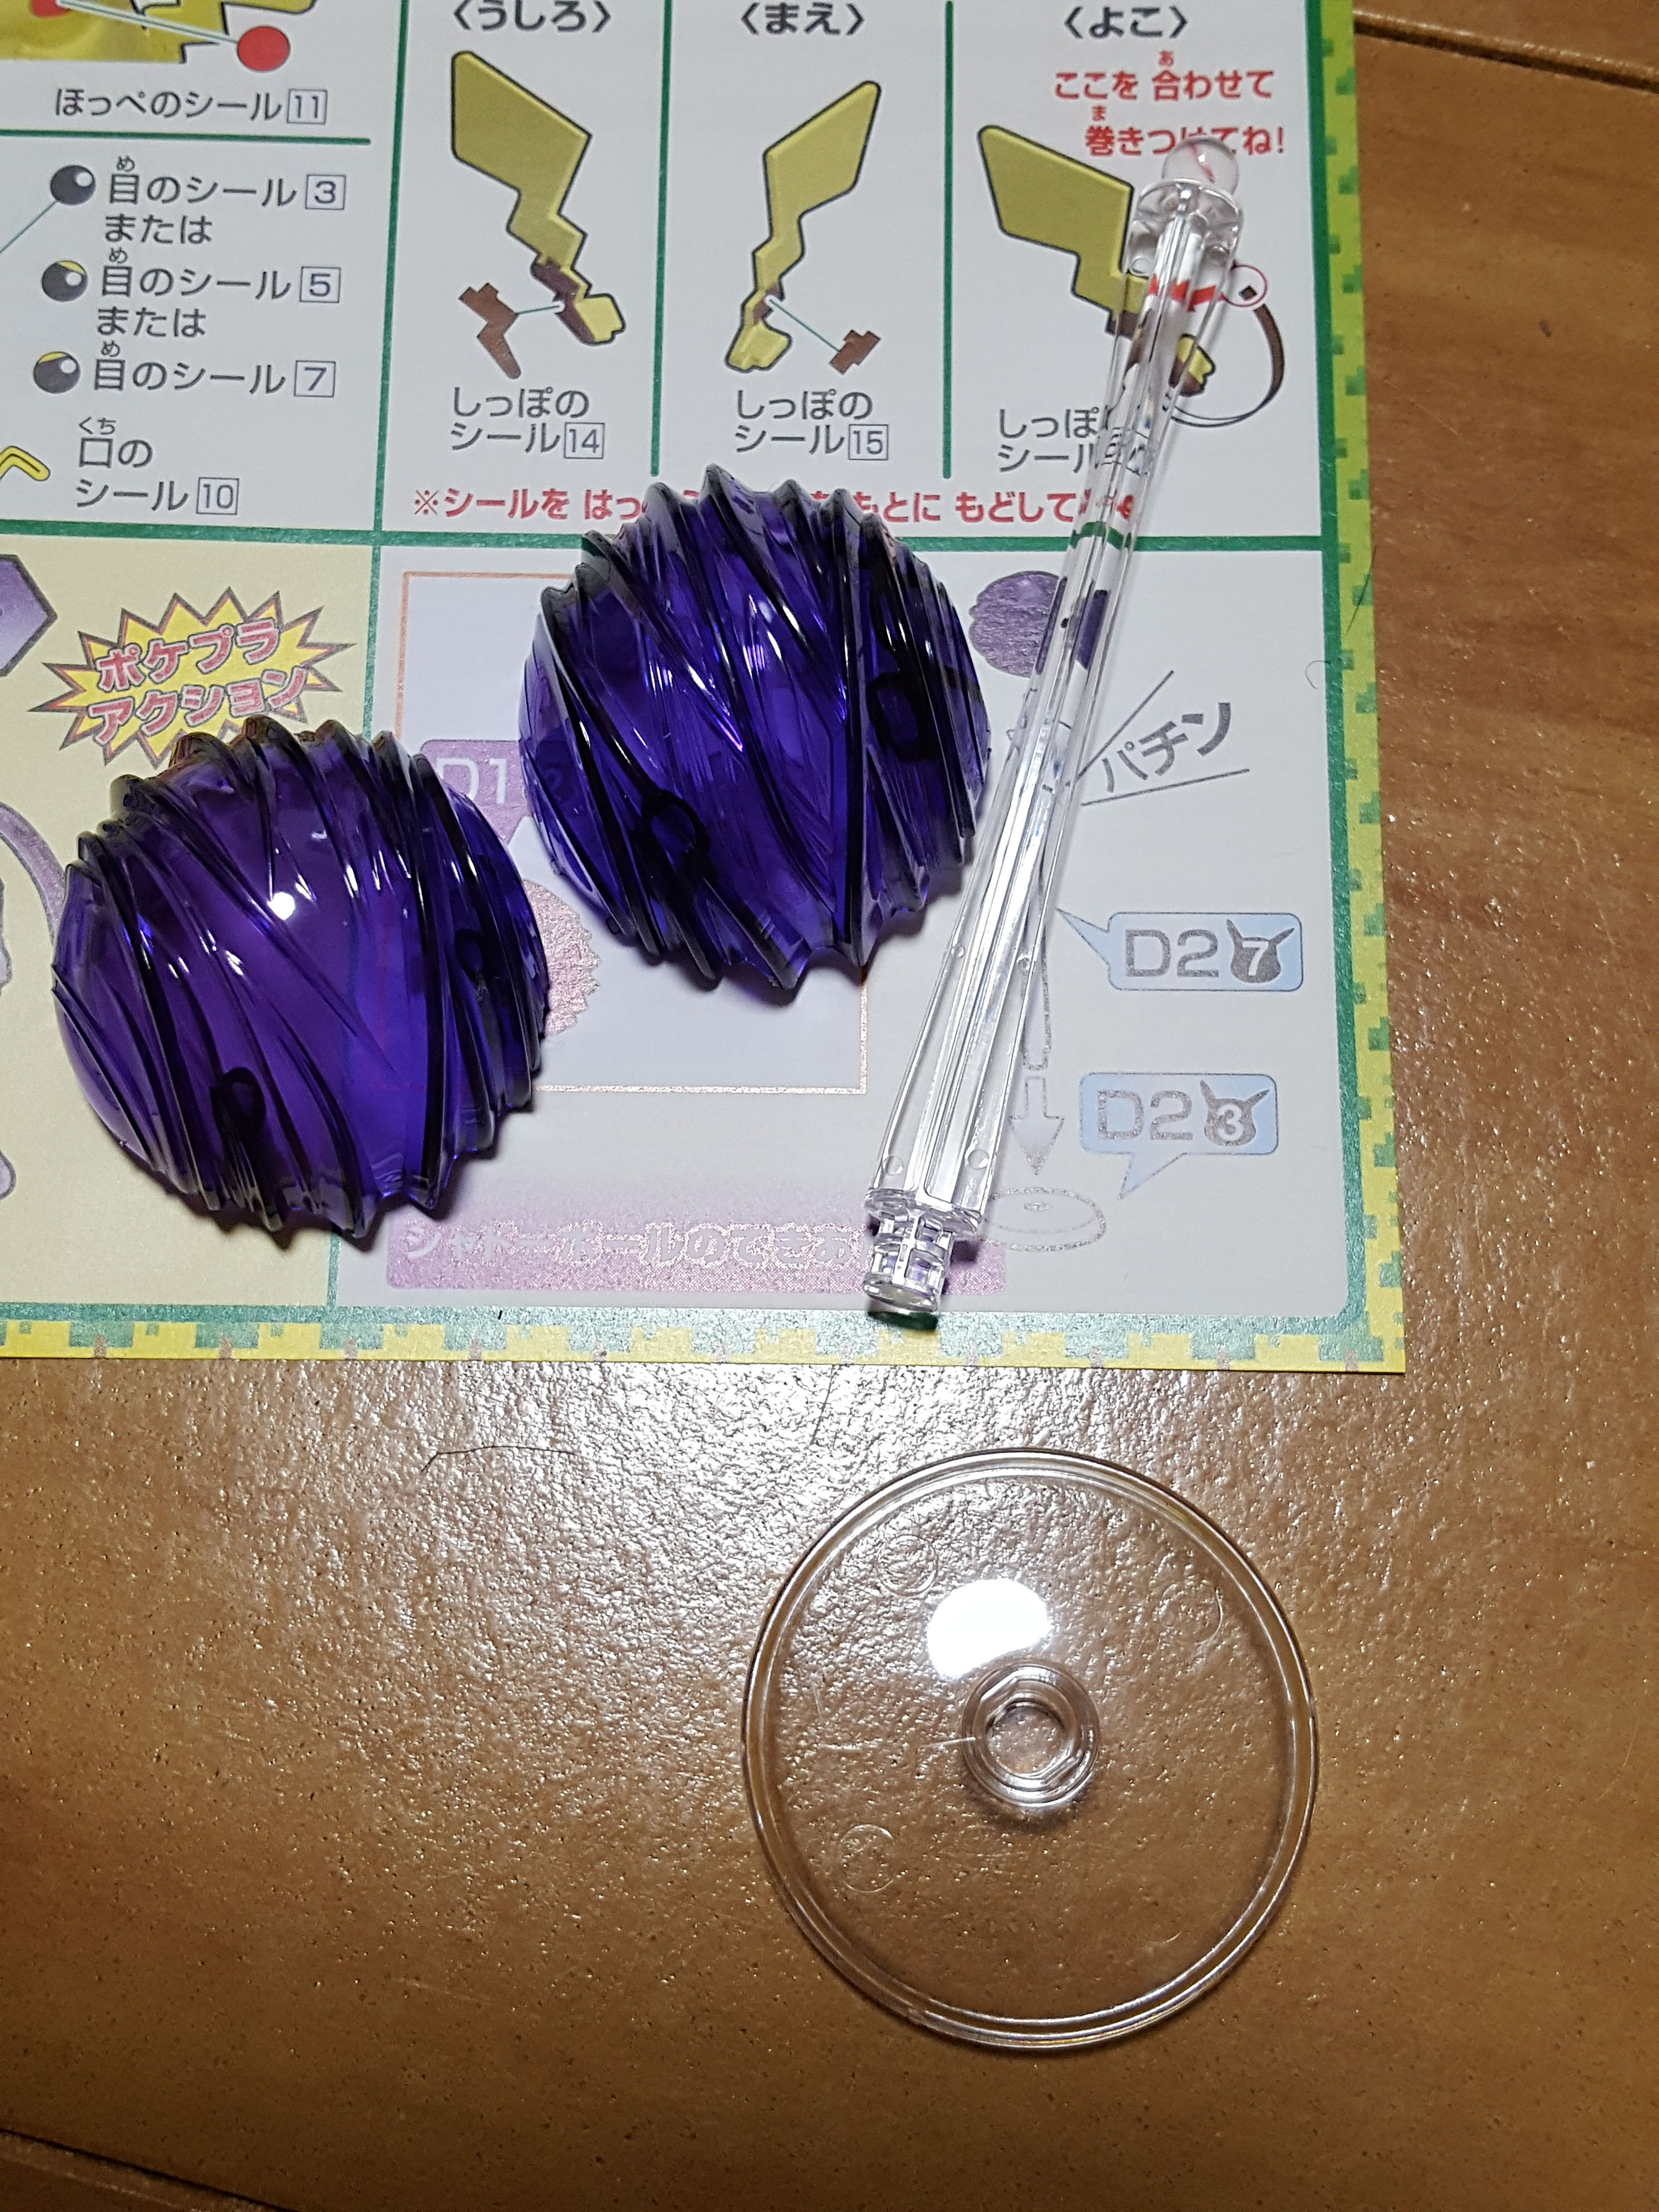
This comes in two clear purple halves and a two-part stand.
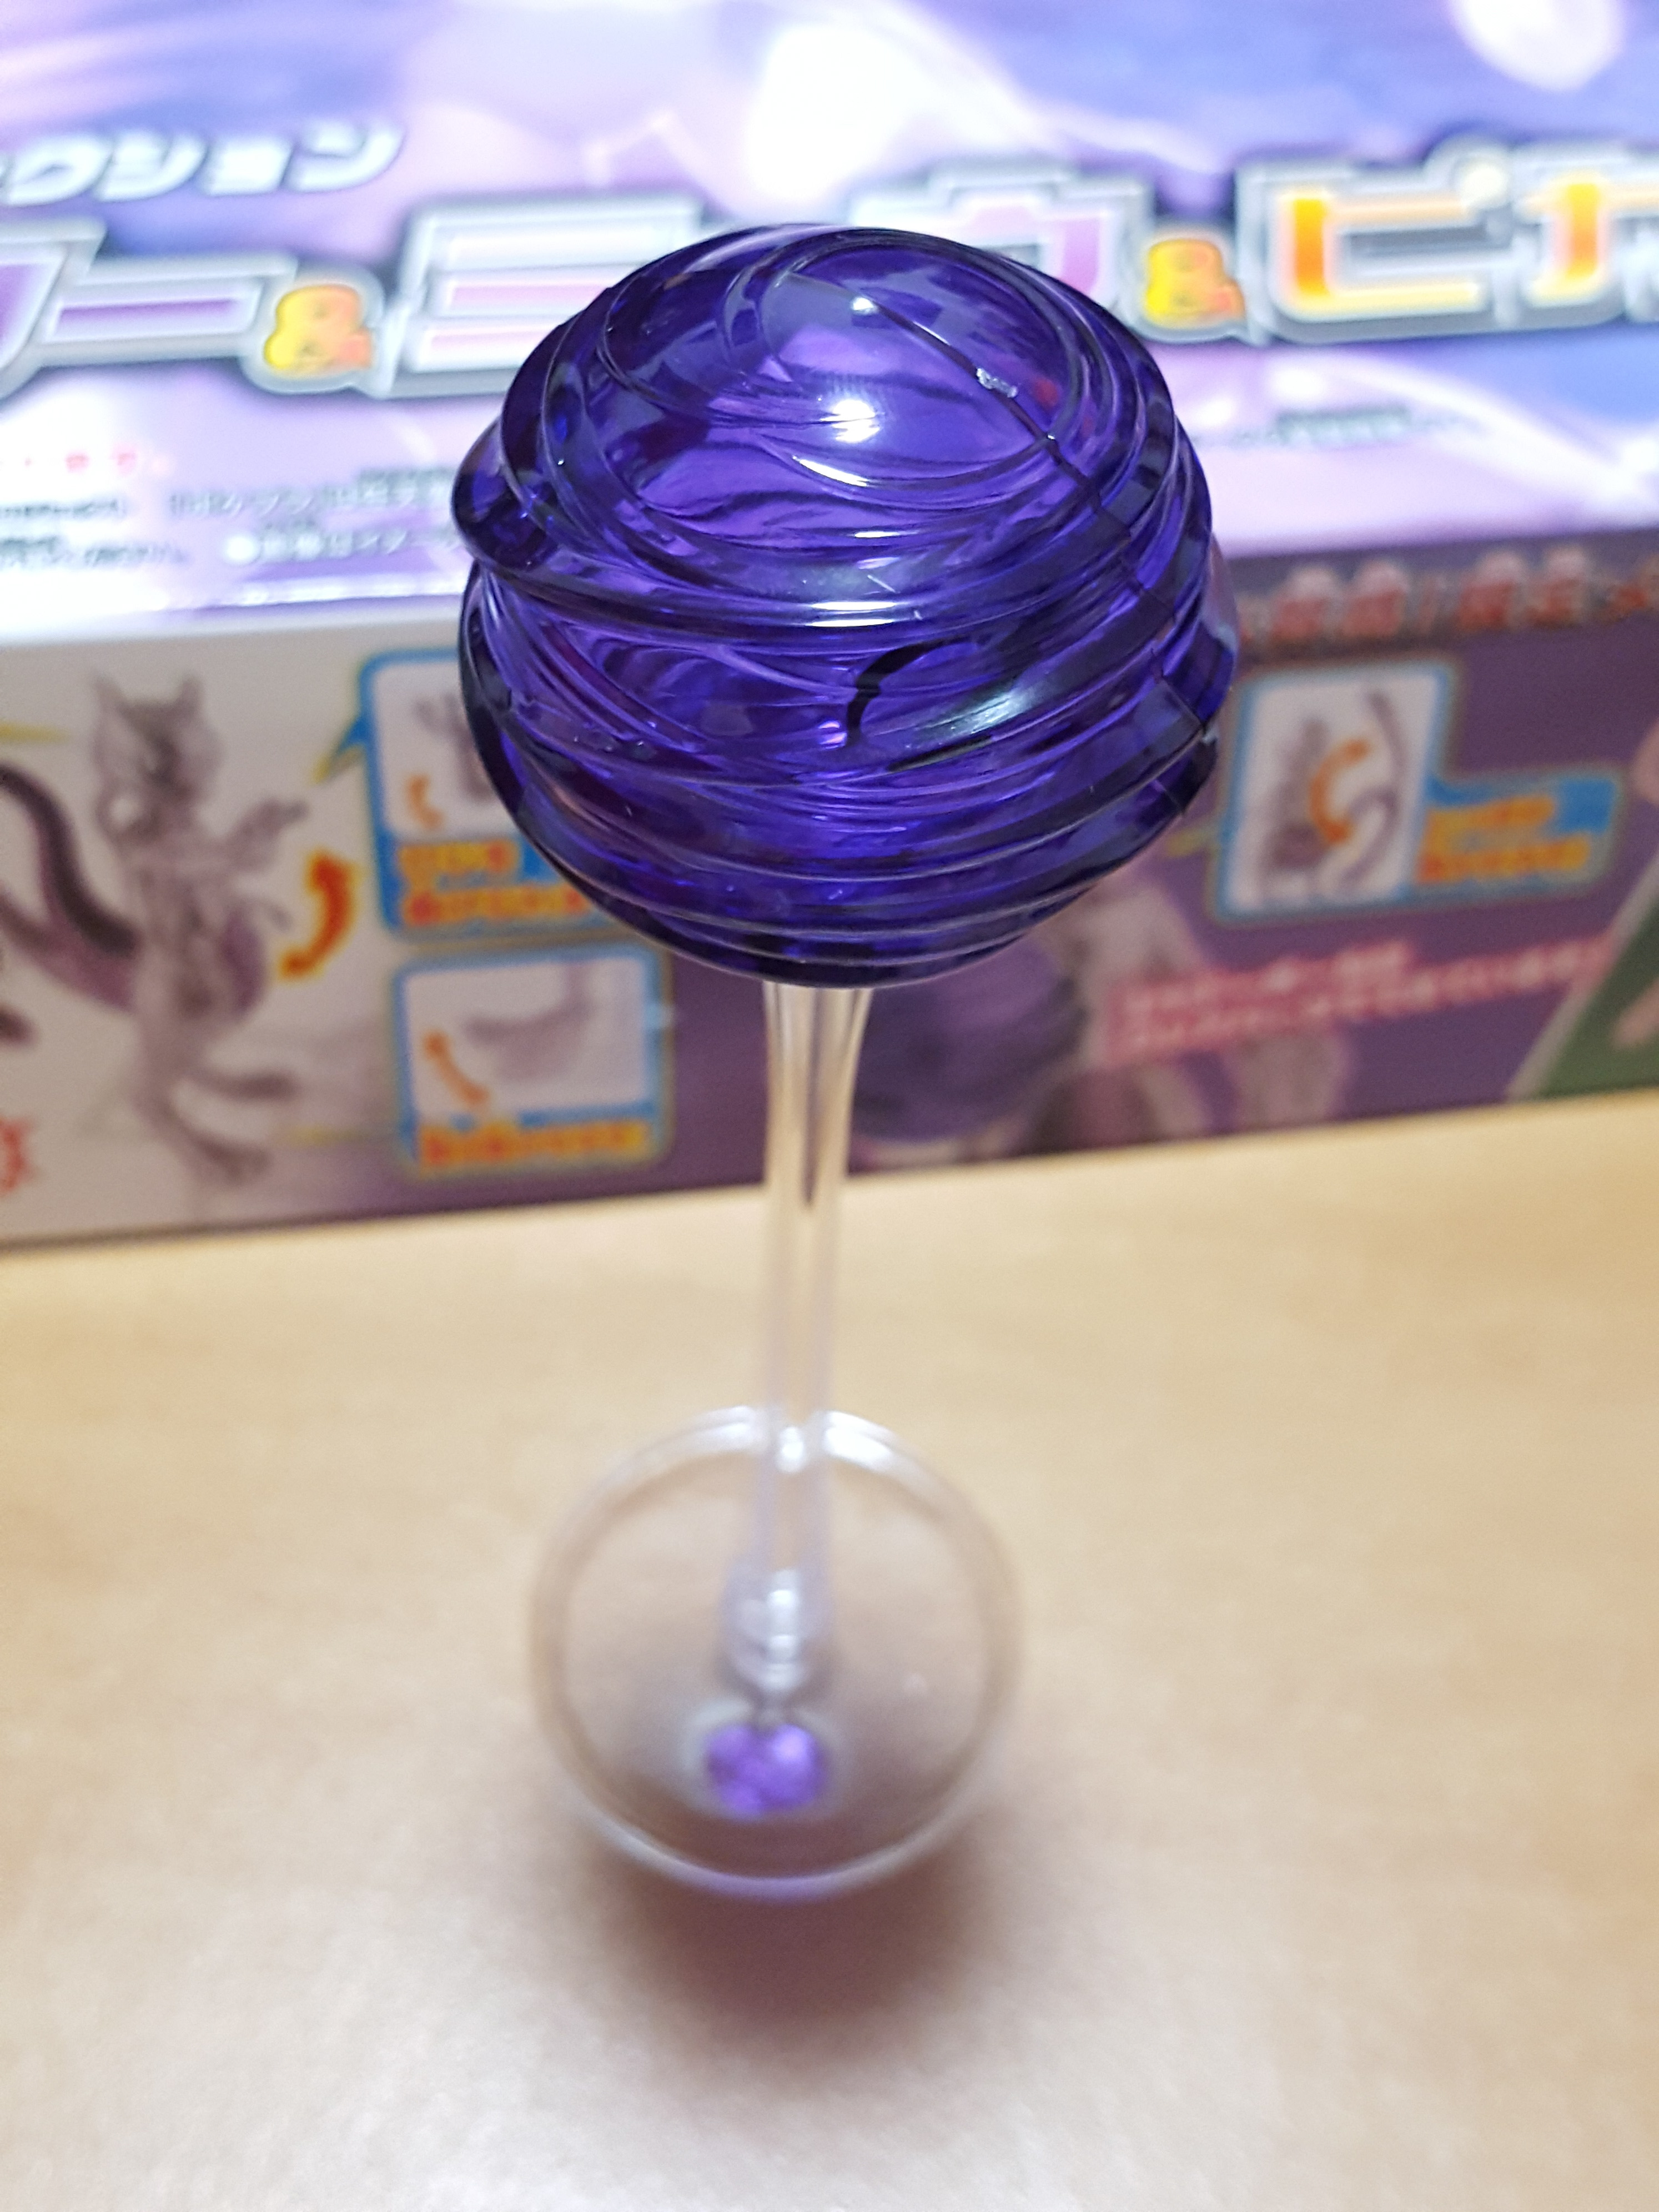
Ta-dah! Piece of cake.
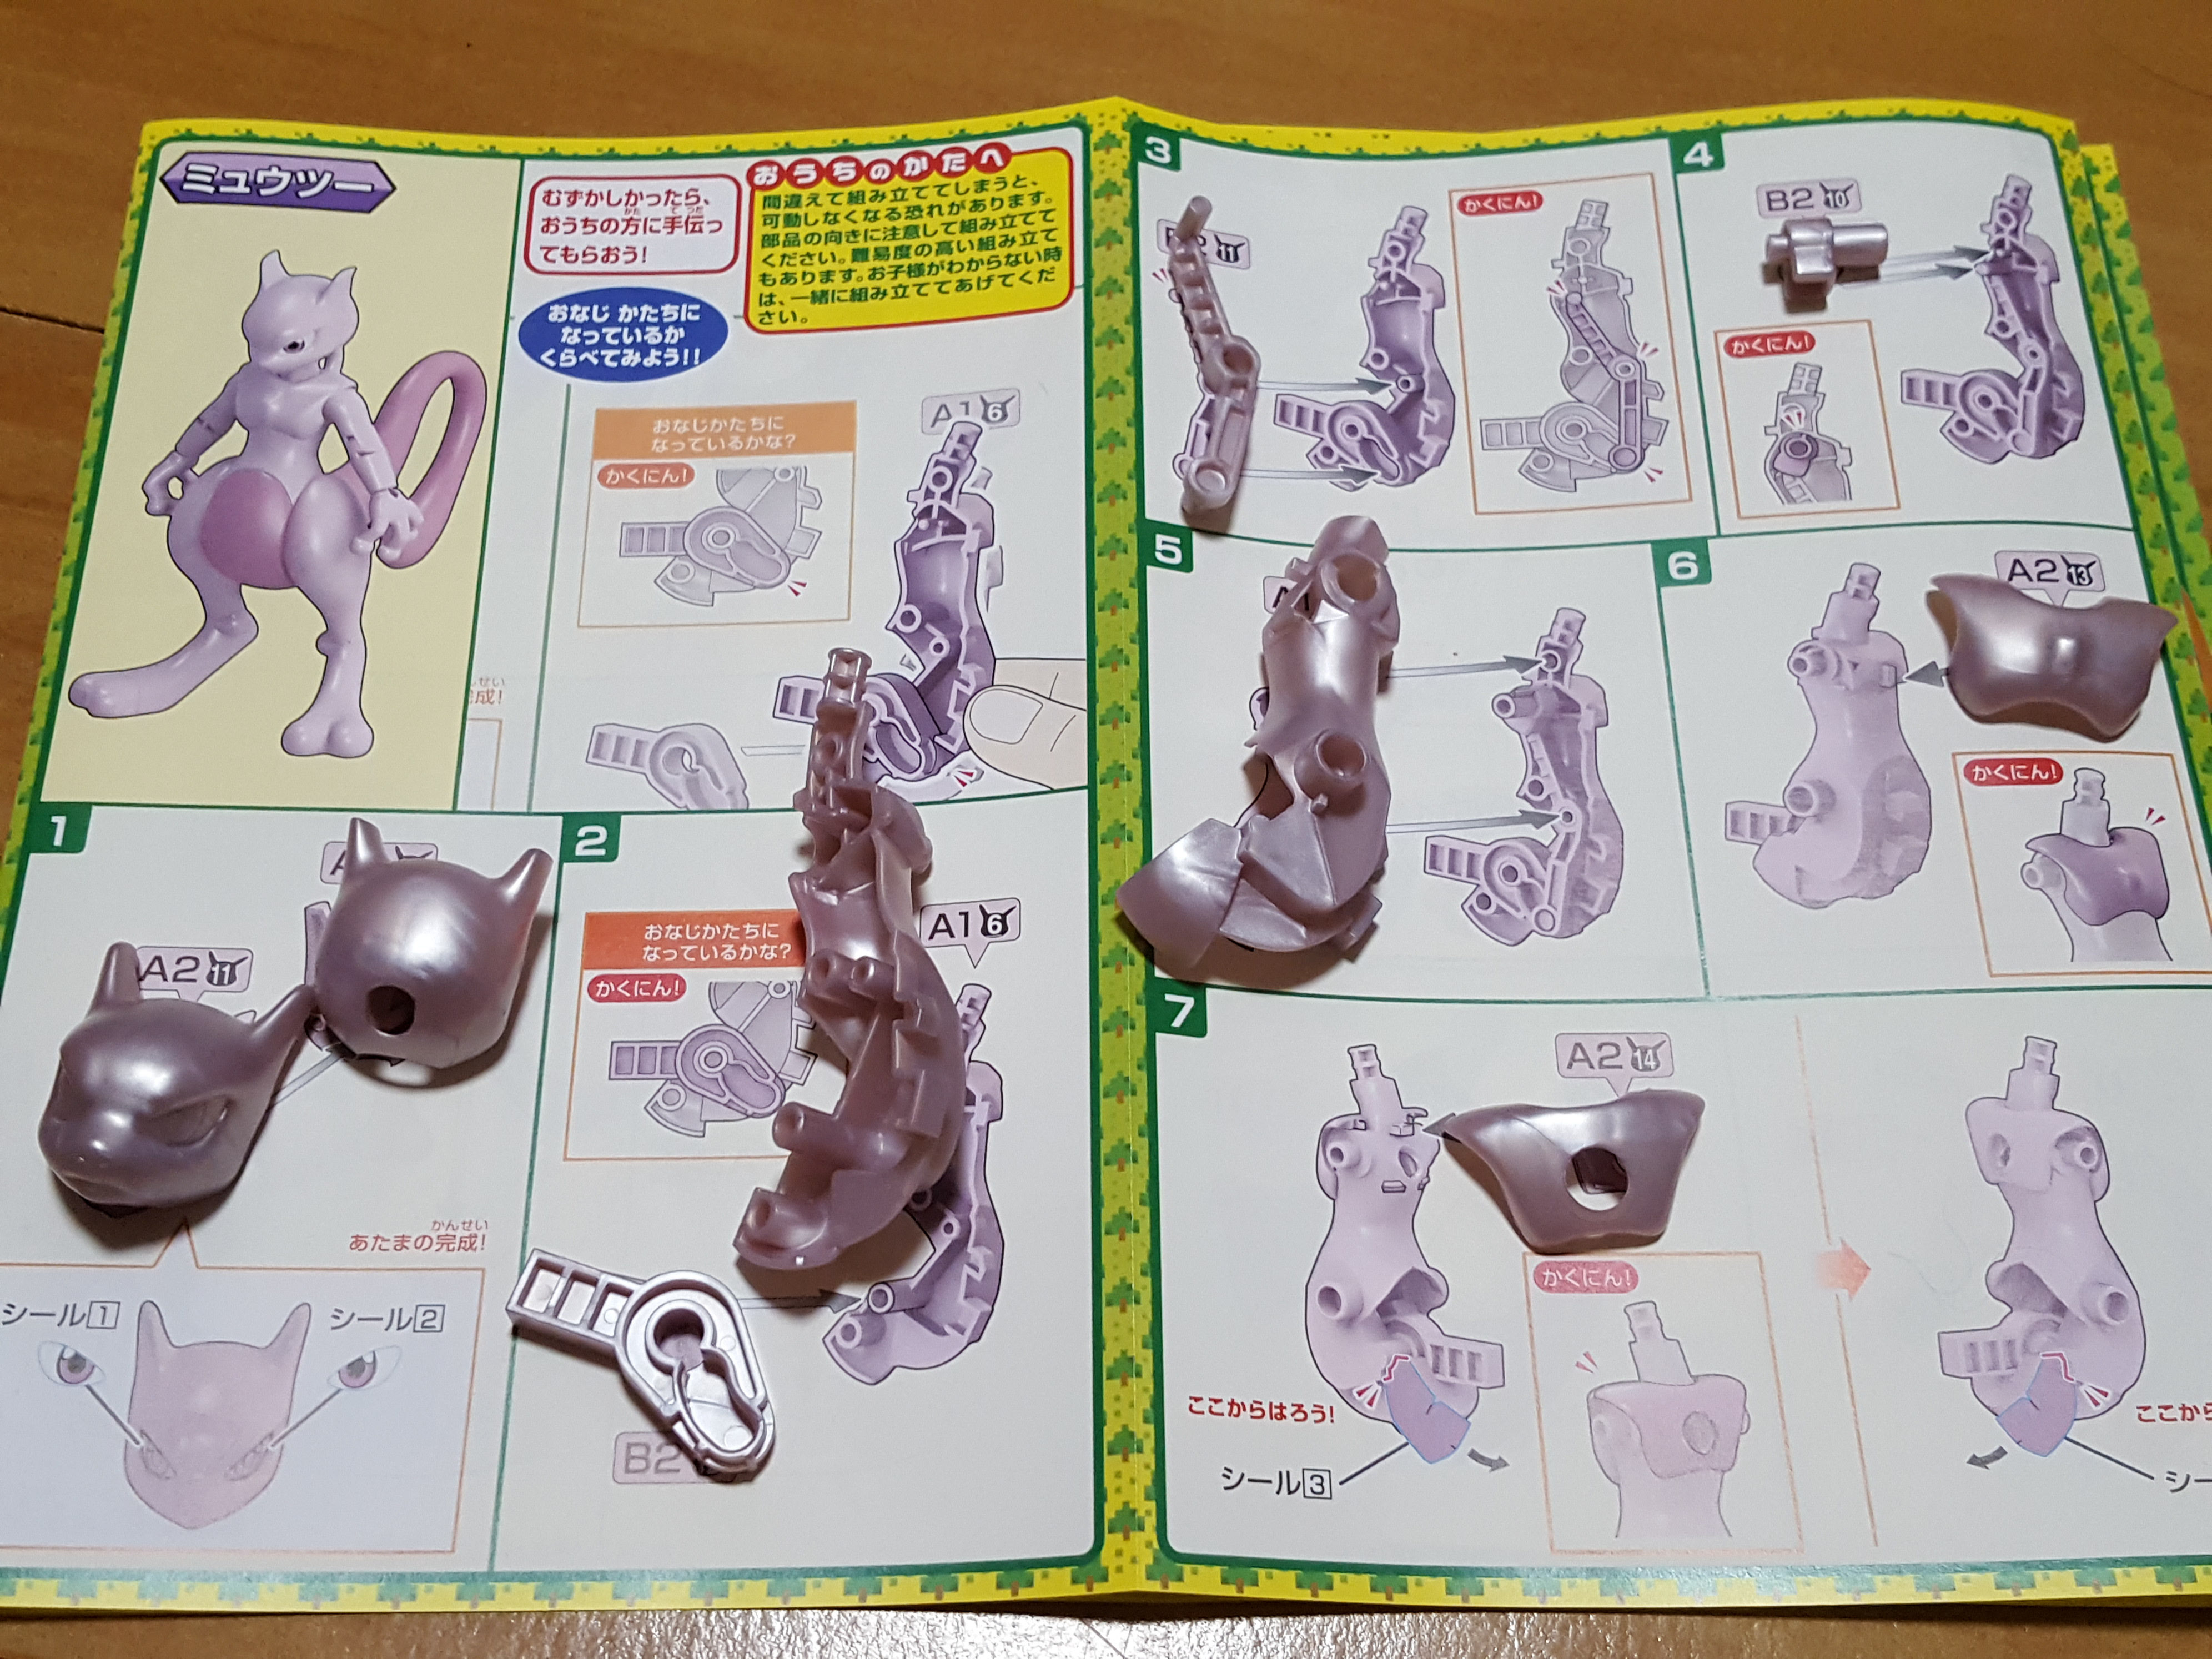
Finally, we’re on to Mewtwo. No painting on this one, either, as the only stickers will be the eyes and sort of a hidden section that we’ll get to in a minute.
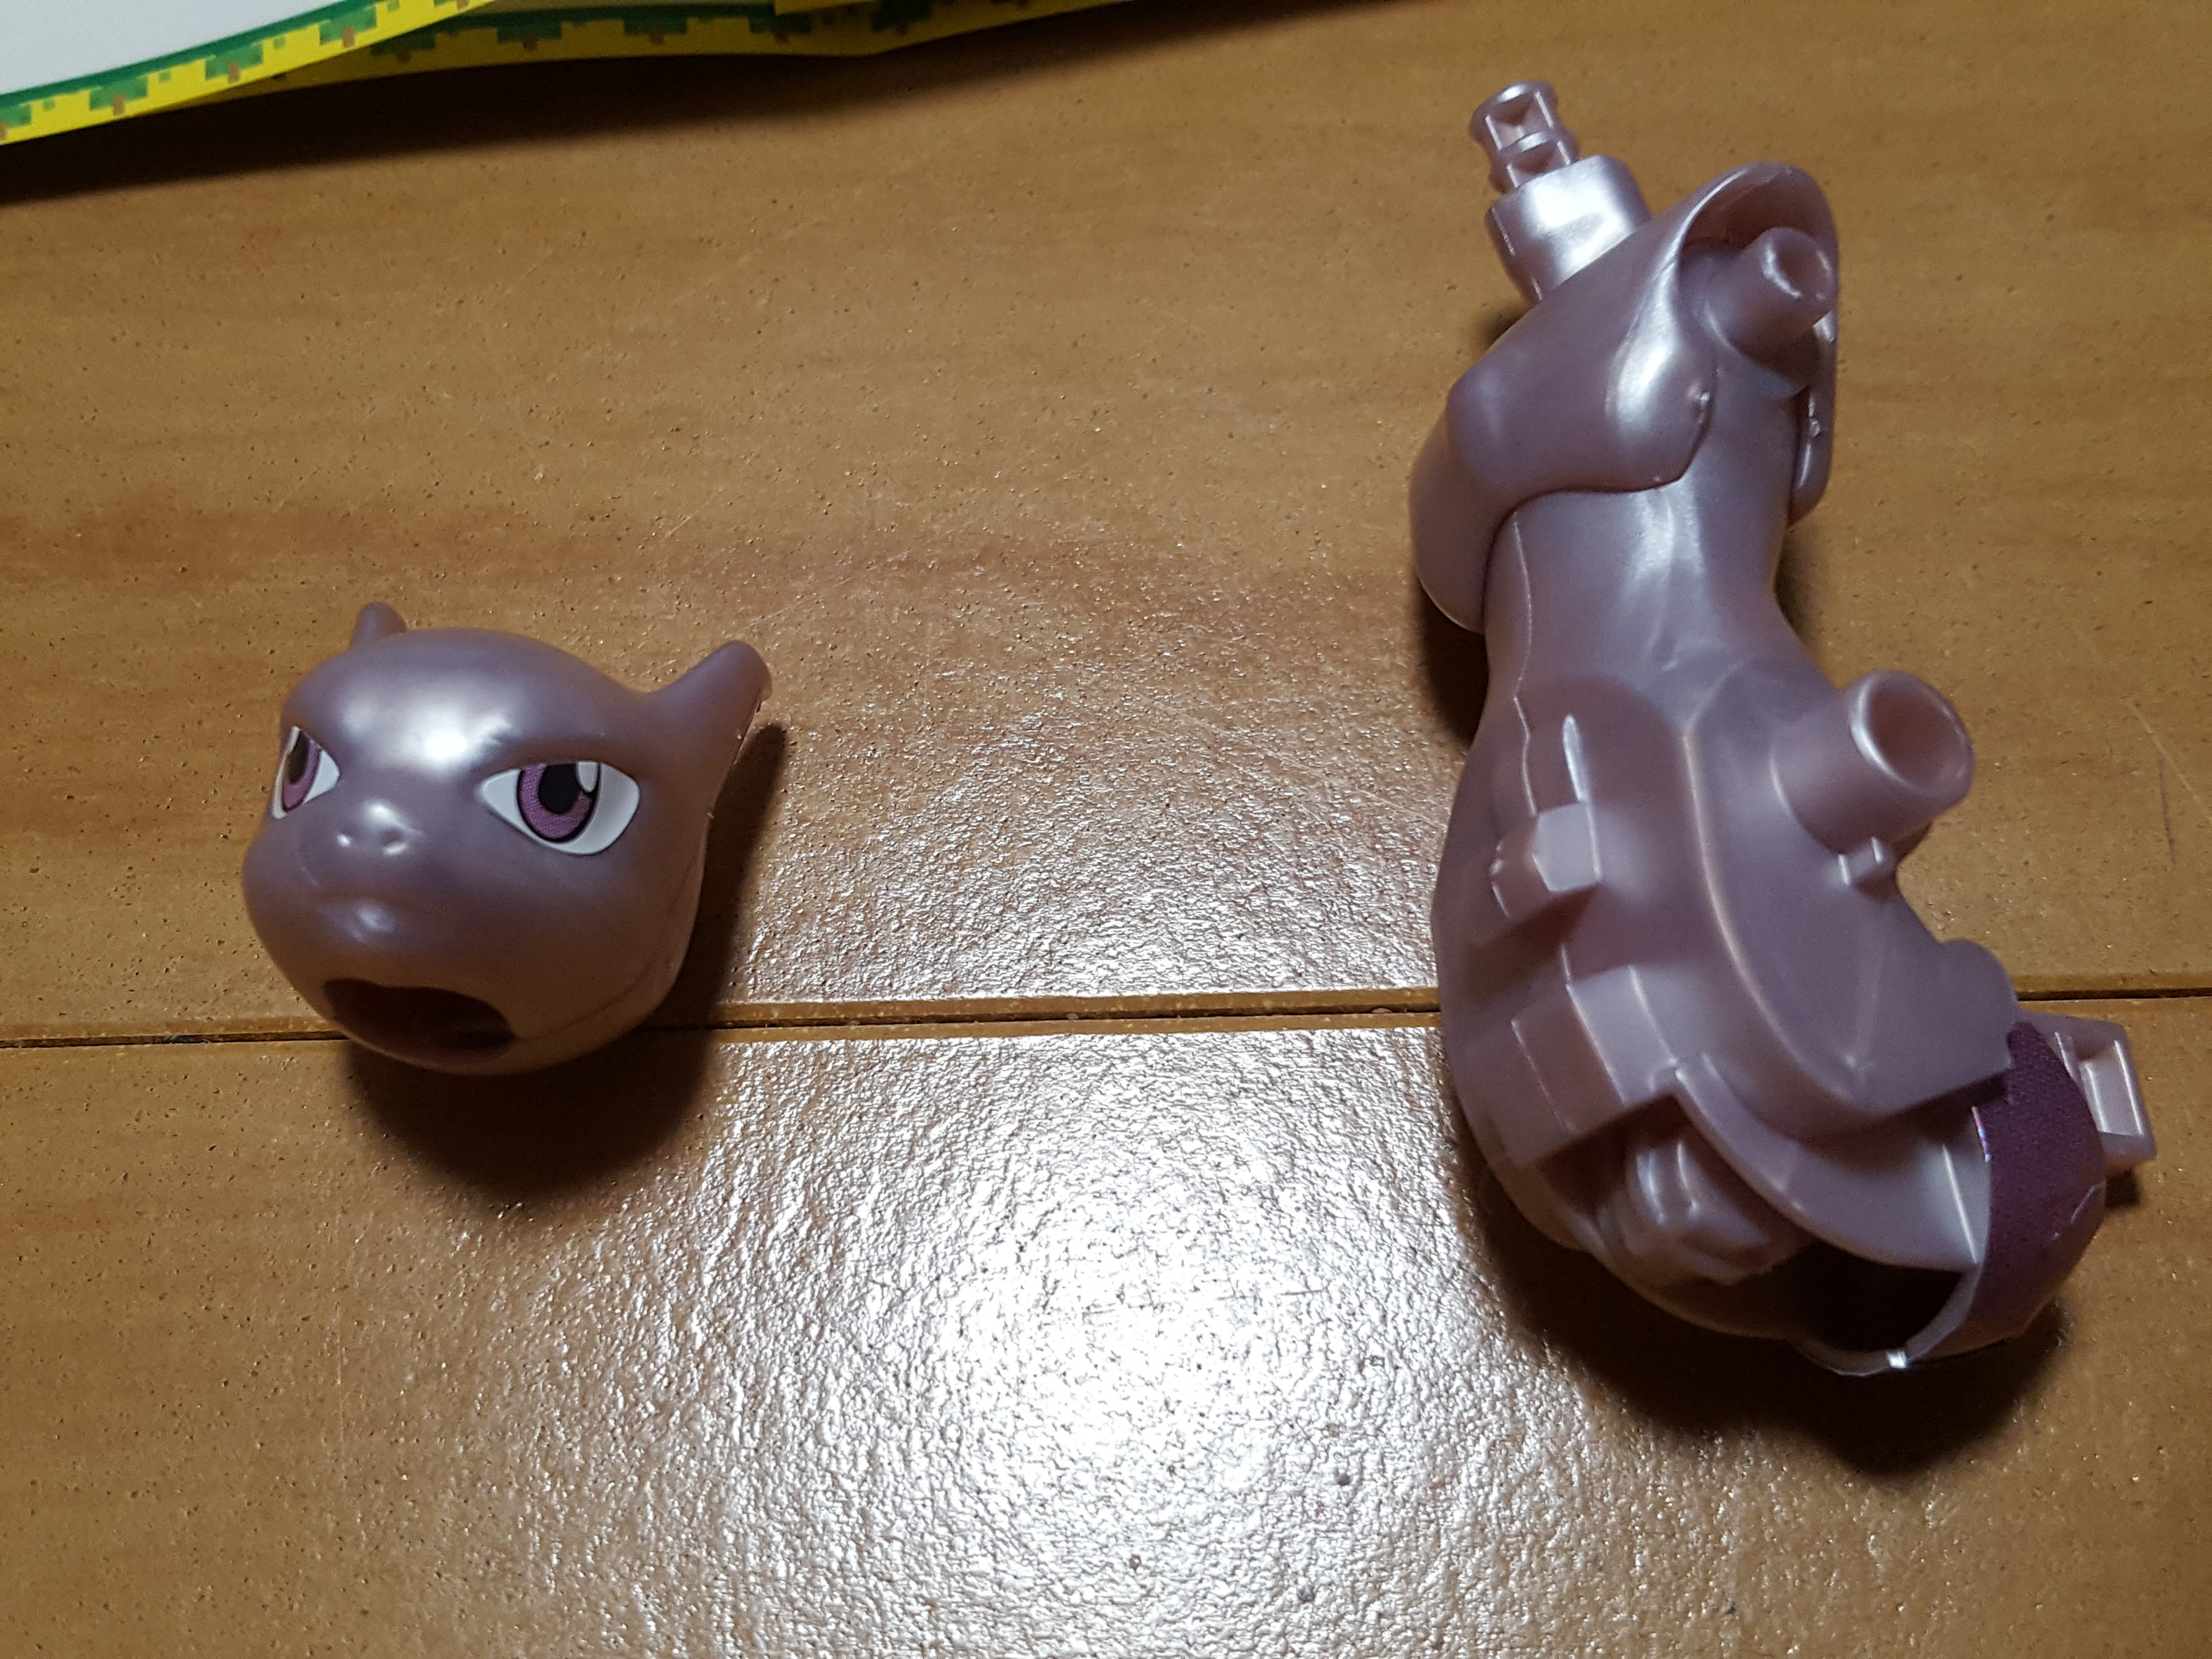
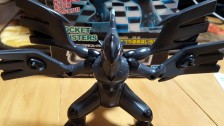
After the first two pages, this is what you have. See the shiny sticker on the back of the torso piece? This is meant to mask the lighter color when you put the tail on. The tail is slightly jointed so it can move a bit, and the sticker just fills in the gap when you move the tail around.
All in all, since it’s facing downward, and because of the tail covering most of it, you’re not going to see much of these stickers.
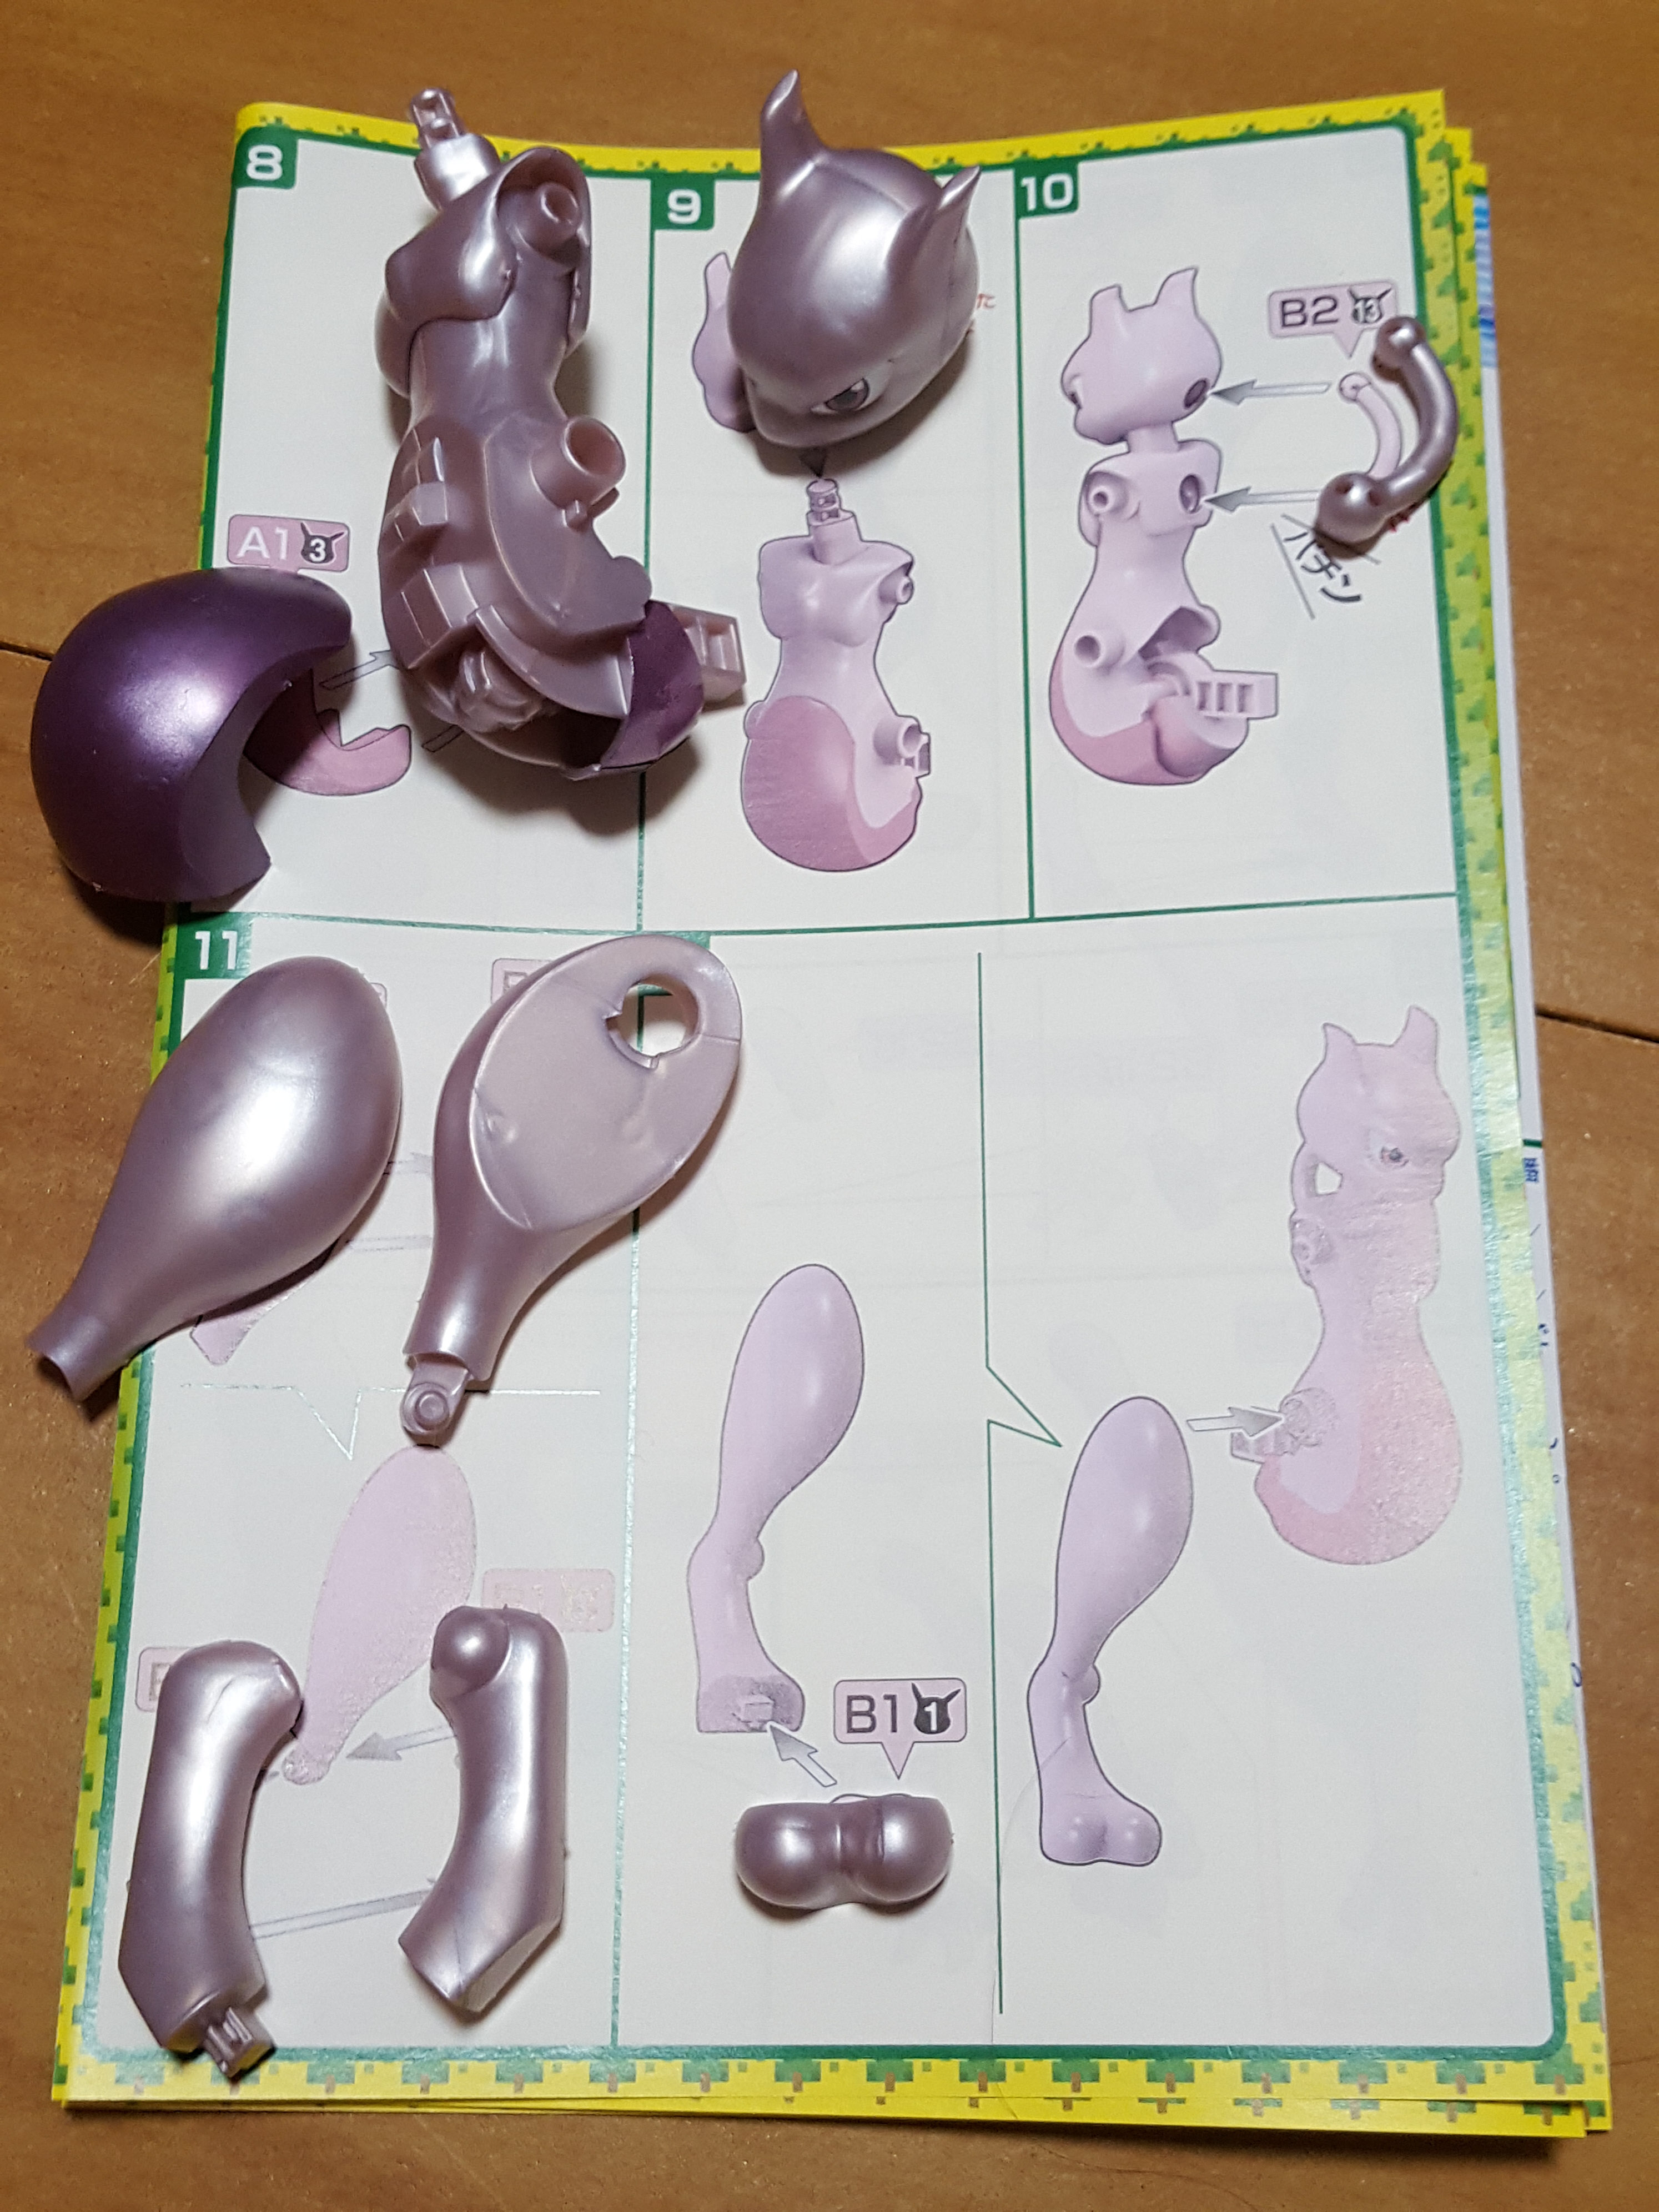
The next page builds on the torso and gets the first leg done.
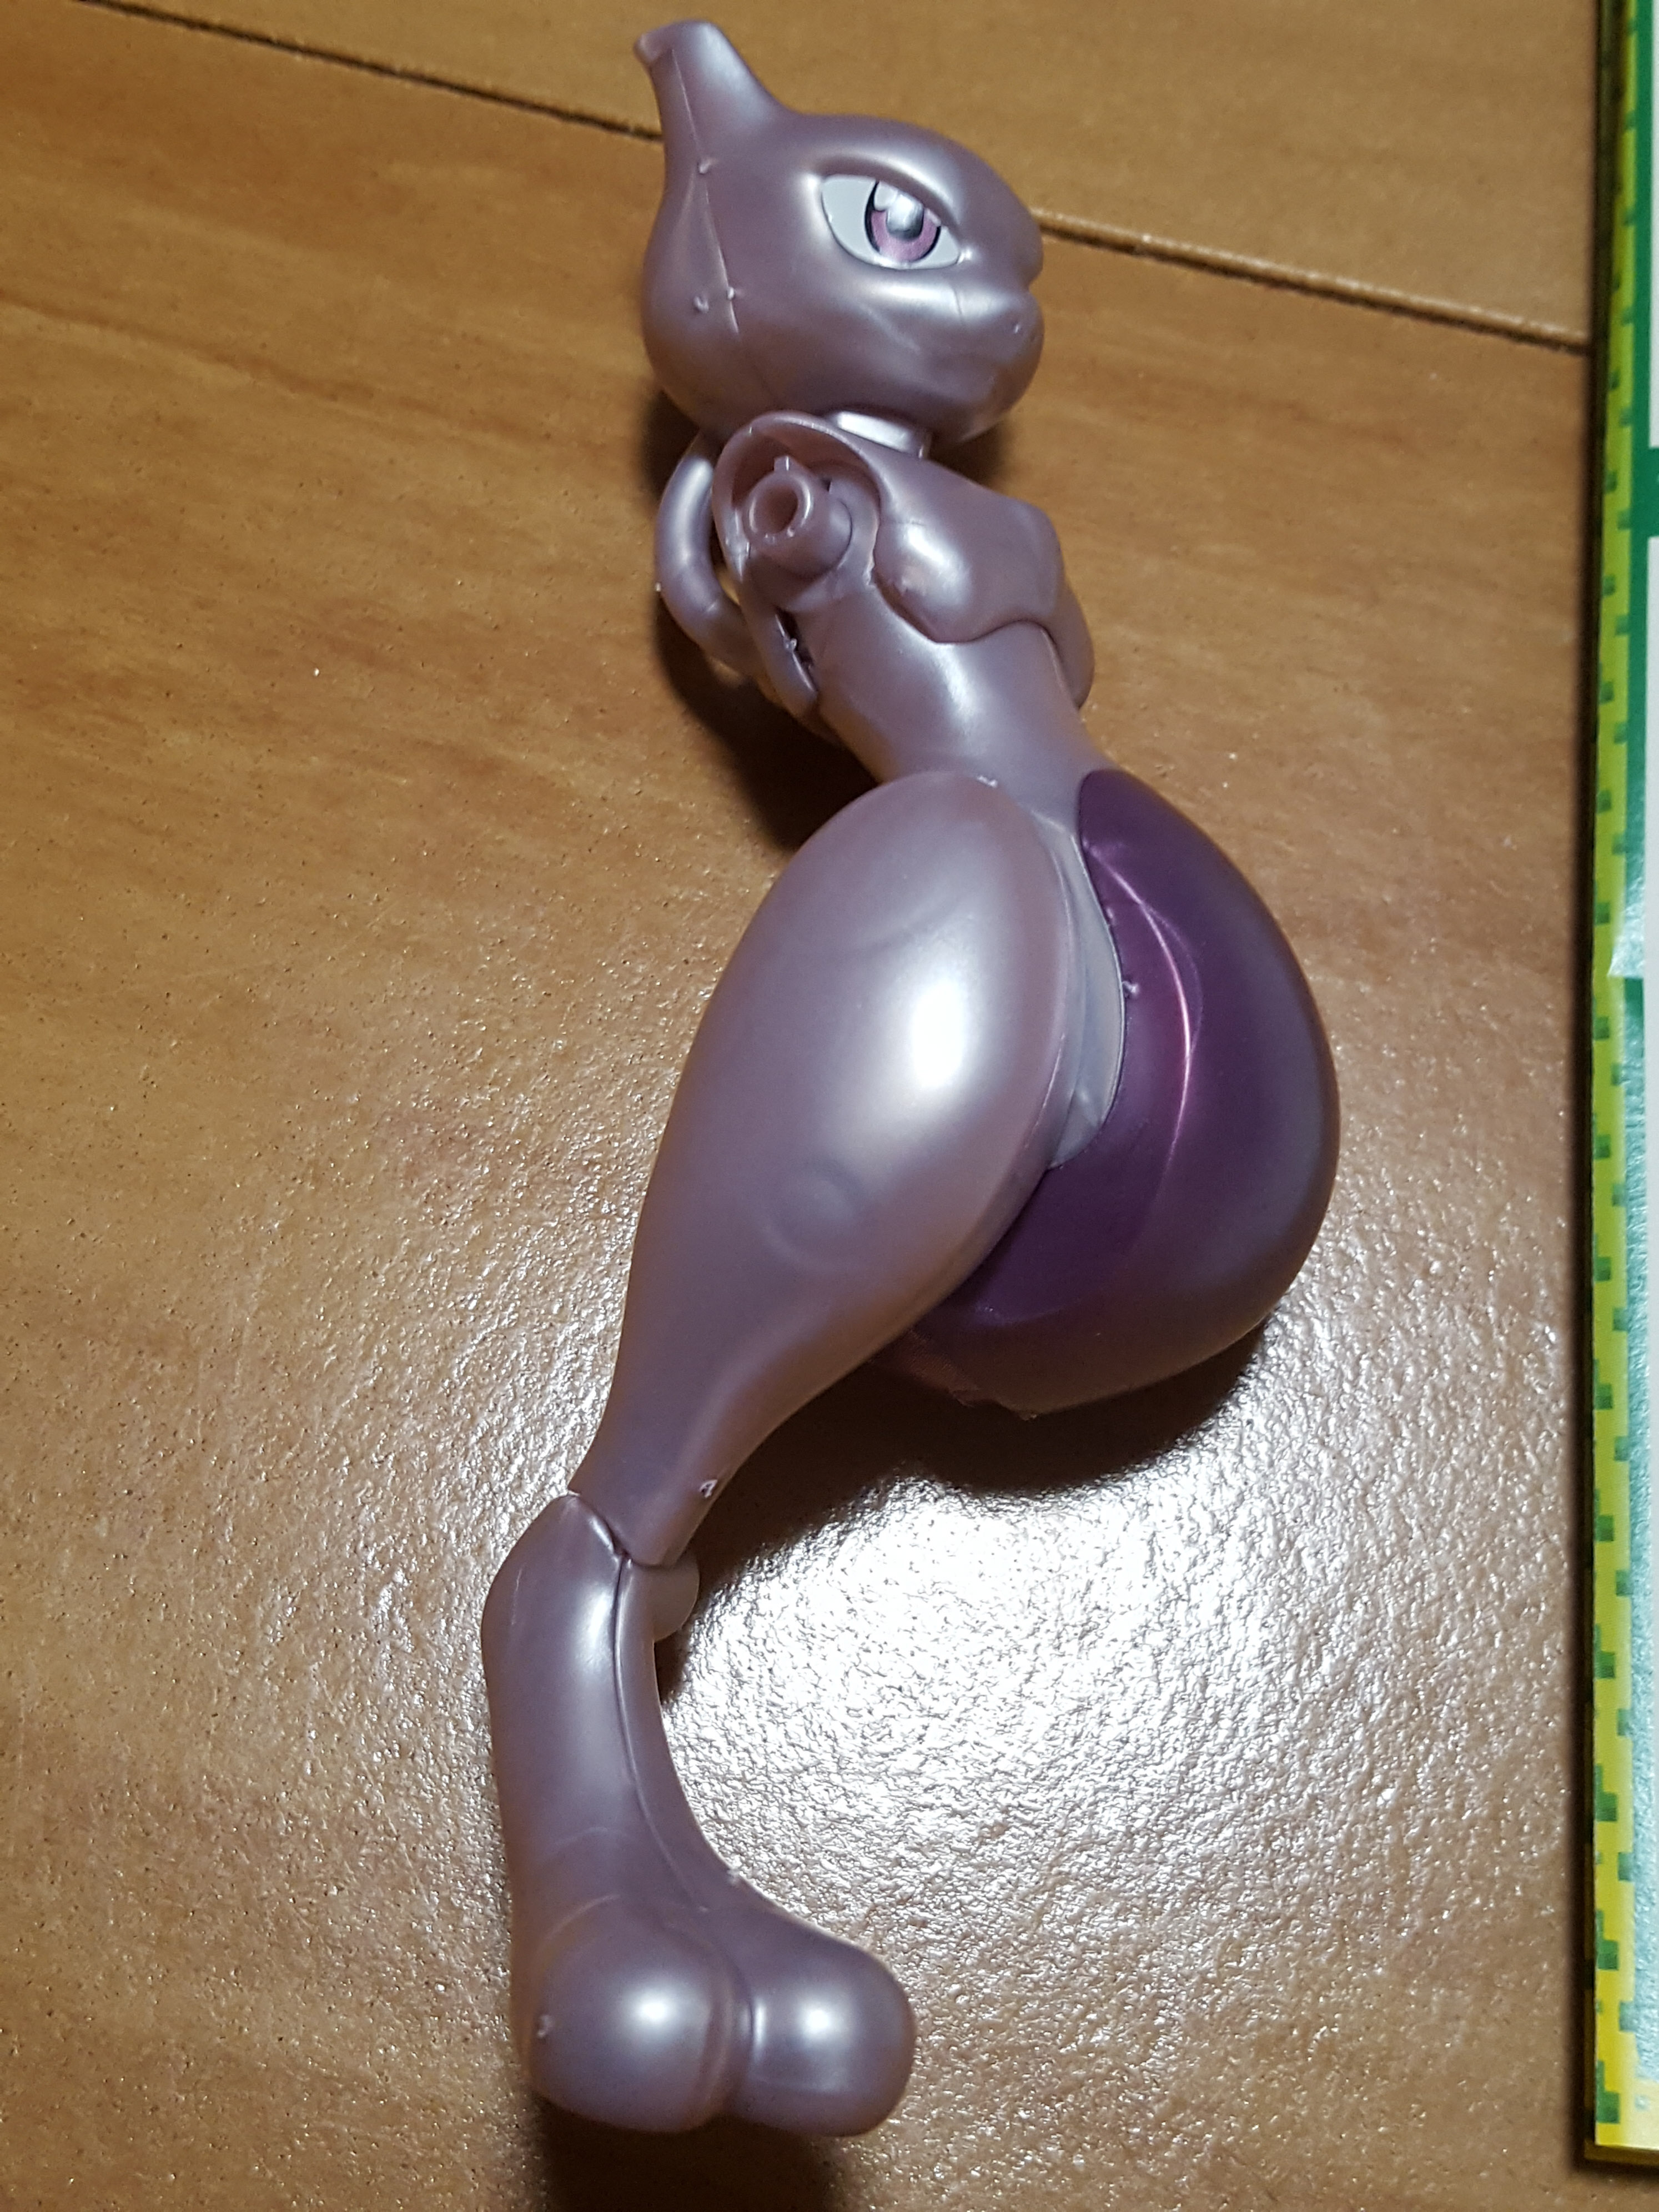
Here we are!
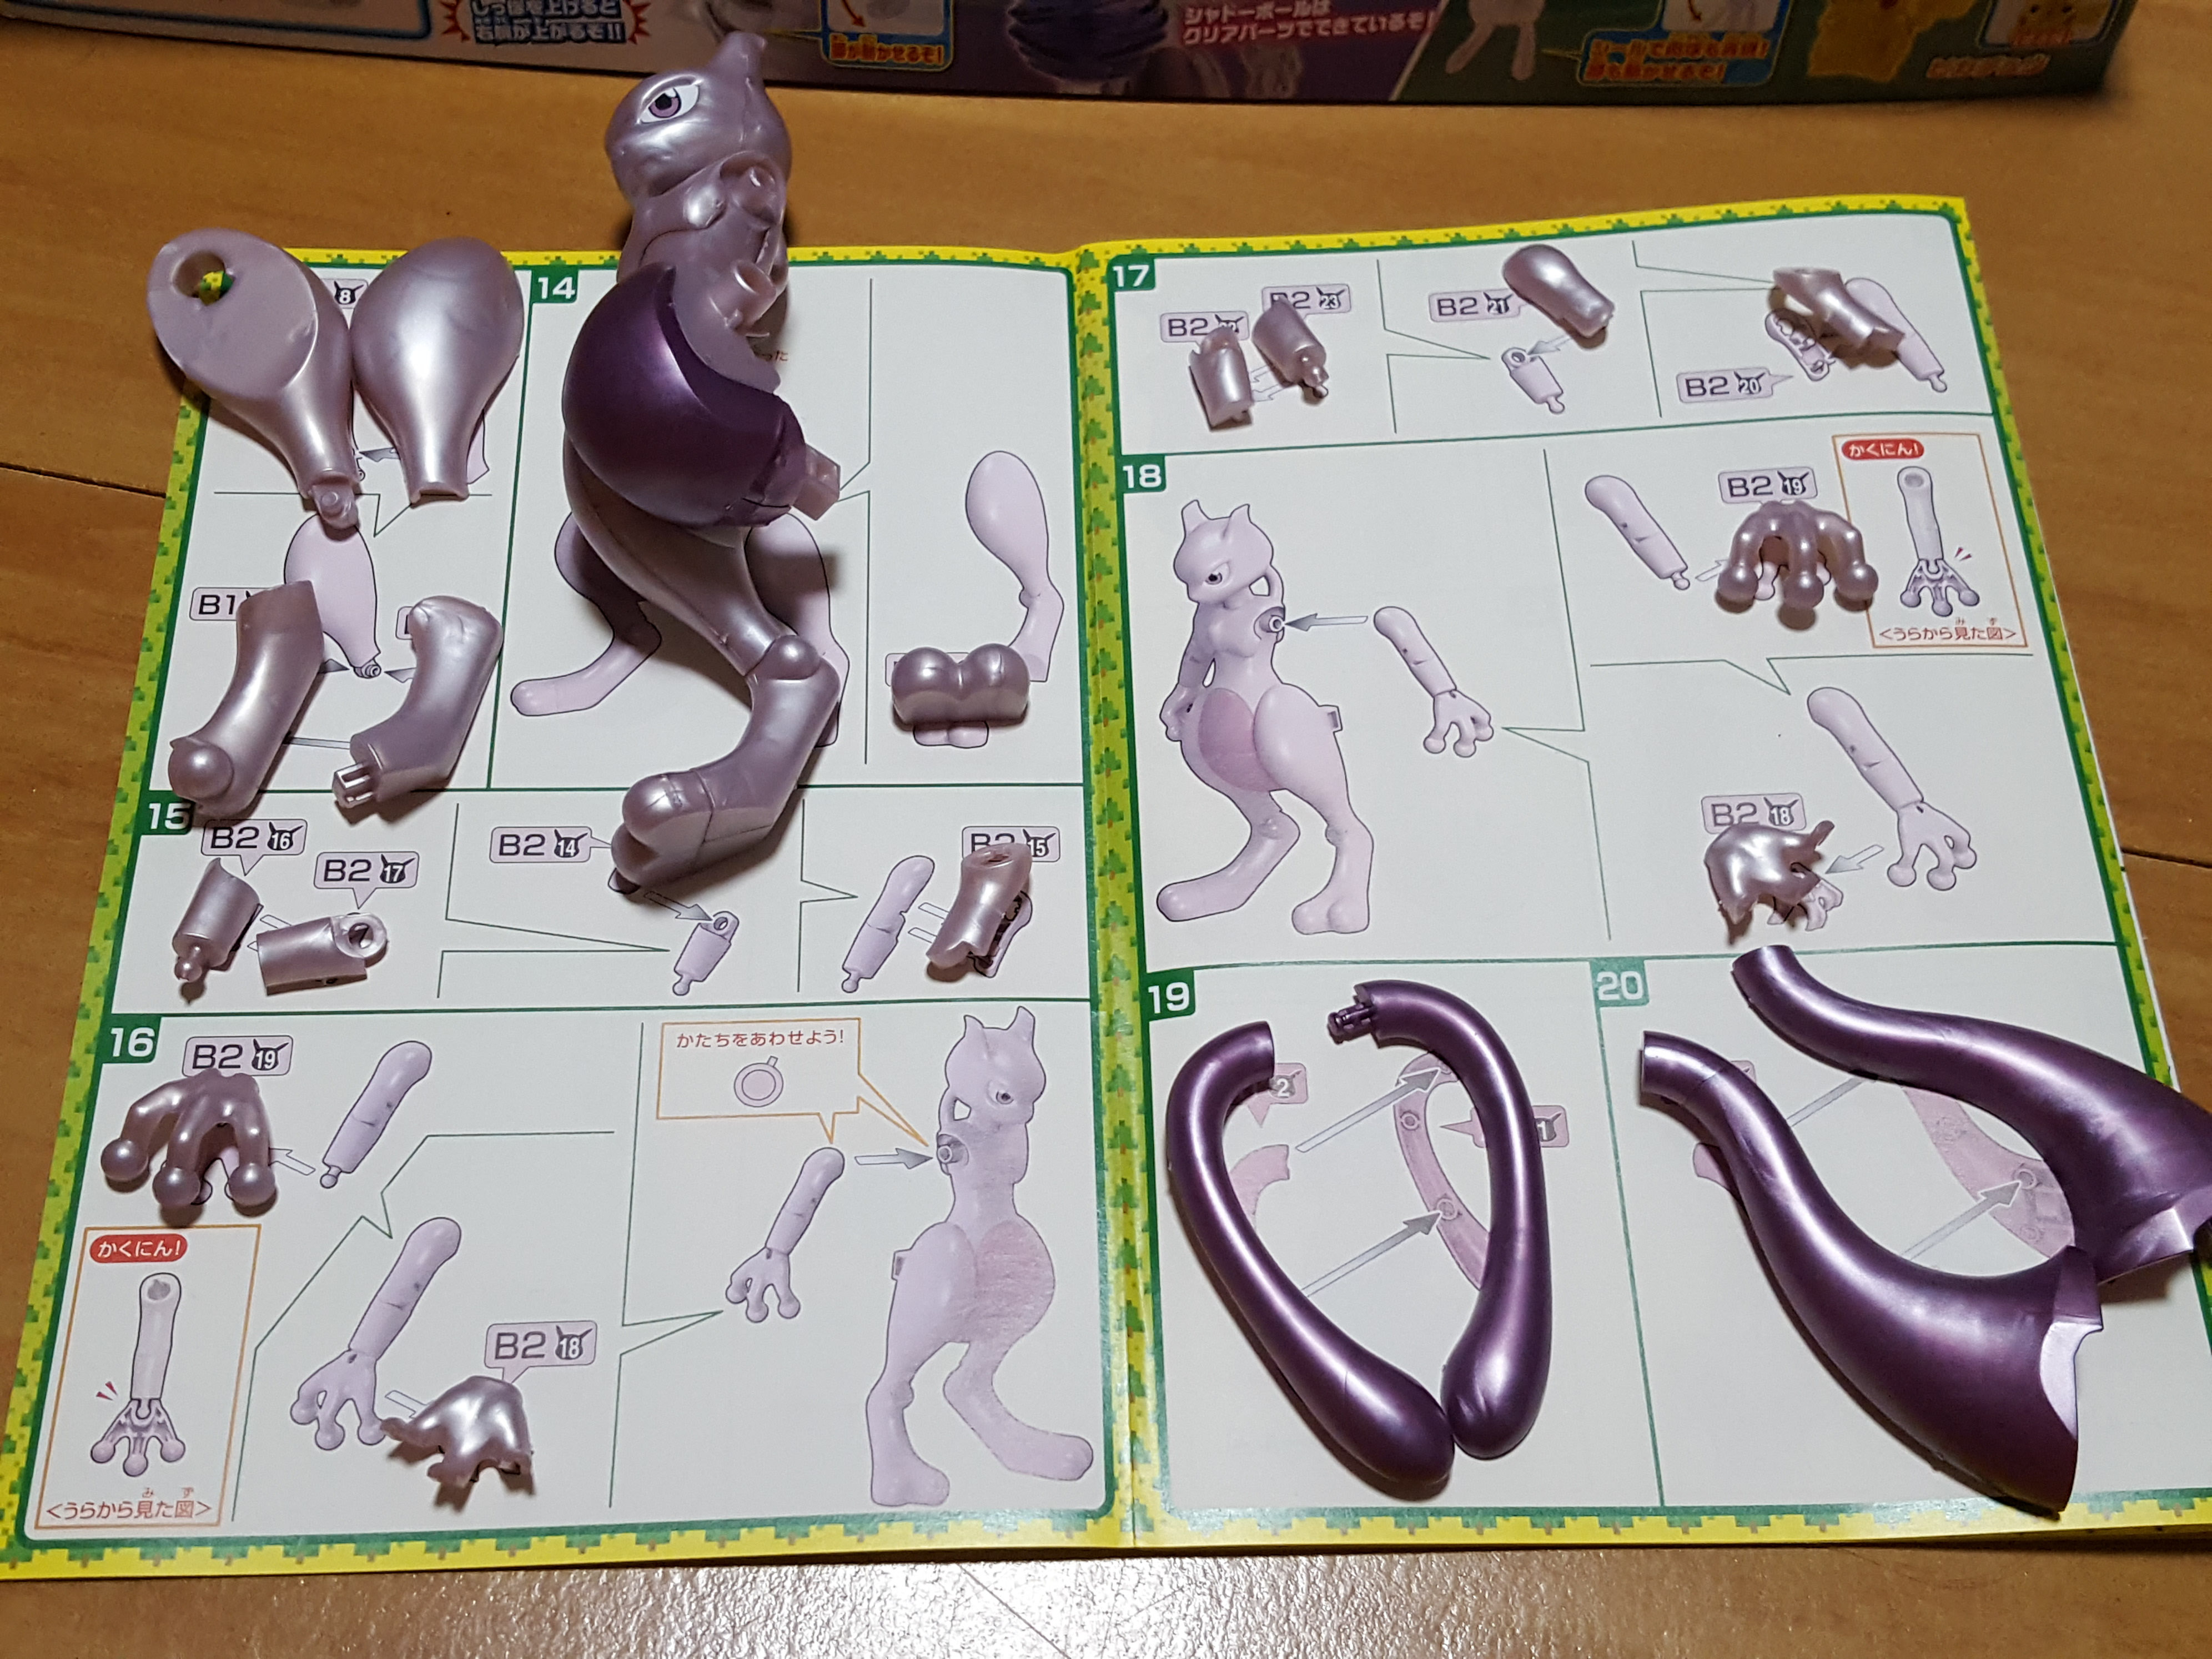
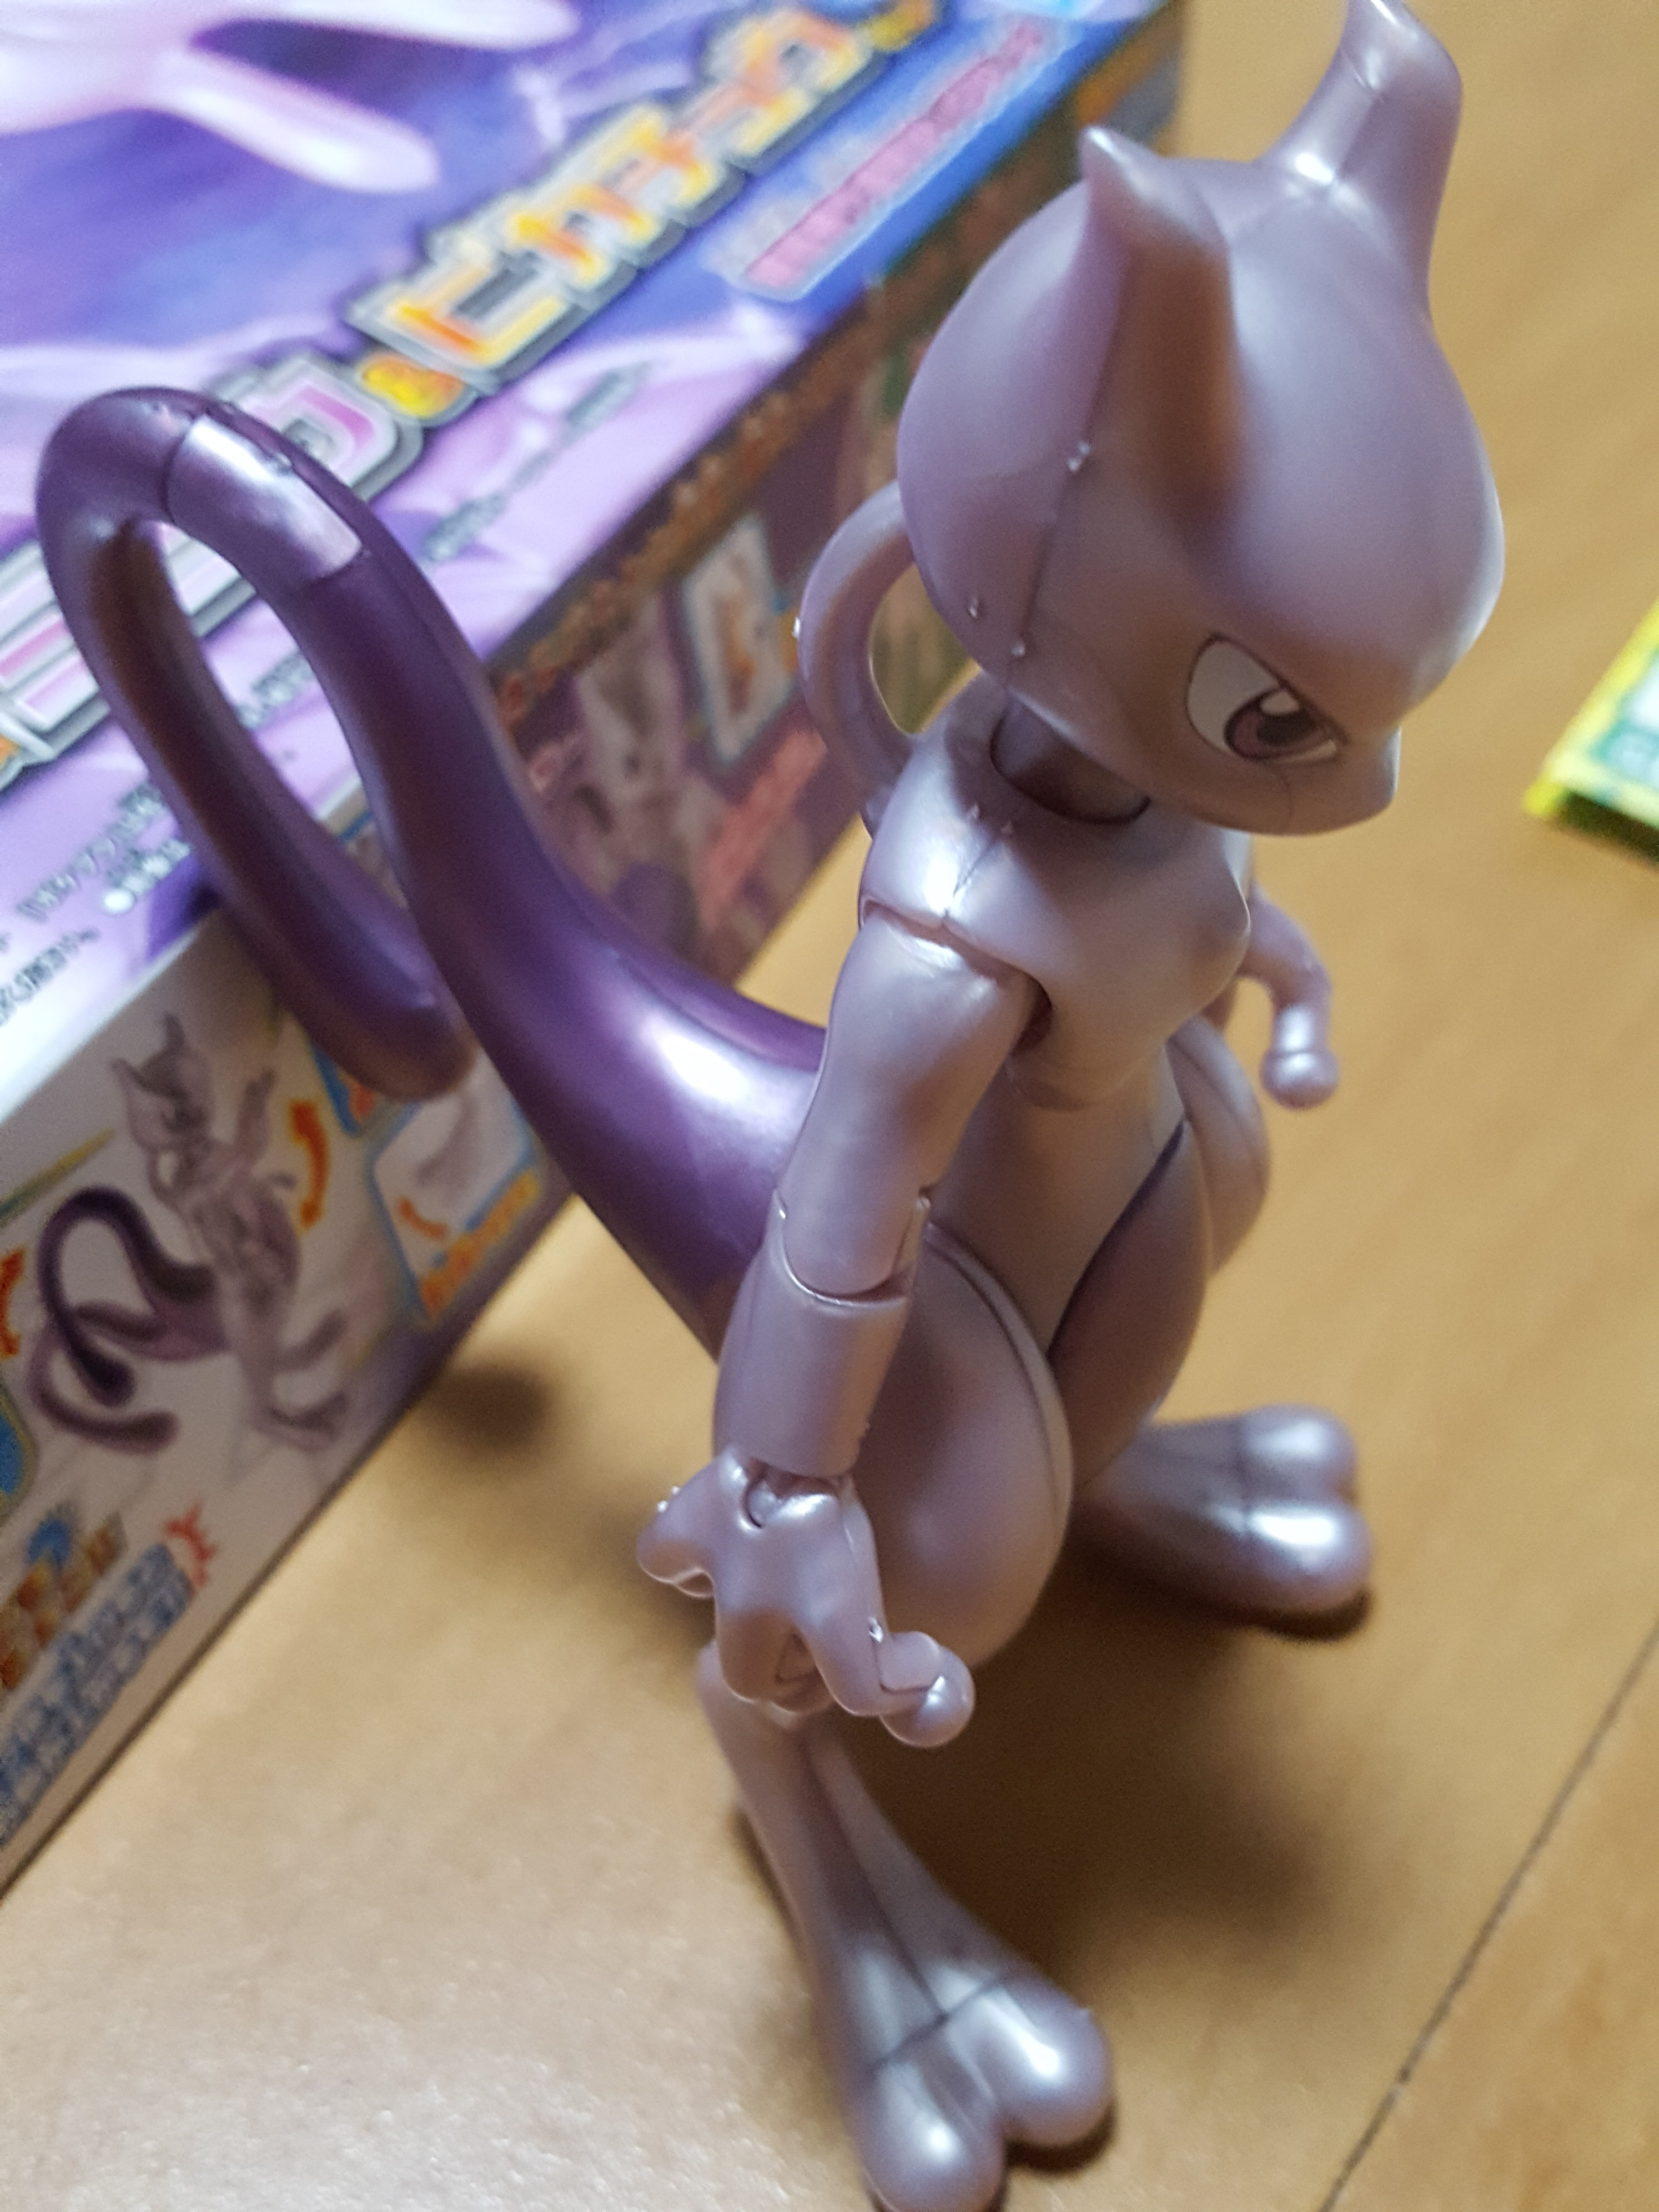
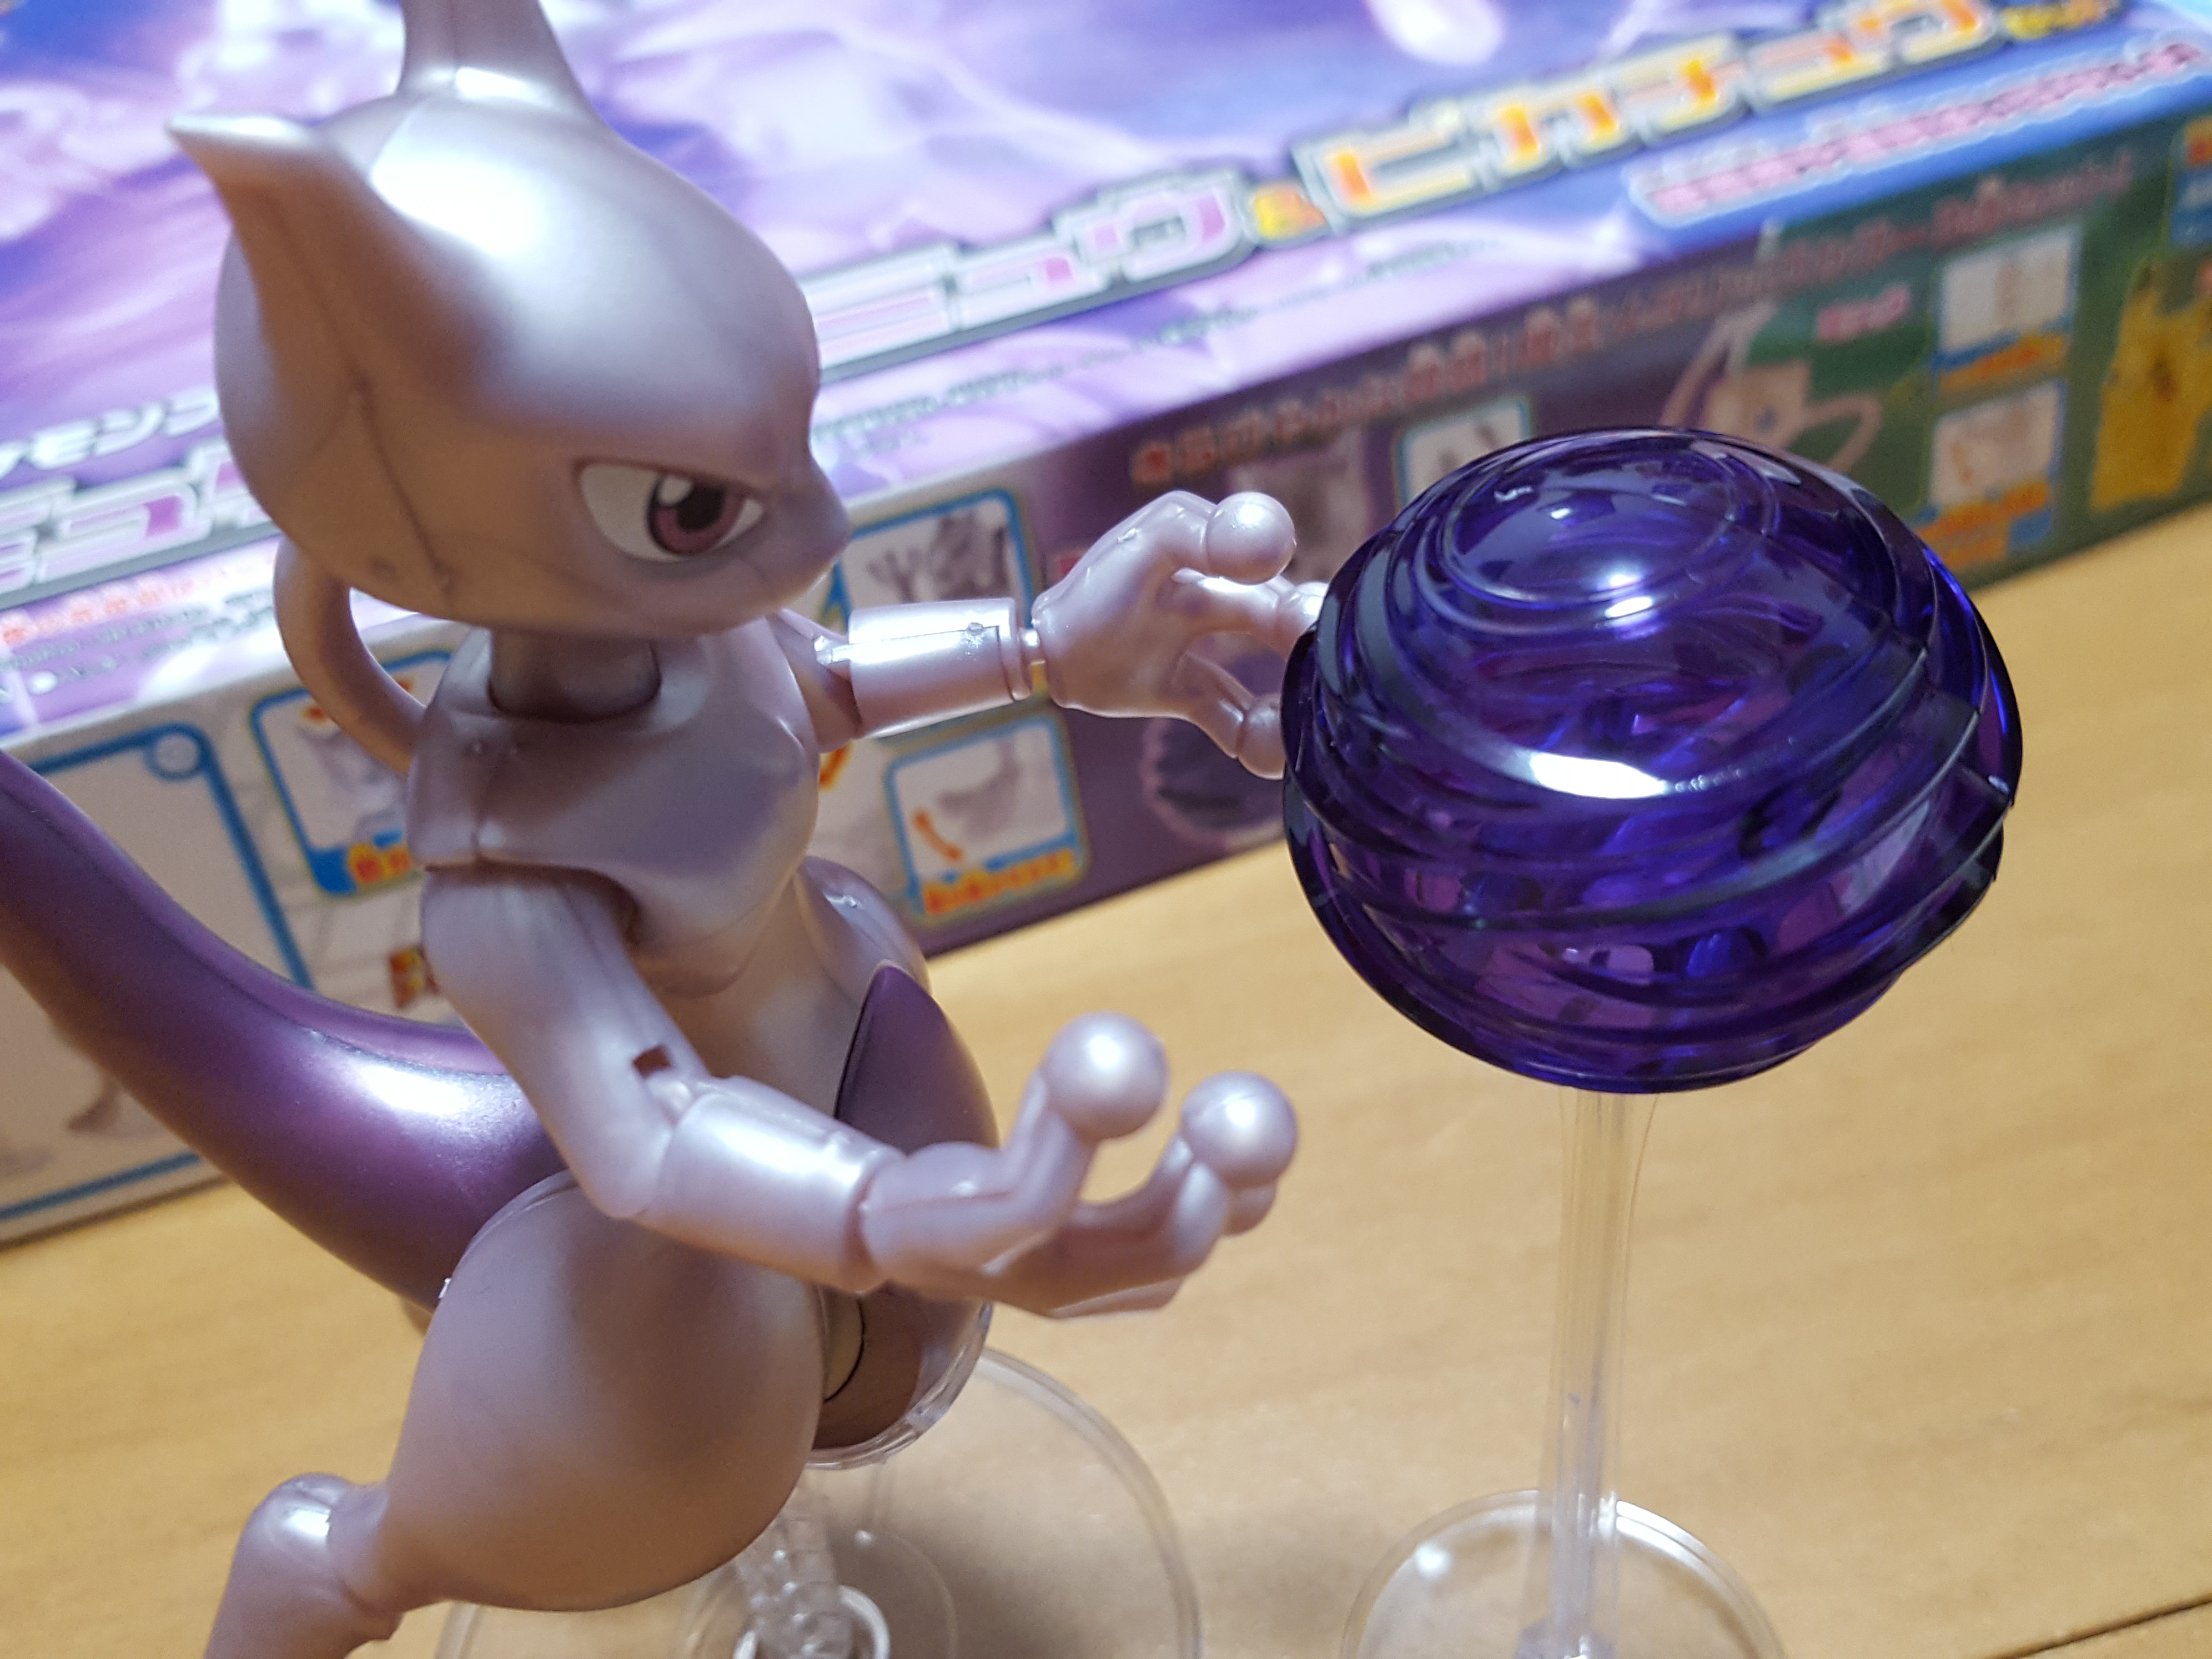
Almost done, now. We’re building the last leg, both arms, and the tail. I really like the dark purple color used for the accent parts and tail! Also, if you check out the manual you can see how the hands are basically on a ball joint!
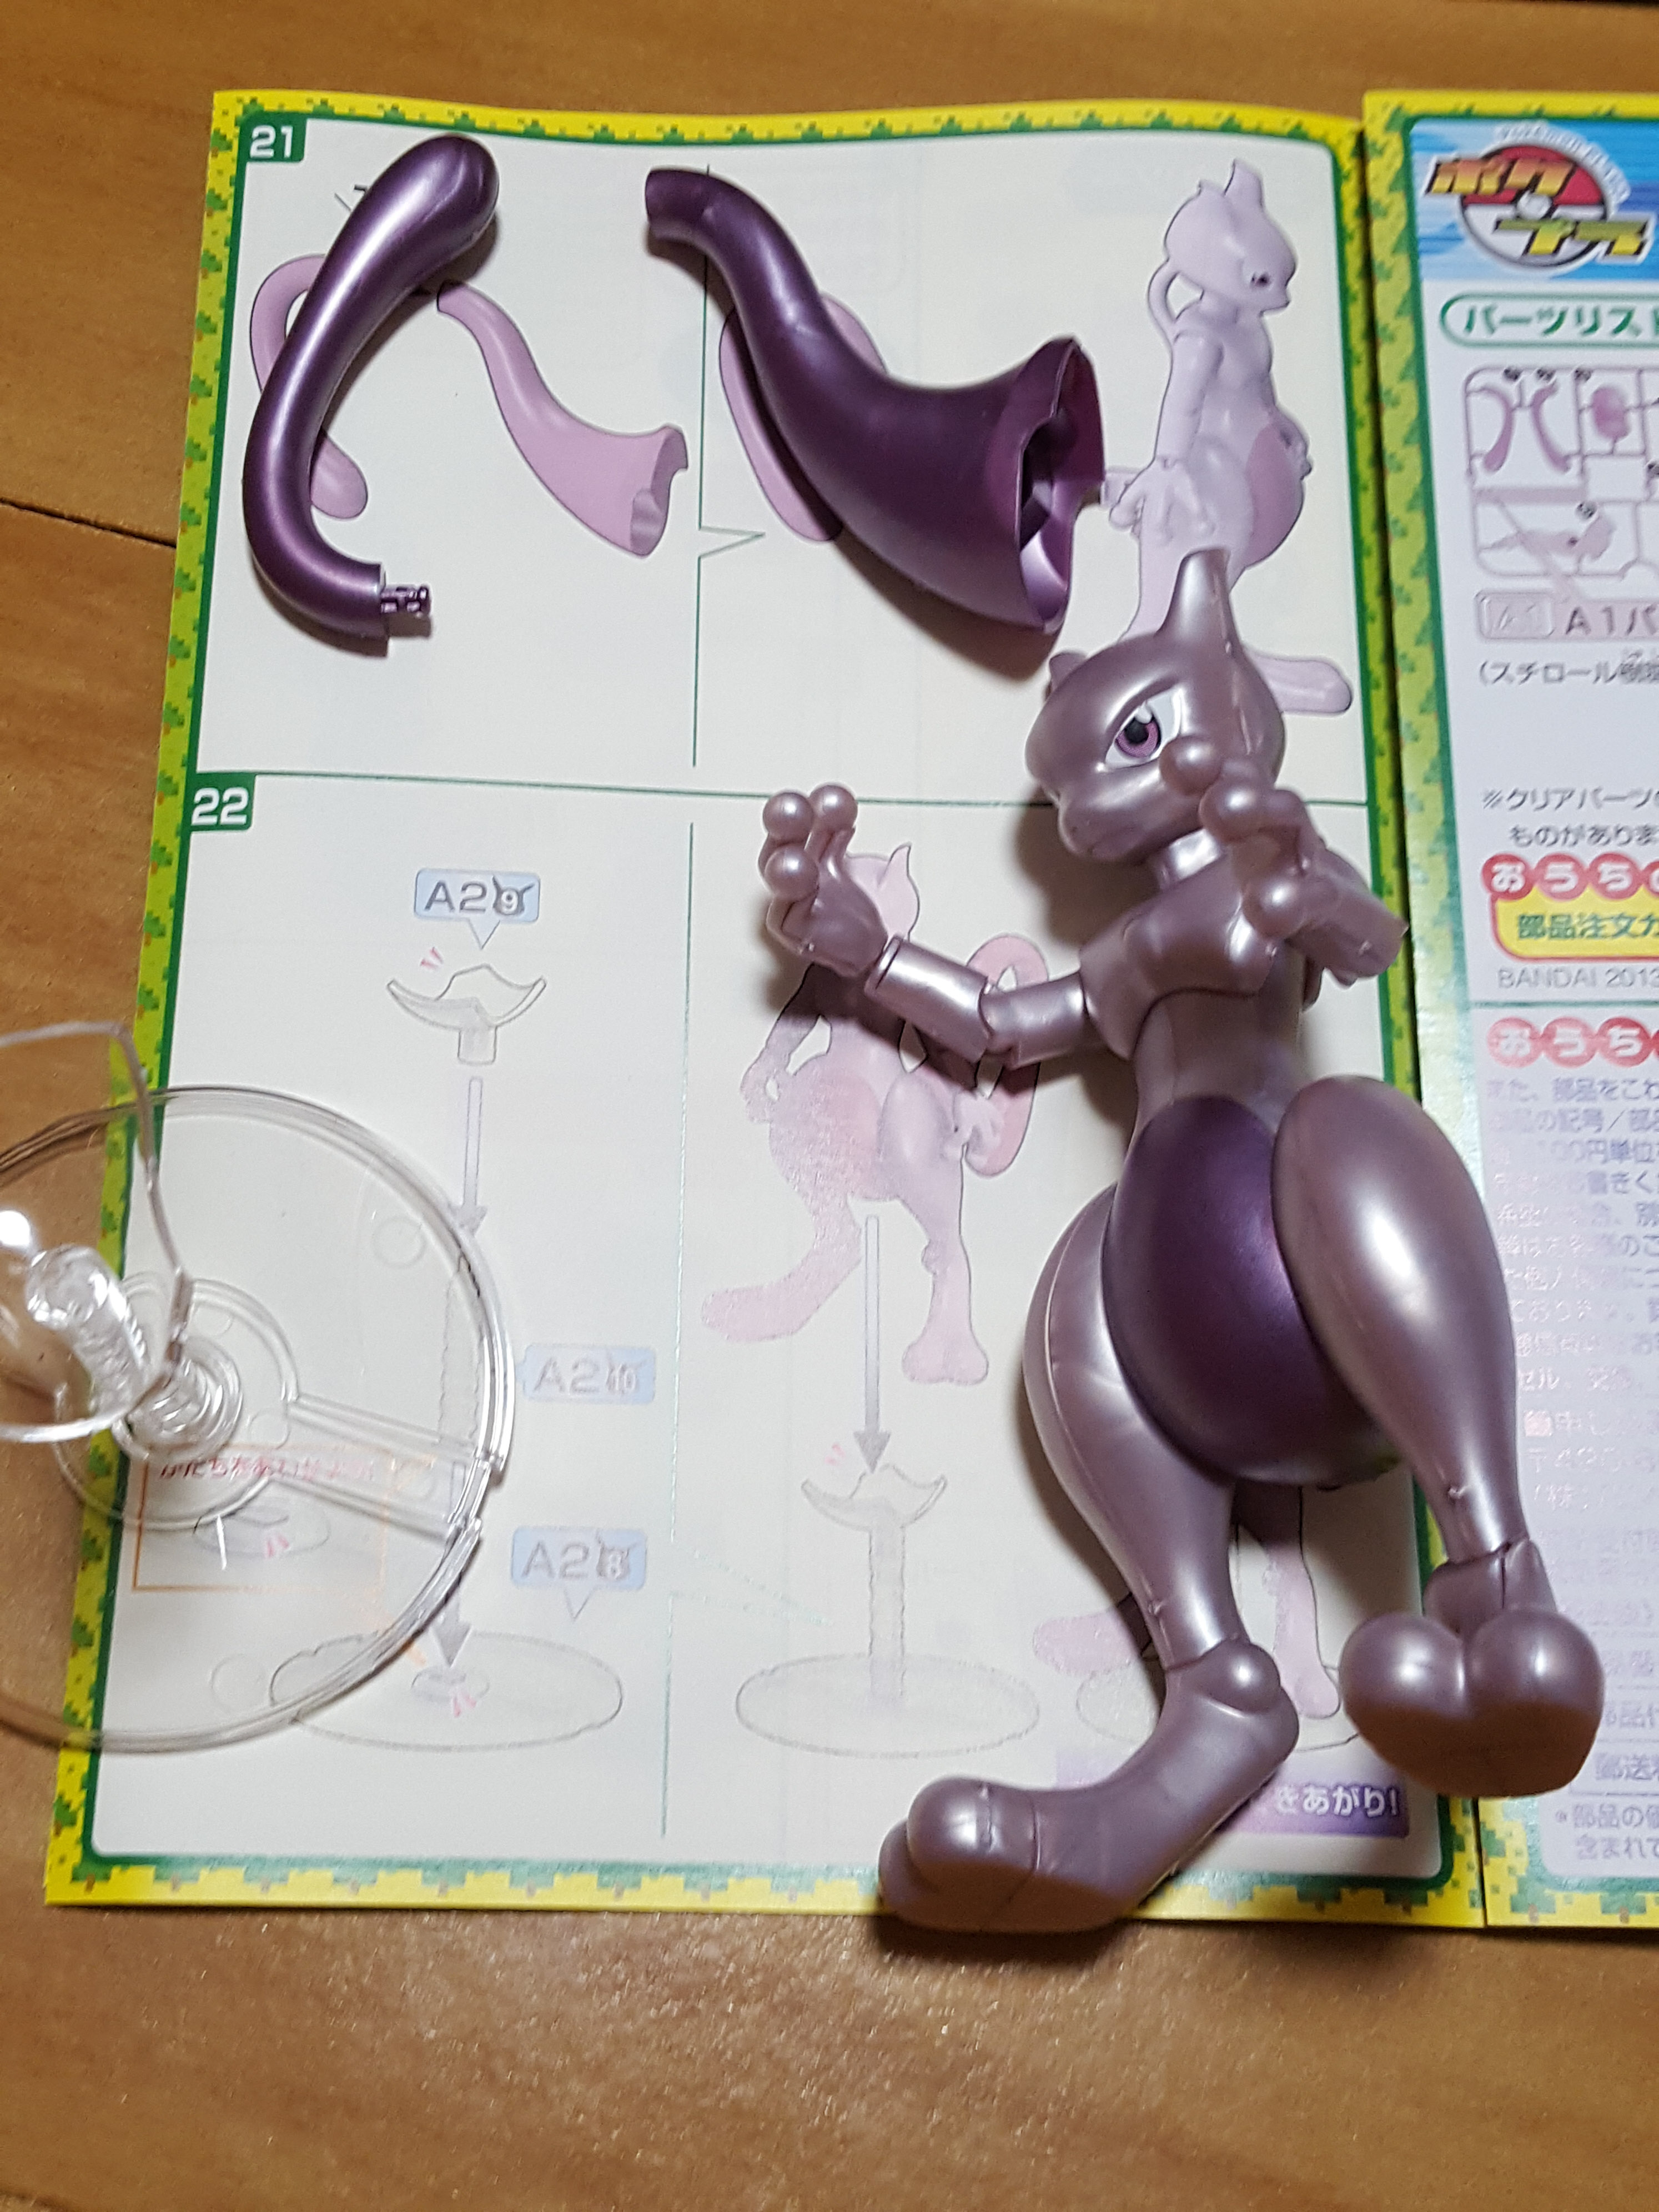
The last page simply has you put it all together. I built the stand when building Mew, so it’s already assembled here.
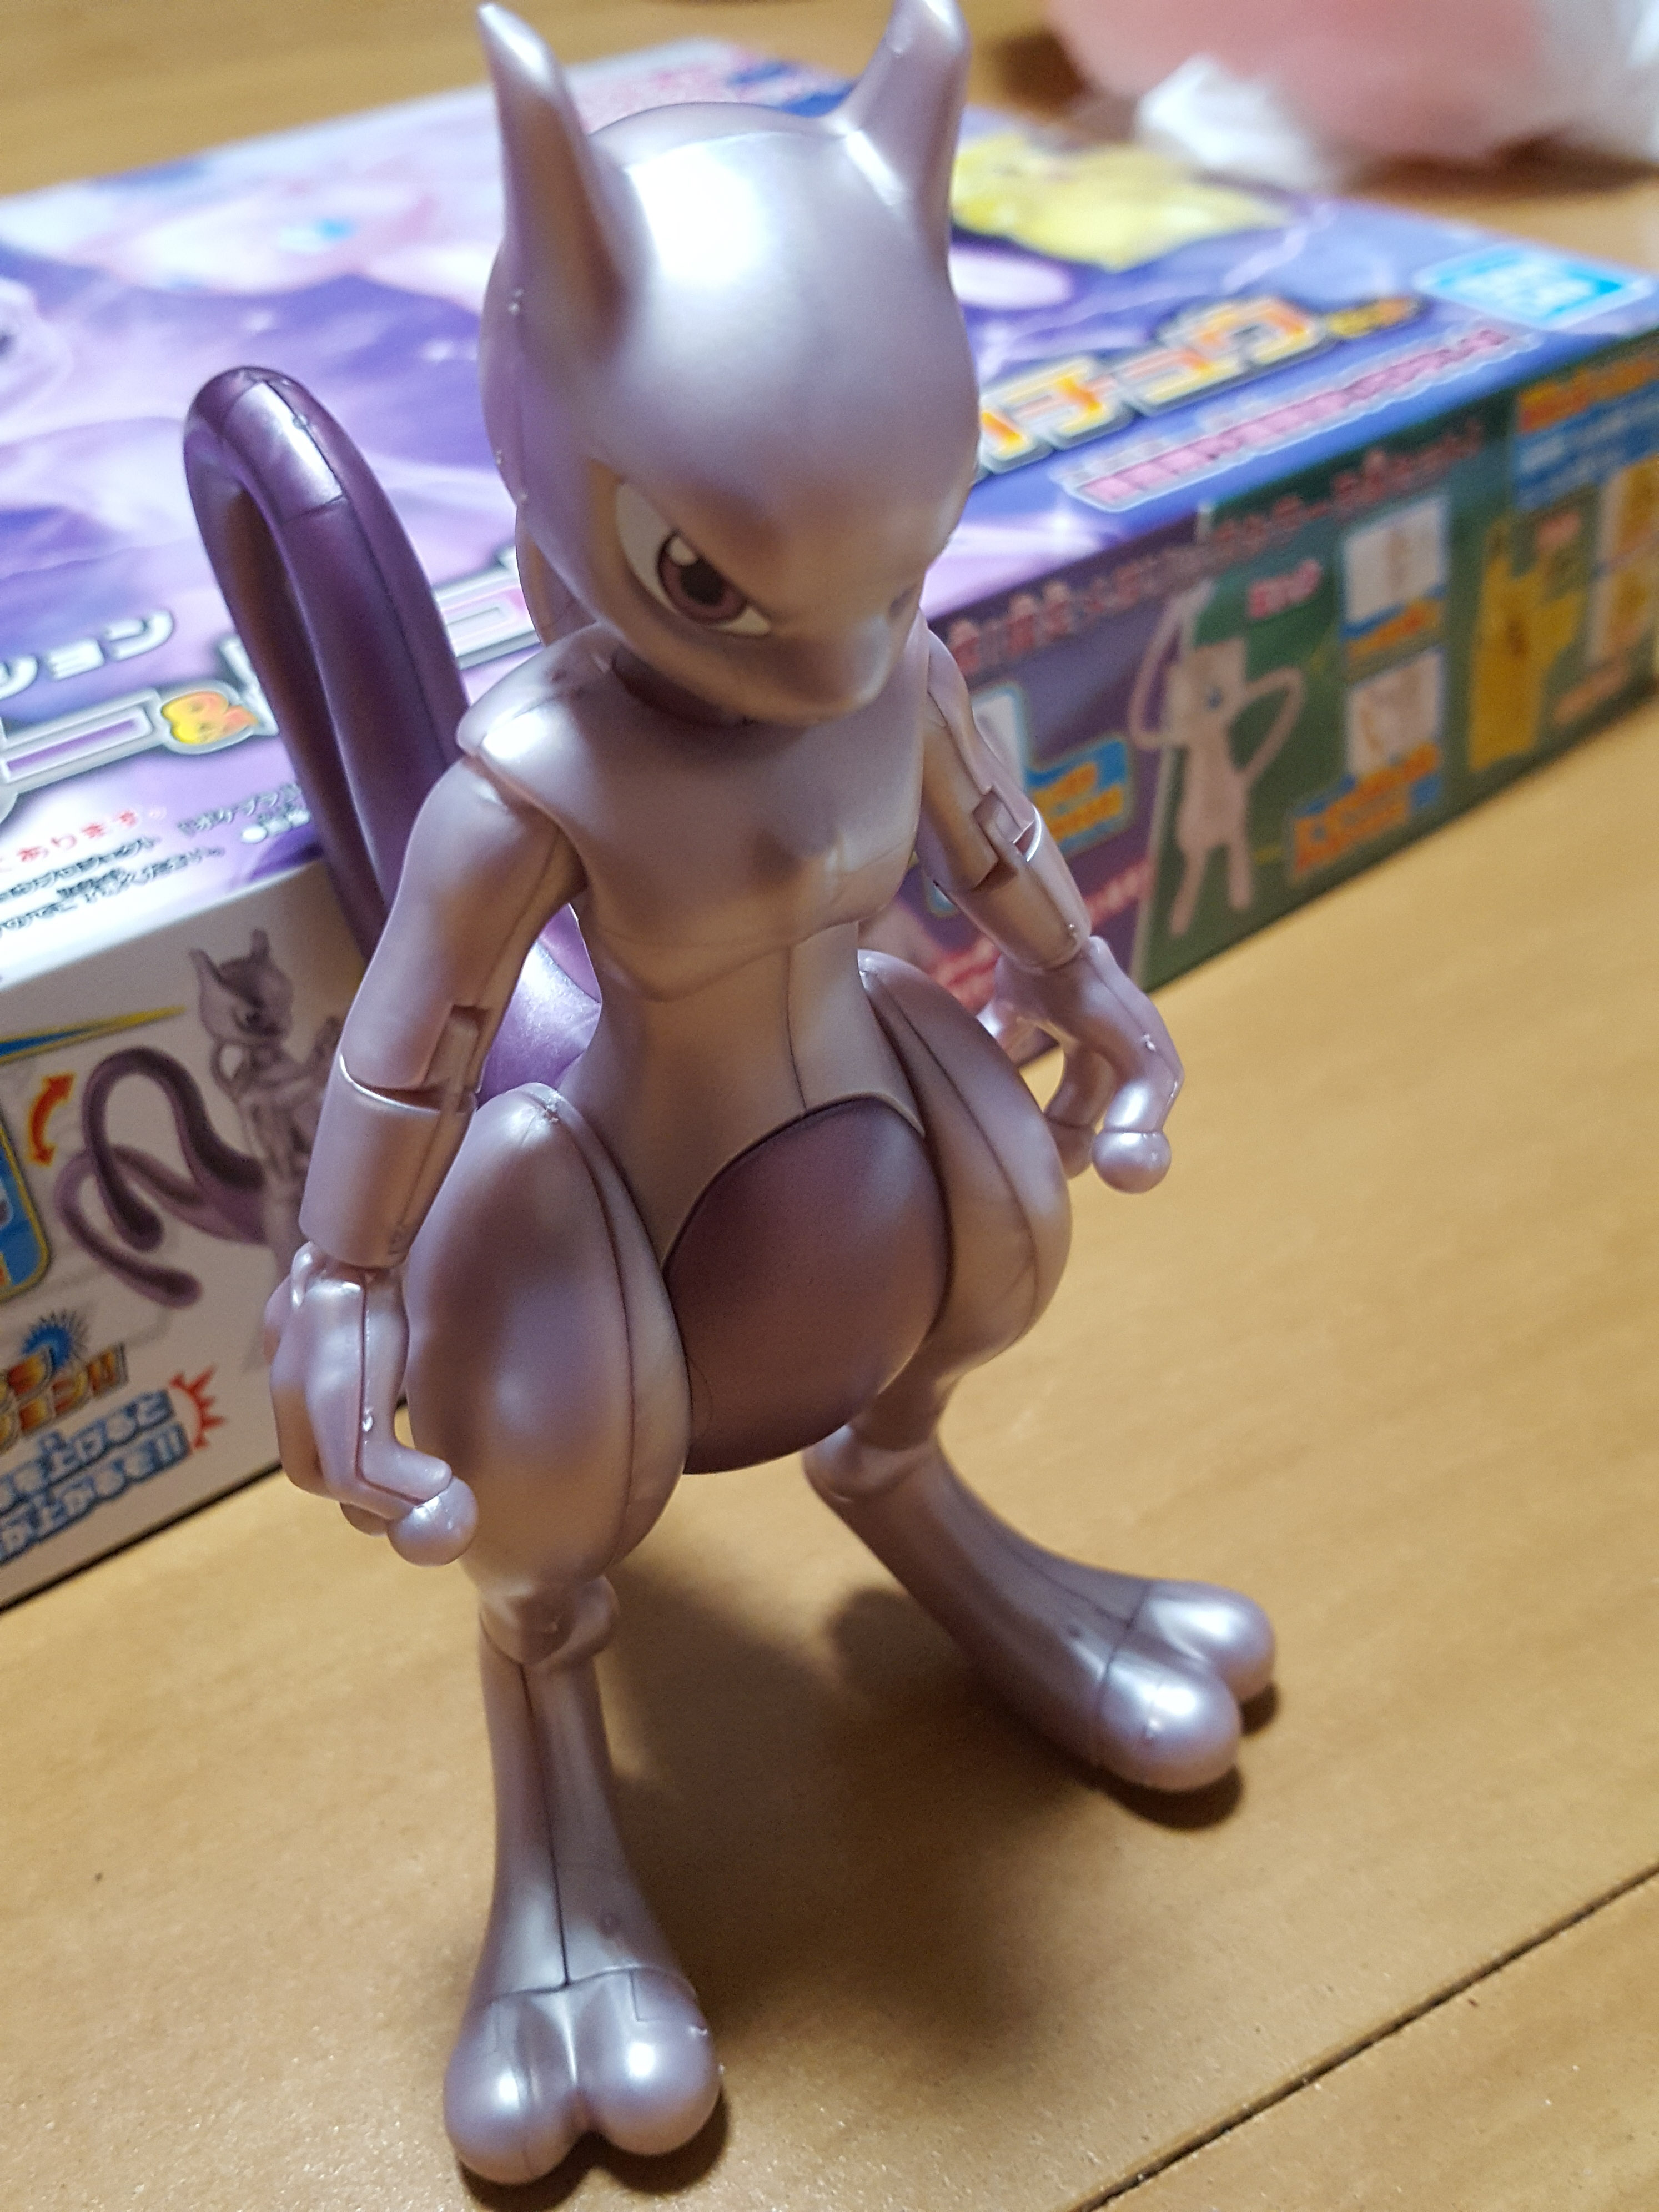
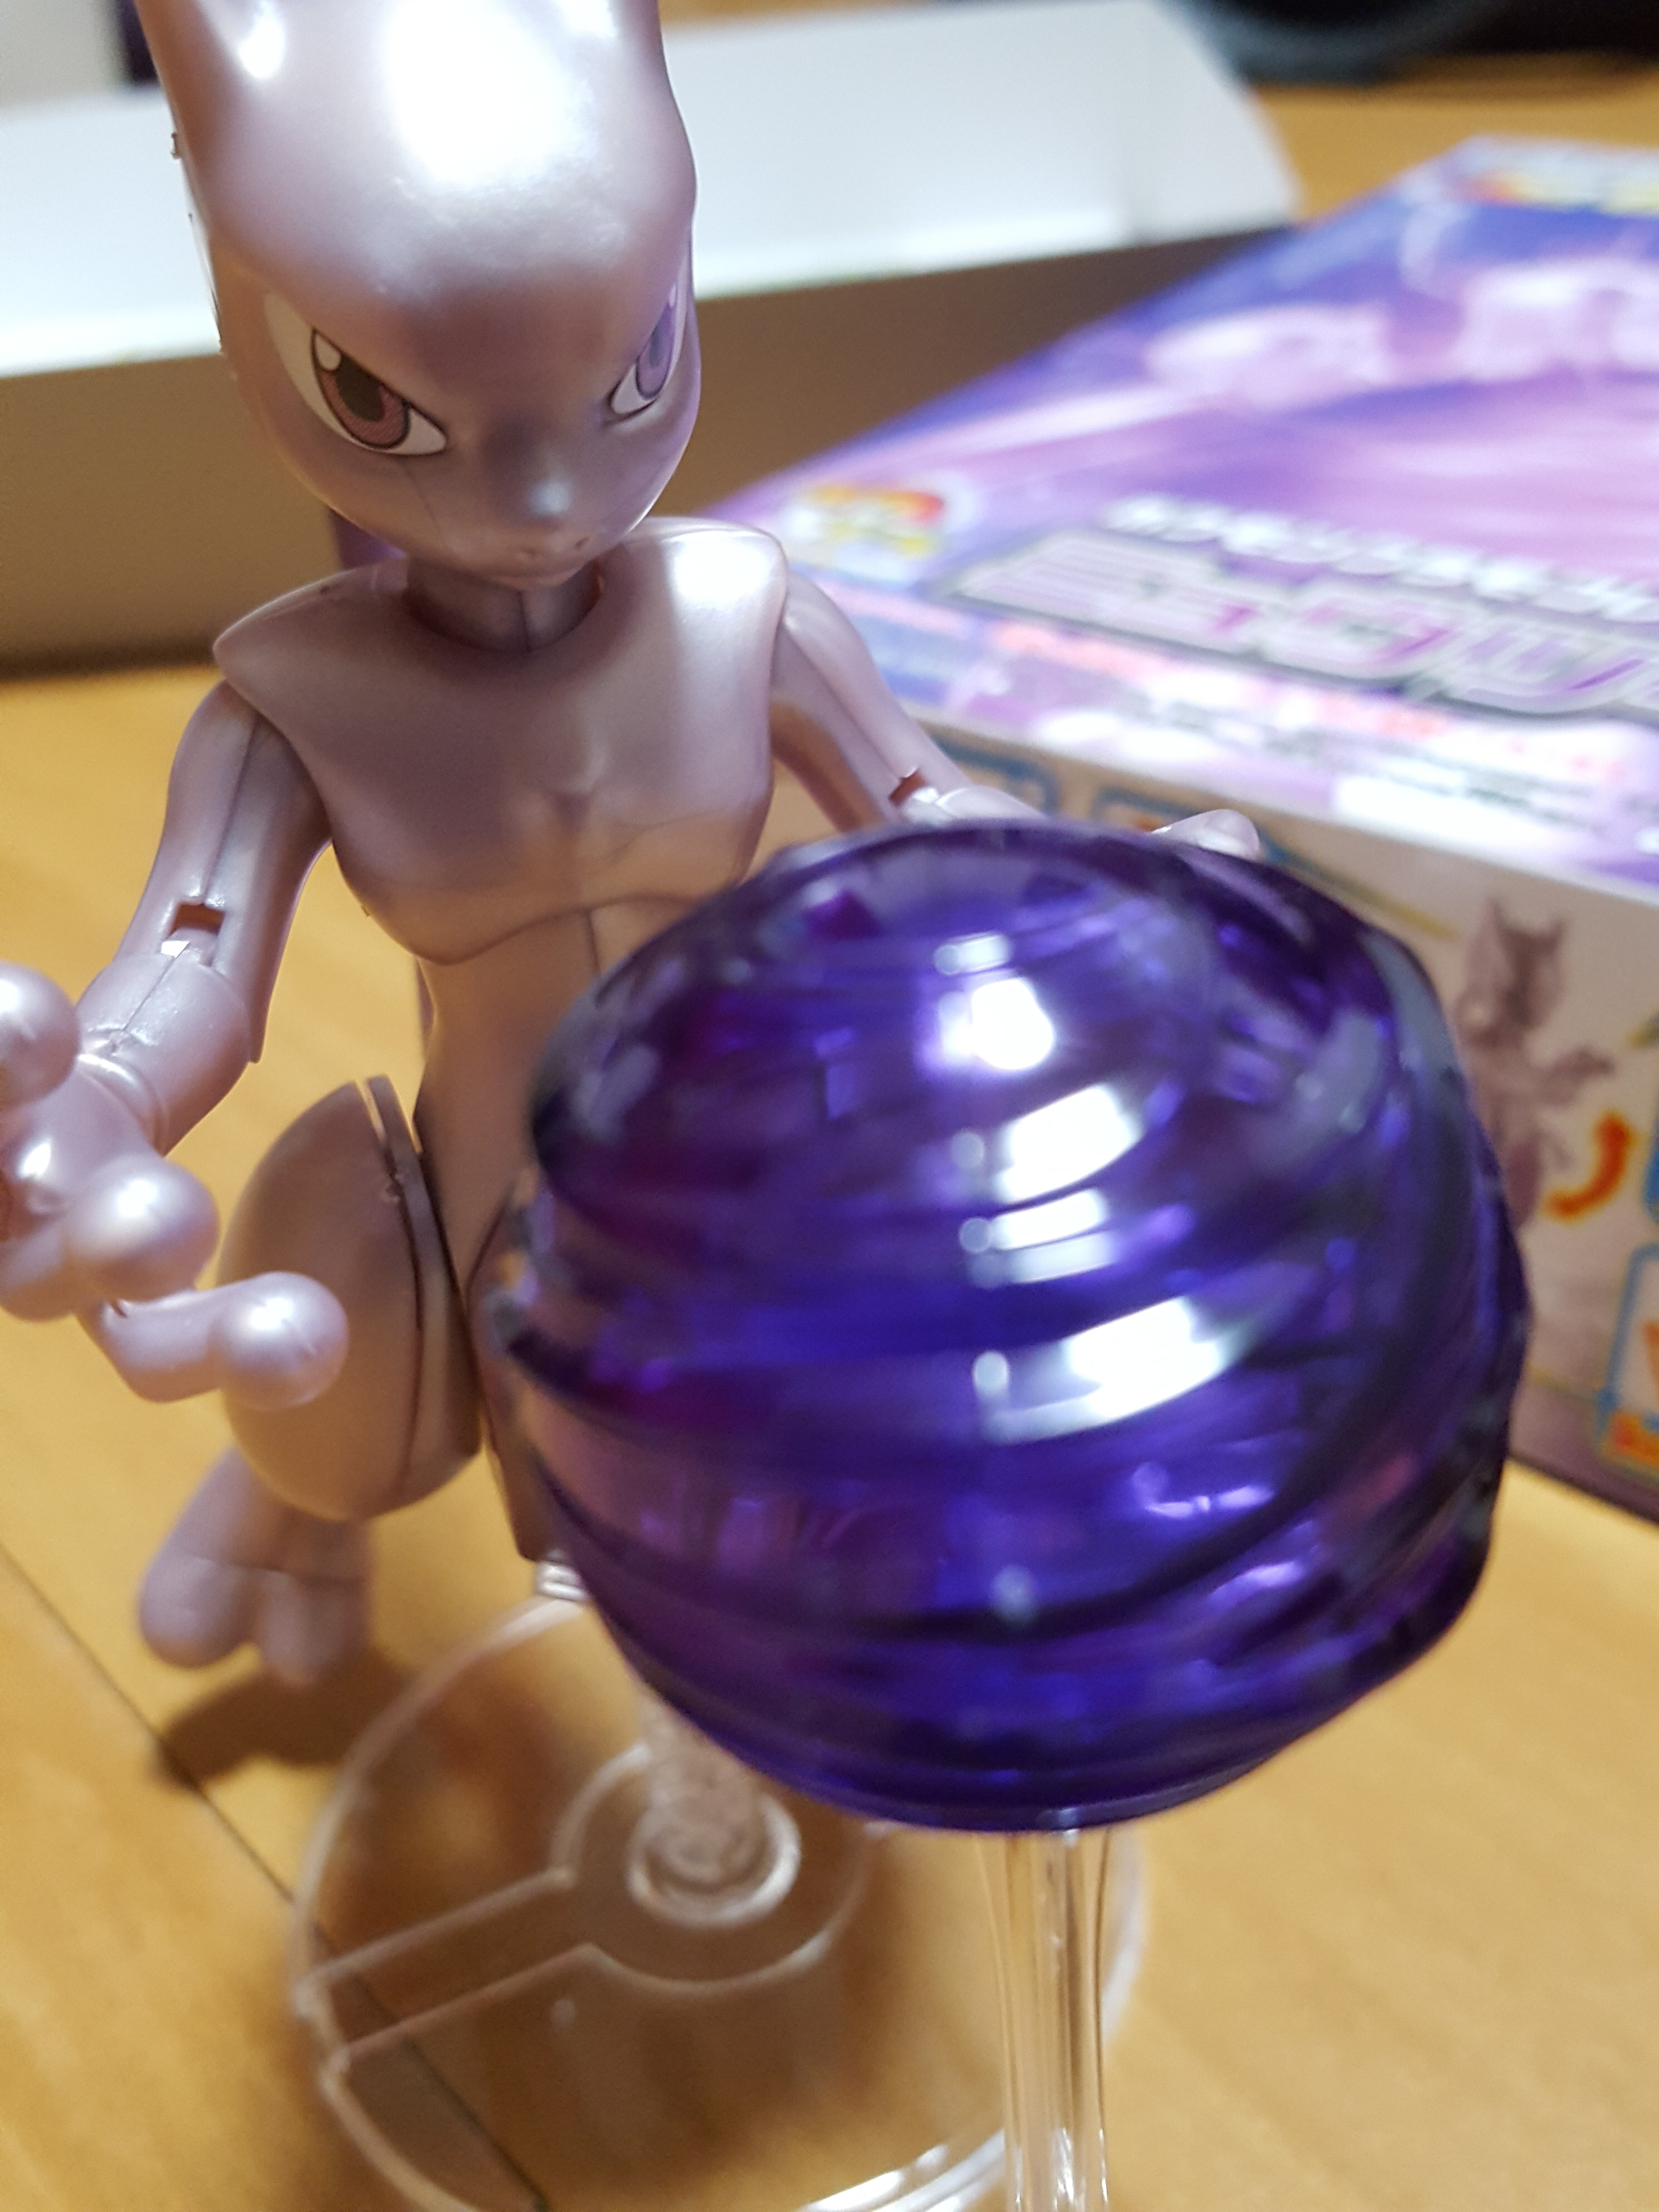
Here he is all finished!
The only way you can get him to stay up without the stand is to prop his tail against something (in this case, the box). There isn’t enough surface area on his feet to support him, and he’s very back-heavy with the tail, so you really need the stand for him.
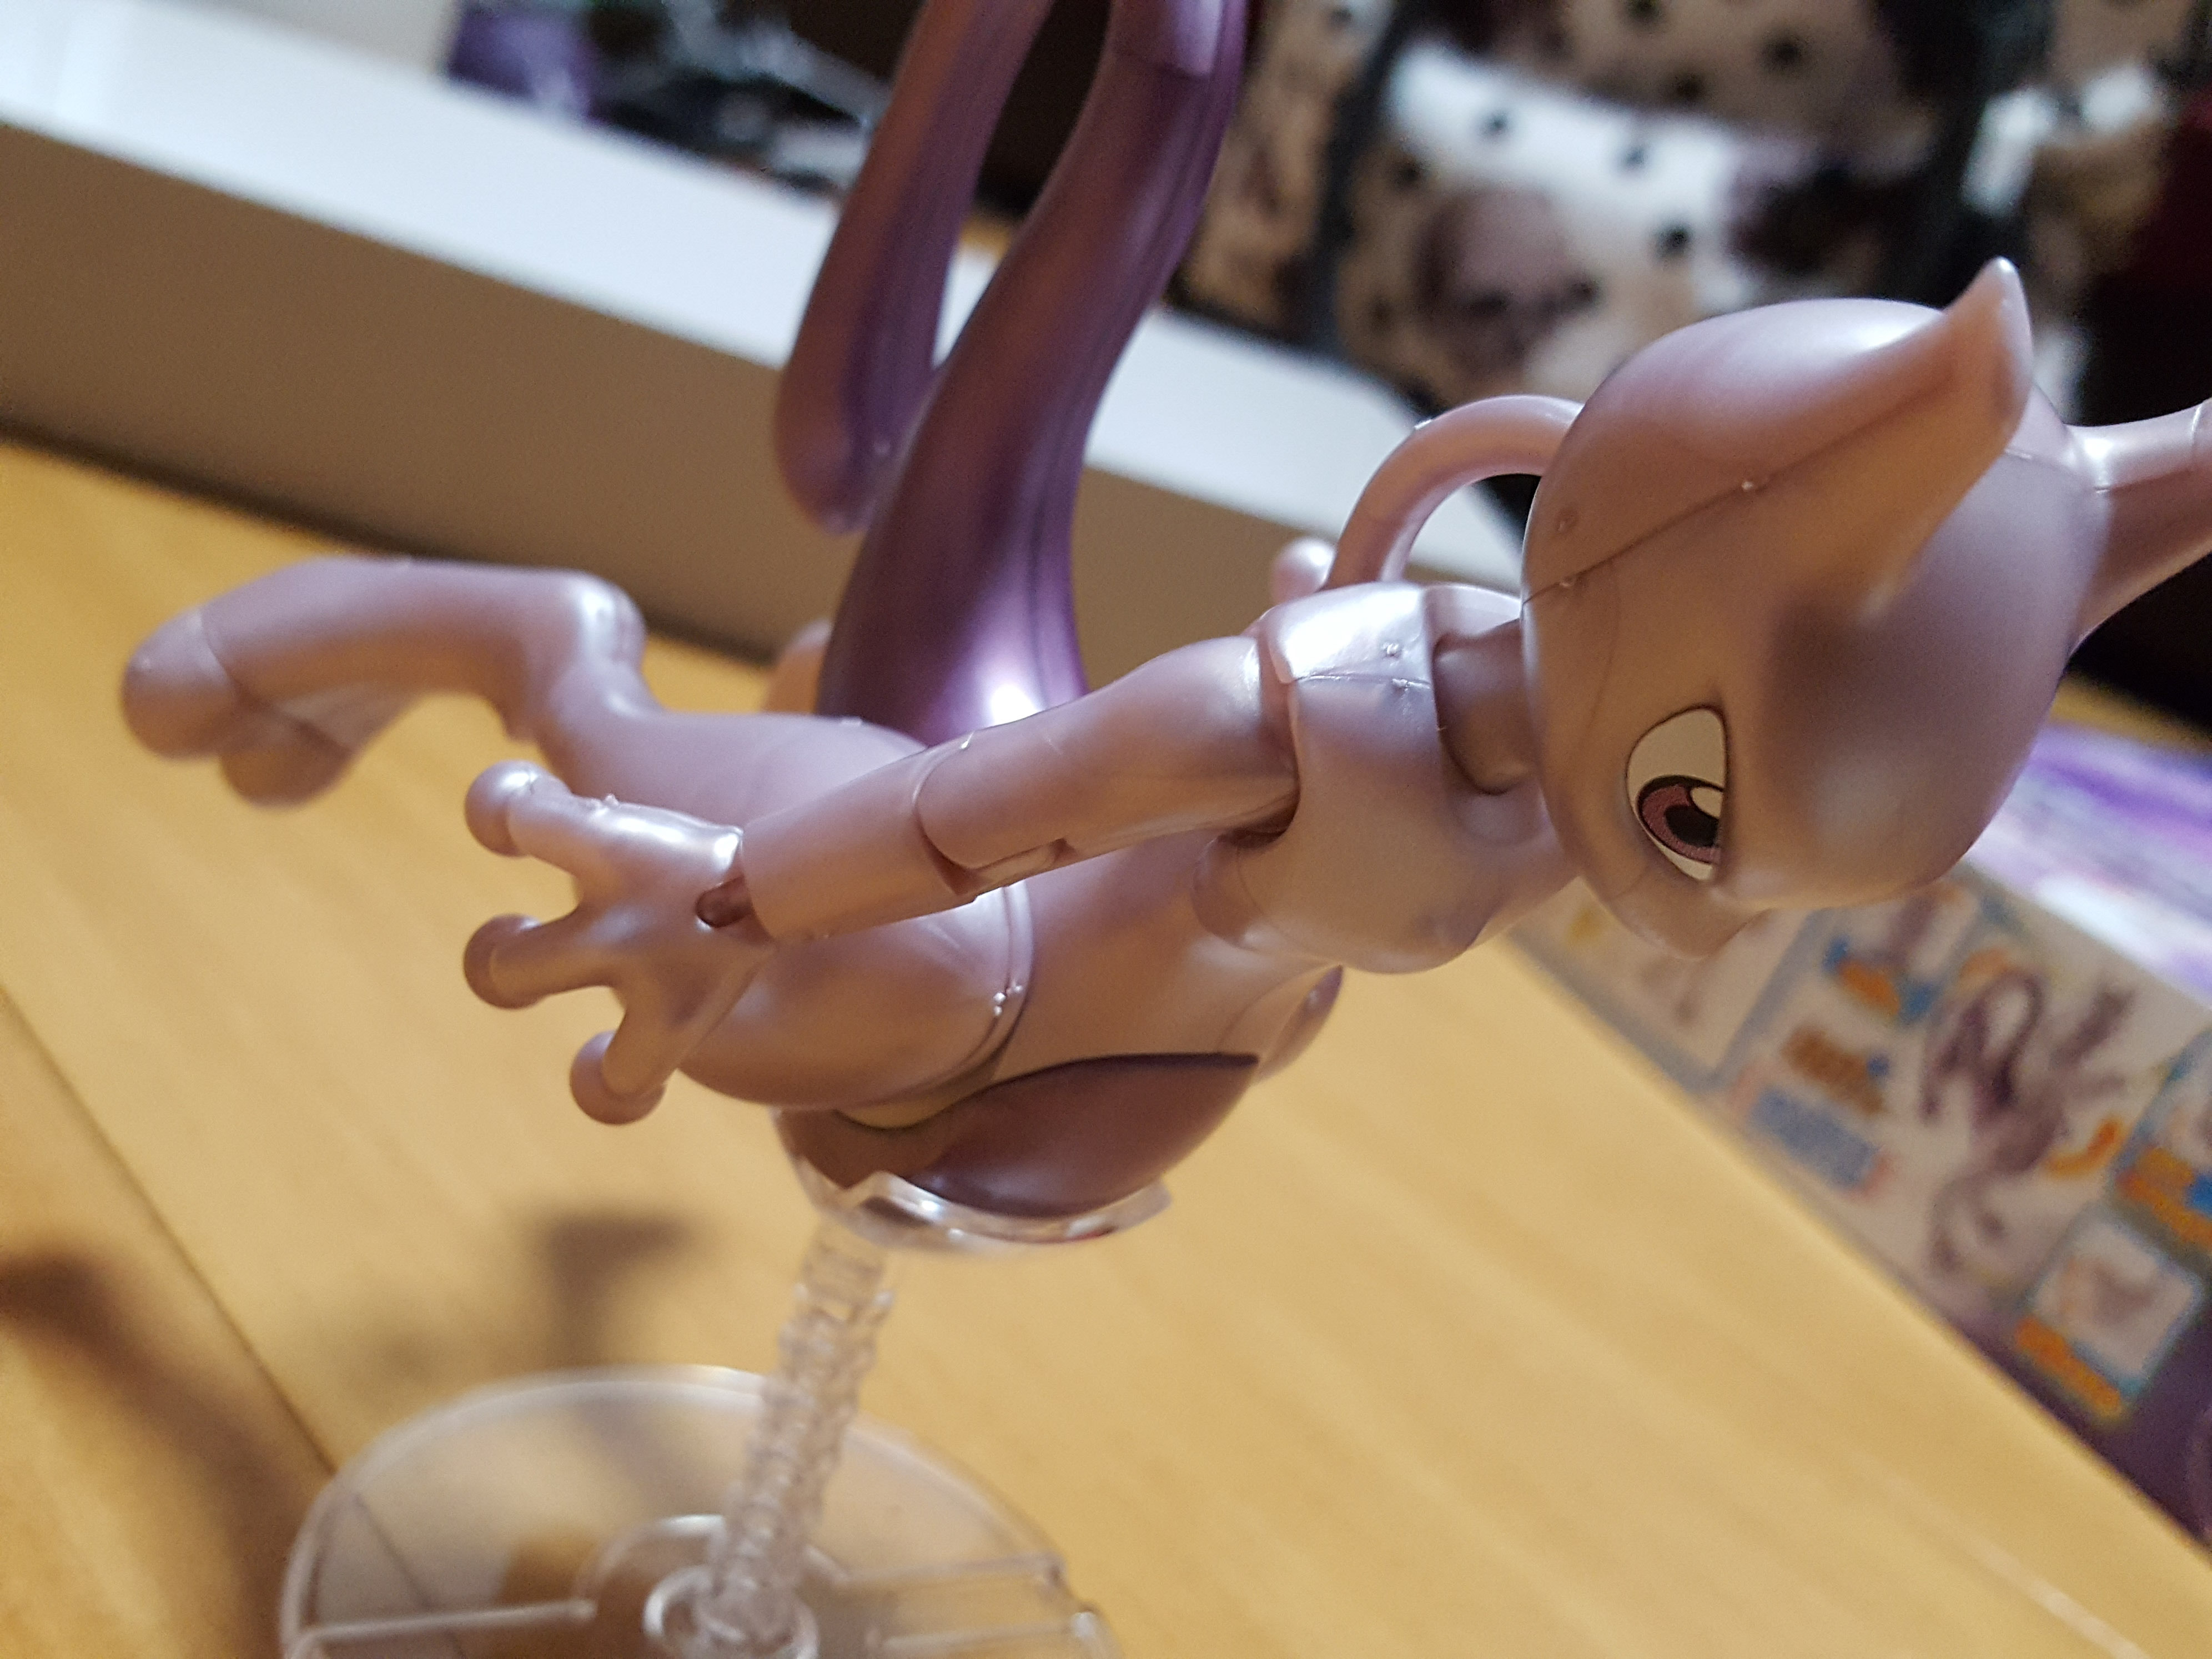
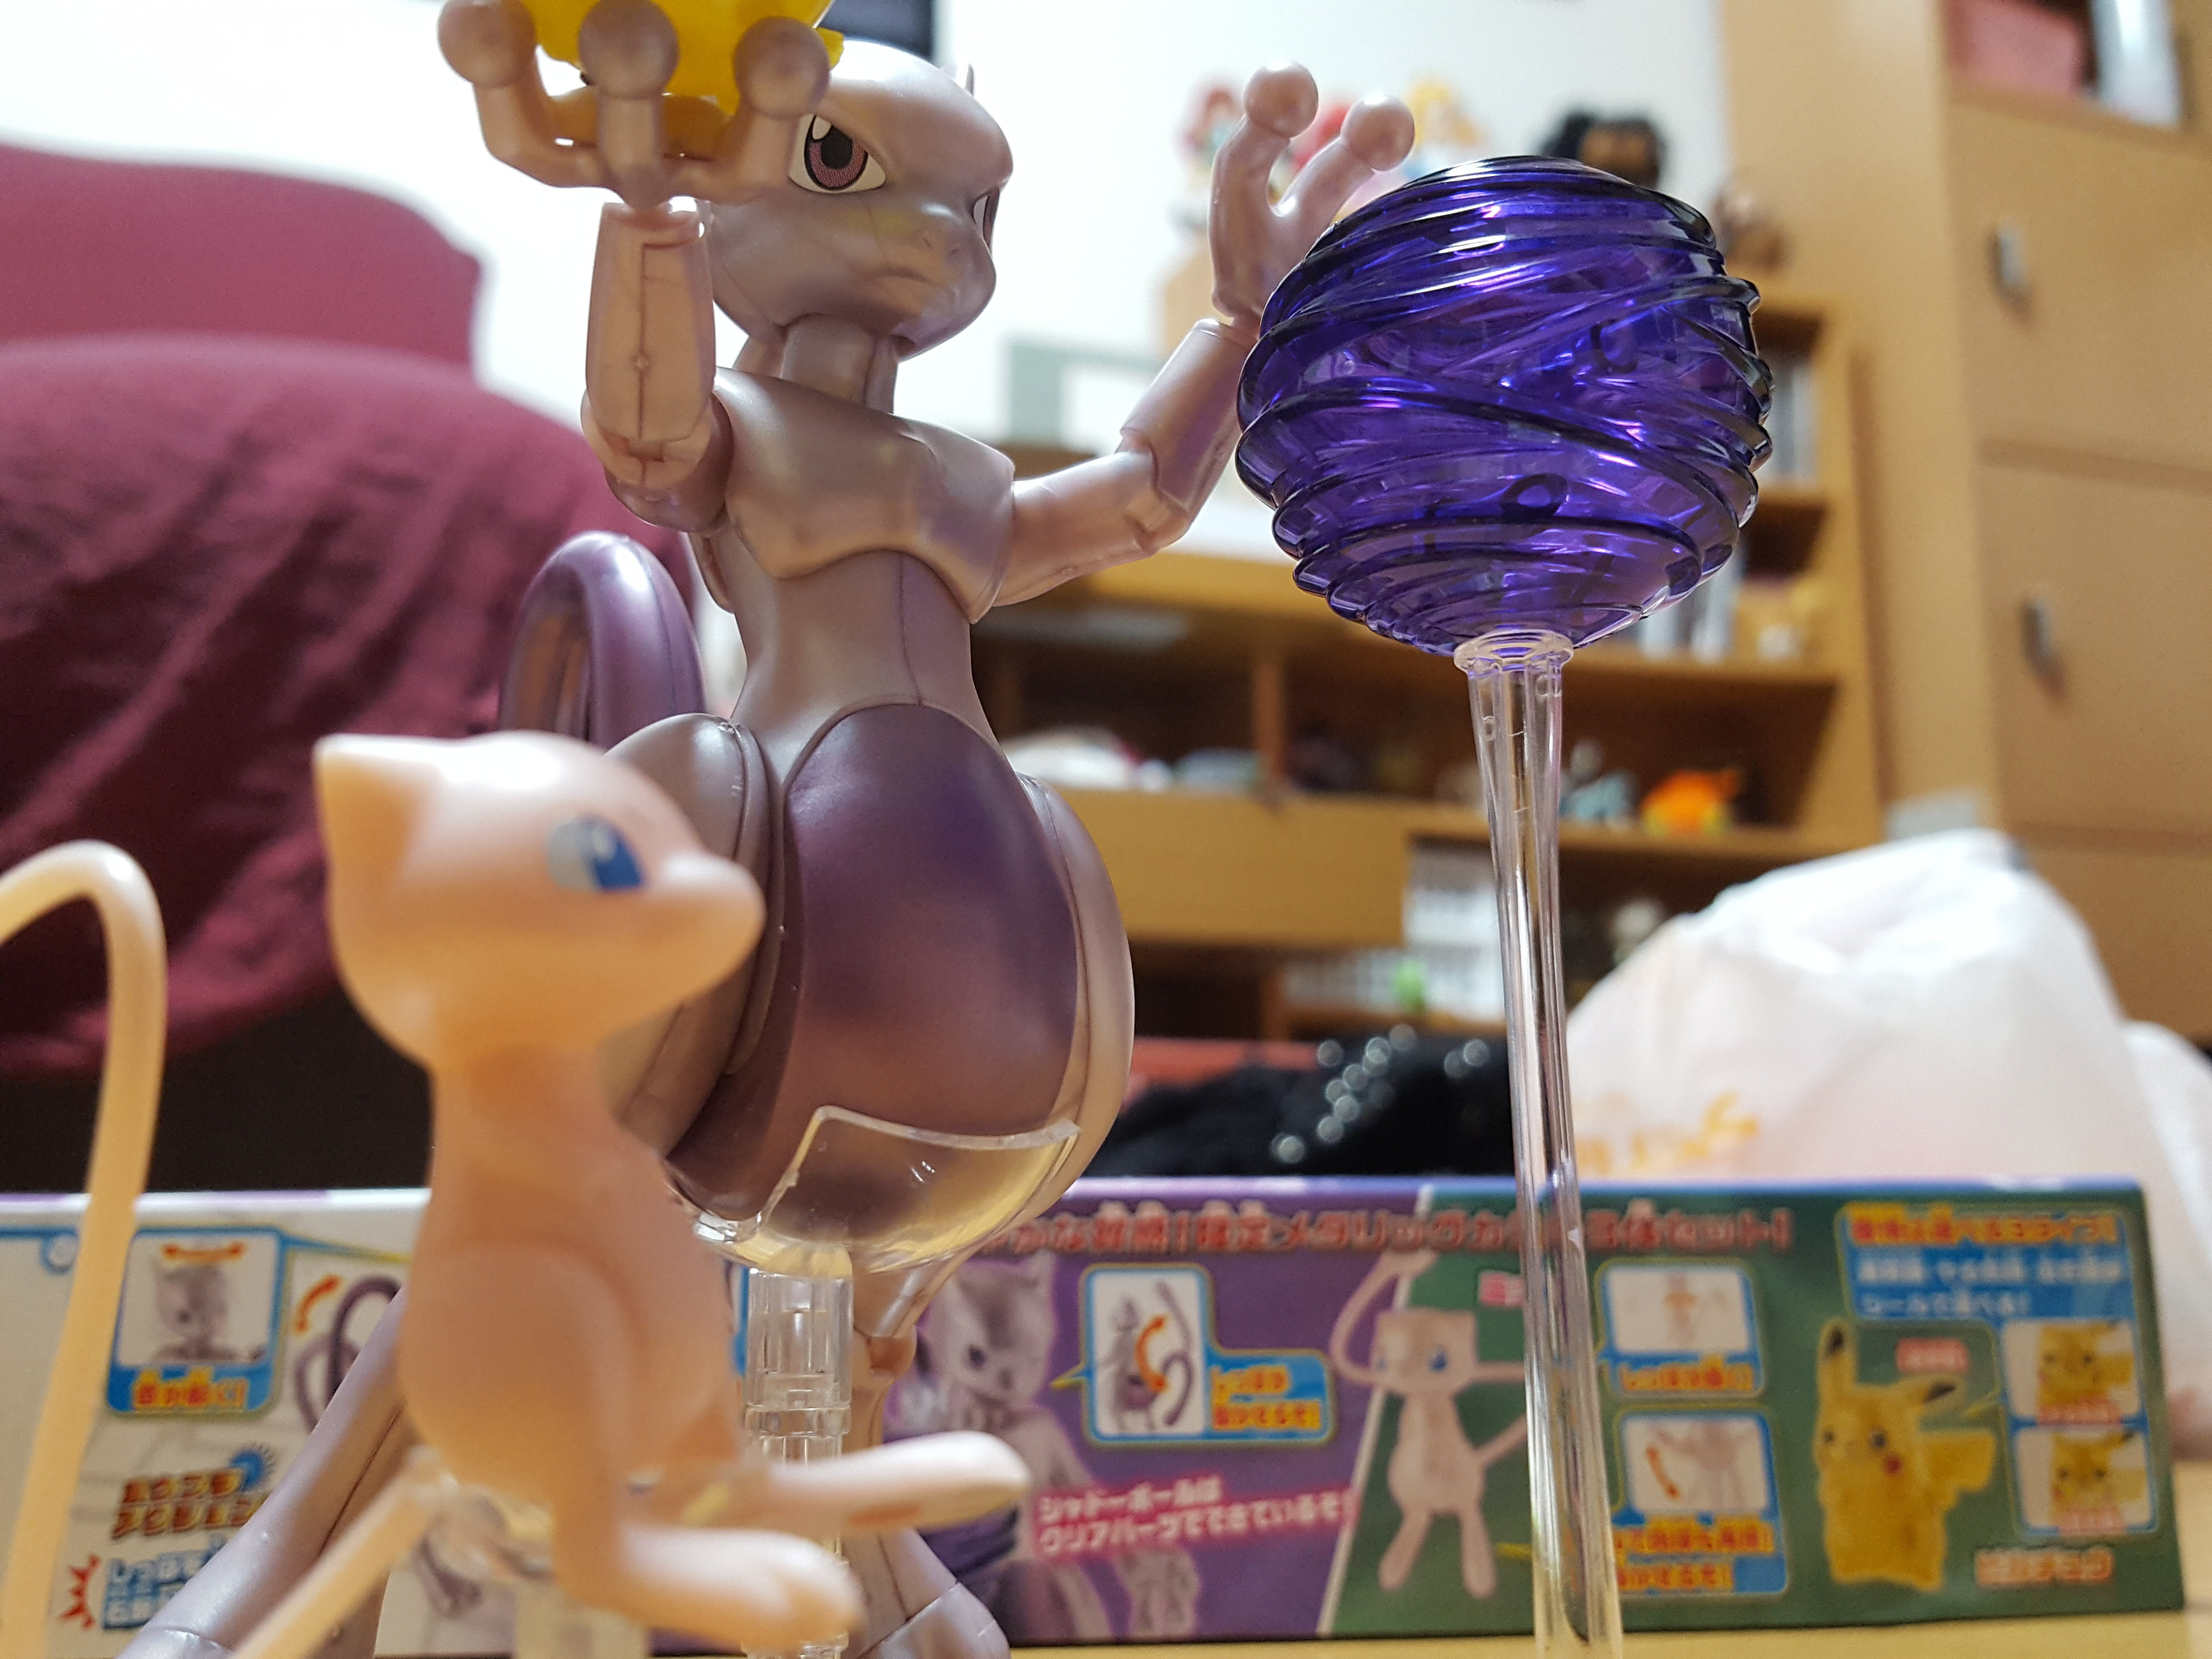
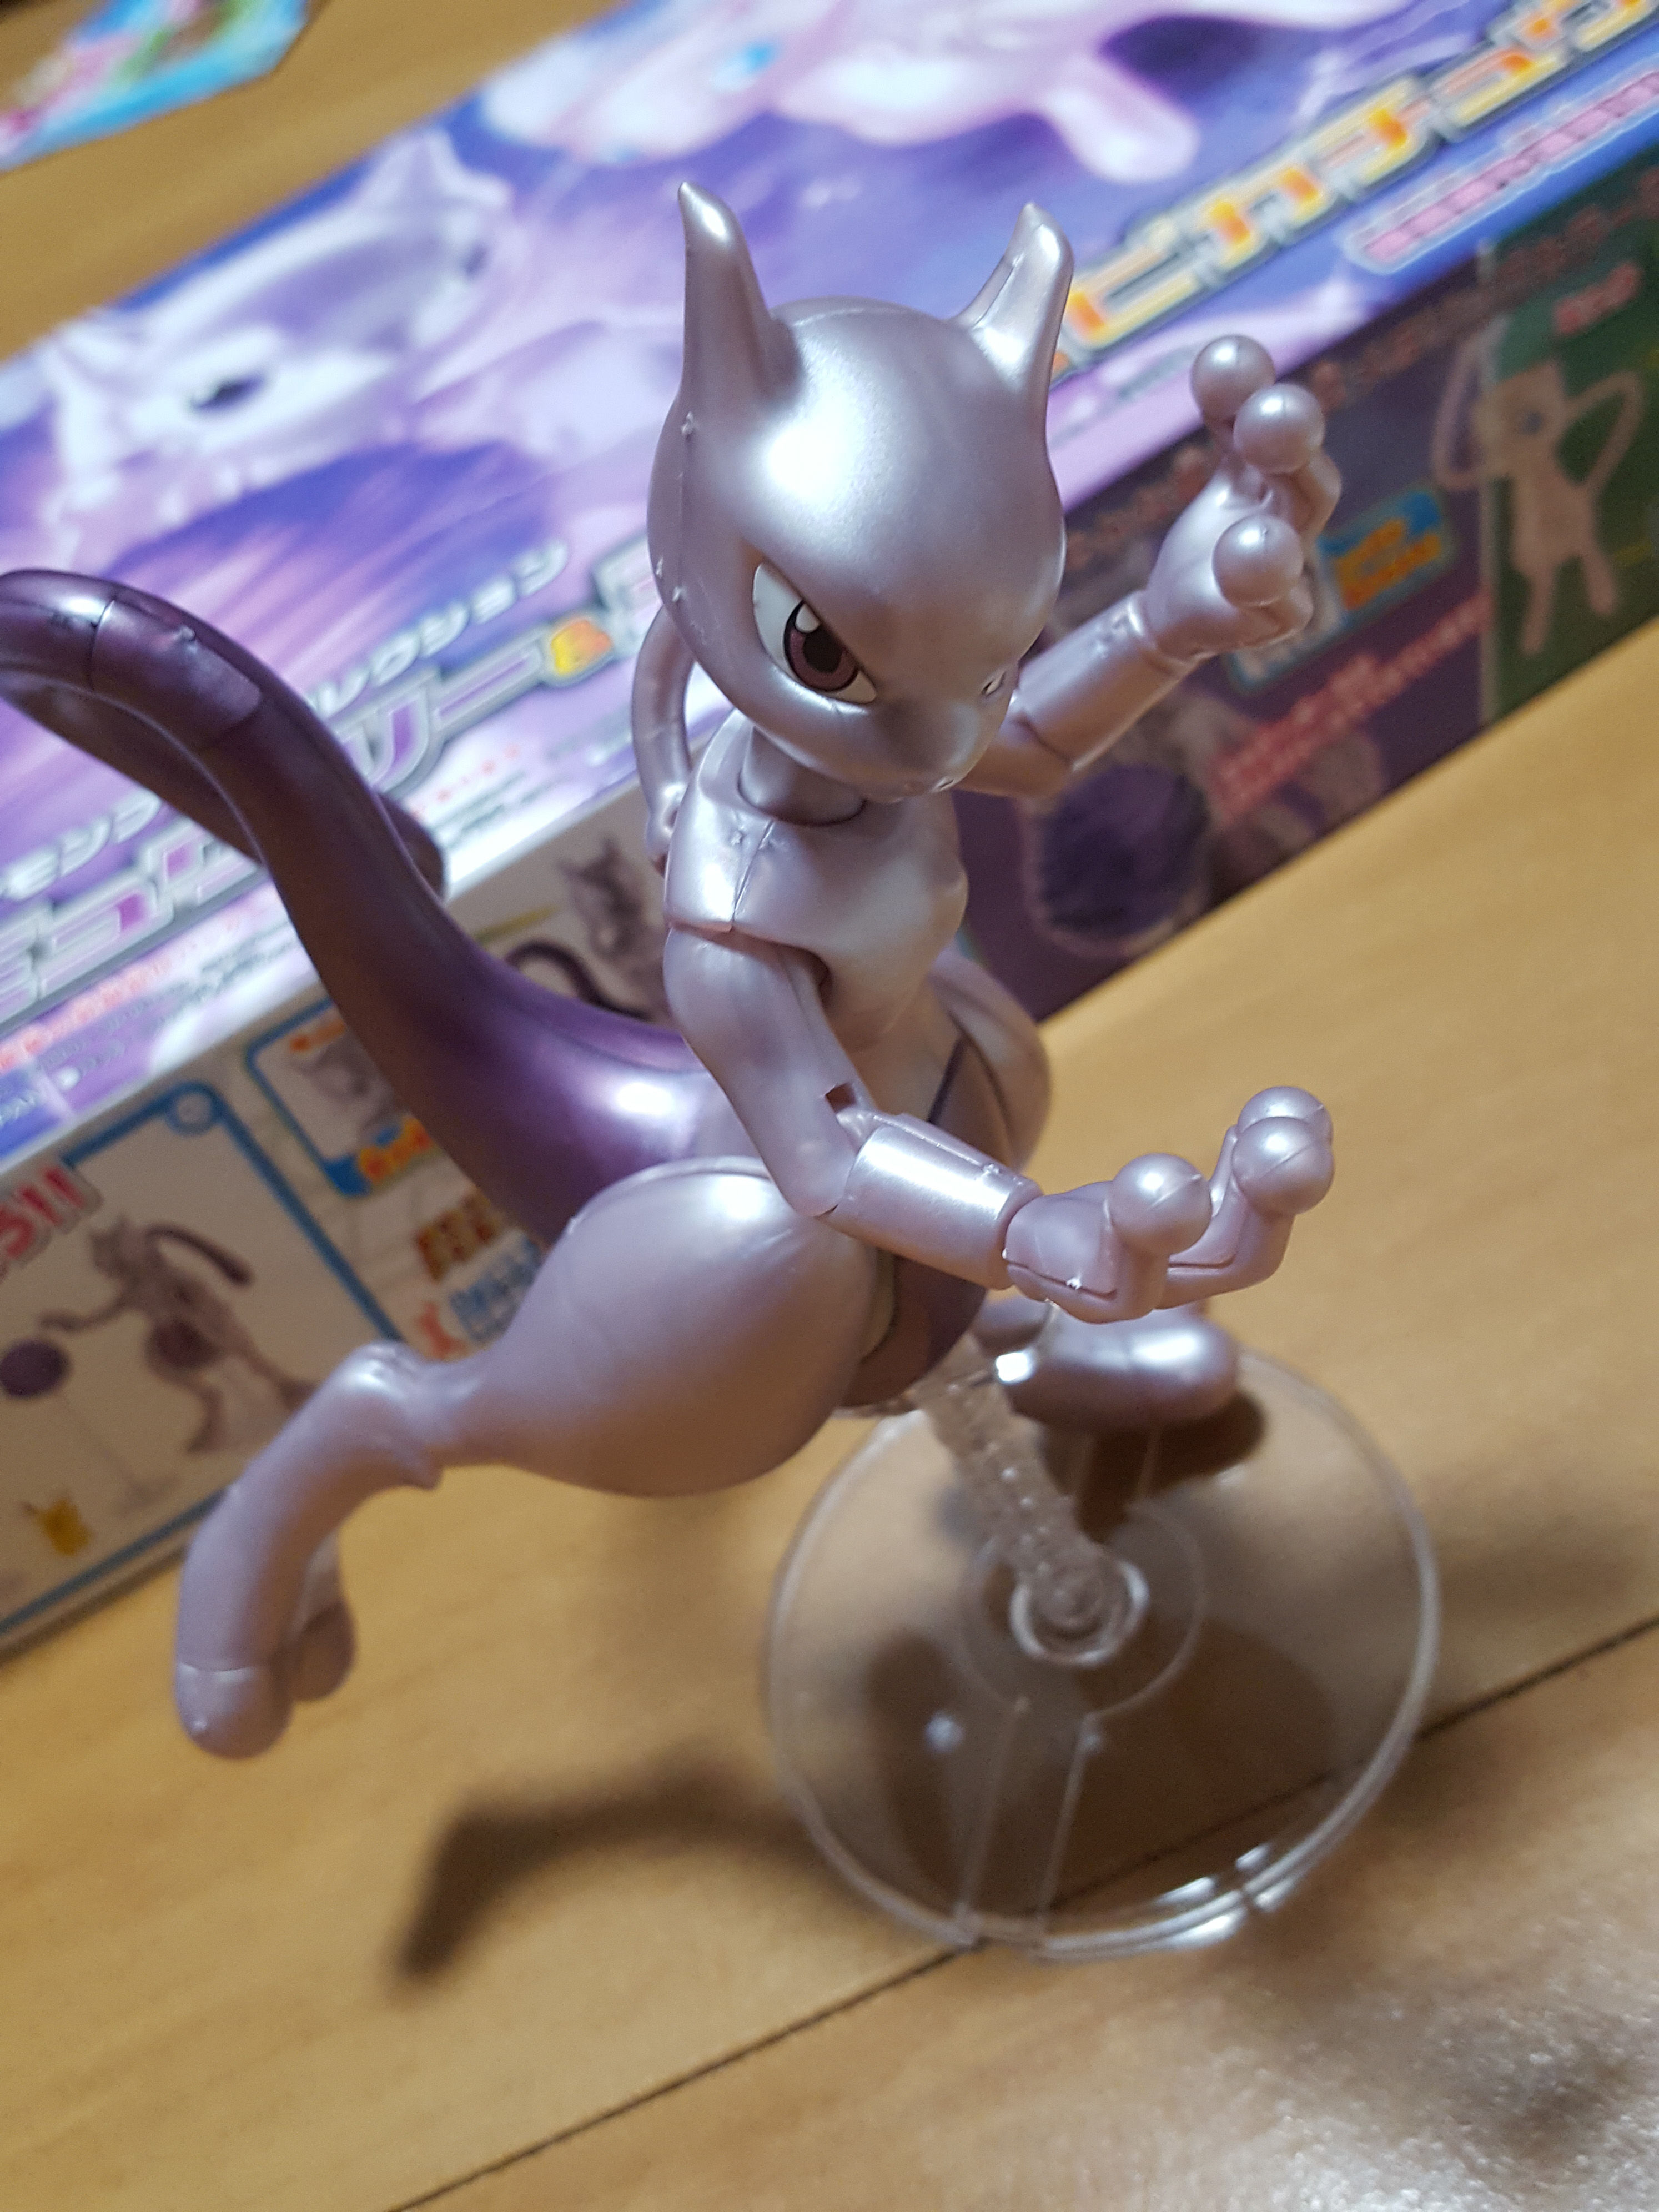
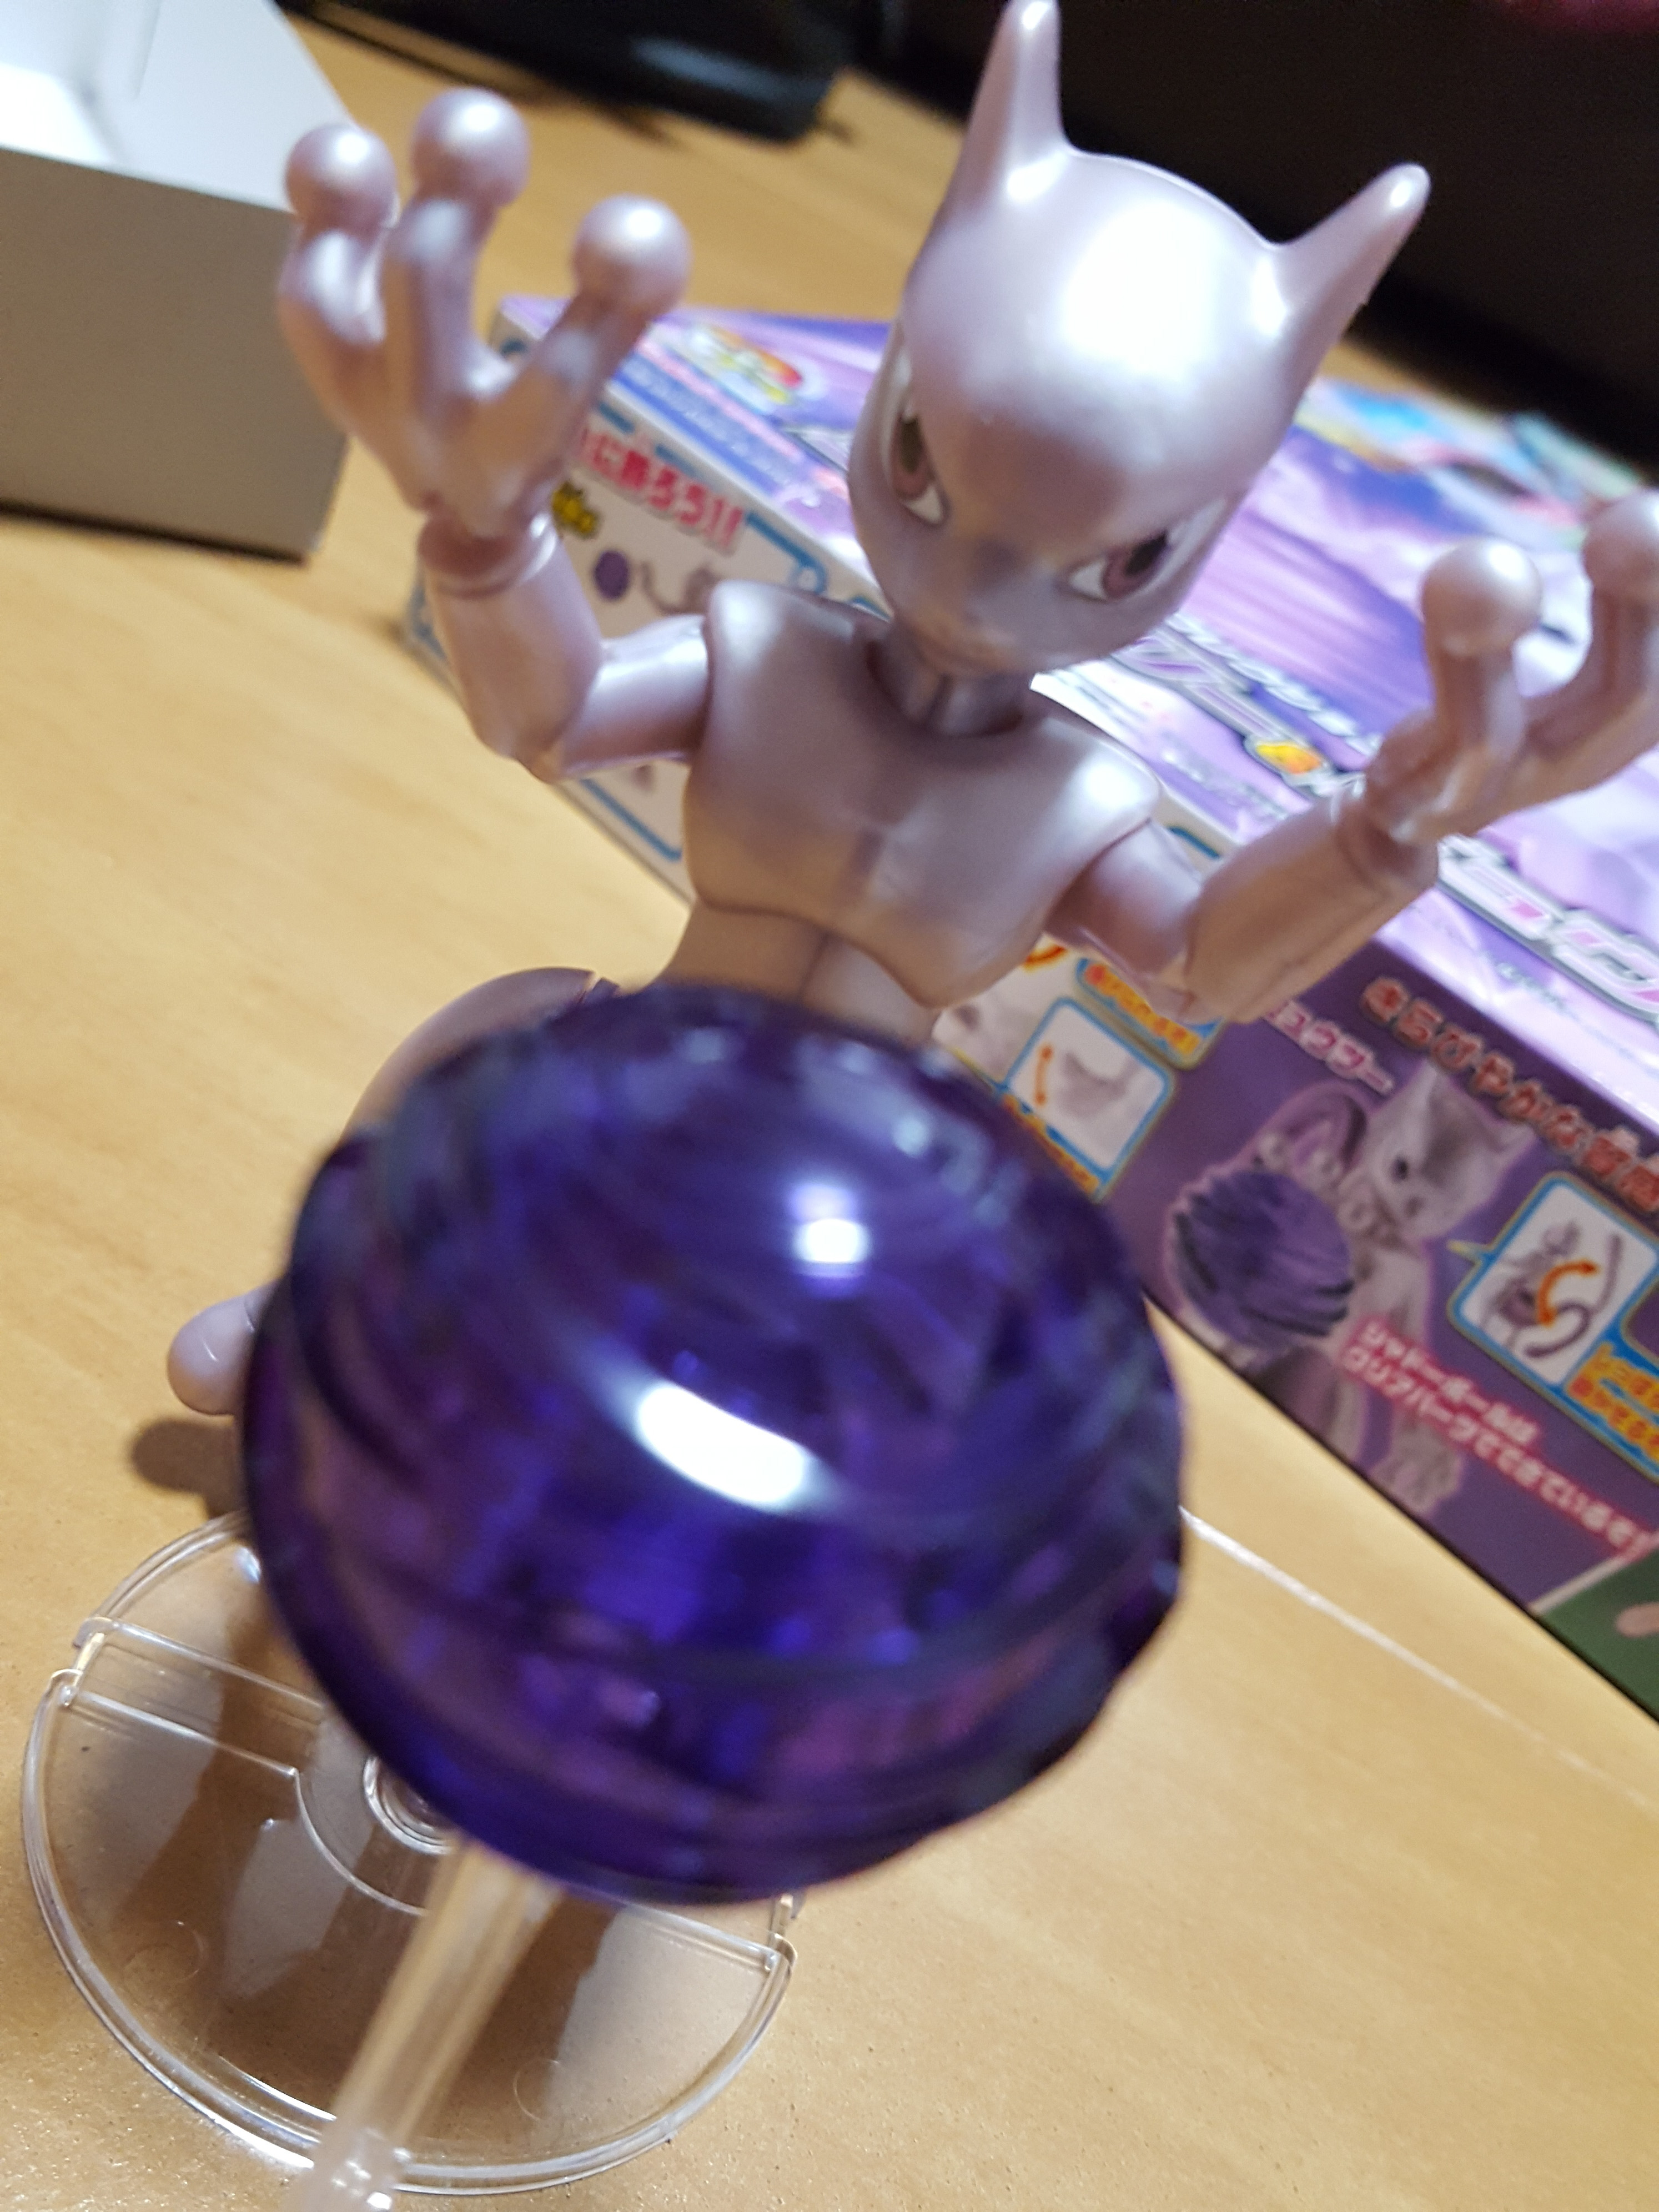
You can create all kinds of poses, and the stand lets you set up a flying pose, too! The balance on this one is a little fussy, but I managed to get him to stay put.
Here are some more shots of Mewtwo completed to show off his poseability.
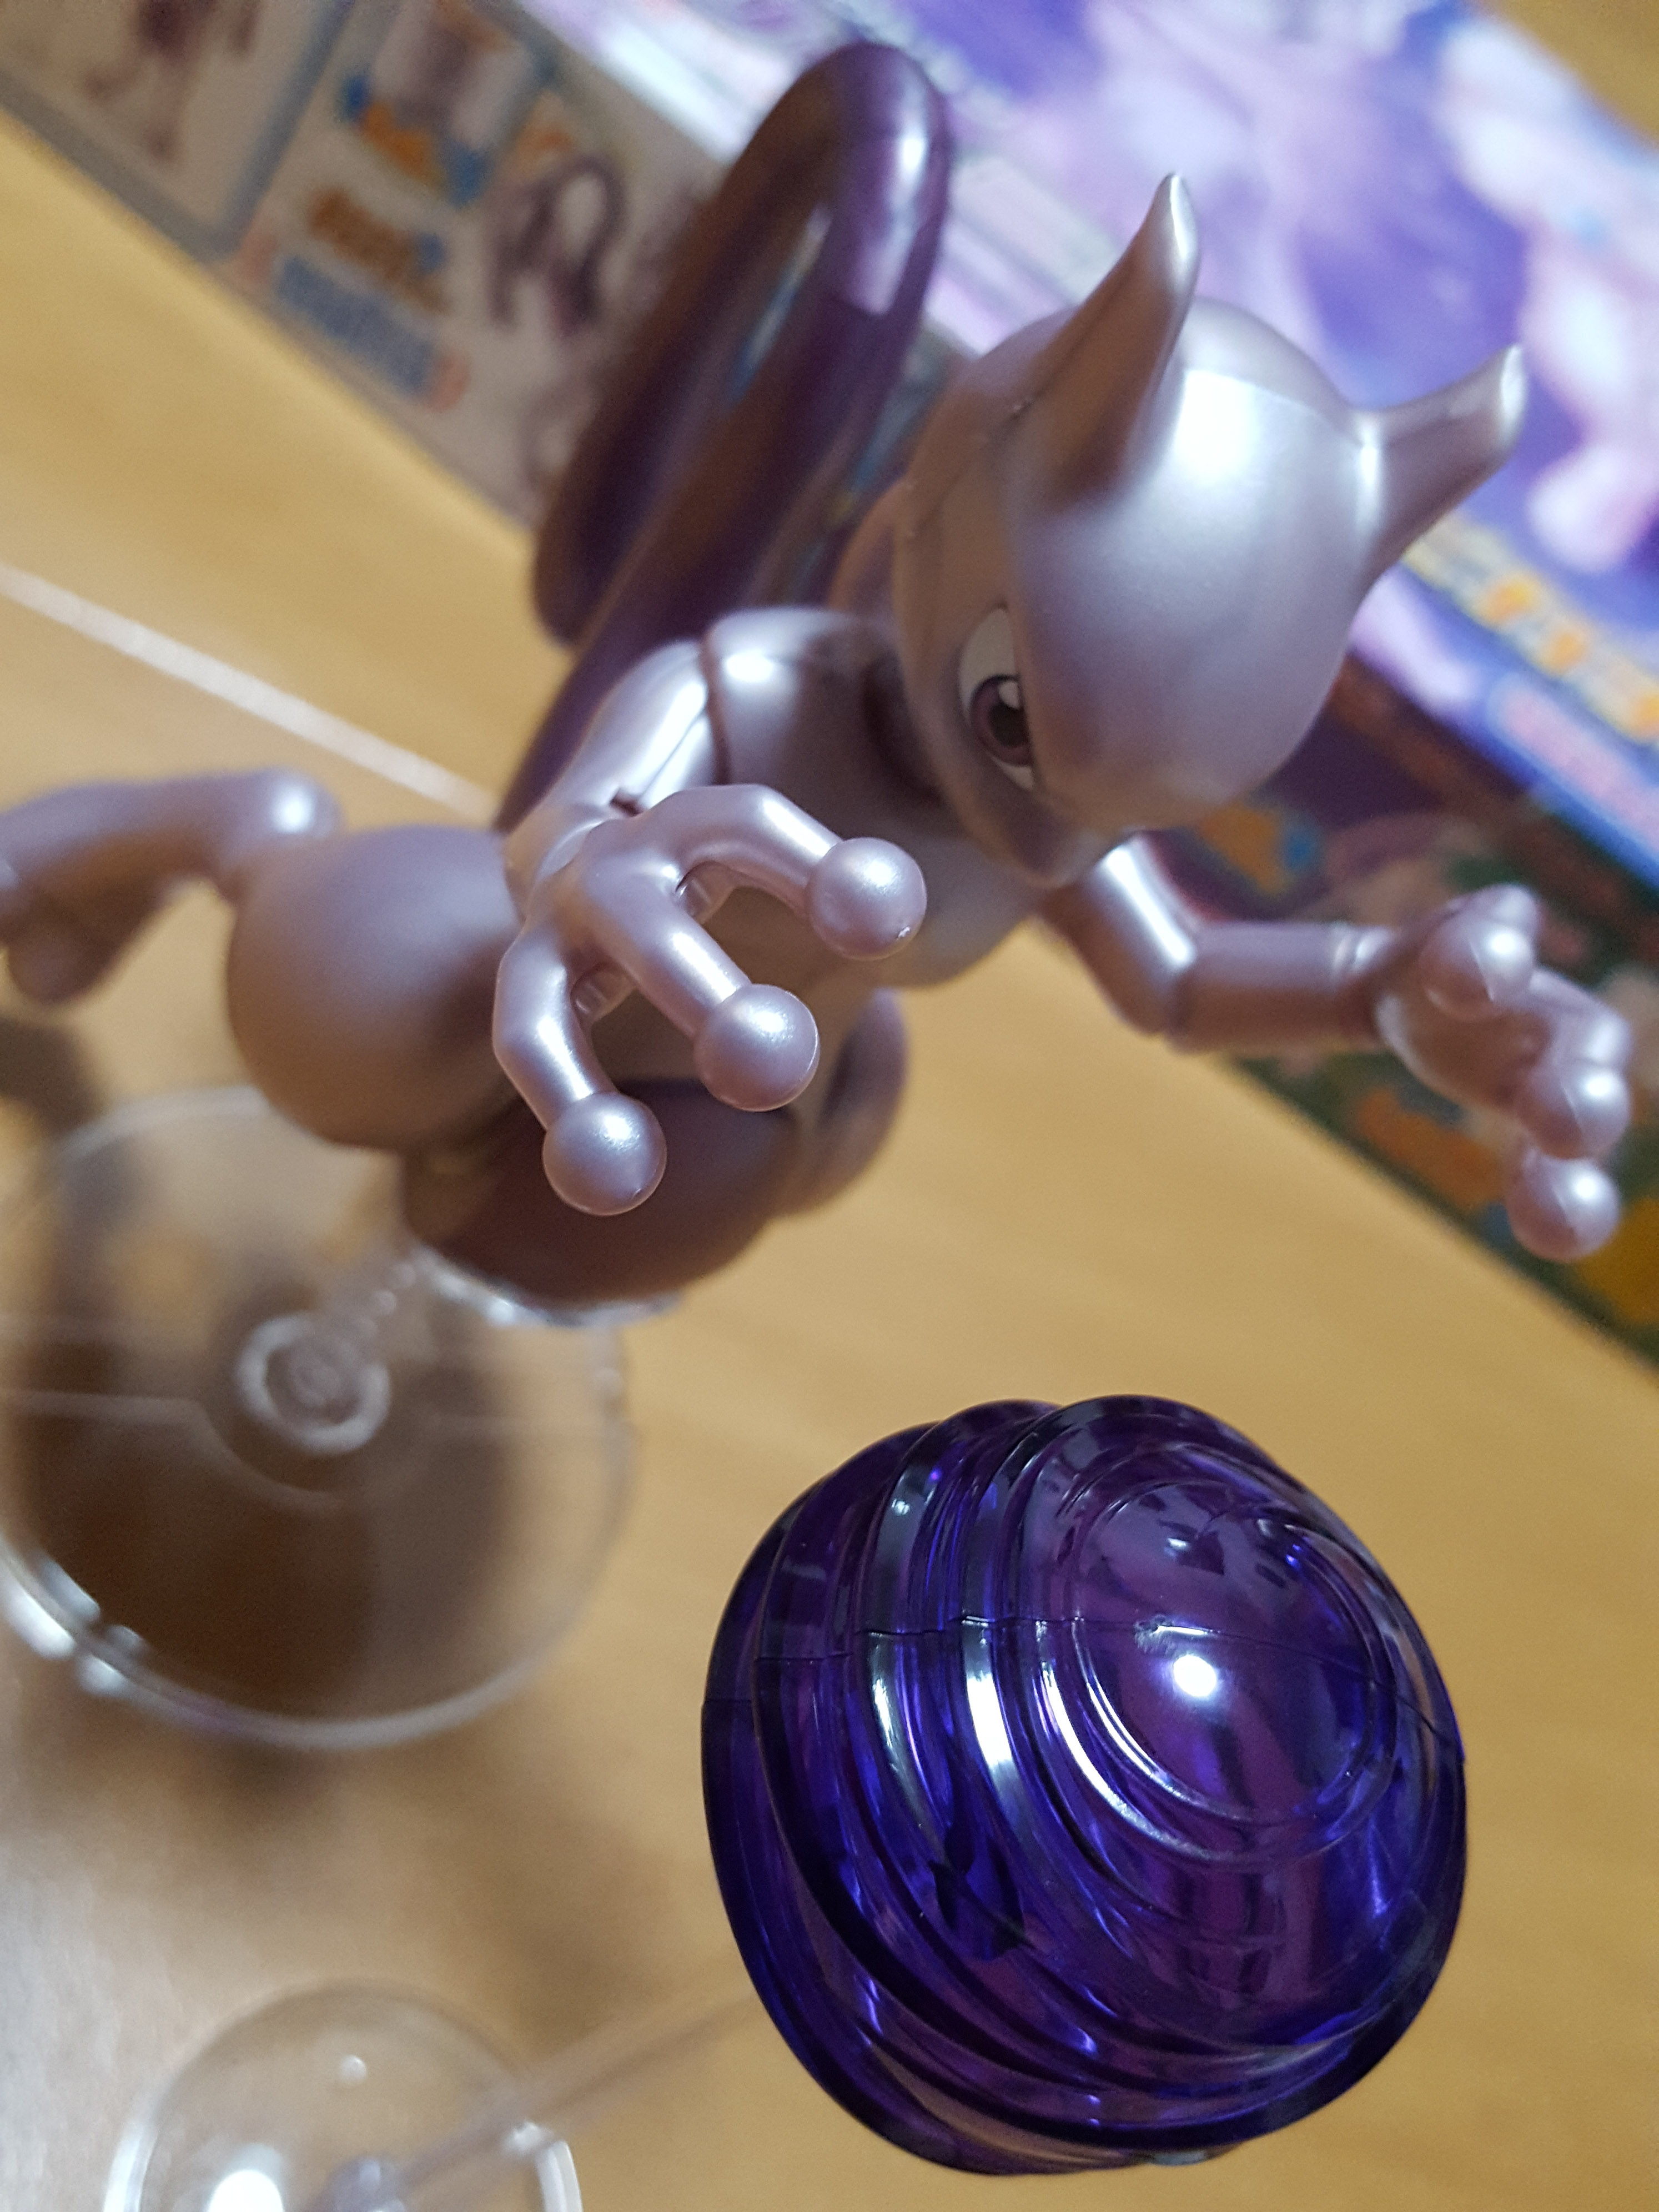
…Mewtwo, now with effect part! It photographs much more nicely than I expected.
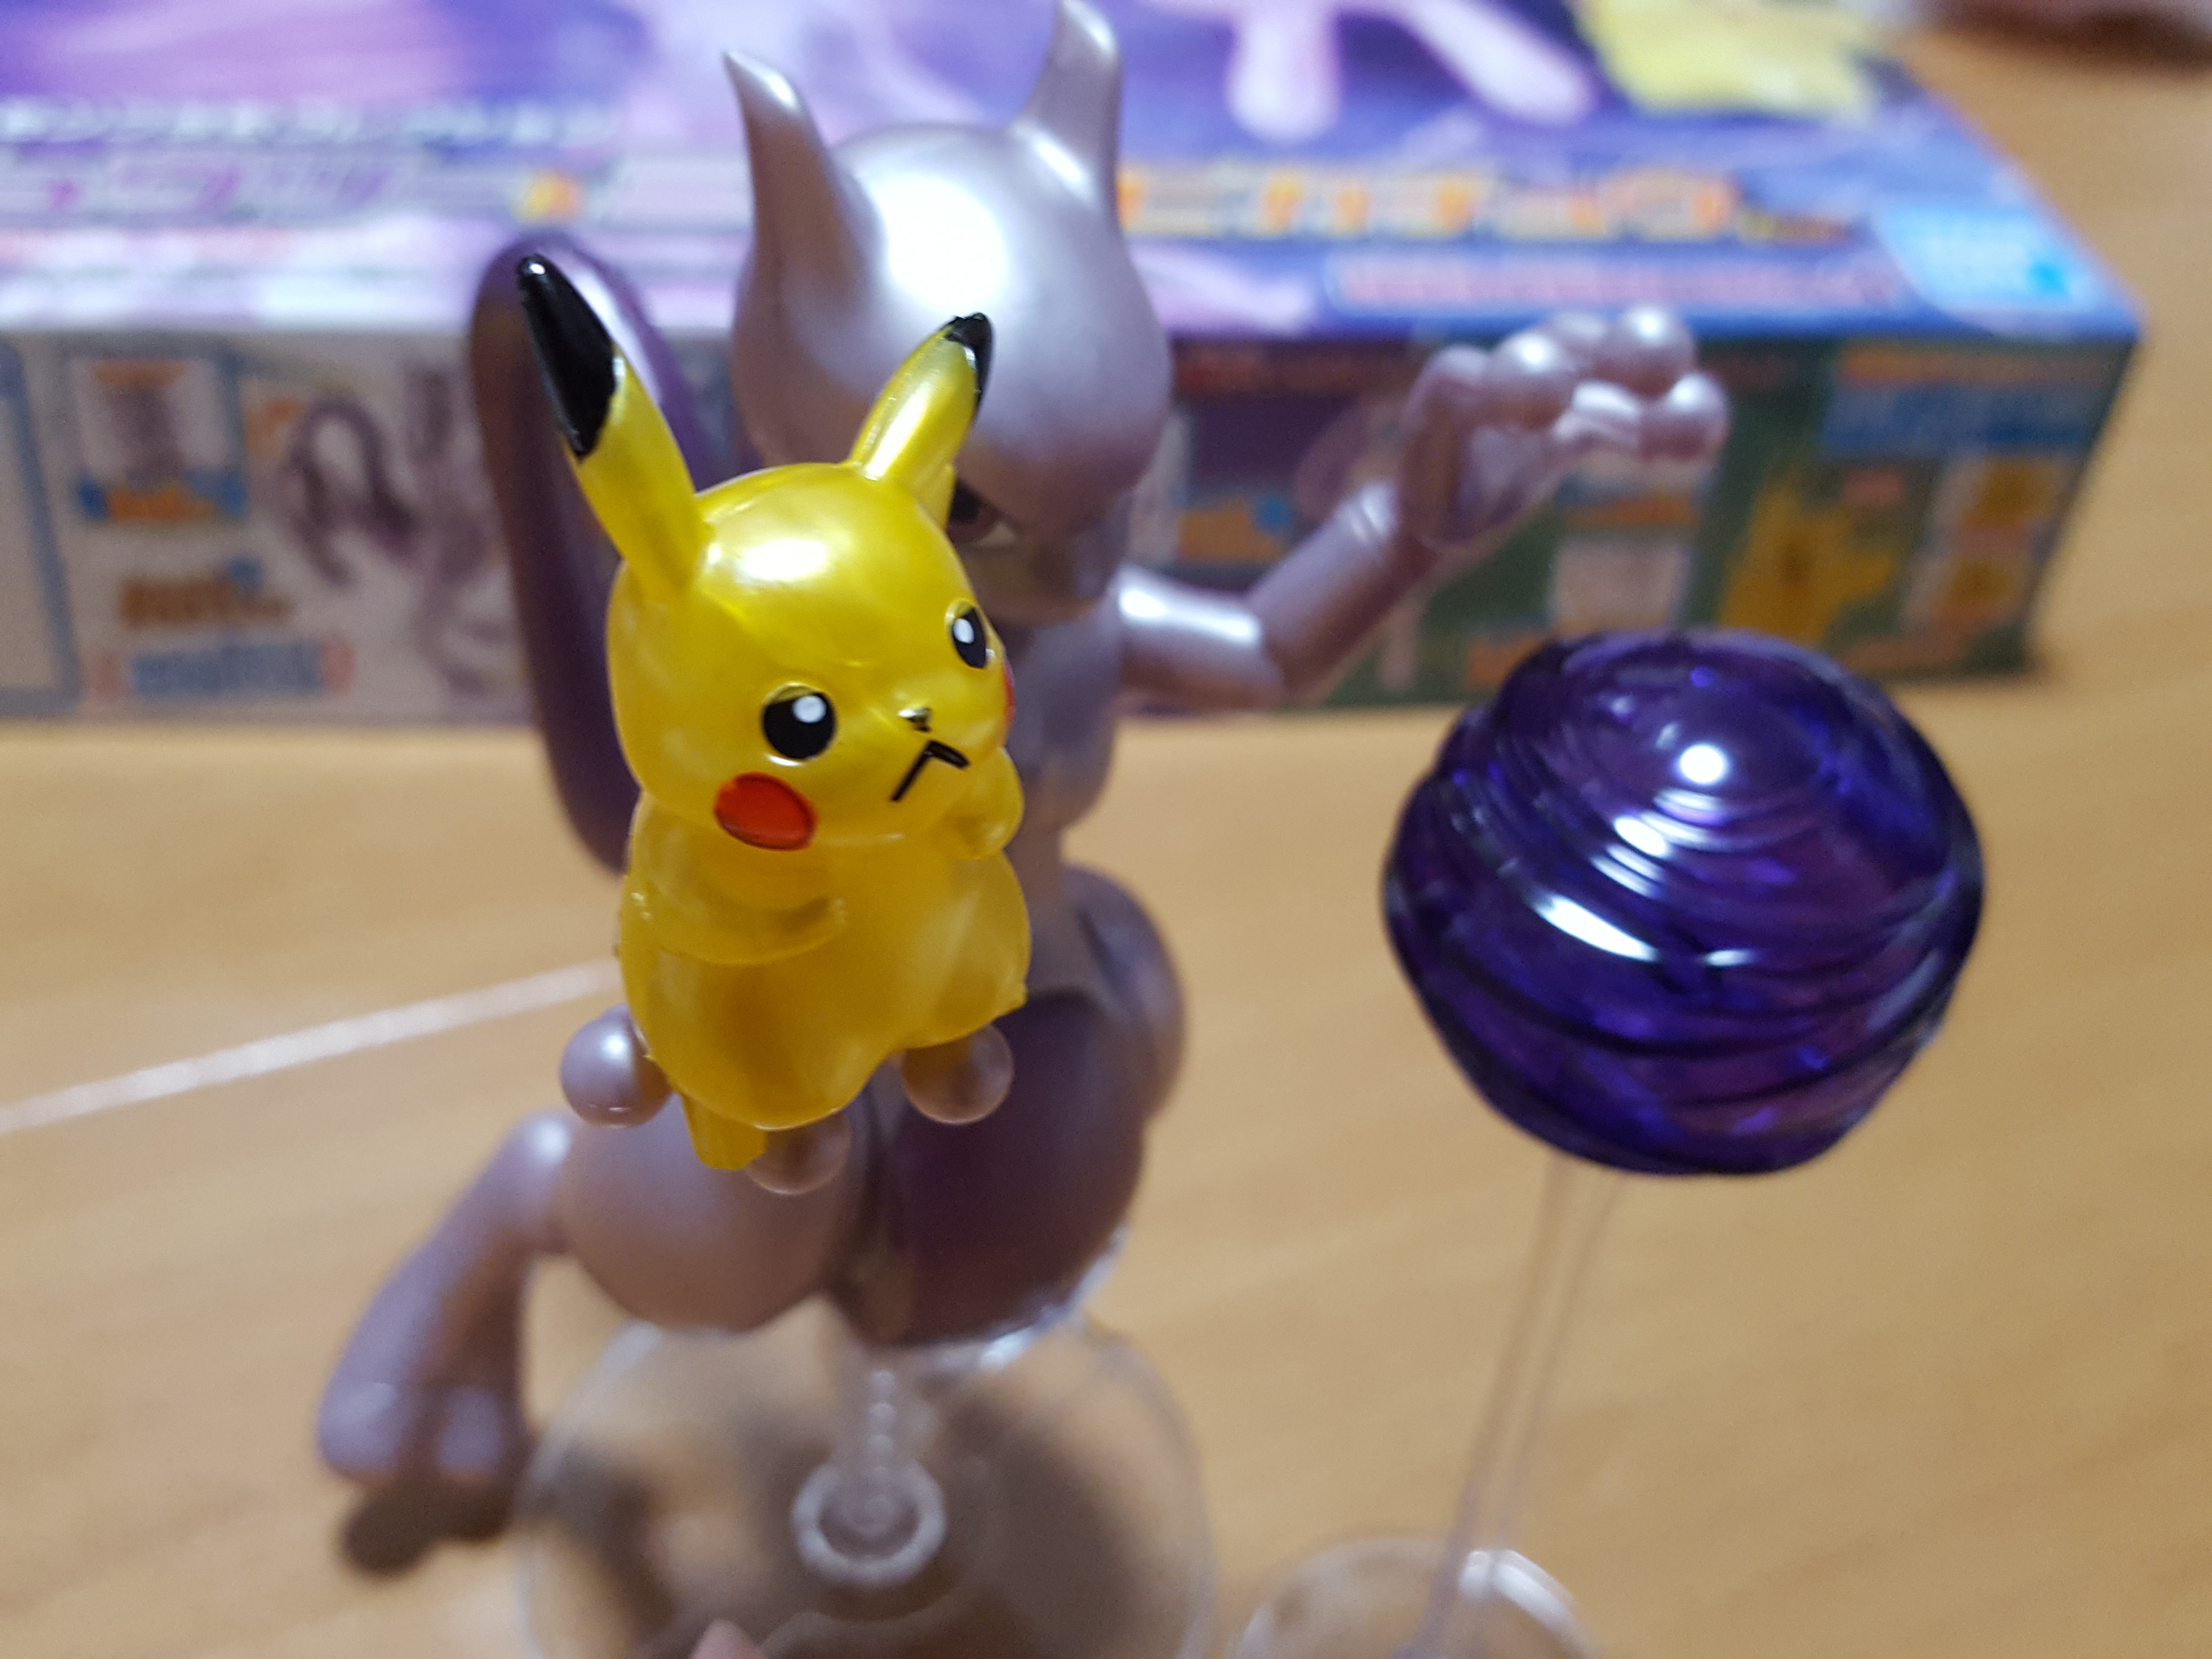
I tried a few different angles and poses to see what looked best. Then I got everyone into the picture.
Overall, I like the limited stickers on this kit. If you’re skilled enough, you can paint everything instead, and it wouldn’t take too long since there are so few spots calling for paint. If you’re nervous about paint, Gundam markers always do the trick! I recommend at least painting Pikachu — I can say from experience that the stickers all over his face do not make for a very nice finished model.
Get the kit for yourself here:
– Pokemon Plamo Collection Mewtwo, Mew & Pikachu Set
