Let’s get to it! Lately I start all my Pokemon projects by painting them with Gundam markers a day or two before I start the build, giving them plenty of time to dry.
It’s hard to tell, but on the runner above I’ve painted black on the wing webbing, and the knees.
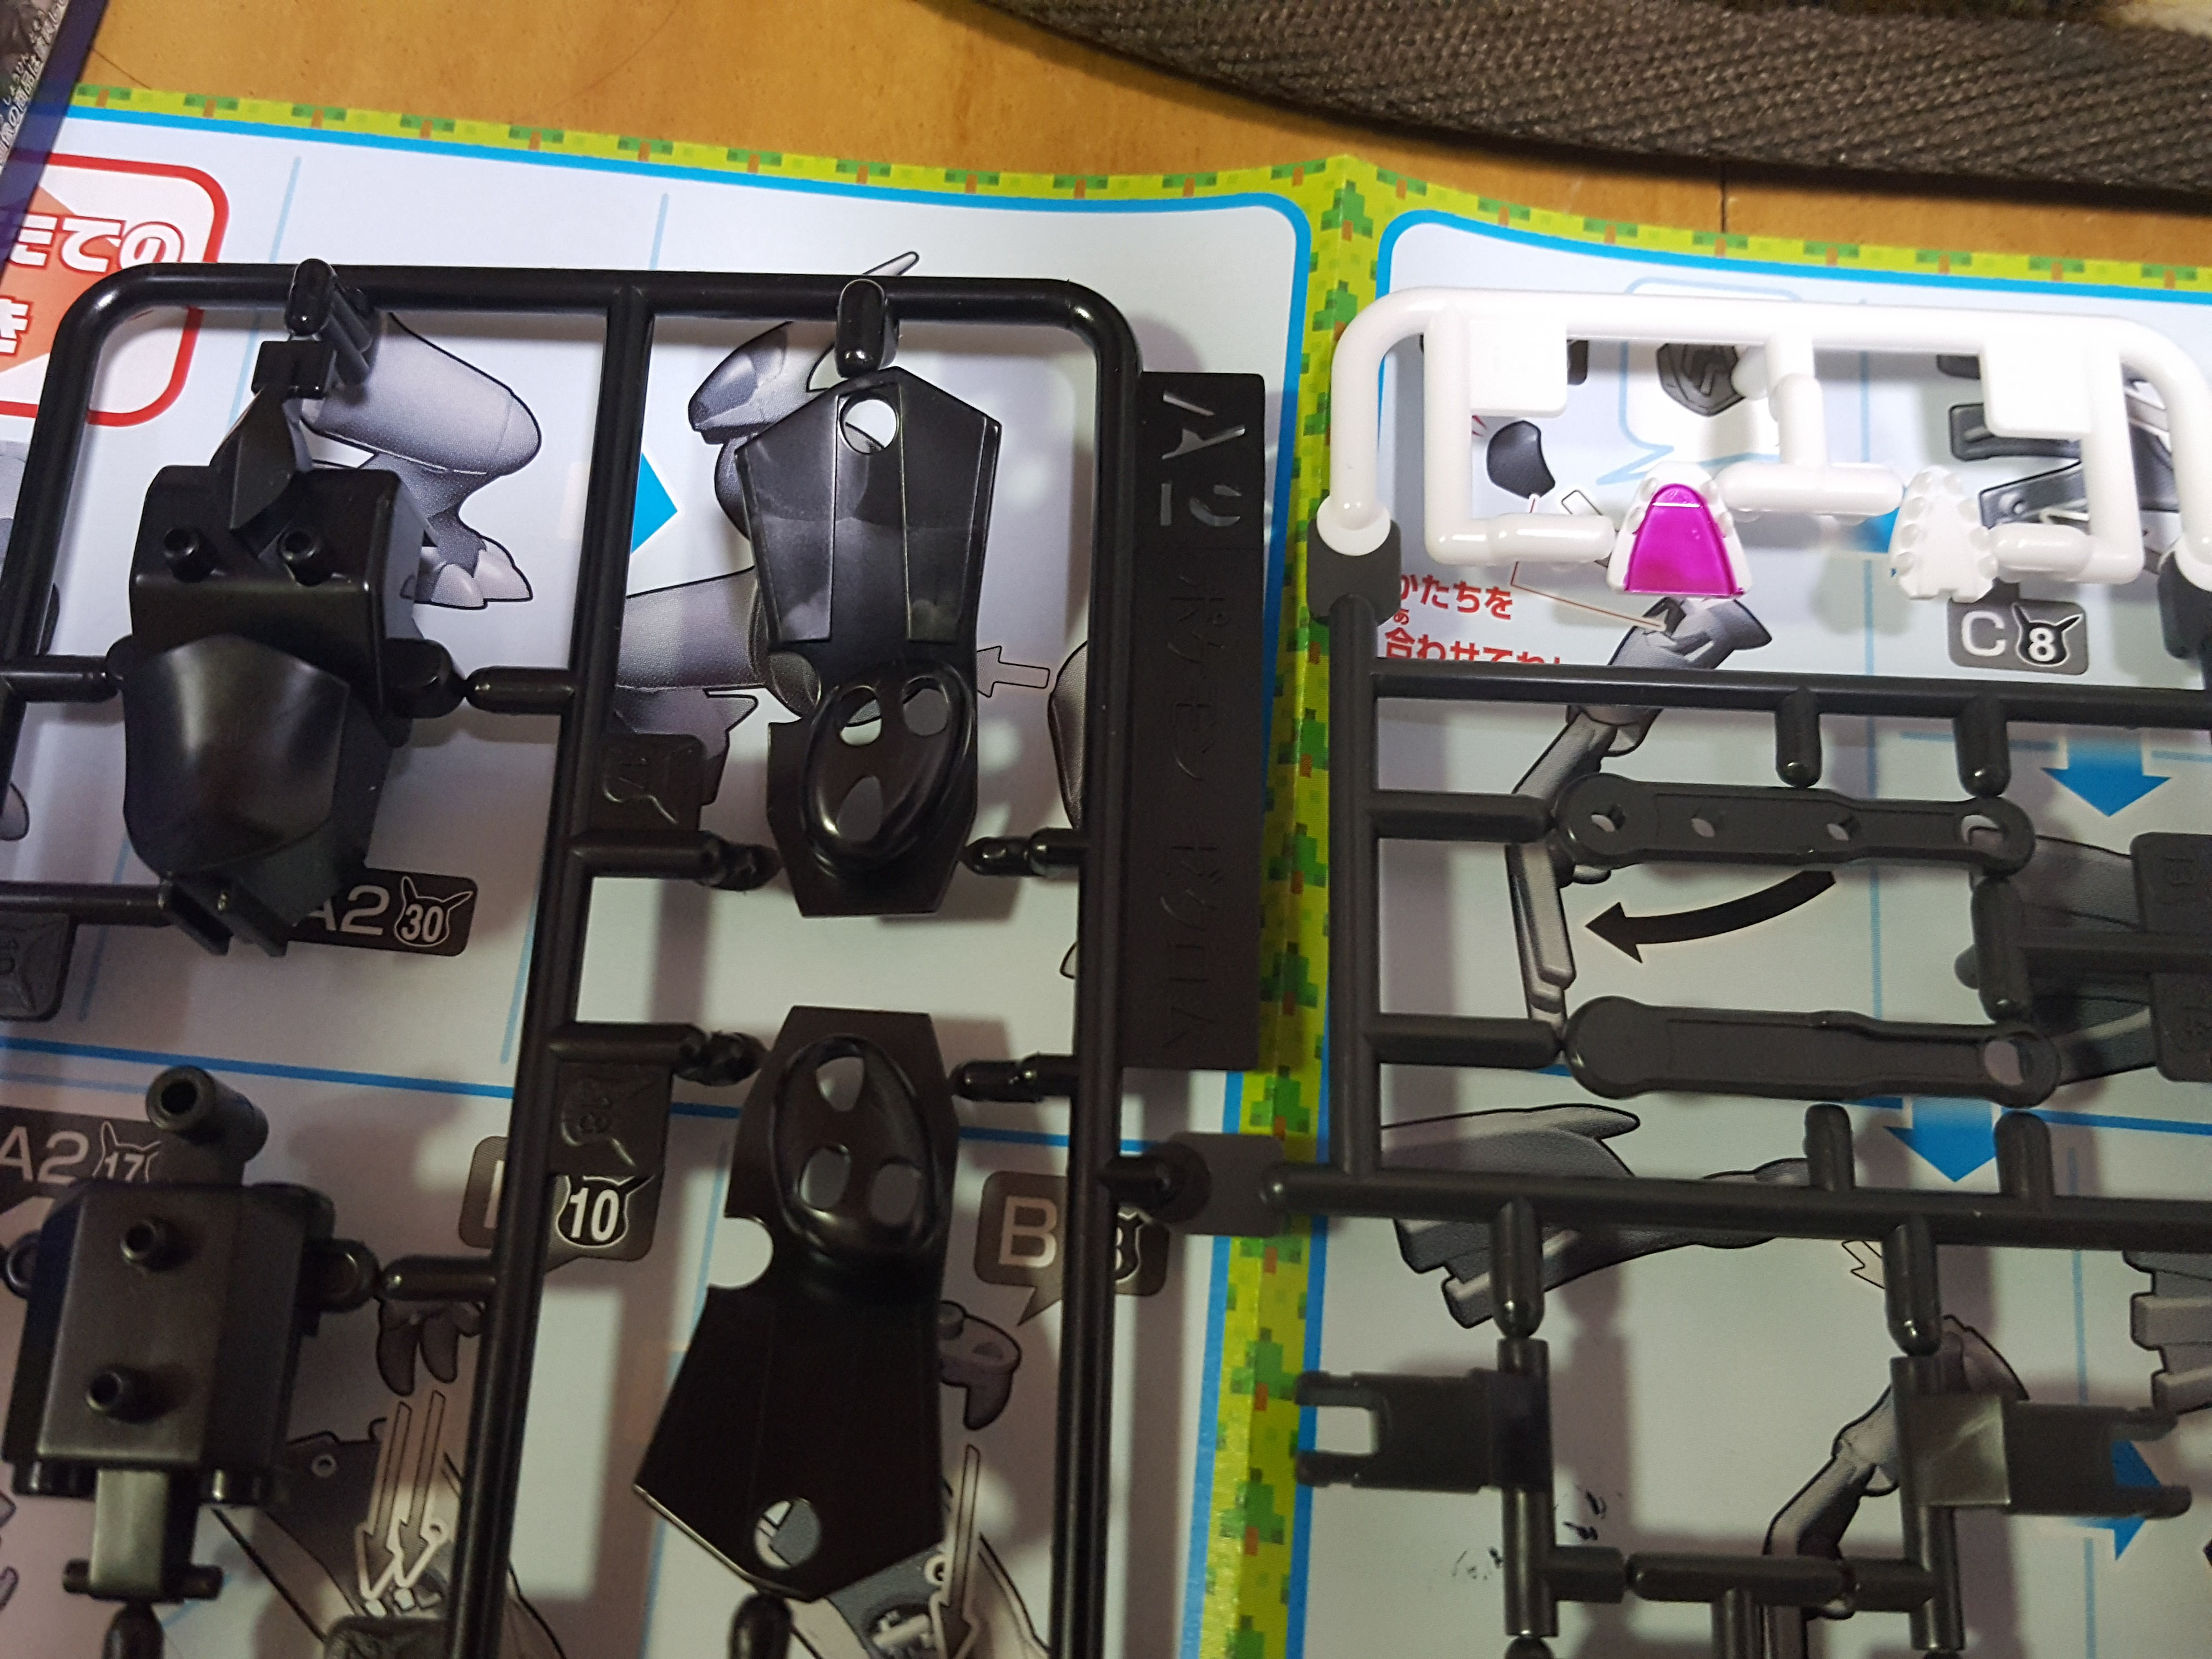
Here, I’ve painted one part of the mouth pink. I didn’t realize until I started building that the piece next to it also gets painted, so I took care of that during the build.
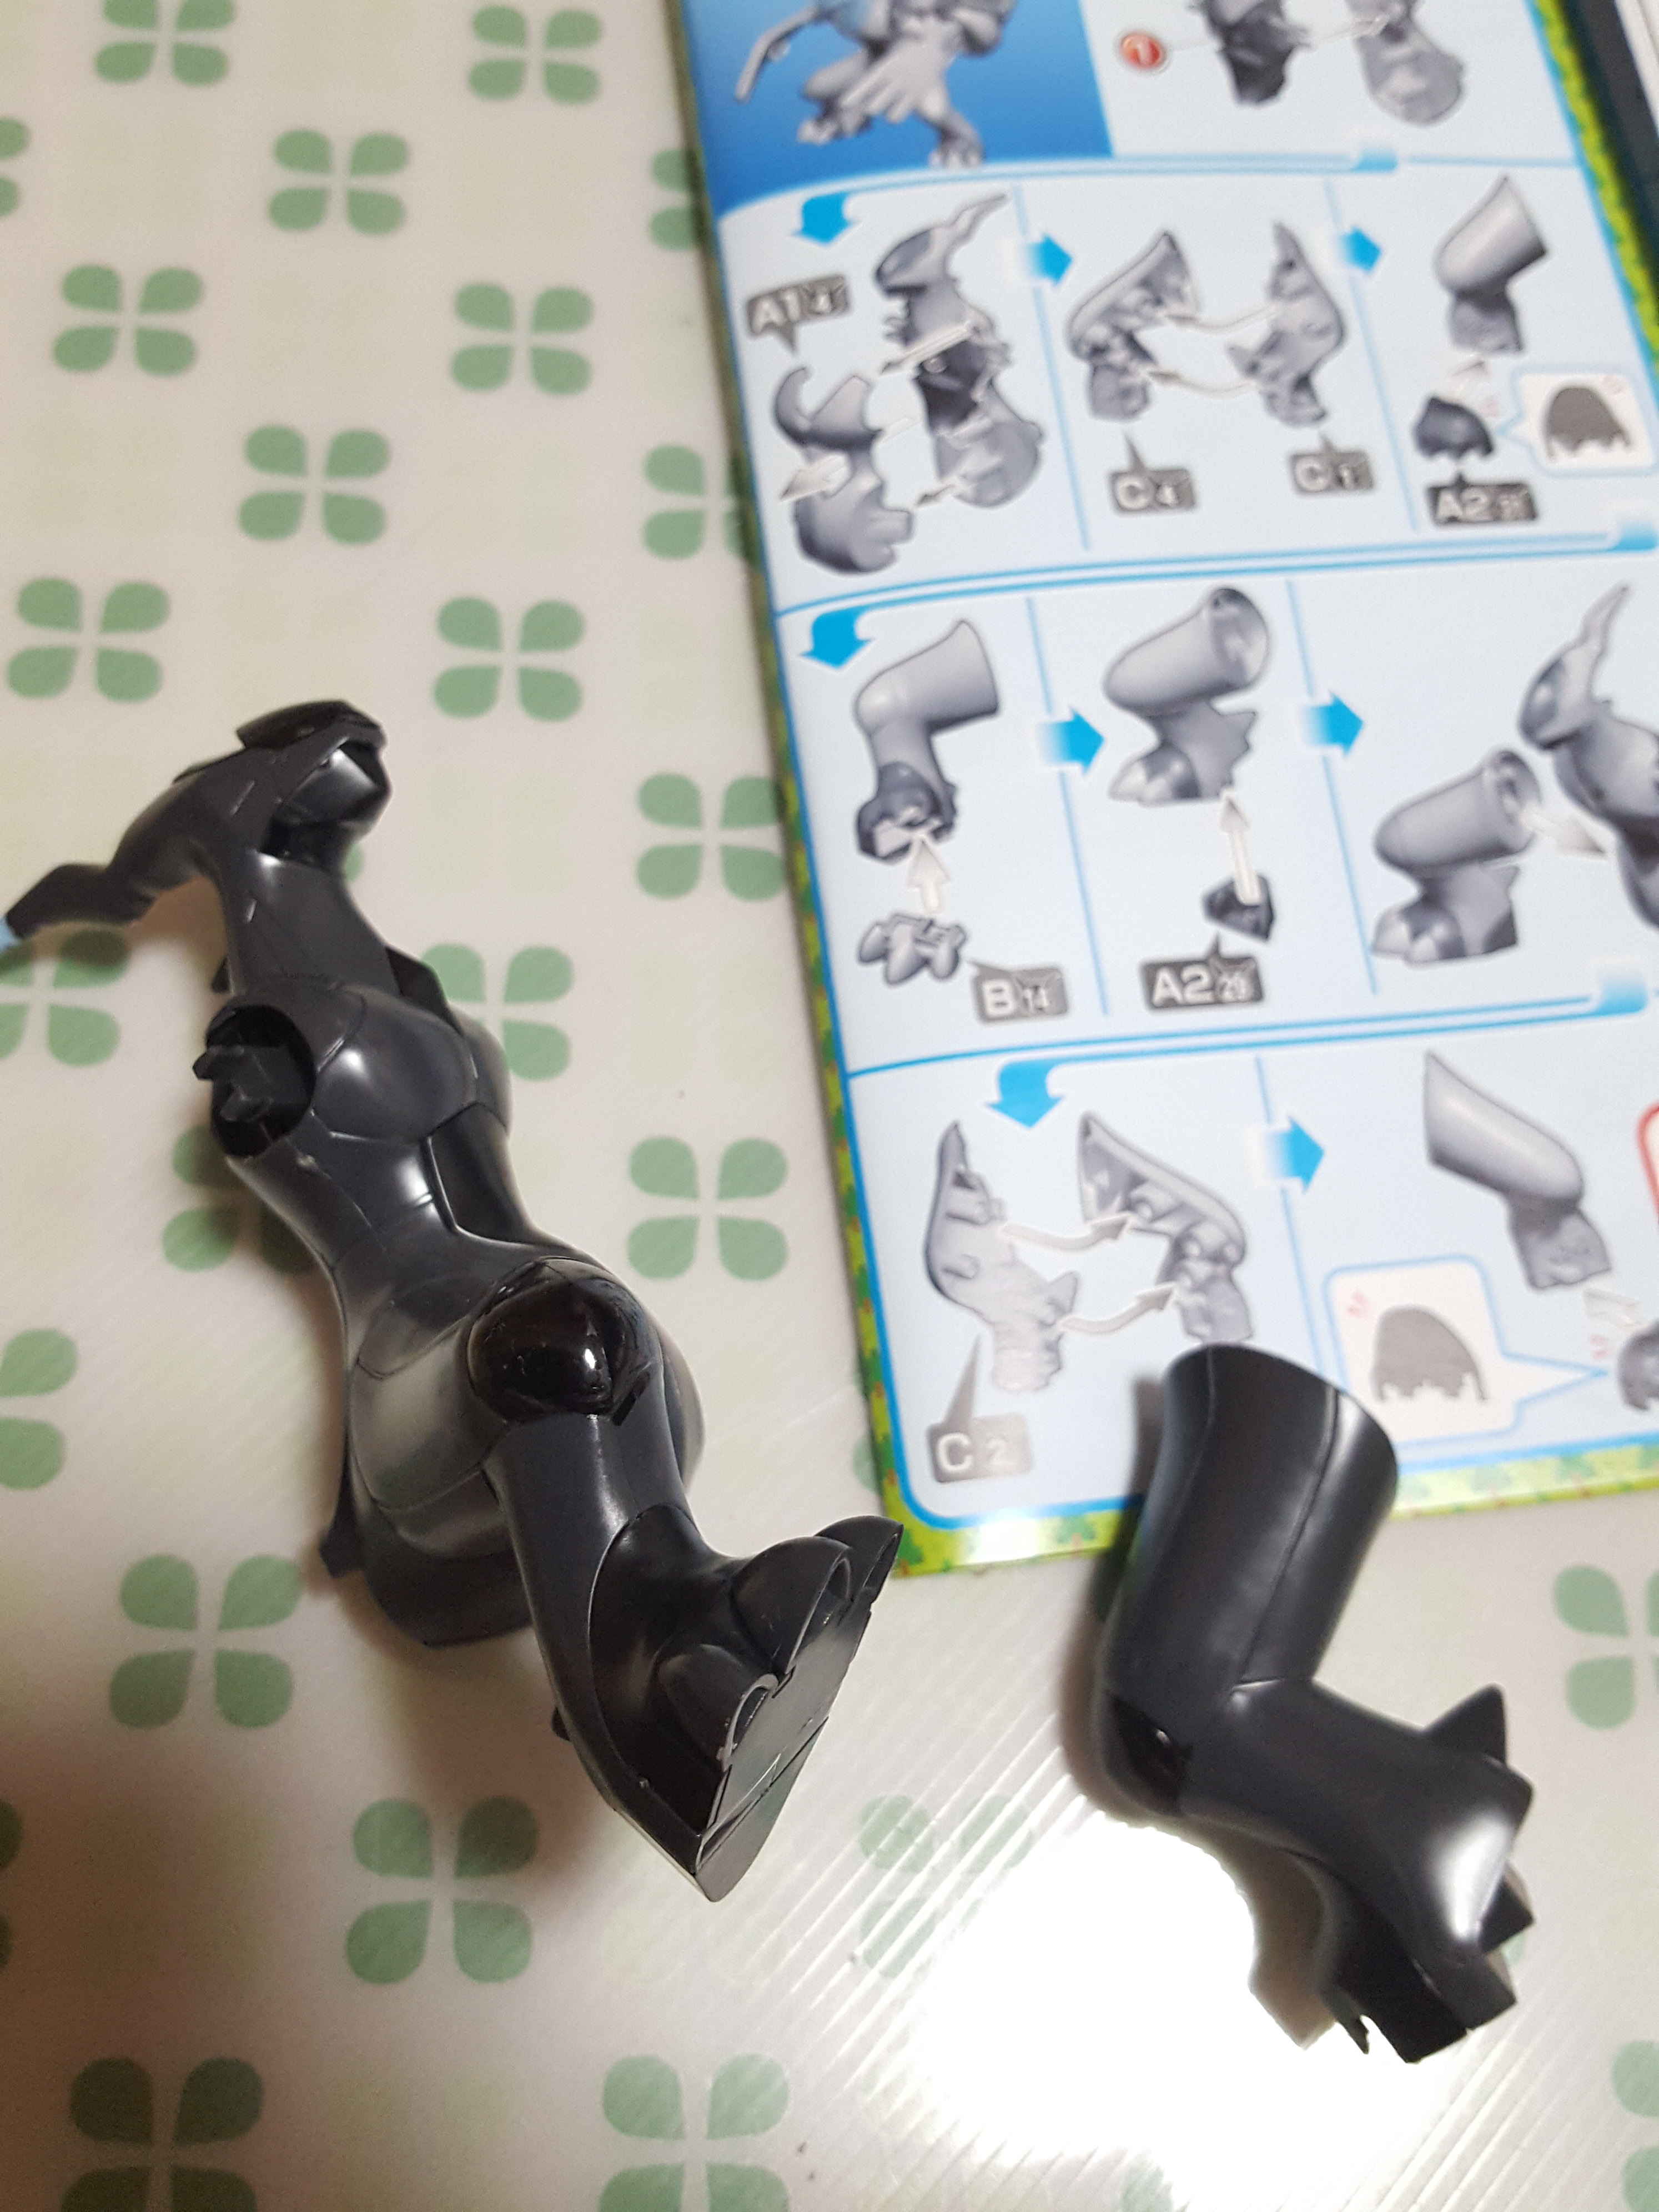
The head was the hardest part. Since this piece is molded in such a dark color, the light blue marker didn’t take to it at all. I ended up sanding the end of the piece and painting with a white Gundam marker first as a base. I definitely recommend a proper primer instead, if you’ve got the resources and patience, but I wanted to see how far I could get using only Gundam markers!
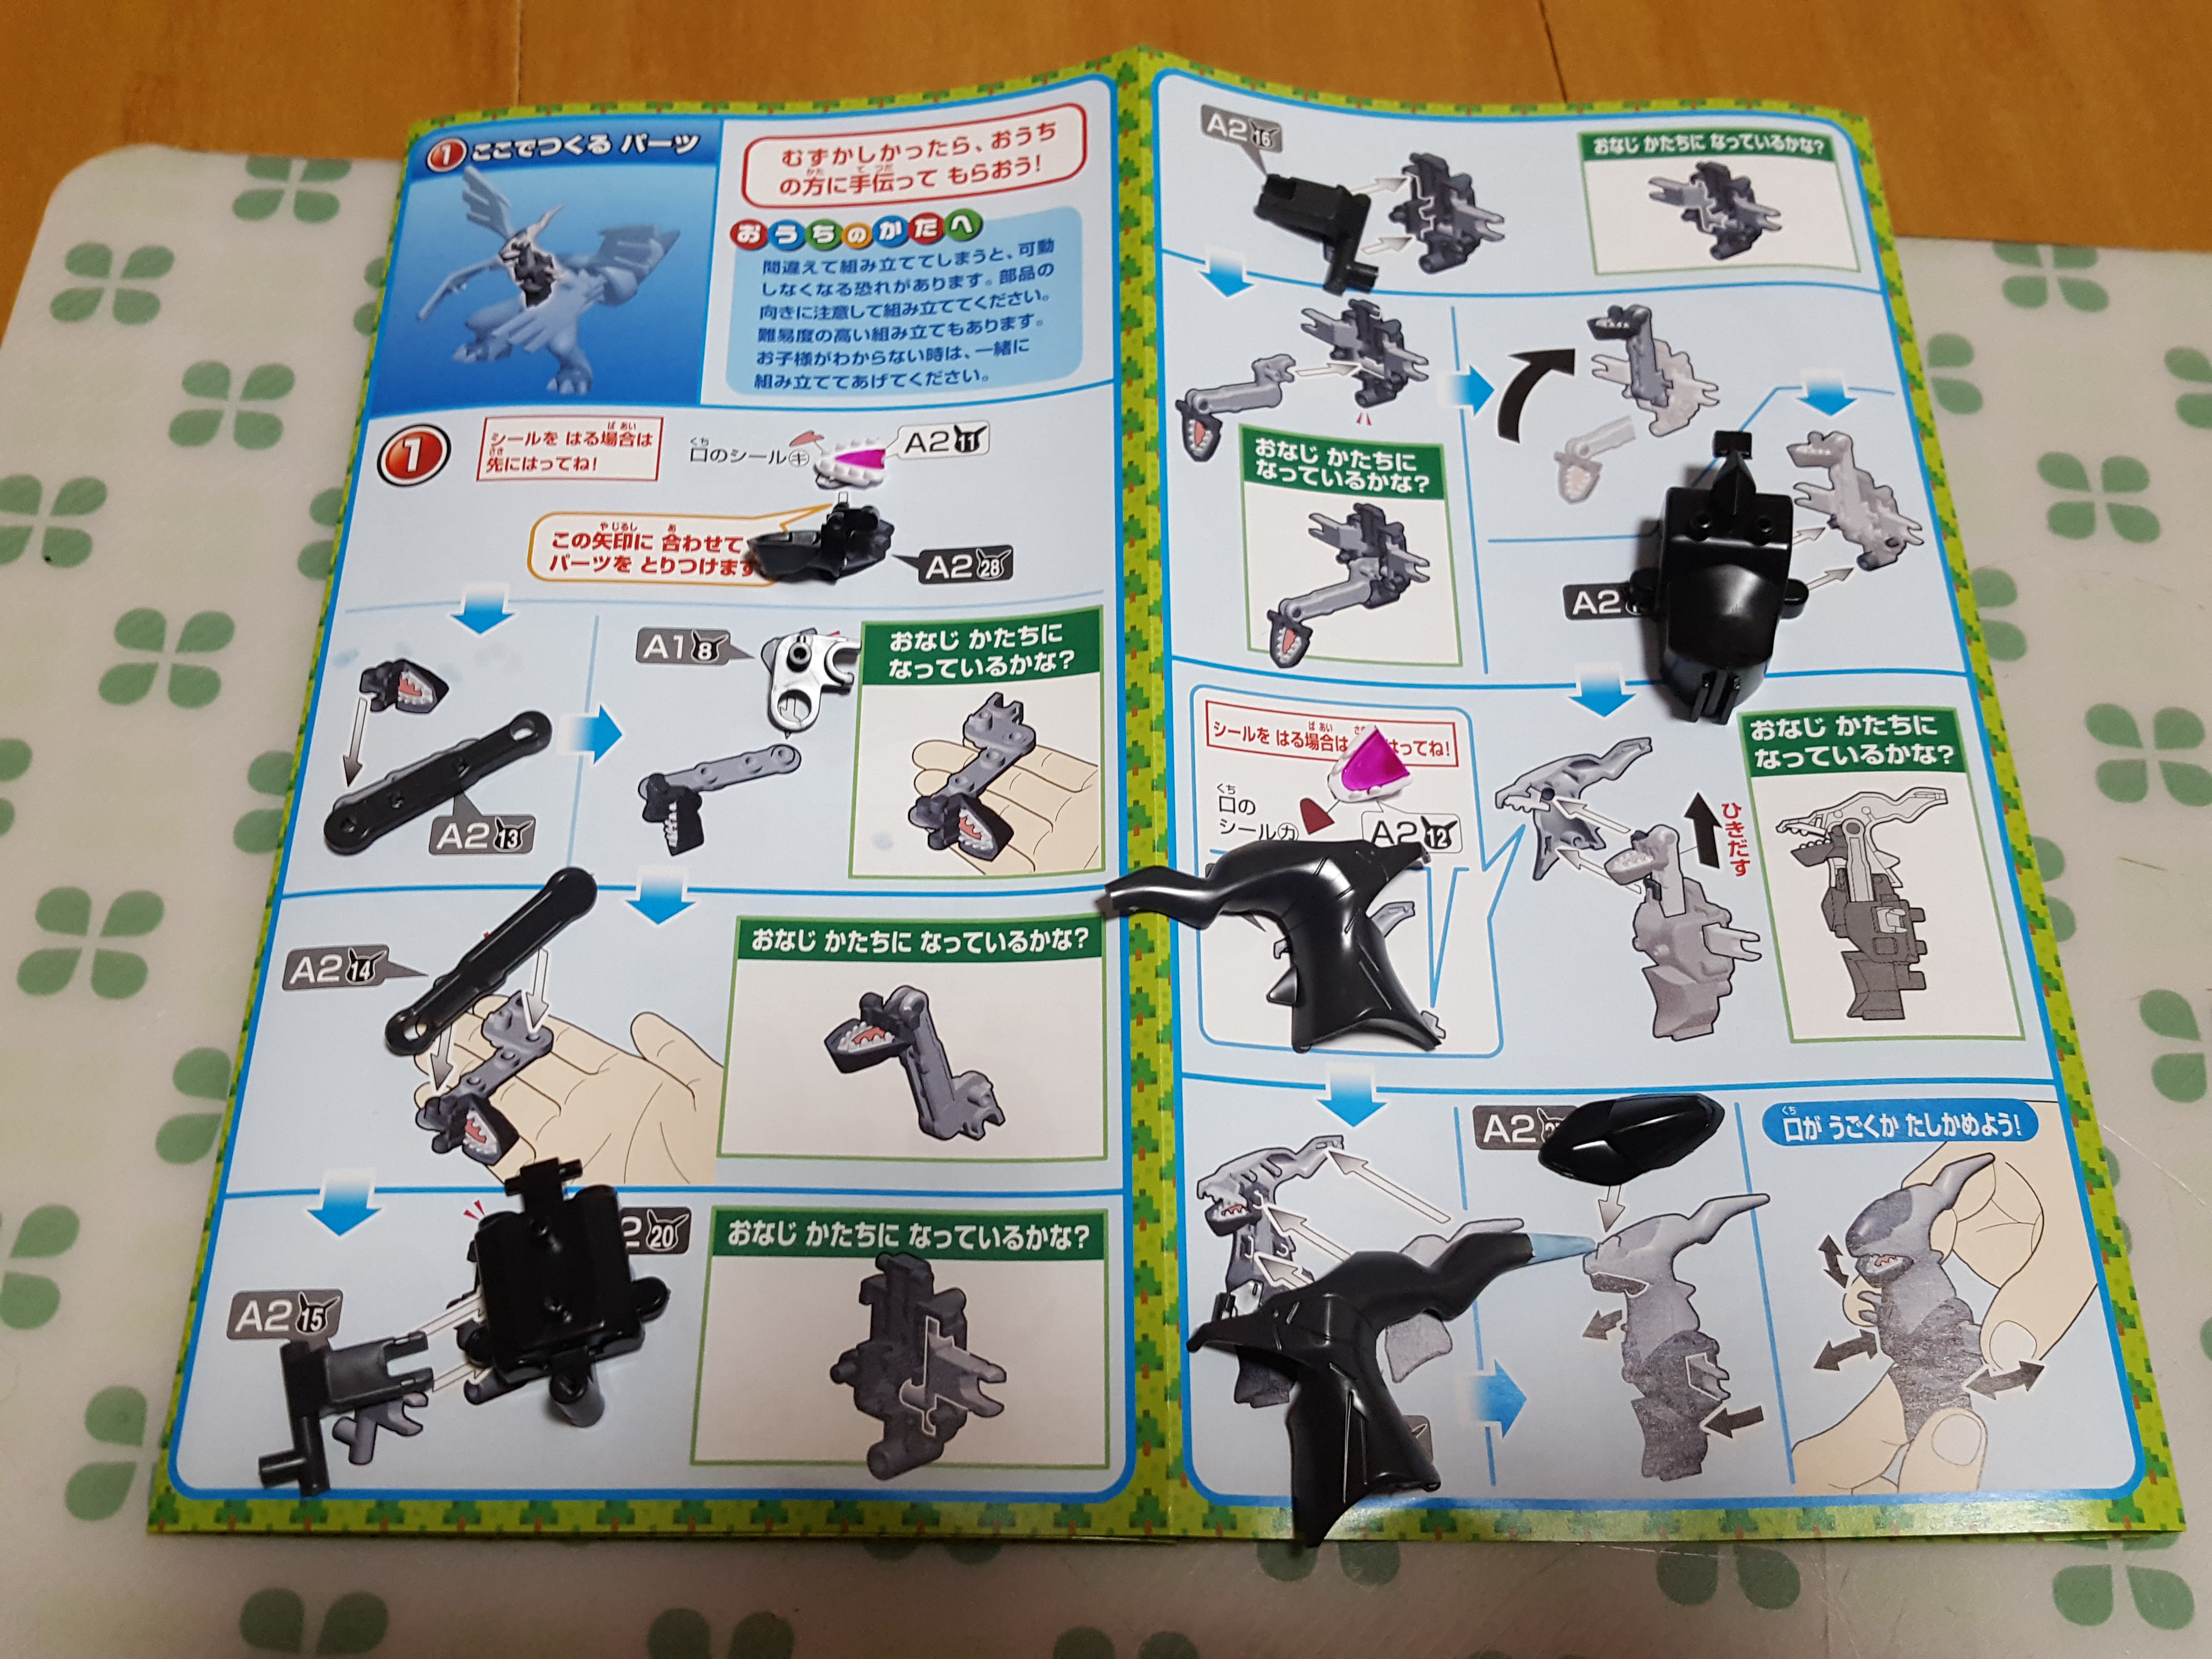
Here’s the first part of the build. We’re going to start with the mechanical parts inside the torso that give Zekrom its gimmicks.
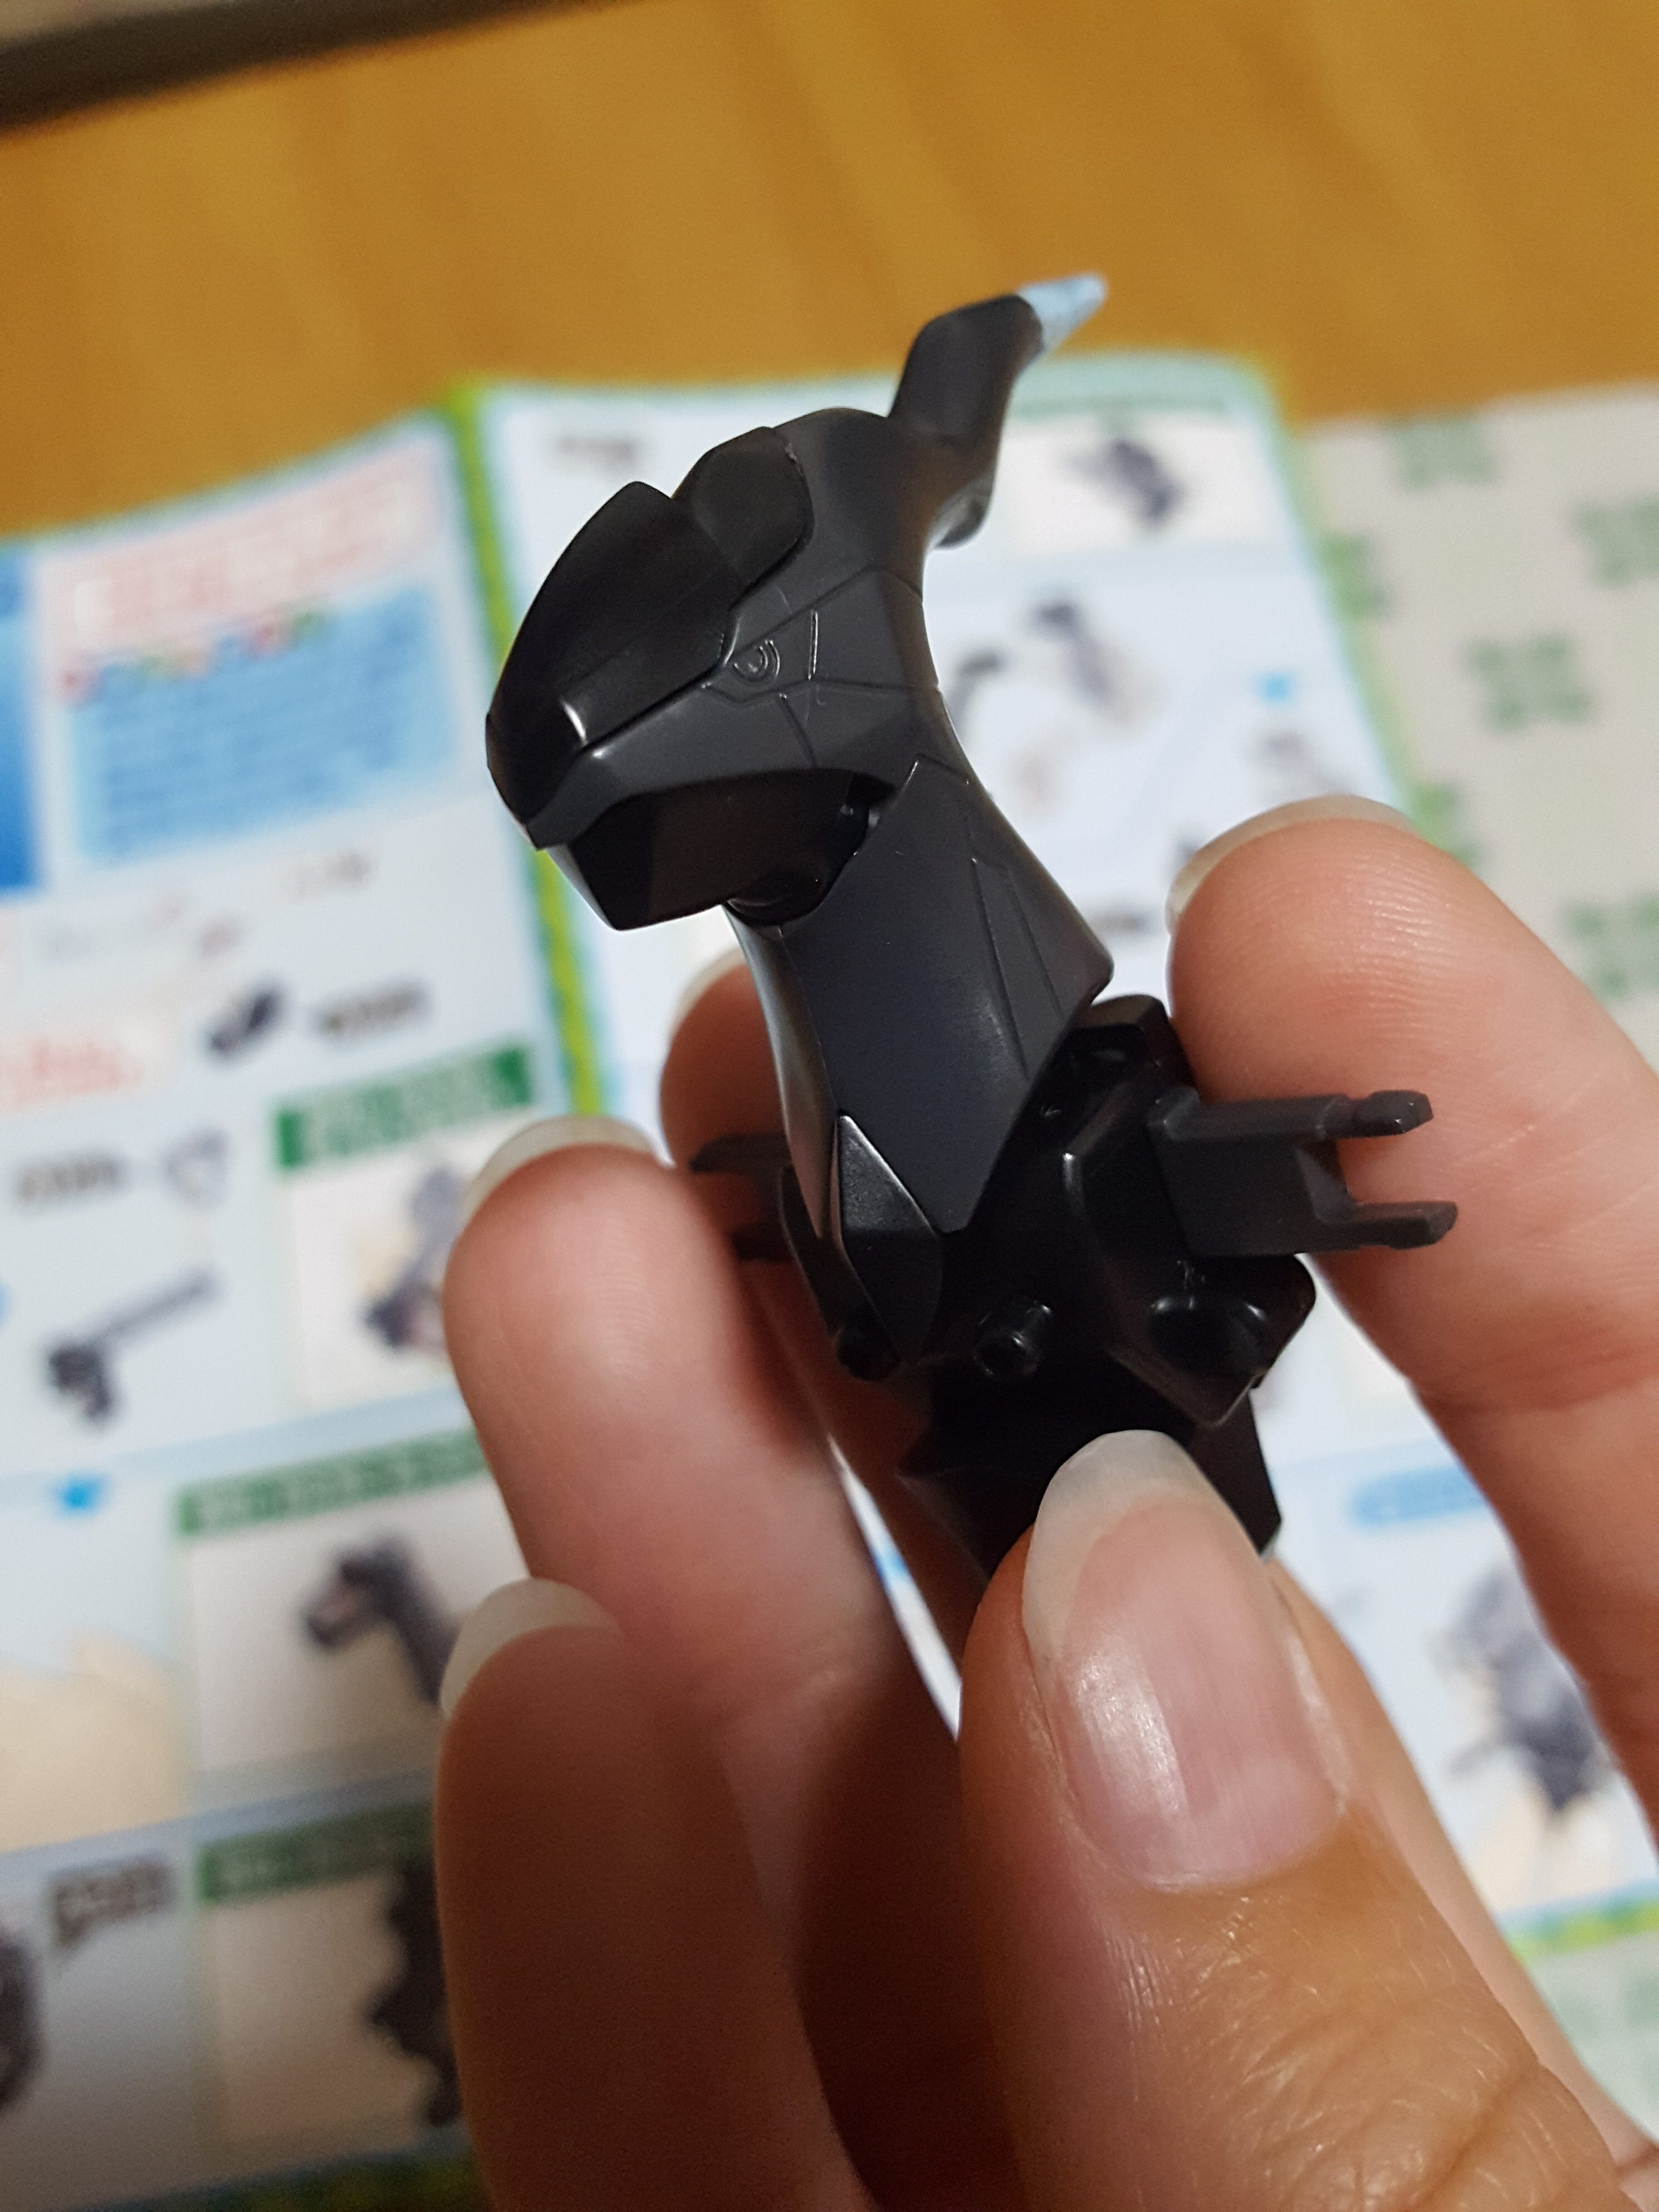
When these steps are completed, you’ve got a head and partial torso with an opening mouth. It looks pretty slick opened or closed!
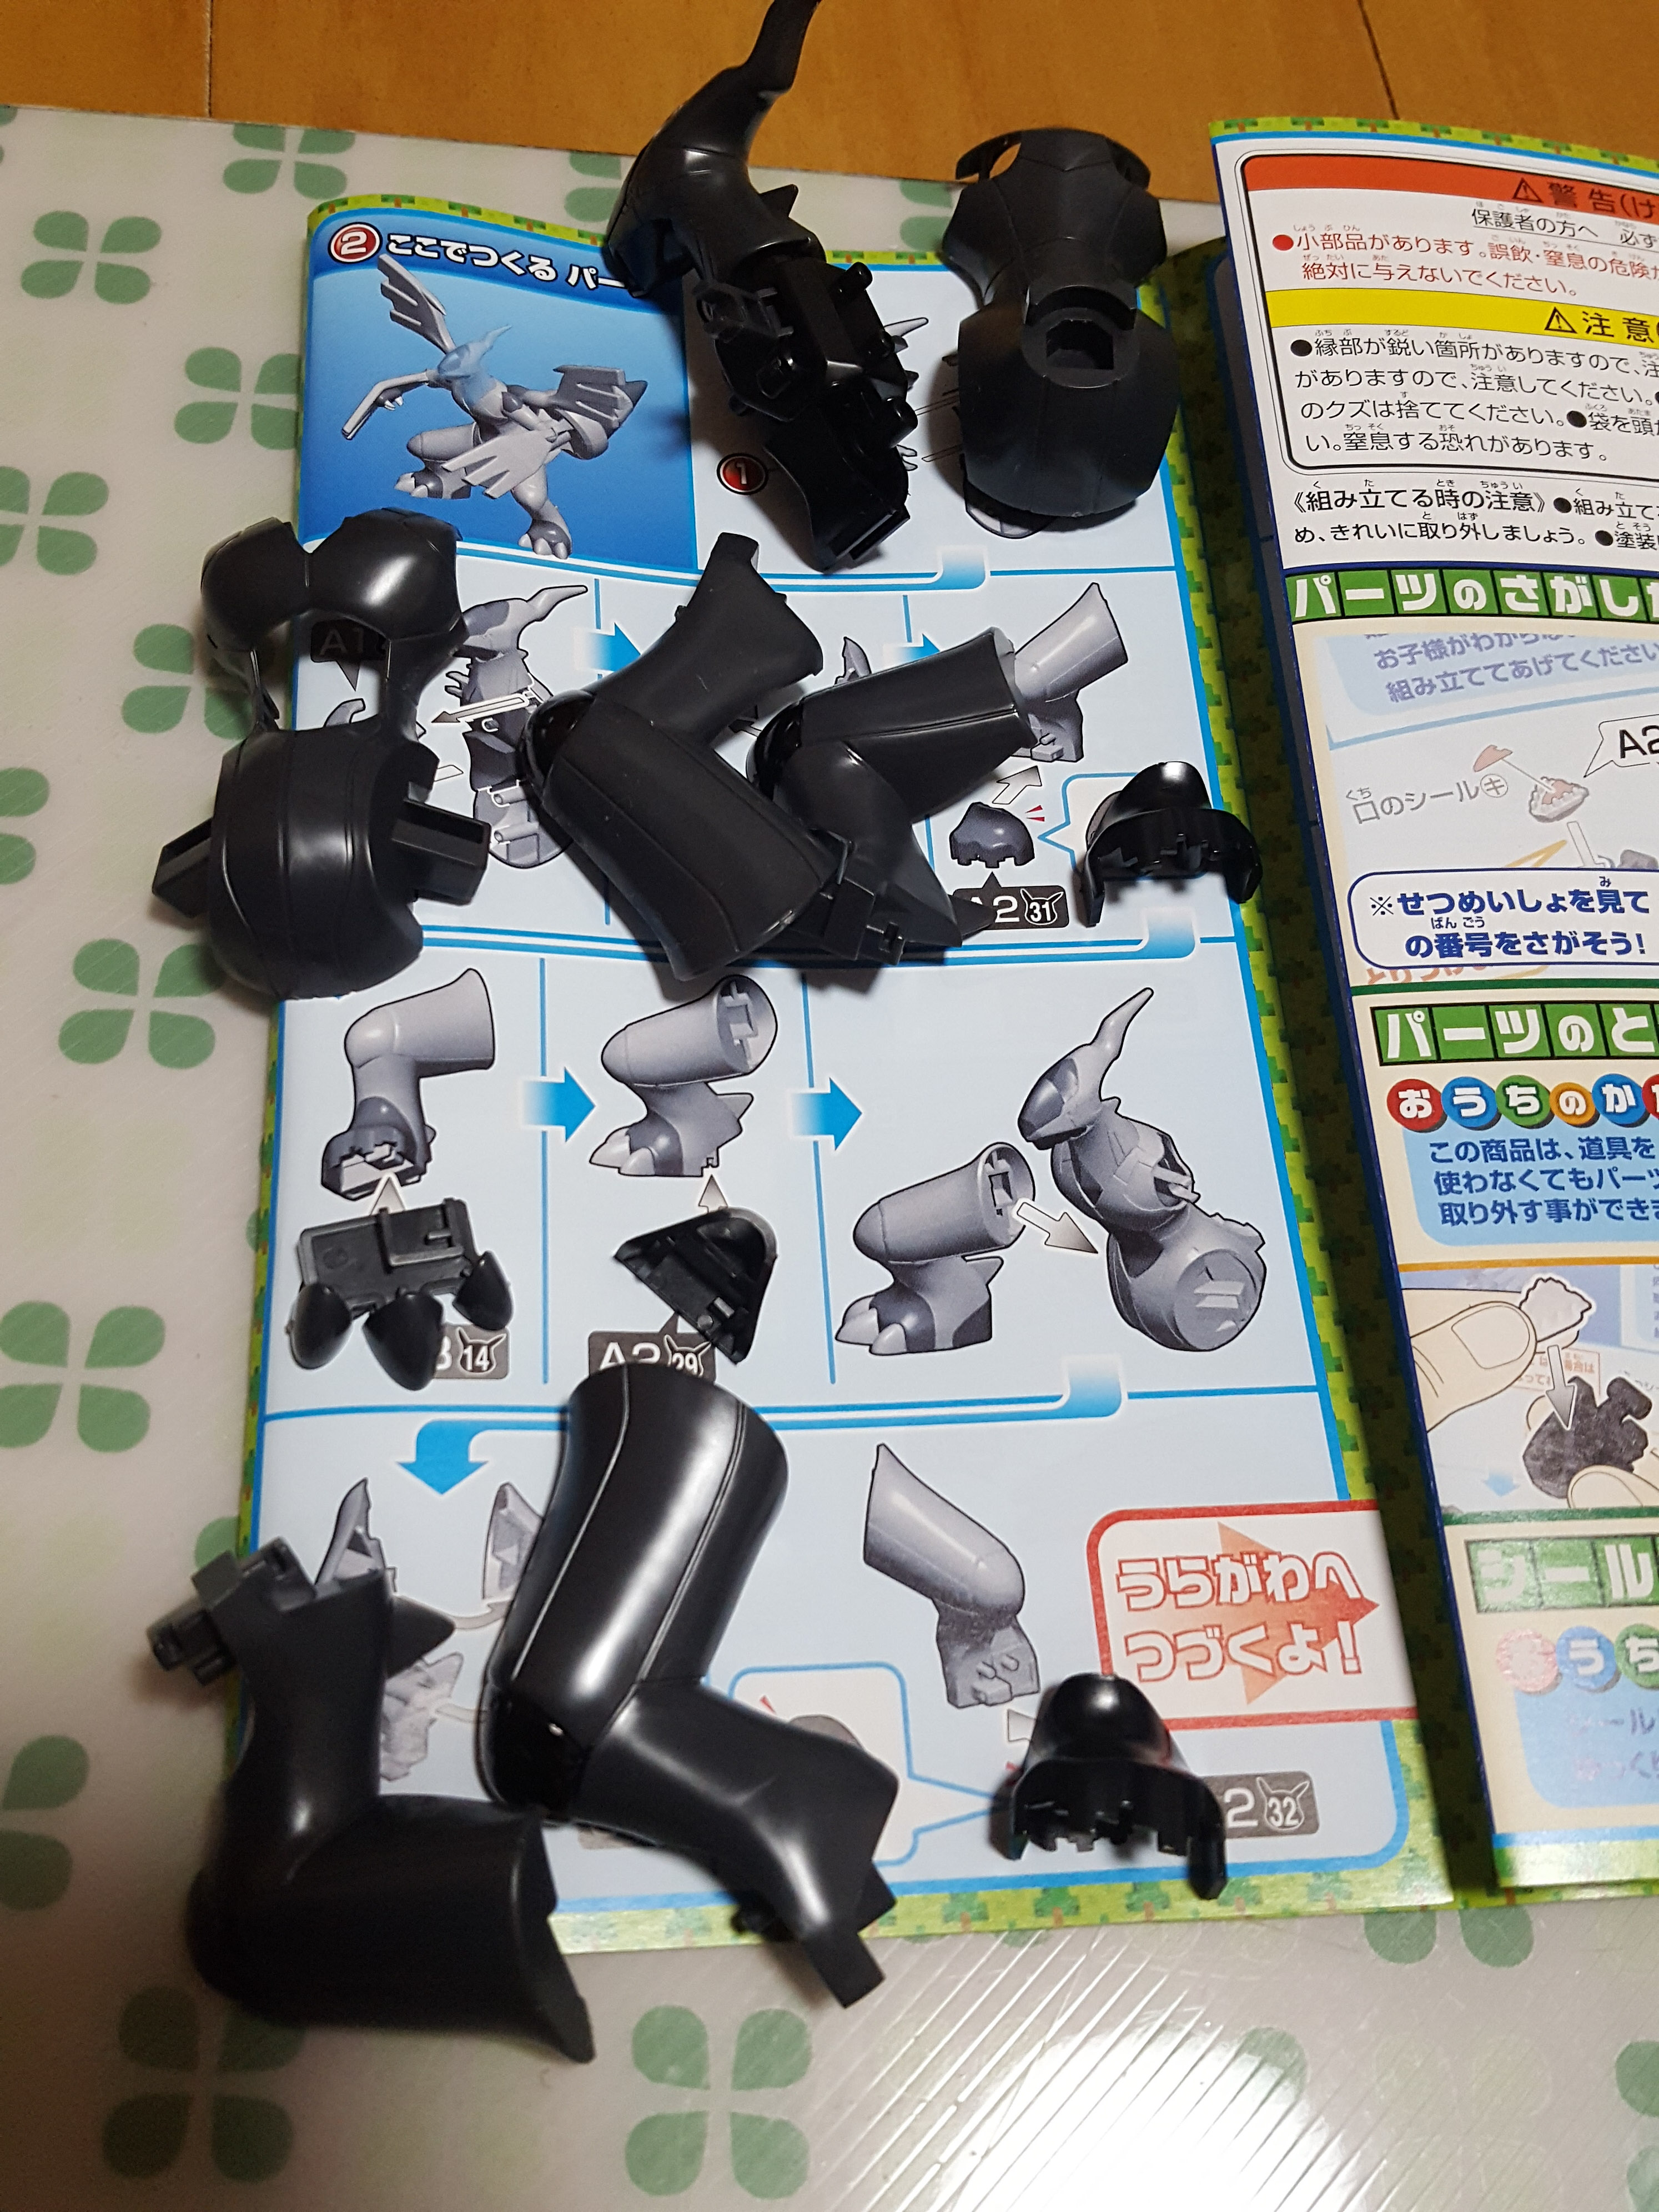
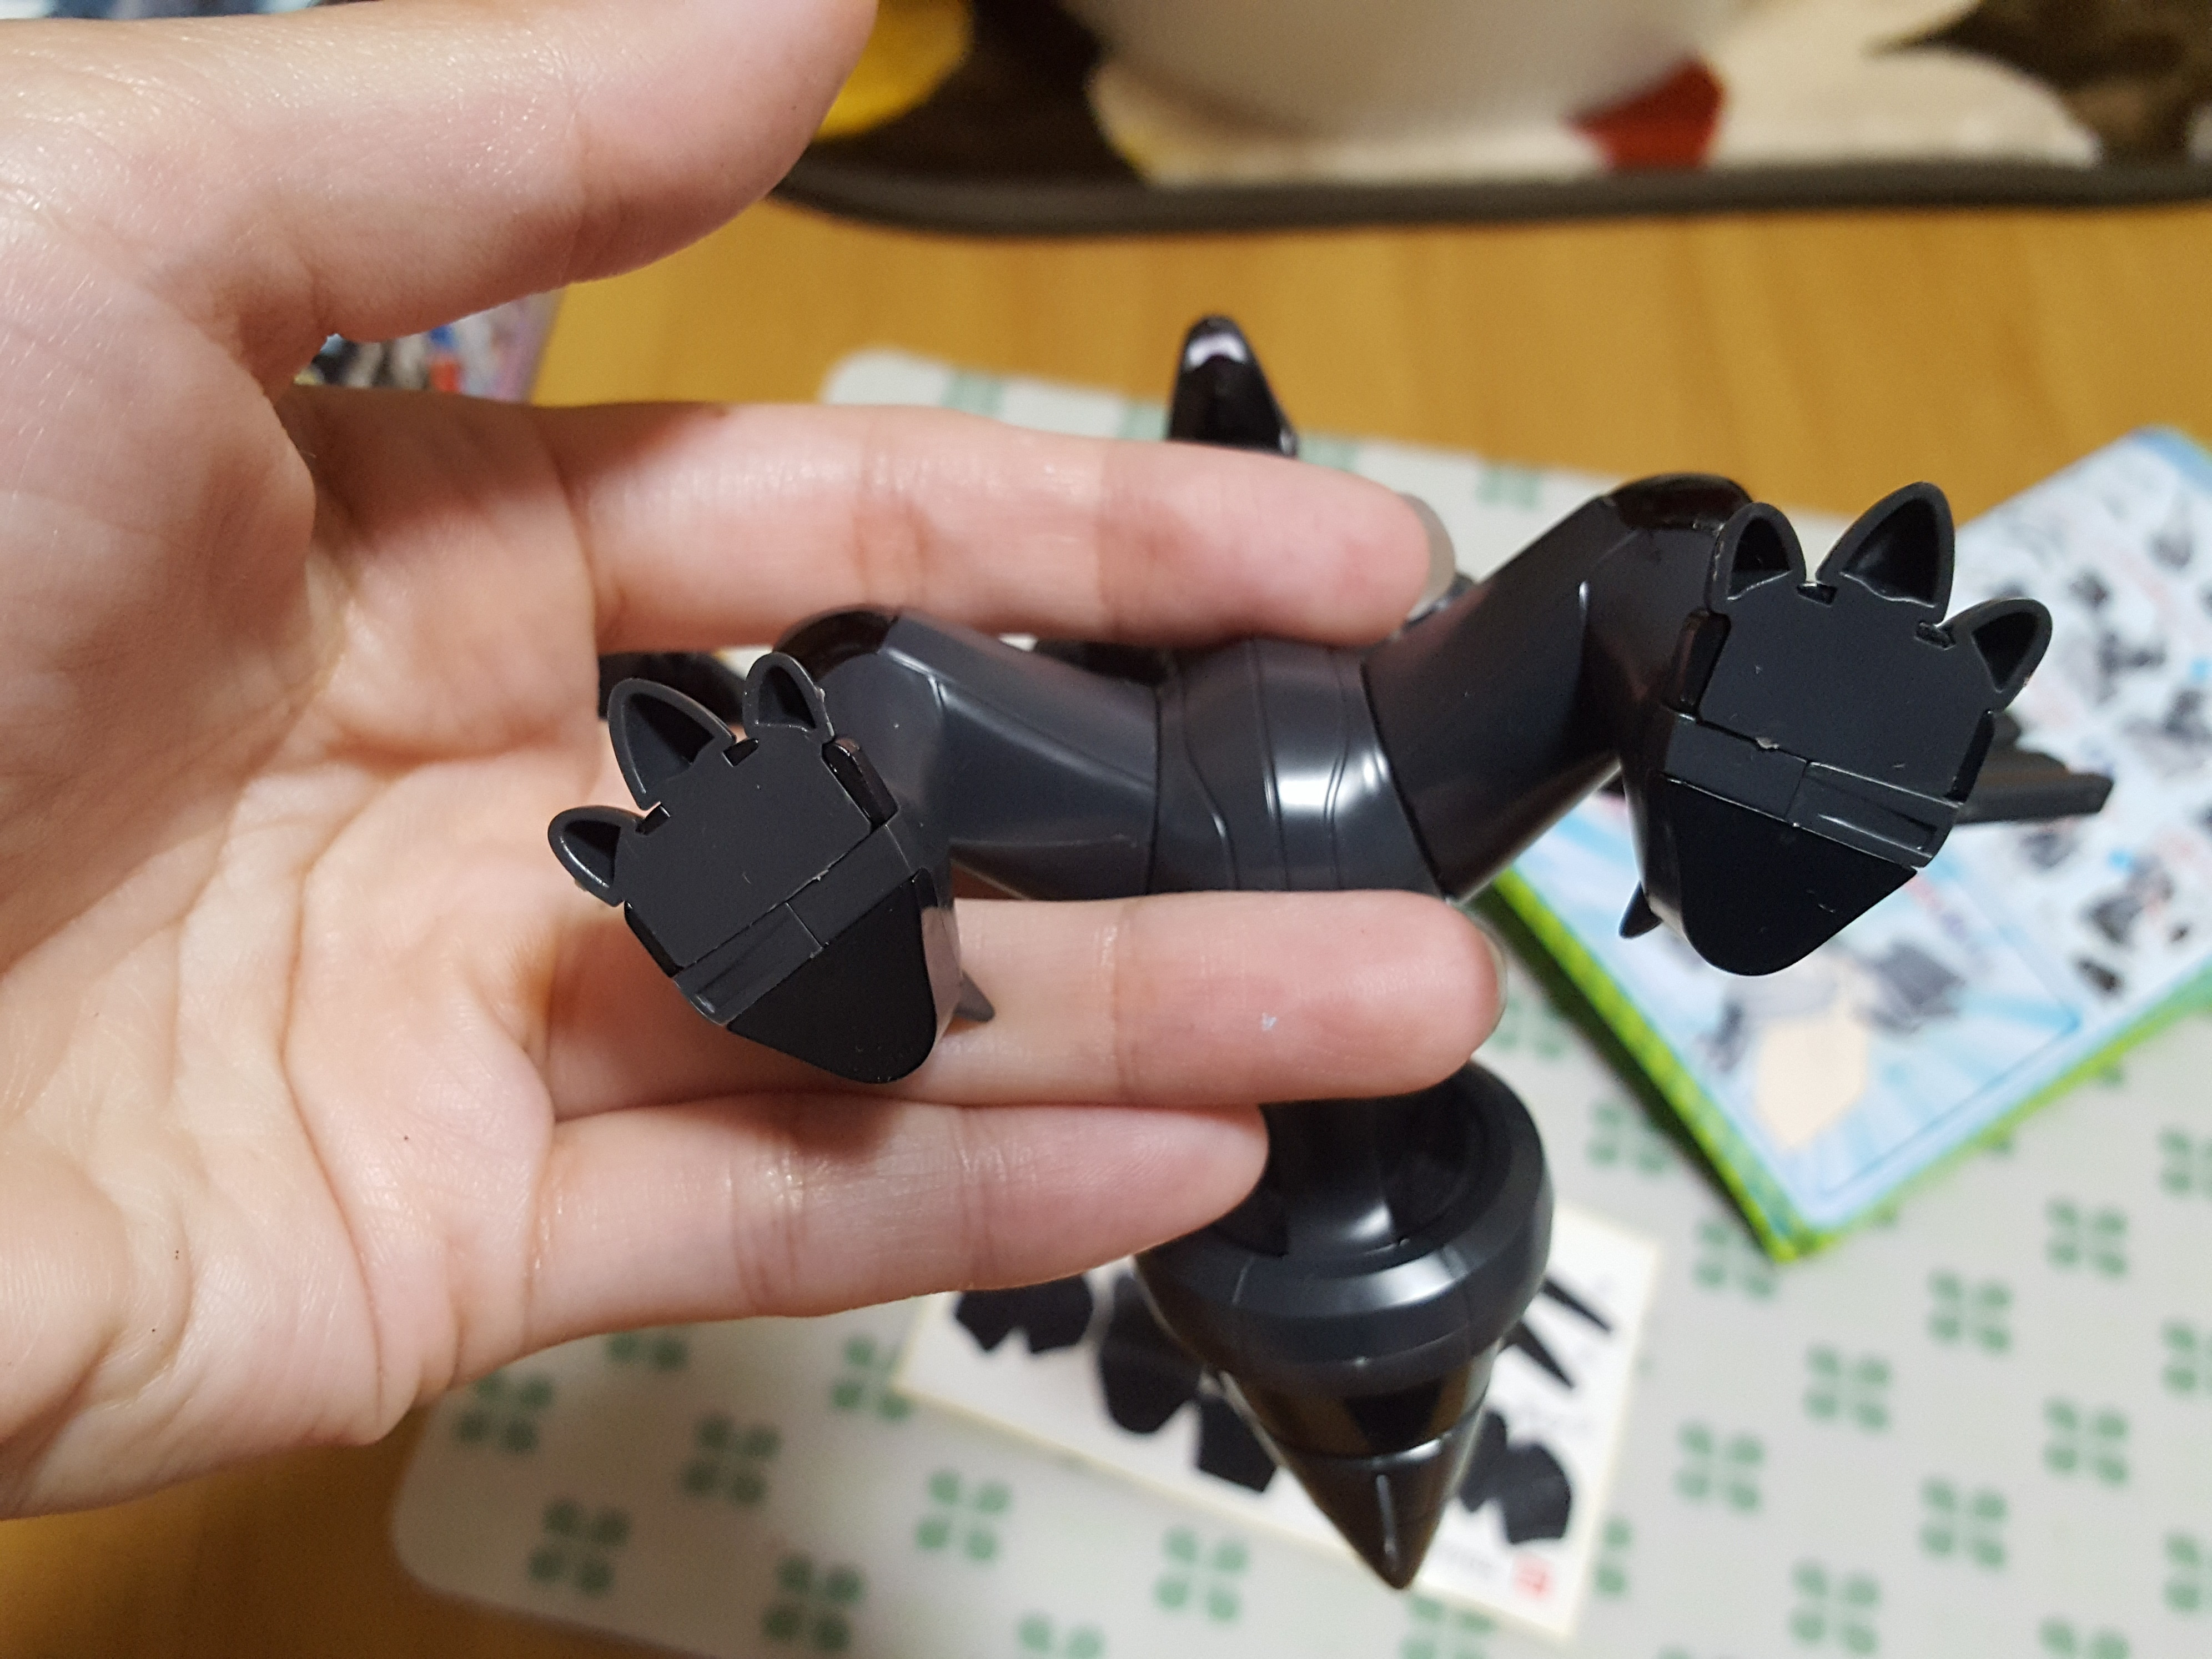
The next page gets the torso snapped together, and gets started on the legs. The feet are molded in several separate parts for the sake of coloring, which I’m not used to seeing. It’s pretty great.
And when we’re done we have a full head, torso, and one and a half legs. You can see the subtle color differences here, and it looks good.
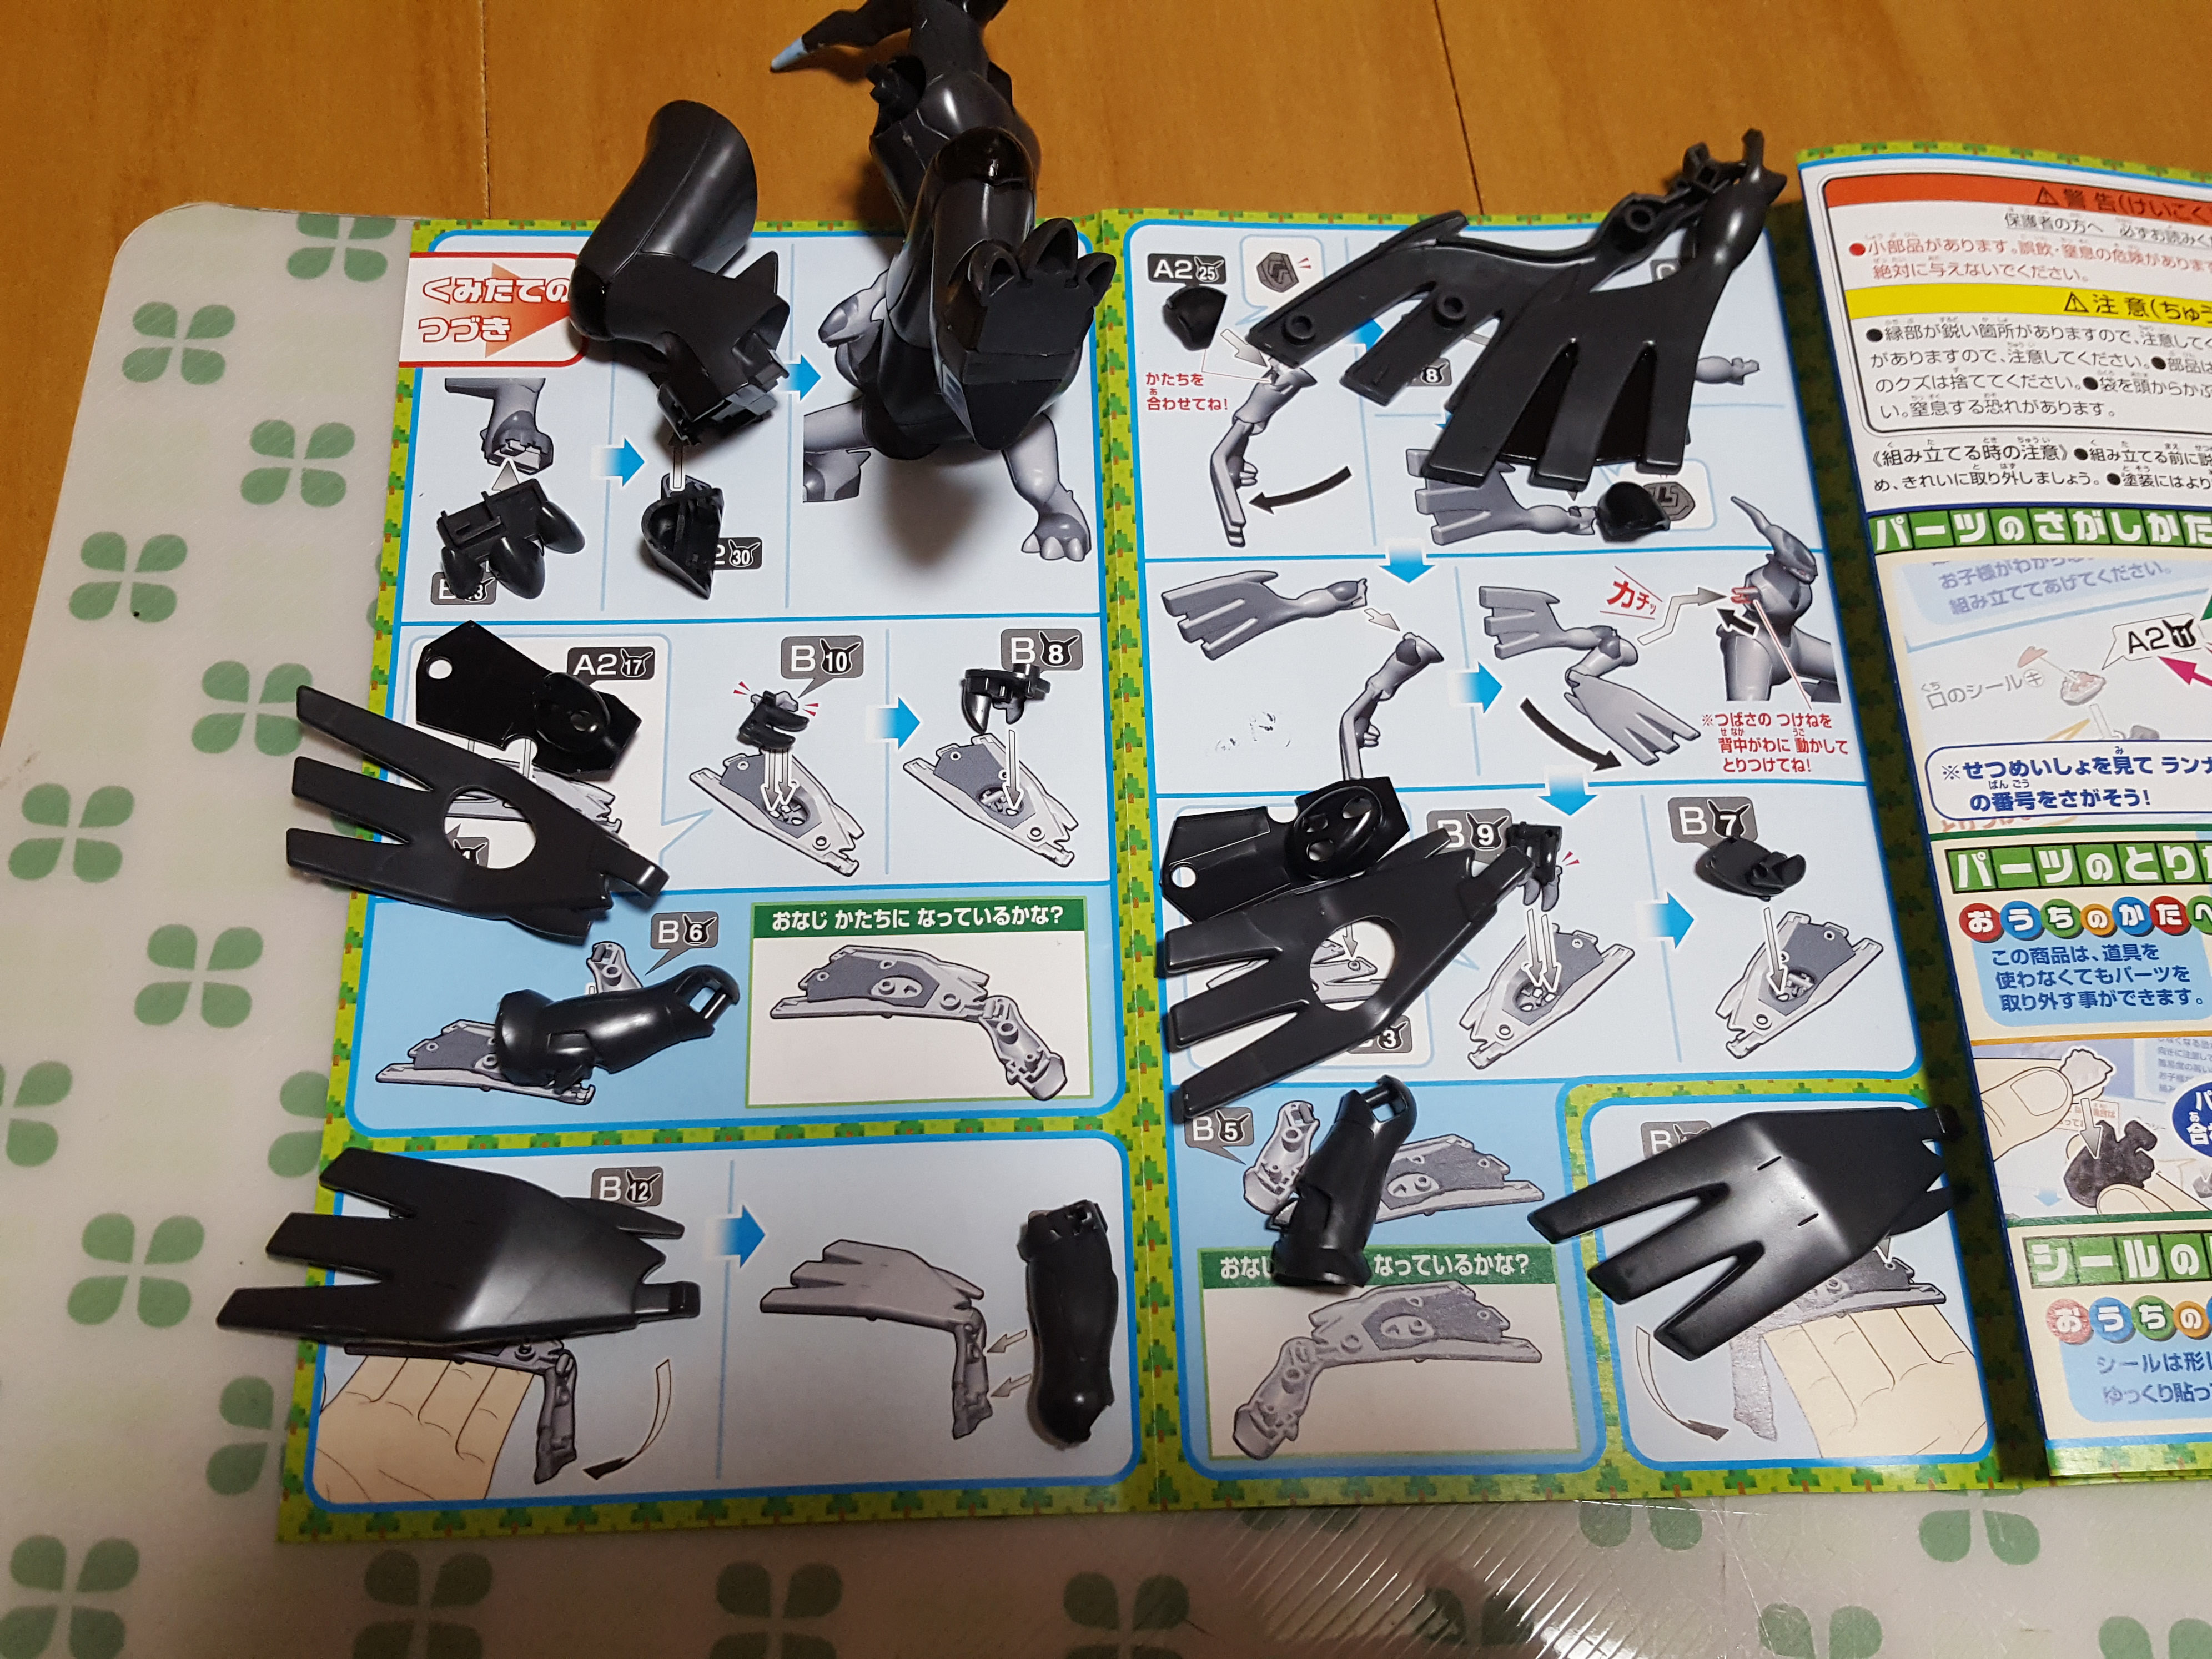
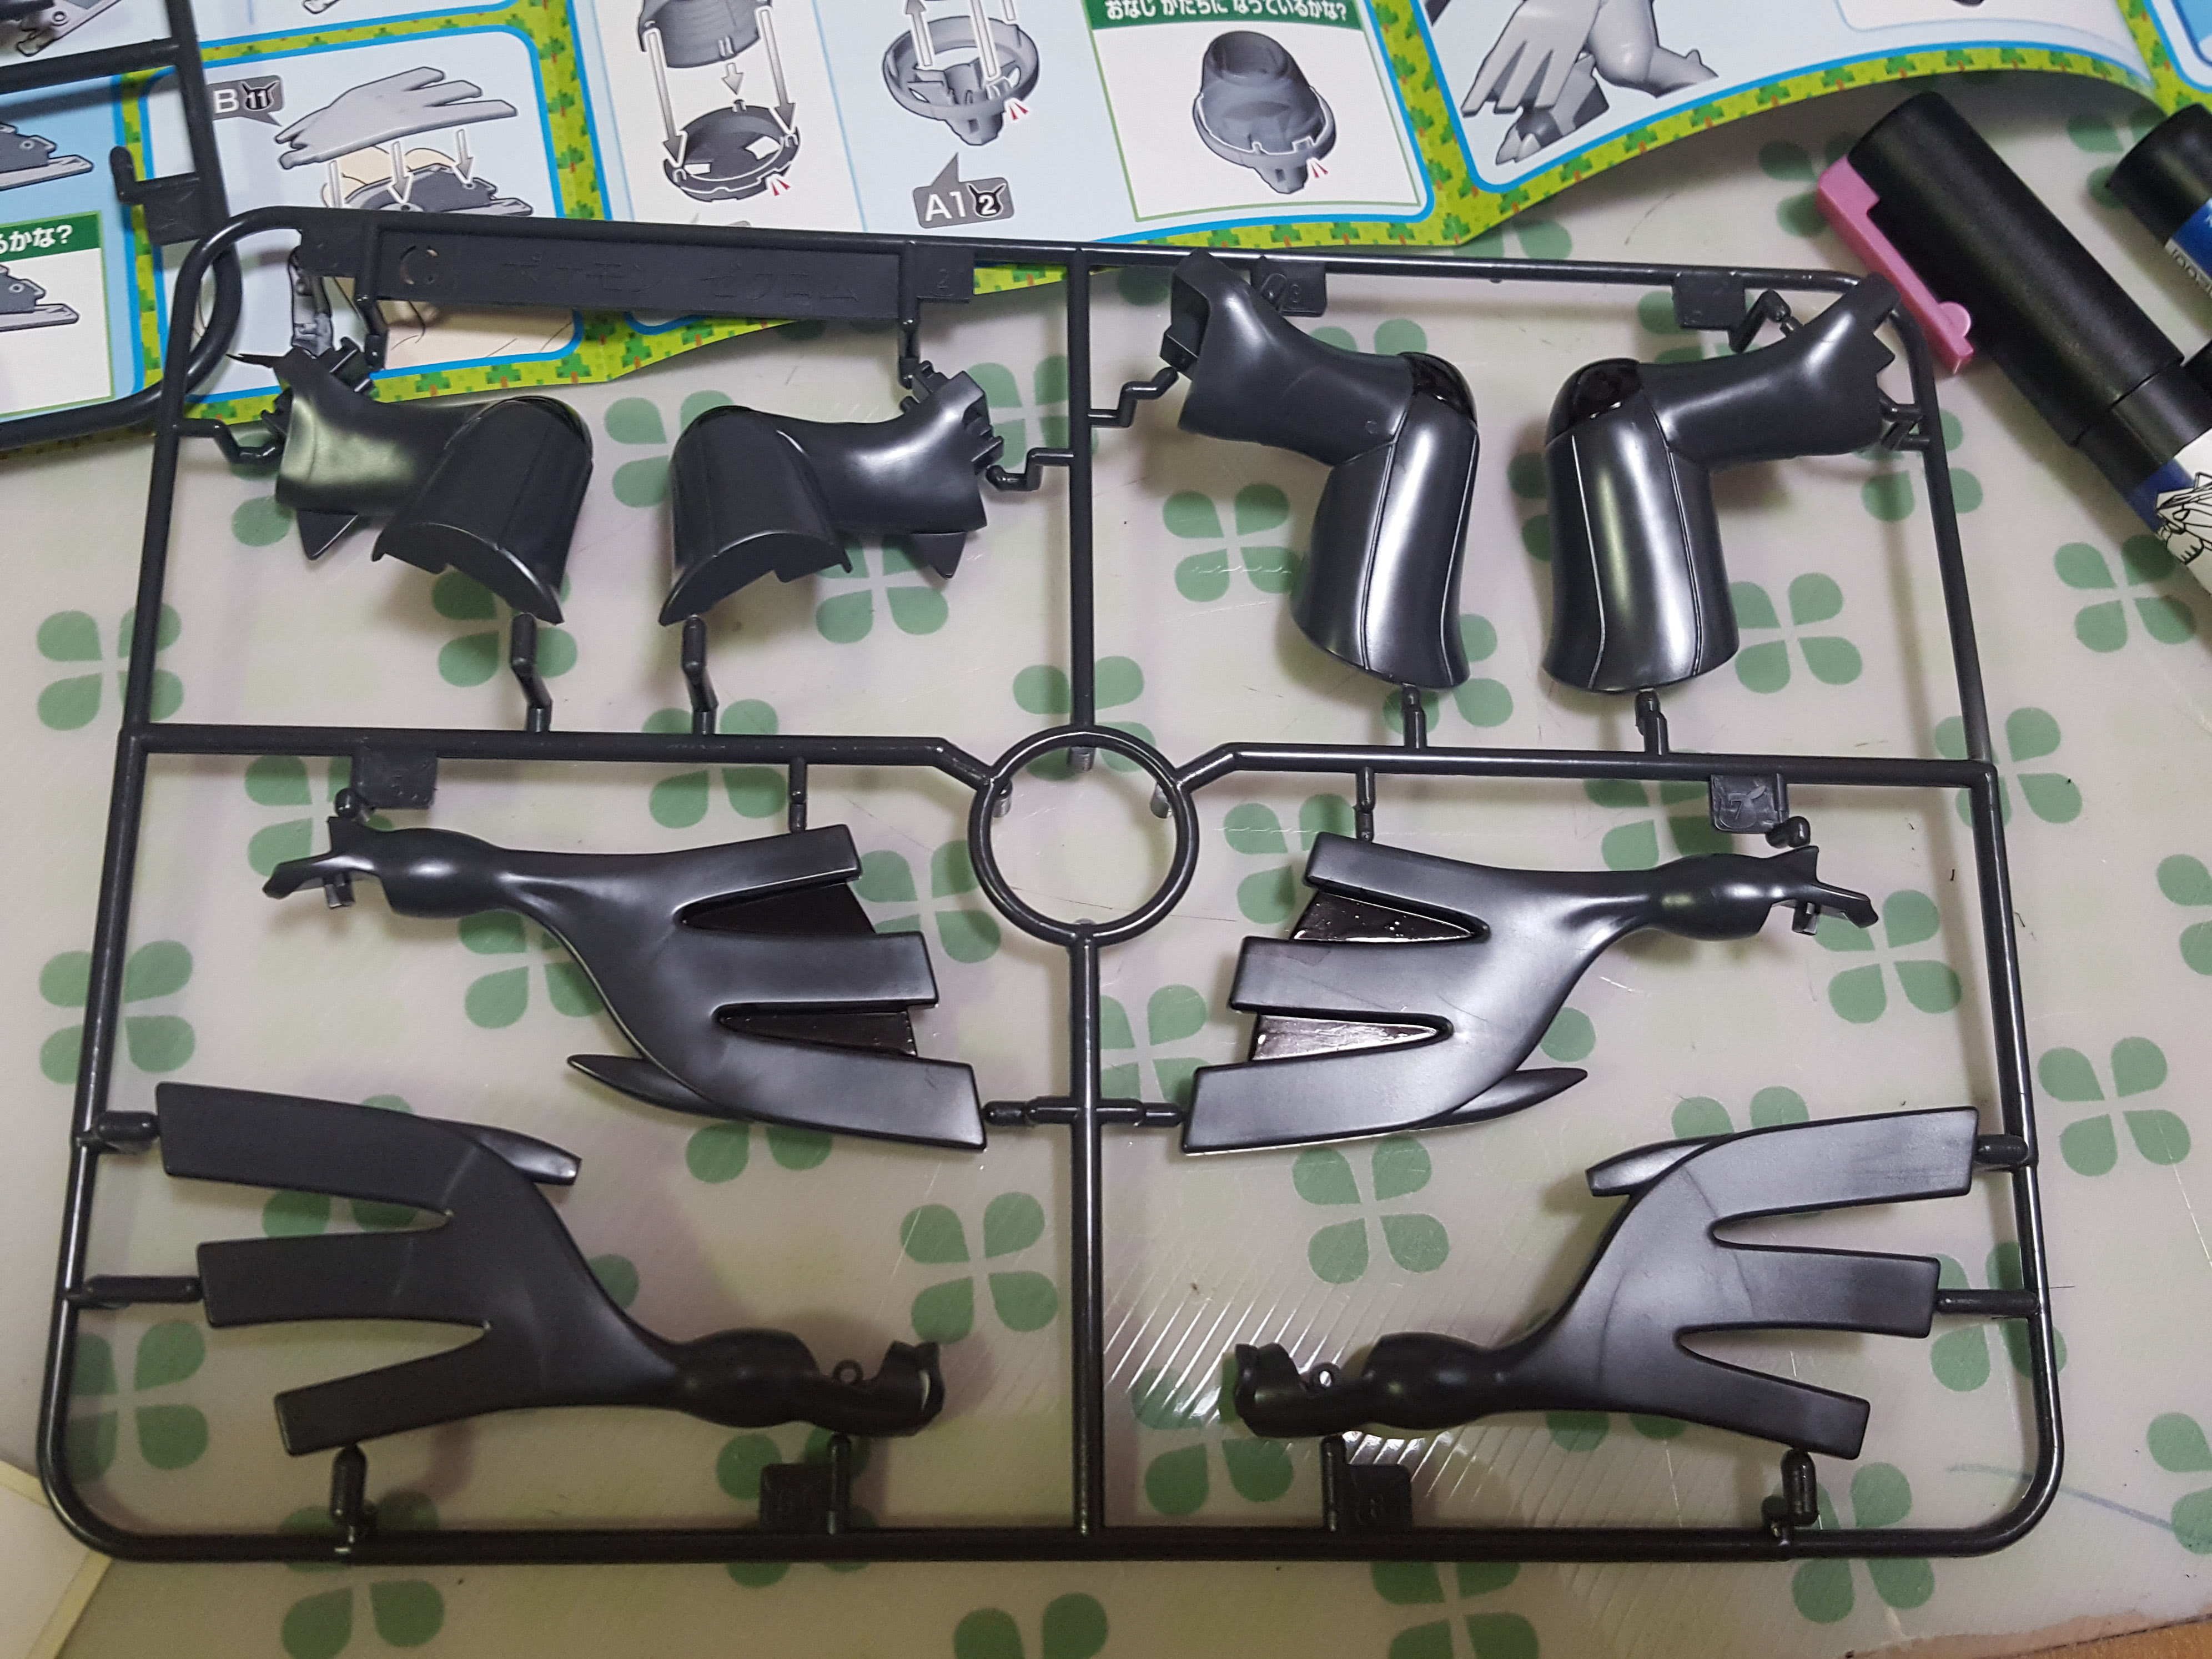
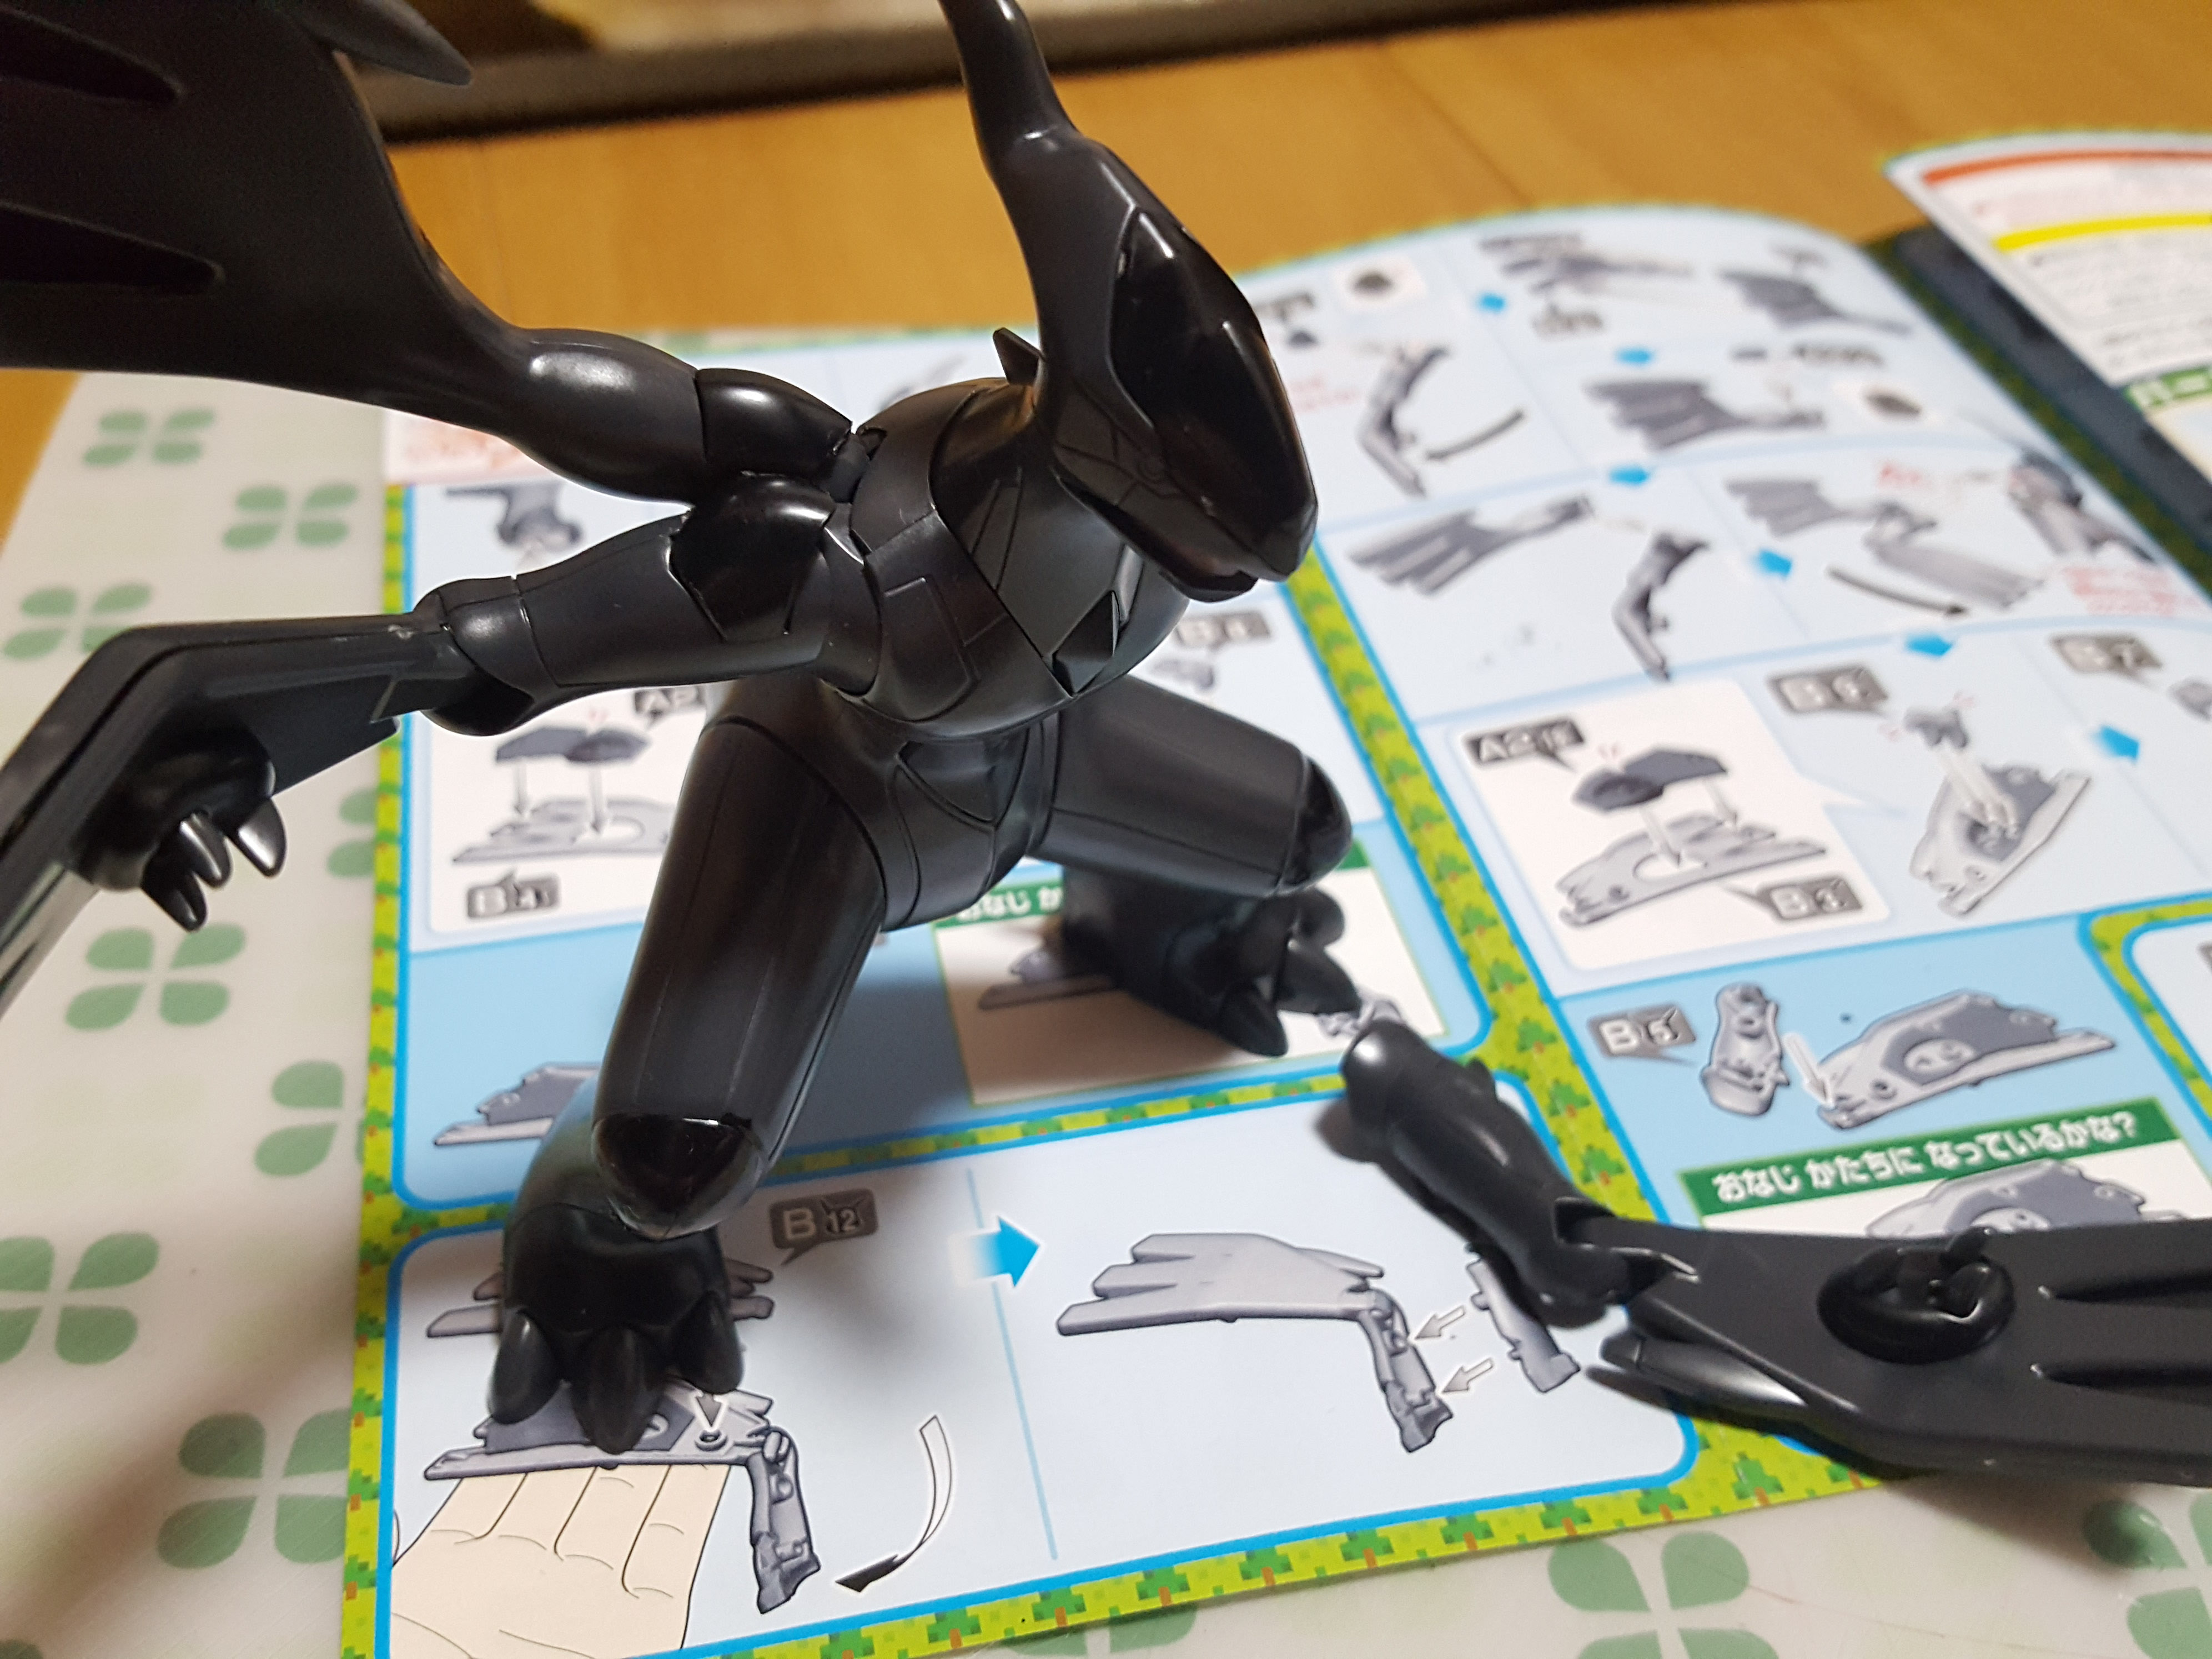
The next page finishes the second leg and gets to the most parts-heavy pieces: the wings. There are several small parts involved here (B 10 and 8 on the left, B 9 and 7 on the right) which don’t really give you the impression that this kit is for small kids. They’re easy enough to assemble, but I could see them being frustrating for little ones.
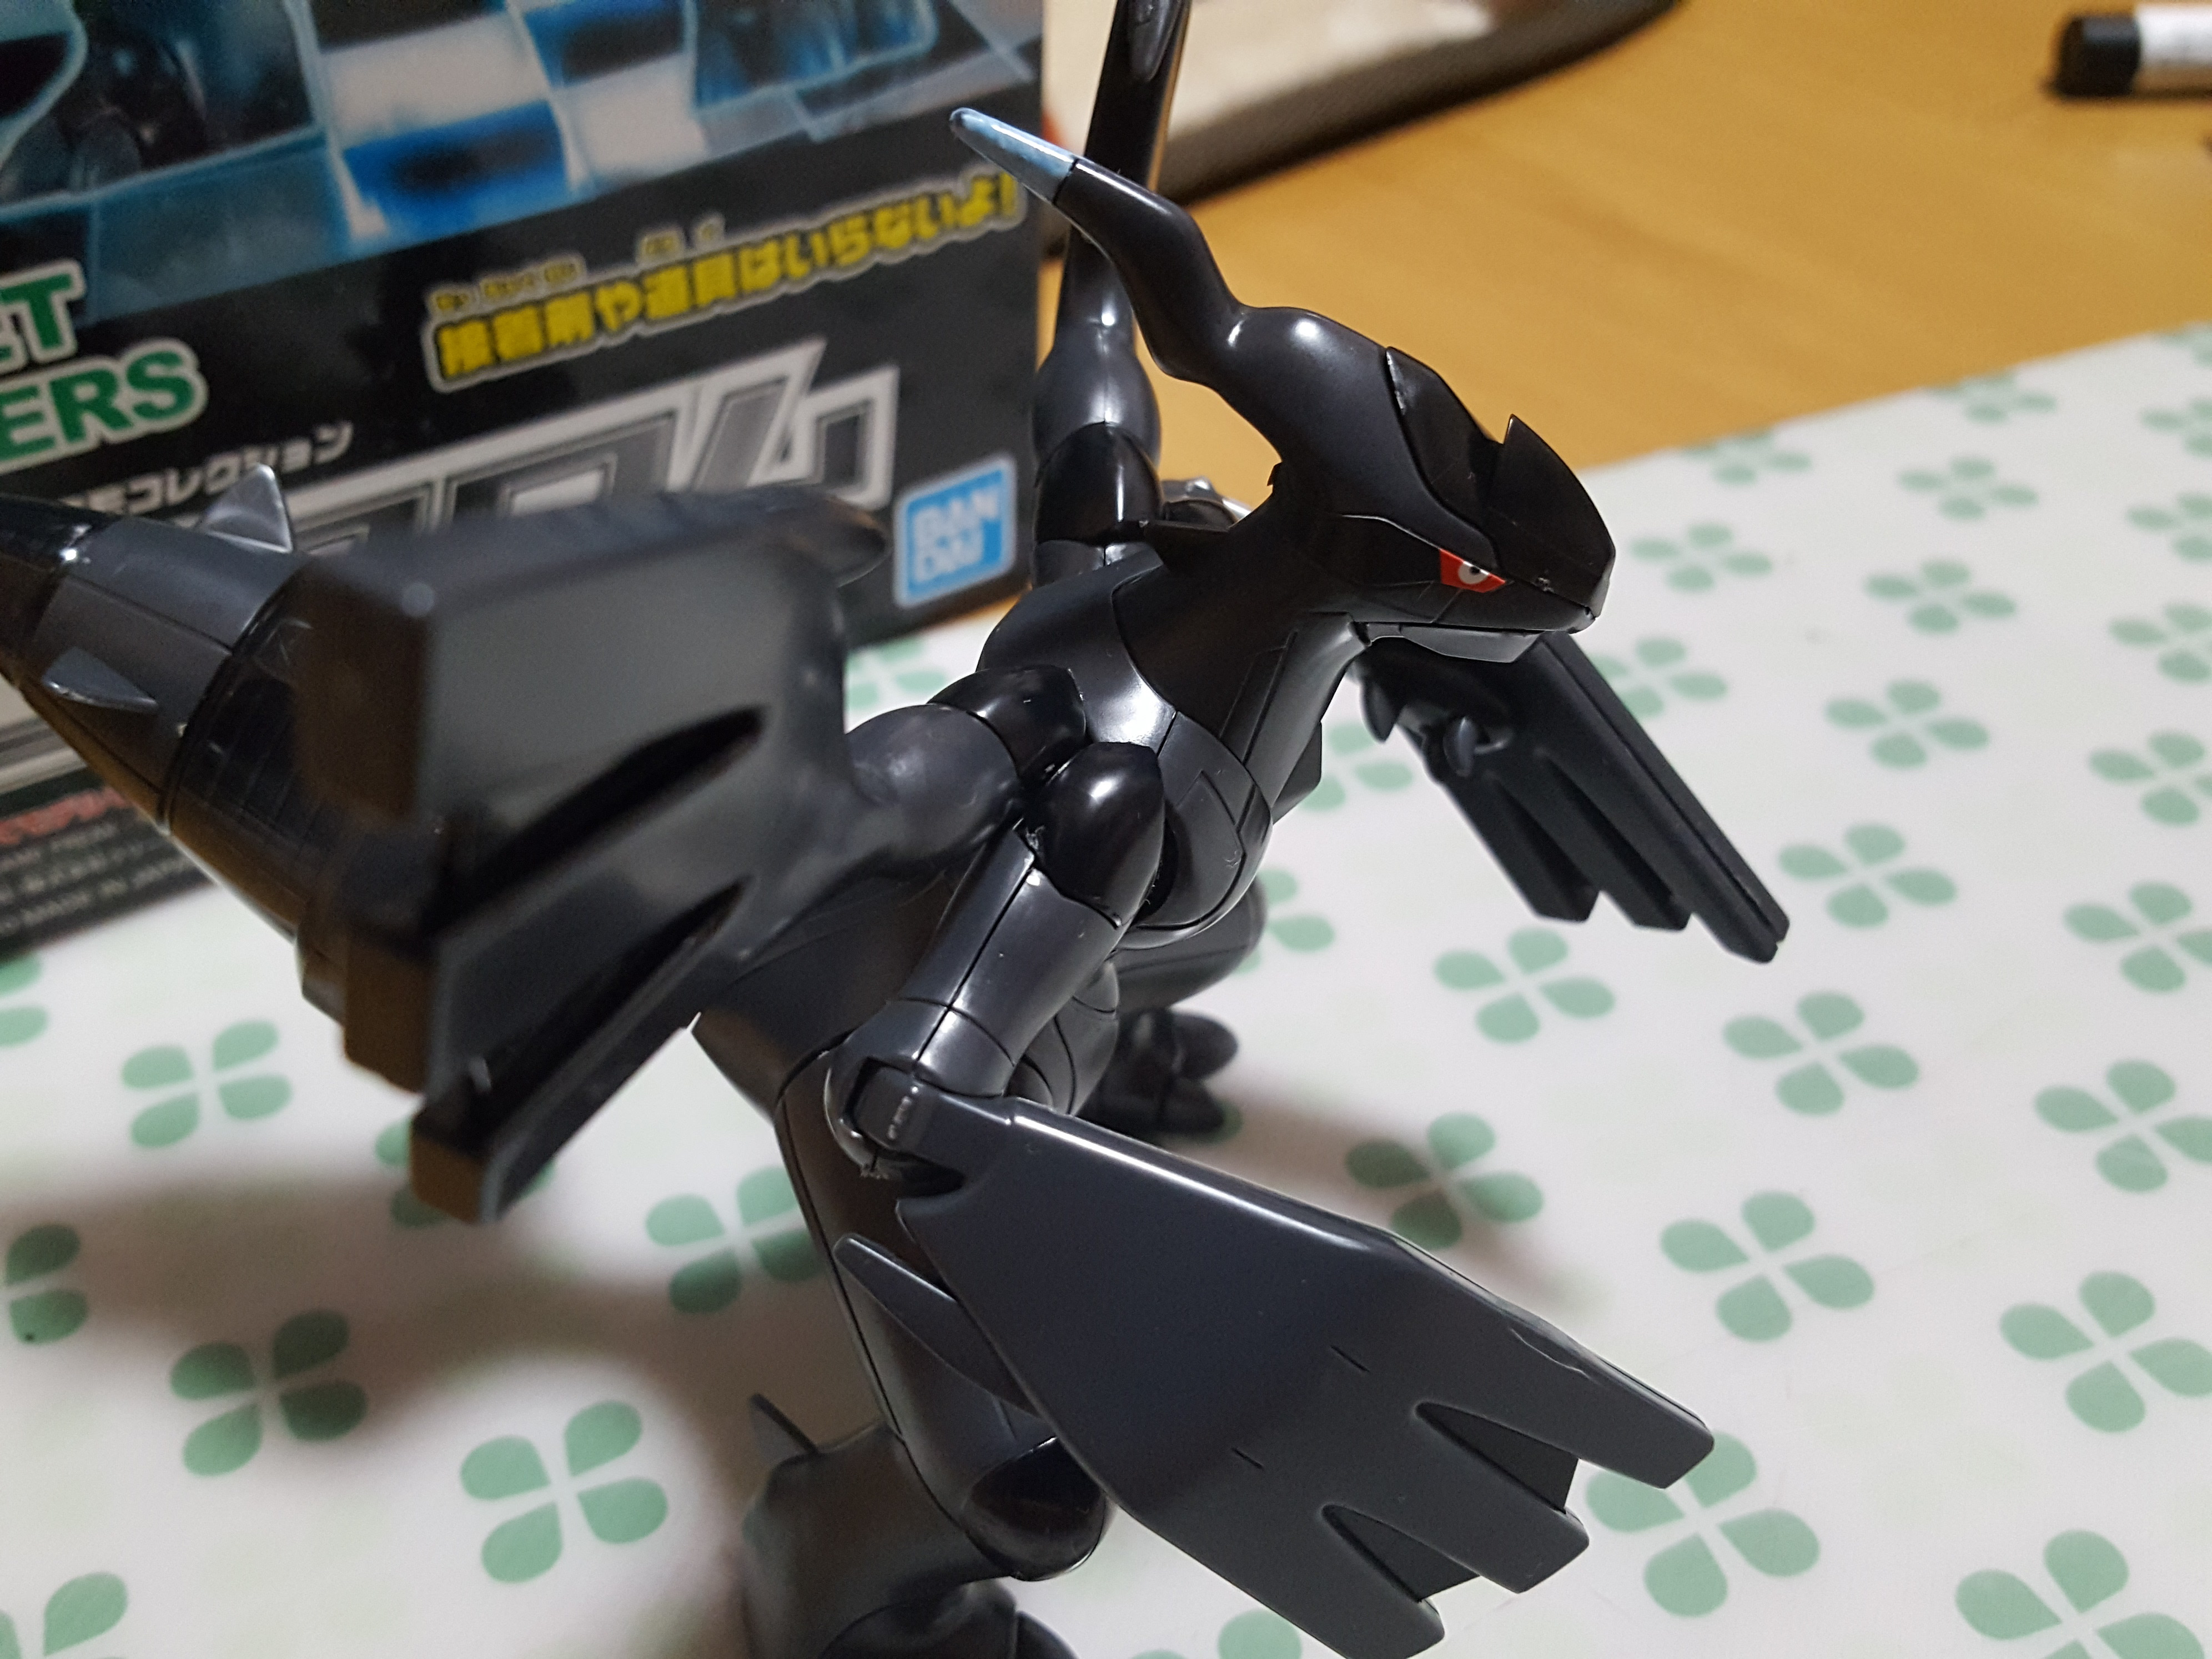
Here we are with these steps completed. Zekrom’s looking sharp.

Almost finished! These pages get the rest of the second wing built, and that cool drill tail. Despite the tail involving a few small parts, these three are really easy to put on.
Here he is before the instructions tell you to enter sticker hell! (Which we won’t!) All we have left here is the eye stickers.
You can also add the stickers to the bottoms of the feet, too, if you so choose. Since these really aren’t going to be seen on display anyway, I’ve chosen to skip them and keep the weird hollow toes.
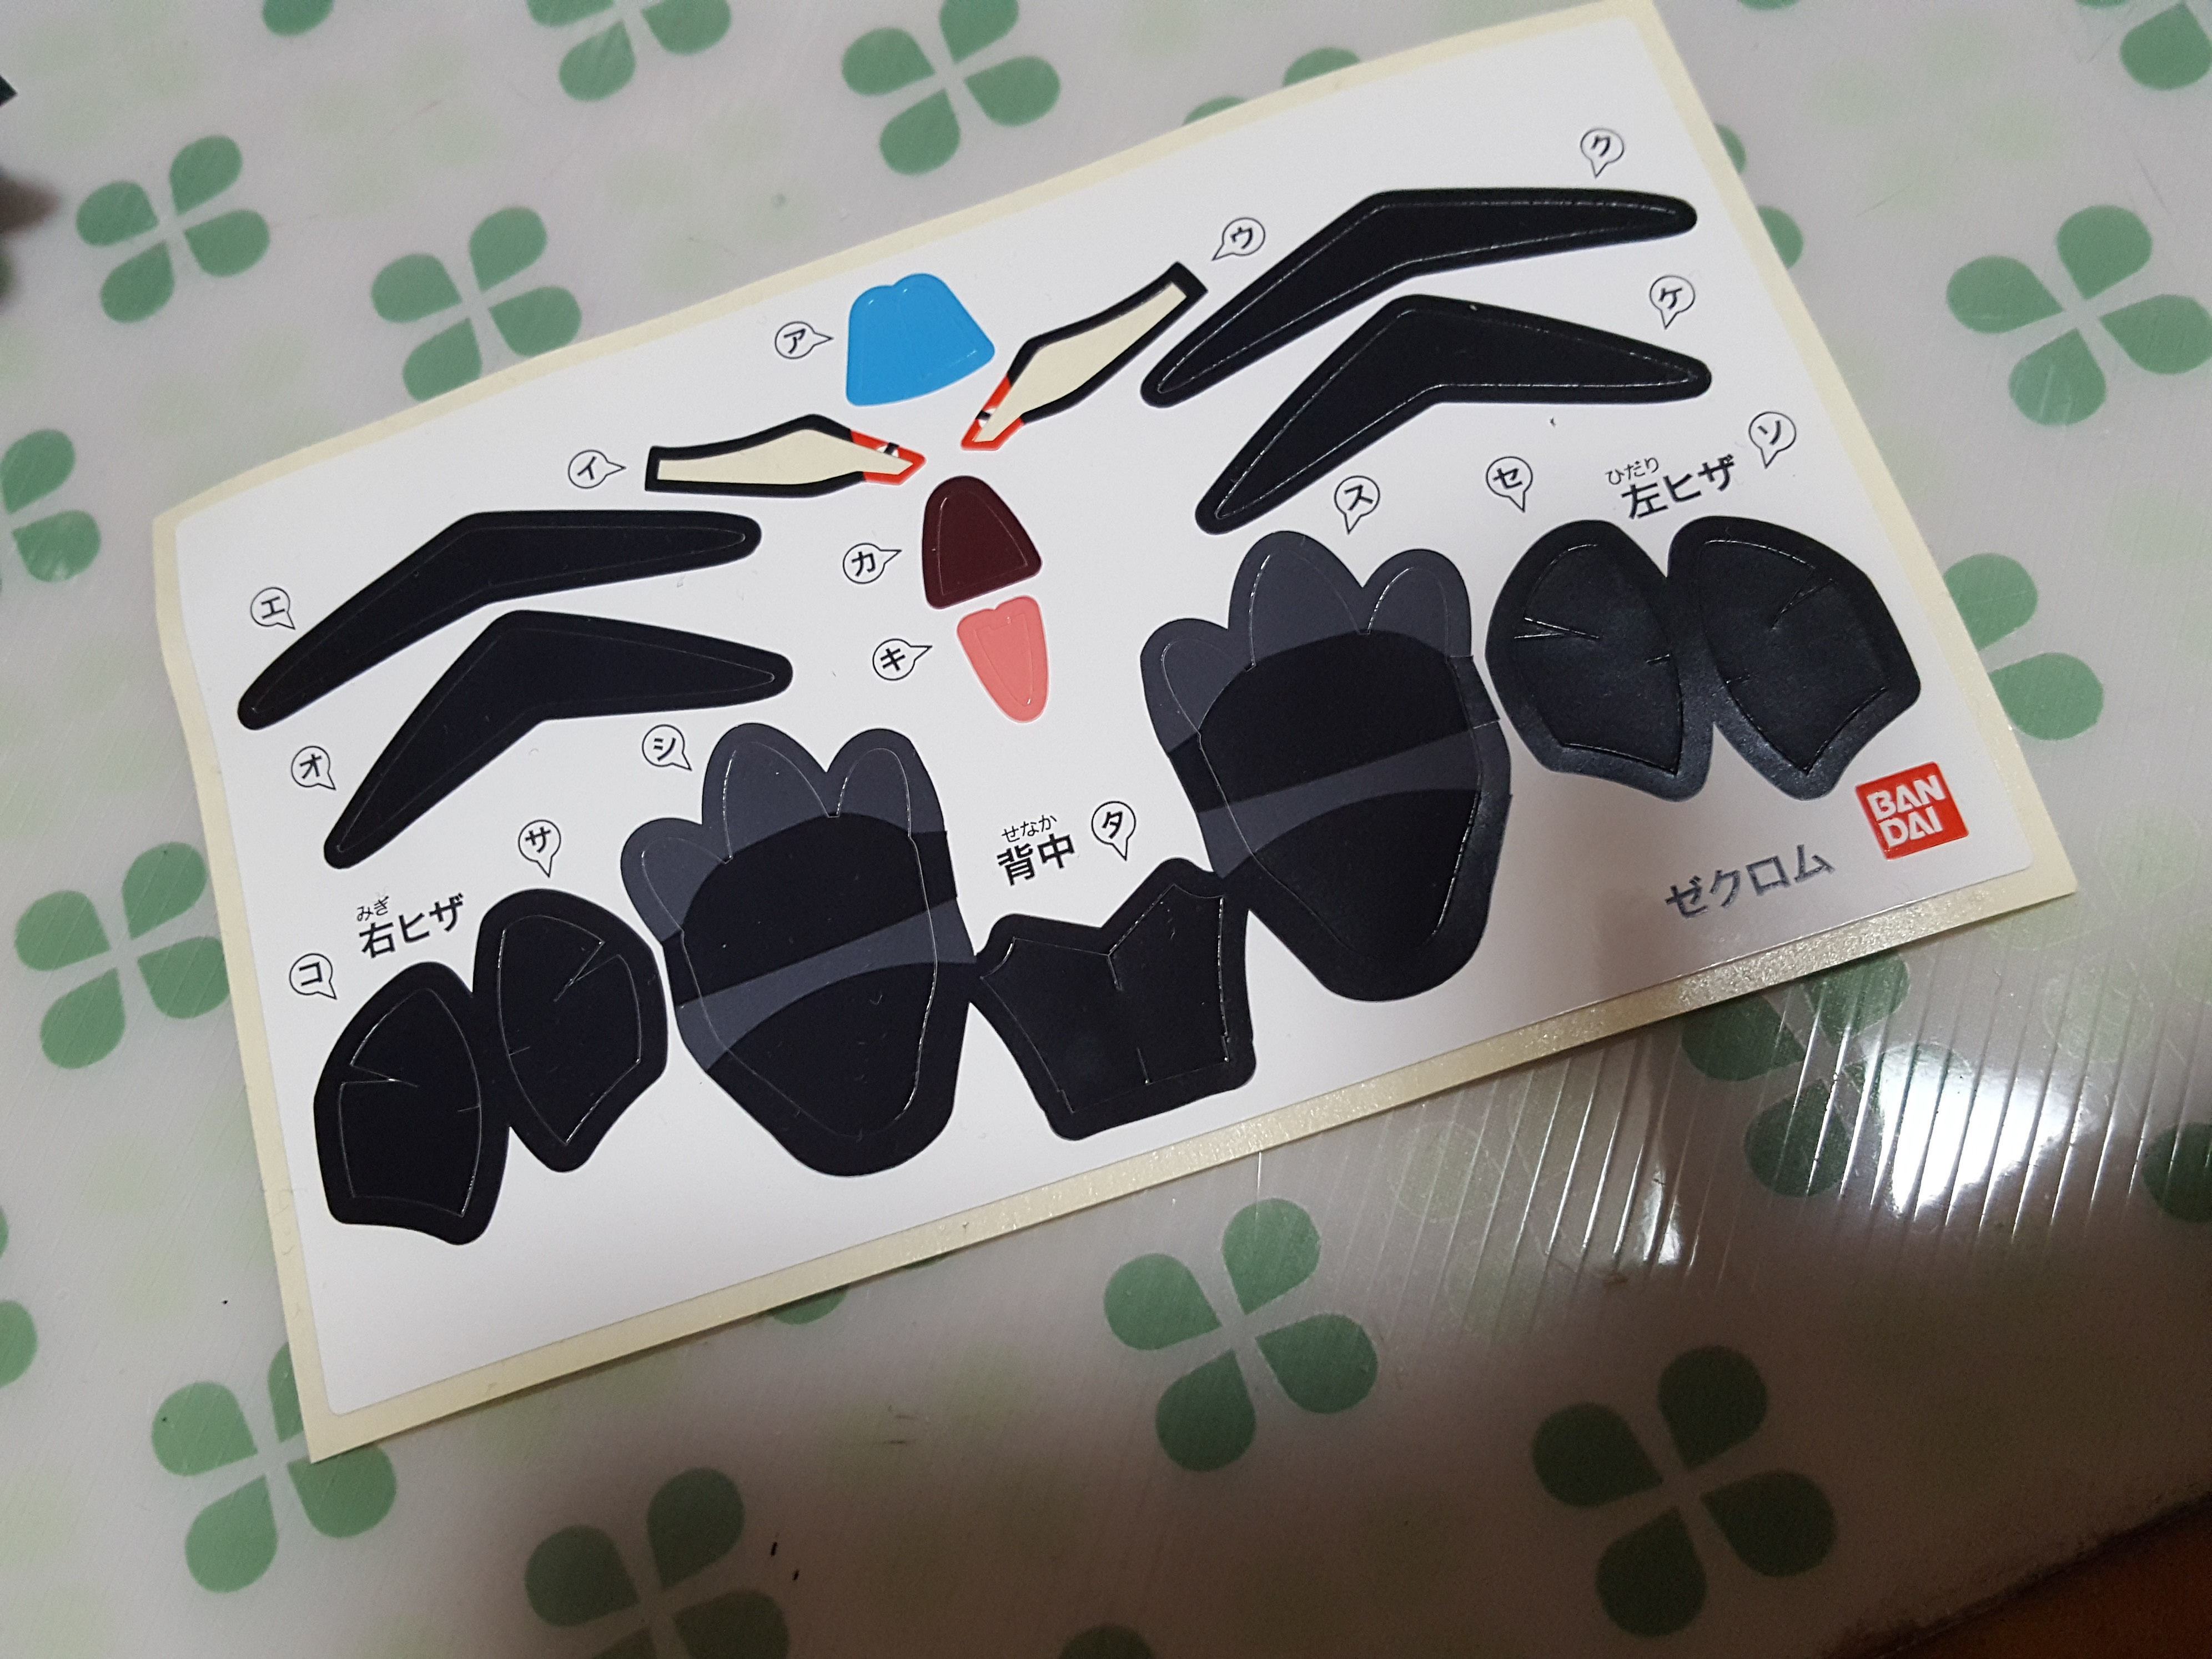
All in all, here’s the sticker sheet when I finished. I really only ended up using the eyes, and I’m pretty happy with the final look!
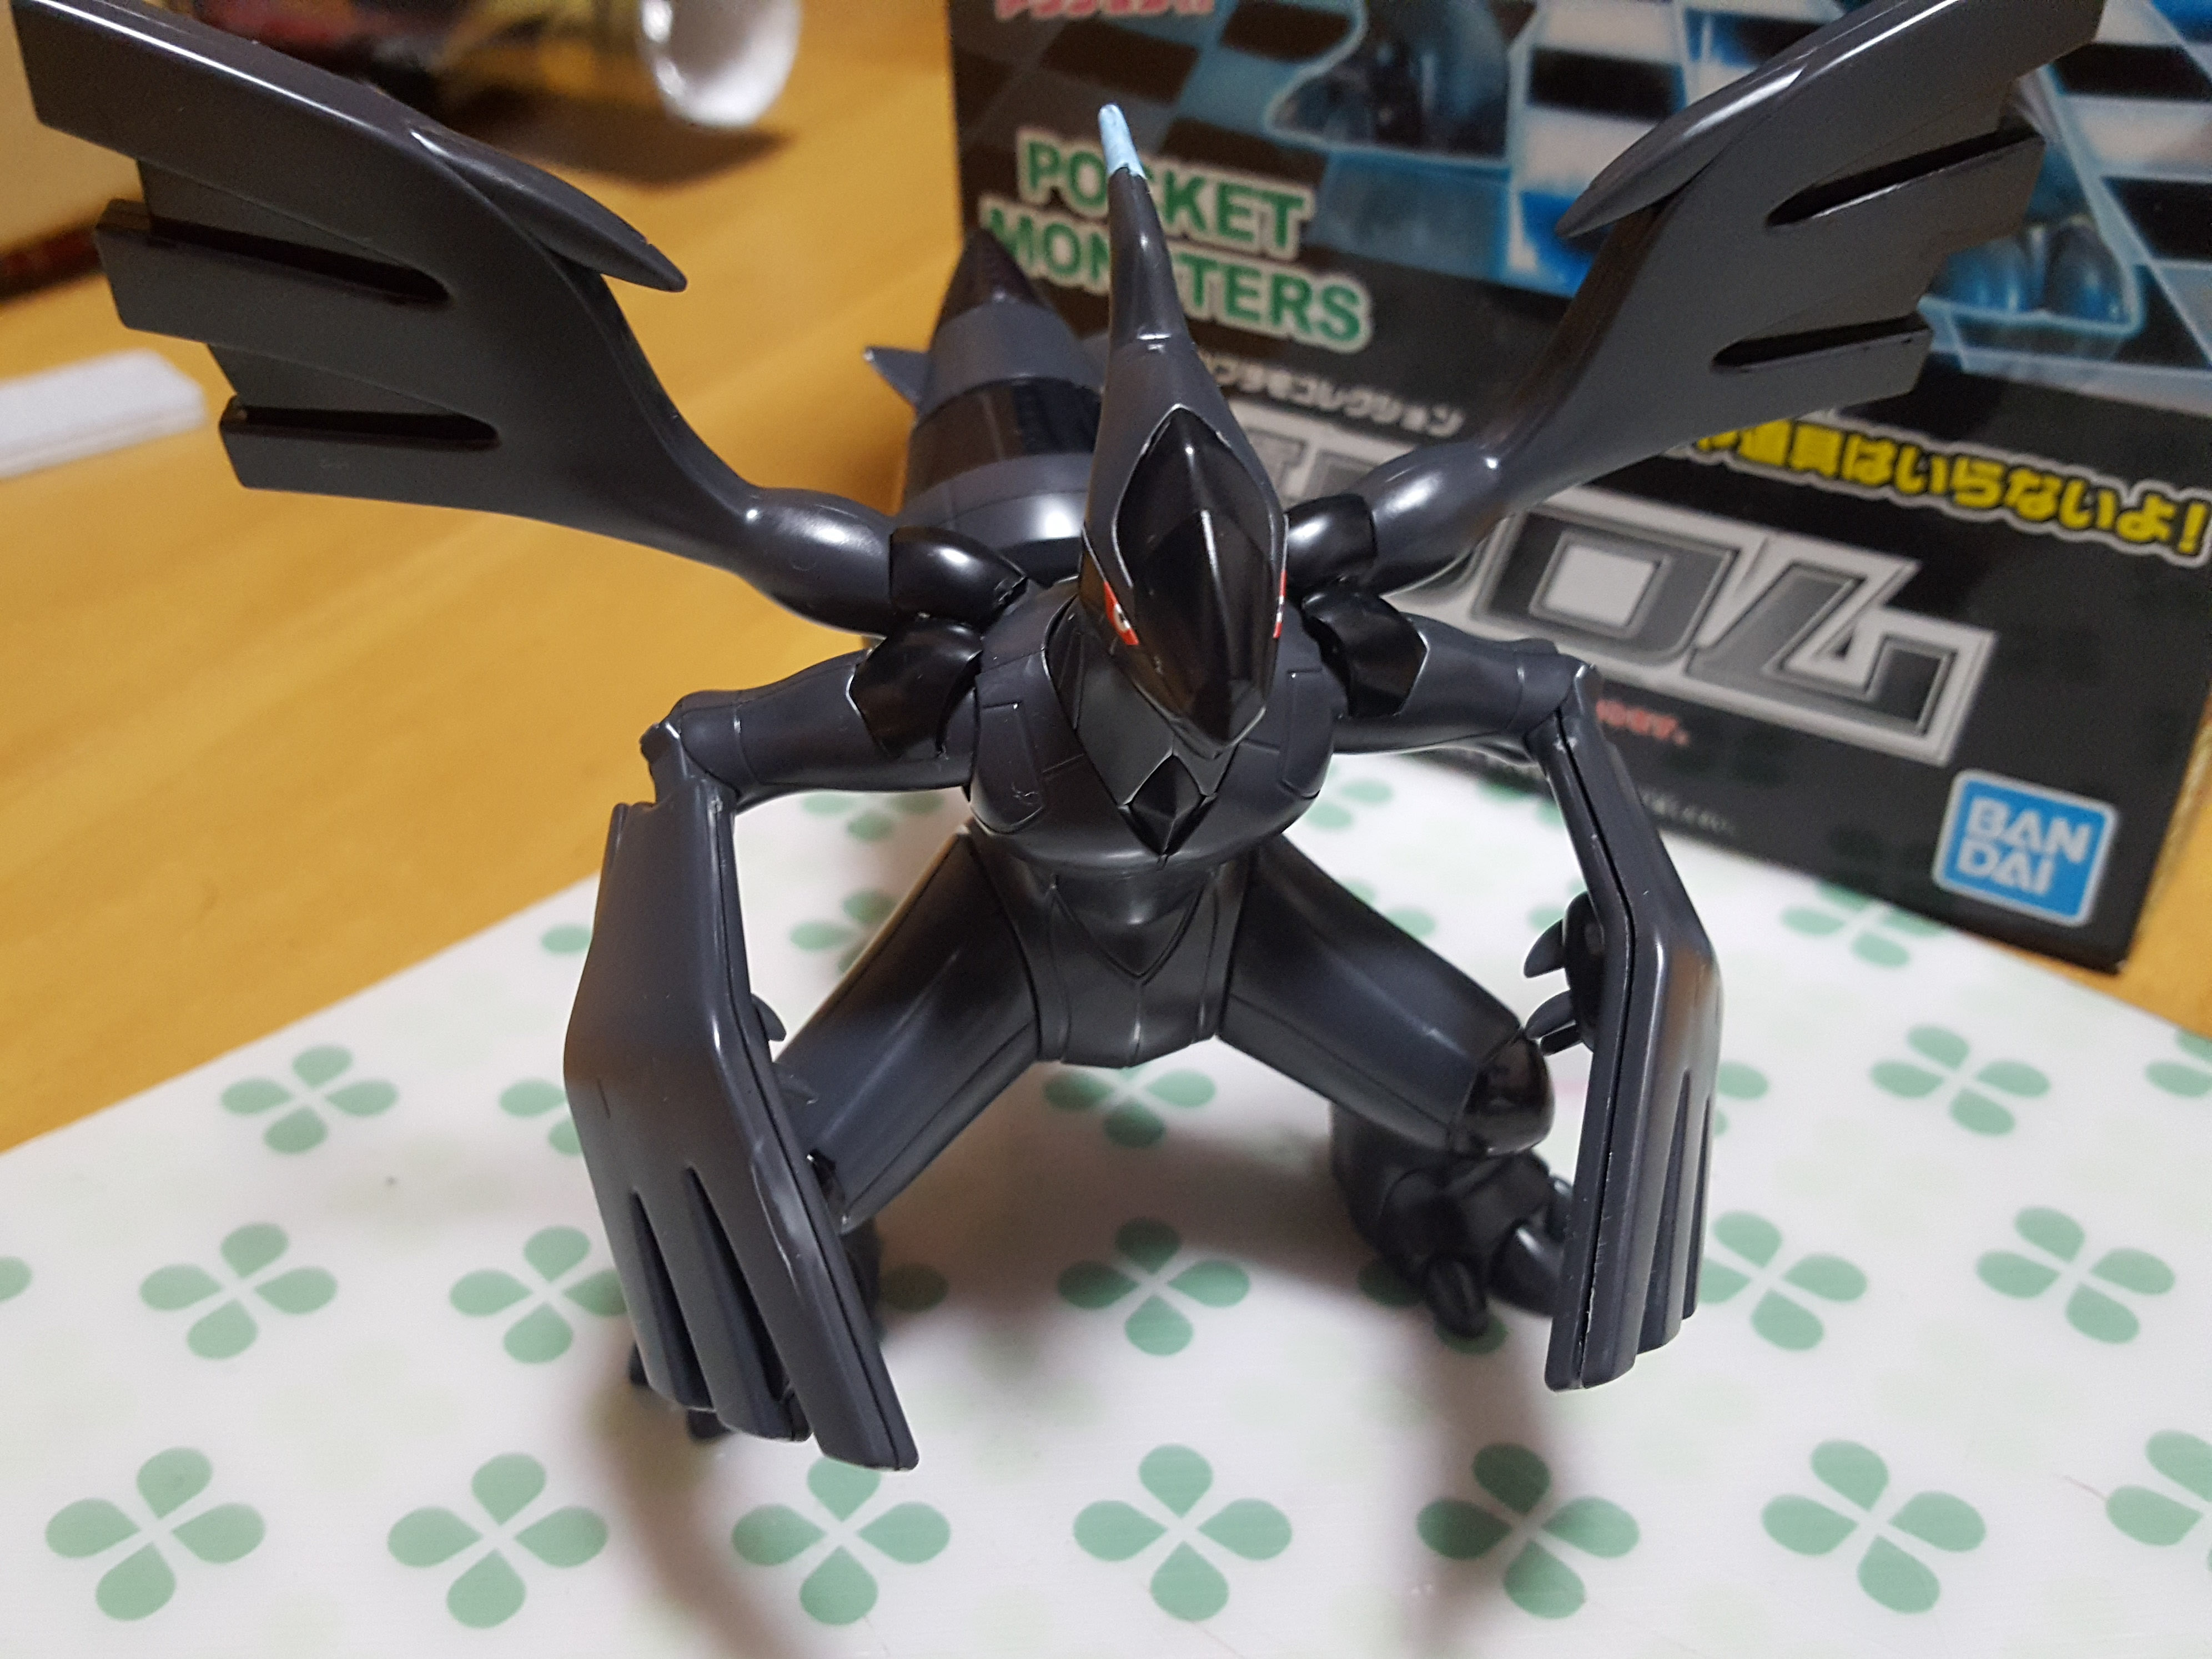
Zekrom, complete!
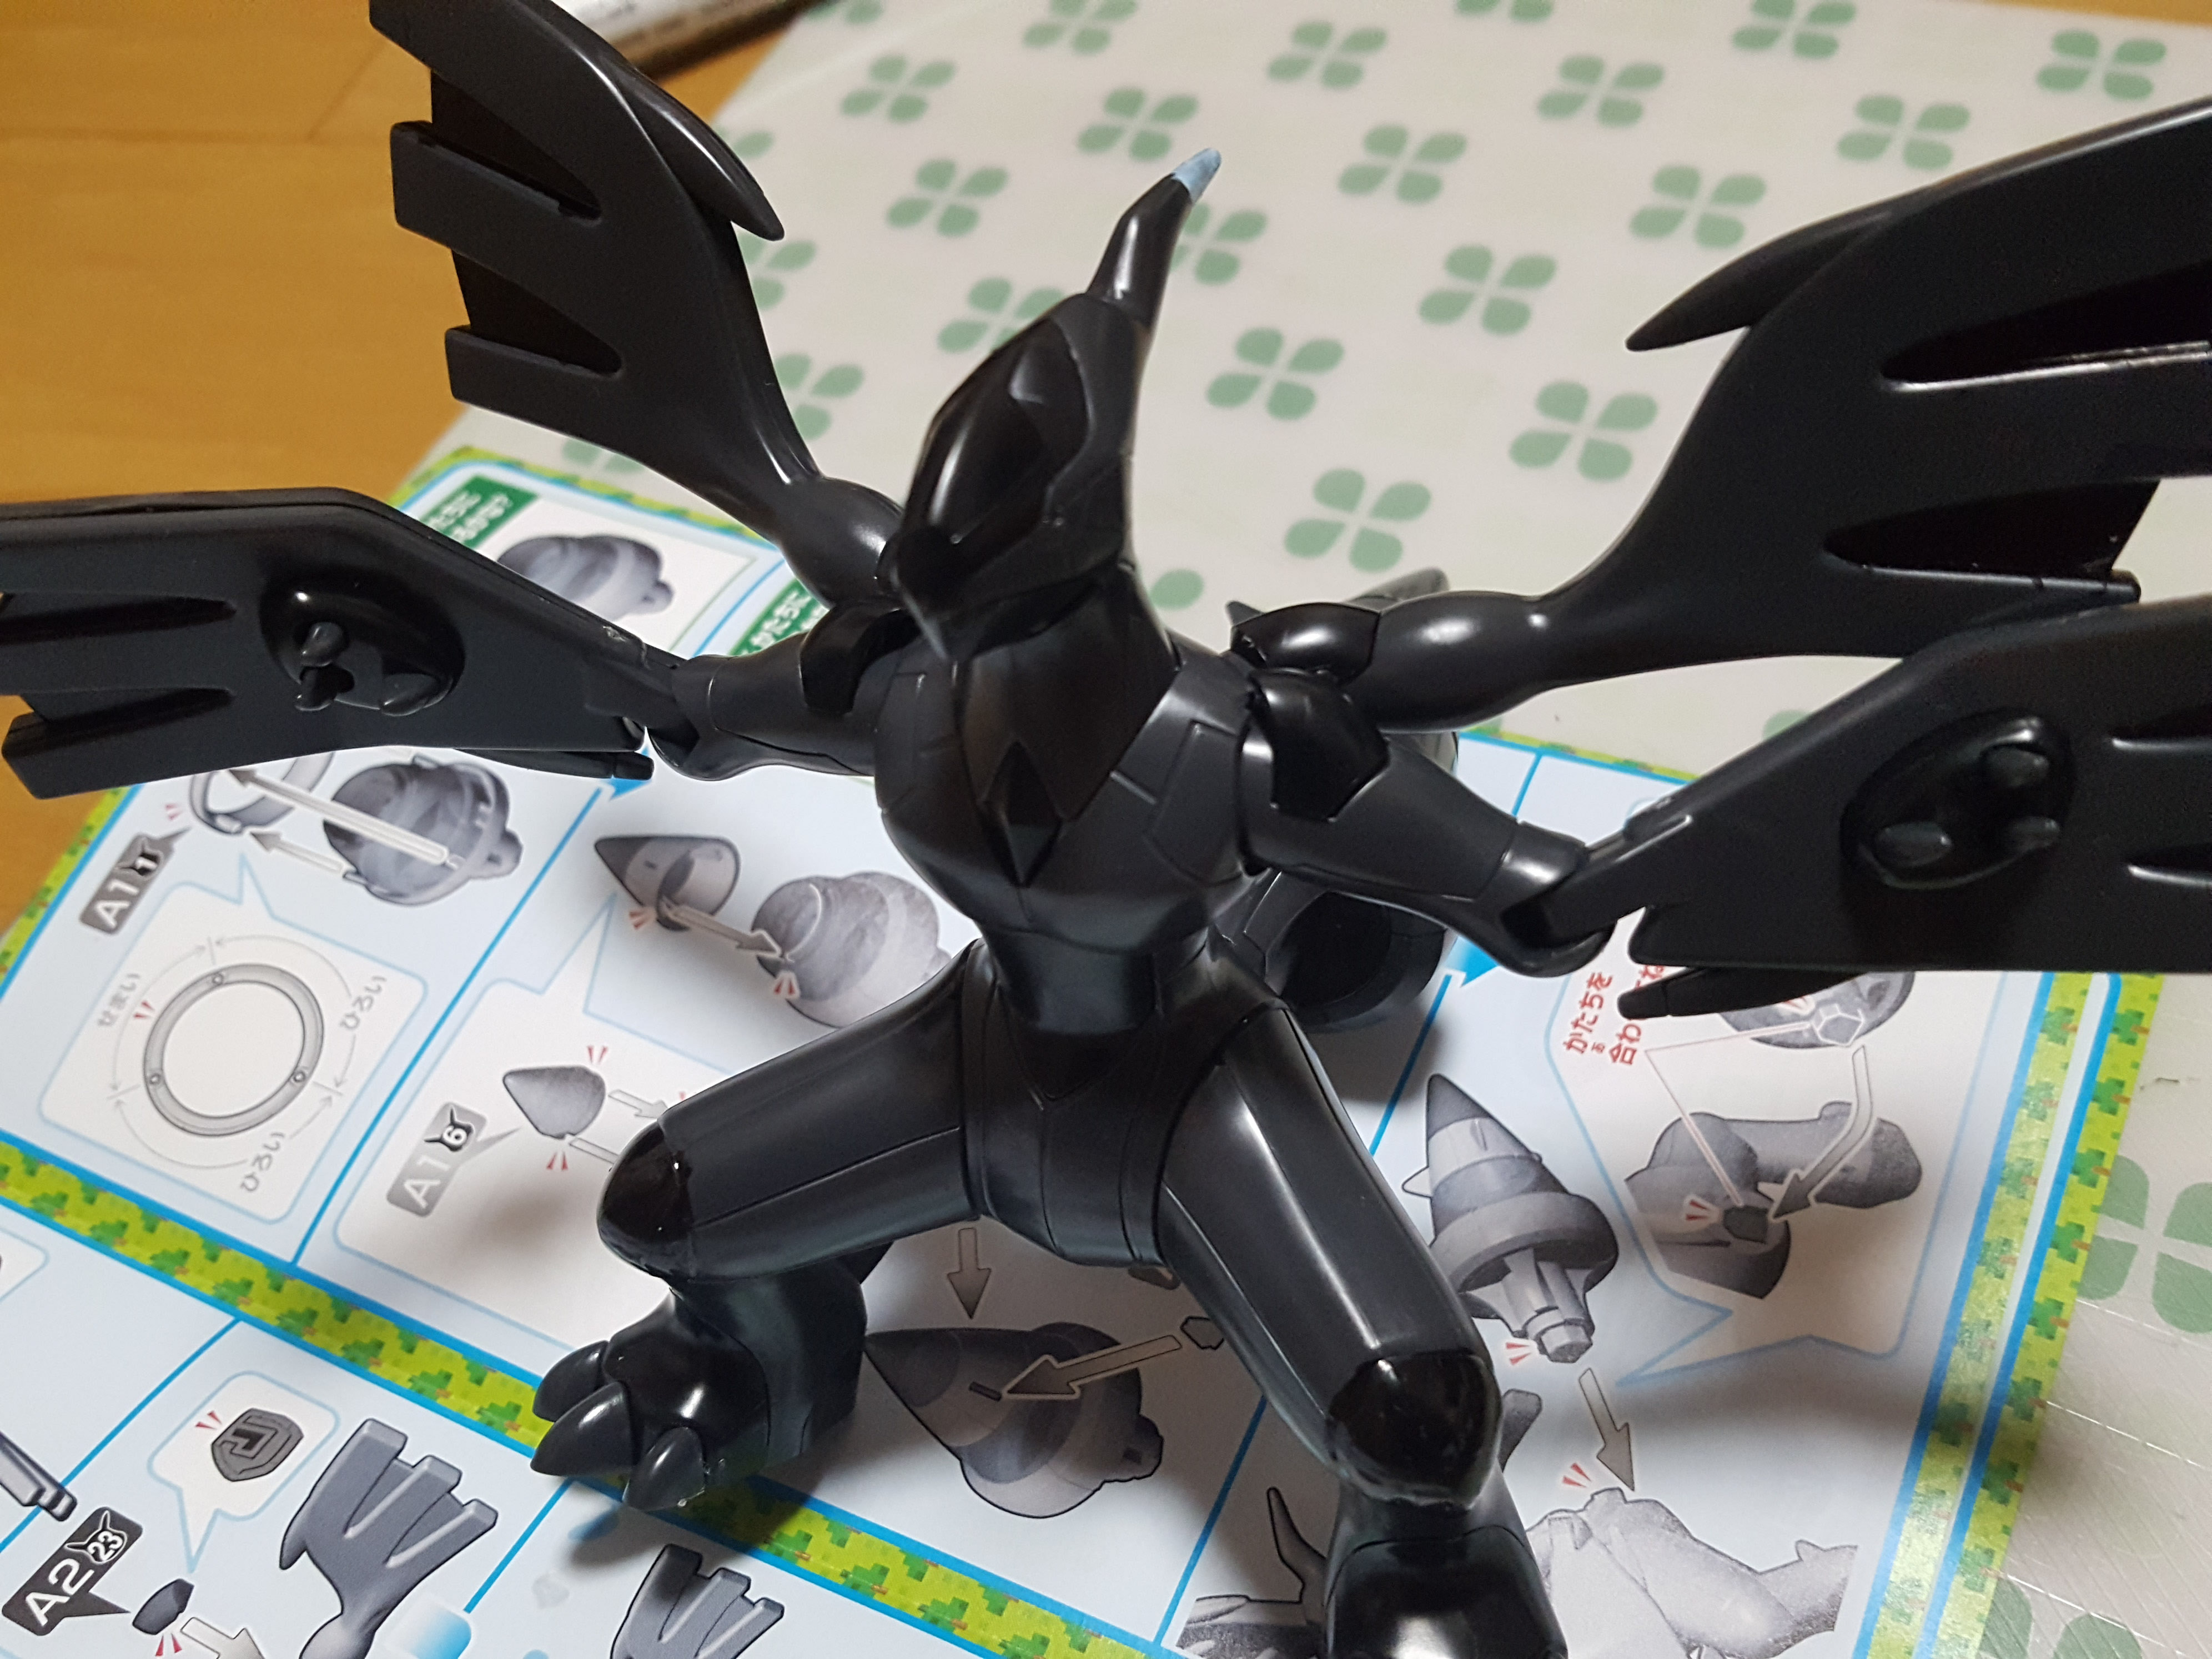
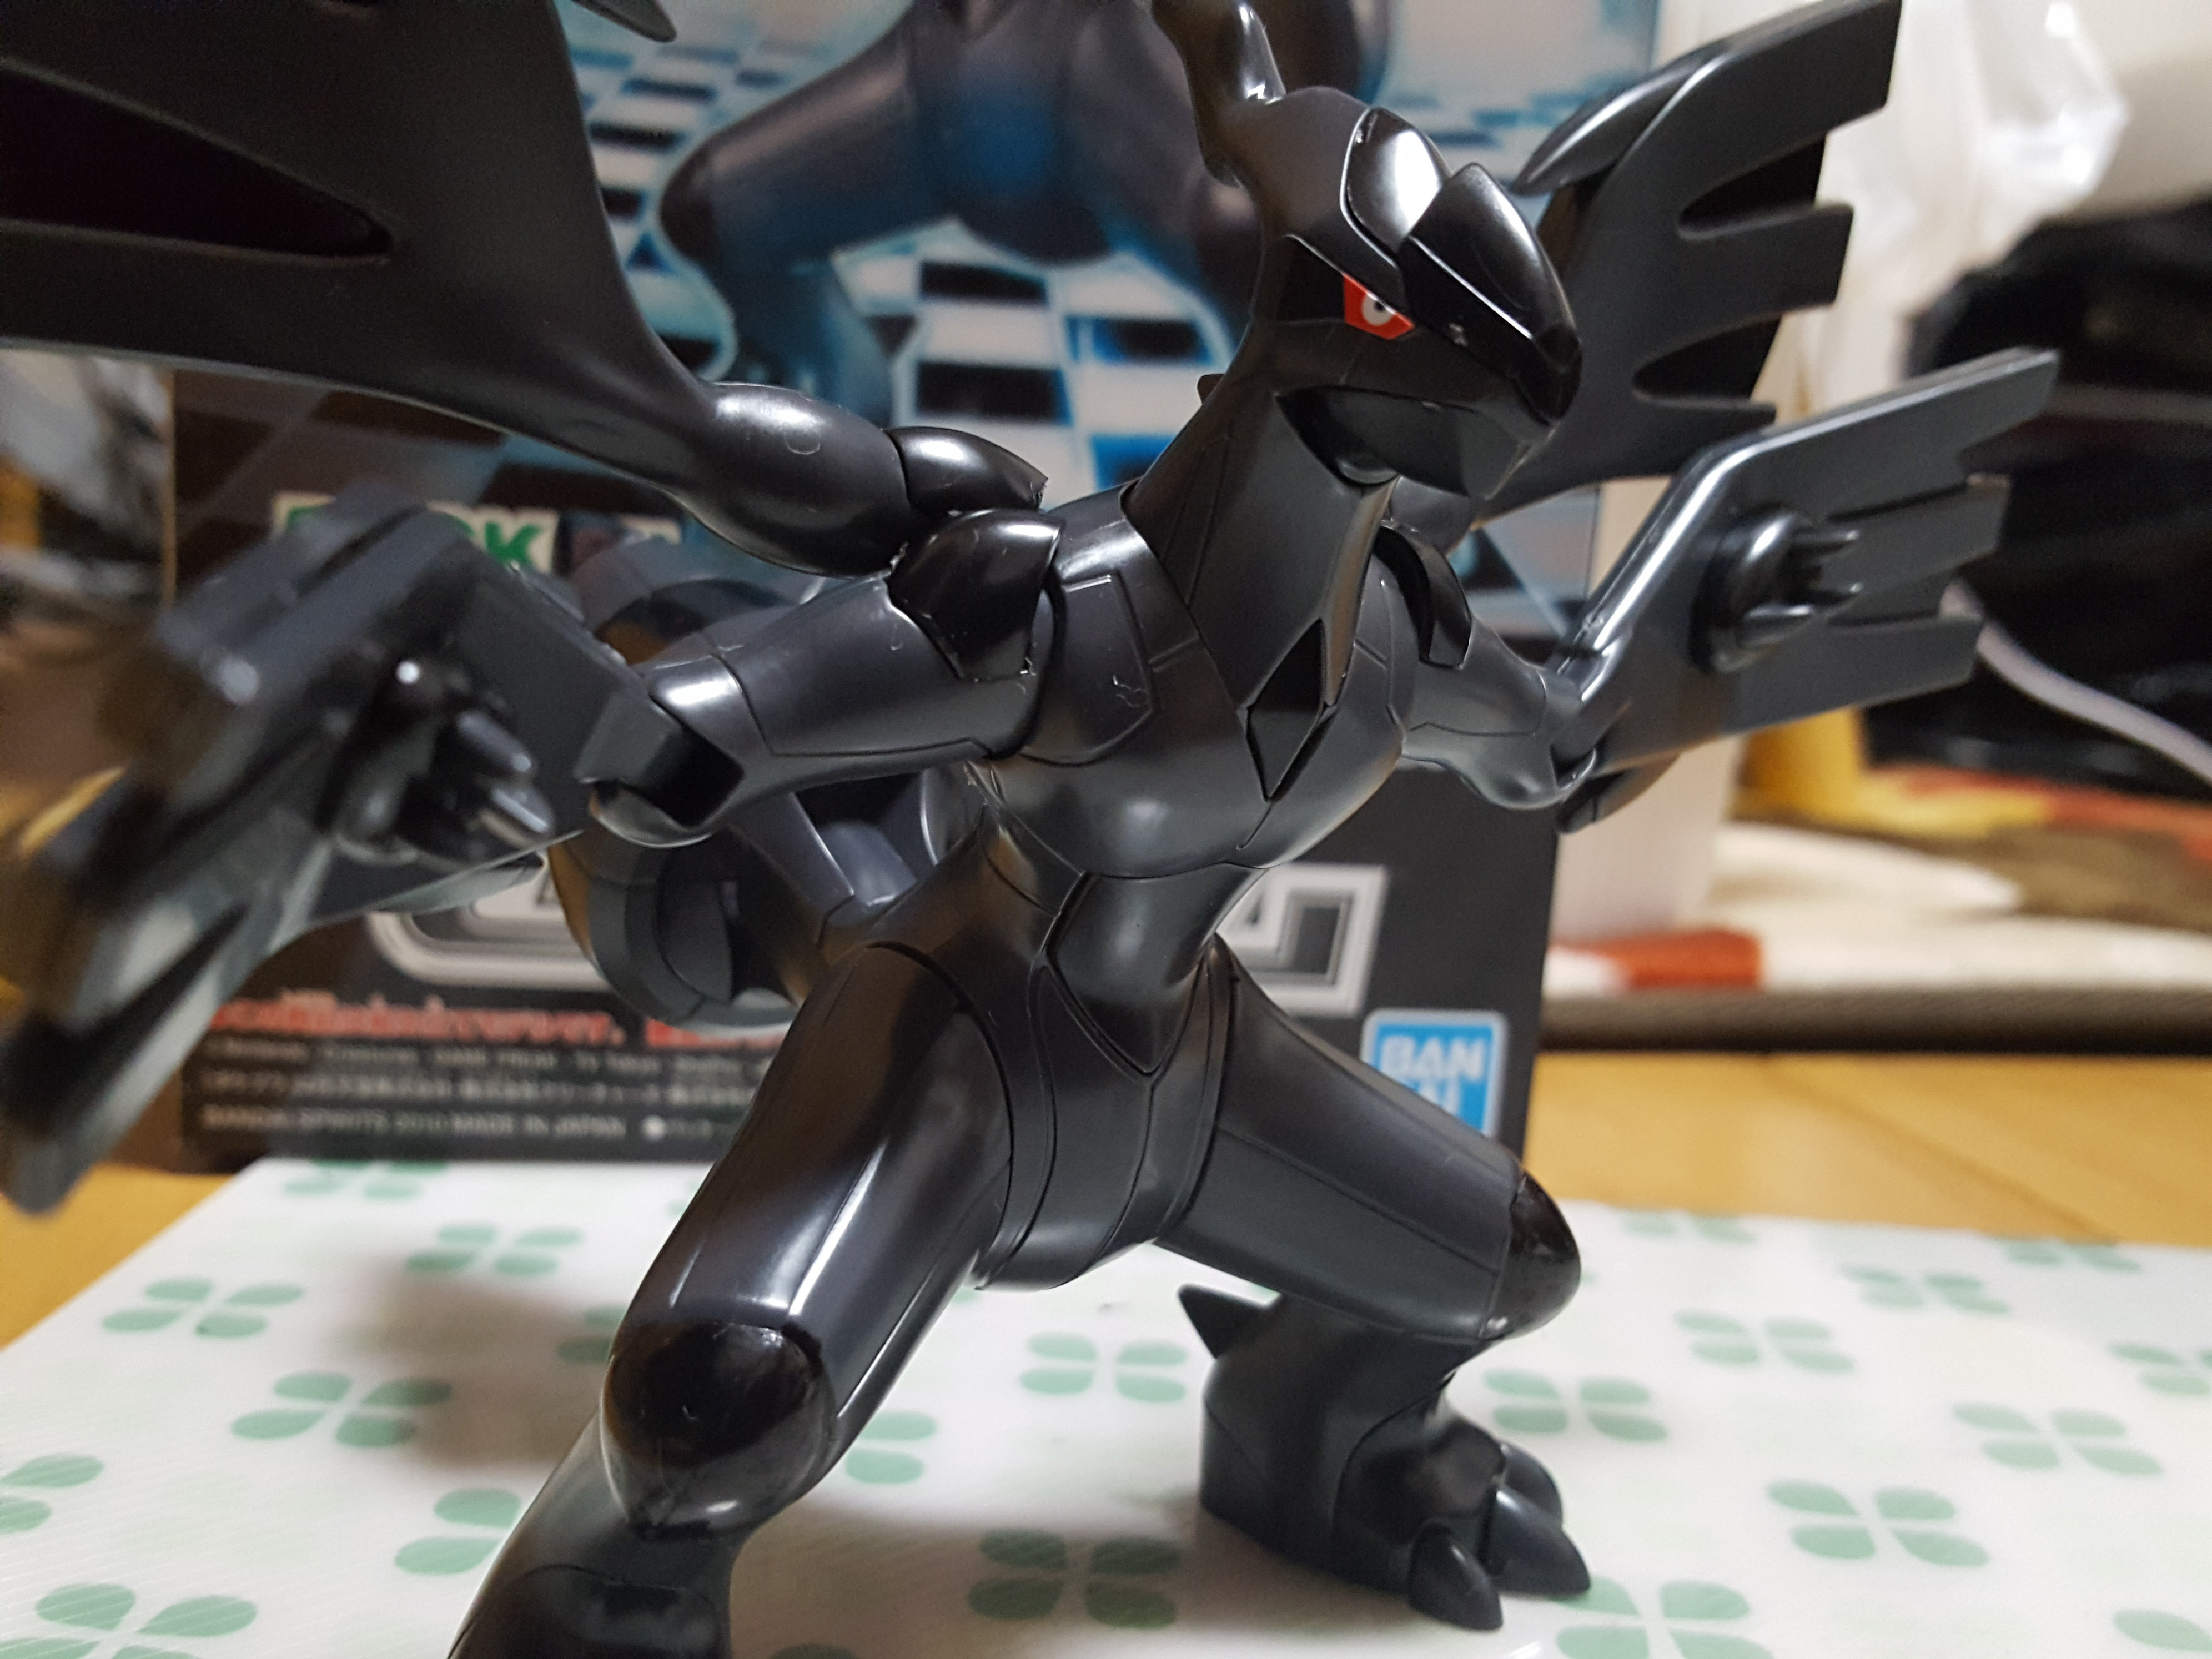
The front wings are articulated at the “elbow” and can swing forward or back. Each arm is jointed into the shoulder and moves forward and back, and when you move them, the mouth opens and closes. The position is held either way you move them, so you can get photos with them posed as you please.
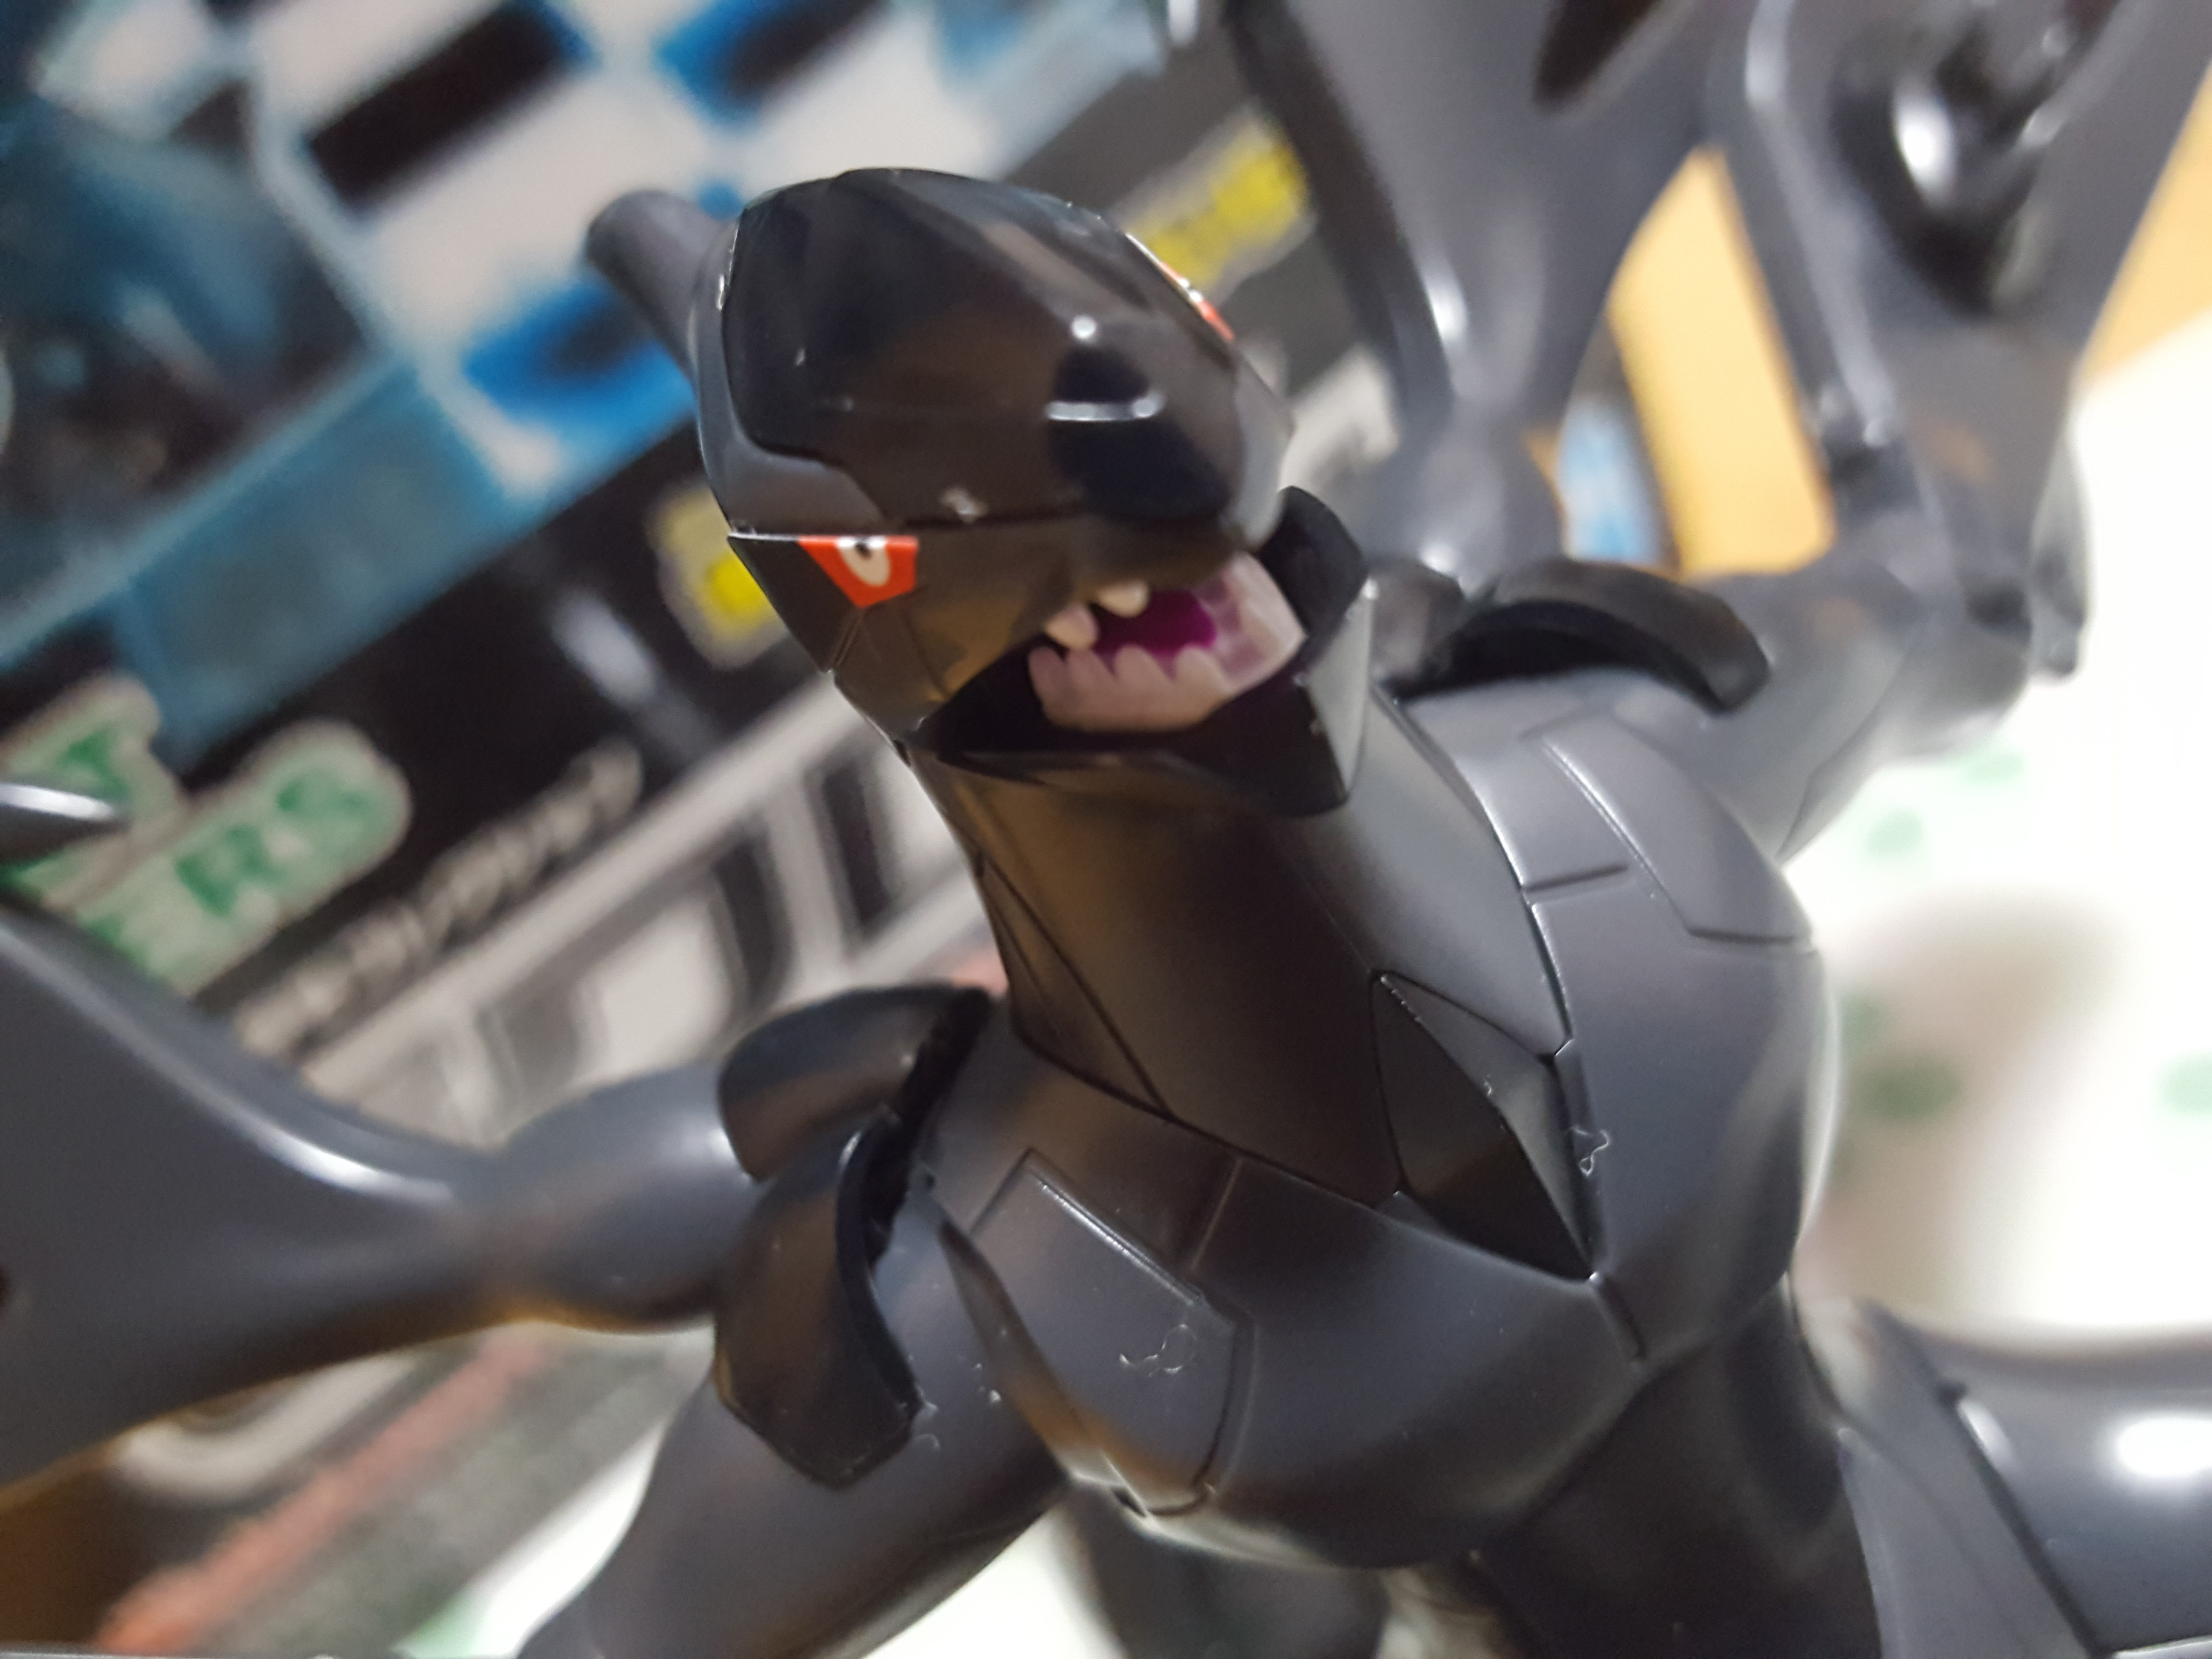
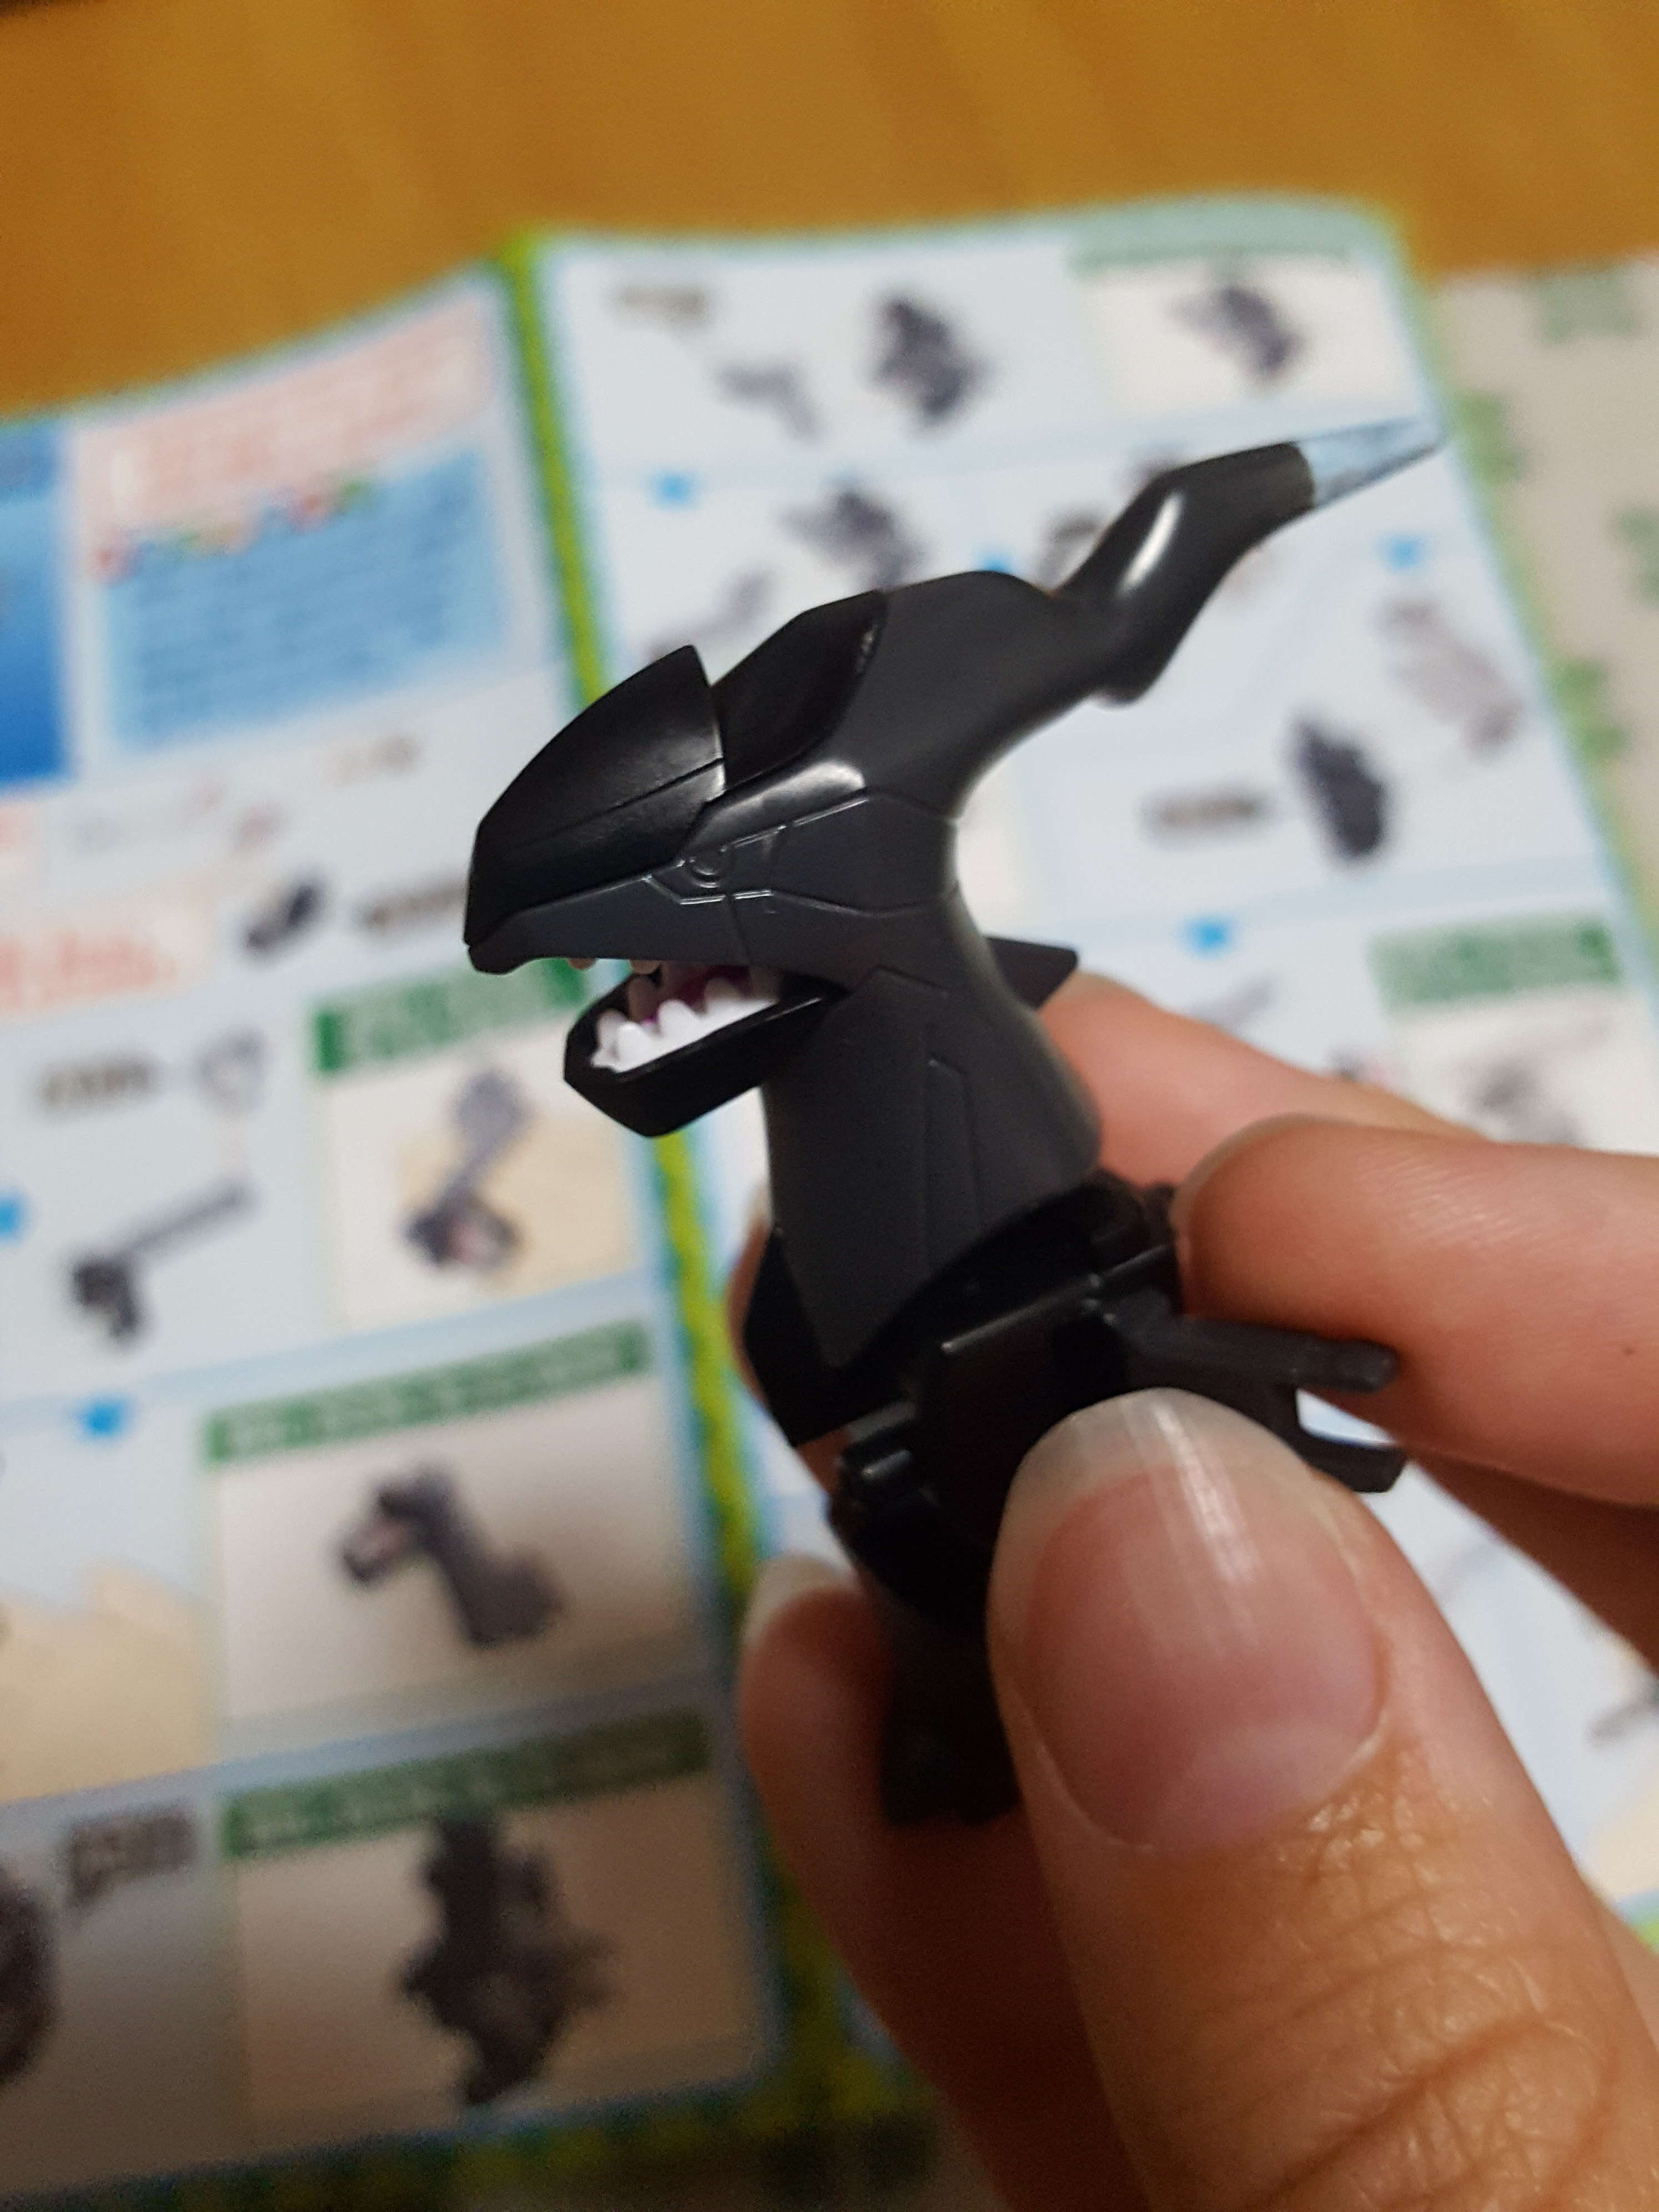
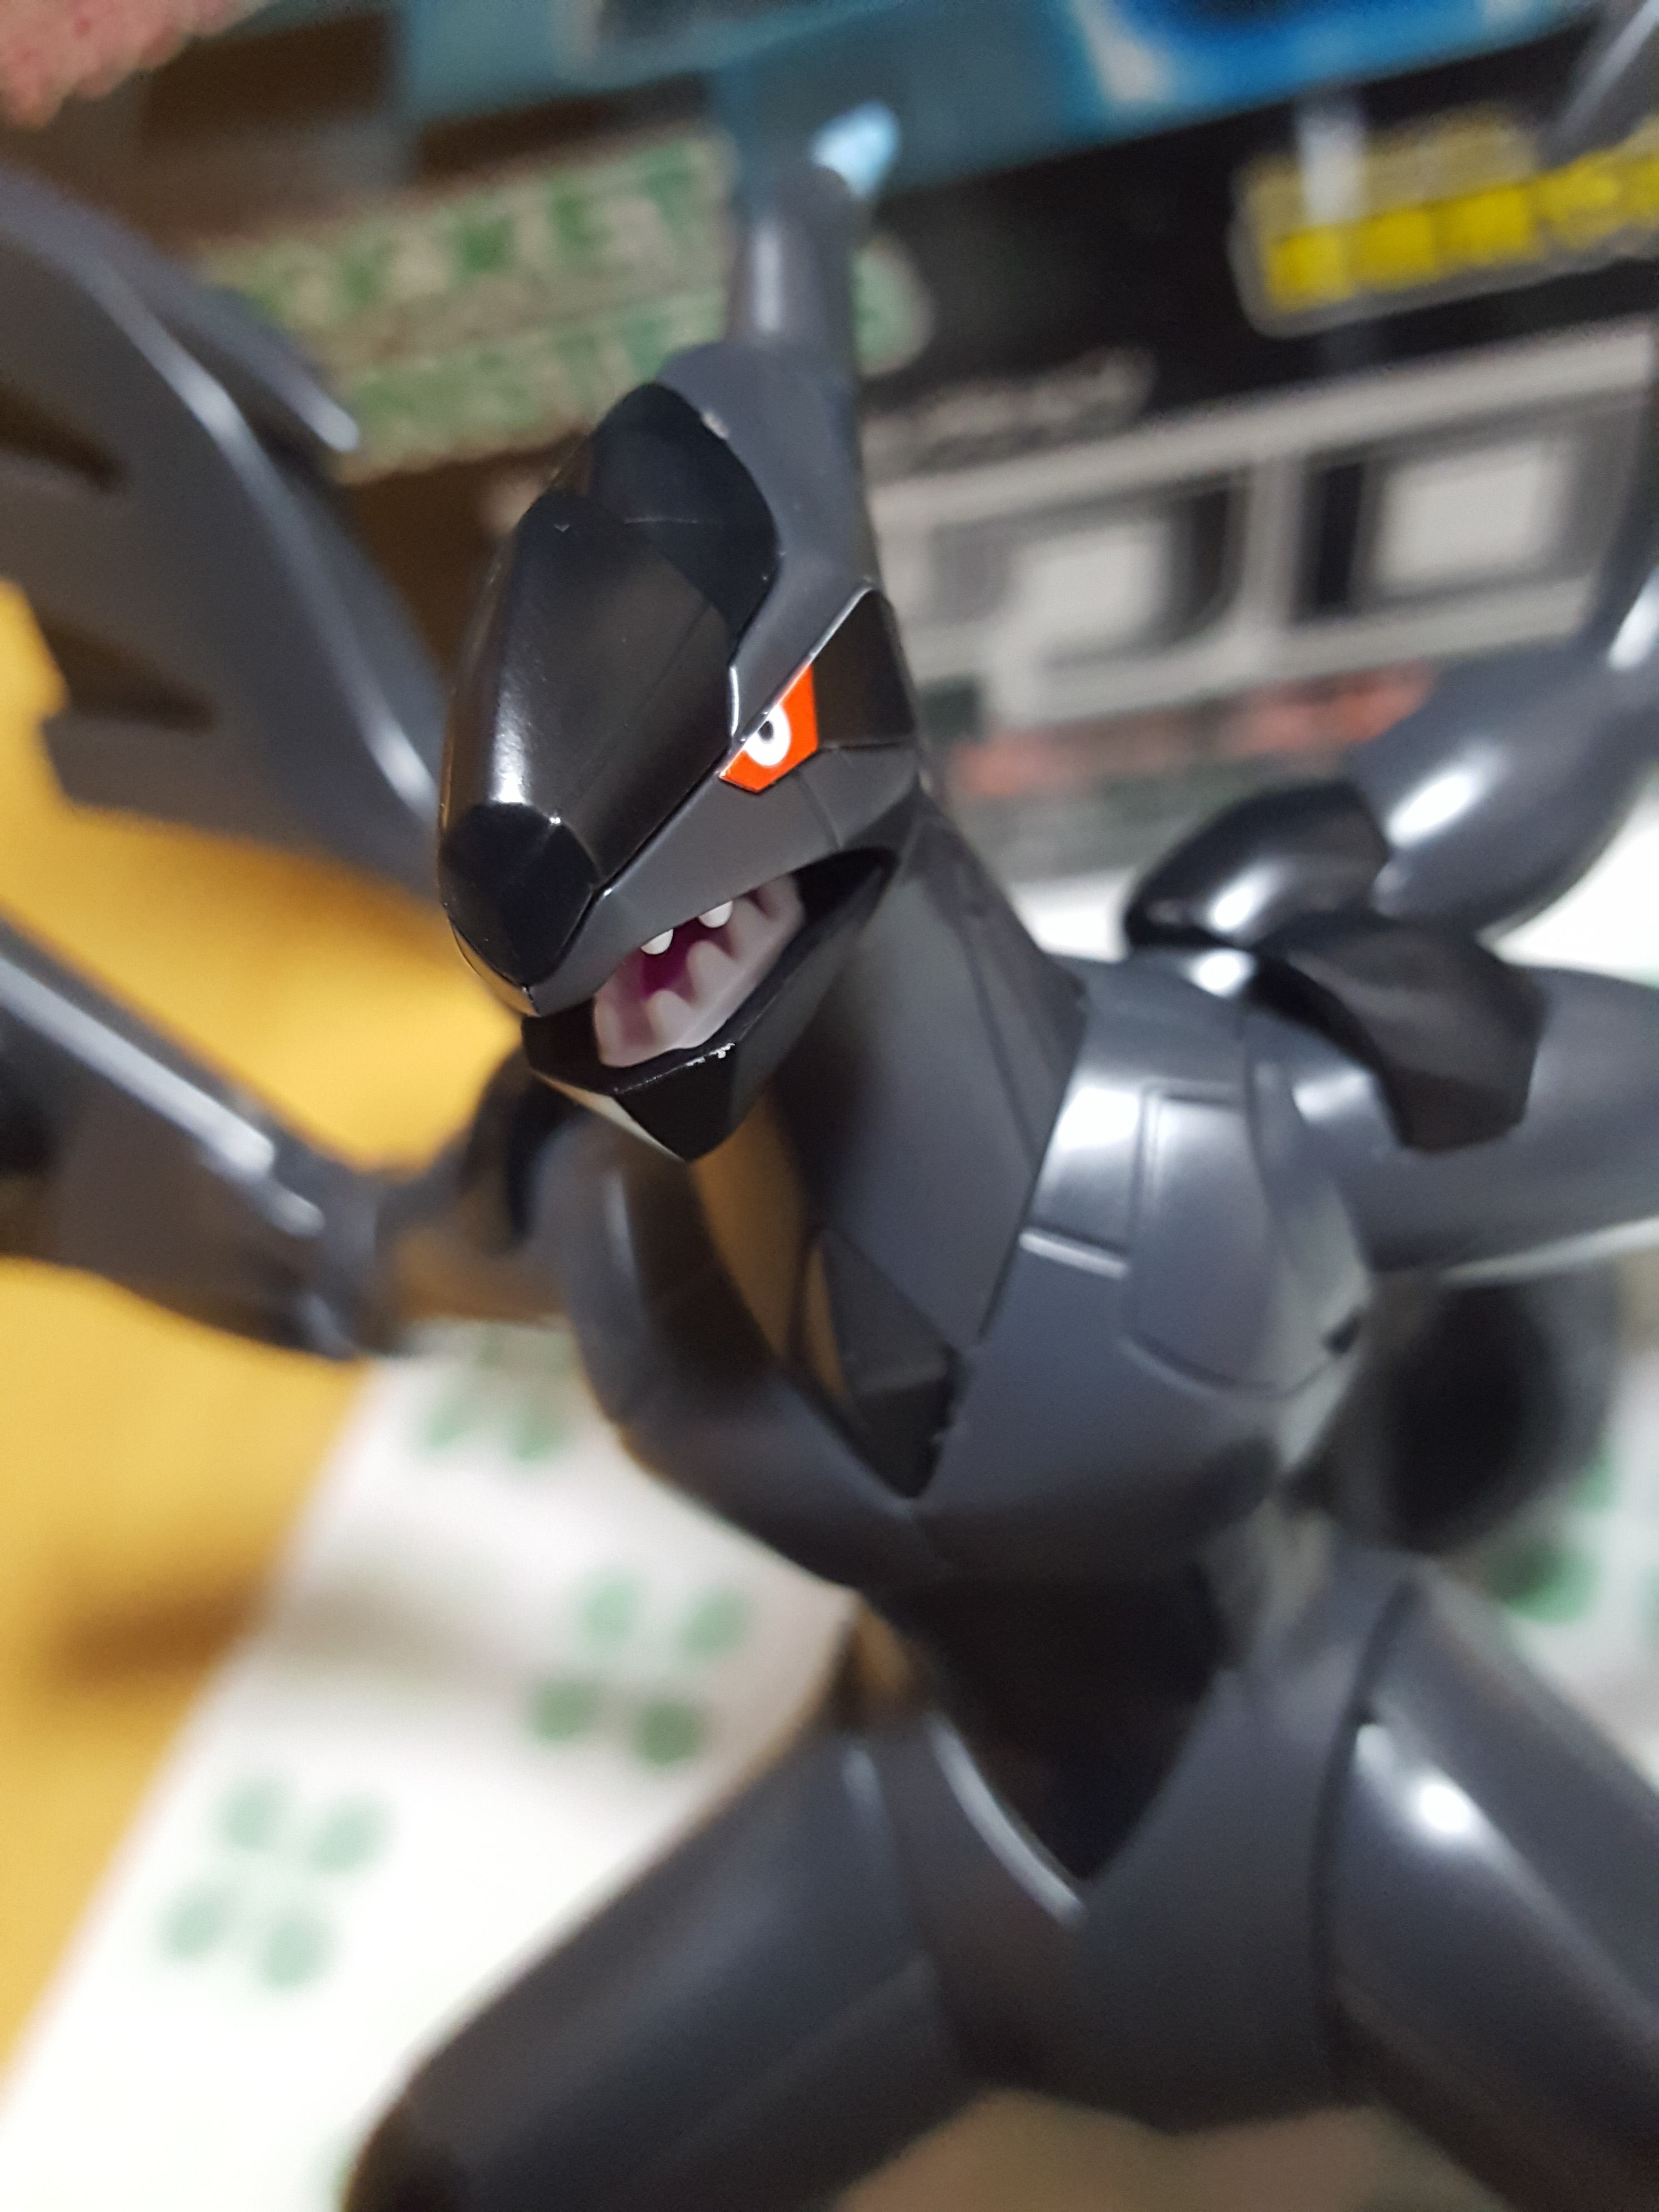
I tried to get a shot of those chompers.
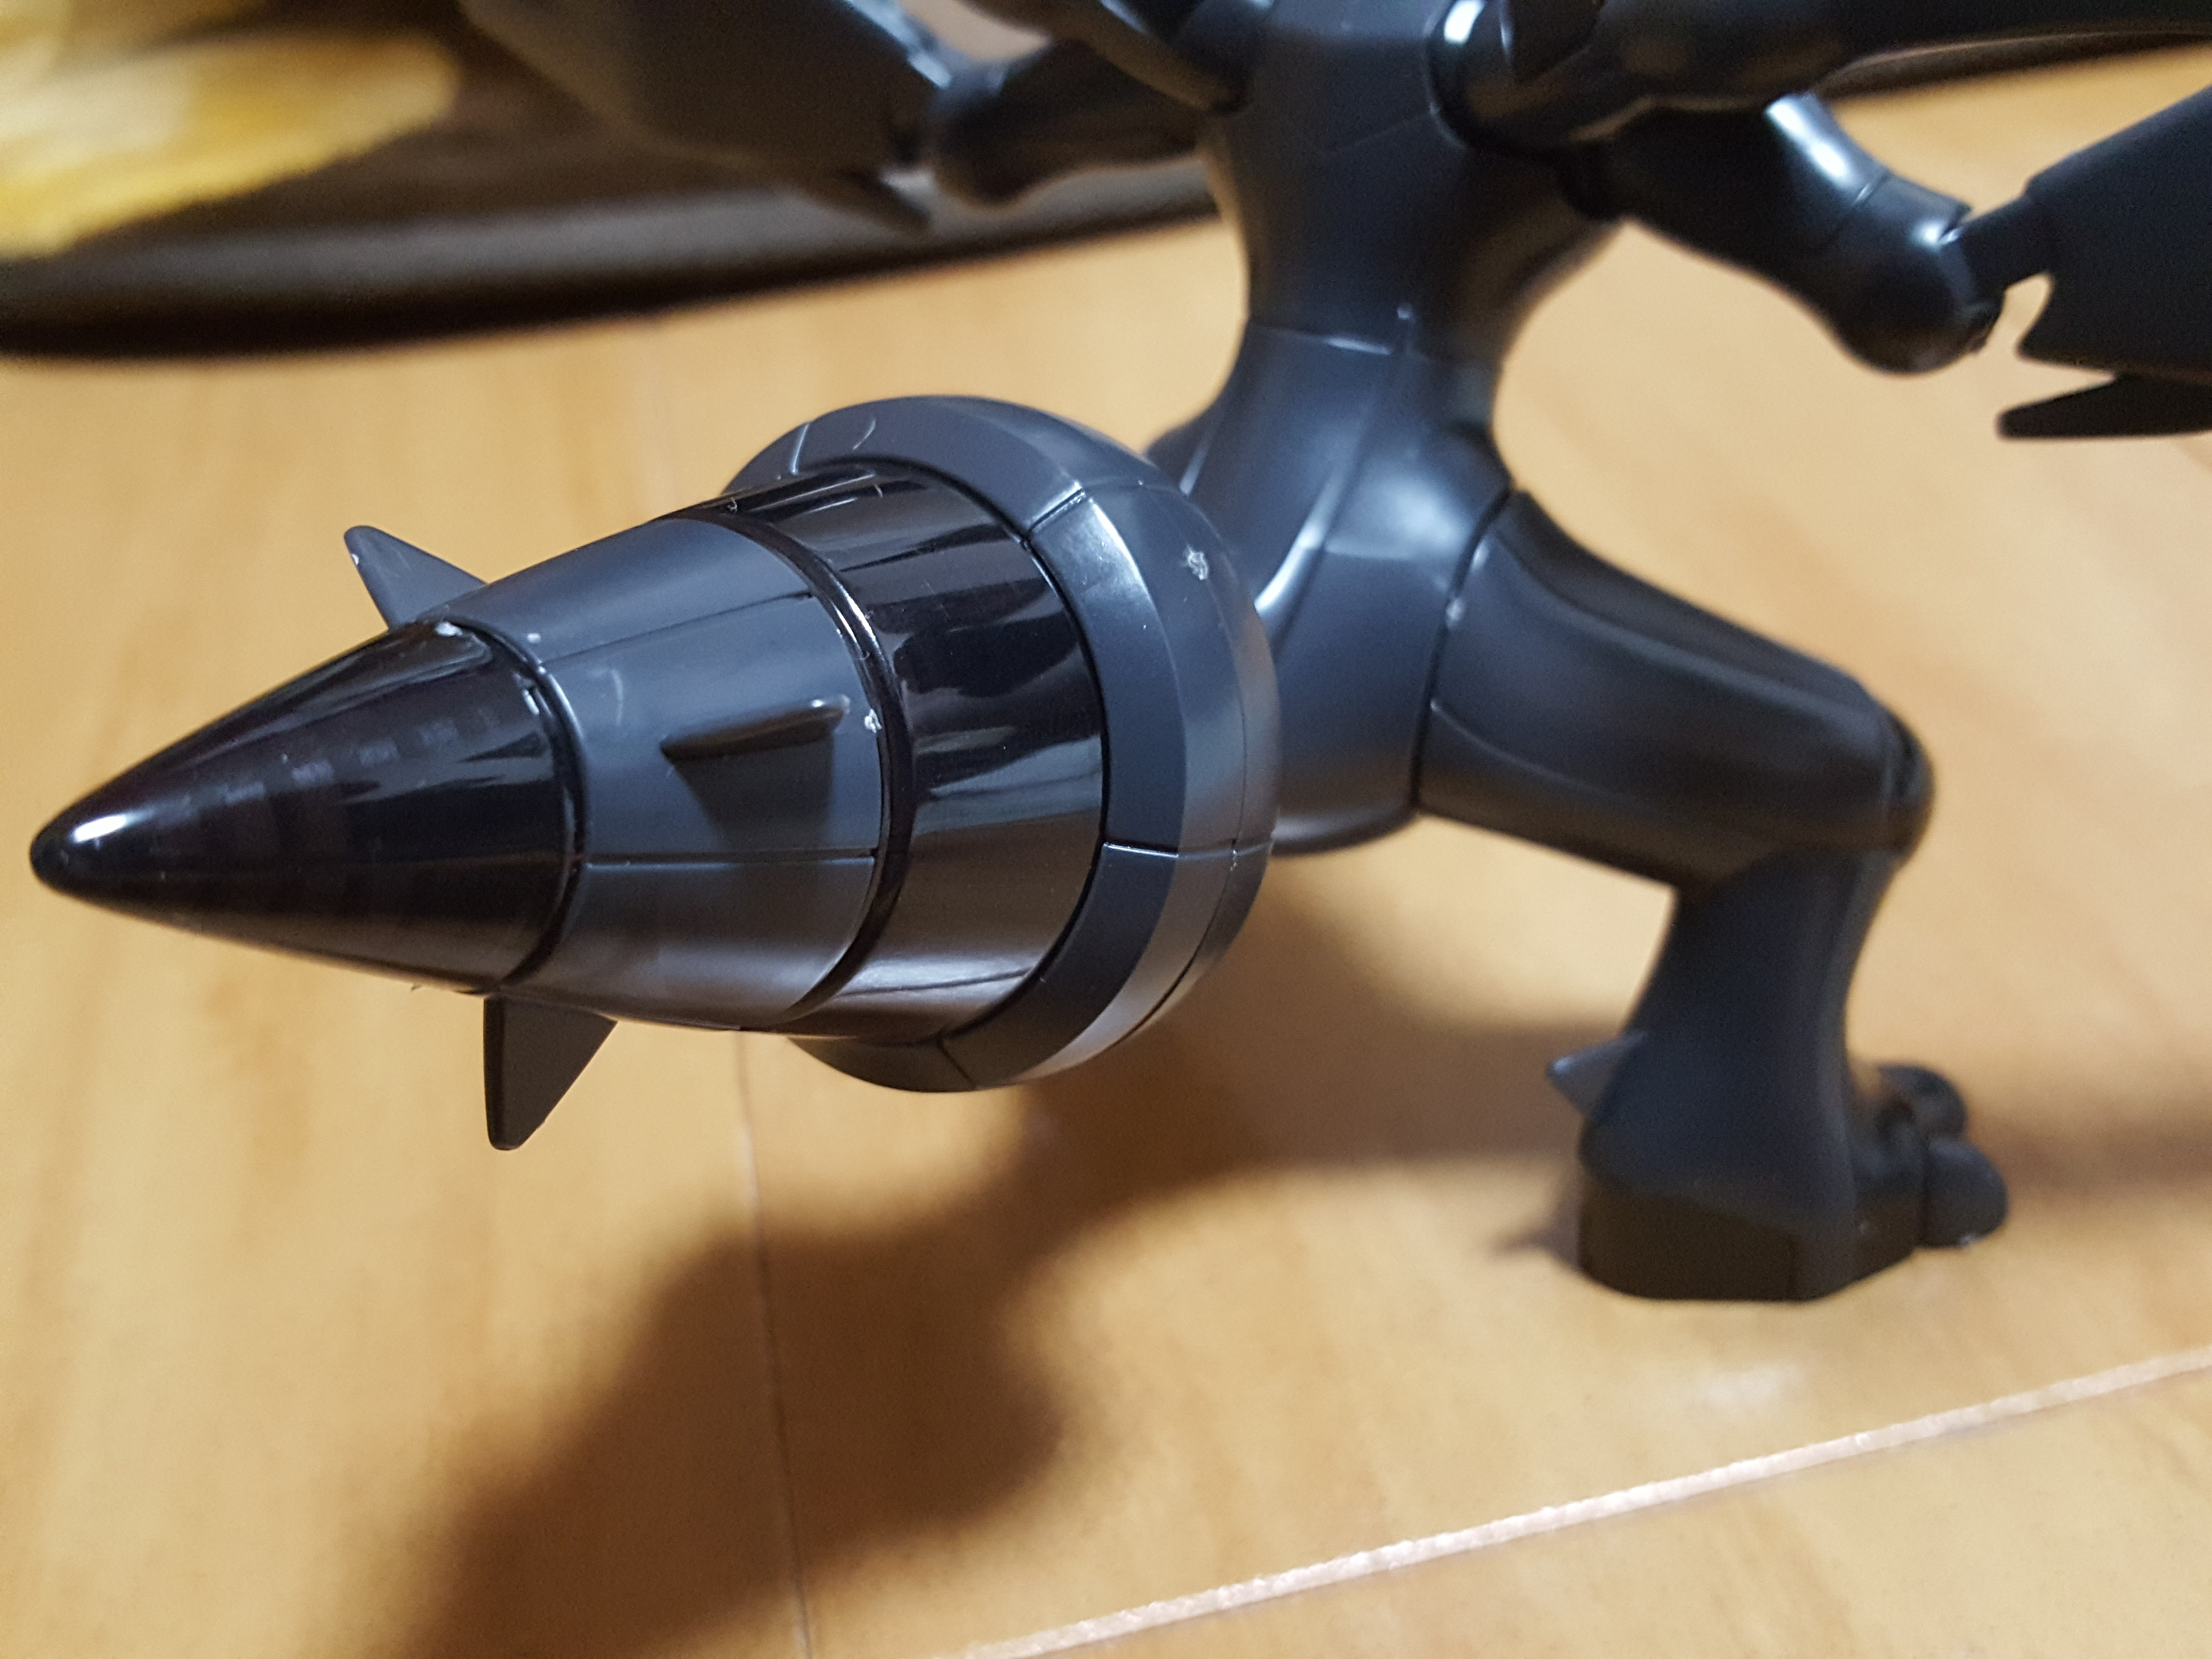
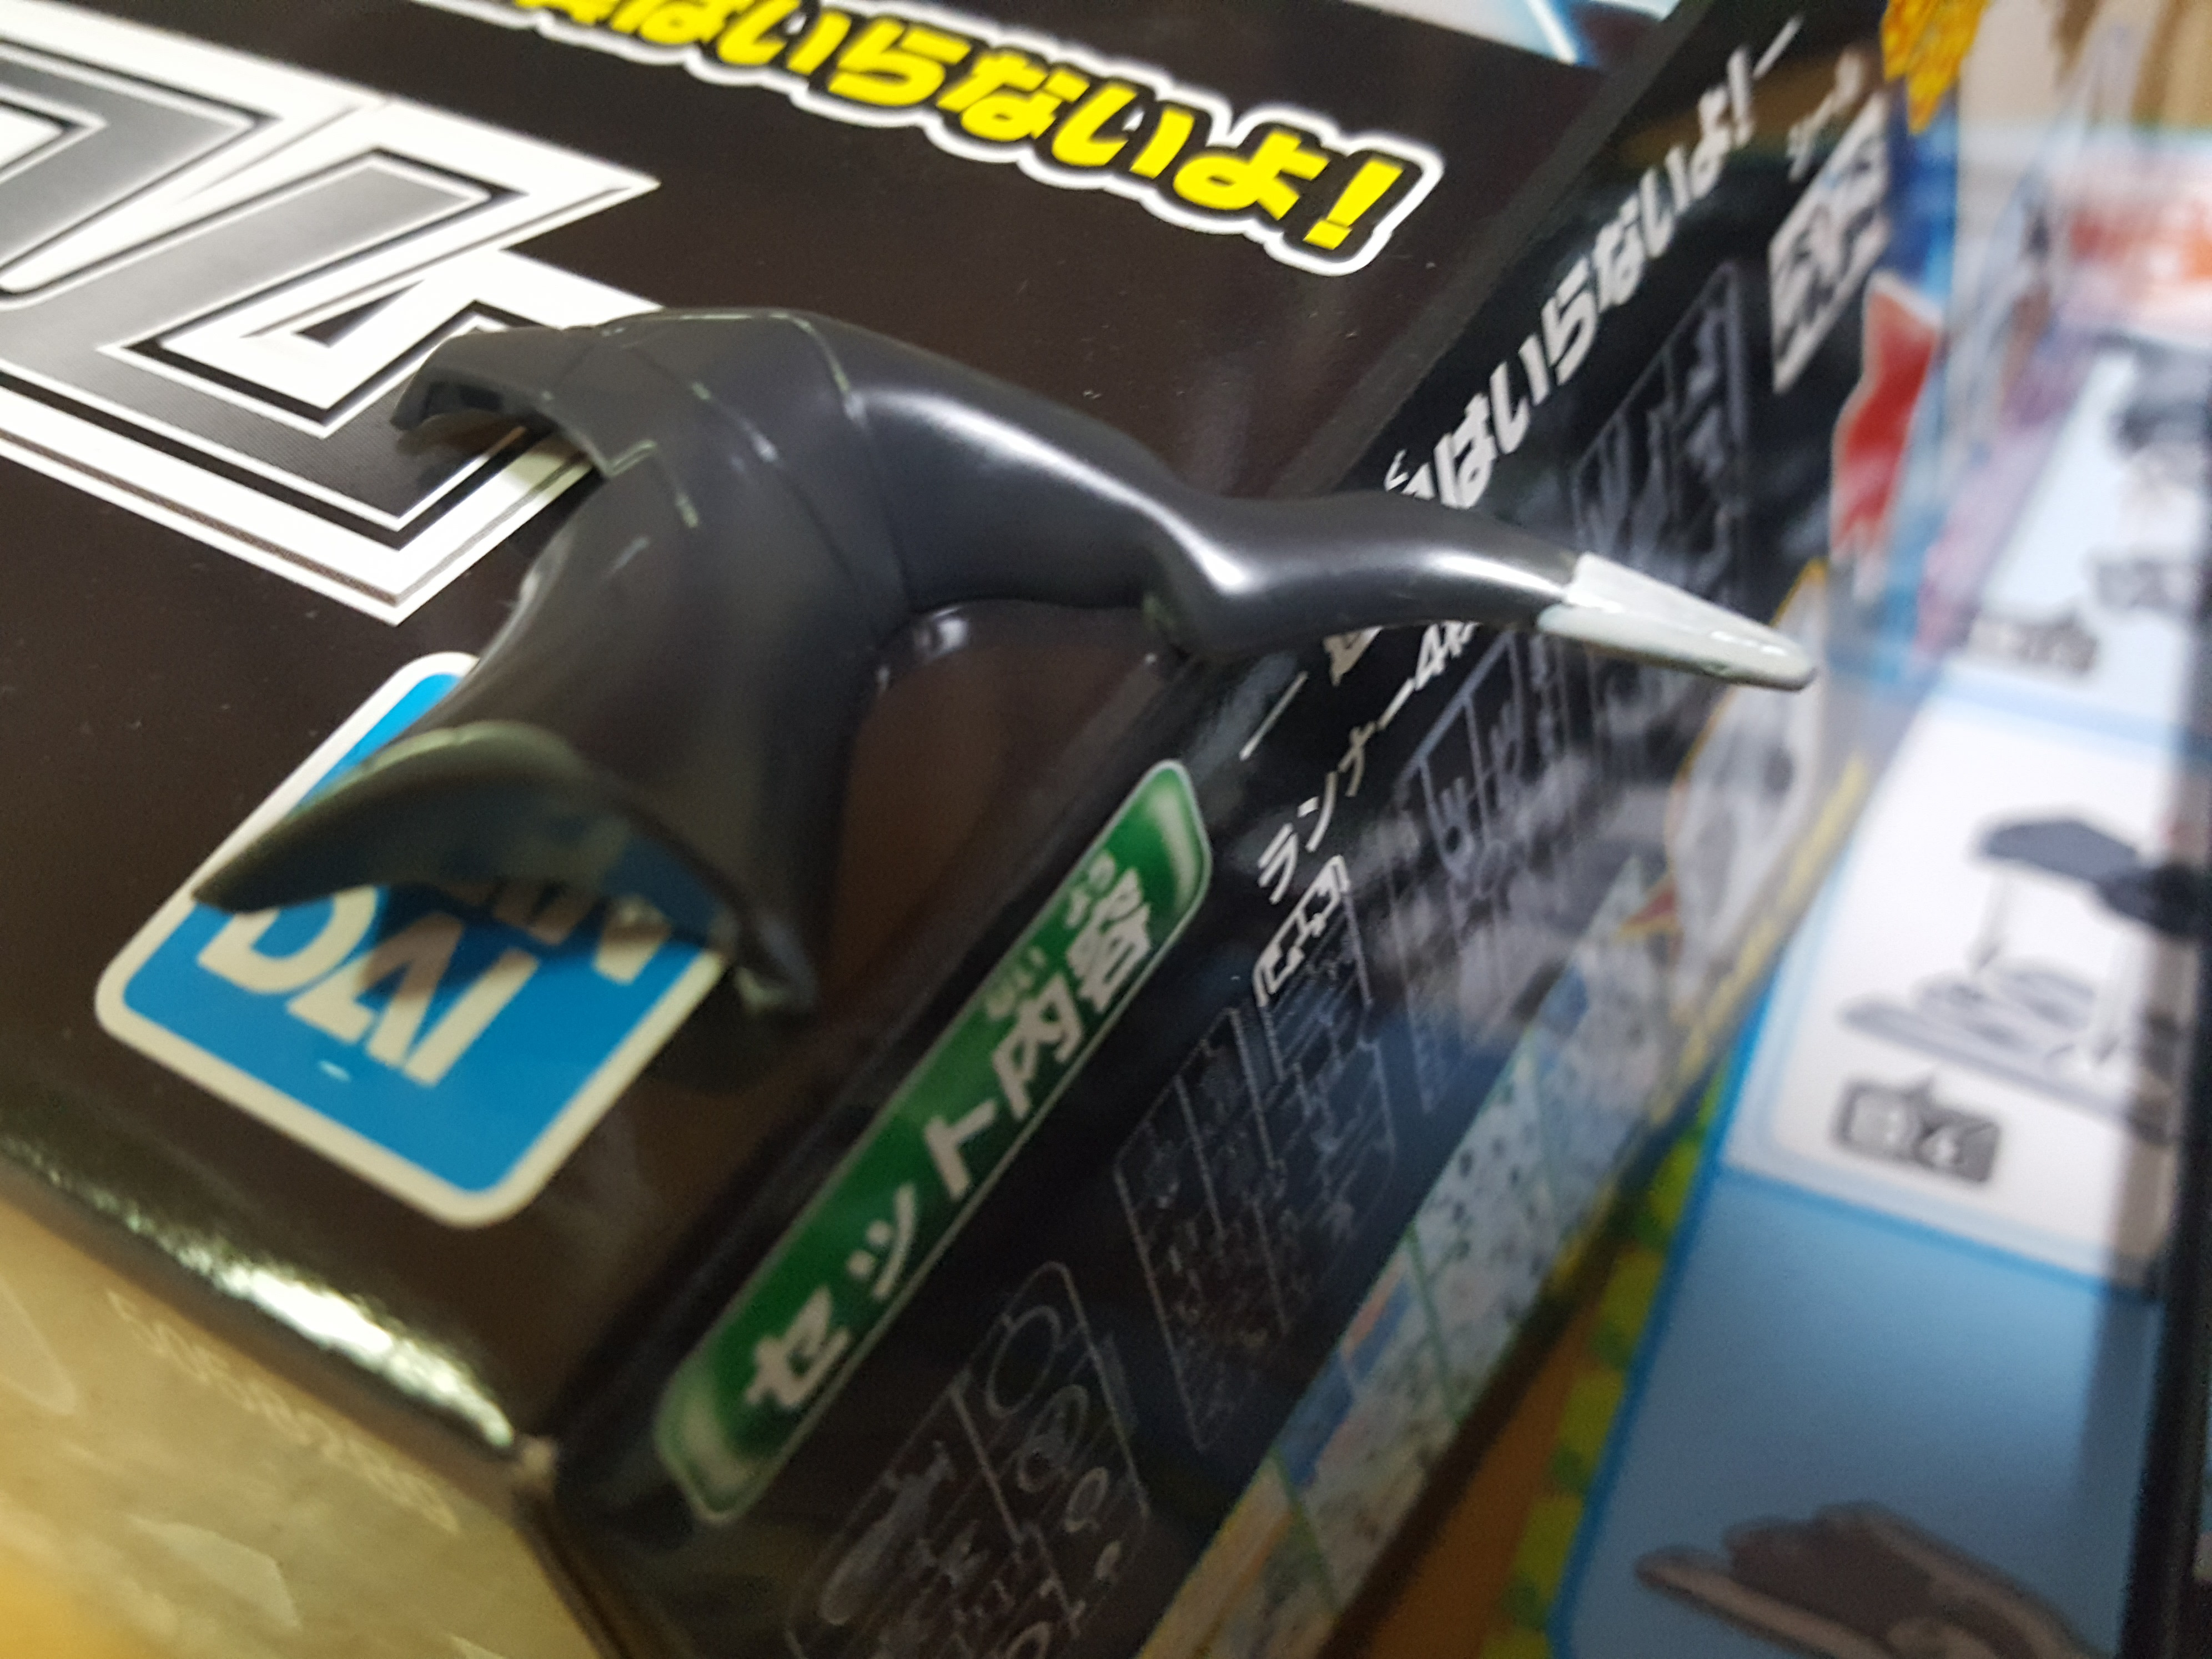
The tail has a pretty neat look to it, with the clear parts really taking it up a notch.
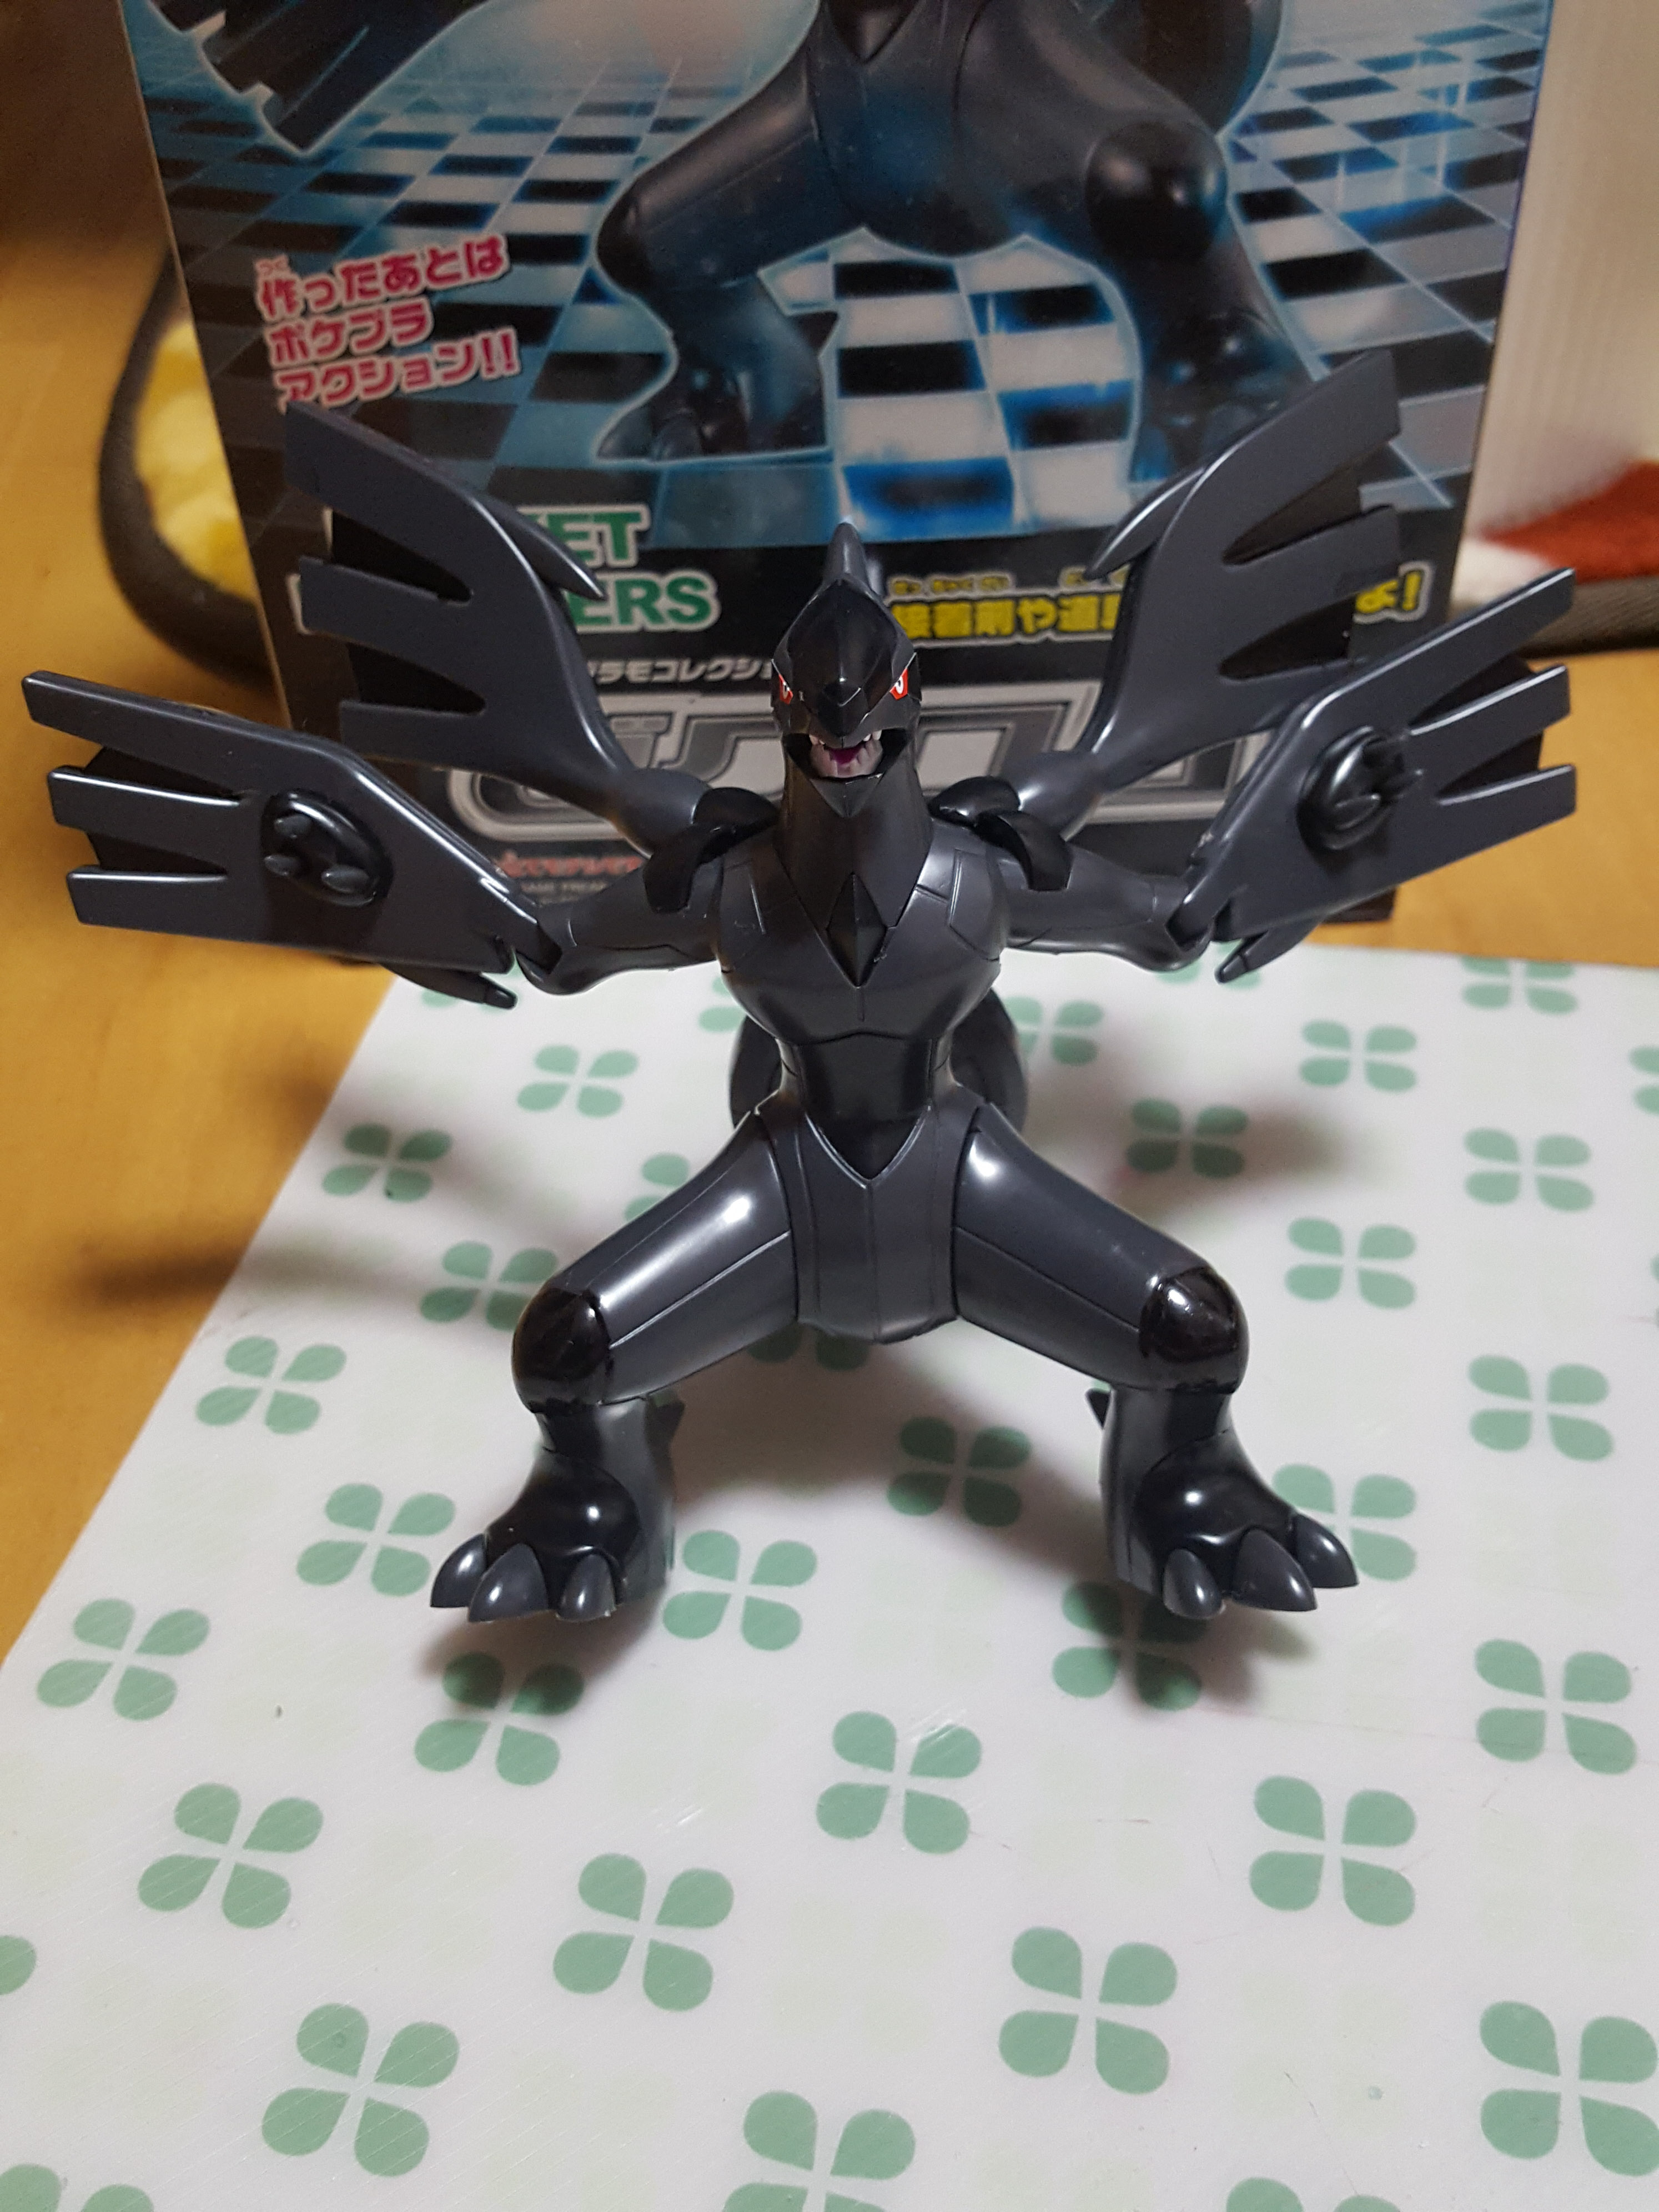
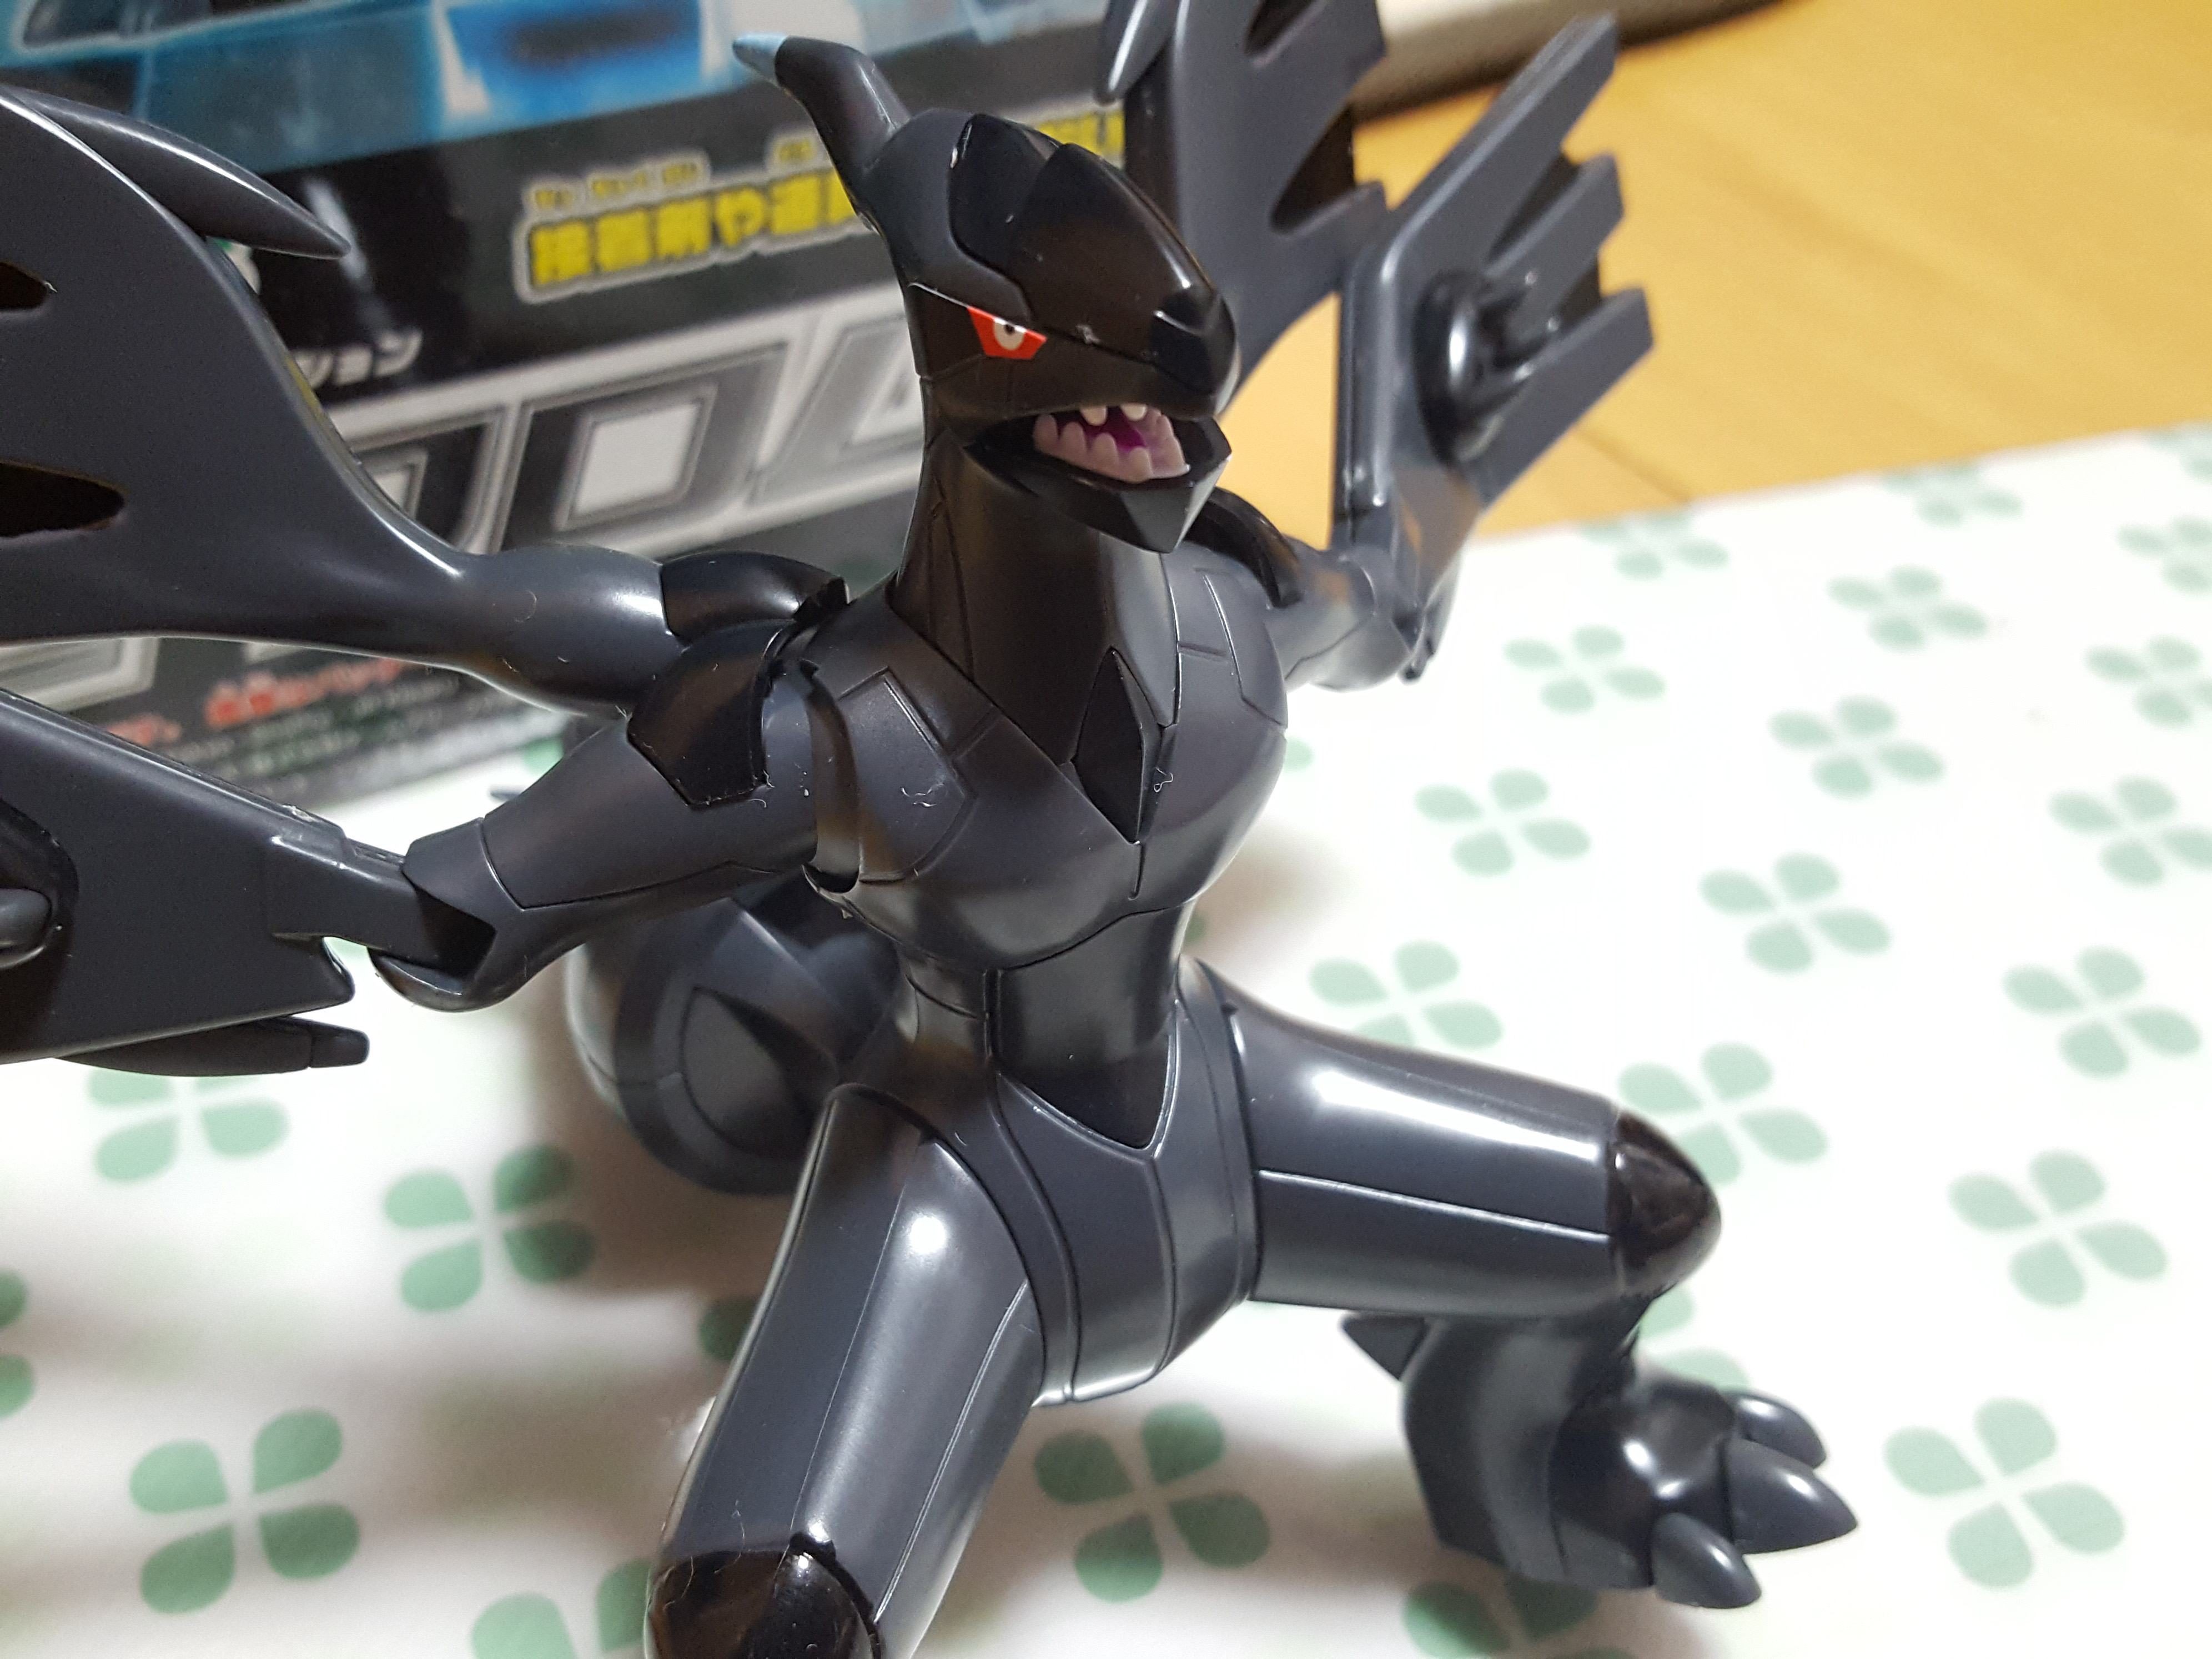
Here he is! Straight-on, he looks sort of funny, so I recommend taking photos from an angle. Like bald eagles, there’s a reason you don’t usually see them from the front… 😉
I actually really enjoyed building this kit; it just might be my favorite so far. It was easy to skip the decals and paint instead since the details were so simply and mostly one solid color, and the instructions showed in more detail than usual how to fit the finicky little parts into place correctly. There was more color separation, too, which also meant the kit had more small parts that I’m used to, which always looks better than throwing more and more stickers at you.
The wing gimmick is solid, the finished kit has great balance, and it”s overall a pretty cool-looking Pokemon!
What do you think? Will you try it for yourself? You can pick one up from HLJ here!:
– Pokemon Plamo Collection Zekrom


