Welcome back to sticker hell.
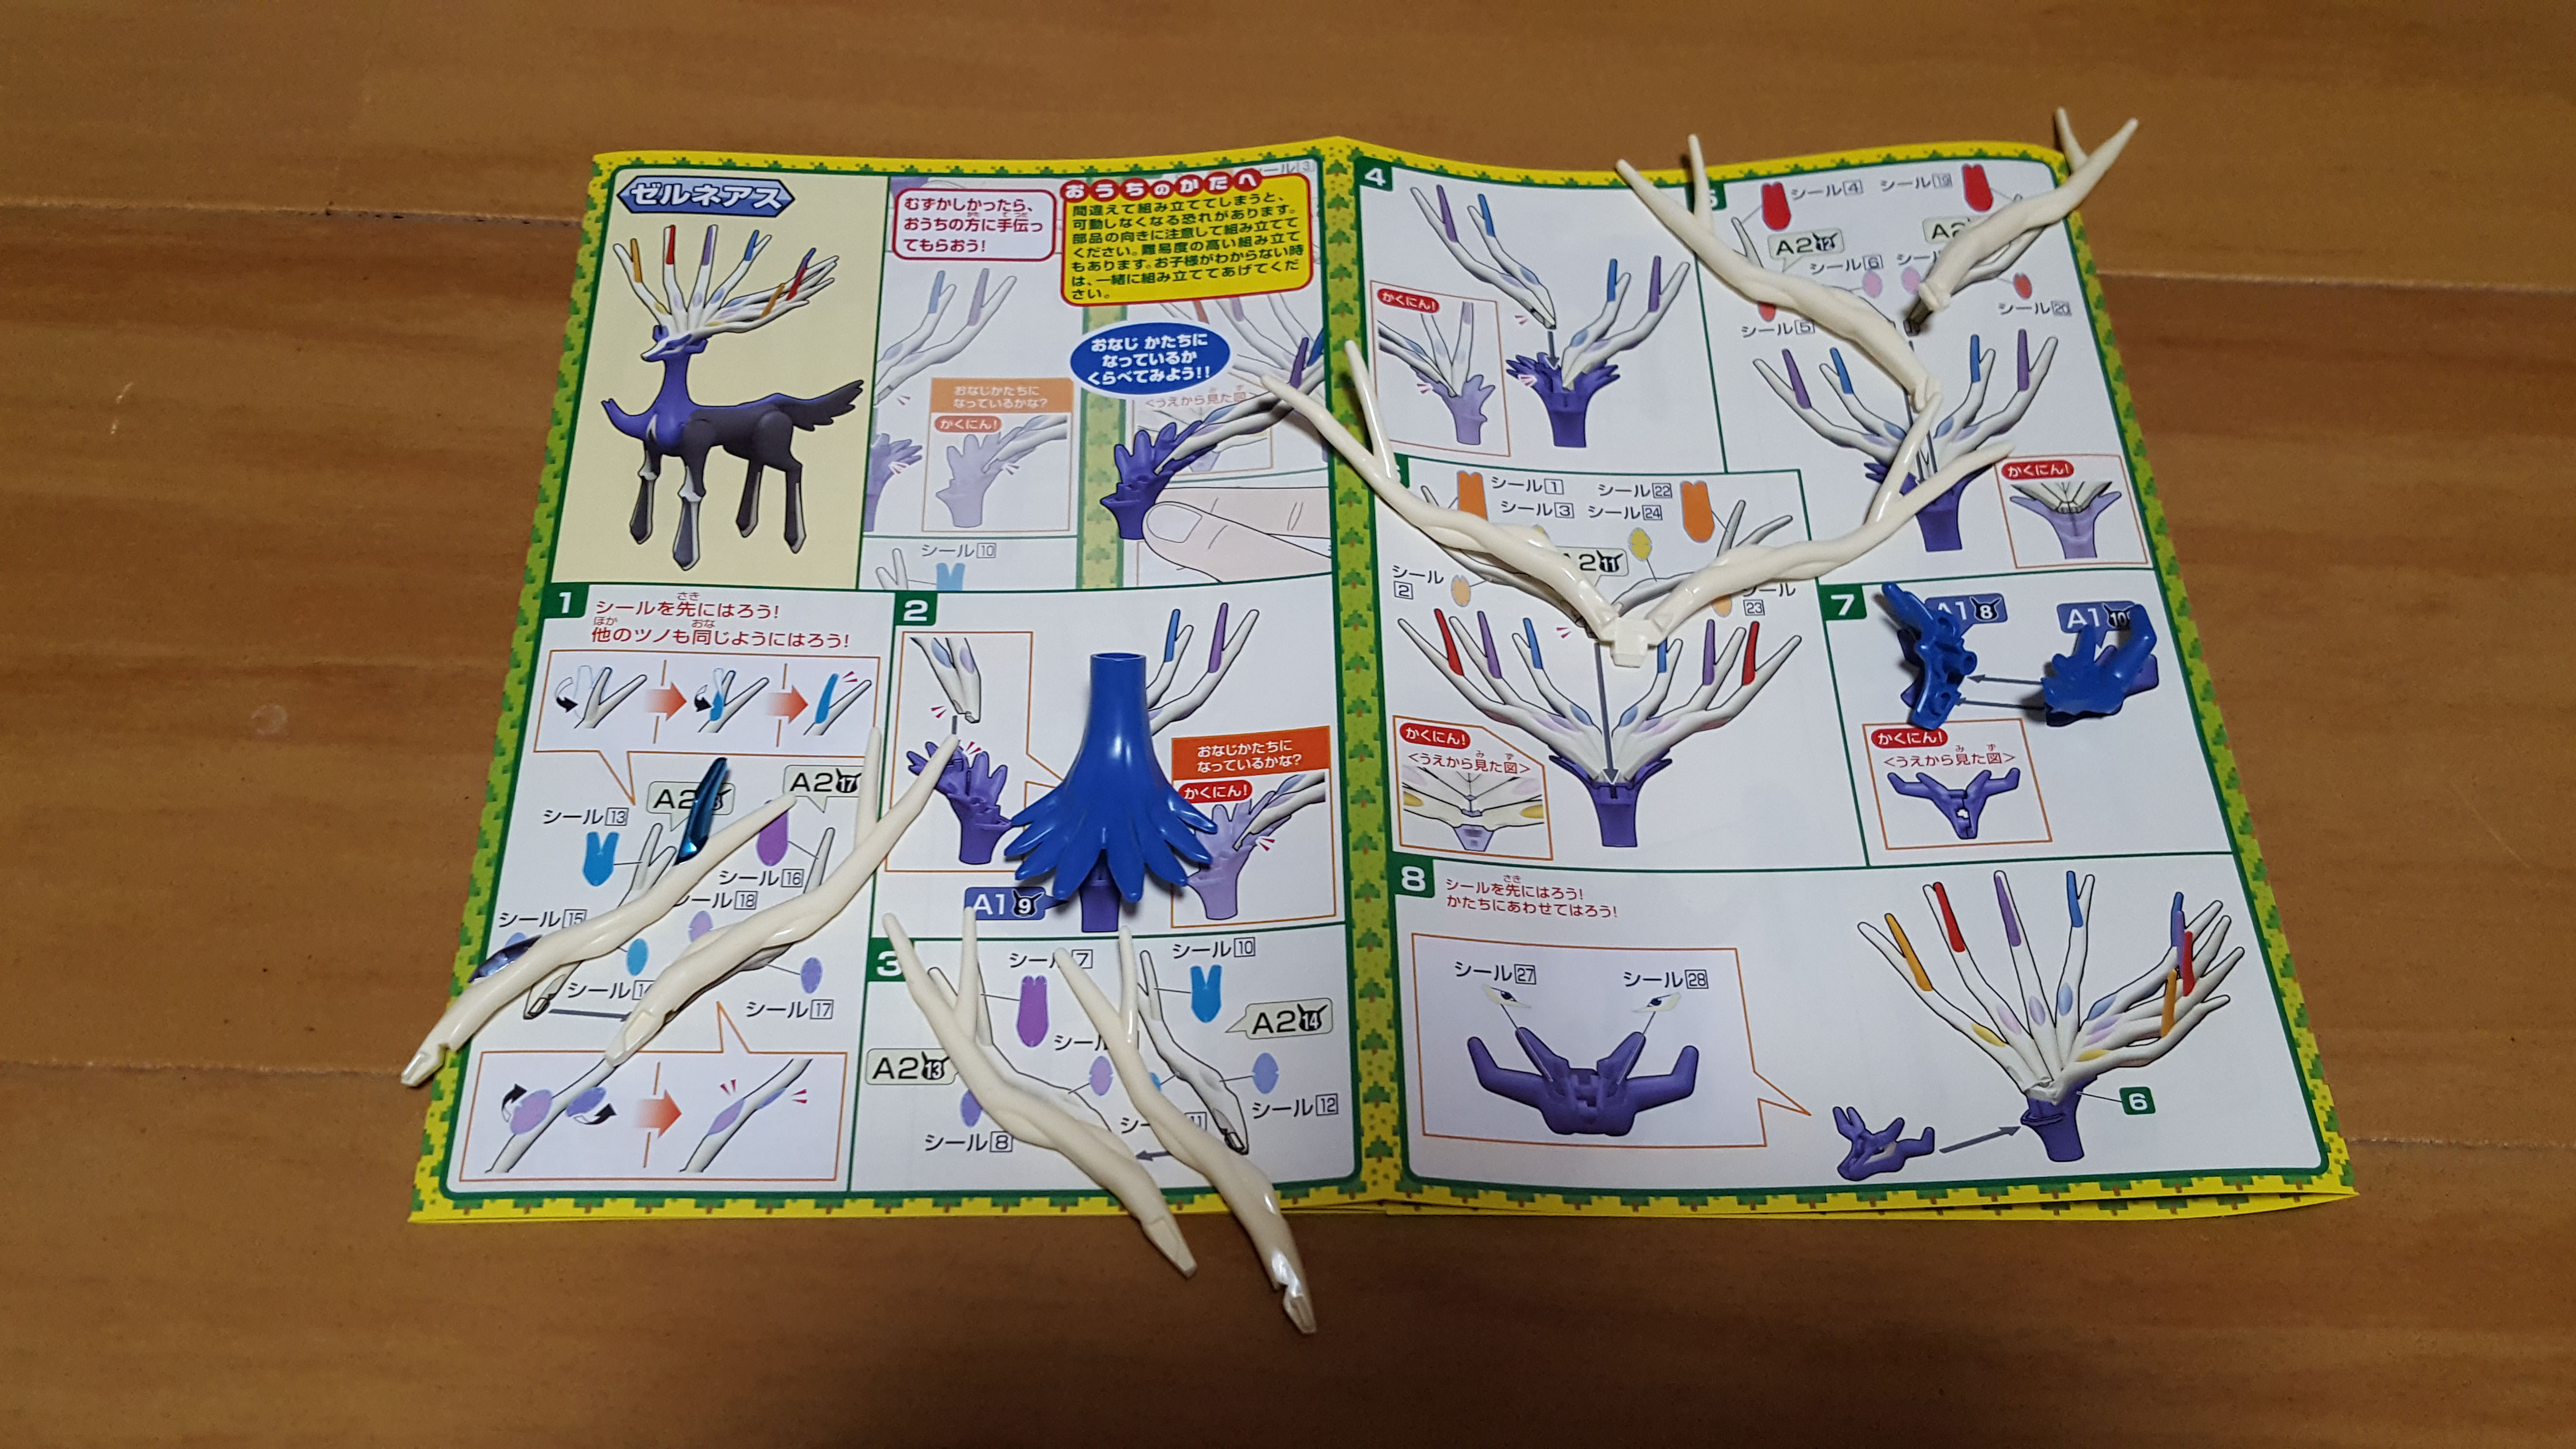
The Xerneas model kit starts out differently than any of the Pokemon kits I’ve built so far: the first thing you do is equip 90% of the stickers.
Usually, this step is one of the last. Of course, you add stickers throughout the build, but Bandai usually saves the heavy-duty sticking until the end. This time, we get it done right away. I kind of prefer this approach, since once you’re done with the stickers the rest of the kit is a breeze.
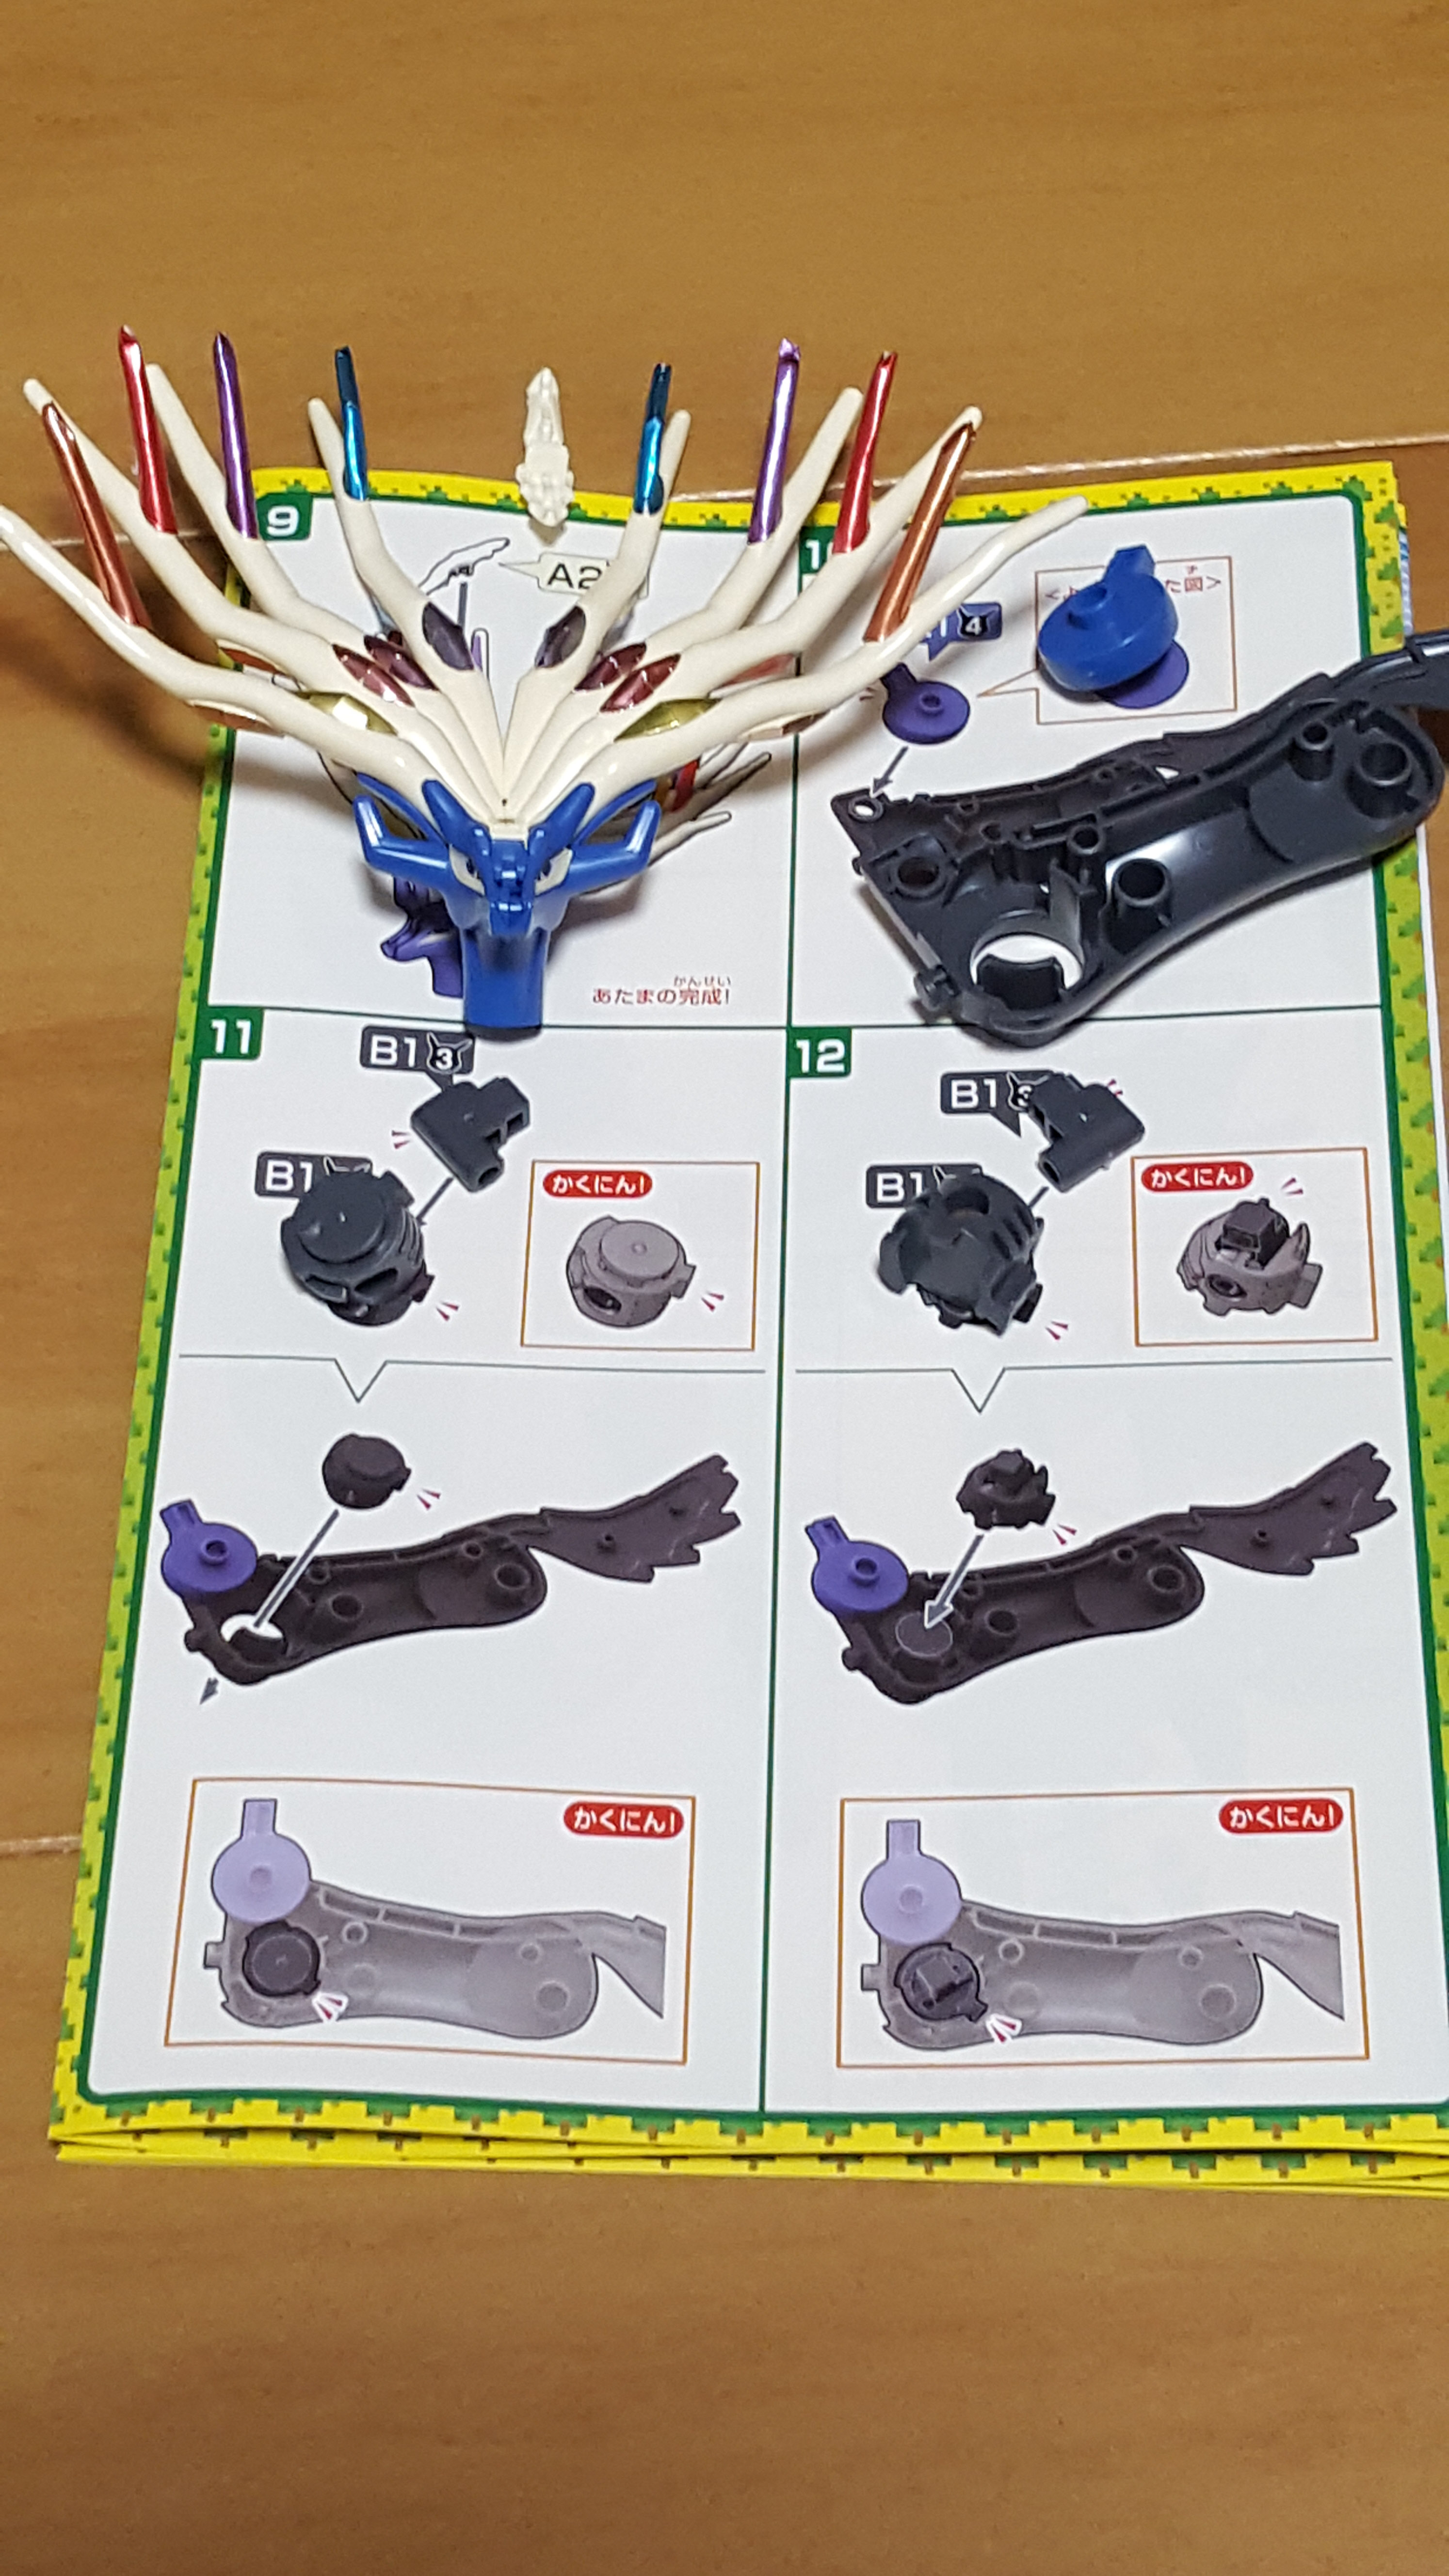
Anyway, what you see above are the first 2 pages of instructions, which focus on the head and horns.
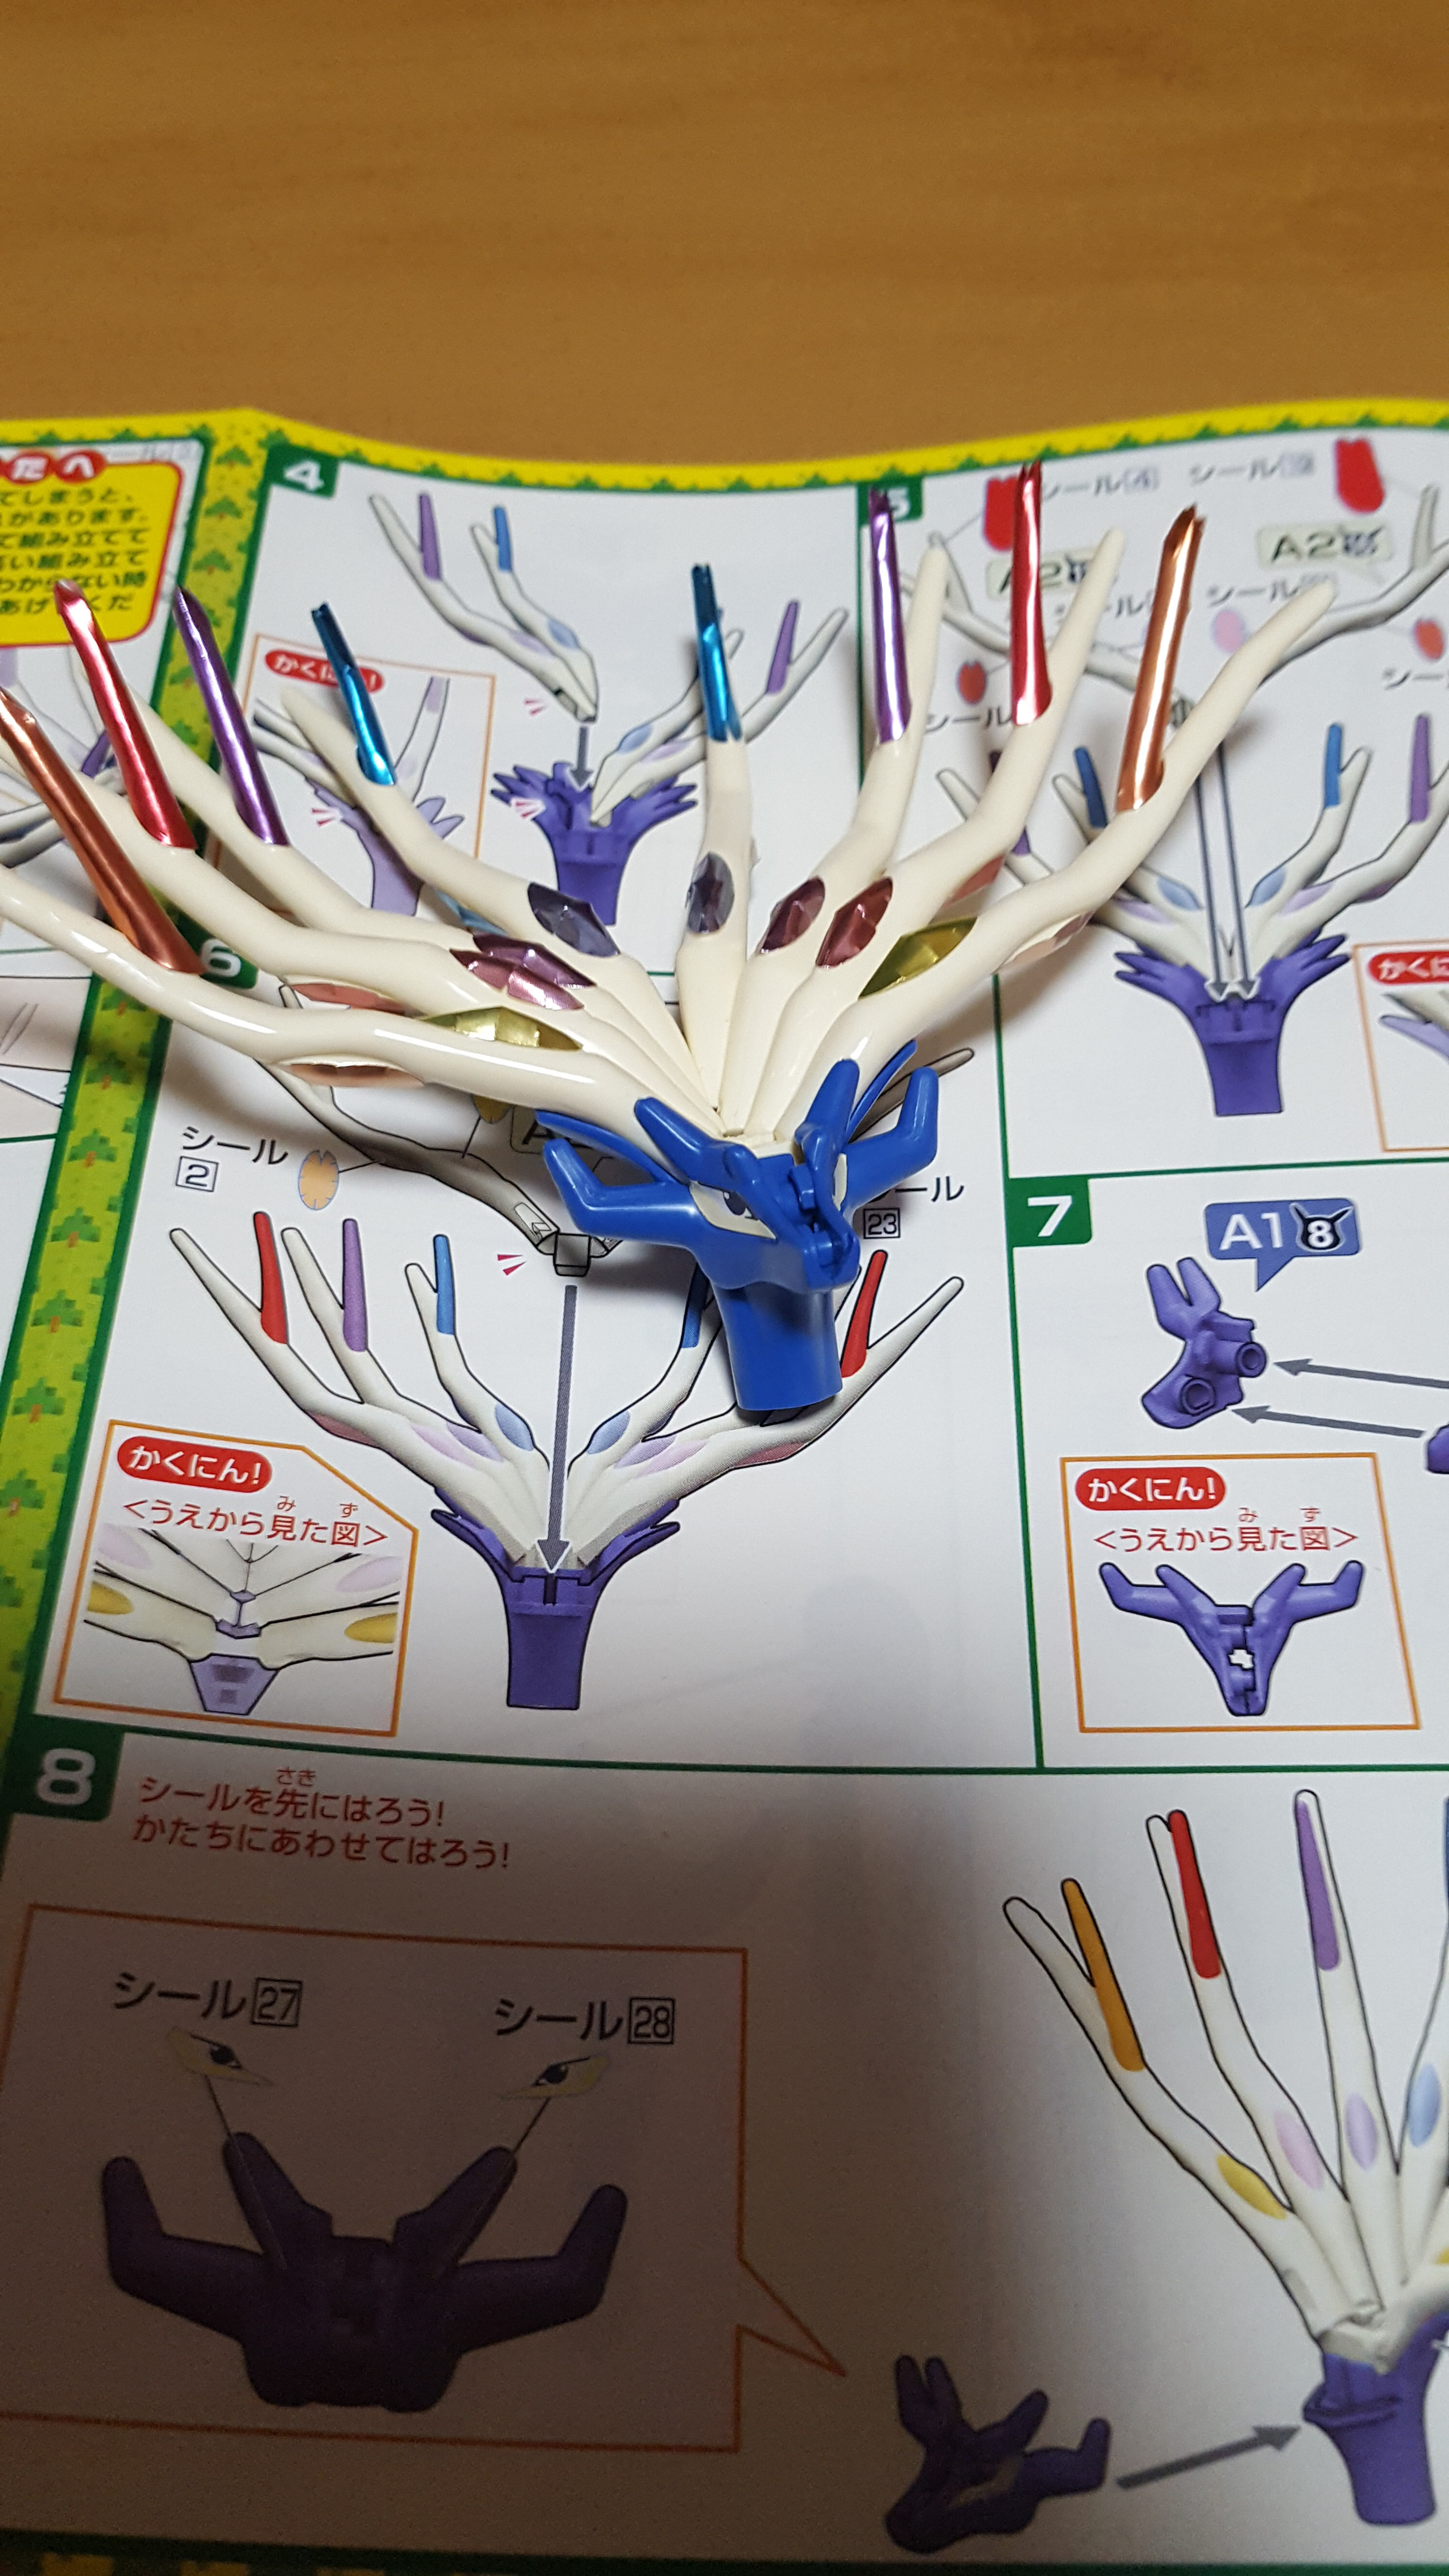
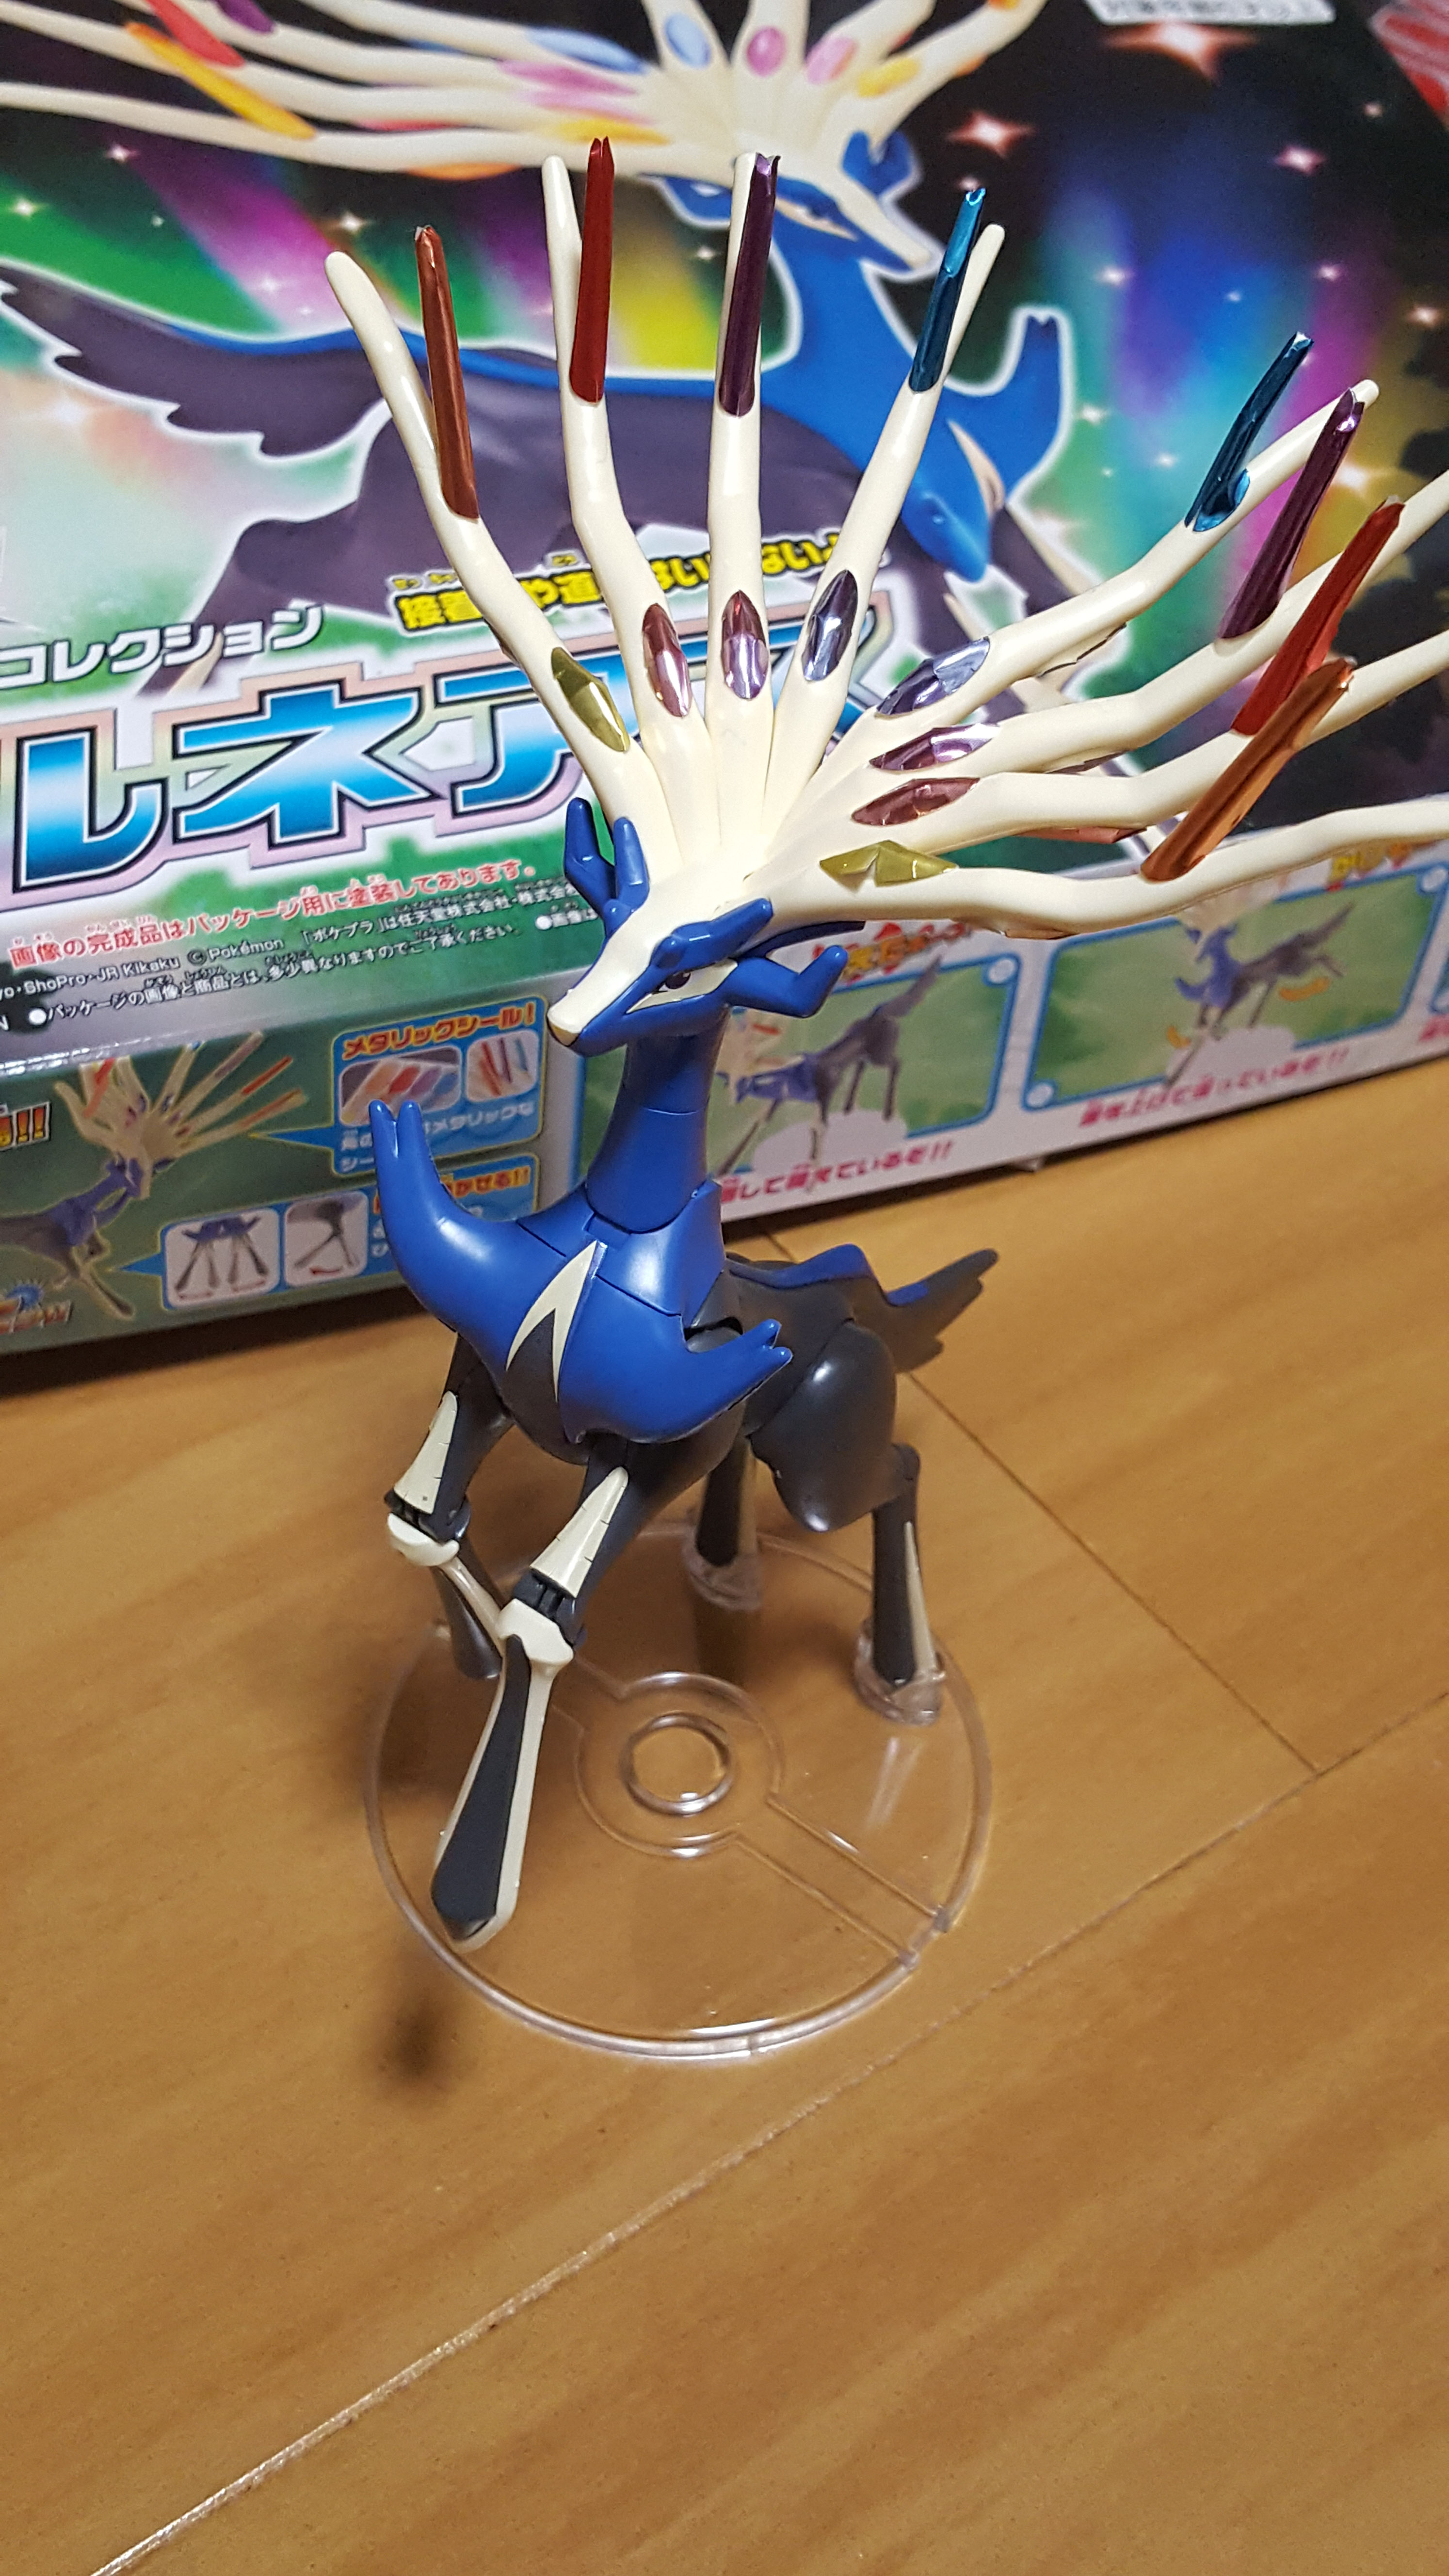
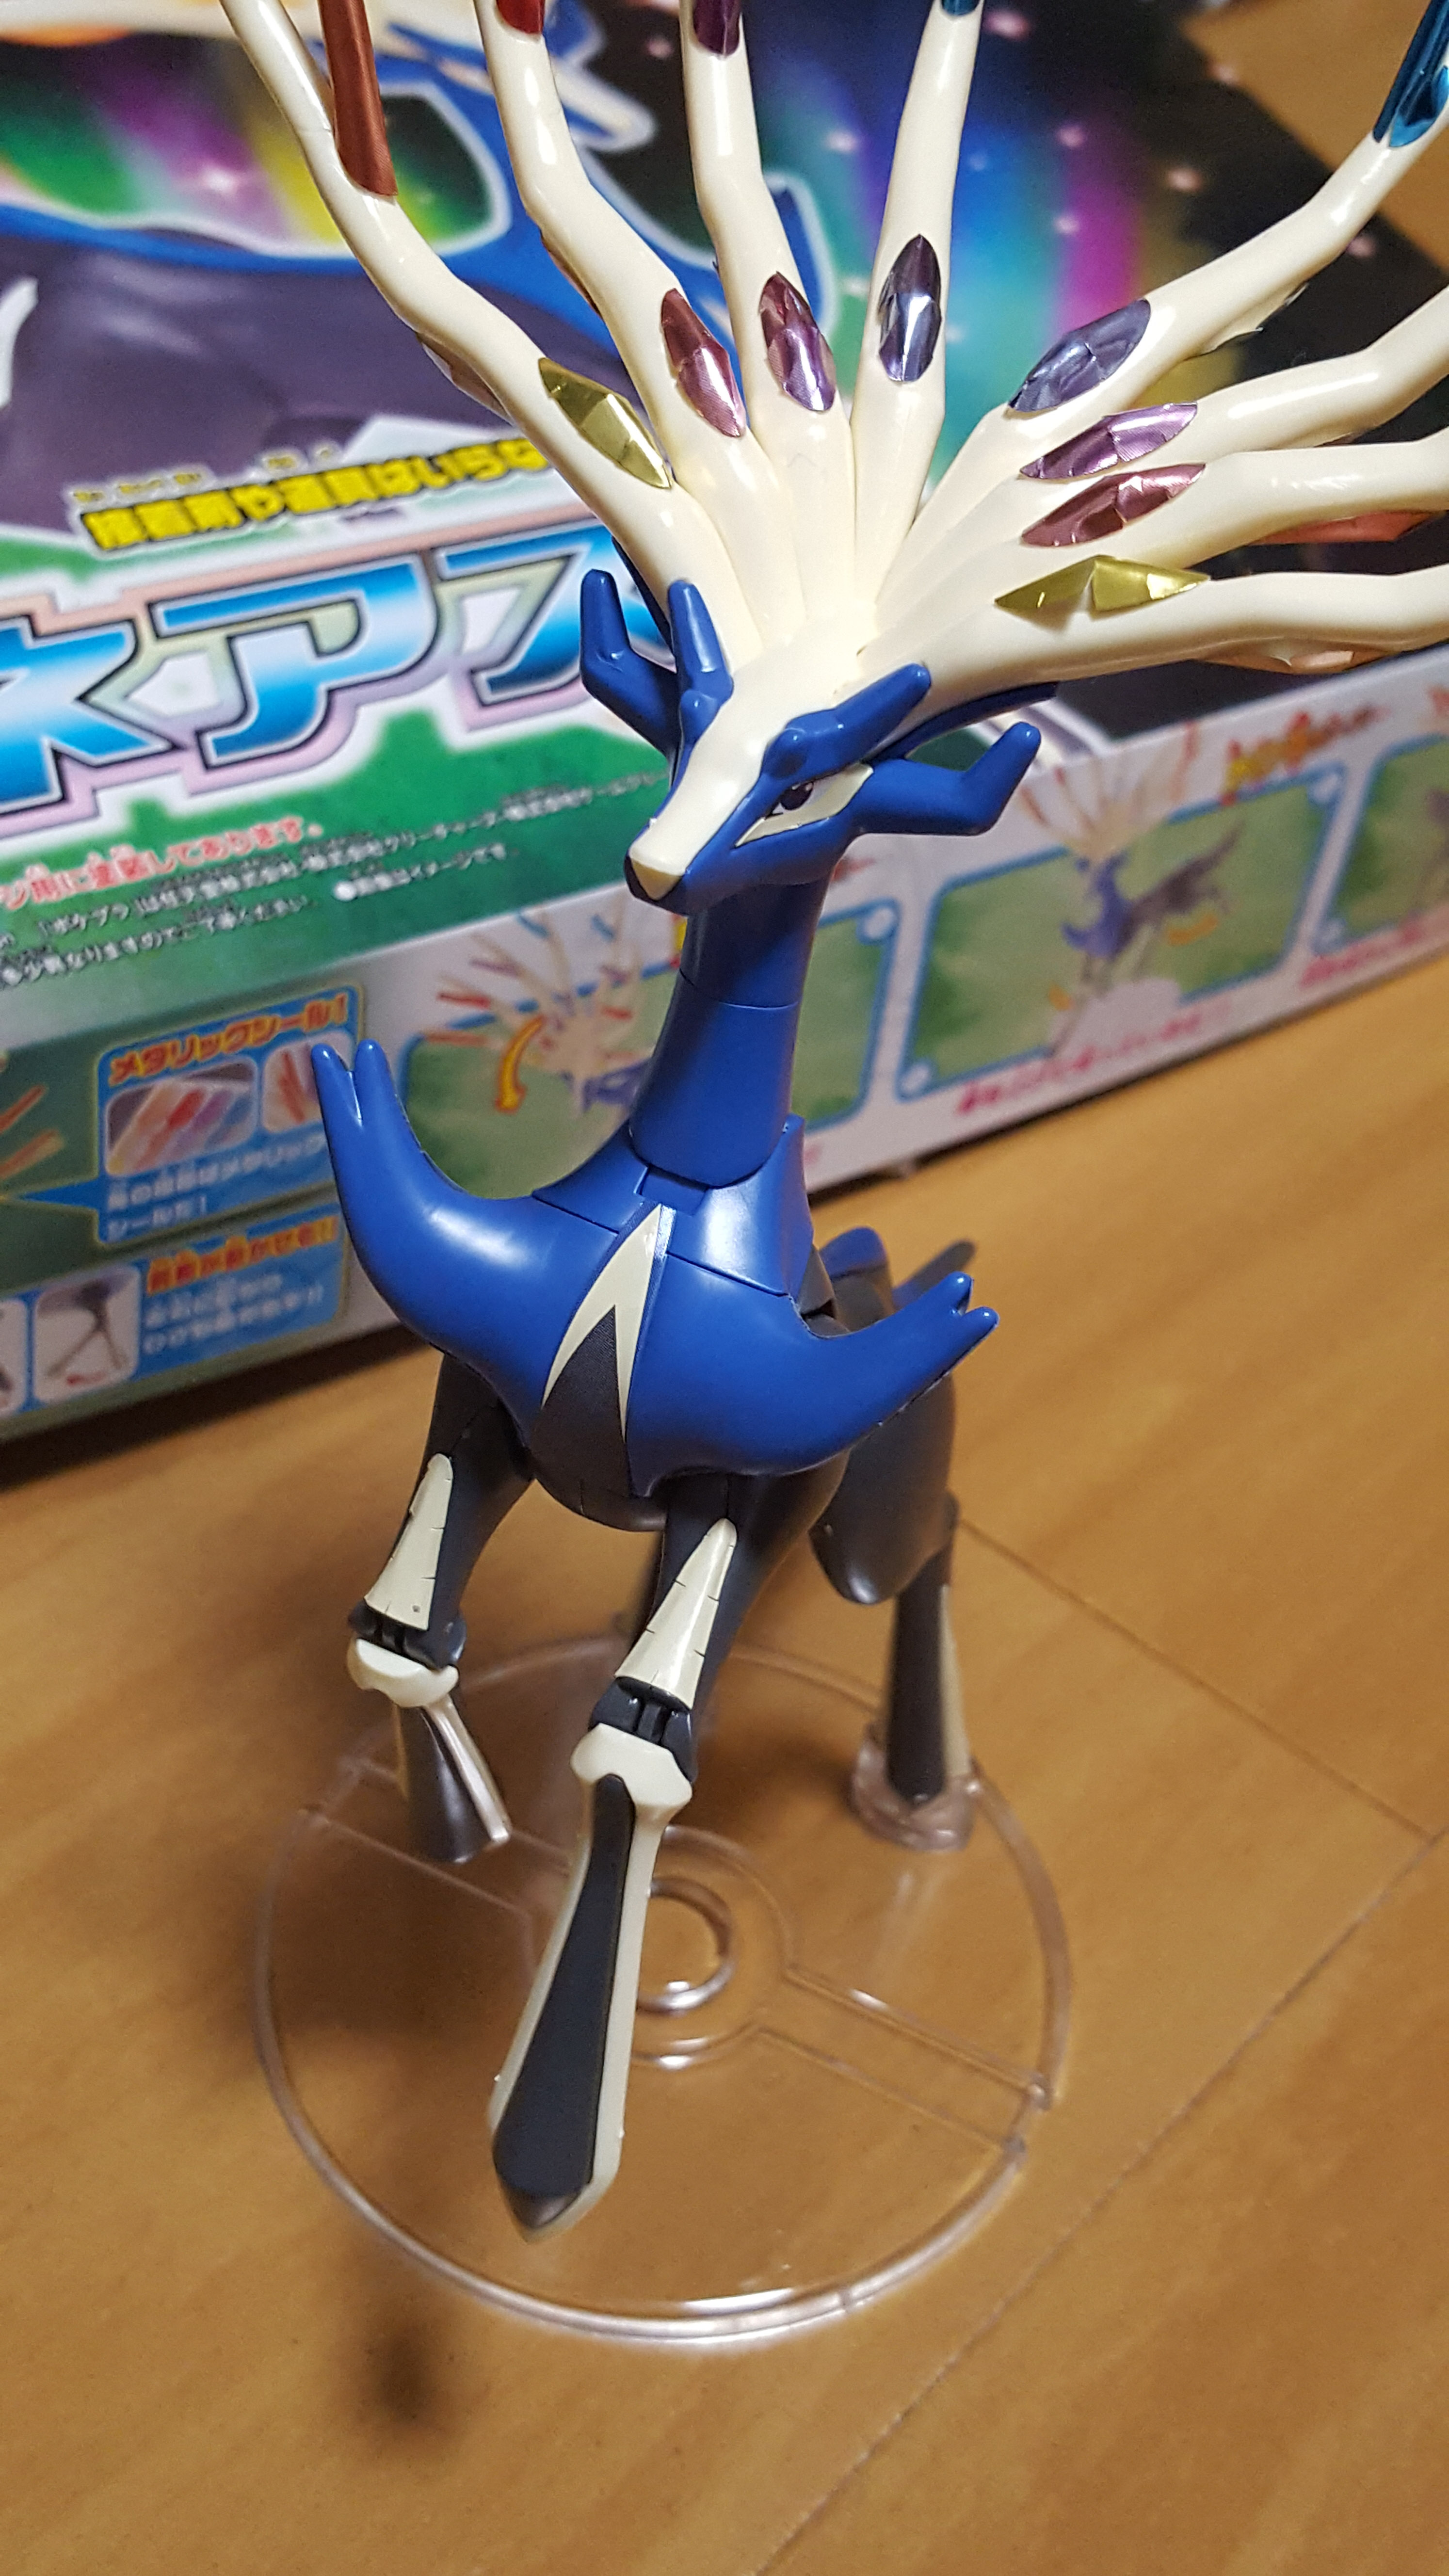
Once the first two pages are done — it took me about 10 minutes — this is the result. Getting the first couple of horns slotted into place was admittedly tricky for me; the angles used in the instruction manual for the first 2 don’t make the setting very clear. But with some fiddling, you’ll get it into place and everything fits very neatly.
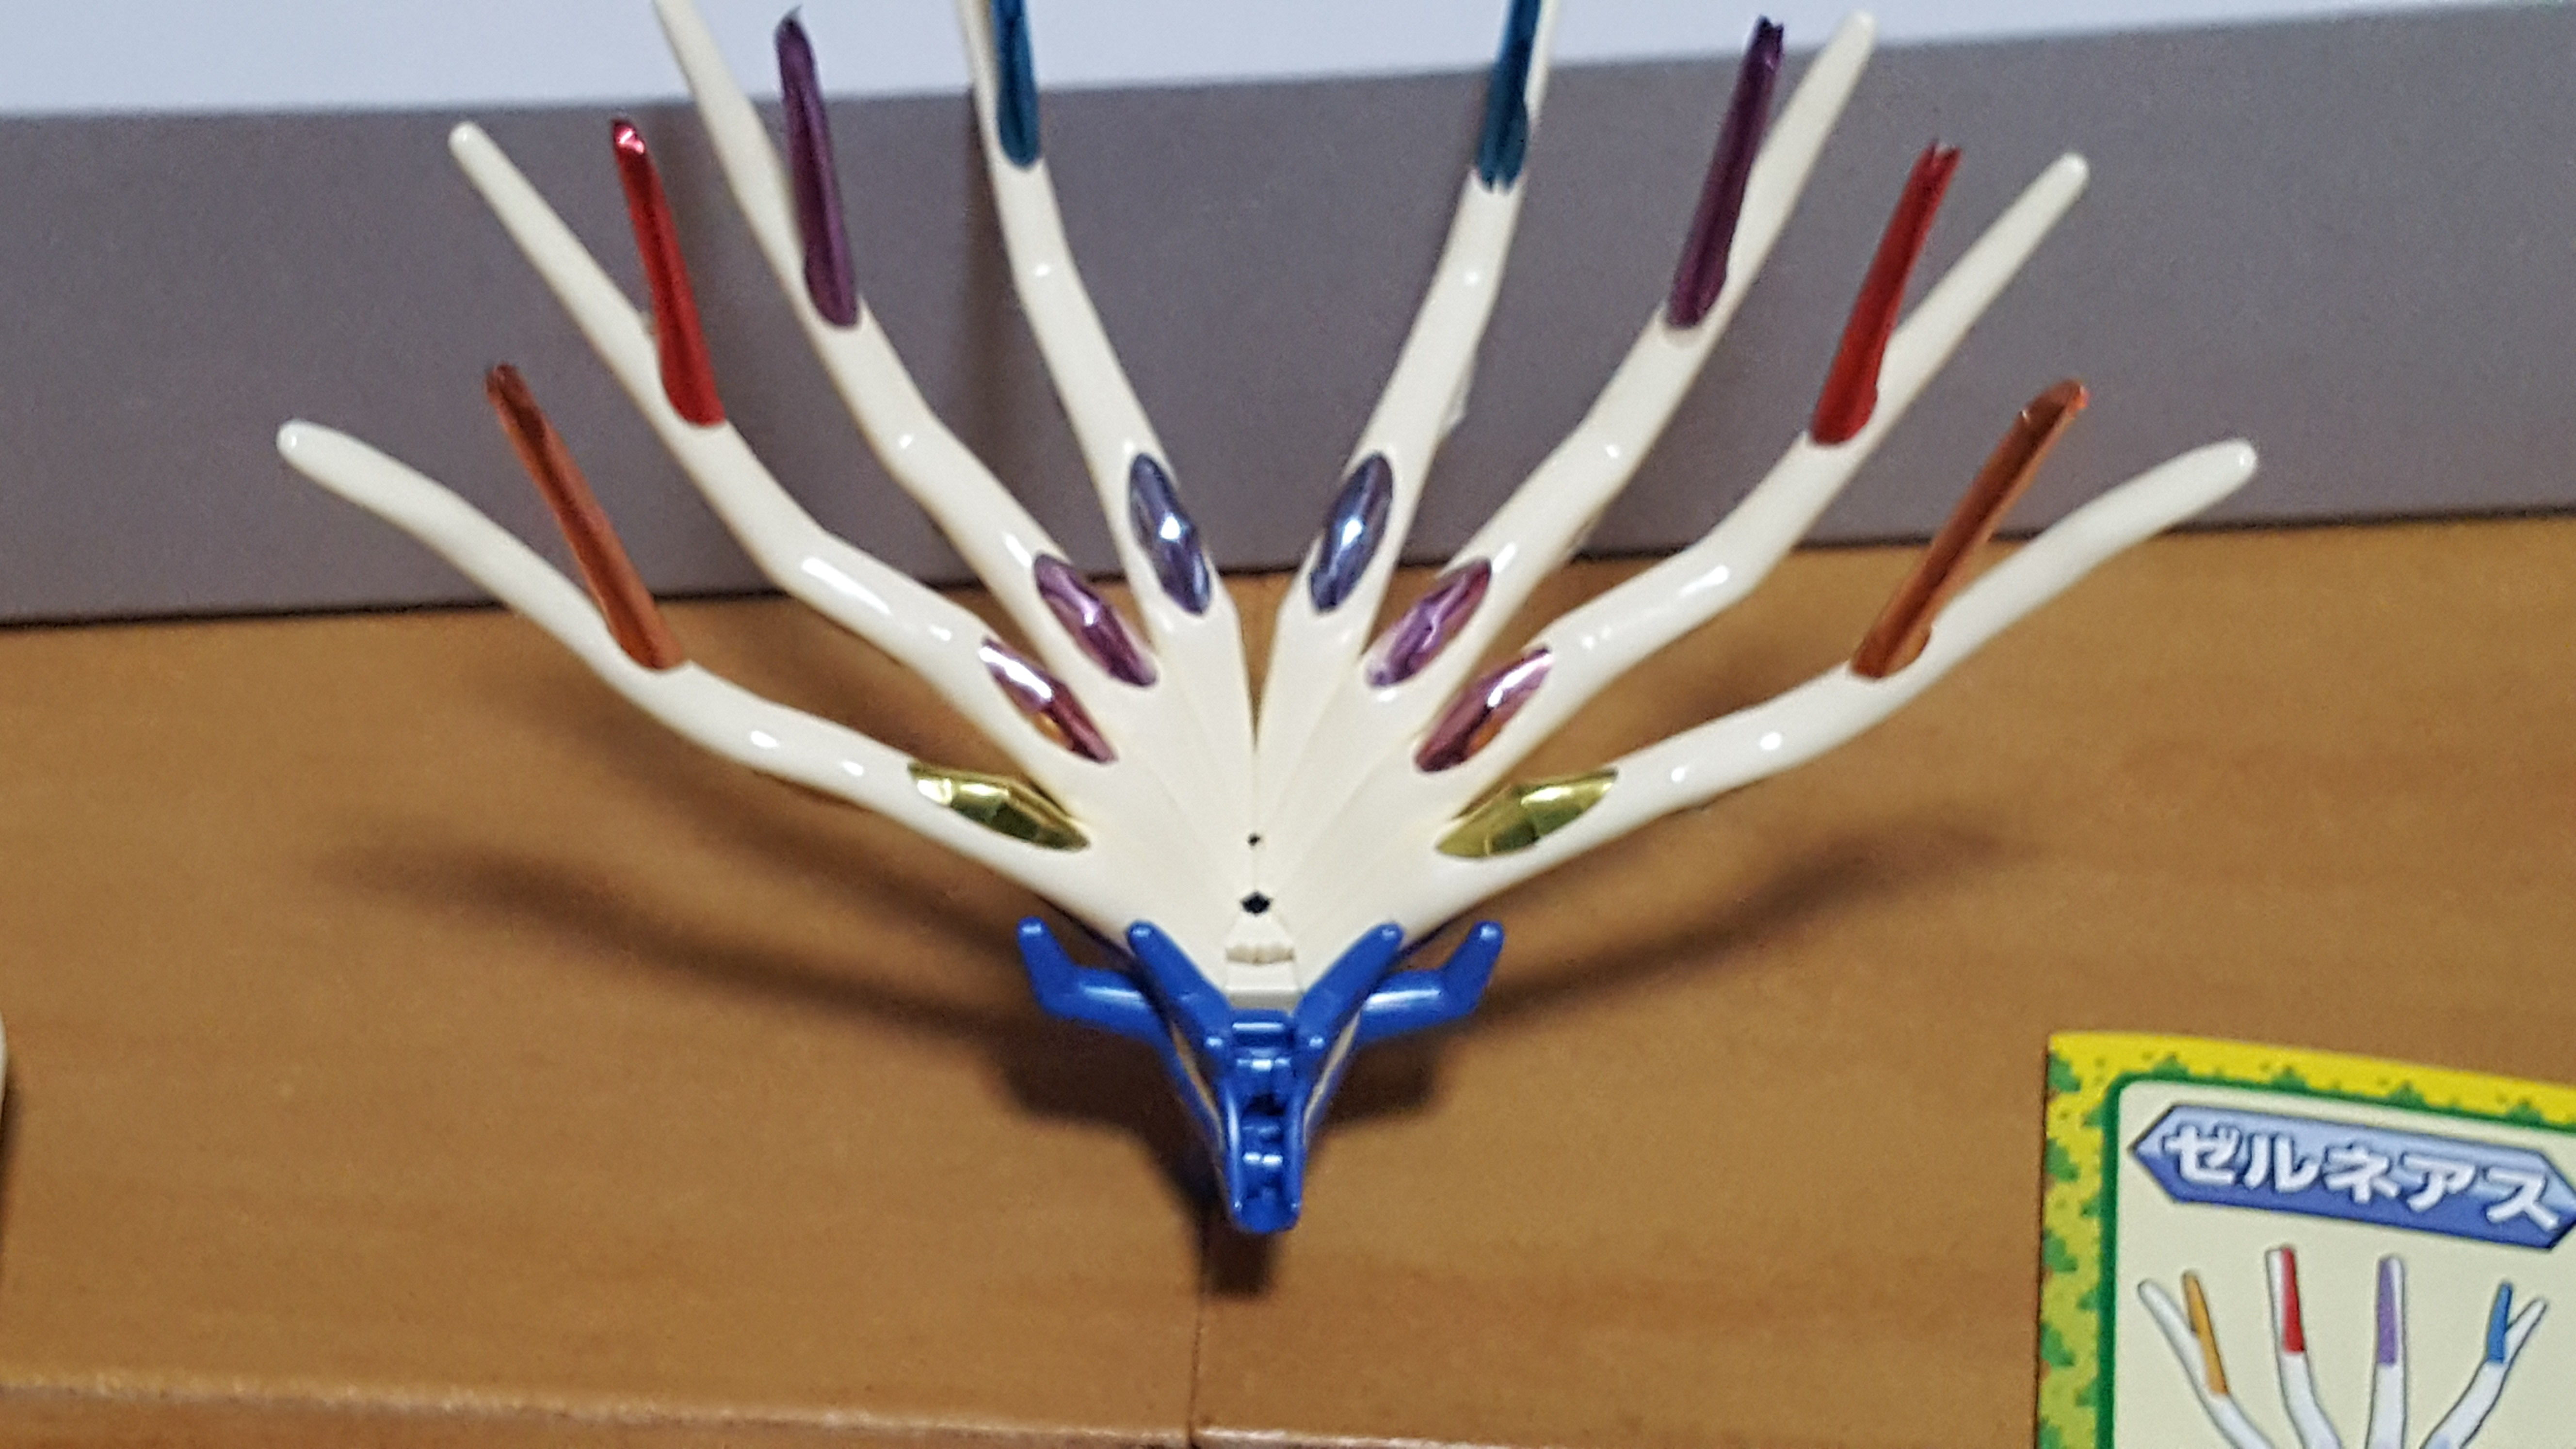
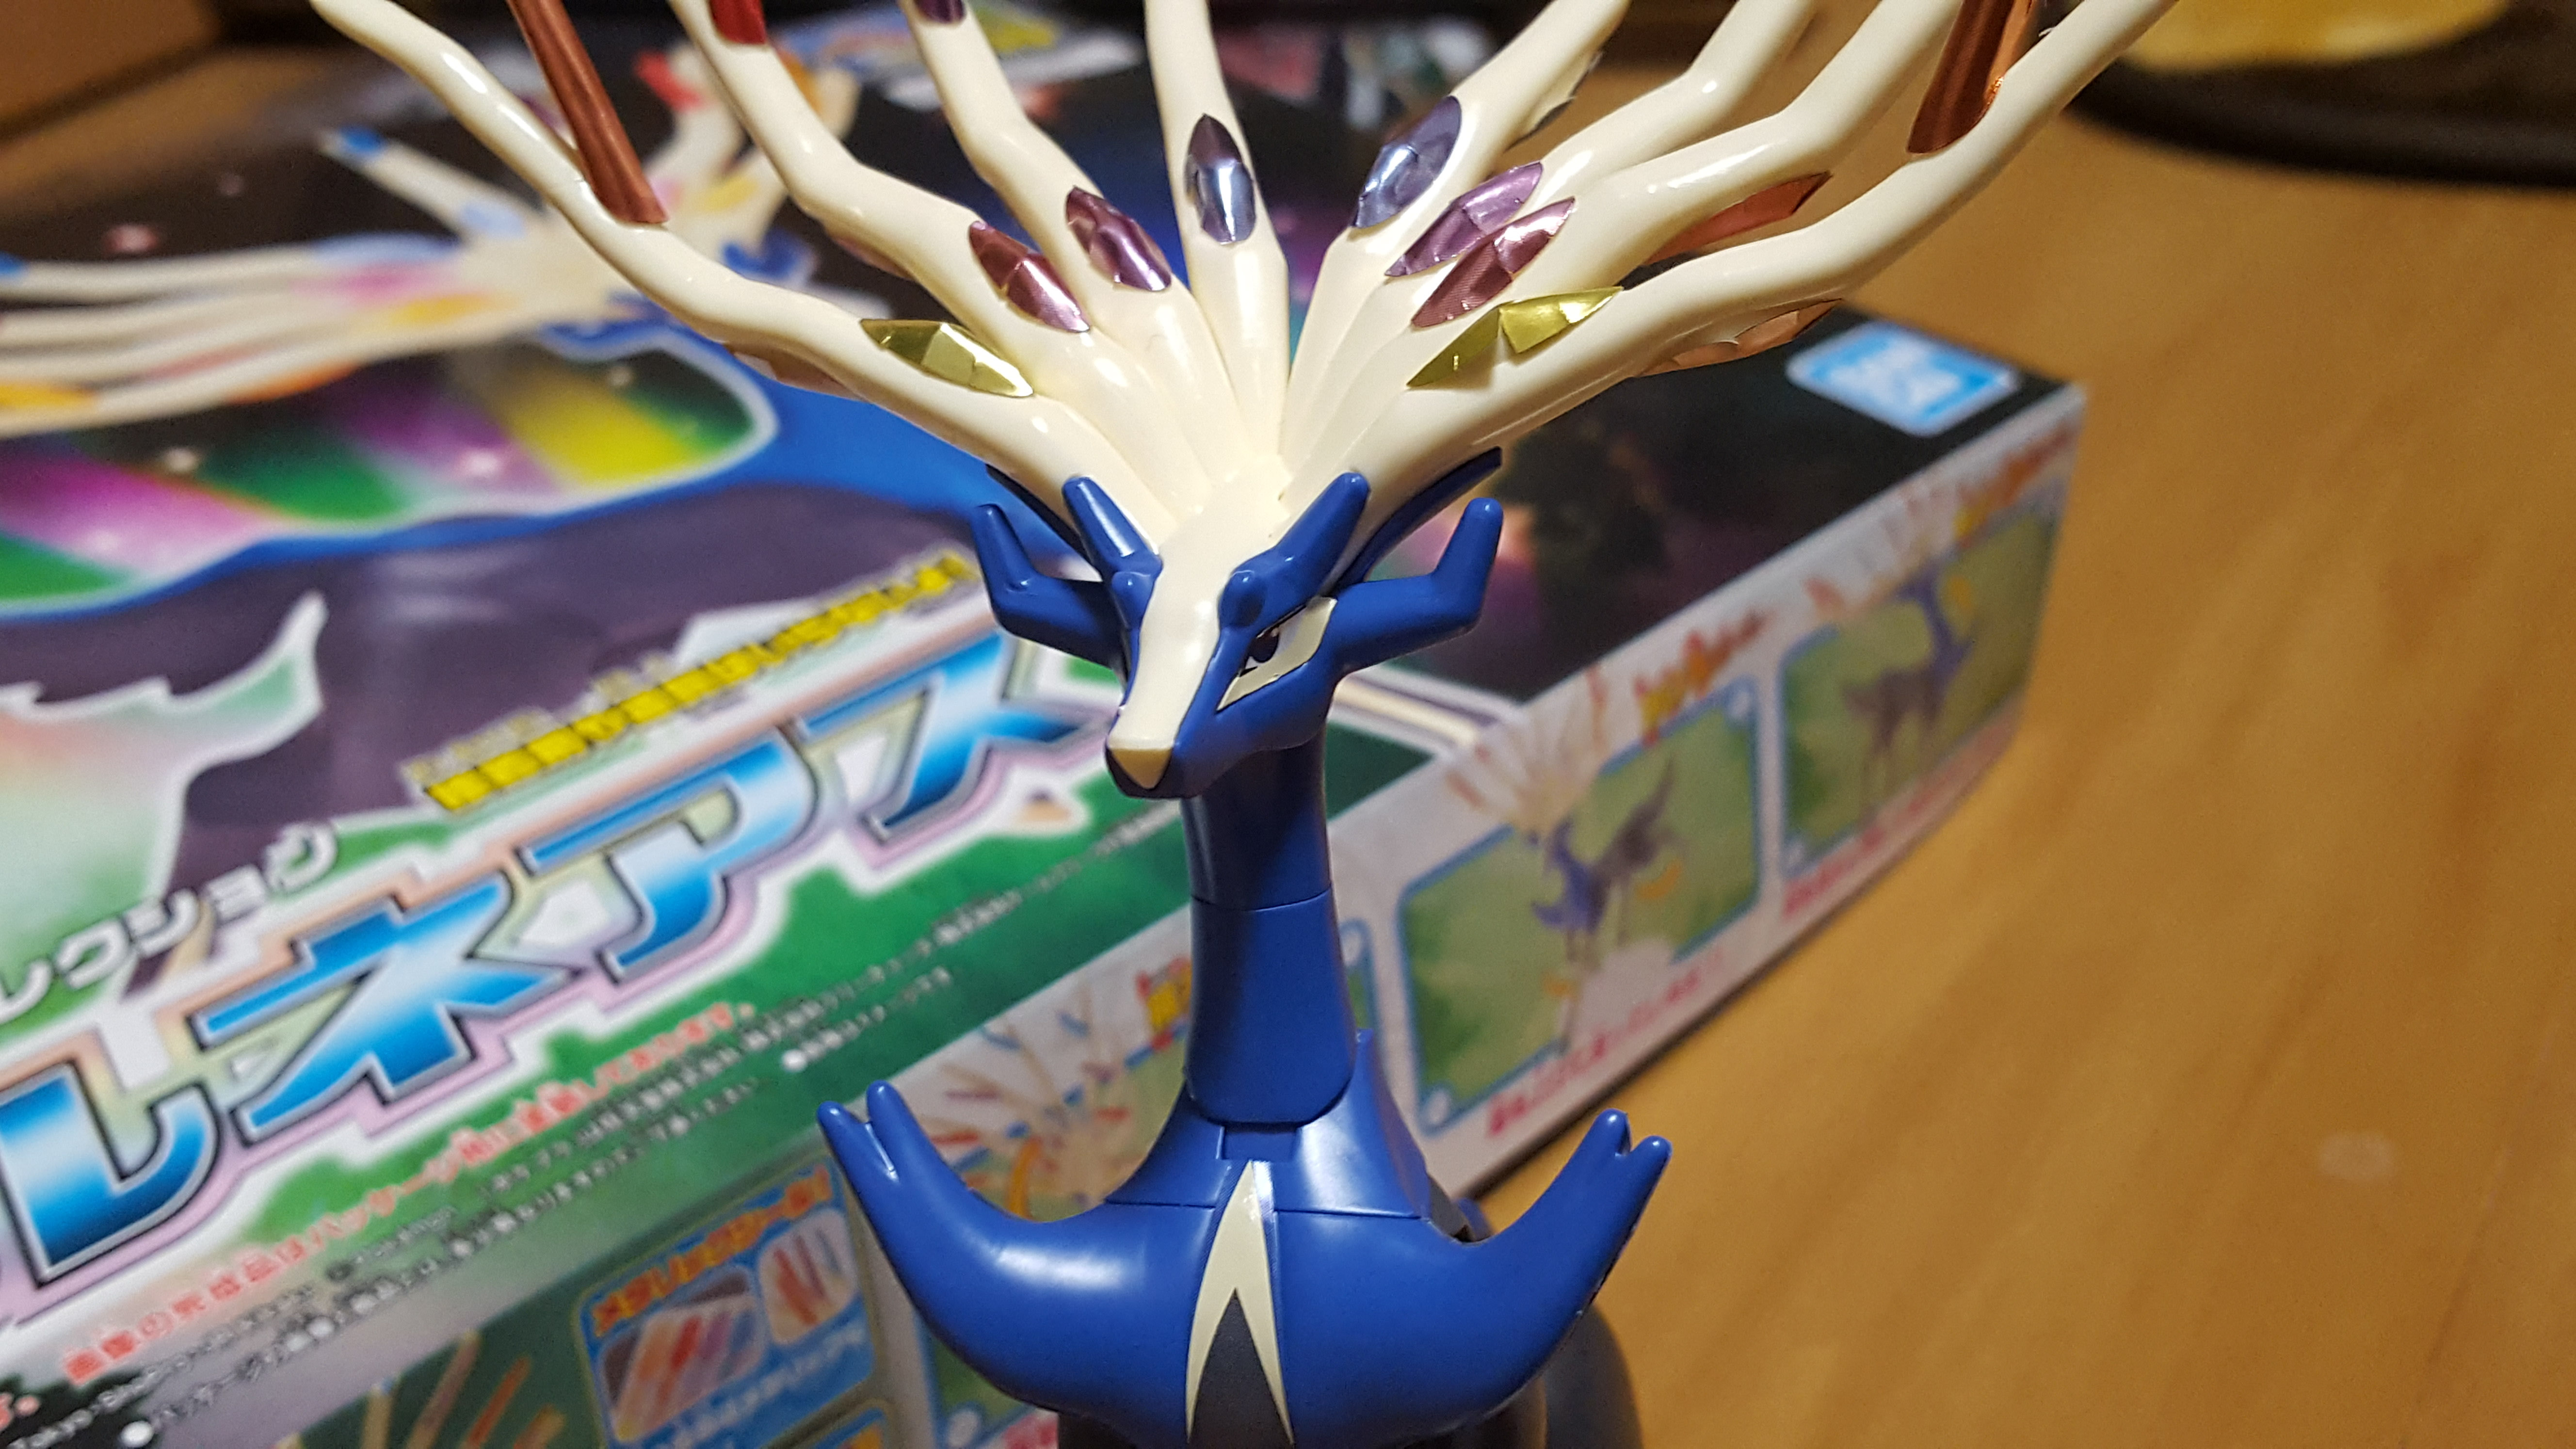
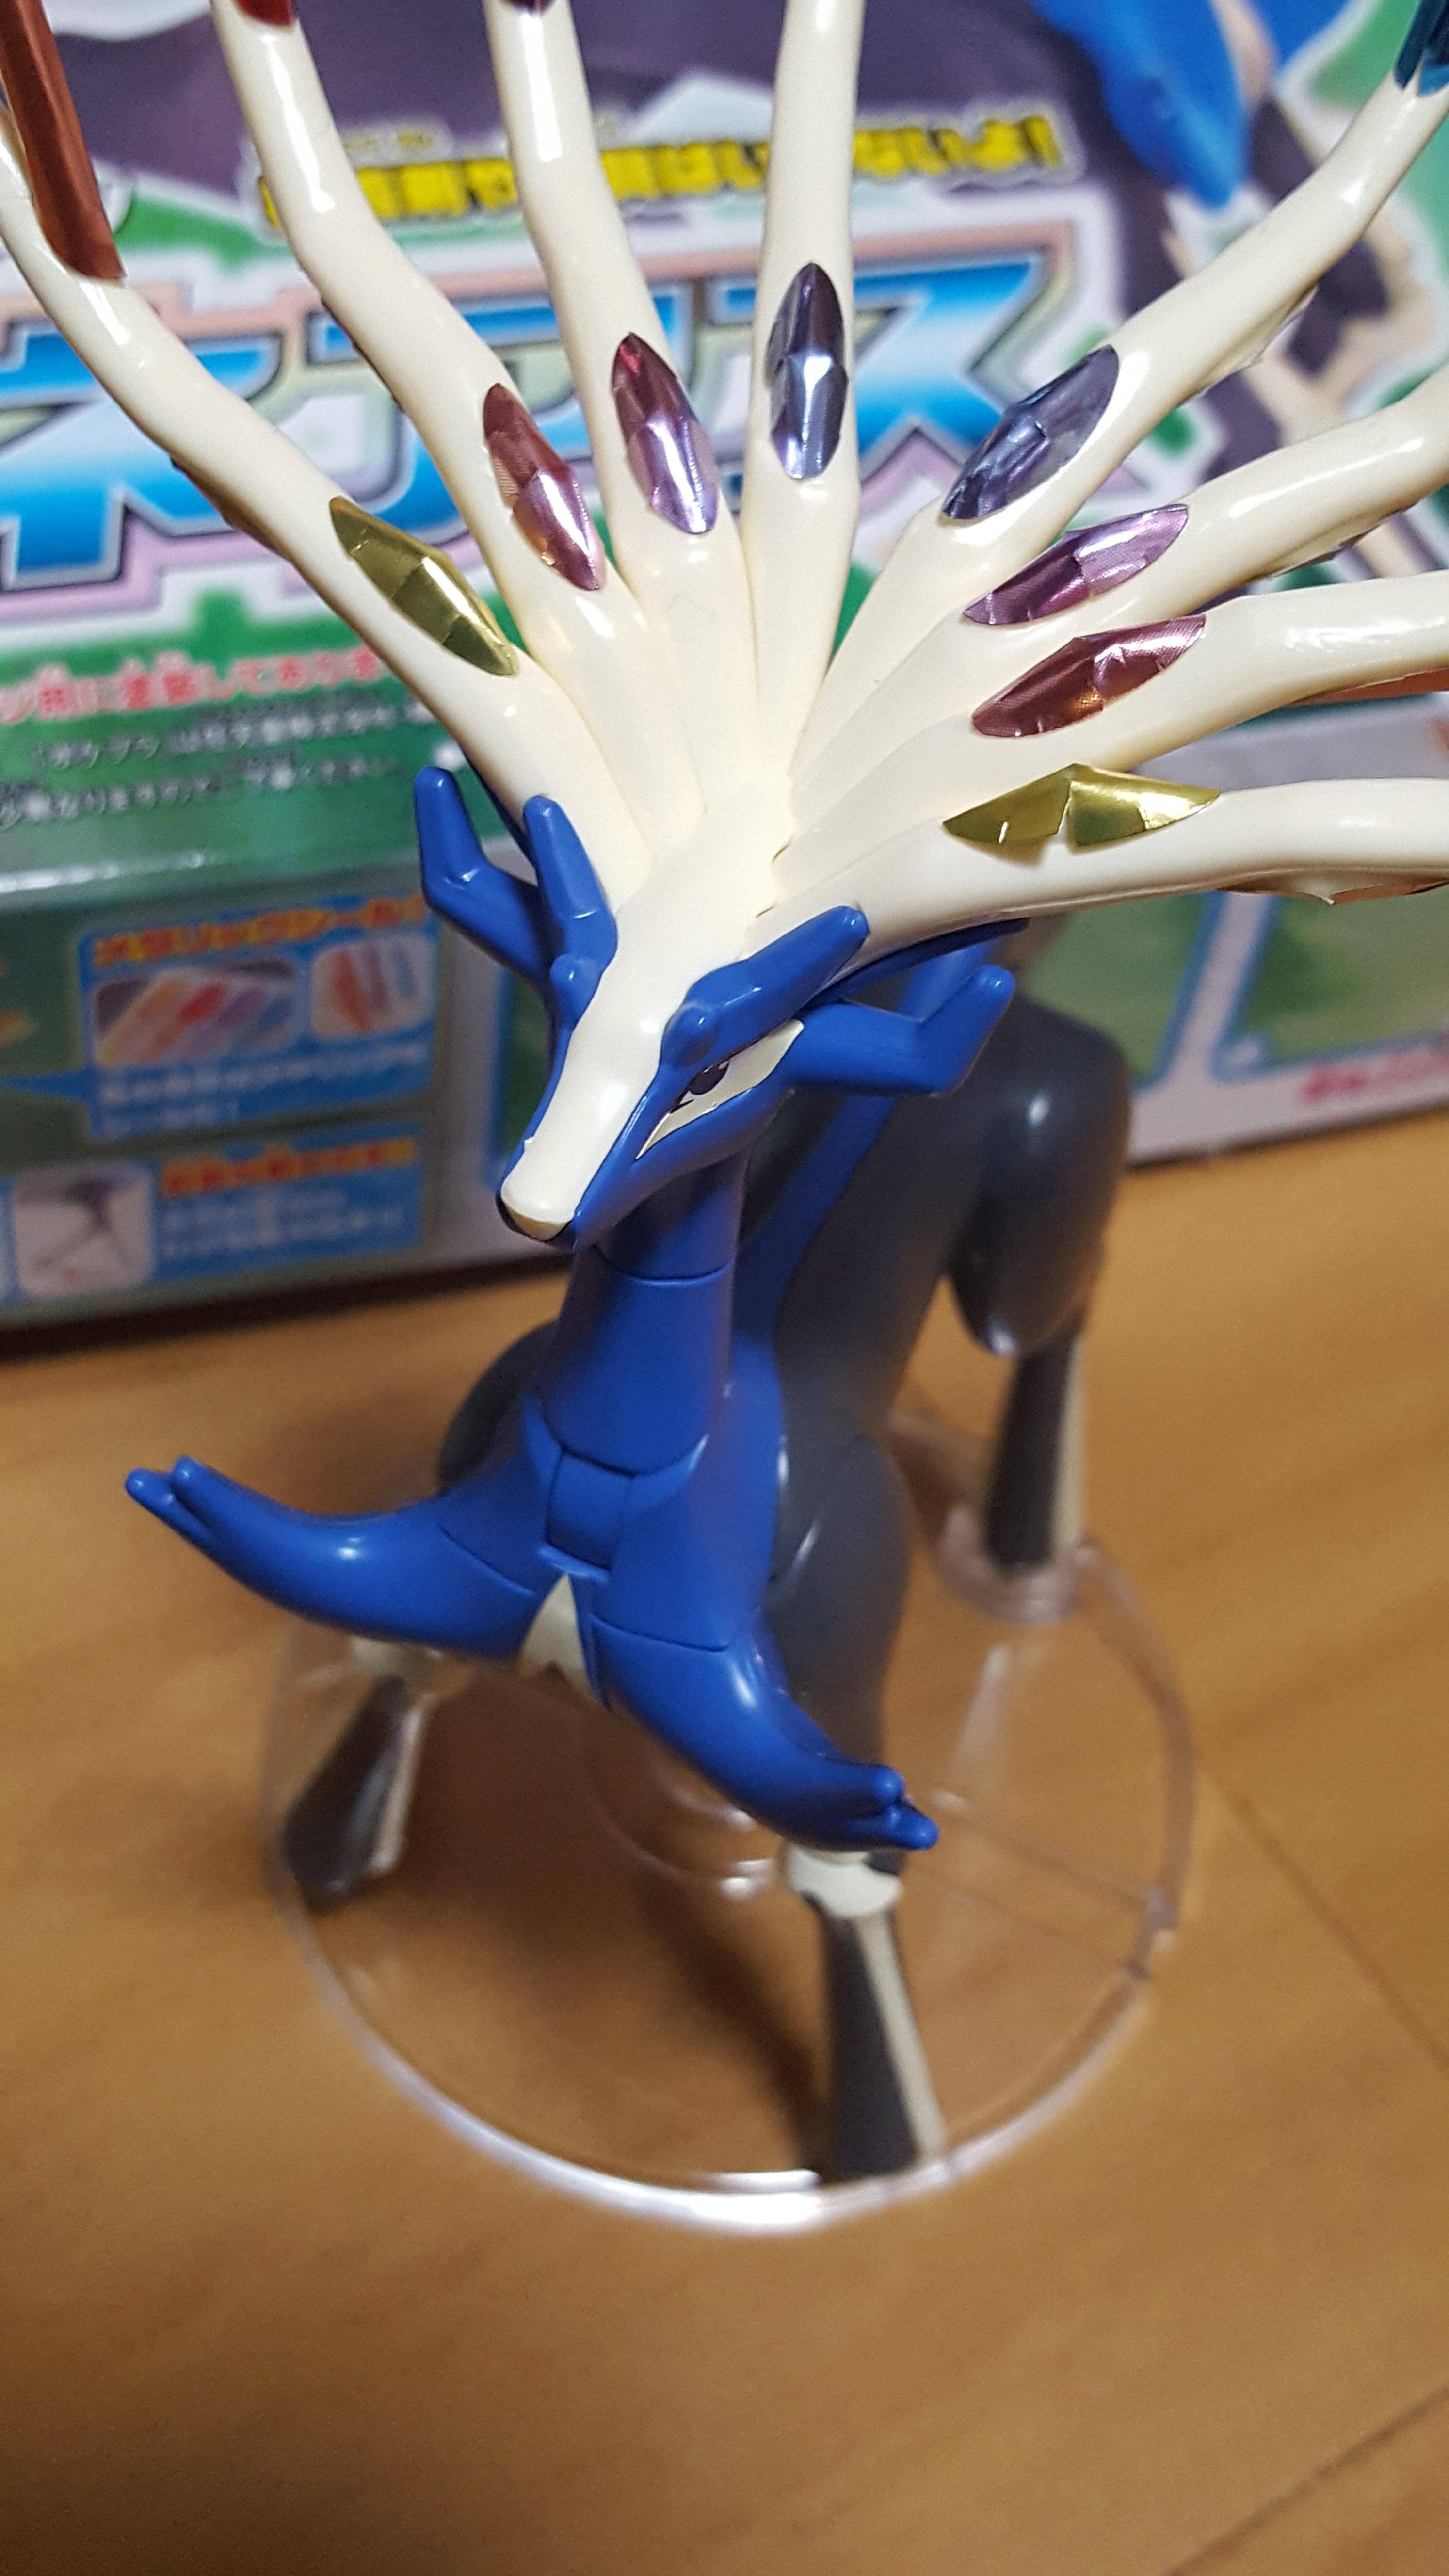
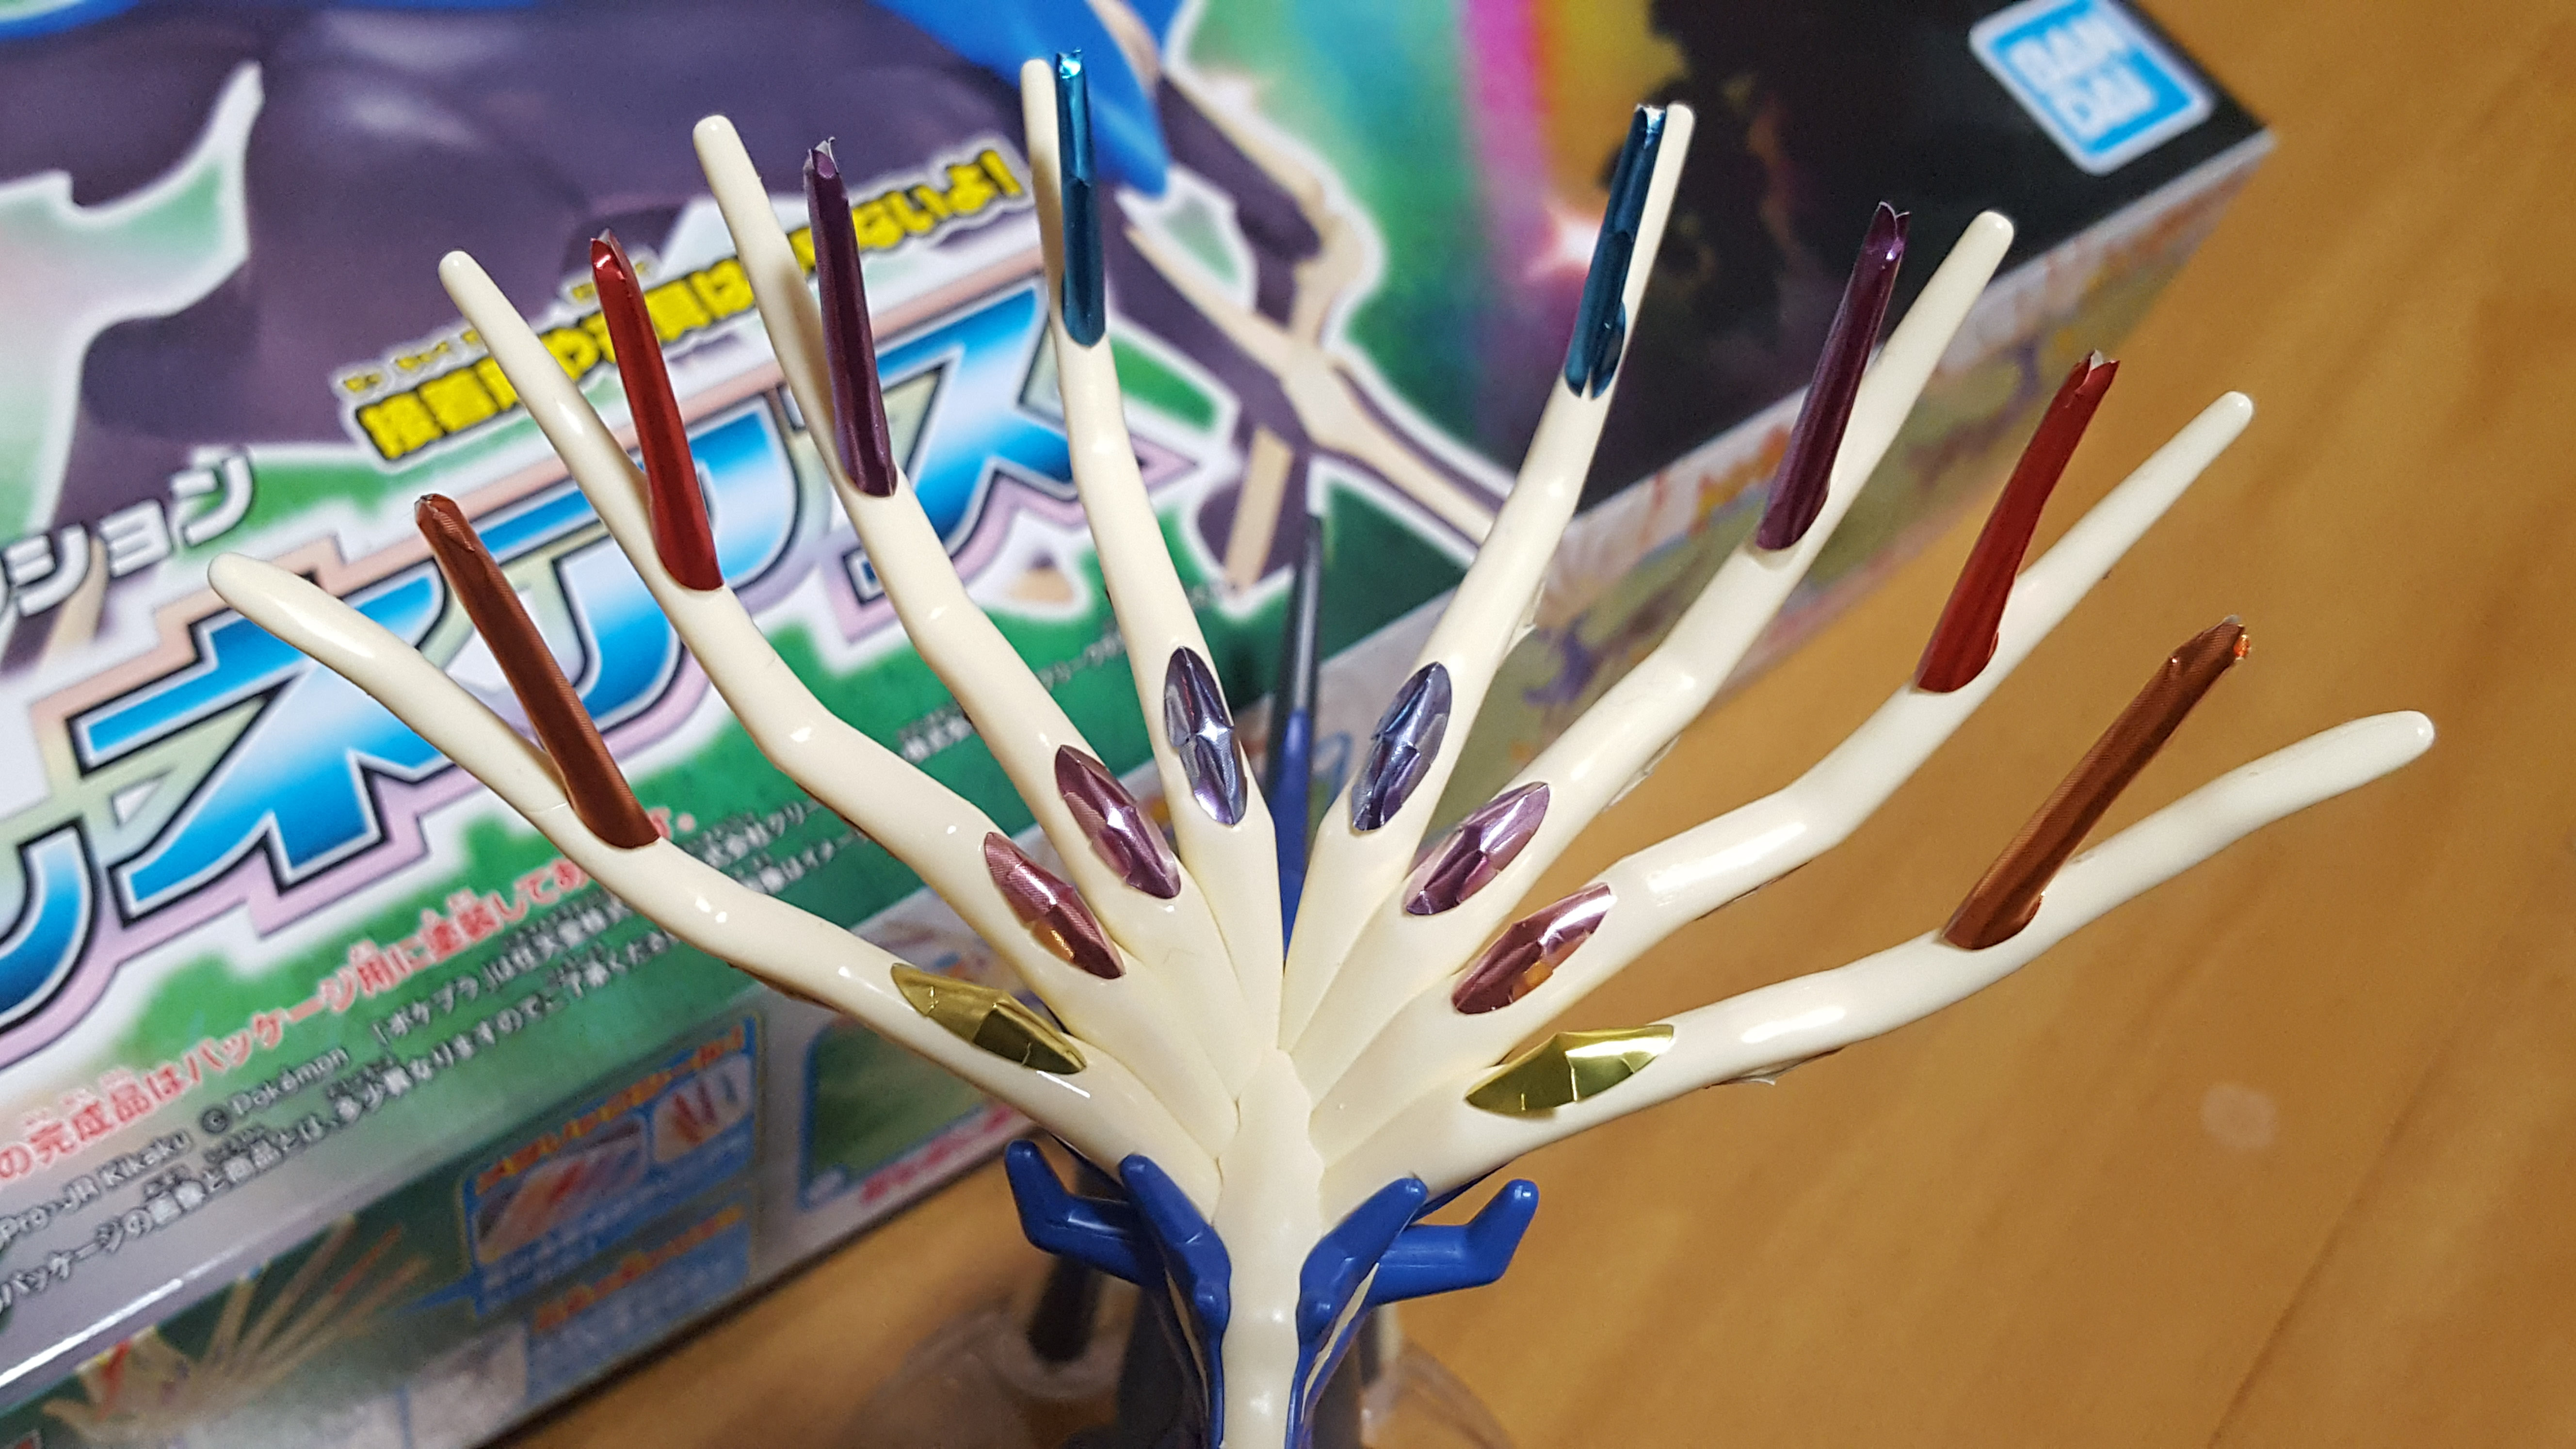
Here’s another shot of the head without the instruction booklet distracting from the colors. Look at those foils.
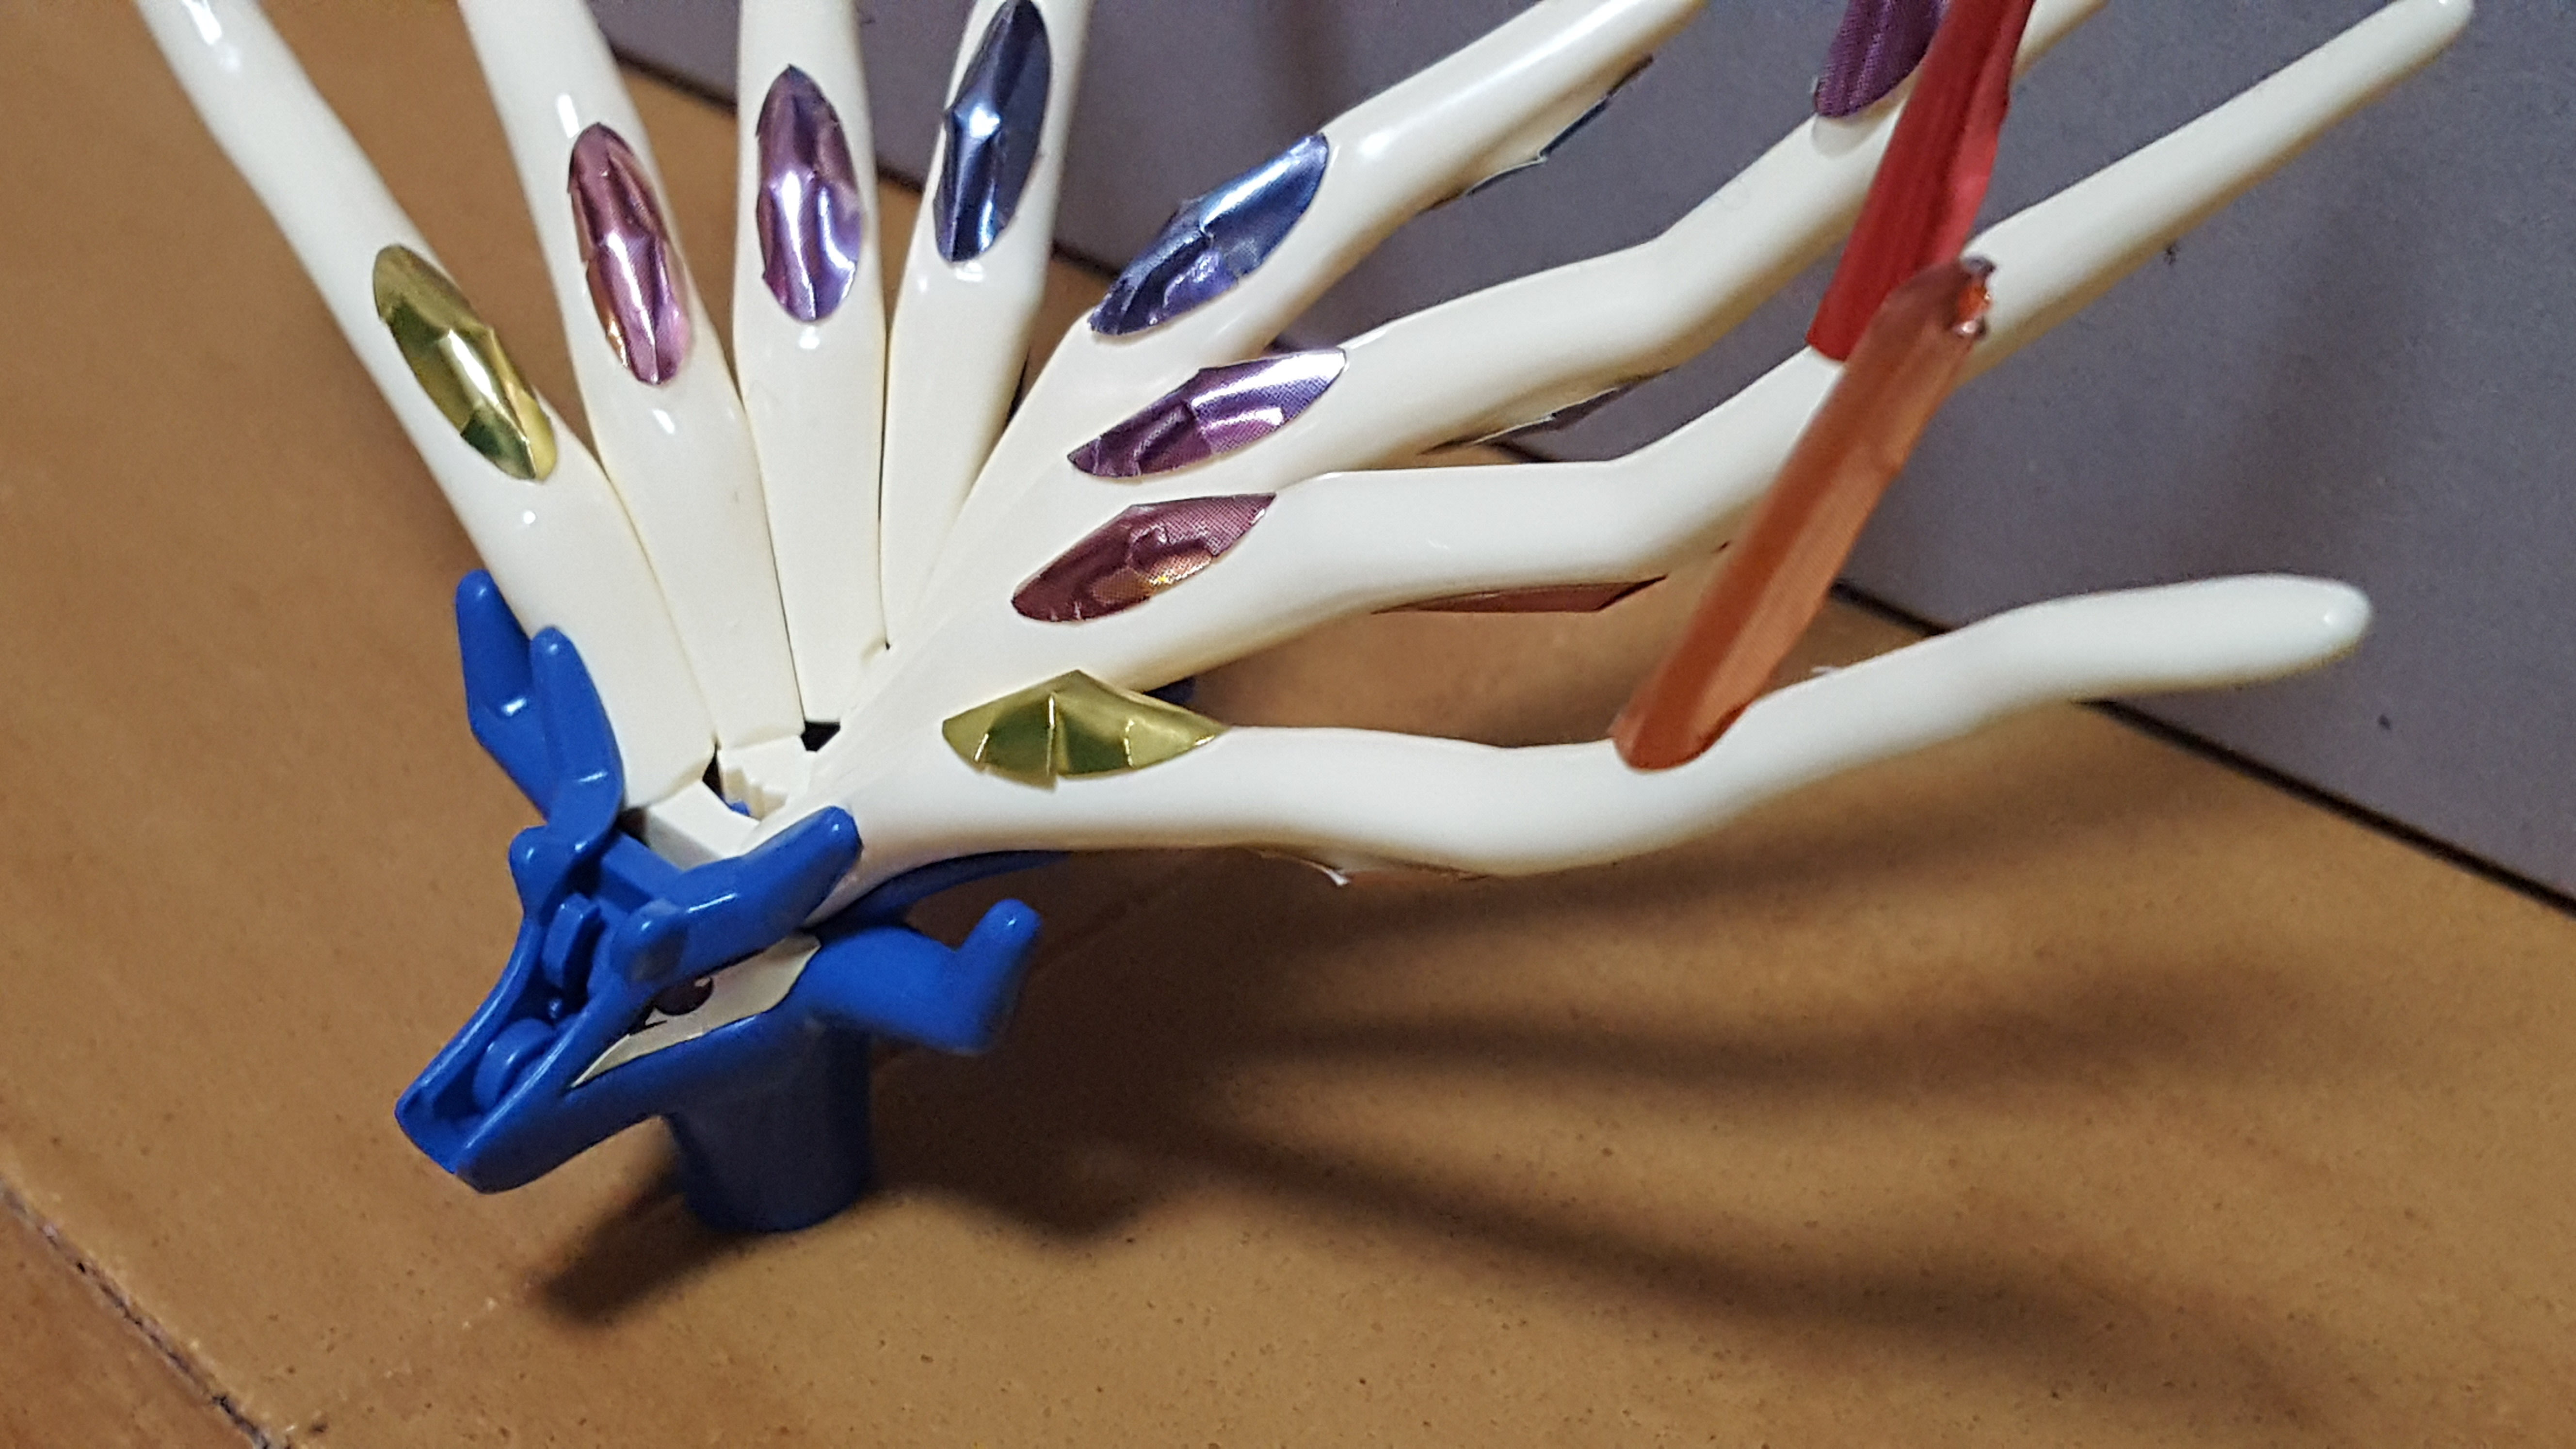
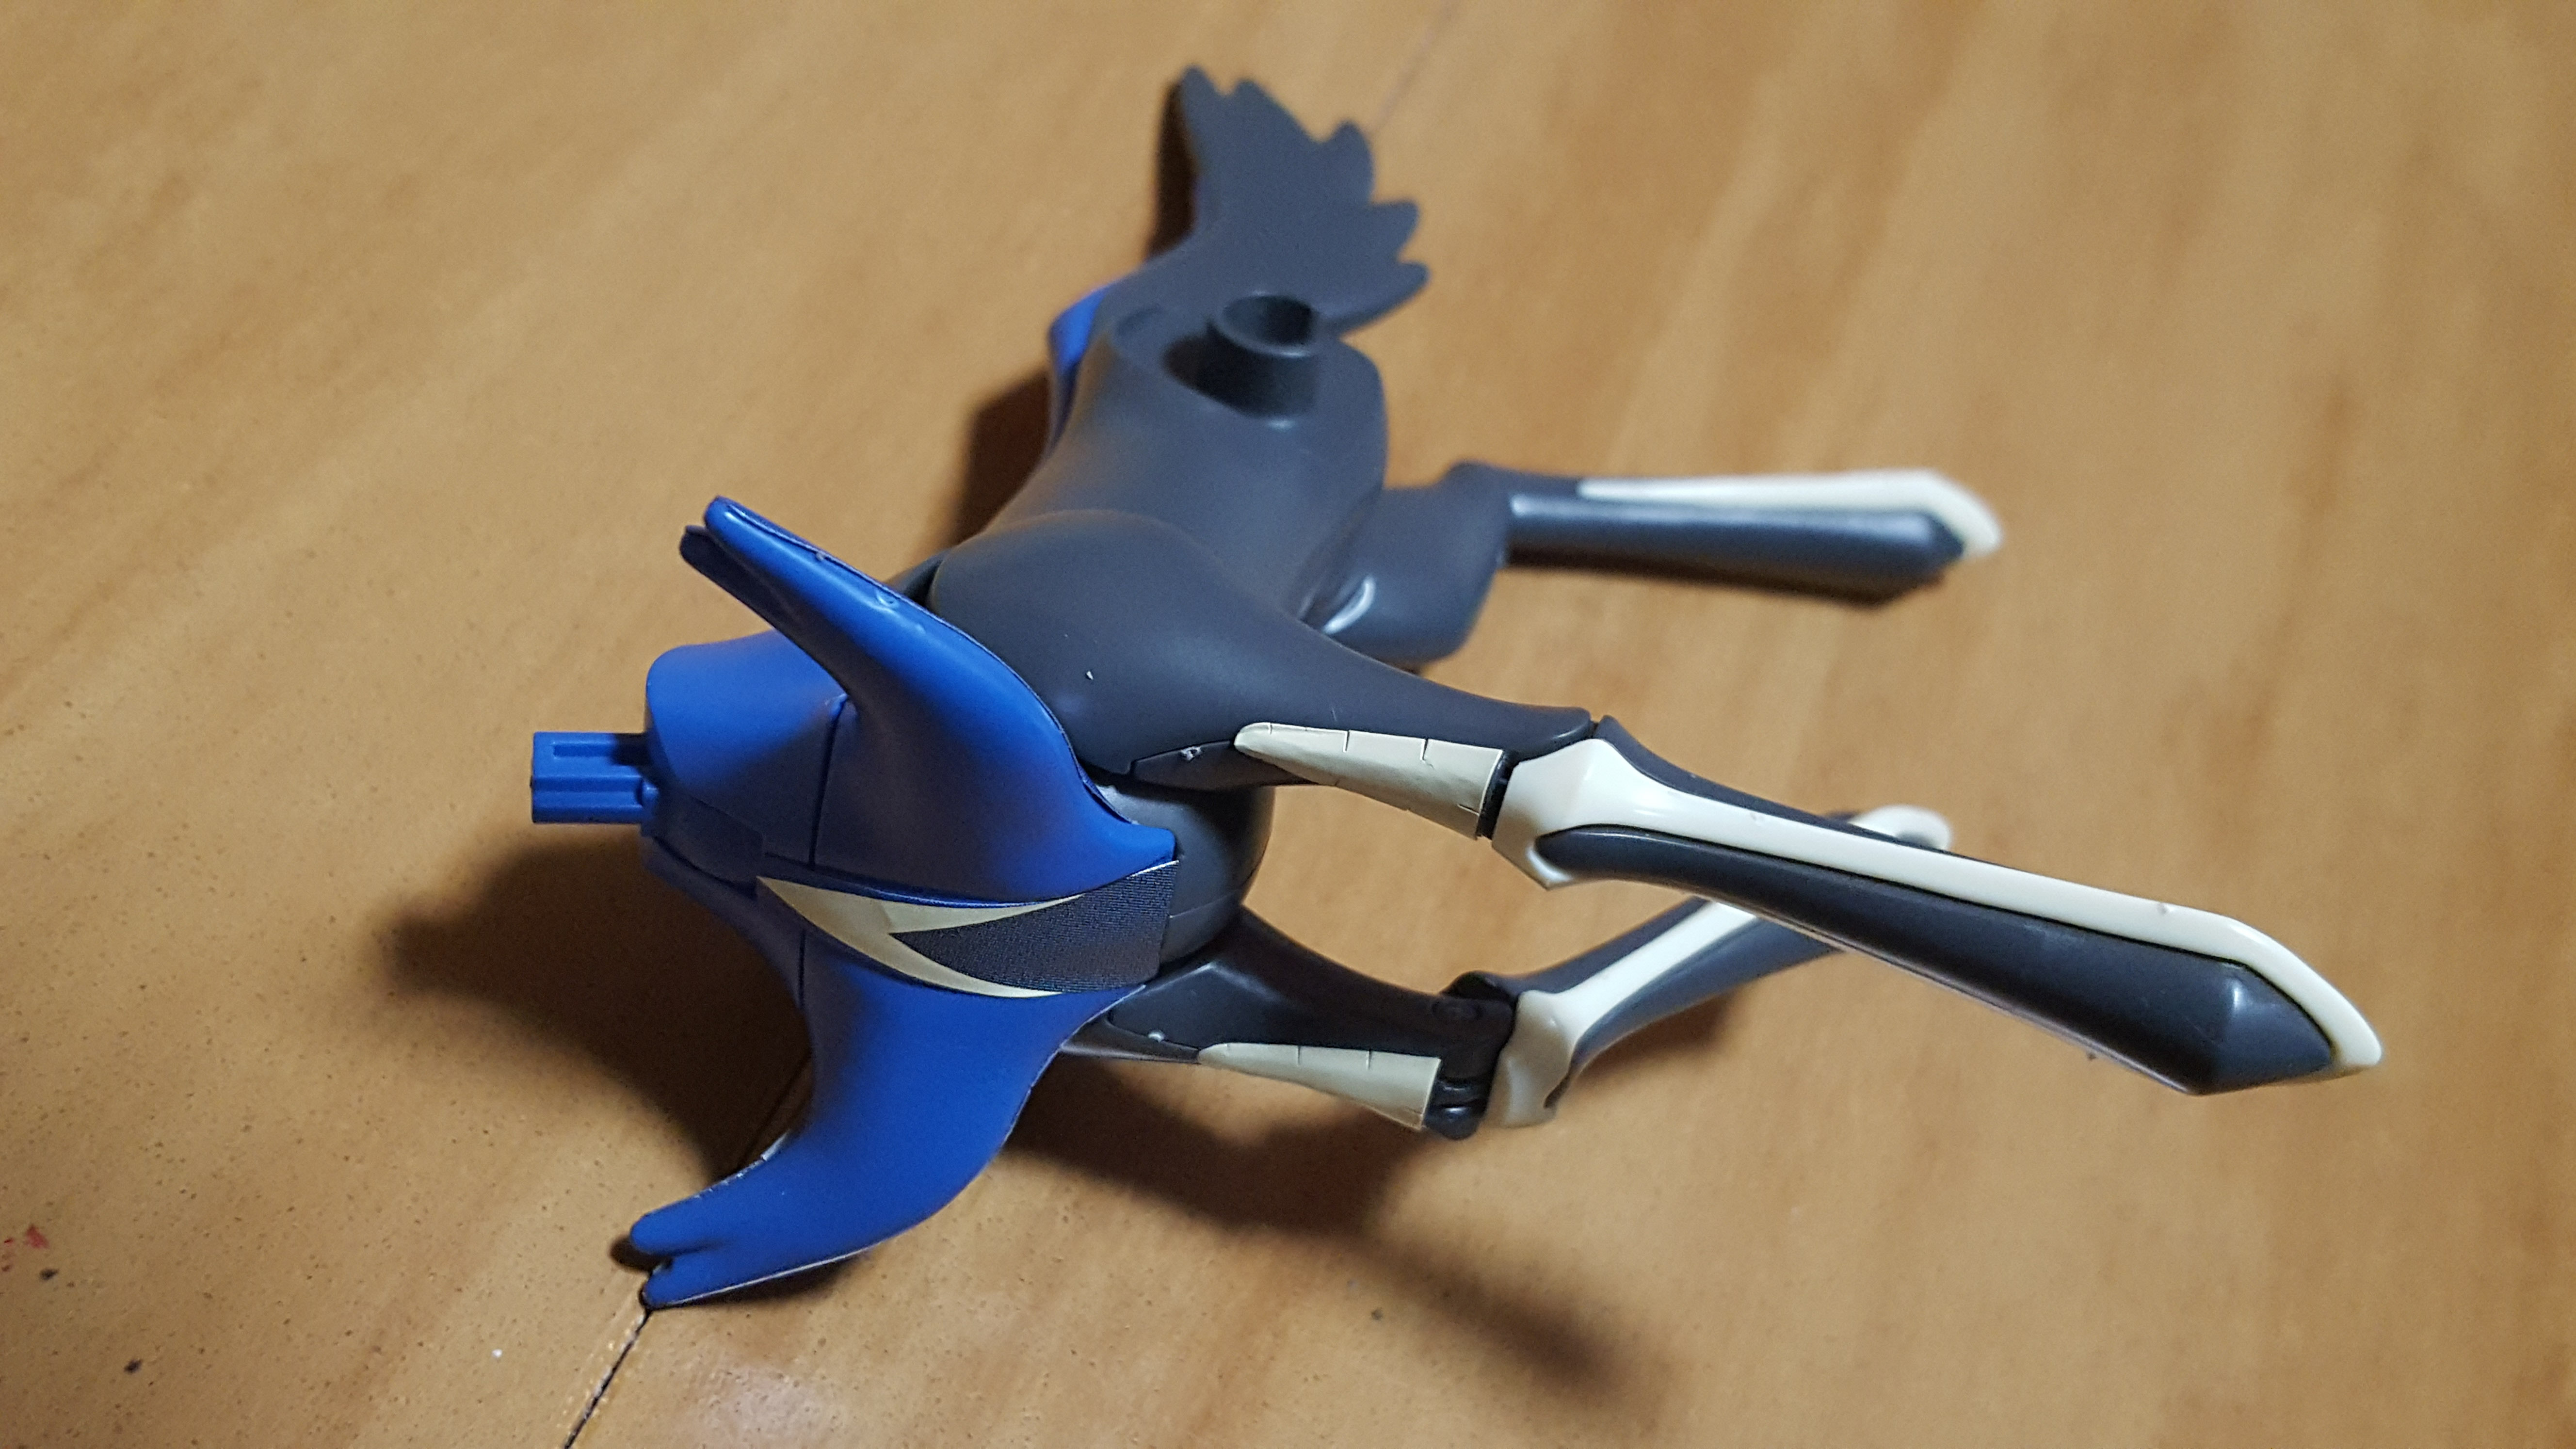
And another shot of the finished head. The antlers are made of a lightweight plastic, so the model won’t topple over when it’s complete. Right now, though, it’s too heavy to stand upright so I’ve propped it against the box.
The next pages are a breeze compared to the head. We’re starting on the body now.

At this point, I’ve completed half of the torso, including the gimmick that will give us an articulated neck. Xerneas’ head is also finished thanks to the addition of the cream-colored nose part.
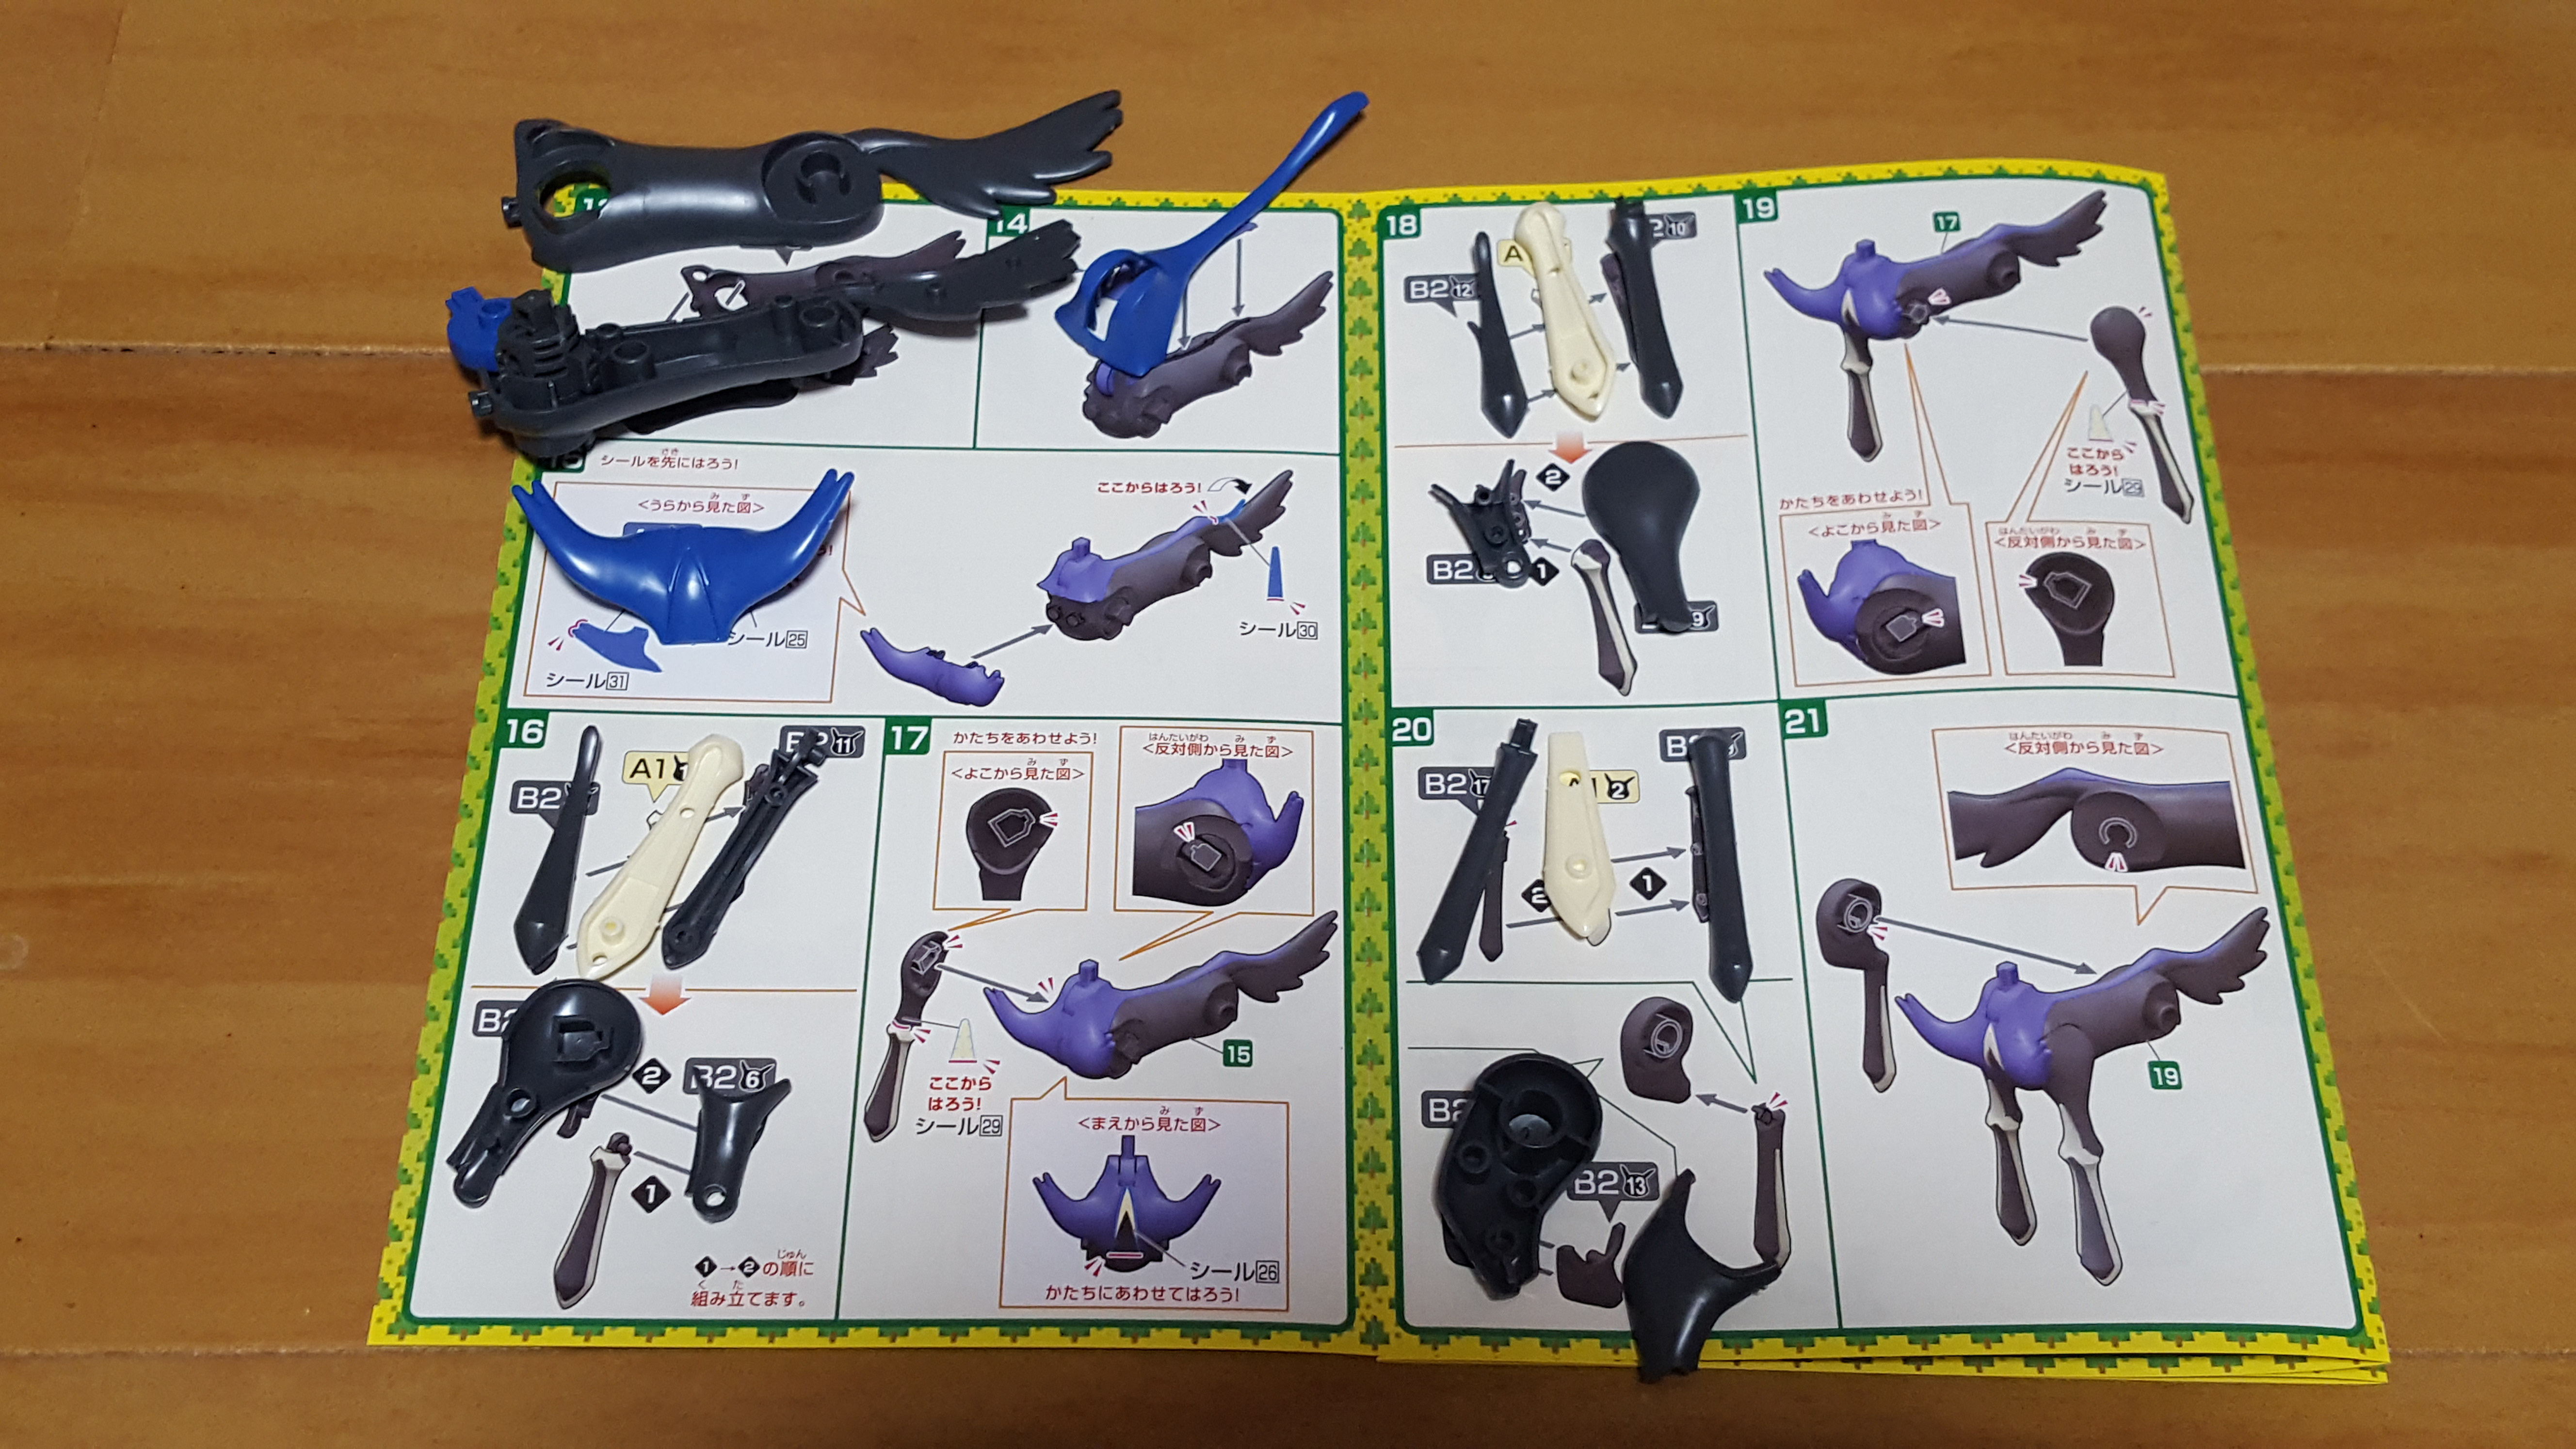
Next, we’re finishing the torso and starting the leg work.
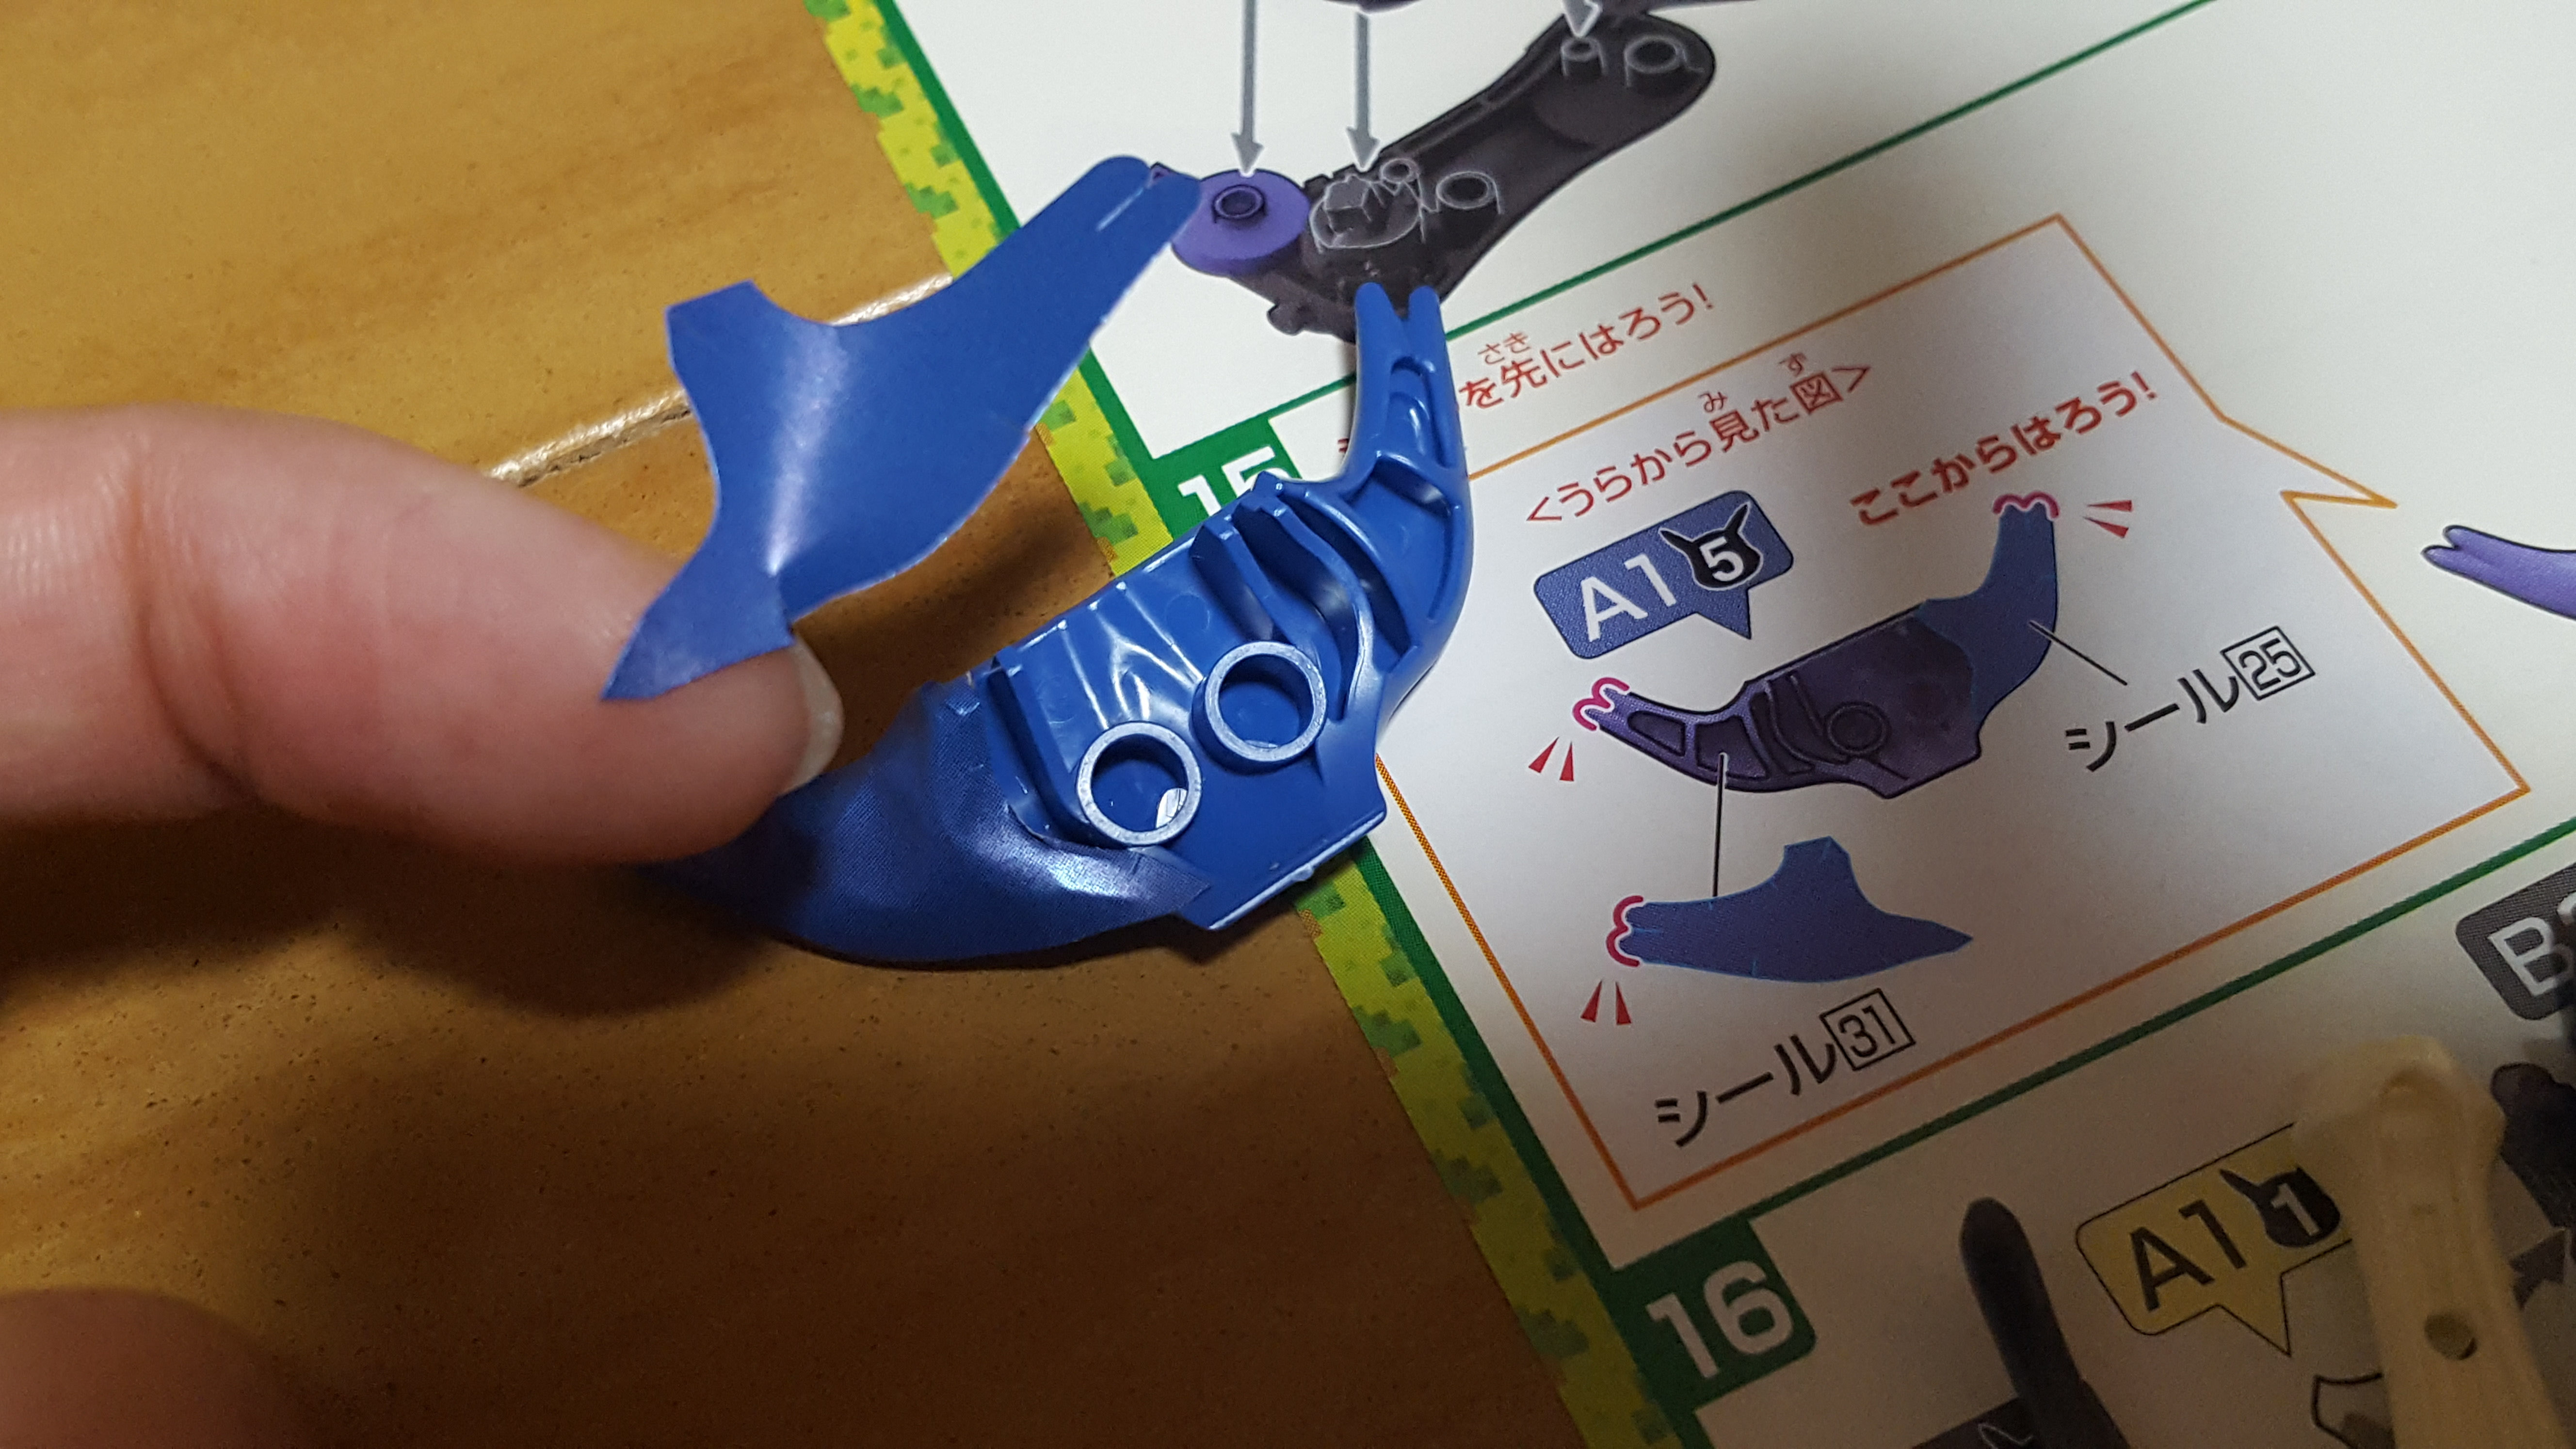
…and we’re running into this again. Bandai’s Pokemon model kits have a habit of featuring half-hollow parts, left open on one side, I guess to save money by using less plastic? They “solve” this issue by giving you a sticker to cover the gaps with instead. At least they only do this with parts that are kind of tucked away, so the sticker cover usually isn’t obvious.
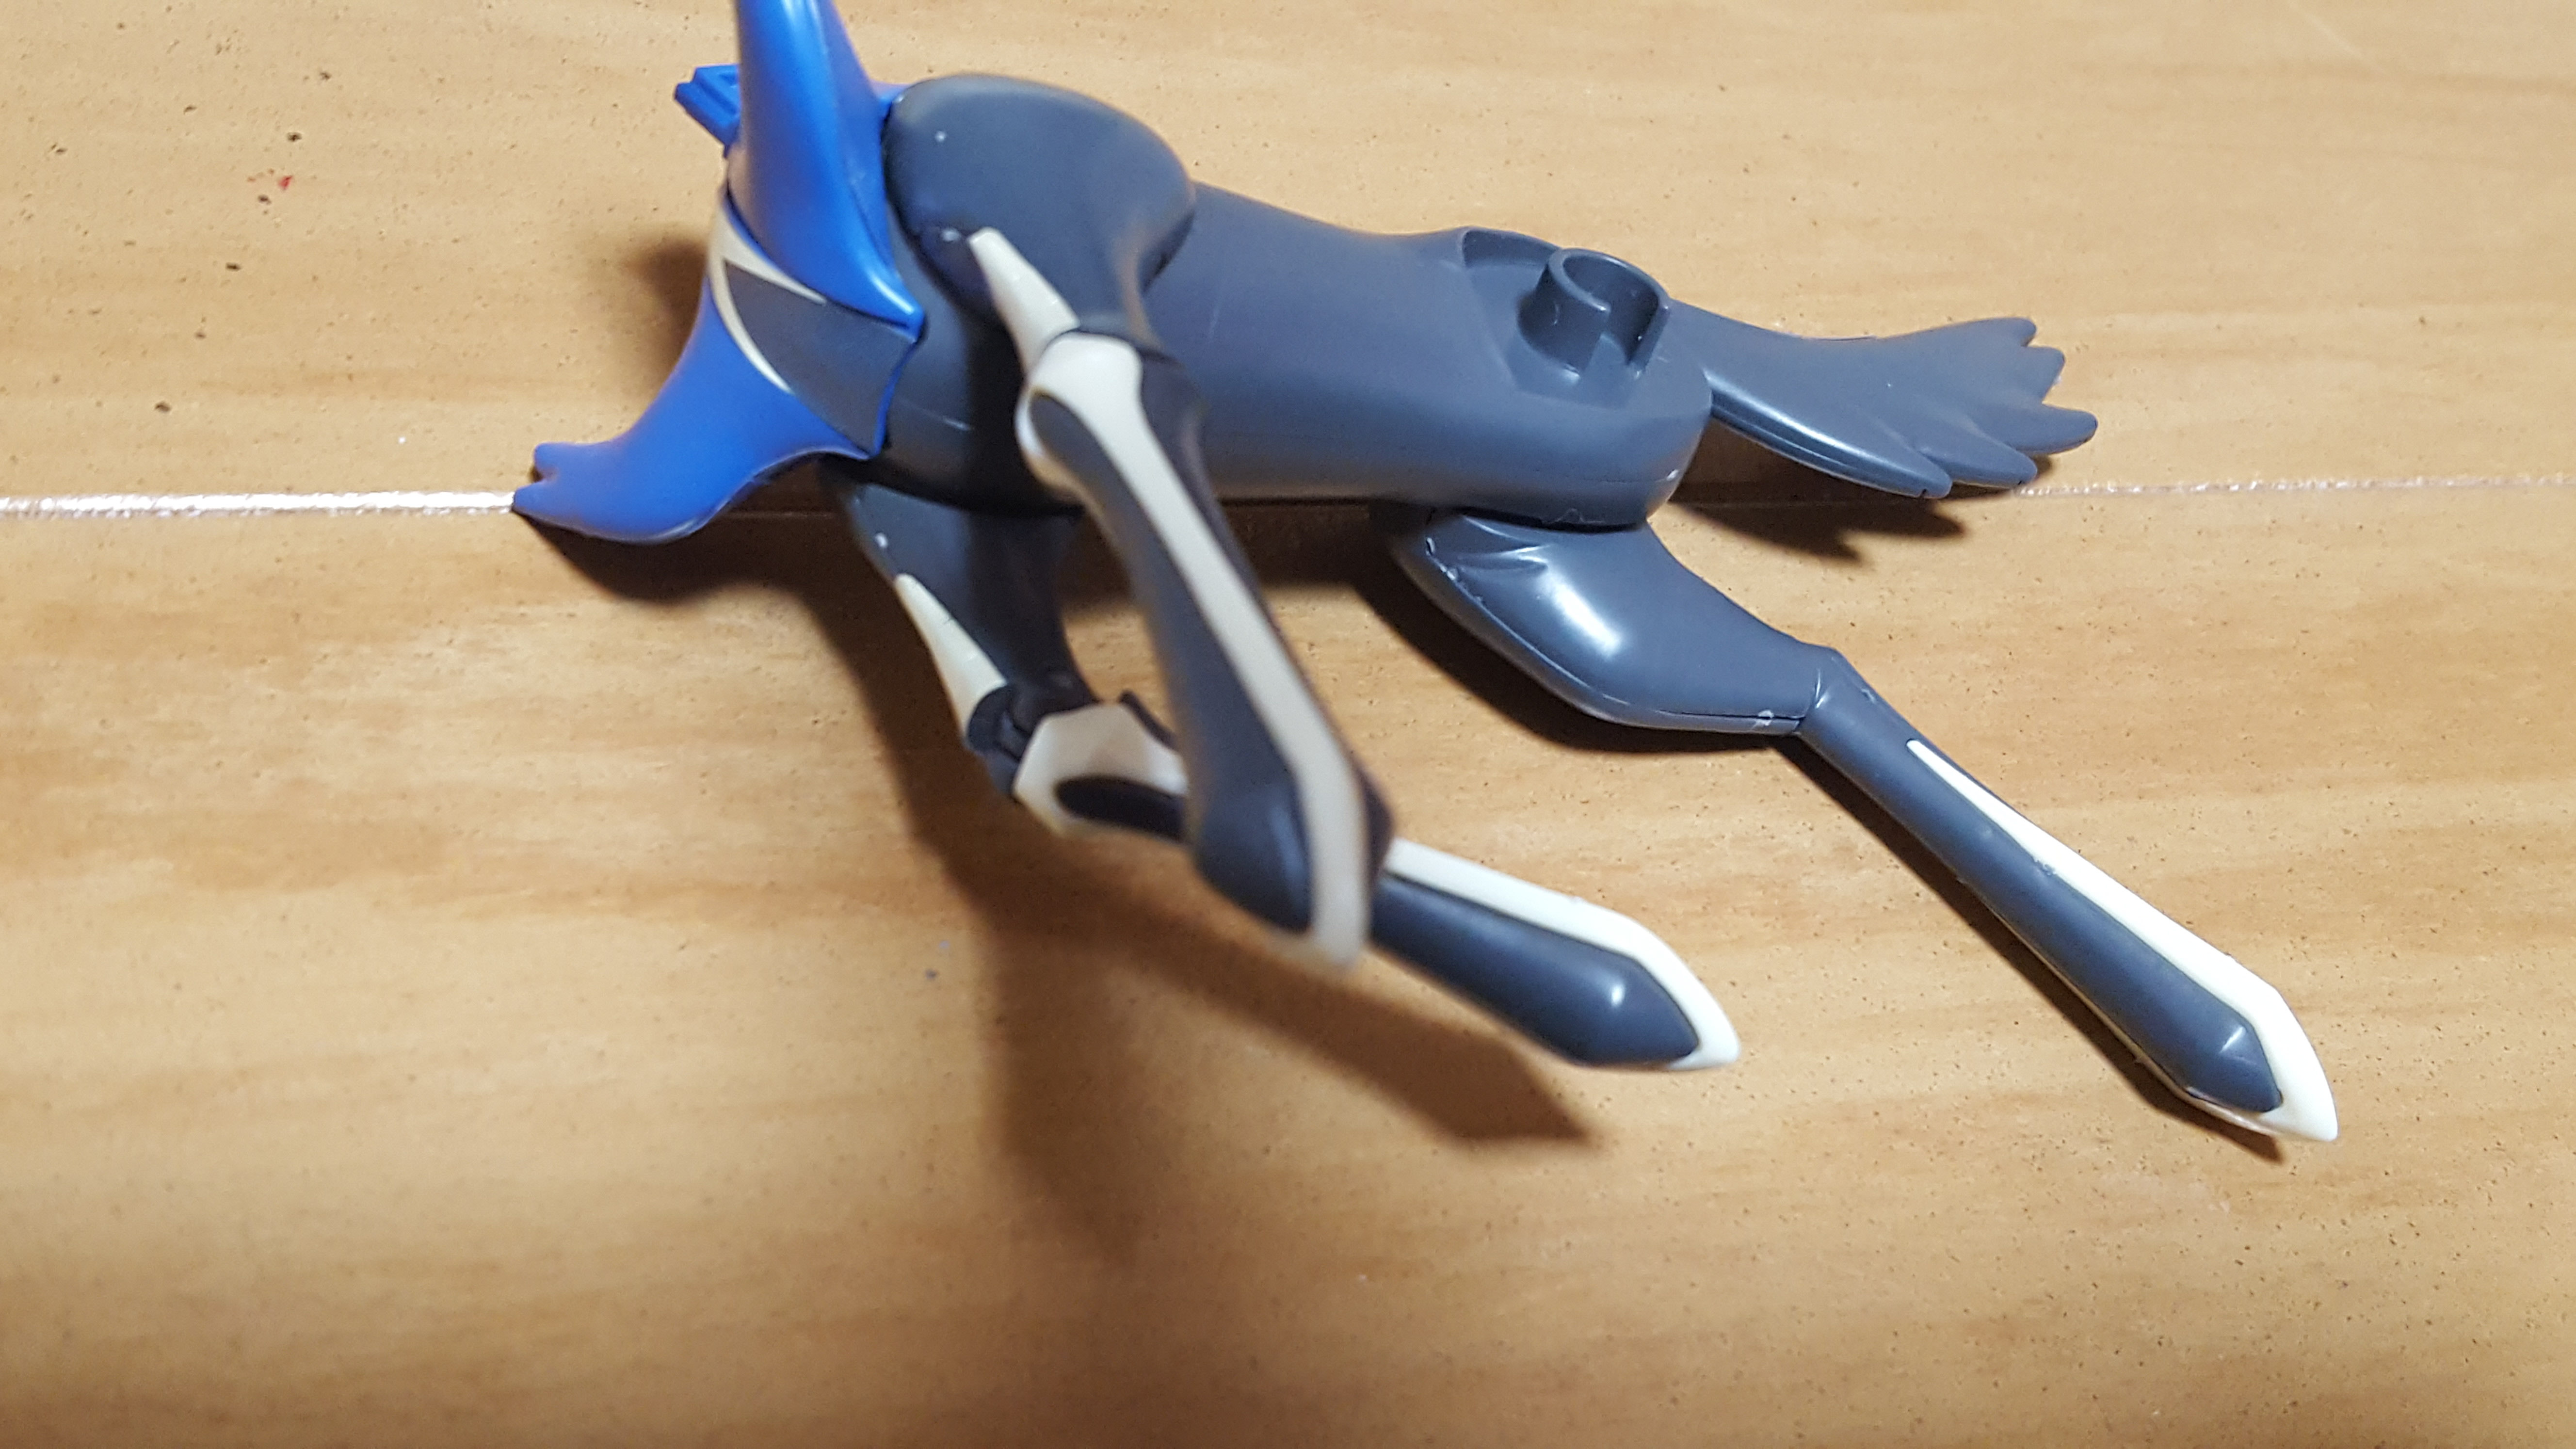
Our completed, headless torso. There’s one leg left to make, too! You can already see the articulation in the front legs. I like these joints; they look nice.
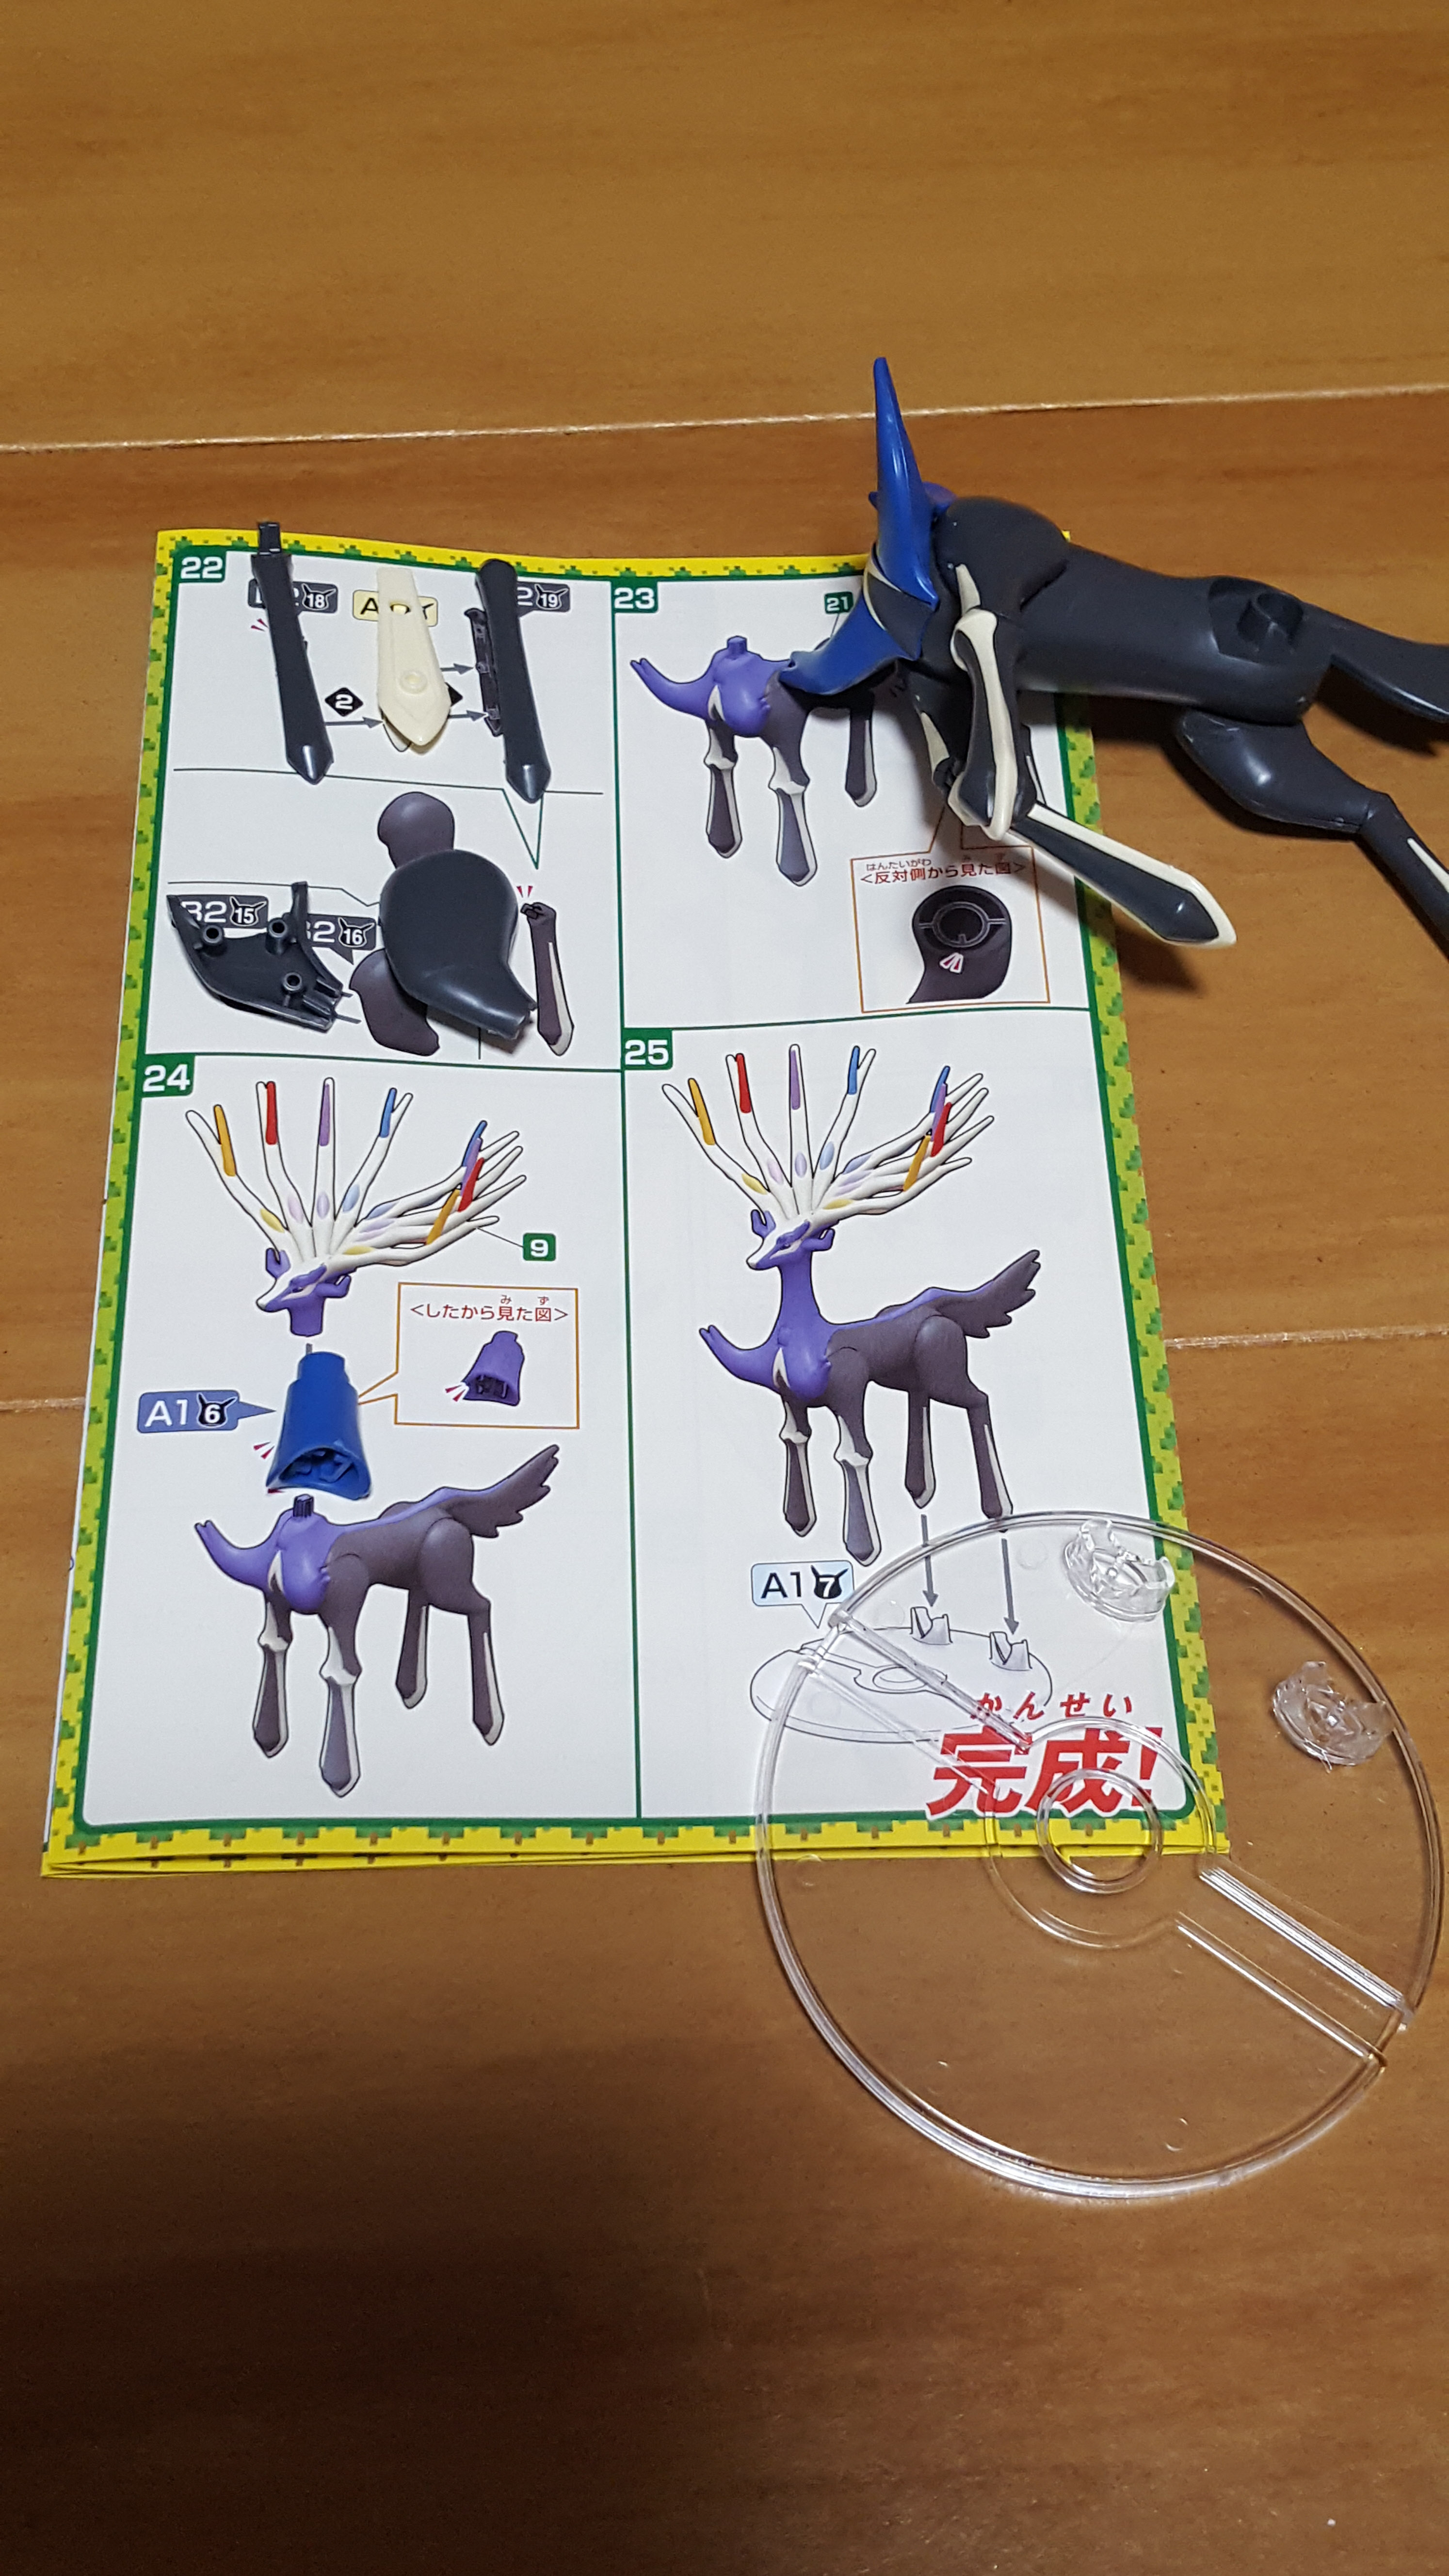
On to the final steps! We’re really just building a leg now, and putting the head into place.
And we’re finished! Check out this majestic beauty.
The foil stickers are sort of an eyesore in my opinion, but the other stickers on the kit fit nicely — the colors are pretty accurate this time, and they’re adding detail in places where they don’t look horrifically “off”.
That face.
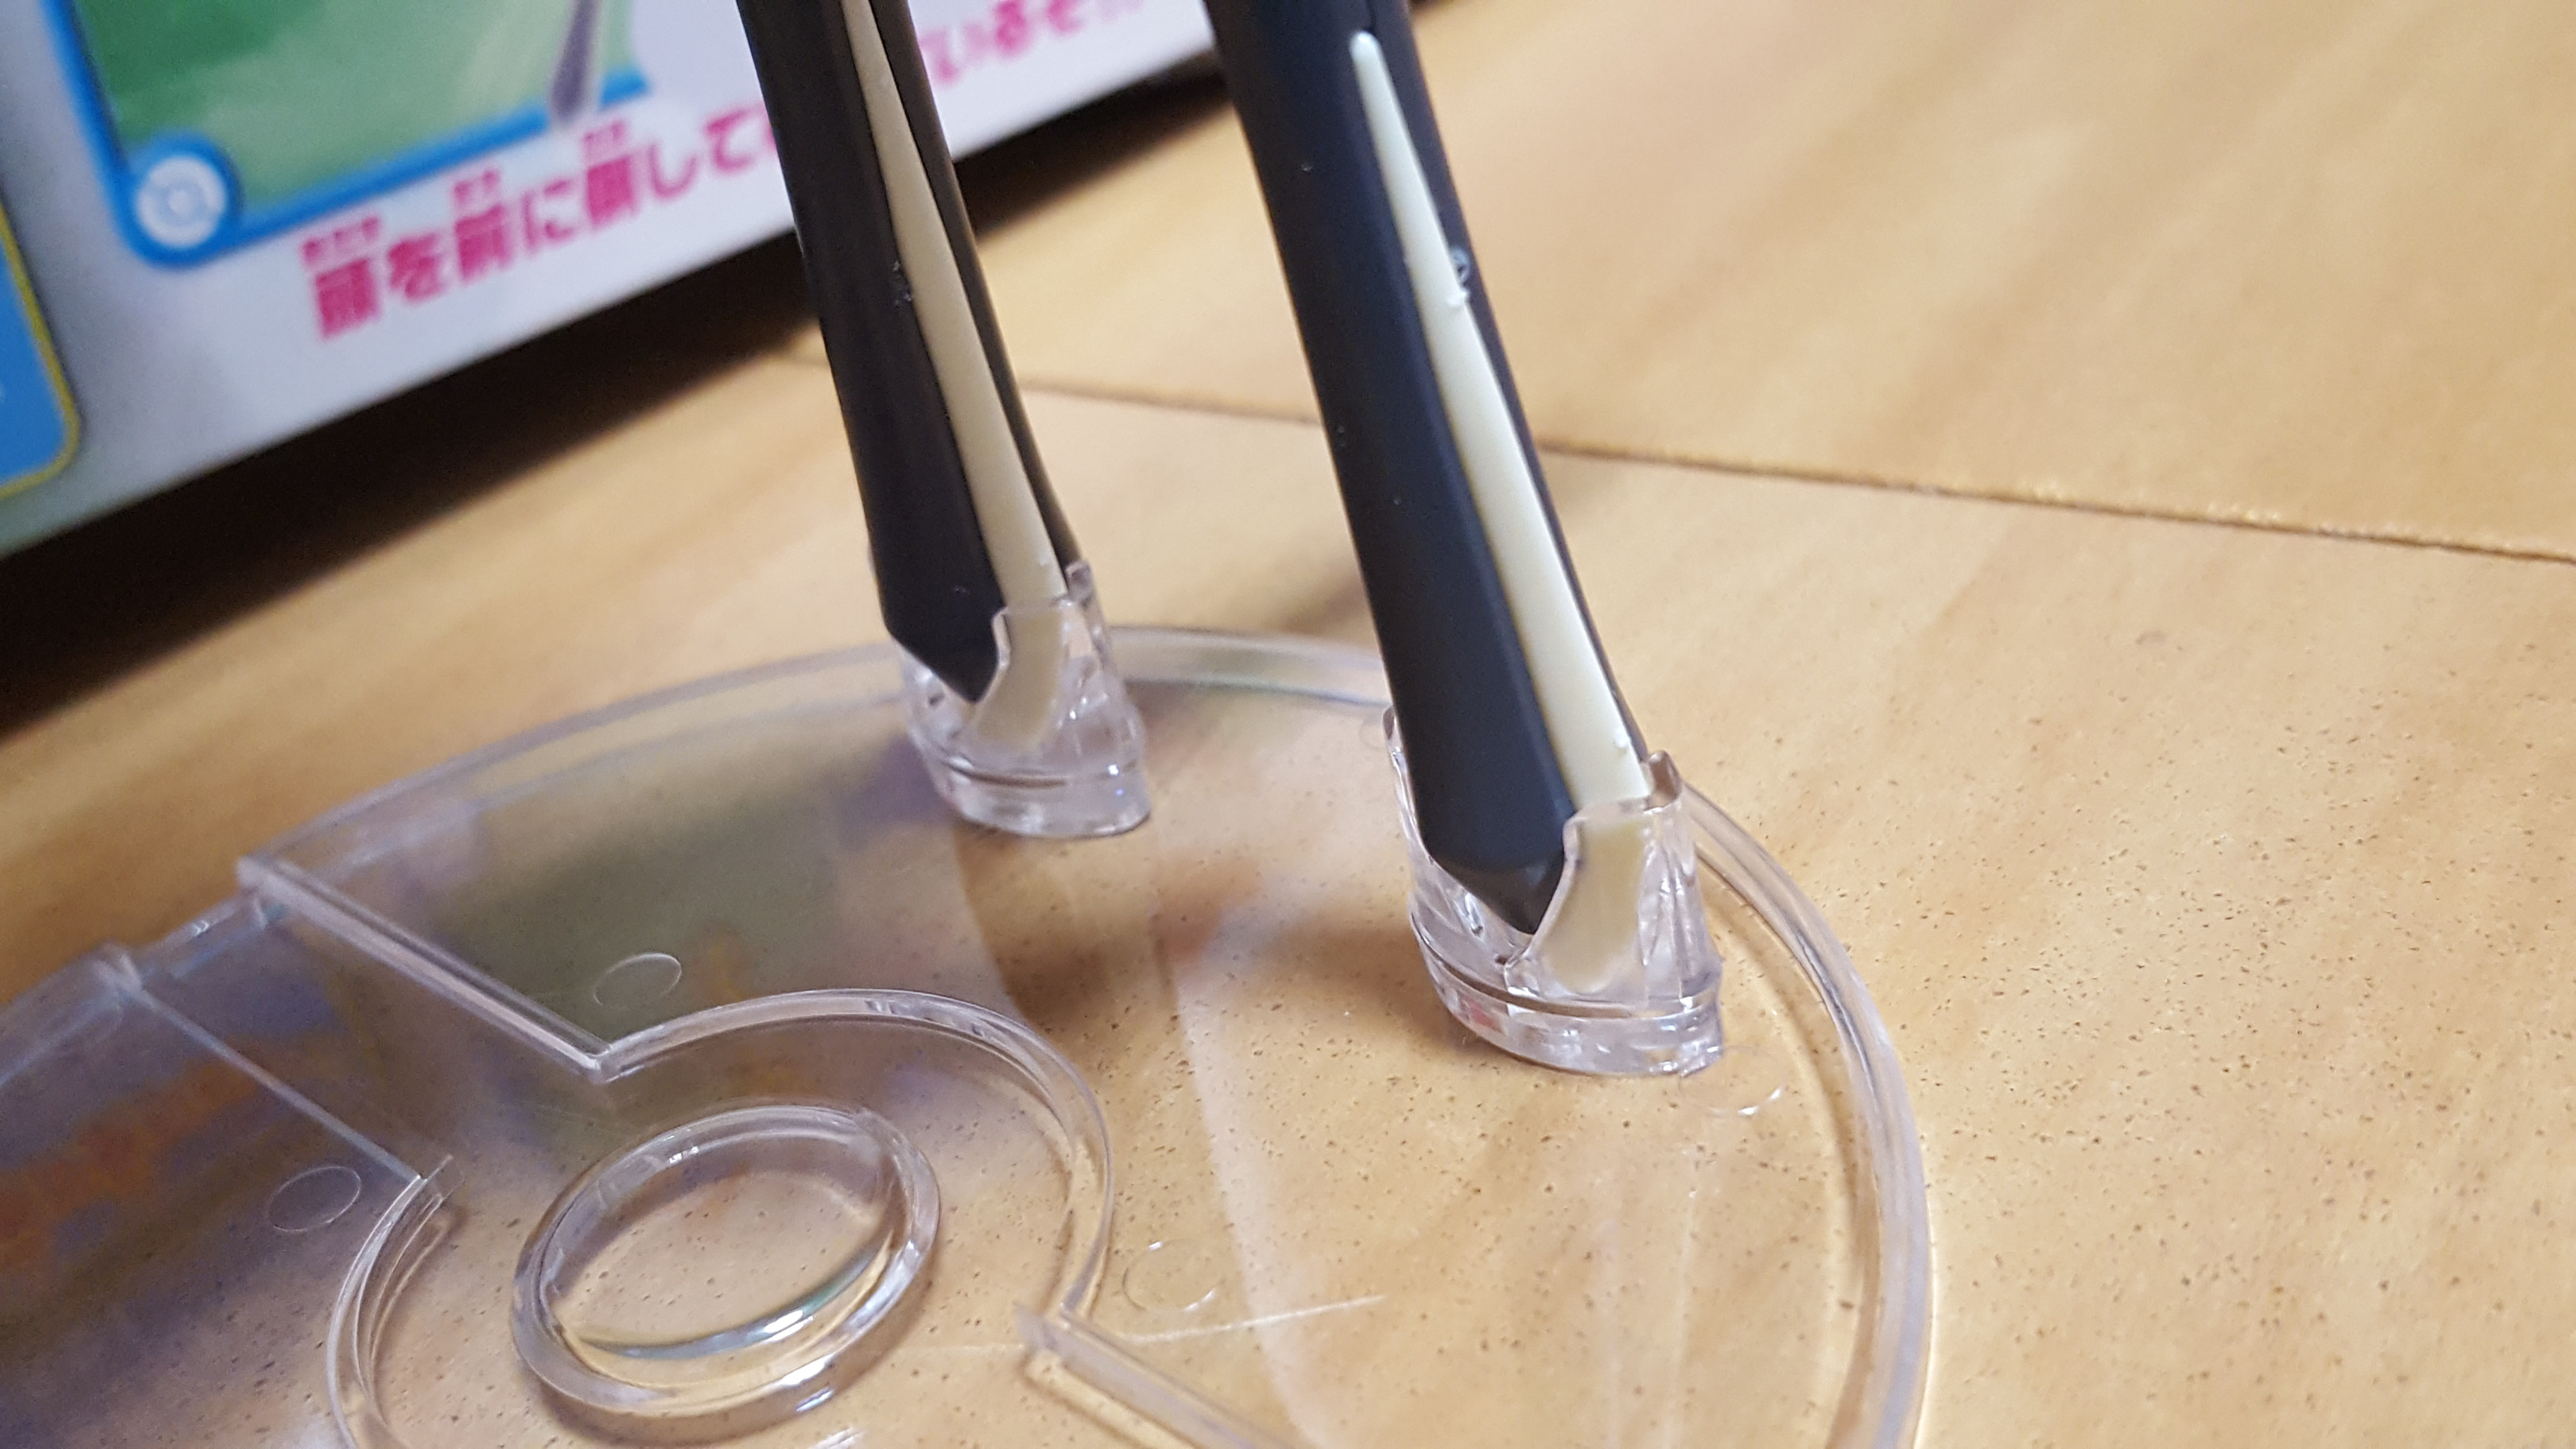
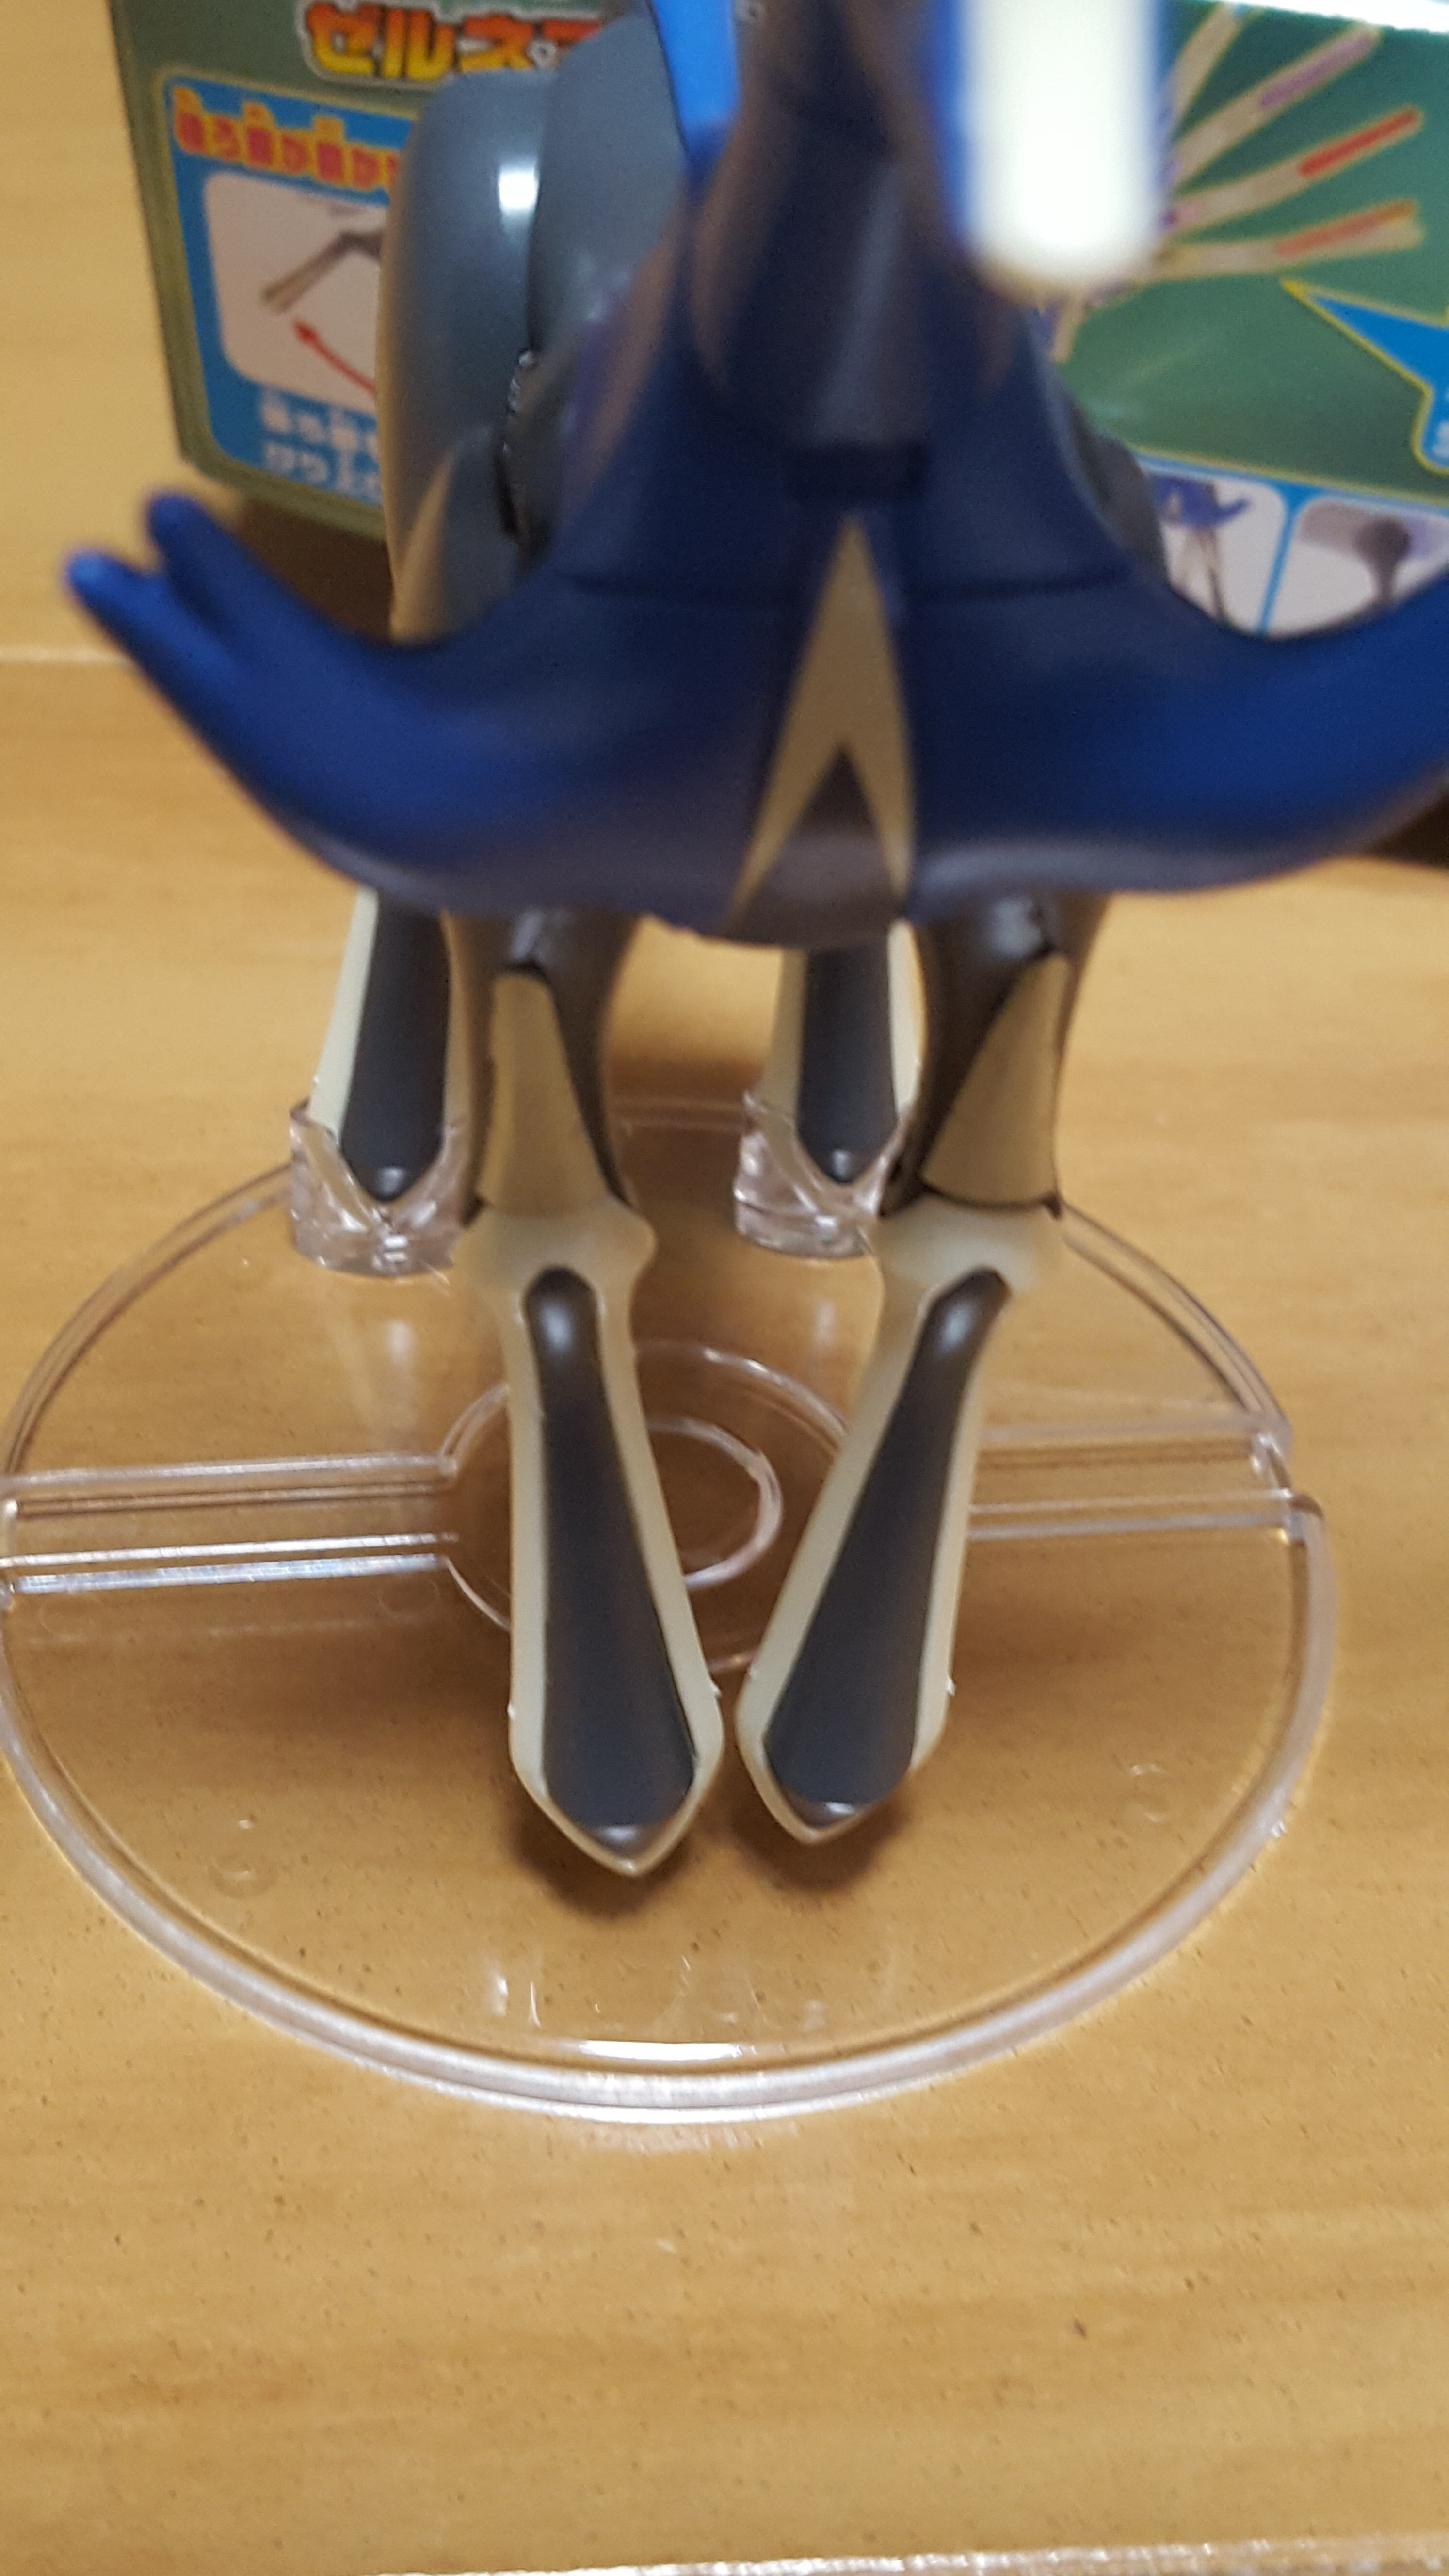
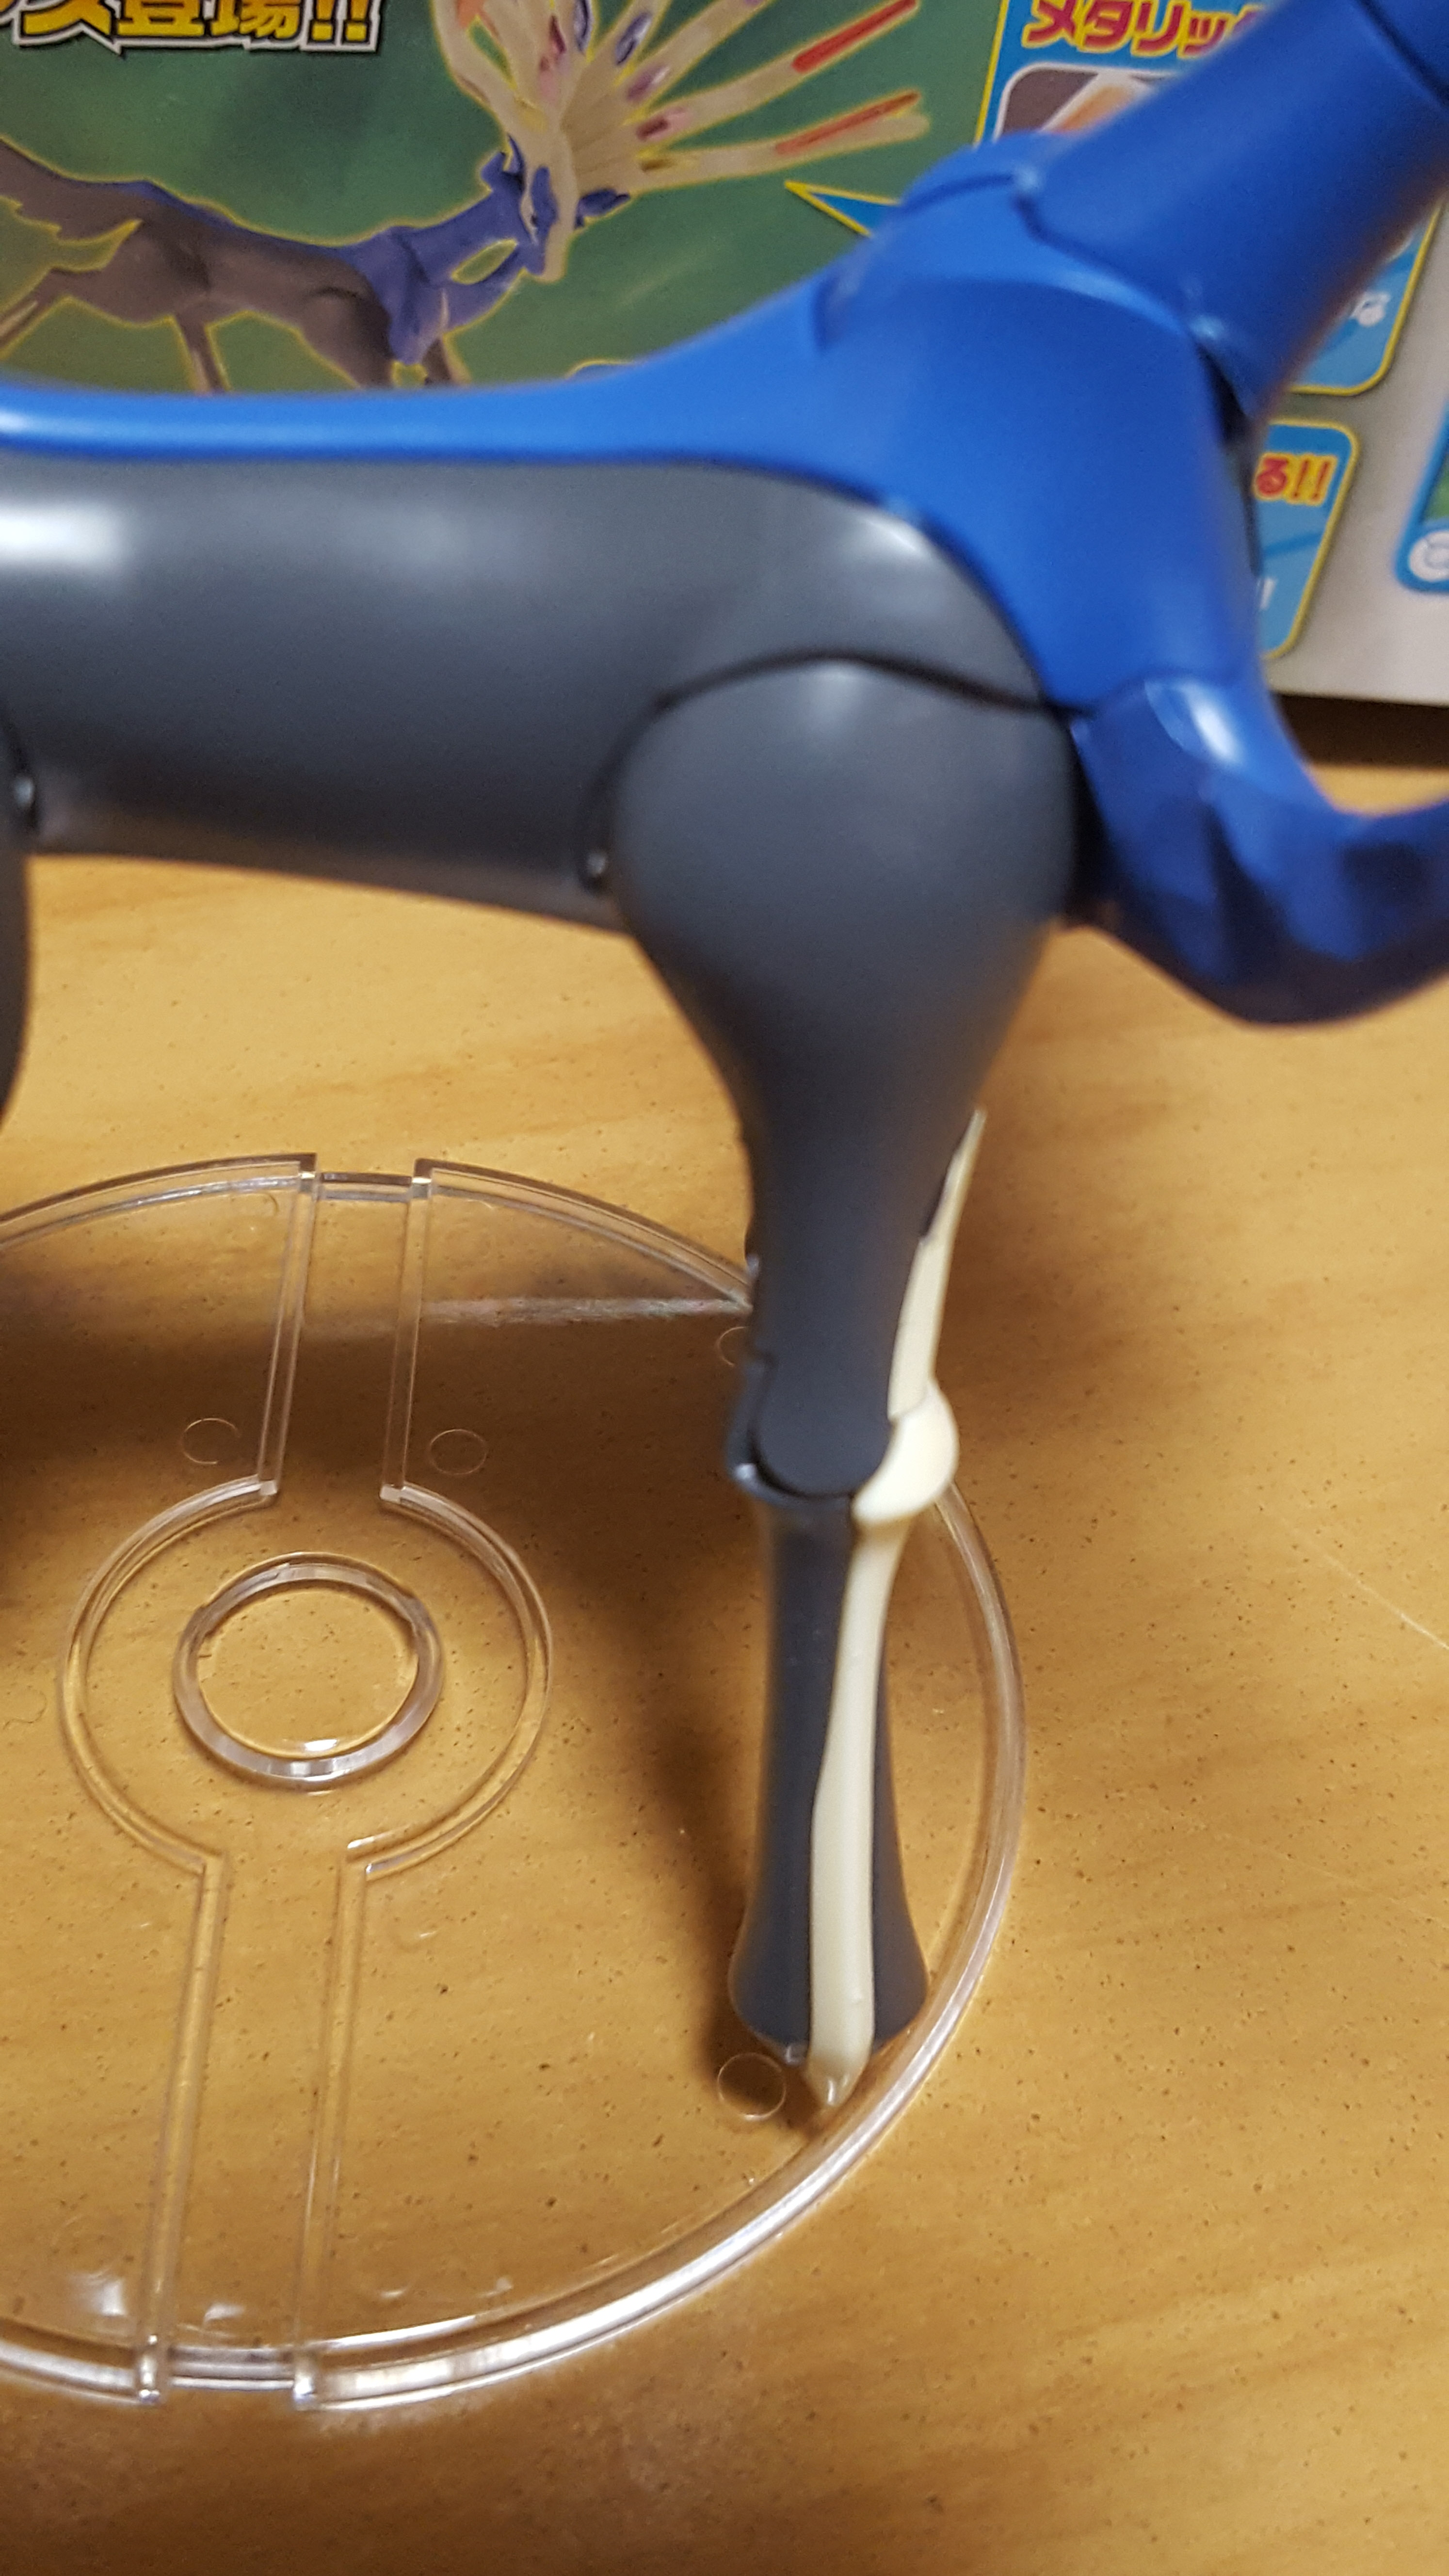
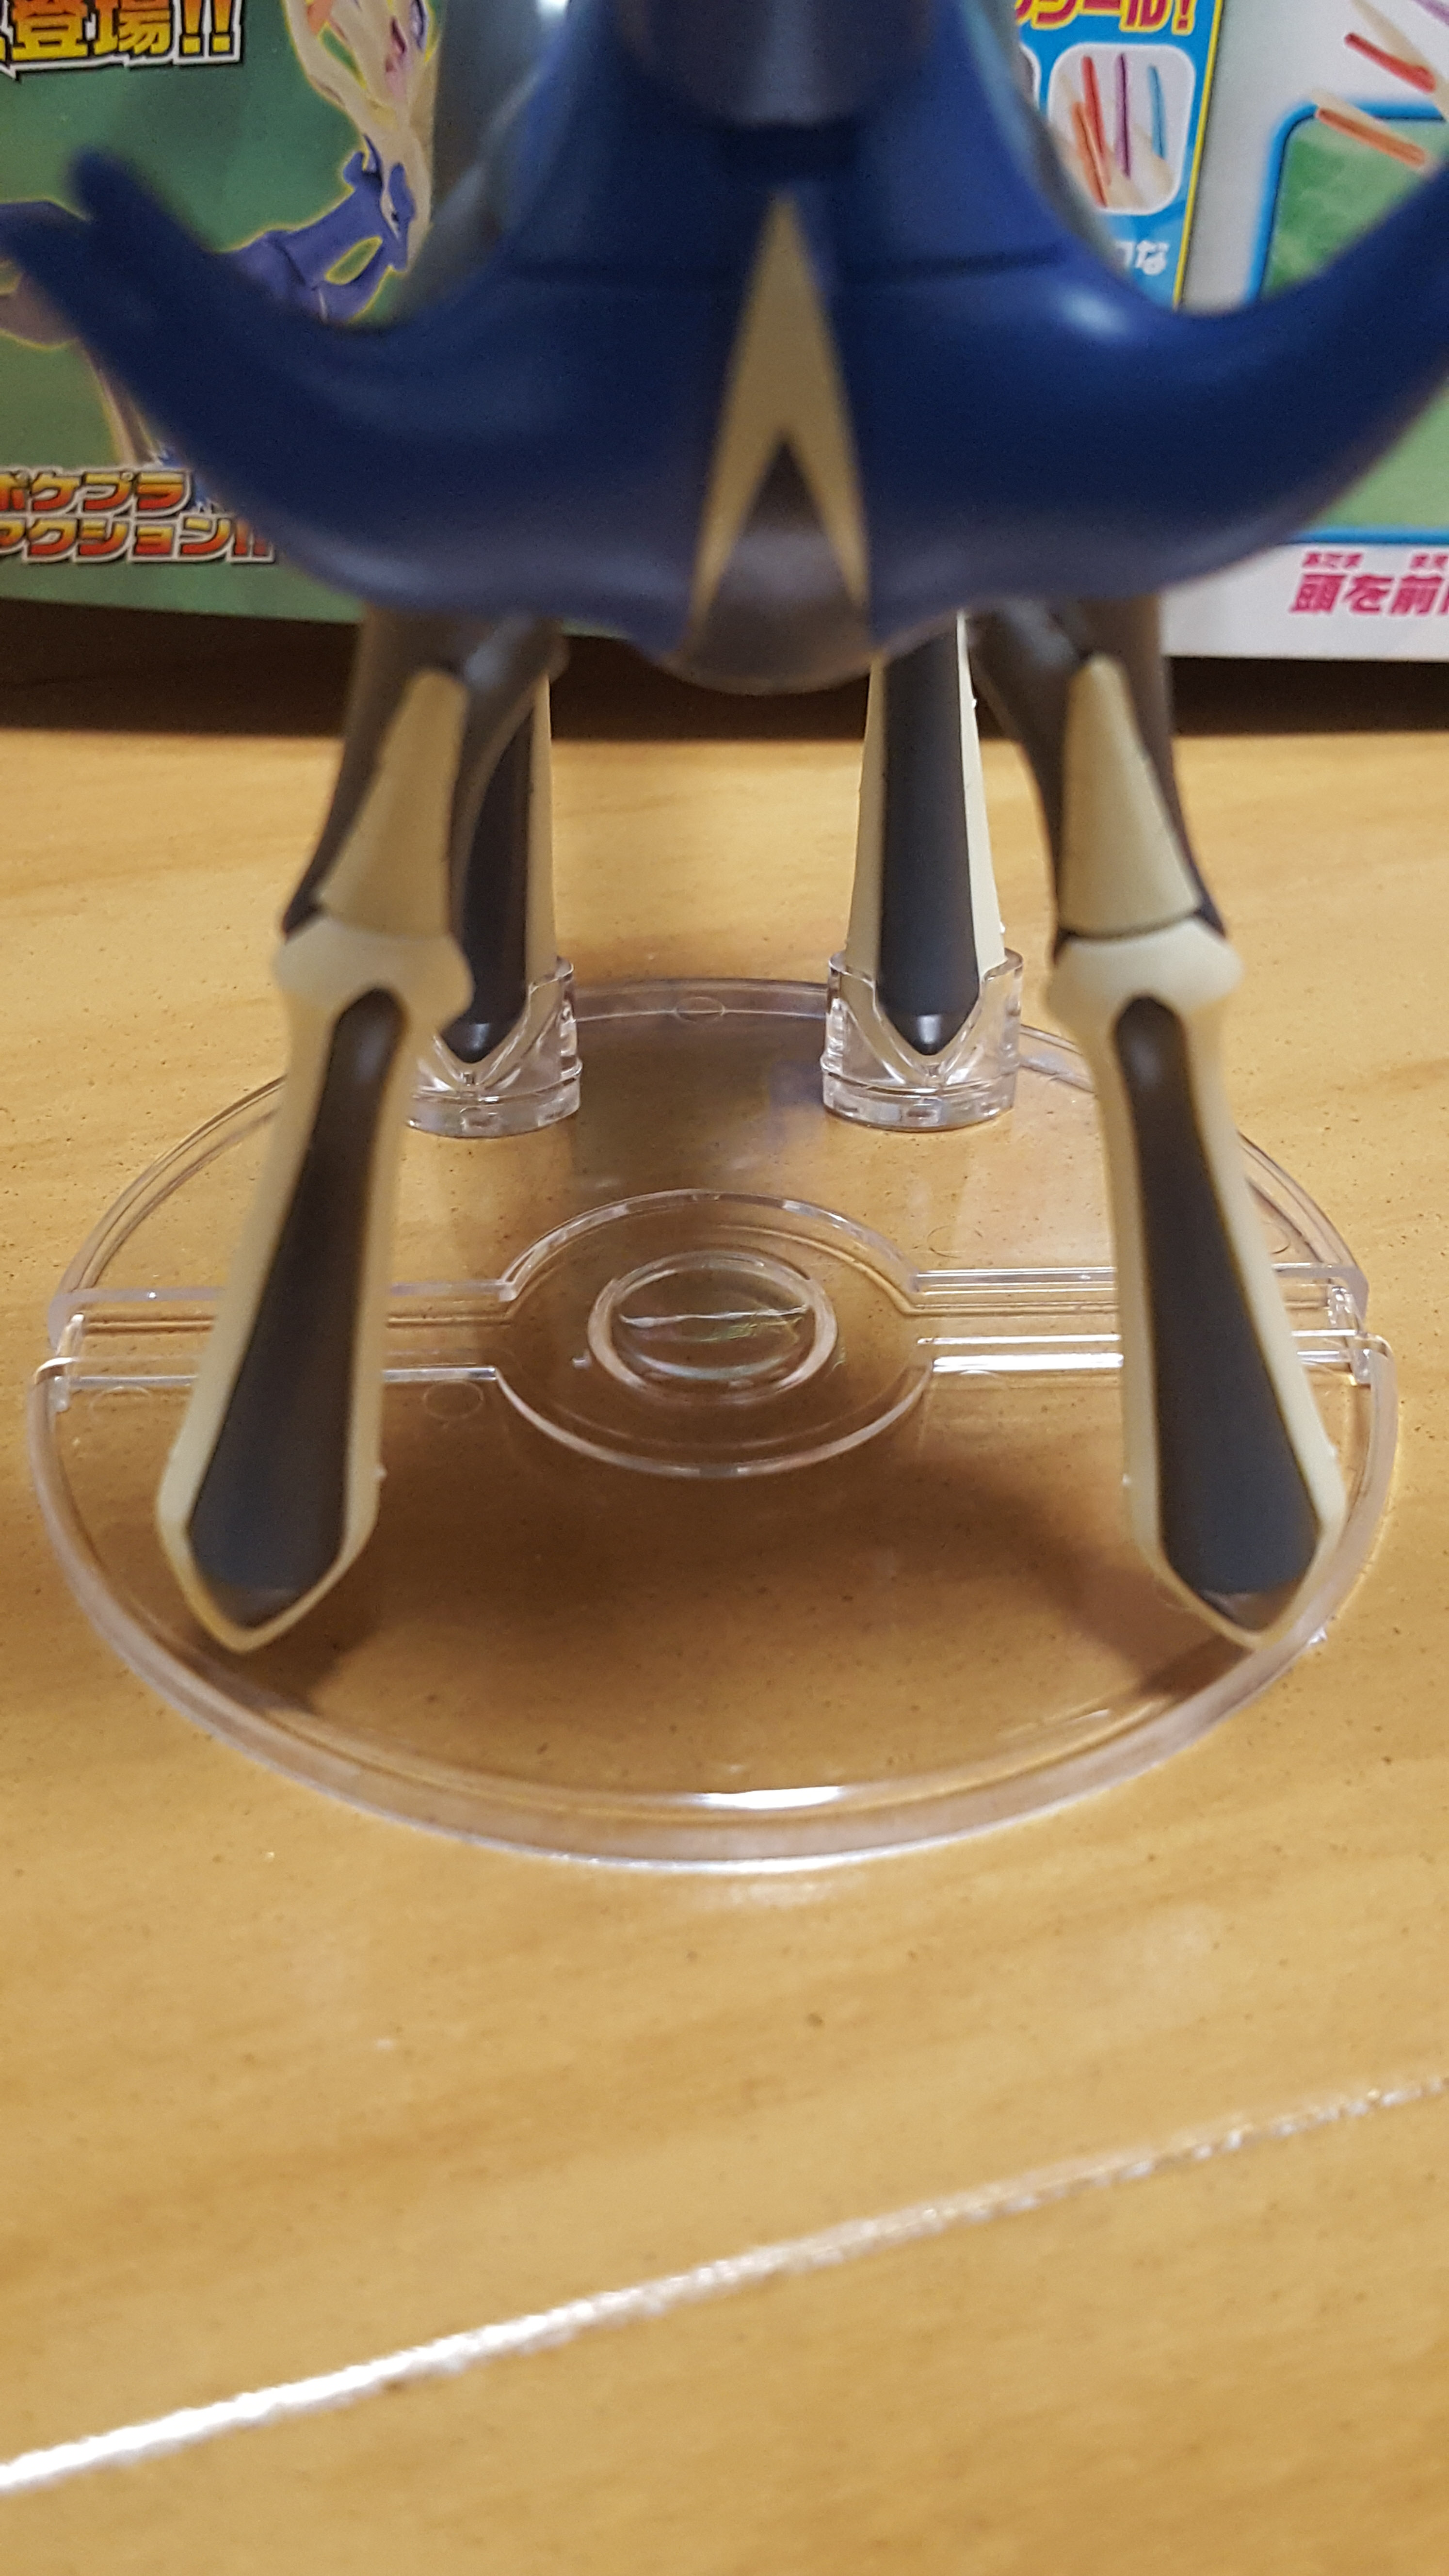
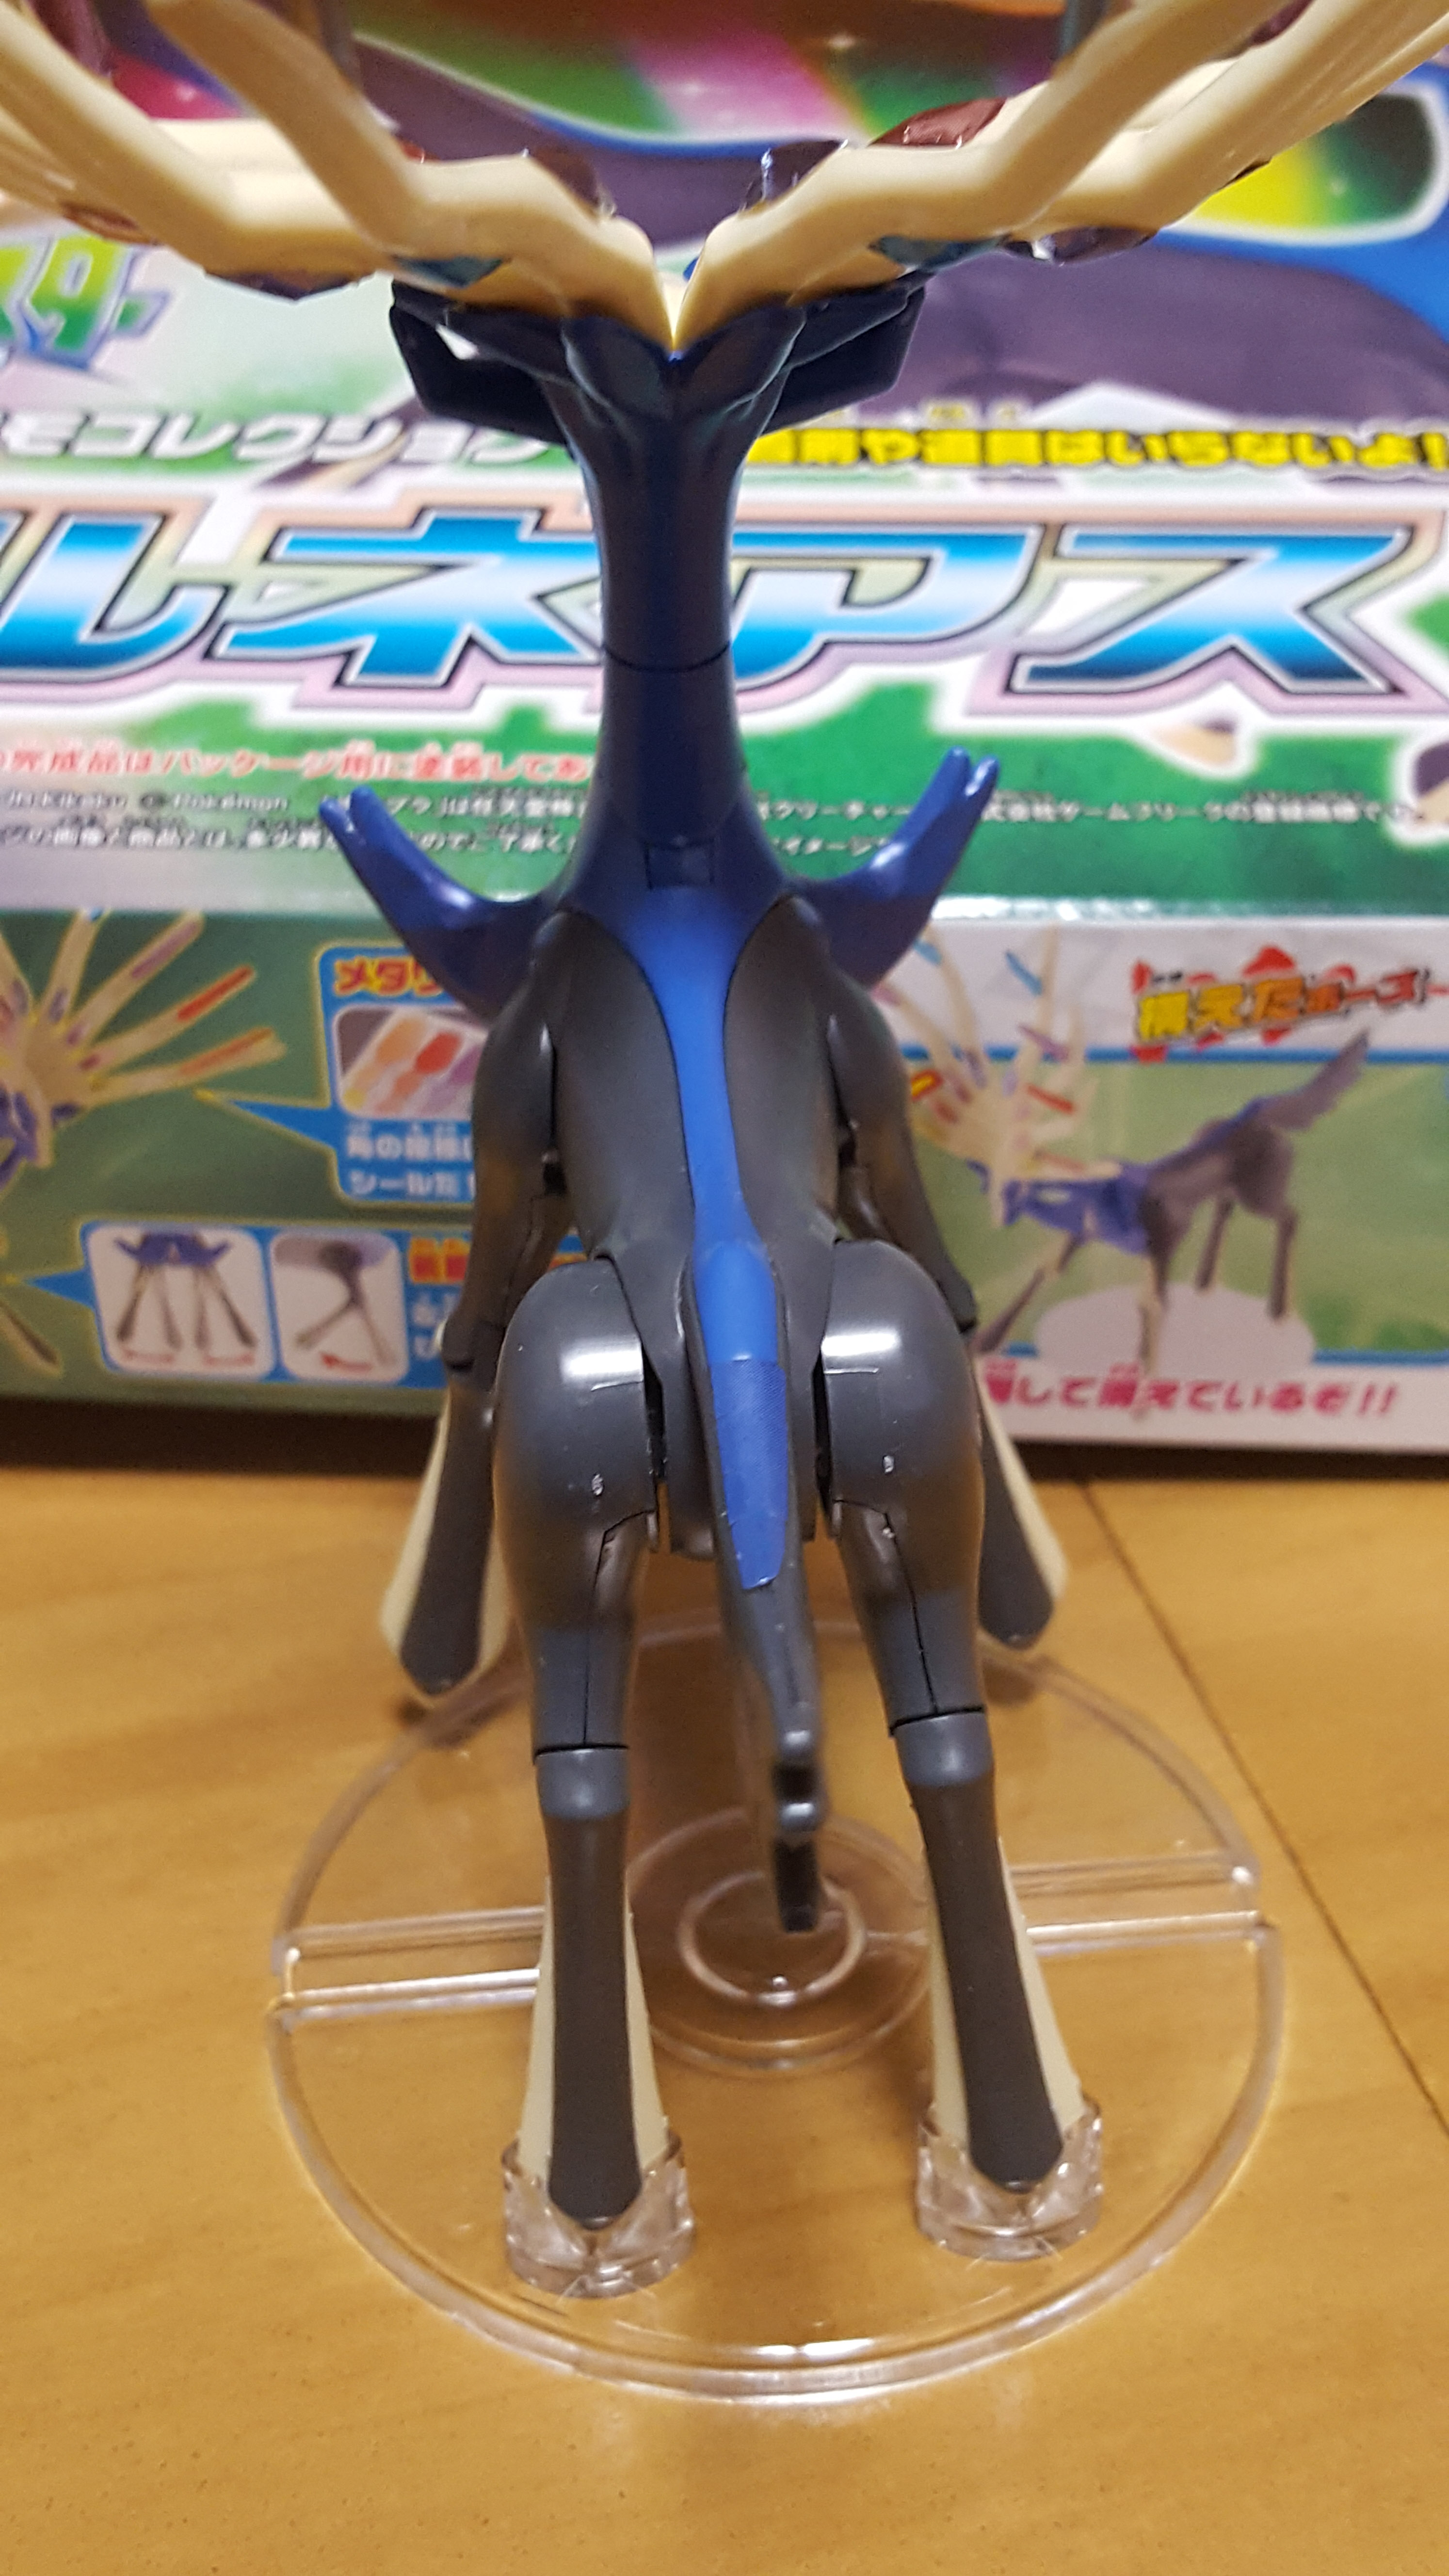
Can we talk about the stand, though? The poke ball motif is nice, but the custom stand is something I want to applaud Bandai for. Yveltal’s stand really left me puzzled (I just could not get the model to sit right). This one, though, is very minimal and just features two slots for the back legs. This is ingenious; the stand doesn’t get in the way or limit your posing, and the feet fit perfectly.
Can we have more of this, Bandai?
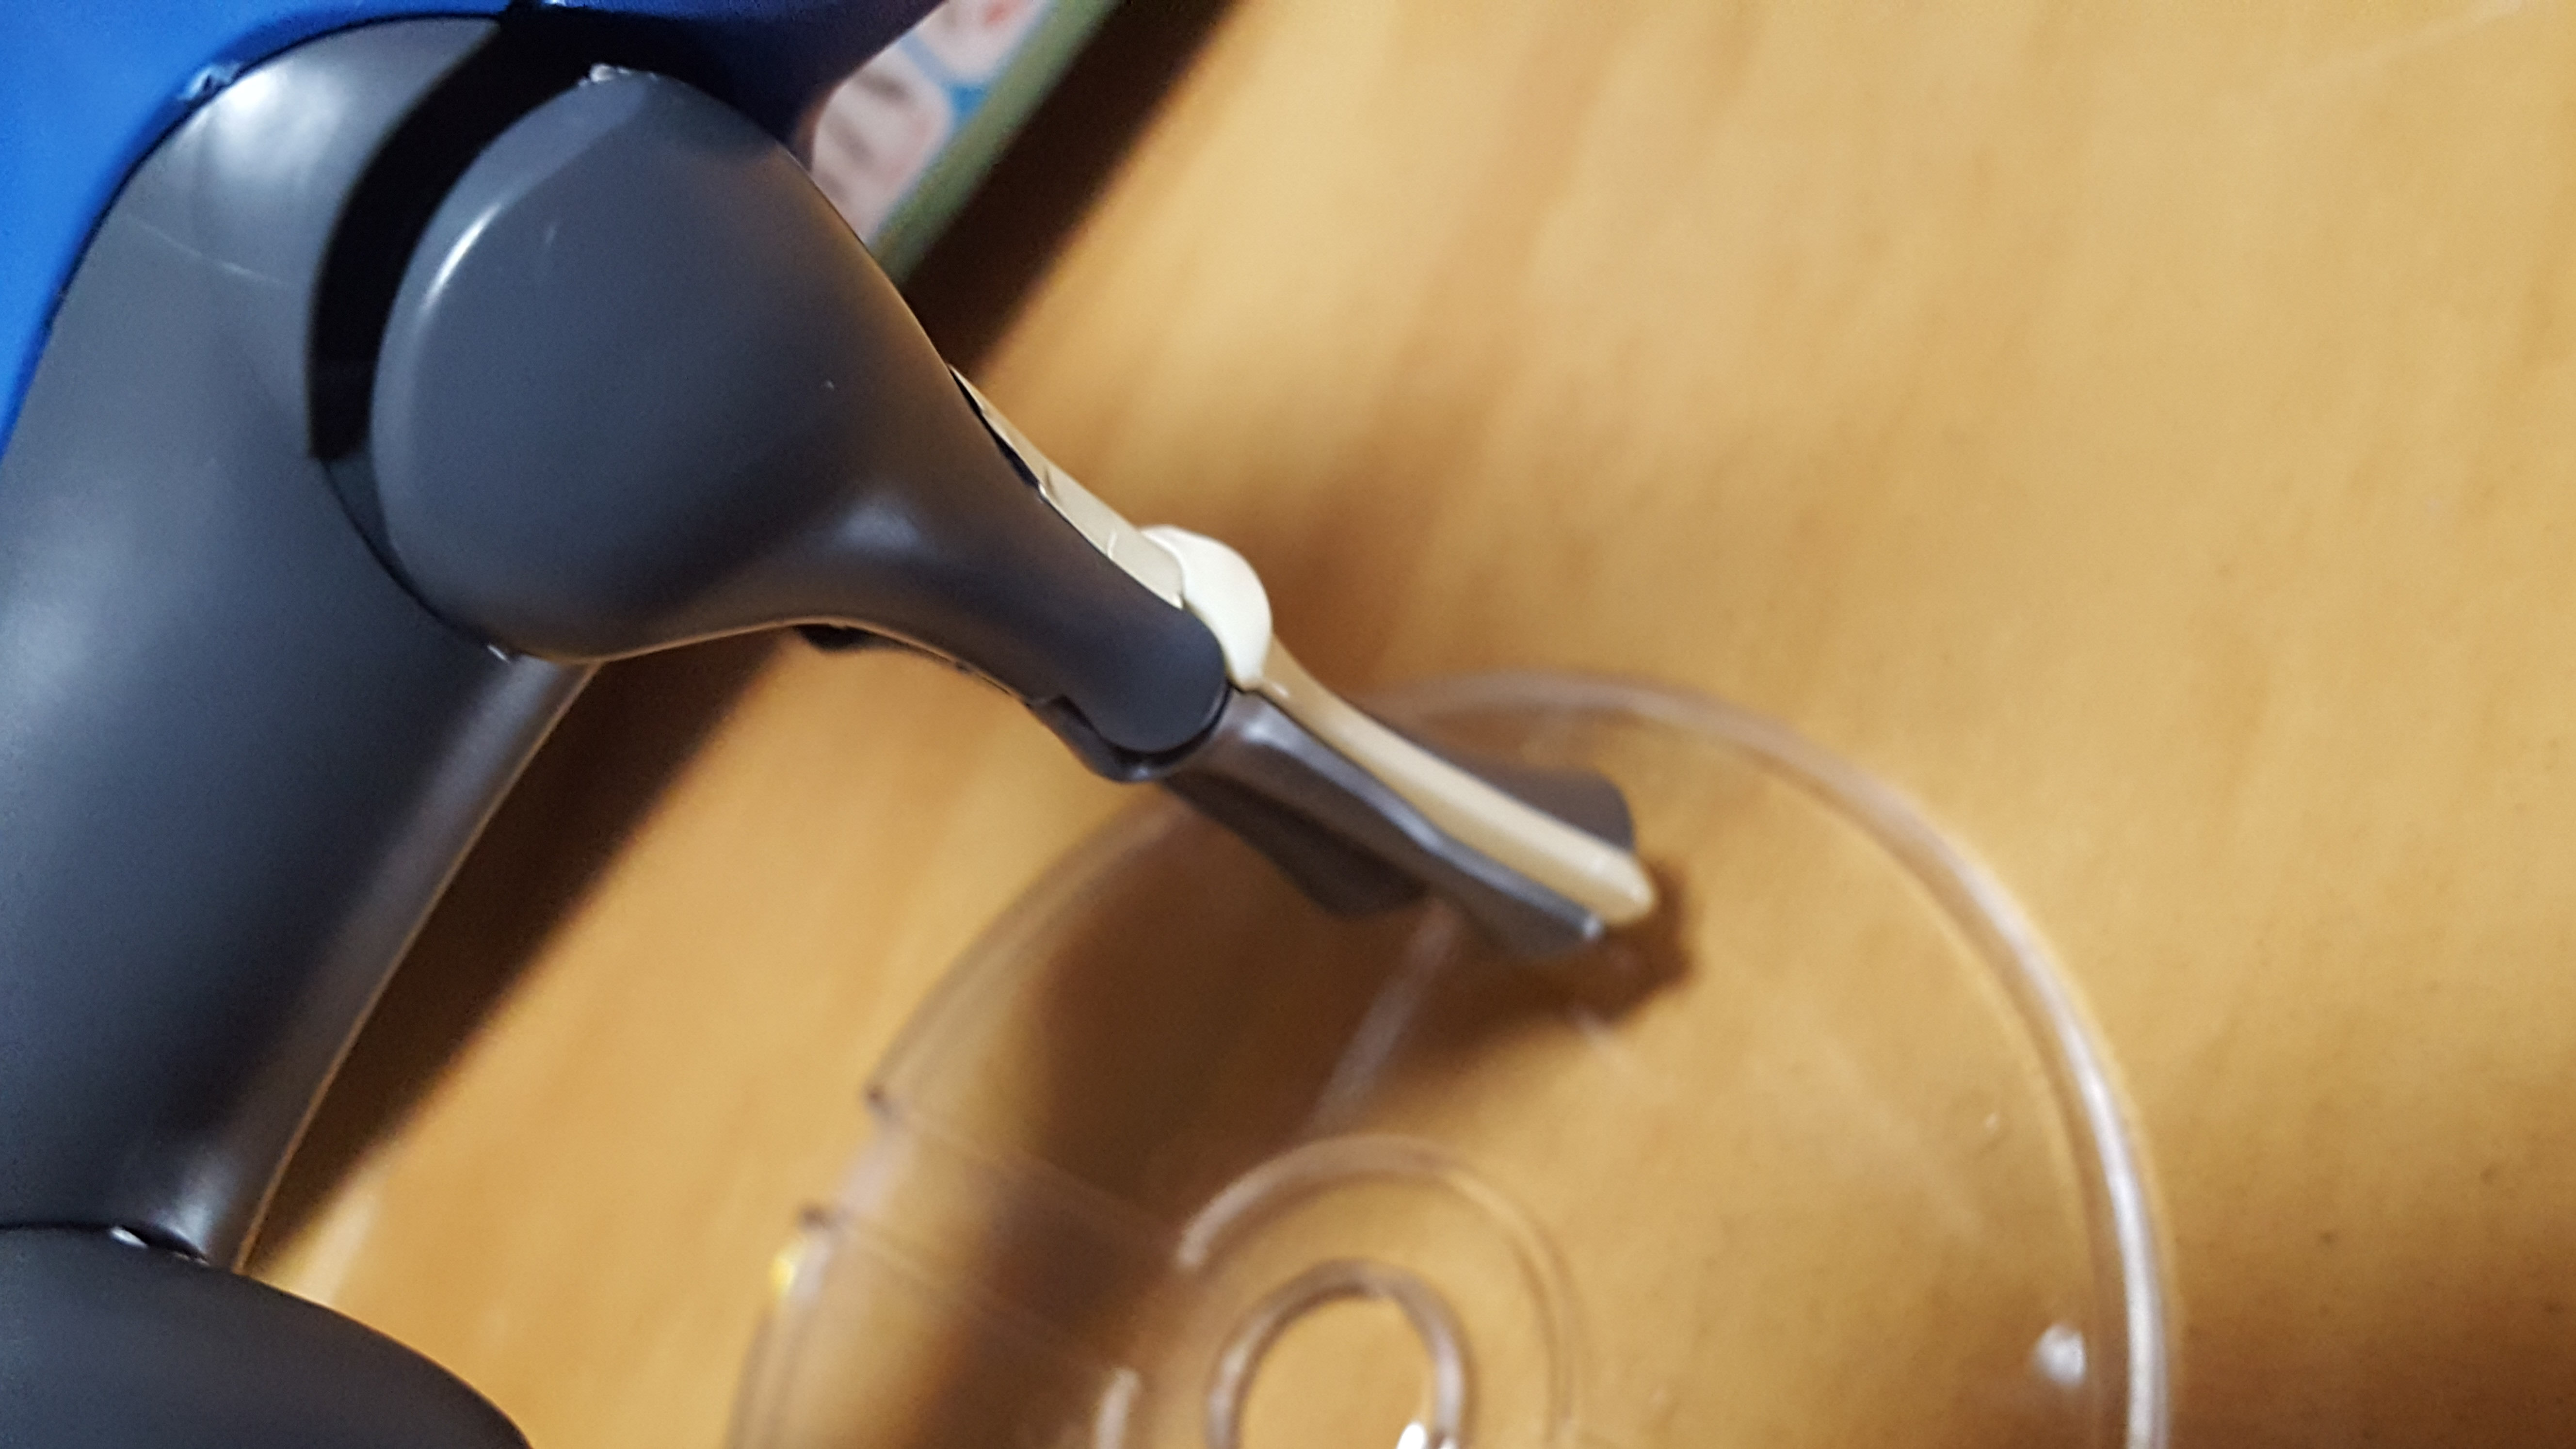
There’s a gimmick I want to point out that isn’t clear as day, and that’s the way that the front leg shoulder joints can move in and out of the body. This is intentional to create or reduce distance in the front legs. In the above photo, we have the front legs pushed together, and you can see the gap in the joint. Here’s the result:
Front legs, together! What an elegant pose.
If you pop the joint in fully, though, you get this:
Battle pose!
Overall, I have to admit that I enjoyed building this kit, and I like the resulting model. You have some pretty natural, simple posing options, and the stand is just great! Despite the irritating stickers — this is just something we have to get used to with these kits, considering the target demographic — it’s a solid build and I’m pretty happy with mine!
Interested in building your own? You can pick it up here!:
– Pocket Monster Plamo Xerneas


