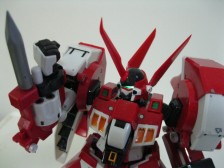
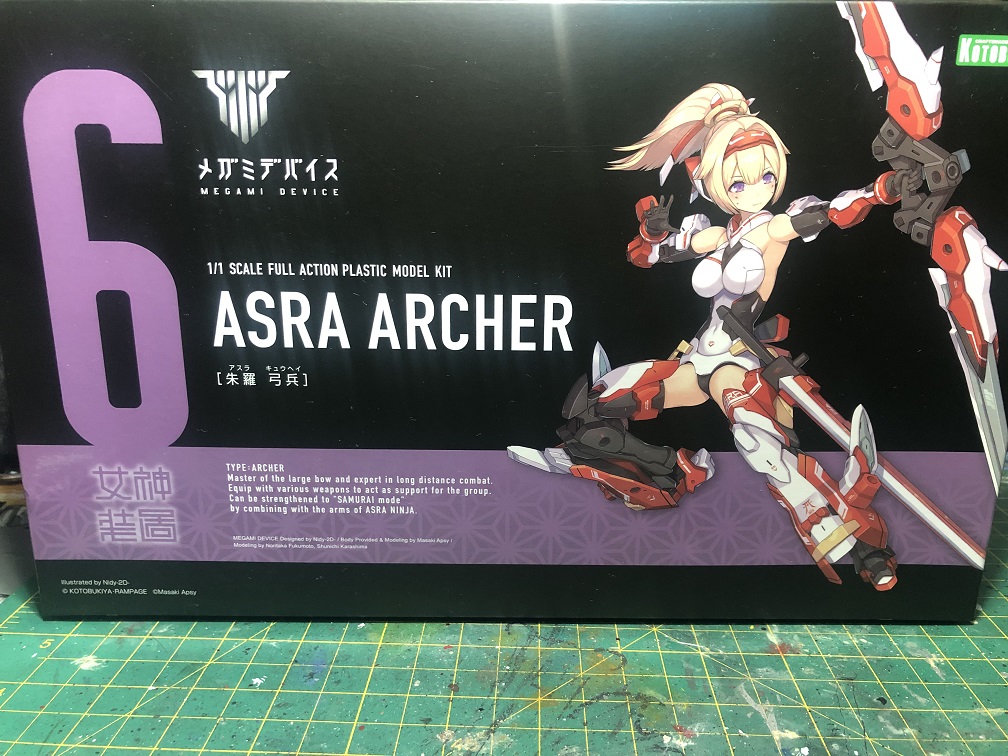
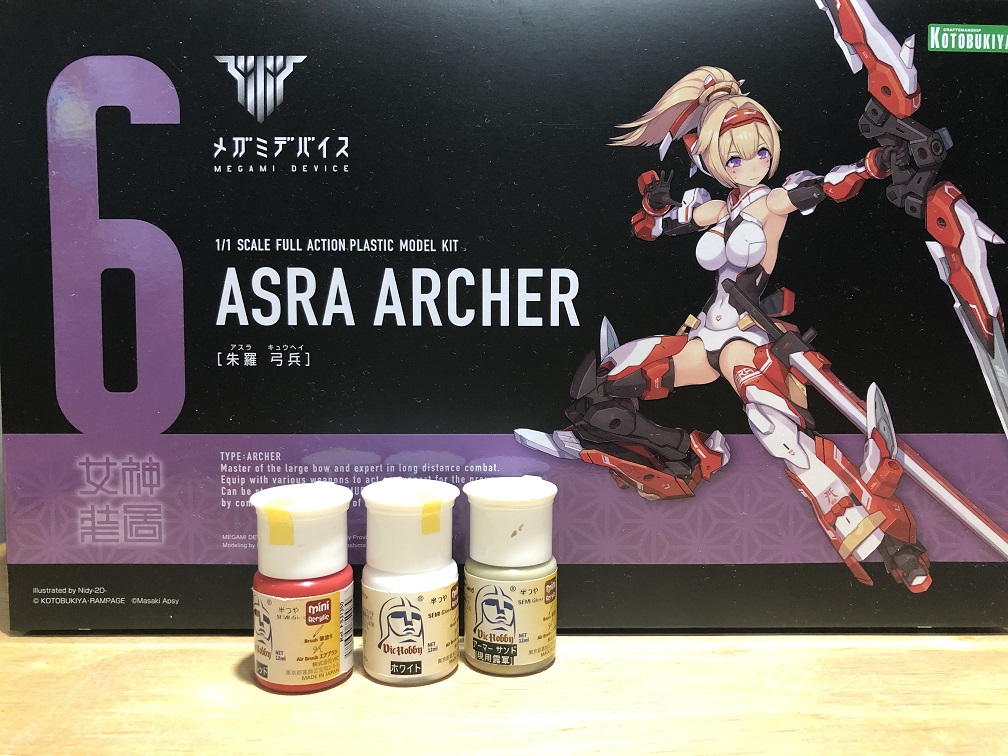
Hello there! I’m happy to be back and ready to start with a new series of tutorials! This time, we’ll be working with the 1/1 Megami Device Asra Archer*.
* Unfortunately, by the time this article was published the Asra Archer kit has been discontinued, but in this link you will find all the Megami Device kits that are available.
In this first tutorial I want to share with you the process I use to prepare a kit for painting it. I follow this process every time I paint a model kit or customize an action figure.
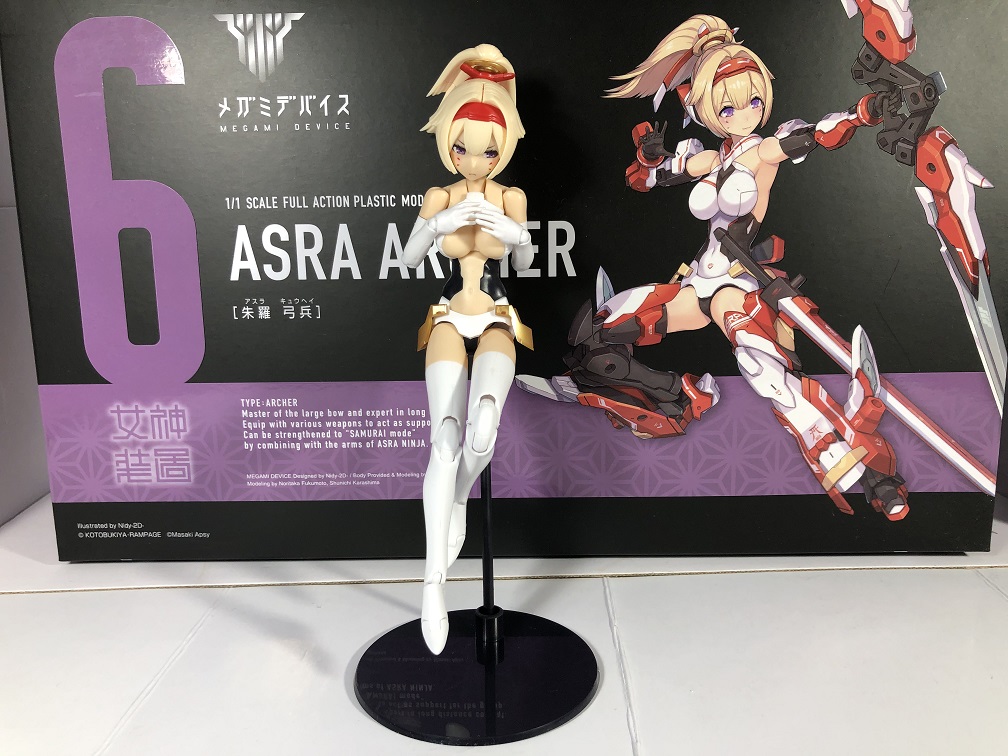
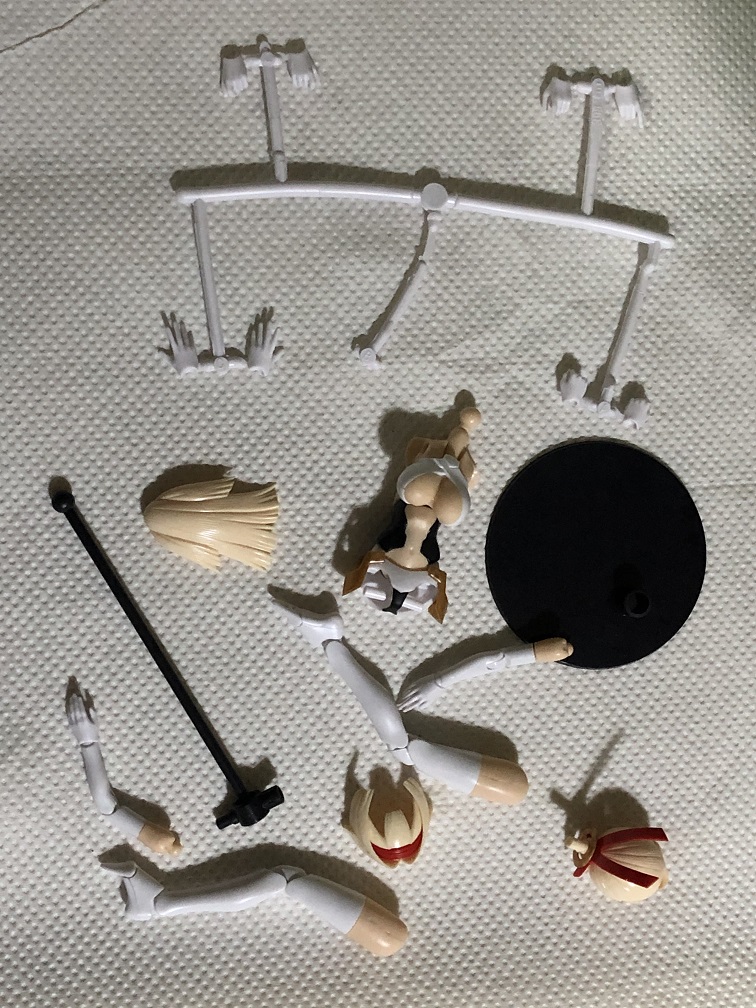
The first thing I like to do is build the kit. This will help us to identify which pieces are not going to be visible once the kit is fully assembled, and therefore, don’t need painting. With this we’ll also know which parts are movible and which ones can be glued.
For this first step, all we need are our nippers, hobby knife, and some sanding tools to remove the nub marks.
Cleaning the pieces
During the manufacturing process of the model kit, oils are used to separate the sprues from the molds. Most of the time, some of these oils remain on the plastic of our model kits and therefore we need to wash it off. If we don’t remove these oils, the paint will not adhere correctly to the plastic.
Because of this, the first step would be to wash the model kit. This can be done with the kit fully assembled, in sub assemblies, piece by piece or even before separating the pieces from the sprues. In my case, I did it by sub assemblies.
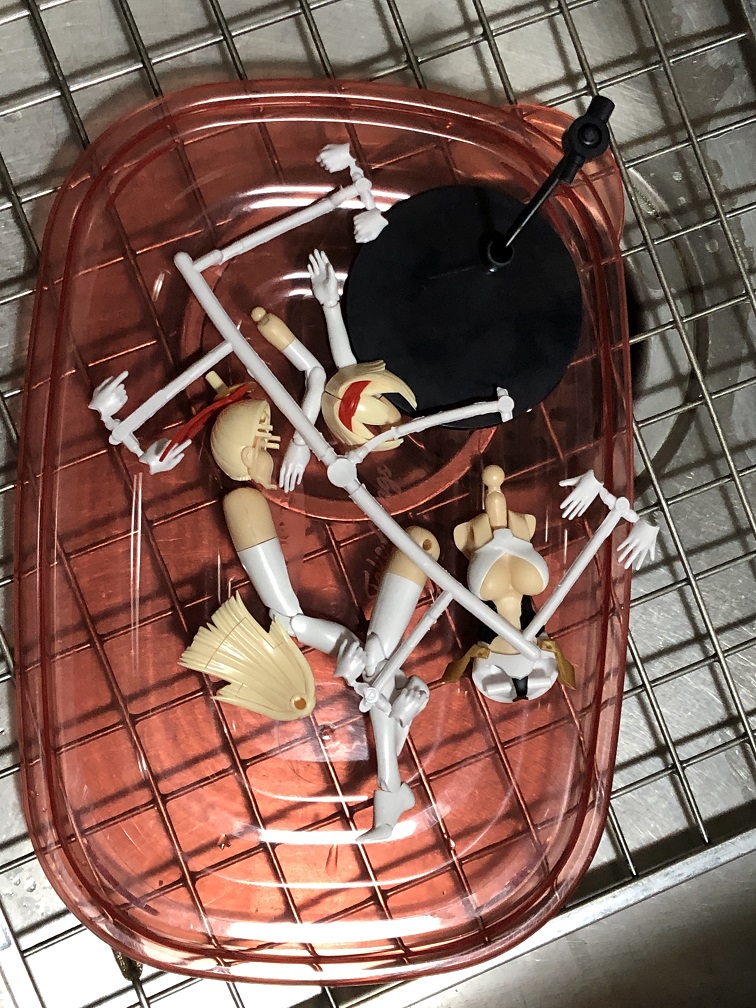
All you need is a toothbrush (preferably one intended exclusively to this, do not use it again to brush your teeth), soap (I like to use dish soap), and warm water.
Once we are done, remove the excess of water with a paper towel and then let the pieces dry.

I actually liked the color in which the skin parts were molded, therefore I left those out of the rest of the process.

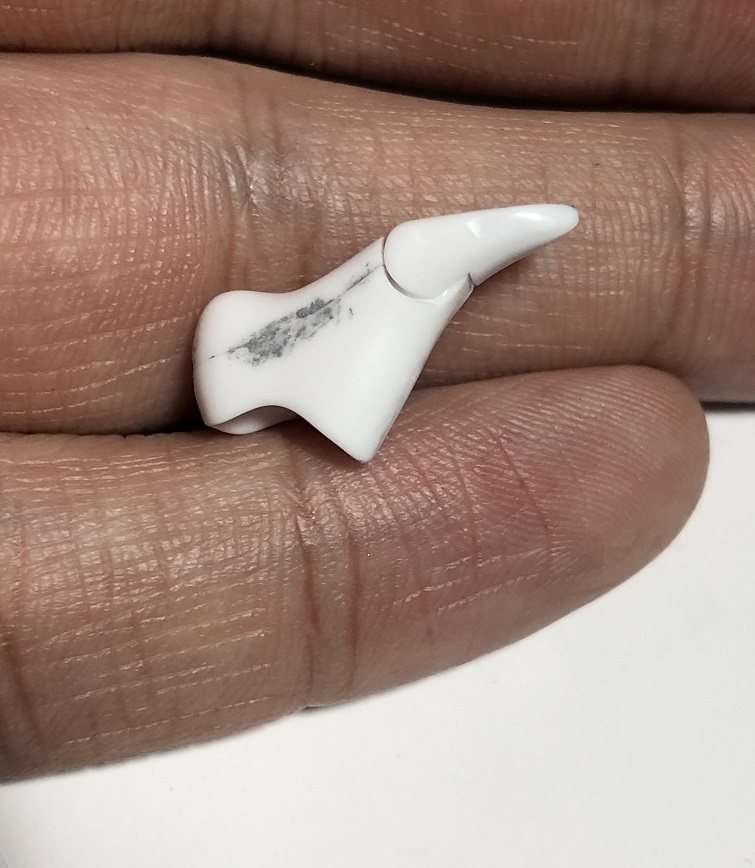
Filling the gaps
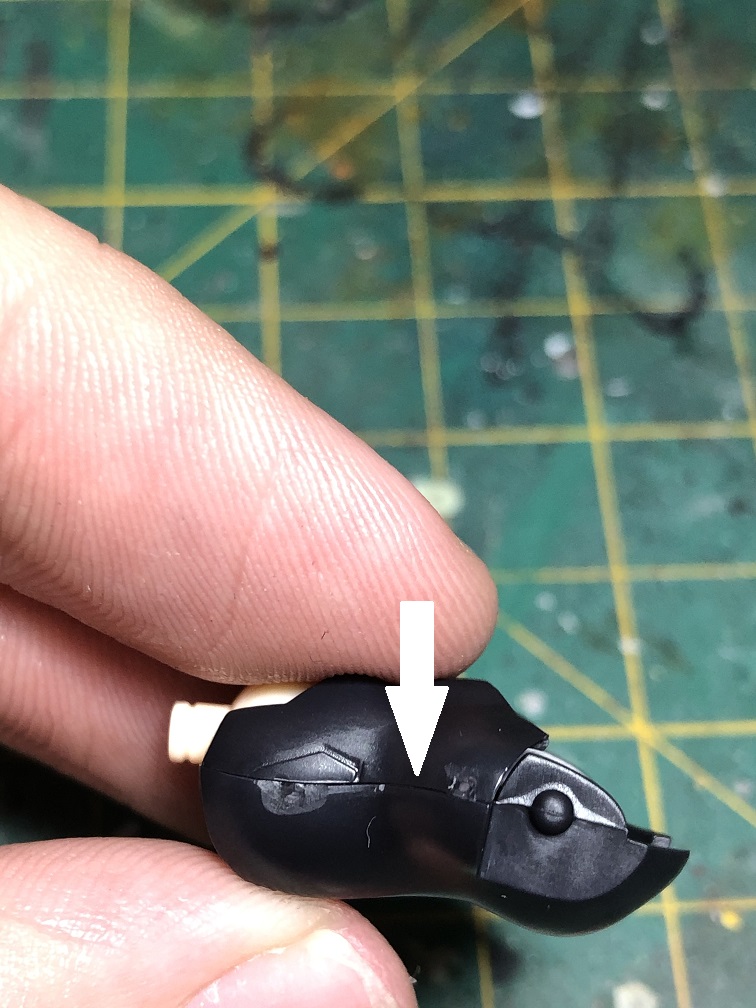
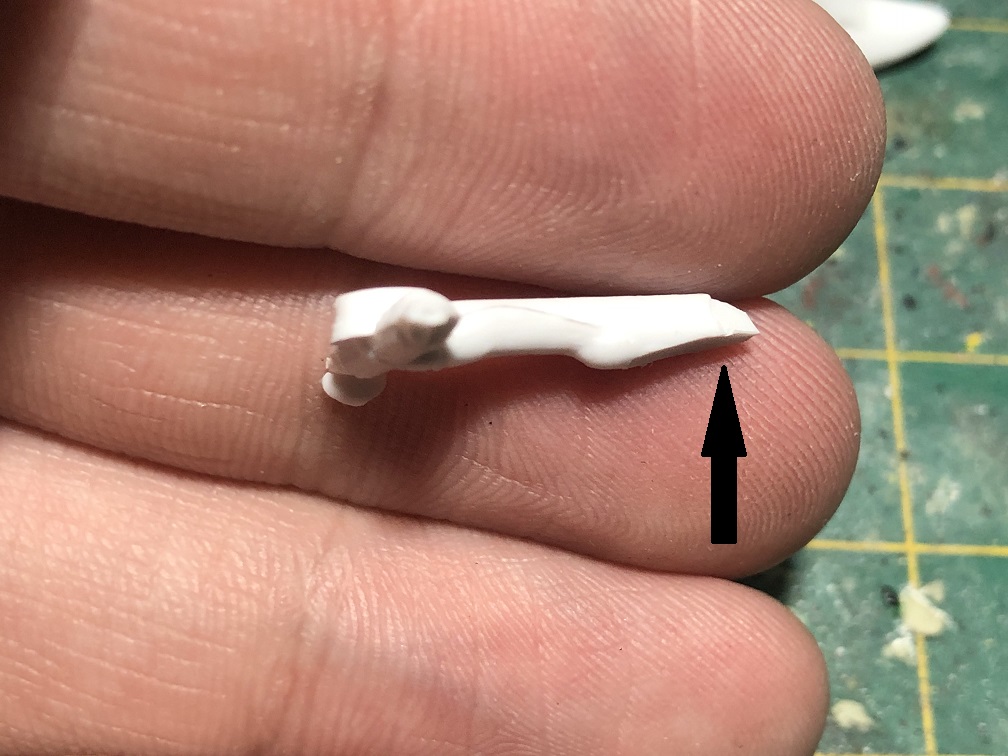
When building a model kit, some times a seam line remains visible when joining two pieces together. In some cases this lines can be disguised by the panel lining of the model, but this isn’t the case. Therefore, we are going to hide them.

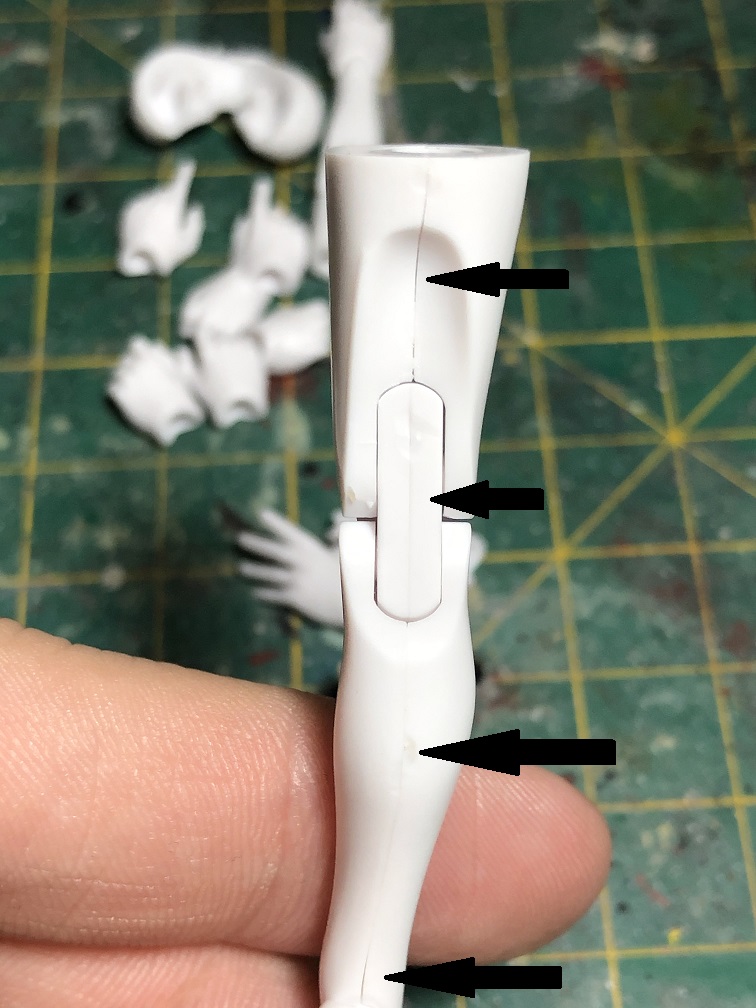
For this we’ll use some putty. We could also use super glue or epoxy putty and the process would be similar. I used Tamiya Putty because it comes in a tube ready to use.

Let’s cover the seam lines with putty. For this all we need is a toothpick.
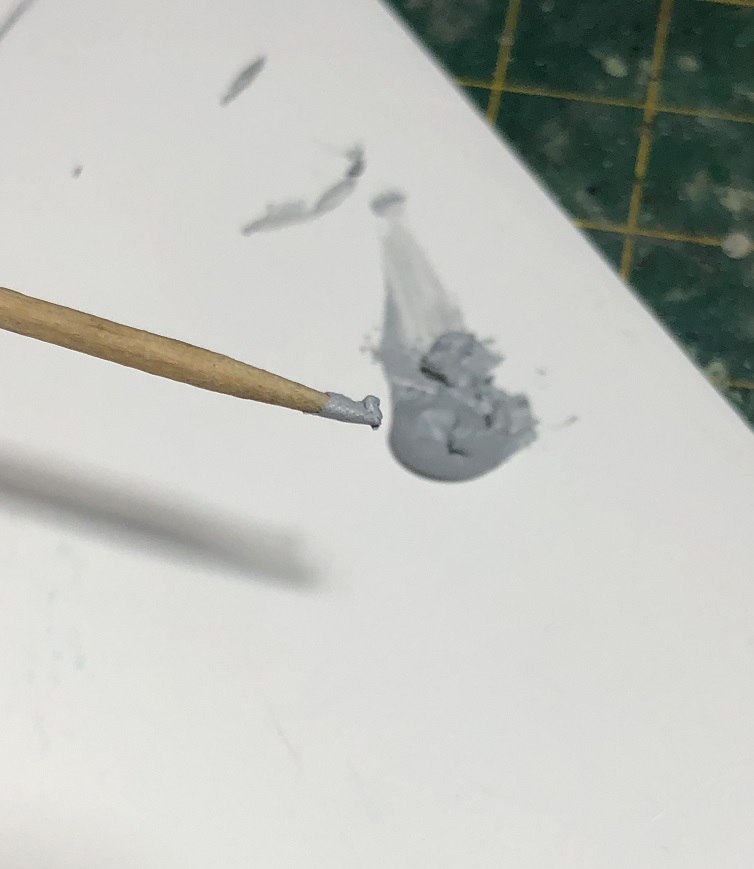
Pick a small amount of putty with the tip of the toothpick and apply it over the seam line. Make sure to cover it completely and don’t worry if you apply more than needed. We are going to sand it away later. Repeat this process to cover all the seam lines and gaps you wish to hide.

After that, let it dry. This putty usually dries within a few hours but still, I left it overnight before start sanding.
Sanding
For this step we need a brush (use an old brush for this, I used an old makeup brush), some sanding tools, and a wet cloth. I used sanding paper with grids of 600 and 1000.
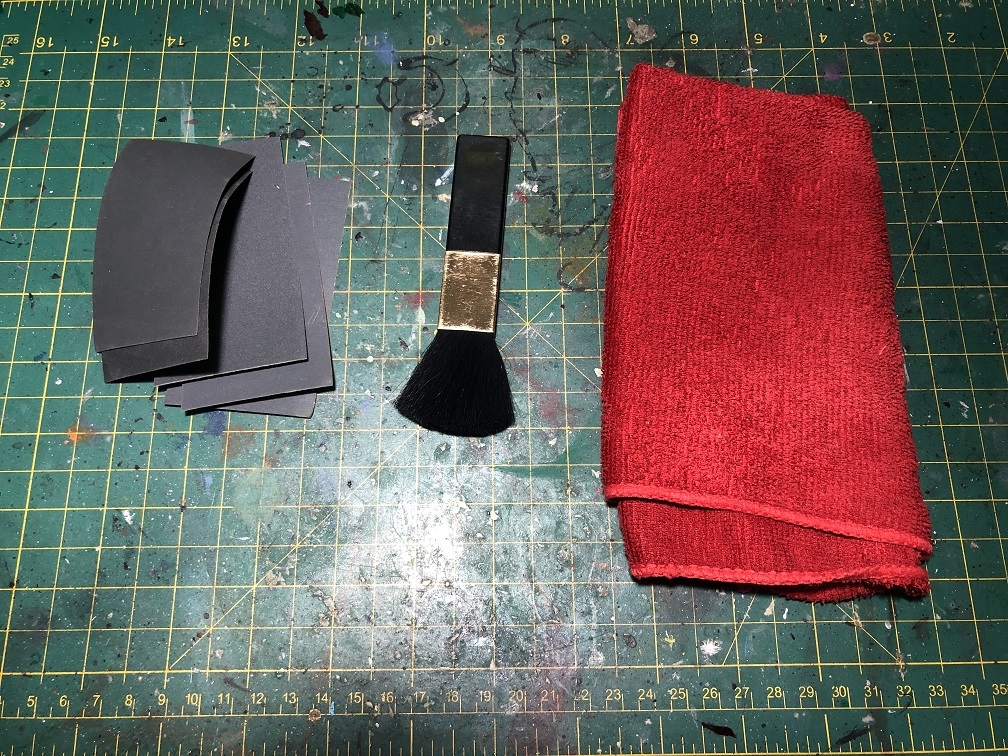
First, we start with the smaller grid, 600 in my case, and sand all the putty excess that remains on the plastic. Then, remove the dust with your brush. Repeat this process with the other grid until you end with a smooth texture on your plastic.
Once we are done sanding, we use the wet cloth to clean the pieces. This way we remove any dust left from sanding.
Remember to wear a mask or do this in a well ventilated area.
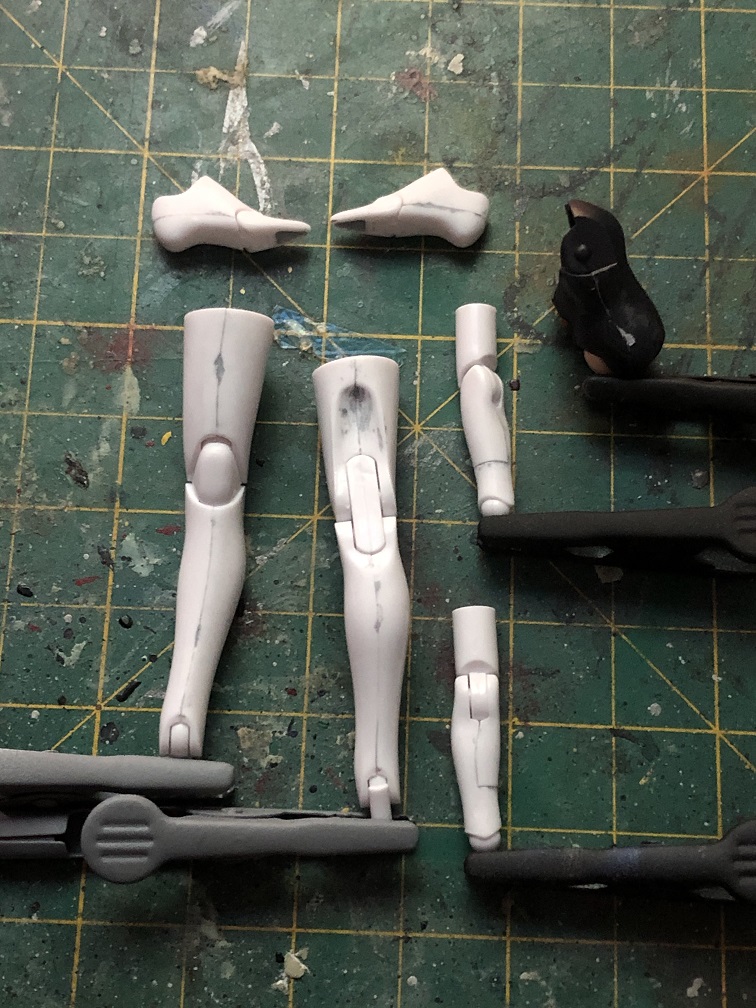
Primer
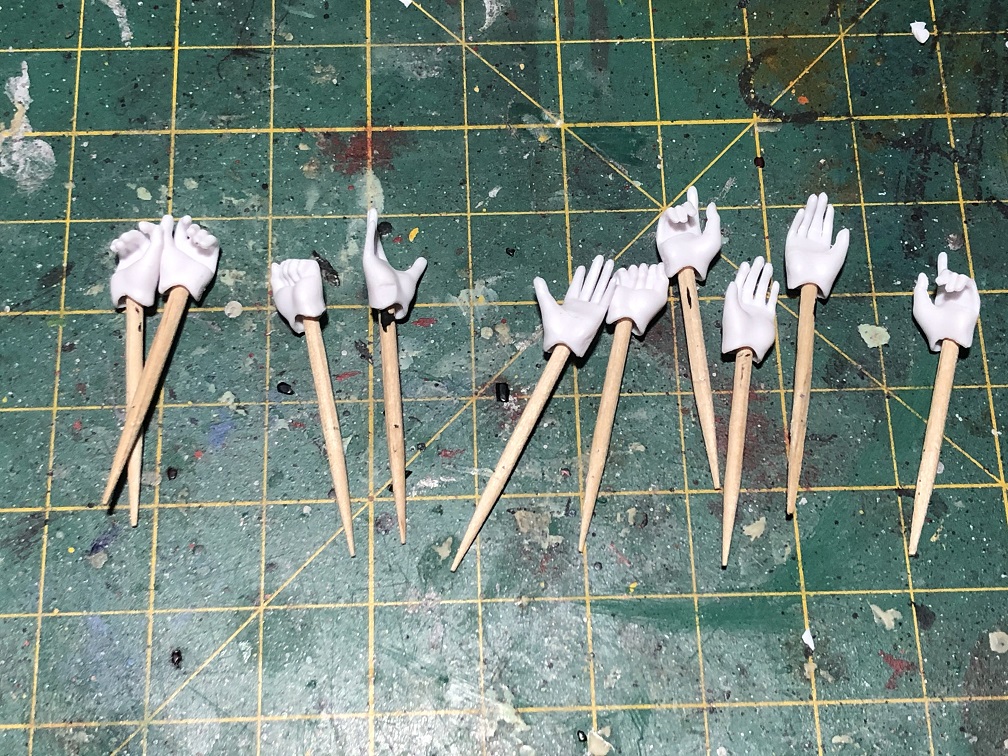
Once our pieces are smooth and clean is time to apply a primer before painting them. For this, I recommend you use some paint clips to pick up the pieces. This, to evade touching the pieces while the paint dries.
There are some pieces that are easy to pick with a clip without touching the surface we want to paint.

But there are other parts that can’t be picked up without covering a small part of its surface. To evade this we need to be creative.
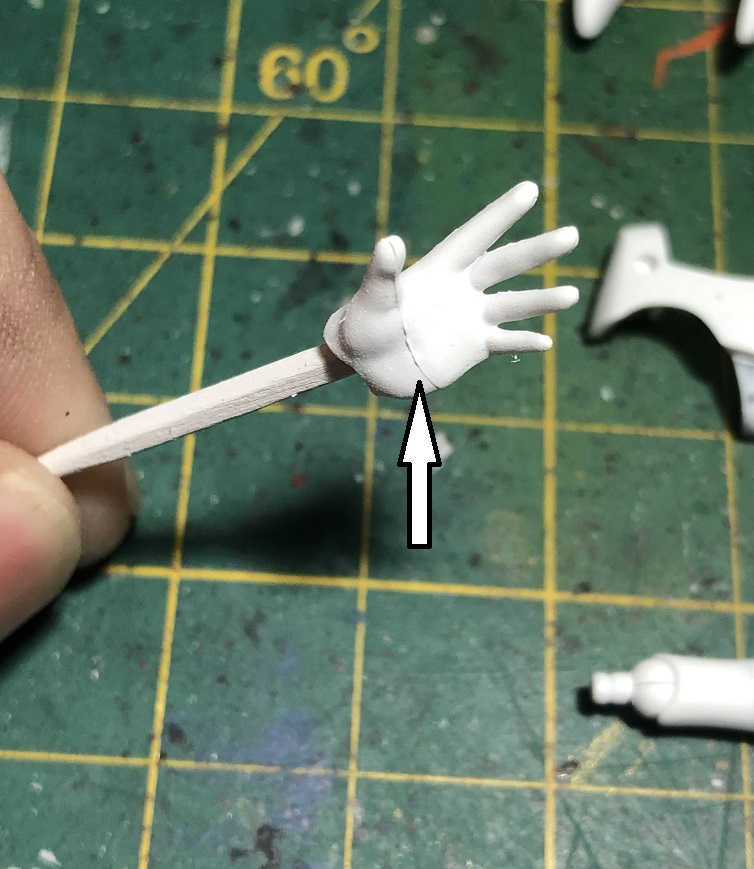
For pieces like the hands, I cut in half some toothpicks and used the thickest part to hold the hands.
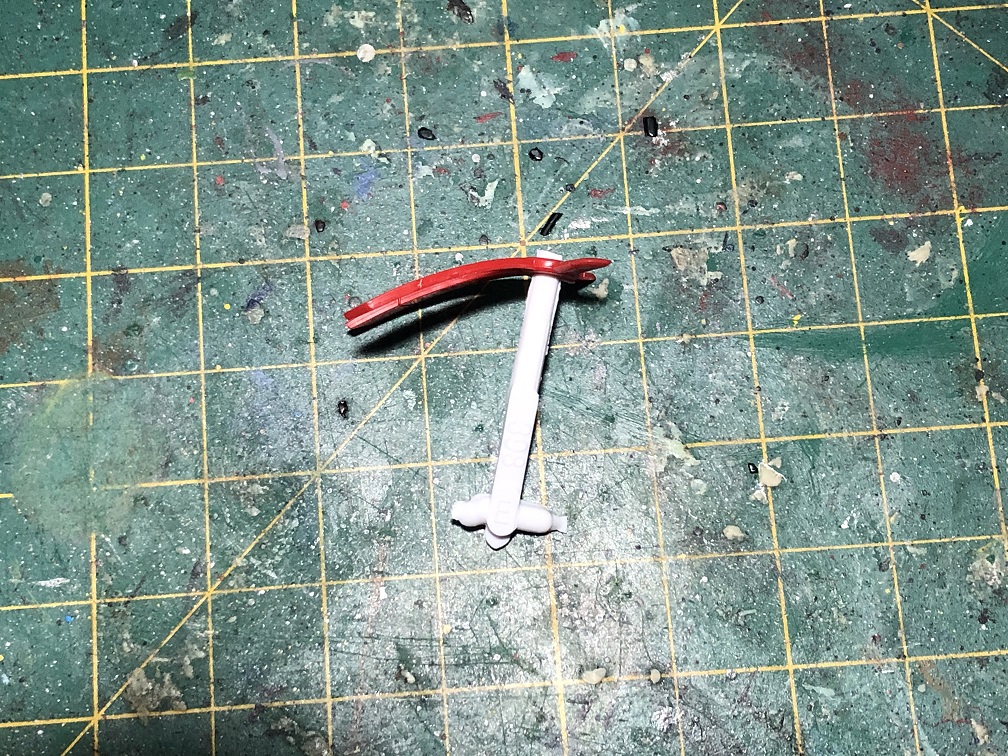
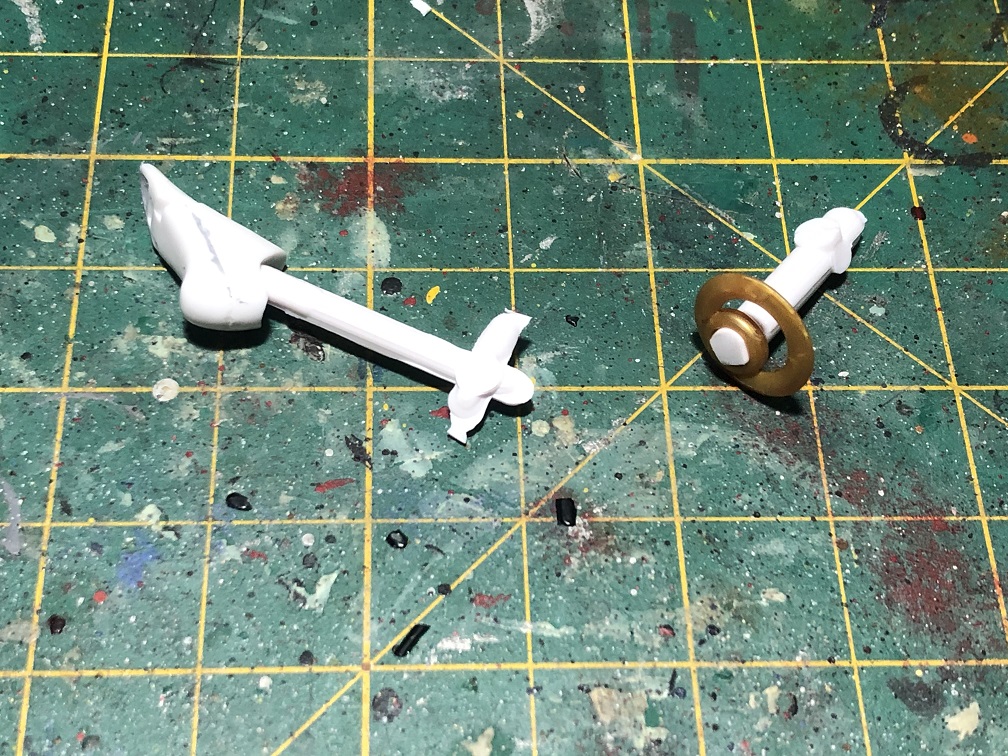
Other pieces like the feet or the hair accessories couldn’t be held by the toothpicks. Therefore we need something else. I though of using the sprues left overs, but they were to thick. Fortunately for us, that can be fixed. I thinned the tip of each sprue part until it fits inside the feet and other accessories.
The last step before applying the primer is to mask the surfaces that we don’t want to paint. Like all the sockets for the joints or the skin color part on the lower body. For this I used masking tape.
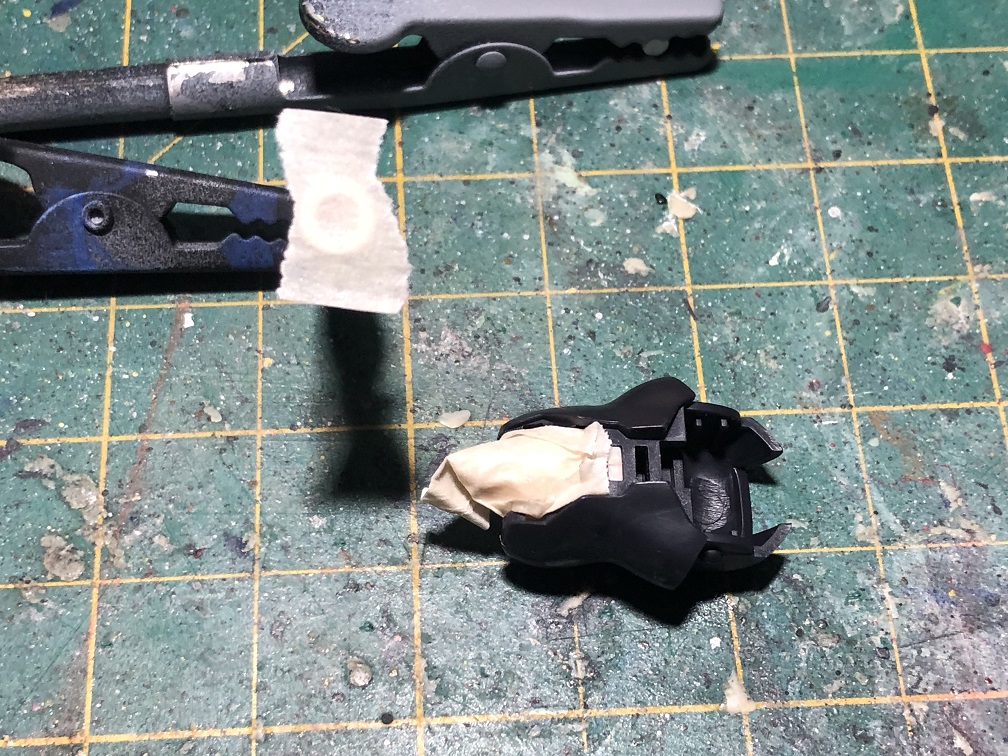
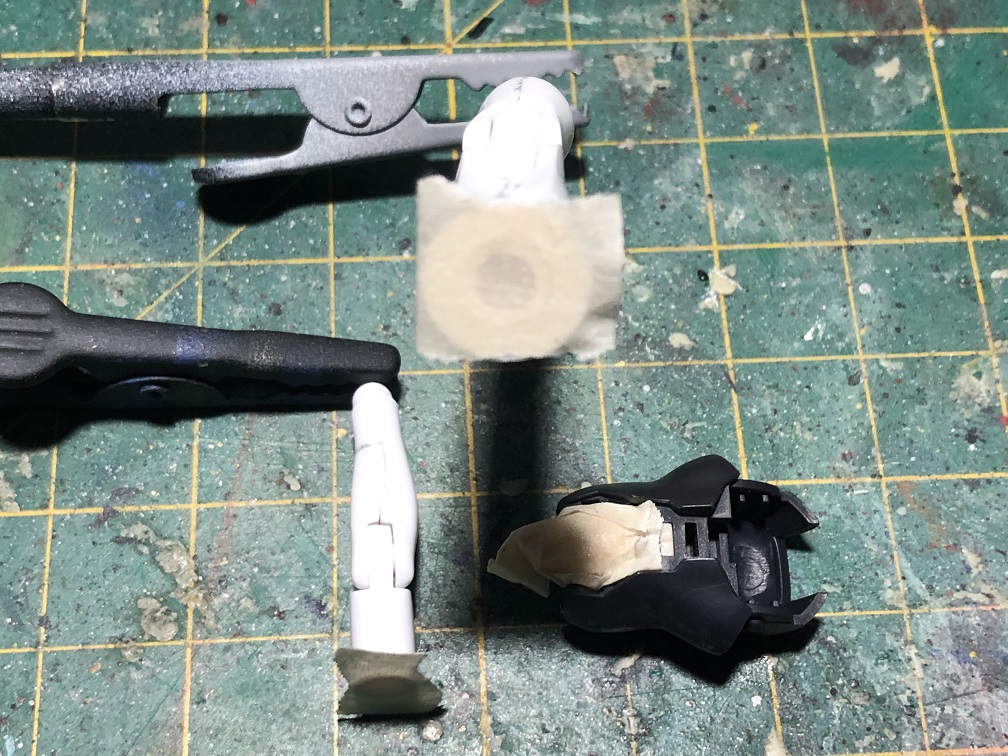
The reason for masking the sockets is to prevent the joints of getting tighter. Now, we are ready to prime.
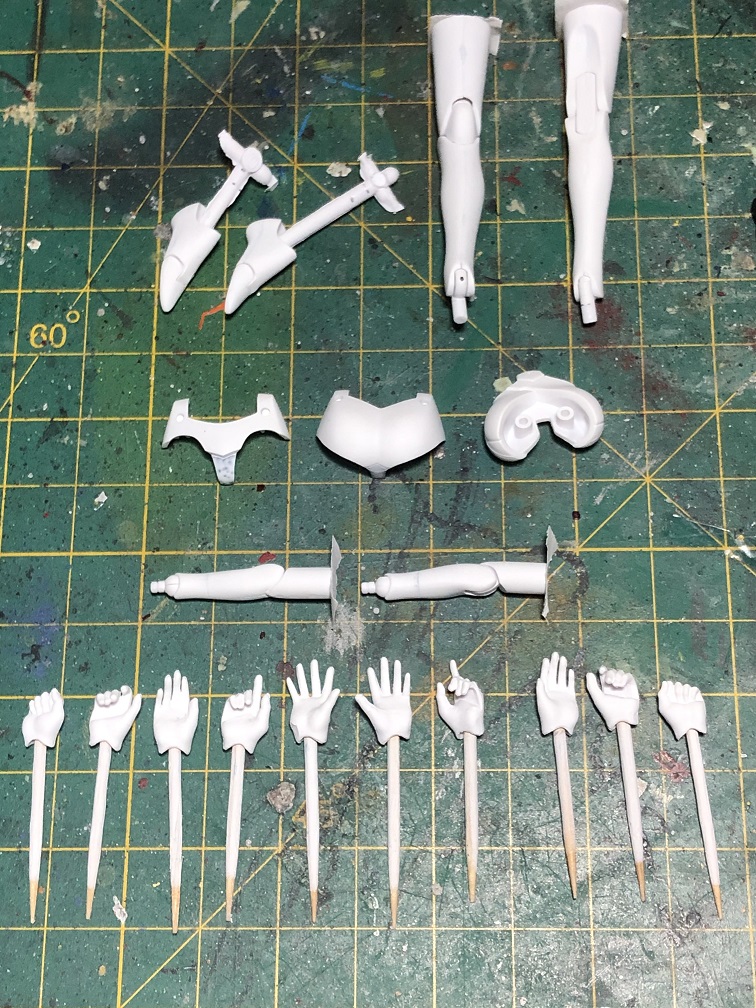
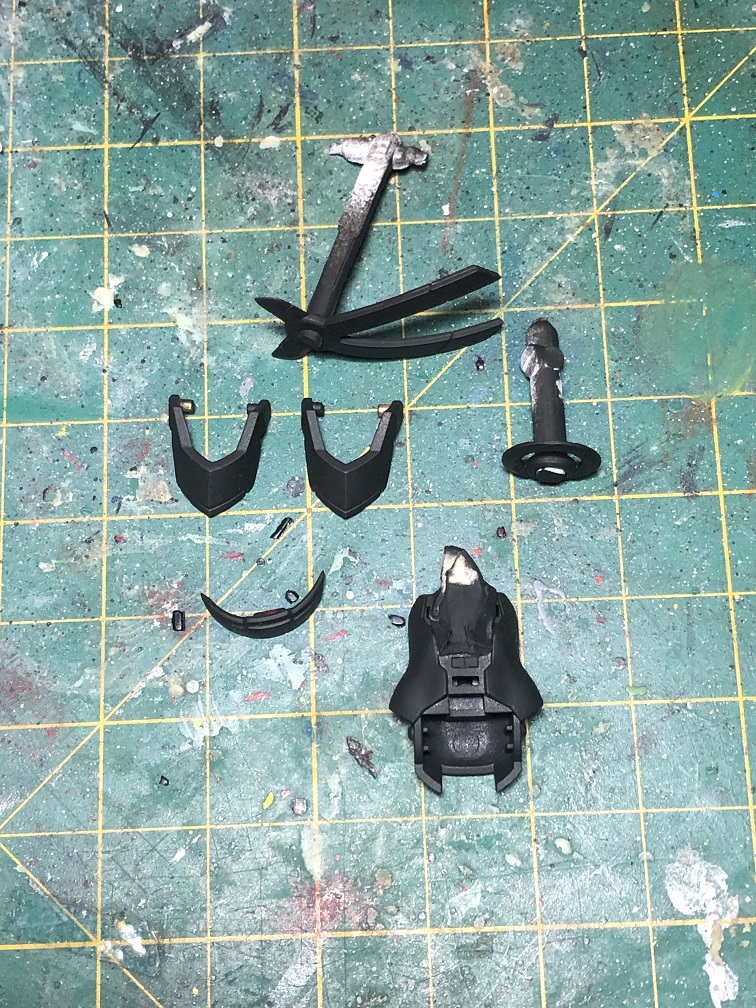
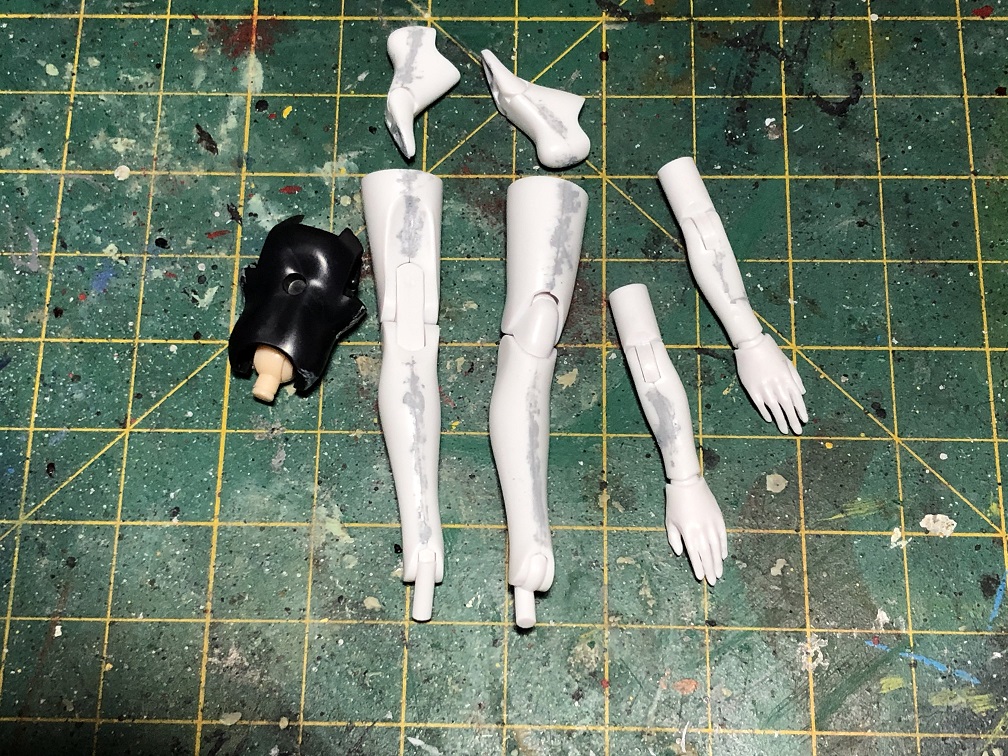
I used white acrylic paint for all the parts that would be white once they are finished (the legs, hands, feet and arms, chest and hips) And black for the rest (the lower torso, golden accessories and the hair accessories)
Hidden imperfections
I always recommend to apply primer to your models, before painting the base colors, for two main reasons. The first one is that the primer helps the paint adhere better to the plastic. The second one is that, it makes the mold lines to stand out. So it would be easier to see any mold lines that we might have missed during the first assembly. This way we can remove them before starting the paint job.
Ready to paint
Finally! We are now ready to start painting this kit. I know, it can be a long and tedious process but I asure you it is worth the effort.
On the next chapter of this series we’ll be painting the armor less look for this kit! If you wish to see something in particular for the next article or have any question, feel free to write it down in the comments! I’ll be happy to read and answer them!
If you wish to grab some hobby materials or an awesome model kit like this one, you can do it at hlj.com
See you on the next one! Happy modeling!