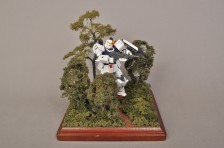
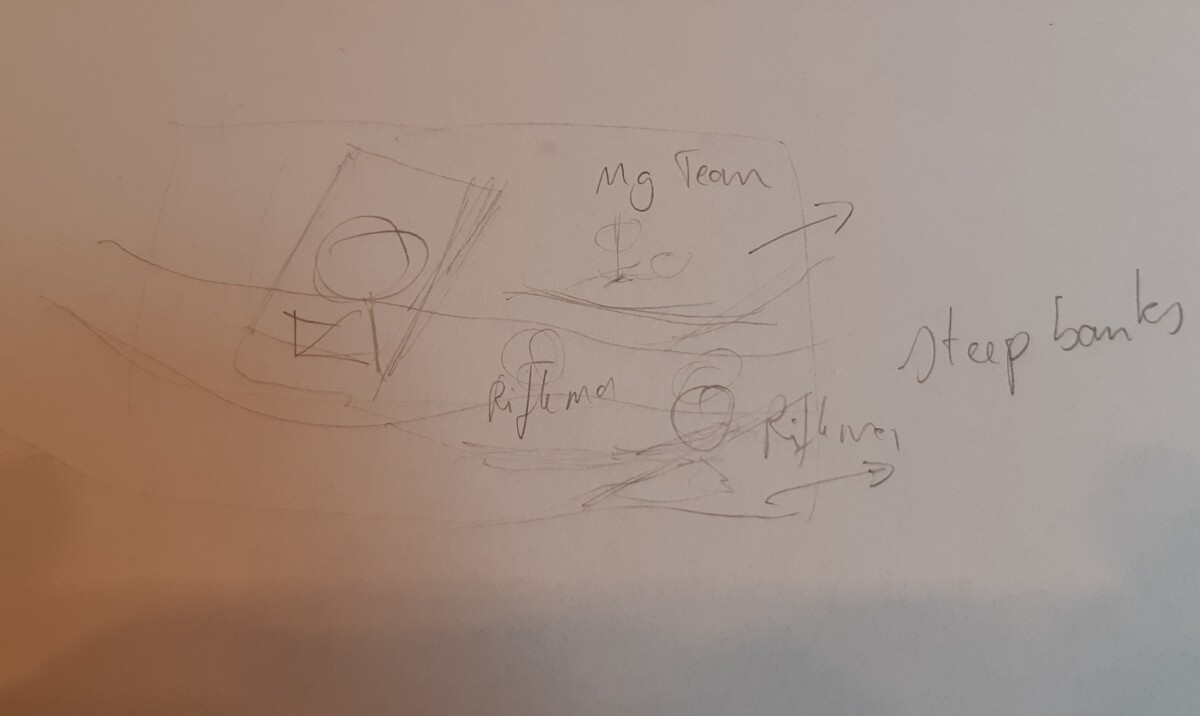
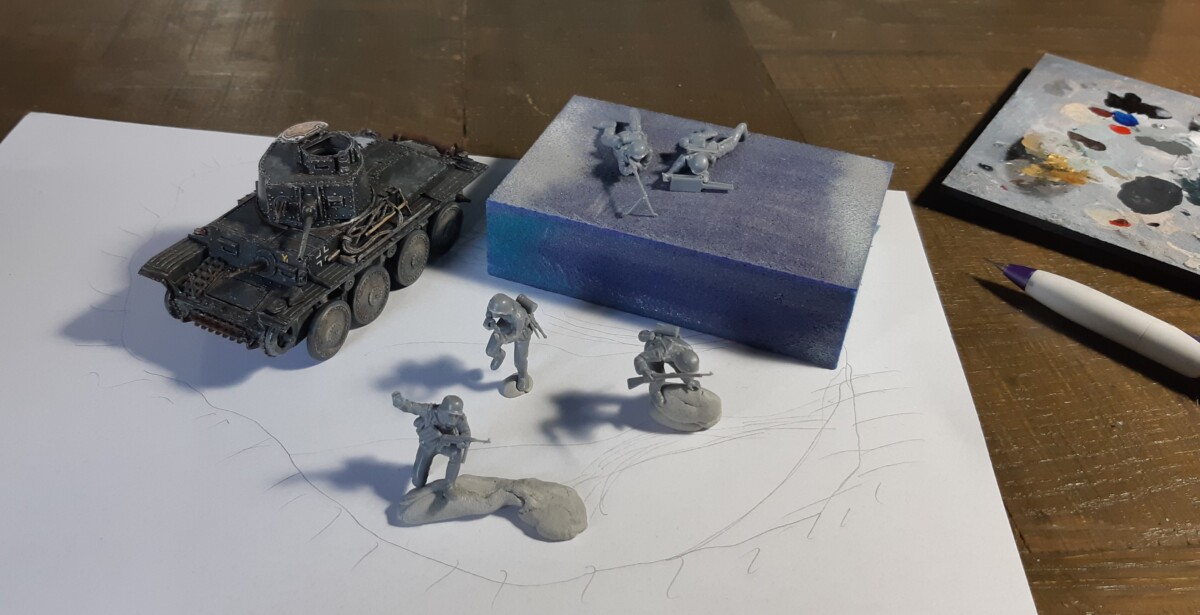
Now that we’ve practically finished the vehicle, it’s a nice moment to actually plan a diorama around it. I want to experiment with some water splashes so I started thinking about the crossing of a small river, in combination with the great 1/48 figure set from Tamiya. In the end, this led me to this sketch.
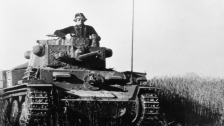
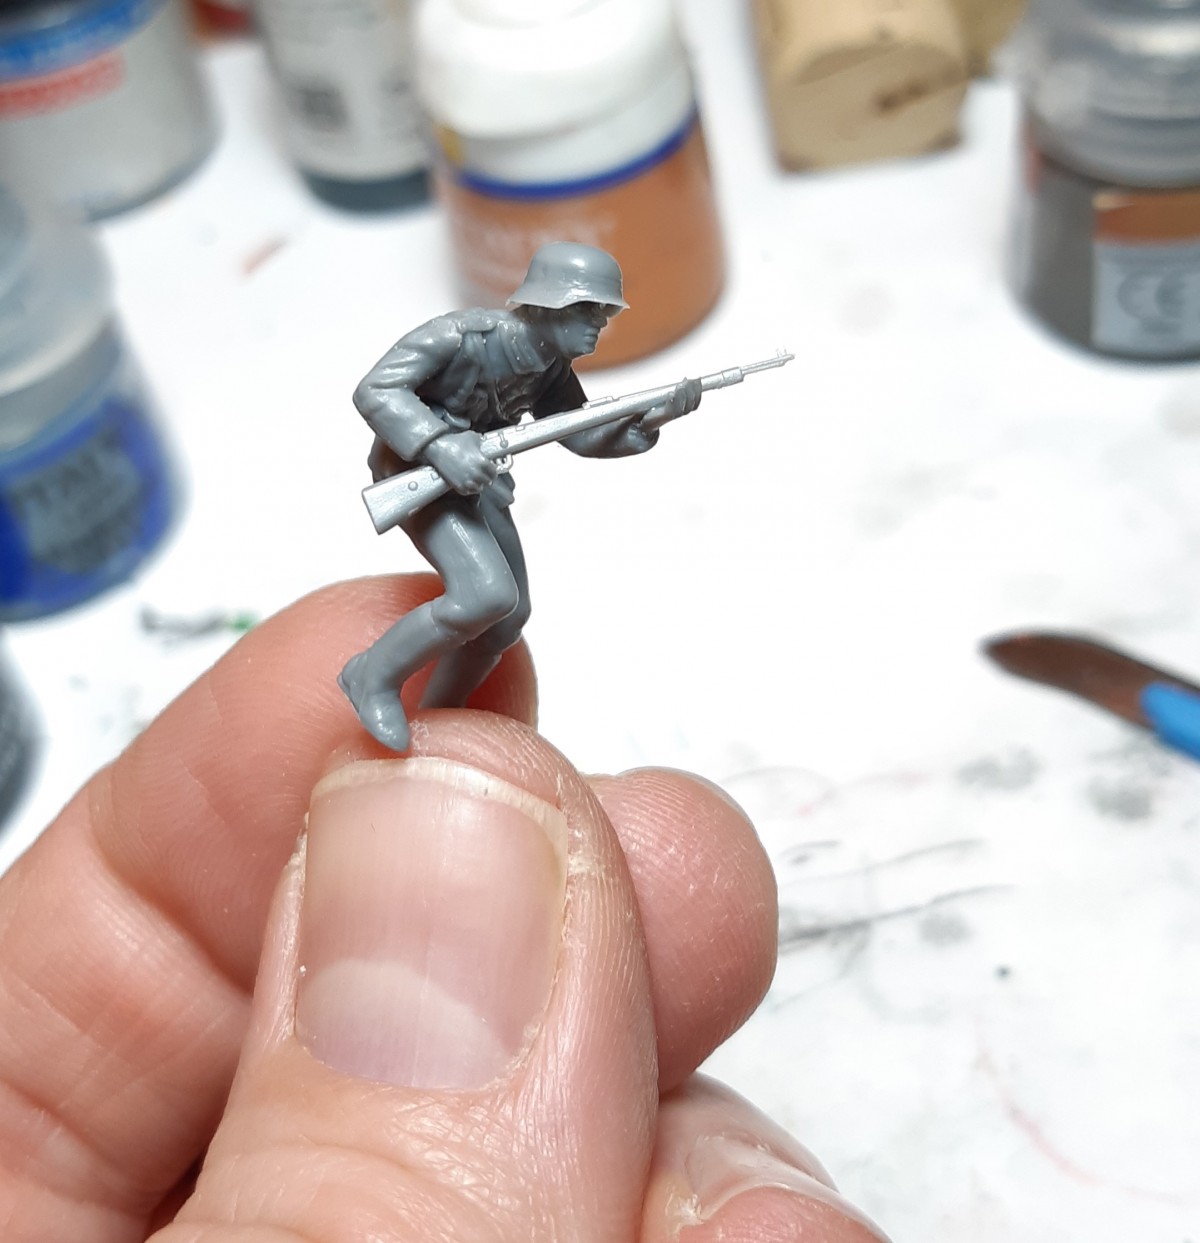
Now before I could build the base, I needed to assemble the figures. The goal was to make sure everything fits. So basically I’m just following the instructions from the kit. This assembles pretty good but I have a slight issue with the modular assembly of the gear. I think I prefer sculpted gear as it’s very hard to make it fit, like it’s real gear with weight and swing during movement. The upside is that you can choose between different layouts. And to be honest, the level of detail of the plastic amazing. As such I didn’t use extra photo etched details.
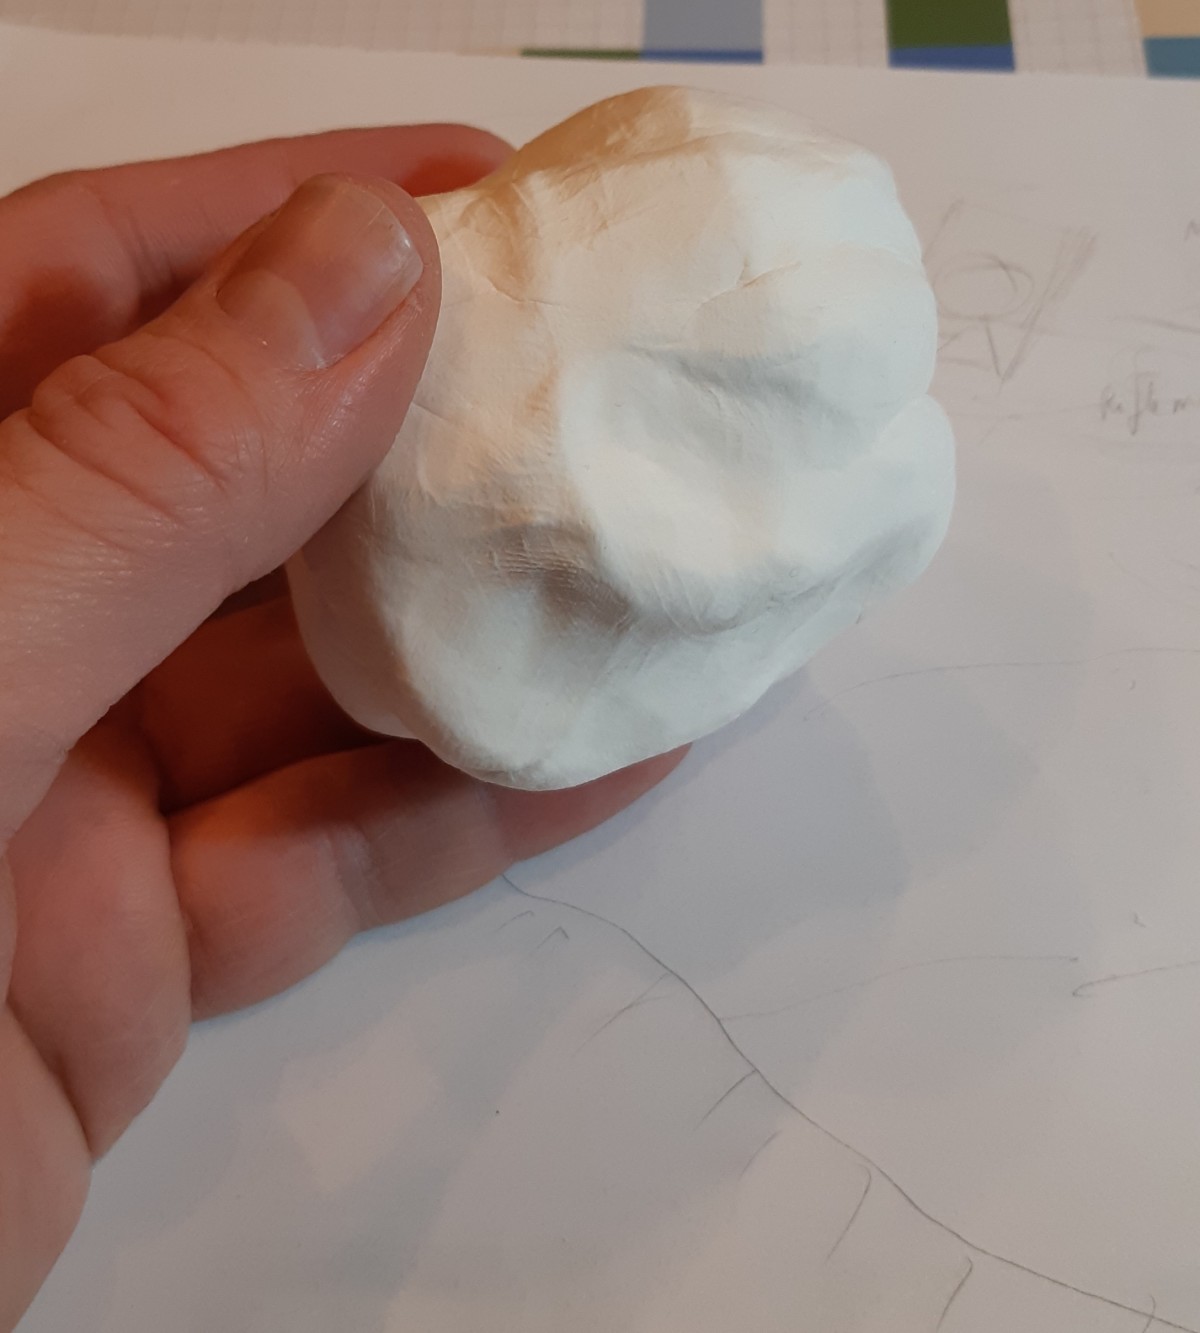
Now that I had my troops built, I wanted to get out the Hearty modelling clay. It was the first time that I used this so after watching some YouTube tutorials I decided to give it a go.
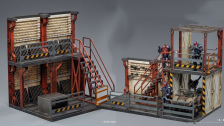
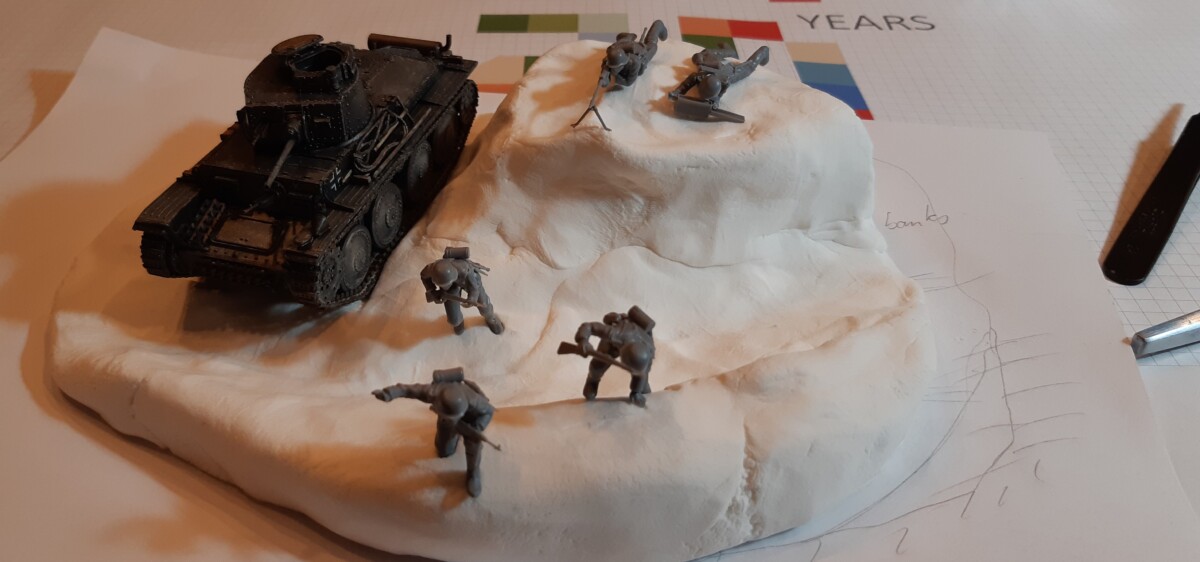
I started from a mockup to validate my small sketch. The hearty clay was pretty easy to work with but as it’s paper based, it has quite a long drying time if you build something with quite some volume. There’s also some deformation after fully curing. Next time, I’ll build a larger volume over multiple sittings.
Figures
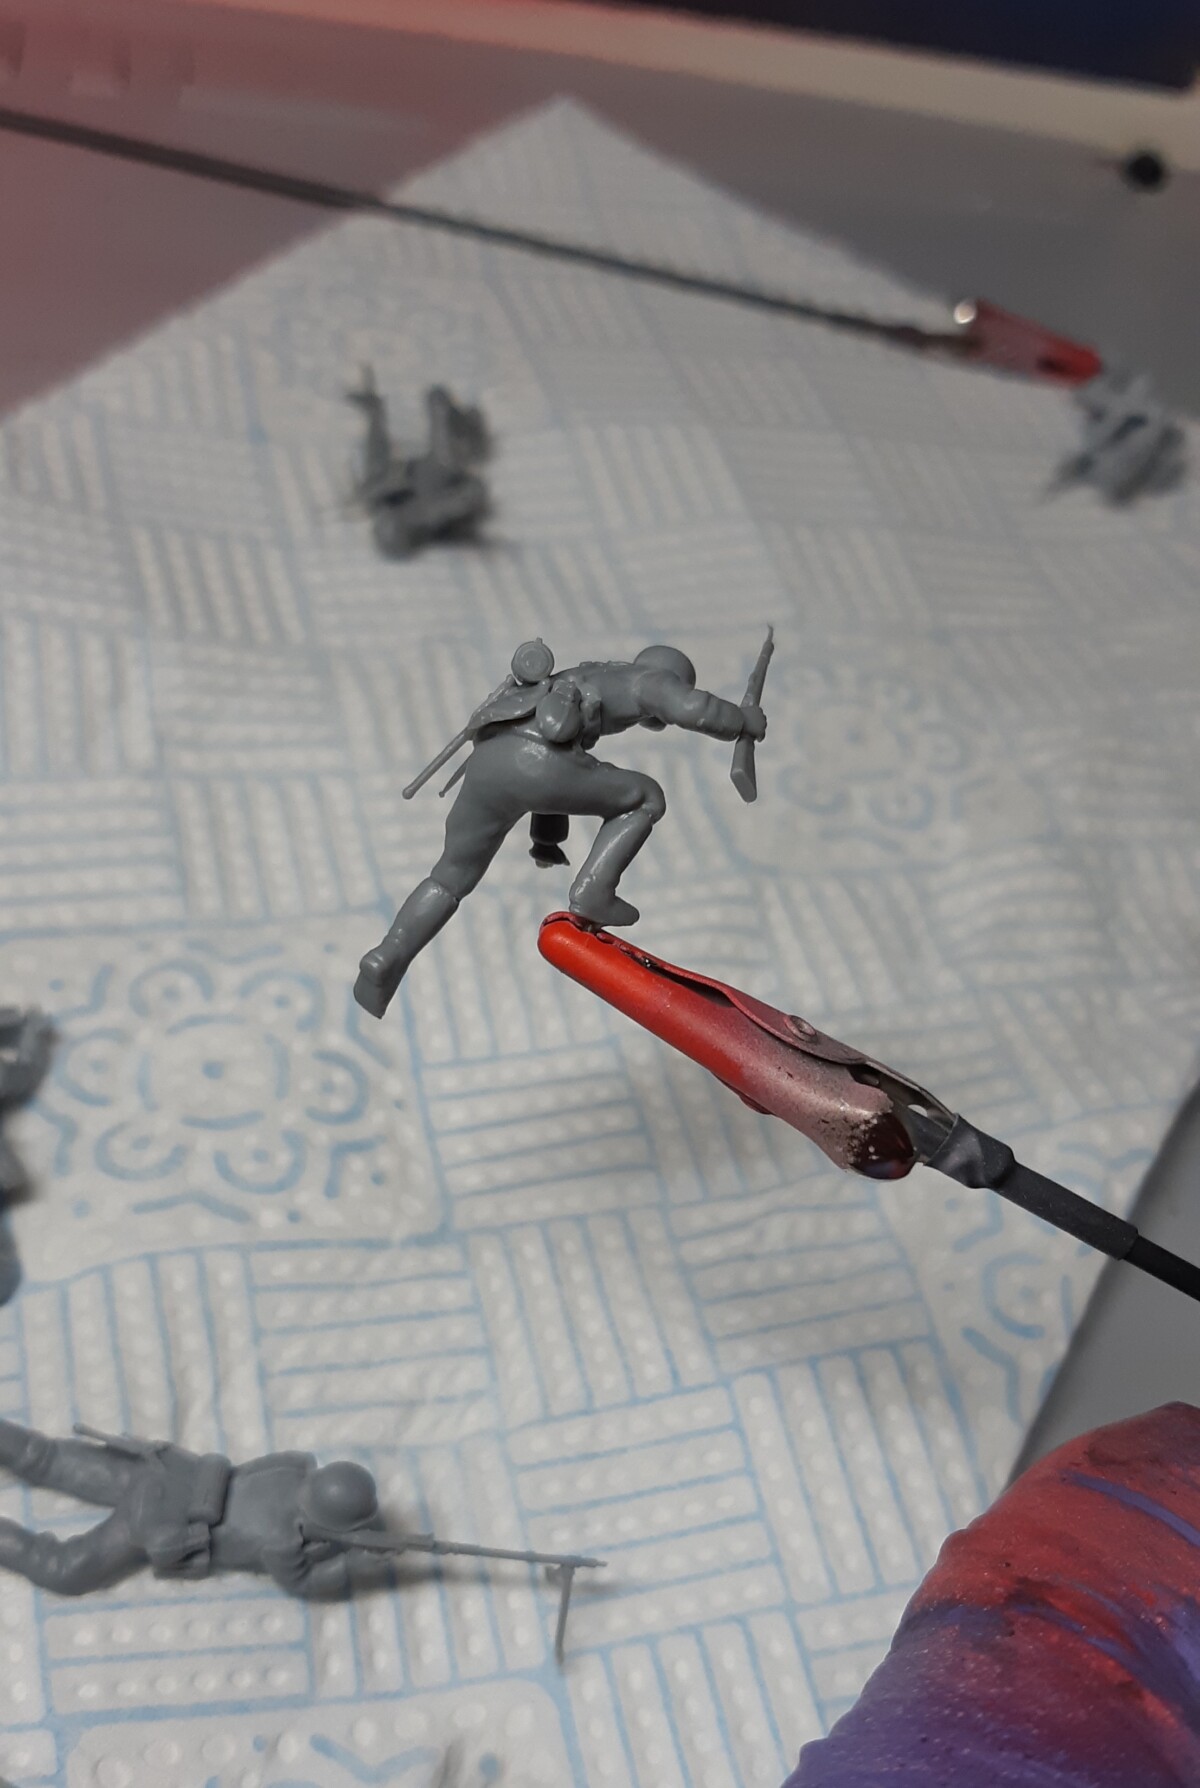
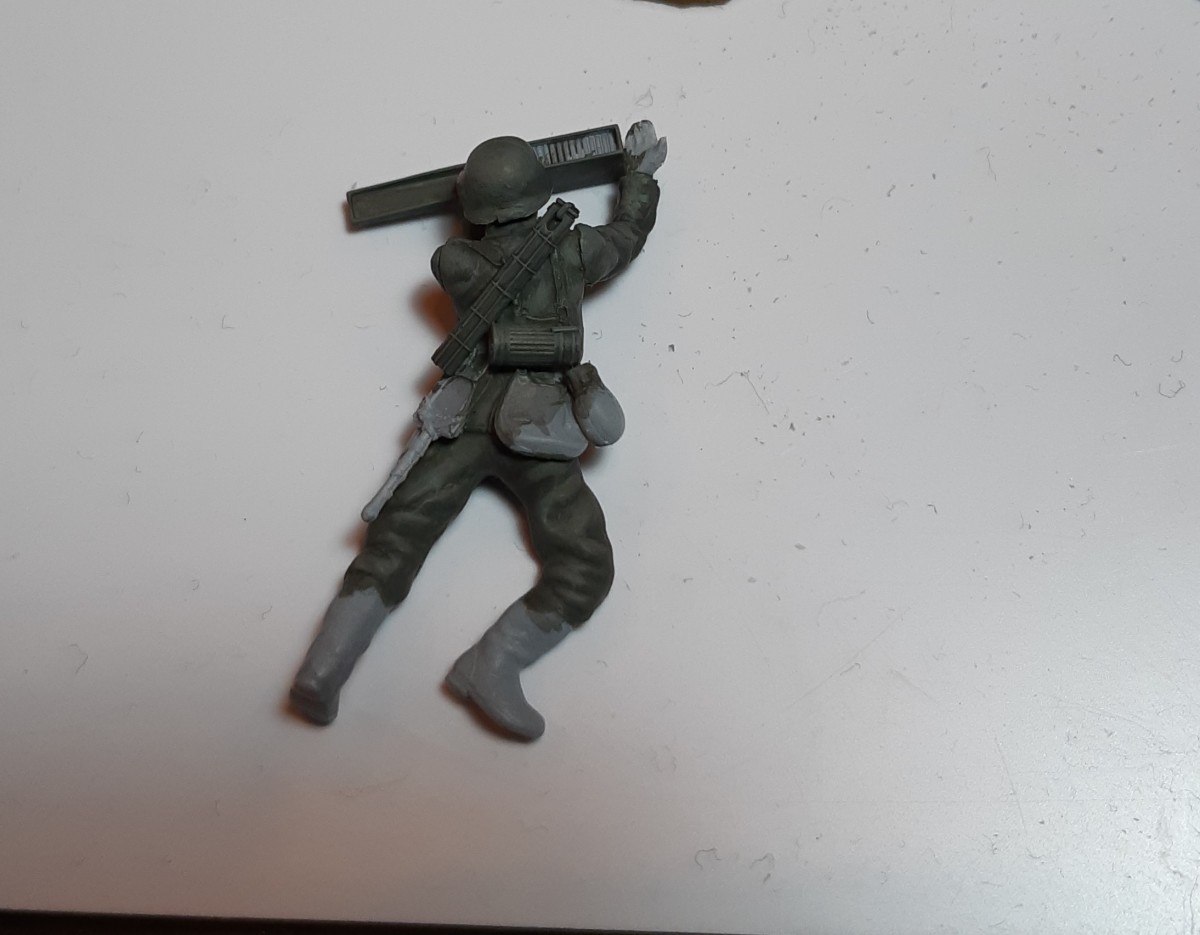
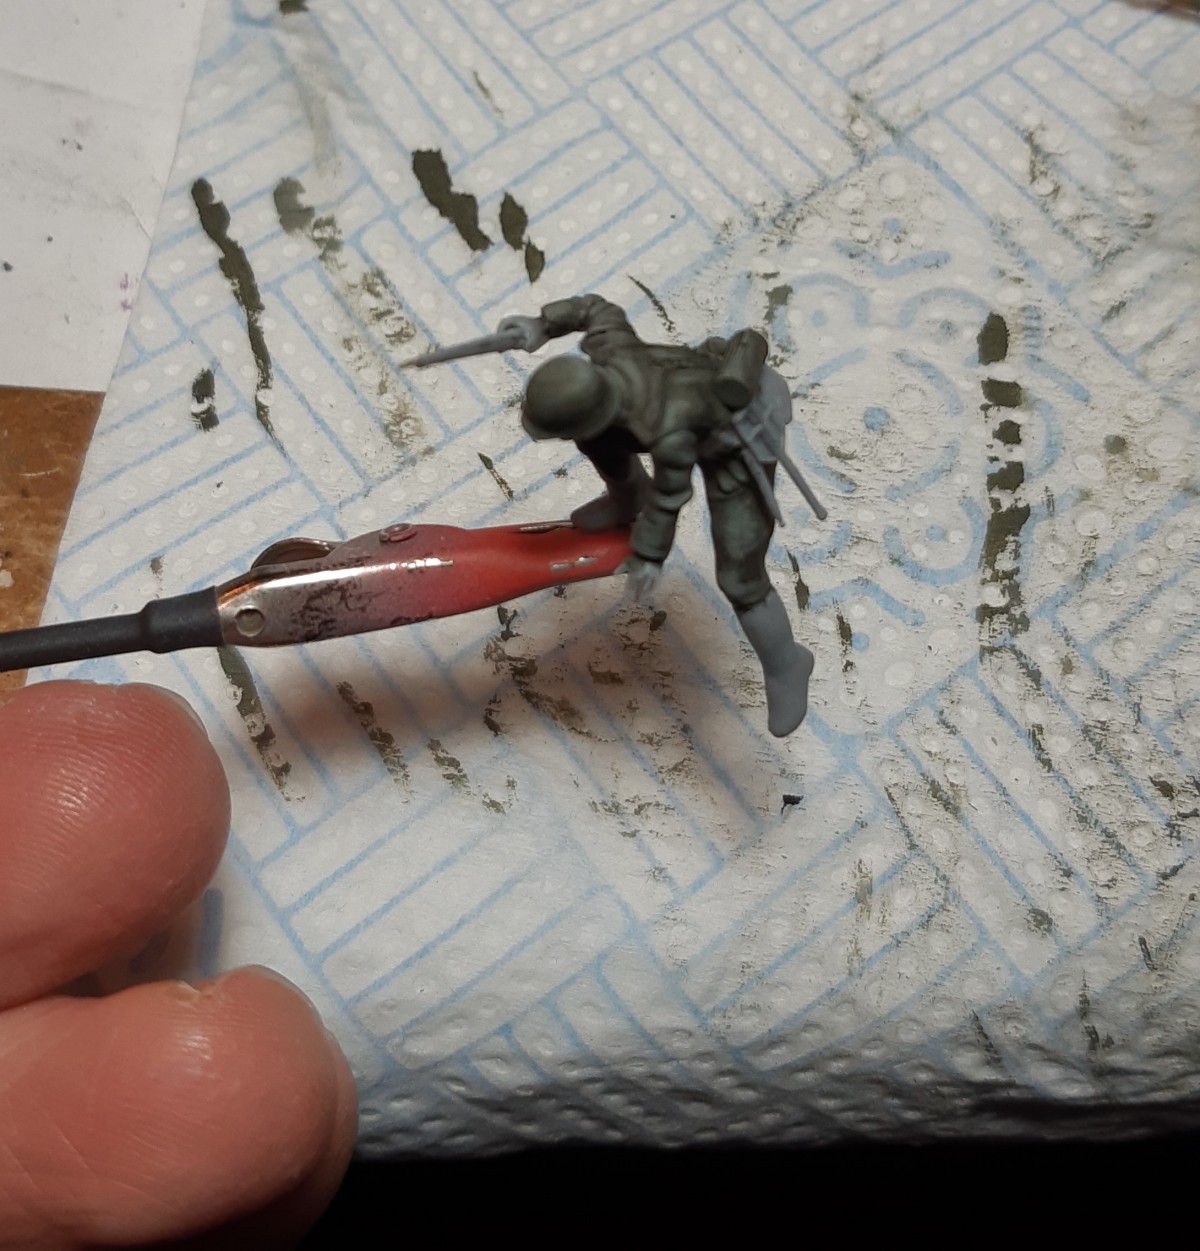
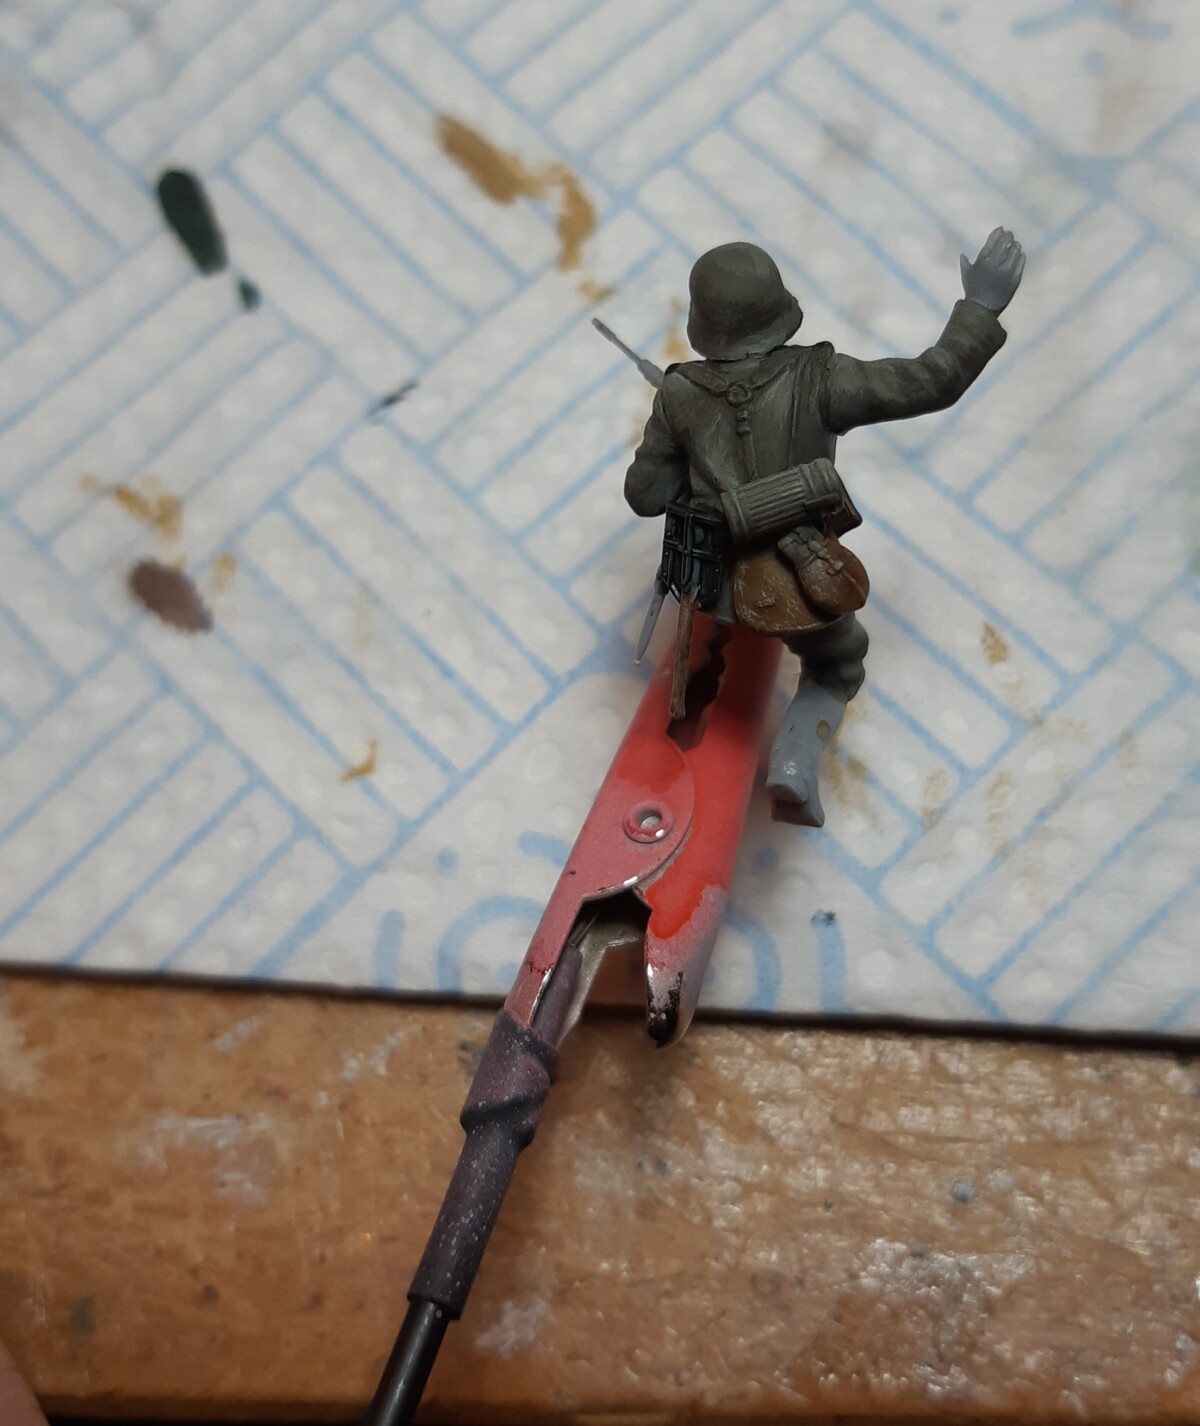
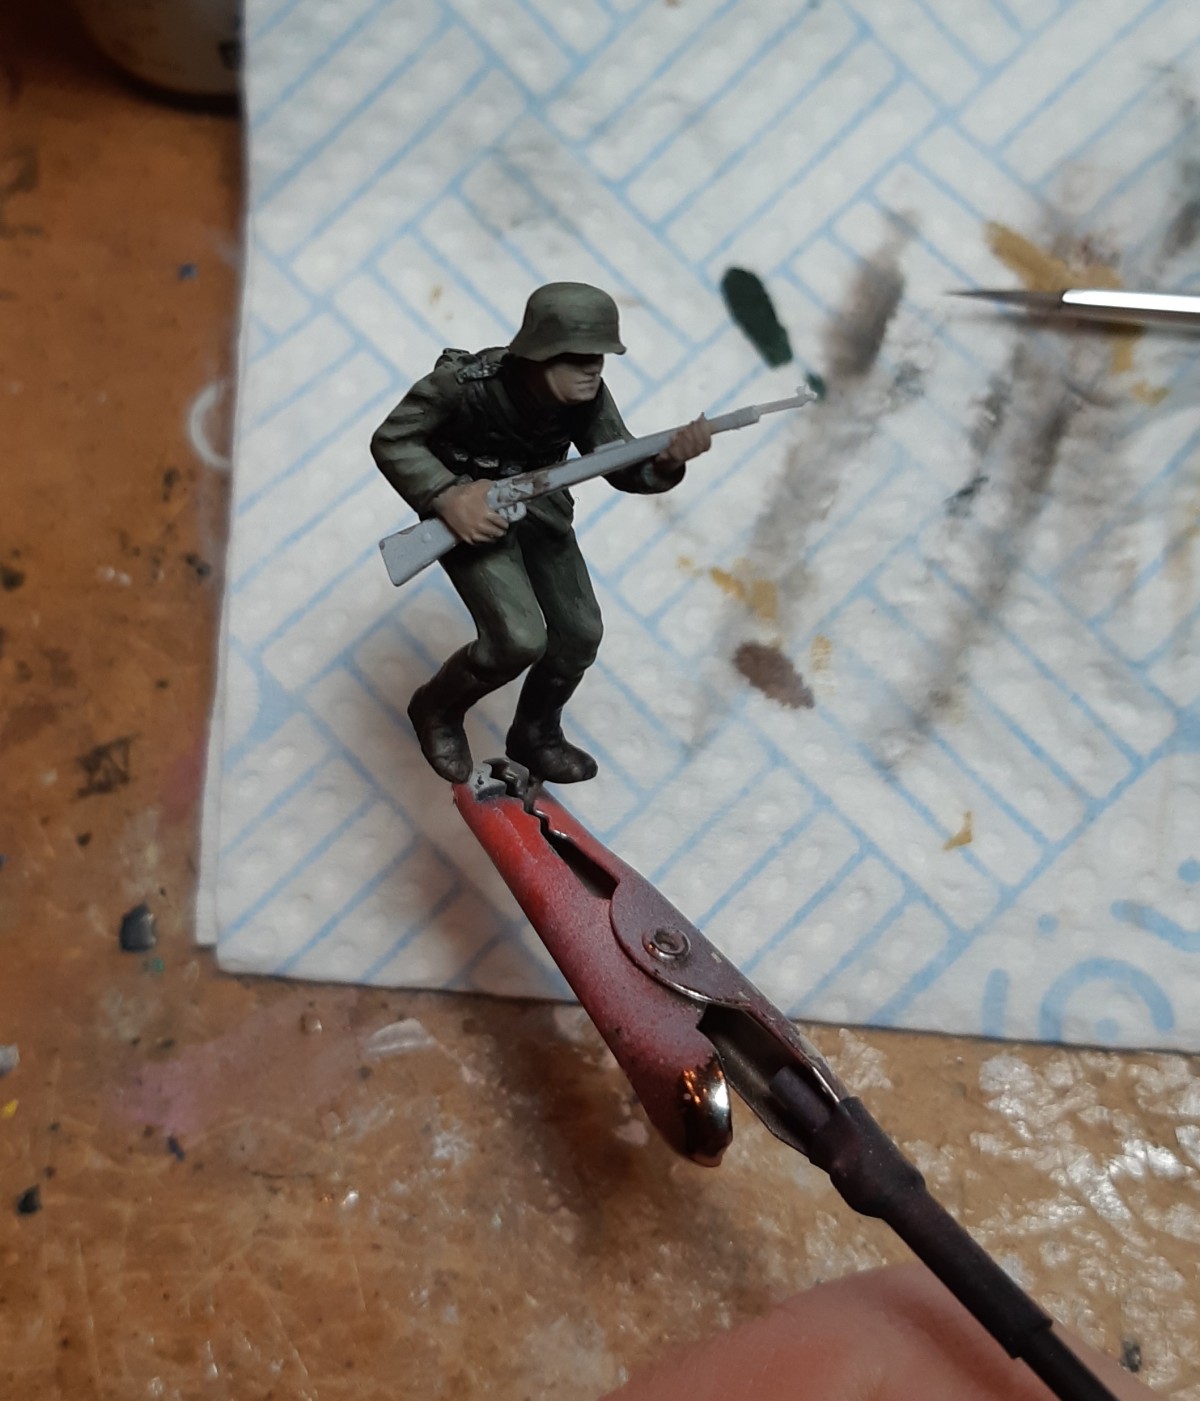
But now we put the base to the side for curing and start painting the figures. Apart from the machinegunner & loader, I’m using clamps to prevent touching the minis during painting.
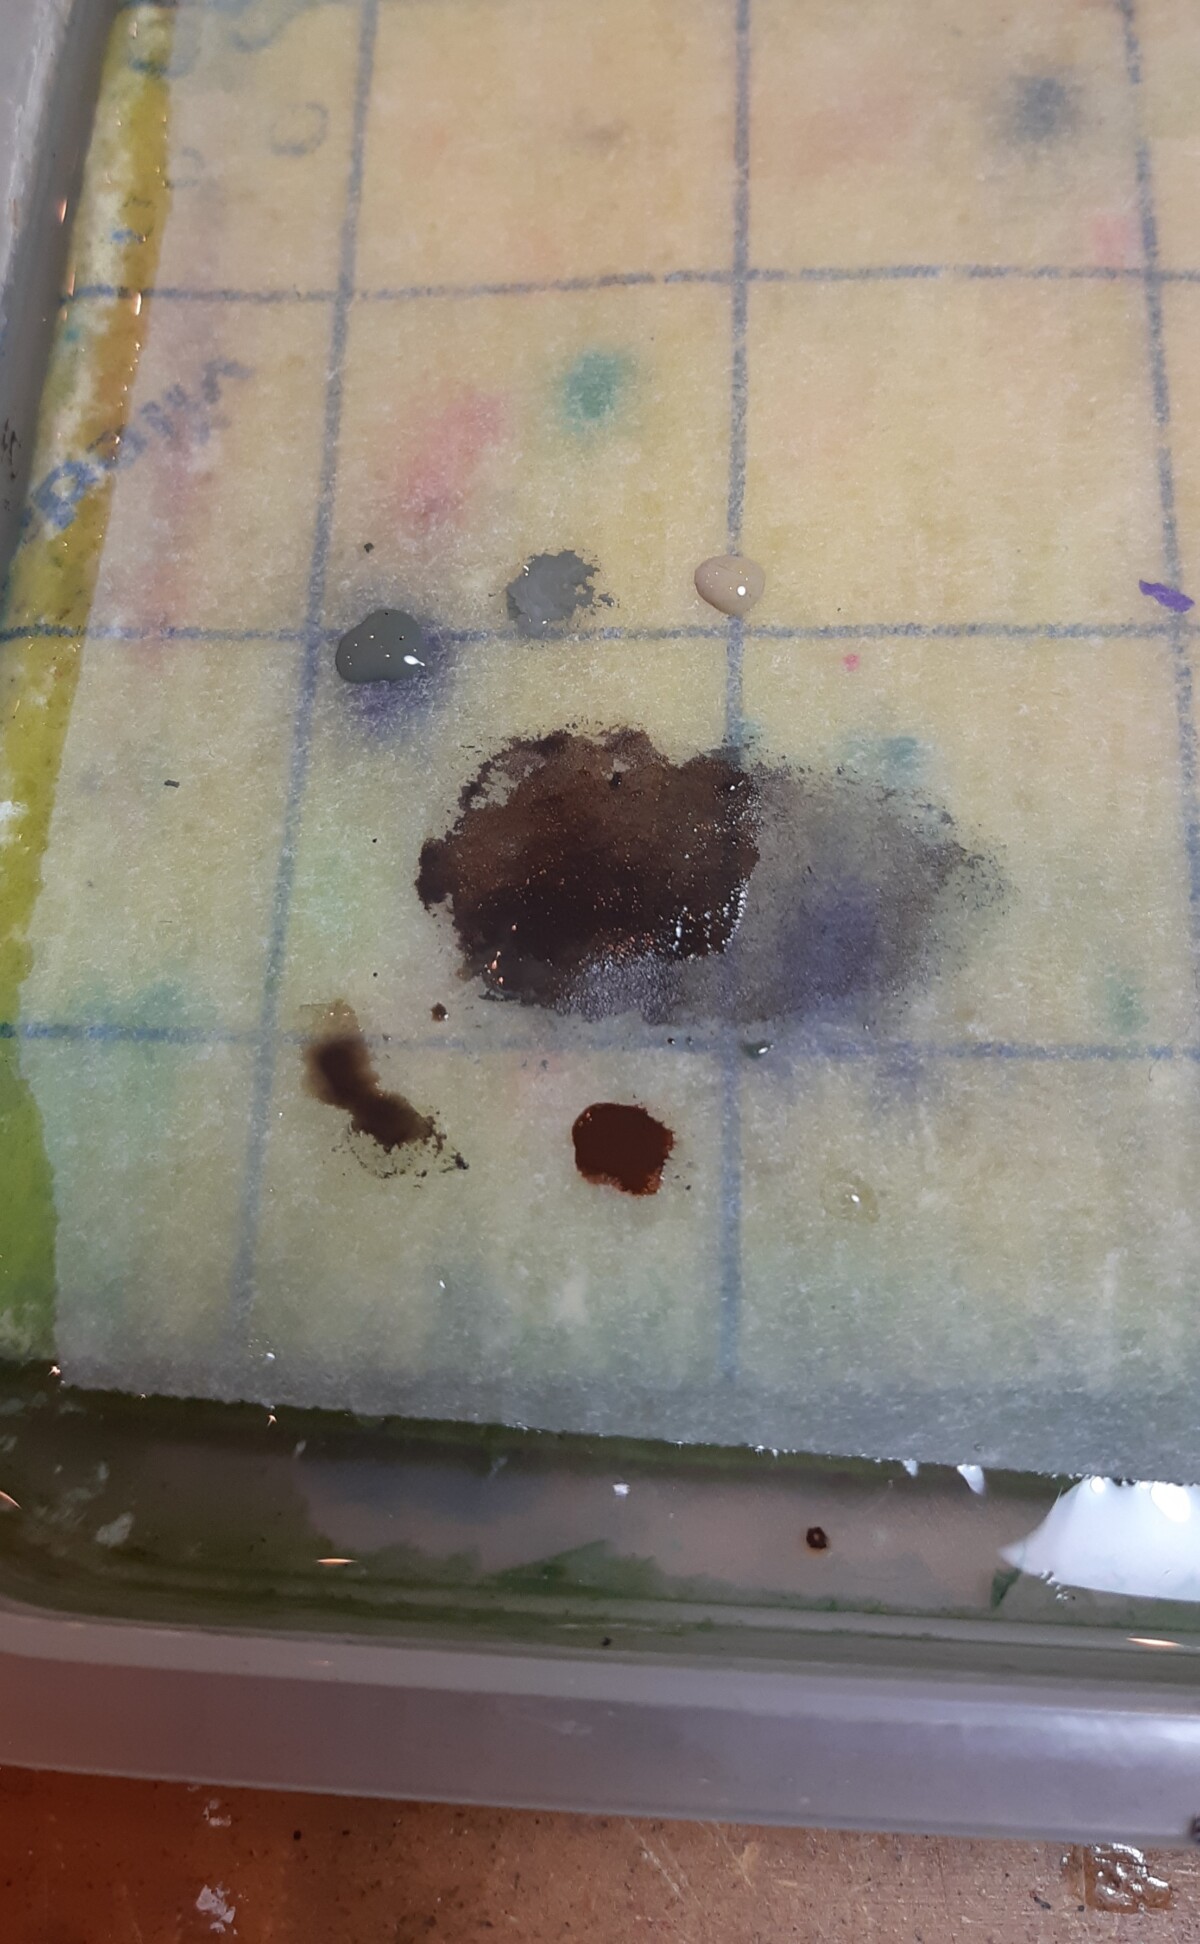
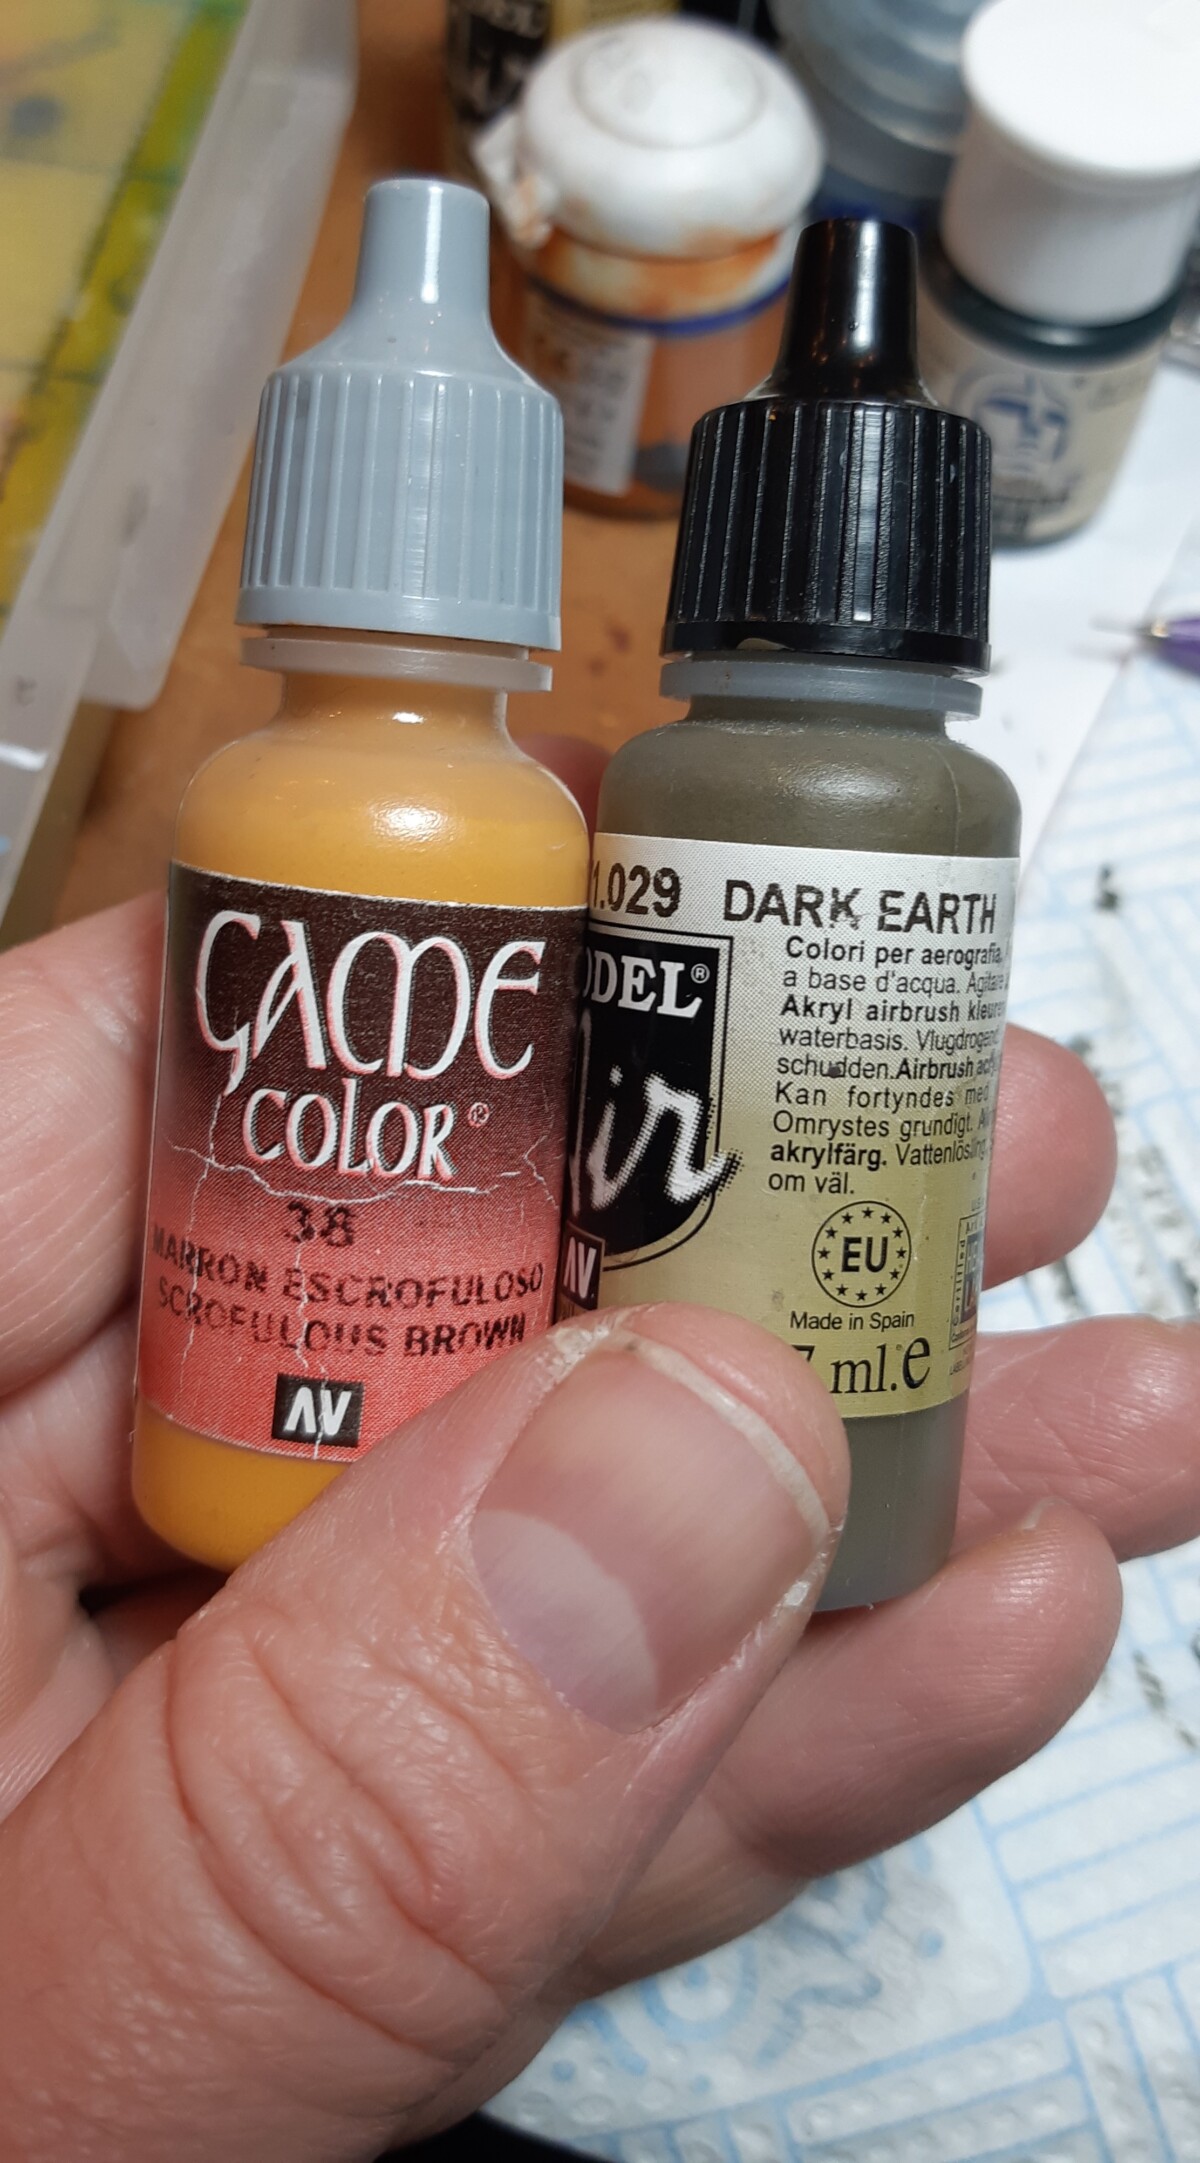
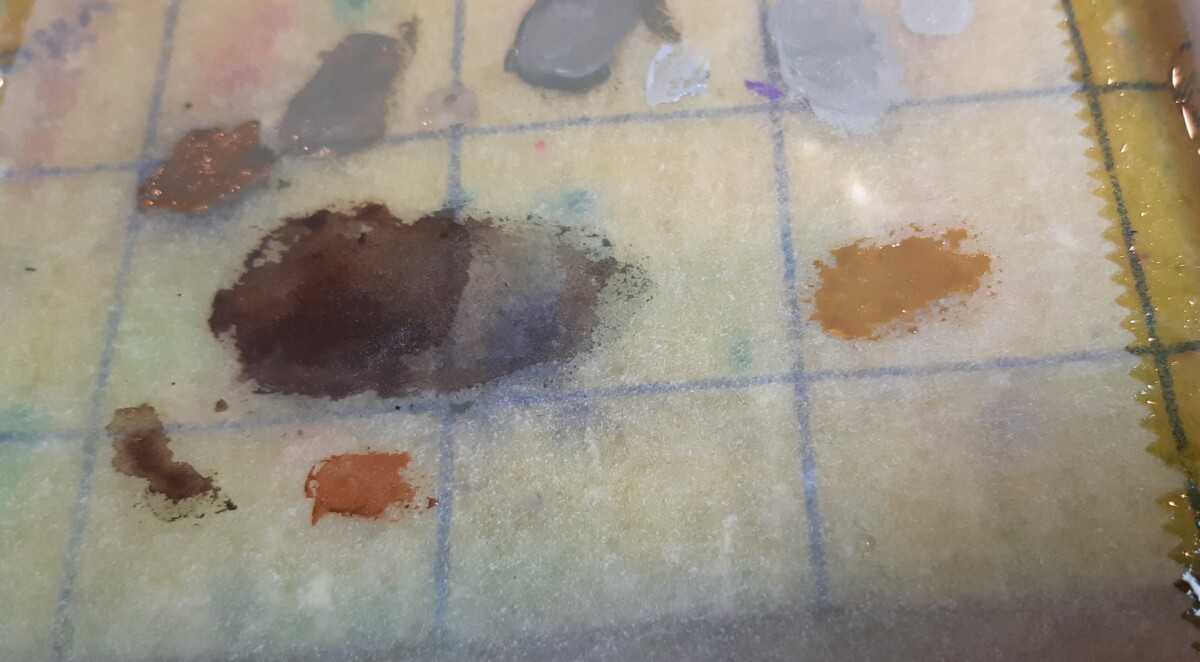
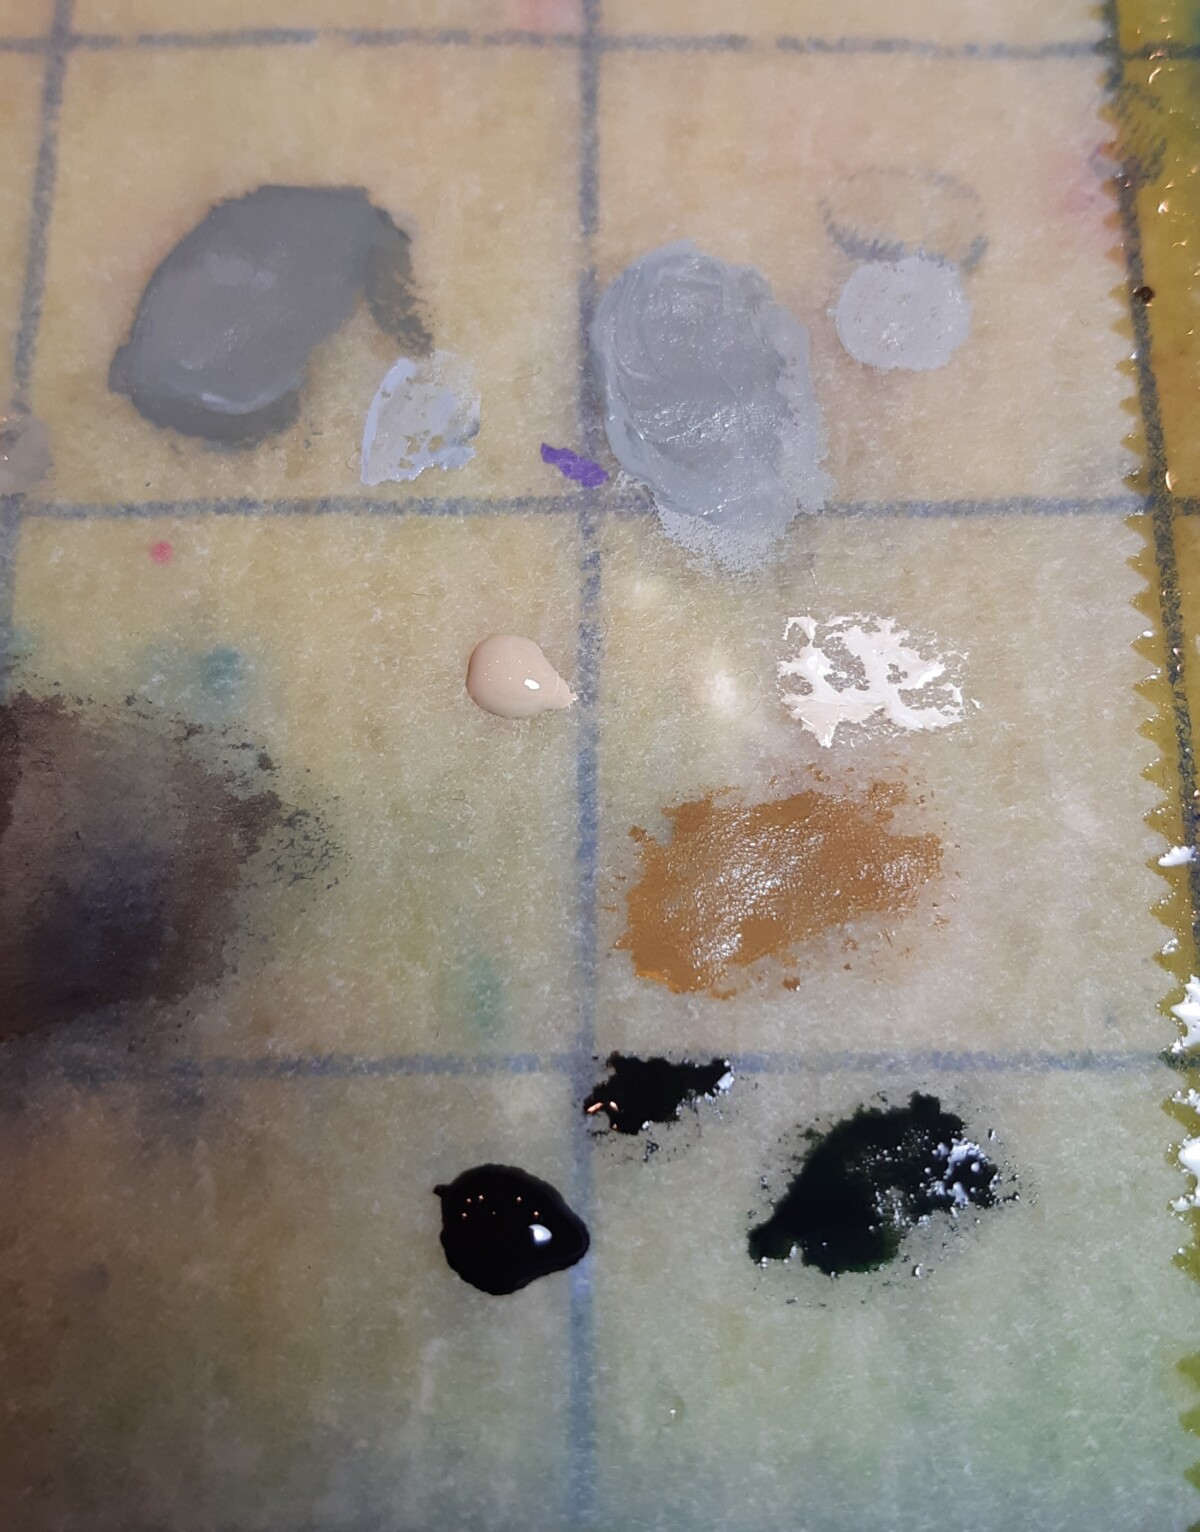
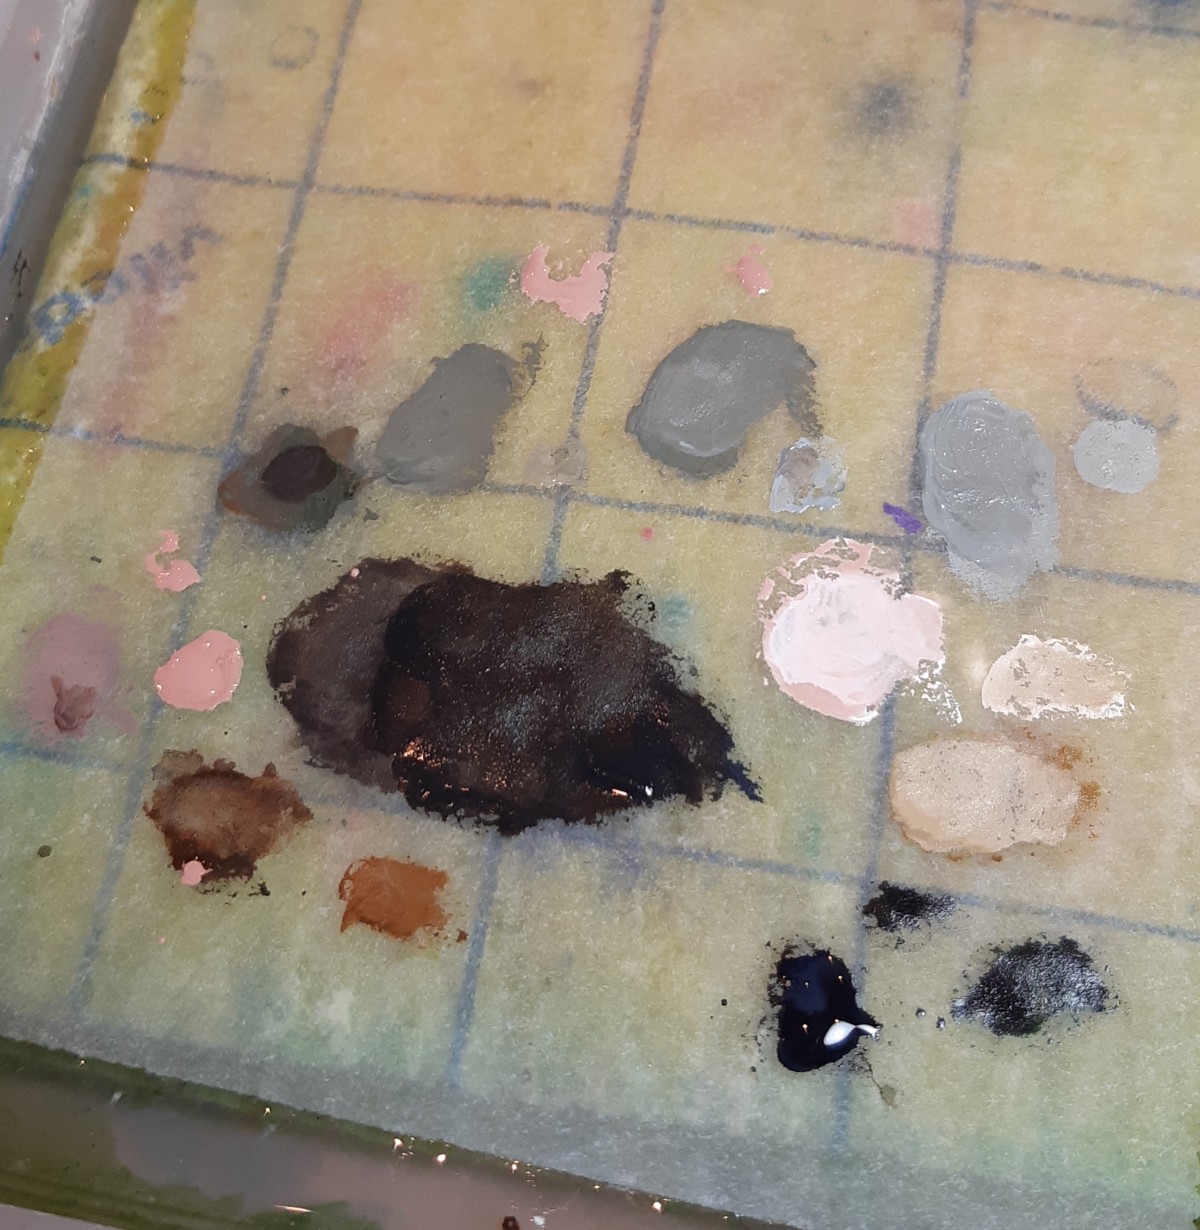
In the picture below you see the mixes I’ve used to paint the largest surface of the figures. Starting from field grey, I’ve added shades with dark brown first. This was intensified with dark sea blue and black mixed into the brown. Later I highlighted with a light beige, light grey (IJN) & white.
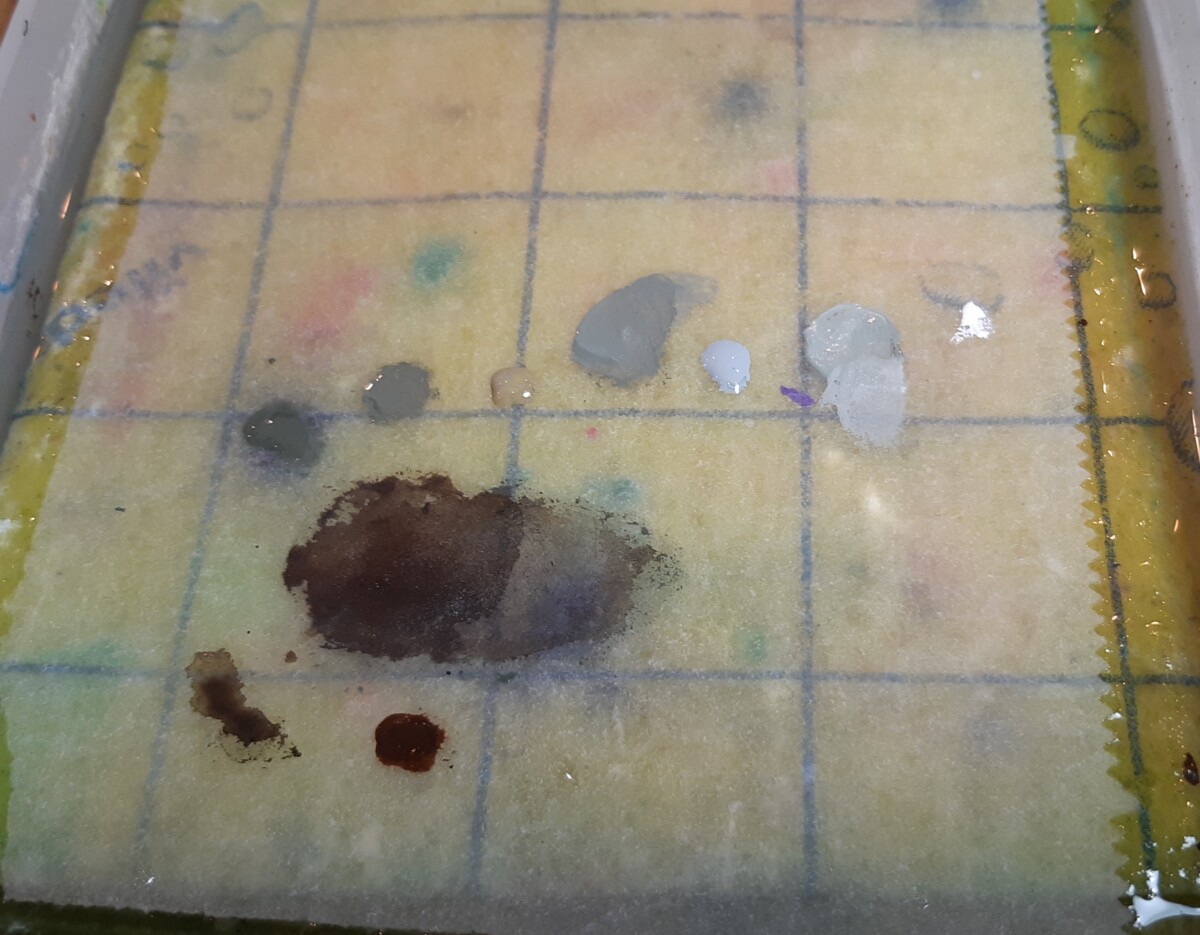

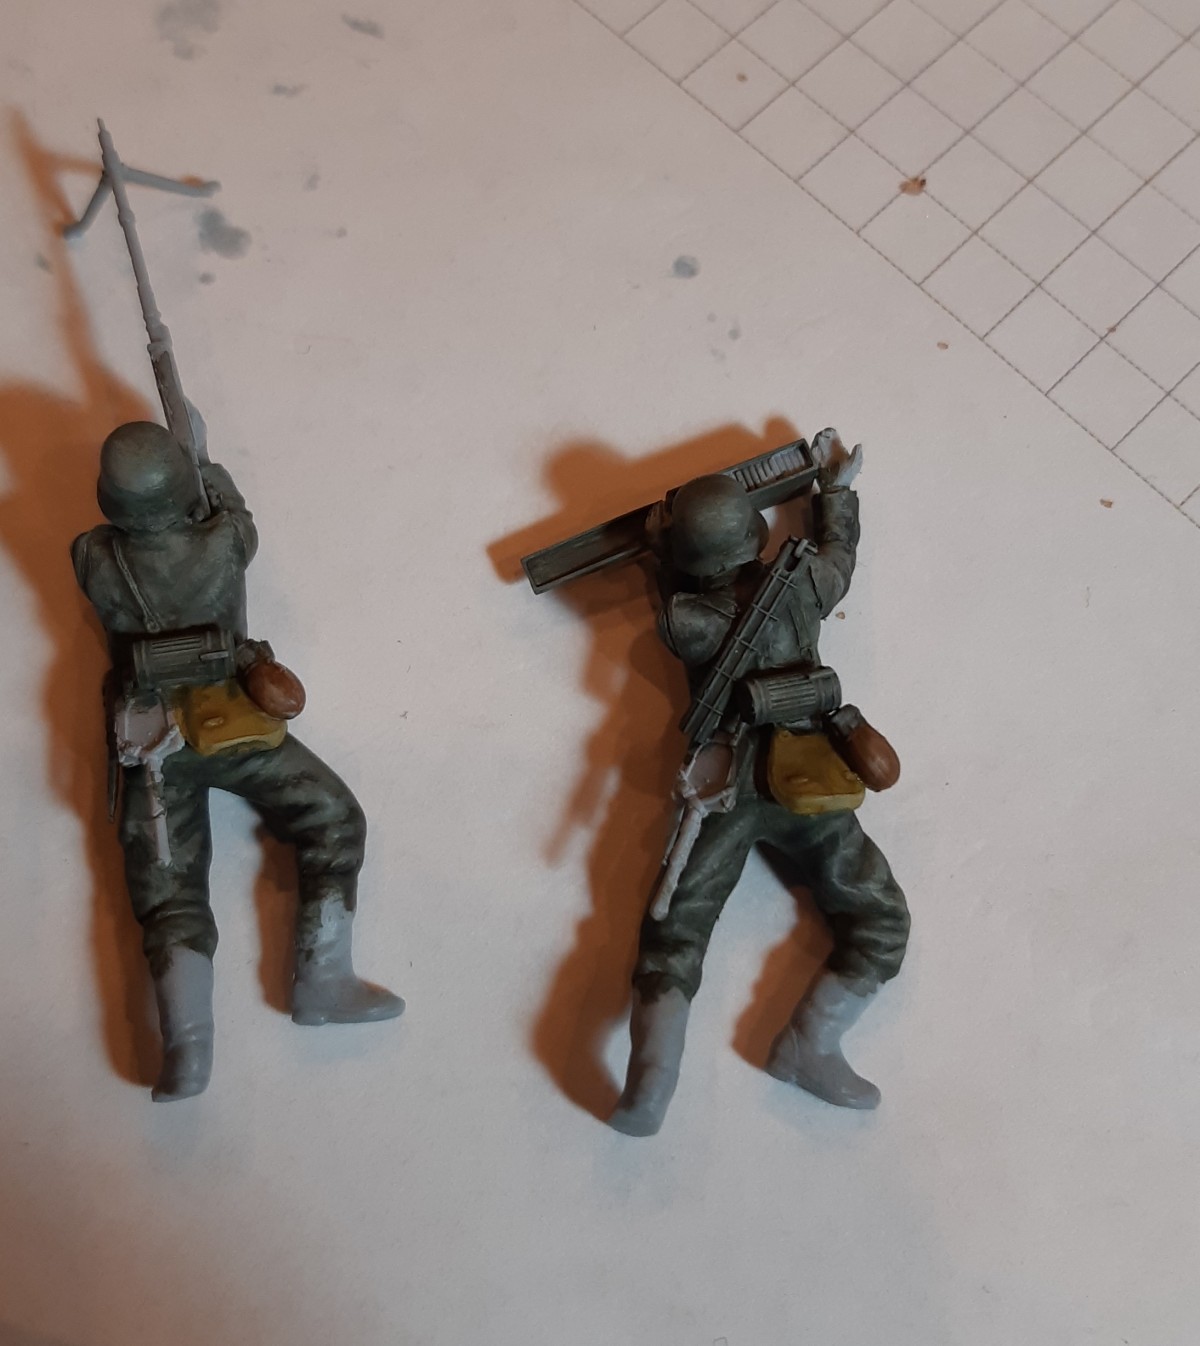
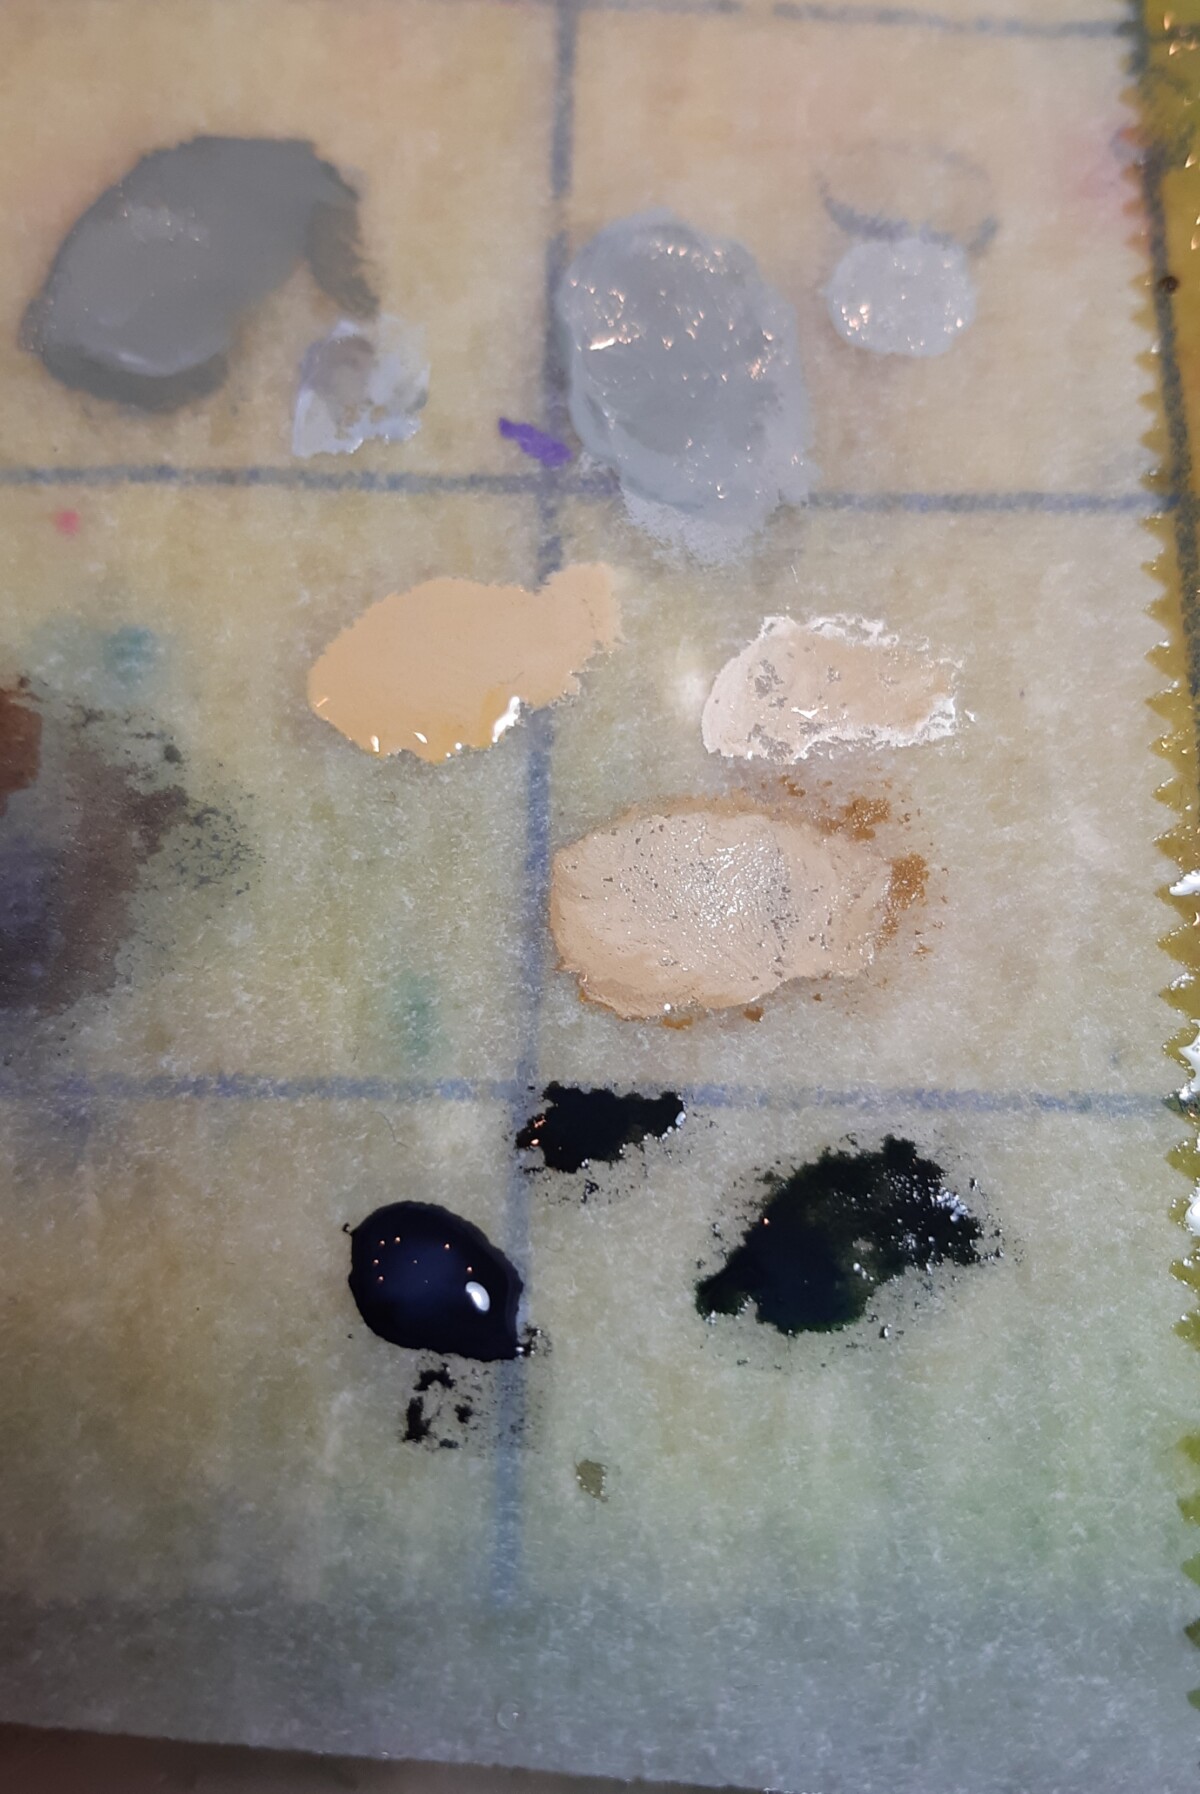
With the largest area covered, I started work on the details. Looking at some references (like the box art), I mixed some colors matching the different parts of equipment as shown in the pictures below.
First I blocked in the base colors. Then I shaded all of the equipment together for a uniform feeling to the setting. And then the individual parts were highlighted. Where fitting, I stippled on the highlights to simulate the texture.
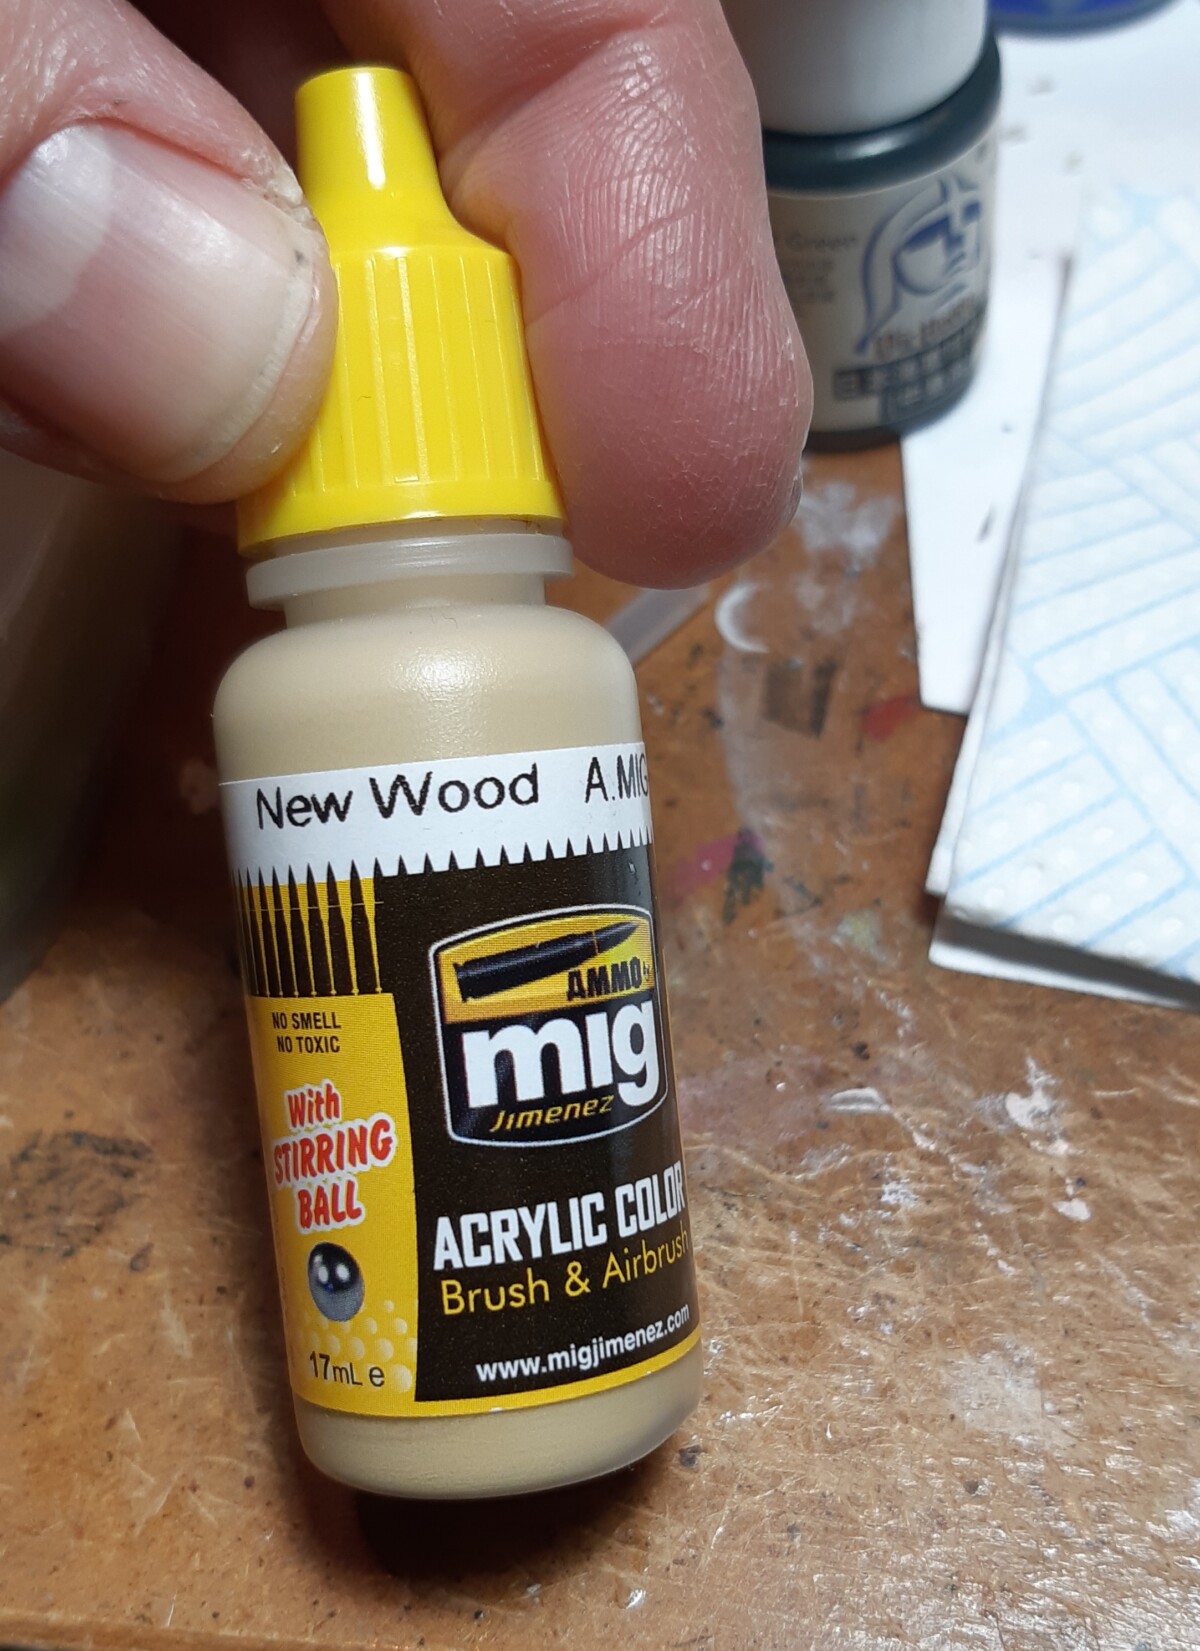

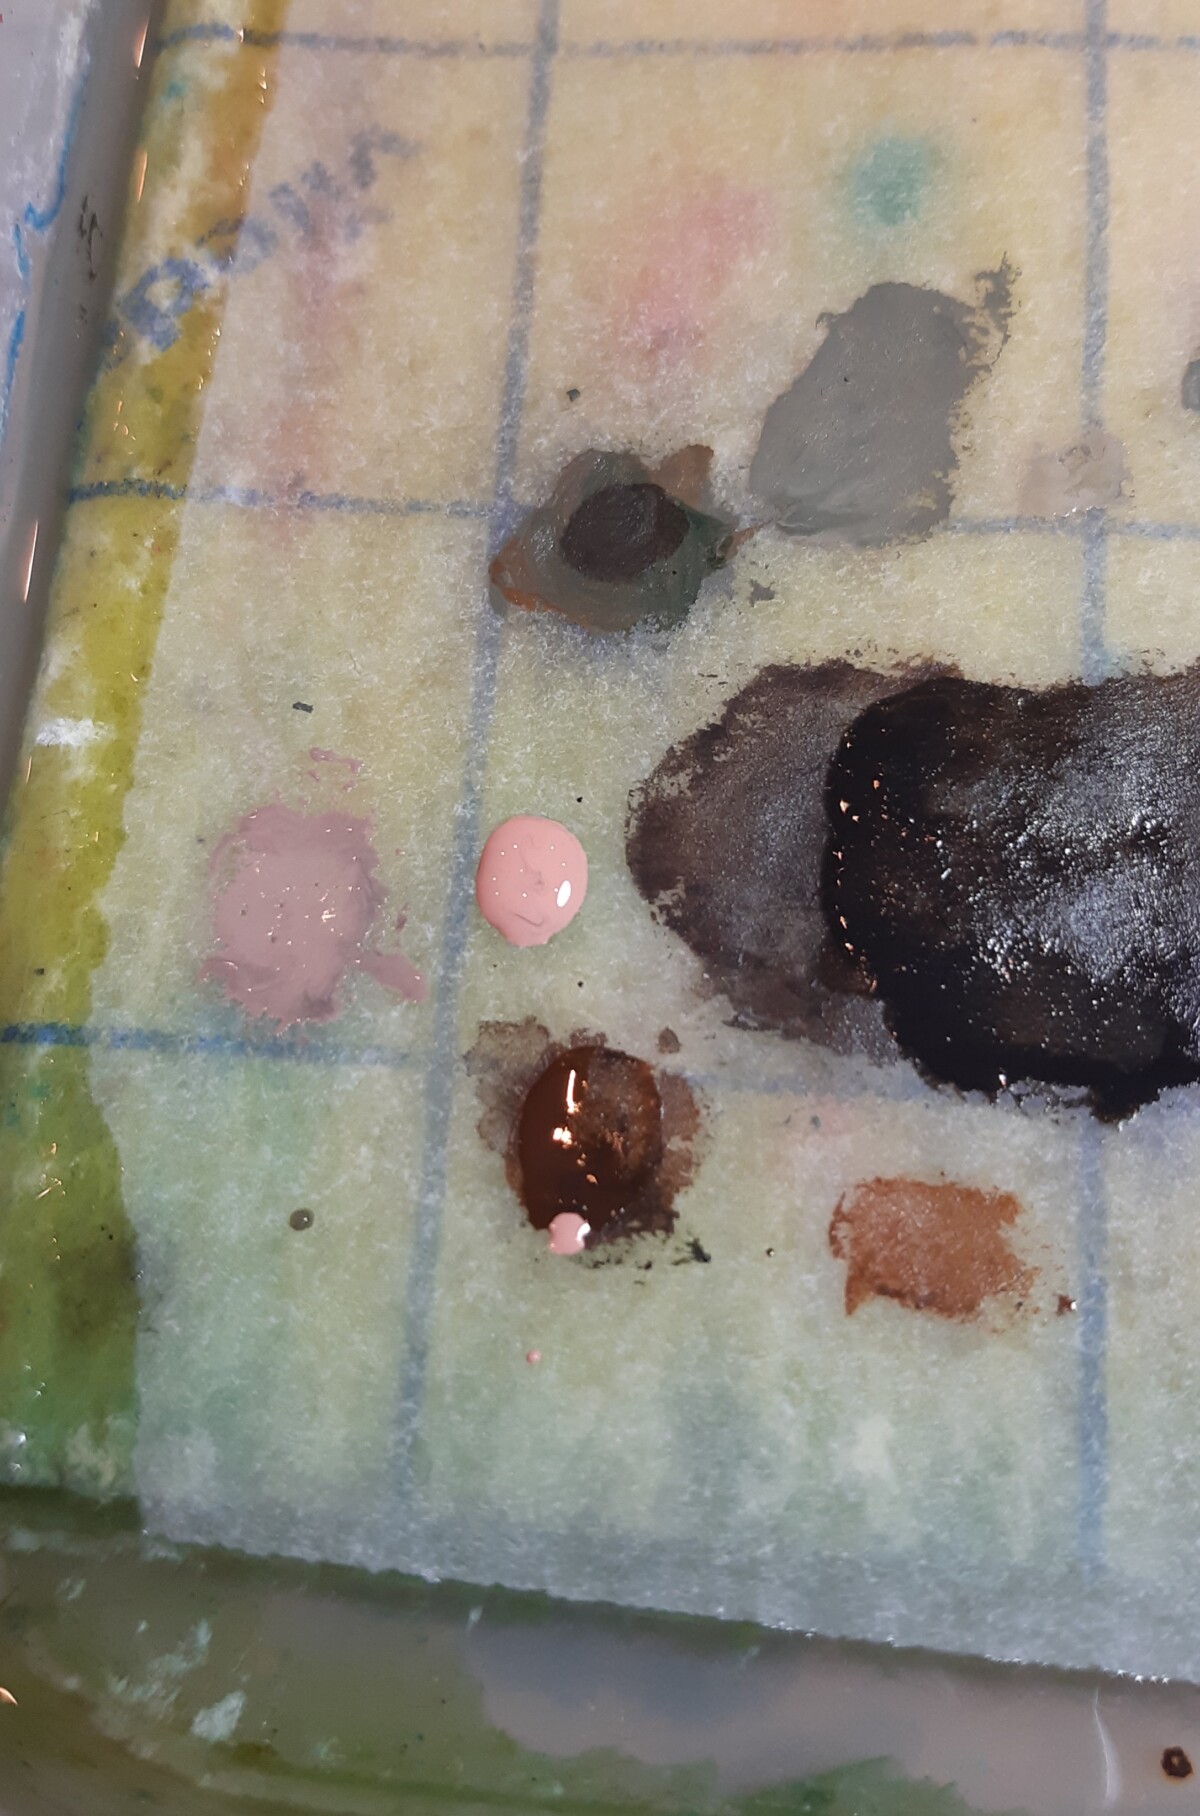
Before we finish with the metals & tiny details, I paint the flesh just like I did on the tank commander. However, the poses prevented me from being as detailed as with the commander. A quick repeat: basecoat with flesh color in a couple thin coats. Then I follow up with a shade based on the dark brown mix already used for the rest of the figure. Finally, I highlight by adding an offwhite (wood color with white added in) to the flesh mixture till I’m happy with the contrast.
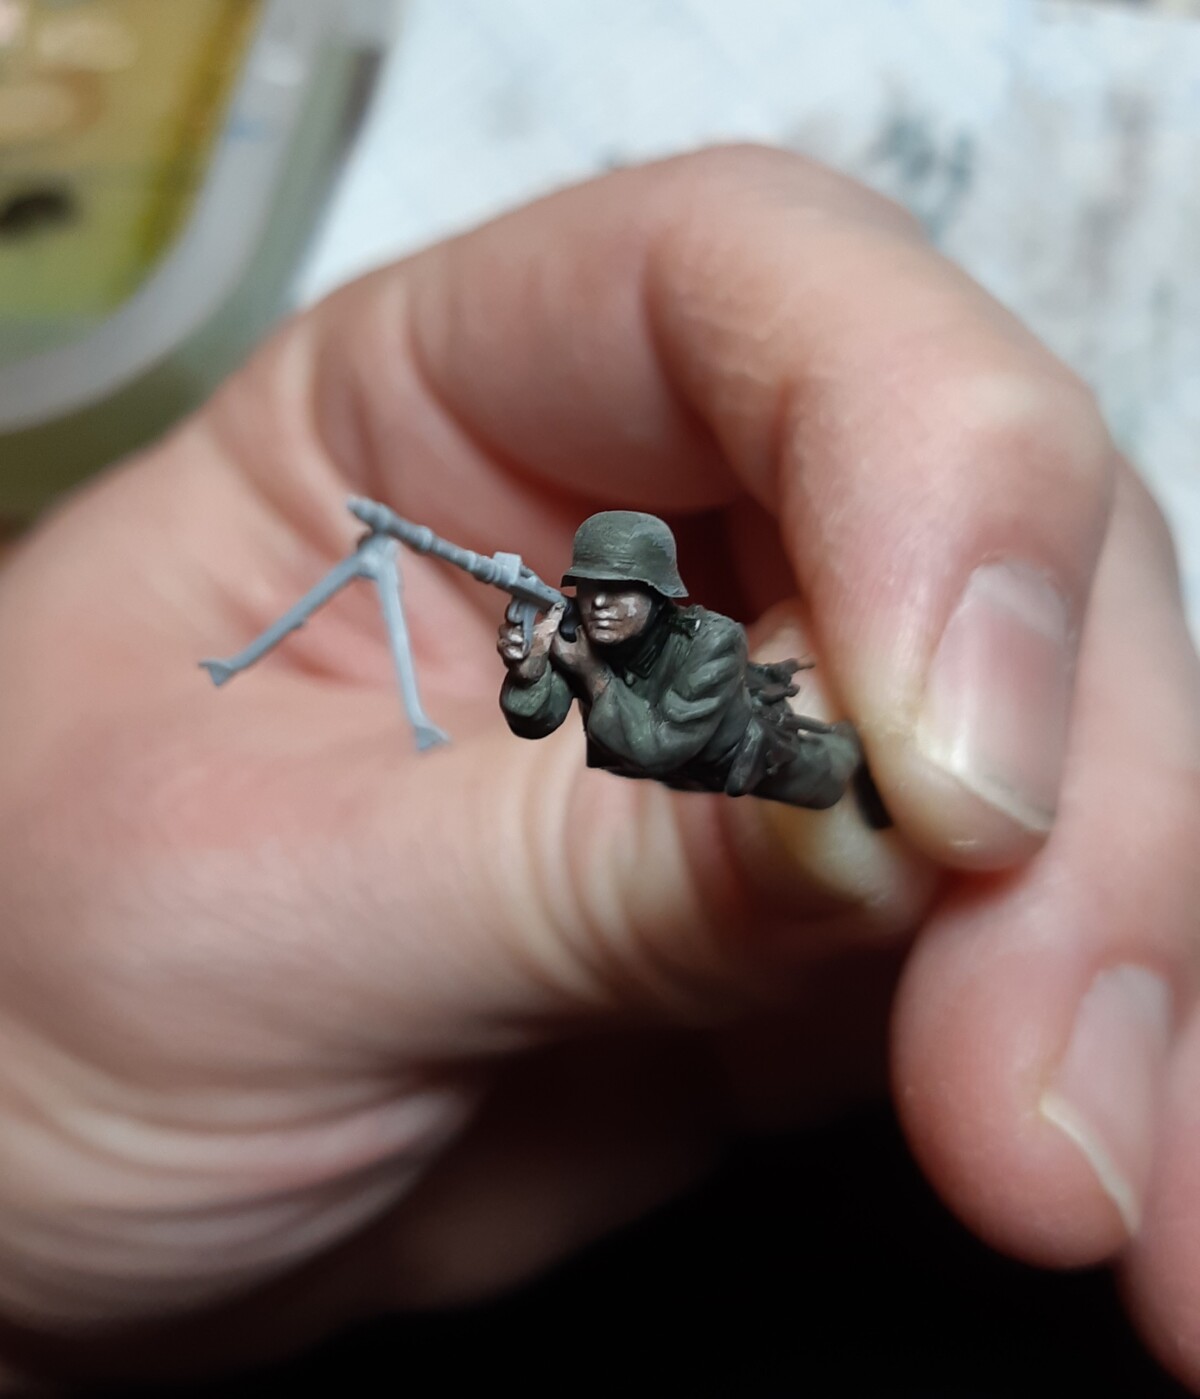
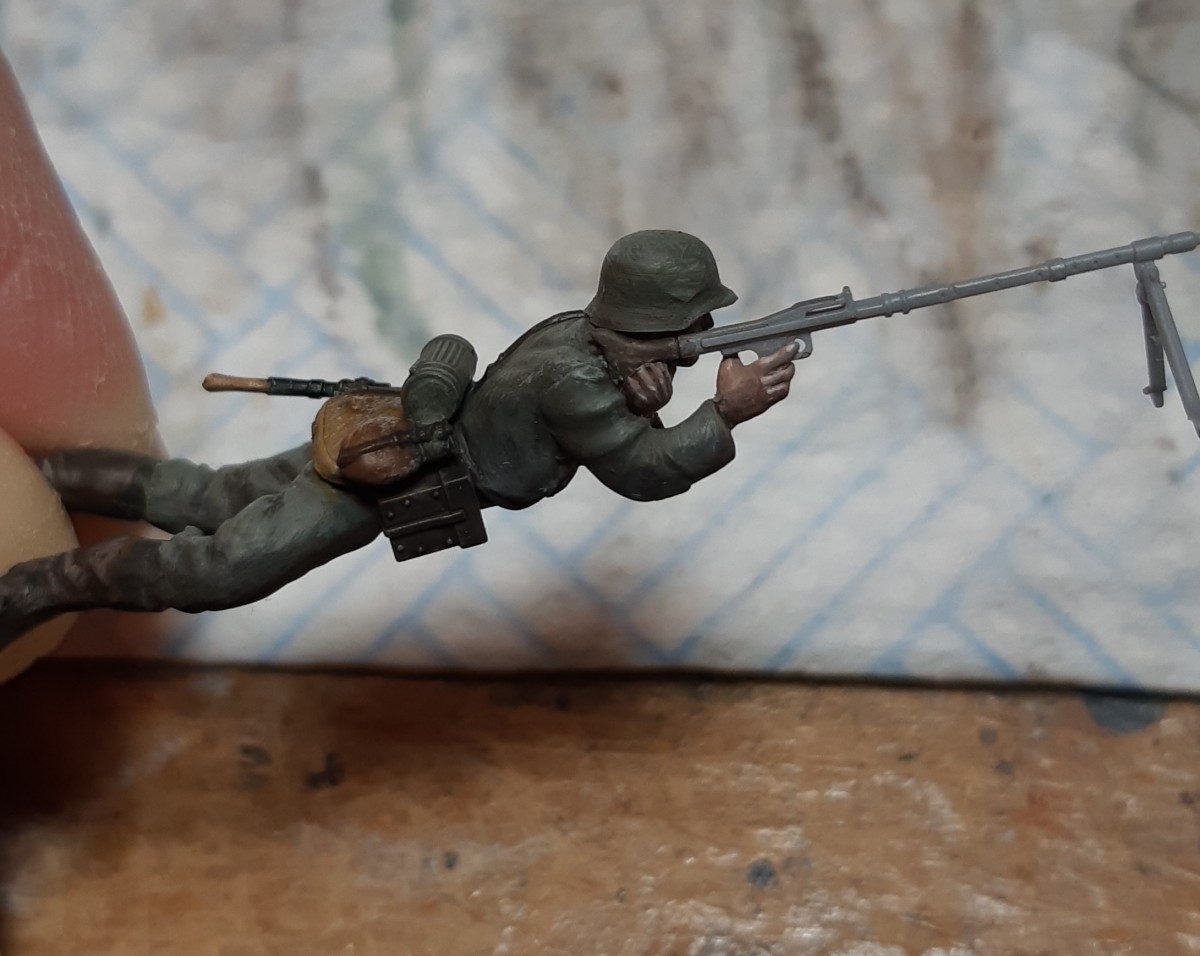
As a wrap up for this episode, I’ll explain how I did the metals. Sadly, in the heat of the moment I didn’t take pictures. But what is evident from the pictures above is that I already did the belts (and I did the boots exactly the same). A nice thinned down black-brown was used to very carefully fill in the lines like what you see on the drinking can above.
The metals were painted with a mid grey with some blue-black wash for shades. Finally I gently rubbed a pencil against the metals to simulate the sheen. And after that I’ve put these soldiers aside to build on the now-dry base for the diorama.
I hope this was helpful. As always feel free to comment or ask for more information. We are almost done with this project… What do you think about it?
Cheers,
Gert