Hello there!
Welcome to a new “How to” guide! This is the last part of this Megami Device series! Let’s finish the 1/1 Megami Device Asra Archer*, shall we?
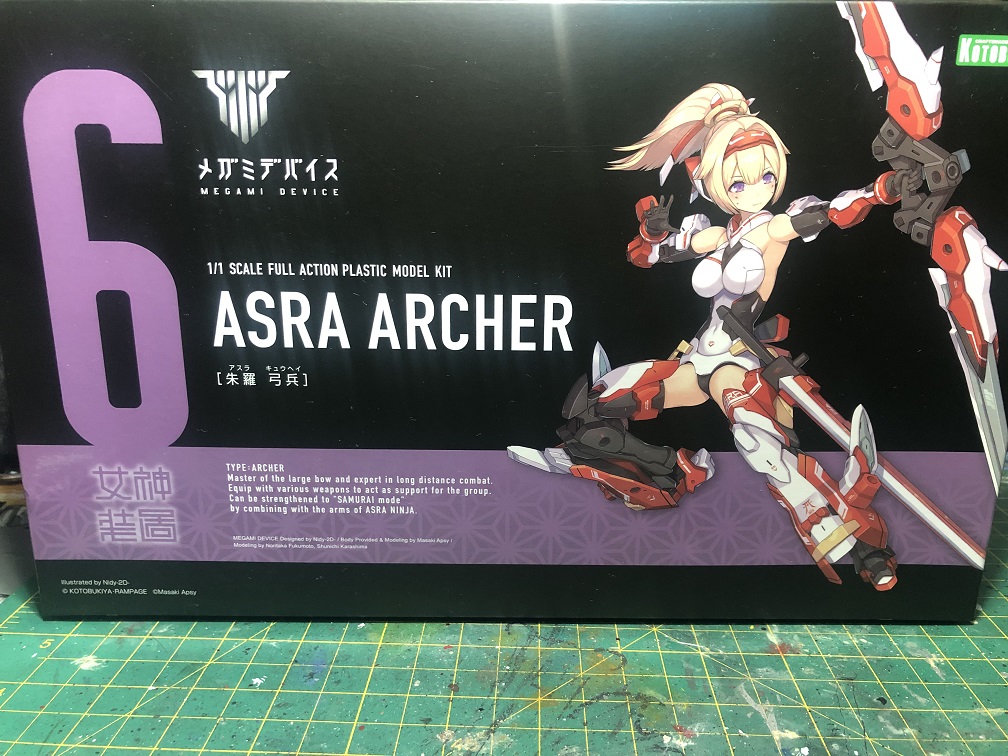
* Unfortunately, by the time this article was published the Asra Archer kit has been discontinued, but in this link you will find all the Megami Device kits that are available.
Until now…
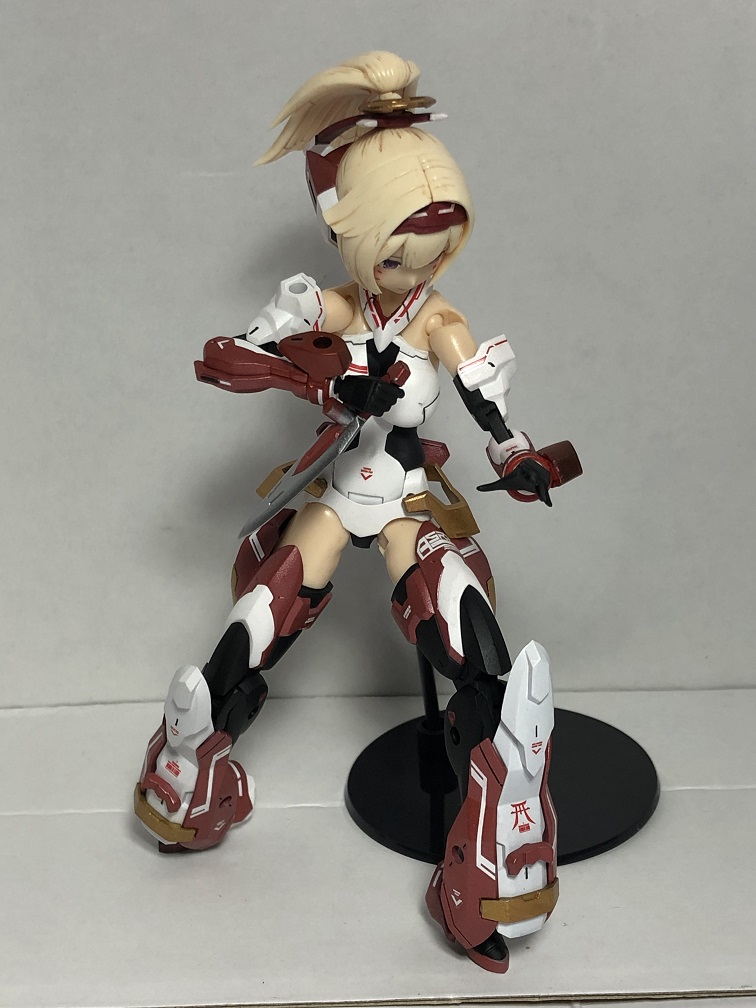
Up until now, we already have the Asra Archer built in her unarmored version. And last time we even built a cloak for her.
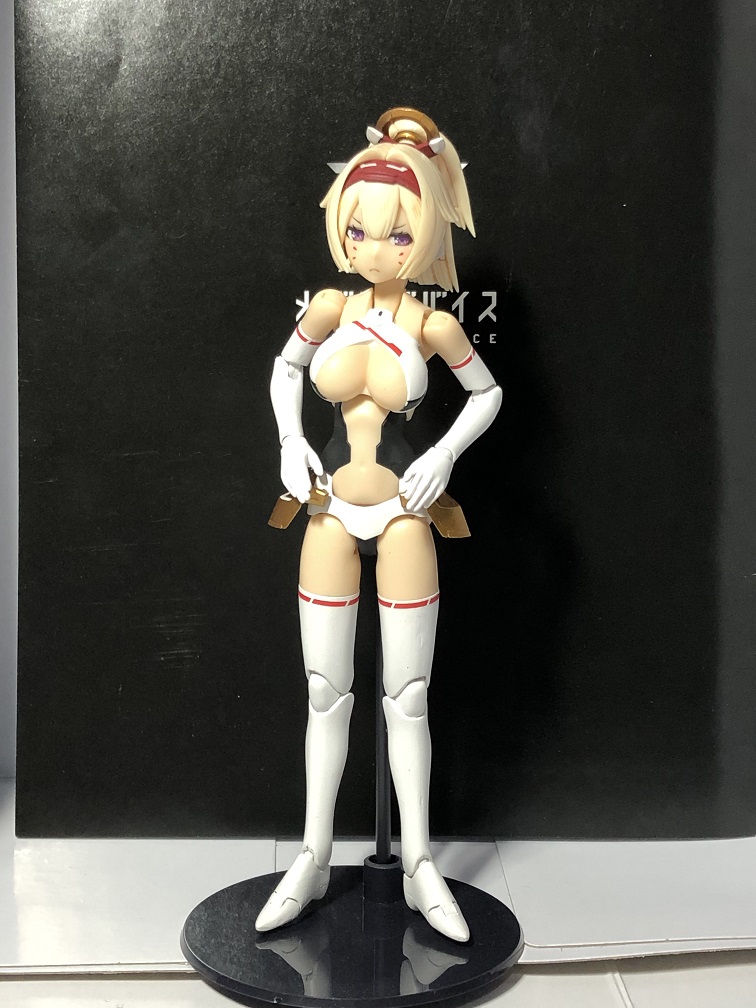
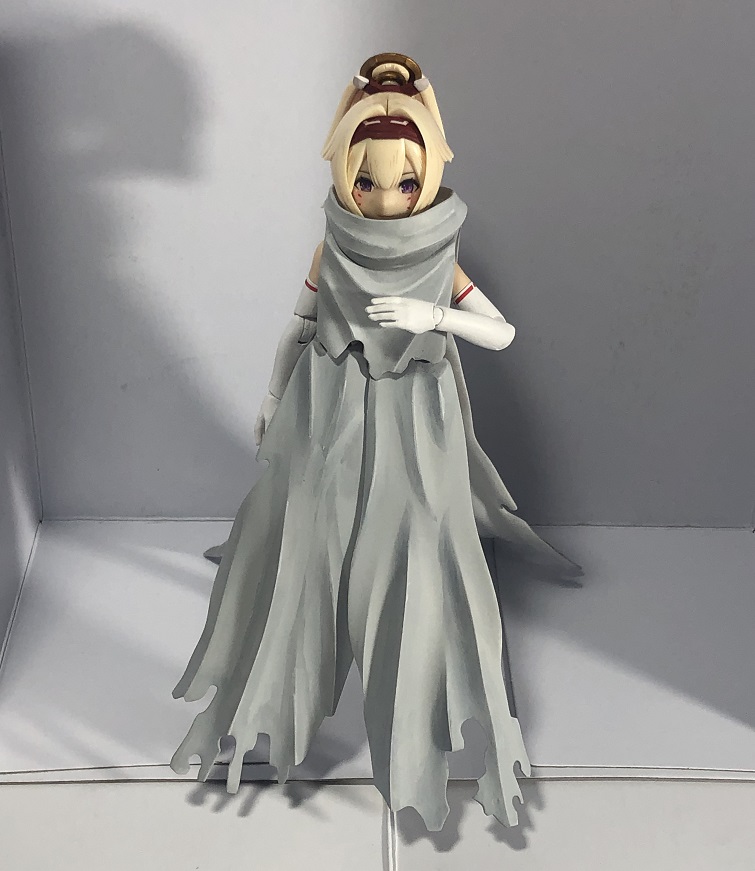
Now, it is time to finish this kit!
Primer
As always, the first thing we are going to do is to apply a primer to our model. This can be done with an airbrush, hand brush or even with spray paint. Remember to apply thin coats; we don’t want to erase the fine details.
The primer will help the paint to stick to the kit. There are a lot of paint brands in the market, and each one has it’s own primer line. Usually there are 3 colors for this type of paint: black, white, and gray. Choosing one of this colors will play a critical role on the next step.
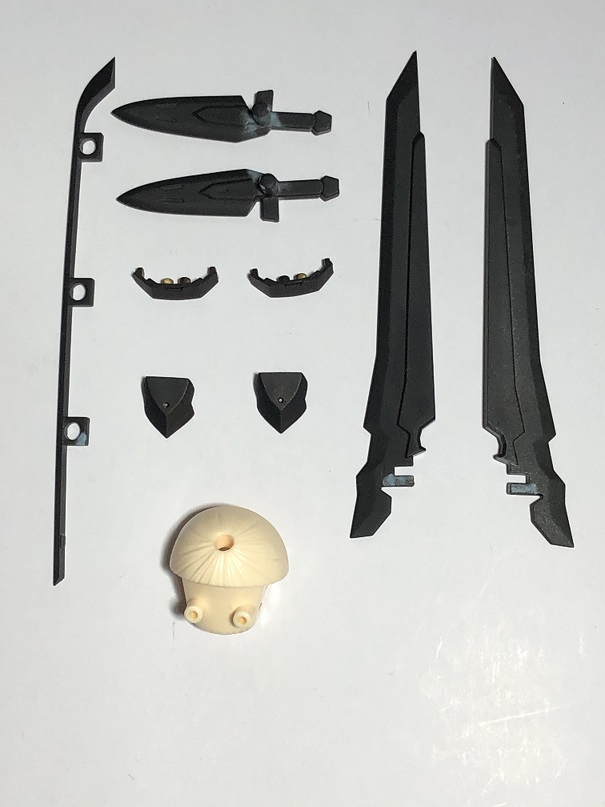

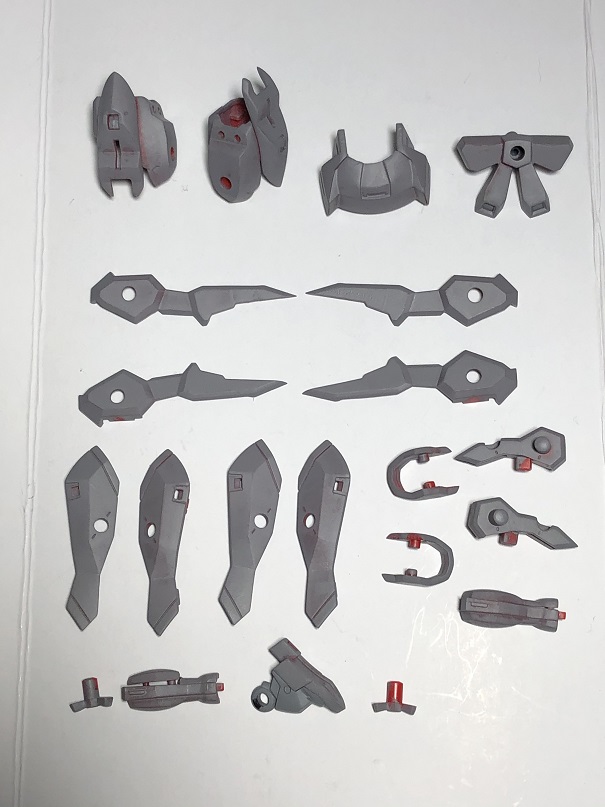
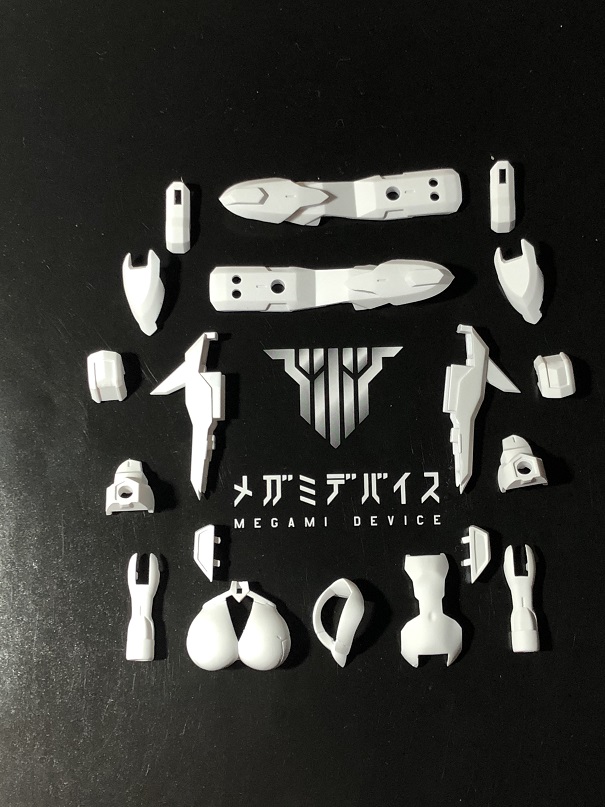
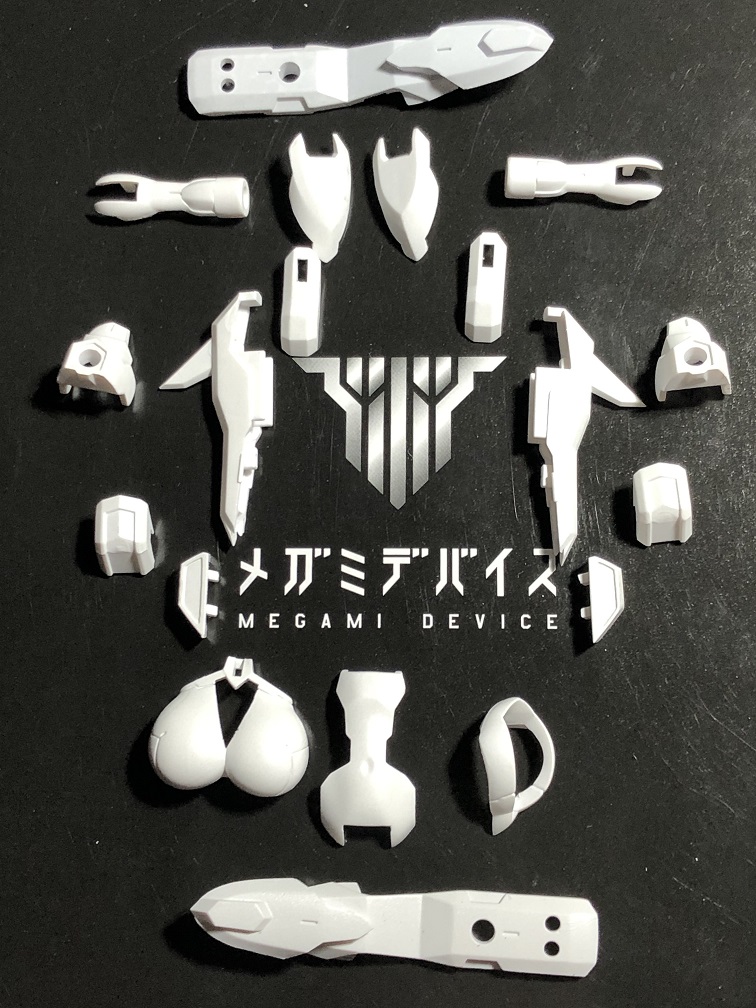
In this case, I choose black primer for the blades and the black pieces of the armor. Then, I used white primer for the white parts of the armor, and gray primer for the red parts. Deciding on which color to apply to each piece will determine the final tone for the paint. I’ll show you how up ahead.
The primers usually dries after 30-45 minutes. But I recommend you wait at least 12 hours before applying the next paint coats.
For the hair piece, I used the same method we used back in part 2.
Painting with metallic paints
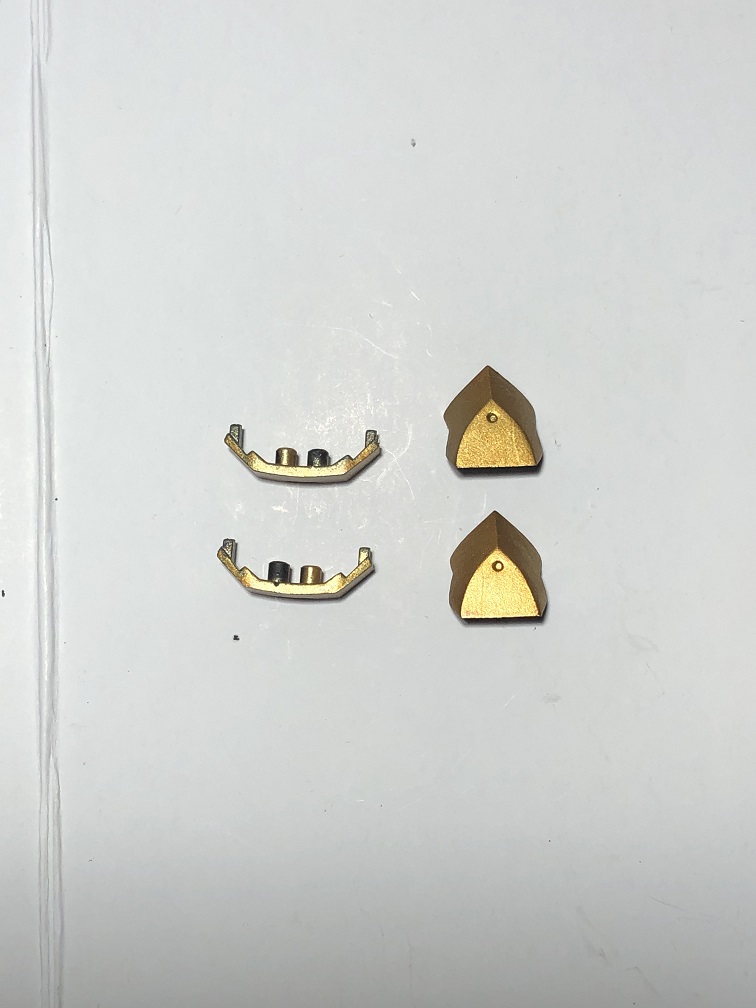
Before we start with the armor, let’s paint the blades and golden parts. For the golden parts, I’ll be using Retributor Armor by Citadel and apply it with a hand brush. Remember to always apply thin coats.
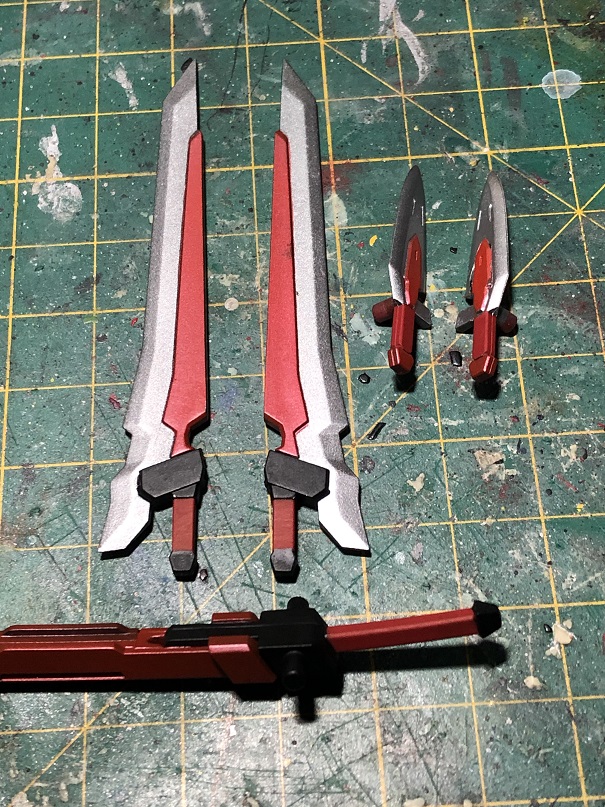
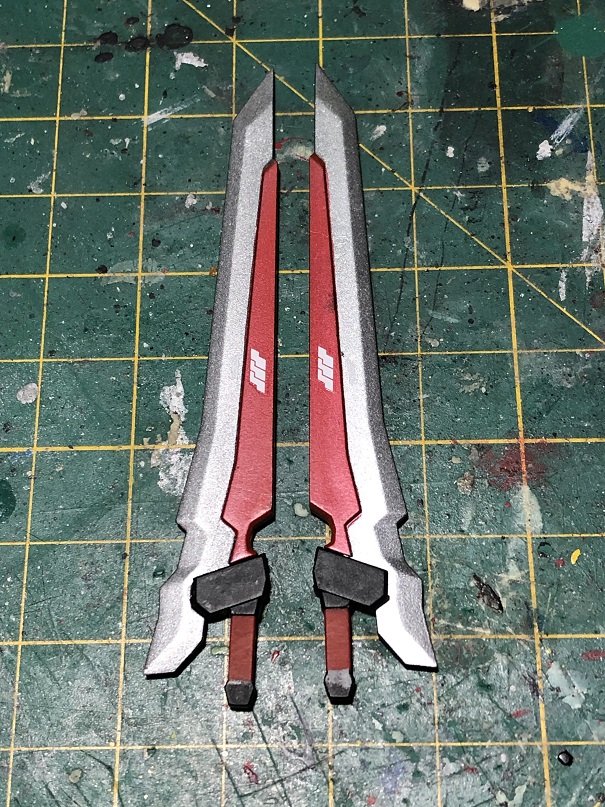
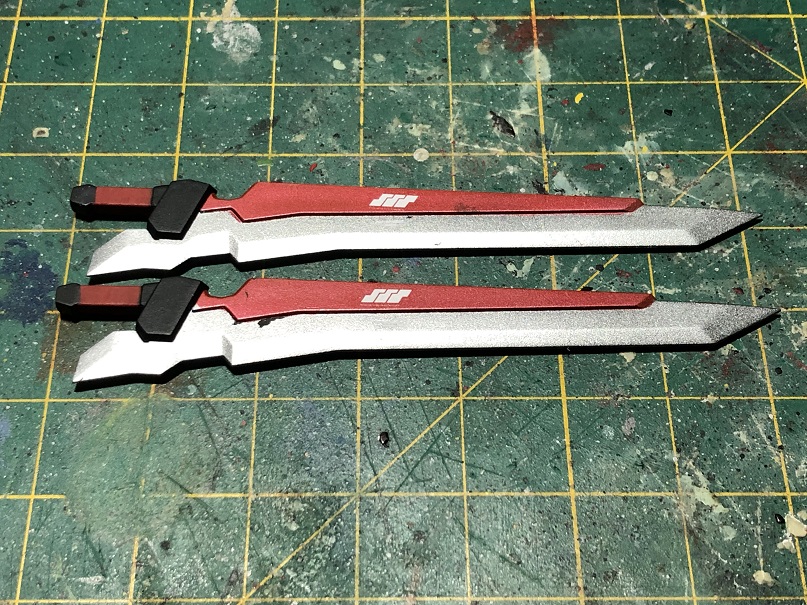
For the blades, I applied a coat of Vic Hobby MH005 Dark Aluminum with an airbrush. Since the base color for this pieces were black, the Dark Aluminum was darker than intended. Therefore, I applied a coat of MH001 Chrome Silver, also with airbrush, to lighten the metallic tone a little. In both cases I used thinner to dilute the paints with a 1:1 ratio.

You can apply the metallic paints with a hand brush as well, just be careful with the brush strokes.

Once you are done, let the paint fully dry. I recommend to let them be for 24 hours, just to be safe.
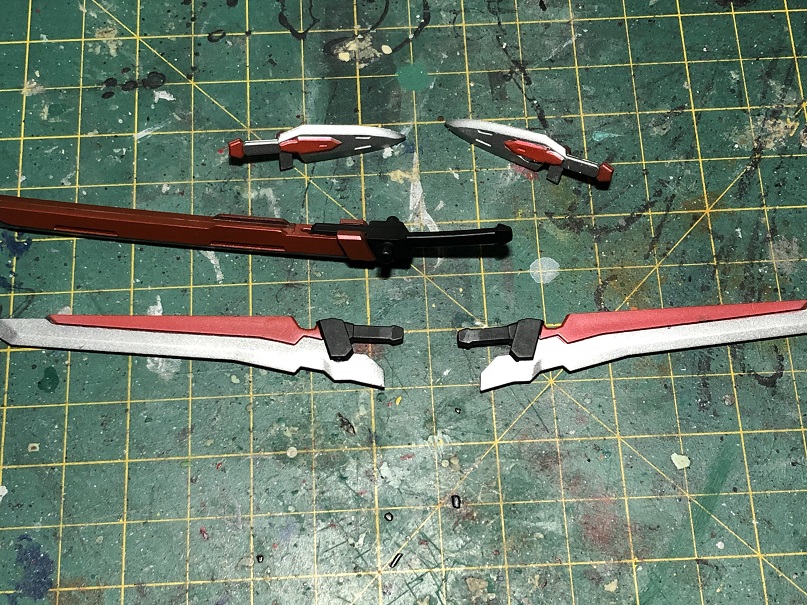
Masking (Optional)
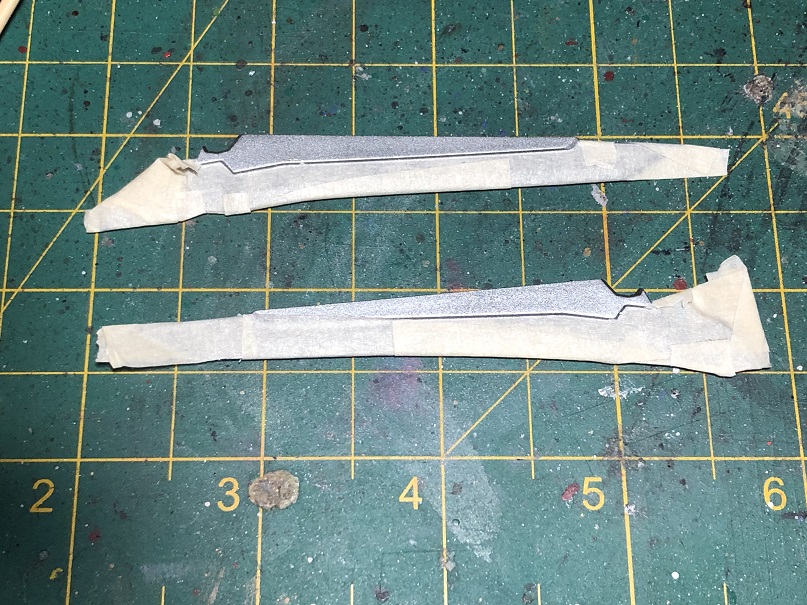
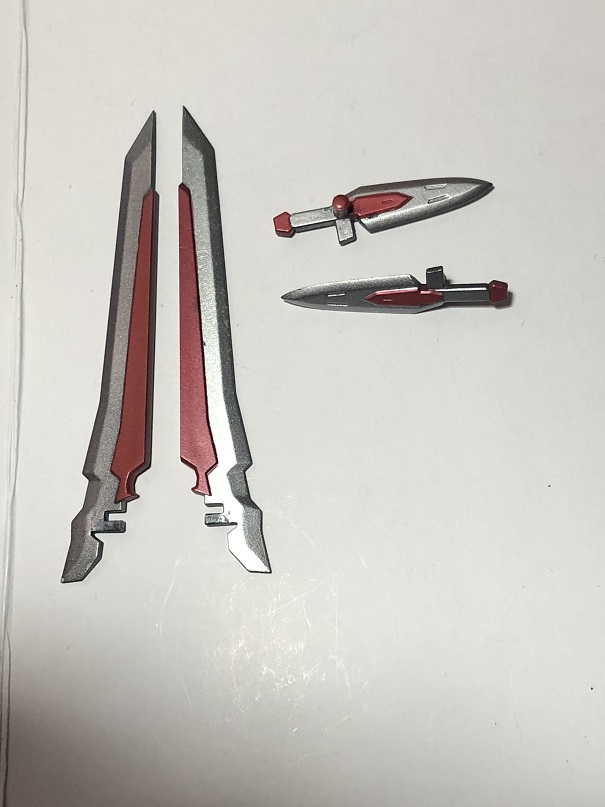
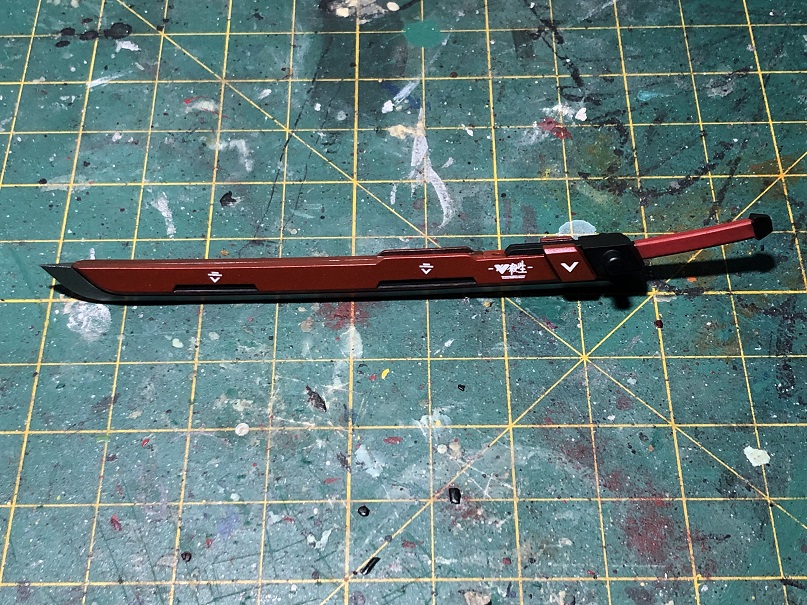
I think that the blades will stand out more if we paint the back of the long blades and the hilts of the short ones. Let’s work with that before we start painting the armor. Since we are applying the metallic paint with an airbrush, first we need to cover the areas that we want to remain in silver. For this, we’ll use some masking tape. Remember, you can also paint the metallics with a hand brush. If you do, it’s more likely that you don’t need to mask.
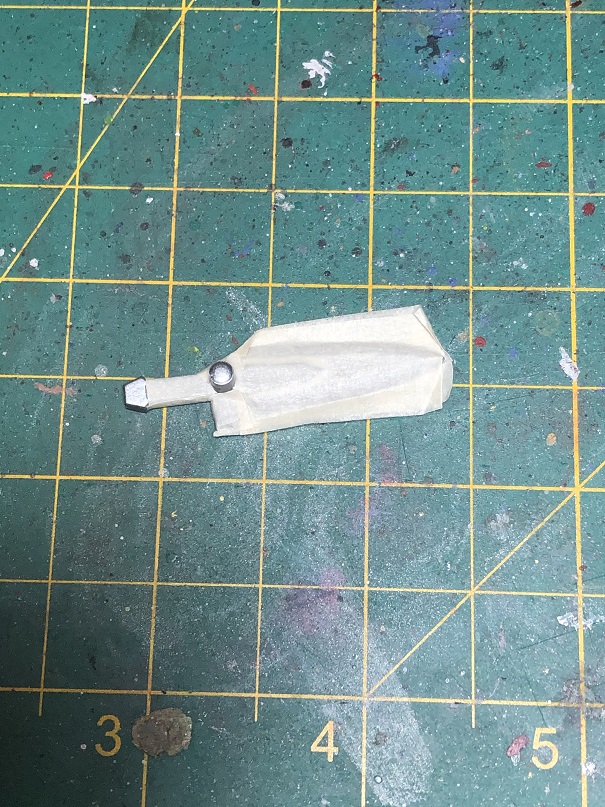
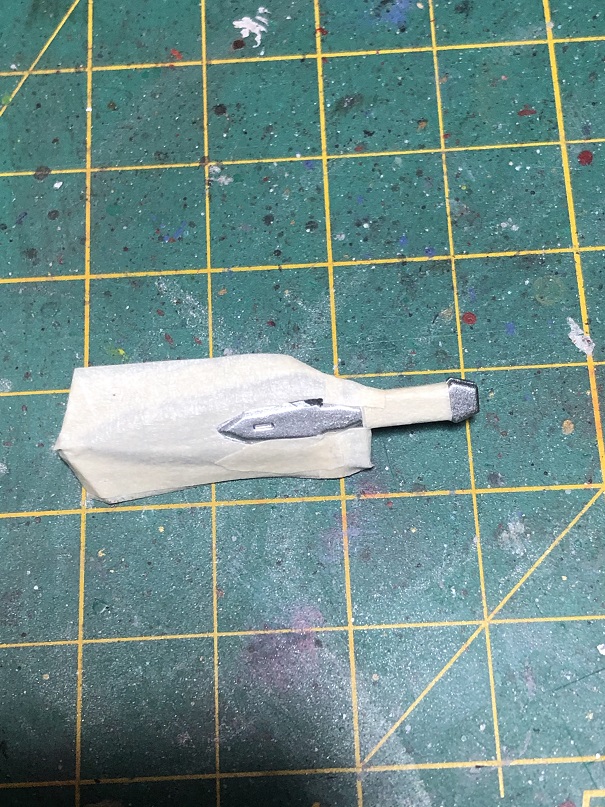
There are a lot of different ways to mask your pieces. It depends on the shapes and sizes of the area that you will cover. In this case, I covered the blades completely with tape. Then I used my hobby knife to cut out the tape and uncover the areas that we are going to paint.
Mixing Metallic Paints
Now, let’s paint that shiny armor! For this, I recommend you to use paints with gloss finish. I’ll be using the semi-gloss paints by Vic Hobby.
White Metallic Armor
Let’s start with the white armor. In the past, I’ve shown you how to paint white armor with a matte finish. This time, we’ll be painting a shinier armor! In the last step we added one coat of a certain color and then added a new color over it to lighten it up a little. This time, we’ll be mixing two colors before applying them.
The first paints we are going to mix are MA002 White and MH001 Chrome Silver. The “formula” I used was this:
3 drops of white + 1 drop of chrome silver + 6 drops of airbrush thinner.
Since the base color for this parts was white, it is hard to spot the difference at first. But once the paint is fully dry, you will se the difference. So be patient and apply thin coats.


Red Metallic Armor
To create the red metallic of the armor I used MH006 Flat Aluminum and MA003 Red. The “formula” was:
1 drop of aluminum + 3 drops of red + 5 drops of airbrush thinner.

I used this red mix for the blades as well.
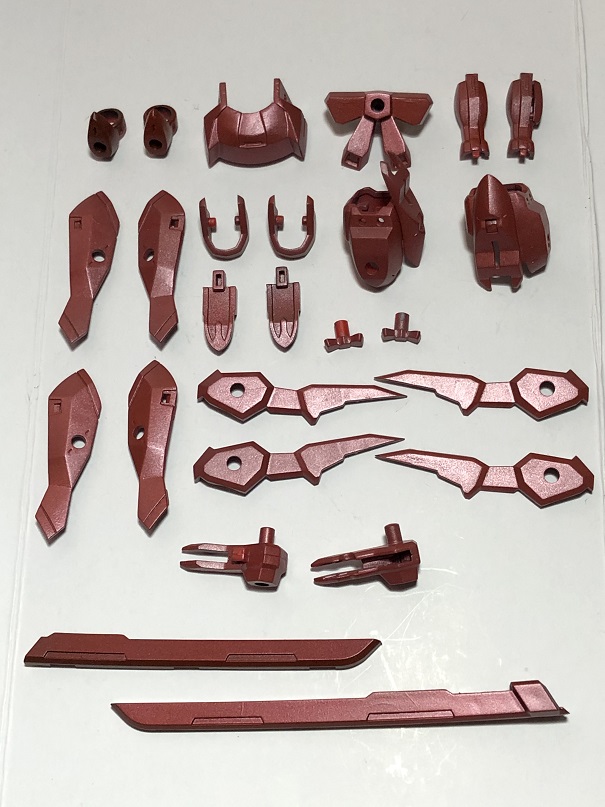

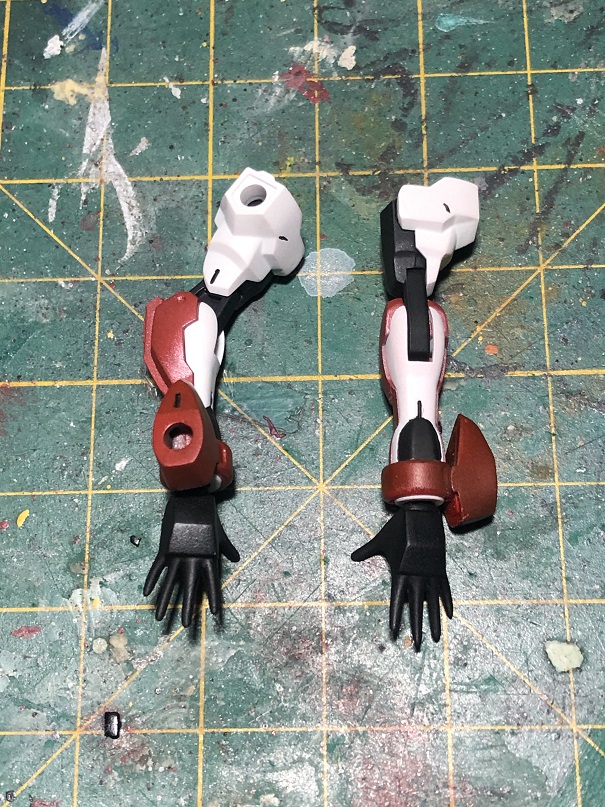
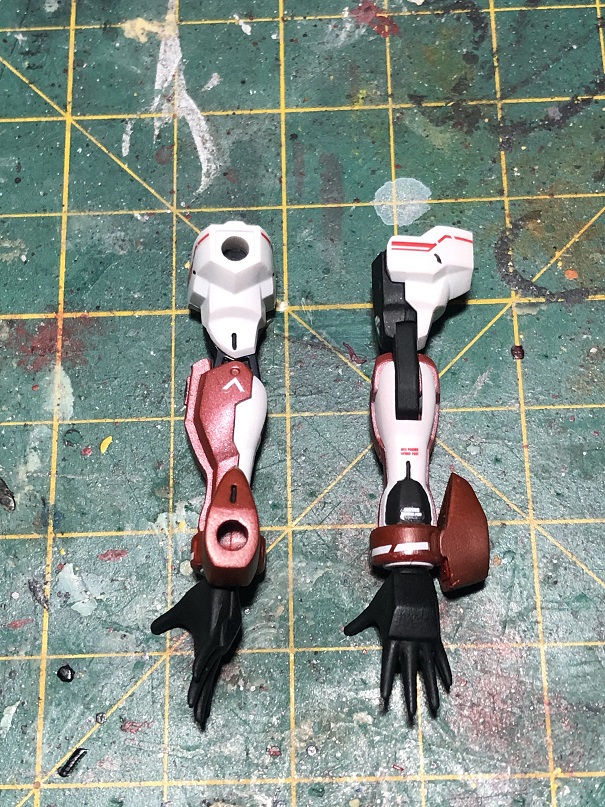
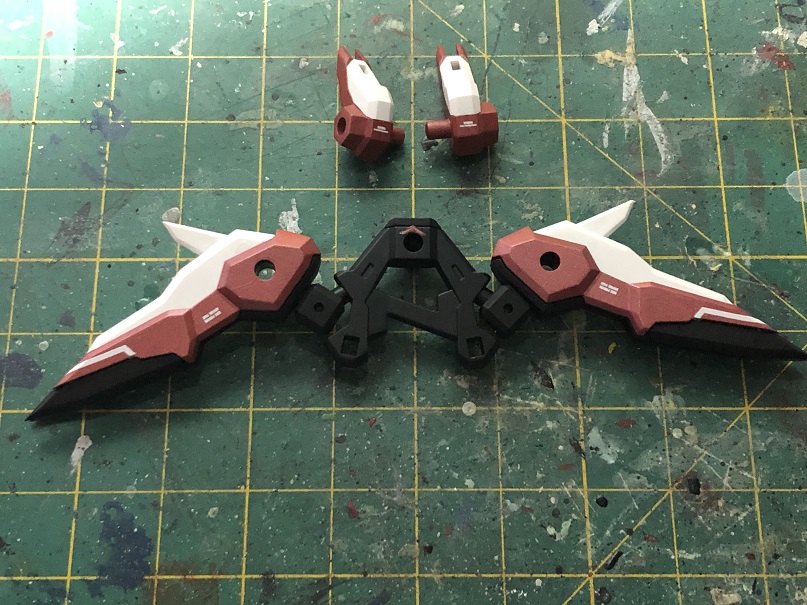
If you look closely to the first photo, you will notice that the bracelets at the left corner on the top are darker than the rest.

Each red piece was painted with the same color and with the same amount of coats. The only difference was the color of the primer/base coat used on them. The bracelets where primed with black, while the rest was primed in gray.
This is how the base color influences the final result of a paint job.
Details and Assembly
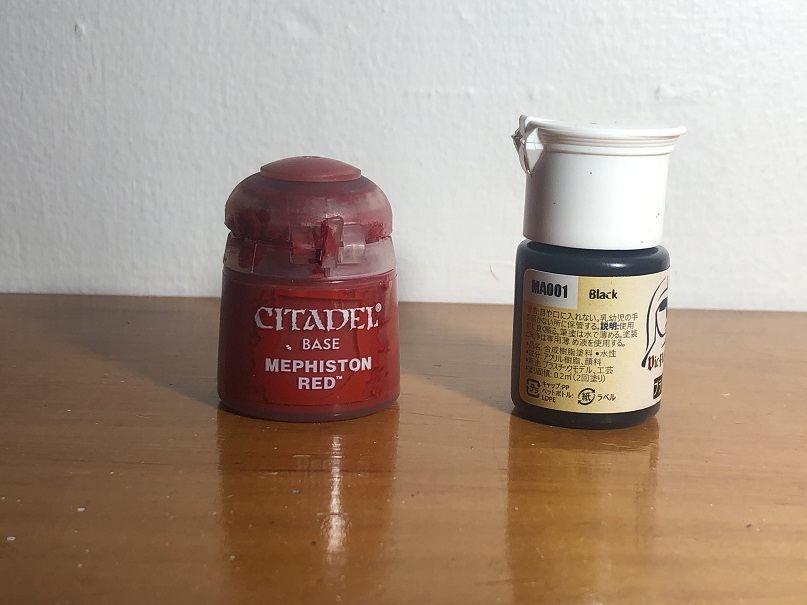
Before assembling the model, we need to paint the black pieces of the armor. For this, we’ll be using MA001 Black. Vic Hobby paints are semi-gloss, therefore I used an acrylic matte paint, such as Vallejos Black, to paint the black gloves and create a subtle difference.

We still need to add some details before we can finish this model. For this, I like to add all these details while assembling the kit.
Those details include: panel lining, decals and painting a few things here and there.
I don’t want this article to be to long, therefore I’ll leave a photo gallery of the detailing process. Hope you enjoy it.


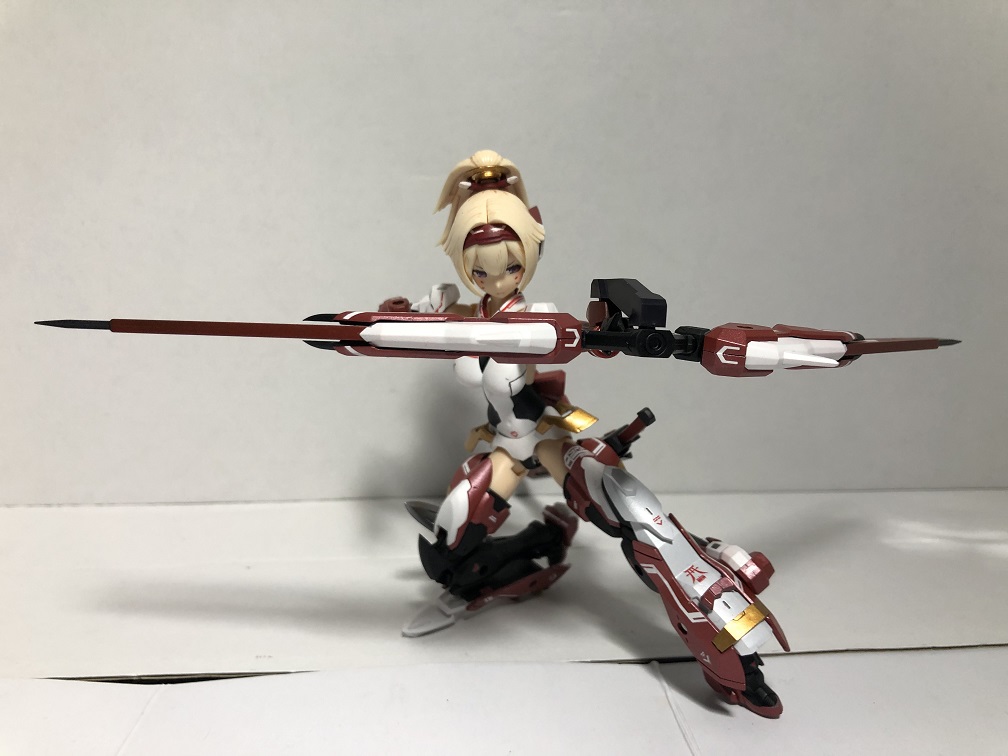
Now, all we have left to do is to gear up our Archer.
One more thing…
During the assembly and detailing process I came across two issues. I want to show them to you and how I fix them.
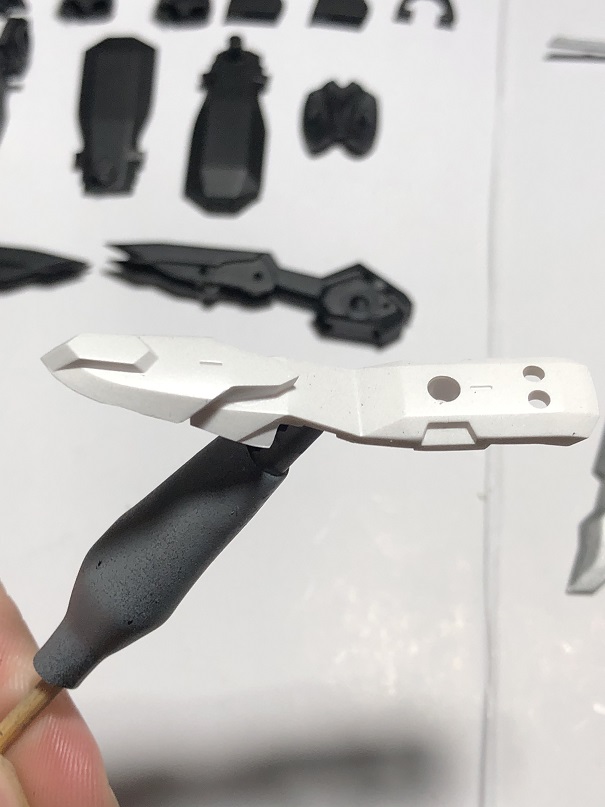
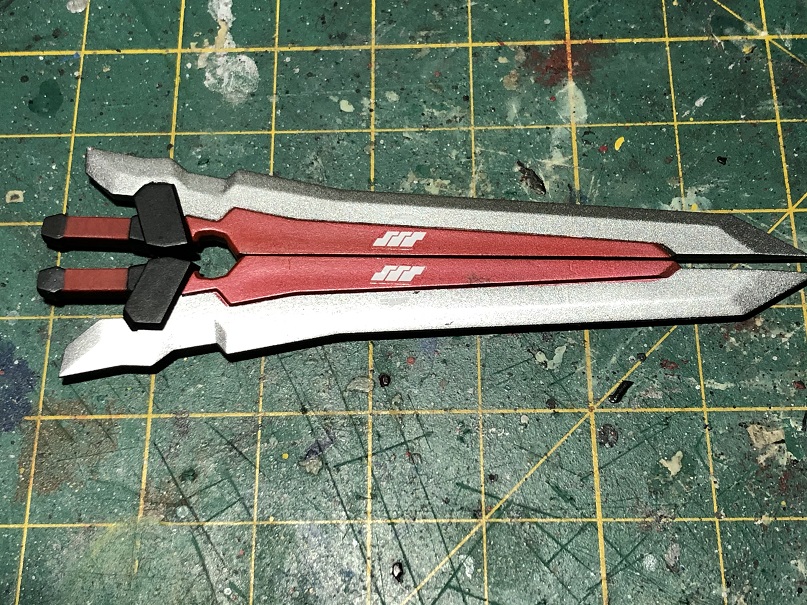
The first issue was with the decals for the long blades. This blades have the same decal on the same place on both sides, and I wanted them to be at the exact same spot. To solve this, I applied the decals on one side of one blade. Then, I used this as a guide and put the blades back to back.
Like this:
After than I just turn one to the other side to apply the decal. And then, repeated the first step.
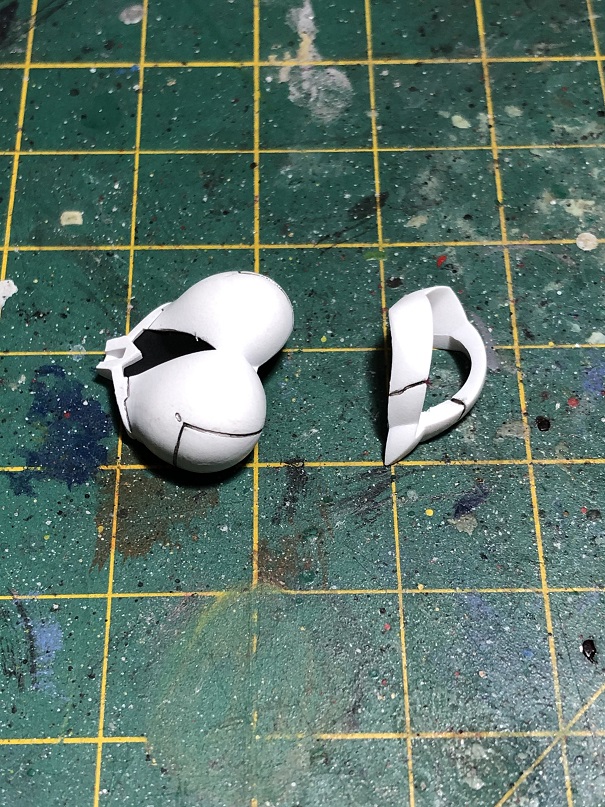
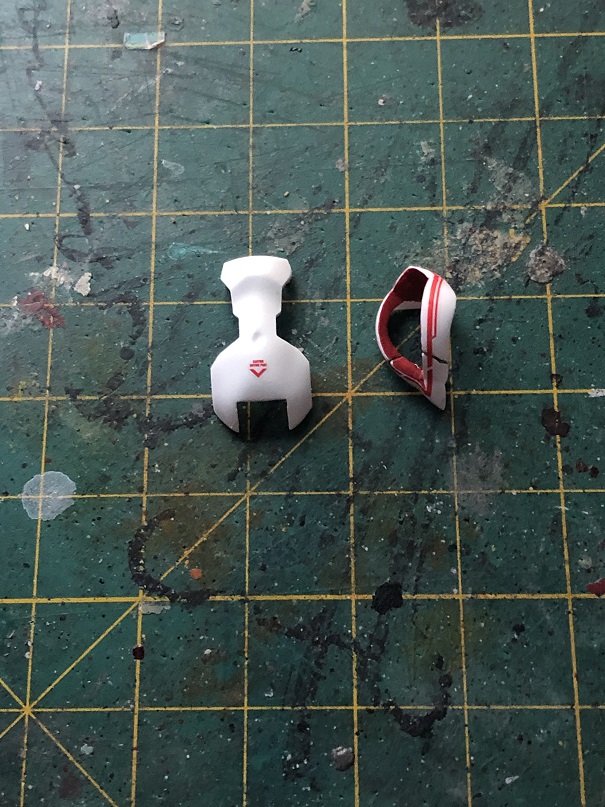
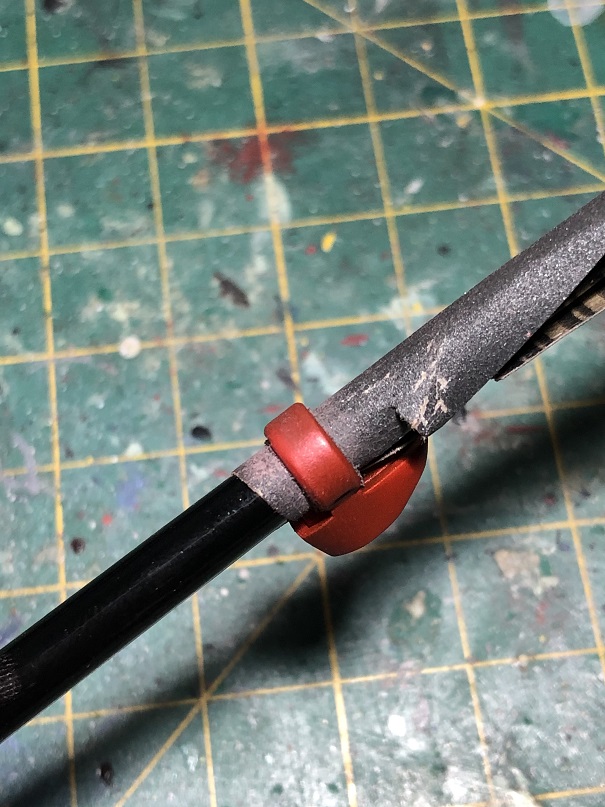
The second issue was with the bracelets. Unfortunately they didn’t fit on the arms, because of the paint.
To fix this, I used a 400 grain sanding paper wrapped around my brush to sand of the excess paint inside the bracelet.

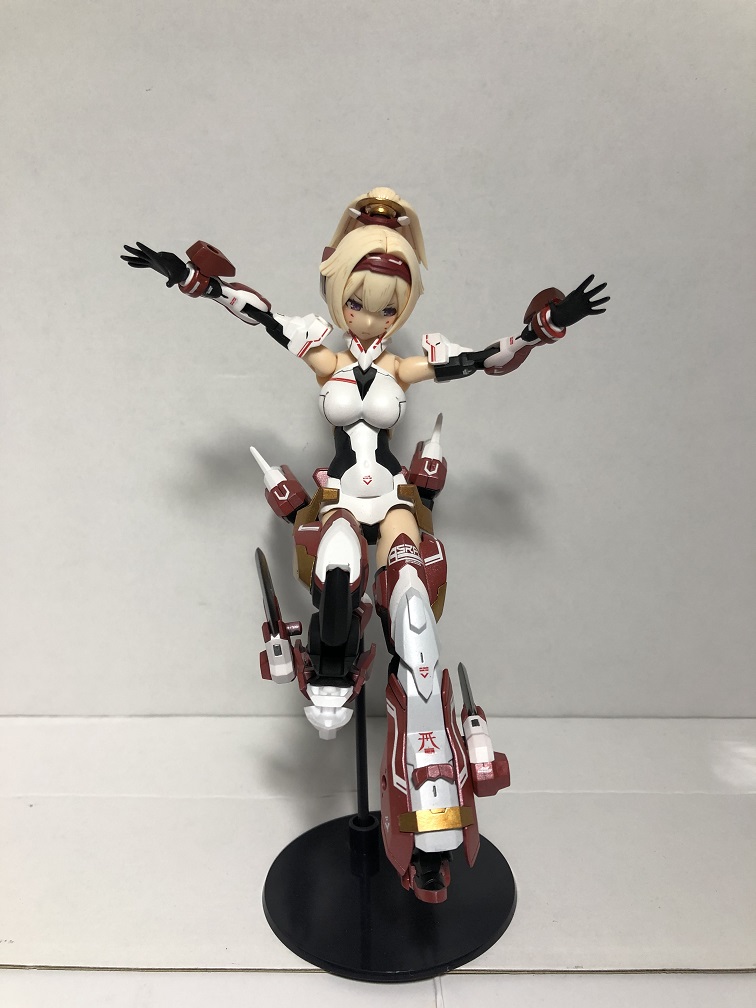
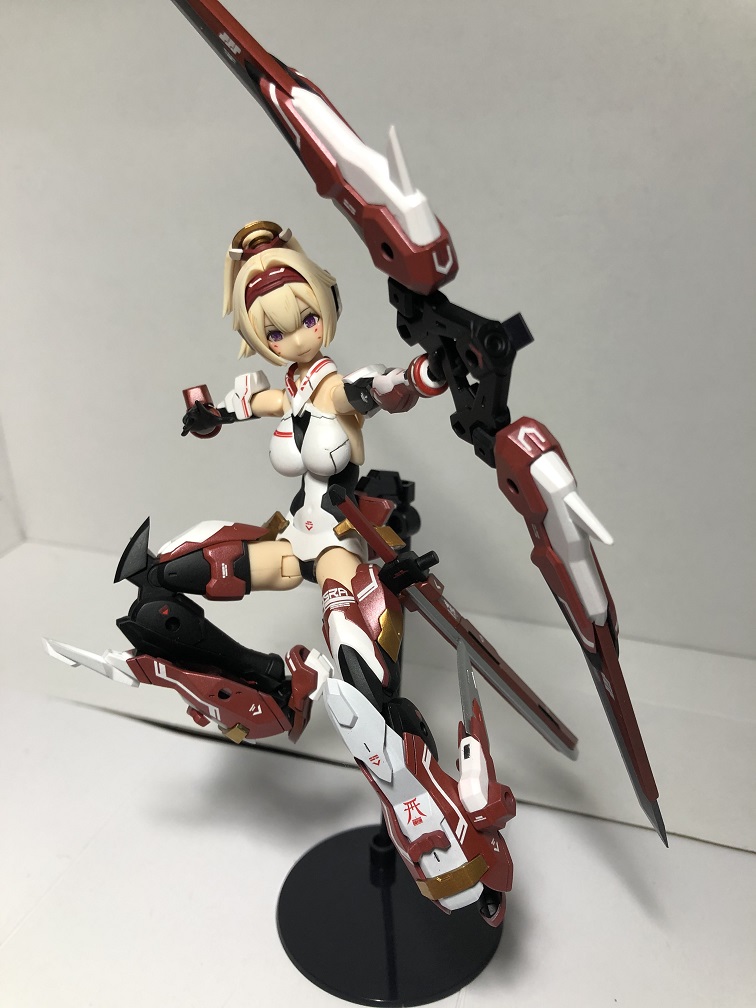
The End
And with that, we are done! I’ll leave the pictures down here. If you wish to see more pictures, you can find them at my Instagram!
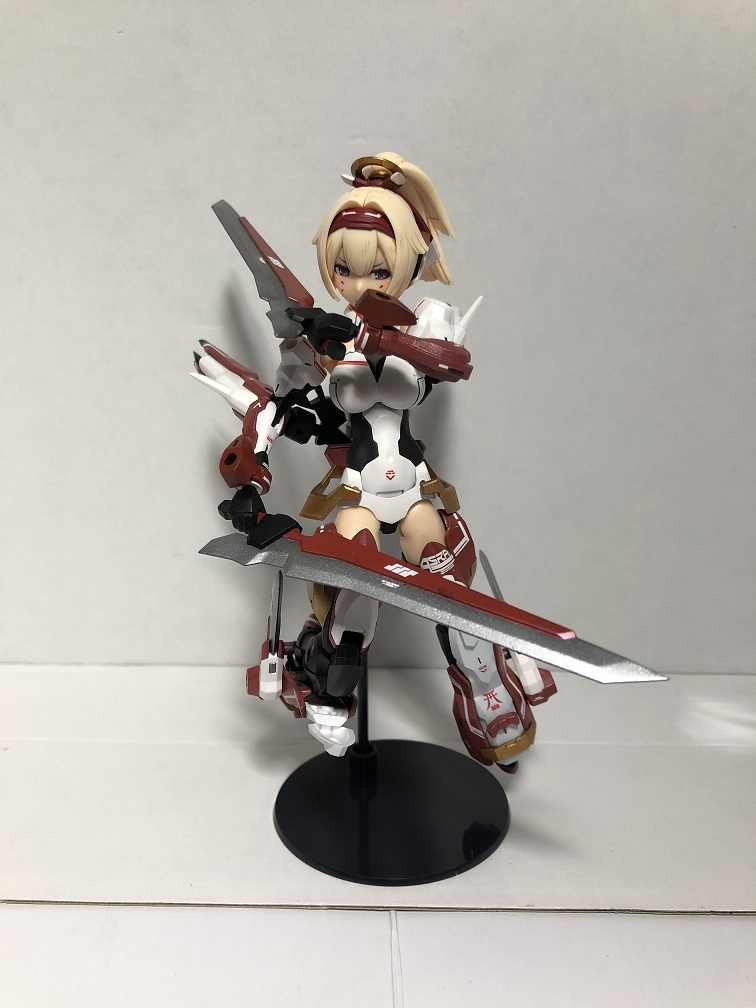
This is the end of this Megami Device series! Thank you very much for reading this far! If you haven’t read the other 3 parts yet, feel free to go back and check them out. I’m sure you will find something useful there.
I hope that you have found this series useful and that it inspires you to go beyond with your model kits!
If you have any questions, feel free to write them down in the comments section bellow. I’ll be happy to answer them!
Stay tuned for more articles here, at hobbylink.tv! And if you wish to get your own Megami Device kit or any of the paints I used you can at hlj.com!
See you on the next one!
Happy modeling!