Hello there!
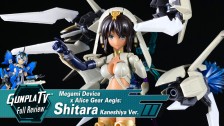
Welcome to a new “How to” guide and the second part of this Megami Device series! For now, we’ll keep working with the 1/1 Megami Device Asra Archer*.
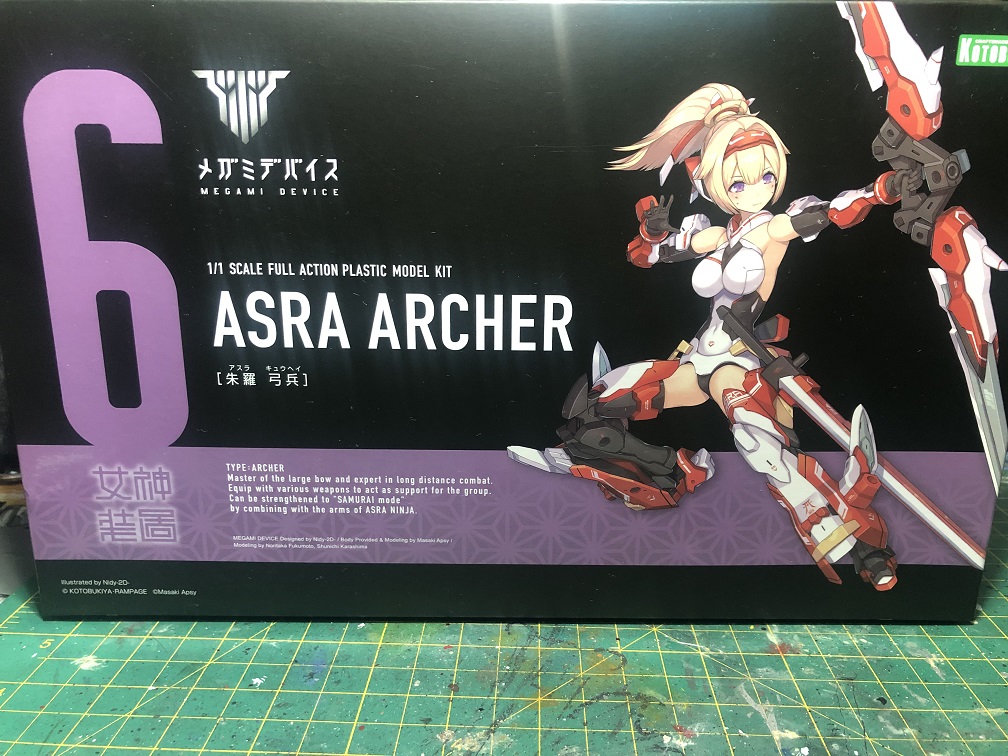
* Unfortunately, by the time this article was published the Asra Archer kit has been discontinued, but in this link you will find all the Megami Device kits that are available.
Where we left off last time…
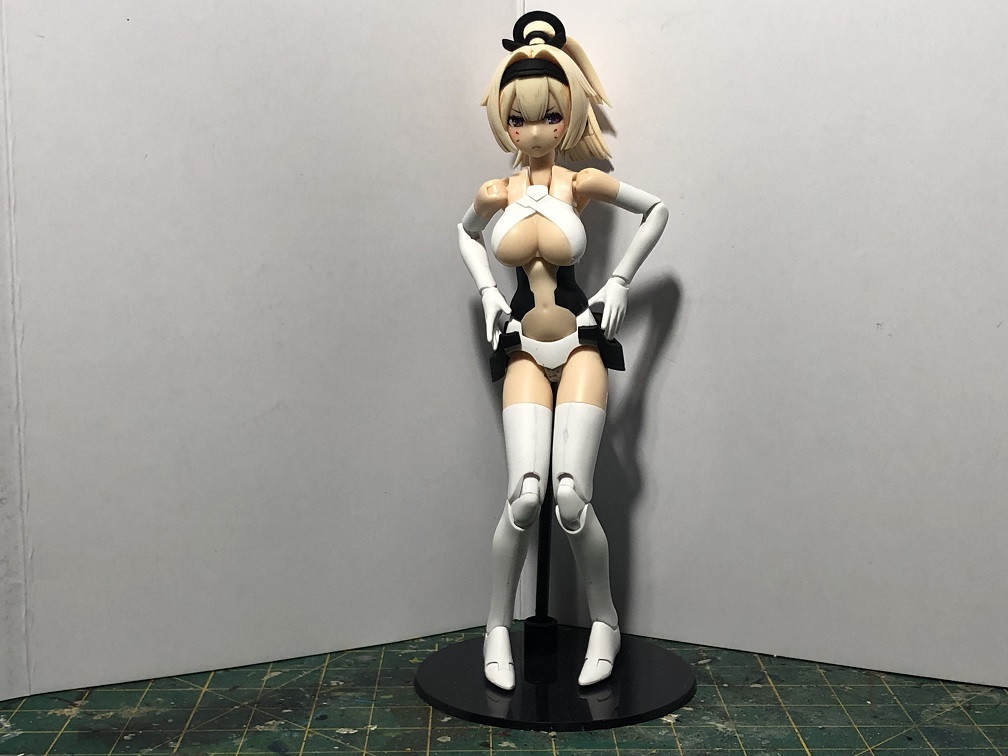
In part one, we applied a coat of primer to each part that is supposed to be her clothes. Now, it is time to finish this before starting with the armor.
Before we begin, let’s talk about her skin. In this series we will not be painting any skin. The two main reason for this are that these pieces are molded in a nice skin tone already.
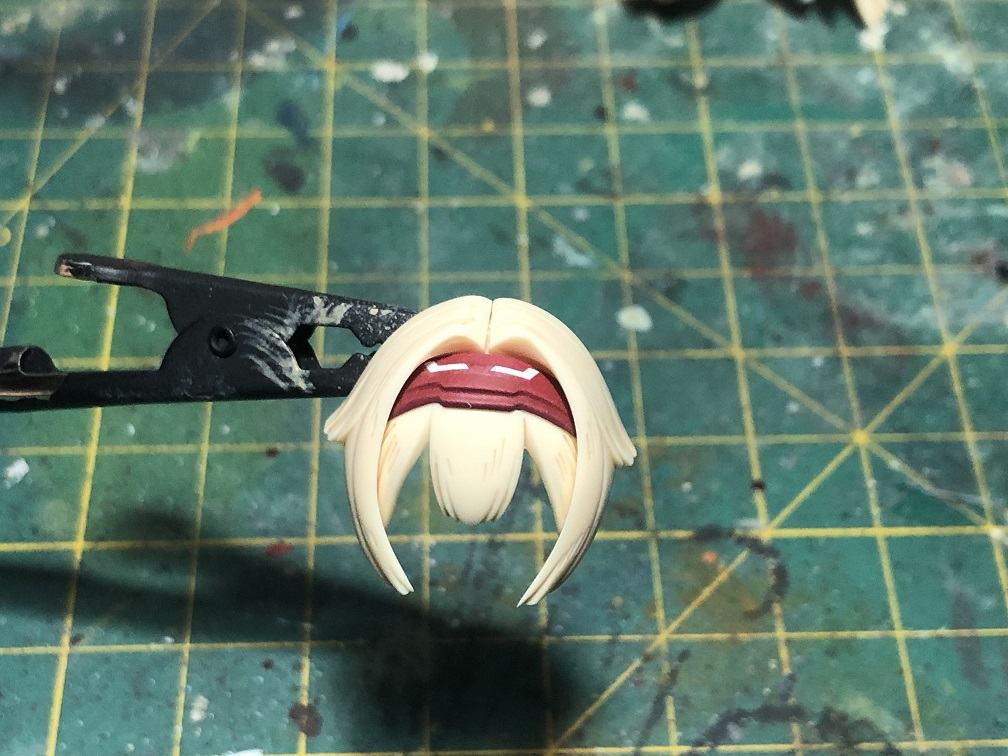
And second, the face options came pre-painted, and therefore I didn’t want to loose them. On the other hand, we could add more details to the hair. Let’s start there, shall we?
“Dying” the hair
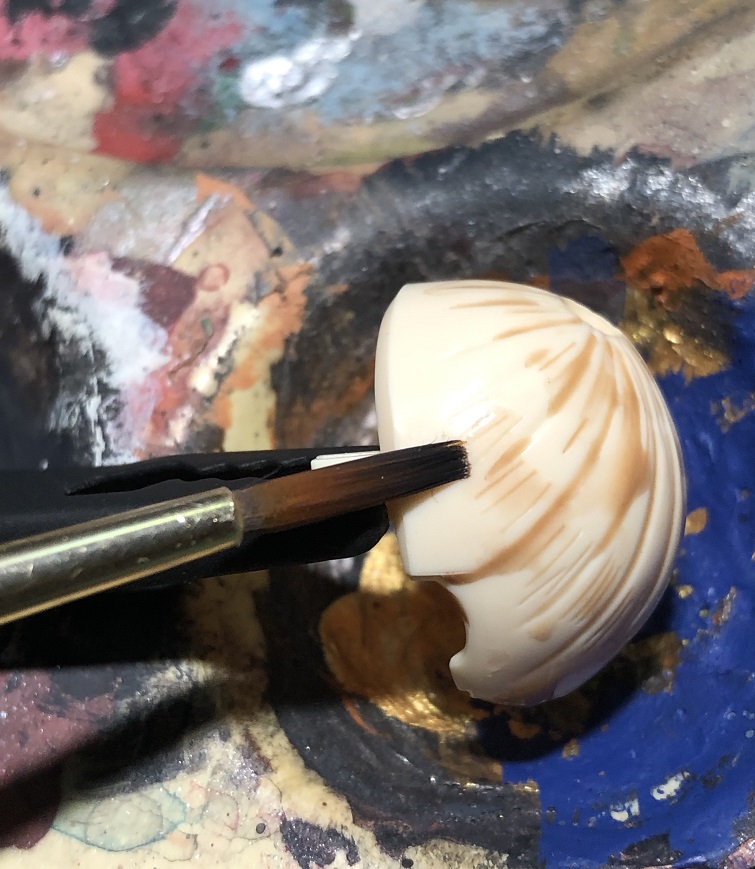
For painting the hair pieces we are going to apply a simple trick, but quite an effective one: a wash. In past projects we have applied a wash to armor parts as a final step. This time, we are going to apply this wash directly over the plastic, even without applying a base coat first.
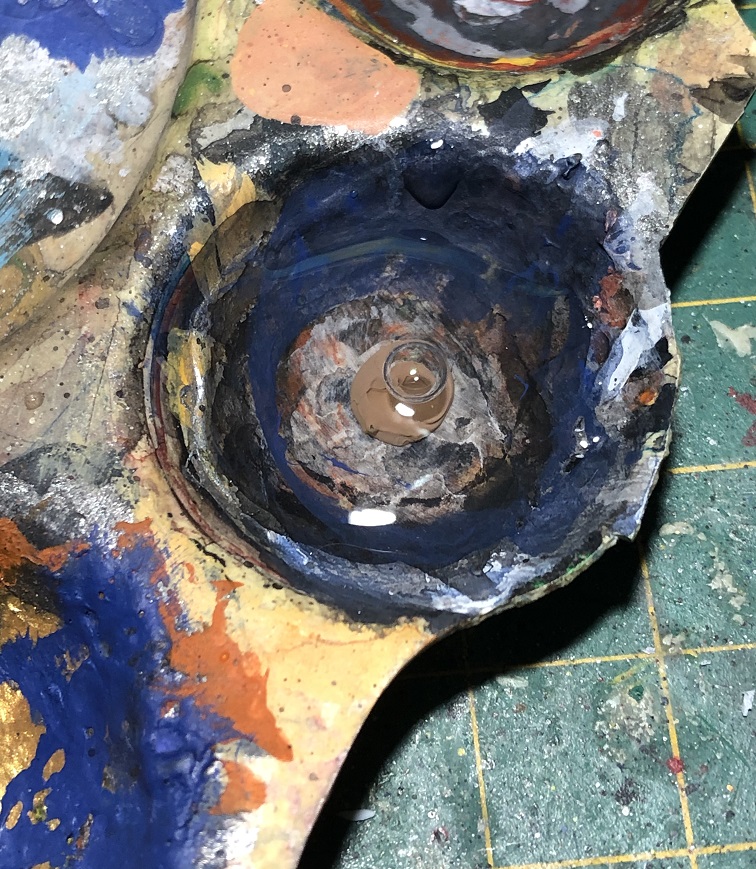
For this wash I used 2 drops of Vallejo Model Color Ger. C. Pale Brown and diluted it with 20 drops of water.

It may look like muddy water, but it has enough pigment to paint all the recesses.
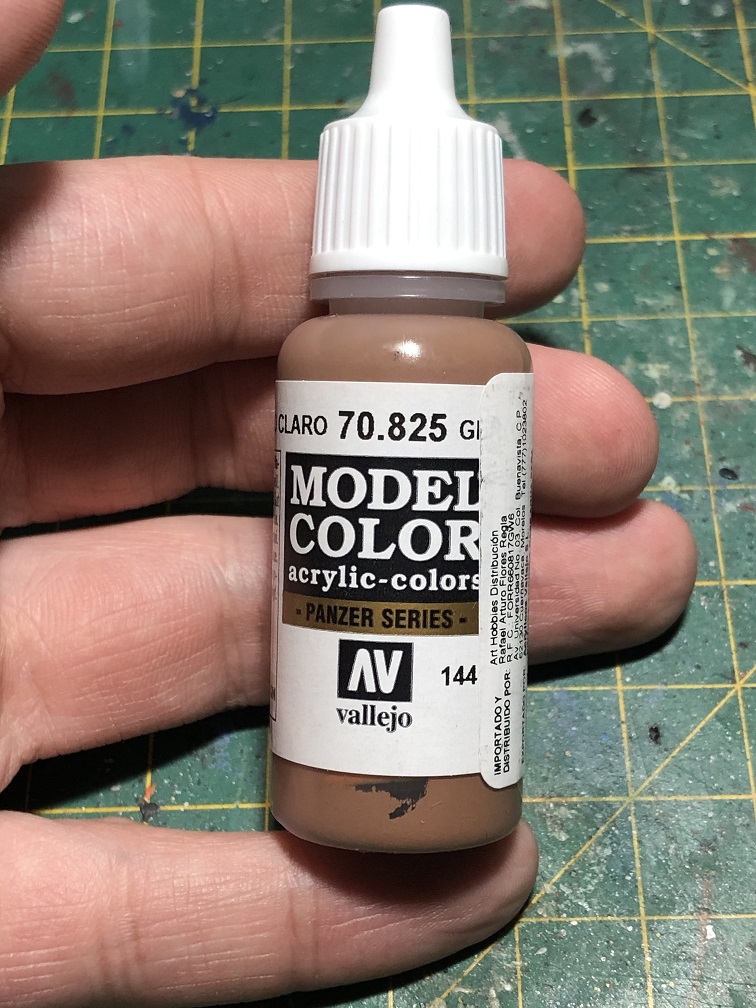

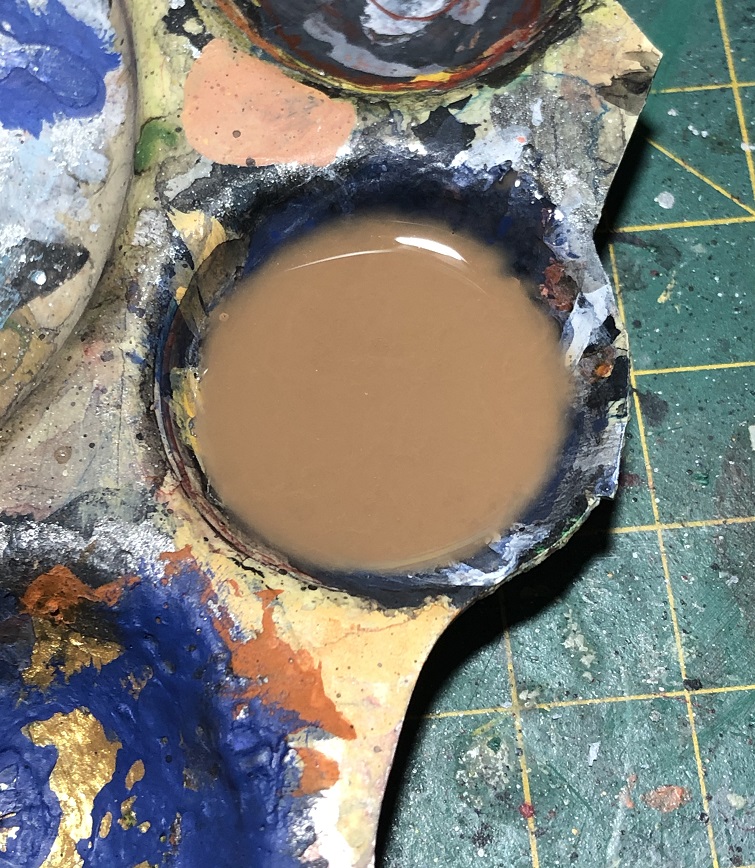
I can’t asure you that this paint-water ratio will work for you as it did to me. Just make sure to add enough water to your wash so it can get inside the recesses easily.

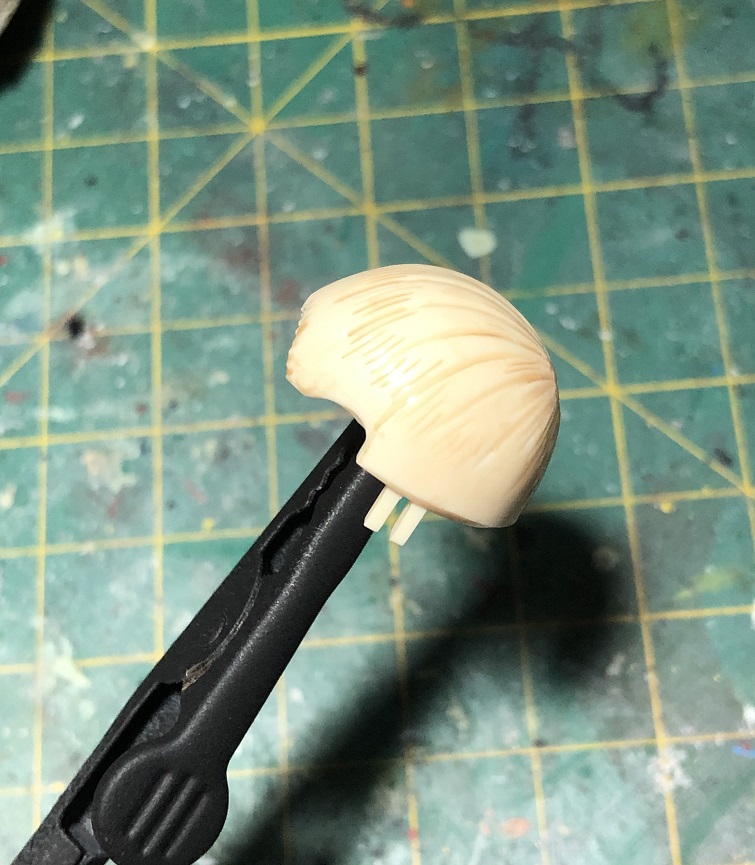
Once it’s dry it should look like this:
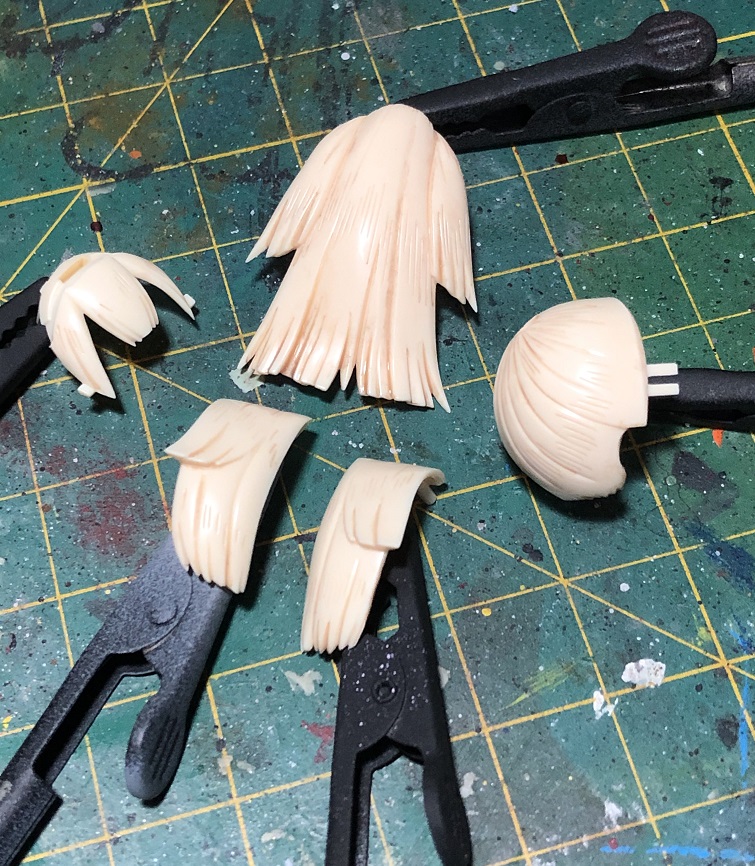
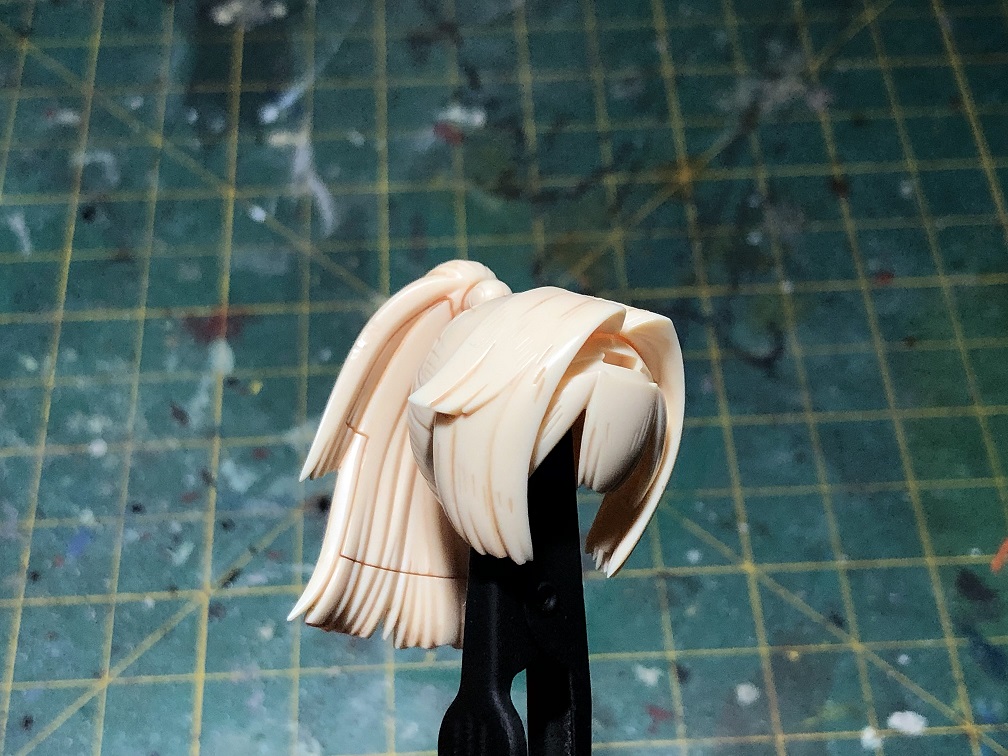
It is quite subtle but in gives more debt to the hair. Also, you could use some putty to cover the gap between the two big hair pieces. Like we did with the arms and legs back at part one.
Ornaments
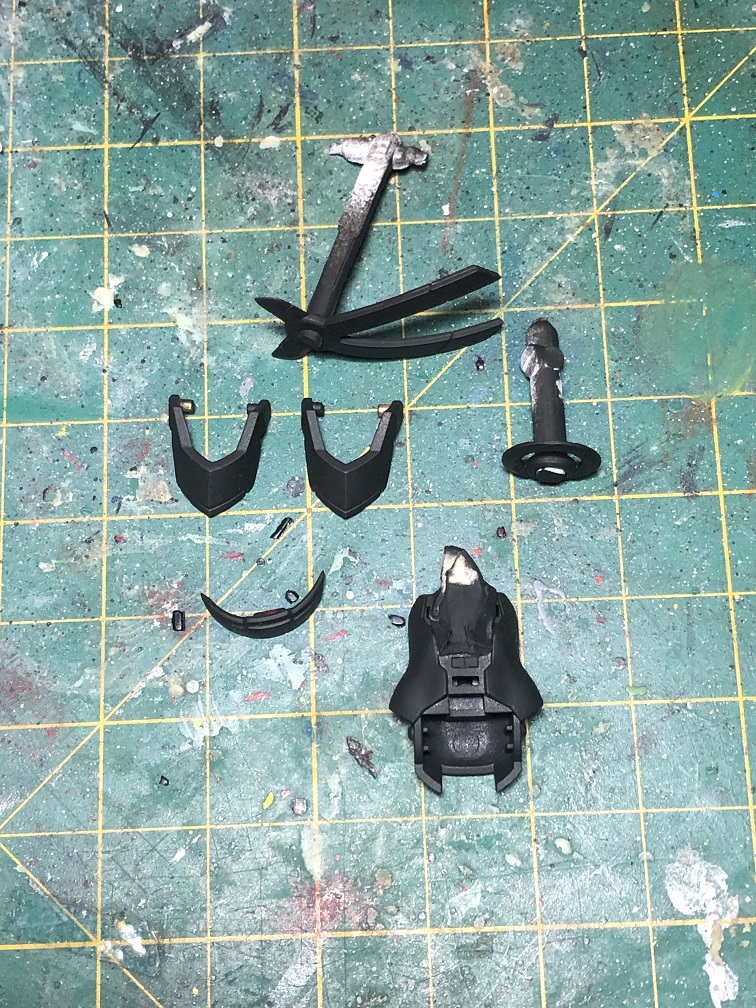
Before we start painting the clothes, let’s paint the few pieces that are supposed to be made out of gold: the ornaments for the hair and the hips.
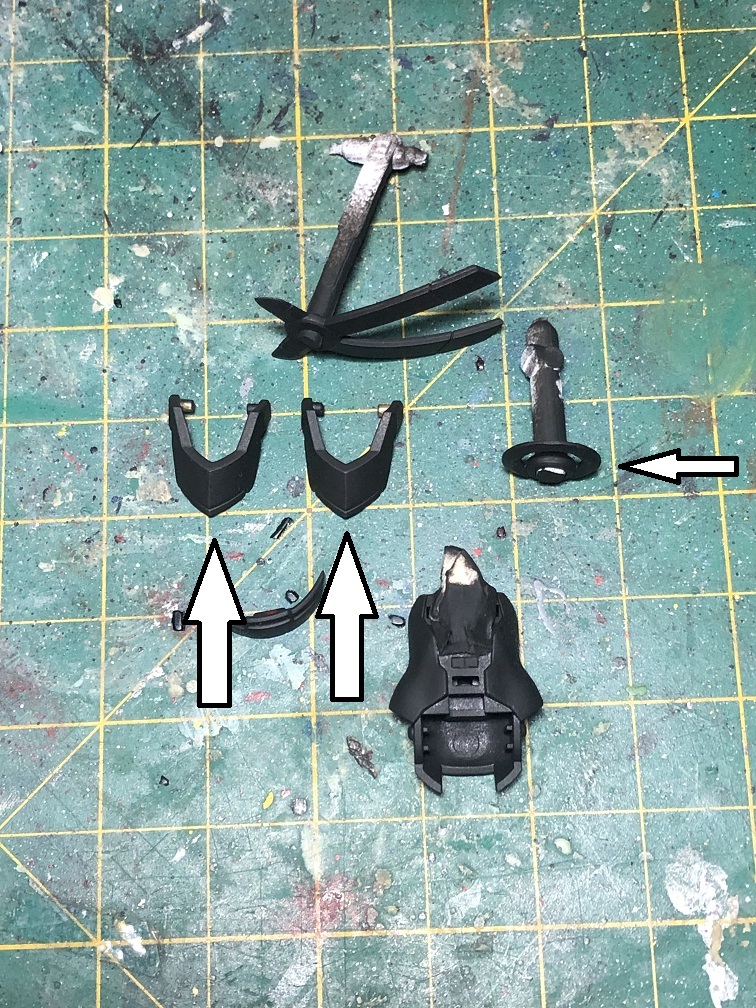
We applied a black base coat to this pieces, if we apply the gold paint directly over the black surface, the gold will end with a dark tone. But, if we paint with silver over the black instead, and then apply the gold paint over the silver, our pieces will end with a shinier golden tone.
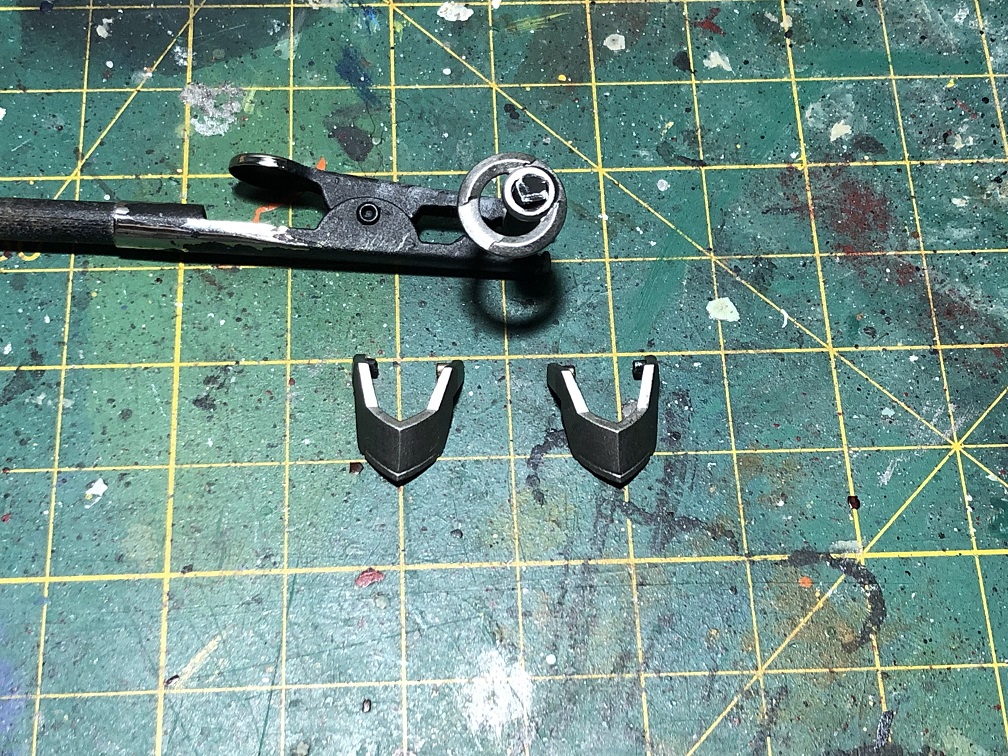

This is a clear example of why it is important to choose the right base color. If we apply a thin layer of paint over a darker color, we’ll end up with a darker tone. And the opposite also happens, If we apply a thin layer of paint over a lighter color, we’ll end up with a lighter tone.
Finishing the “clothes”
Back in part one, we applied some putty to fix errors on the legs, arms, and lower torso. After that, we applied a base coat to help the paint job stick to the plastic. Now, it is time to finish what we started.
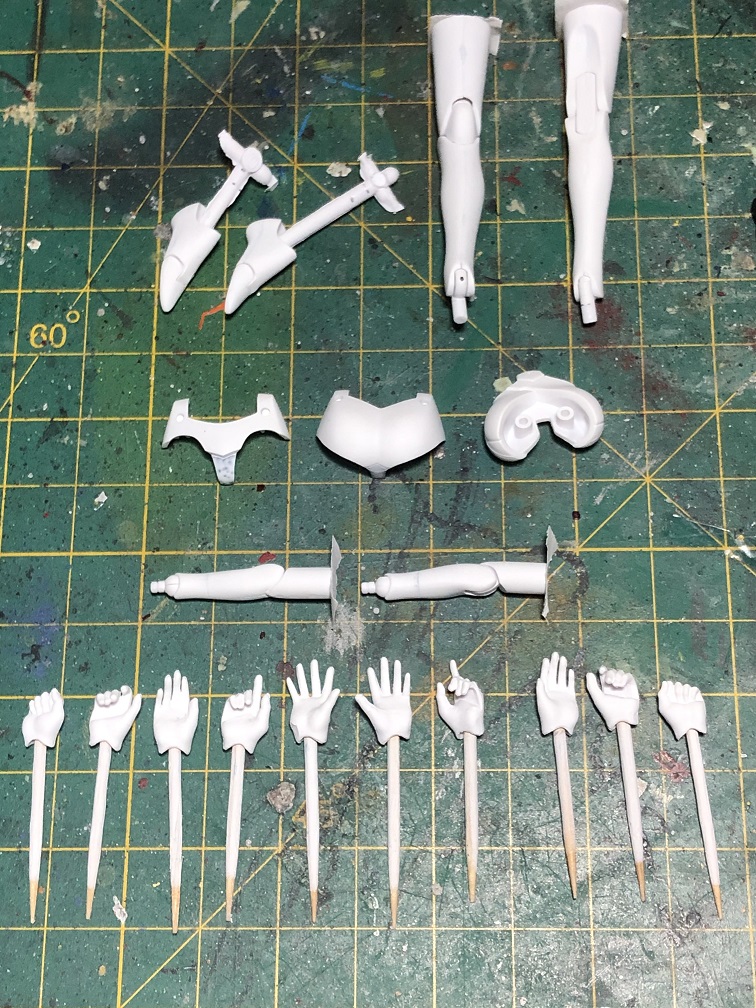
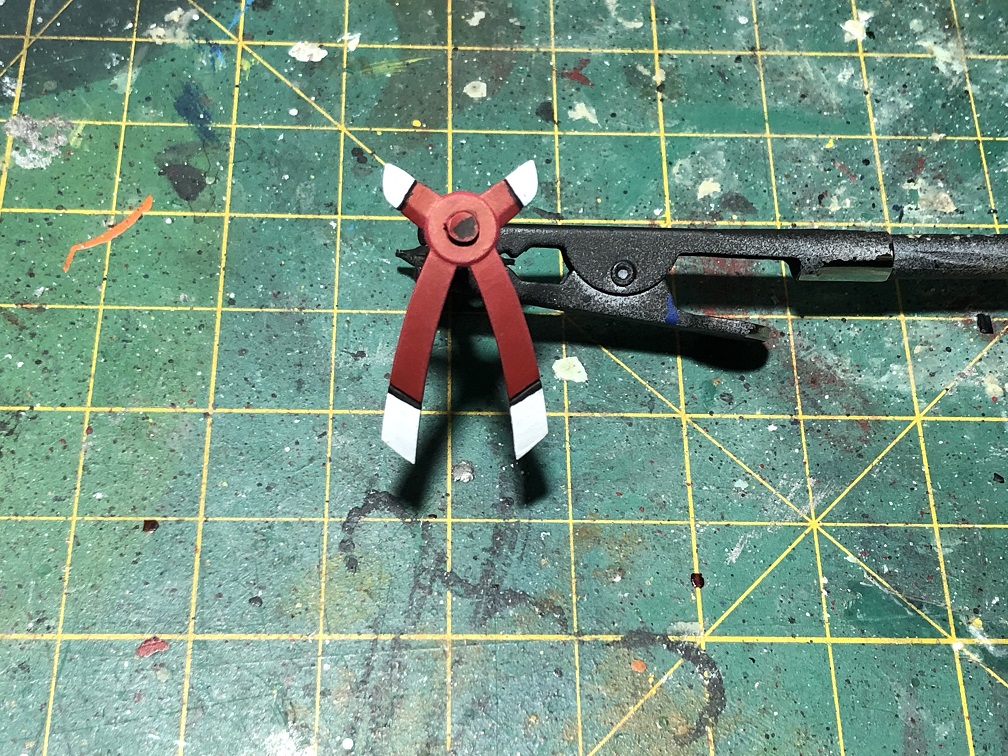
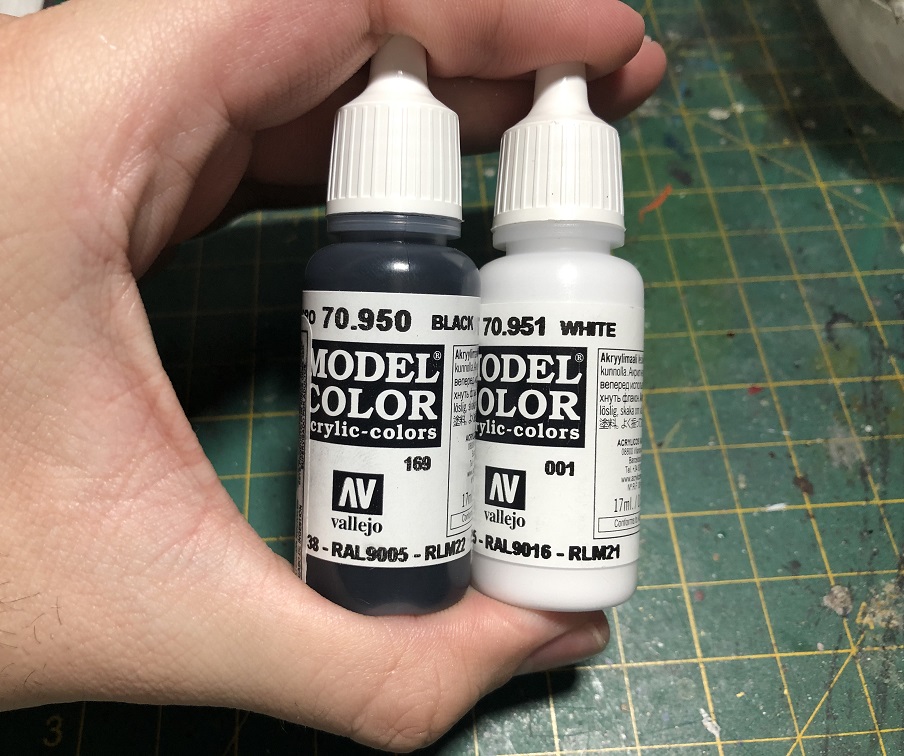
All these pieces are supposed to be made out of cloth, and cloth usually has a matte finish, unlike an armor made out of metal. Therefore, I used some Vallejo Model Color acrylic paints with matte finish, and applied with a hand brush. The paints are: Vallejo Model Color Black for the waist and some small details on the chest part and the hips. Vallejo Model Color White for the socks and gloves (legs and arms), the hips and chest.
And finally, some Citadel Mephiston Red, along side the black and white for the hair ribbon.
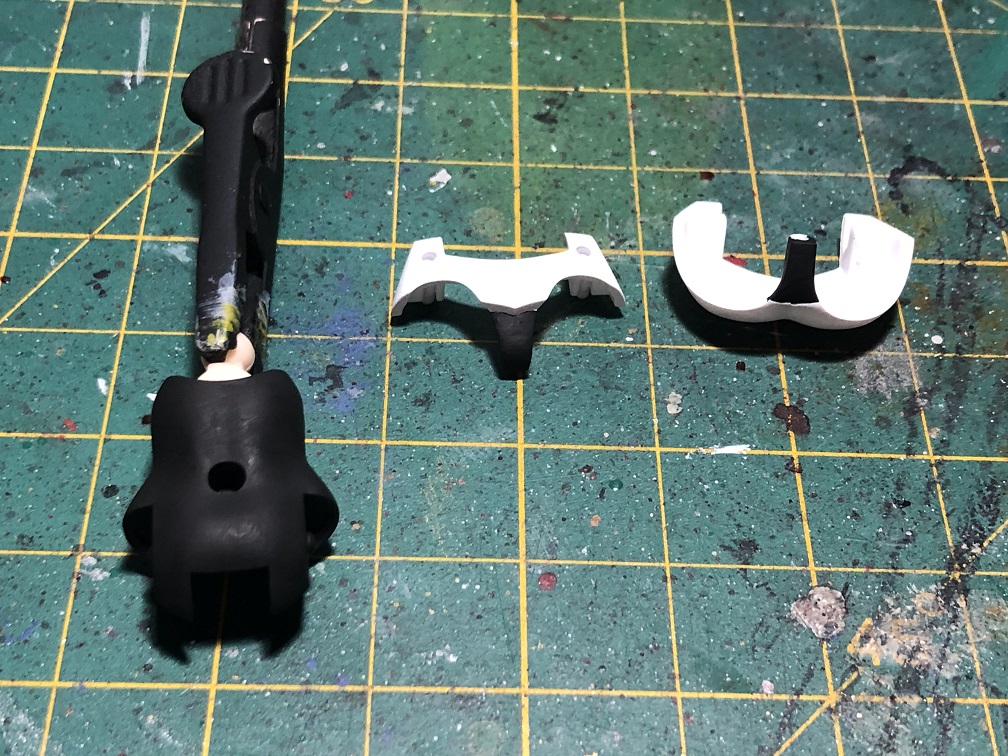
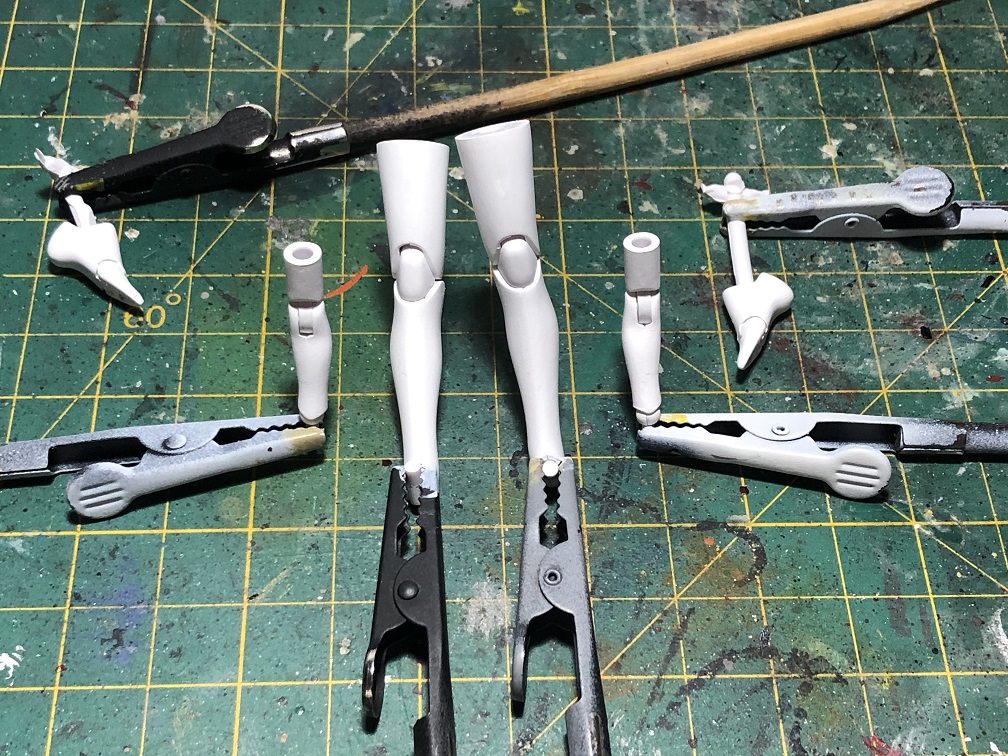
For this process I thinned down the paints with some water, in a 1:1 ratio. Remember, two thin coats are always better than one thick coat. This is very important, especially if the pieces you are painting have small details. In this case, this was even more important since I needed to apply from 5-6 thin coats of white paint to fully cover the grey putty we used to fill the gaps between pieces.
Once the paint has dried, we can add some decals to create extra patterns and details to the model.
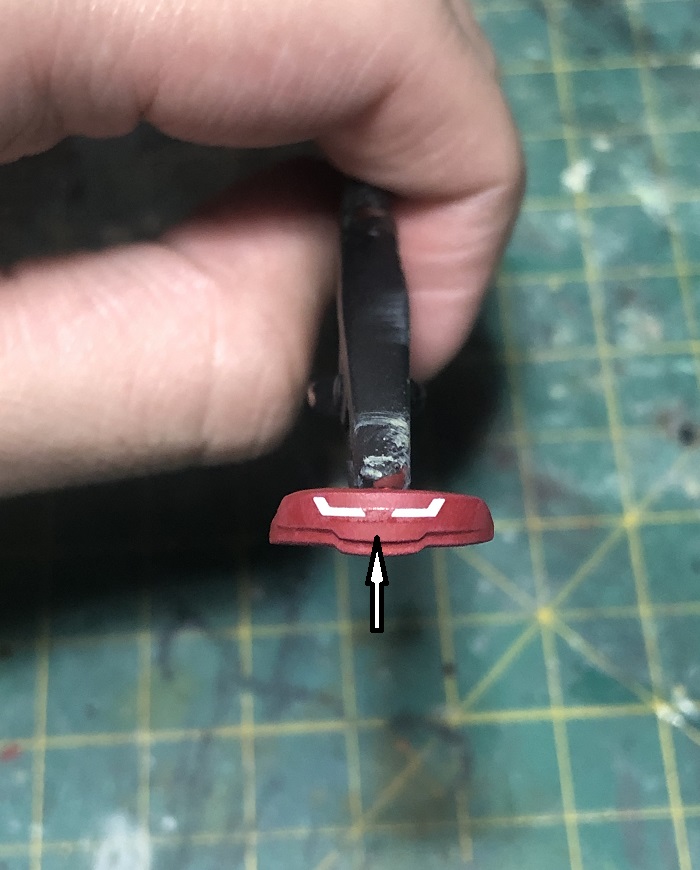
Water slide decals
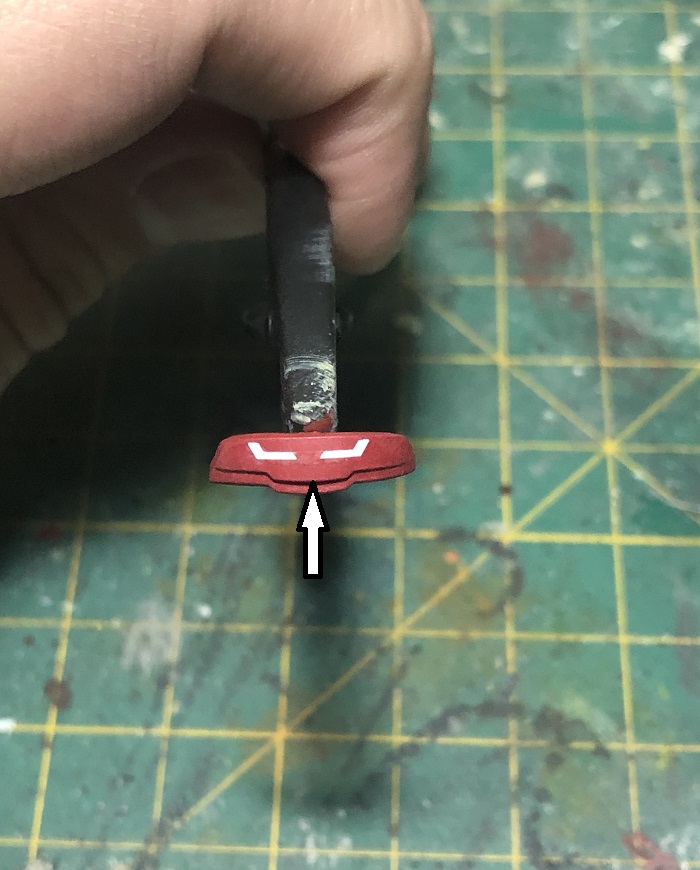
This model kit came with a sheet of water slide decals. Almost all of these decals are meant for the armor, but there are a few made for the “clothes”. Like this one made for the hair ribbon:
These decals are very easy to apply. All we need to do is:
- Cut off the decal we are going to apply.
- Immerse the decal in warm water for at least 10 seconds, and a maximum of 20 seconds, and then take it out.
- Wait another 10 seconds for the decal to separate from the sheet.
- With the tip of your brush, slide de decal from the sheet to the surfaces on the kit.
- With a paper towel, remove the excess of water and let it dry for a few minutes. (You can find a more detailed guide right here.)

Unfortunately, I had some issues with the shape of the legs and arms. The decals didn’t want to stick to the cylindrical surface of the legs and arms. If this also happened to you, I have a tip for you. All you need to fix this is some “Decal Set” substance.
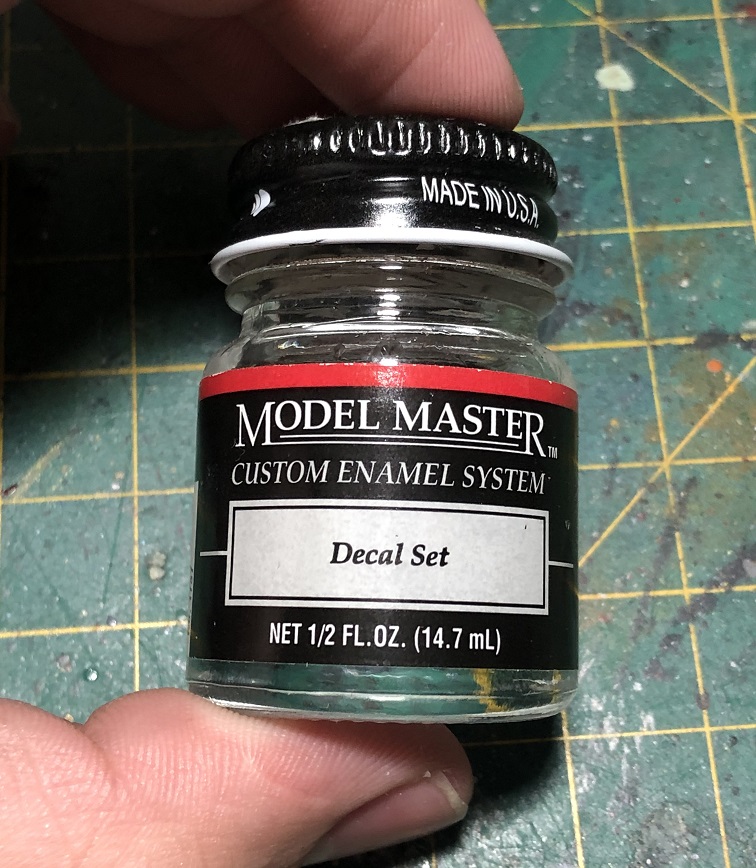
It will help your decals to mimic the shape of the surface where they are being applied. There are a different types of products and brands for this, but almos all of them work in the same way. All you need to do is to apply a small quantity with a brush over the surface where the decal would go. While it is still wet, slide the decal from the sheet to where you applied the liquid. Finally, apply a thin layer of “Decal Set” over the new decal and let it dry.
And with that, we are ready for the last step! Of part 2, of course.
Matte finish
This last step is completely optional. I usually apply a clear varnish over my models to protect the paint and prevent the decals from falling off. It also helps to blur the clear edges of the decals with the paint underneath.
The clear edges of the decal may not have disappeared entirely but it is more subtle. For this, I used Vic Hobby Matte Clear.
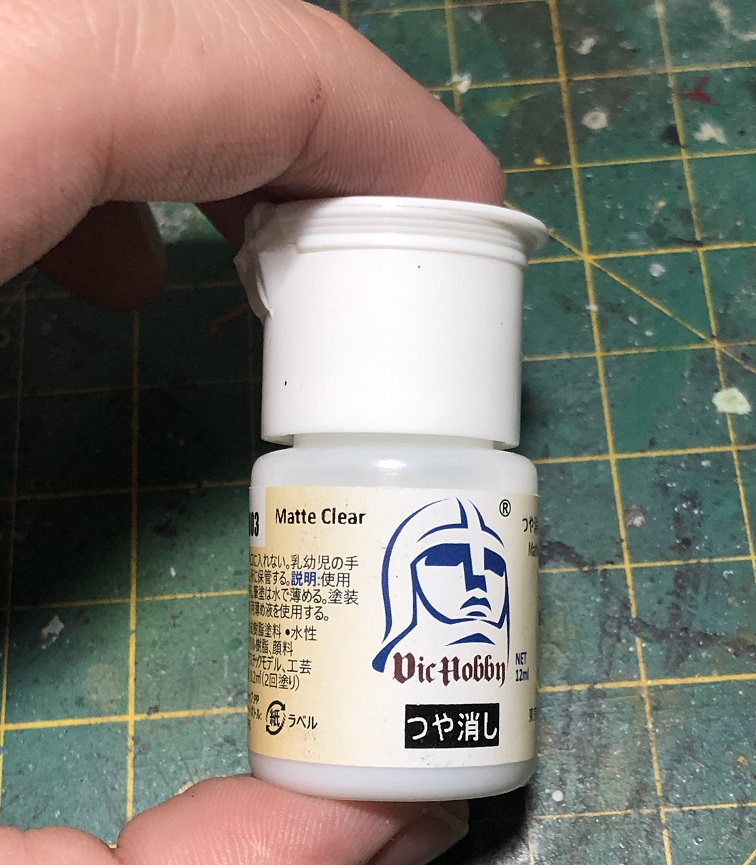
I applied it with a hand brush all over the parts we painted during these tutorial, especially over the decals. This paint didn’t need to be thinned down with water. I applied it directly from the bottle. Just make sure it doesn’t pool over your surfaces or you will end with some stains, like mine.

First ver. ready!
After the clear coat dries, all we need to do is to assemble the kit.
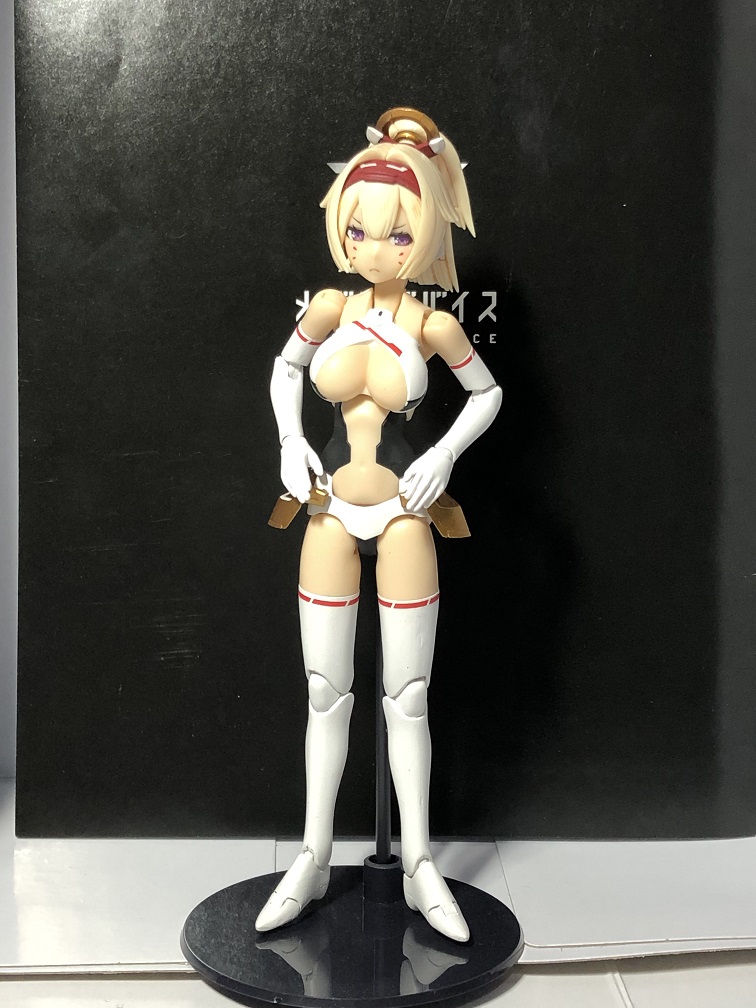
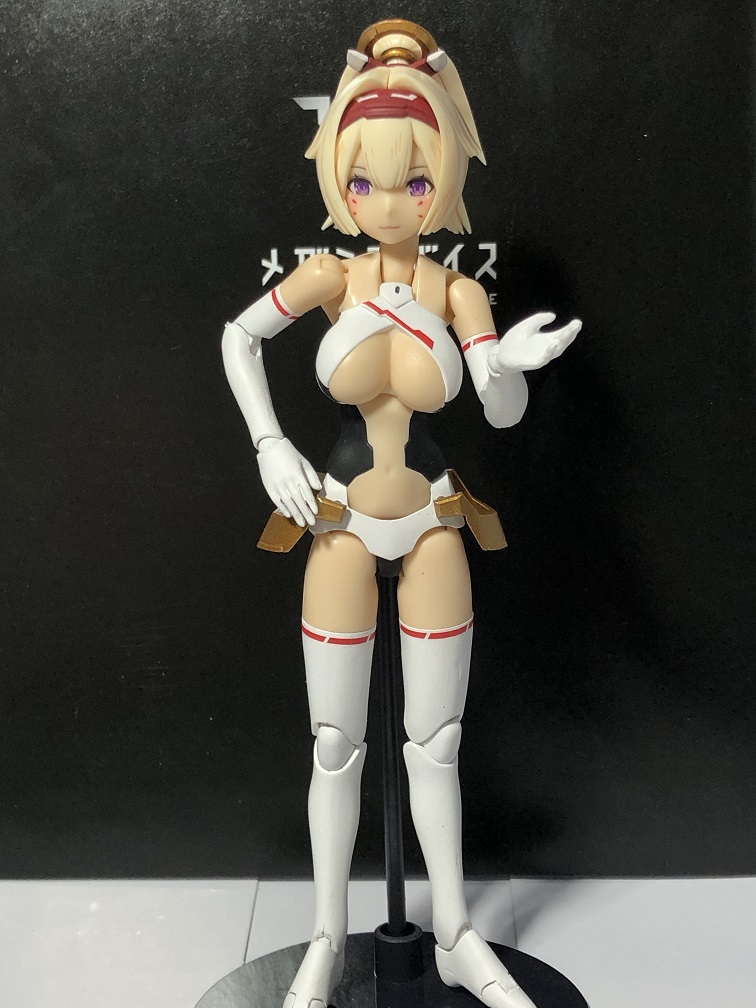

With this, we can say that we have finished with this model kit. But we know that this kit can be assembled in two different versions: the an armored mode and the unarmored mode, which we just finished. Now is time to build and paint the armor!
But first, we’re going to paint a cloak for this Archer.
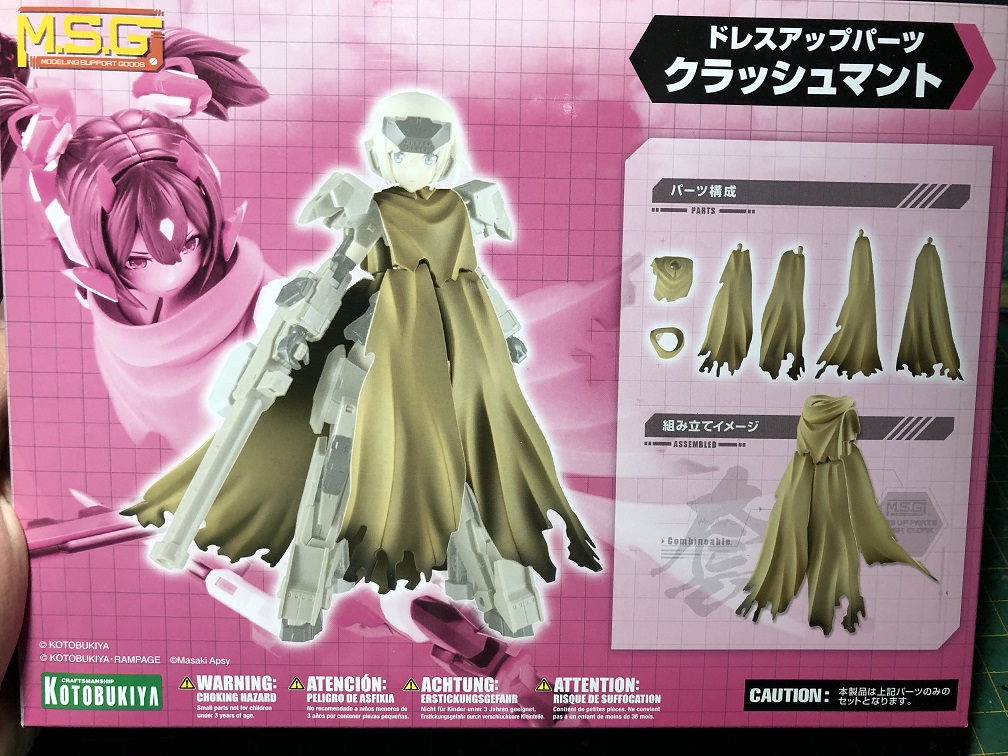
On the next chapter of this series we’ll be painting this awesome cloak! If you have any question, feel free to write it down in the comments! I’ll be more than happy to read and answer them all!
If you wish to grab some hobby materials or an awesome model kit like this one, you can do it at hlj.com
See you on the next one! Happy modeling!