Part 2 – Hydraulics, screws, and oil stains
Hello there!
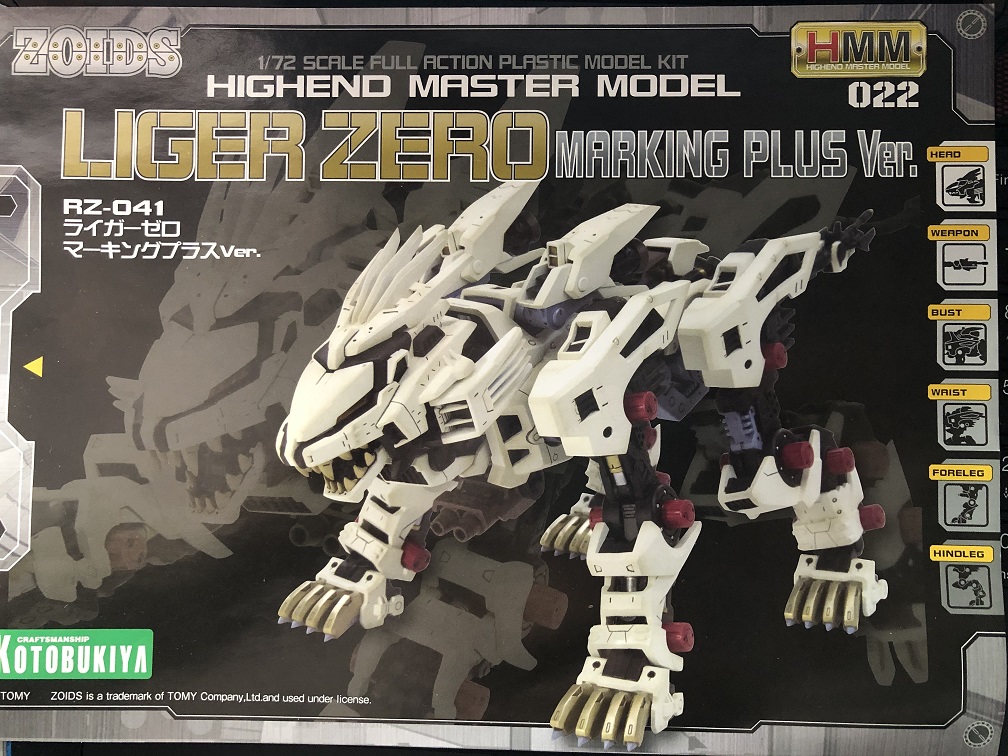
Welcome to a new “How to Guide” article! This is the second part of “Liger Zero- The Stray Kitten Series”! I’m Anthony and today I’m here to share with you a few tricks and painting techniques I used to build a 1/72 Scale Kotobukiya Zoids: Liger Zero.
Today we are going to be focusing on weathering effects, detailing and markings made after applying the base paint.
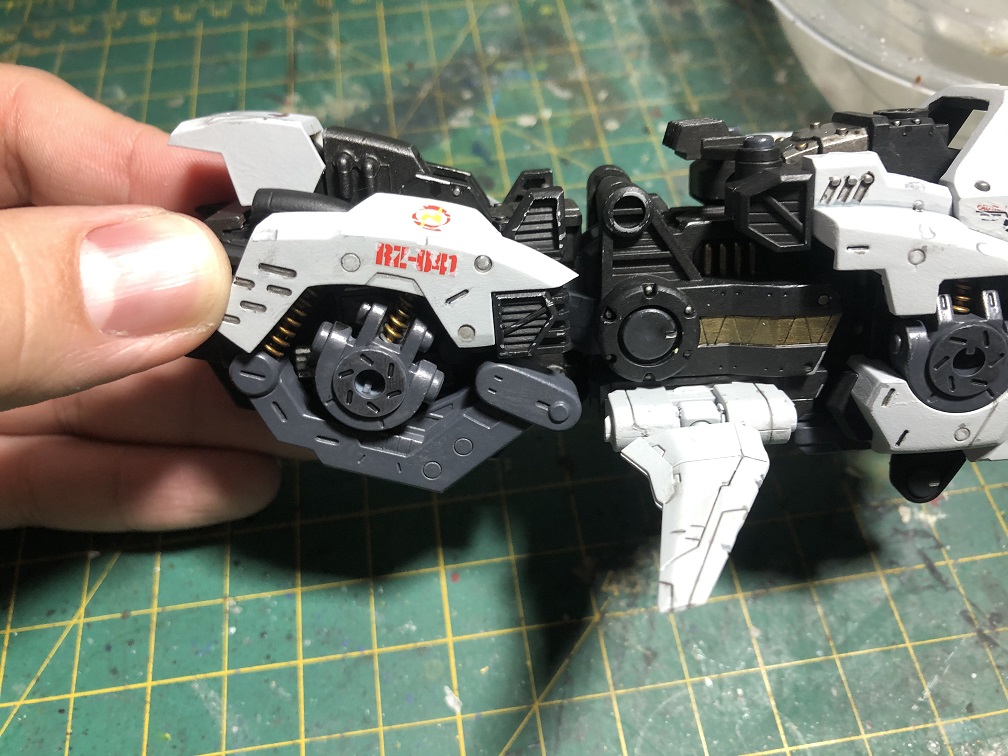
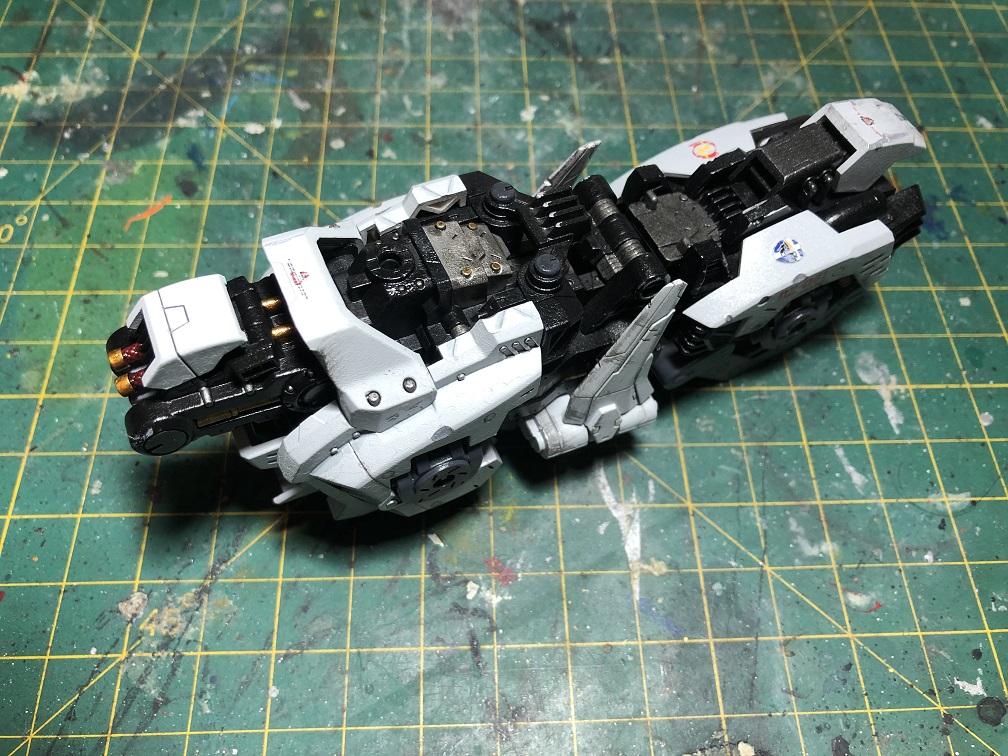
For this article, will be working on the main body of the mech, while also following the character idea built back in Part 1.
Without further ado, let’s begin.
Starting point
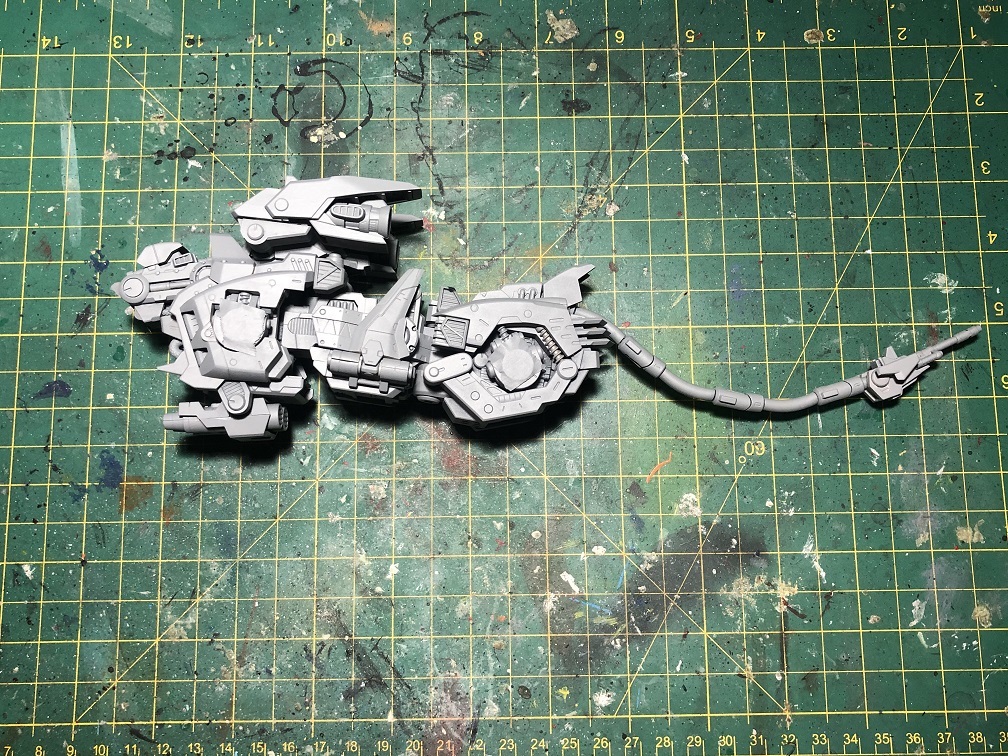
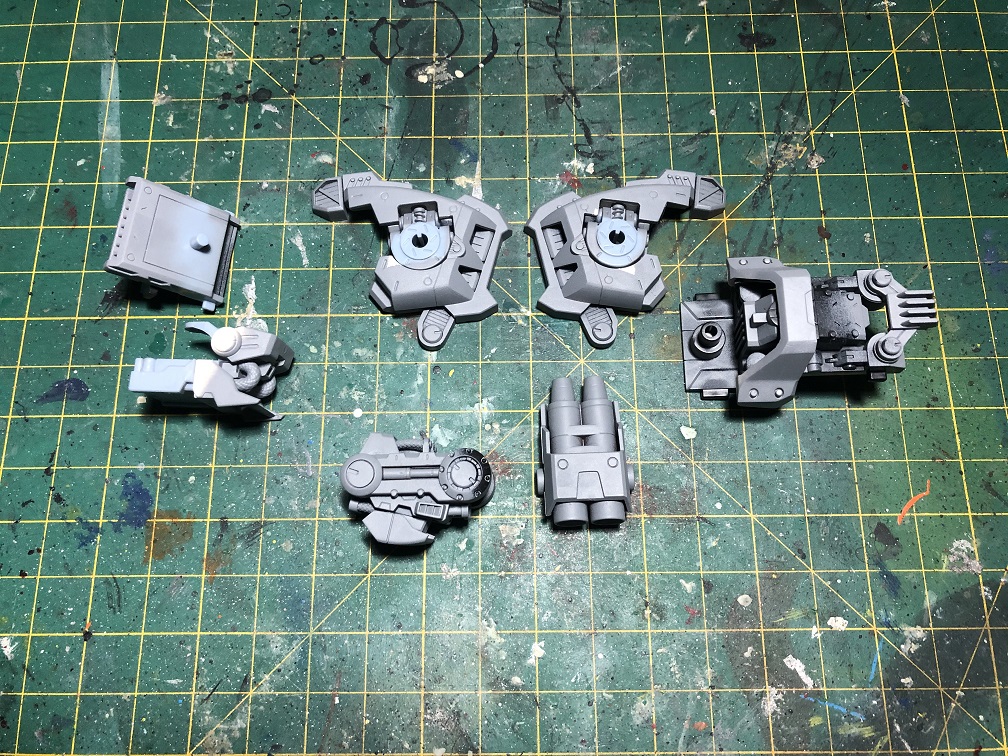
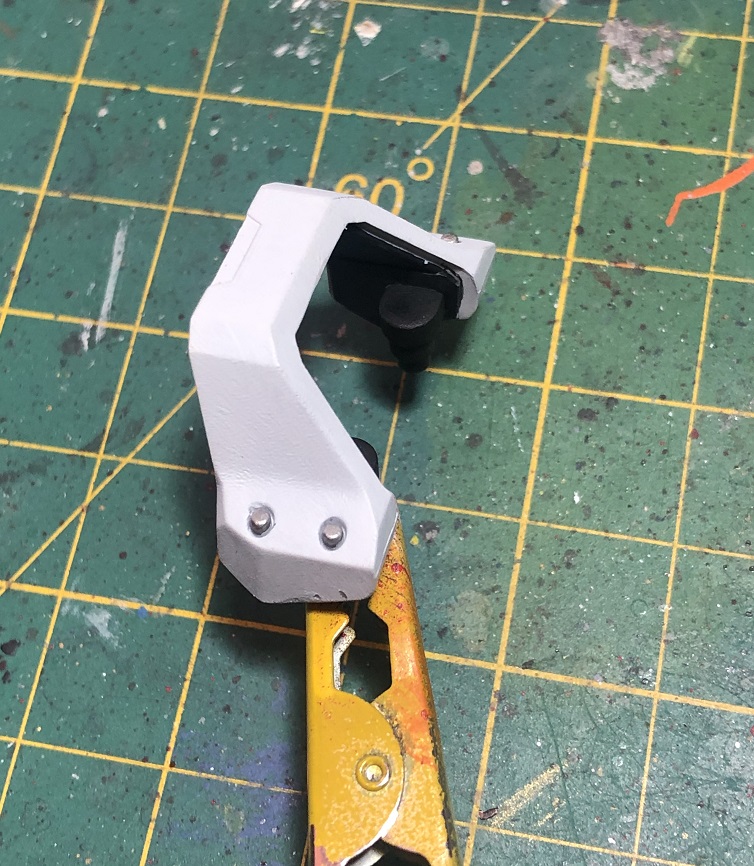
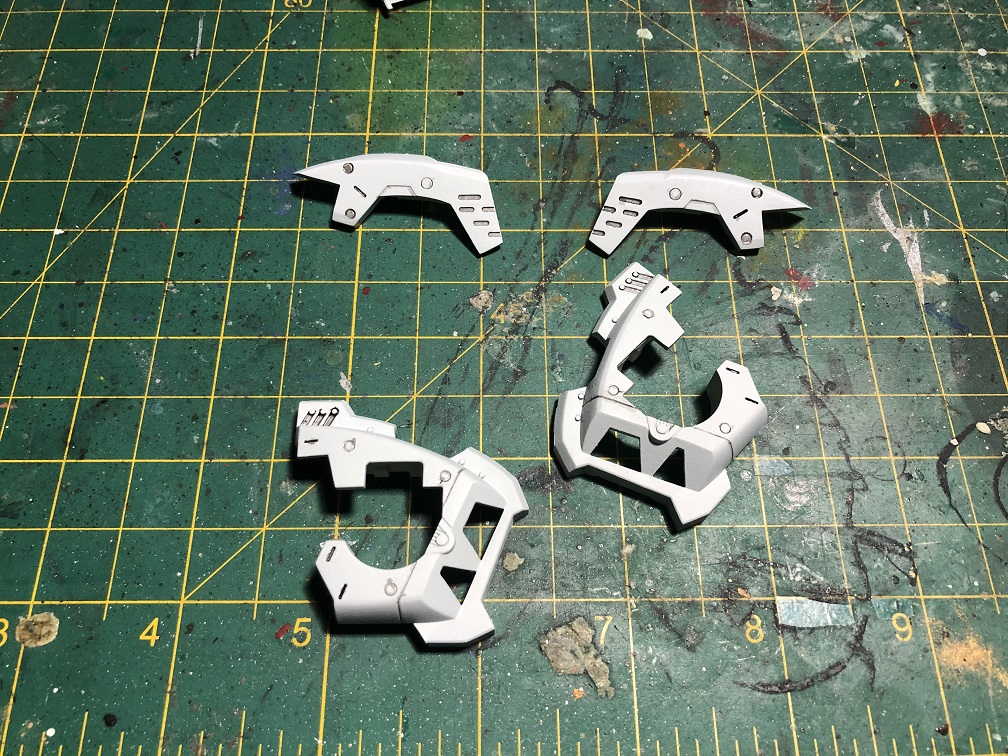
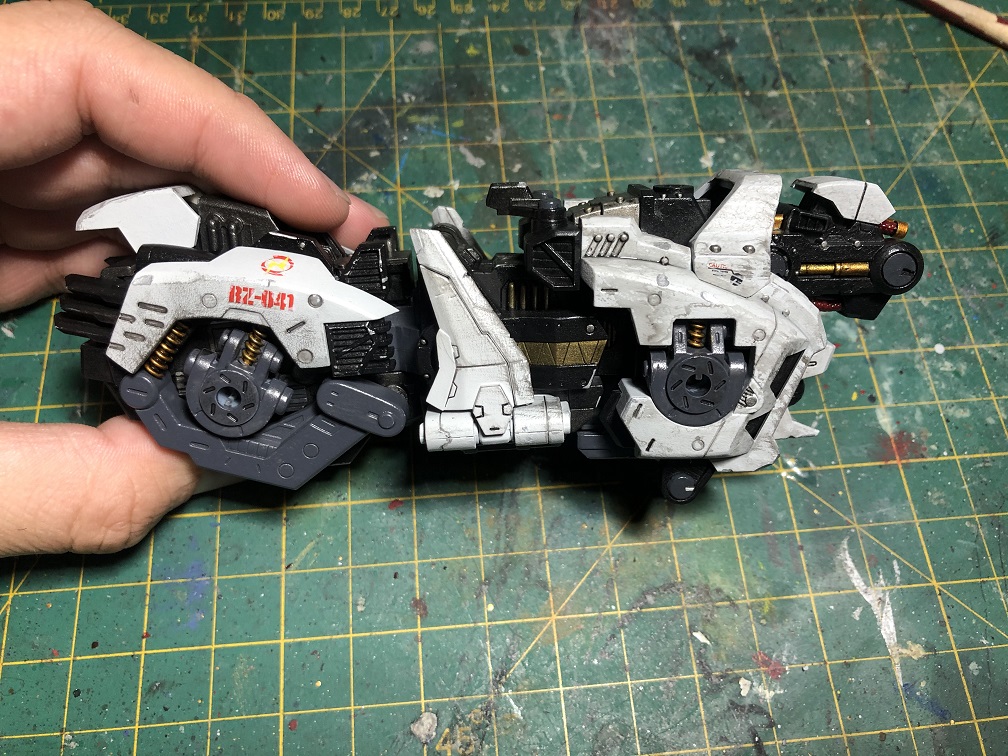
Before we start painting, let’s build the body. For this we need our nippers, hobby knife and sanding paper or tool.


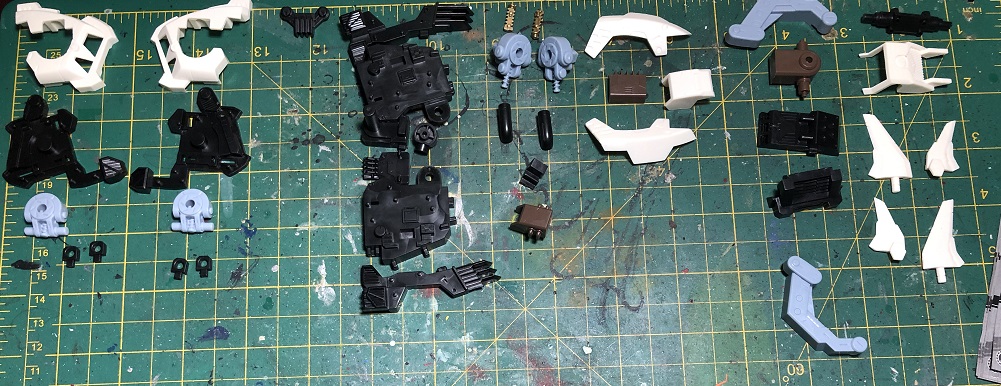


I’m going to list all the paints used for base colors and where to apply them, in case you wish to apply the same paint scheme. First I applied a basecoat with a spray can paint and then painted with a brush over it.

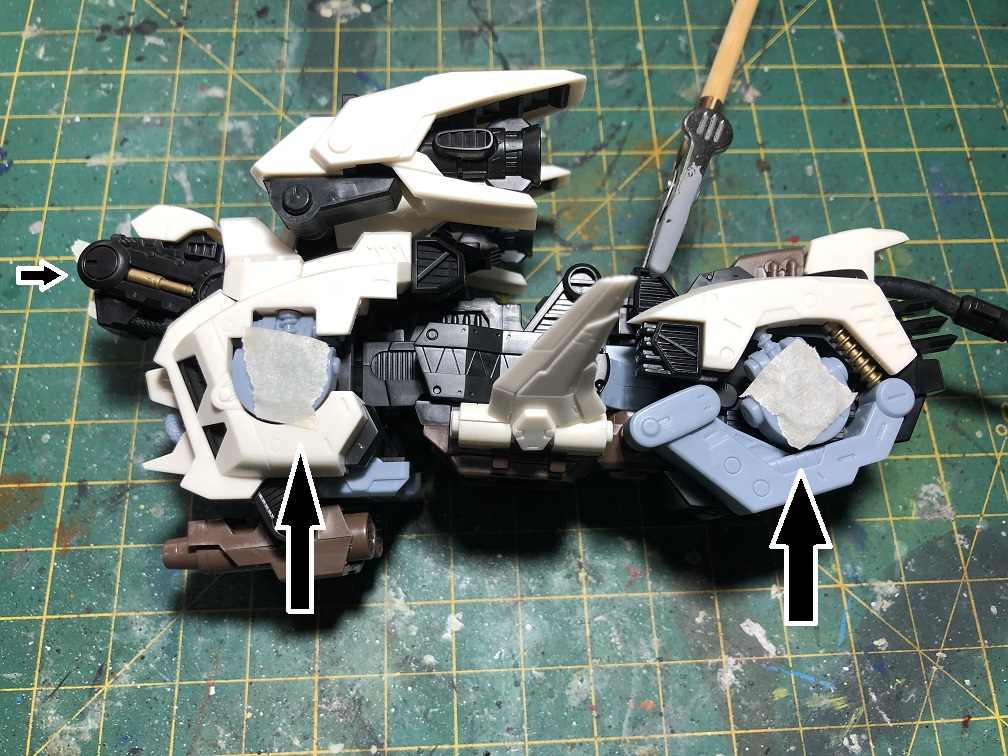
I covered the sockets for the legs and head with masking tape to prevent the paint to get inside. If you base coated a subassembly and then turn it apart, you may notice places were the basecoat paint didn’t reached. This will show us which places of the sculpt will be visible and in need of painting and detailing. This method also works to protect the joints and prevent them to became stiffer


Remember to thin your paints; two thin coats are always better than a single thick coat. Almost all of the paints I used are Citadel, with a couple of Vic Hobby.
- Flat Acrylic Grey spray tin – For the basecoat.
- Citadel’s:
- Abaddon Black (flat black) – For the black plastic.
- Corax White (Flat white with a tiny mix of Pale grey) – For the white armor of the Liger Zero.
- a mix of 70% Leadbelcher (silver) and 30% Abaddon Black – For the brown plastic pieces.
- A 50/50 mix of Vic Hobby’s S-O Ocean Gray and Vic Hobby’s Nato Black– For the light grey plastic parts.
Side notes:
I’ll leave a few side notes here before we continue.
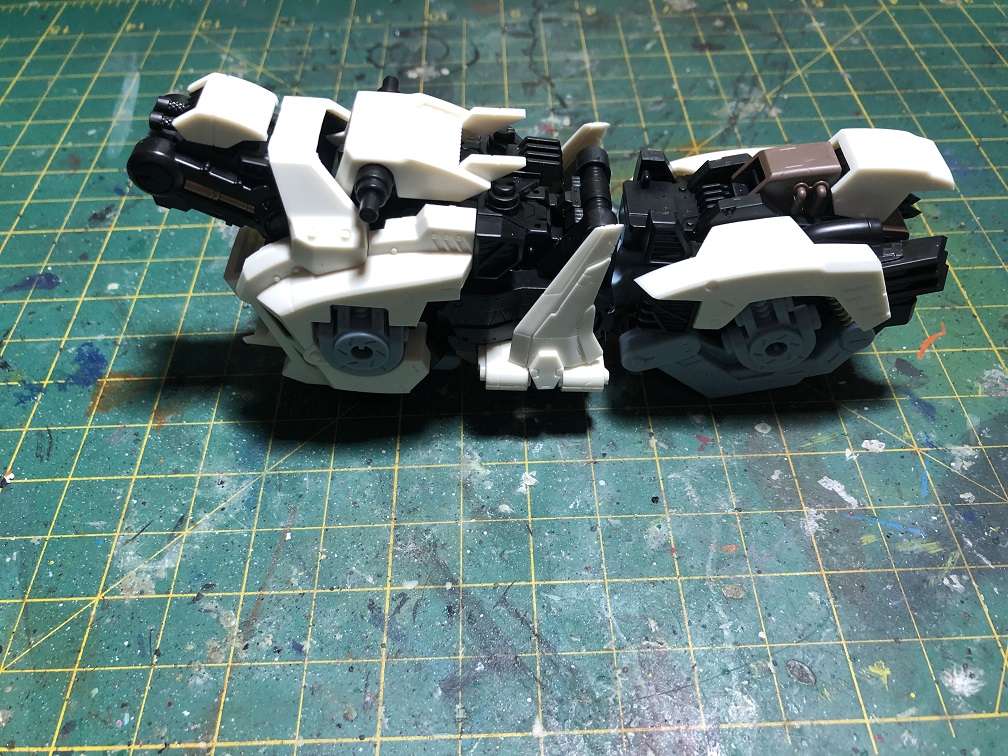
- You may have notice that I built and applied a basecoat to the tail, the chest cannon, and the thrusters. Even so, I’ll leave those for a future article, I only base coated them here because it was easier than doing it separately, and also to protect their joint sockets.
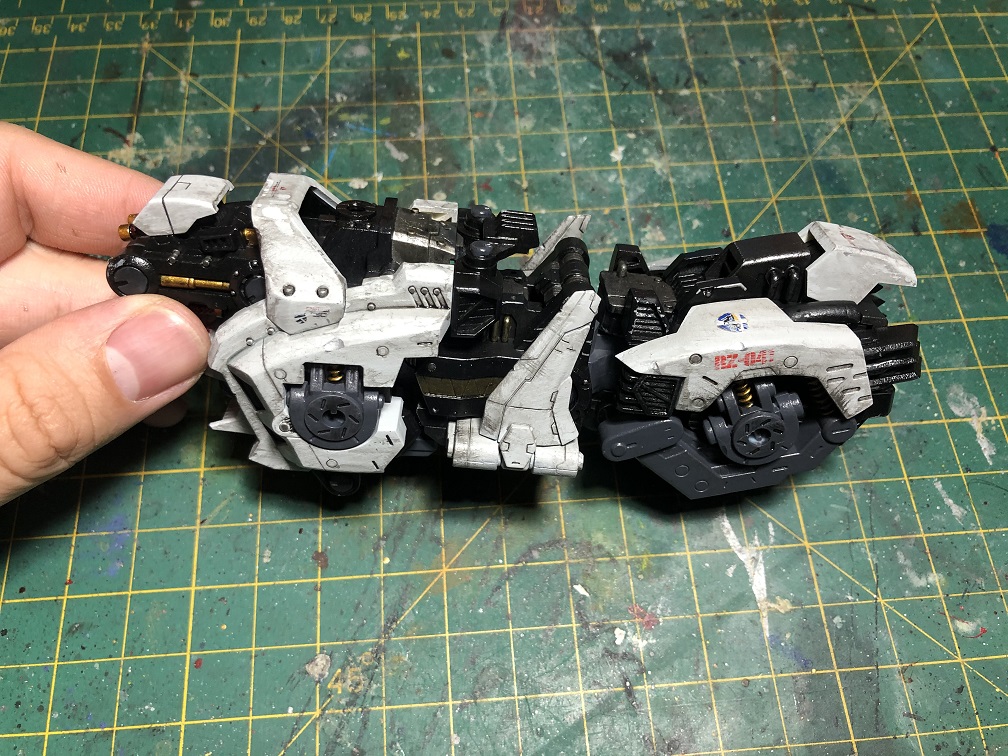
- When I painted this part of the kit I did it by sections or subassemblies: first the neck, then the waist, the hips, and so on, finishing each part before passing to the next. But I realized that if I describe that process in this article it would be way more extensive and repetitive.
Detailing
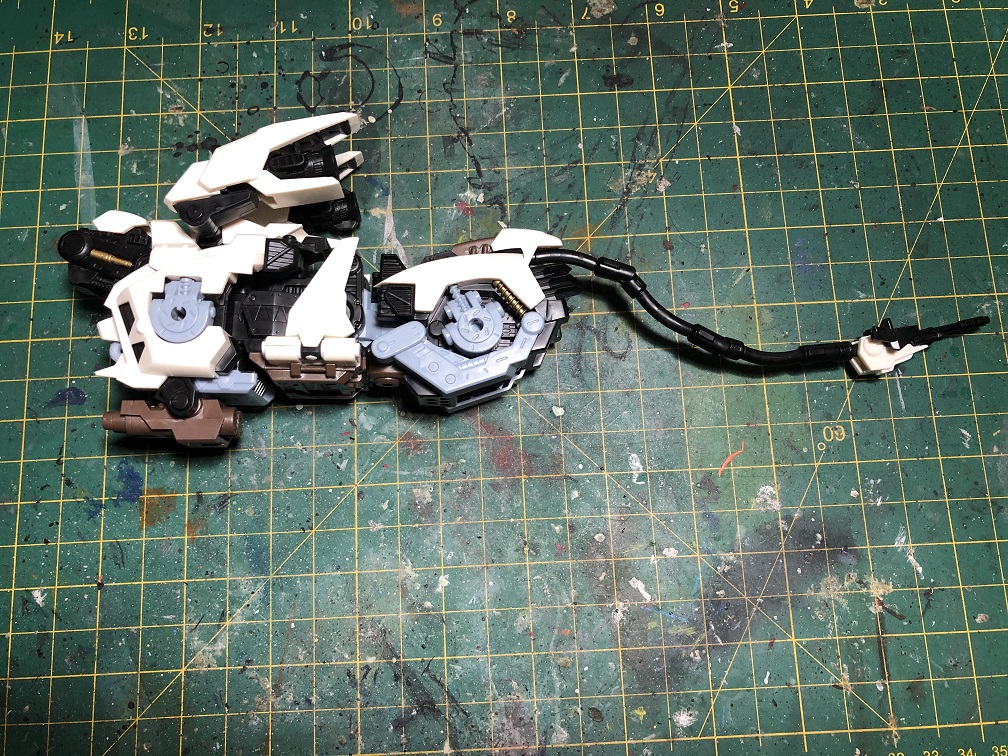
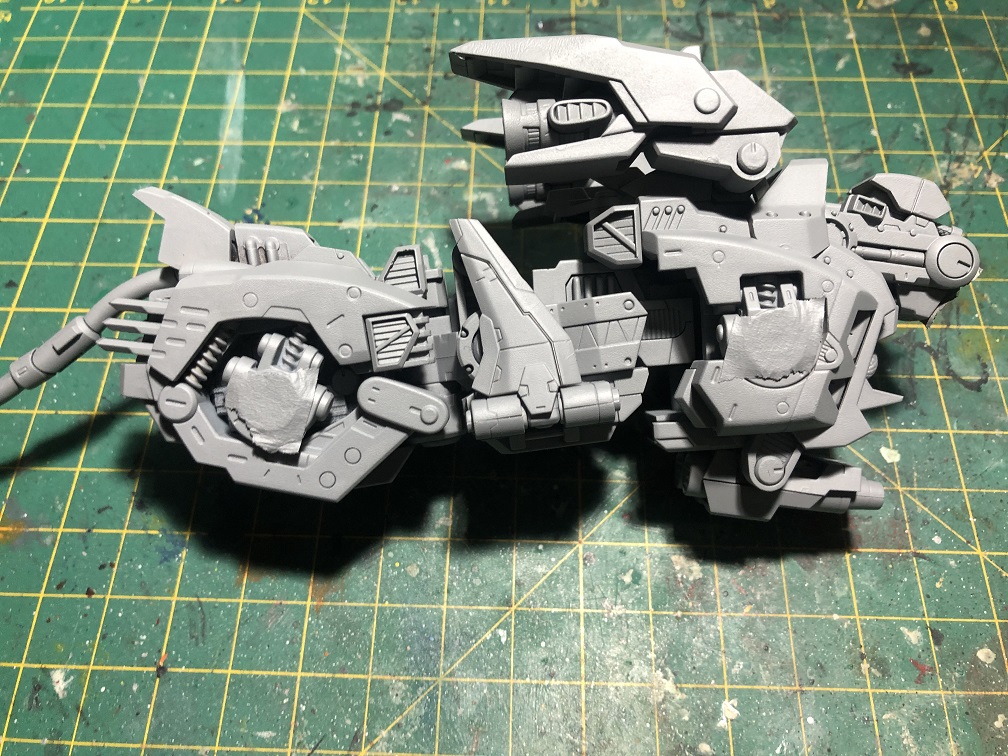
The Kotobukiya’s Zoids kits are highly detailed, but unfortunately (not really), they are not painted.
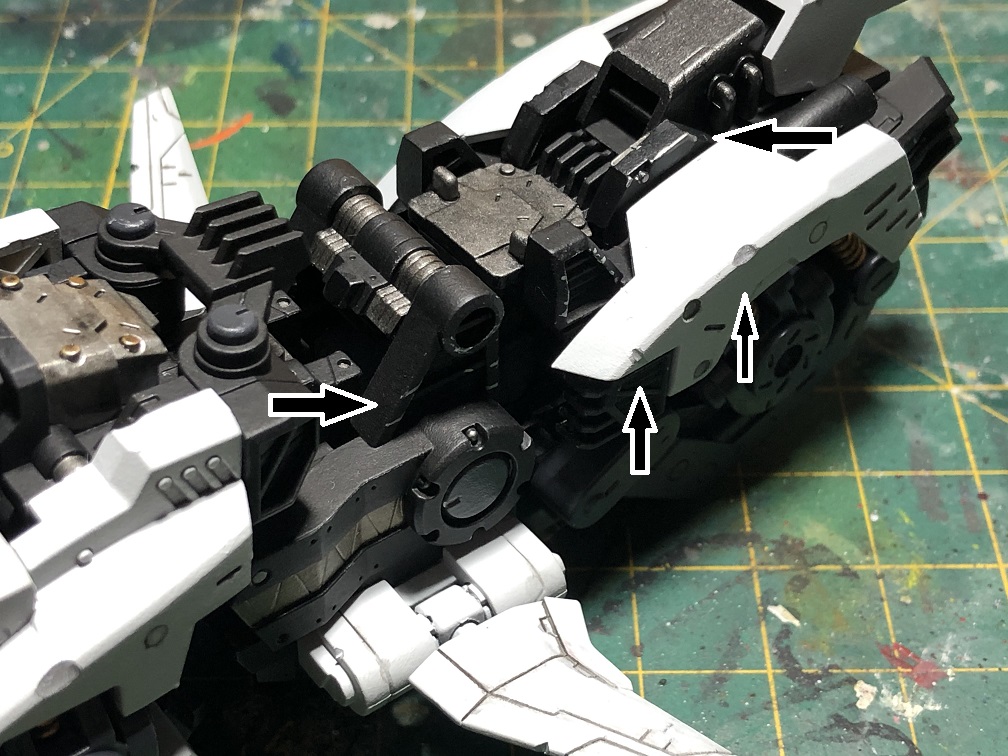
If you watch carefully, you will notice a lot of details all over the body: pistons, hoses, crews, springs, etc. This is what we are going to be painting today, all those small details.
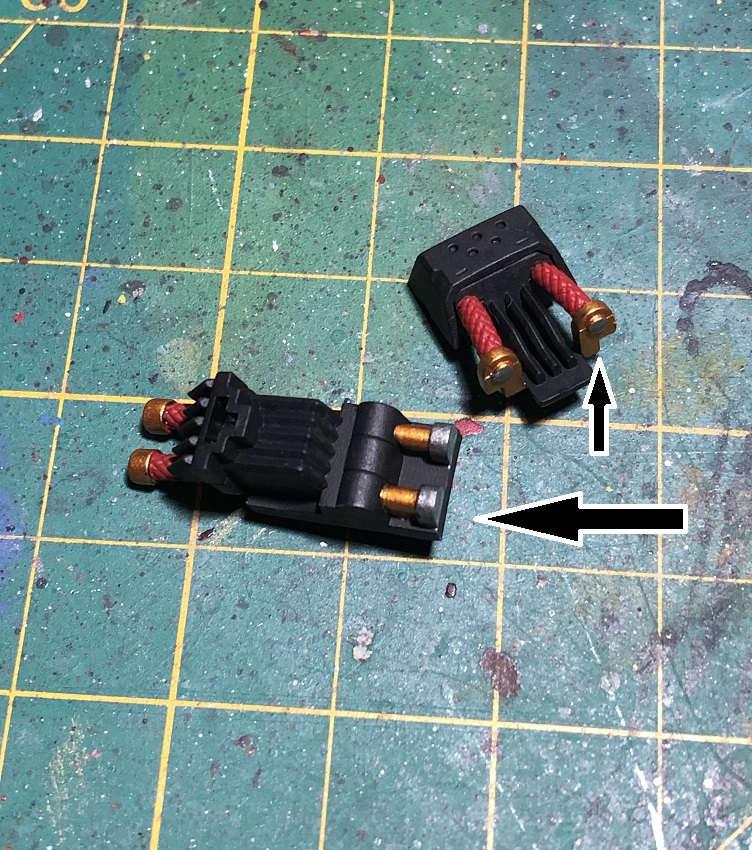
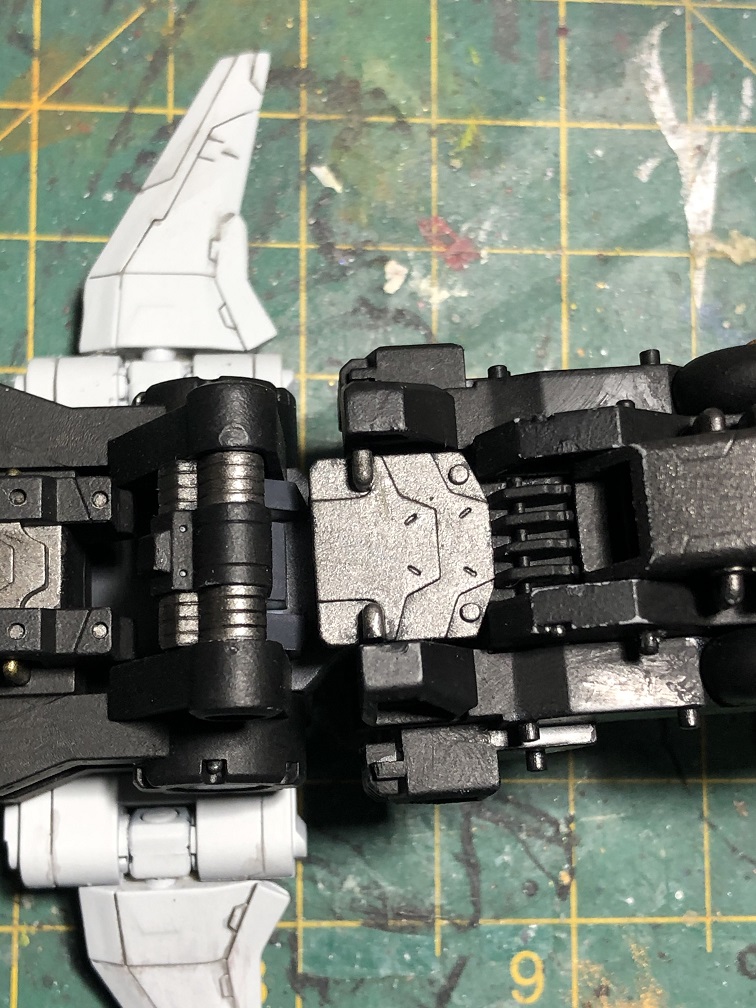
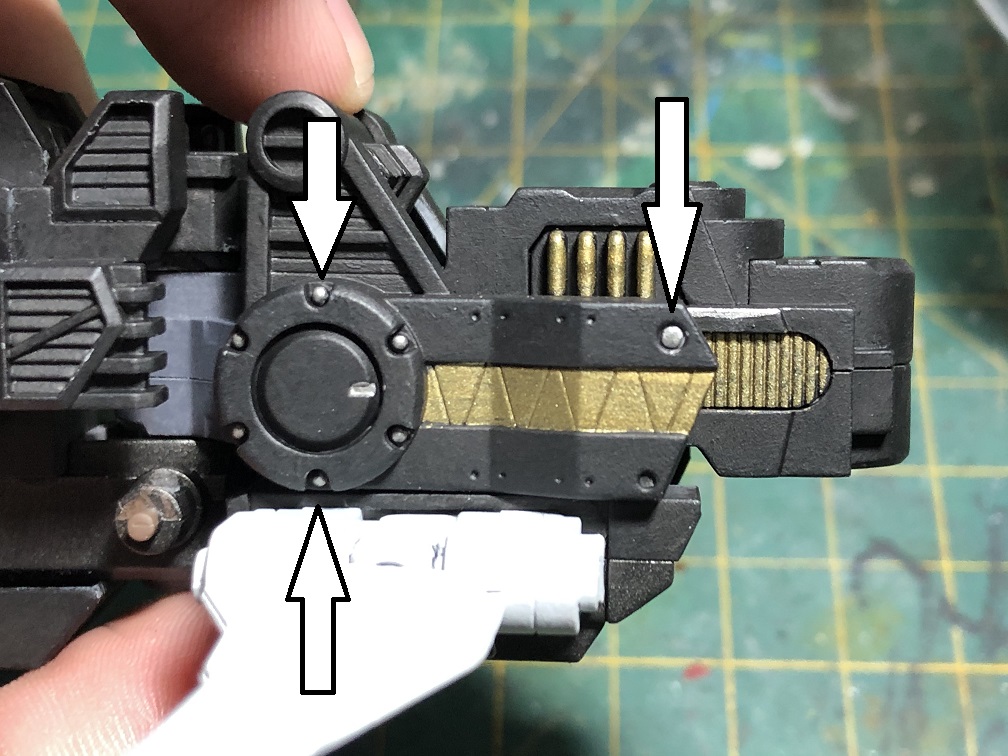
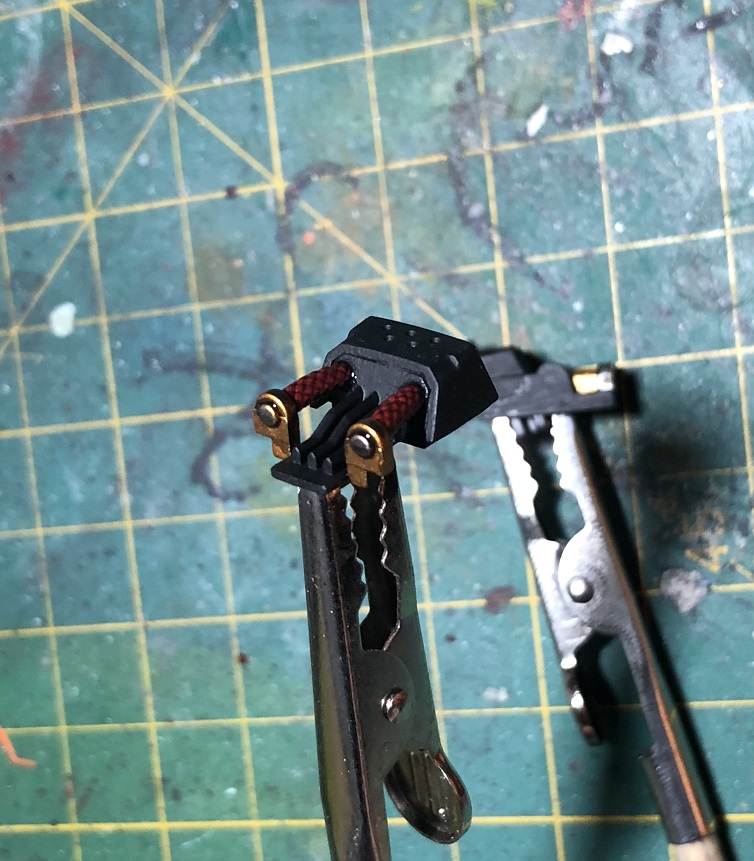
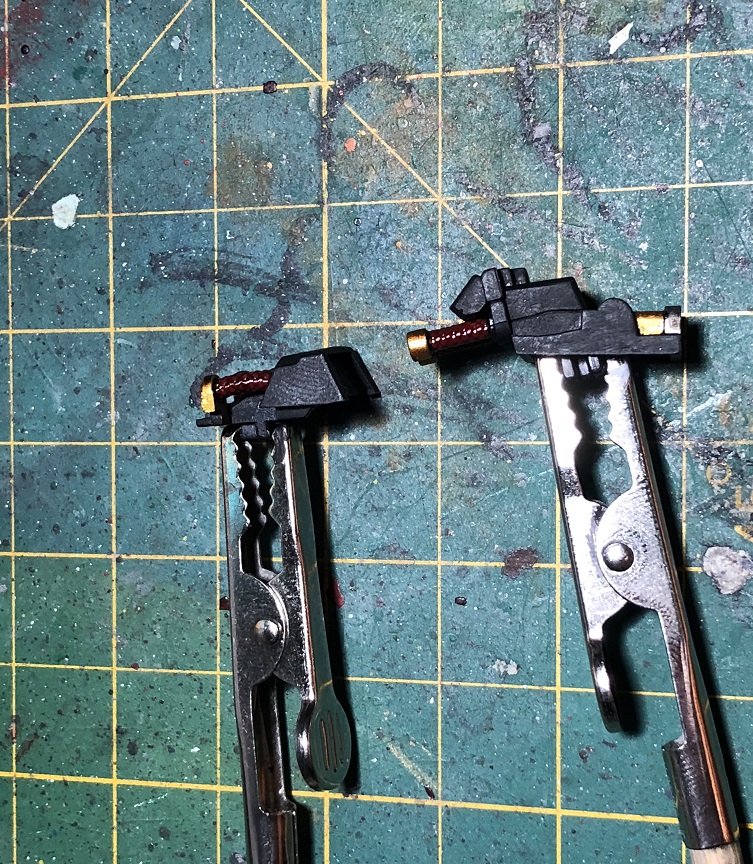
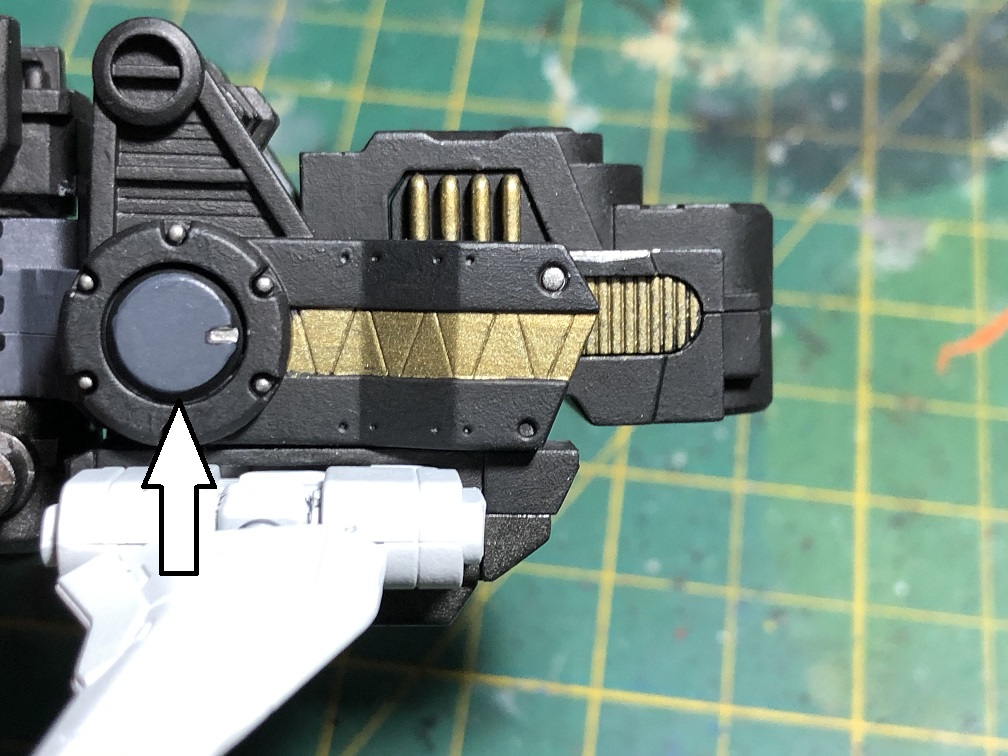
Hydraulics and suspension
You may notice while we were building it, that this kit have a few pistons, springs, and hoses, especially near where the legs would be attached to the body and around the neck. Some of them are molded in, while others were separate pieces. Let’s start here, shall we?
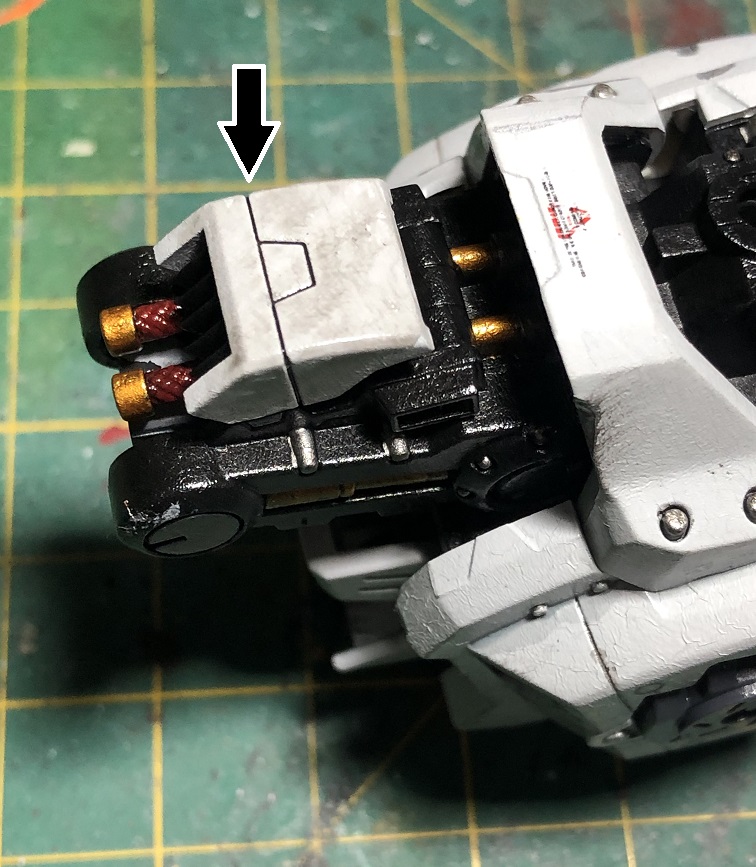
The paints we are going to use are Citadel’s Mephiston Red (flat red) for the hoses.
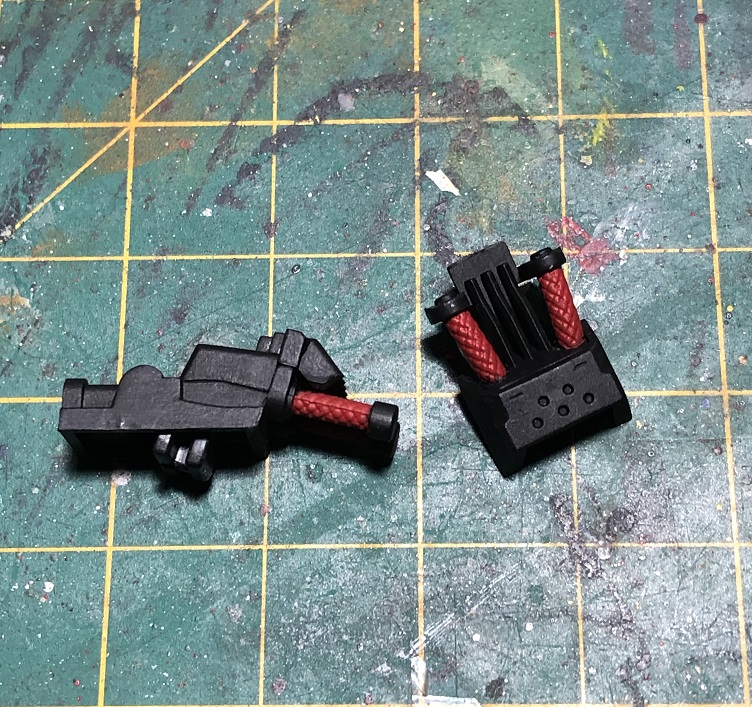
Citadel’s Retributor Armor (gold) for the pistons, the suspension springs, and rings and tubes of the hoses.


And Citadel’s Leadbelcher (silver) for the hose caps.
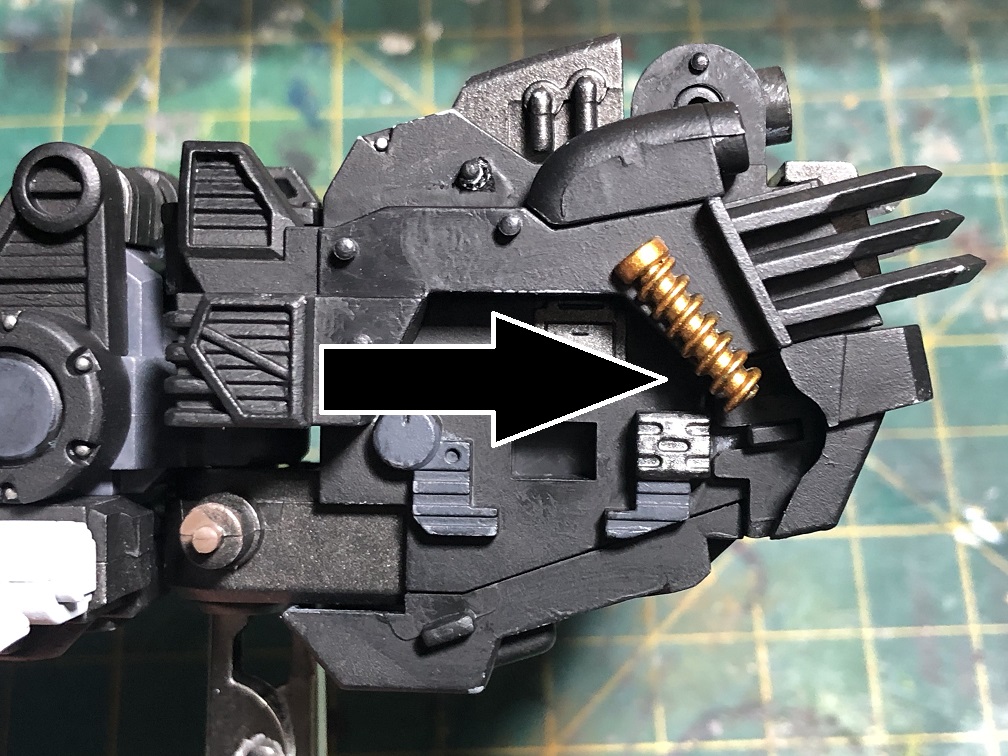
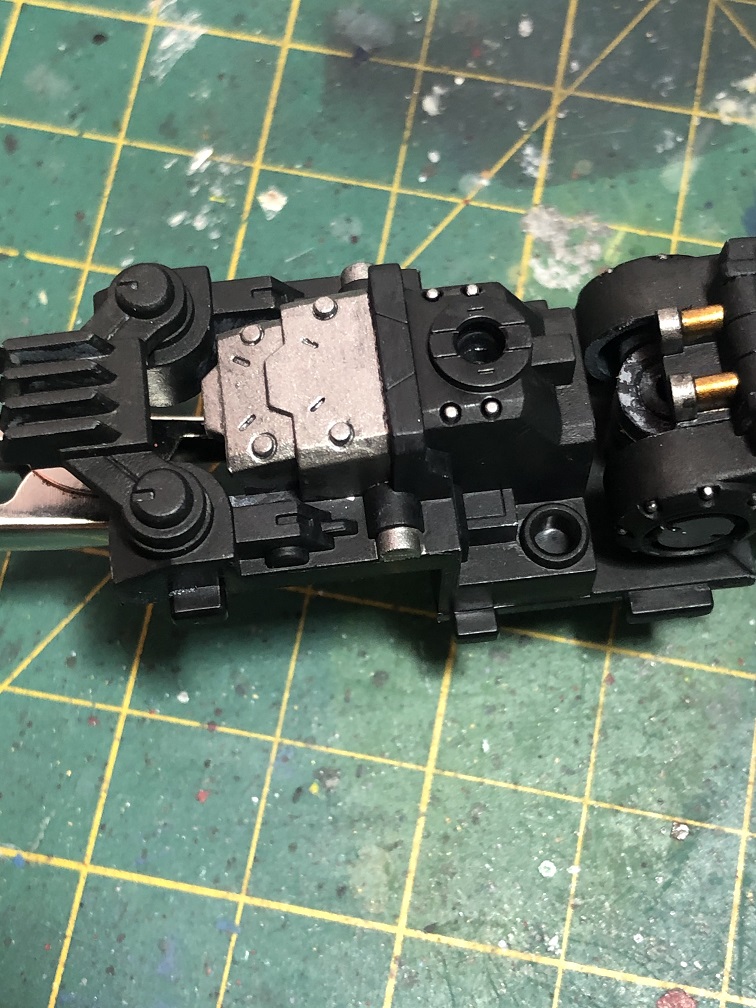
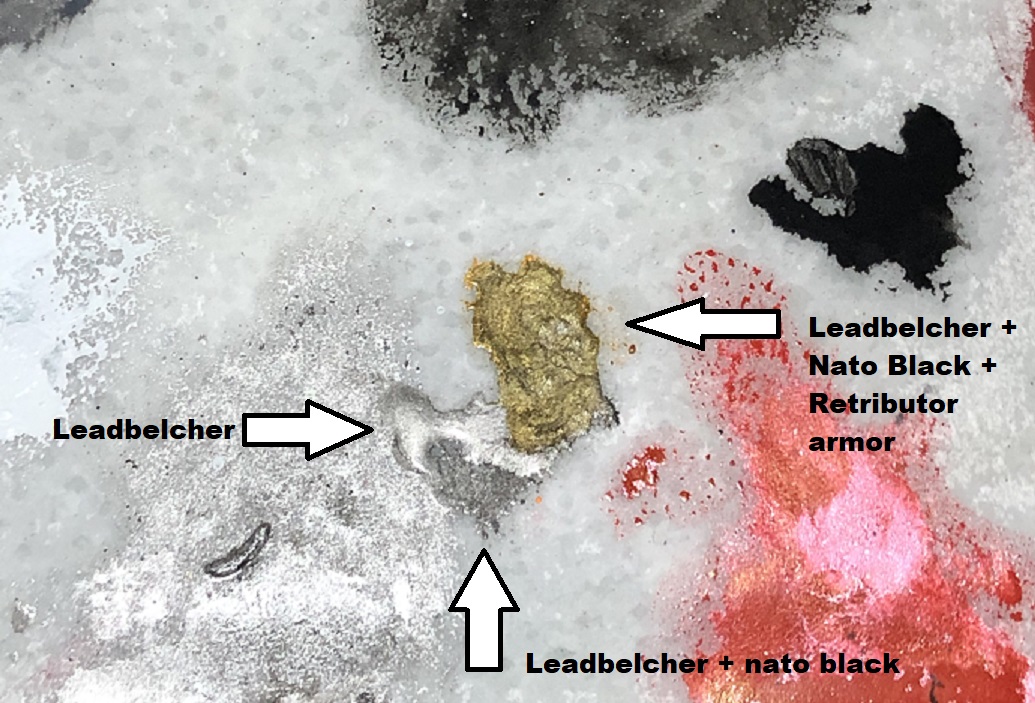
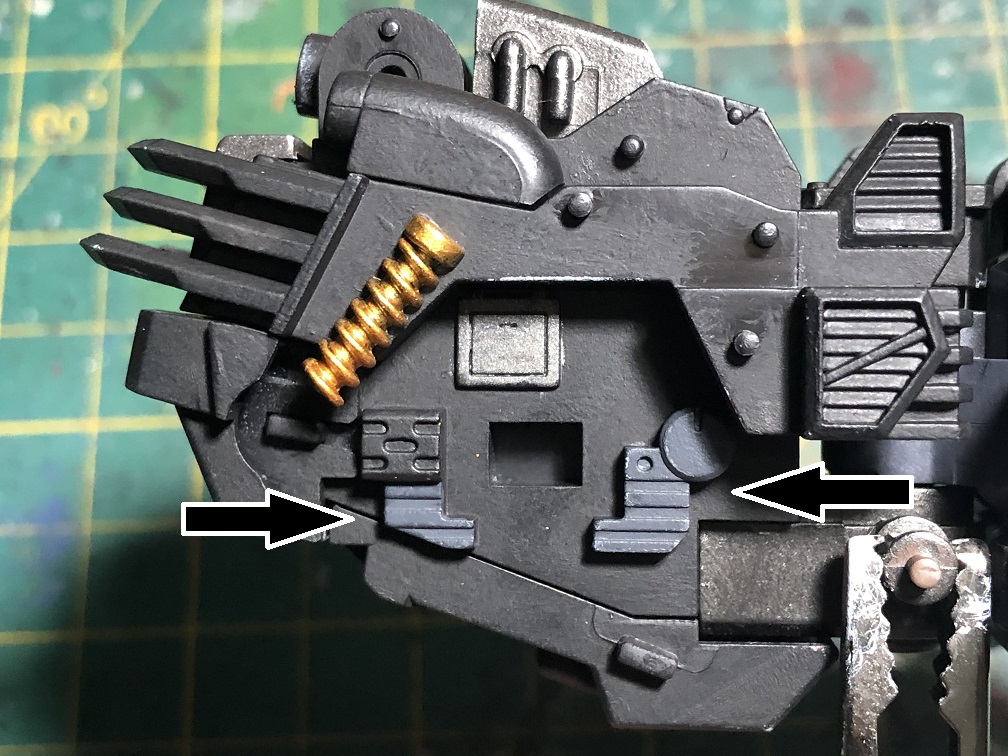
Painting metallic panels
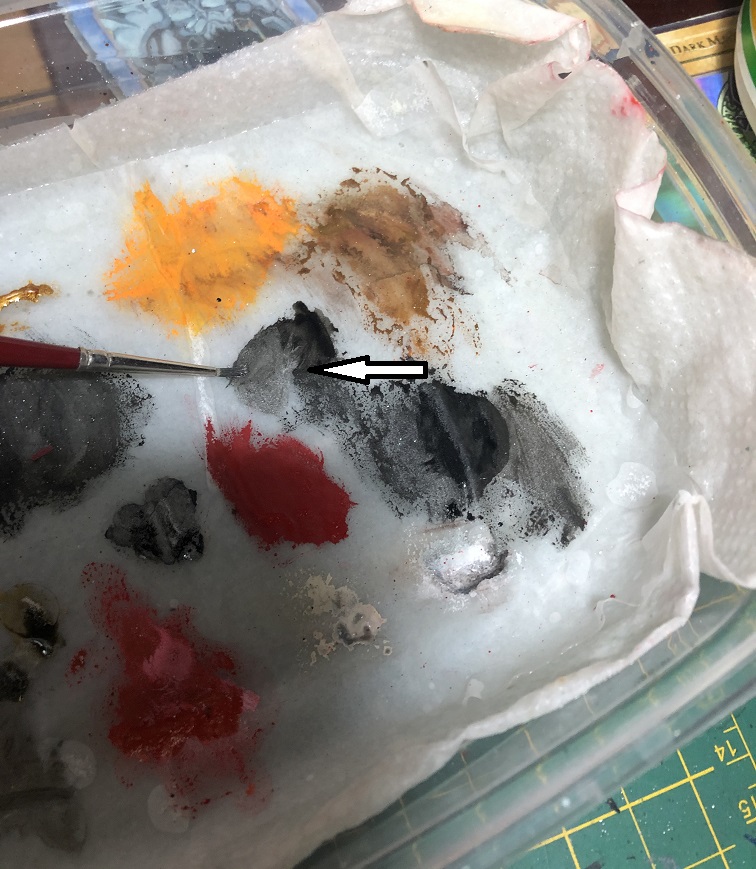
We’ll begin by adding some metallic details. For this we are going to use the same silver and gold paint we used on the hydraulics plus Vic Hobby’s Nato Black.
What we are going to do is create a 70/30 mix of silver and black. What we are looking for is to get a darkened silver tone, much like a gunmetal. We are going to apply this to different panels all over the body.
It’s up to you which panels you wish to paint. It depends on how you want your mech to look.
After that, let’s add some gold to our gun metal mix. We are looking for a brass color.
And, just like before, apply it on different panels all over the body.
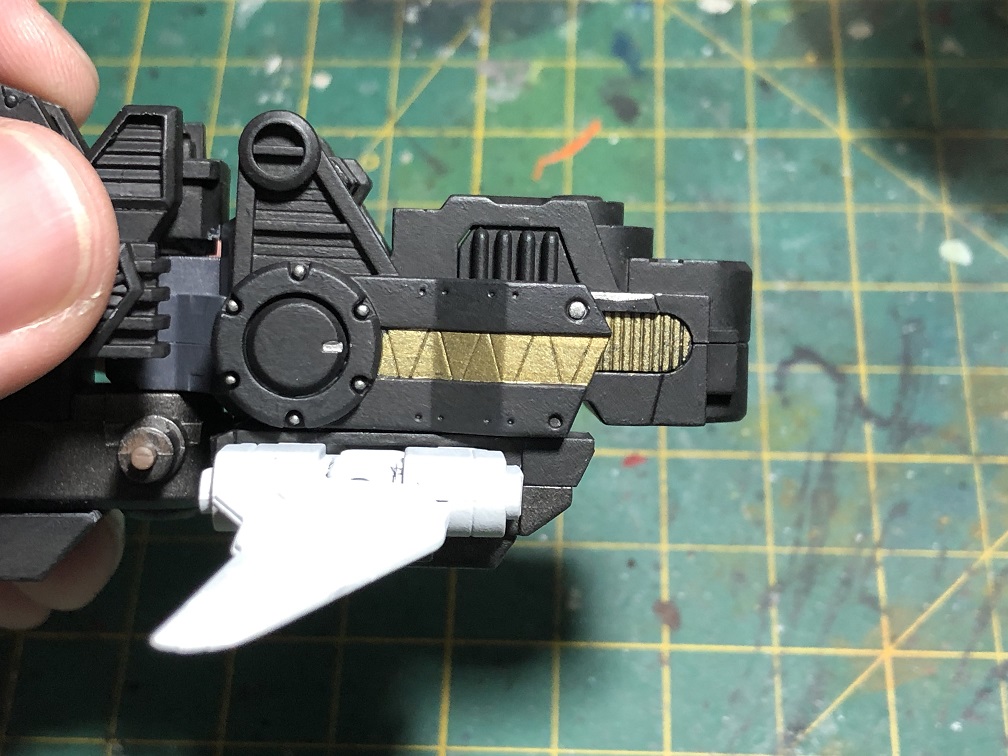
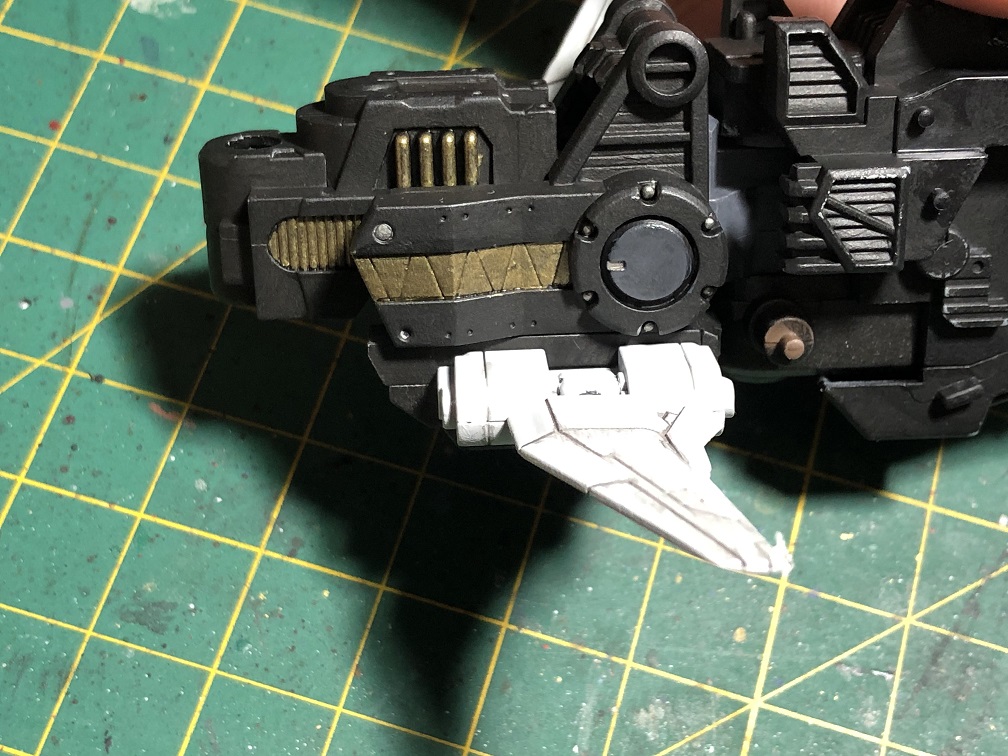
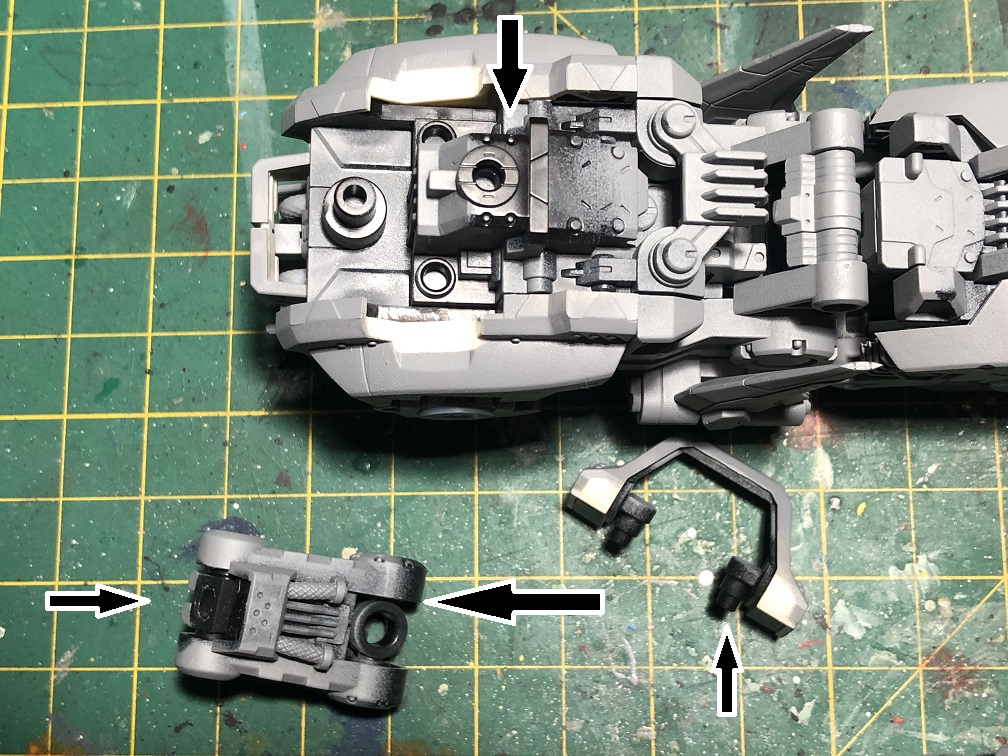
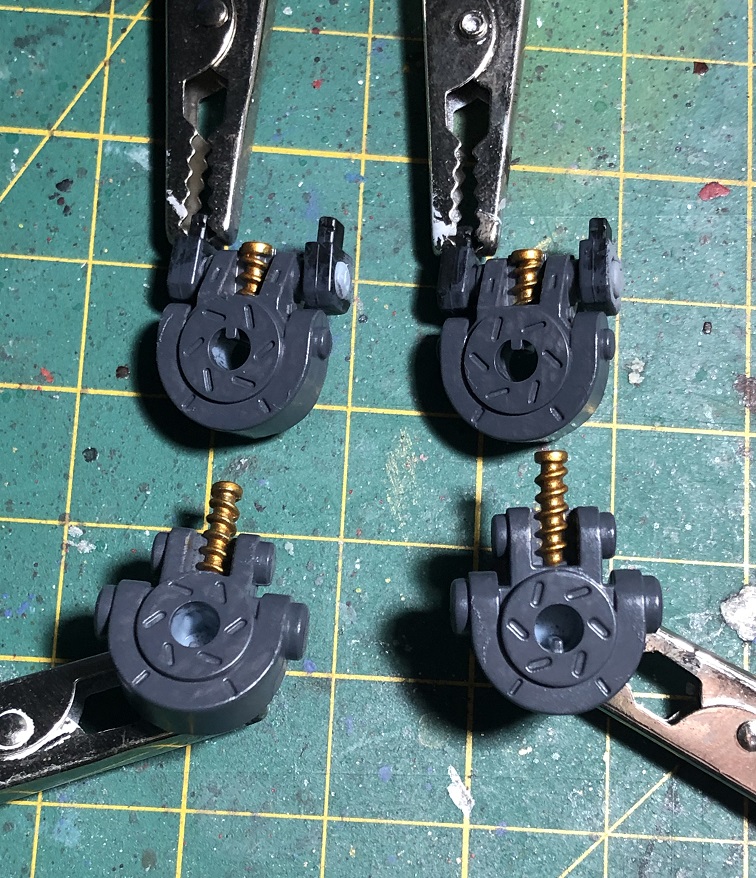
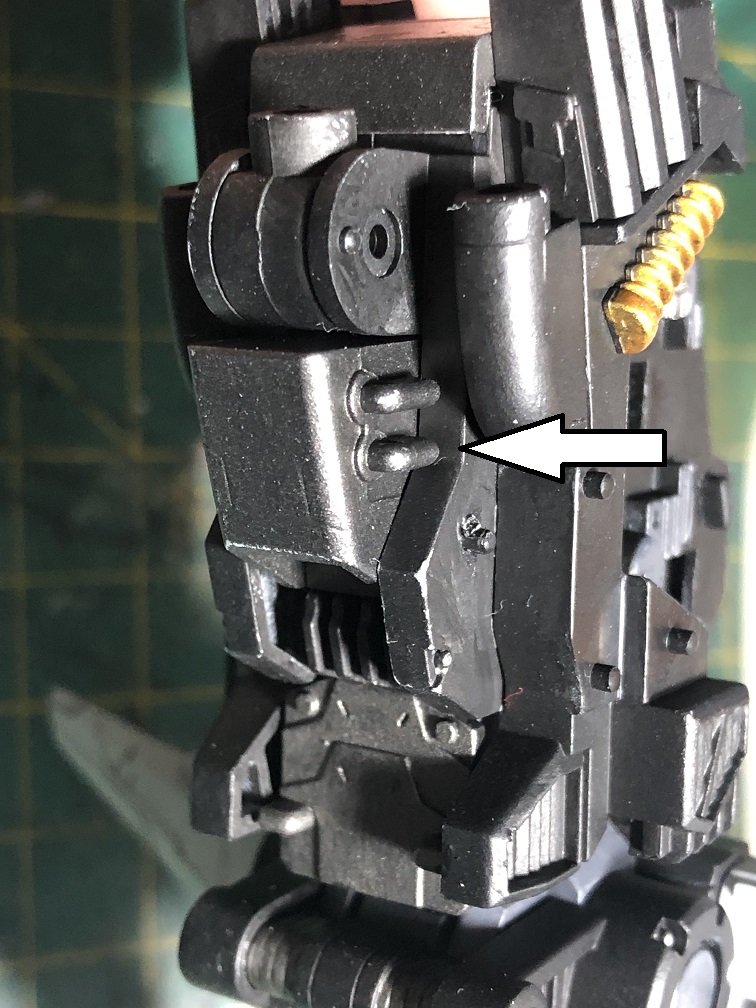
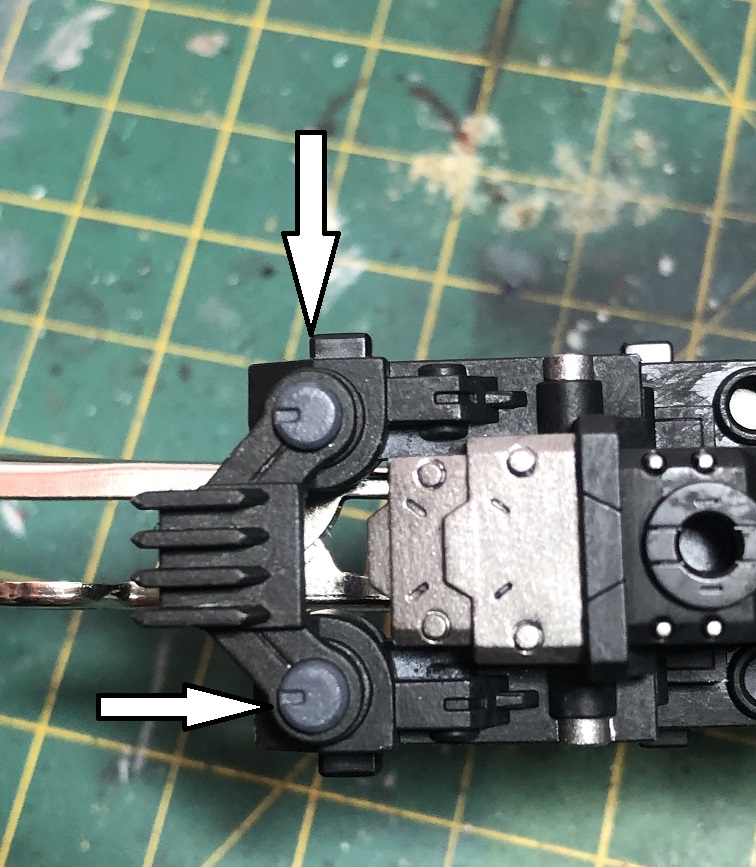
After that, let’s paint all of the screws in the body. First we’ll use our brass mix for those screws on the gunmetal panels and then, silver for the rest of the screws. Take your time and watch carefully, this kit has a lot of screws molded all over the body and on the armor, too.
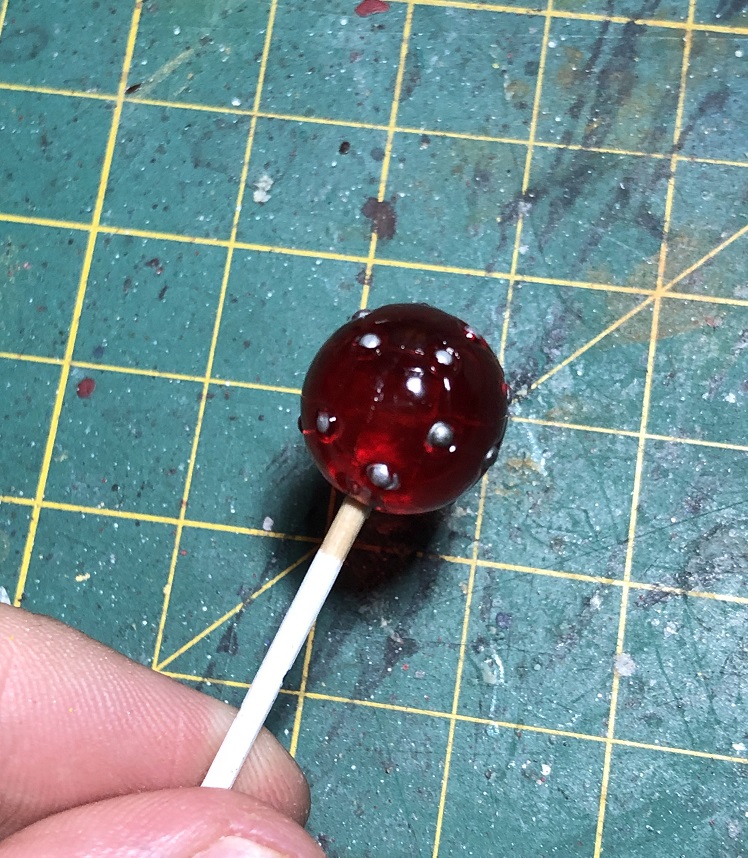
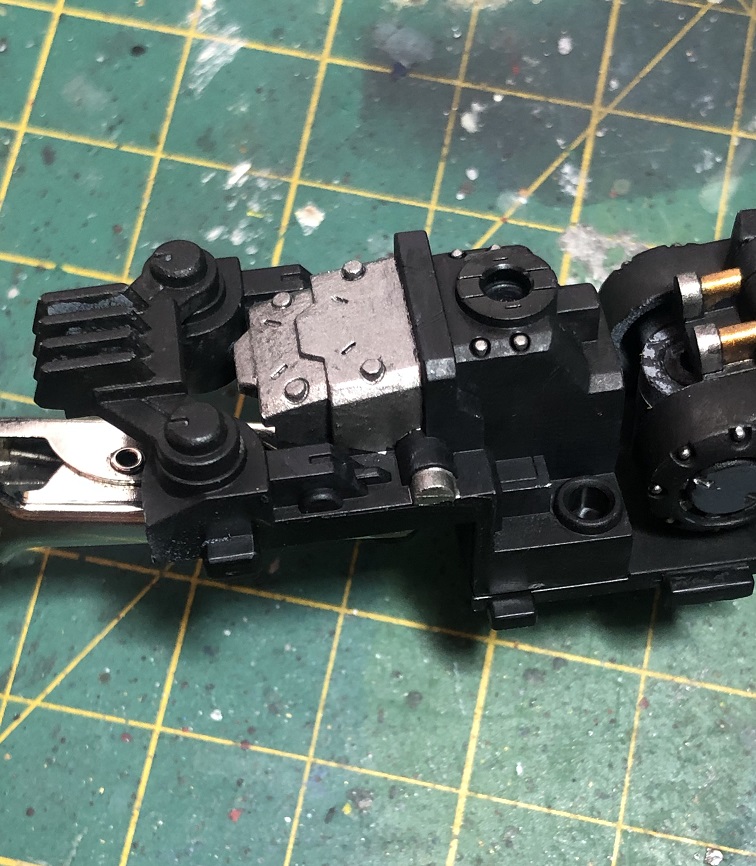

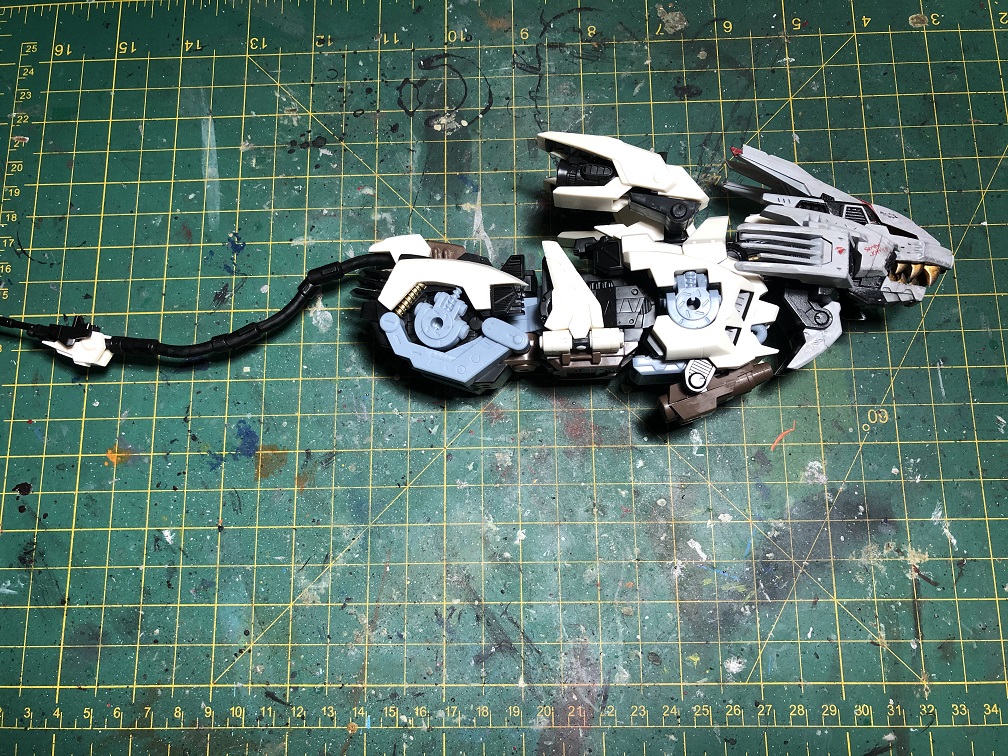
When we are satisfied with how it looks, it’s time to apply a wash on all these metallic parts, to make them look dirty and “oily”, like a real machine.
For this, we’ll use Tamiya’s Panel Line Accent Color.

We are going to apply it all over the metallic panels, the screws, also to the pistons, springs and hoses.
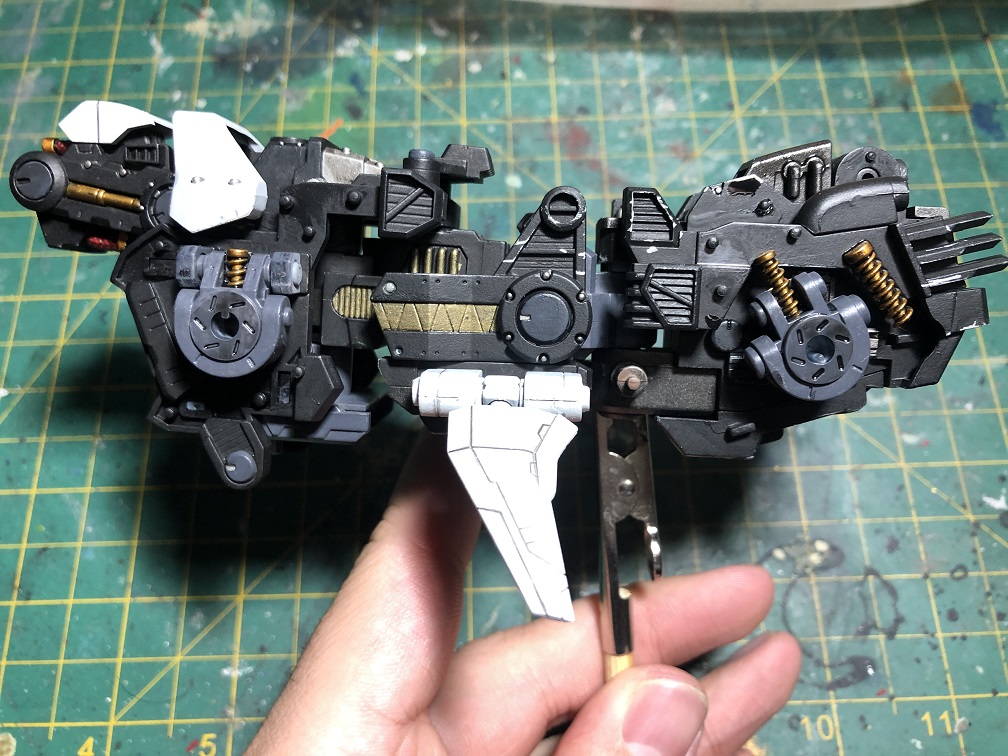


Don’t worry if some paint builds up in some surfaces; this will create the effect of oil stains.
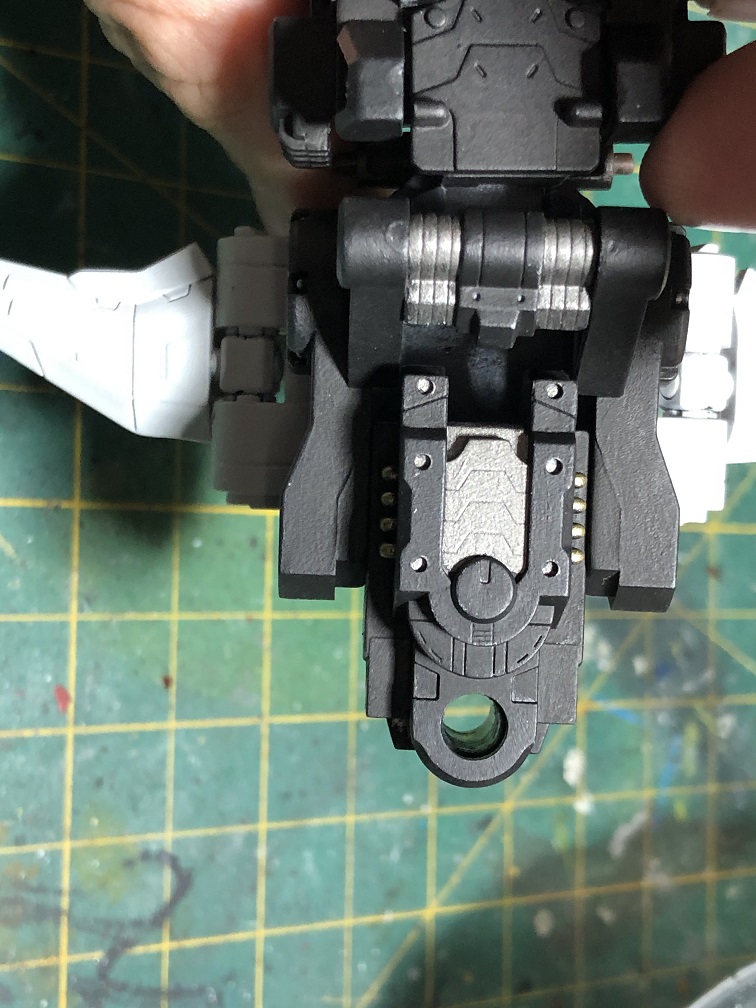
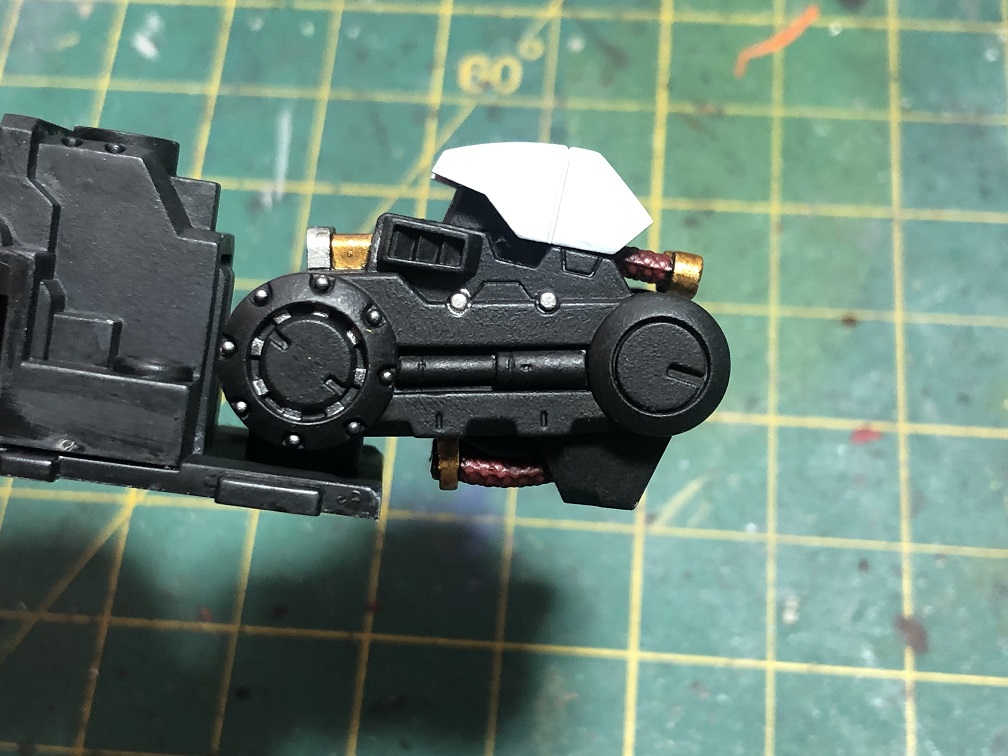
Other details
Let’s paint a couple more panels, but this time with a 1/3 Vic Hobby’s Nato Black and 2/3 mix of Vic Hobby’s S-O Ocean Gray. Let’s apply this in different panels; I recommend painting panels surrounded by black pieces, as this will create a nice contrast.
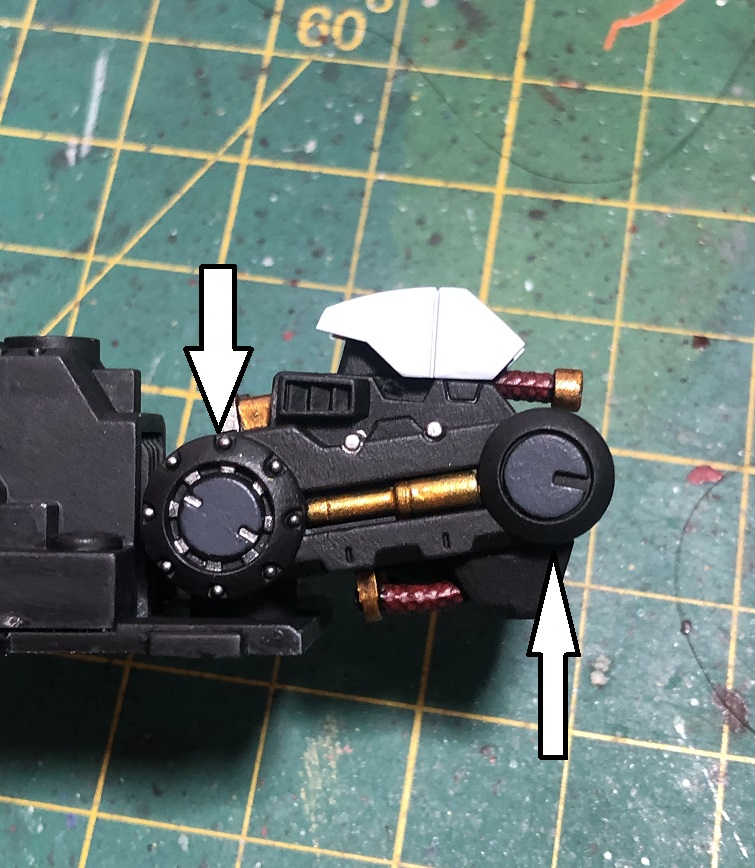
Also, let’s paint the hoses in the chest pice with flat black.
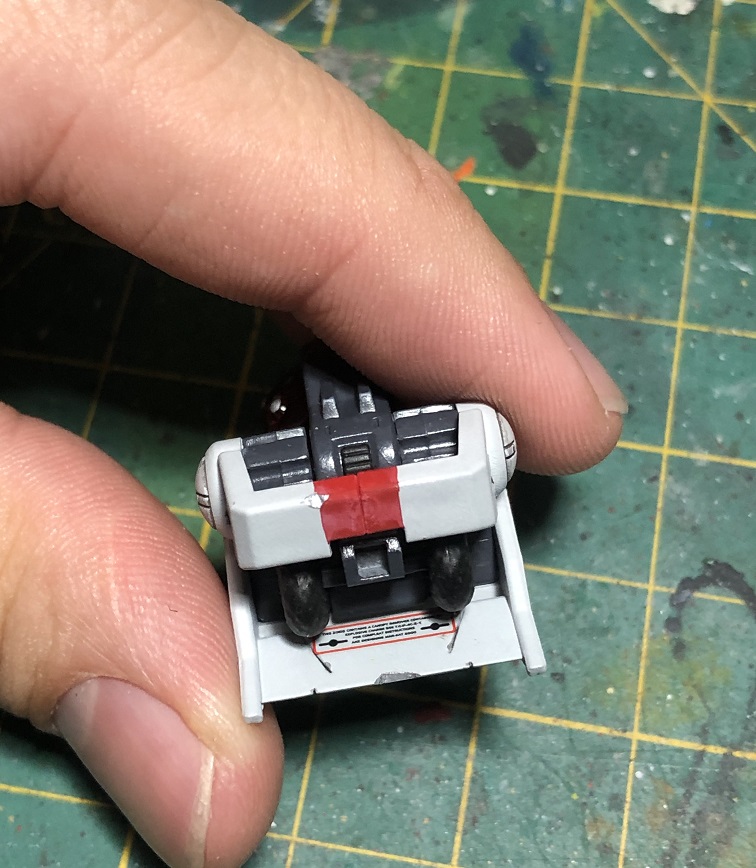
And don’t forget about the red stripe on the chest, we want to match the armor of our pilot, remember?
As a final touch, let’s apply some Tamiya’s Panel Liner on all the recesses in the white armor.
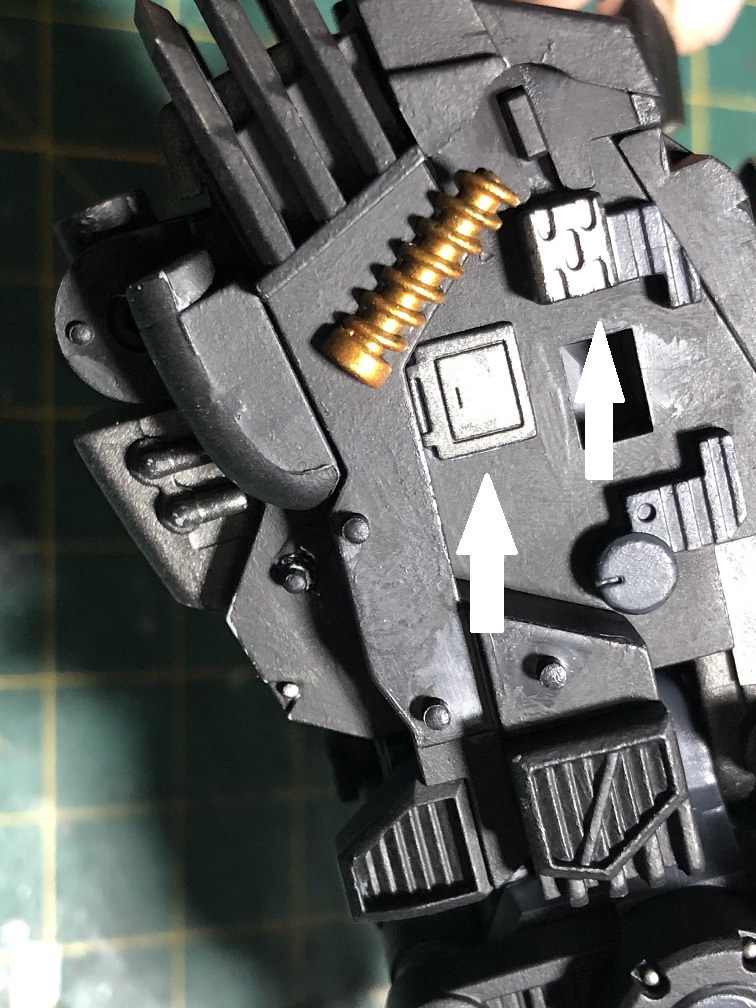
Battle damage
From here, the process for the battle damage is exactly the same we used for the head in part 1.
Heavy damage
First, let’s use our nippers and hobby knife to add some scratches and damage on the armor. Just like we did with the head.
Try to imagine where it would be more likely to be damage on the armor.

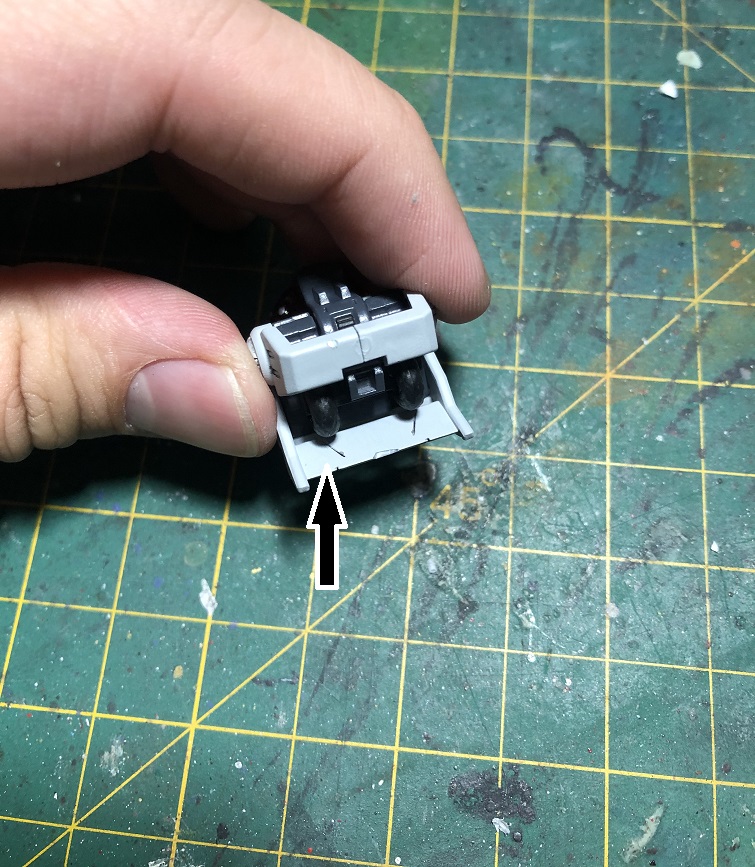
I didn’t add any prominent damage on the body like we did with the head because at the end of the day it would be covered by the legs. Maybe the more exposed parts would be the fins, and the armor on the hips and near the shoulders.
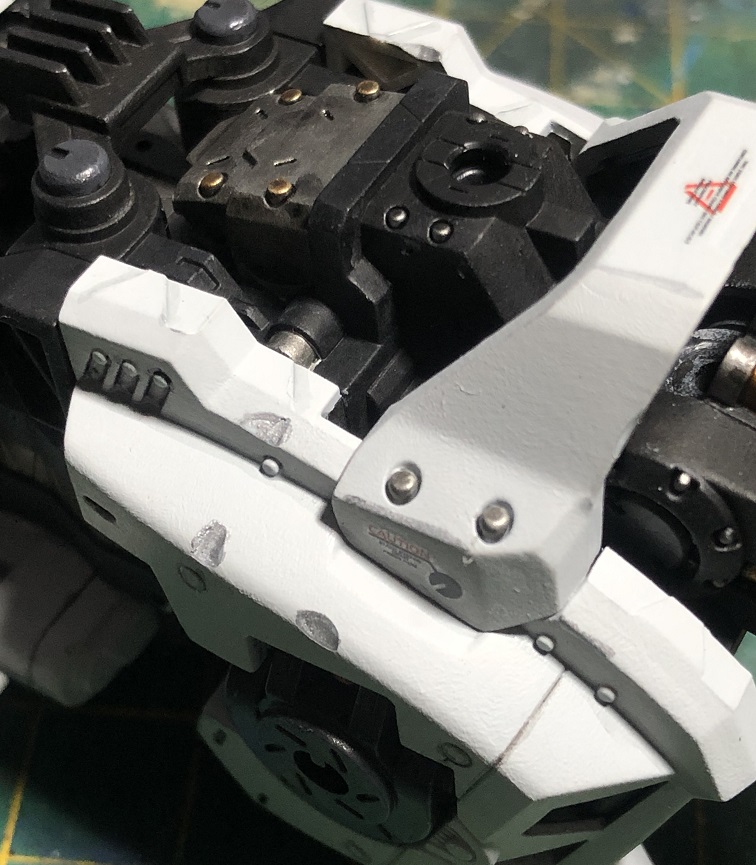
Water decals
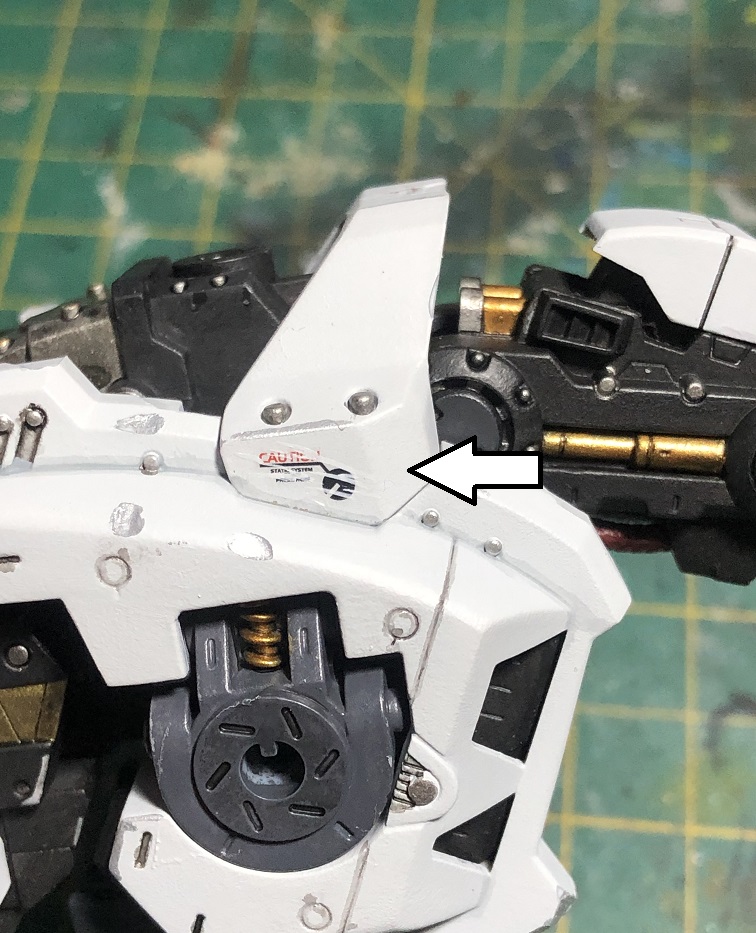
Something I really love about this Kotobukiya Zoids are the water slide decals they come with. They are easy to apply and looks amazing on the kit.
This are the ones I choose for the main body.
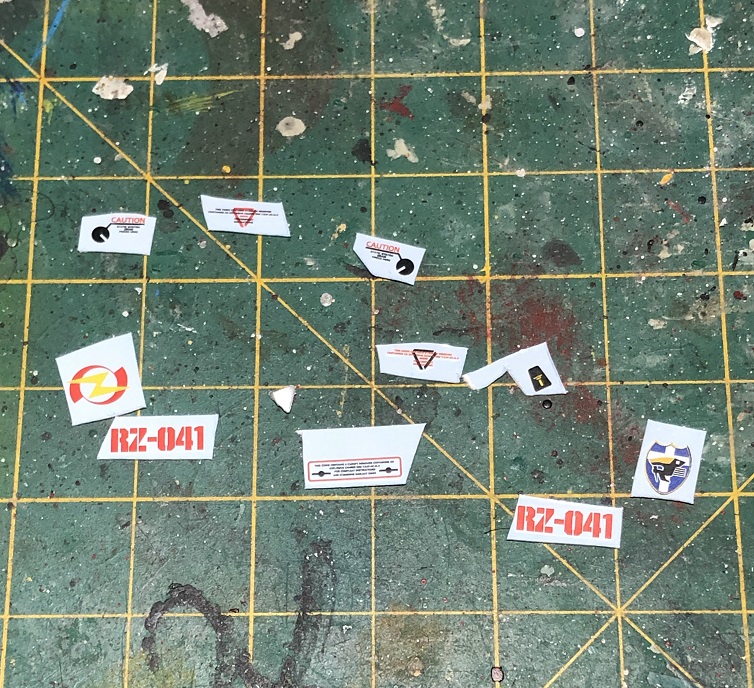
And this is where I place them. After that, let them dry for a couple of hours before going to the next step.


If you have any doubt on how to apply them, you can find a quick guide on how to apply them back in Part 1.
Weathering
After all of that, it is time to add more weathering effects to create a “natural look” for our mech.
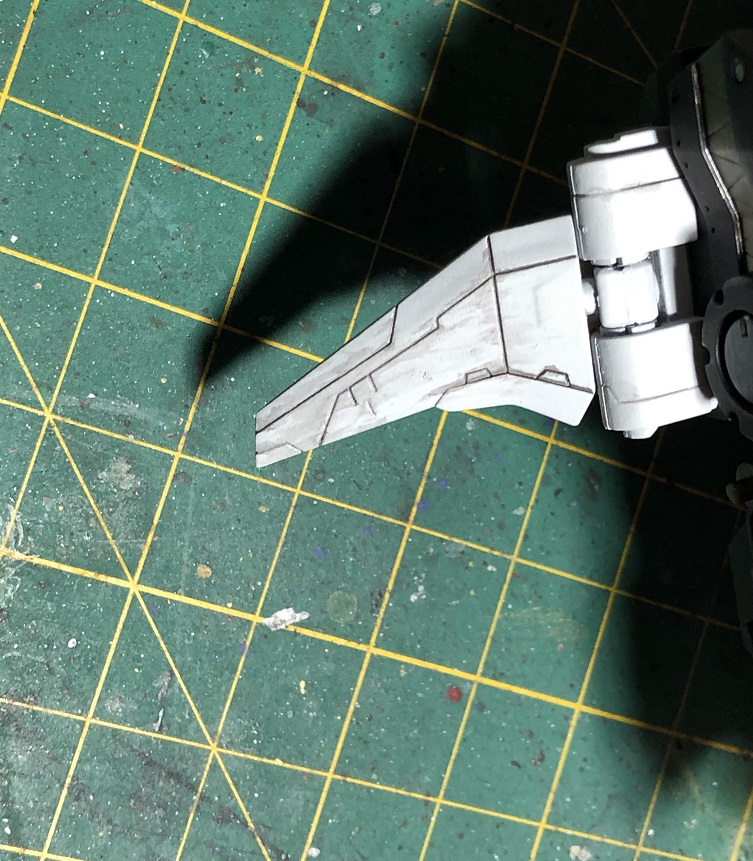
Shadowing
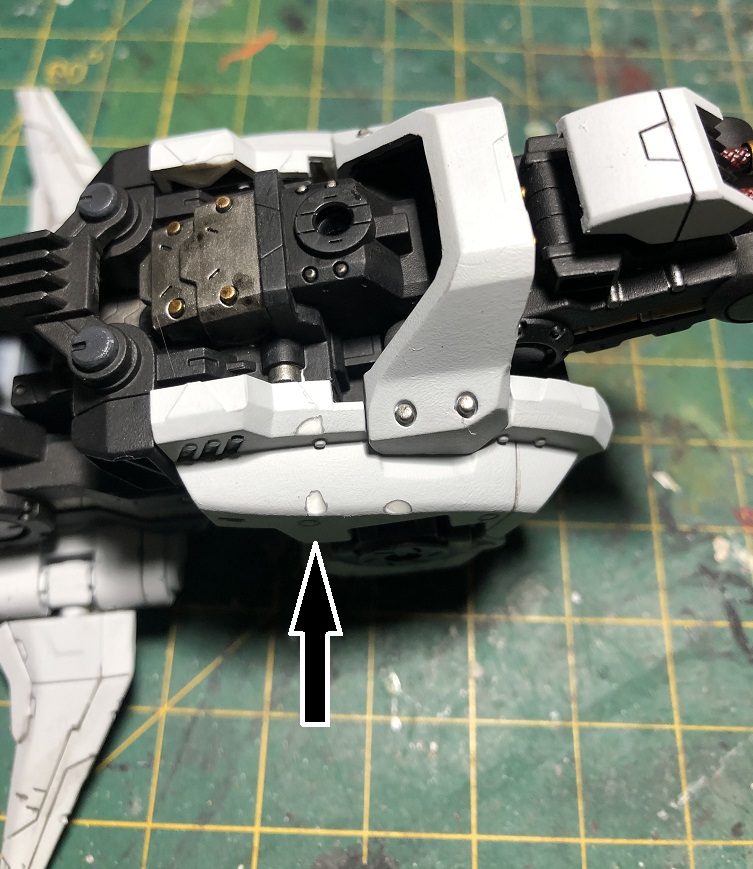
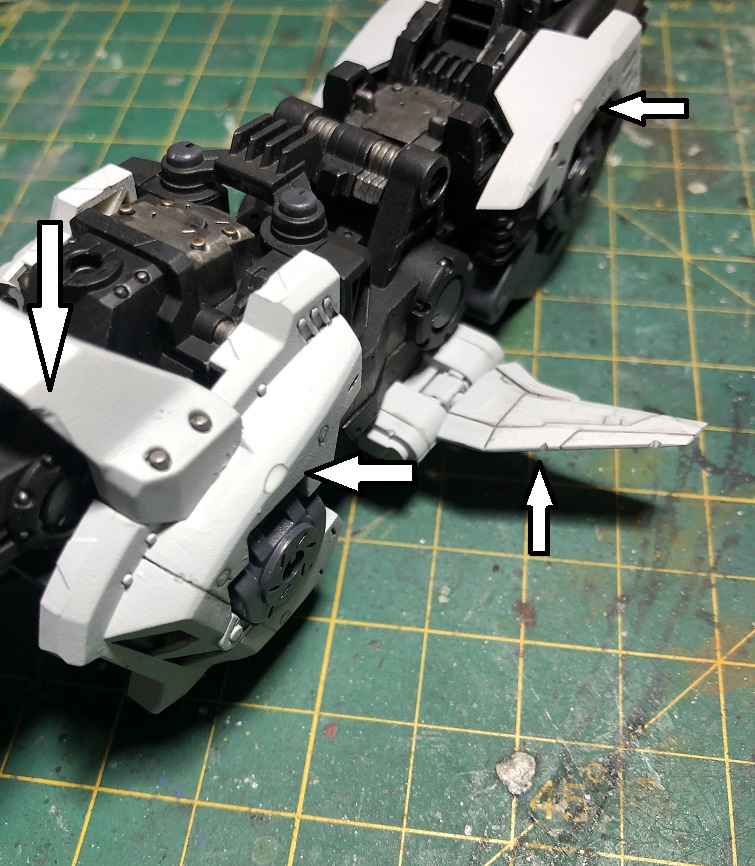
First, let’s apply a shadowing to the white armor. For this we need a mix of 9/10 parts of Citadel’s Corax White and 1/10 parts of Vic Hobby’s S-O Ocean Gray Or, we can create this tone by mixing 7/10 parts of flat white and 3/10 parts of Vic Hobby’s S-O Ocean Gray. We are going to paint all the recesses where two armor plates meet.
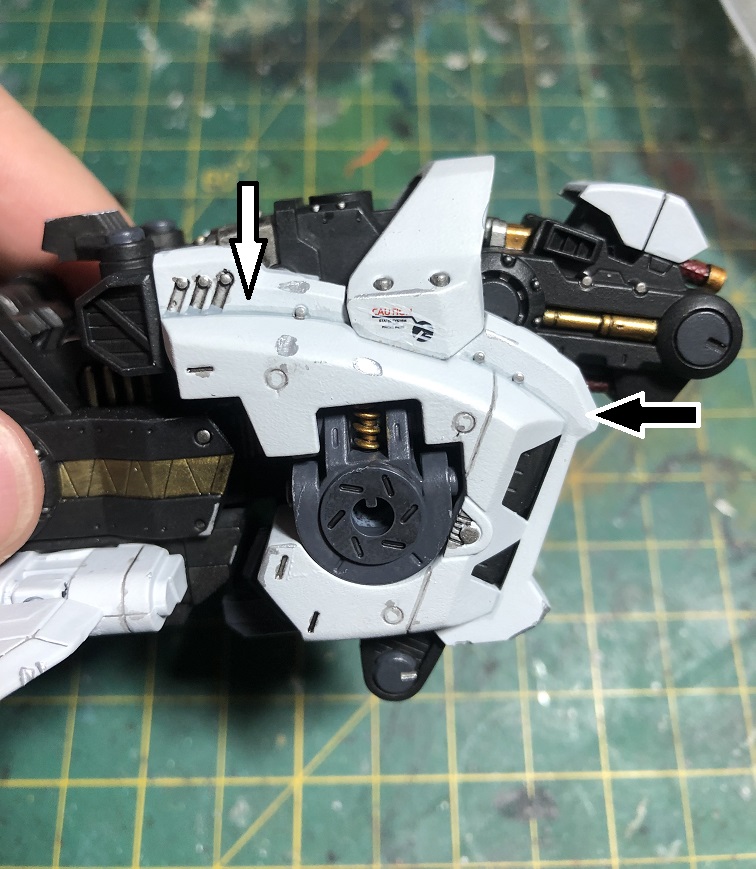
Wounds
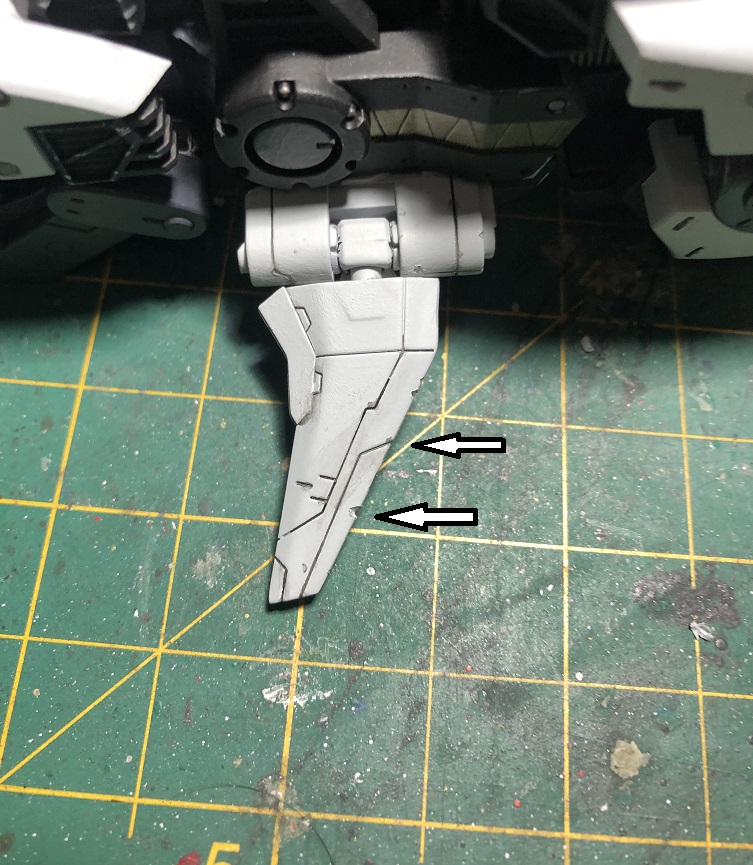
After that, let’s paint the scratches we made to the armor. For this, we’ll use our Silver Gunpla Marker to paint some of the edges on the body or the armor, all damage made with our nippers or hobby knife and also the edges where the paint has been pealed off.
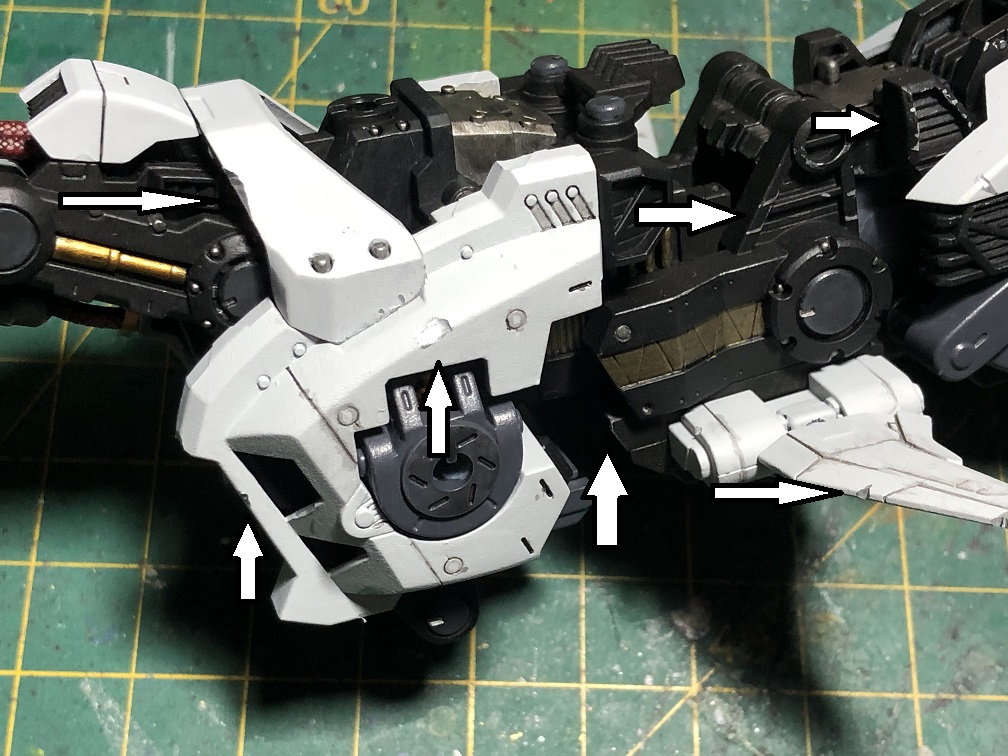
Scratches
Then, we’ll add more scratches with a dry brush technique. For this we’ll need a make up brush, an old brush or a dry brushing brush. Don’t use your fine brushes for this or they will be lost.
We’ll start by picking up some silver paint with our brush. Then, we’ll rub our brush over a paper towel or piece of cloth to remove as many paint as we can. Don’t use water or thinner to remove the paint, we want our brush dry after all. Then, we start painting near the edges of the armor. Specially those around the air intakes. The edges near where the legs would be attached. And the edges of the fins.


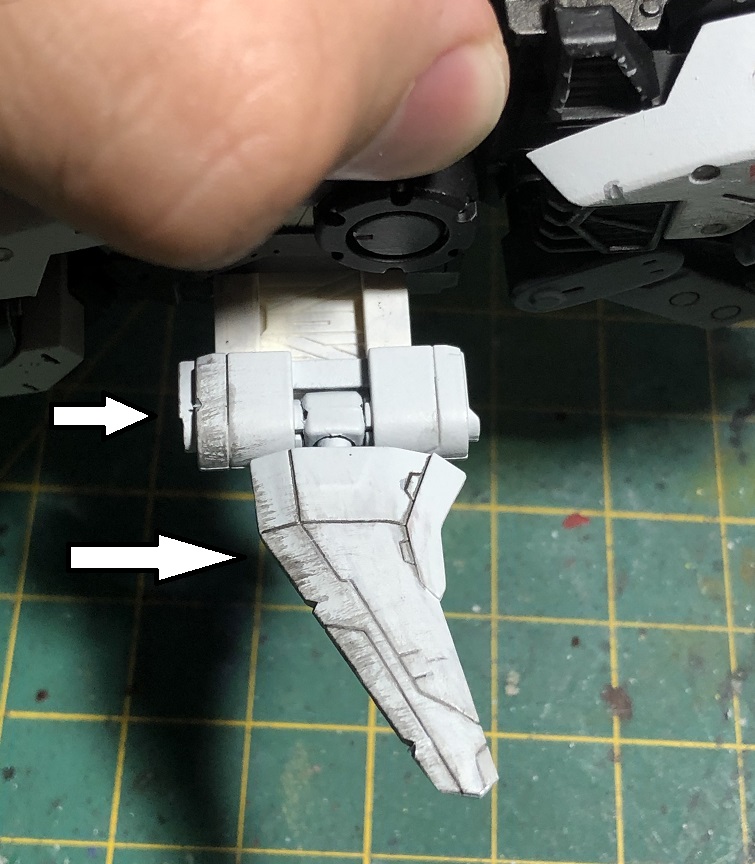
Just make sure to apply your brush strokes in the same direction, this will create the effect that the scratches were made by contact with other surfaces rather than by nature elements.
Decals chipping
After that, let’s create the same effect on the decals, to make them look more natural and worn out.
But, this time, we’ll need a thin brush and the same color we used to paint the surface where the decals were placed.


Especially on the edges.
This also applies for the red stripe in the chest.

The idea is to create the illusion that they have been peeled off though time and exposure to natural elements.
After that, let the paint dry for a couple of hours and then apply a clear coat or varnish coat over the model, to protect the paint and the decals.
Wash
Let’s add the final touch, a dark wash. For this you can use Tamiya’s Panel Liner, any Citadel or Vallejo Wash paint or create your own by diluting some black paint in water.
First, we’ll need to apply the water like paint all over the kit, making sure that the paint gets inside the recesses and panel lines.
Then, almost immediately and before the paint dries, clean it off softly with a piece of cloth.

I don’t recommend to use a paper towel for this since it would absorb all the water and paint of the recesses, while the cloth will spread the paint evenly over the flat surface, while removing the excess.
Finishing up
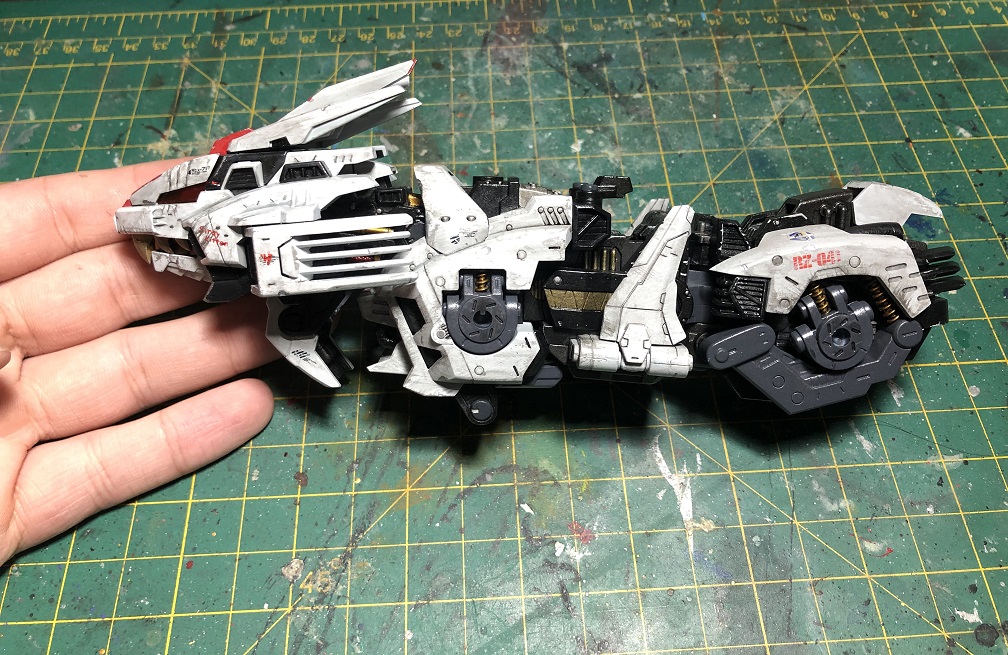
And with that the body is done, we can attach the head now.
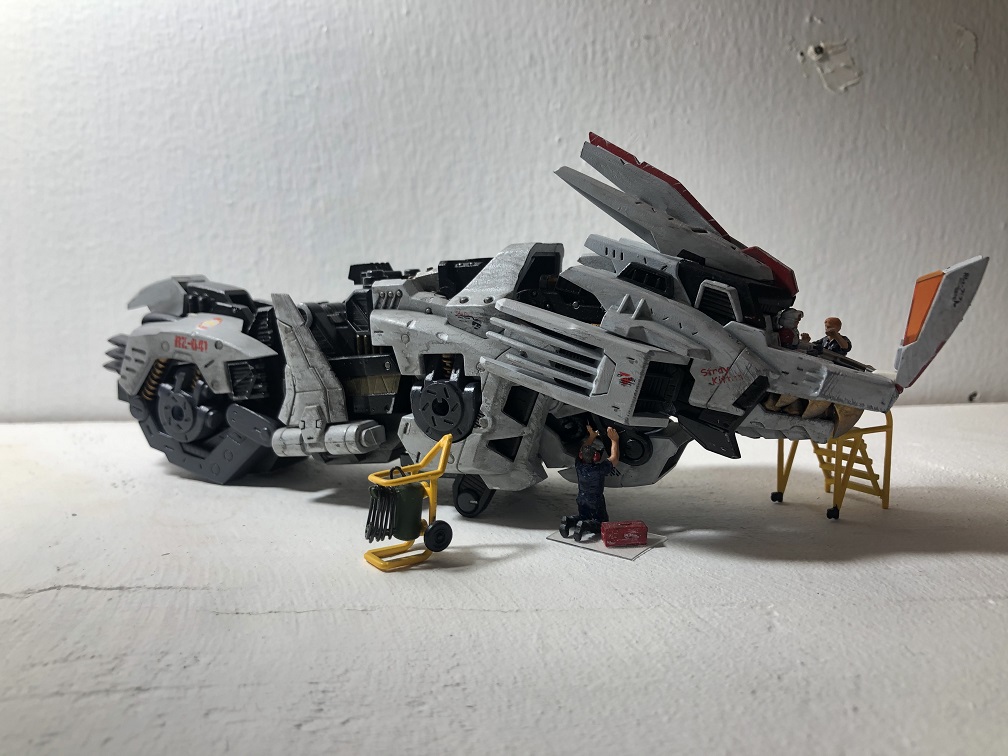
And we are now ready for the next part, the legs. But we’ll cover those in the next article, so stay tuned!
I hope this article helps and inspires you on how to paint even the smaller detains on your kits, to make them stand out!
Thanks for reading! See you on the next one!
Happy modeling.