Part 4 – Metallic Details
Hello there!
Welcome to a new “How to” article! This is the last part of “Liger Zero- The Stray Kitten Series”! I’m Anthony and today I’m here to share with you a few more painting techniques I used to build the 1/72 Scale Kotobukiya Zoids: Liger Zero.
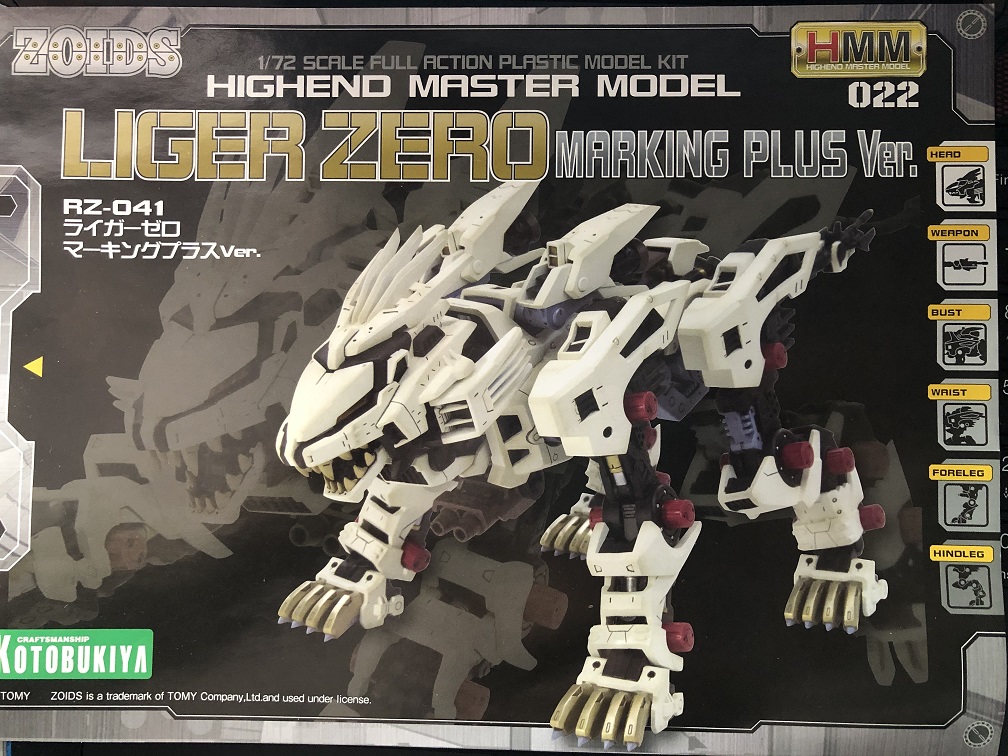
Today, we are going to be focusing on painting the last details for the mech.
In this article, will be working on the paws, the chest cannon and the thrusters. Following the character idea built back in Part 1.
Without further ado, let’s begin.
Where to start
The first thing we need to do is to apply a base coat to all the pieces we’ll be working on. This base coat will help the paint stick to the plastic surface. It will also help us to create a dark, or lighter, contrast when applying layers of paint over it. For example, if we paint over the grey base coat, our metal will have a light tone. But if we apply a black base coat, our metal will be a little darker.
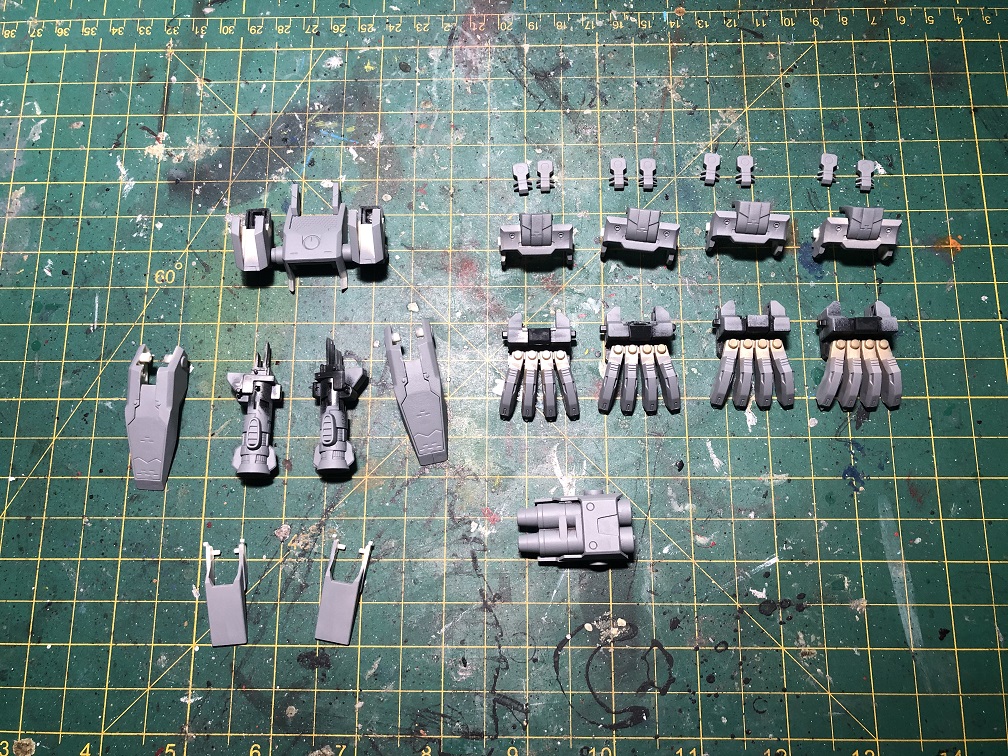
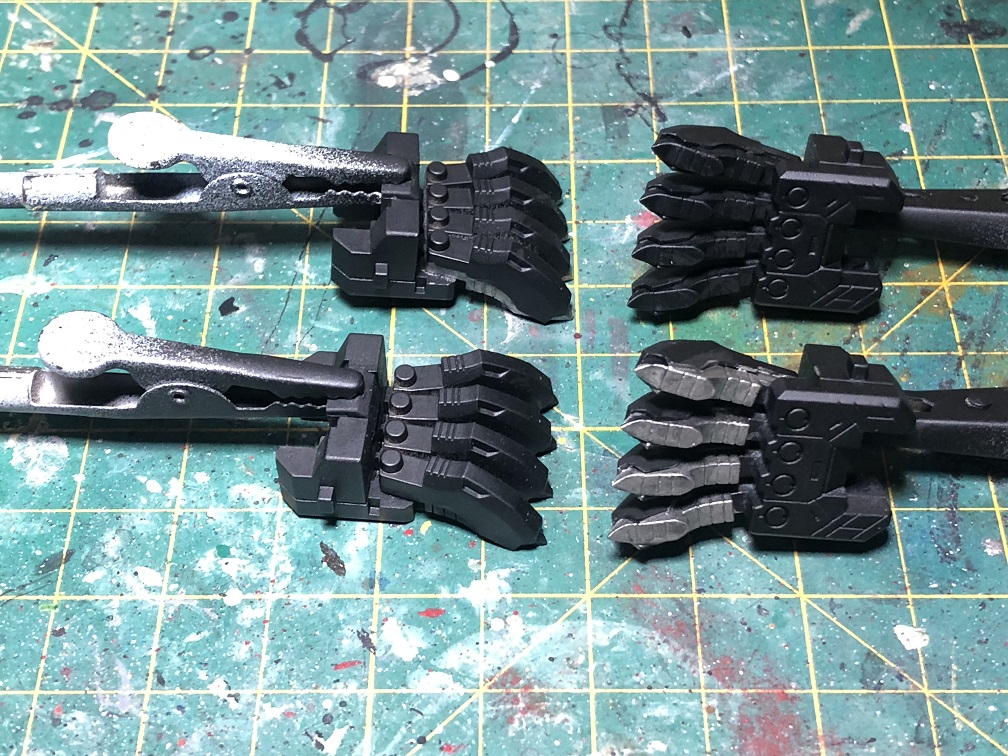
First base coat
Just like we did before, the first step is to apply a base coat to all the pieces we’ll be working on, in this case with a flat grey.
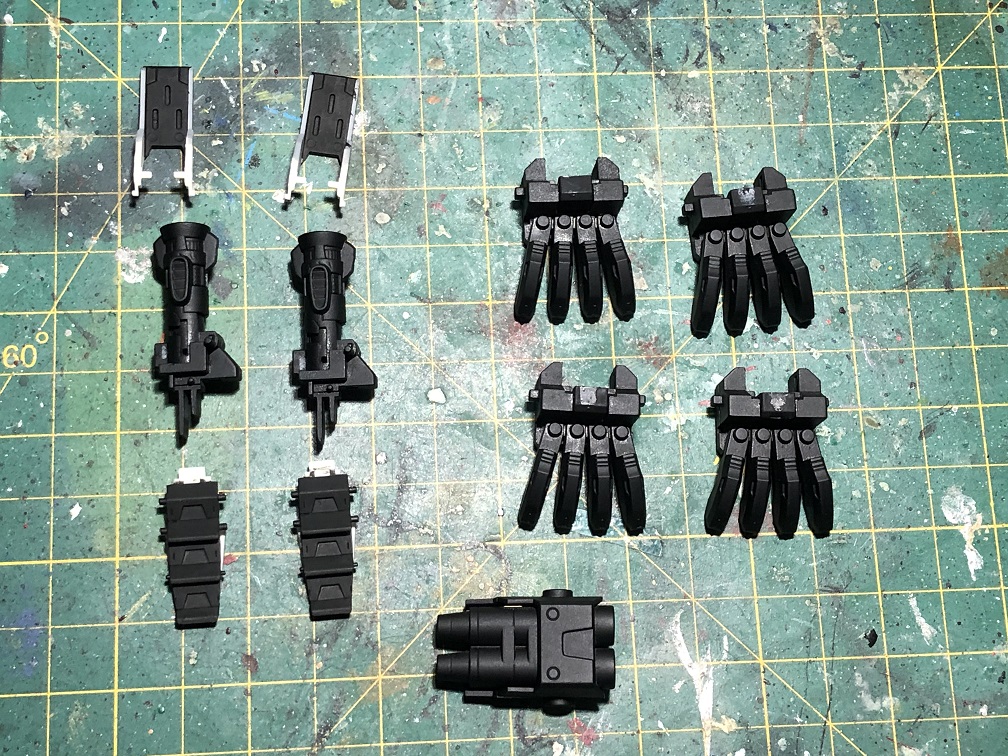
Second base coat
After the paint has fully dried, we are going to apply a second base coat. This time with black paint and just to the pieces we’ll be painting with metallic paint.
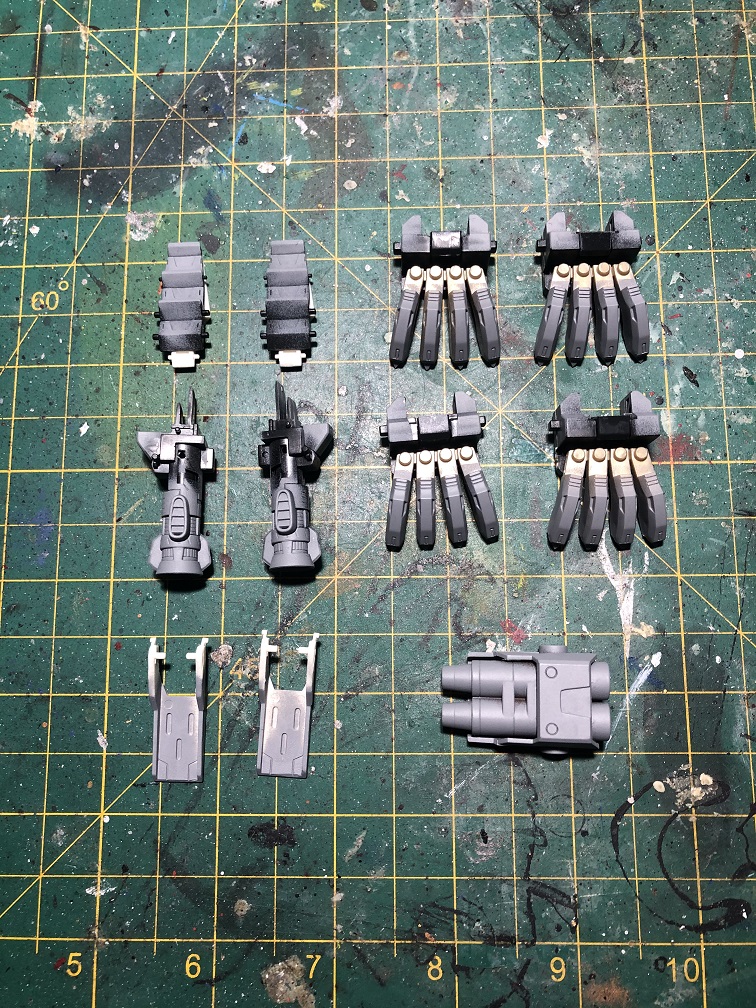
You can skip this second base coat by applying the black base coat to these pieces from the beginning.
Turning plastic in to metal
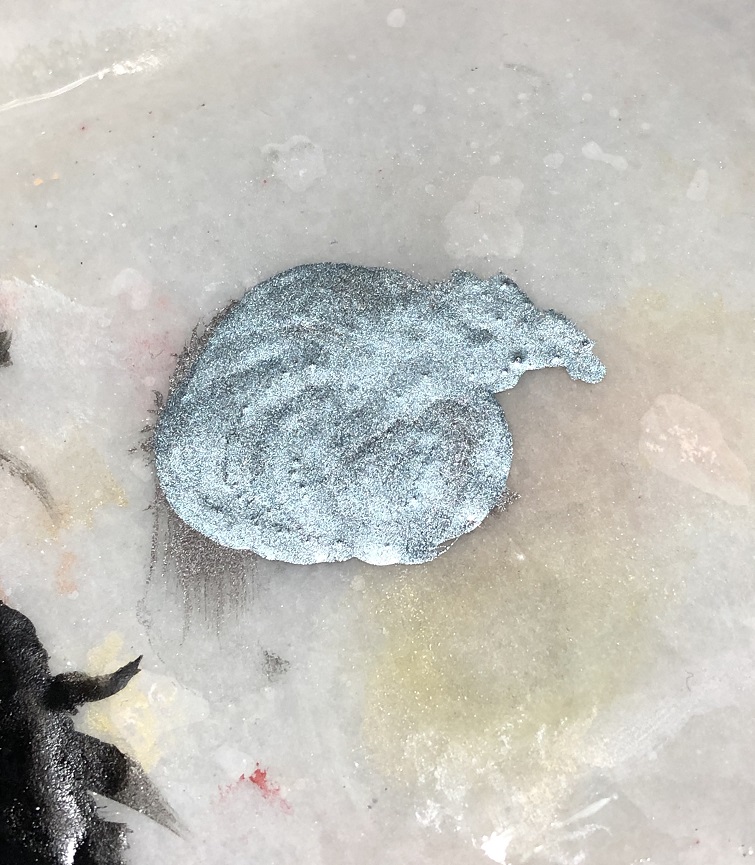
To create an even metallic color on our model, we need to apply thin layers of paint. Just be careful, if you thin your paints to much you’ll need to apply more layers.
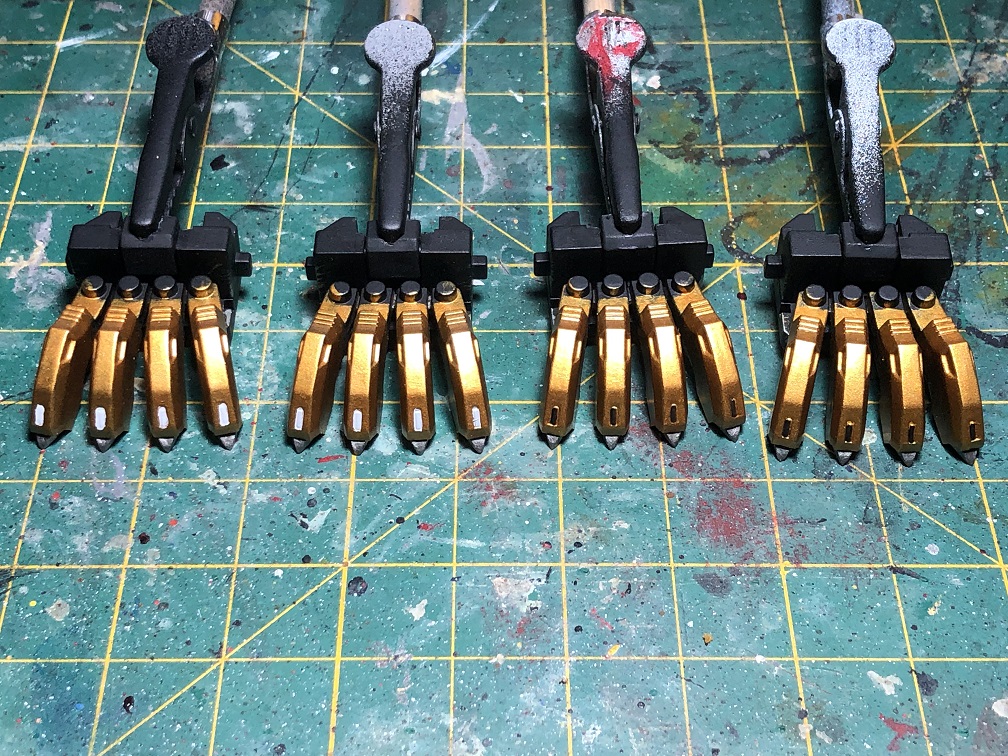
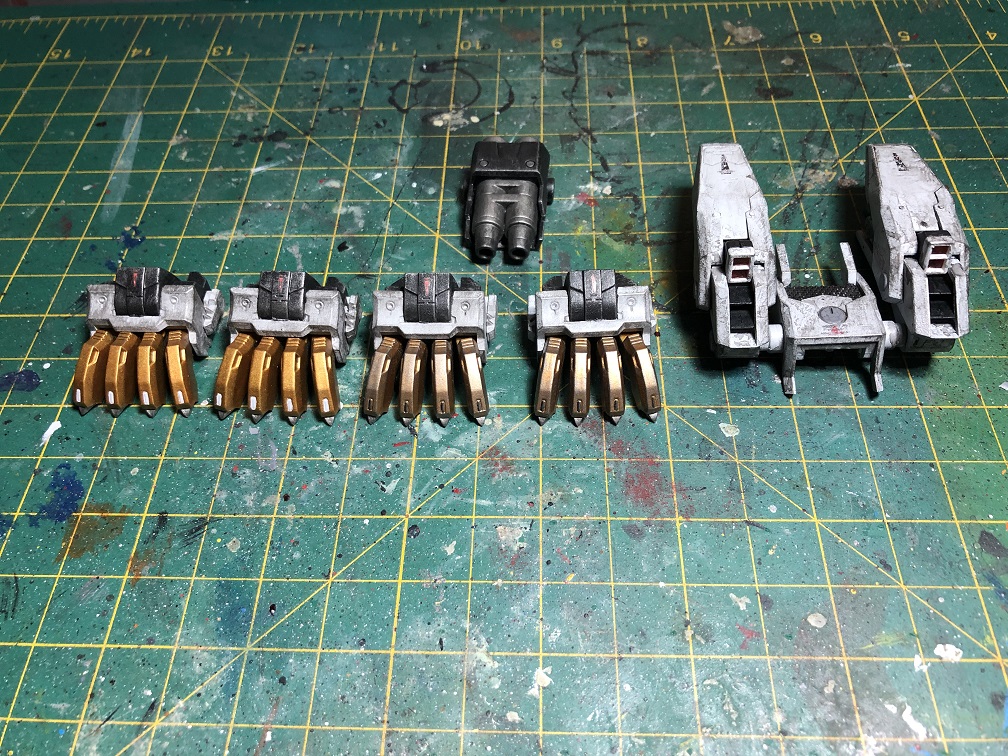
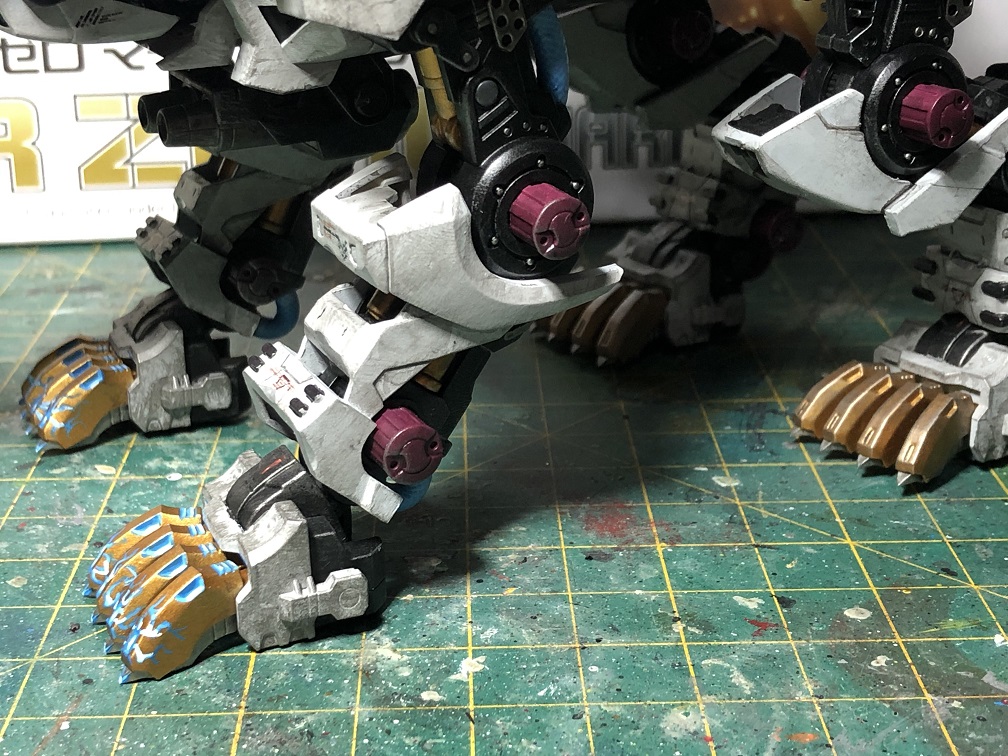
Let’s begin with the claws.
Pure metallic
For the claws let’s apply only one metallic paint, gold. Remember, some metallic paints don’t need to be thinned; just try not to apply thick coats of paint. Bellow, you’ll see that I needed to apply 5 coats of paint to create a solid gold.
Let’s use one of my favorite paints: Citadel’s Retributor Armor.

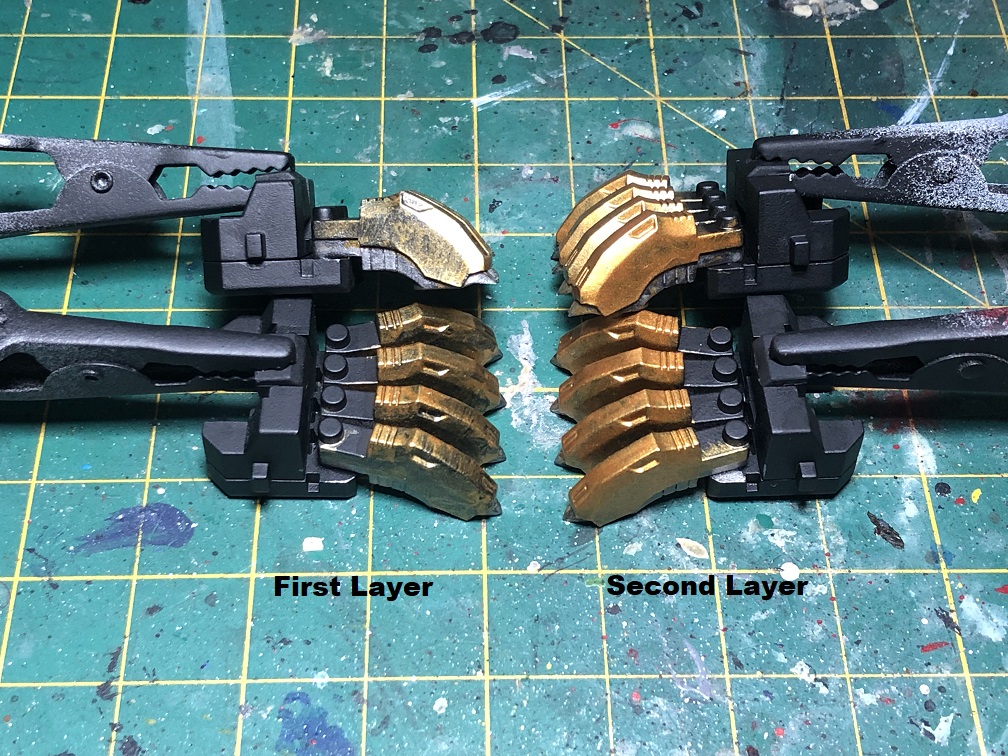
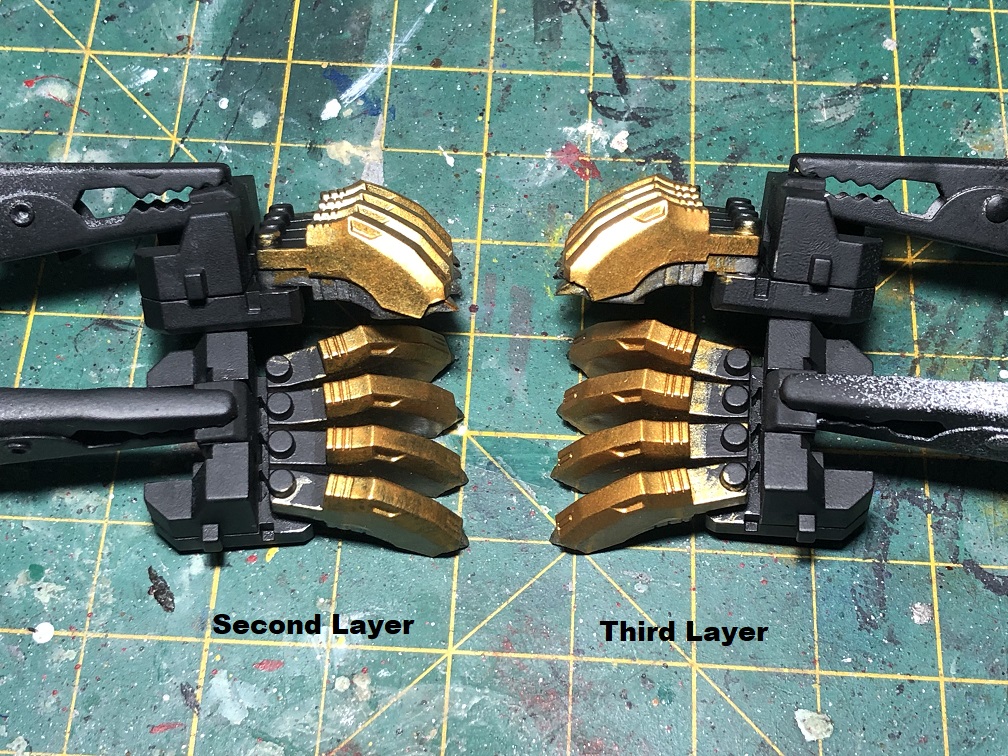
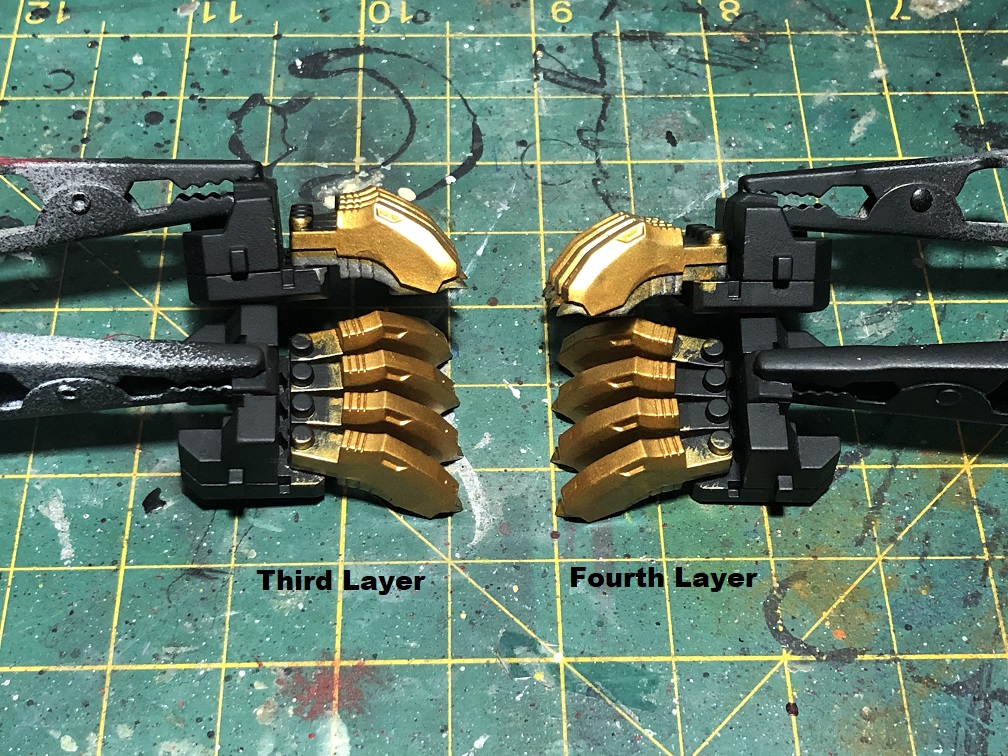

Remember, be patient when applying layers and you will be rewarded with an even metallic surface.
Metallic + Non-metallic paint
For the chest cannon we’ll apply the same layering technique we used for the claws. But this time, instead of applying layers of the same tone, we’ll be adding darker tones of the same color.

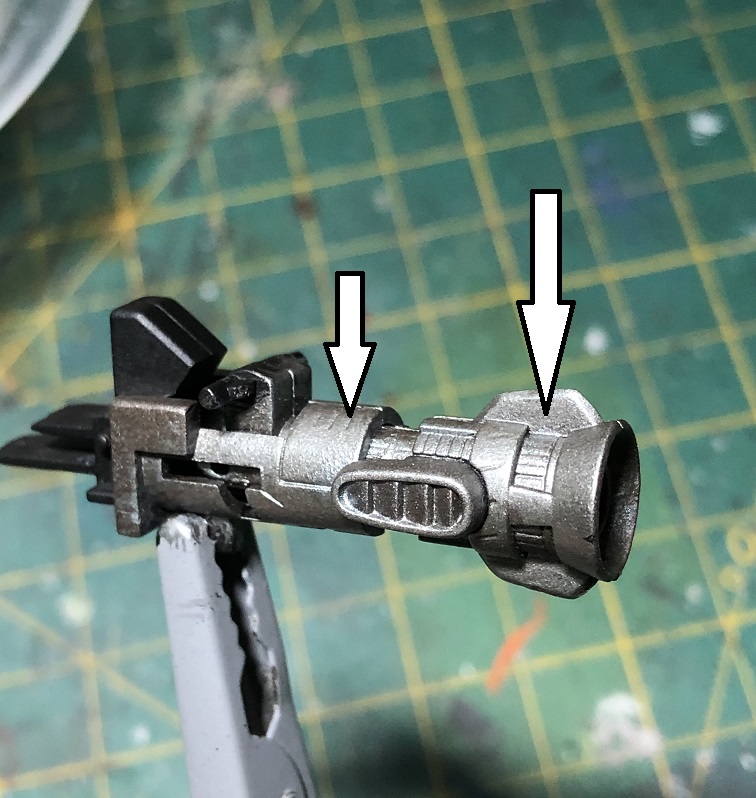
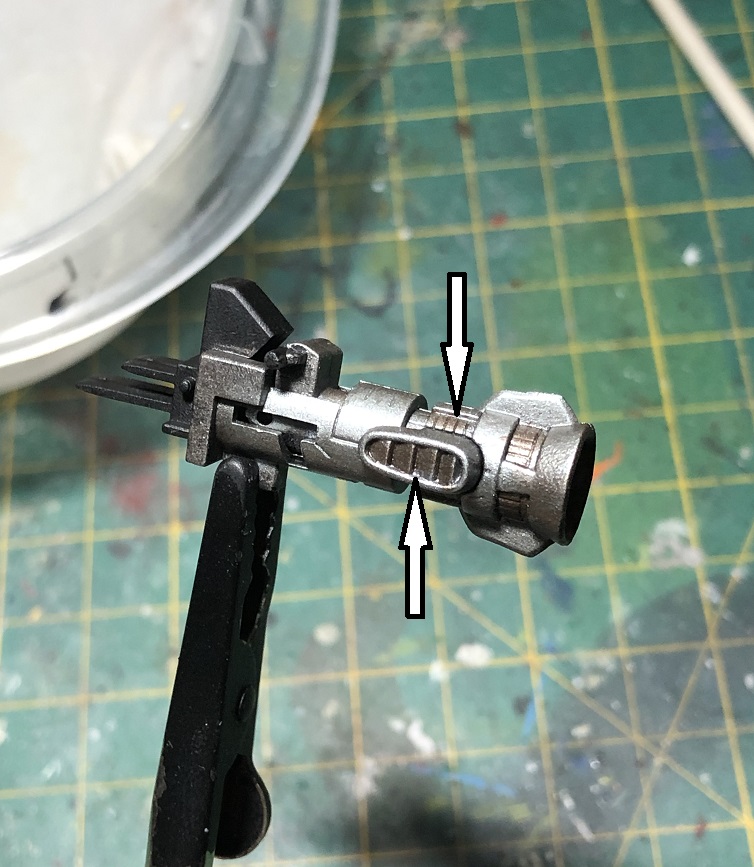
First, let’s paint the weapon with silver. In this case, only 2 thin layers were needed. Then, we’ll mix our silver paint with some flat black to create a Gun Metal. Let’s paint only the muzzles and the back of the cannon. At the end, we’ll add more black to our gun metal mix to get a darker silver, to paint the tips of the muzzles With only two paints, you can create a huge color range.

Don’t be afraid of mixing your metallic paints with other acrylic paints.
Mixing two or more metallic paints
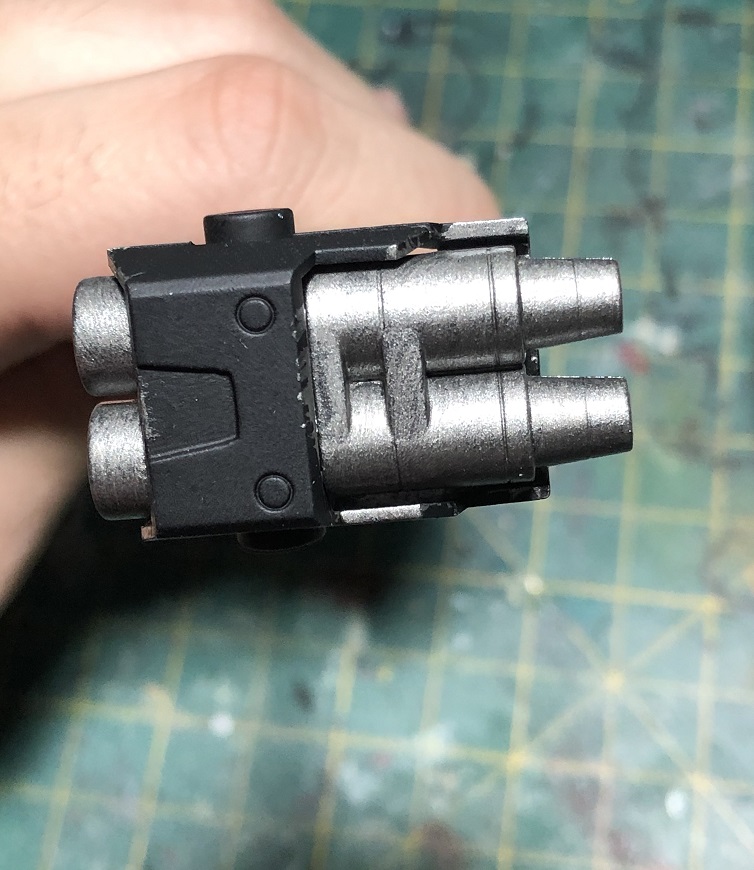
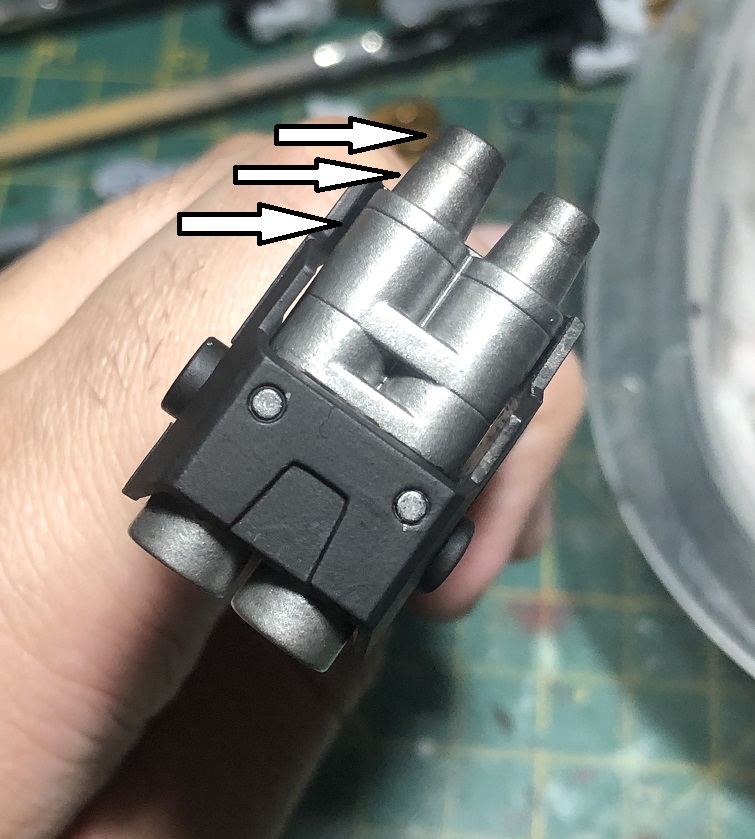
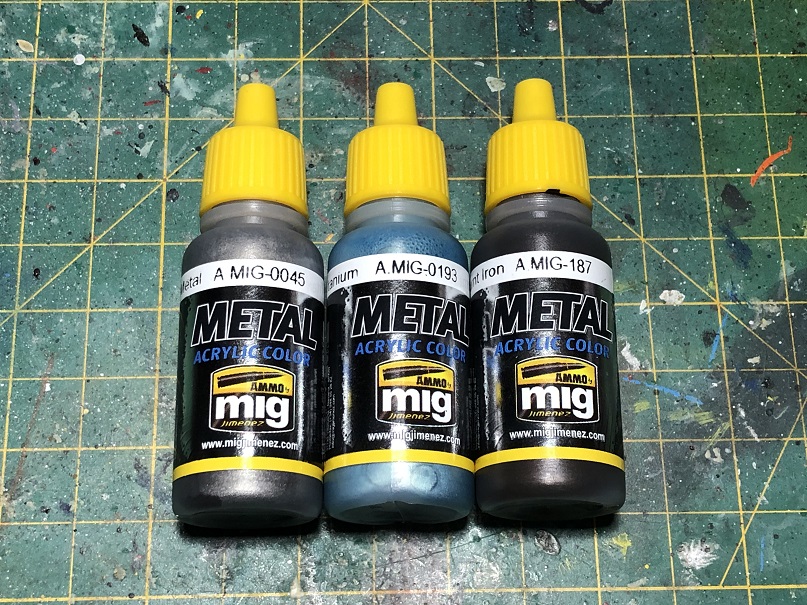
The next parts we are going to paint are the thrusters. For this, will be mixing different metallic paints. I’ll be using Metal Acrylic Colors AMMO by Mig Jimenez.
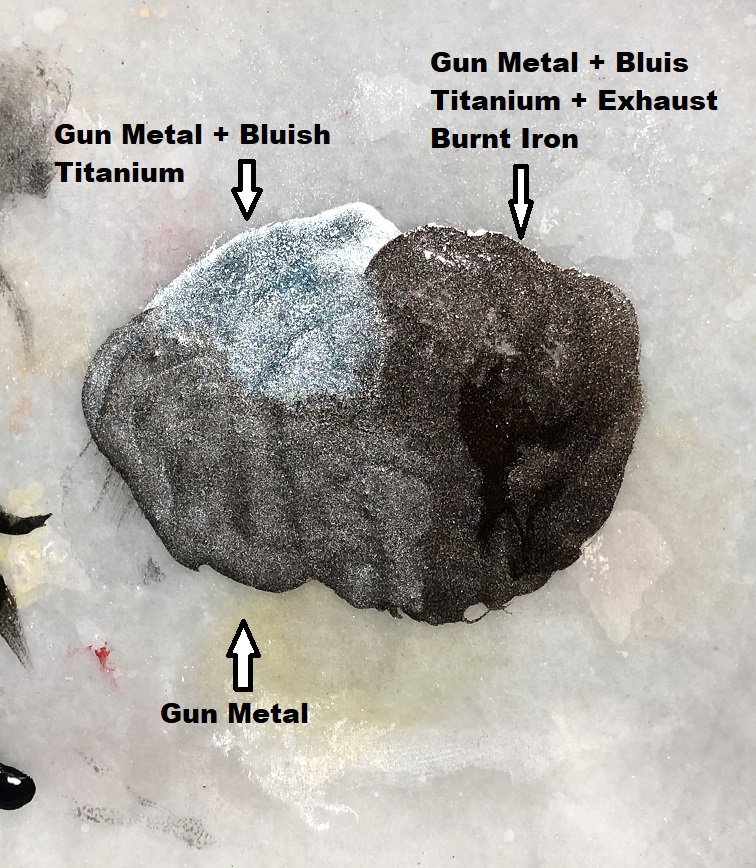
First, we’ll be painting the engines and the inner plates of the armor case with Gun Metal.

In this case I only applied two thin coats. Since the base coat was black, this gun metal looks quite dark.
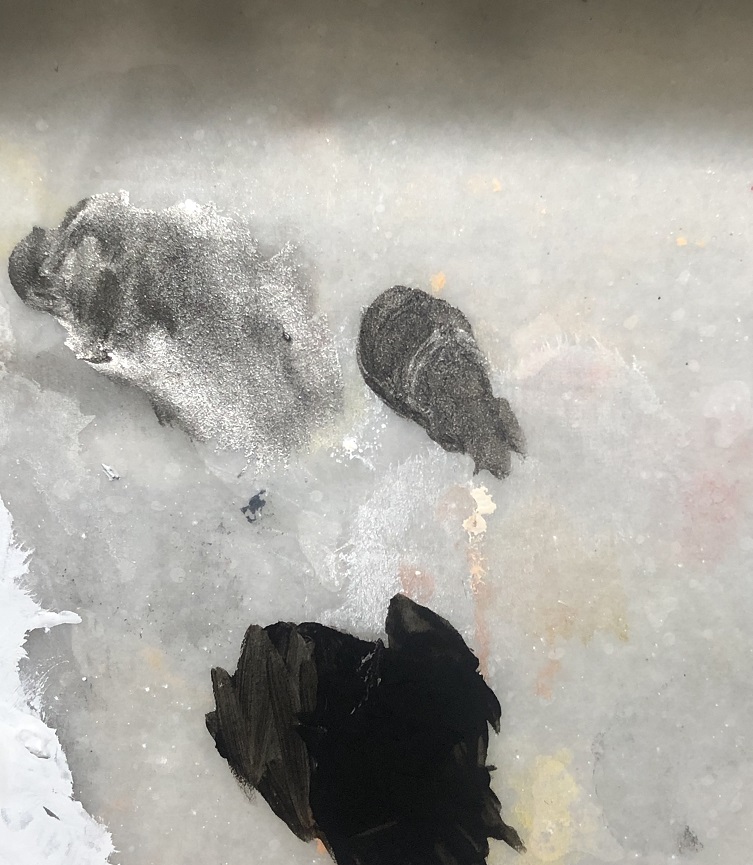
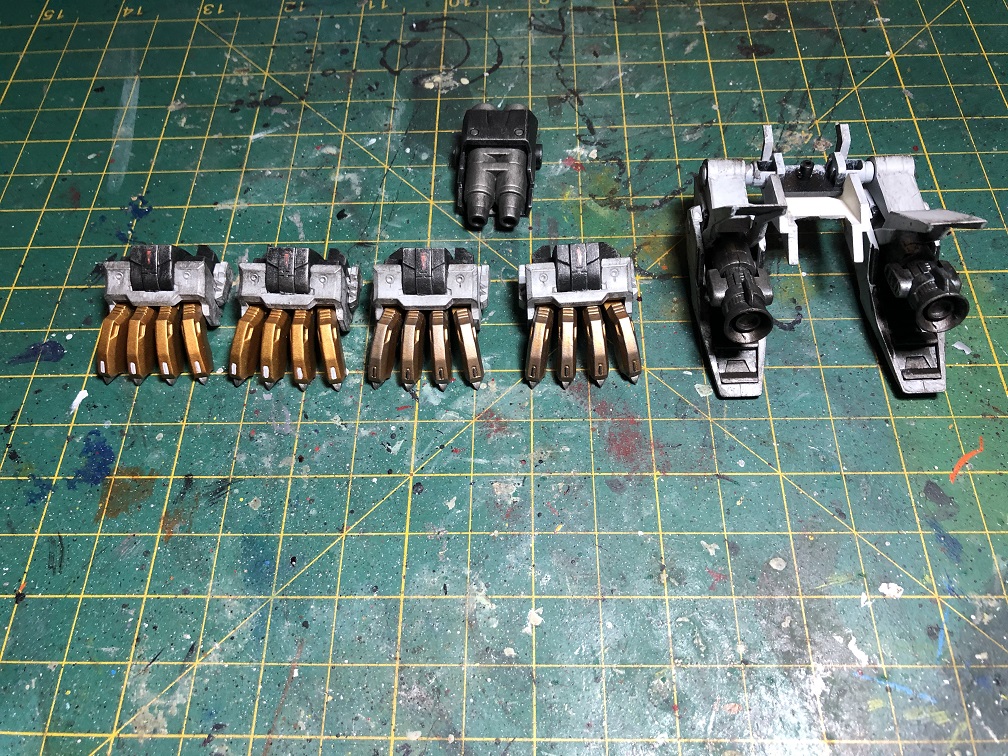
Since the engines are meant to generate a lot of heat, we are going to add some effects to the metal to make it loo like it was burned. If you search for some pictures of burned metal or welded metal, you may notice that the metal surface has different colors.
For this, we’ll be mixing Blush Titanium with Gun Metal and start adding some layers to the engines.
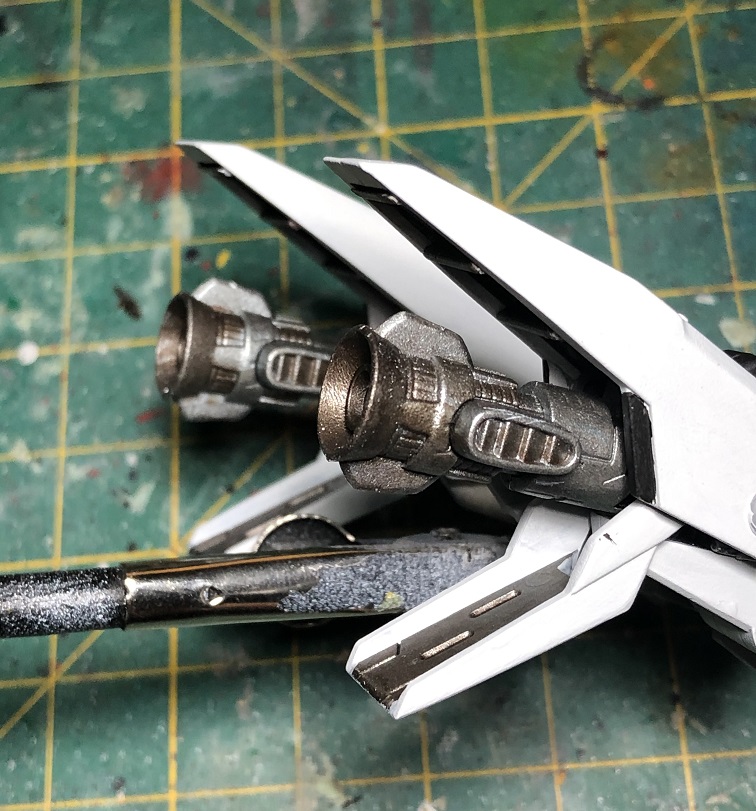
Let’s apply this mix to the surfaces inside the thrusters case that would be more exposed to the heat of the engines.

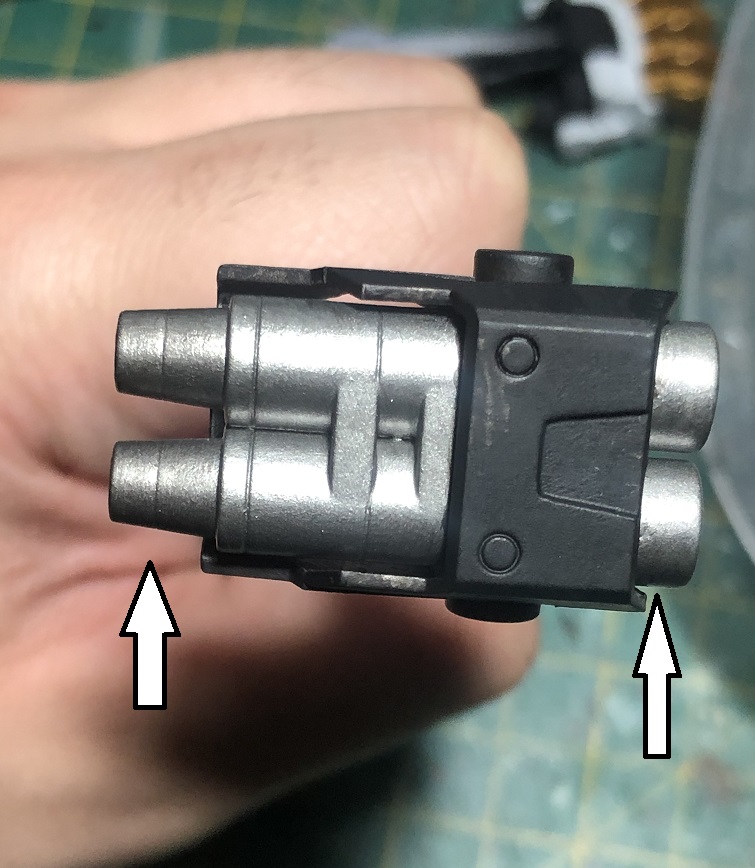
After that, we’ll add some Exhaust Burnt Iron paint to our mix.
Then we’ll add a thin layer near the edges of the plates inside the casing and the exhaust nuzzles.


Keep adding these effects until you are happy with the results. Just remember to add thin layers, this way the transition between tones will look more natural.
Gear up
The only thing left now is to finish the armor. For this we’ll use the same techniques we learned in part 3.
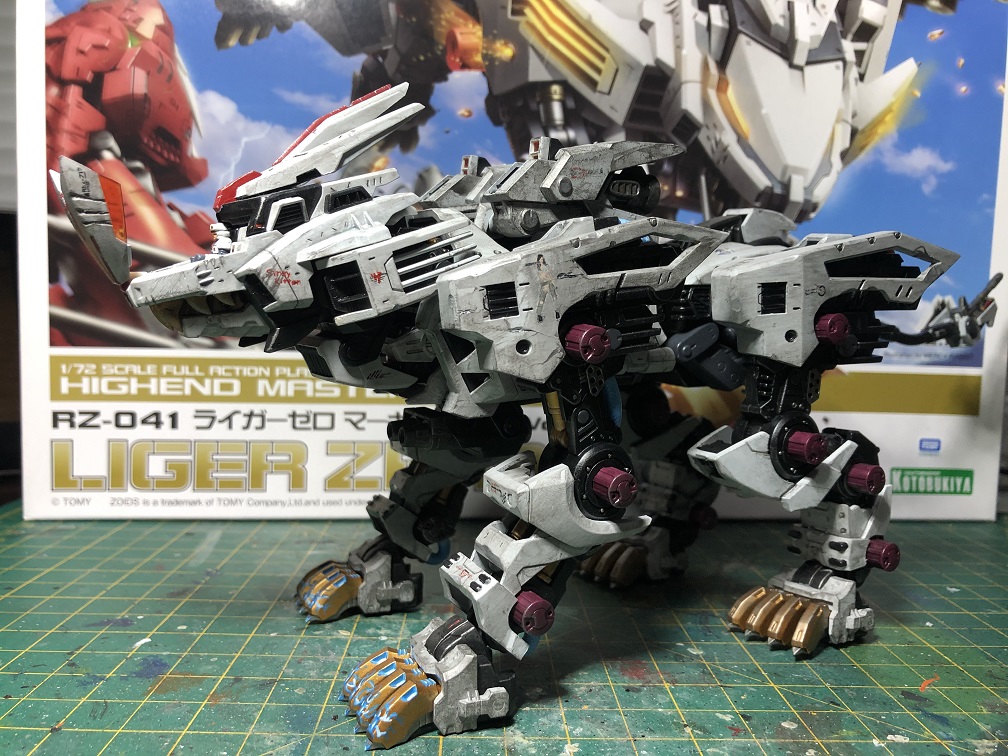
And now, all these parts are ready to be mounted on our Liger Zero.
The power of lighting.
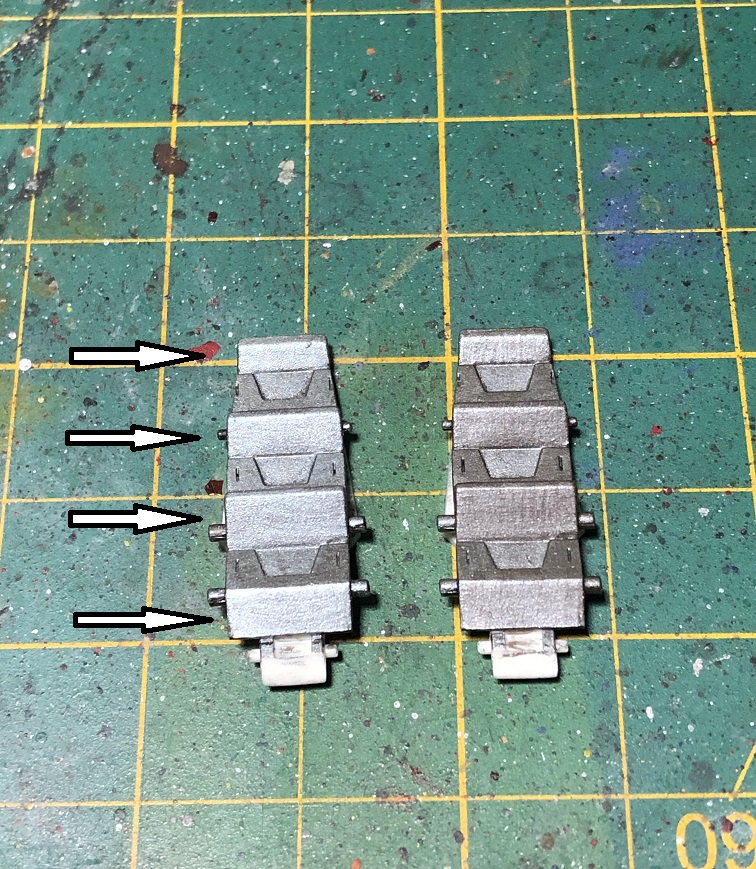
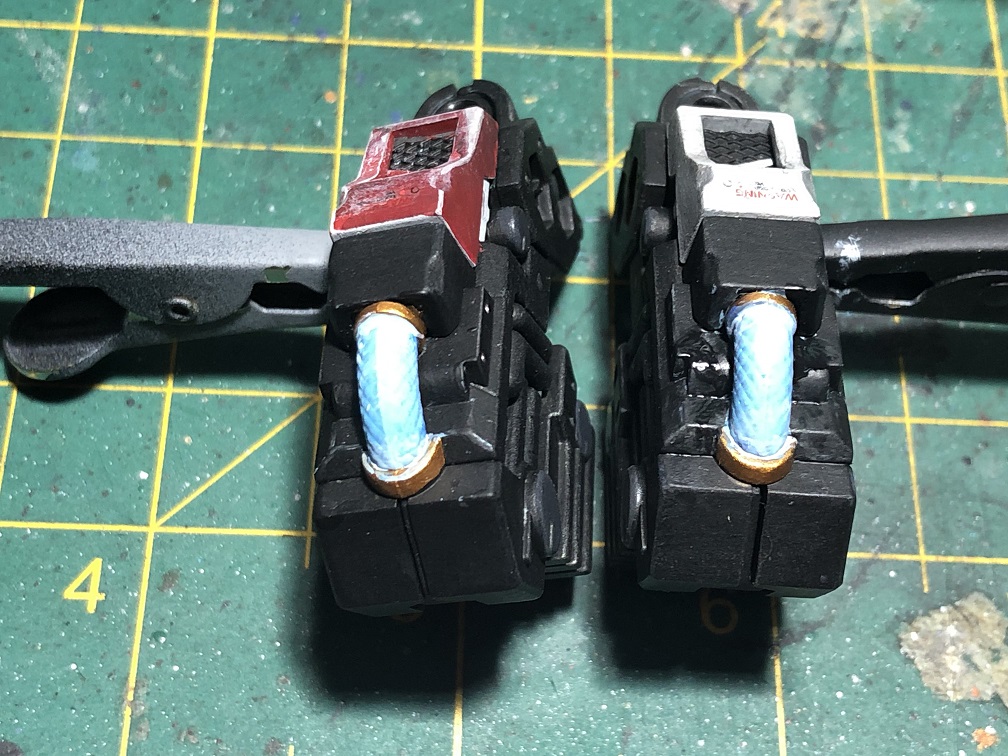
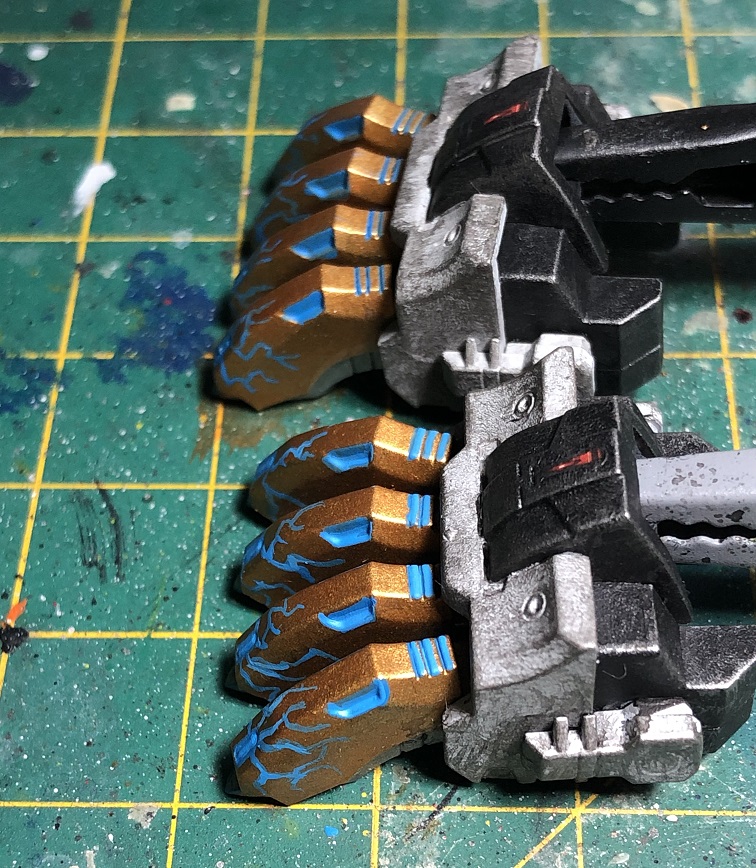
Before we finish with this tutorial, I want to share with you one more thing. The reason why only two of the four paws were dry brushed with silver.
The Liger Zero was designed to change its armor depending on the enemy he faced. He has an armor meant for close quarters, another one for speed attacks, and a third for heavy fire.
The base configuration, witch is the one our Liger Zero has, was meant to be a midpoint between those 3. We already painted its thrusters and a few guns but it’s missing one thing… a melee weapon.
In the anime, the main weapon for melee was the laser claws. Therefore, let’s add some lighting effects to the claws of our Liger Zero.
Power supply
Back in part 2 and part 3, we painted the hoses of the body and legs in red. But for the front legs, let’s paint them in blue.
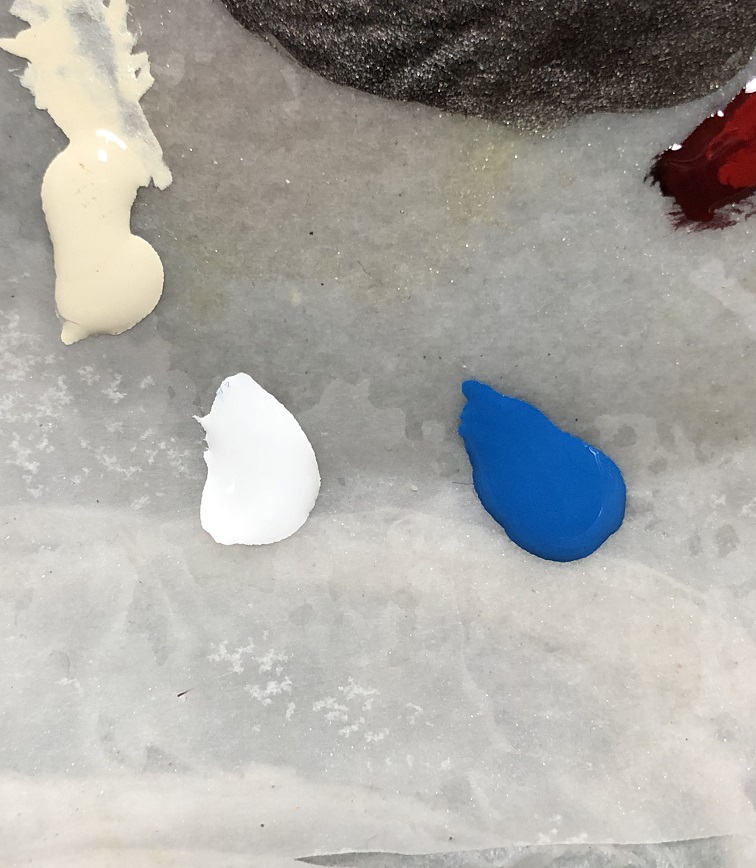
First, we paint them in white.
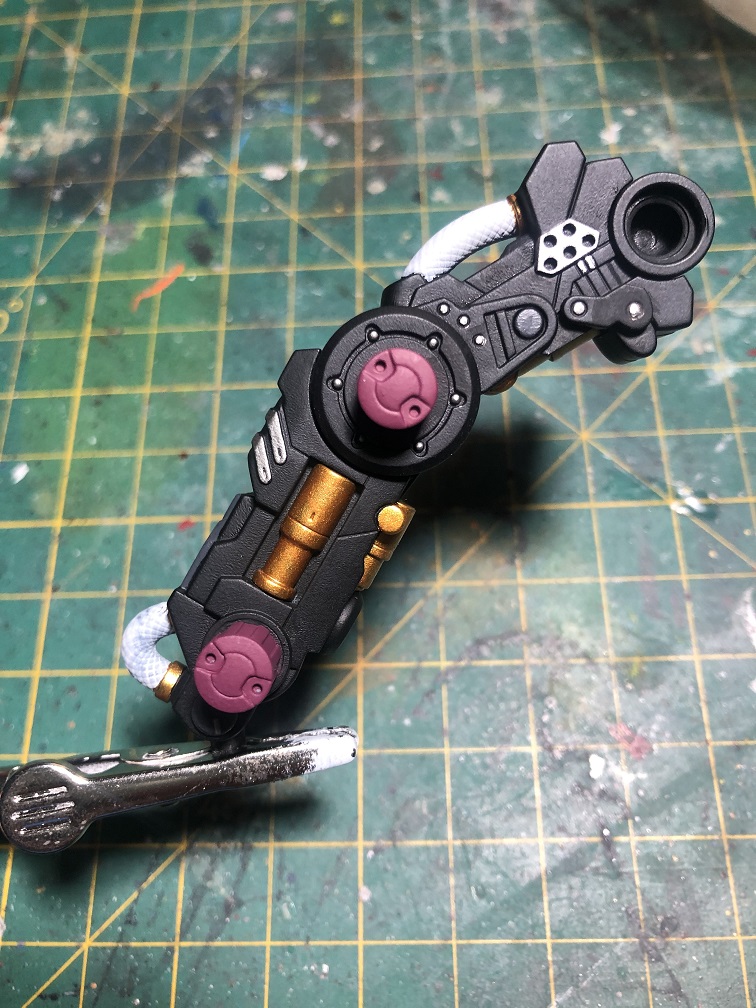
After the white paint dries we can start painting with blue.
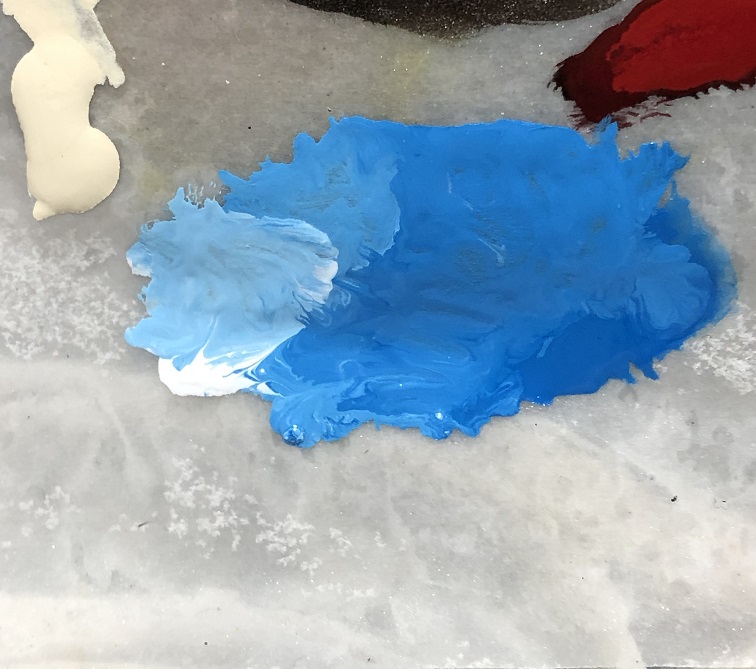
For this we’ll use 3 different paints. A dark blue, a mid or light blue and white. What we are going to do is to apply very thin coats, almost like a wash, starting with the light blue and adding white in each layer.
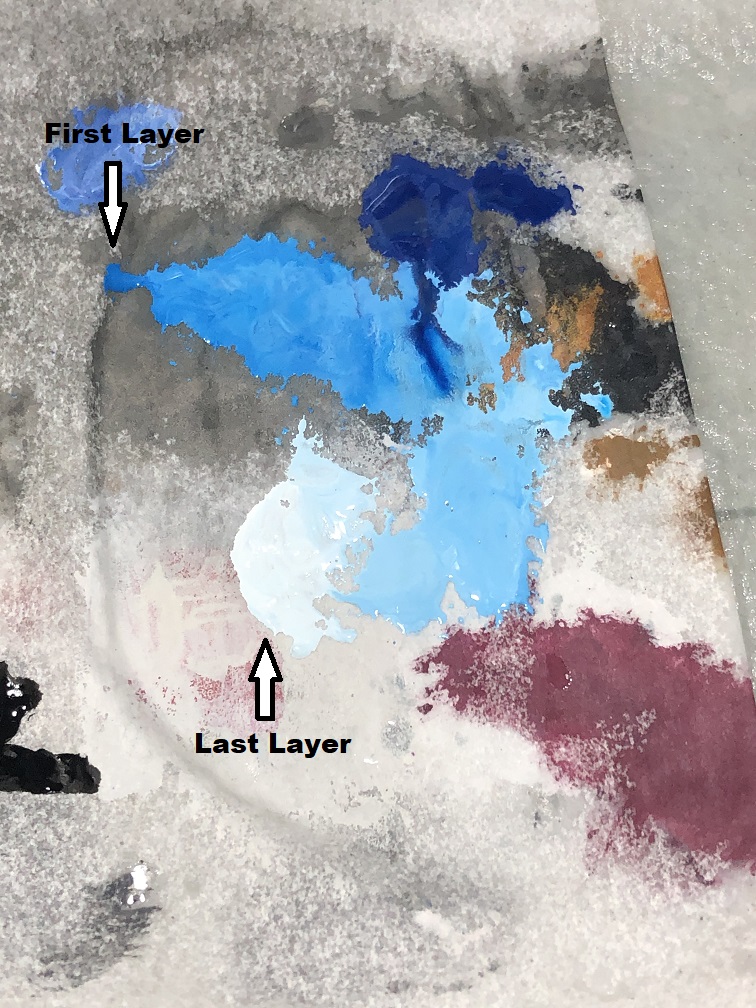
Remember, it’s very important to thin your paints; we need the recesses to be brighter that the flat areas.


Now, let’s add some lighting to the claws.
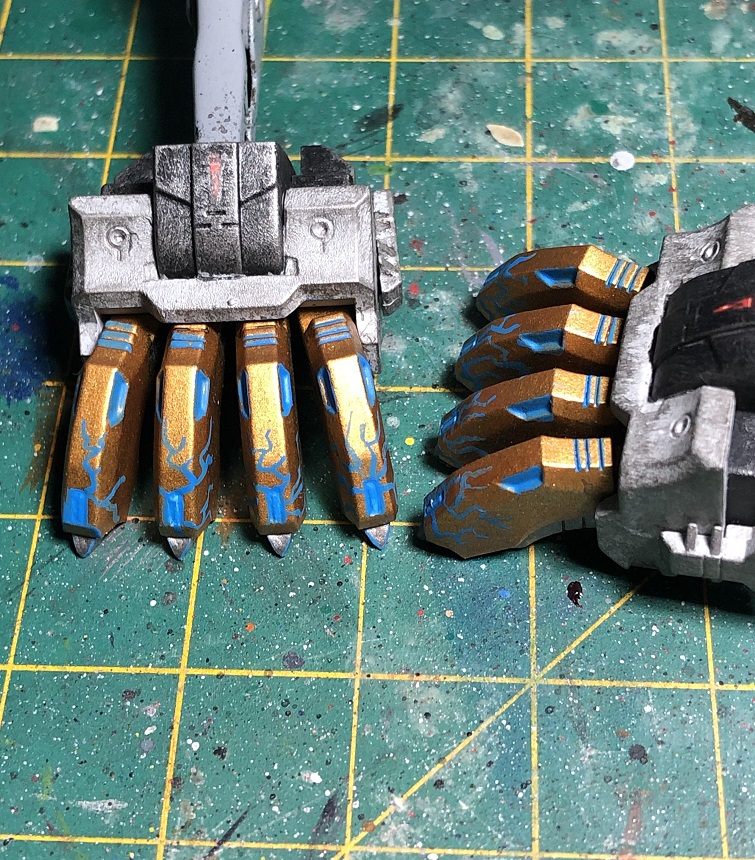
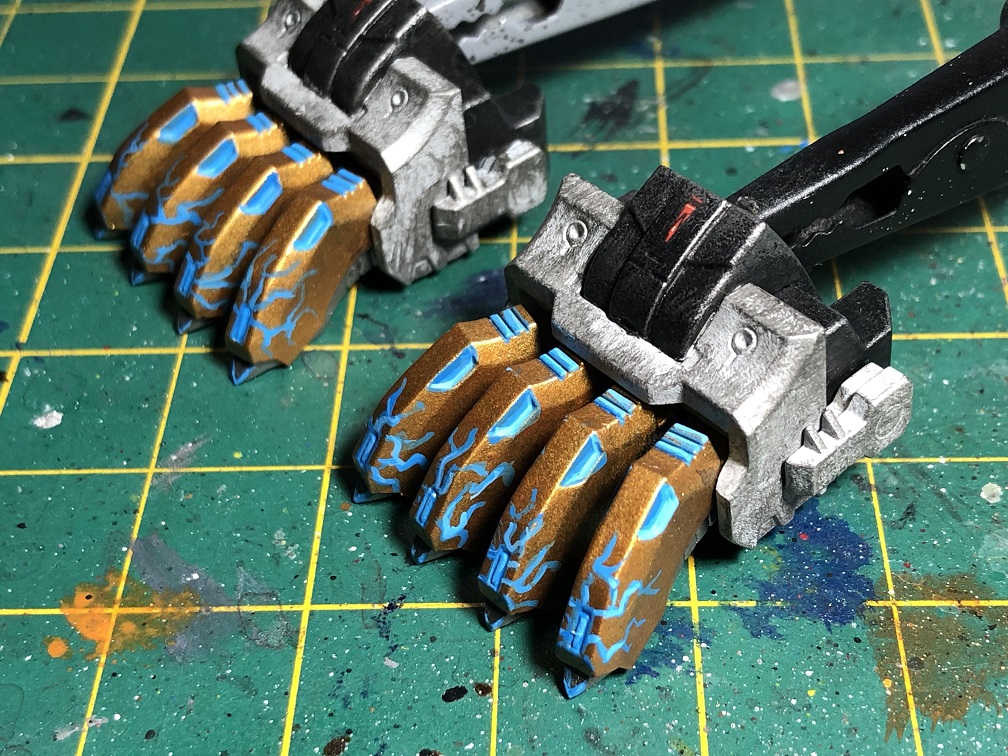
Storm claws
For these we’ll use two colors, white and the color you want for the lightnings. In this case, it would be blue.
The trick to archive a light effect is to apply one lighter layer over the last one. Starting with pure blue until we reach pure white. But, this time we are going to make sure that each new layer doesn’t cover up the layer below completely.
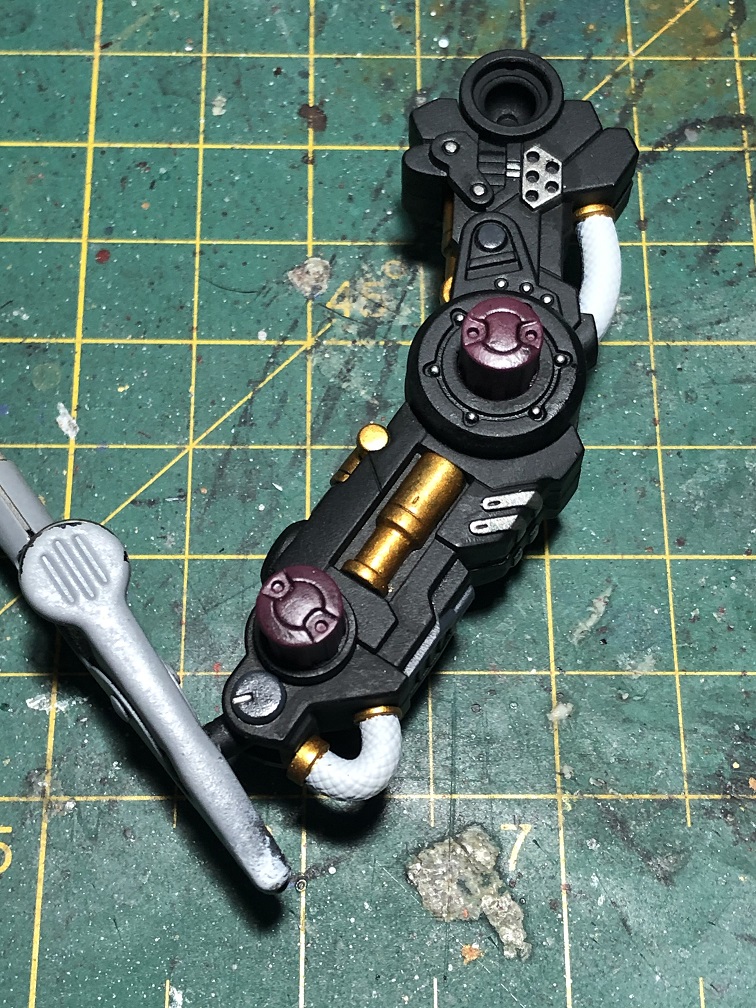
First we need to determine our light sources.
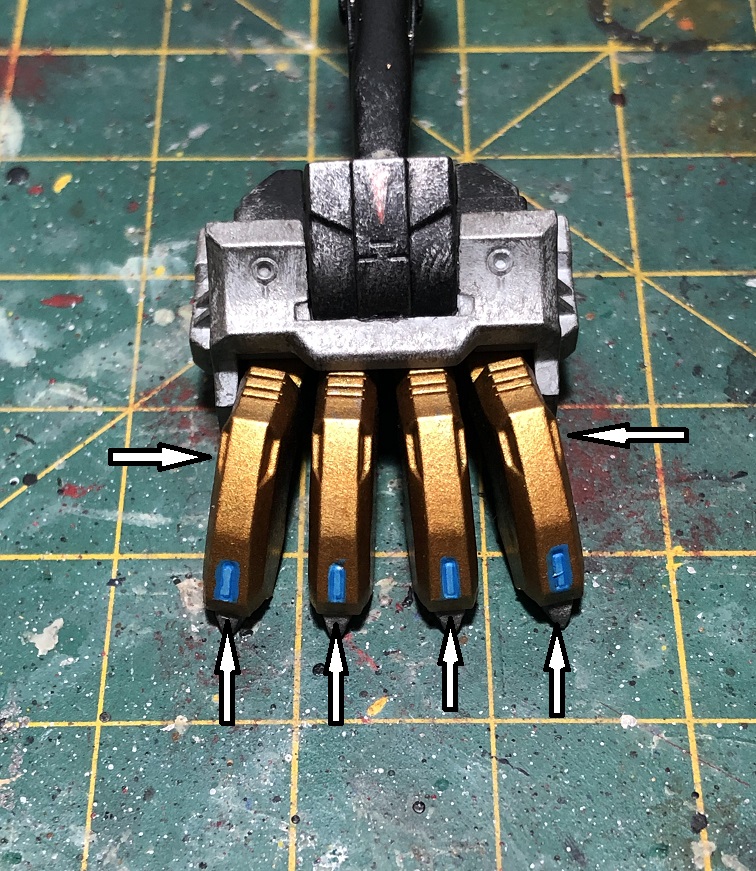
For this it would be the panels at the front, the sides and top of each claw.
Start by painting the panels and the area around them with blue. Also, lets add some lines to make them look like lighting, starting from the panels at the tips of the nails. Once a layer is fully dried, we’ll add some white to our current mix and paint over the last layer. We’ll make sure that the edges of the last layer remains visible. We’ll repeat the layering until we reach the center of the light sources. At the end, we’ll add a small dot or line of pure white over the light sources.


Stray Kitten, reporting for duty!

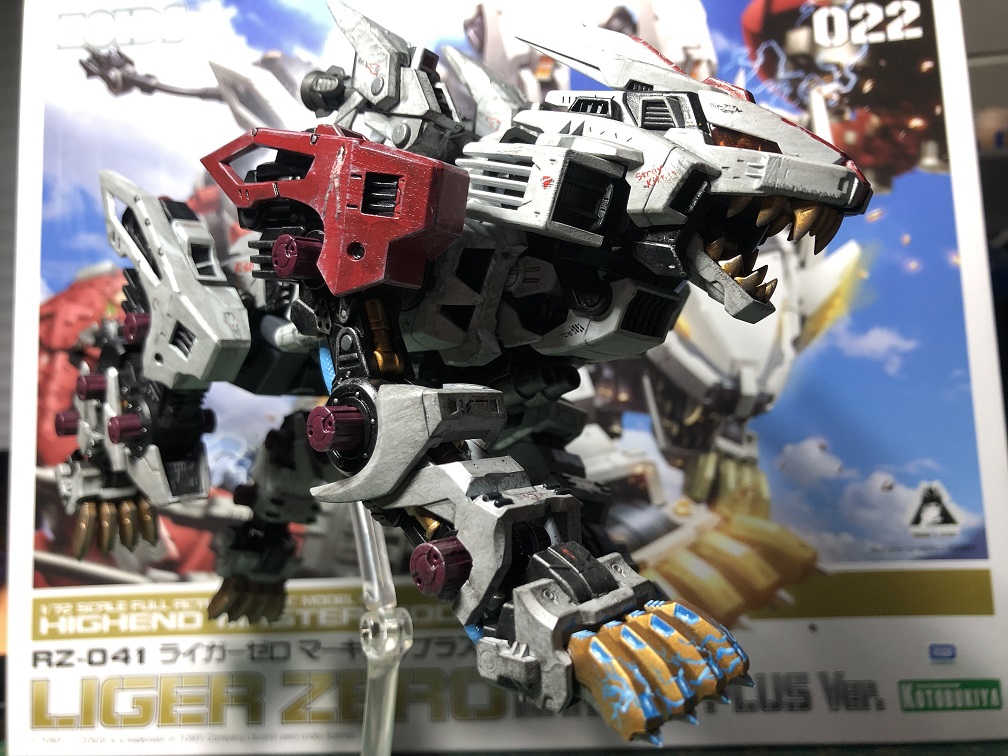
With that last step done we’ve reached the end, not only for these guide, but also of these series!
If you’ve already read the entire series, thank you very much. But if you haven’t yet, feel free to go back and check them out. I’m sure you will find something useful there.
I hope this series has been useful to you and inspires you to go beyond with your model kits!
Stay tuned for more articles here, at hobbylink.tv!
See you on the next one!
Happy modeling!
![All Japan Model & Hobby Show 2022 [Gallery]](https://hobbylink.tv/wp-content/uploads/2022/09/Hobby-Event-1280-High-Quality-224x126.jpg)