Part 3 – Battle damage
Hello there!
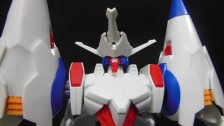
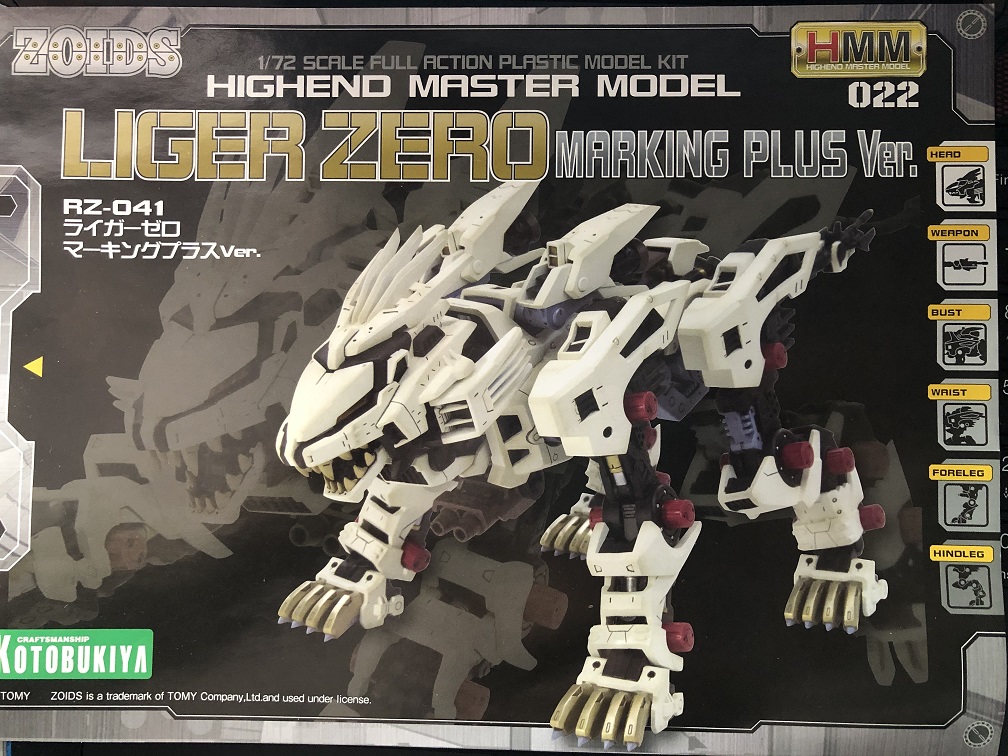
Welcome to a new “How to” article! This is the third part of “Liger Zero- The Stray Kitten Series”! I’m Anthony and today I’m here to share with you some painting techniques I used to build the 1/72 Scale Kotobukiya Zoids: Liger Zero.
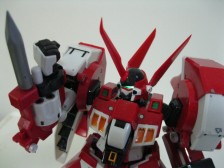
Today we are going to be focusing on recreating battle damage and weathering effects for the Liger’s armor.
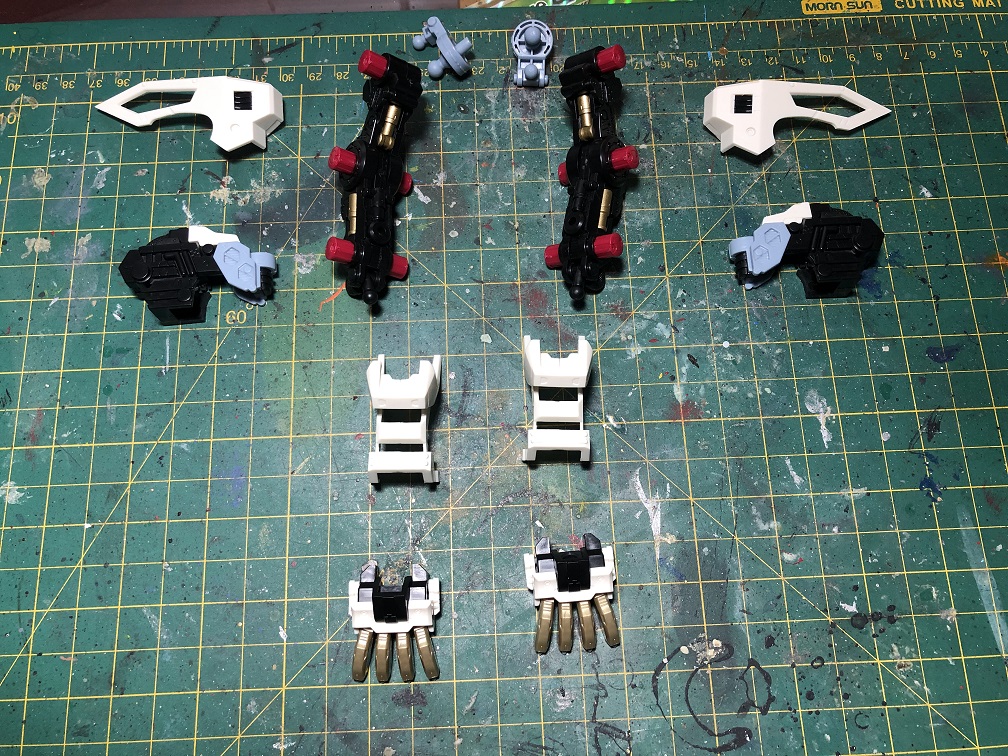
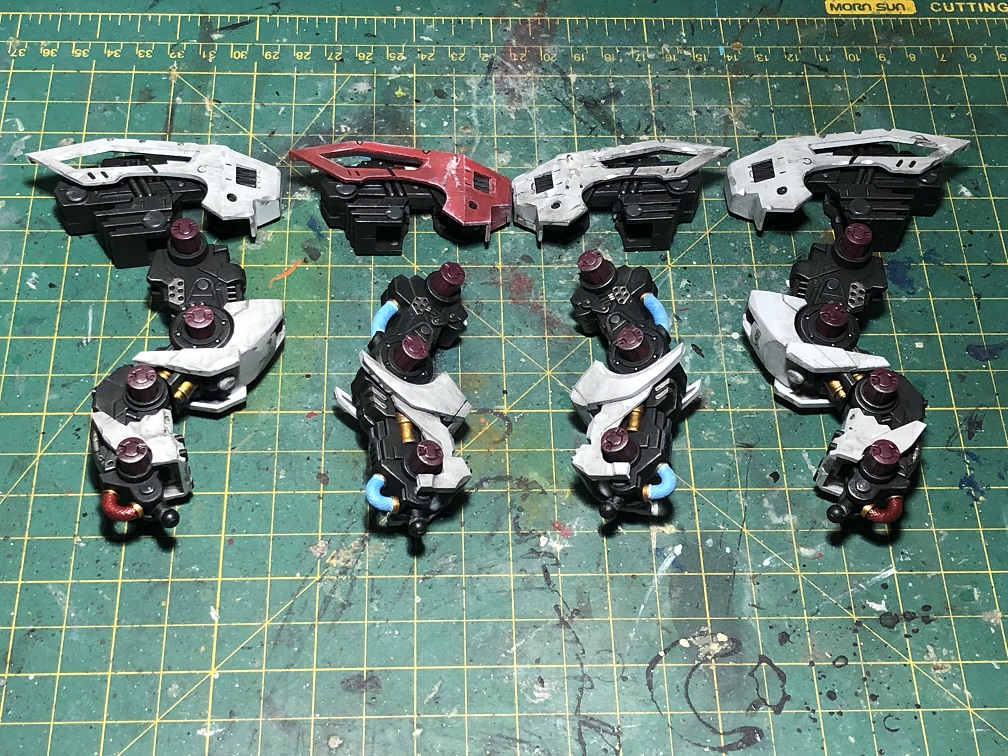
In this article, will be working on the 4 legs, without the paws, and the tail of the mech, while also following the character idea built back in Part 1.
Without further ado, let’s begin.
First steps
Preparing the pieces
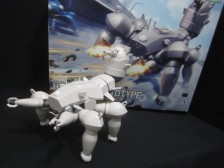
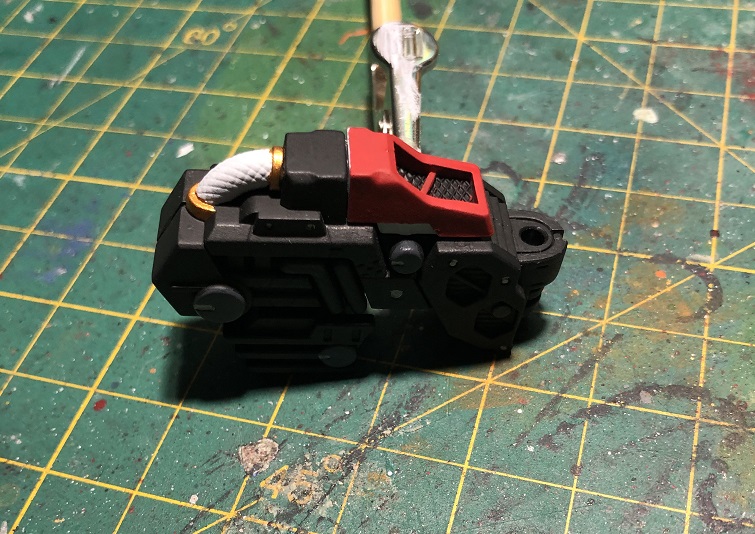
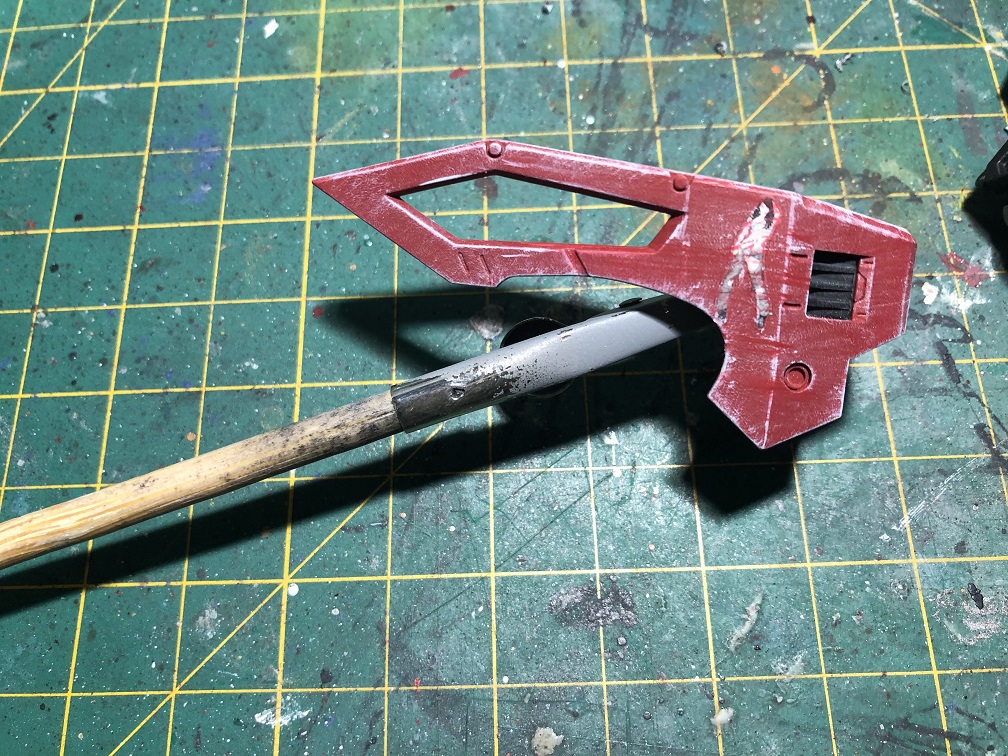
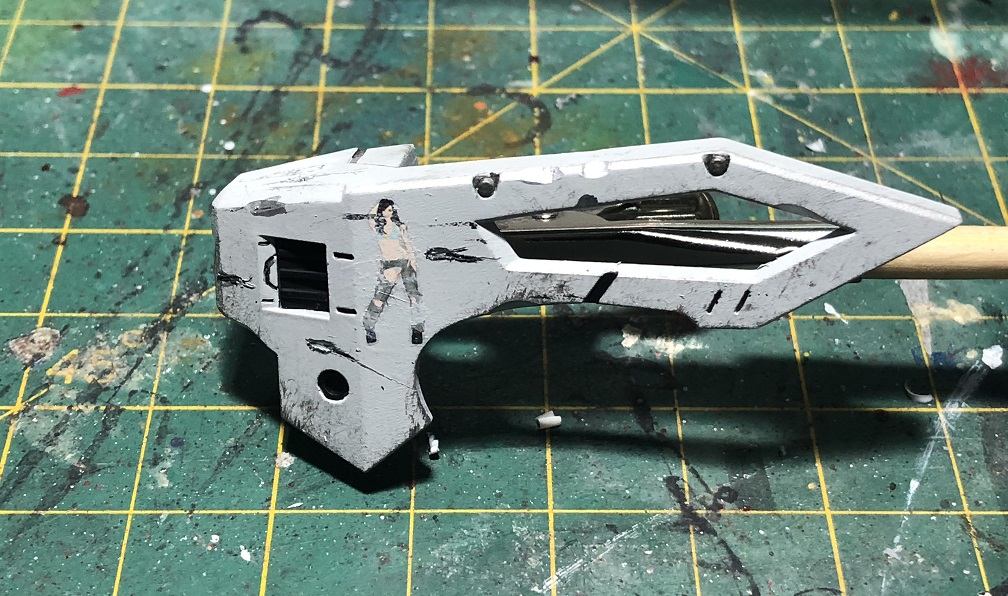
First, we need to paint the legs, the tail and the armor plating. For this, we are going to use the same method for the main body in Part 2.
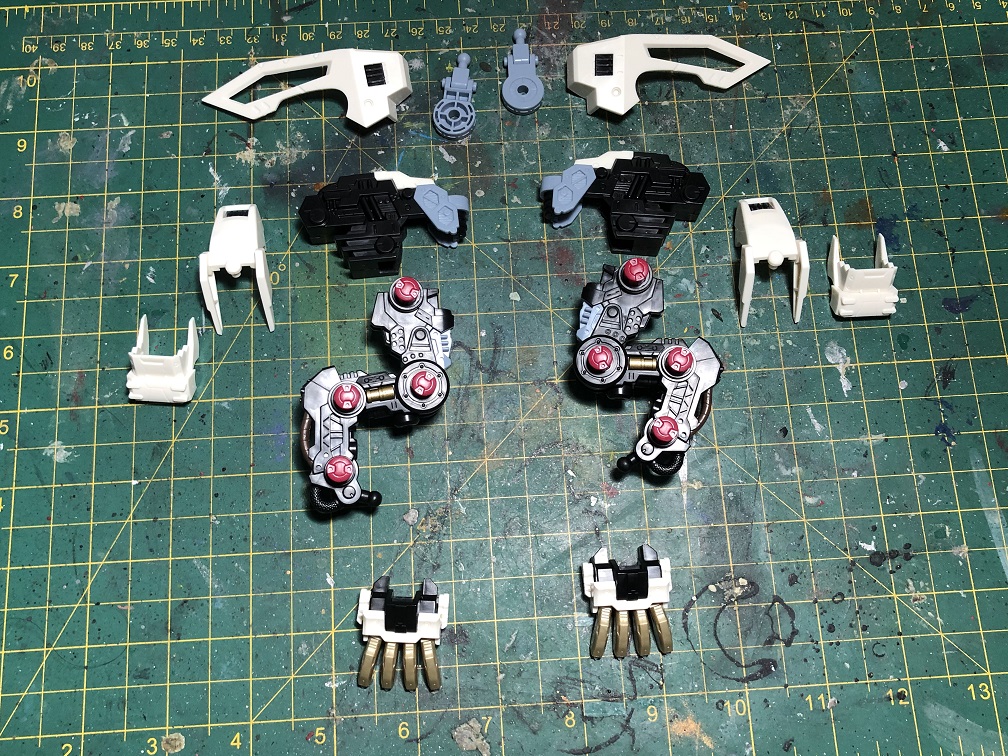
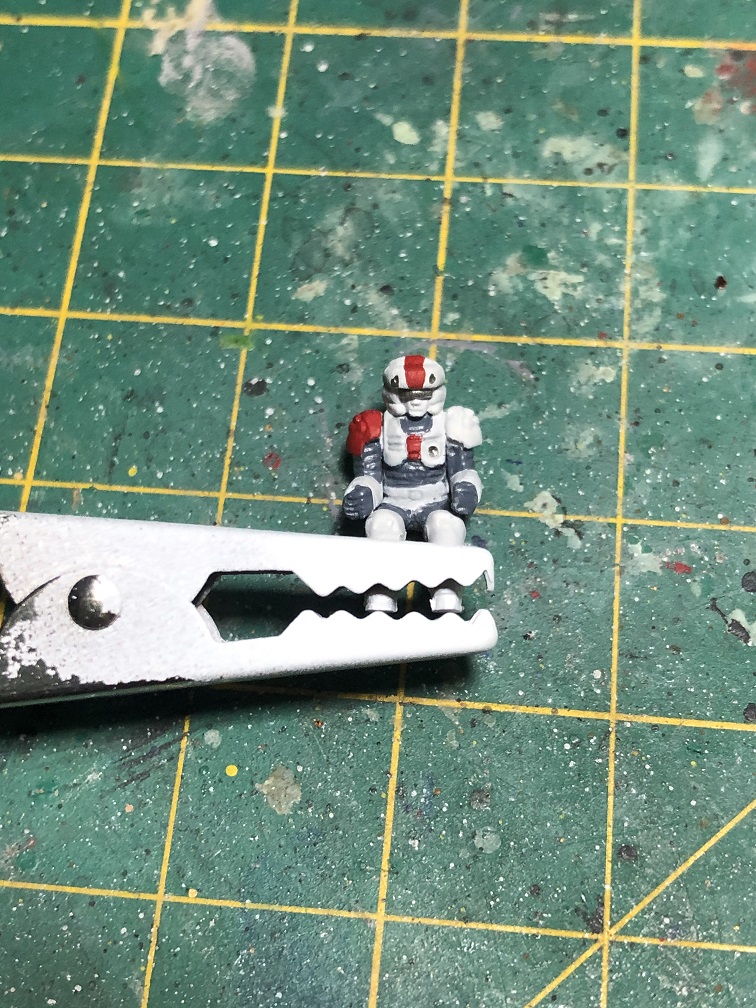
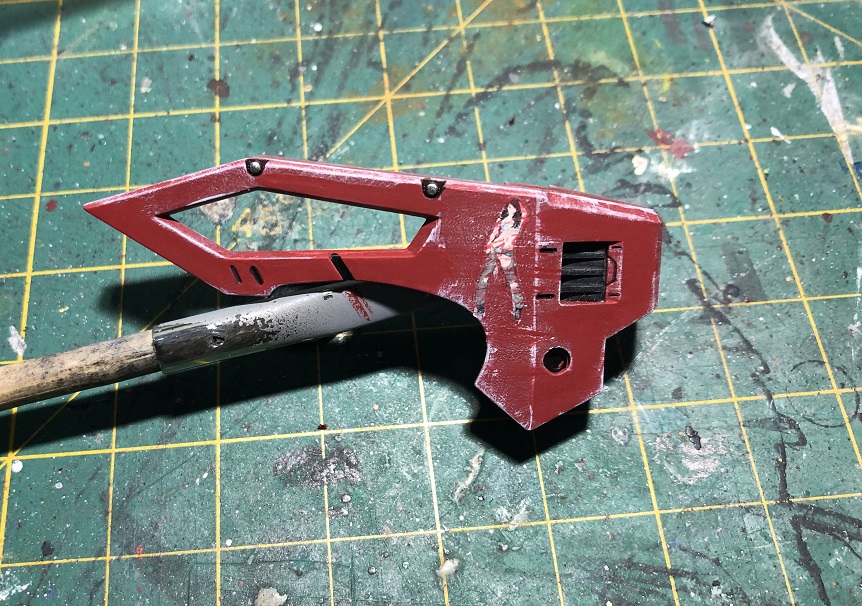
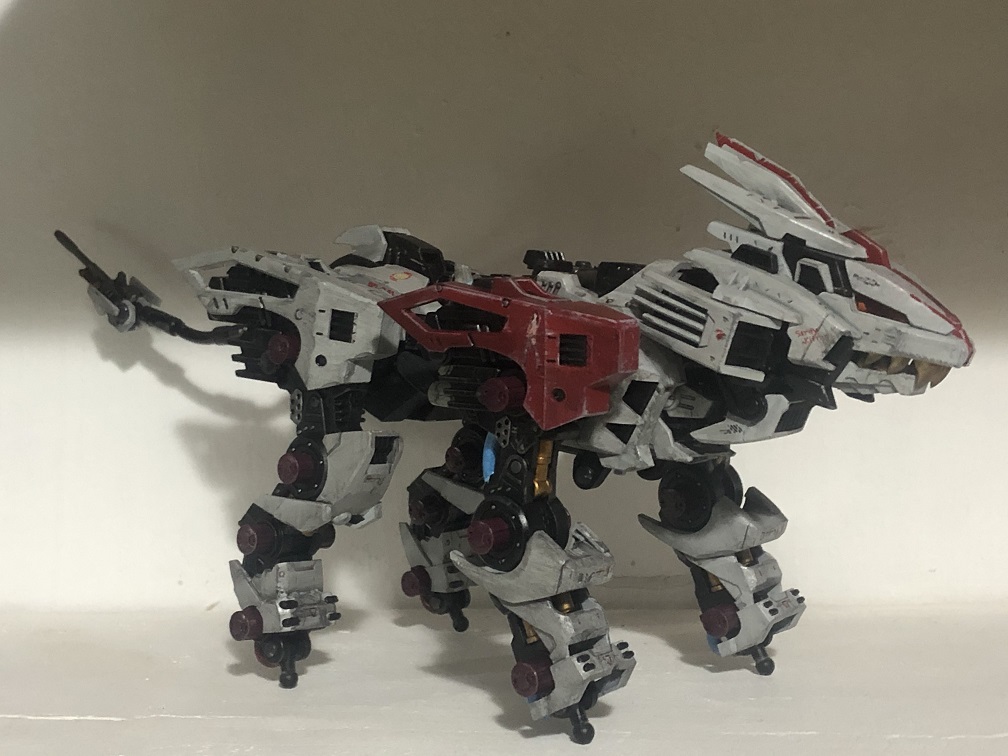
Back in Part 1, we painted our pilot with a red shoulder pad. This time, we are going to do the same with the armor for the front right leg.

Remember to apply a base coat before you start painting and always thin your paint. Two thin coats are always better than one single thick coat.
Decals and markings
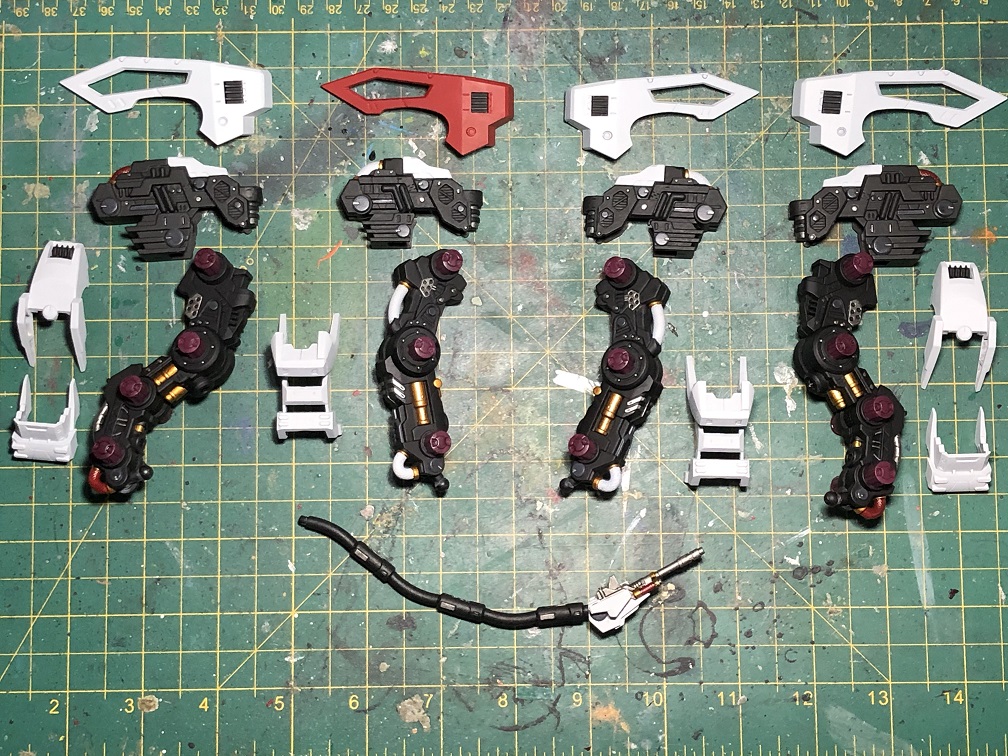
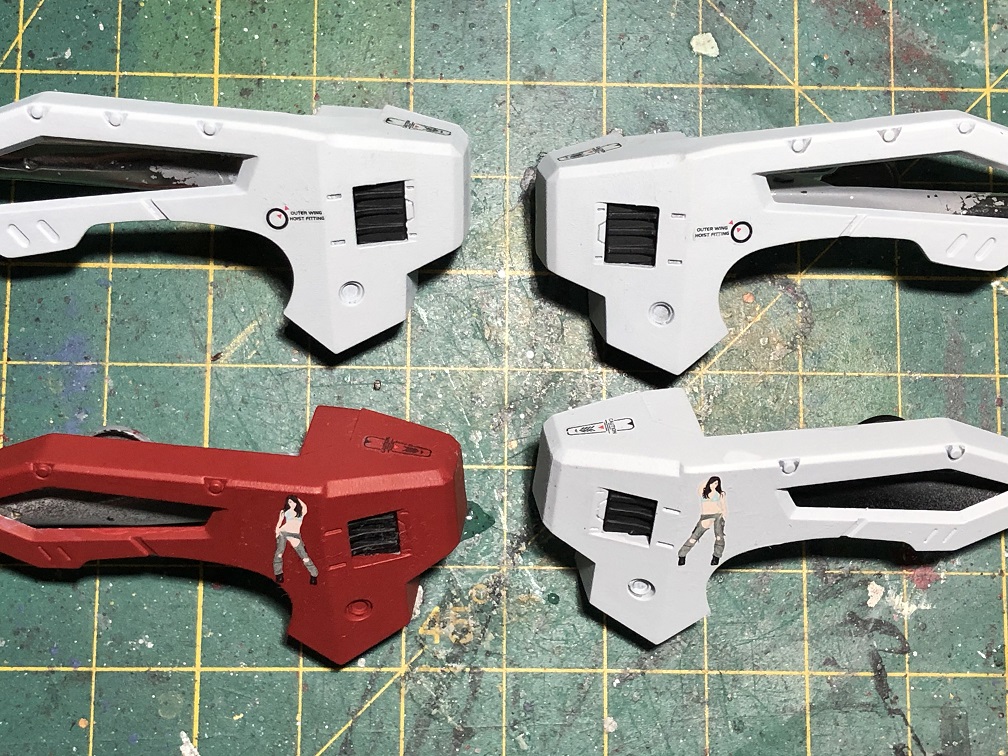
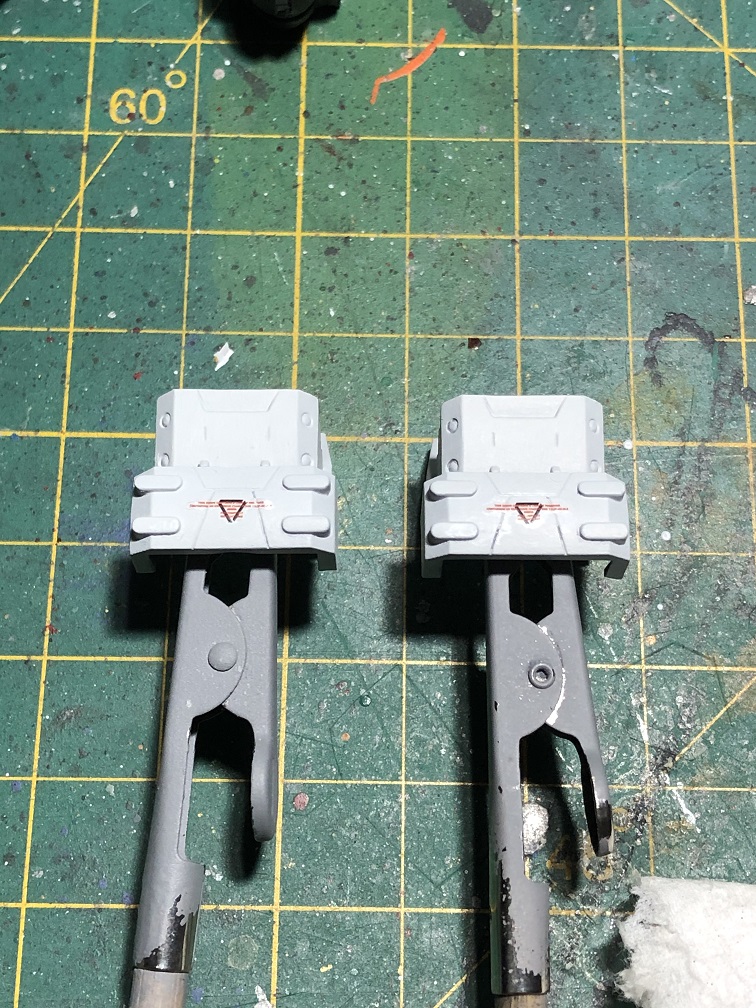
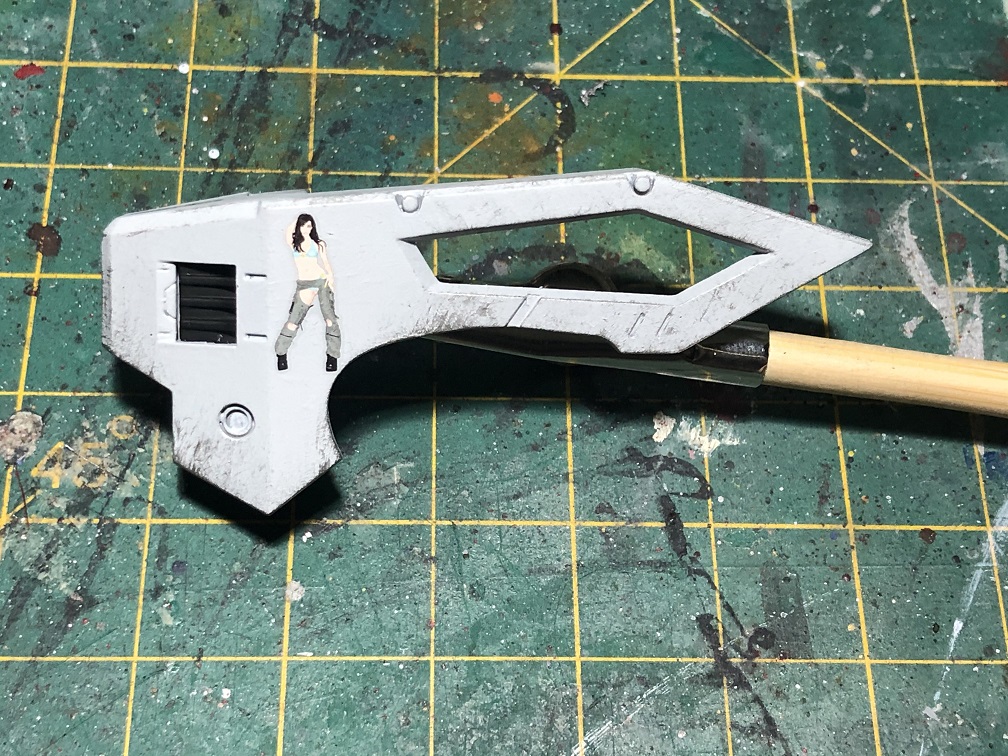
Before we start adding damage to the armor, we need to apply the water transfer decals first.
Back in Part 1, we choose the call sign “Stray Kitten” for our mech. This time we’ll pick a cute Pin Up Girl art from the same decal sheet.
All the decals, except for the girl, were from the sheet that came with the model kit.

If you need some help on how to apply water transfer decals, there’s a quick guide on how to do it back in Part 1.
Here is how they’ll look.
Now, let’s make some damage!
Battle damage
Painting scratches
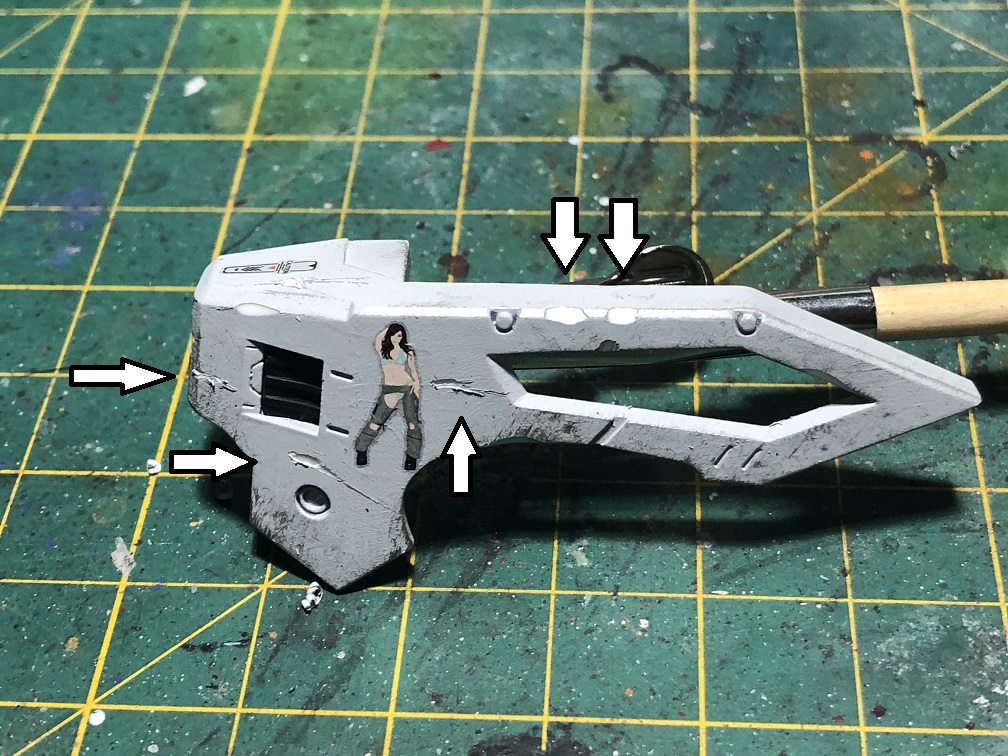
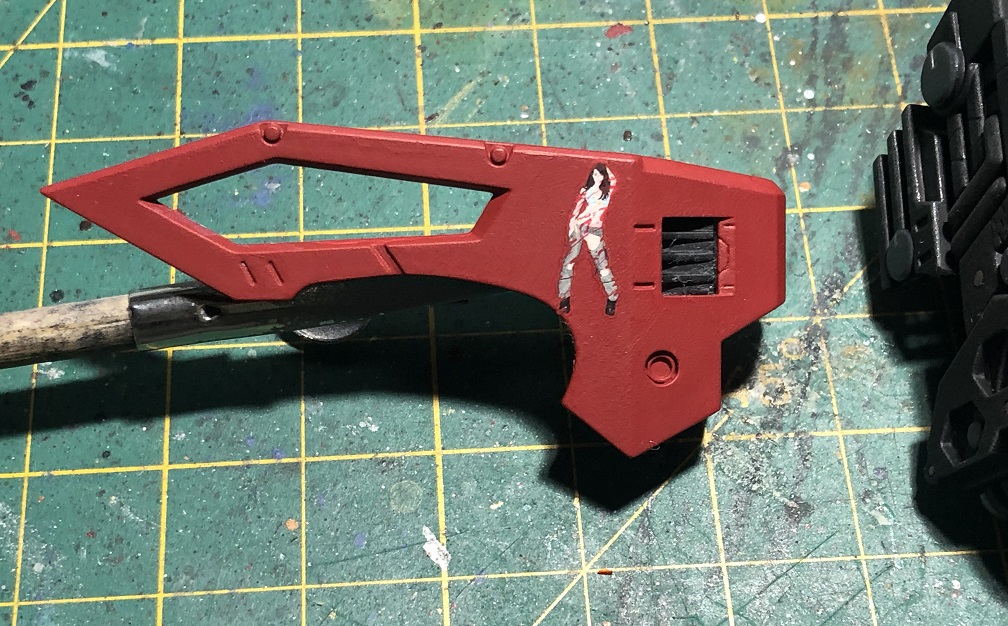
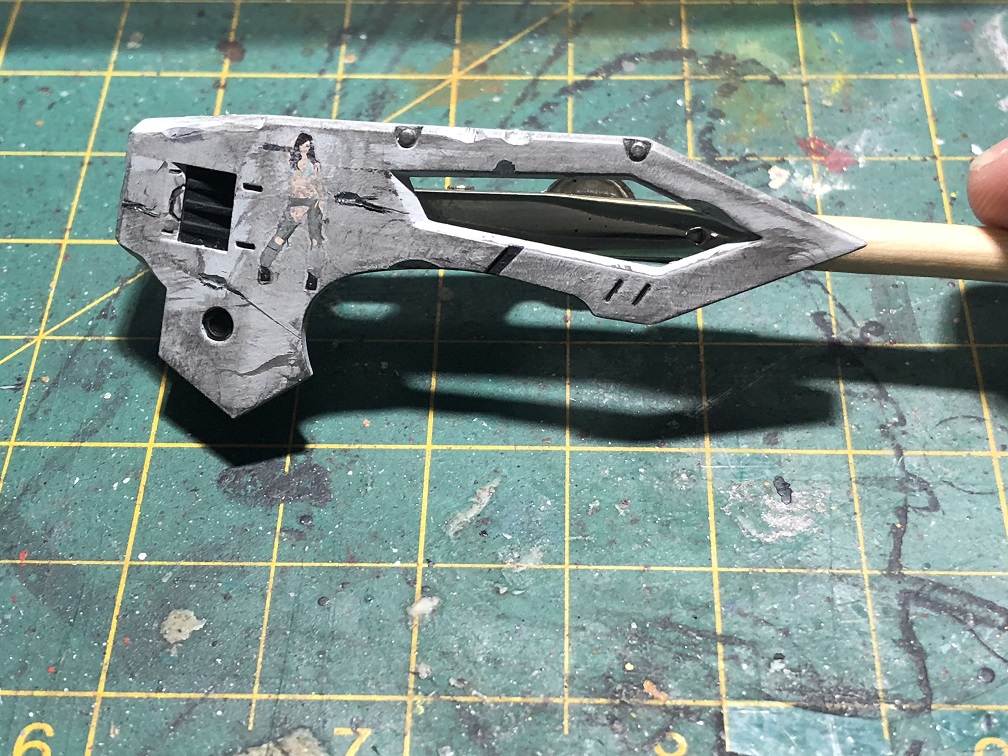
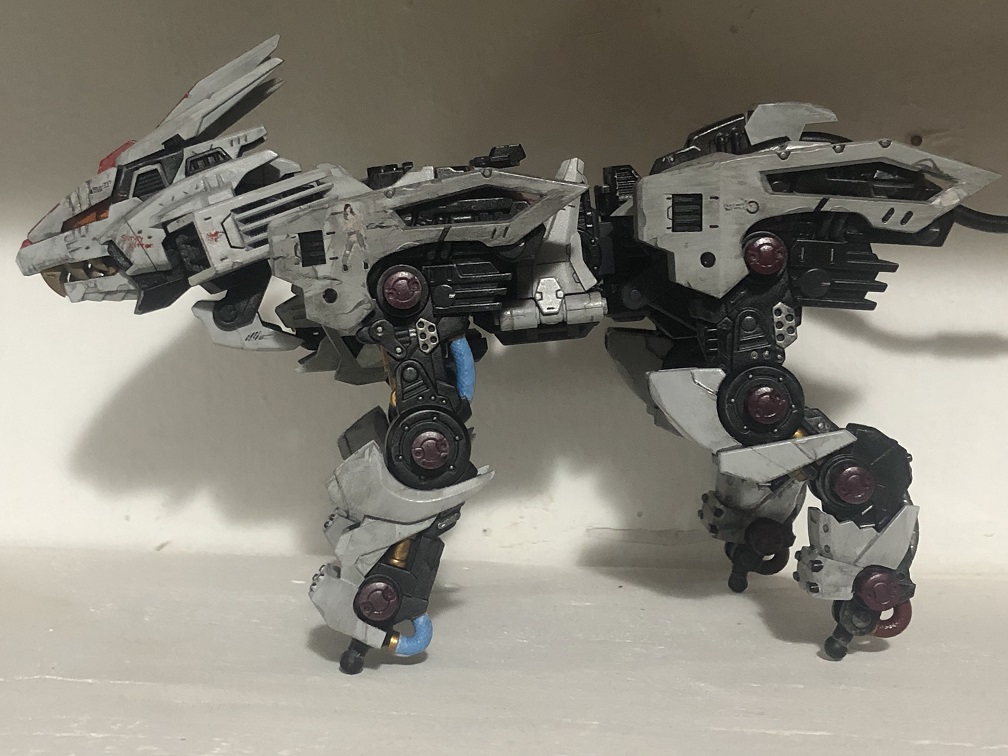
Let’s start weathering the armor by adding some scratches. We’ll create the effect that the paint has been pealed off by friction or hitting objects rather than weather conditions. Therefore we are going to use the dry brush technique to create some sort of chipping.
It is important to establish what is supposed to be seen under the paint.
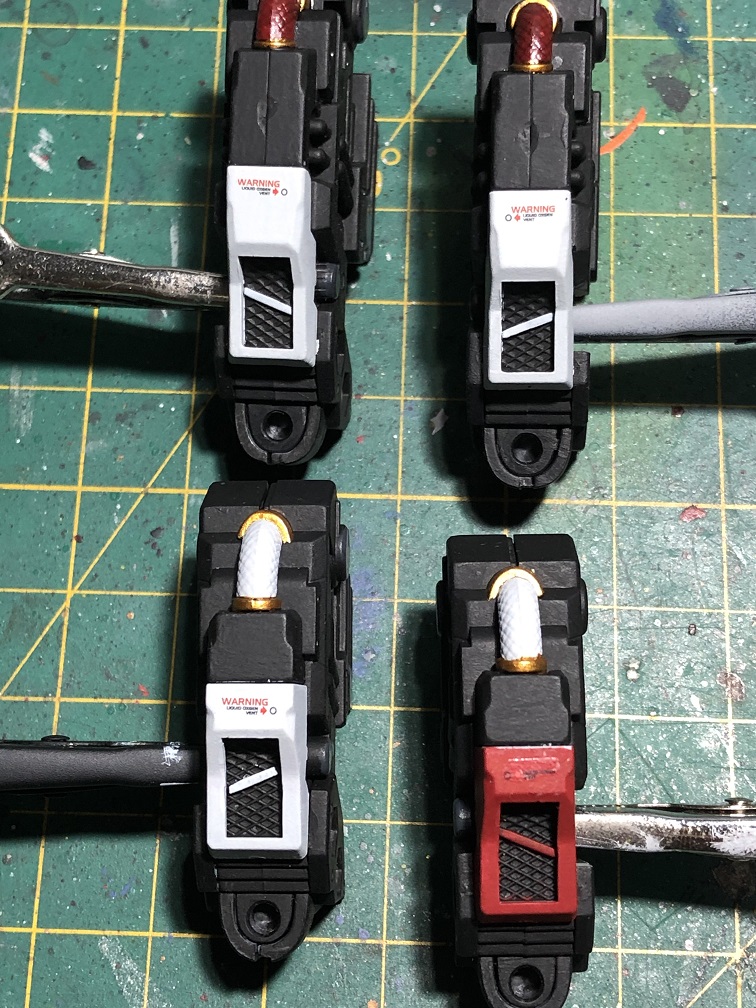
For example, for the white armor plates we are going to add some silver scratches to create the illusion that there’s metal under the paint. This also applies for the legs.

Then, for the red armor we’ll add some white marks; this way it’ll appear that the red was actually painted over white.

Now, we are going to start painting the edges. Usually, the edges are the first places where the paint would peel off, since they are more exposed to the environment.
Since we want to simulate scratches made by hitting objects, we need to establish a direction for those scratches.
For example, in the legs, we’ll paint the scratches from the bottom to the top. This will create the effect that the paint was peeled off by dirt and debris hitting the legs when our mech moves.
For the shoulder pads, let’s paint more scrathes at the front and bottom, while there’s a small amount on the top and back.

Don’t worry if it looks more damaged than you’ve expected. It can be fixed.
The more strokes you paint, the more damaged the armor will look.
Making Scratches
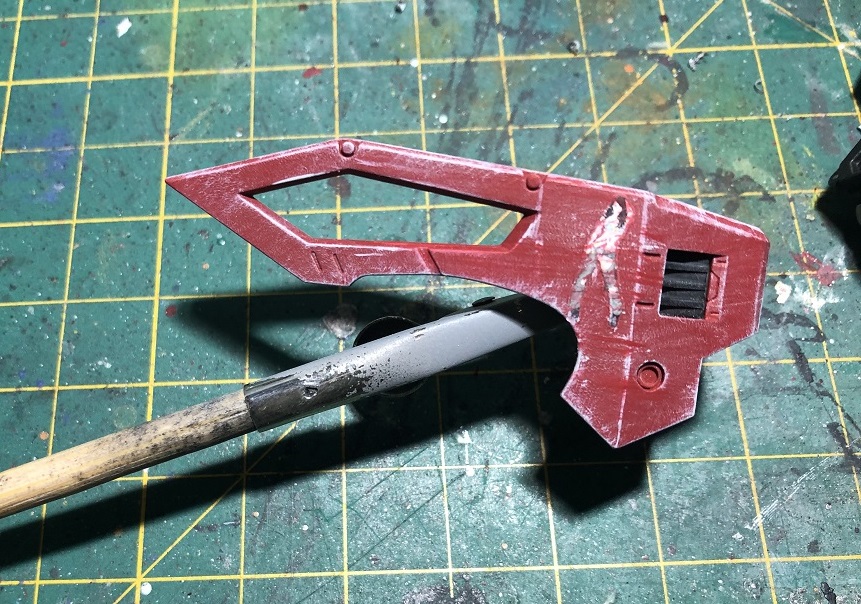
After painting scratches, it’s time to MAKE more scratches but with our hobby knife.
We are going to cut off small pieces of the armor plates, to simulate more serious damage.
First, let’s make some damage to the edges of the armor plate since those are the most exposed parts. Also, we can add more scratches to the flat surfaces.
Then, we’ll make more damage to the flat surfaces. We can make more striking marks, like the damage made by a bullet bouncing off of the armor plate, for example.
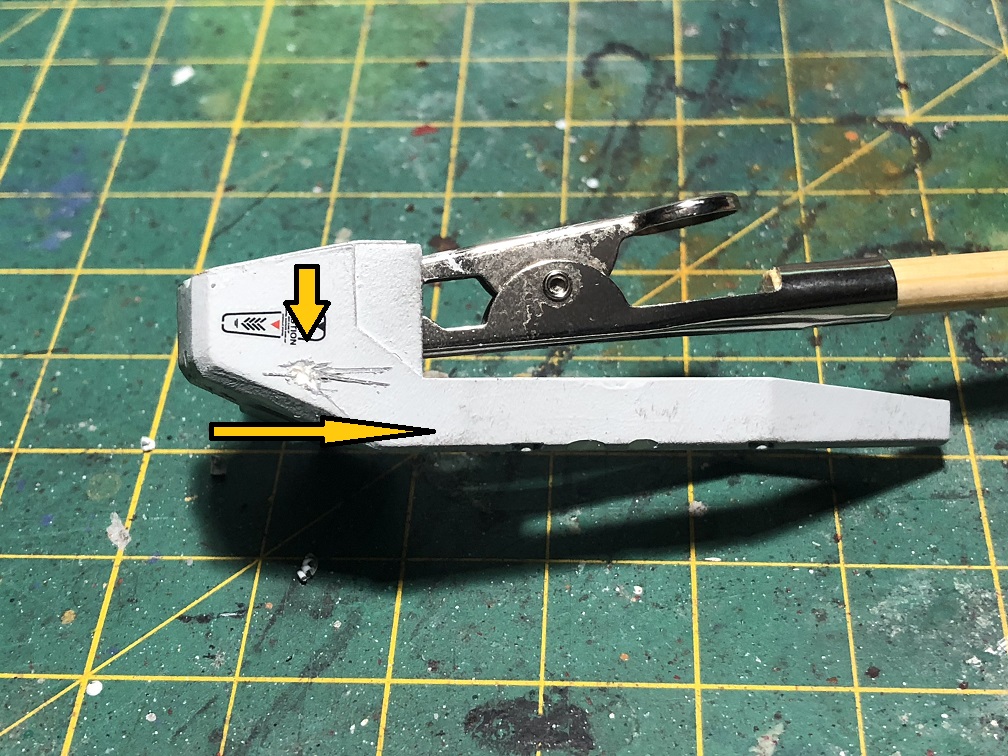
First, we’ll make a hole on the armor but we want it to be wider than it is deep. Then, cut some scratches following the path that the bullet may have follow before and after hitting the armor.
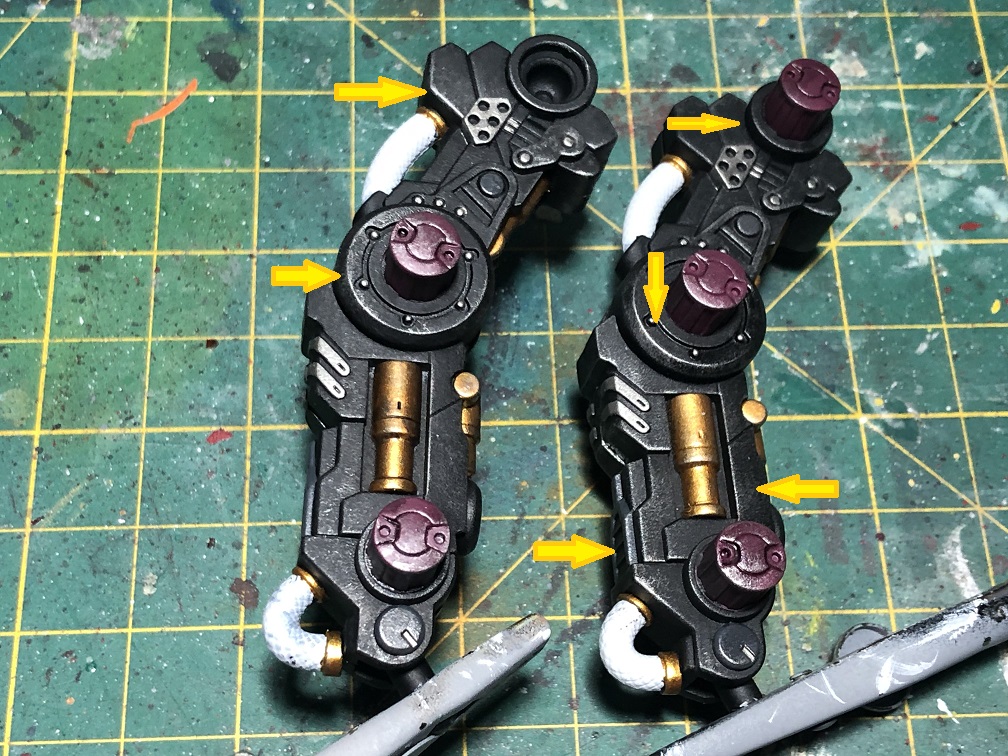
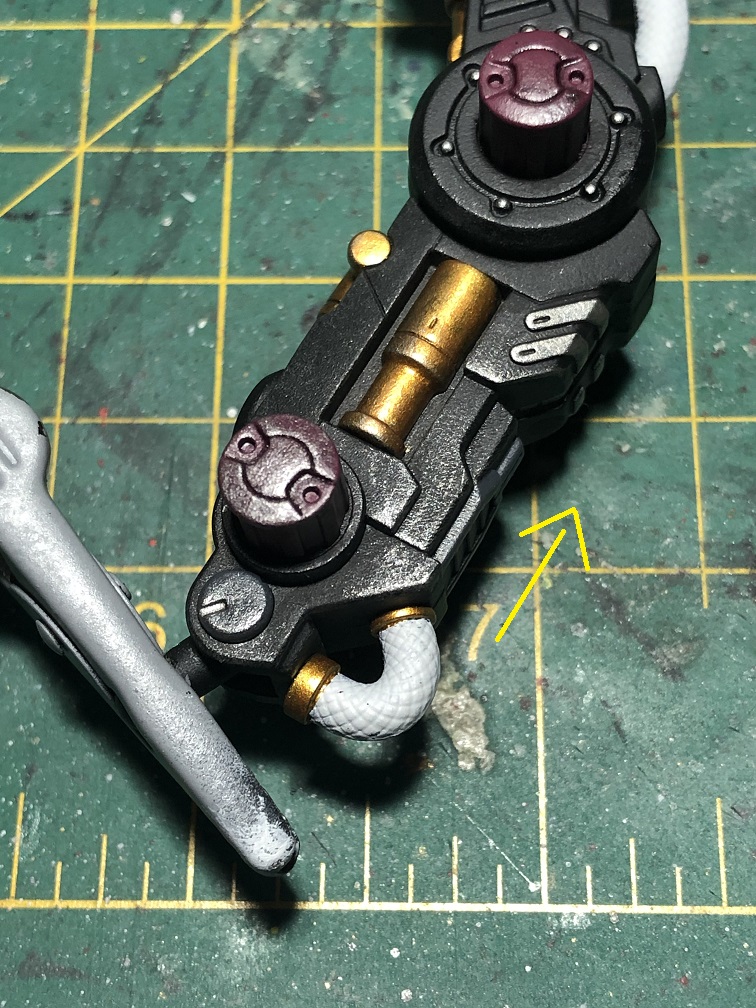
Then, let’s paint all this damage made with a Silver Gundam Marker. This will create the illusion that the pieces were made of metal.
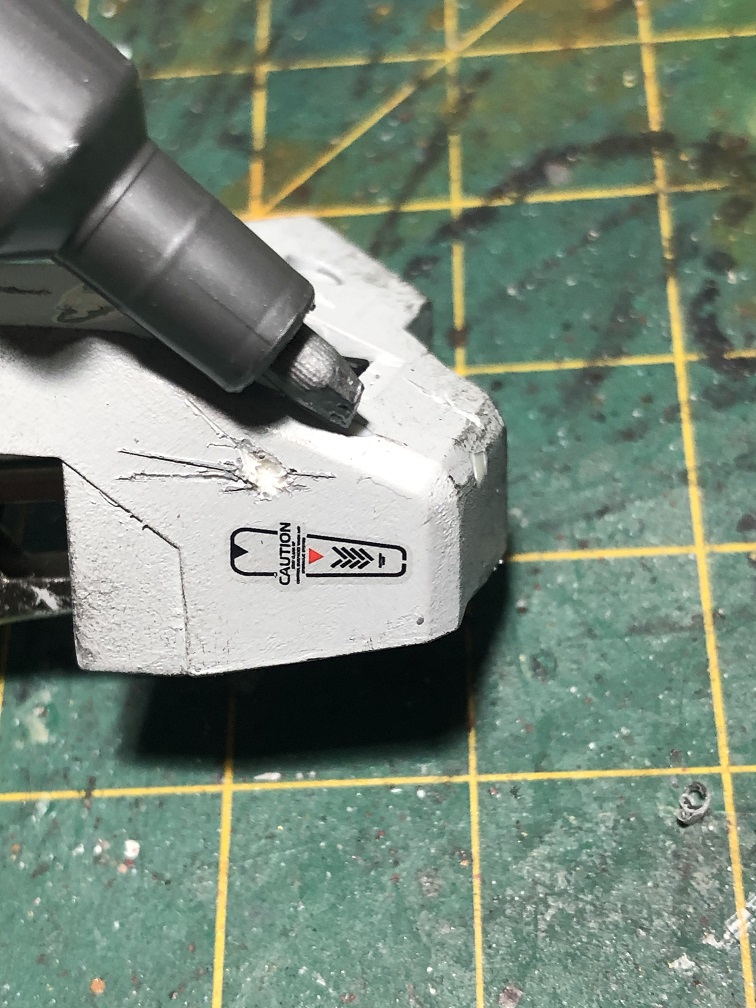
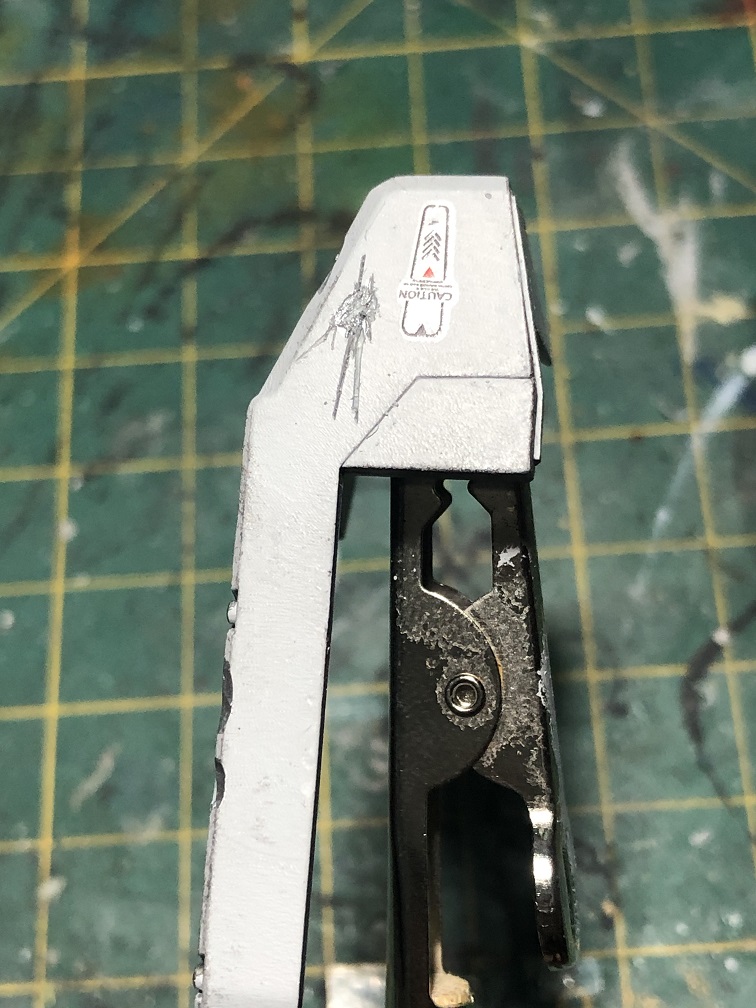
After that, with some black paint, we’ll paint a small line in the center of each cut, as well as in the scratches at the back of the bouncing marks and onto the edges of each marking. This will looks like burn markings on the scars.
The amount of damage made to the armor is up to you. You can cut off entire parts of the armor if you wish. Just remember to paint near the edges of your cuts to make them look realistic.
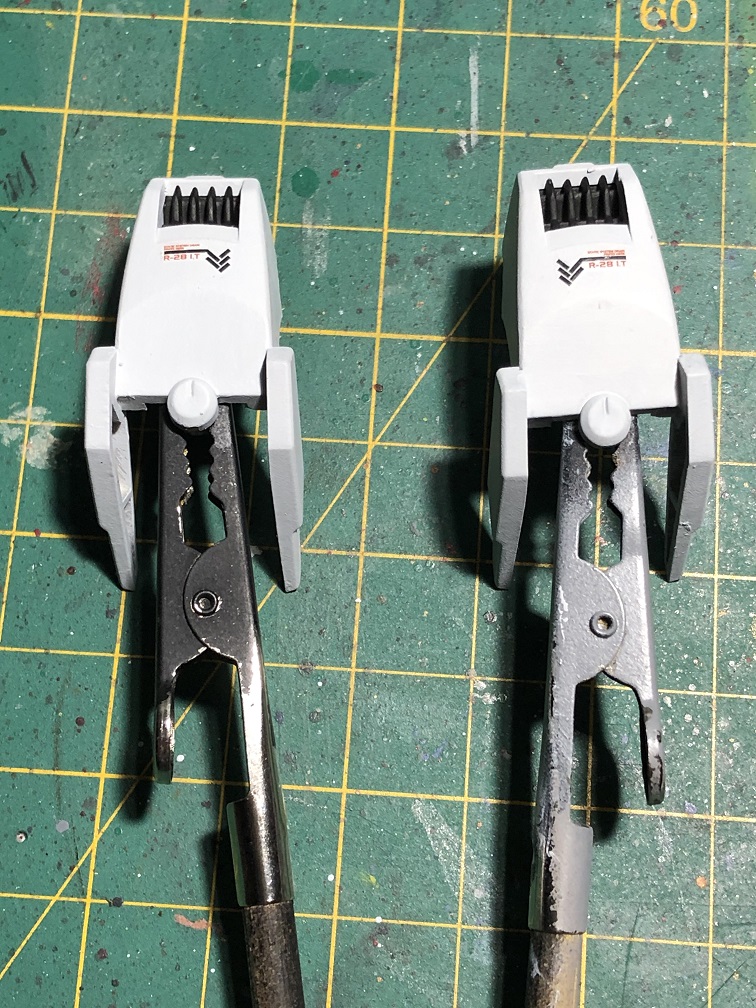
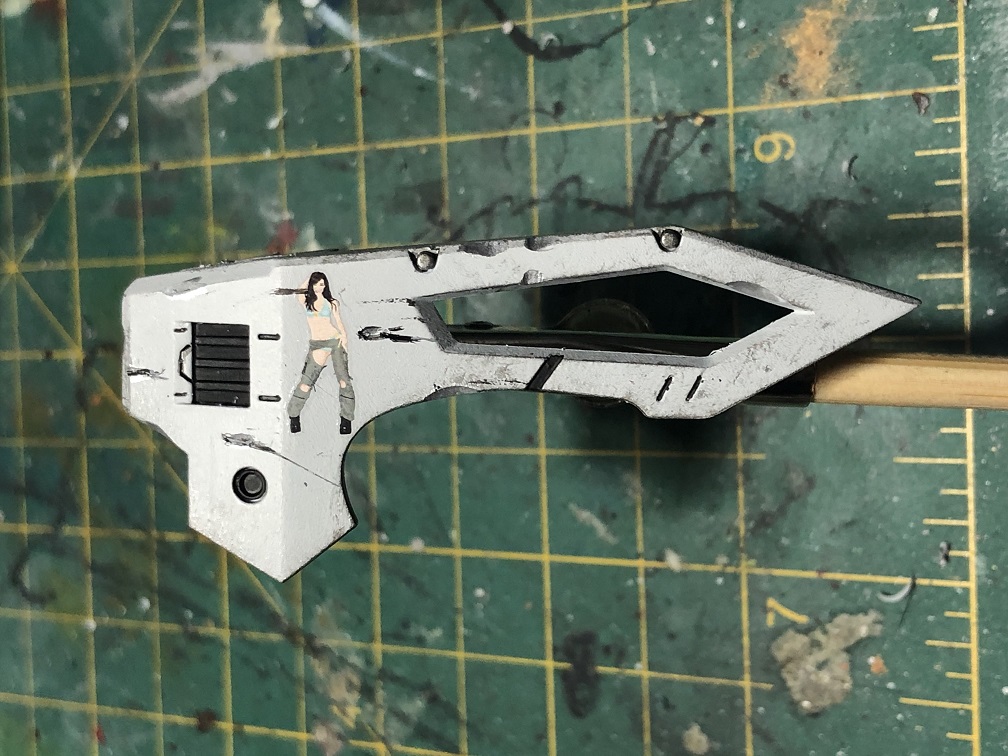
Integrating decals to the armor’s paint
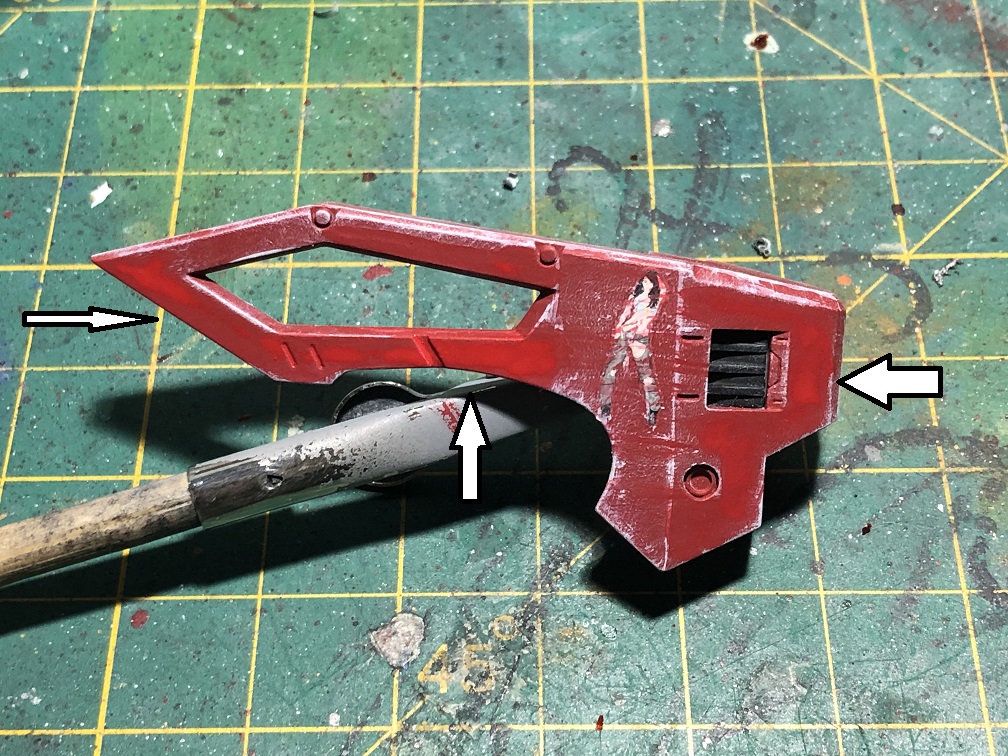
We can leave the decals as they are, of course, but it would be odd that the armor had received a beating while the markings remain as good as new. Therefore we need to weather the decals before we do the armor, to make them look more natural.
For this, all we need is the same base color we used for the surface they are on. In this case, it would be white and red.
First, we’ll paint over the transparent outline of each decal. Don’t worry if you paint over the decal because that’s exactly what we are going to do next.
After painting the outline, we need to paint some scratches or stains over the decals. Just make sure to use the same color you used for the outline and as a base color for the armor.
First, I painted red lines over the decals. Then, I added white scratches to blend the decal with the rest of the armor.
In case of the red armor, I decided to blend the decals with red paint before I painted the white scratches on the armor. This way it would look more natural.
On Second thought…
Some times, we get too exited applying all sort of effects and techniques on a single part of a model, and then we realize that it’s overloaded with a lot of effects. If this happens to you, as it happened to me with the red armor plate, don’t you worry, it can be fixed.
The best way we could fix this is to grab the base color we used for the armor and apply a thin coat over the effects we want to hide, just like using an eraser.
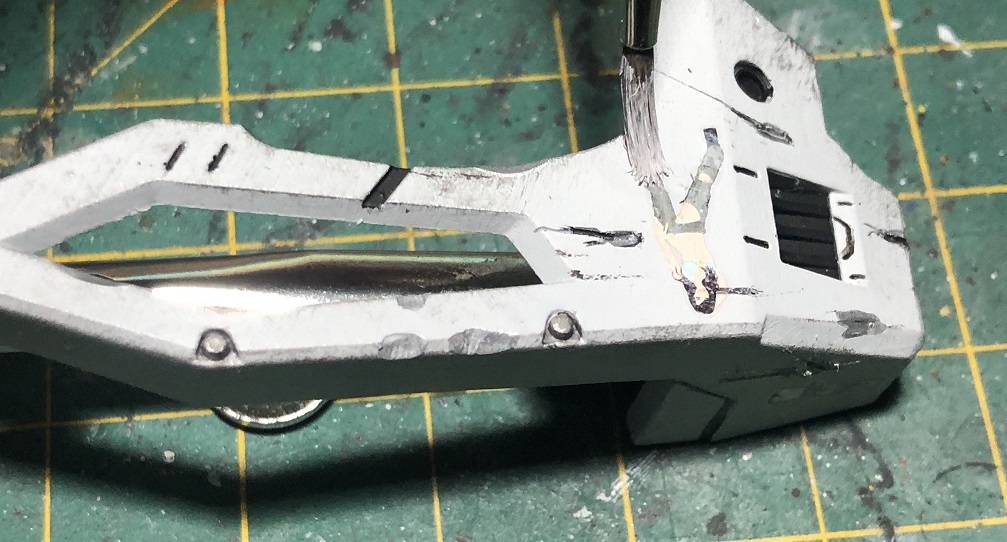
Wash
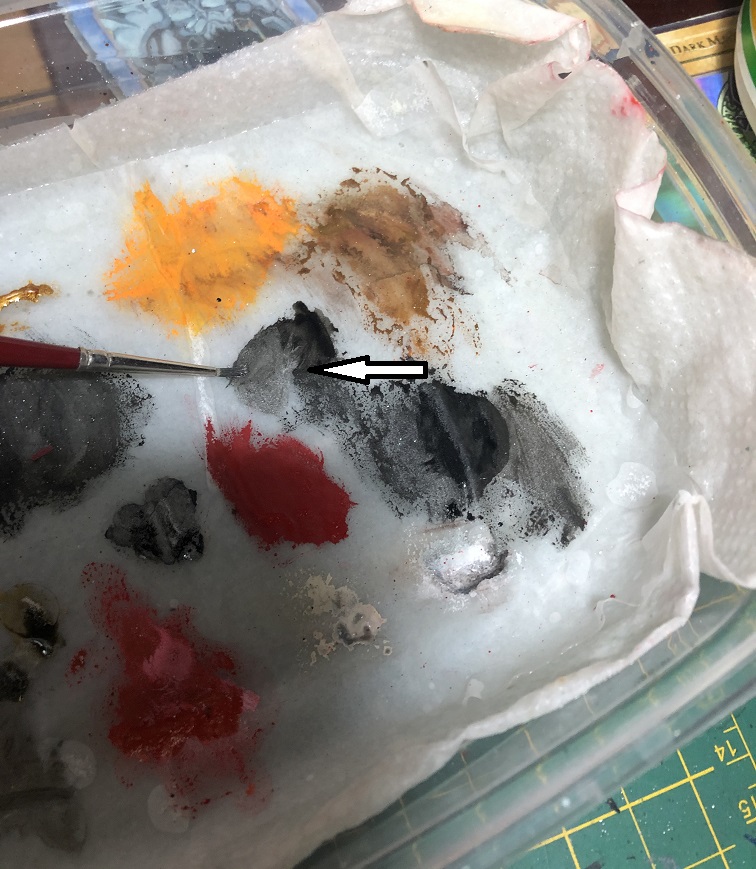
Once we are satisfied with how damaged the armor looks, it’s time to add a wash.
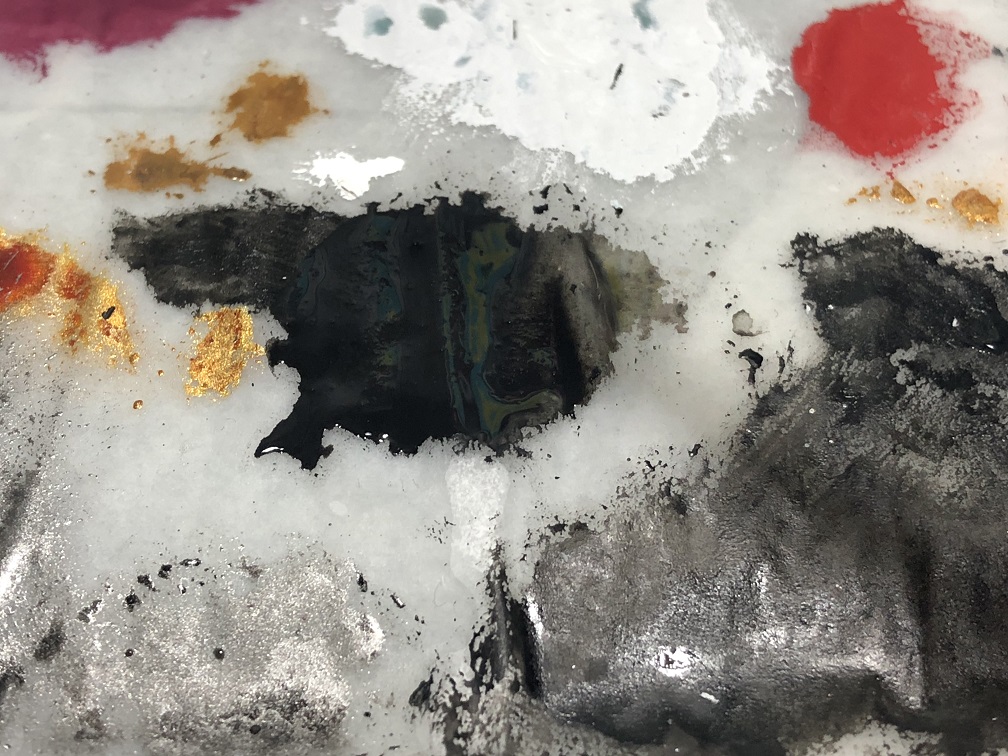
First, we need to pick a color for the wash. In this case, I’ll use black to create a dirty look. This should create some battlefield stains, a mix of oil, grease, burns, and gunpowder.
Once we’ve chosen a color we need to dilute it before we apply it to our model. For this we can use clear paint to dilute the color paint, like Citadel’s Contrast Medium or Lahmian Medium, or use a few drops of Vallejo’s Airbrush Flow Improver. In this case, we’ll use only water.
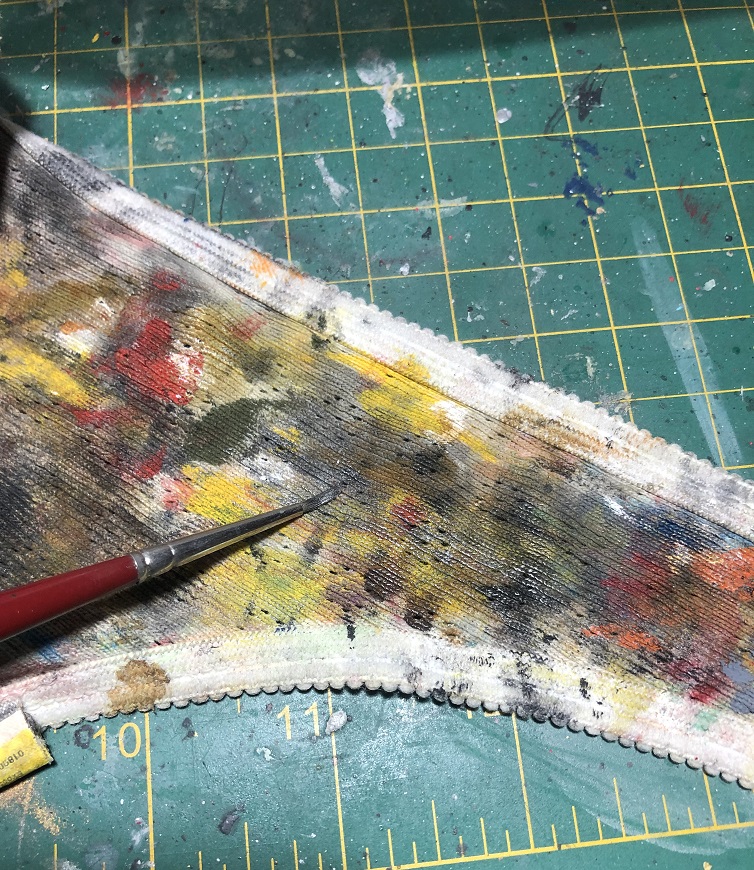
Once we have our paint ready, is time to start staining our model kit.
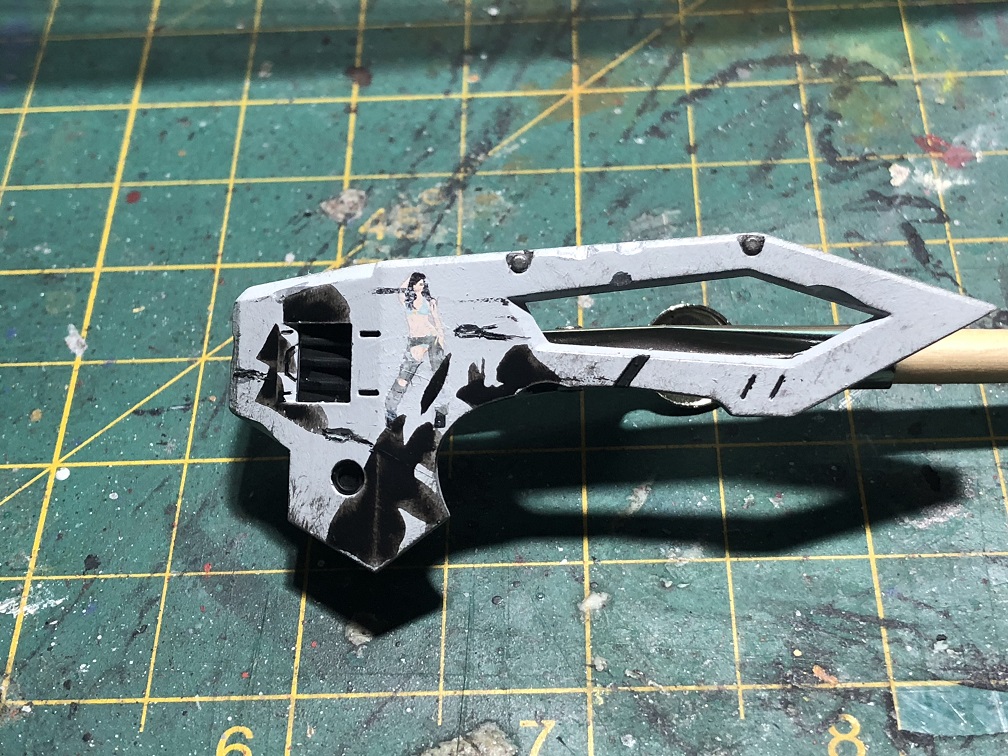
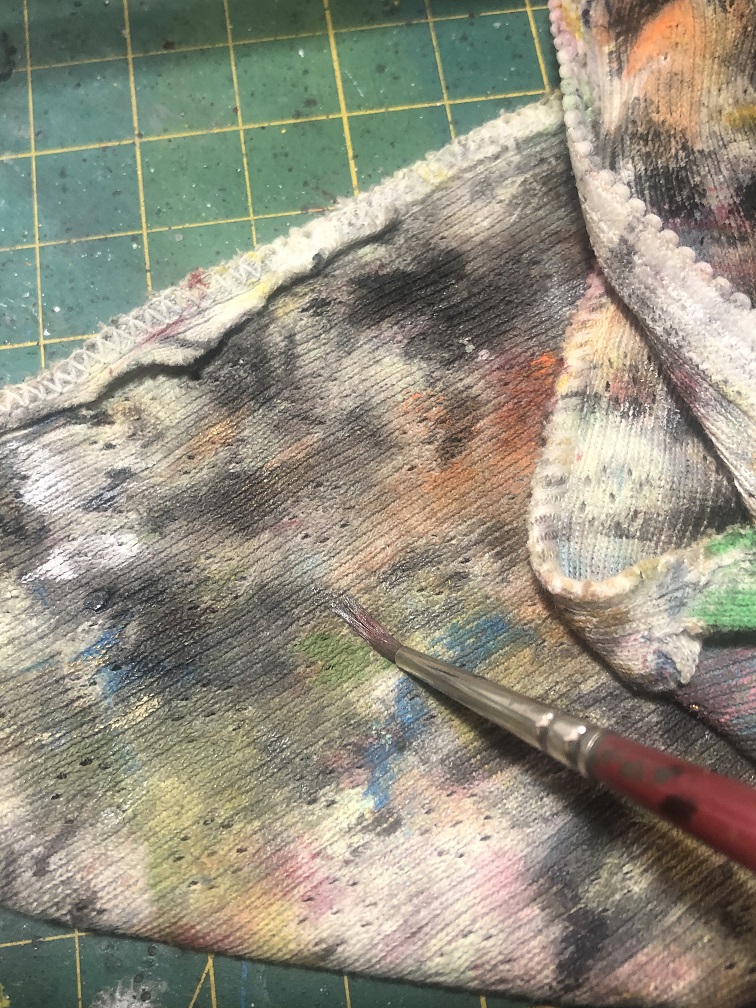
And then, with a piece of cloth or a paper towel, we are going to rub the stains, making sure to spread the selected tone over the entire piece.
Now, when we rub the paper towel or cloth over the model we need to be careful, otherwise we’ll start to take away, not only the wash paint, but also the decals or even the entire paint job.

A other option to do this would be to use inks or wash type paints.
Time to wear that armor!
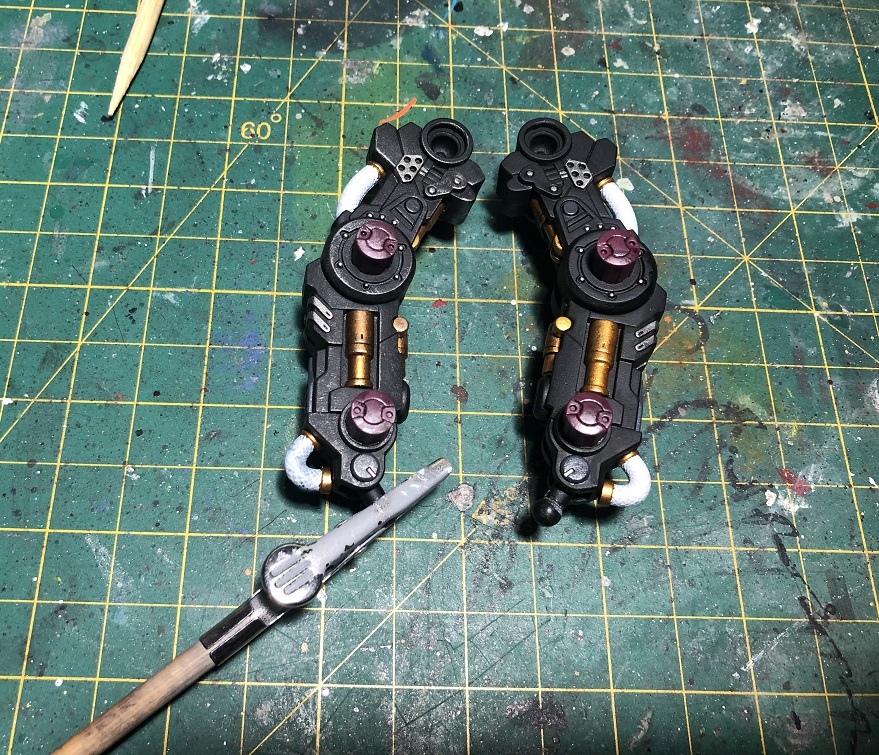
Now, the only thing left is to mount the armor and attach the legs to the rest of the body.
And with that, we have reached the end of this article.
I hope this article has been useful and inspires you on how to add some battle damage to your model kits! Stay tuned for the last part of this series, where we’ll add the final touches to “The Stray Kitten”
Thanks for reading! See you on the next one!
Happy modeling.