Hey, everyone! I hope you’re doing well in these tough times. Most of us will will be spending quite some time confined at home, which means more time for modeling. With that in mind, today’s update may be very useful. Hopefully it will inspire you and give you some ideas for whatever you’re building. The techniques we’re gonna go over today can be applied to most scales and types of models. Without further ado, let’s get right into it!
Decals
Preparation
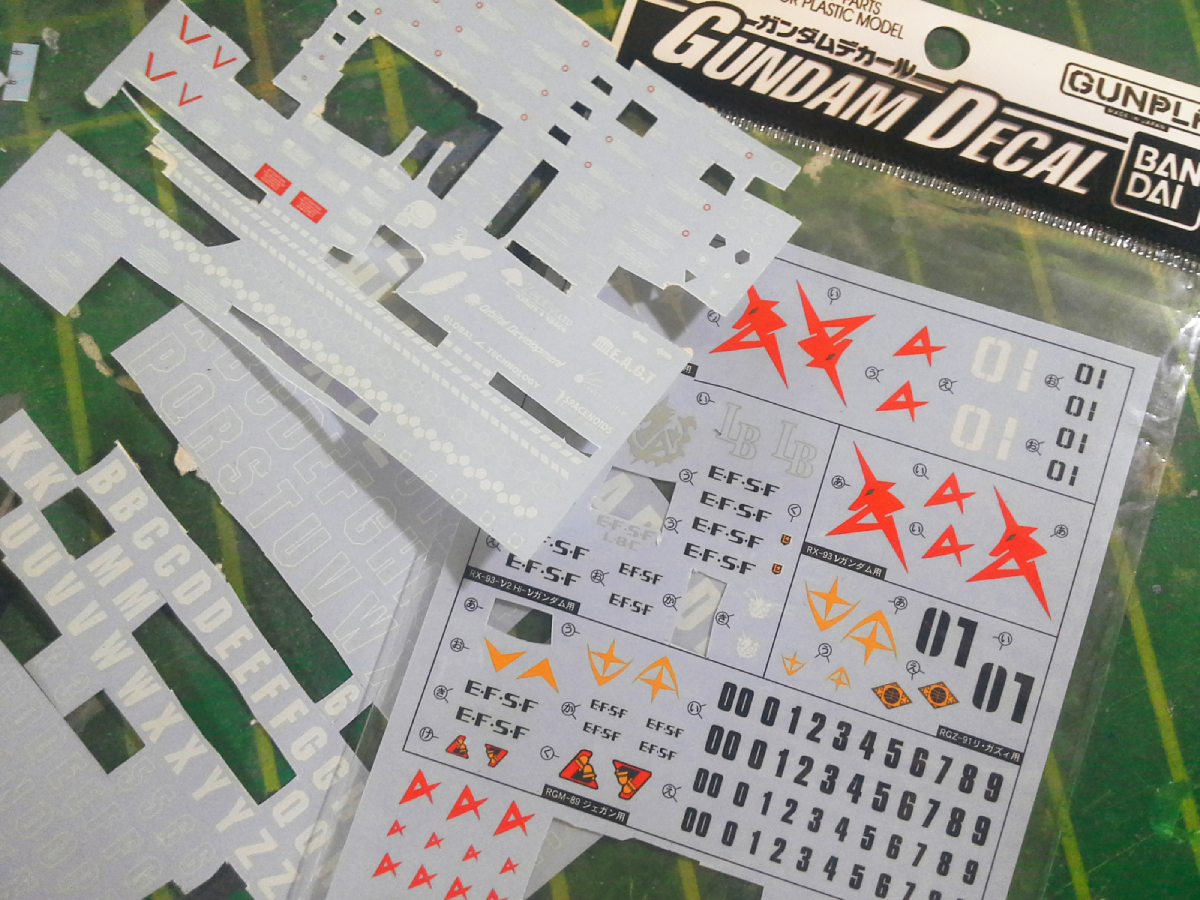
In part 8, we finished all the painting. We’re now ready to apply decals. These are waterslides, which are really easy to work with. I’m going to use a set of Bandai’s Gundam Decal and a handful of caution markings from a Wave waterslide sheet.
When it comes to choosing which decals to apply on the model, I generally follow a simple rule of thumb. I divide the decals into two groups: caution and identification markings. Caution markings are instructions for the mobile suit mechanics, like text or symbols that warn them about openable hatches, sources of heat, etc. On the other hand, identification markings show affiliation to a faction or a squadron. The identification decals I picked for this model are the Earth Federation Space Forces logos and numbers.
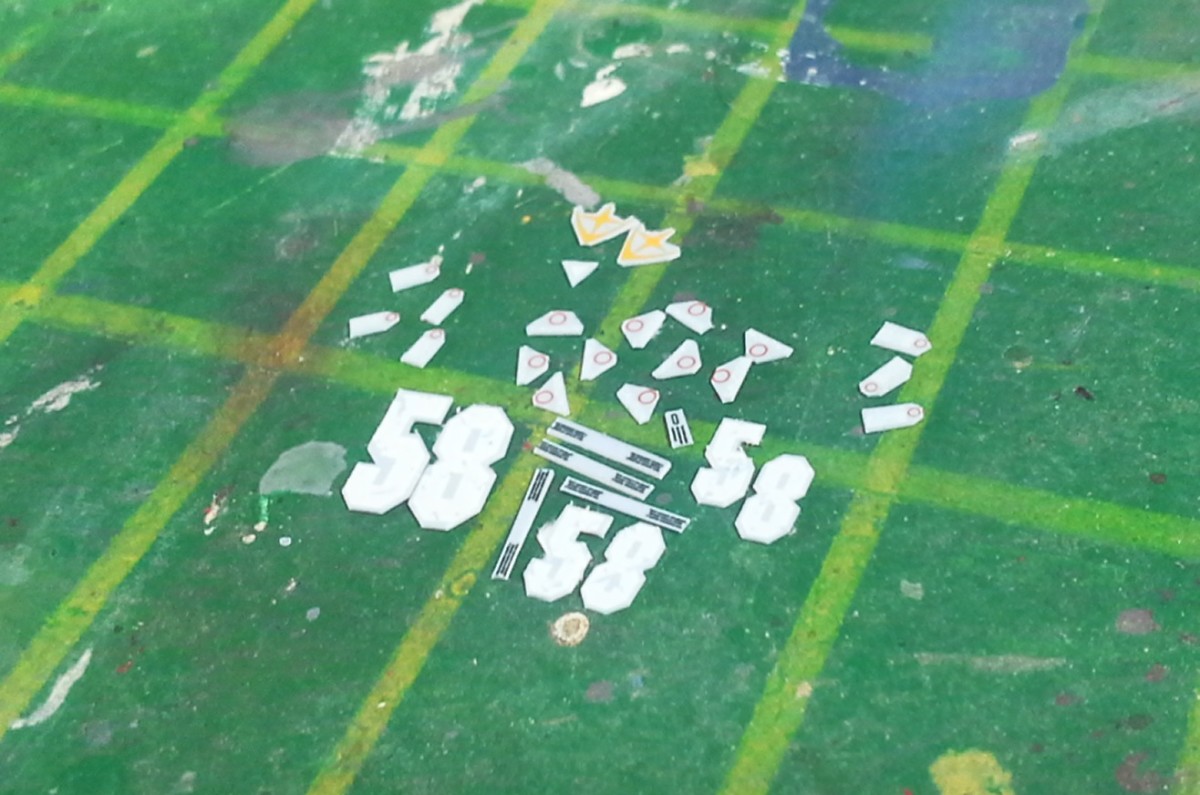
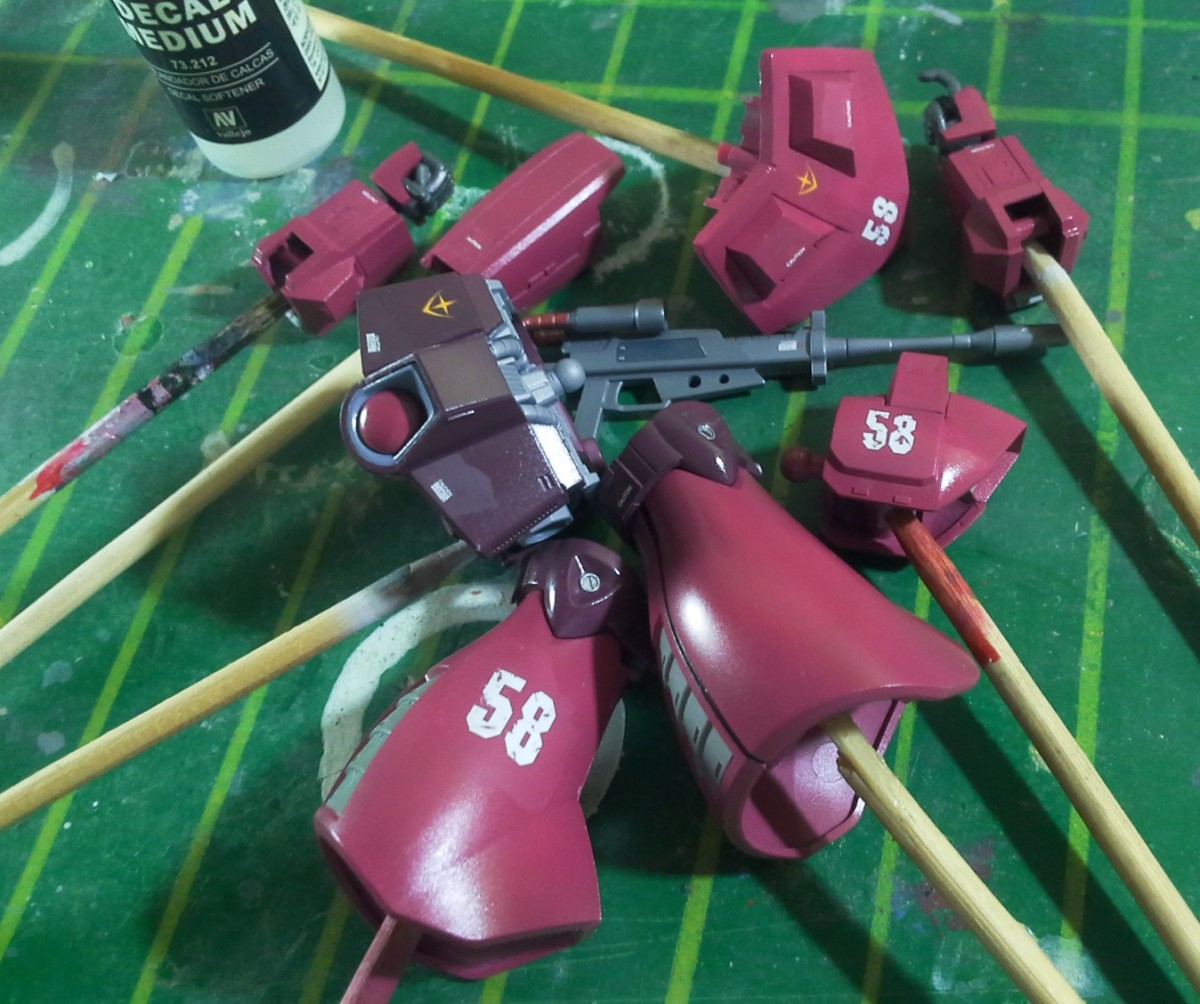
As you can see, I lightly scraped off some of the print from the number markings. Decals are supposed to look like they were painted on, therefore if the model is damaged, so should be the decals. Needless to say, though, it’s not necessary to damage every single marking. I did this on the numbers because not only are they big but they’re also white, so the chipping will show nicely over the magenta color of the armor.
Applying waterslides
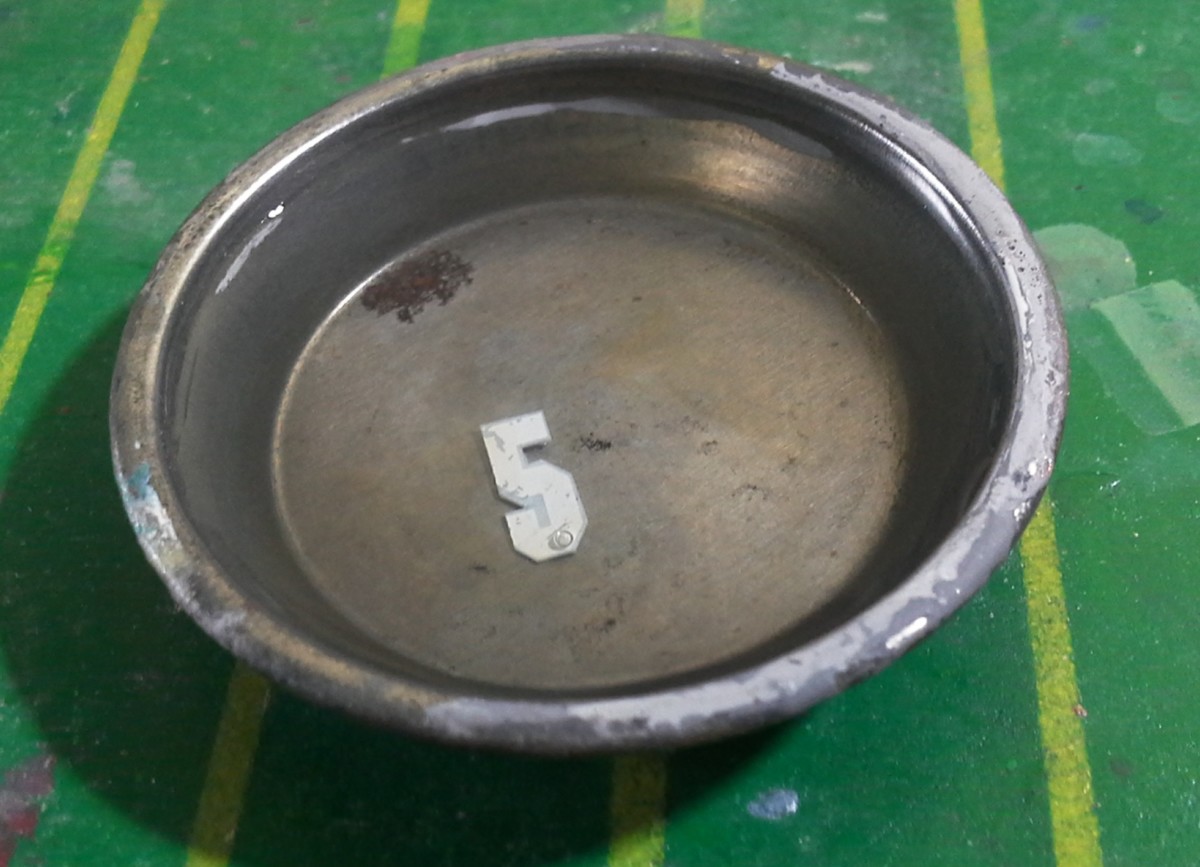
To apply waterslides you have to dip the decals in water and leave them submerged for 10-25 seconds. The water will separate the decal from the backing paper.
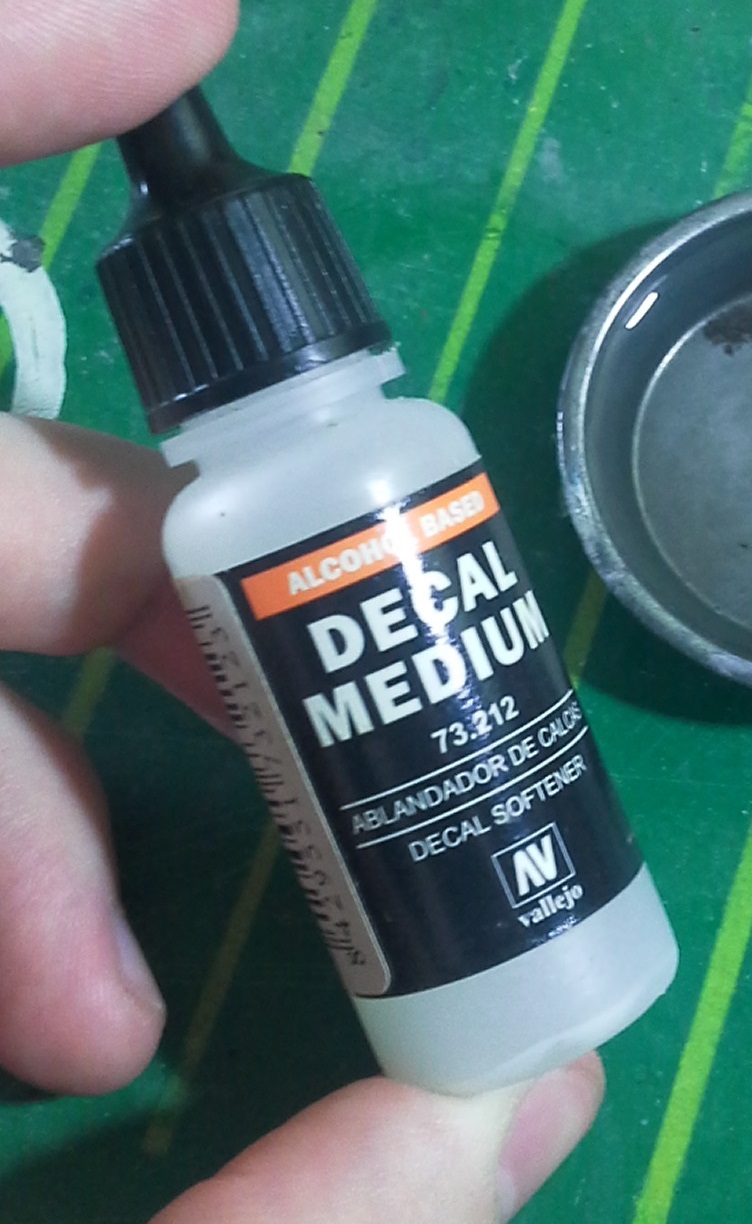
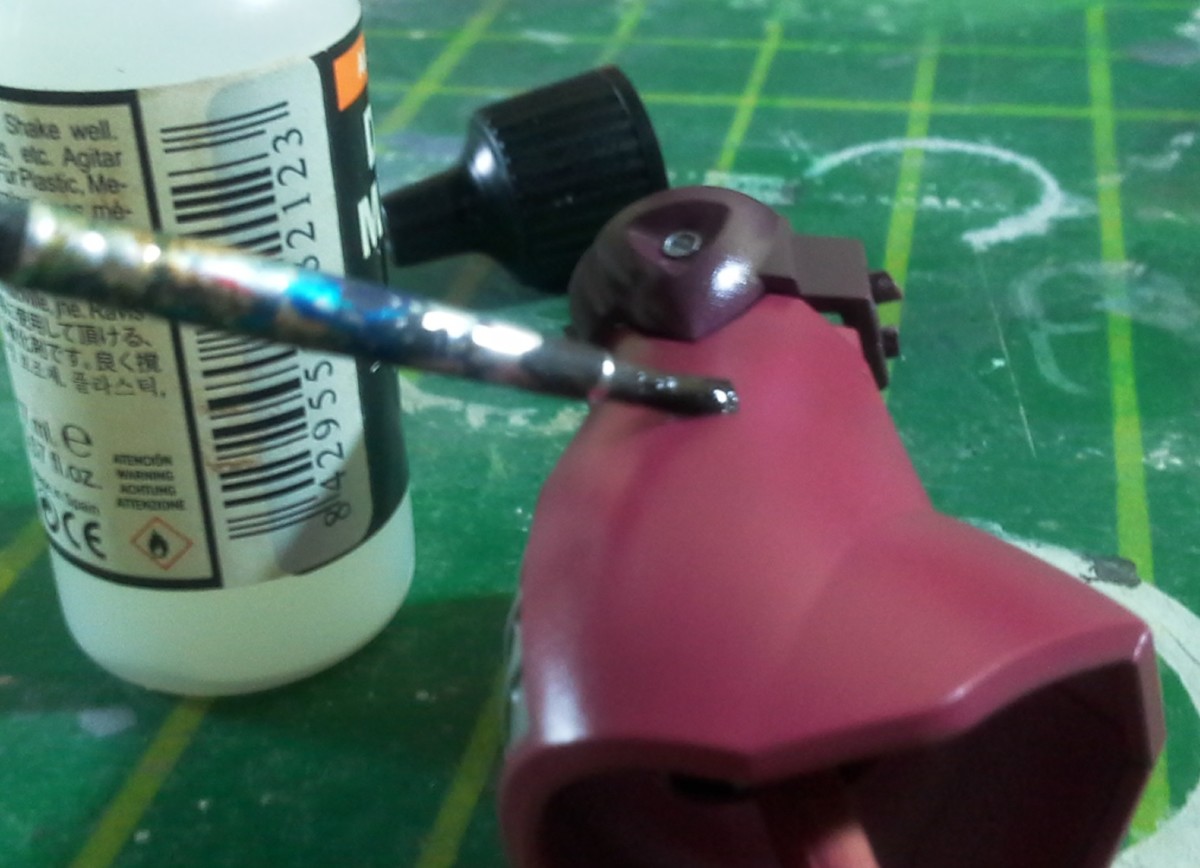
While we wait, we can brush some Vallejo decal medium onto the leg. What this does is soften the decal so it conforms to the shape of the part. Additionally, it helps prevent silvering, which is when air gets trapped underneath the decal, giving it a silvery look when it catches light.
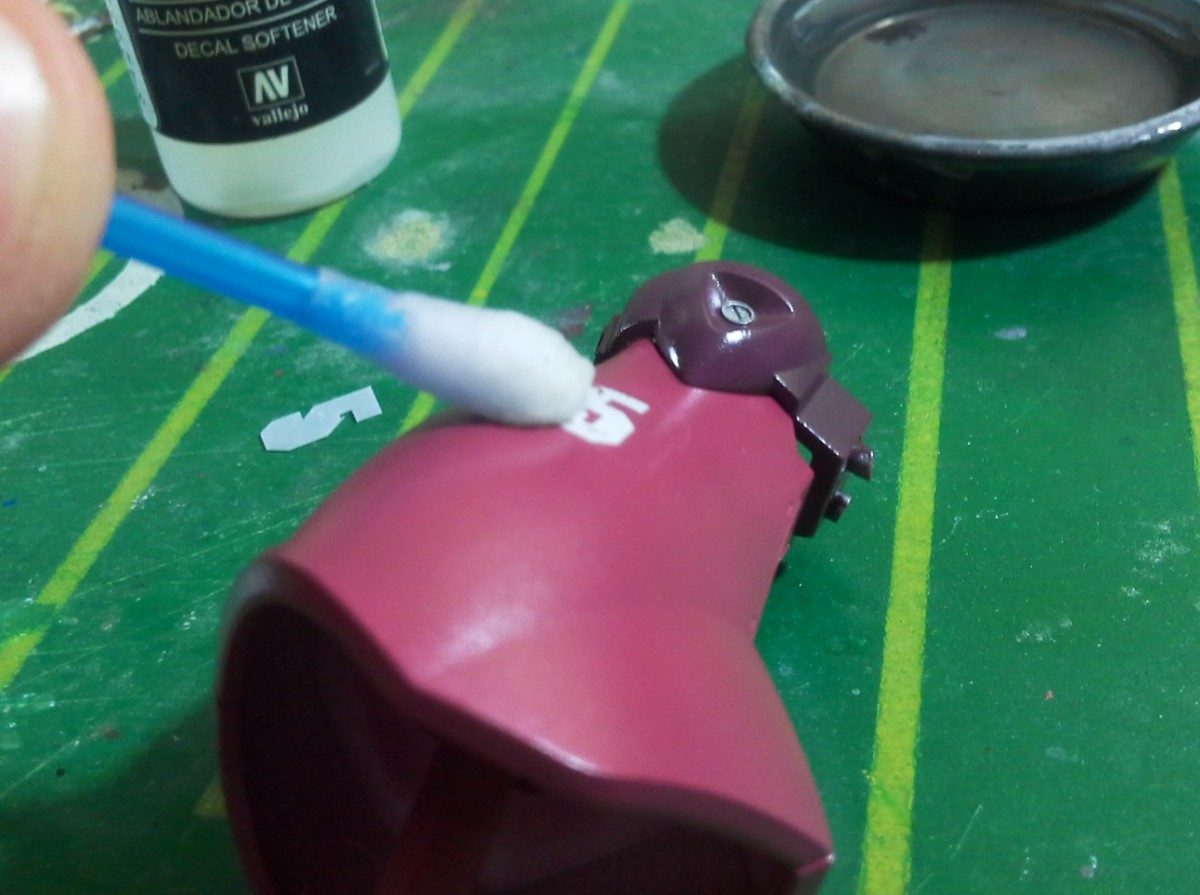
The decal is now loose enough to be moved off the backing paper. Using a cotton swab, I apply it onto the outside of the leg. I like rolling the cotton swab sideways, applying pressure on the decal so it’s totally pressed against the surface.
Once I put on all the decals, I go over the parts to check for silvering. Fortunately, I haven’t noticed any silvering, so we’re good to go.
As you may have noticed, the decal medium dried to a matte finish. Don’t worry, we will fix this with a final top coat after the weathering stage.
Weathering
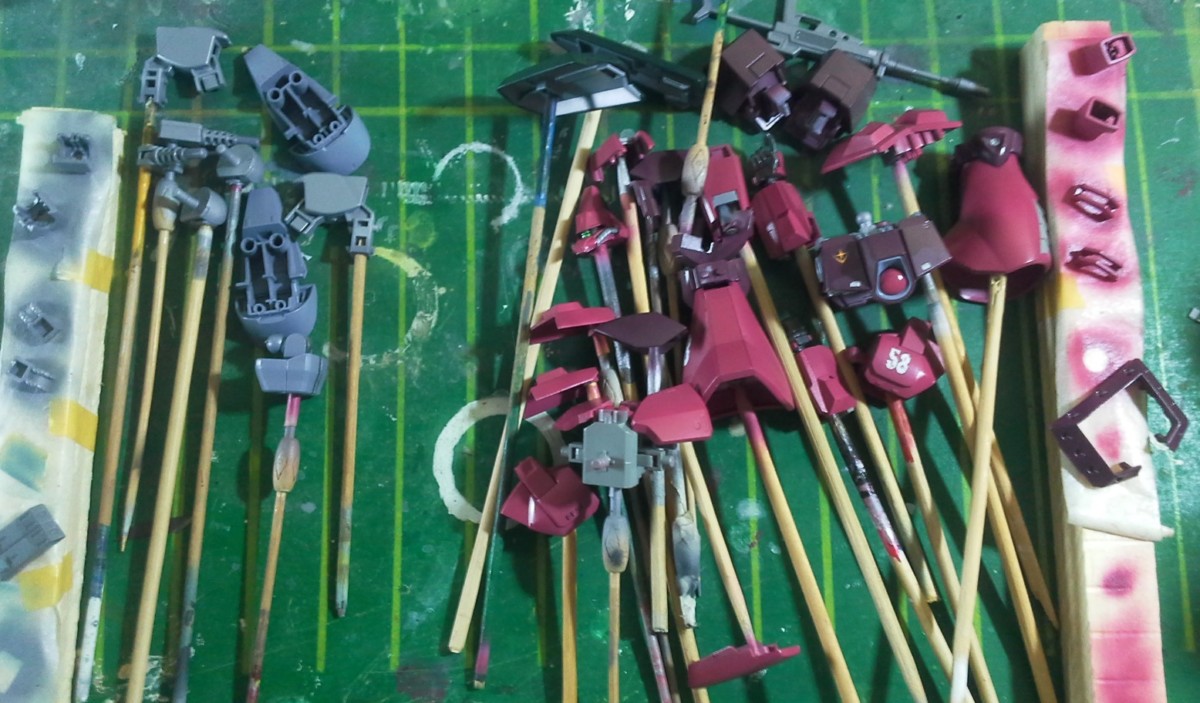
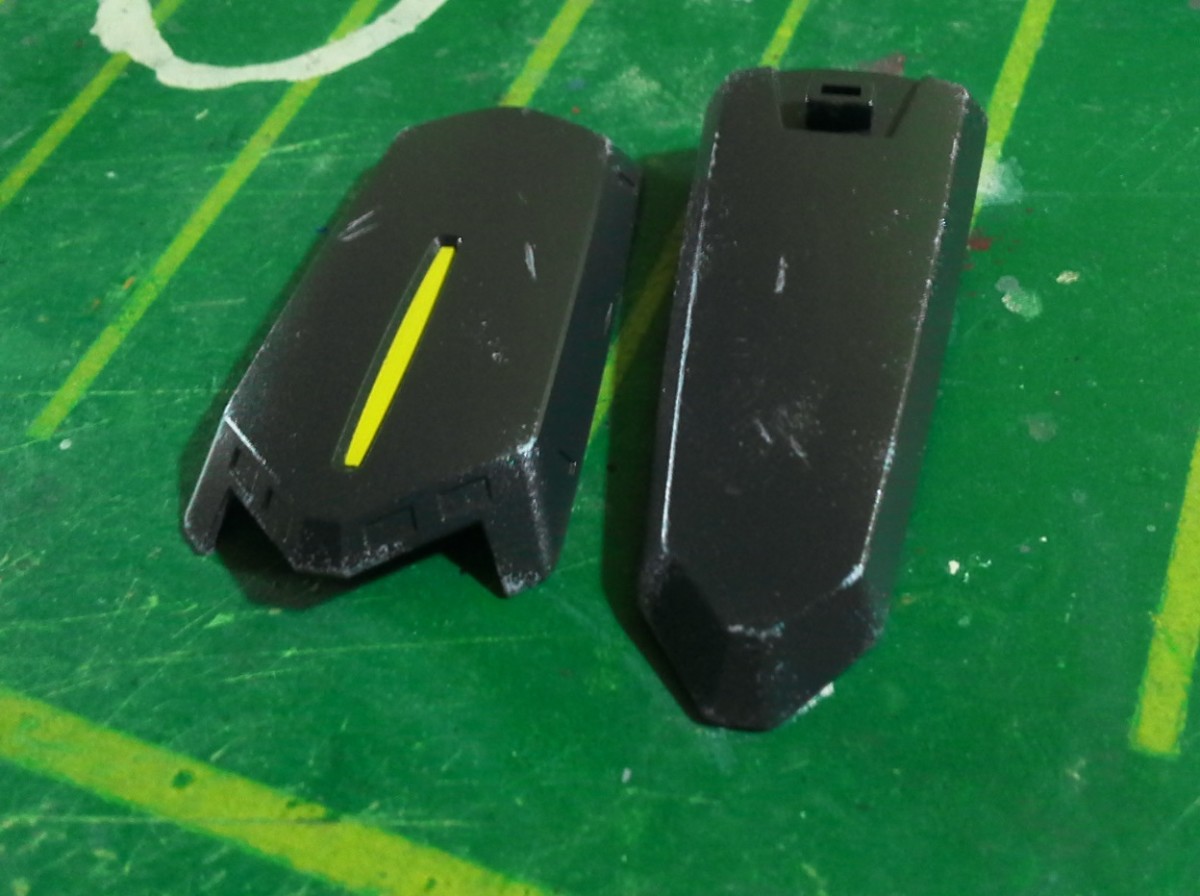
At this point, we’re done with all the decal work. Next, I sort the parts by color and make two groups. I’m going to be using two different colors for the chipping.
Sponge chipping
First, we’re going to work on the parts on the right side of the picture above. This is a cheap craft acrylic paint I can get locally. The color is light enough to pop out when applied on top of the darker colors.
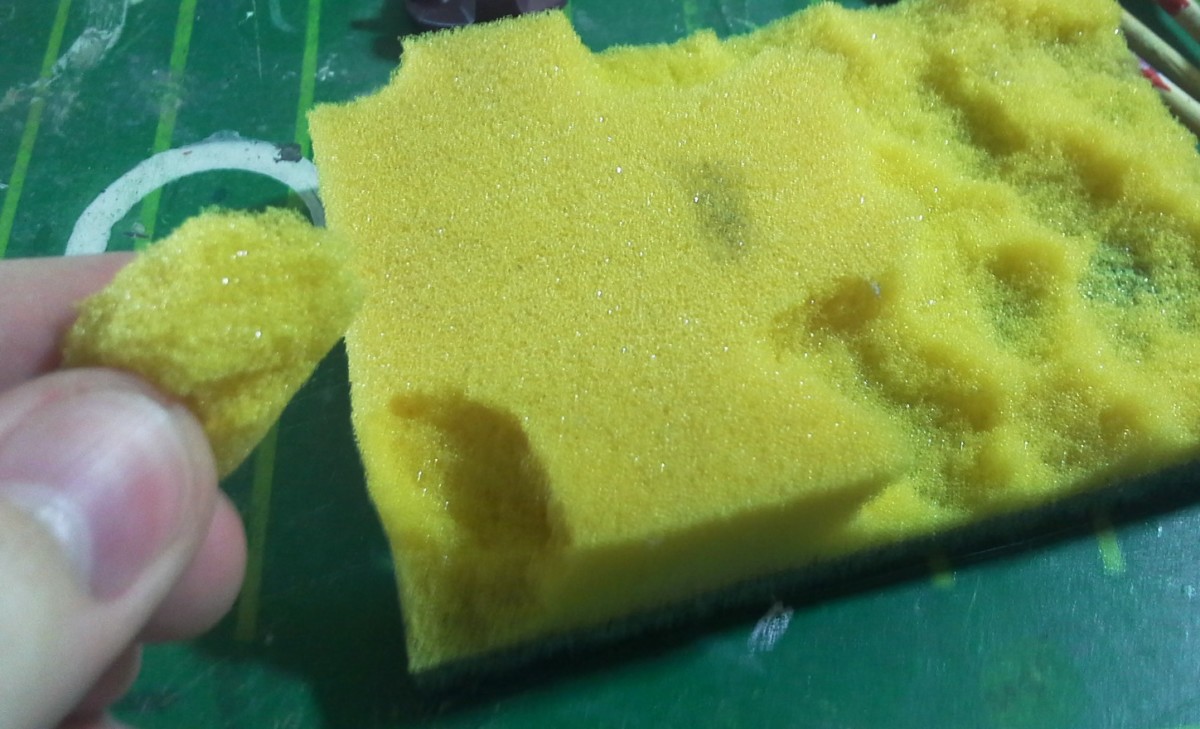
Then, all we need is a piece of sponge or foam. I’ve been using kitchen sponges for years, and they work perfectly for this scale if we use them properly.
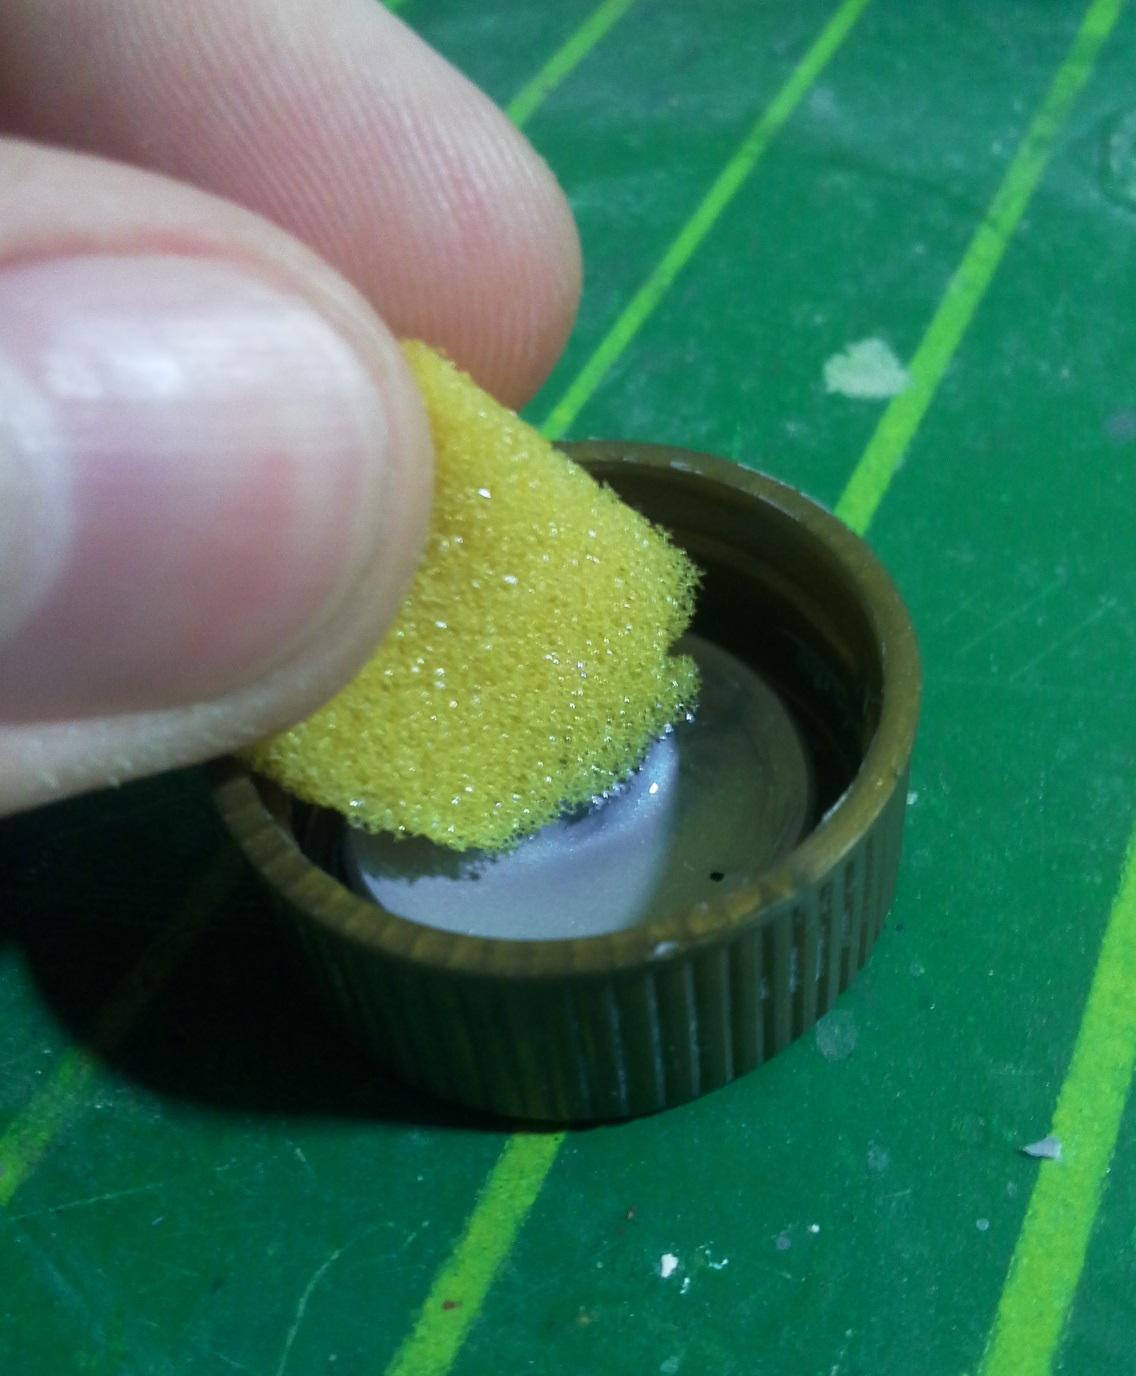
Firstly, I dip the sponge in paint and dab off the excess on a paper towel. I suggest you test the effect on a surface like cardboard before applying it to the model. Also, feel free to pinch off some of the sponge to change its shape as you see fit.
It’s worth noting that the paint I’m using is quite thick. Naturally, this means we have to be careful with the amount of paint we’re keeping on the sponge. The reason I prefer thicker paint for chipping is because this ensures the opacity is great enough. Looking at real world reference, you can observe that chipped areas always have hard edges. For that reason, I recommend avoiding any product that leaves a semi-transparent finish when reproducing these effects.
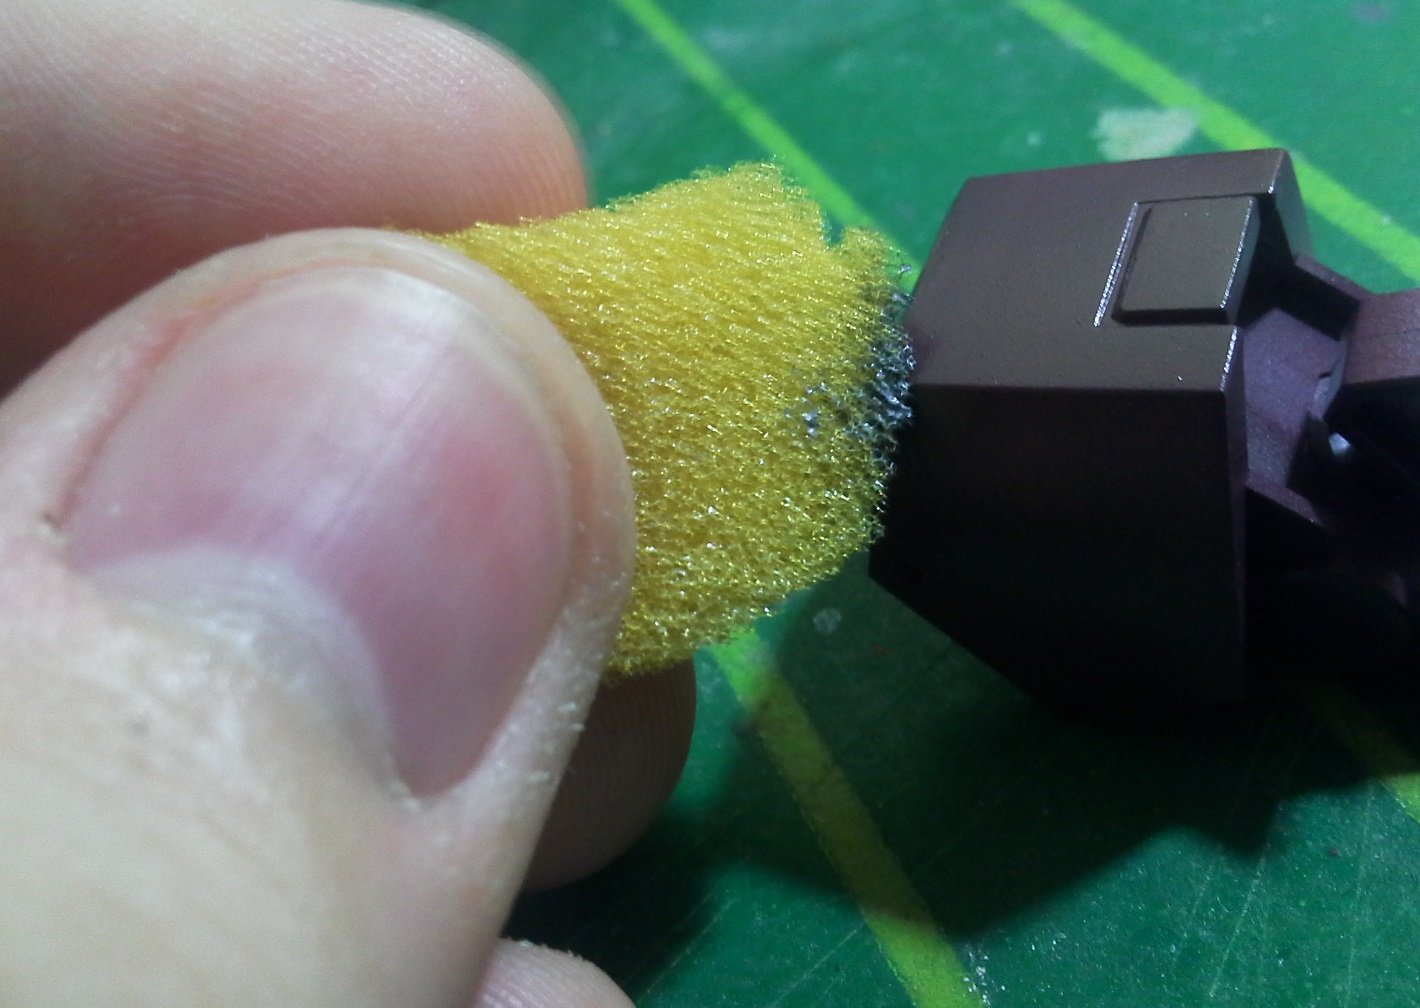
This technique is as simple as just lightly dabbing on the part with the piece of sponge. I usually try to make chips on the edges mostly, as they are more exposed to damage. But evidently, we can add a little on central areas as well. These can still hit rocks or bump into things, as they comprise most of the surface of the part.
Scratch effects with a brush
In order to emulate chips caused by moving objects, we’ll now switch to the good old paintbrush. For these, as opposed to sponge chipping, we focus on the open areas of the model.
Just like with sponge chipping, it’s better to load a tiny bit of paint on the brush. In order to achieve a more convincing effect, avoid following a pattern. We want randomly placed scratches of different lengths, but remember to stick to scale. The longer scratches you can see in the picture above are already quite big for 1/144 scale, although there is some room for playing around.
Fortunately, we are working with acrylic paints. This means we can wipe away the scratch we just painted on with a cotton swab if we aren’t happy with the effect. However, the fact that these are water-based also means that they dry quickly. For the sake of practicality, I suggest removing the paint immediately if the scratch doesn’t look good, instead of finishing the whole process and only then going back to fix it.
Scratches with a pencil
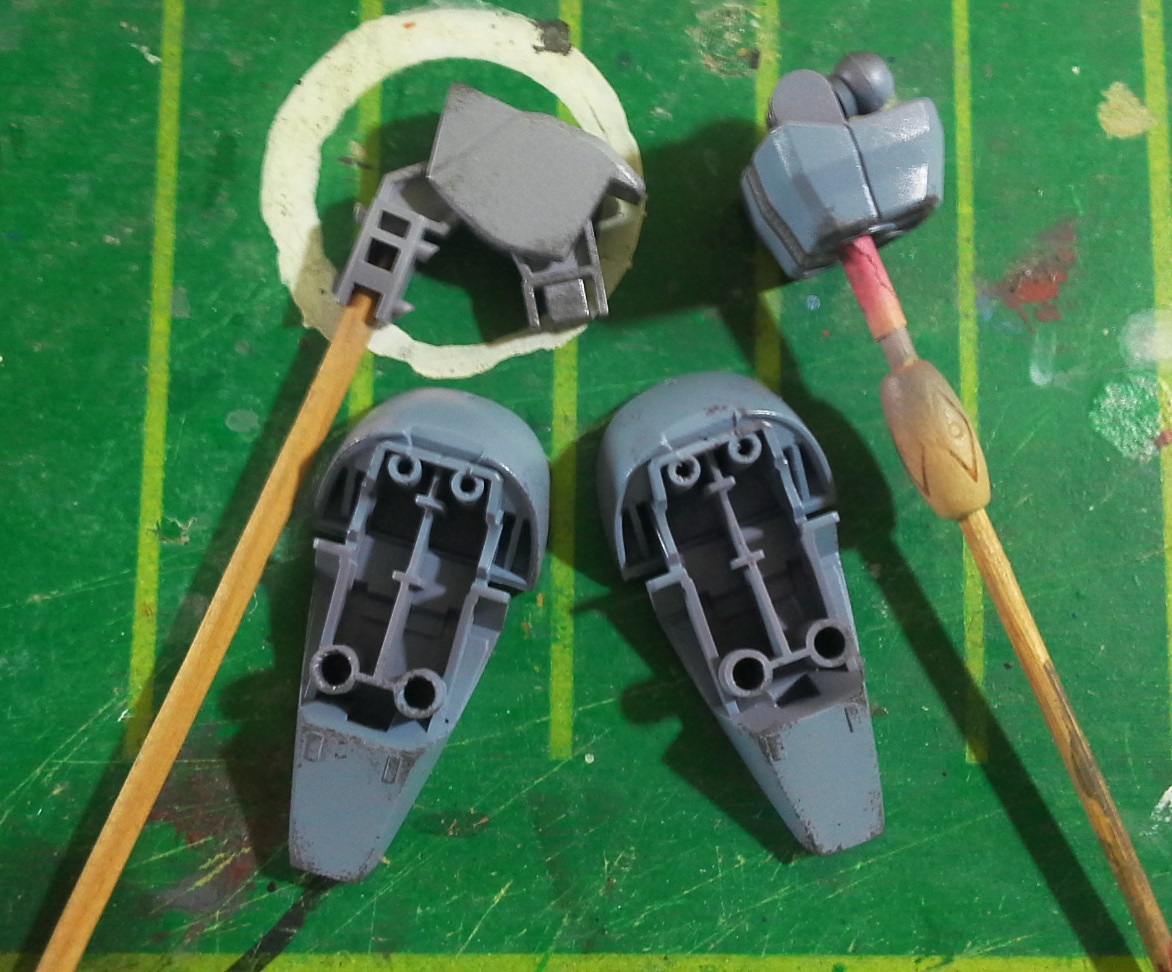
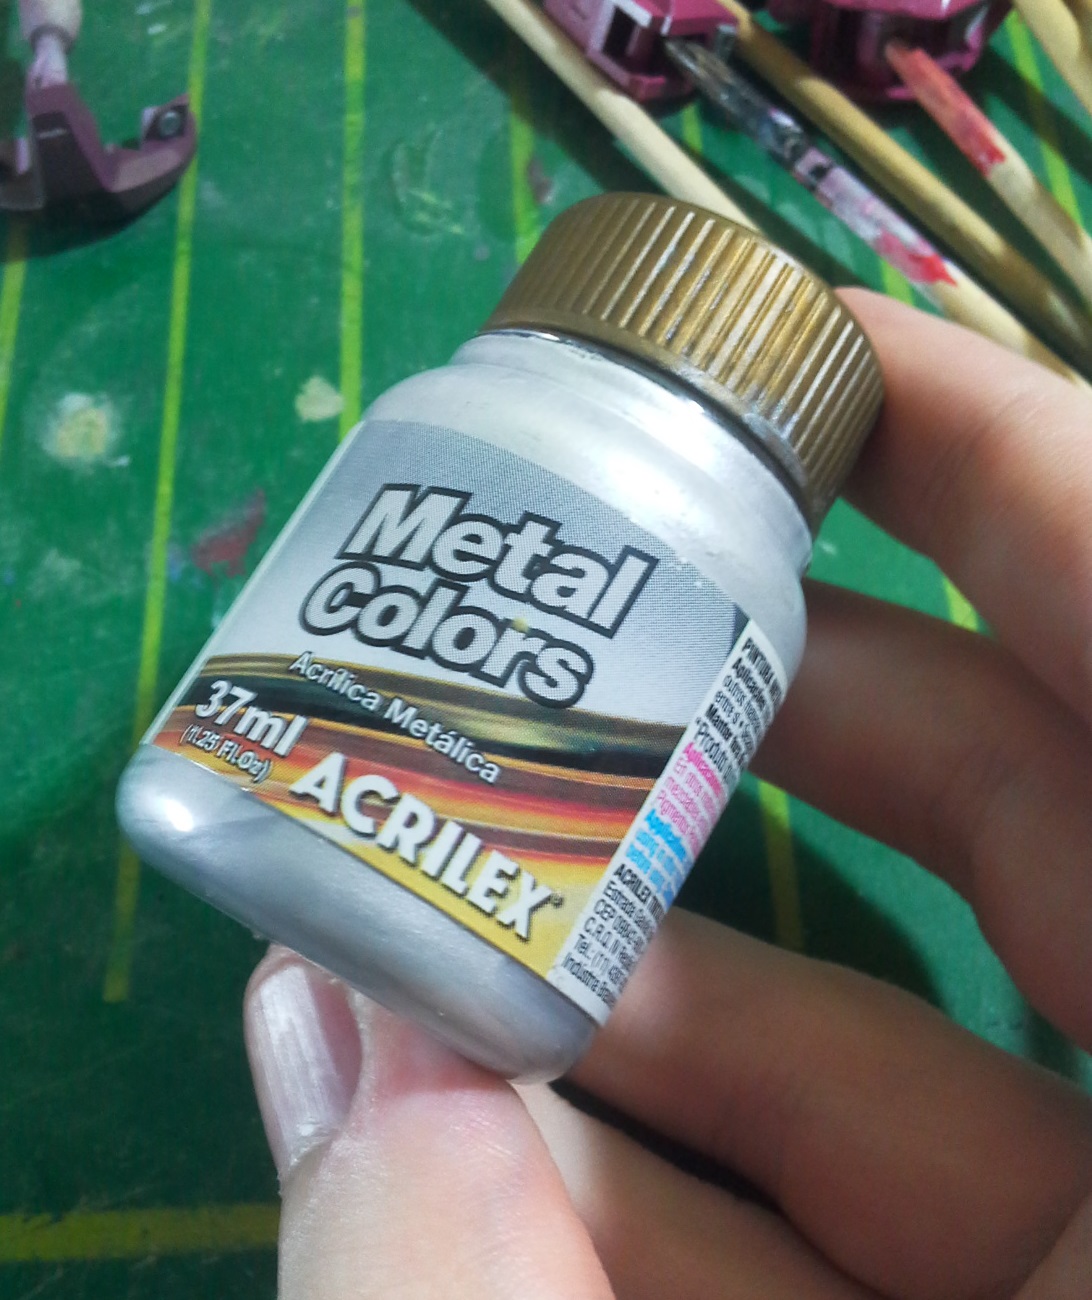
Next, I painted the chipping on the other group of parts, using a sponge and dark gray paint. I followed the same procedure as with the darker parts.
Differently from those, though, the scratches were made with a pencil instead of a brush.
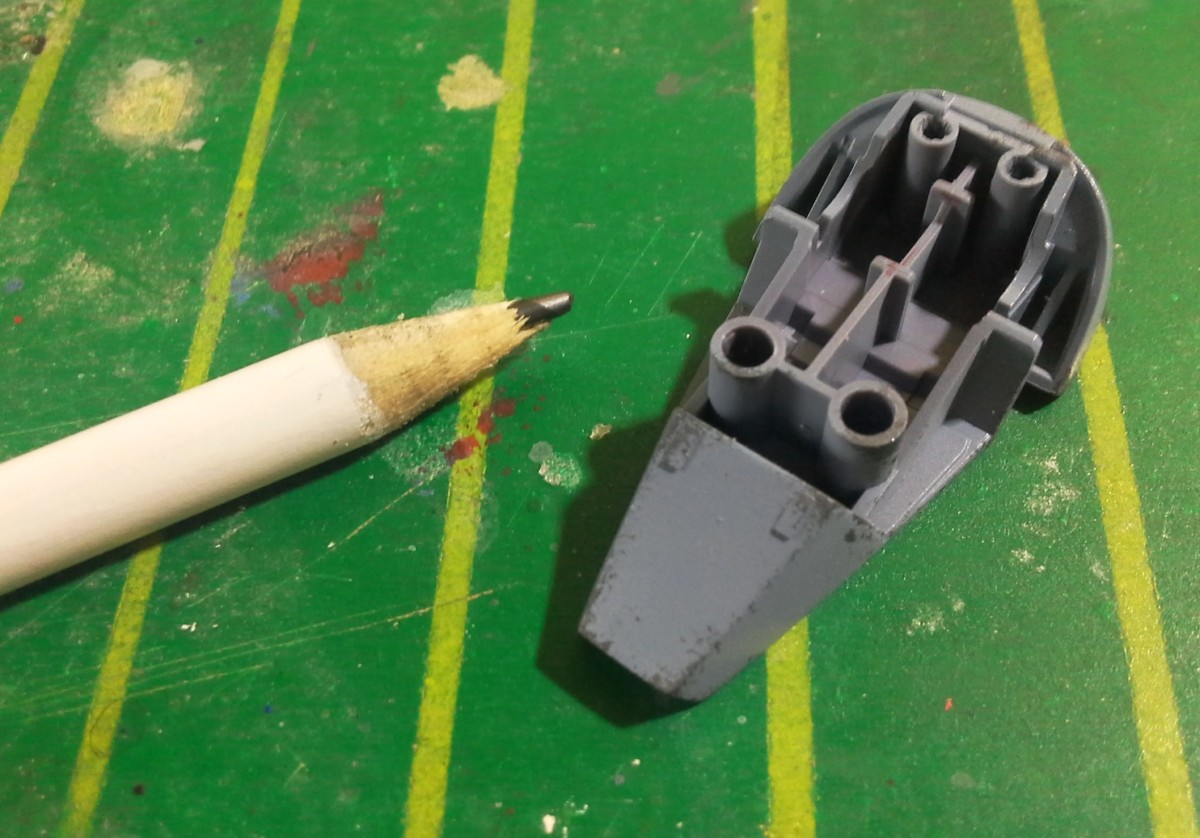
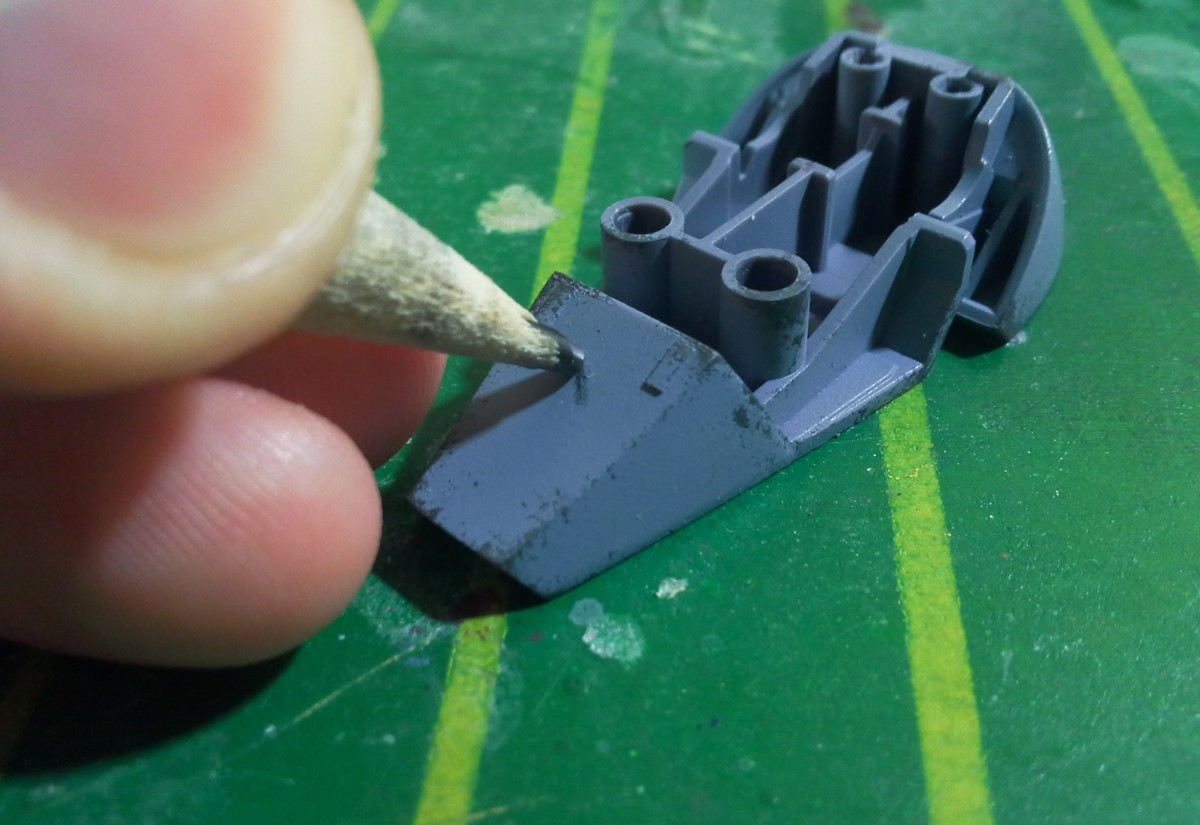
You can sharpen the pencil as little or as much as you want. It depends on the scale and the effect you want to achieve.
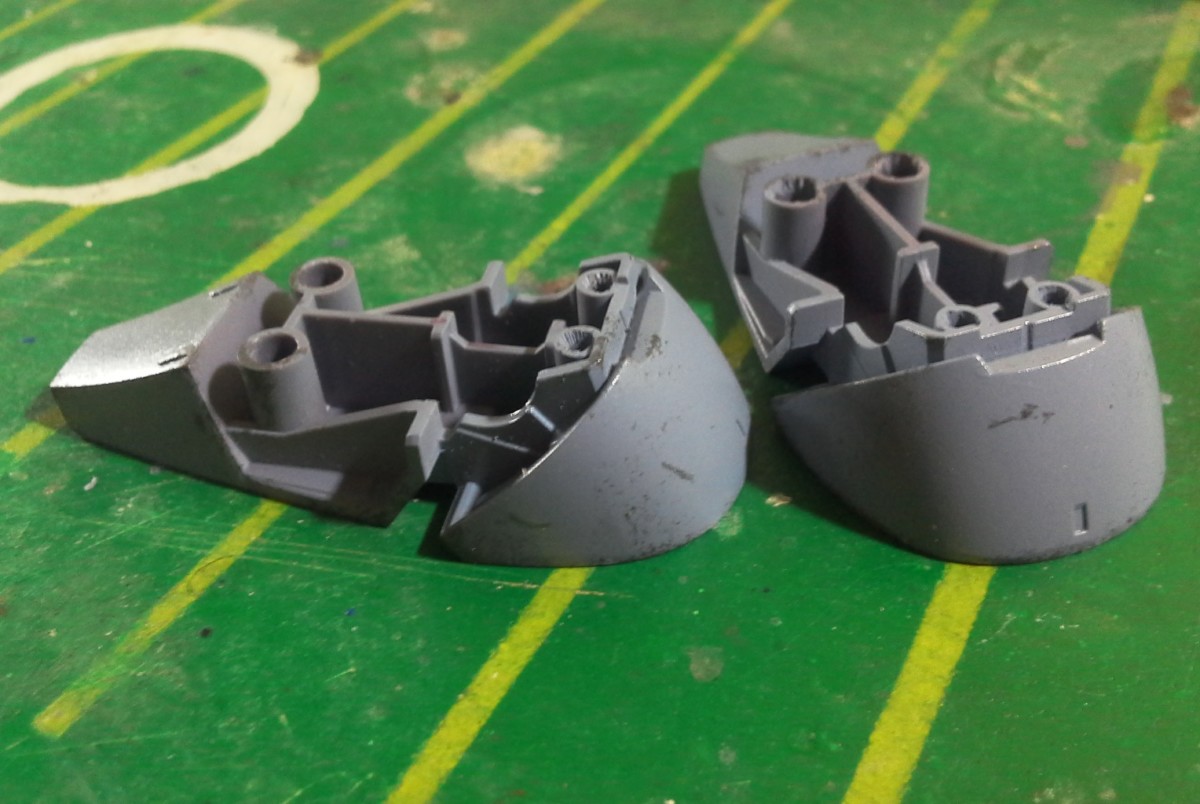
The graphite might come off a bit easily, so I’ll be careful when handling the model until I spray the final top coat. Once we seal our work with top coat, these effects won’t go anywhere.
Dry-brushing
If you follow my Facebook page or YouTube channel, you probably know I don’t like the look of dry-brushing for chipping. It isn’t opaque enough to look convincing, in my opinion. Nevertheless, there is one exception I am a big fan of.
Light gray (especially metallic) dry-brushed on top of a visibly darker shade generally works very well. The impression of aged metal it gives can be quite impressive.
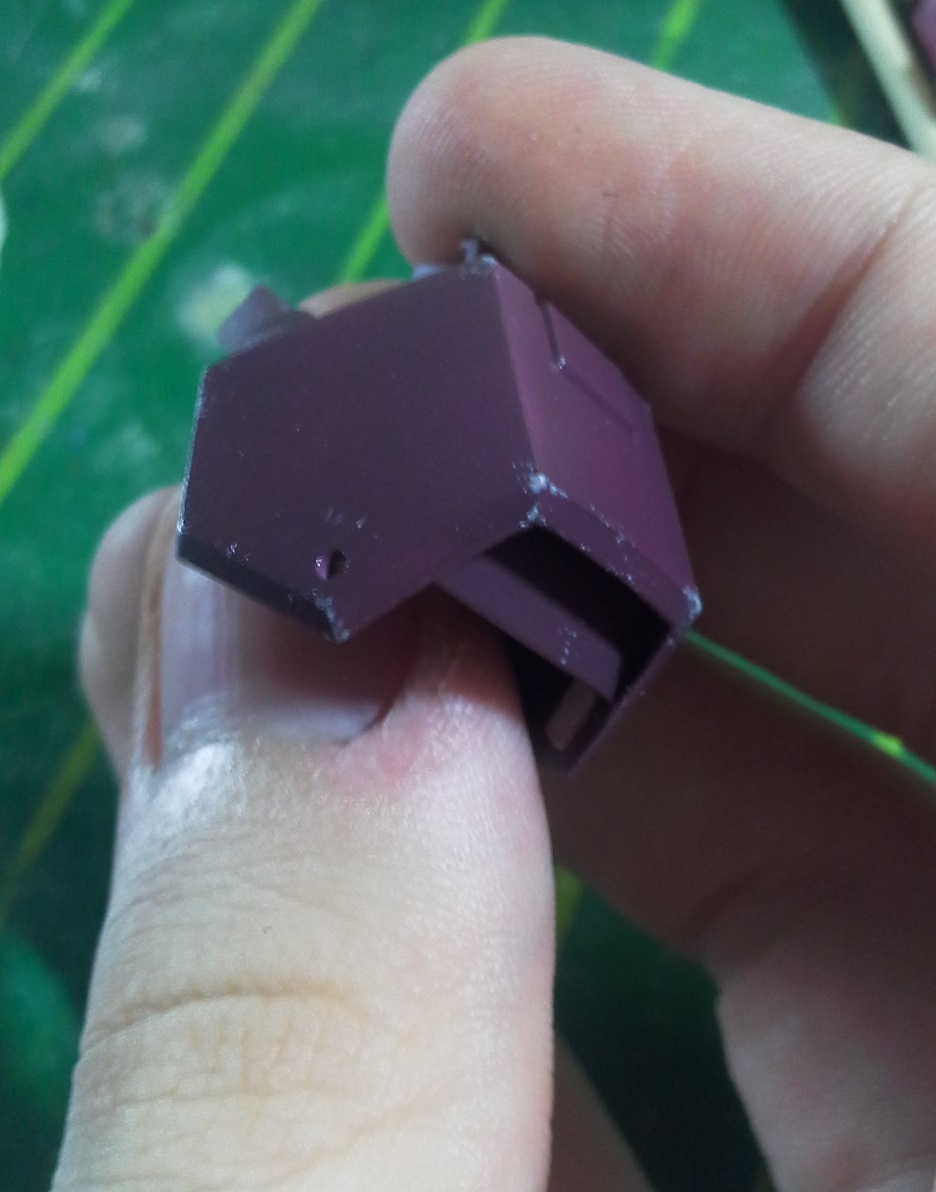
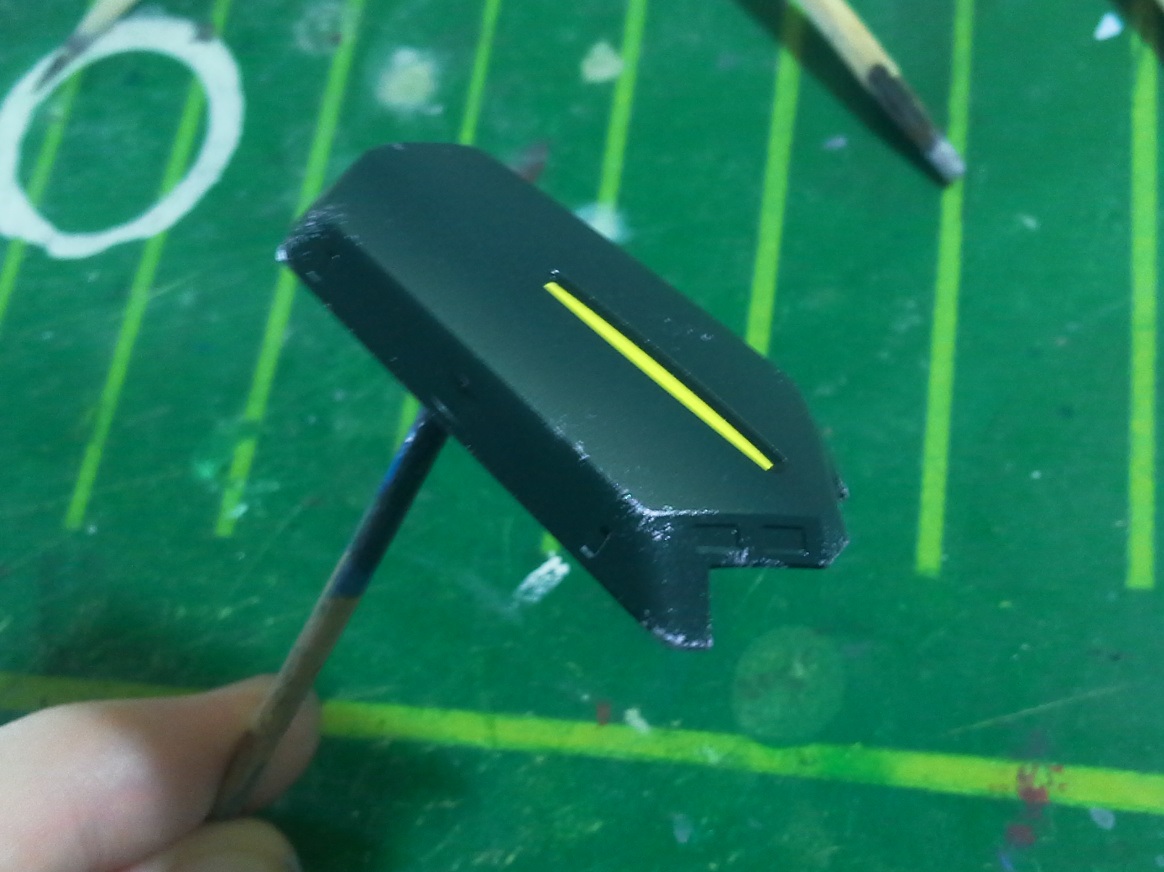
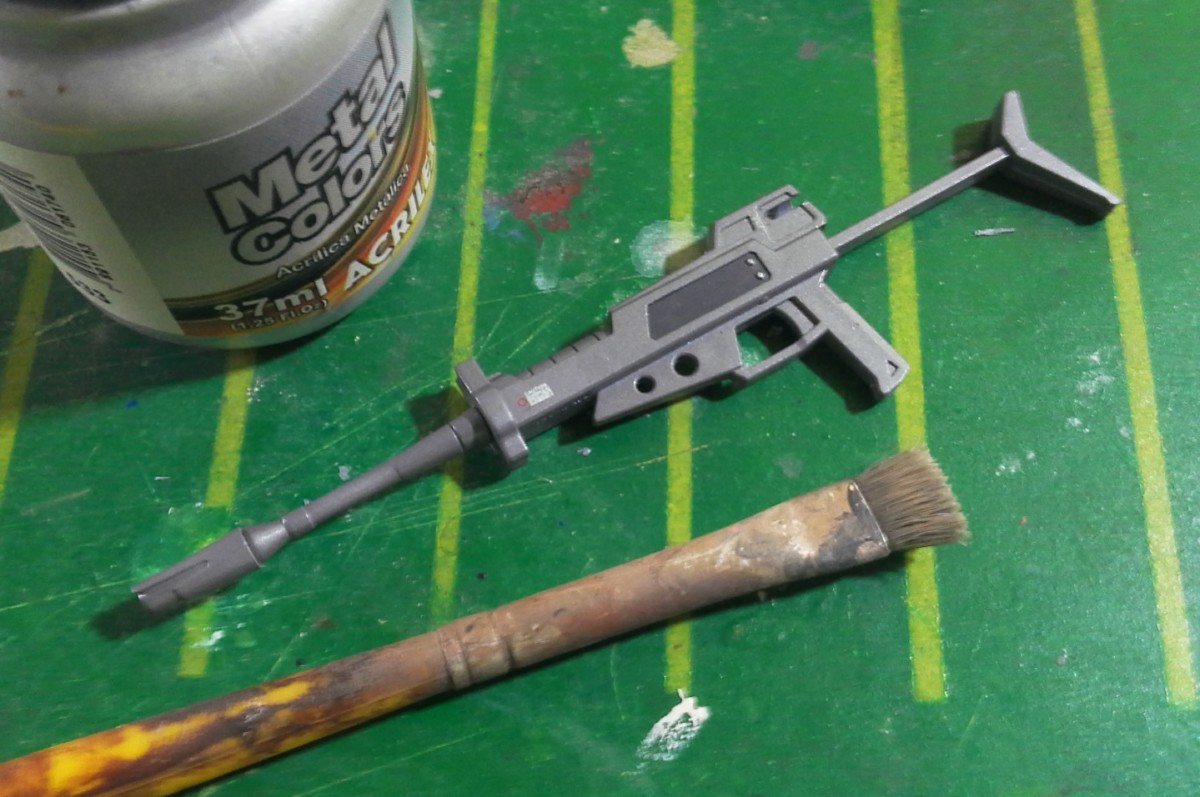
We’re going to do just that for the beam rifle. The base color is not too dark, so the chipping will be less noticeable than usual, but this subtlety certainly adds visual interest.
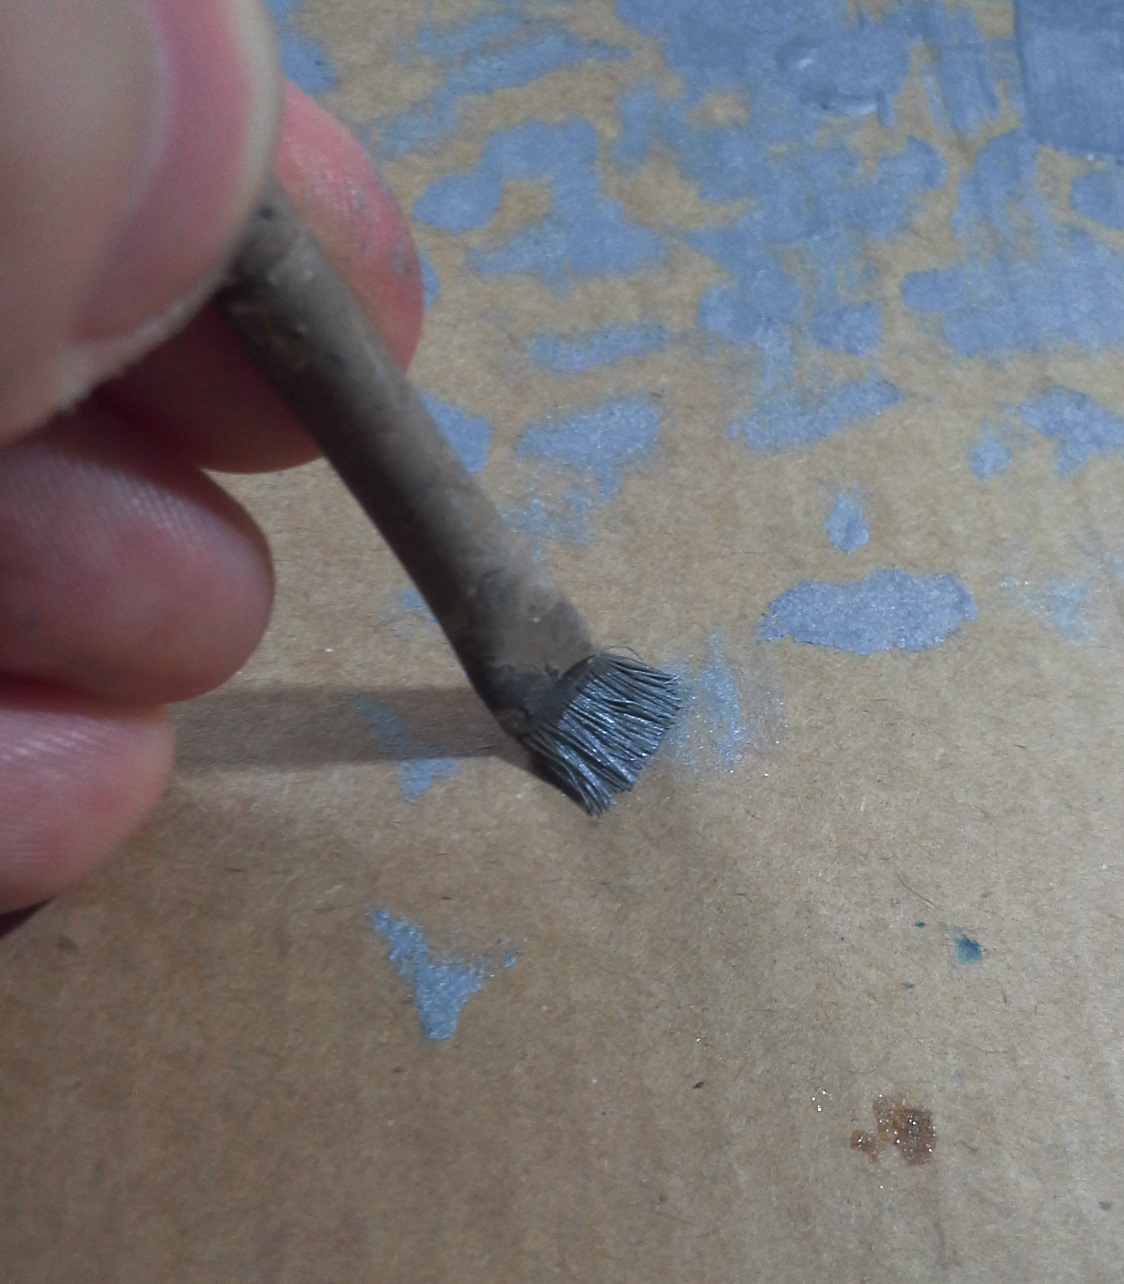
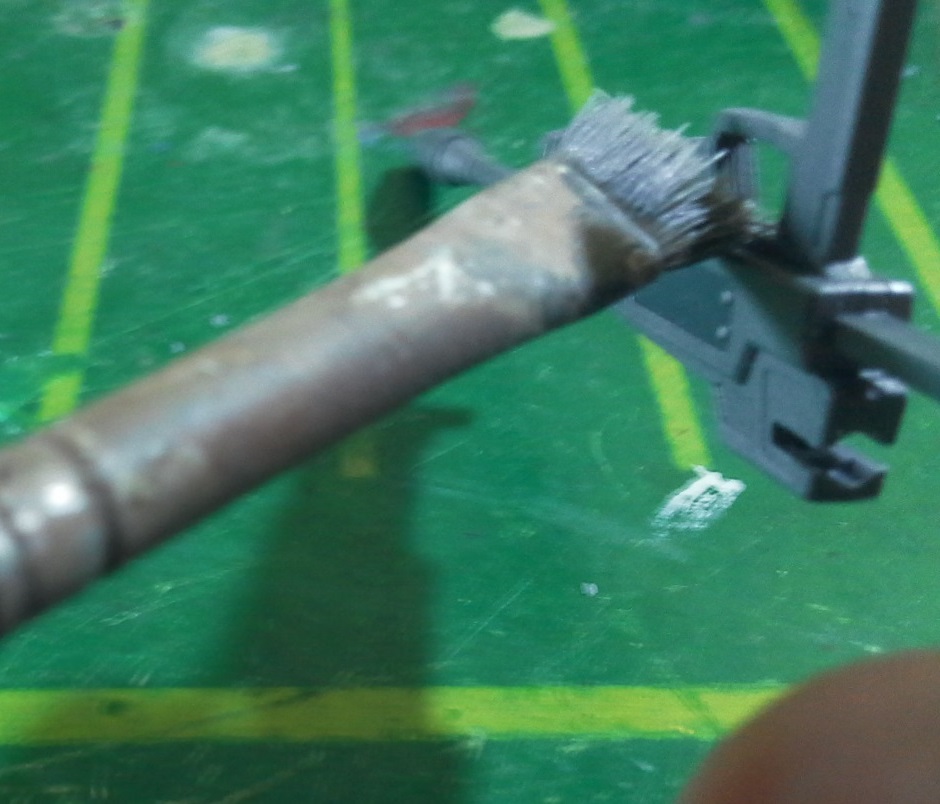
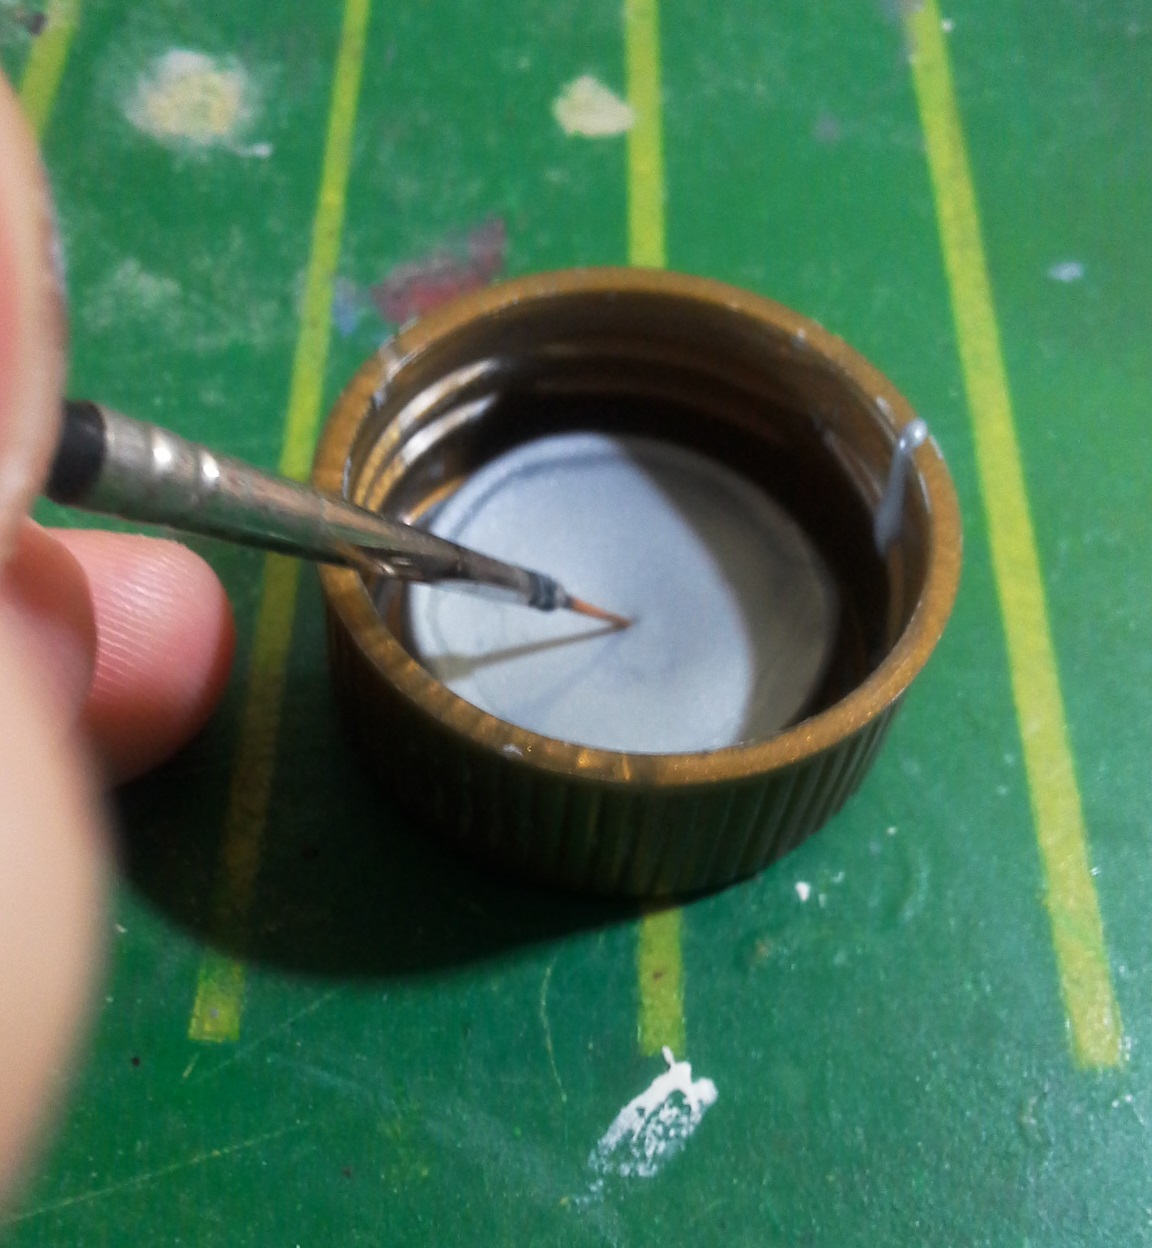
To begin with, we load the paintbrush with a little amount of paint. After that, we brush off most of it on a paper towel or piece of cardboard. As a result, there is some pigment left on the bristles, but not enough to paint over the base color entirely. Finally, we run the brush across the edges and raised sections. The pigment will stay in those areas and create the effect.
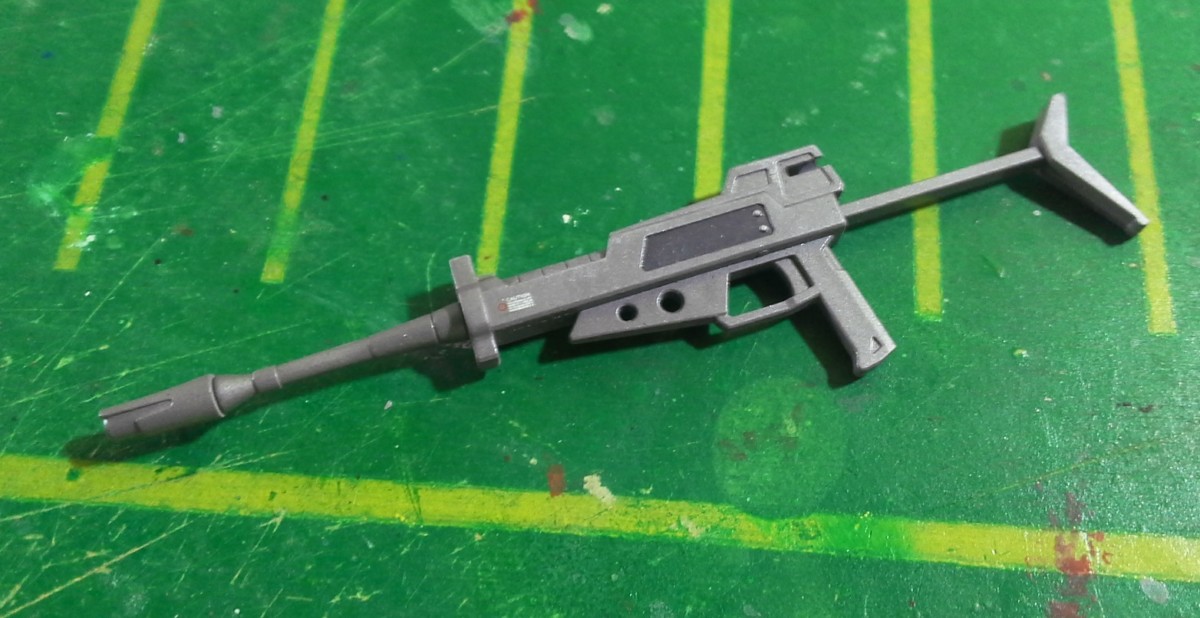
The final result is very subtle, though the effect will show up better after the final top coat.
That is all for today. I hope these techniques I went over can be useful for your projects.
Stay tuned for part 2 of the weathering process. Take care, and happy modeling!
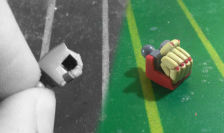


PetitGguy Type 全不全
This one I need to come back to, decals are a little intimidating to me so it’s going to be a useful demystifying guide.