Hello, everyone! I’m back with the Galbaldy Beta build. Today we’re going to finish the weathering process we started in part 9. Once again, the techniques we’re going to go over in this update are really diverse and can easily be used either together or separately.
Effects with Real Touch markers
Soot effect
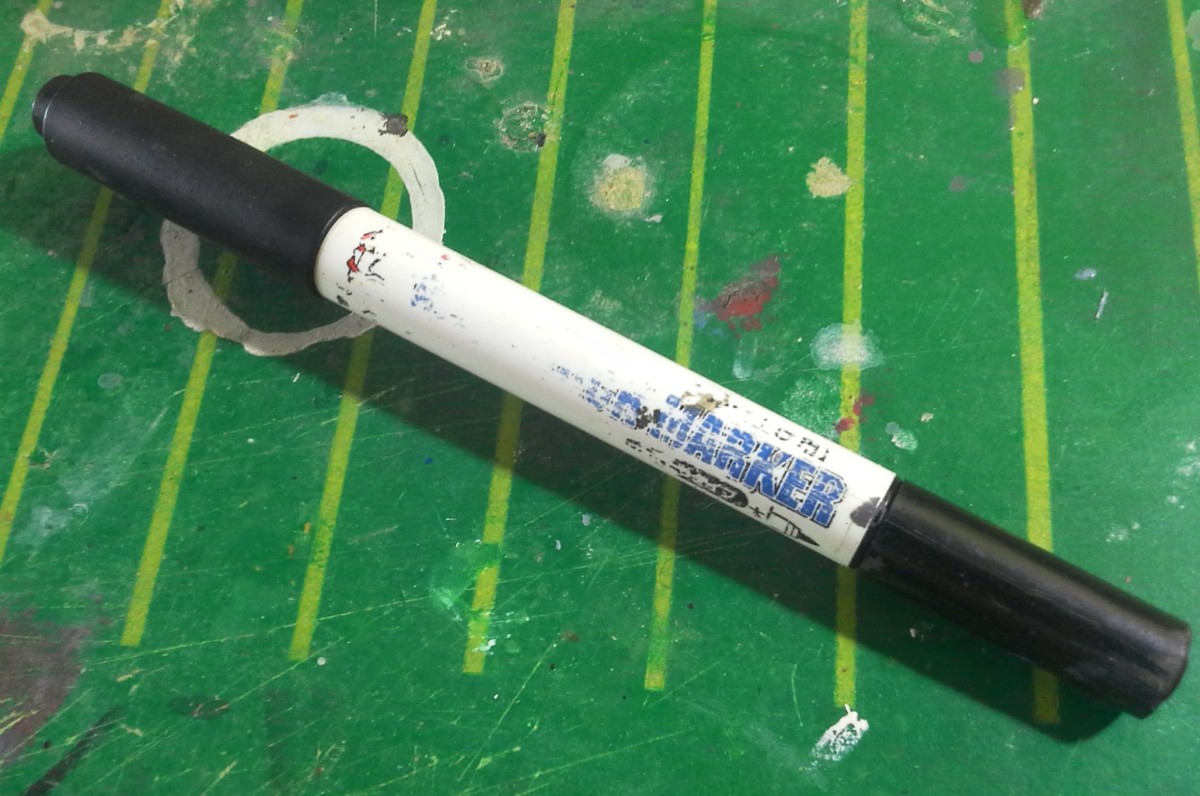
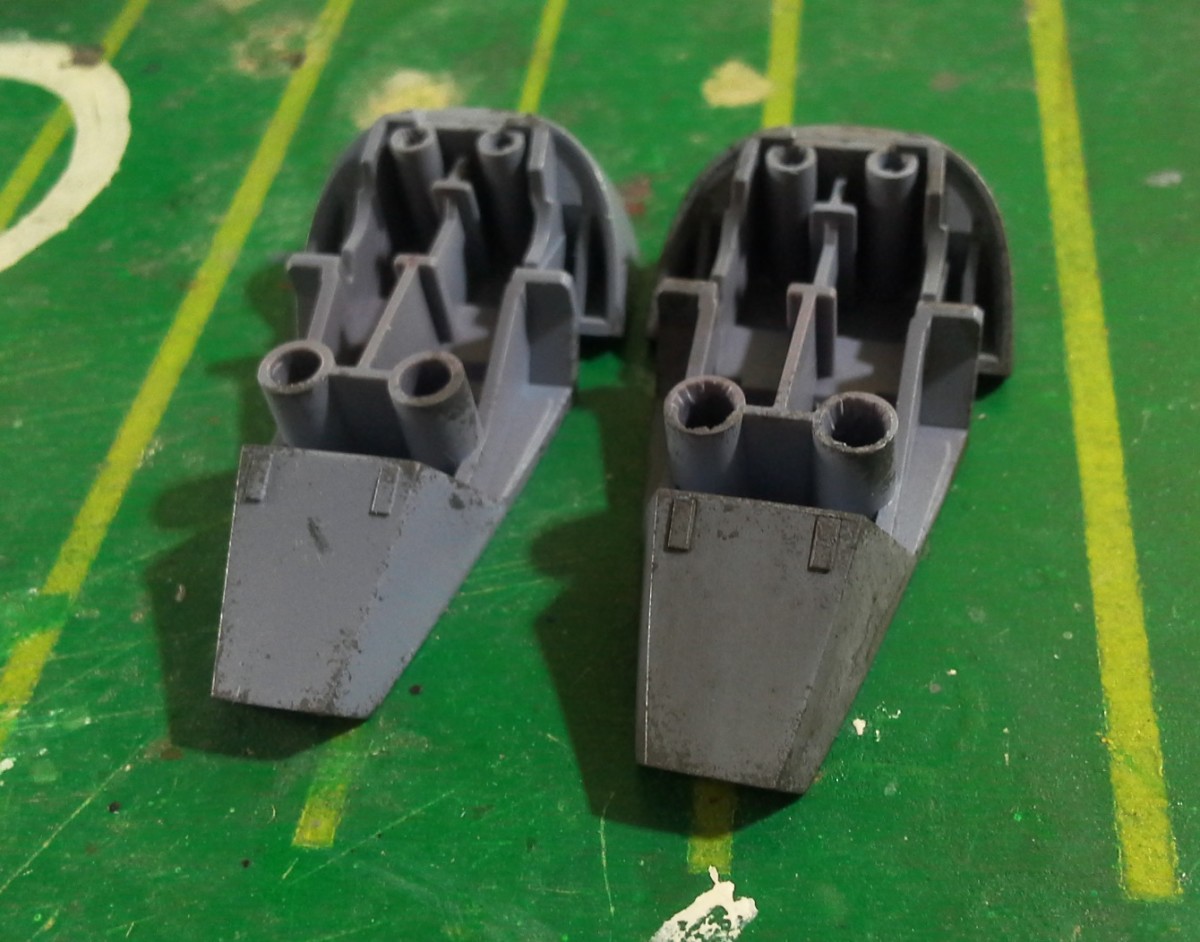
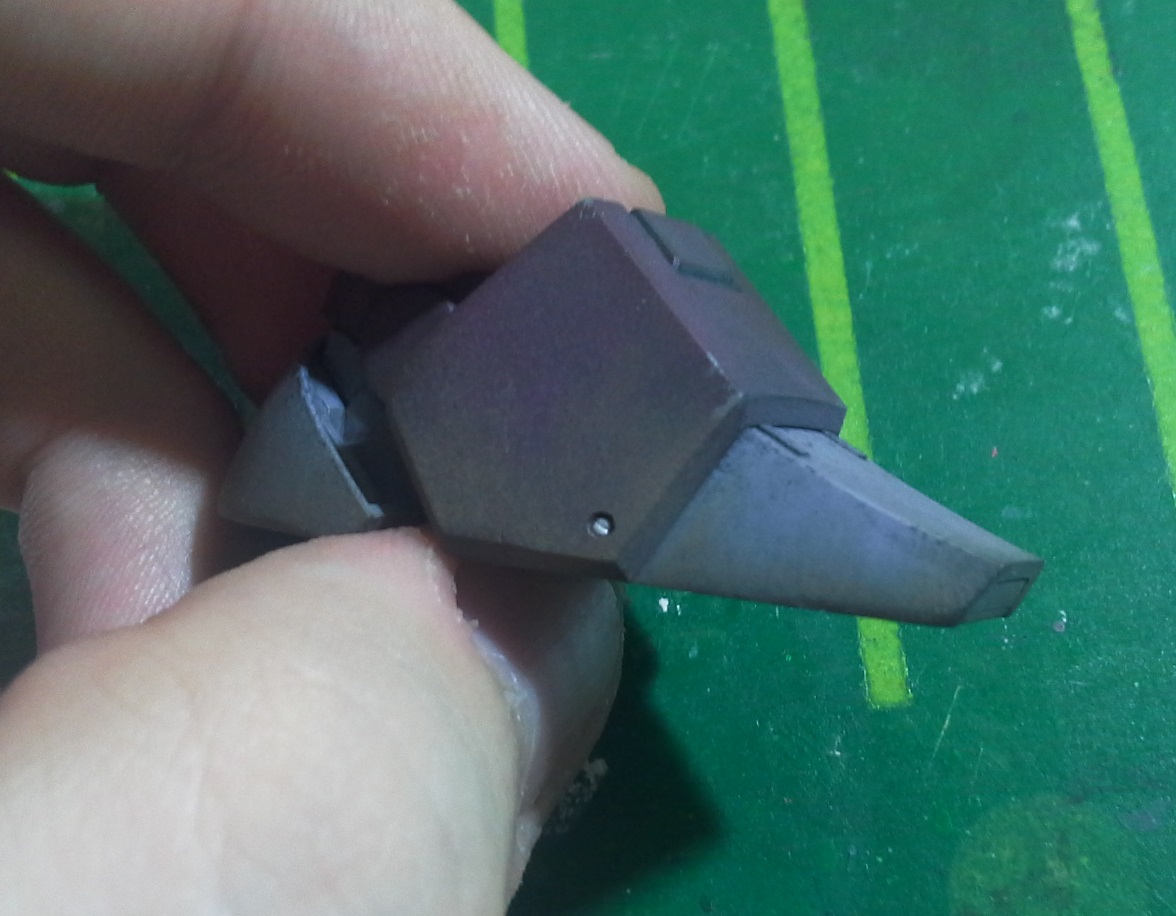
Remember the black Real Touch marker we used for detail painting a while ago? It’s back! This time around, I’ll use it to emulate soot built up under the back skirt thrusters.
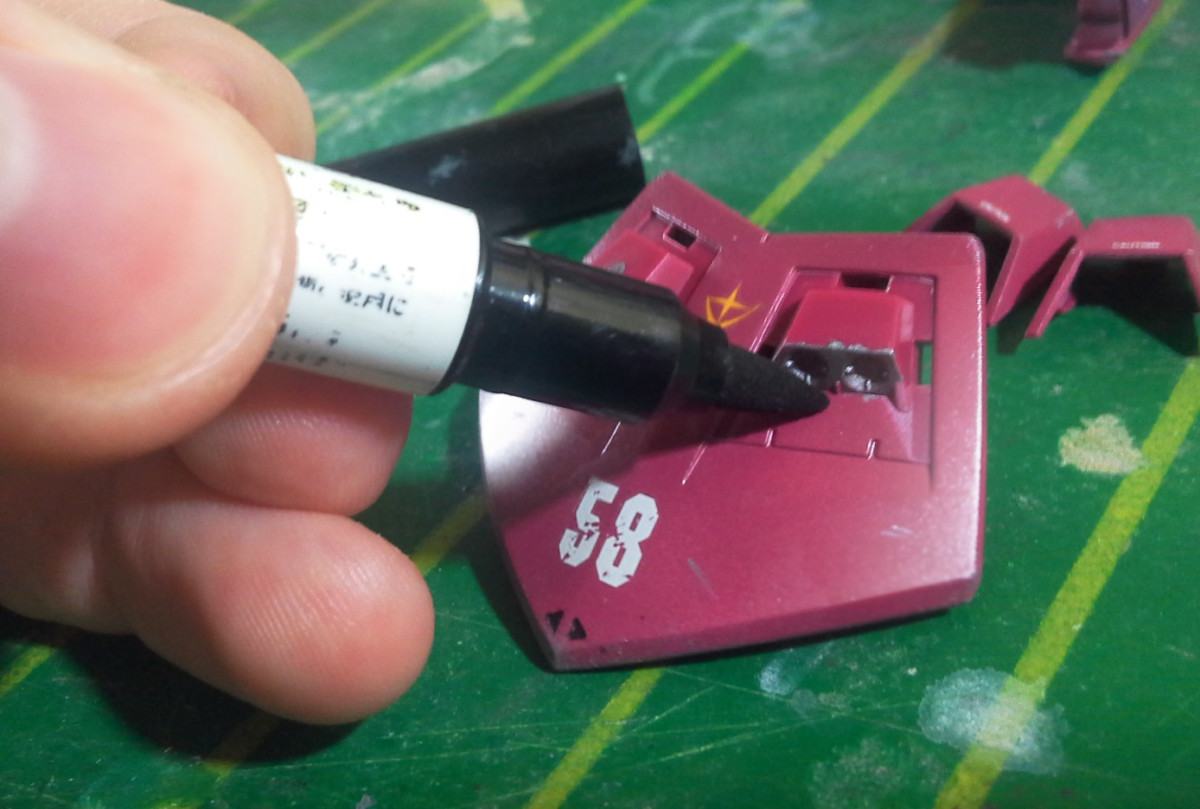
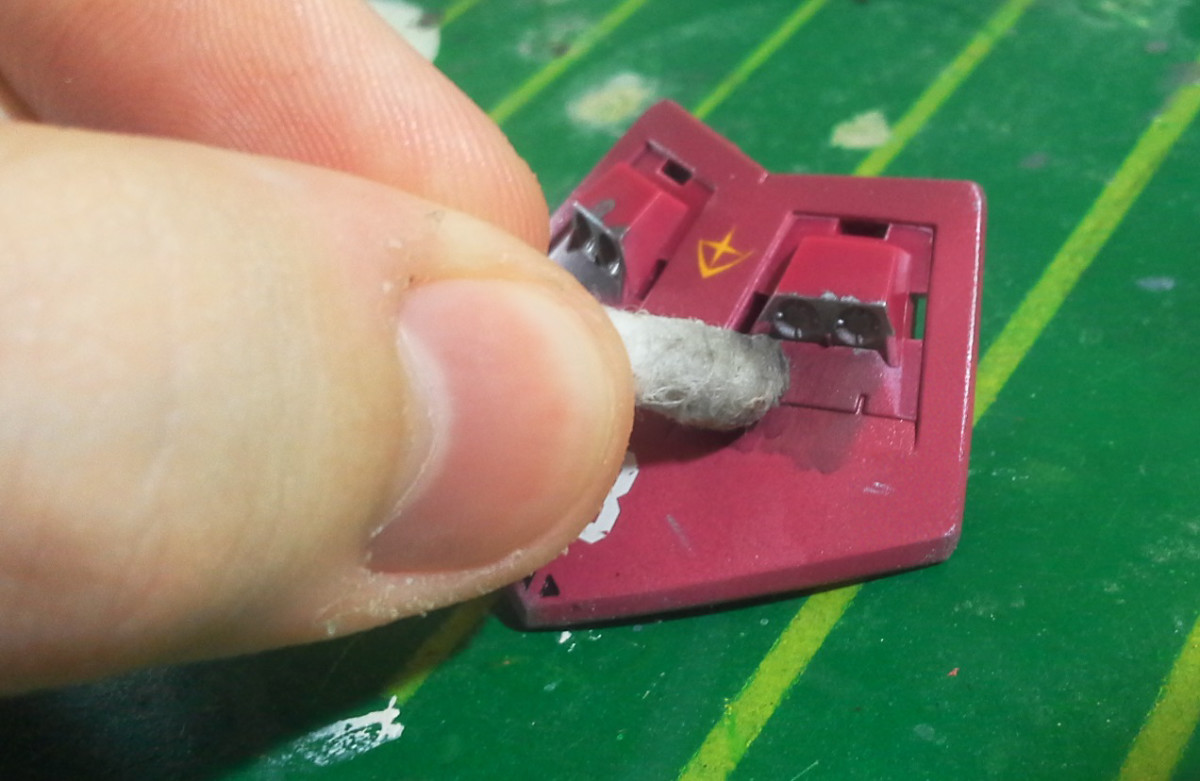
Using the broader tip, I painted the area. At this point the ink is all uniform and the edges are too defined. We need to blend it together with the base color. Thus, I smudge the edges with a damp cotton swab, in a vertical motion. Whether to dampen the tool or not depends on the finish of the part. The varnish we sprayed on the Galbaldy isn’t too glossy, which means that the ink won’t move around as easily as it would over a really shiny top coat. Hence the use of water to assist me in this task.
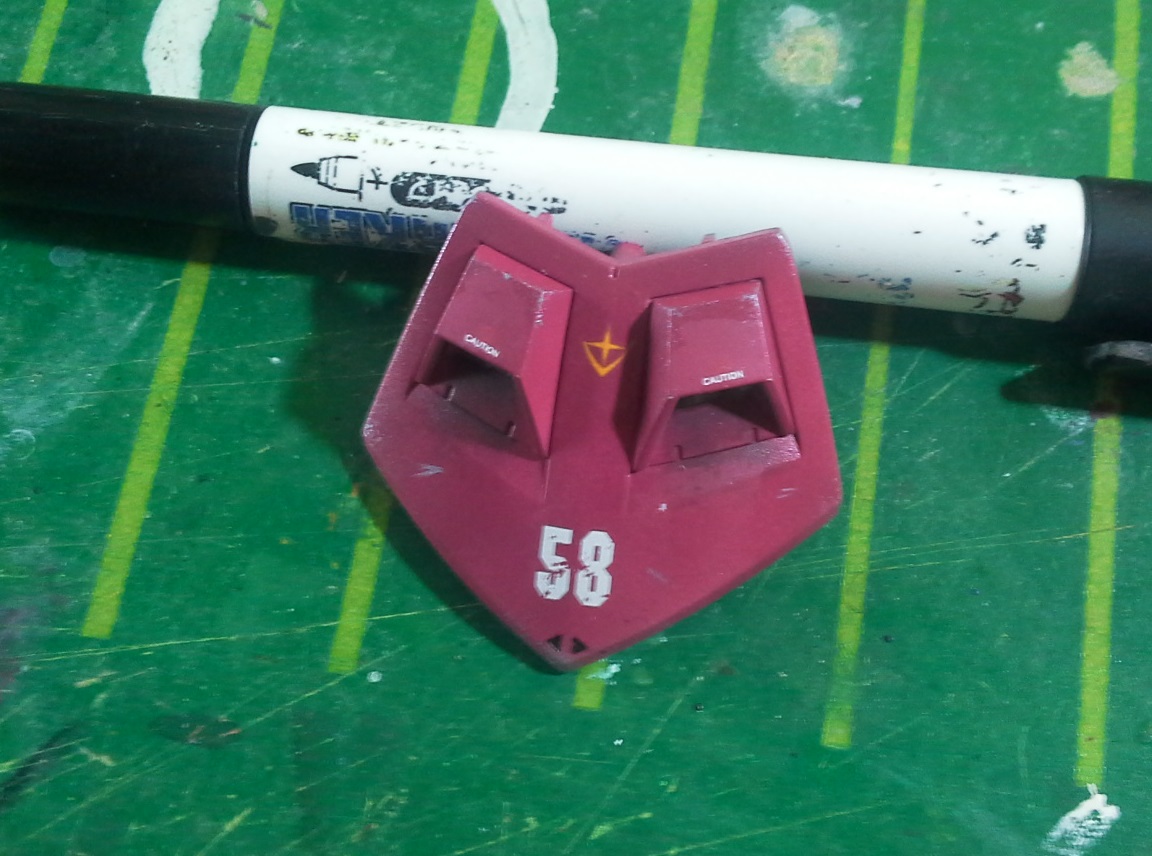
Feel free to build up layers as you see fit. As it is now, the effect looks convincing, but I want it to be more noticeable. I’ll wait about an hour for the ink to dry completely, and repeat the process.
Filtering
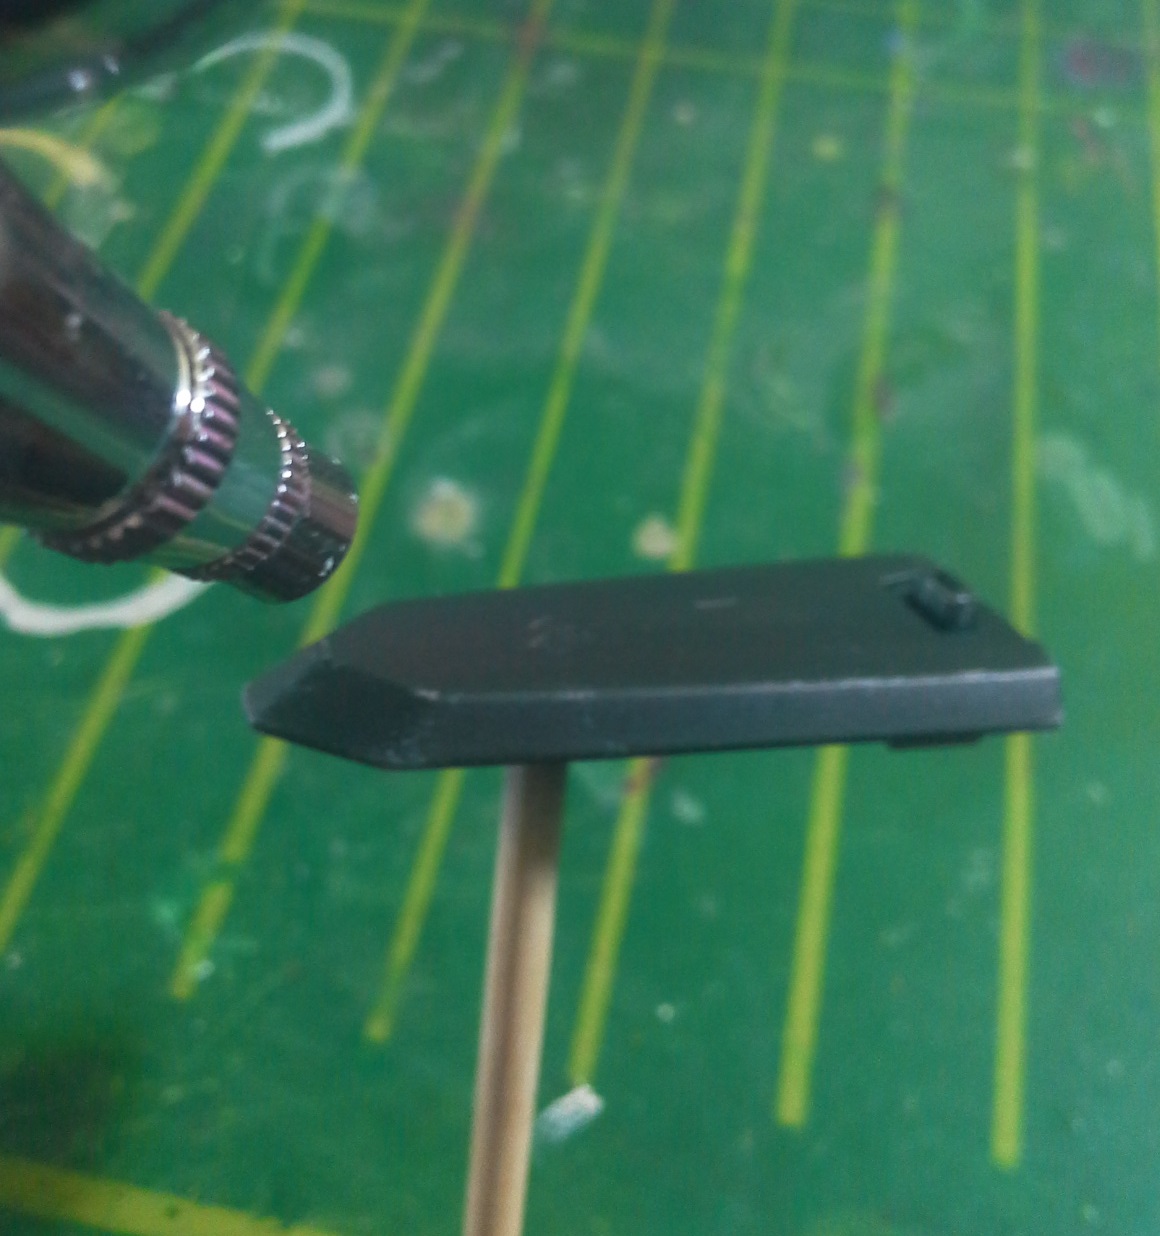
Real Touch markers make for great alternatives to filters, given the transparency of their ink. Here, I used the orange marker to slightly alter the color of this hatch.
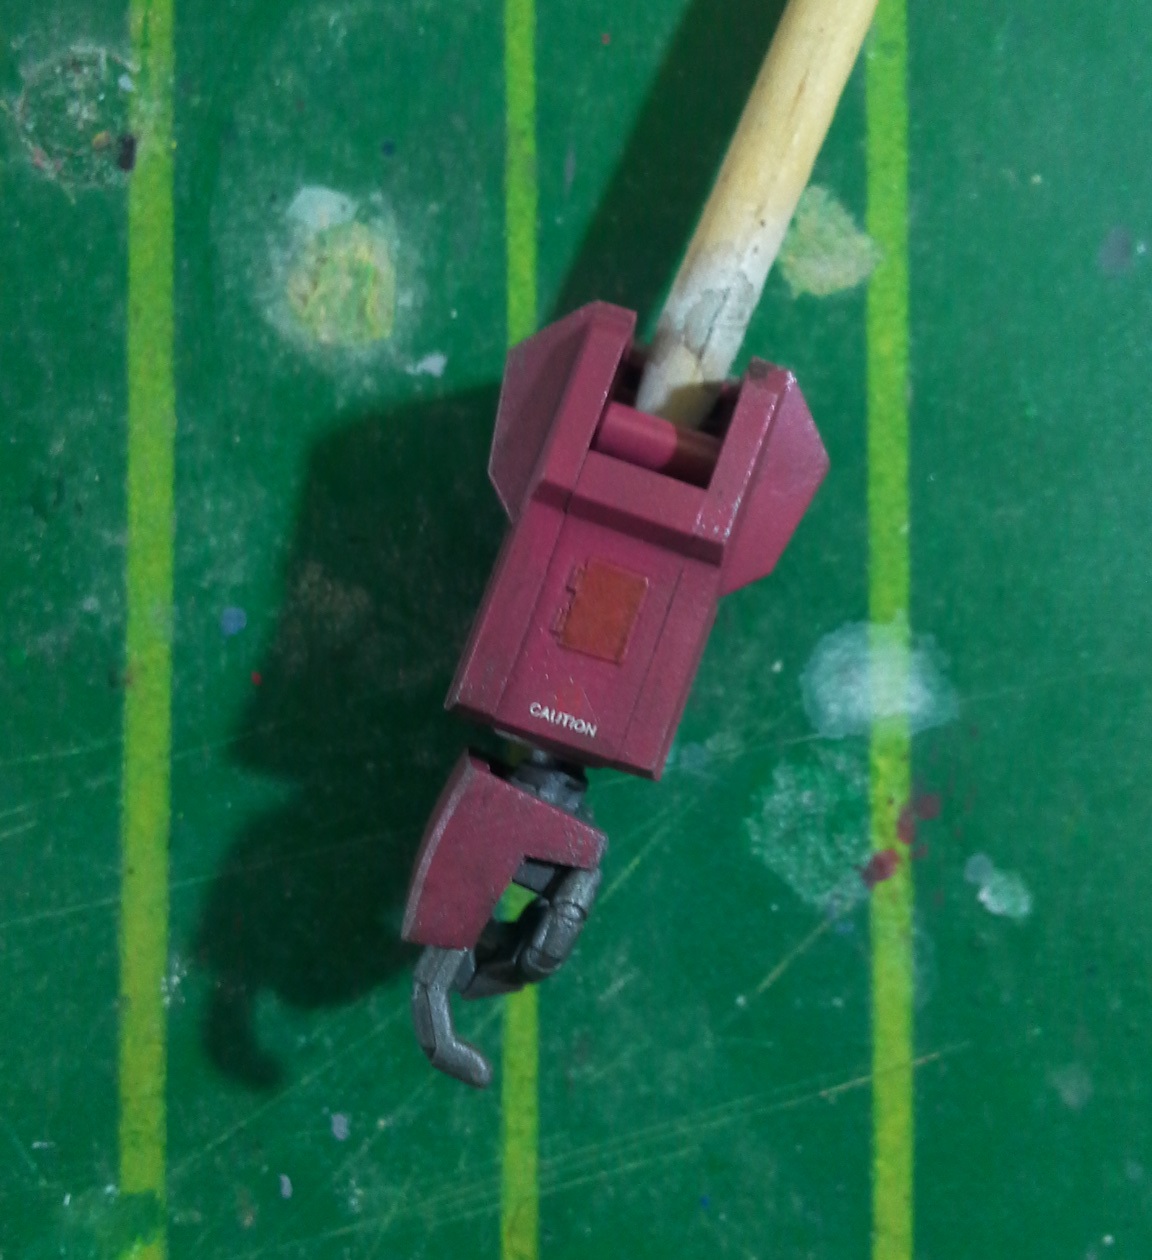
As you might remember from the detailing stage, this hatch on the forearm is supposed to be a replacement for an old one, so it makes sense for it to be a different shade.
Wash
This is one of the steps I enjoy the most. It’s very simple, yet it makes an enormous difference on the final product. What we’re going to do is cover the parts entirely with dramatically thinned down acrylic paint. This will create a layer of transparent paint that resembles accumulated dust on the surface. As opposed to filtering, washes are applied unevenly, in order to create shade variations.
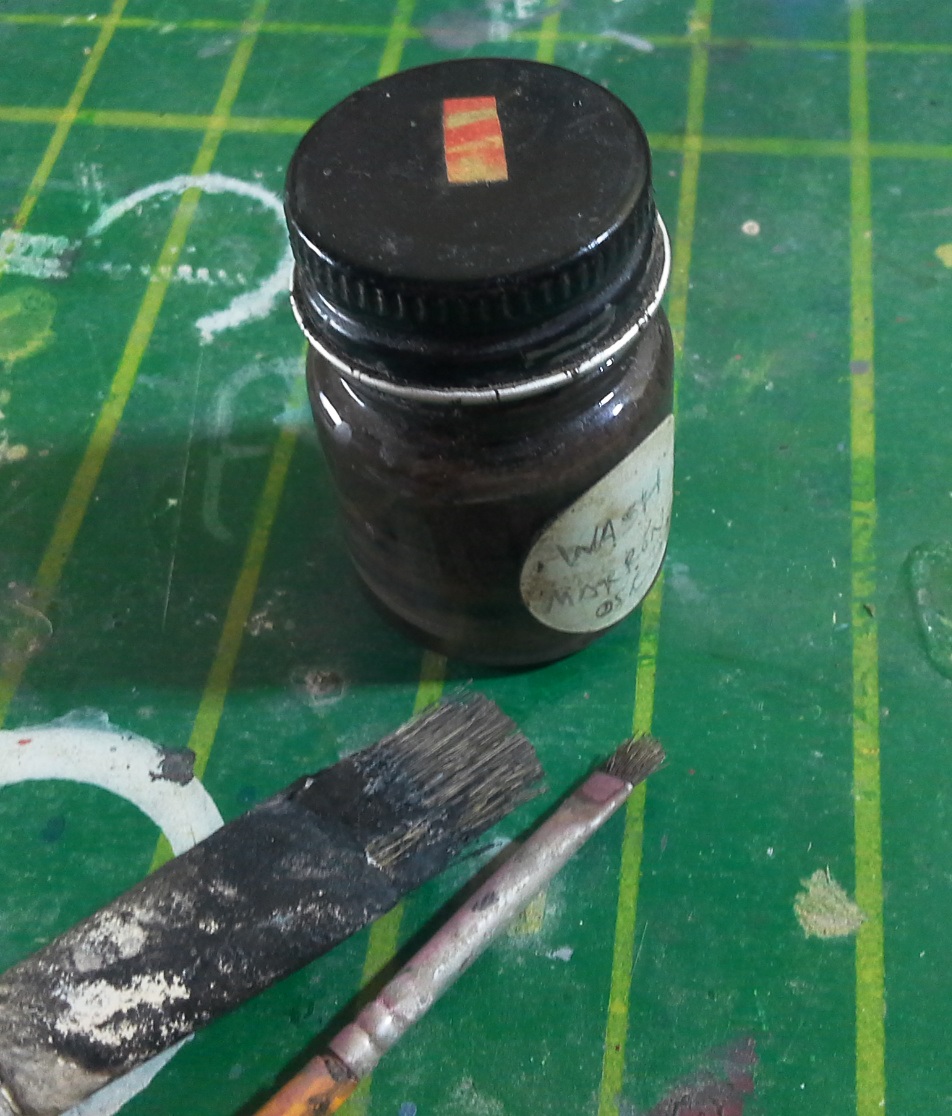
This wash is a mix I’ve been using for years. As you can see, it’s not the typical black, but rather a really dark brown. The brown gives an impression of dirt, but at the same time, it being so dark makes it perfect for filling in the panel lines. As a result, we can totally use this wash for both weathering and panel lining in one single step.
I applied different amounts of the brown wash depending on the parts. As you can observe above, the hip joints hardly changed. On the contrary, I brushed a heavier coat on the feet, since they’re closer to the ground. The dust effect is significantly more noticeable on the parts that are more likely to get dirty.
Flat coat
Most modeling washes in the market are quite strong and resistant. However, the craft paints I used to make my custom are pretty weak, and handling the model will cause the wash to come off easily. Therefore, we absolutely need to protect the work we’ve just done with varnish straight away. Just make sure the wash has dried first, haha!
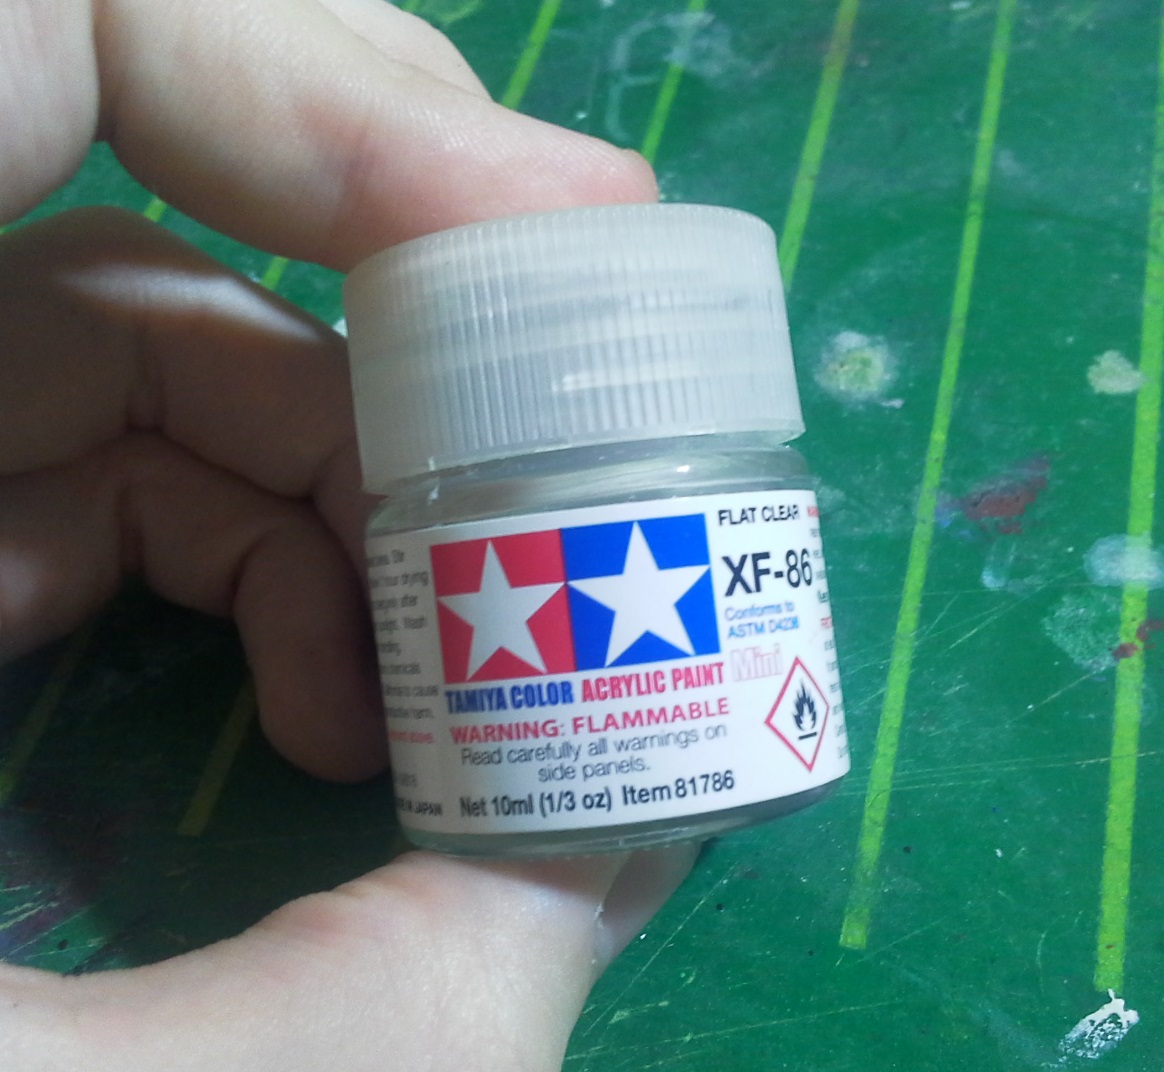
Besides sealing our work, this top coat will even out all the different finishes we have on the model; the glossy parts, the semi-gloss appearance created by the wash, the dull blotches caused by the decal medium, etc. It will all look nice and balanced.
When it comes to spraying, I first load the airbrush with some alcohol. I recommend using acrylic paint thinner, but since I can’t find it locally I normally use alcohol or water.
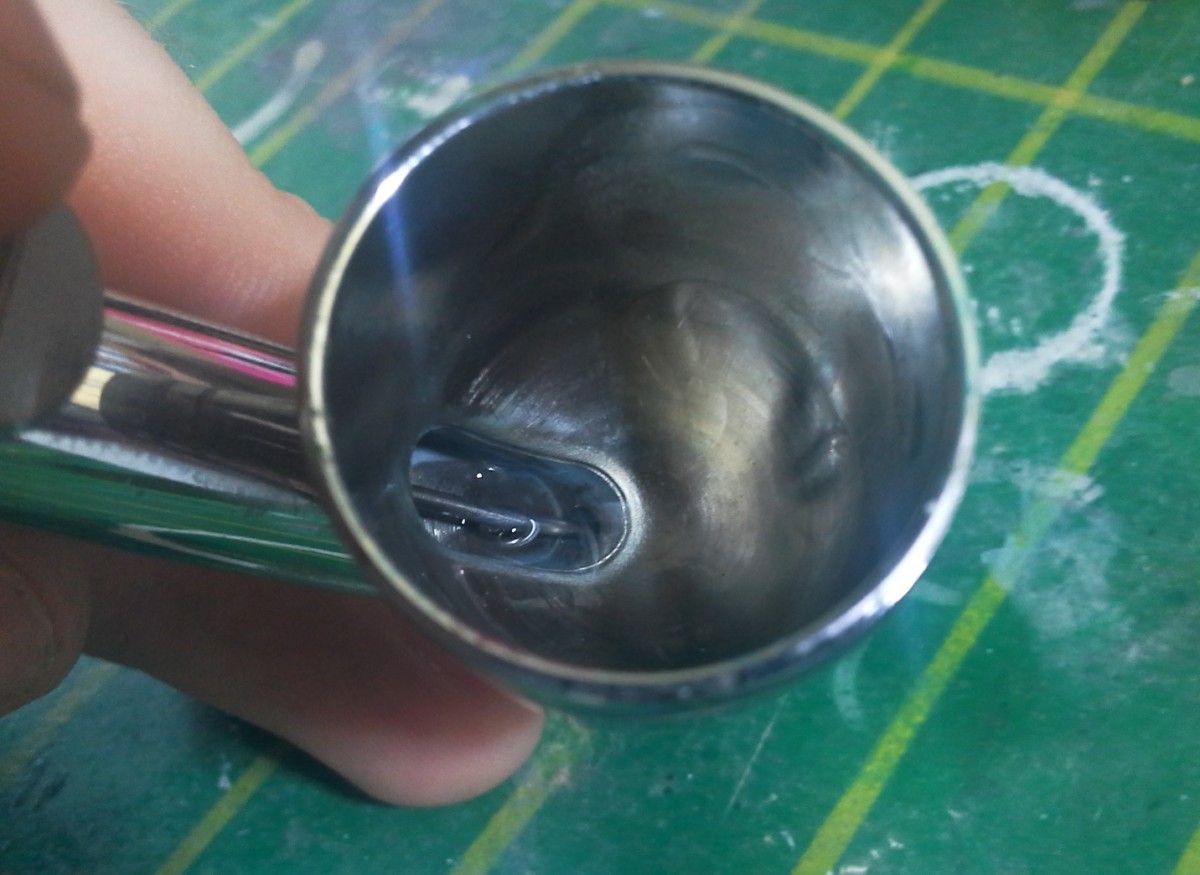

I spray a little to test paint flow. Next, I pour some varnish into the cup of the airbrush. Then all that’s left is to mix the alcohol/thinner and the varnish. I do that by covering the nozzle with my finger and pressing down the trigger. This causes the air to move to the tip and come back, thus mixing the two components. It’s like stirring, without a tangible object.
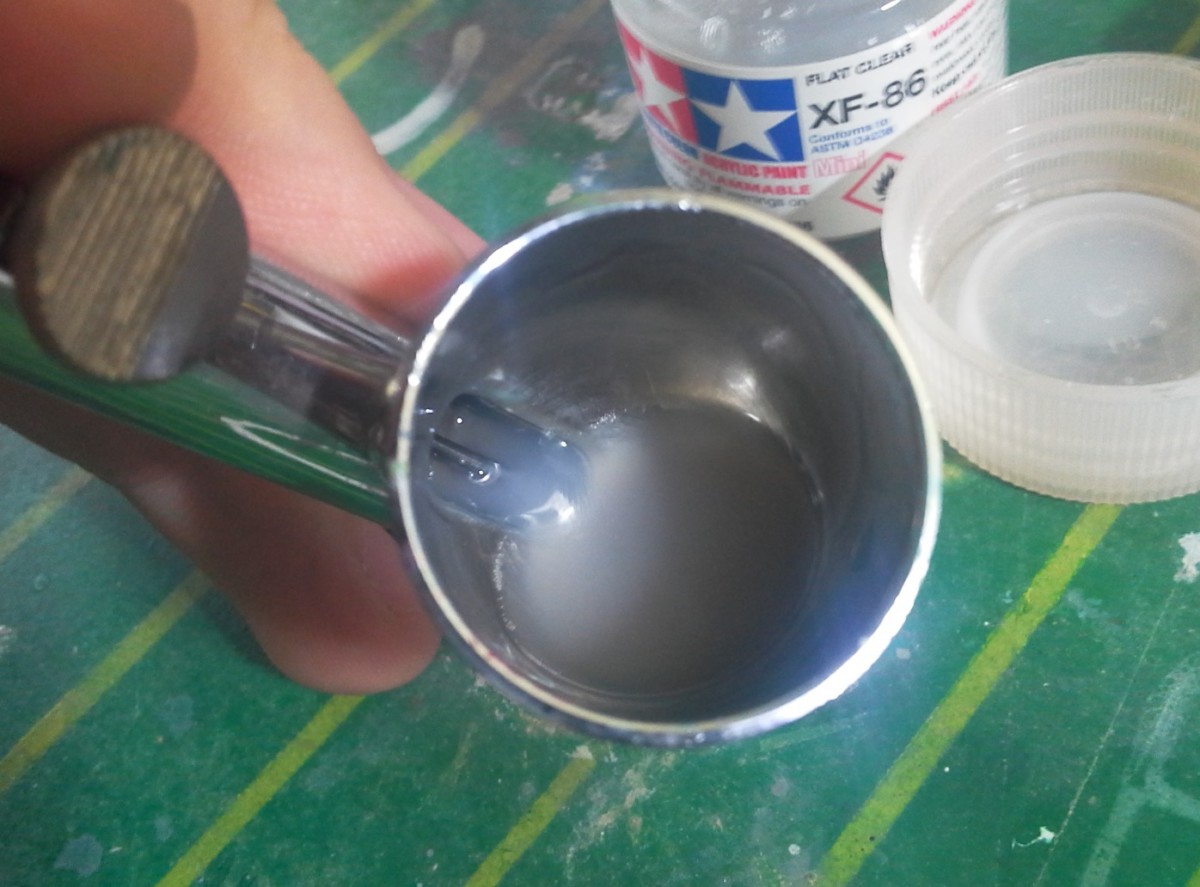
A milky consistency is ideal. So if you feel the varnish is too thick, add some drops of thinner and mix again. And of course, if it’s too runny, add varnish.
I spray from a distance of about 10cm, and try to keep an eye on the amount I’m laying down on the parts. We need to cover it completely but also avoid overspraying, as that may produce an unpleasant foggy effect on the piece (popularly called “frosting”).
Weathering pigments
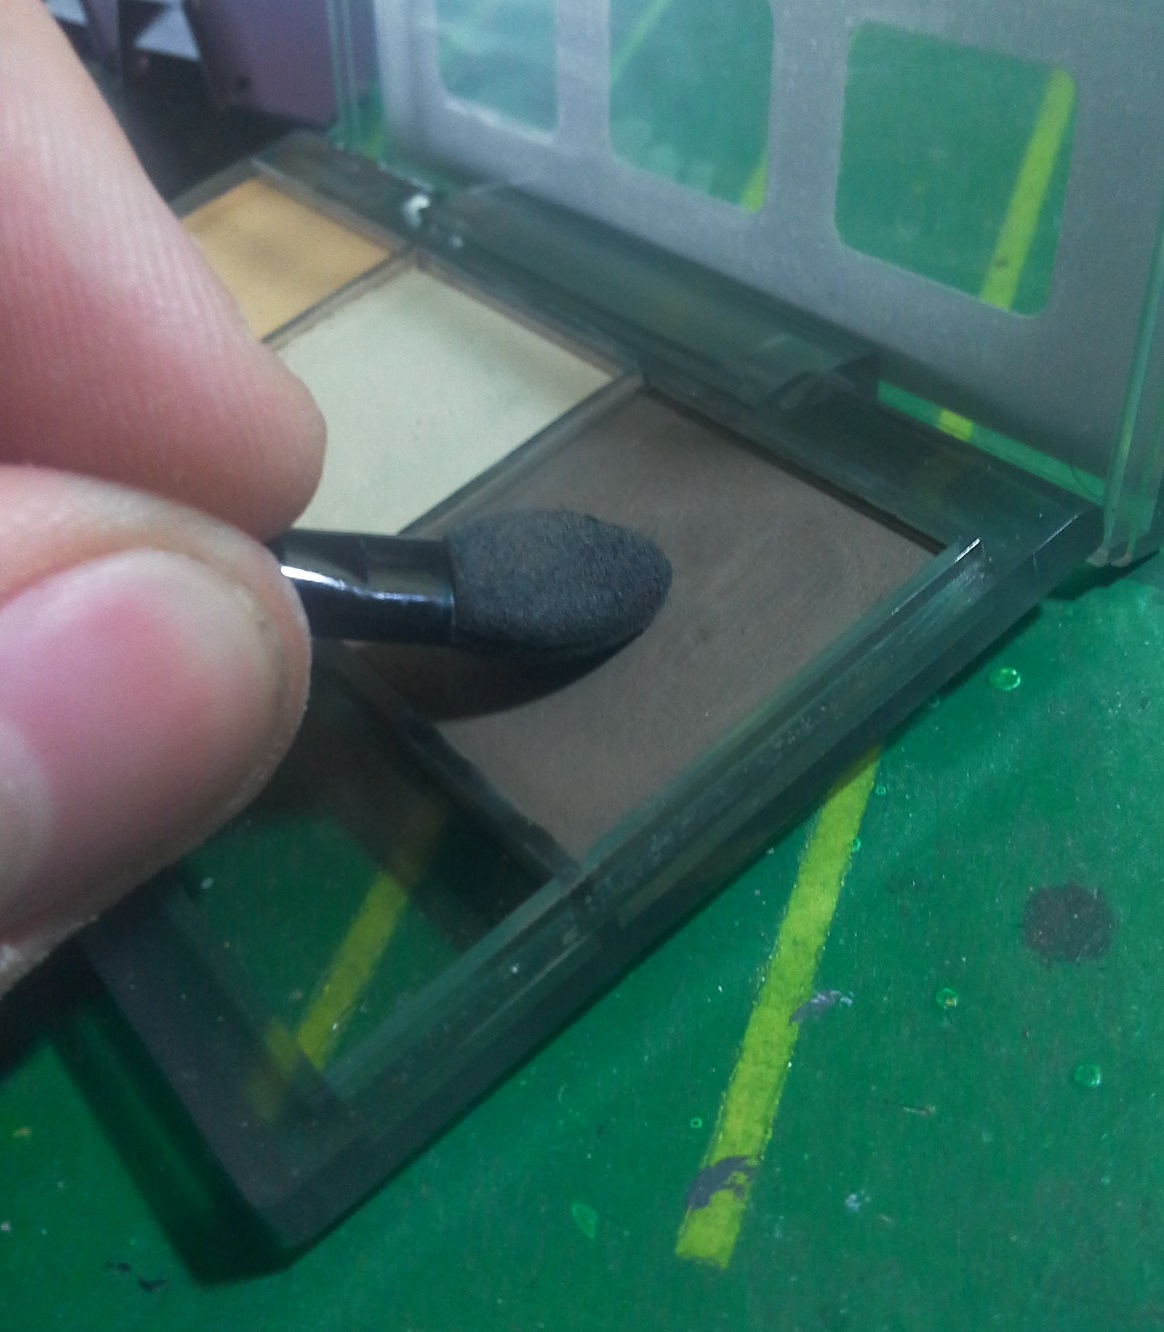
Now that the wash is protected underneath the top coat, we can apply the last weathering effect. Tamiya Weathering Master sets are very popular because they’re cheap, require almost no cleanup, and help produce realistic effects with little effort.
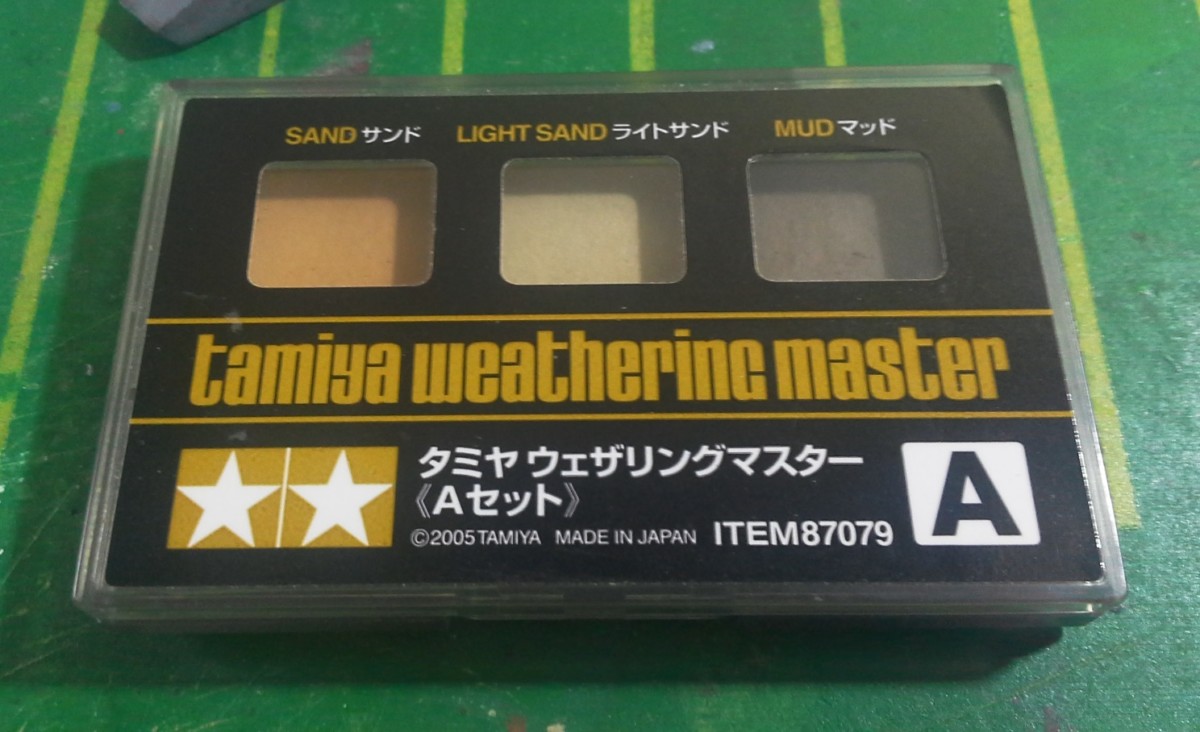
This is set A; which comes with sand, light sand and mud pigments. There is a fair amount of different sets, with a rich variety of colors.
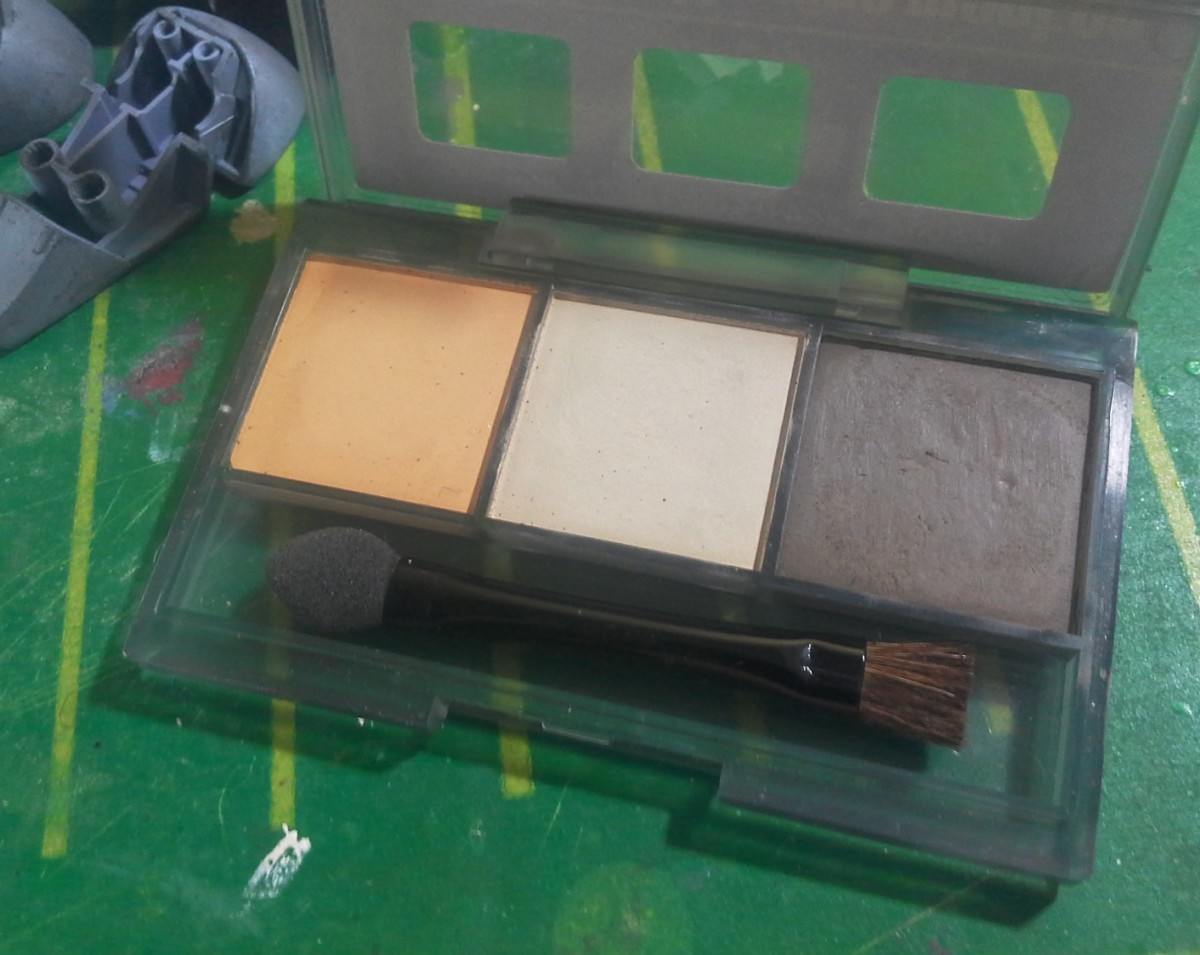
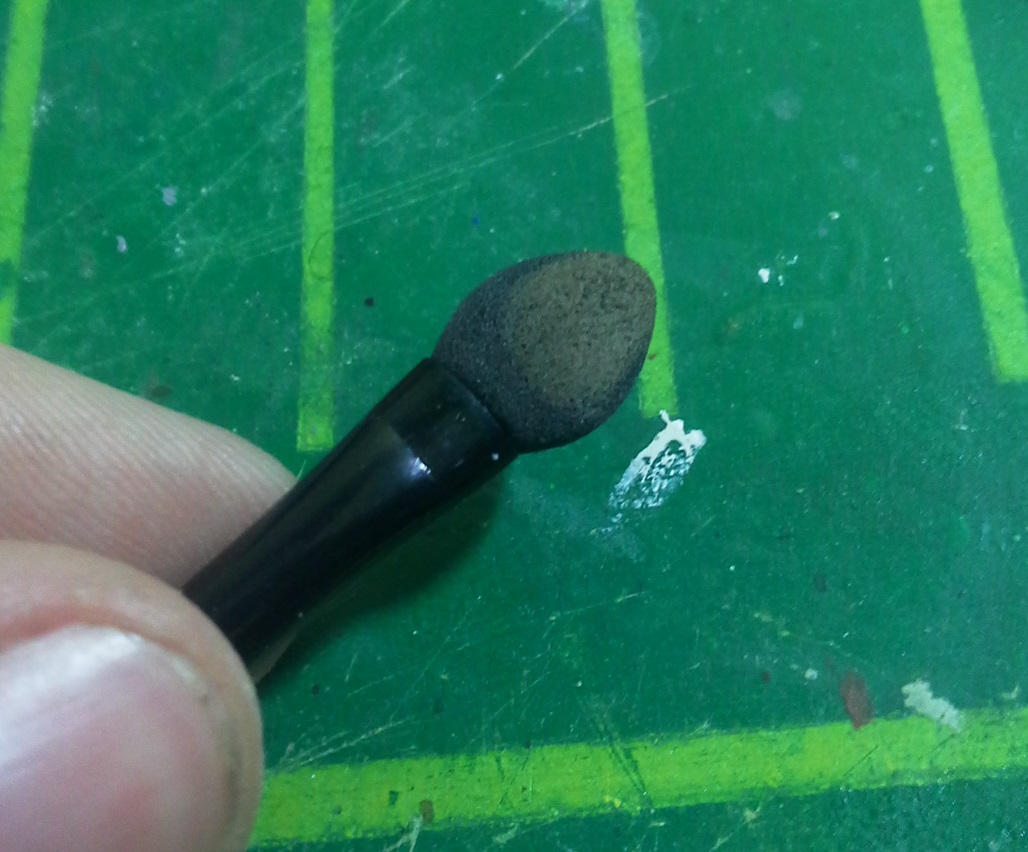
The little tool that comes with the set is really handy. One end has a fine sponge; the other has soft bristles.
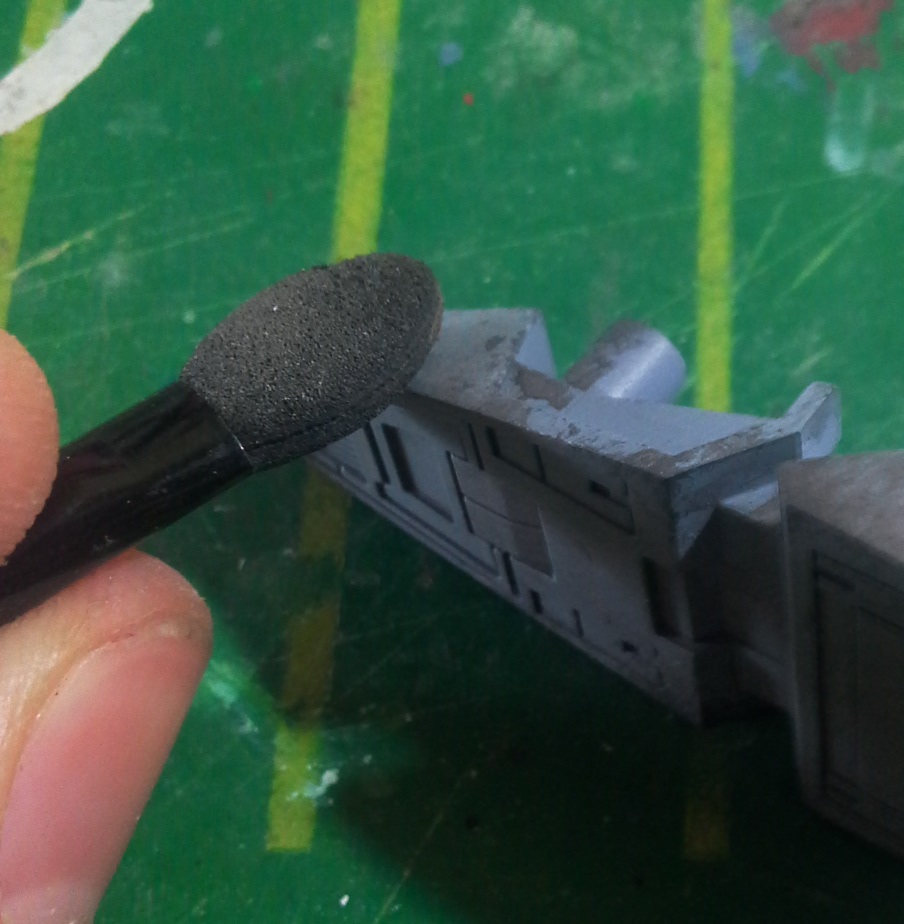
We’re going to use just the mud pigment, and limit it to the feet only.
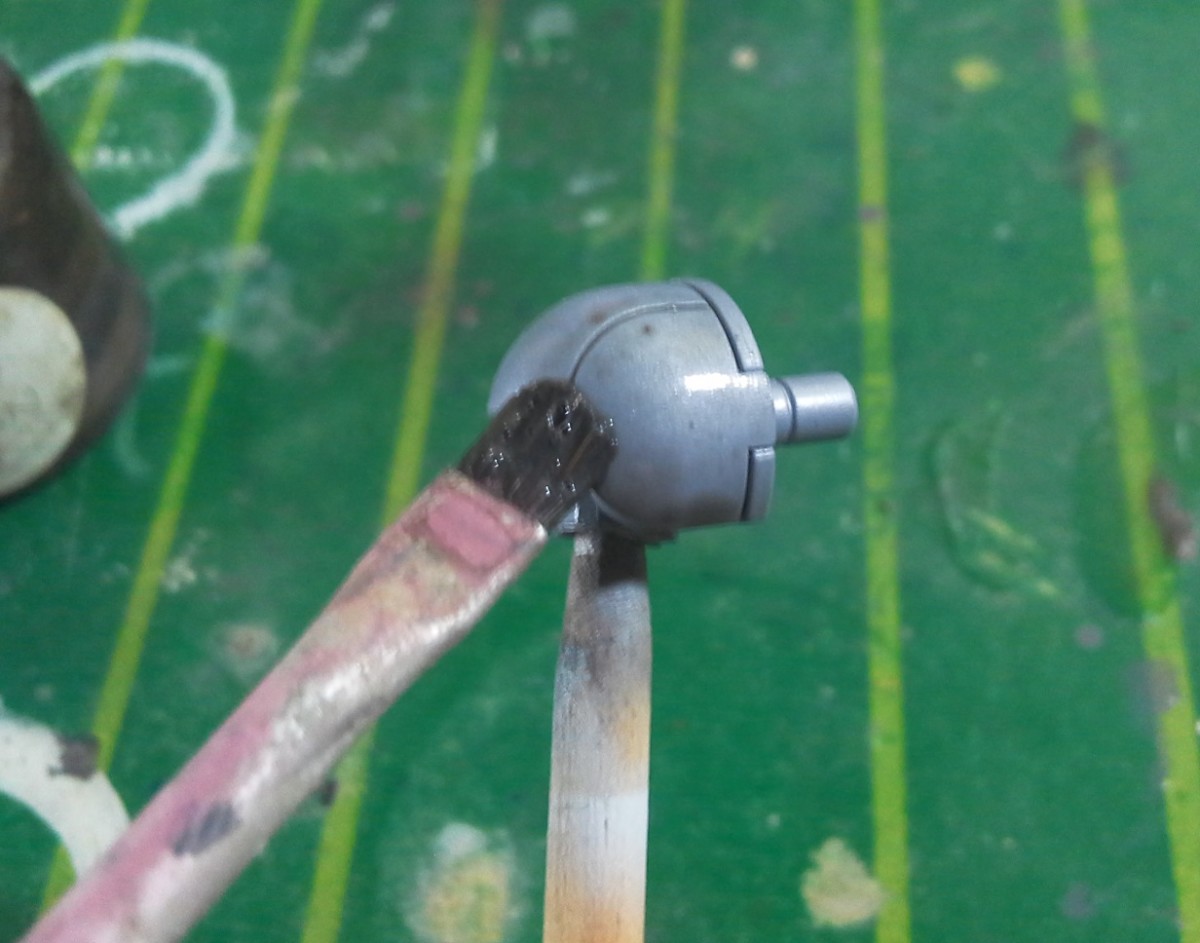
First I’ll use the sponge for open areas. I gently rub it against the pigment to get some on the sponge. Then, I dab the part in a downwards motion to apply the pigment.
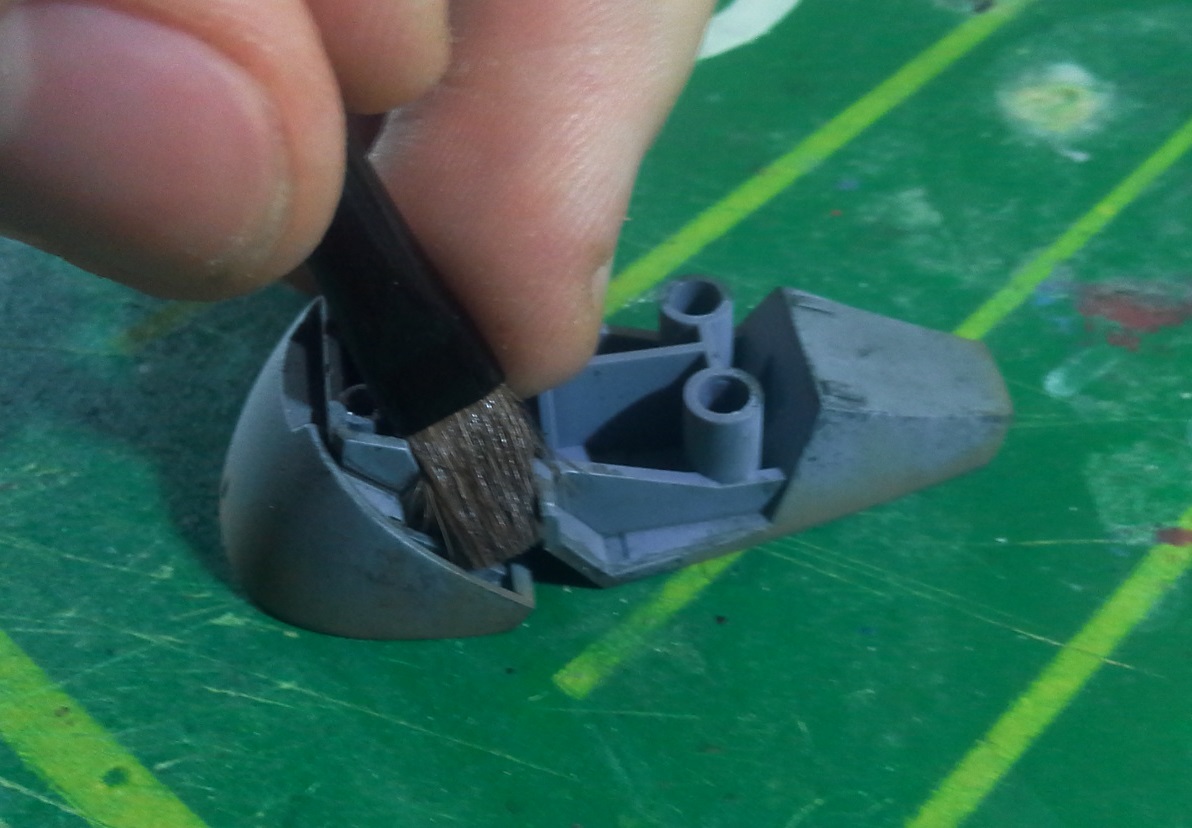
For the hard-to-reach areas I switch to the brush end of the tool. The bristles conform to the different shapes around the part, allowing us to cover all the nooks and crannies.
The finished effect is subtle but adds context to the model, which is important in weathered builds. Also, the dirt looks realistic; and thankfully I didn’t overdo it.
Final assembly
Rivet parts
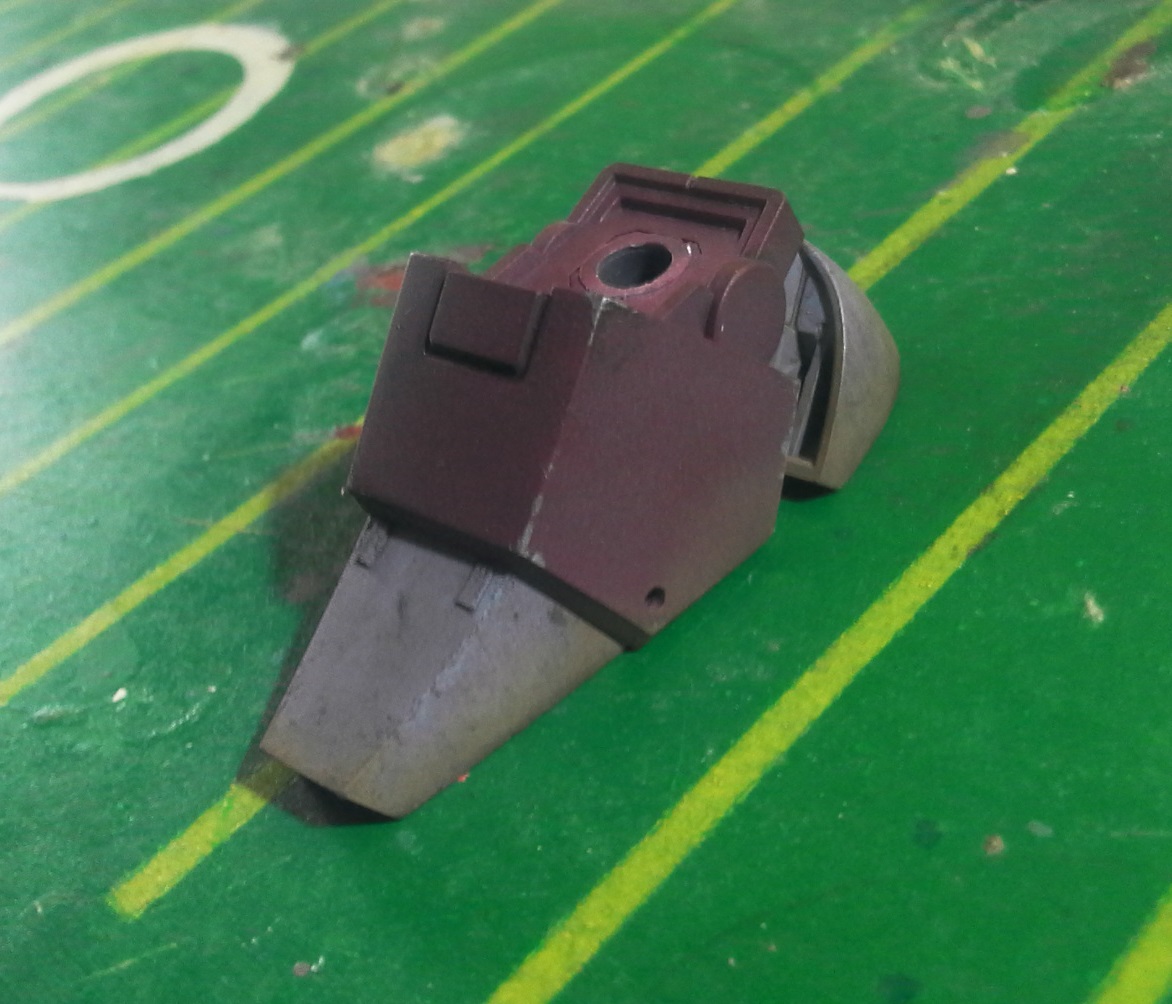
We’re finished with the weahtering, and it’s time to assesmble the model to call it done. But first, we need to glue on the bits we painted separately.
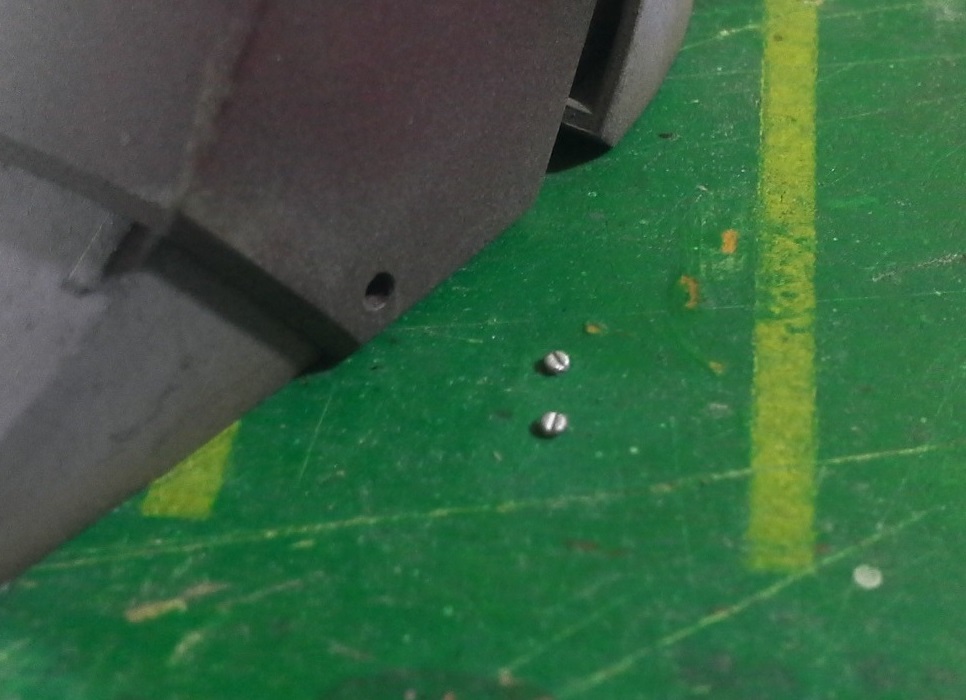
I decided to attach them only now so as to keep them bright and contrasting with the dirty model. It’s more of an artistic approach rather than realistic, and I think it was a good call. Otherwise the rivet details would just disappear, and that would take away a deal of visual interest.
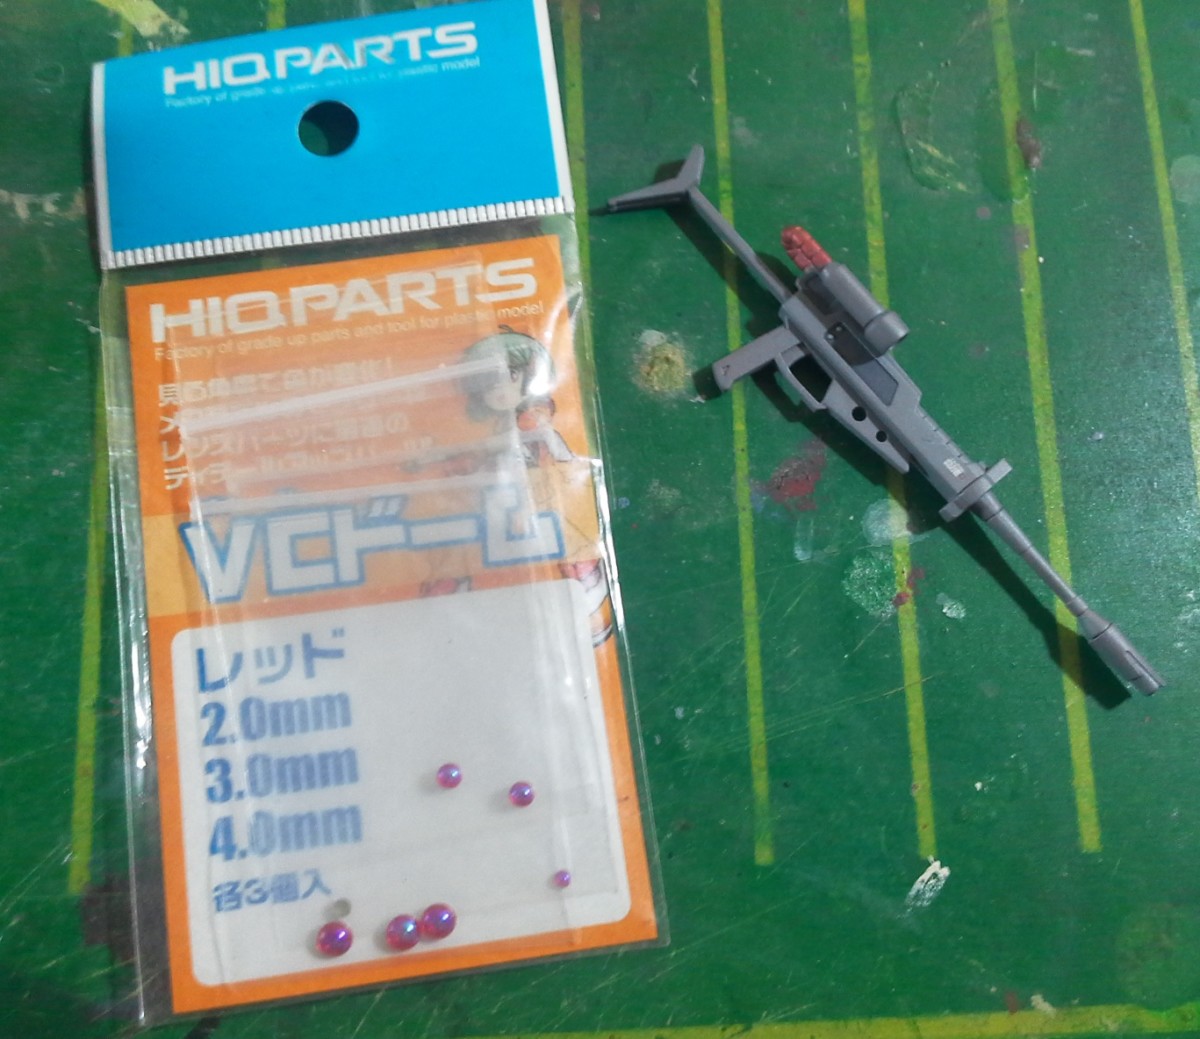
Scope lens
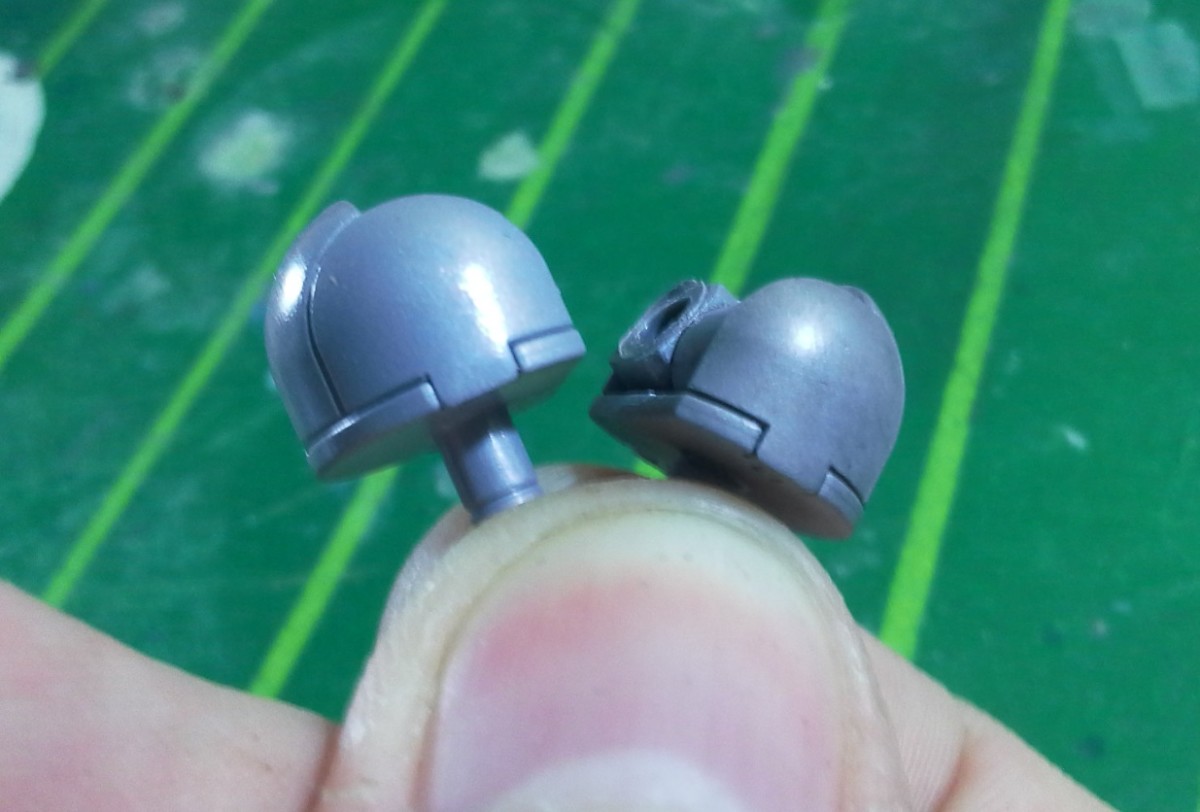
I’m giving the beam rifle the VC dome treatment. These striking lens parts by HiQ Parts really help make scopes and monoeyes pop out. Moreover, they come in a wide variety of colors and sizes.
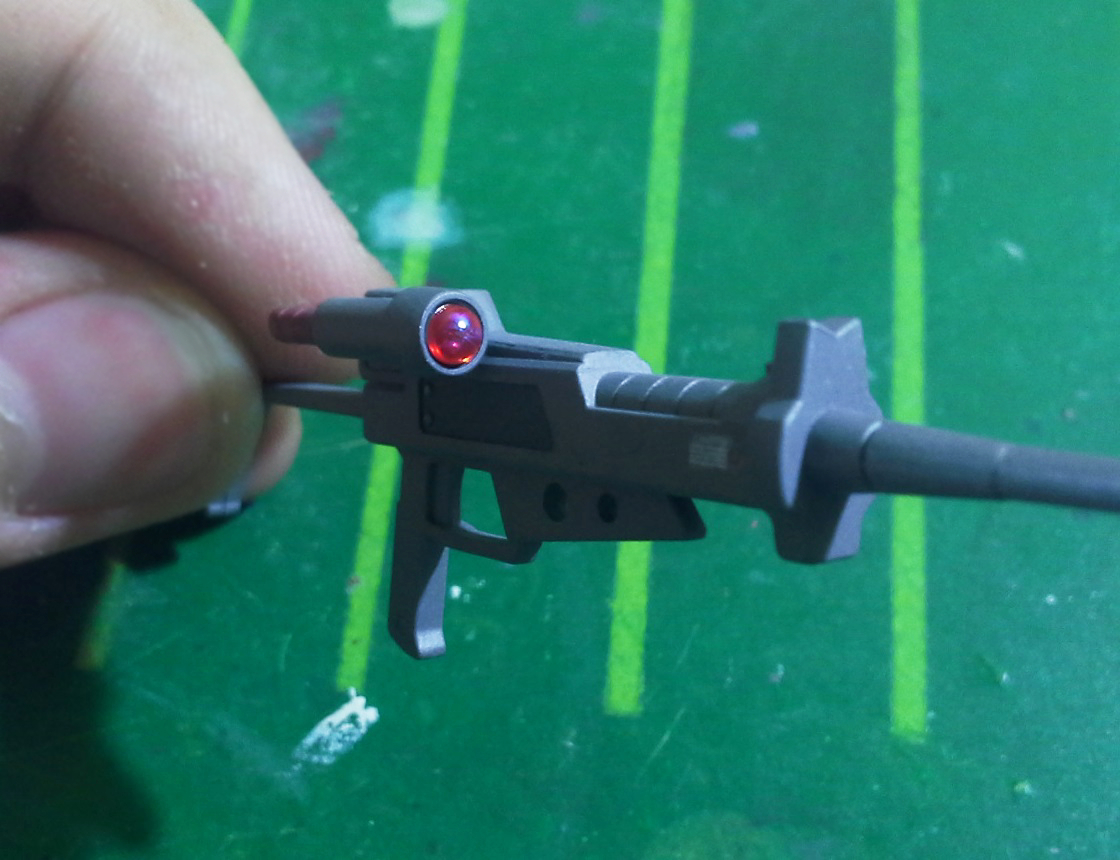
With the monoeye in green and the scope lens in red, there is a nice contrast going on in the model. It gives the impression that the mobile suit and the weapon were manufactured separately, and the beam rifle was just assigned later to this Galbaldy. Or maybe the monoeye used to match the scope, but it was replaced at some point. So much room for imagination in these small things… we don’t need to put wings or huge swords on our models to be creative.
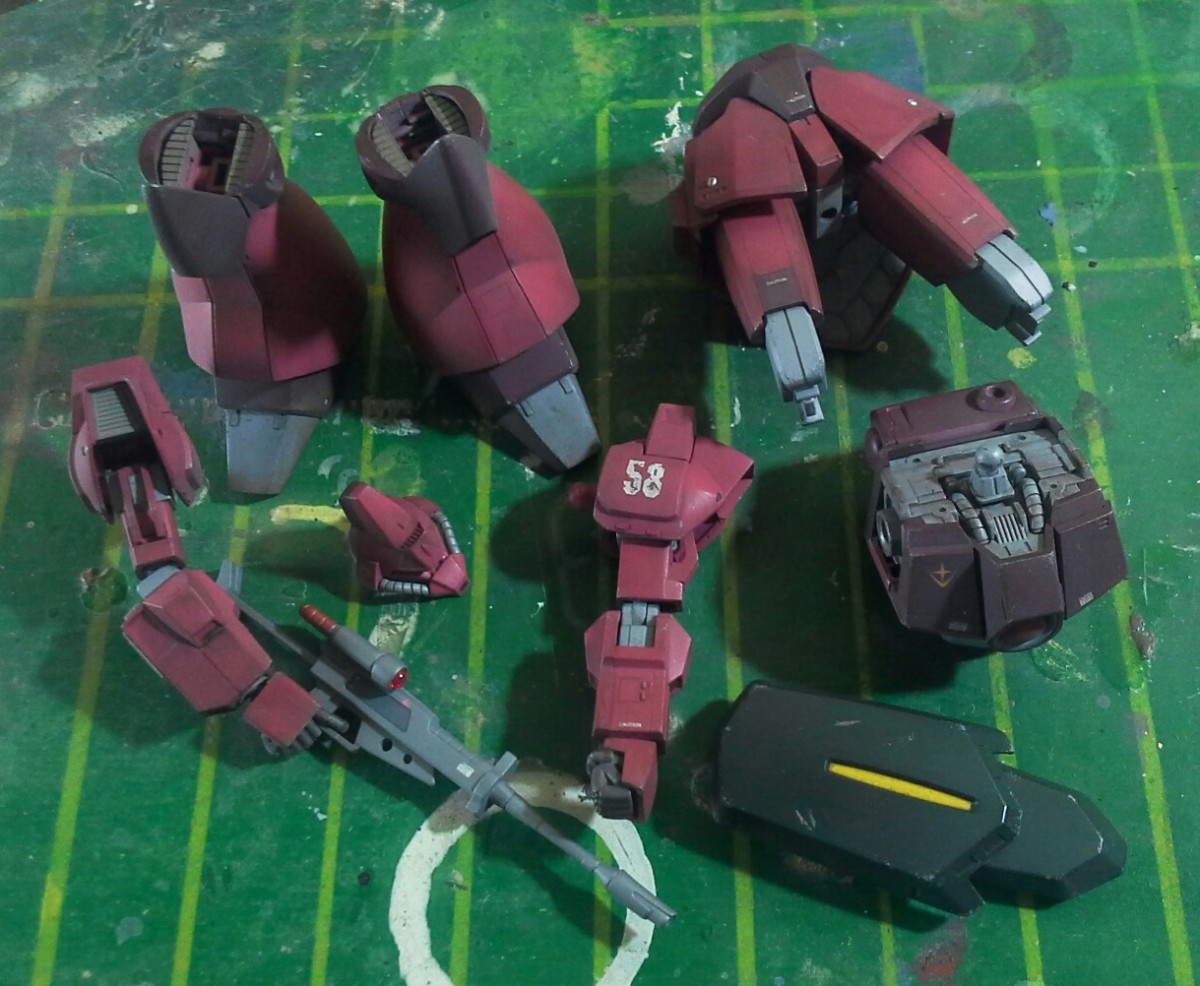
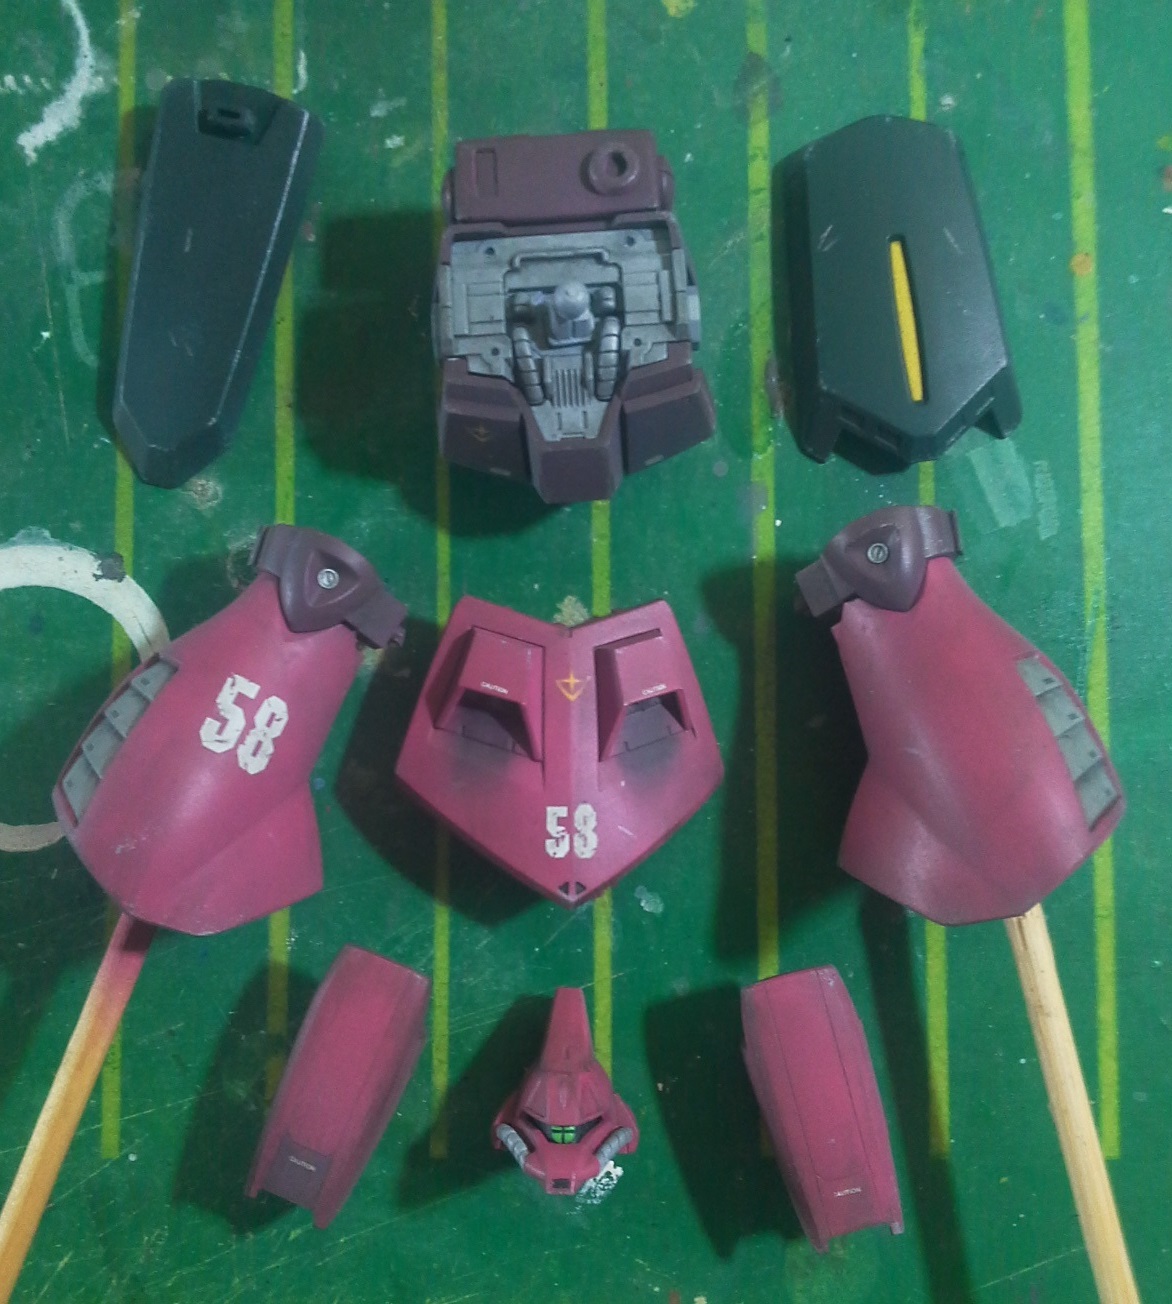
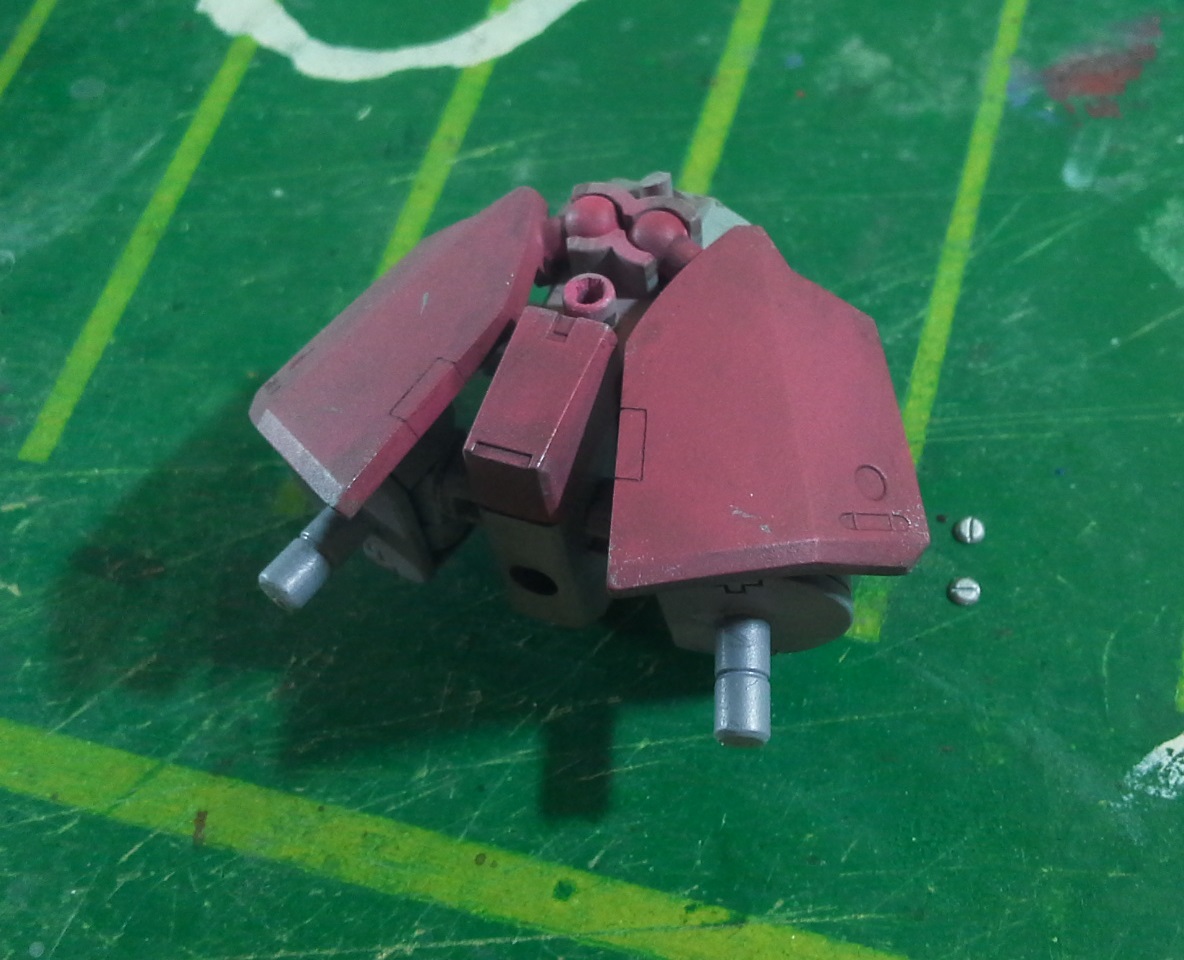
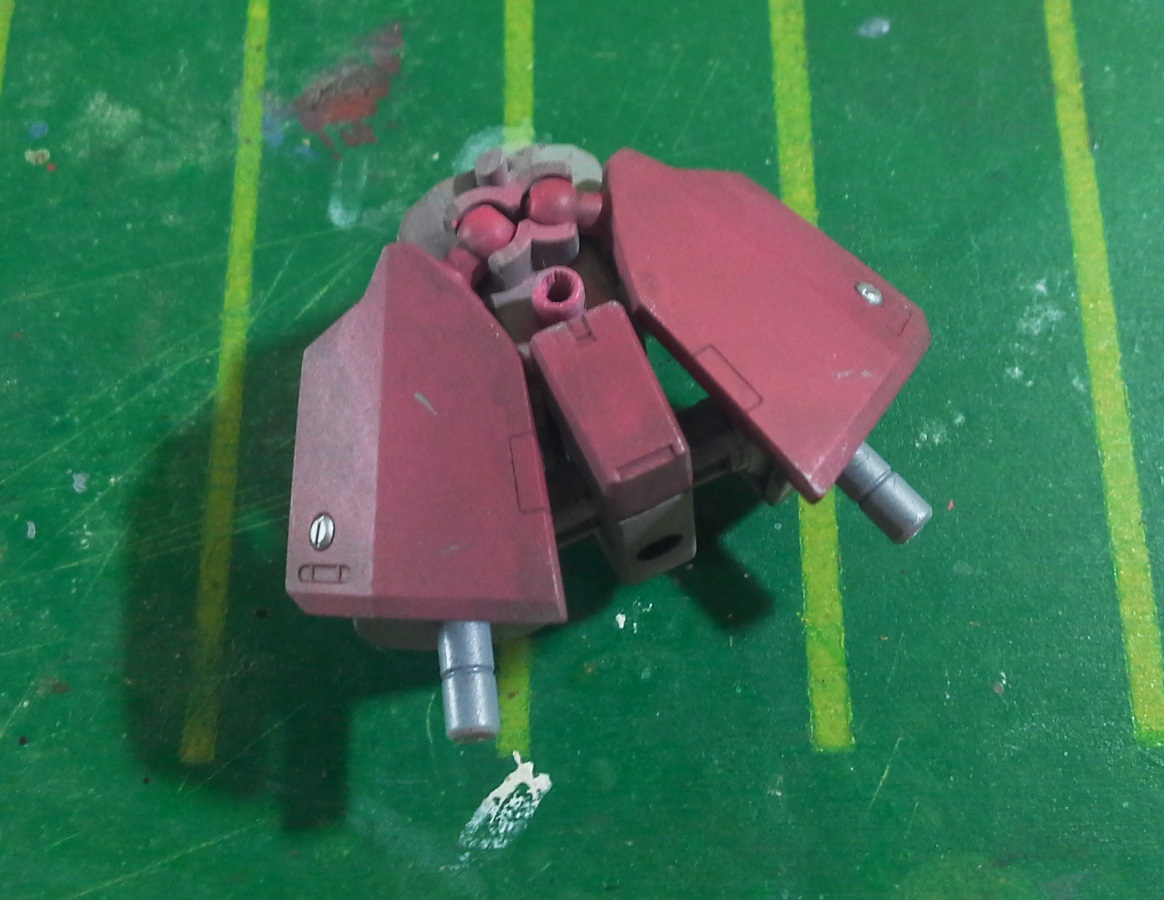
I always build sub-assemblies like in the picture above, to reduce the risk of breaking things. For instance, it’s easier to plug the whole arm into the torso than it is to plug the shoulder into the torso and then the rest of the arm into the shoulder.
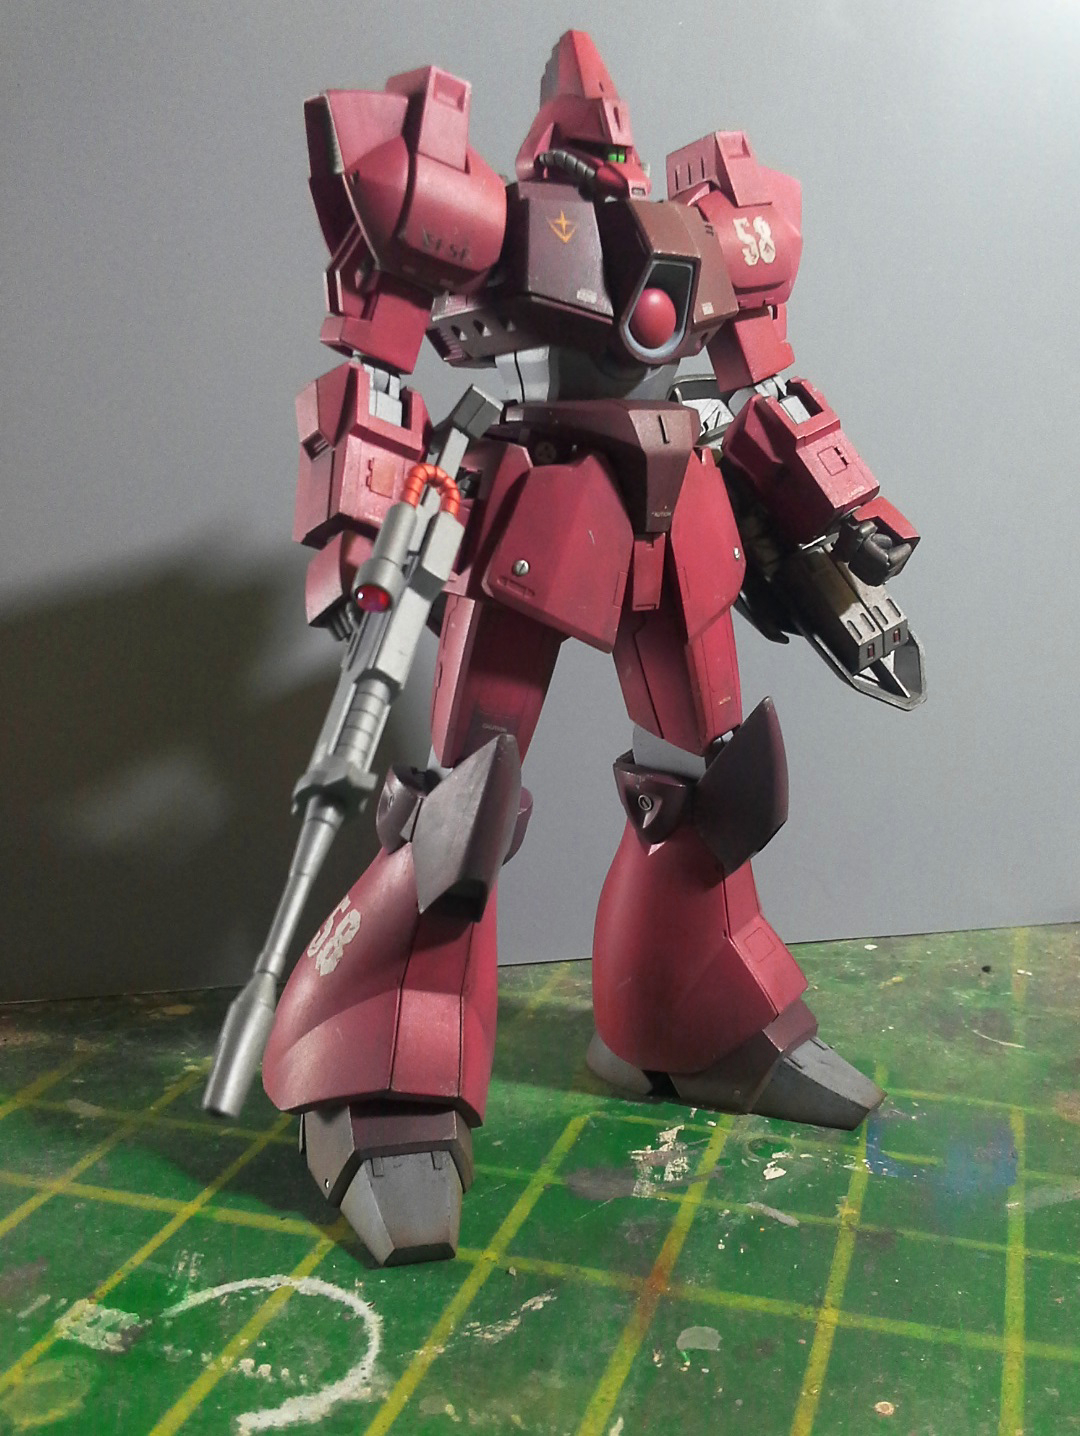
With this, the Galbaldy Beta is complete!
But before we can call the build 100% finished, there is one more cool thing we’re going to be making next time. Stay tuned!


Ramrod
Very nice job!
Enrico Asa no Hoshi
Thanks! Stay tuned for the little surprise that’s coming in part 11 😉