Hey, everyone! It’s been a while, but we are back with the Galbaldy Beta build series. Last time, we detailed up the legs and waist. Today, we are going to do the same but with the upper body and accessories.
Since most of the techniques we are about to employ are similar to the ones we saw in the previous post, I’ll keep the explanations shorter and focus on the procedures I haven’t shown you before. With that said, we’re off to the workbench!
Detail parts
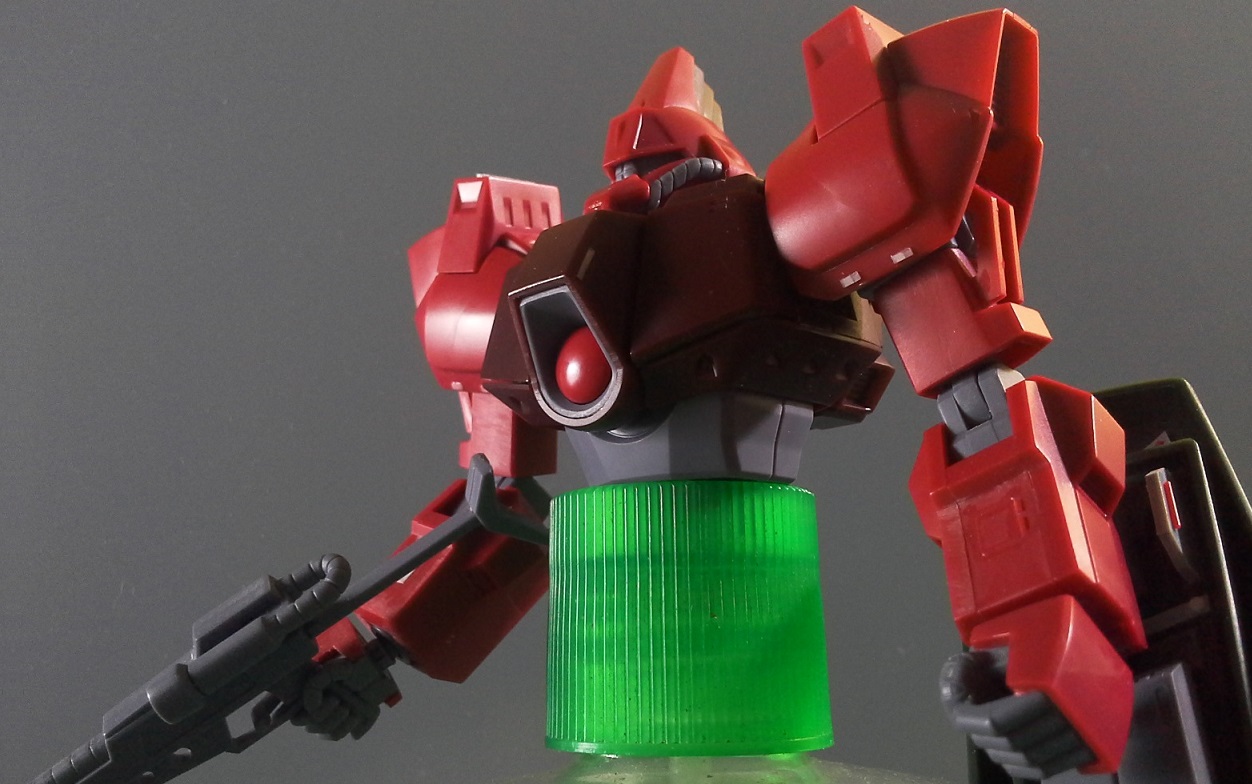
We are going to use a part from a Kotobukiya MSG set to replace this circular detail on the backpack. I like it, but I think it could stand out more if it were more defined and deep.
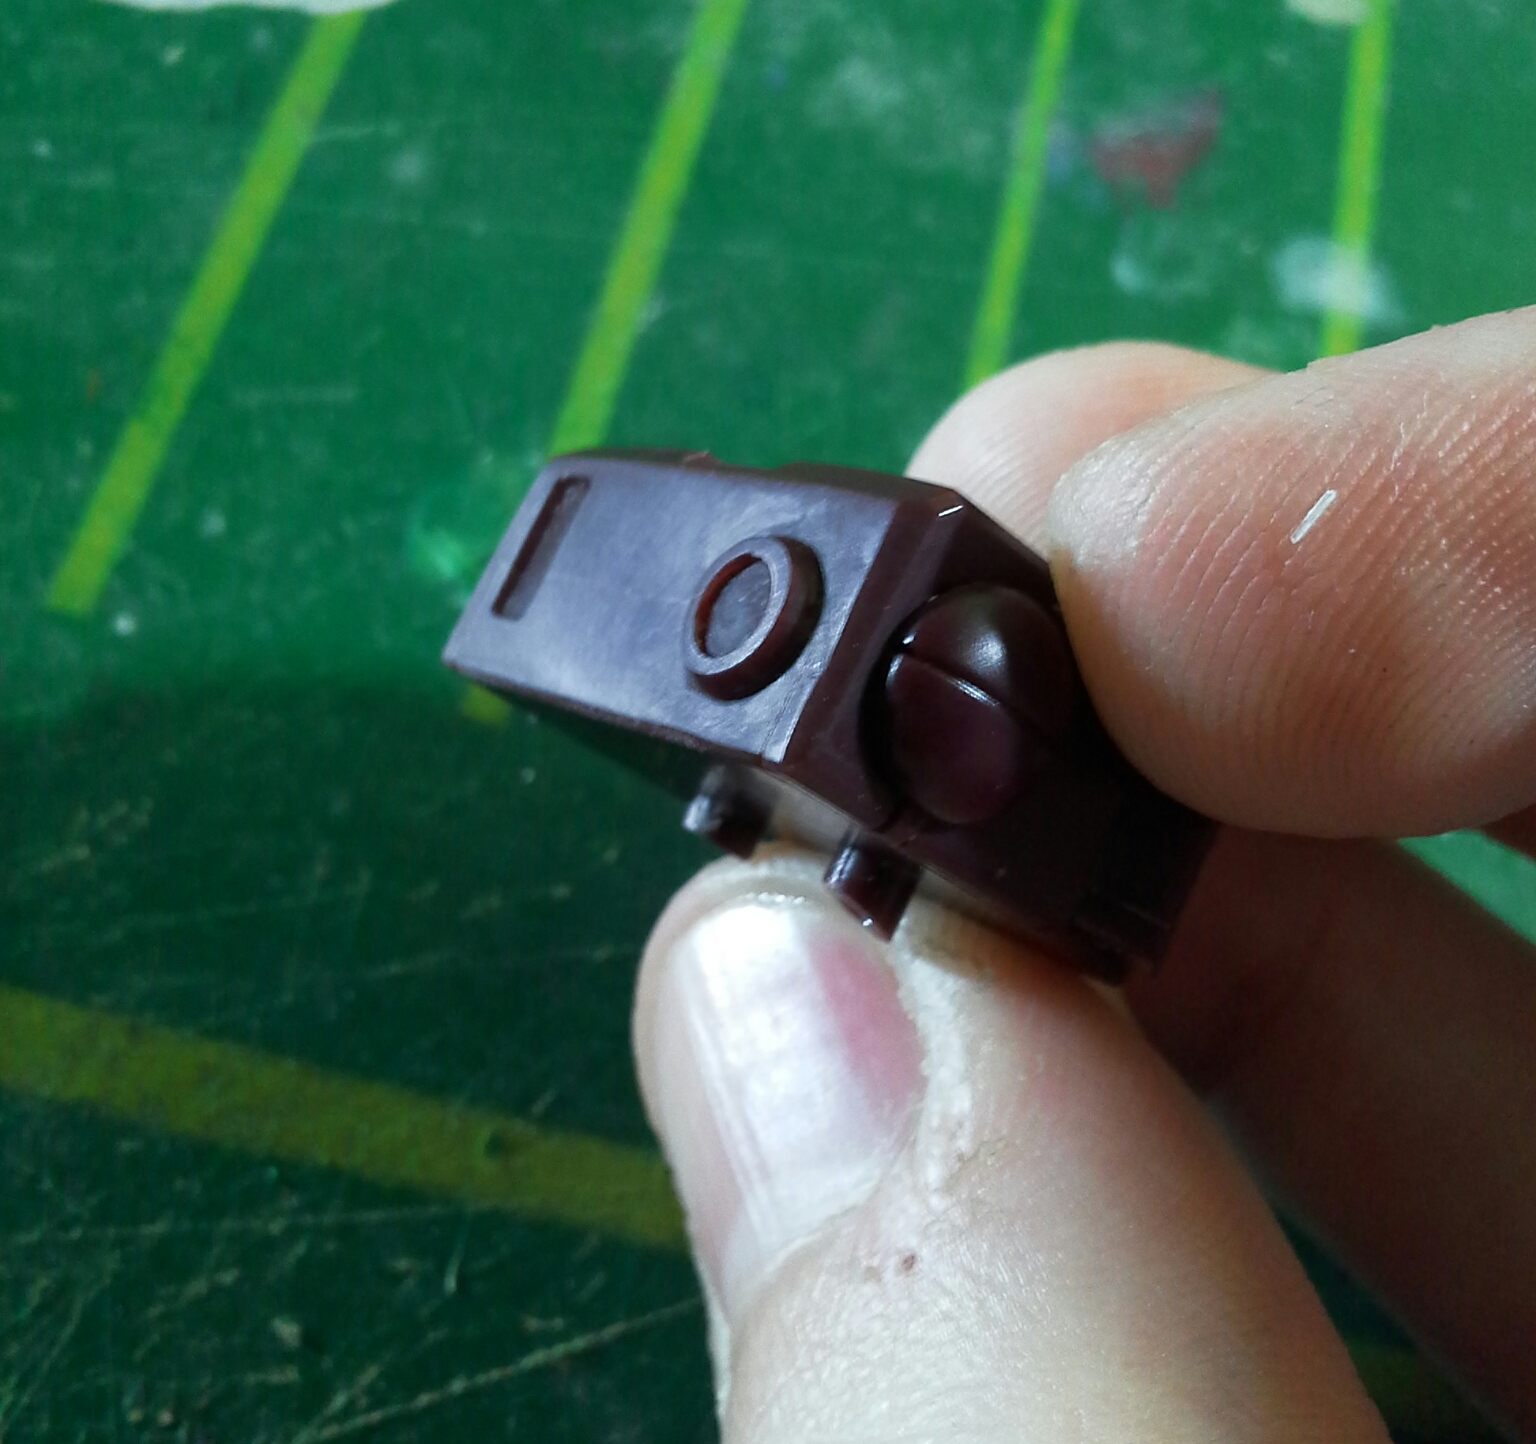
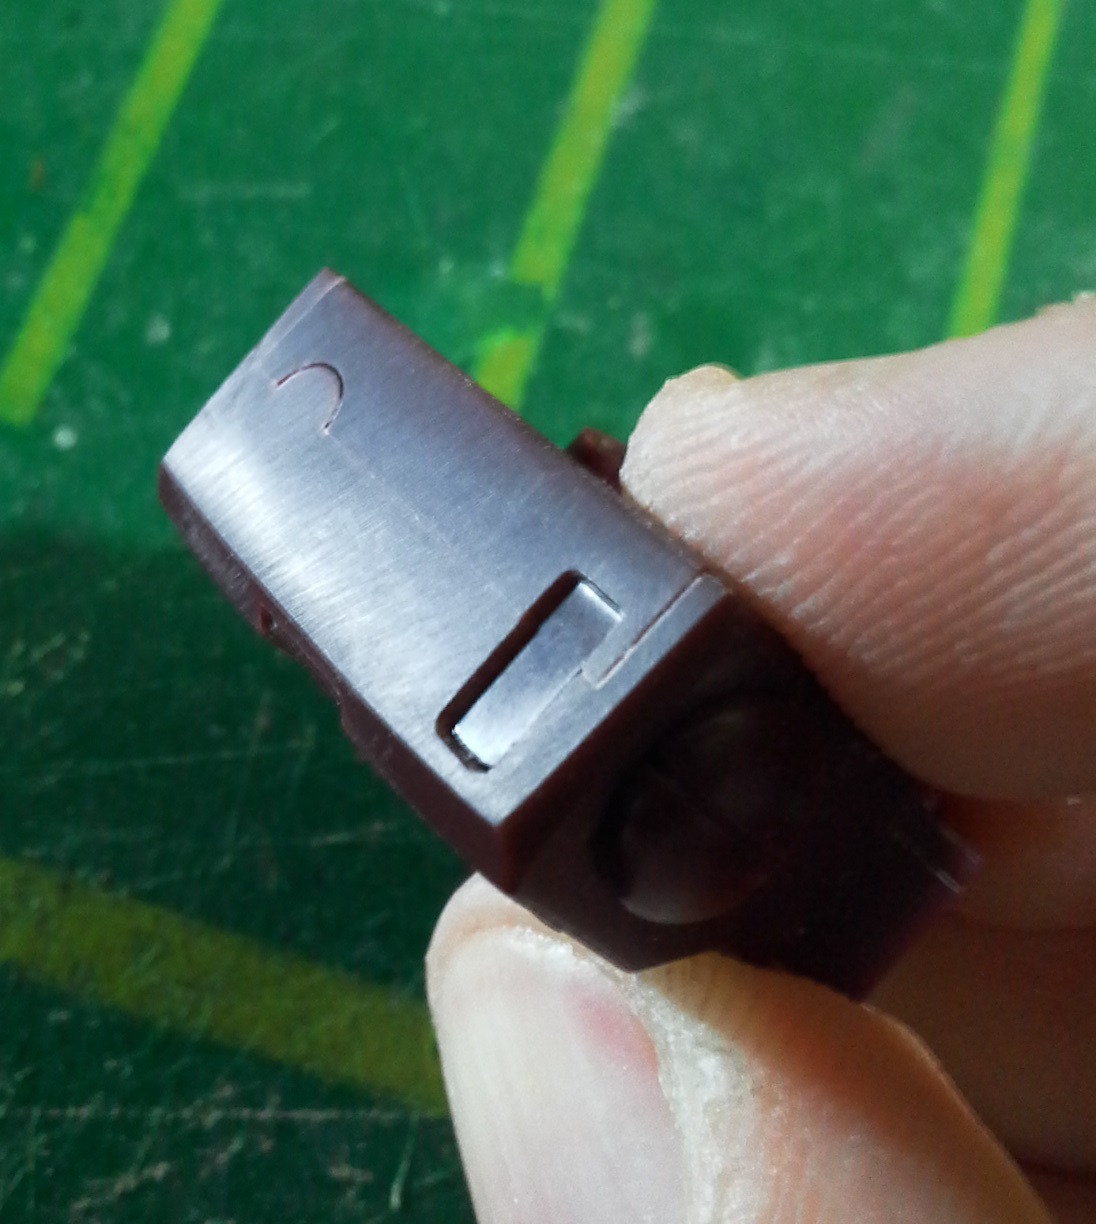
First, I get rid of it by sanding it down, using a hard #400 grit sanding stick. Next, in order to achieve a smoother surface, the process is repeated but with a higher grit. Anything between #800 and #1200 will do the trick.
We are now ready to choose the part that will replace our original raised detail.
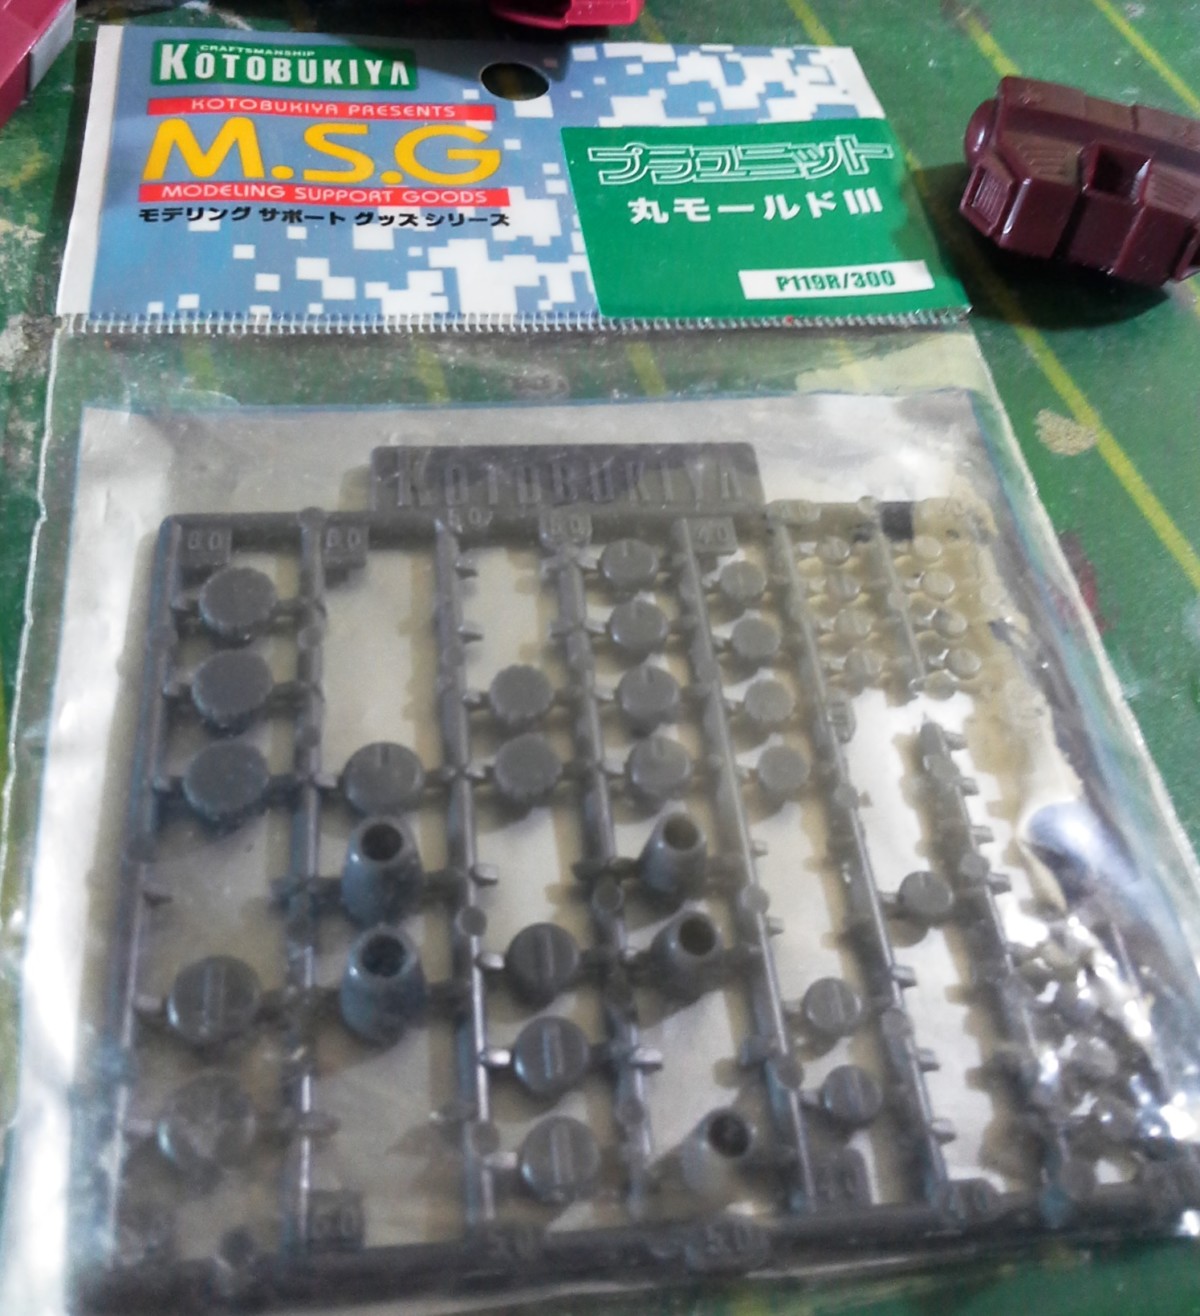
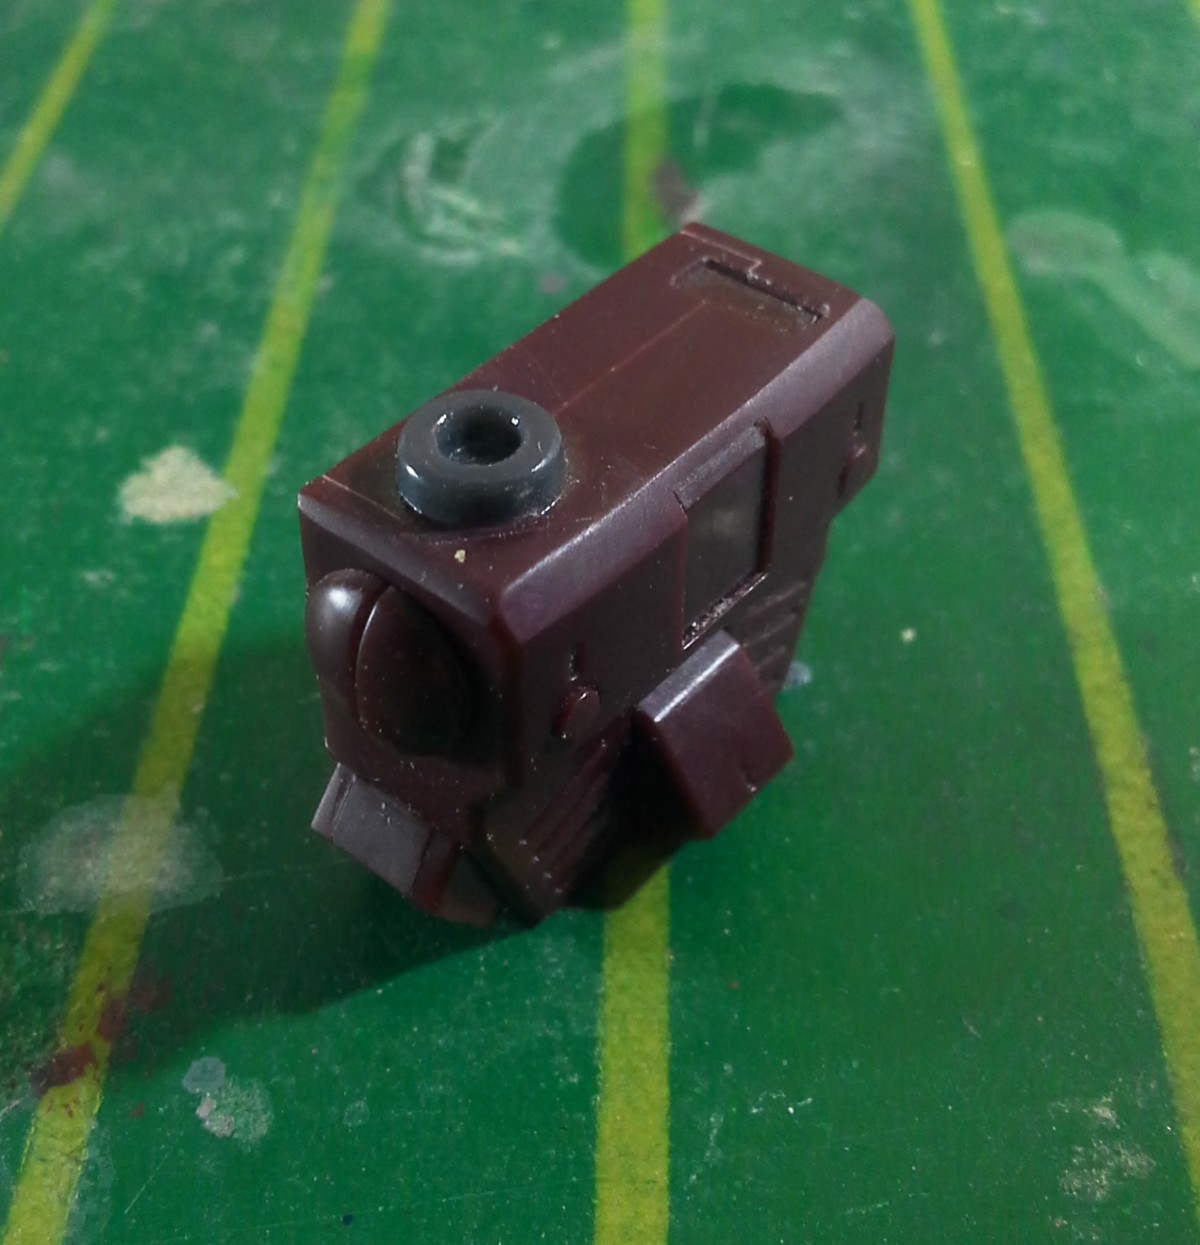
This set includes the perfect mold for this task. I cut one 6mm short pipe off the sprue, and immediately placed it on top of the backpack to see how it looked.
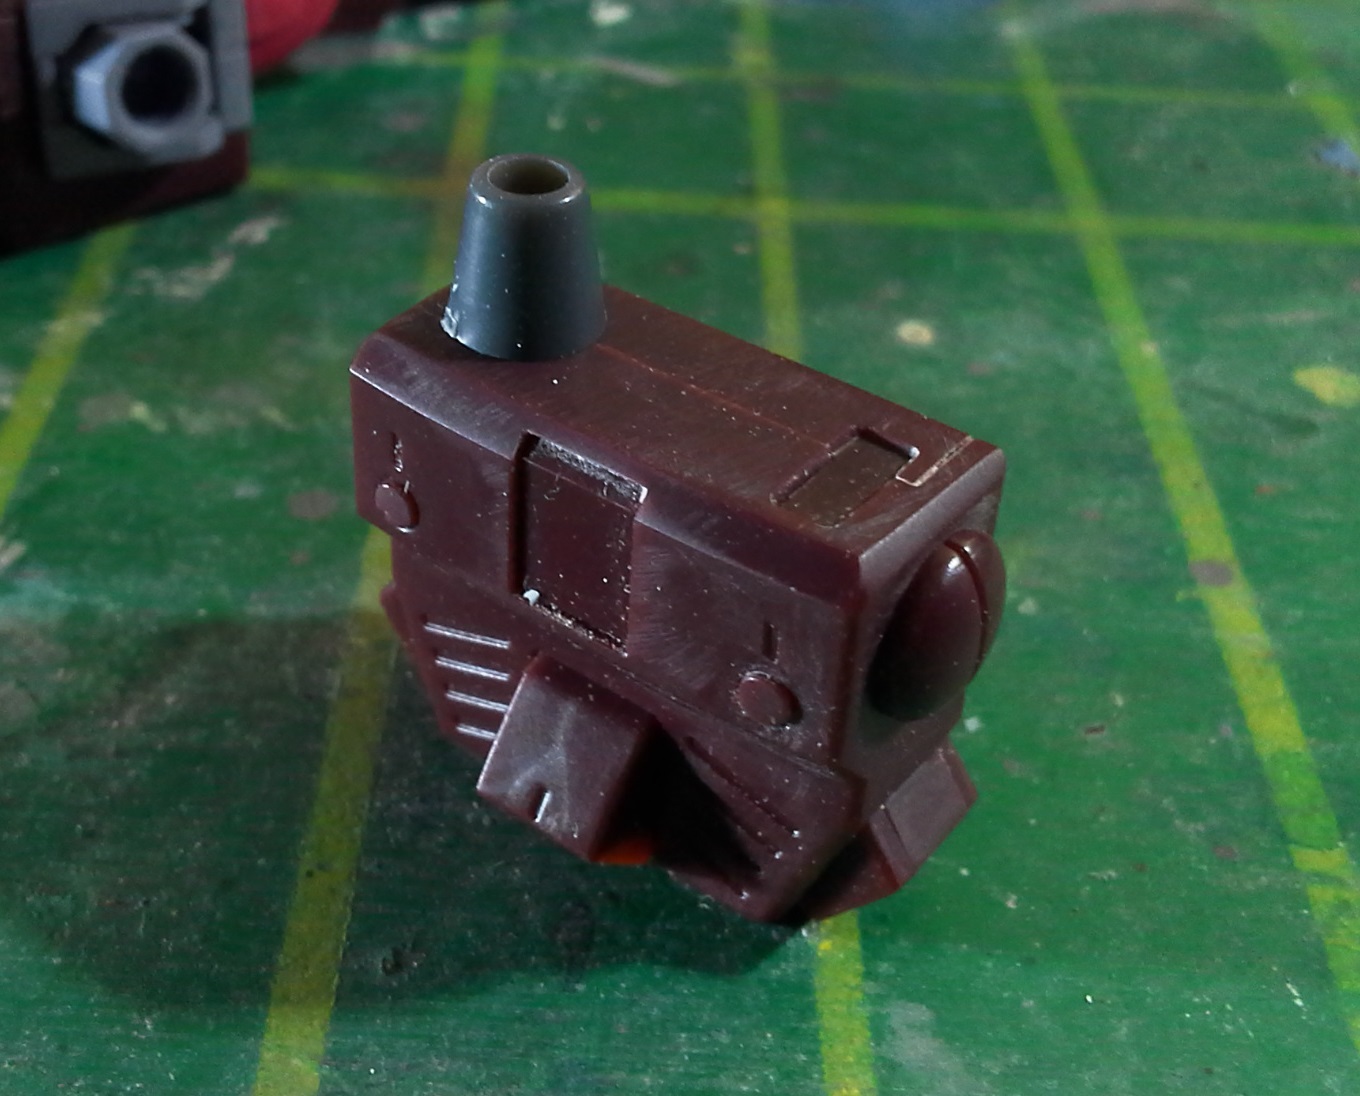
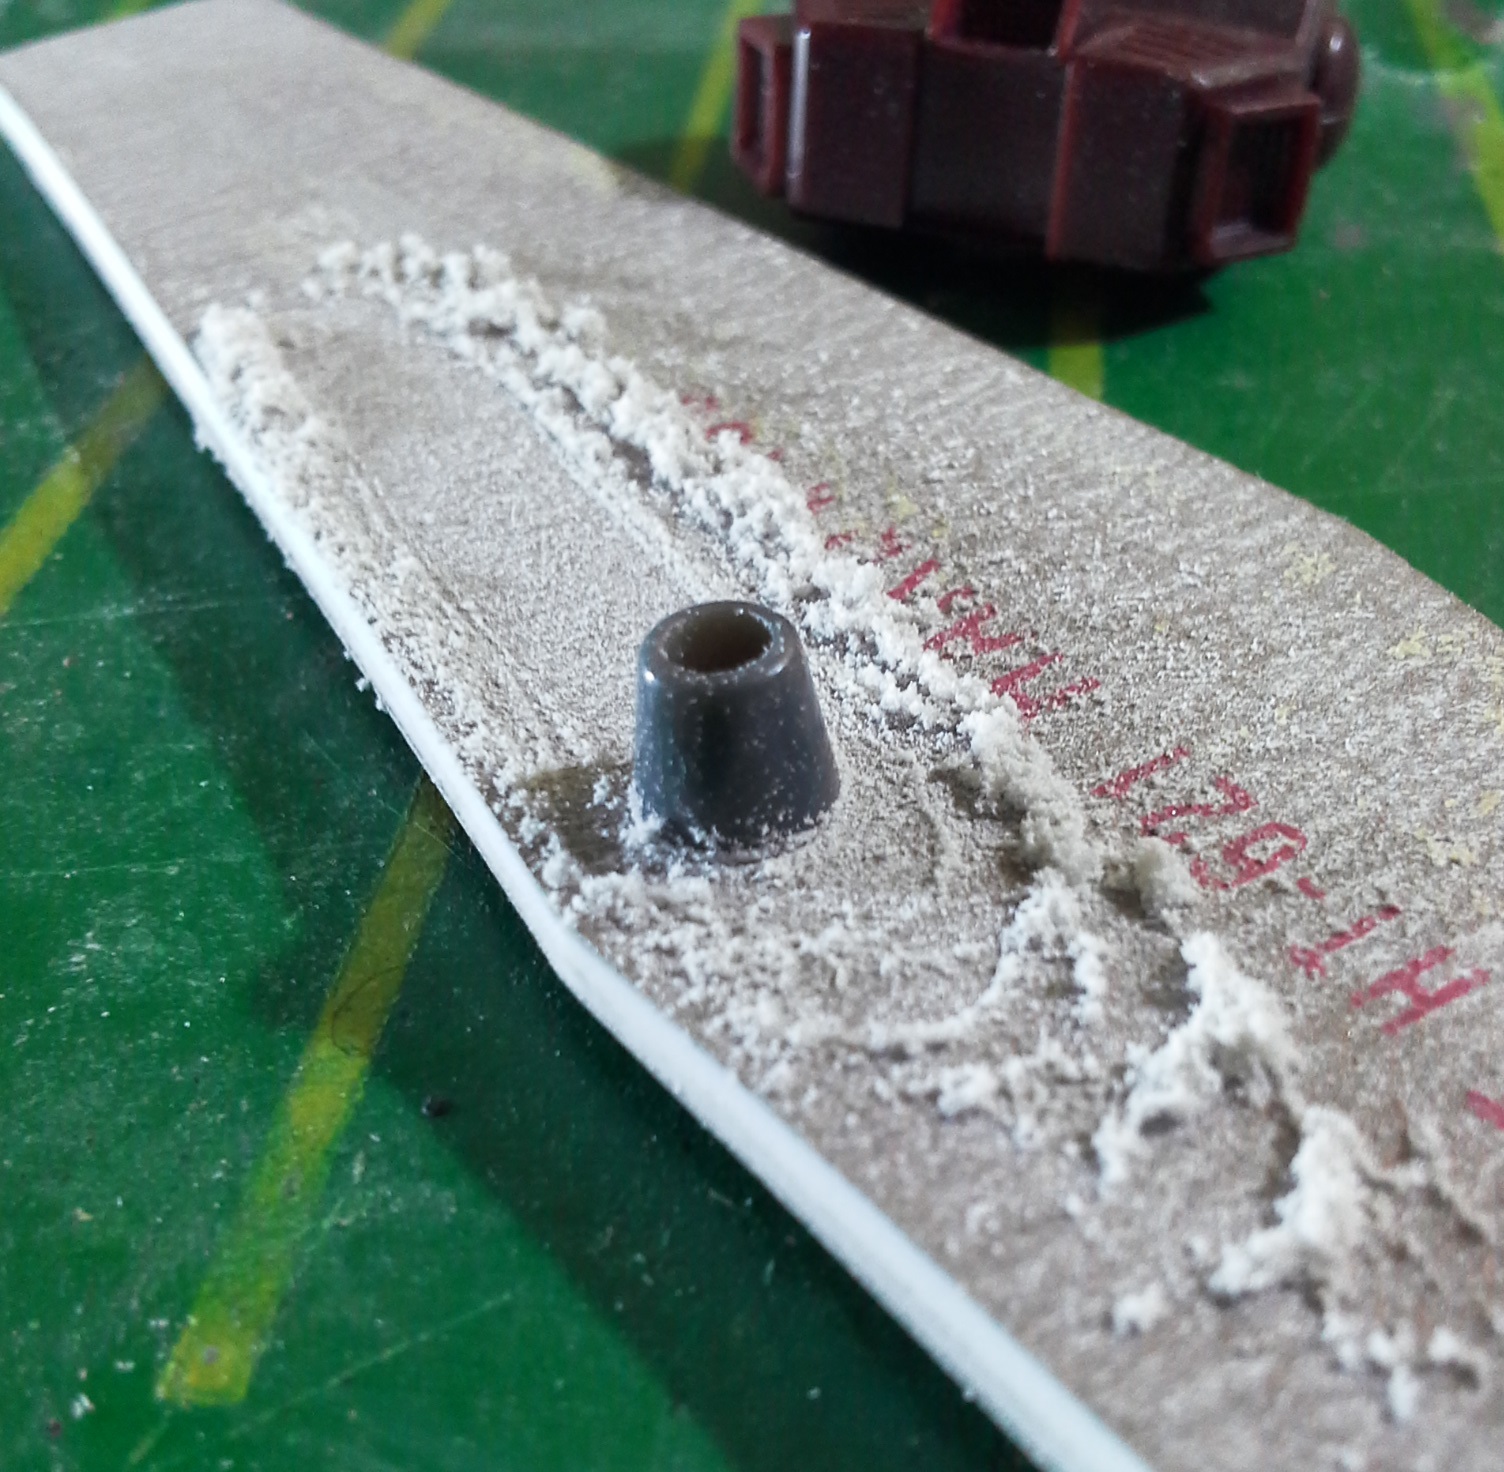
Although the diameter is perfect, the height is clearly not ideal for the look we’re after. What should we do? Sand again! Once more, I used a hard sanding stick for this. It is crucial that the surface we are sanding on be perfectly flat. Moreover, the piece must be placed as perpendicularly to the sanding stick as possible. Otherwise, the detail part could end up with a slight (or not so slight!) angle on the base, and we do not want that.

After sanding the base of the part for a few minutes (and the top a little)… voilà. I’m happy with the new look. It’s definitely more defined, but the difference will show better once the model is primed and painted.
Stretched sprue and styrene sheet
Applying pieces of stretched runner to my models is a cool technique that I use fairly often, but I hadn’t had the opportunity to show it to you on this build. It’s really easy and it can be employed in countless different ways.
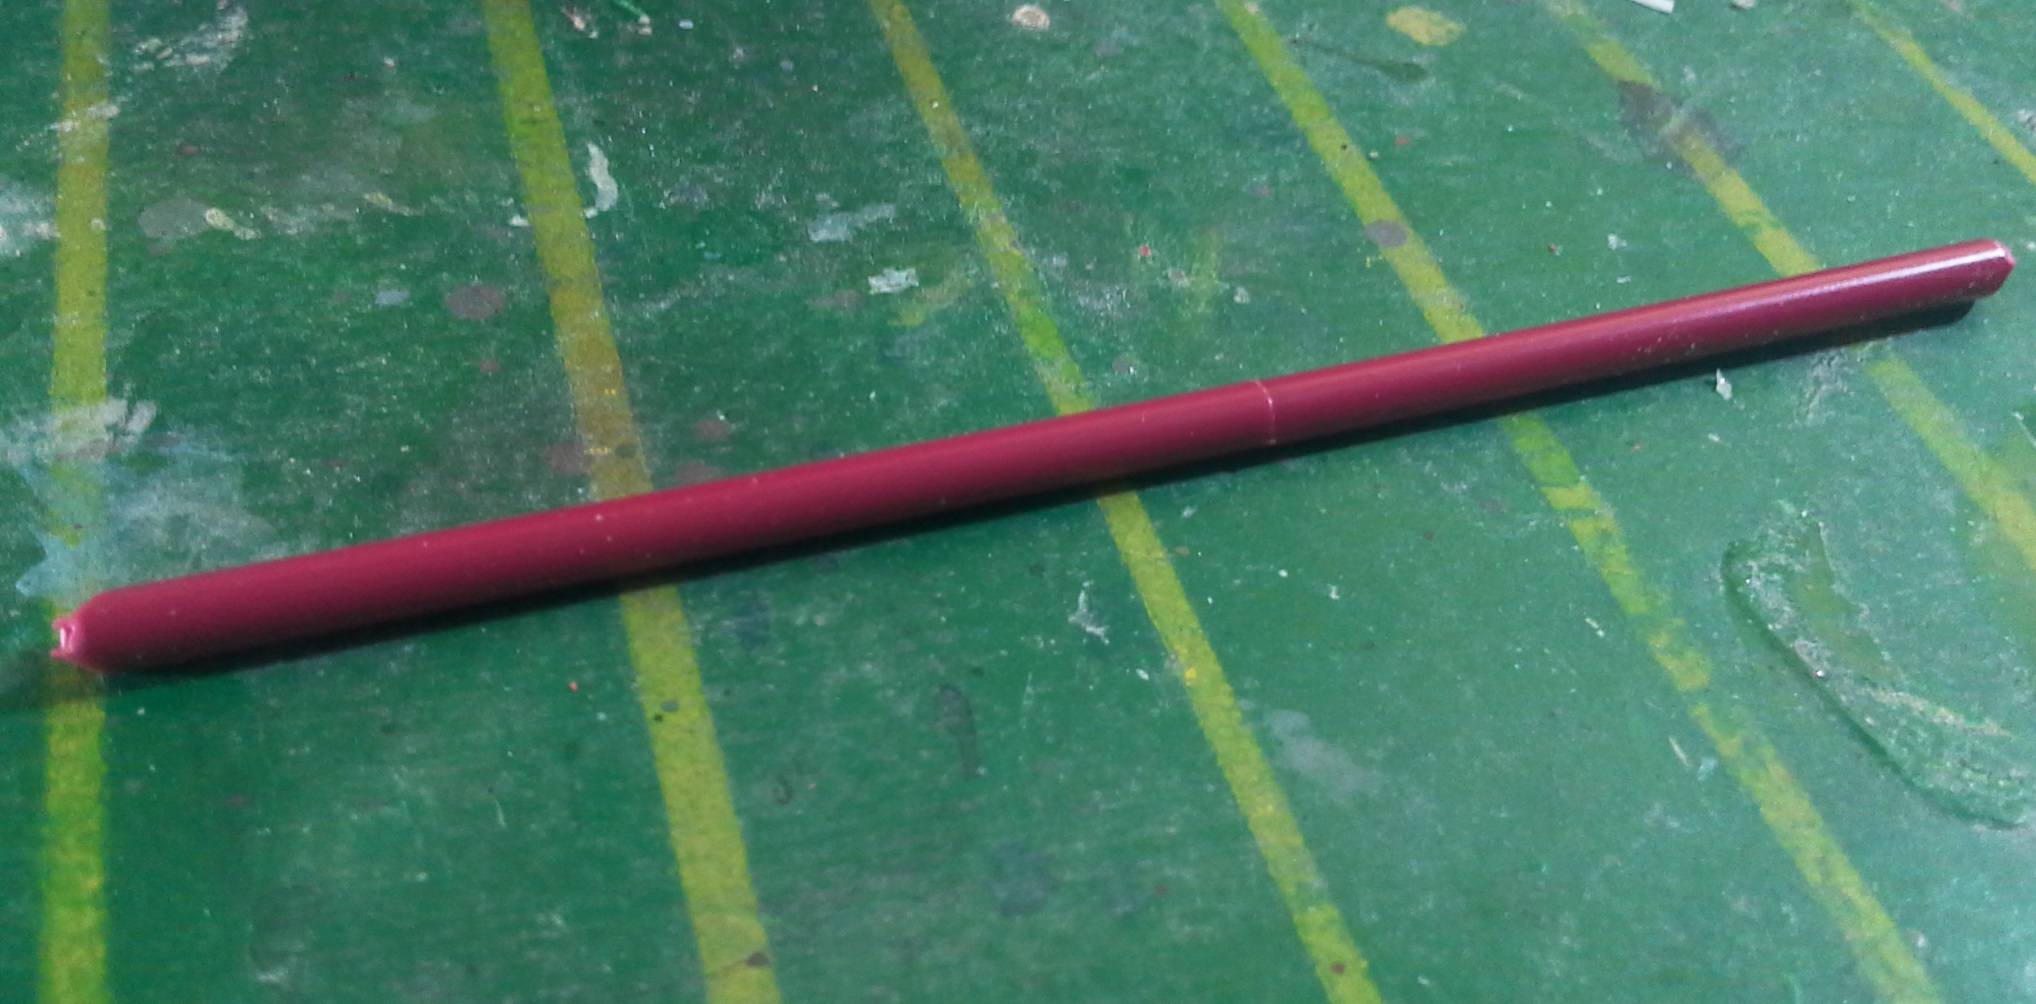
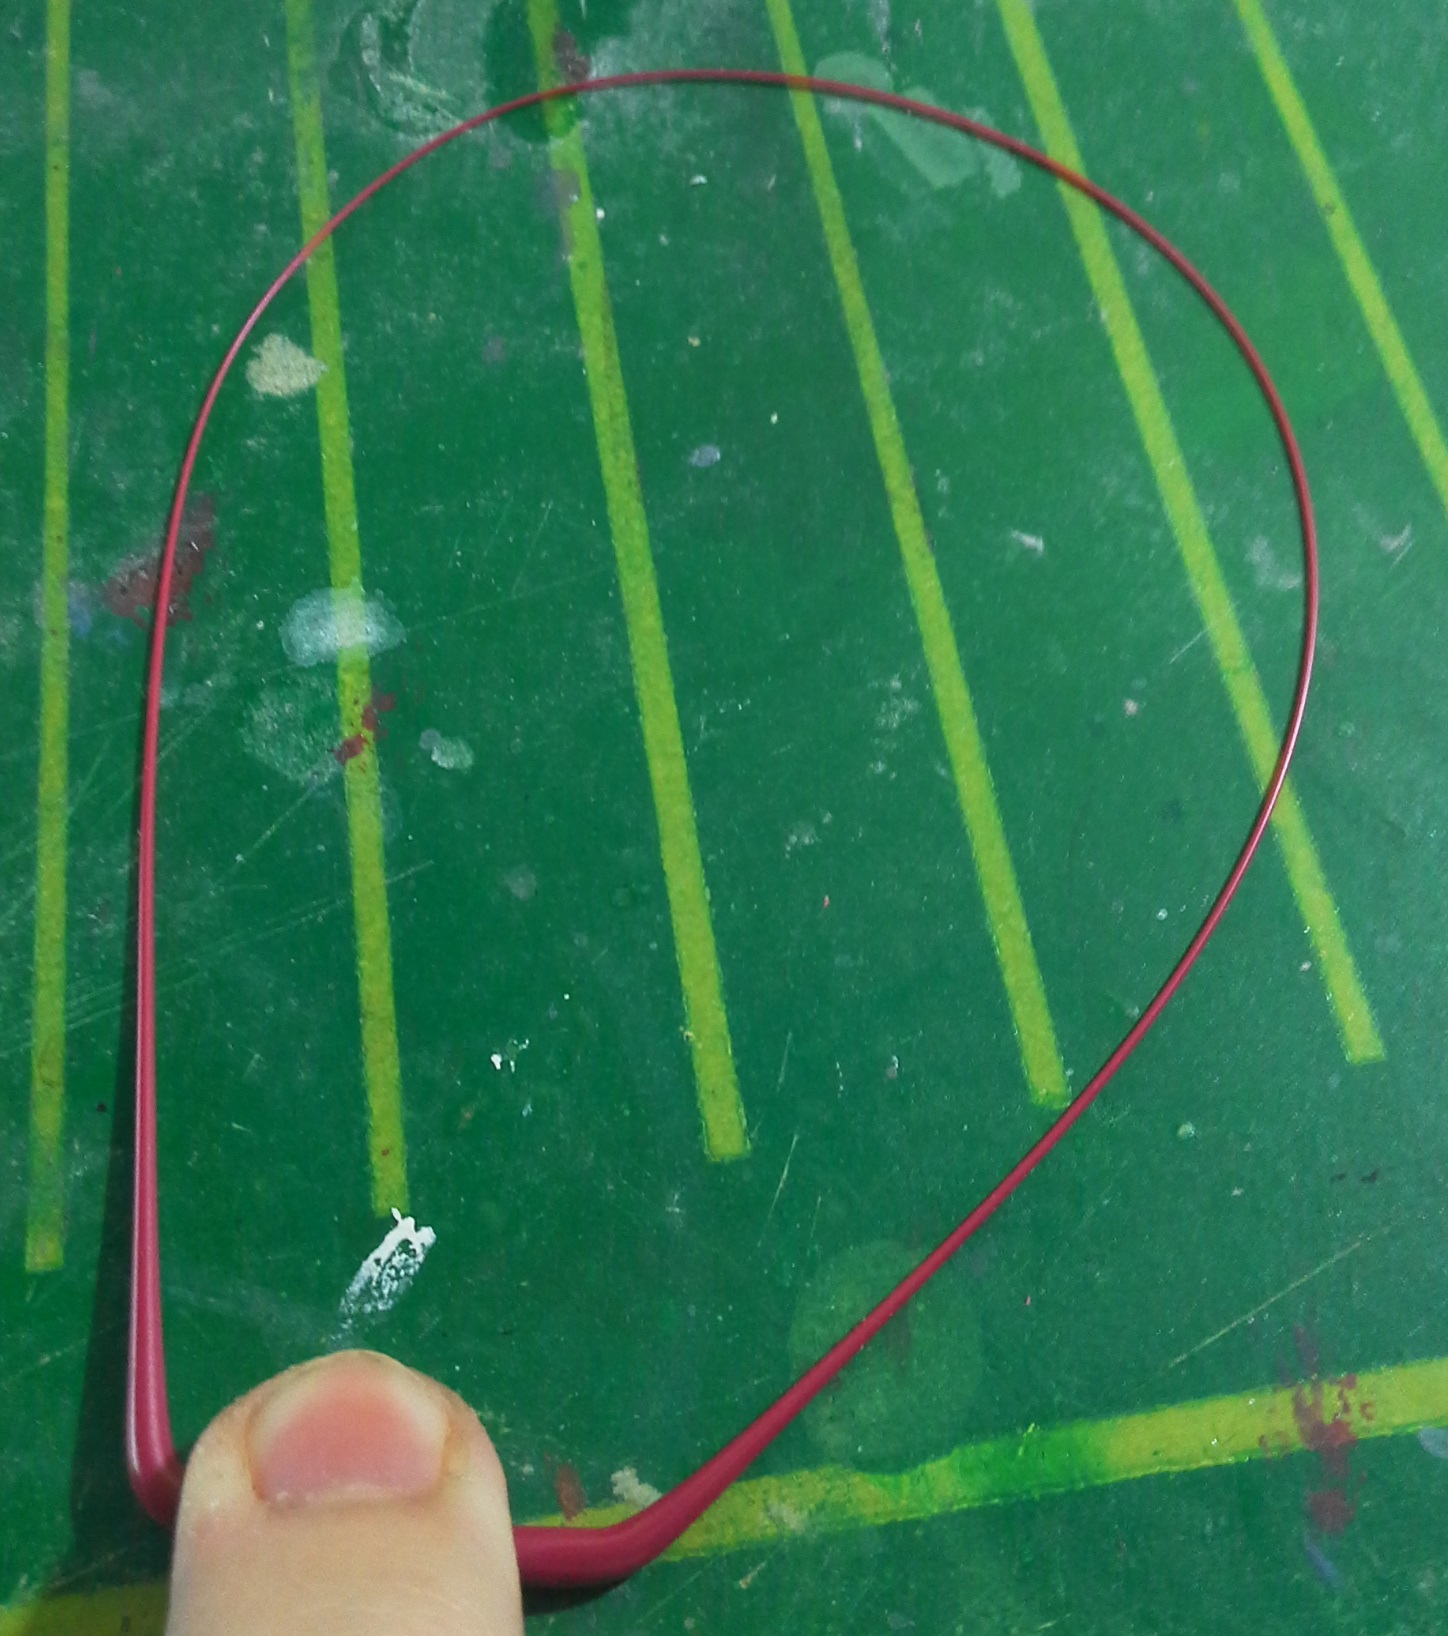
I cut off a piece of a runner that came with the model, and applied heat to the middle of the piece of sprue with a lighter until it became soft enough to be bent. I then put the lighter down in order to be able to hold the runner with both hands. Finally, I carefully moved the ends away from each other, thus forming a thin thread of plastic in the middle.
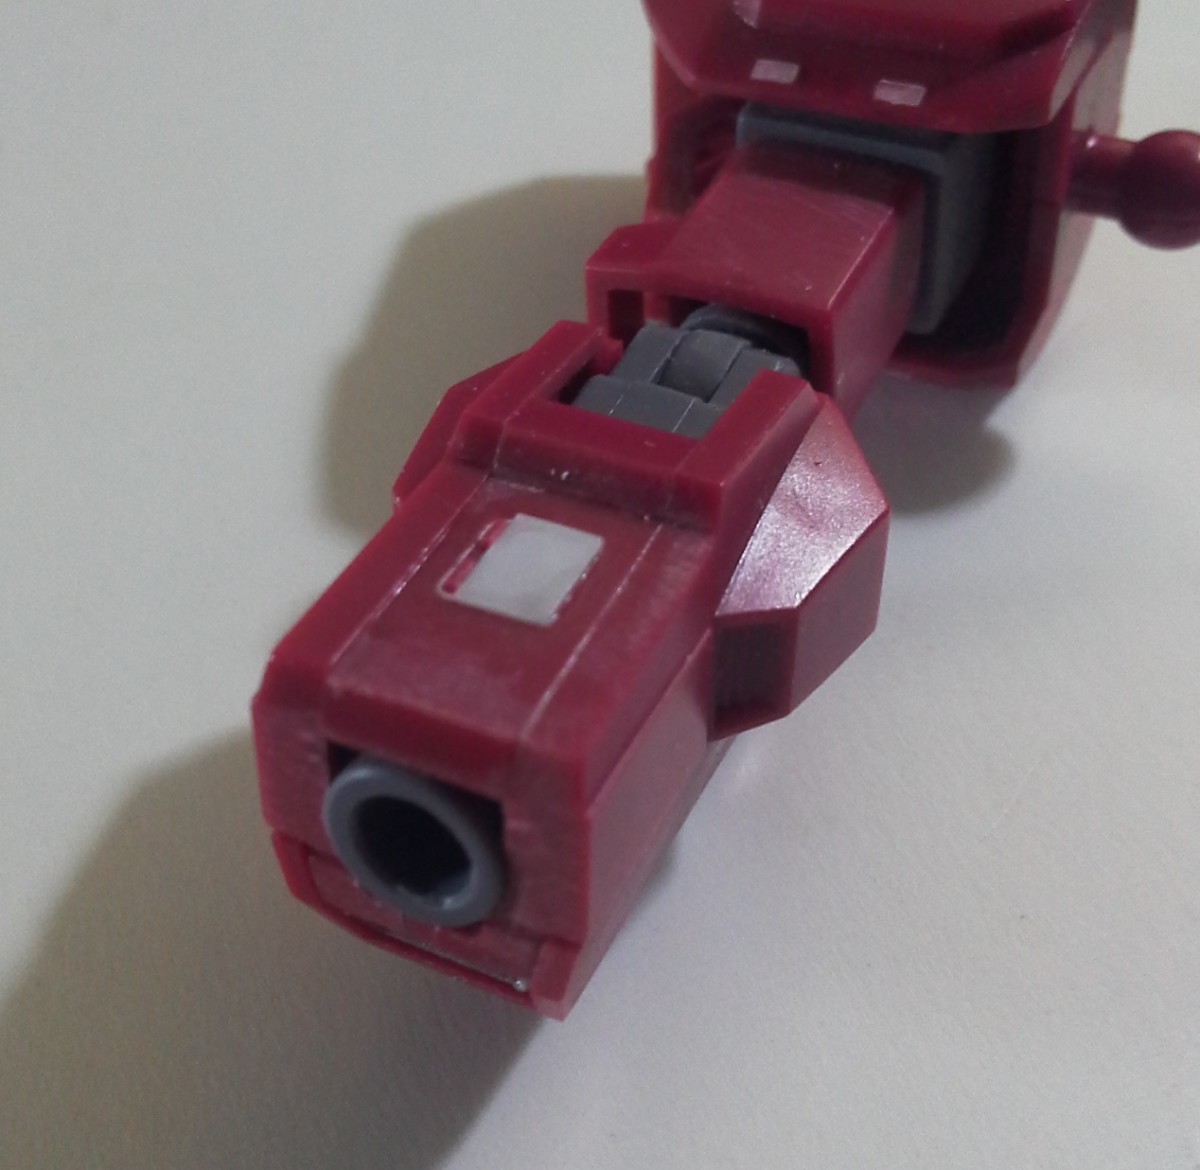
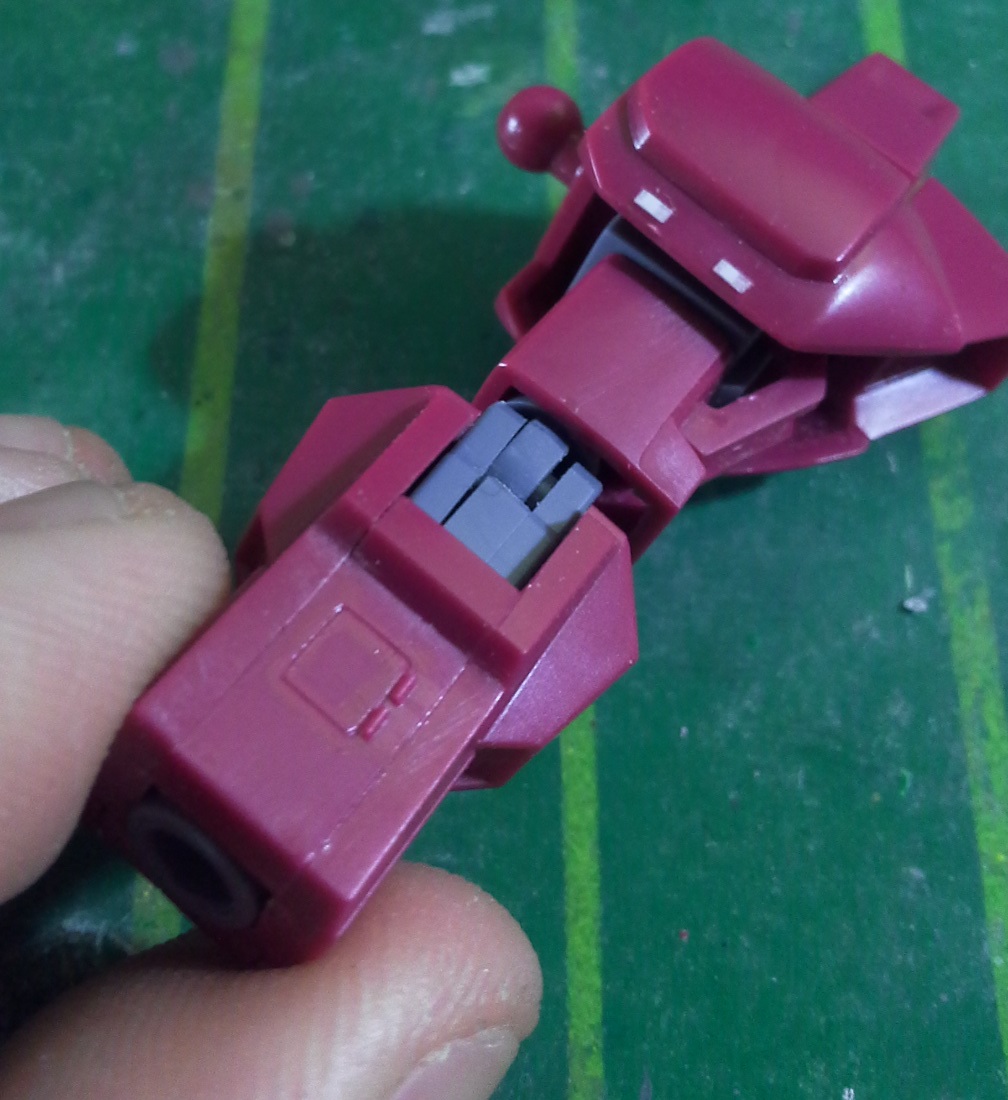
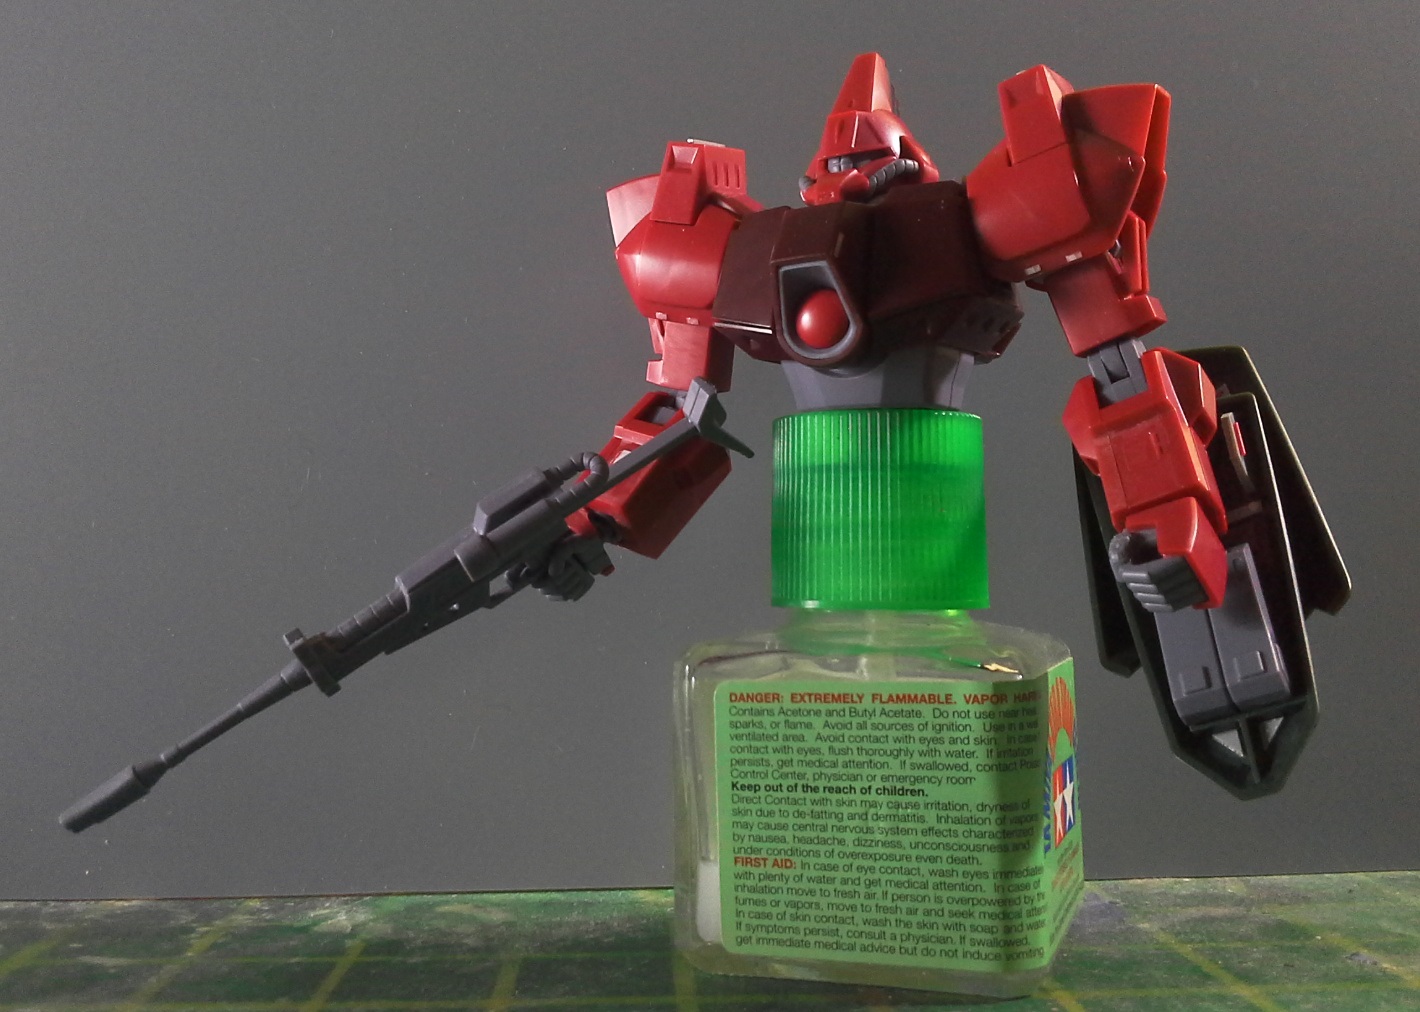
I made hatches on the forearms by combining panel line scribing, styrene sheet and stretched runner details. On the right arm, I wanted to give the impression that the hatch has been replaced with a different type after the original one was damaged. As I said in a previous post, I love adding subtle elements of asymmetry to my models, and this time I used it to emulate an improvised quick fix. I really like the fact that the stretched sprue pieces are thin enough to look like 1/144 scale hinges.
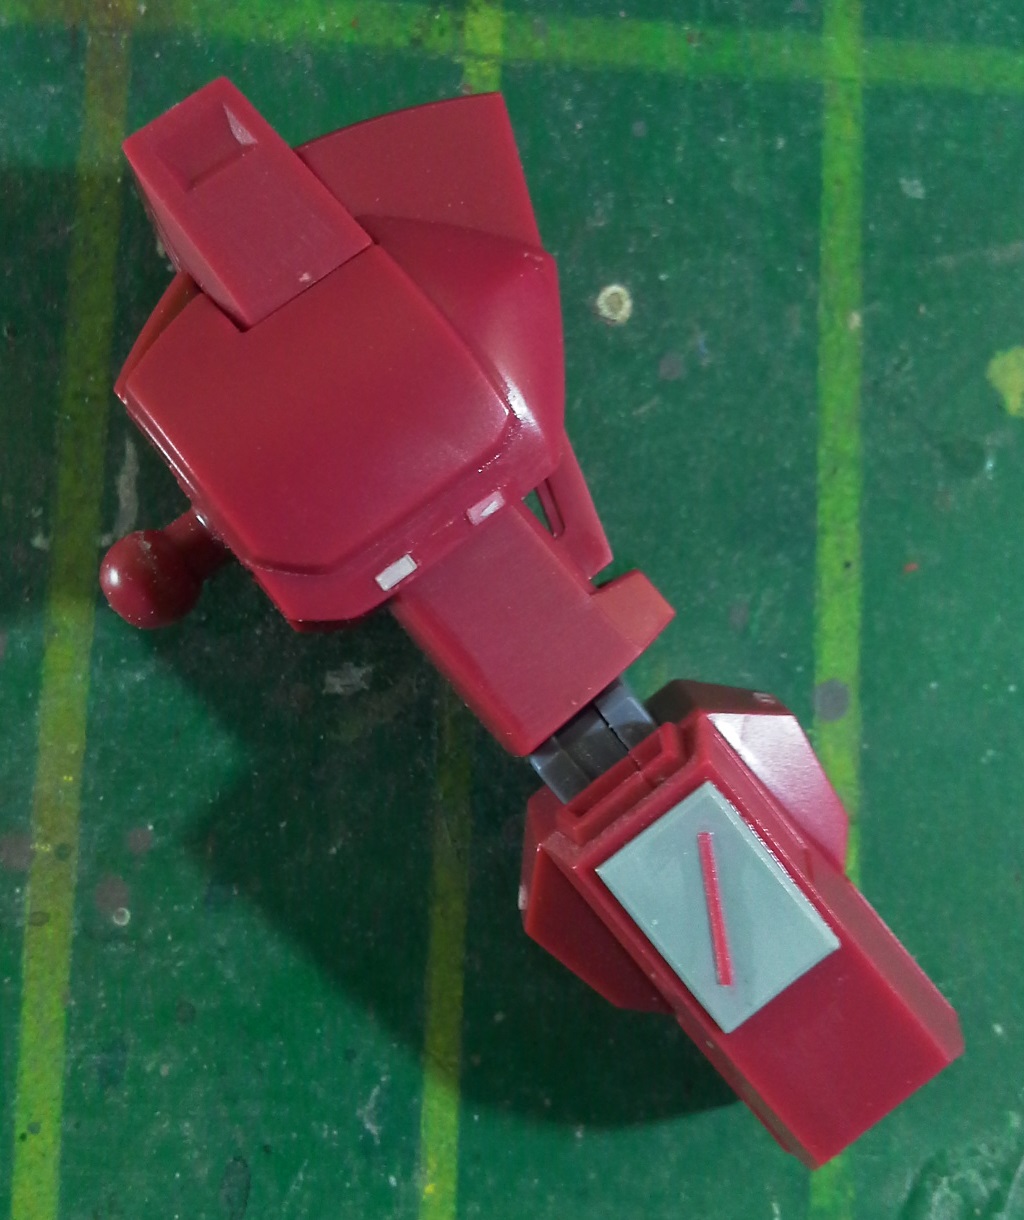
Since I’m going to use the shield only with the left arm, I covered the hole on the right arm with a styrene panel. To make the panel look more interesting, I added a piece of thin sprue crossing it diagonally. This quick modification does make a big difference.
Combining techniques
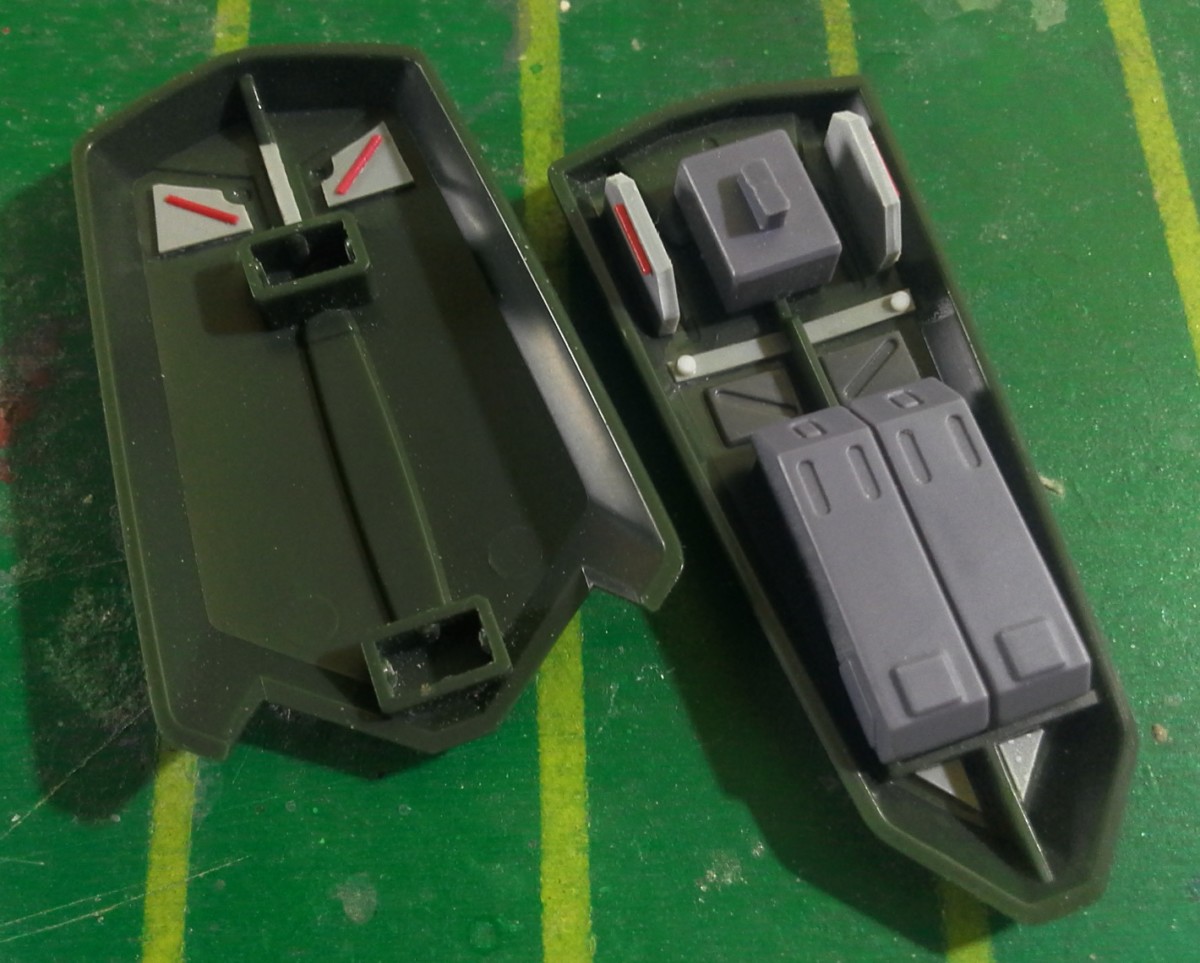

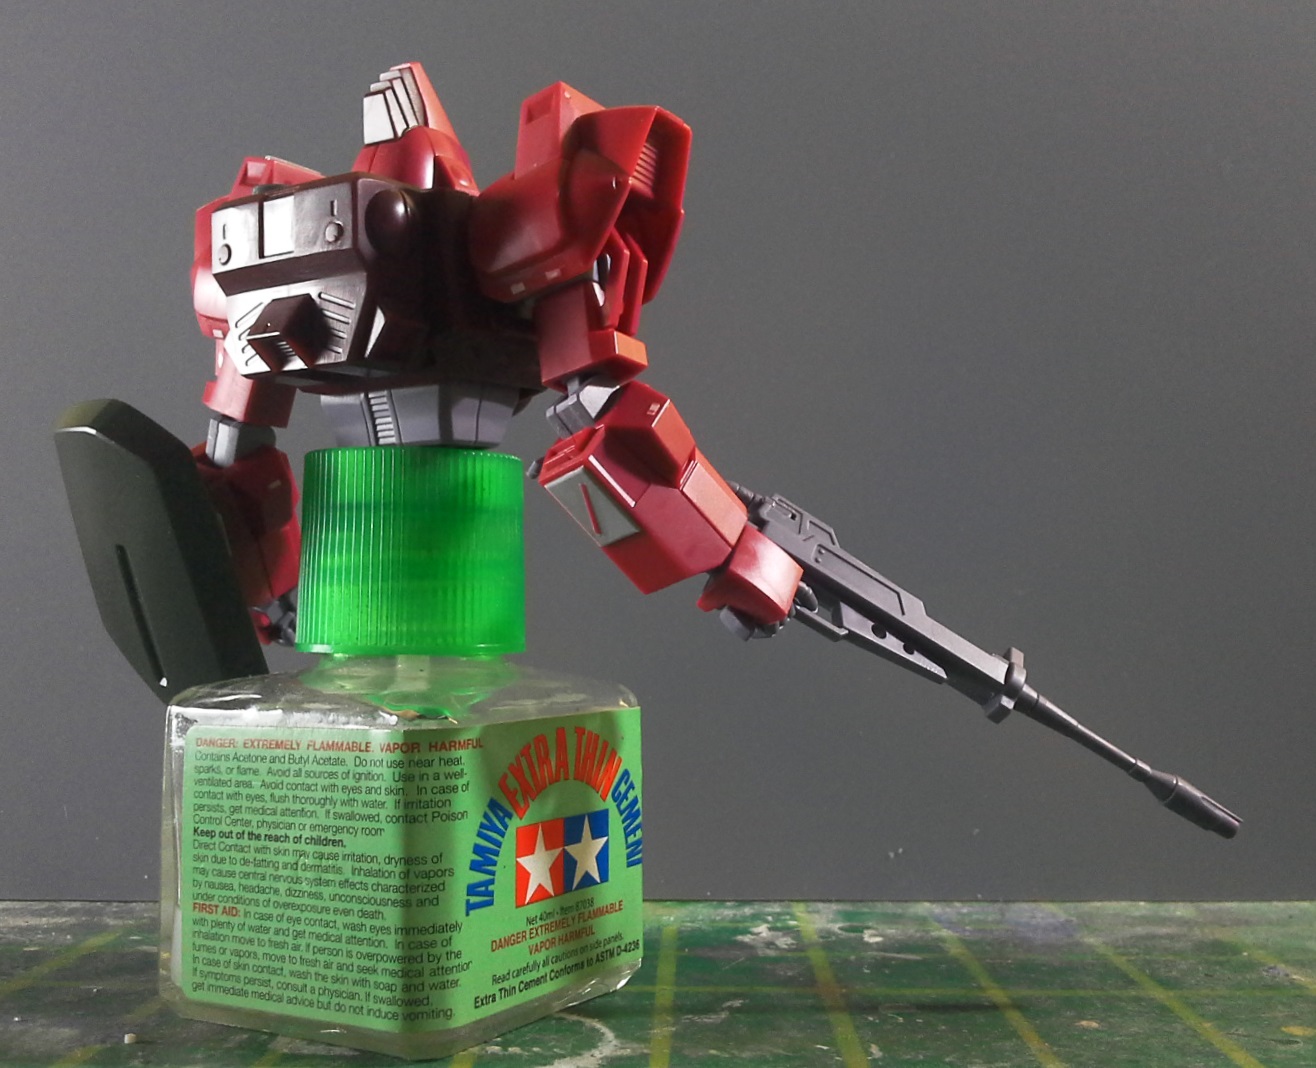
Speaking of the shield, here’s the detailing work I’ve done on its underside. I used different thicknesses of styrene sheet, pieces of 1.0mm plastic rod, stretched sprue, and two pieces from the Kotobukiya MSG square mold set. Since I plan on keeping it folded permanently (I dig the compact look it has when it’s folded), I detailed up just the areas that are visible when it’s assembled like that. The process of adding these details took about 10 minutes. This is really simple stuff, the only tricky part might be deciding if and where to put each part. To make that job easier, I’d recommend doodling on a notebook before gluing things on.
The end product
Just like with the bottom half of the body, I stuck to my rule of thumb: adding most details on the smaller spaces, and leaving the majority of open areas plainer. A good example of that are the shoulders; the big central panel remains empty, whereas the narrow shapes around it catch our eye thanks to the small pieces of styrene sheet I put on. Another section that I left almost untouched is the chest. These open spaces will be great if I want to add marking decals like insignias or numbers later on.
That’s all for now! Next time we’re going to do something a bit more complex, which will conclude the “dry stage” of the build. Until then, happy modeling! (^o^)/