Hey everyone! We’re back with a new update on the Galbaldy Beta build. Last time we sculpted new fingers with epoxy putty, and thus the construction stage of the build should be over. But before we can call it a day, priming is needed to check for imperfections on the parts.
Primer also helps the paint adhere to the surface better, therefore I consider it a crucial step in the process.
Preparation
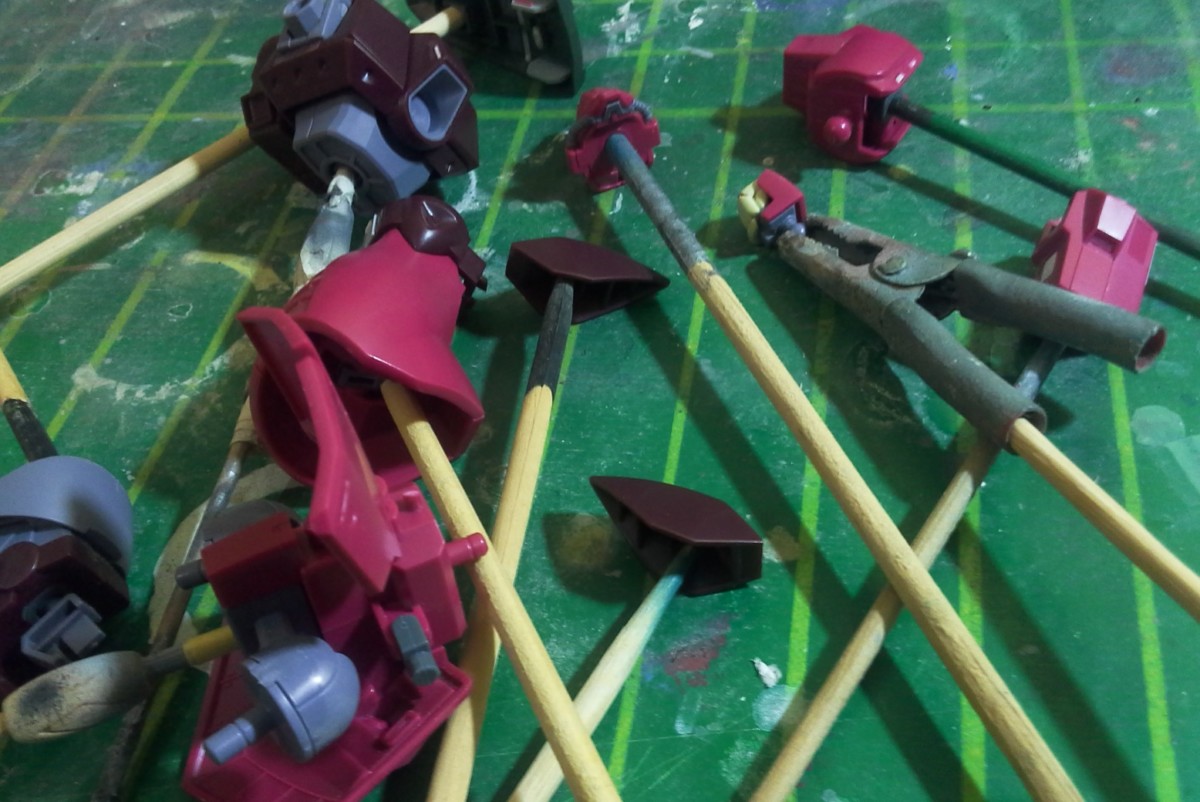
To begin with, I attach all the parts to wooden skewers so that I don’t need to handle the model while spraying. I don’t bother breaking it into individual pieces in most cases, since unlike with paint, the same primer is going to be applied to all parts. When I get to painting, I’ll have to further separate the parts in order to achieve a decent color separation.
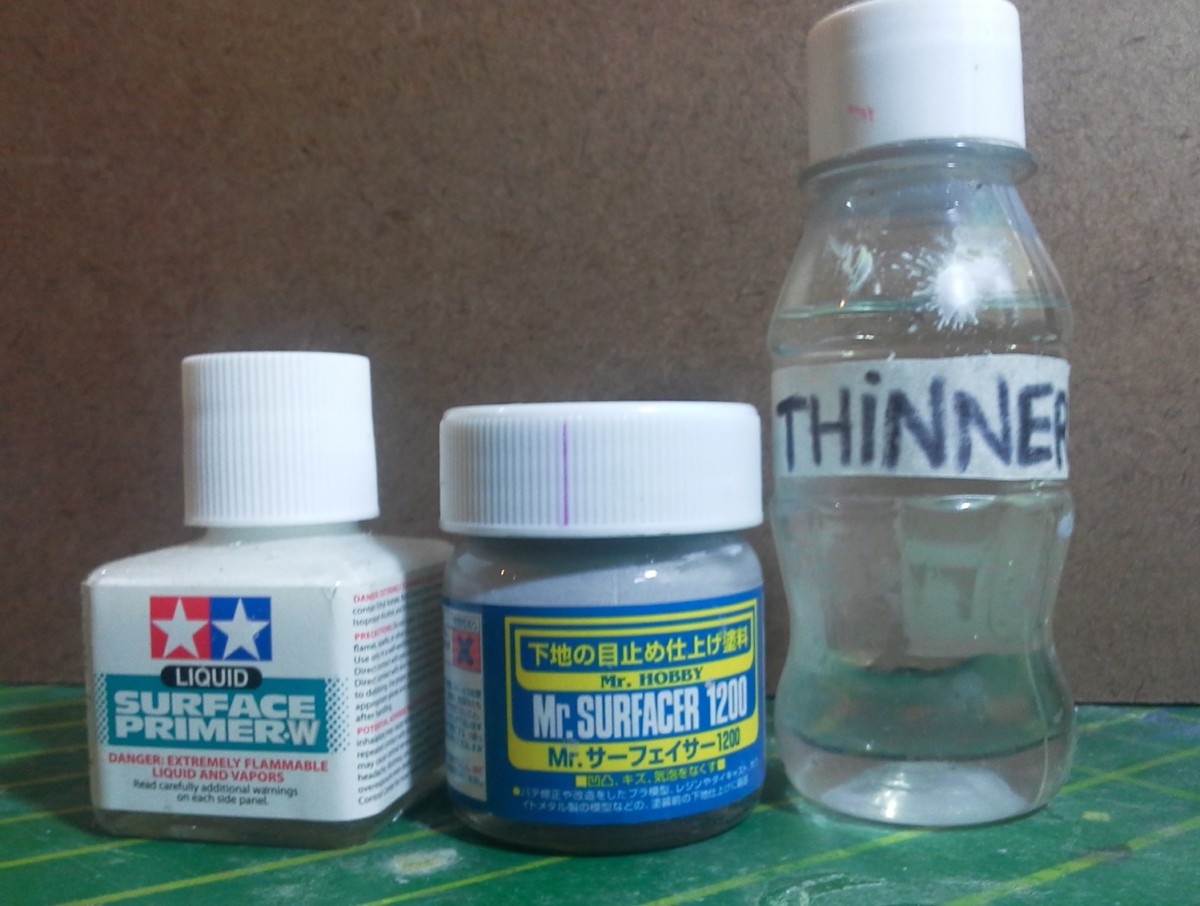
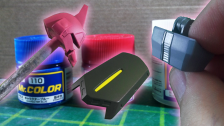
These are the primers we’re going to use. I like mixing Mr. Surfacer 1200 with Tamiya Surface Primer W, because the resulting light gray makes flaw detection easier while still providing a good light base for vivid colors.
Regarding paint thinner, I can’t get hobby-specific thinners locally, so I usually buy it at hardware stores. I’ve had to try a couple of different brands in the past to find one that worked well with hobby paints. Some would dry too quickly, some were way too strong, etc. Fortunately though, living on the border between Uruguay and Brazil means I have a wider selection to choose from. To illustrate, the one I’m using currently was bought on the other side of the border.
When it comes to thinning the primer, I don’t go with ratios. I know the consistency I’m after, so I add thinner or paint as I see fit. A consistency similar to that of milk will generally spray just fine on any airbrush, and that’s what I go for.
Spraying
Since I don’t have a spray booth and lacquer fumes are really nasty, I always spray outside. Consequently, documenting the actual spraying process can be a bit tricky. In any case, this step is pretty straightforward; I just load the primer I previously thinned down into the airbrush, turn the air compressor on and turn the air pressure down a little. After that, it’s just a matter of pushing down the trigger and then pulling back a bit to make the primer/paint flow. I never pull back too much to avoid overspraying.
Once the part is covered in a uniform light gray color, we can start spraying the next part.
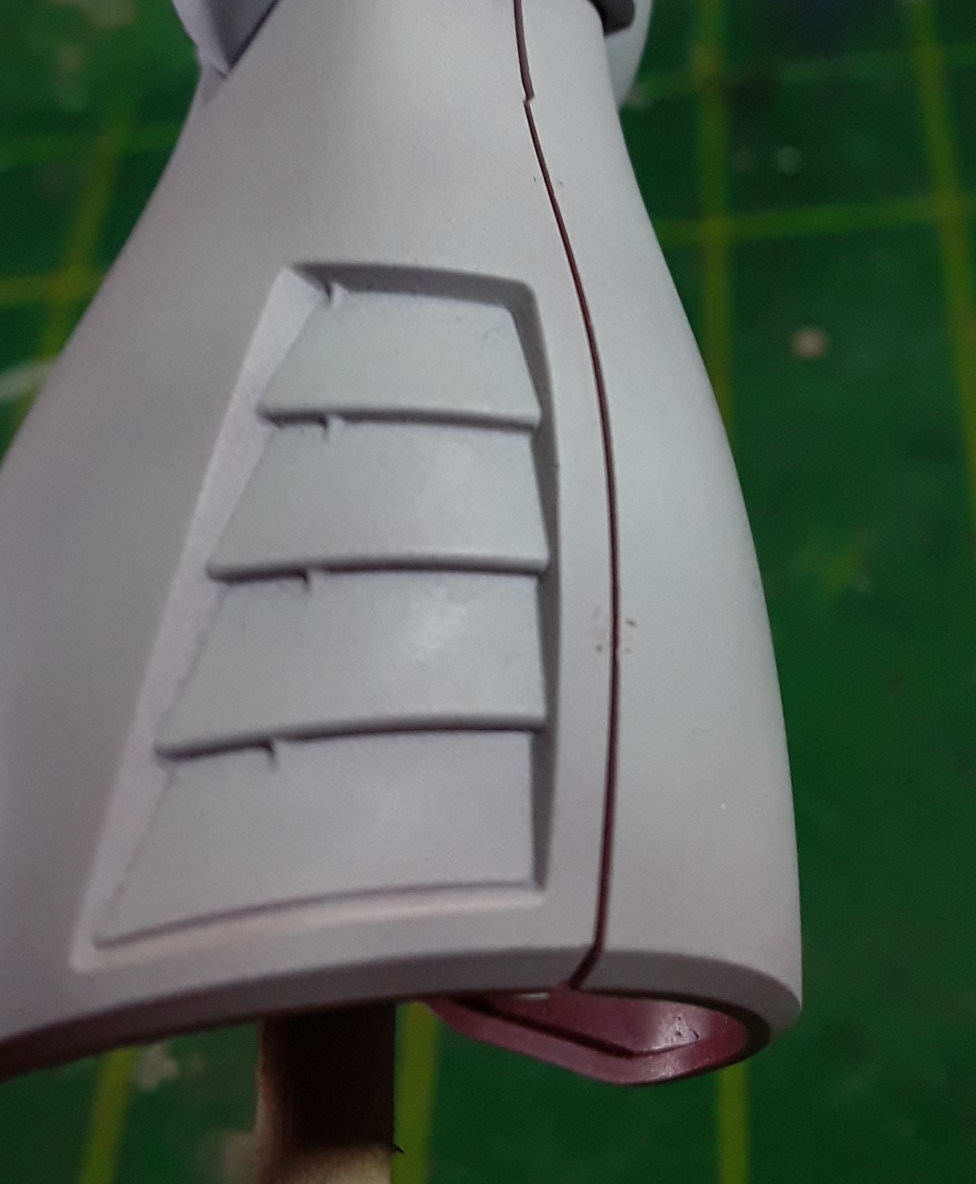
Primed parts
After cleaning up the airbrush with thinner, I come back to the workbench to have a close look at the parts.
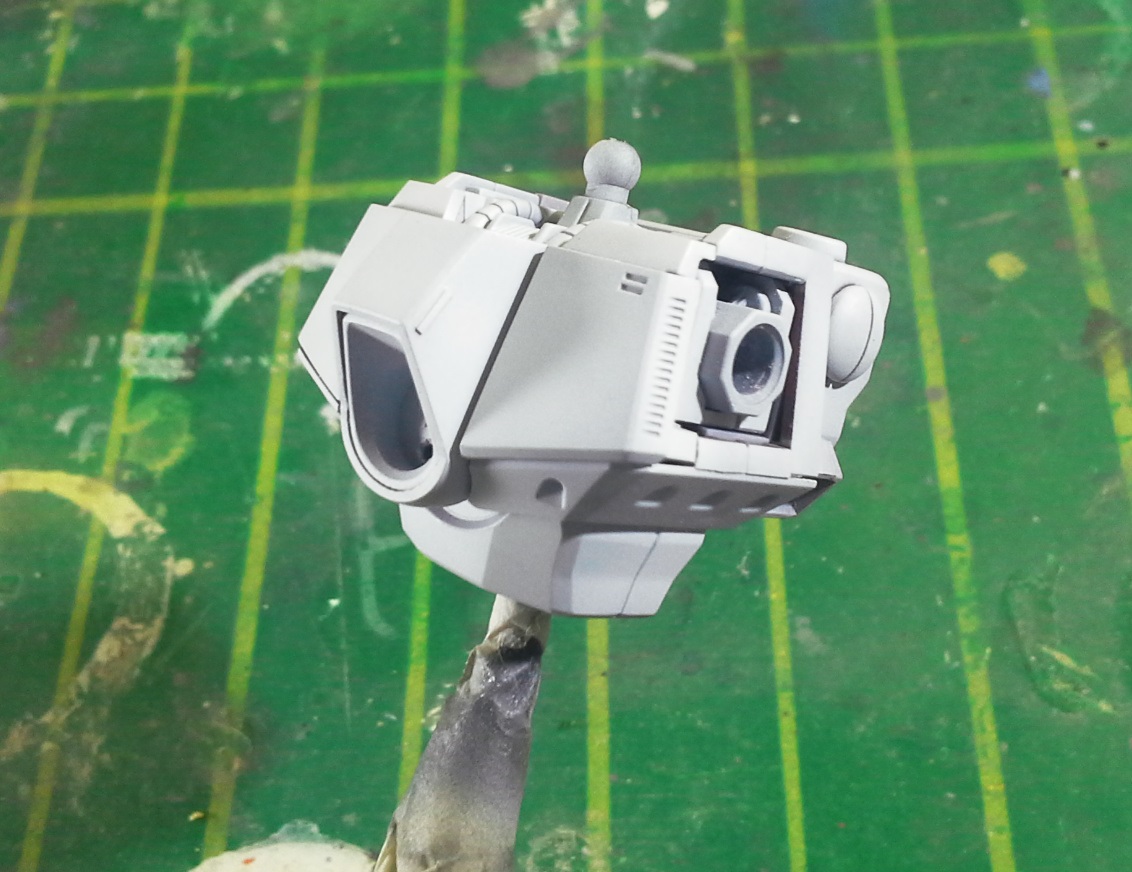
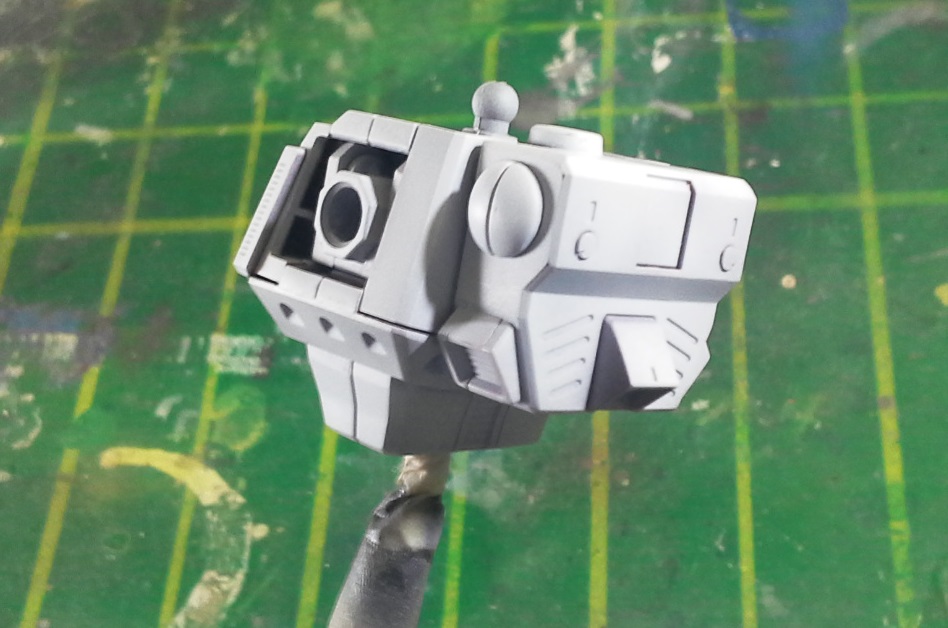

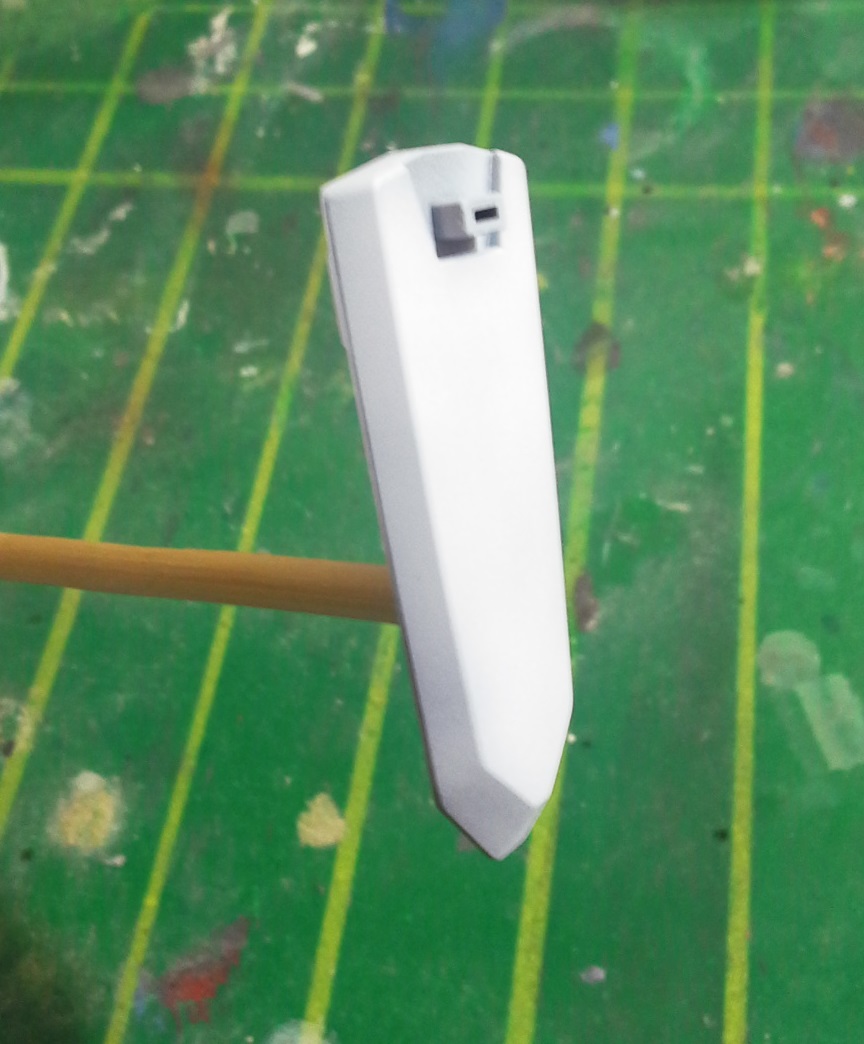
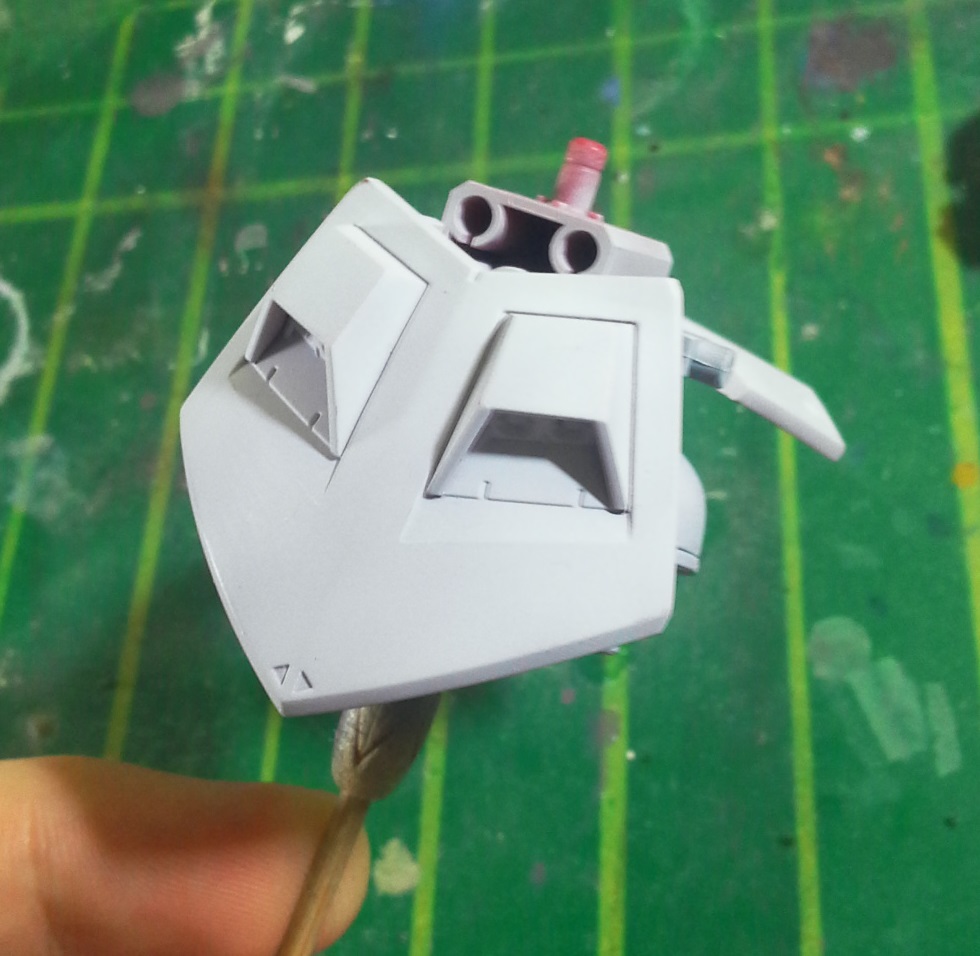
Most sub-assemblies are looking great in this uniform primer color. Also, the small details pop out a lot more now.
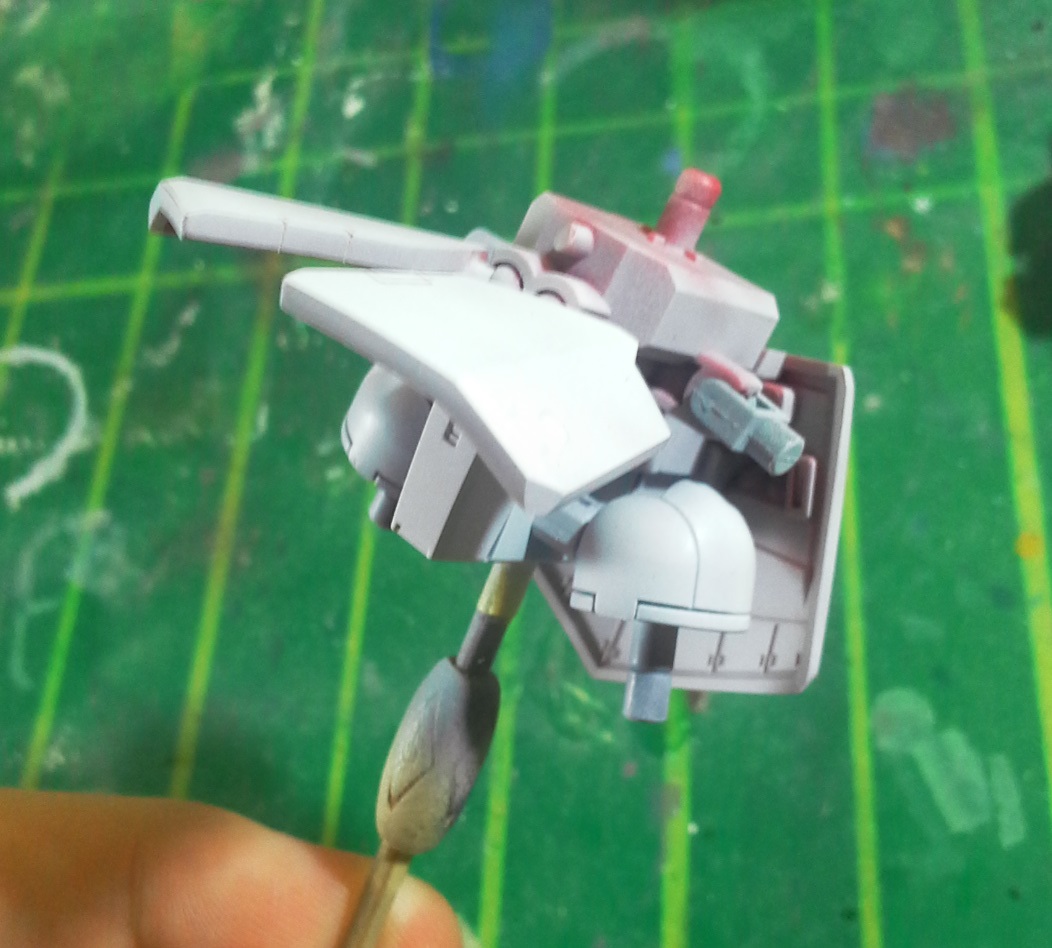
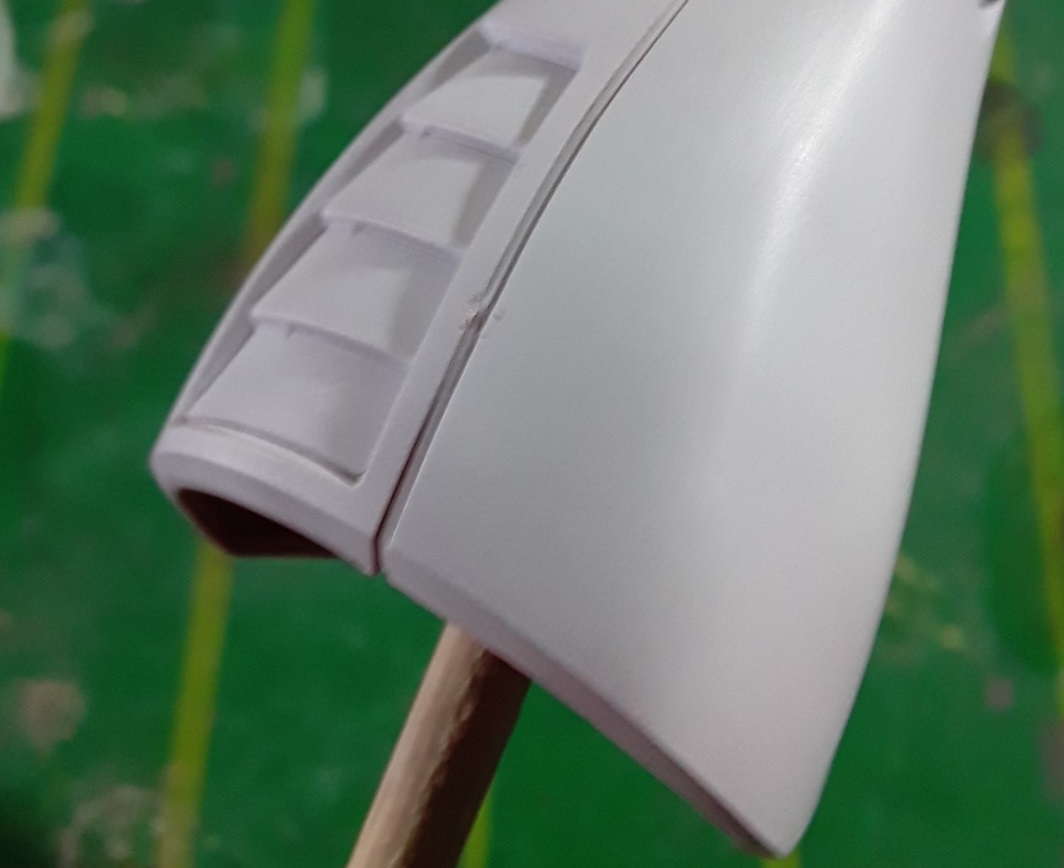
Parts with imperfections on the surface
The problem is, if features are easier to pick out, so are flaws!
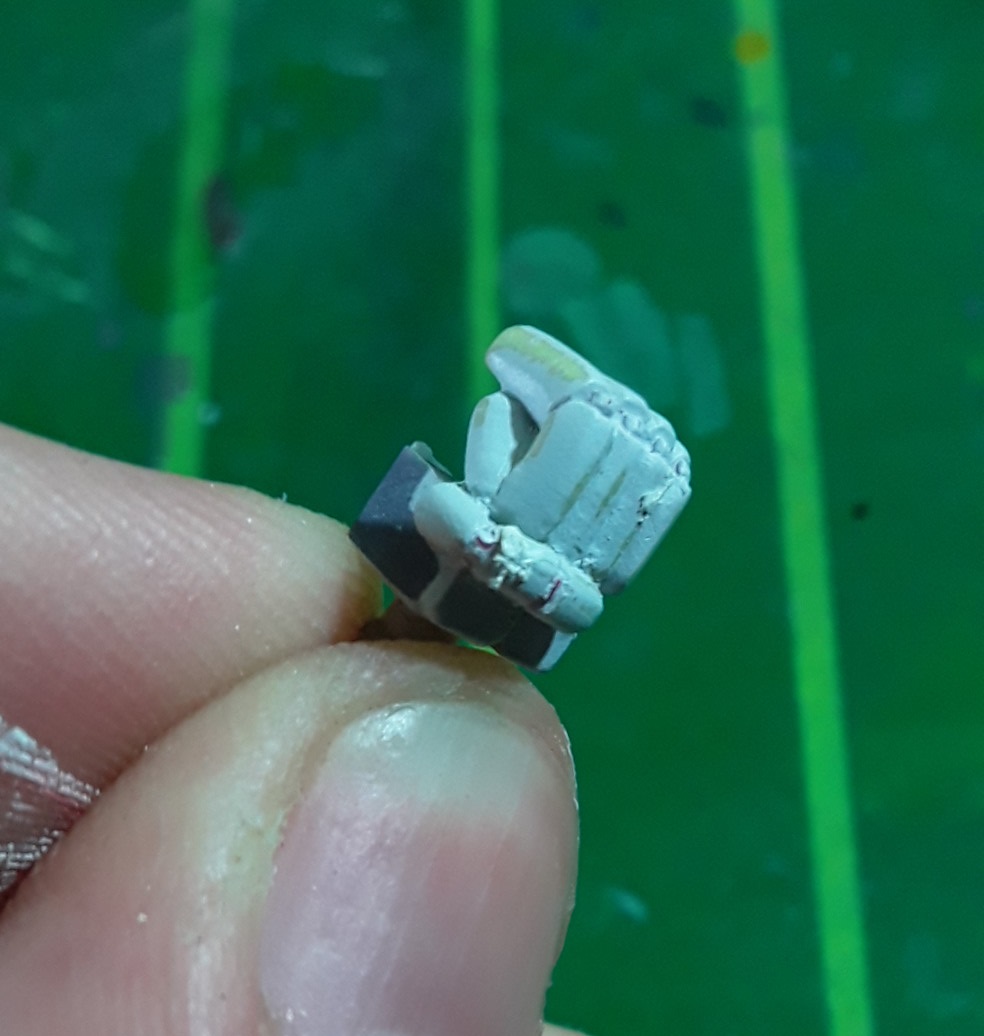
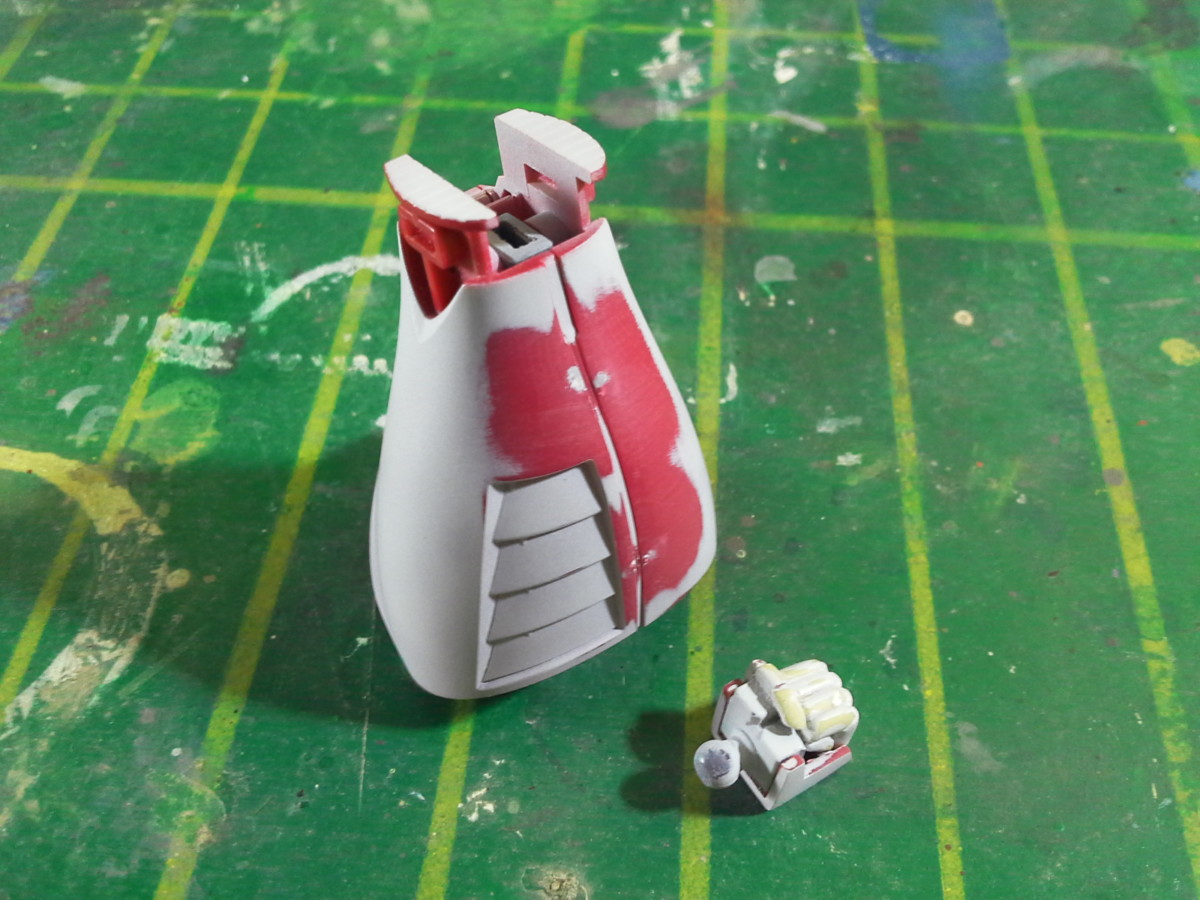
These are the two parts where I noticed major surface imperfections: the left lower leg and the scratchbuilt hand.
The leg part has two dents on each half, probably caused by improper nub mark removal. Additionally, just as we expected, the hand we sculpted in the last post isn’t perfect. There are some scratches we need to deal with.

These flaws will show in the final product if we leave the parts as they are. We will take advantage of the neutral, uniform color of the primed parts to fill these easily noticeable chipped areas with putty.
Getting rid of the flaws
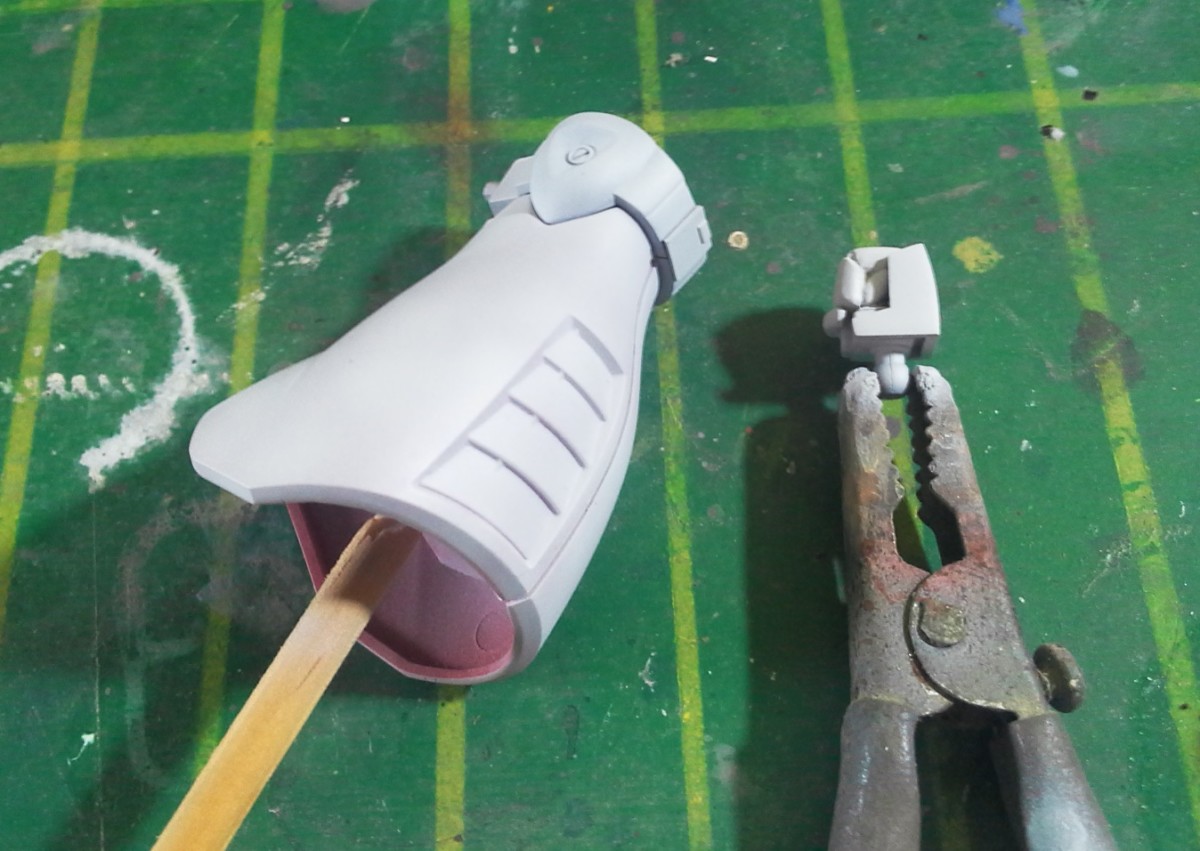
Firstly, I took the leg apart and applied a little bit of Tamiya basic type putty on the dented areas.
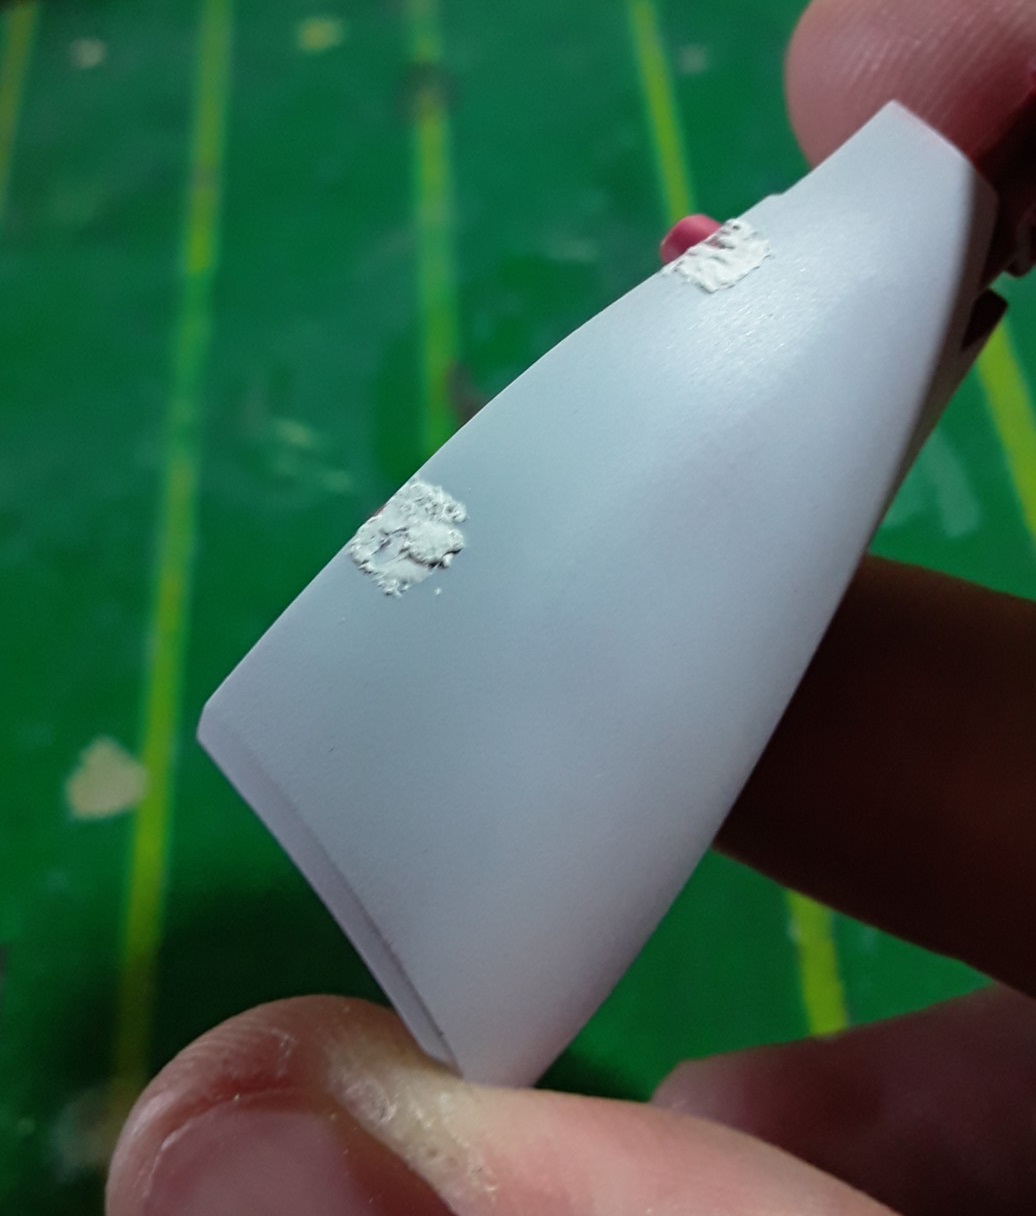
The left half has a panel line running down the middle, so I masked the recess off to avoid filling it in.
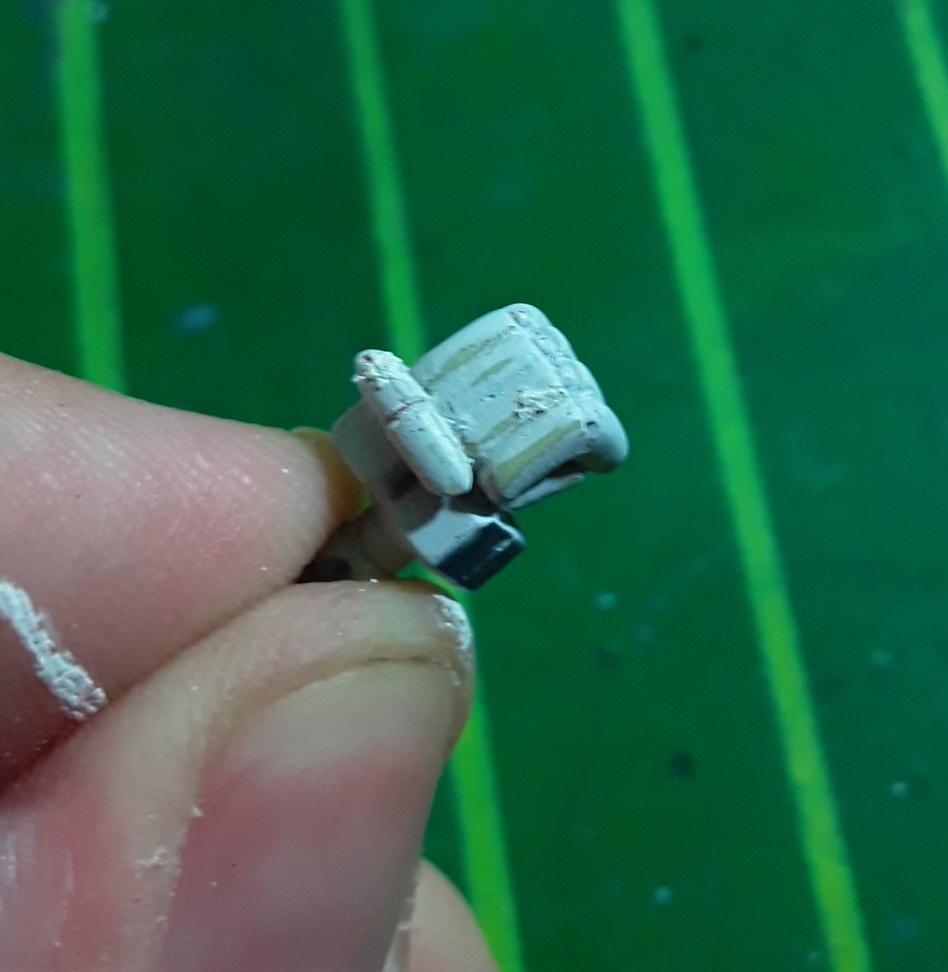
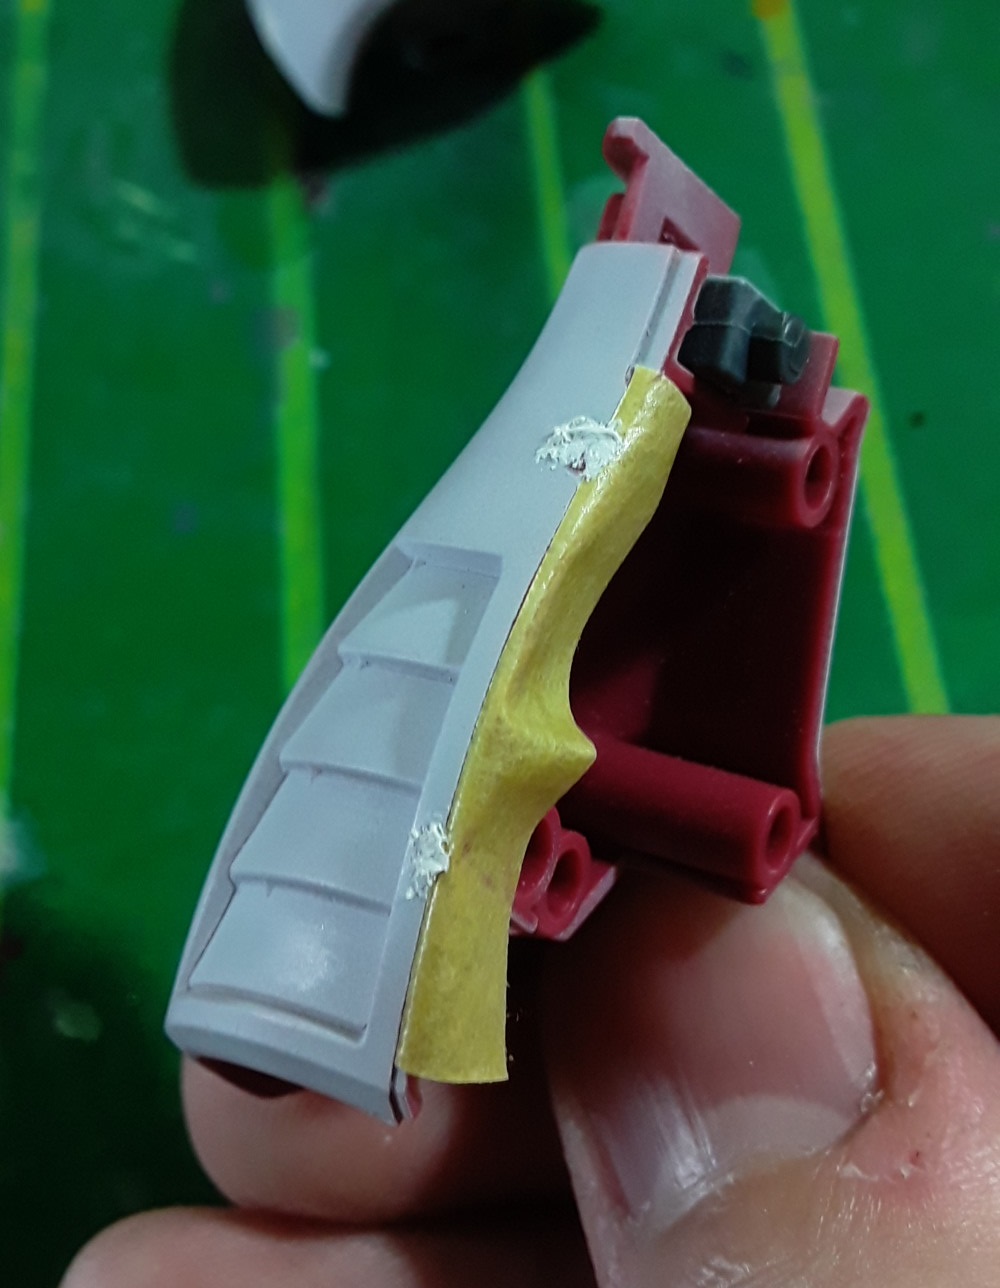
I did the same for the hand. Given its shape, it was more difficult than the leg, but with some patience I managed.
After this step, we just have to wait 3-6 hours for the putty to harden and cure.
I let the putty cure and then sanded it down with #400 and #800 grit sandpaper. The parts are now ready for a new coat of primer, which will reveal if we did a good job filling in the imperfections.
Re-spraying and final product
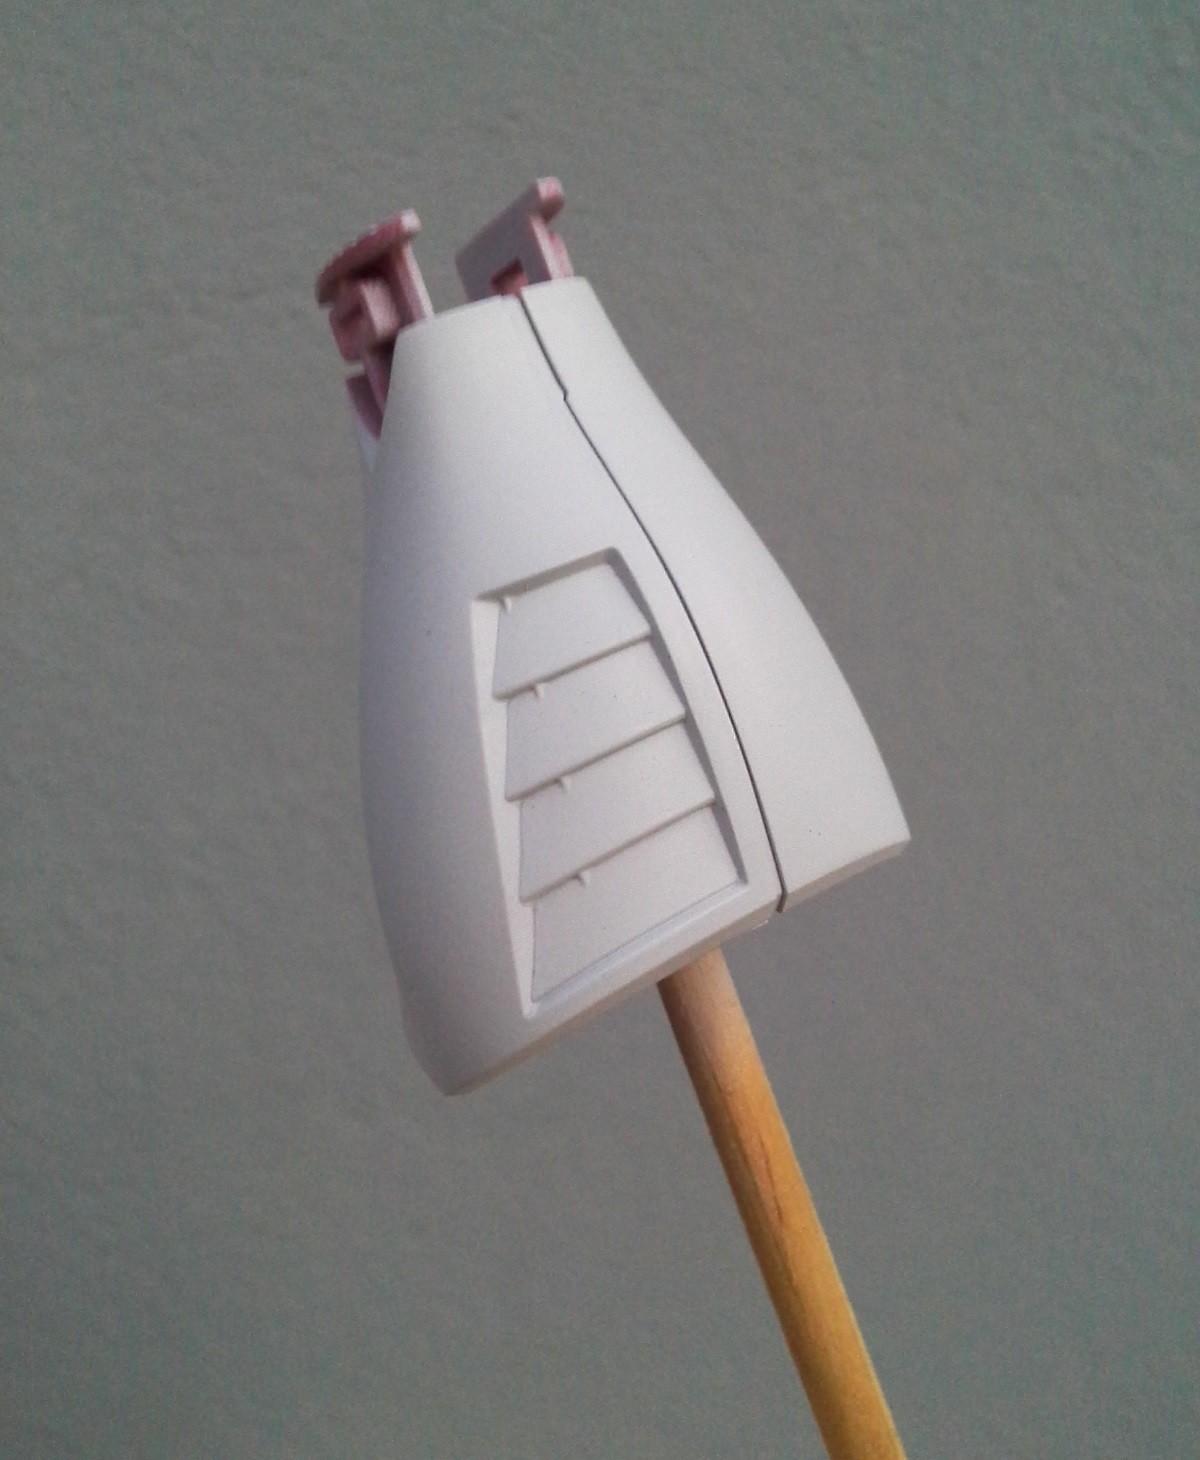
I went outside, sprayed the primer again and it seems like the filling work we did was worthwhile, since the parts are looking considerably better now. The surface is smooth and clean.
With this, we are ready for the painting process! Look forward to the next part, where I will be back with a much more colorful update. Happy modeling!


Złoty Pstryk
Not everyone has place fro airbrushing station. So maybe some tutorial for brushpainting?
Enrico Asa no Hoshi
Sure! I painted my models by hand for a long time before trying new things, so I may do some handpainting on a future build here.
davraf
Thank you, very interesting.