It’s become habit to start my Pokemon builds by laying out the markers I’ll be using for painting.
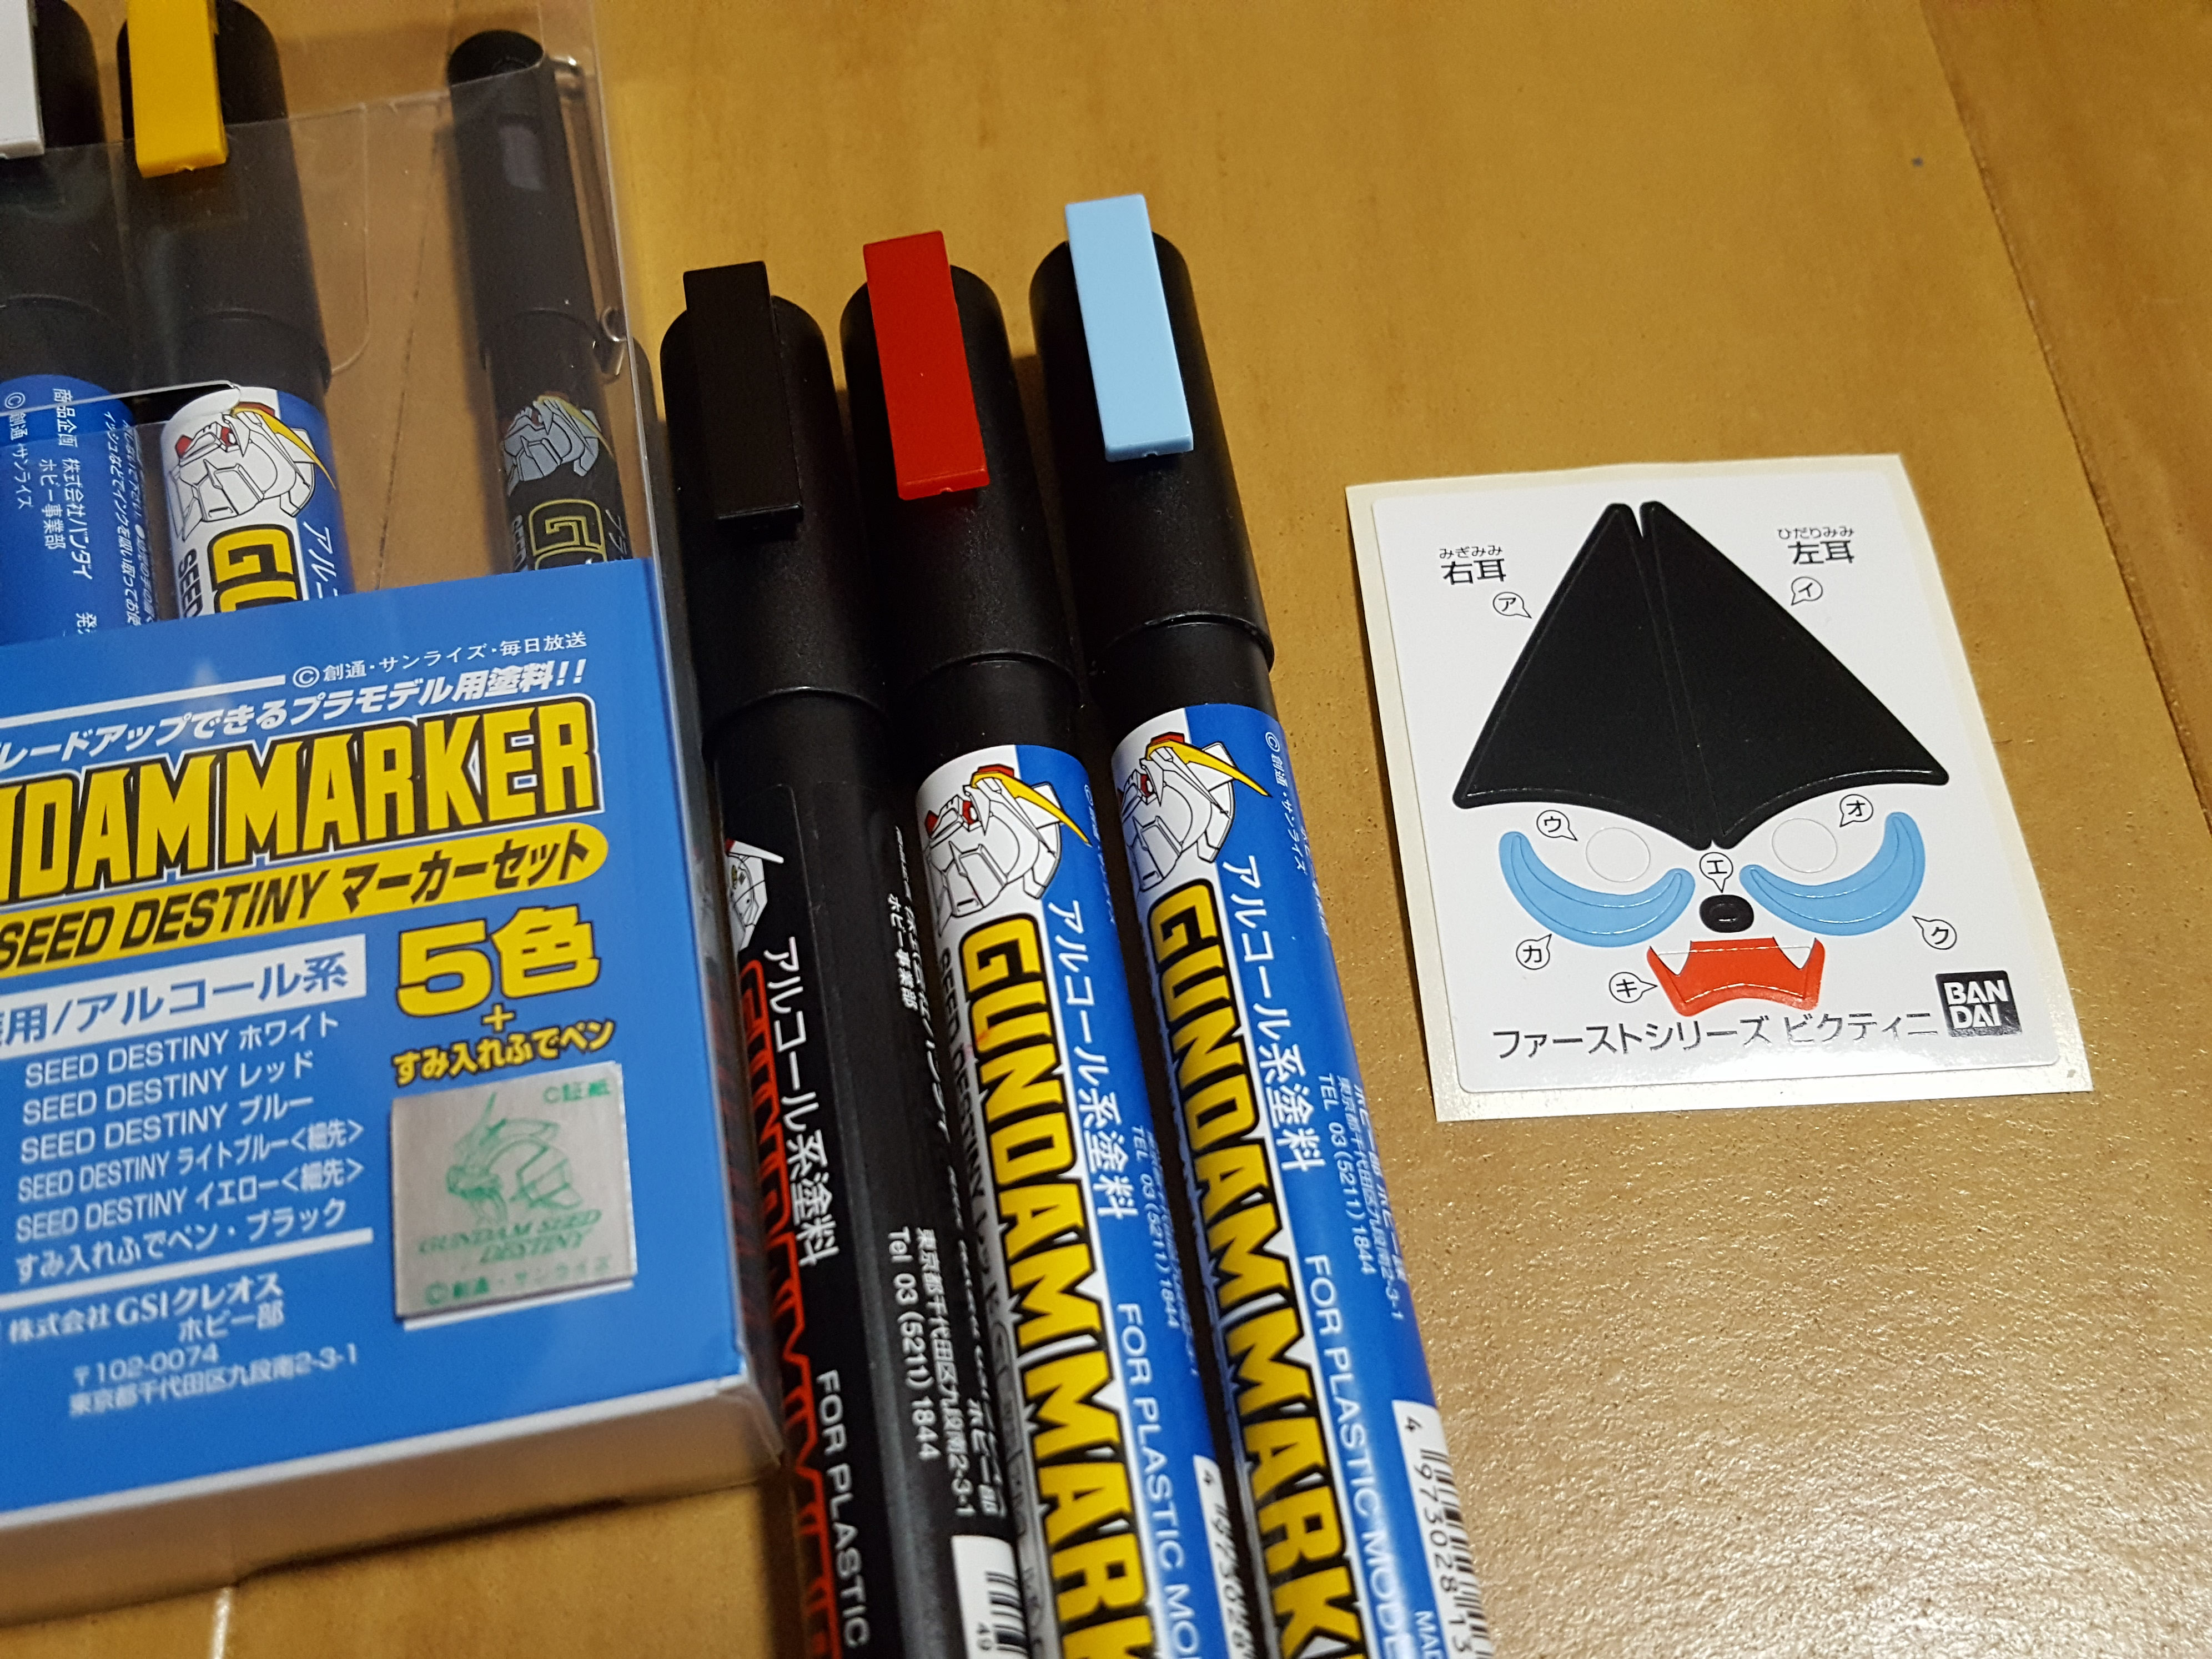
For Victini, I’ve gone with red and light blue from the Gundam Seed Destiny set, and a standard black. I threw in the Seed Destiny white, too, when I realized there are in fact white stickers, and towards the end, a fine-tipped black panel line marker also came in handy!
For those of you following along at home, that brings us up to 5 markers for this kit, and they were definitely all worth it.
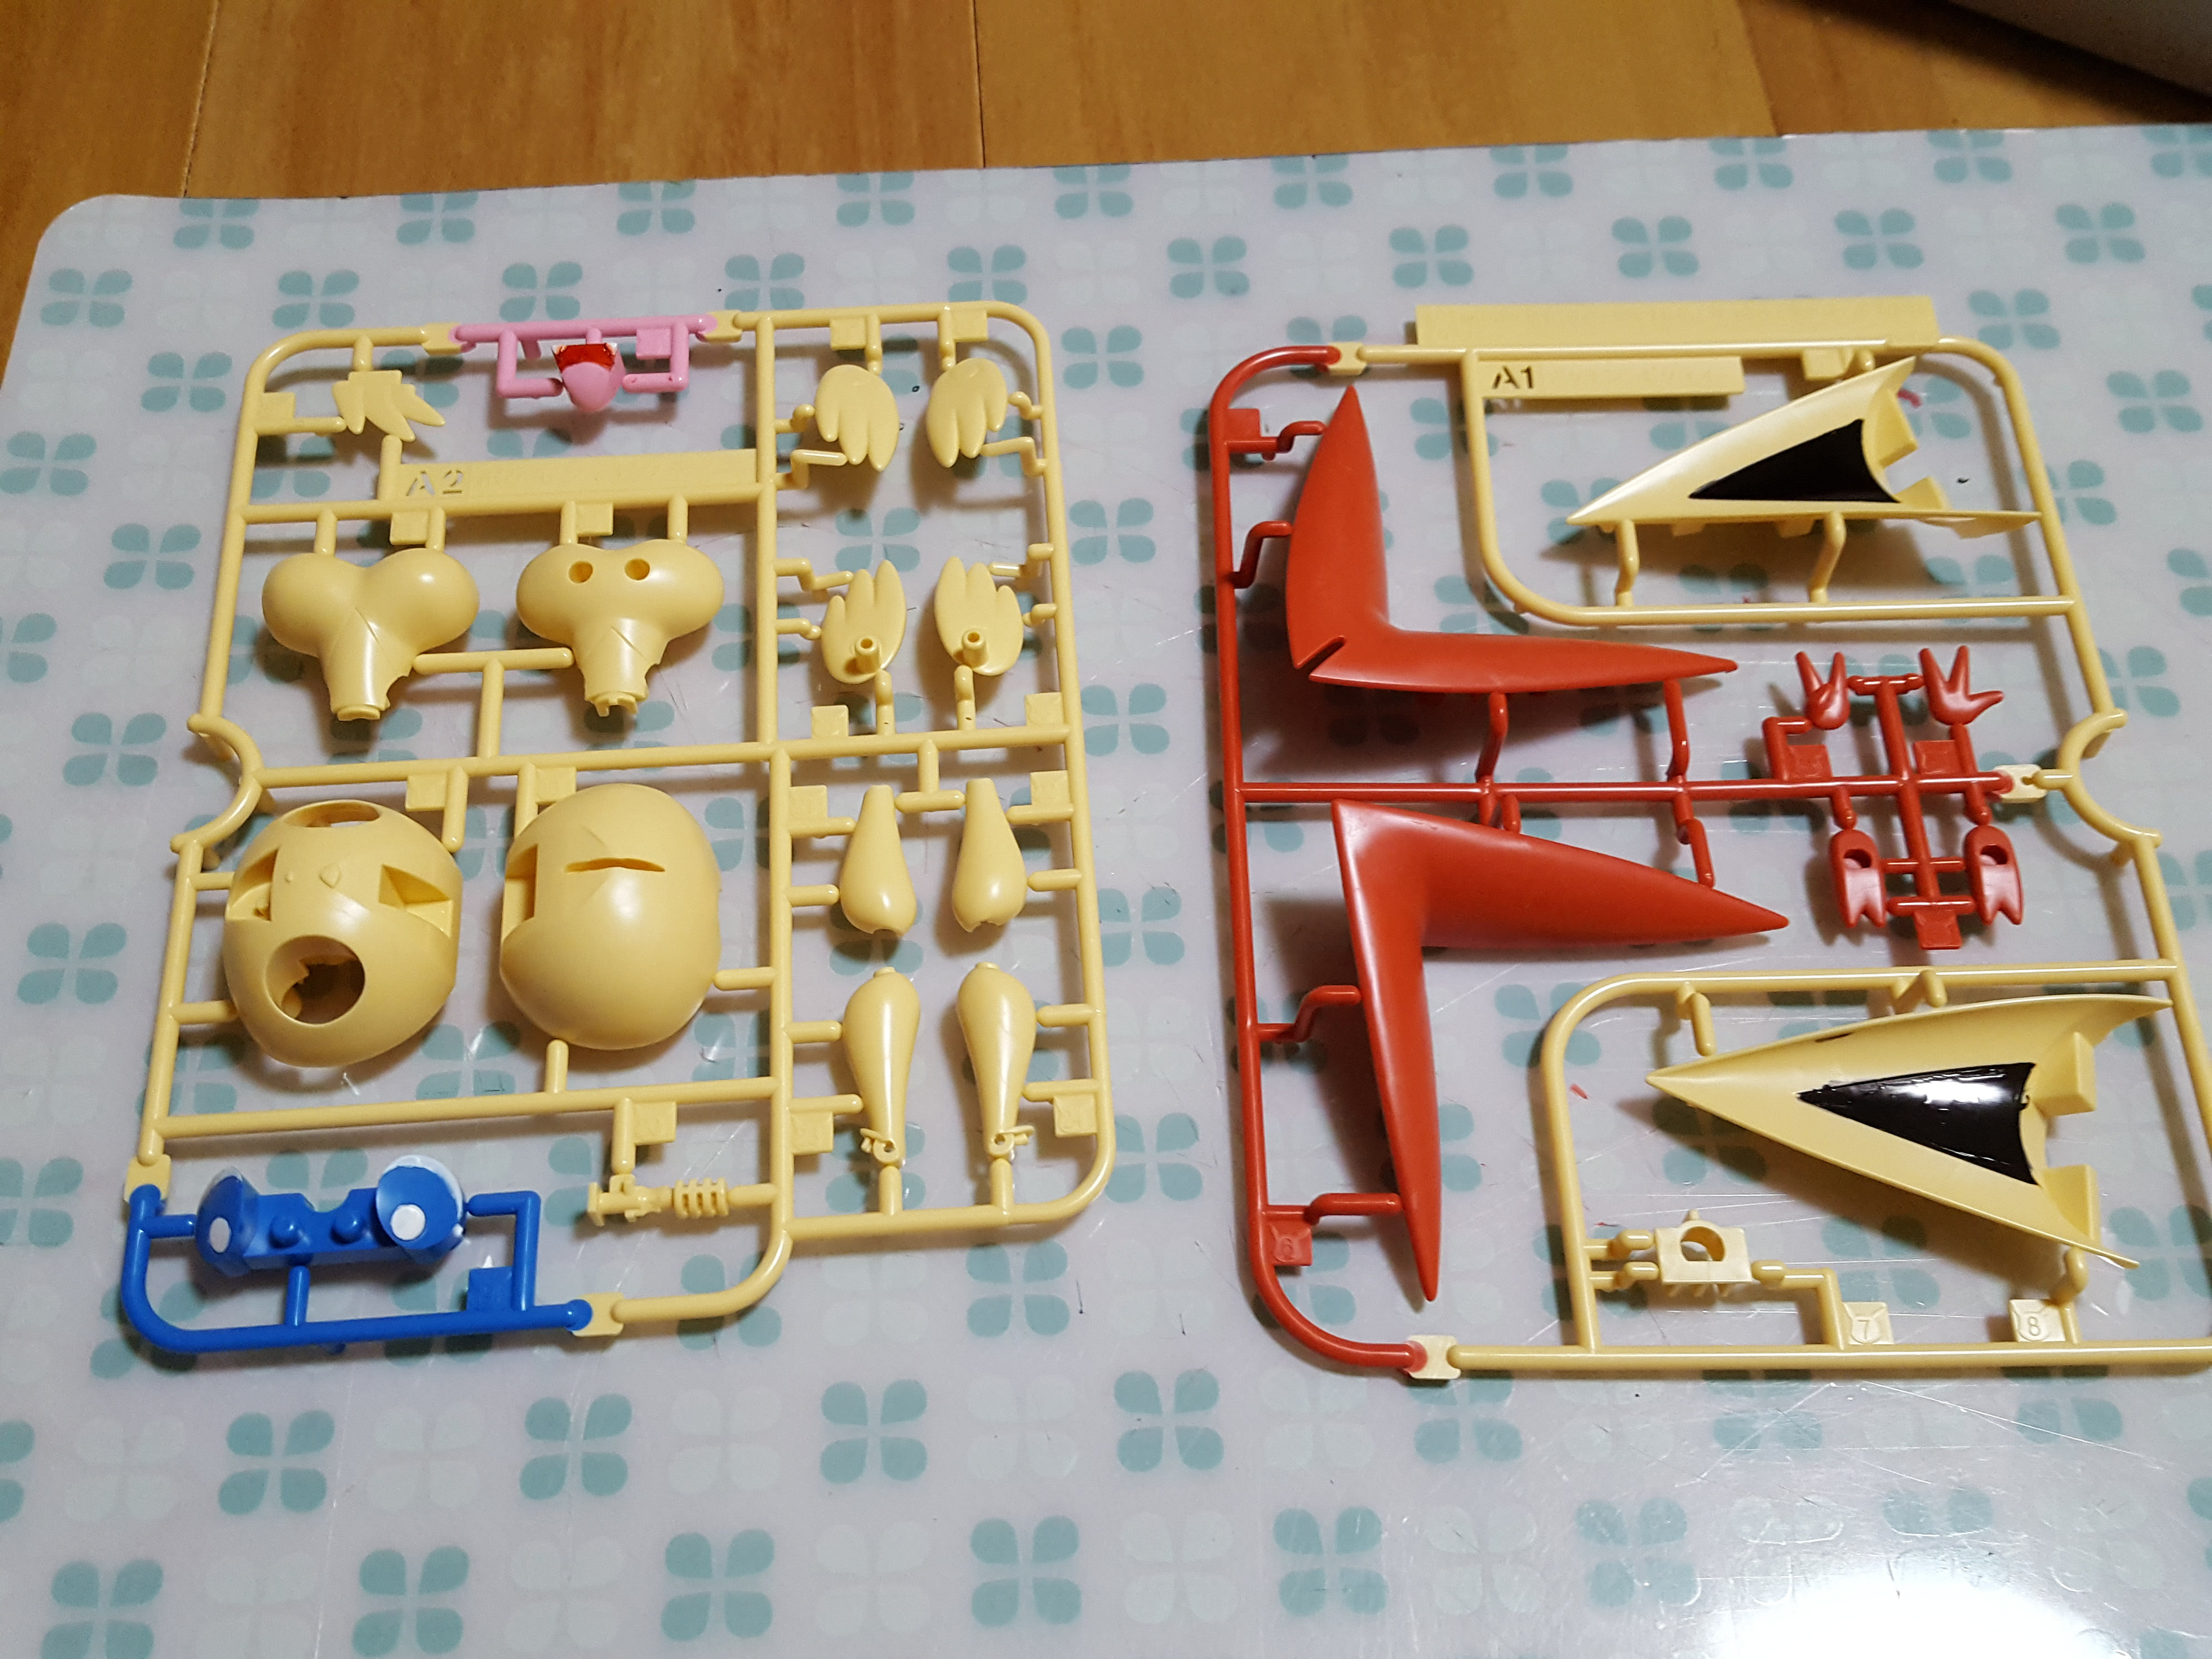
Here are the runners after my first round of painting. I actually did several coats on this kit, especially for the eyes and mouth. The red marker, unfortunately, is a little disagreeable and requires some extra applications to get an even finish.
The eyes are molded in such a dark color that the light blue just wouldn’t take, so I had to prime them with a white marker first, let them dry, and then work on several rounds of light blue.
Some of my edges are pretty messy here. But don’t worry — we get that taken care of later.
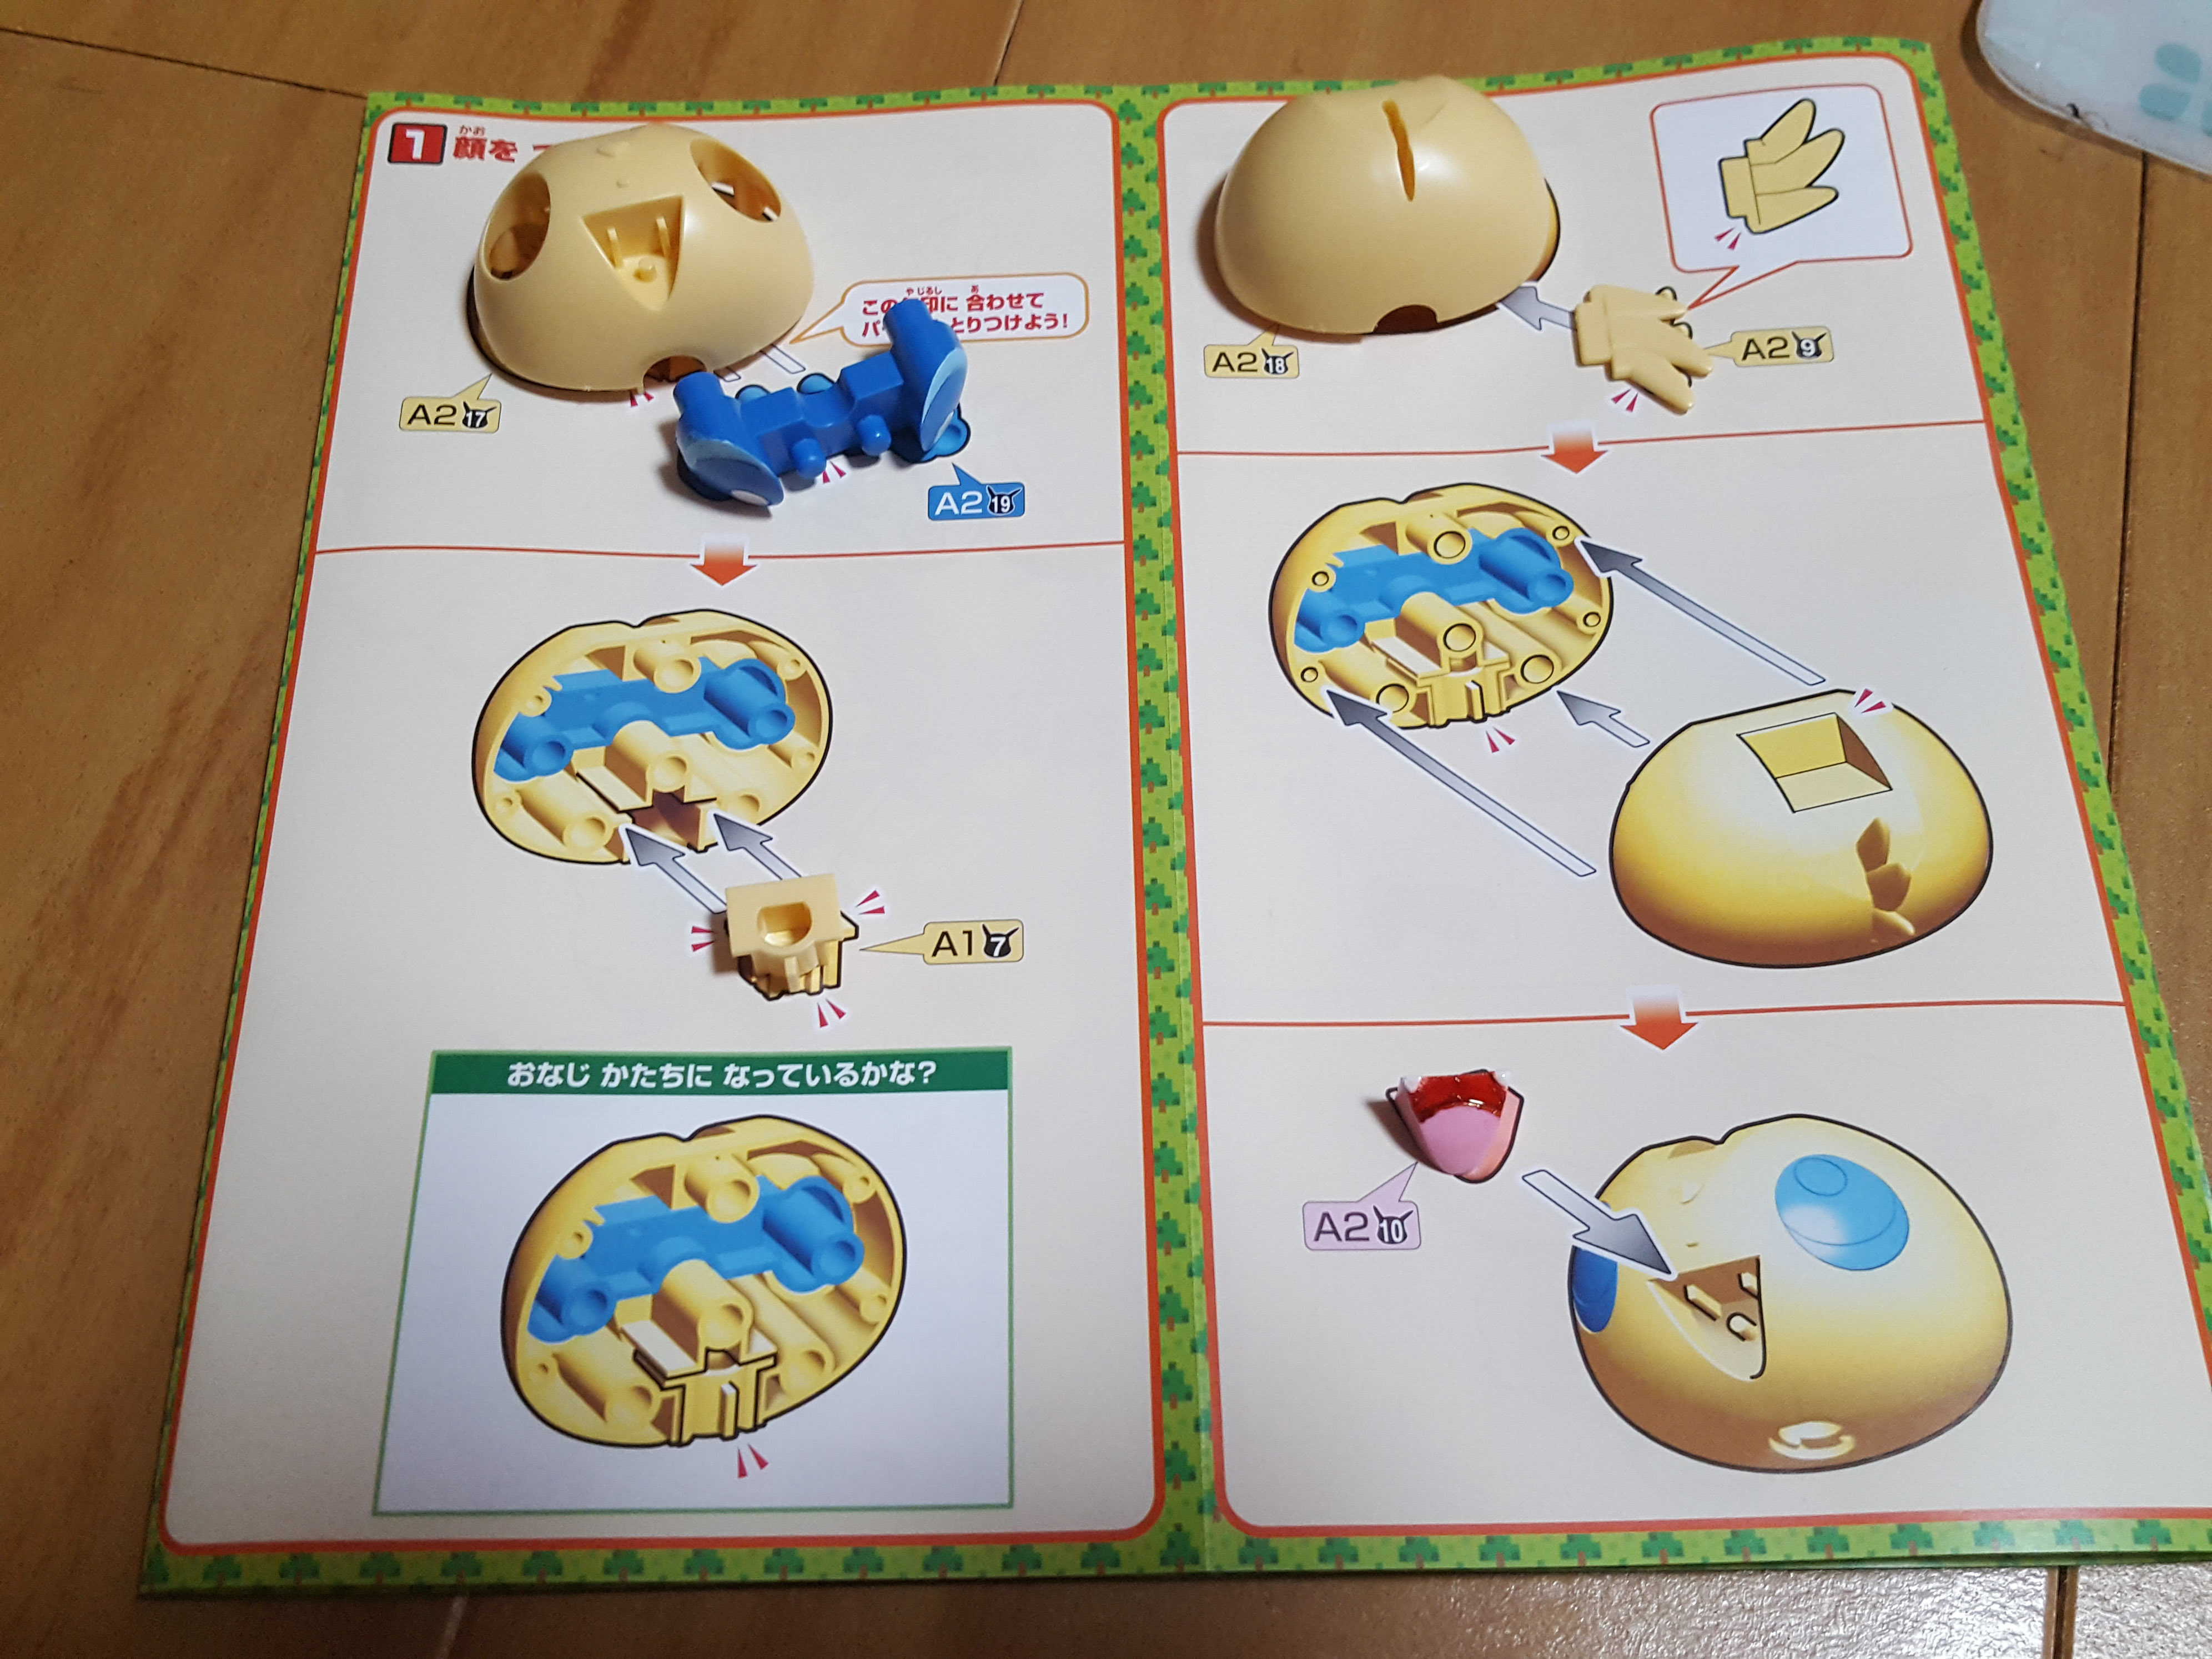
Step one of the kit: the head. We’re putting most of the painted parts together right off the bat. If you’re building with stickers, you won’t put them on until the end, though.
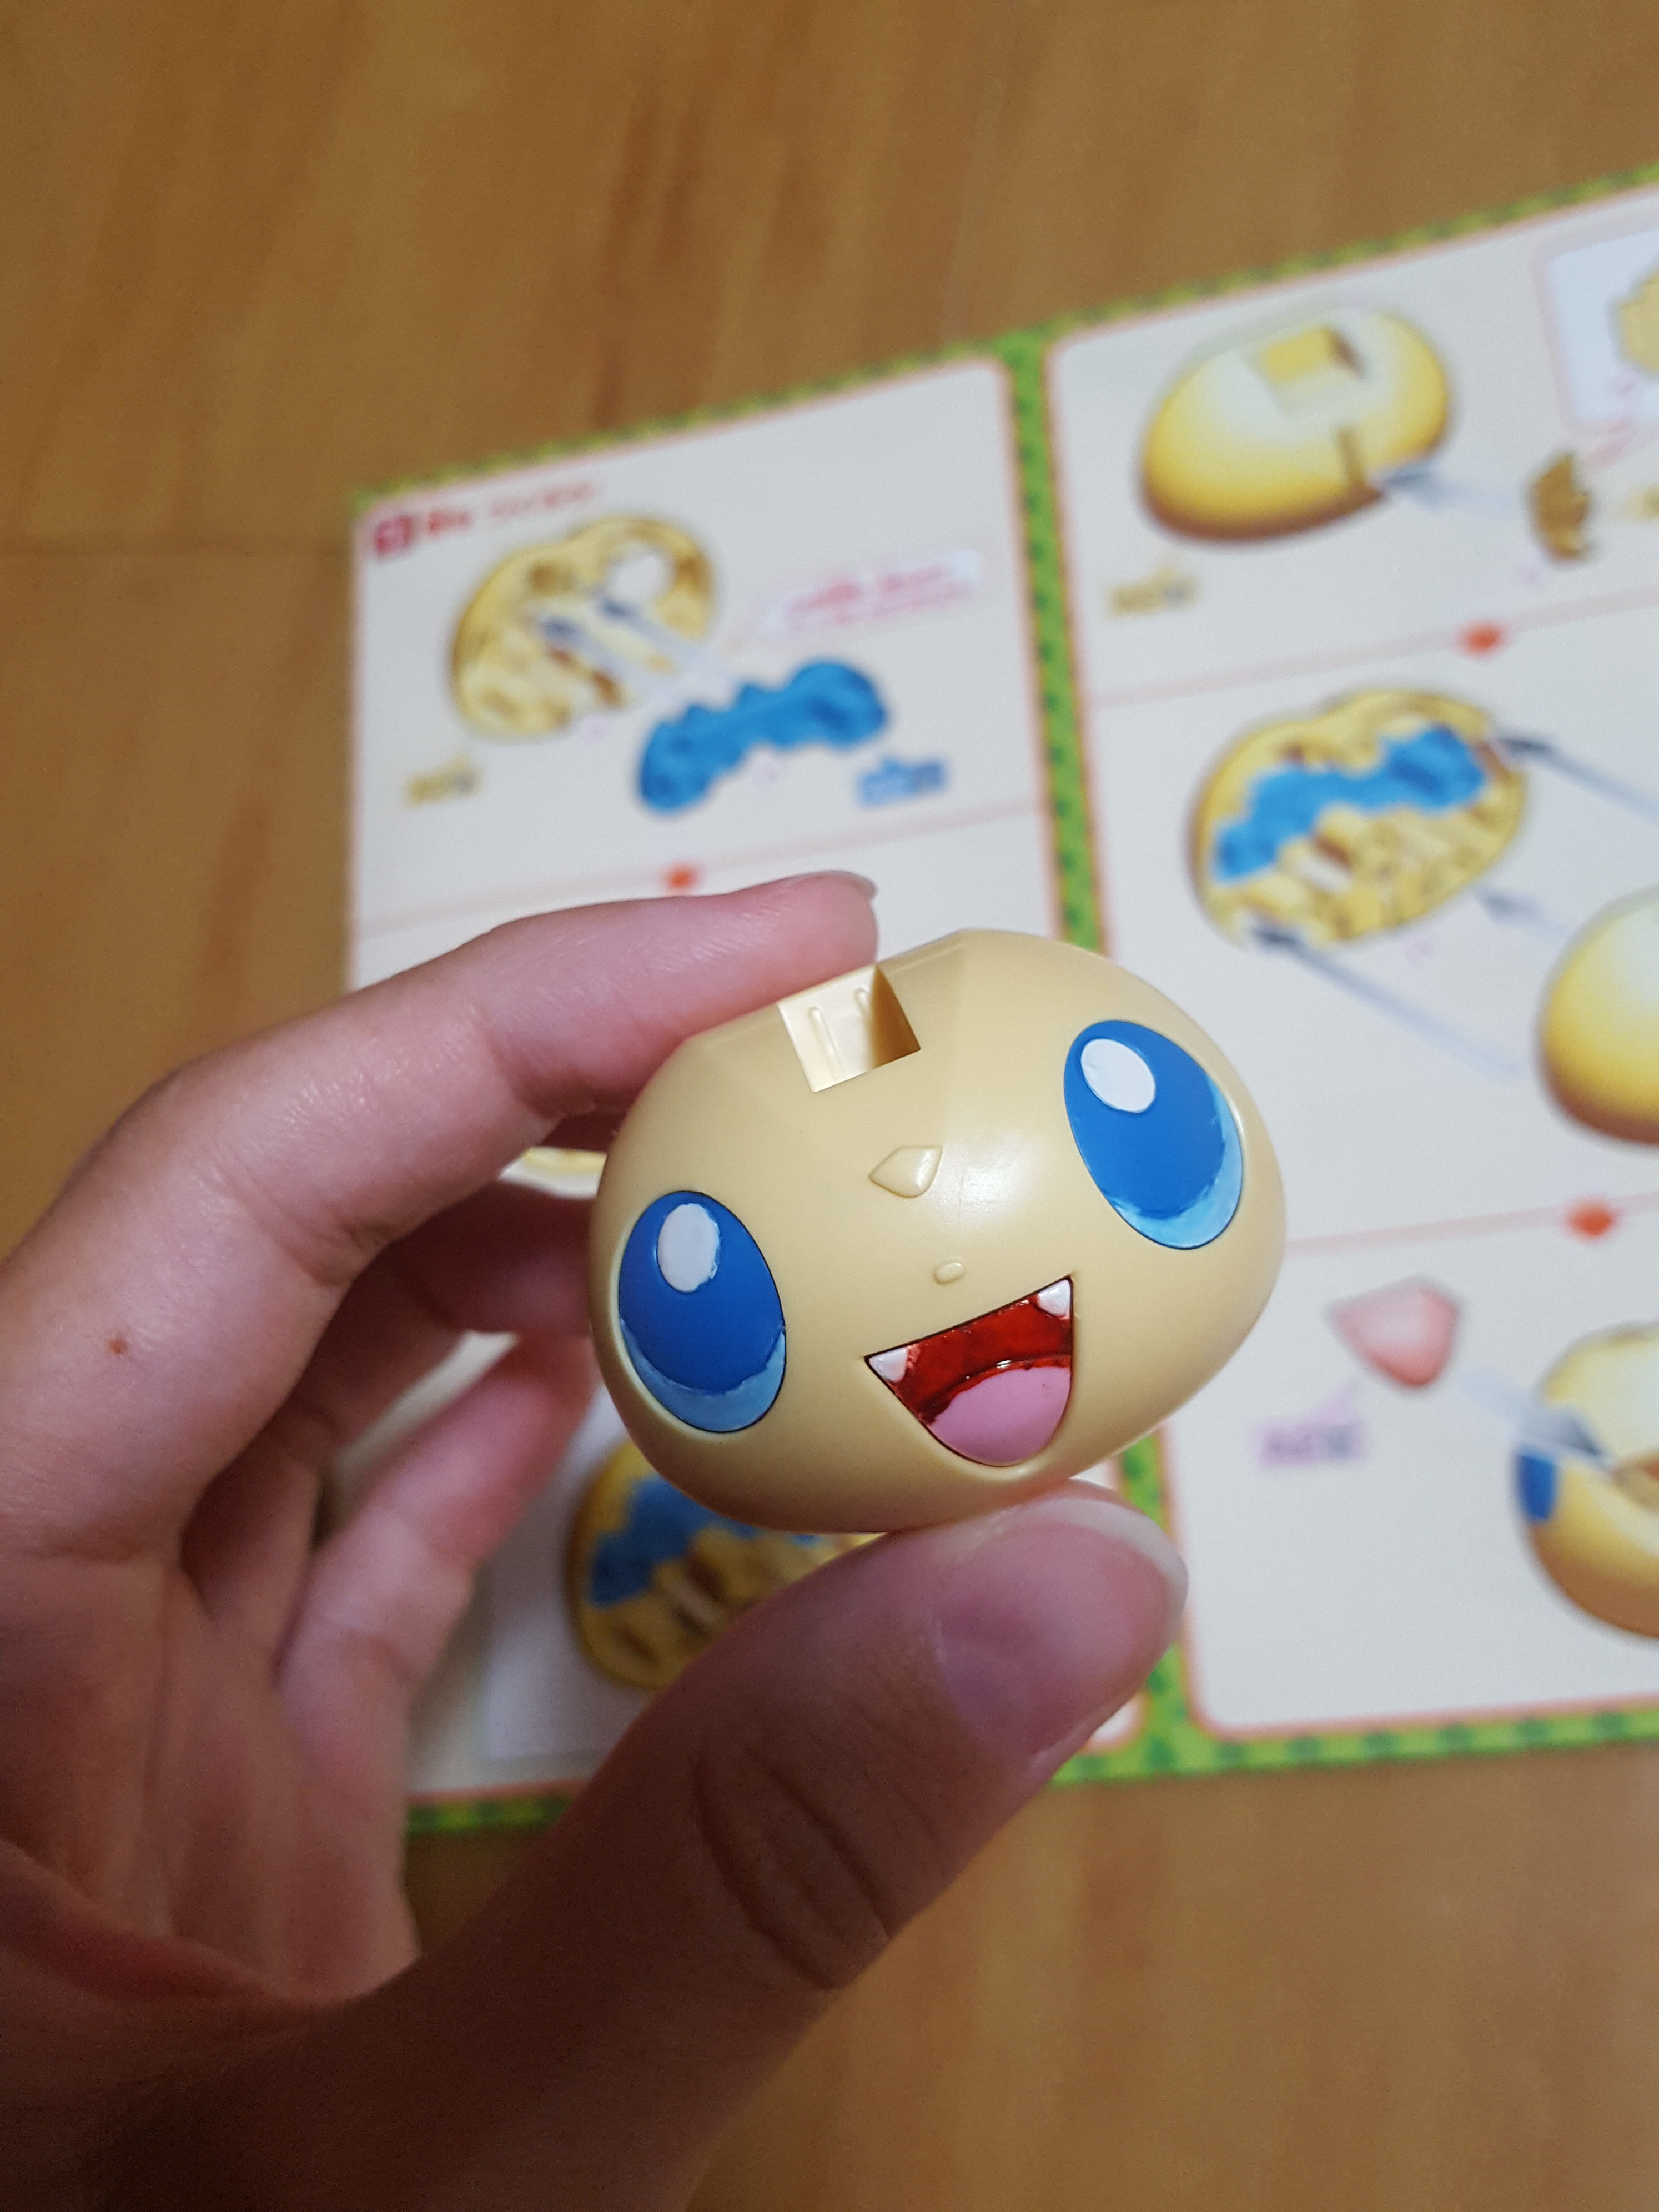
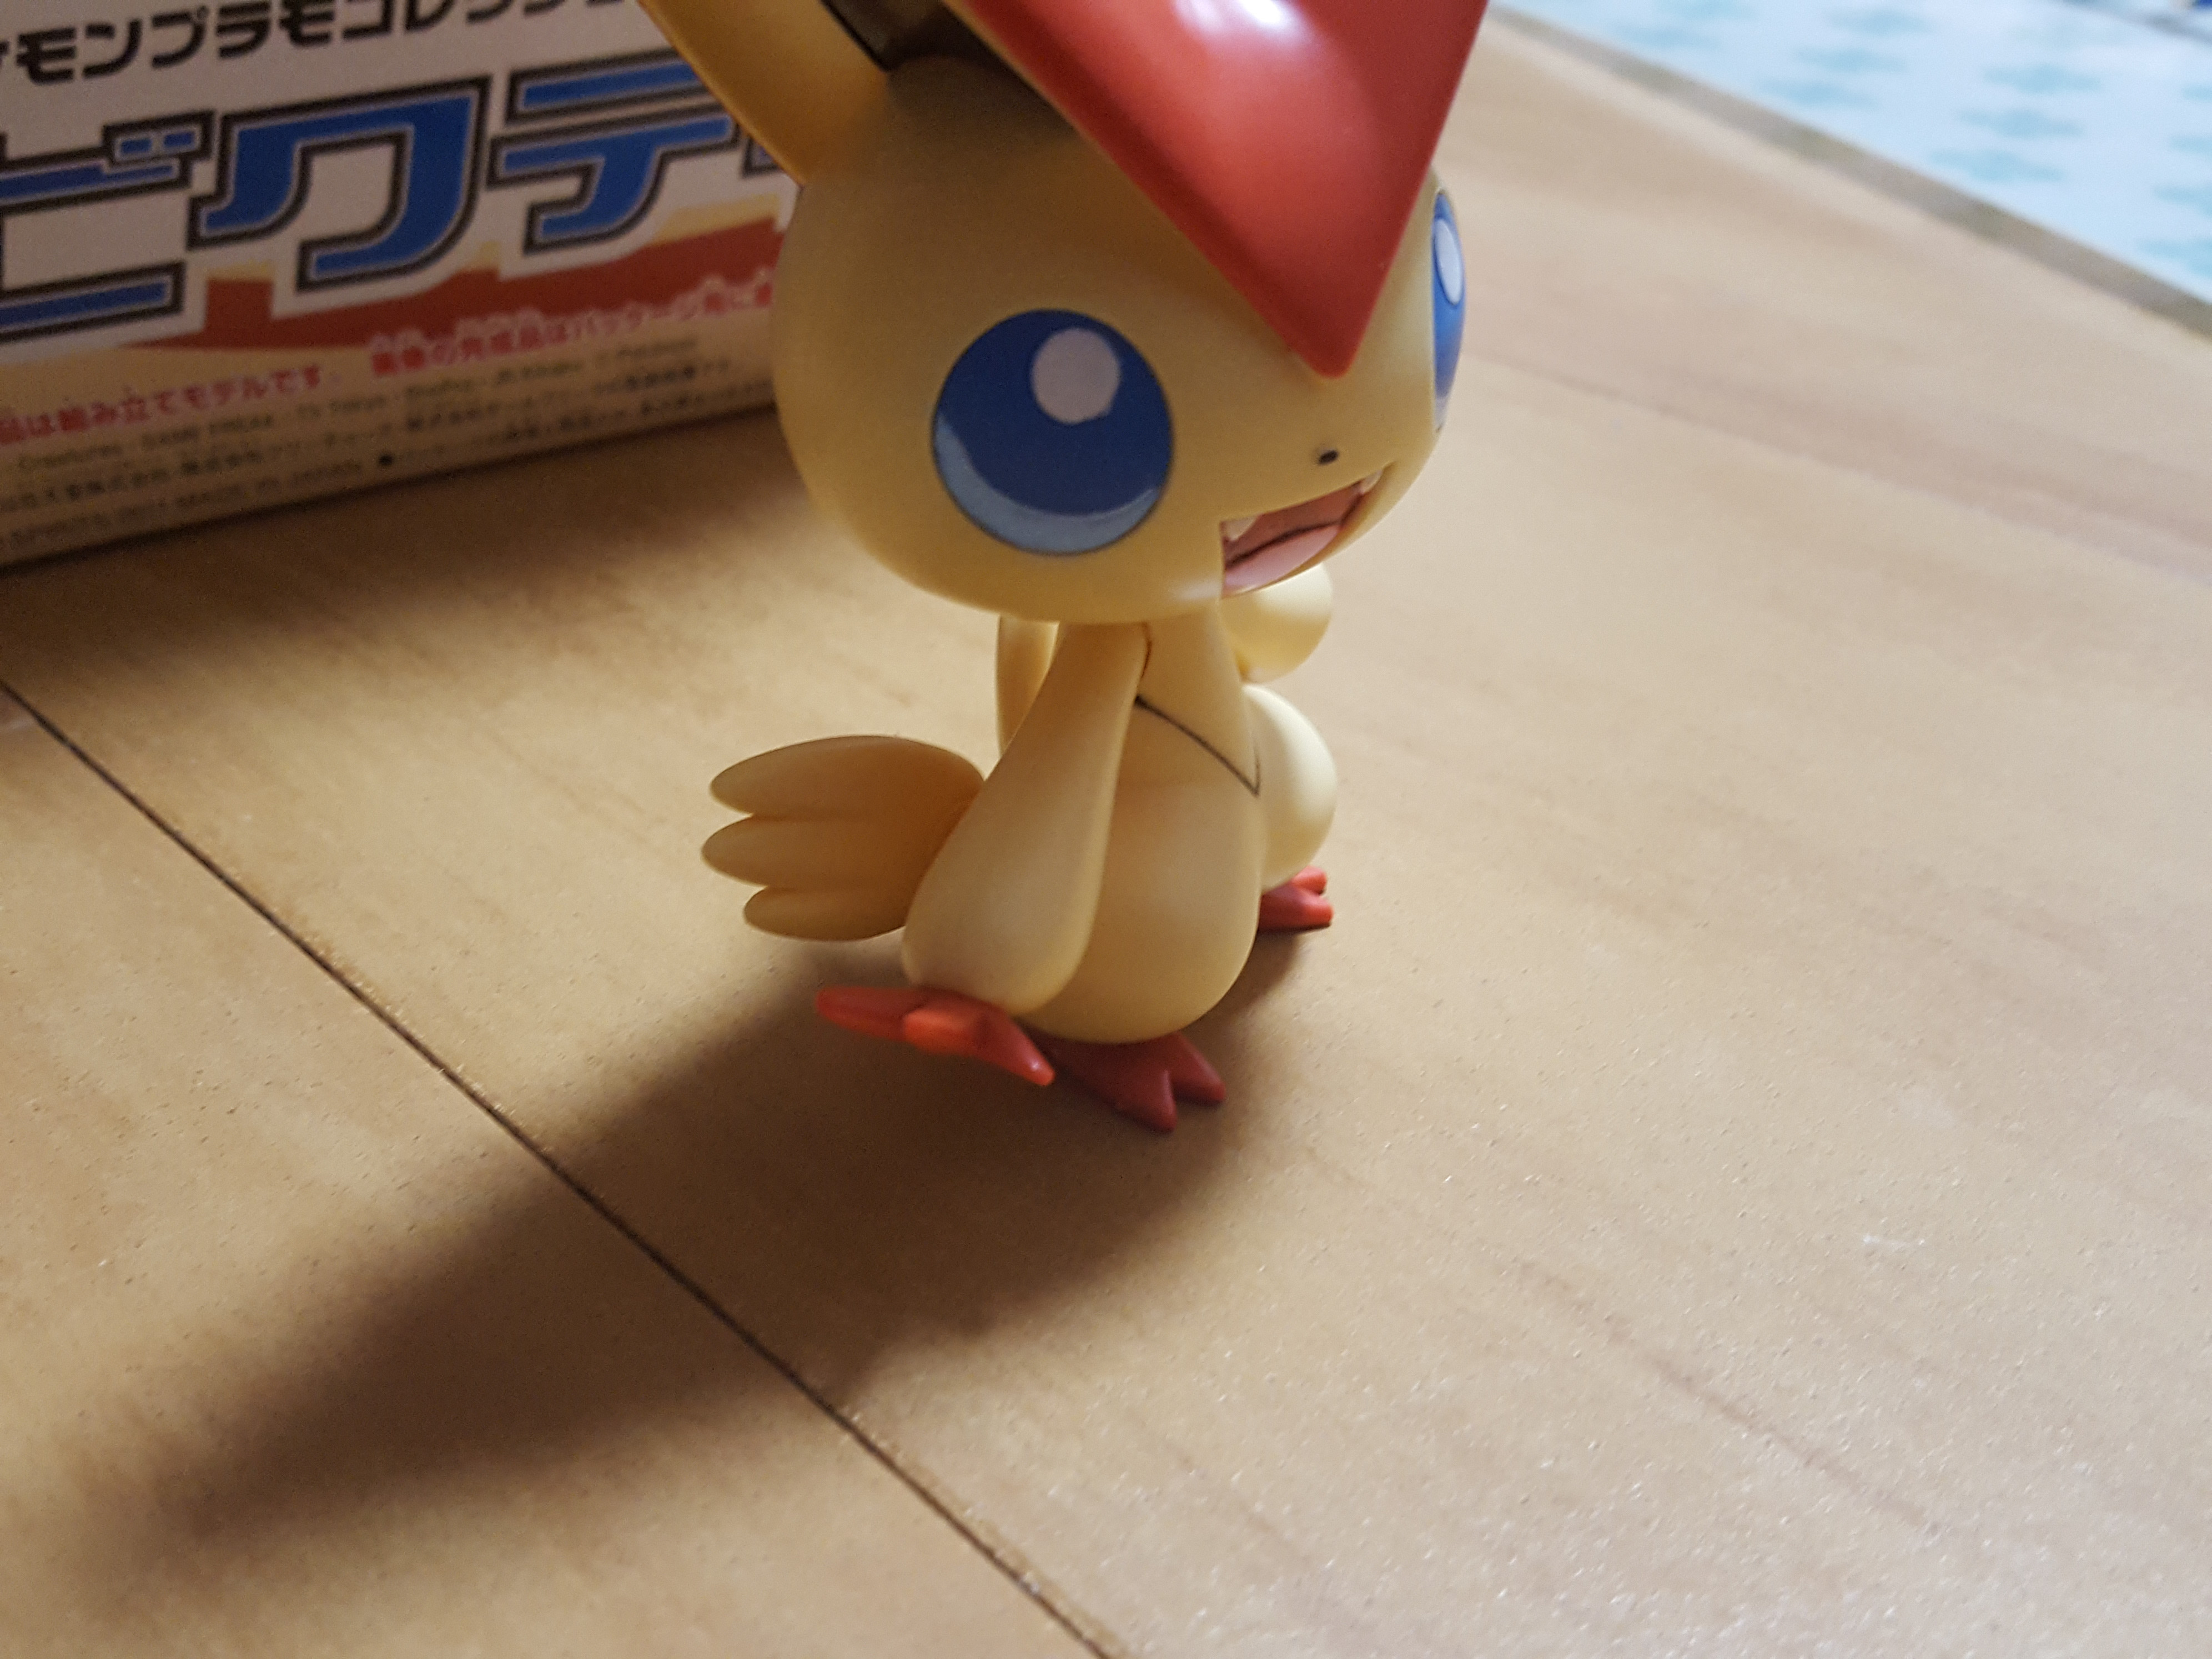
My finished head. The paint job is pretty rough.

Next, the ears. These were pretty easy to fill in with a standard tipped Gundam marker, but I did make a few mistakes that will need some cleaning up.
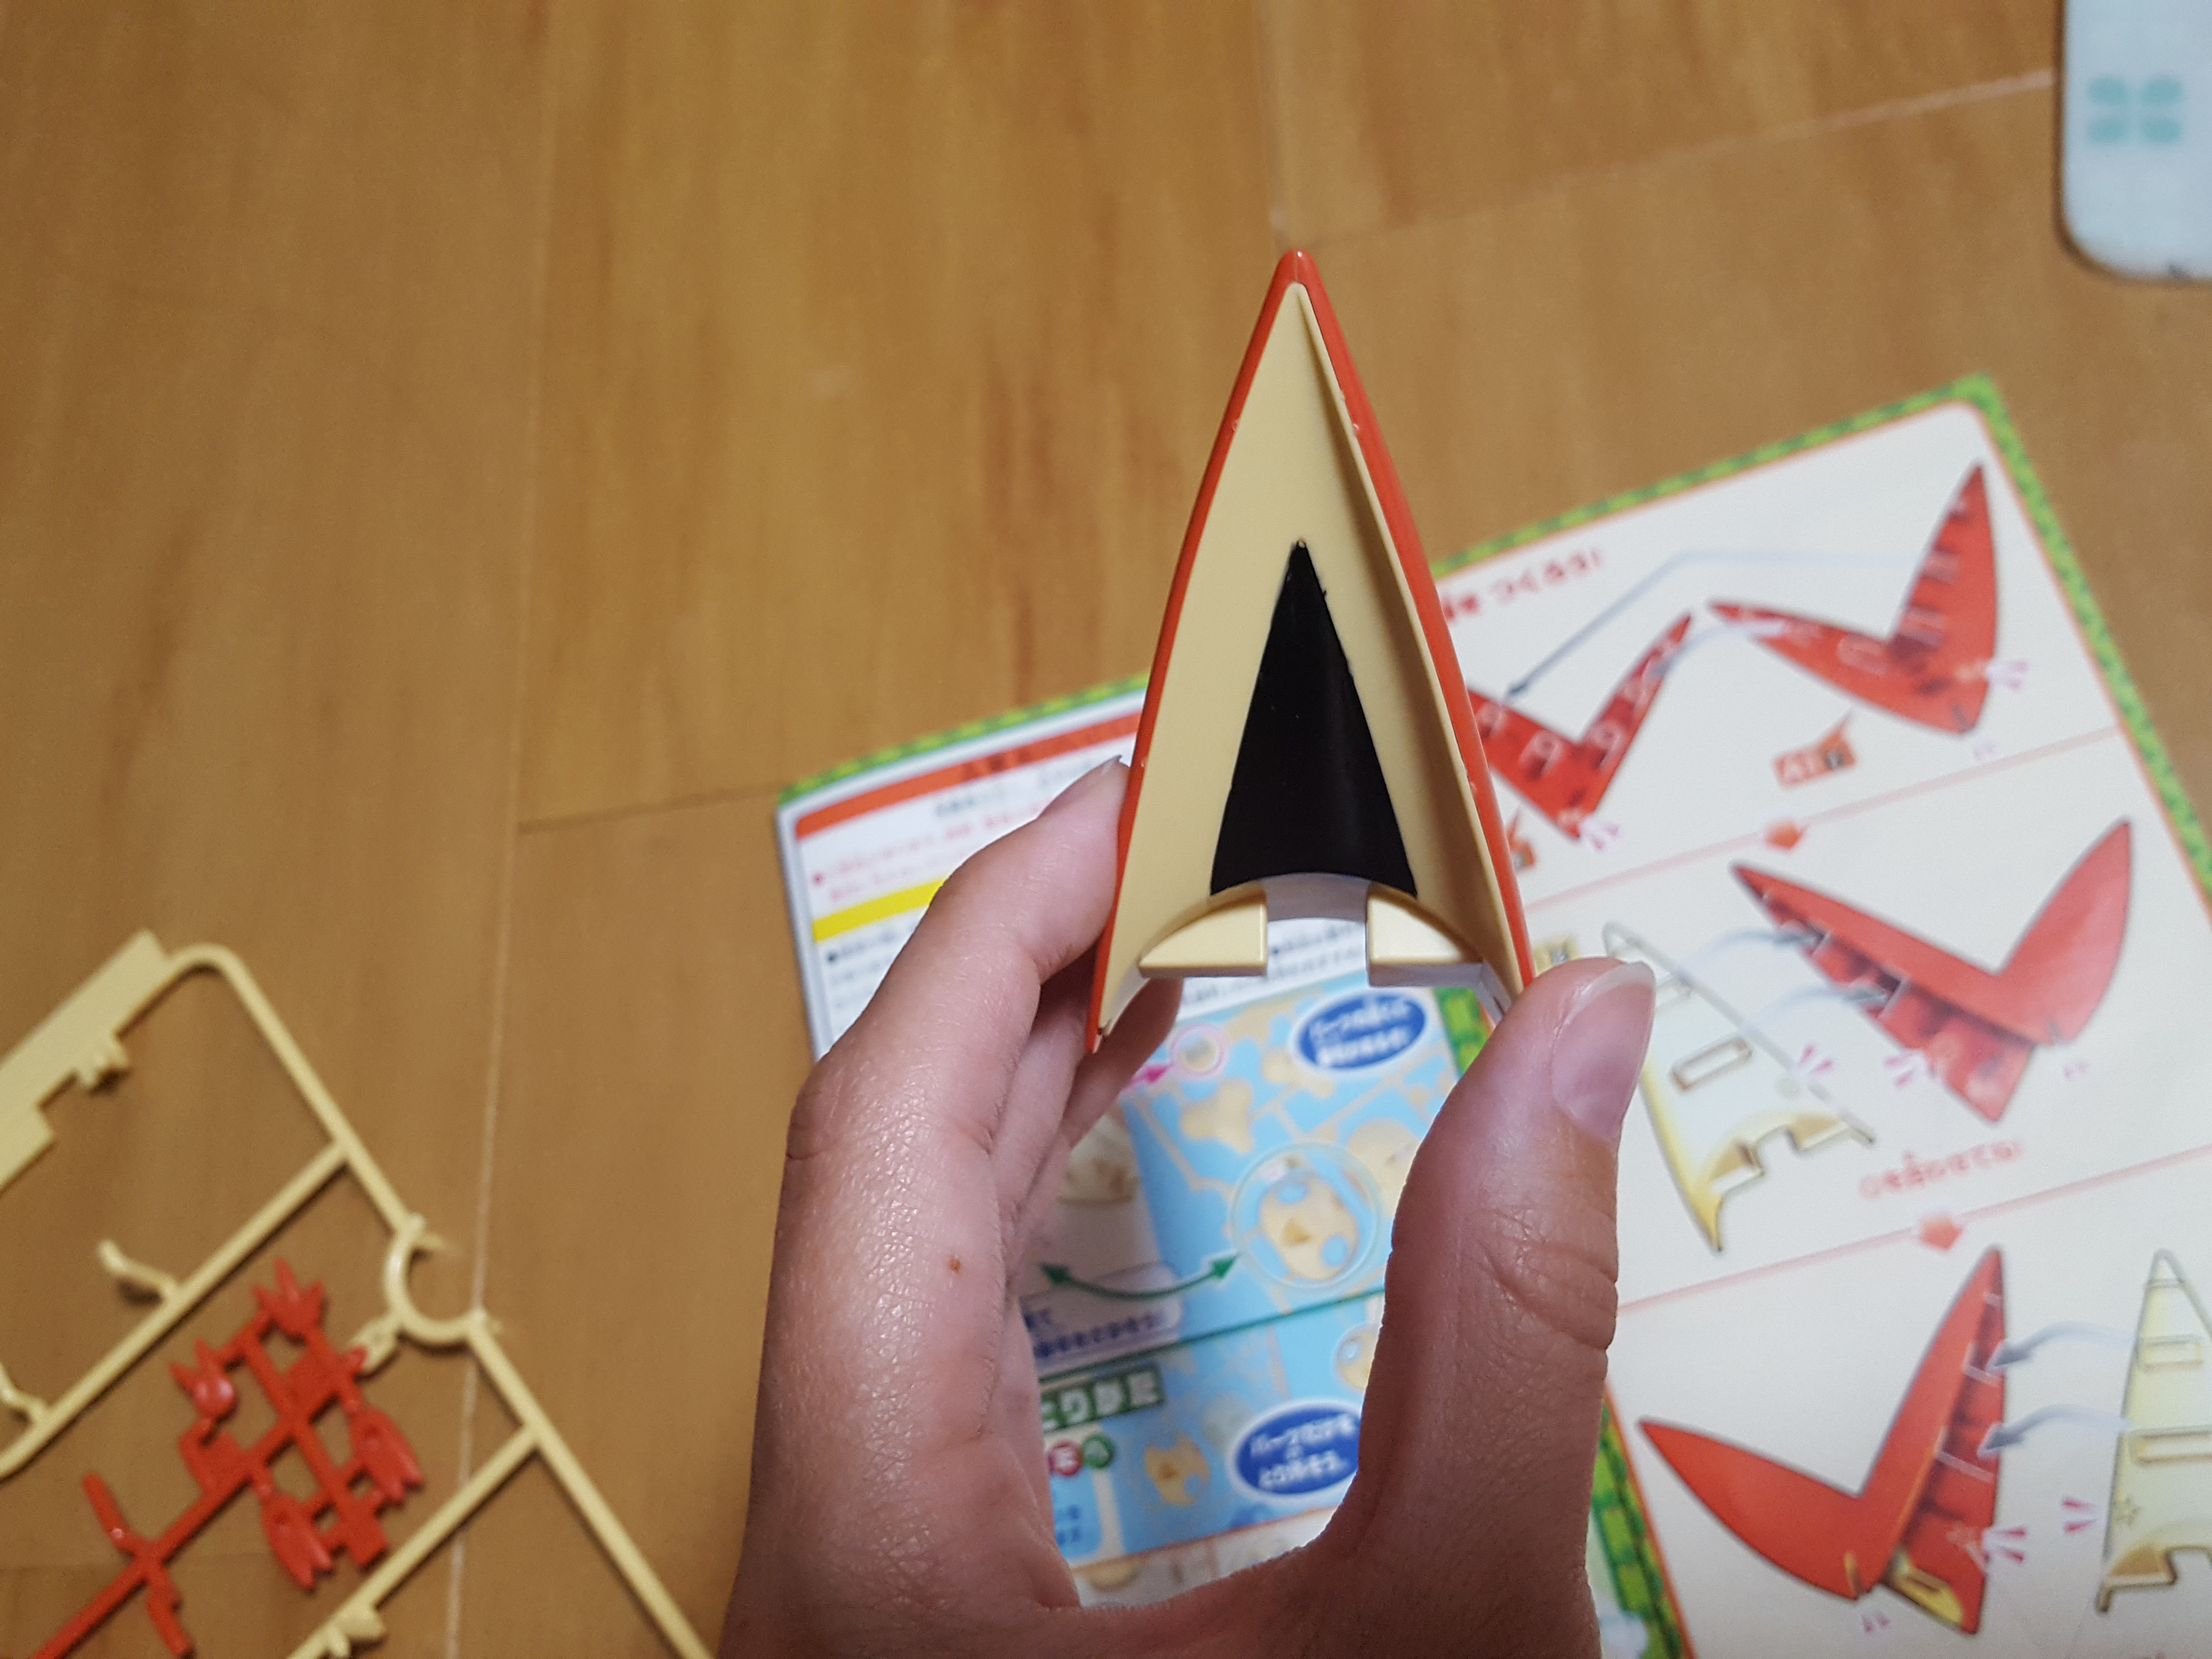
Not bad overall, though!
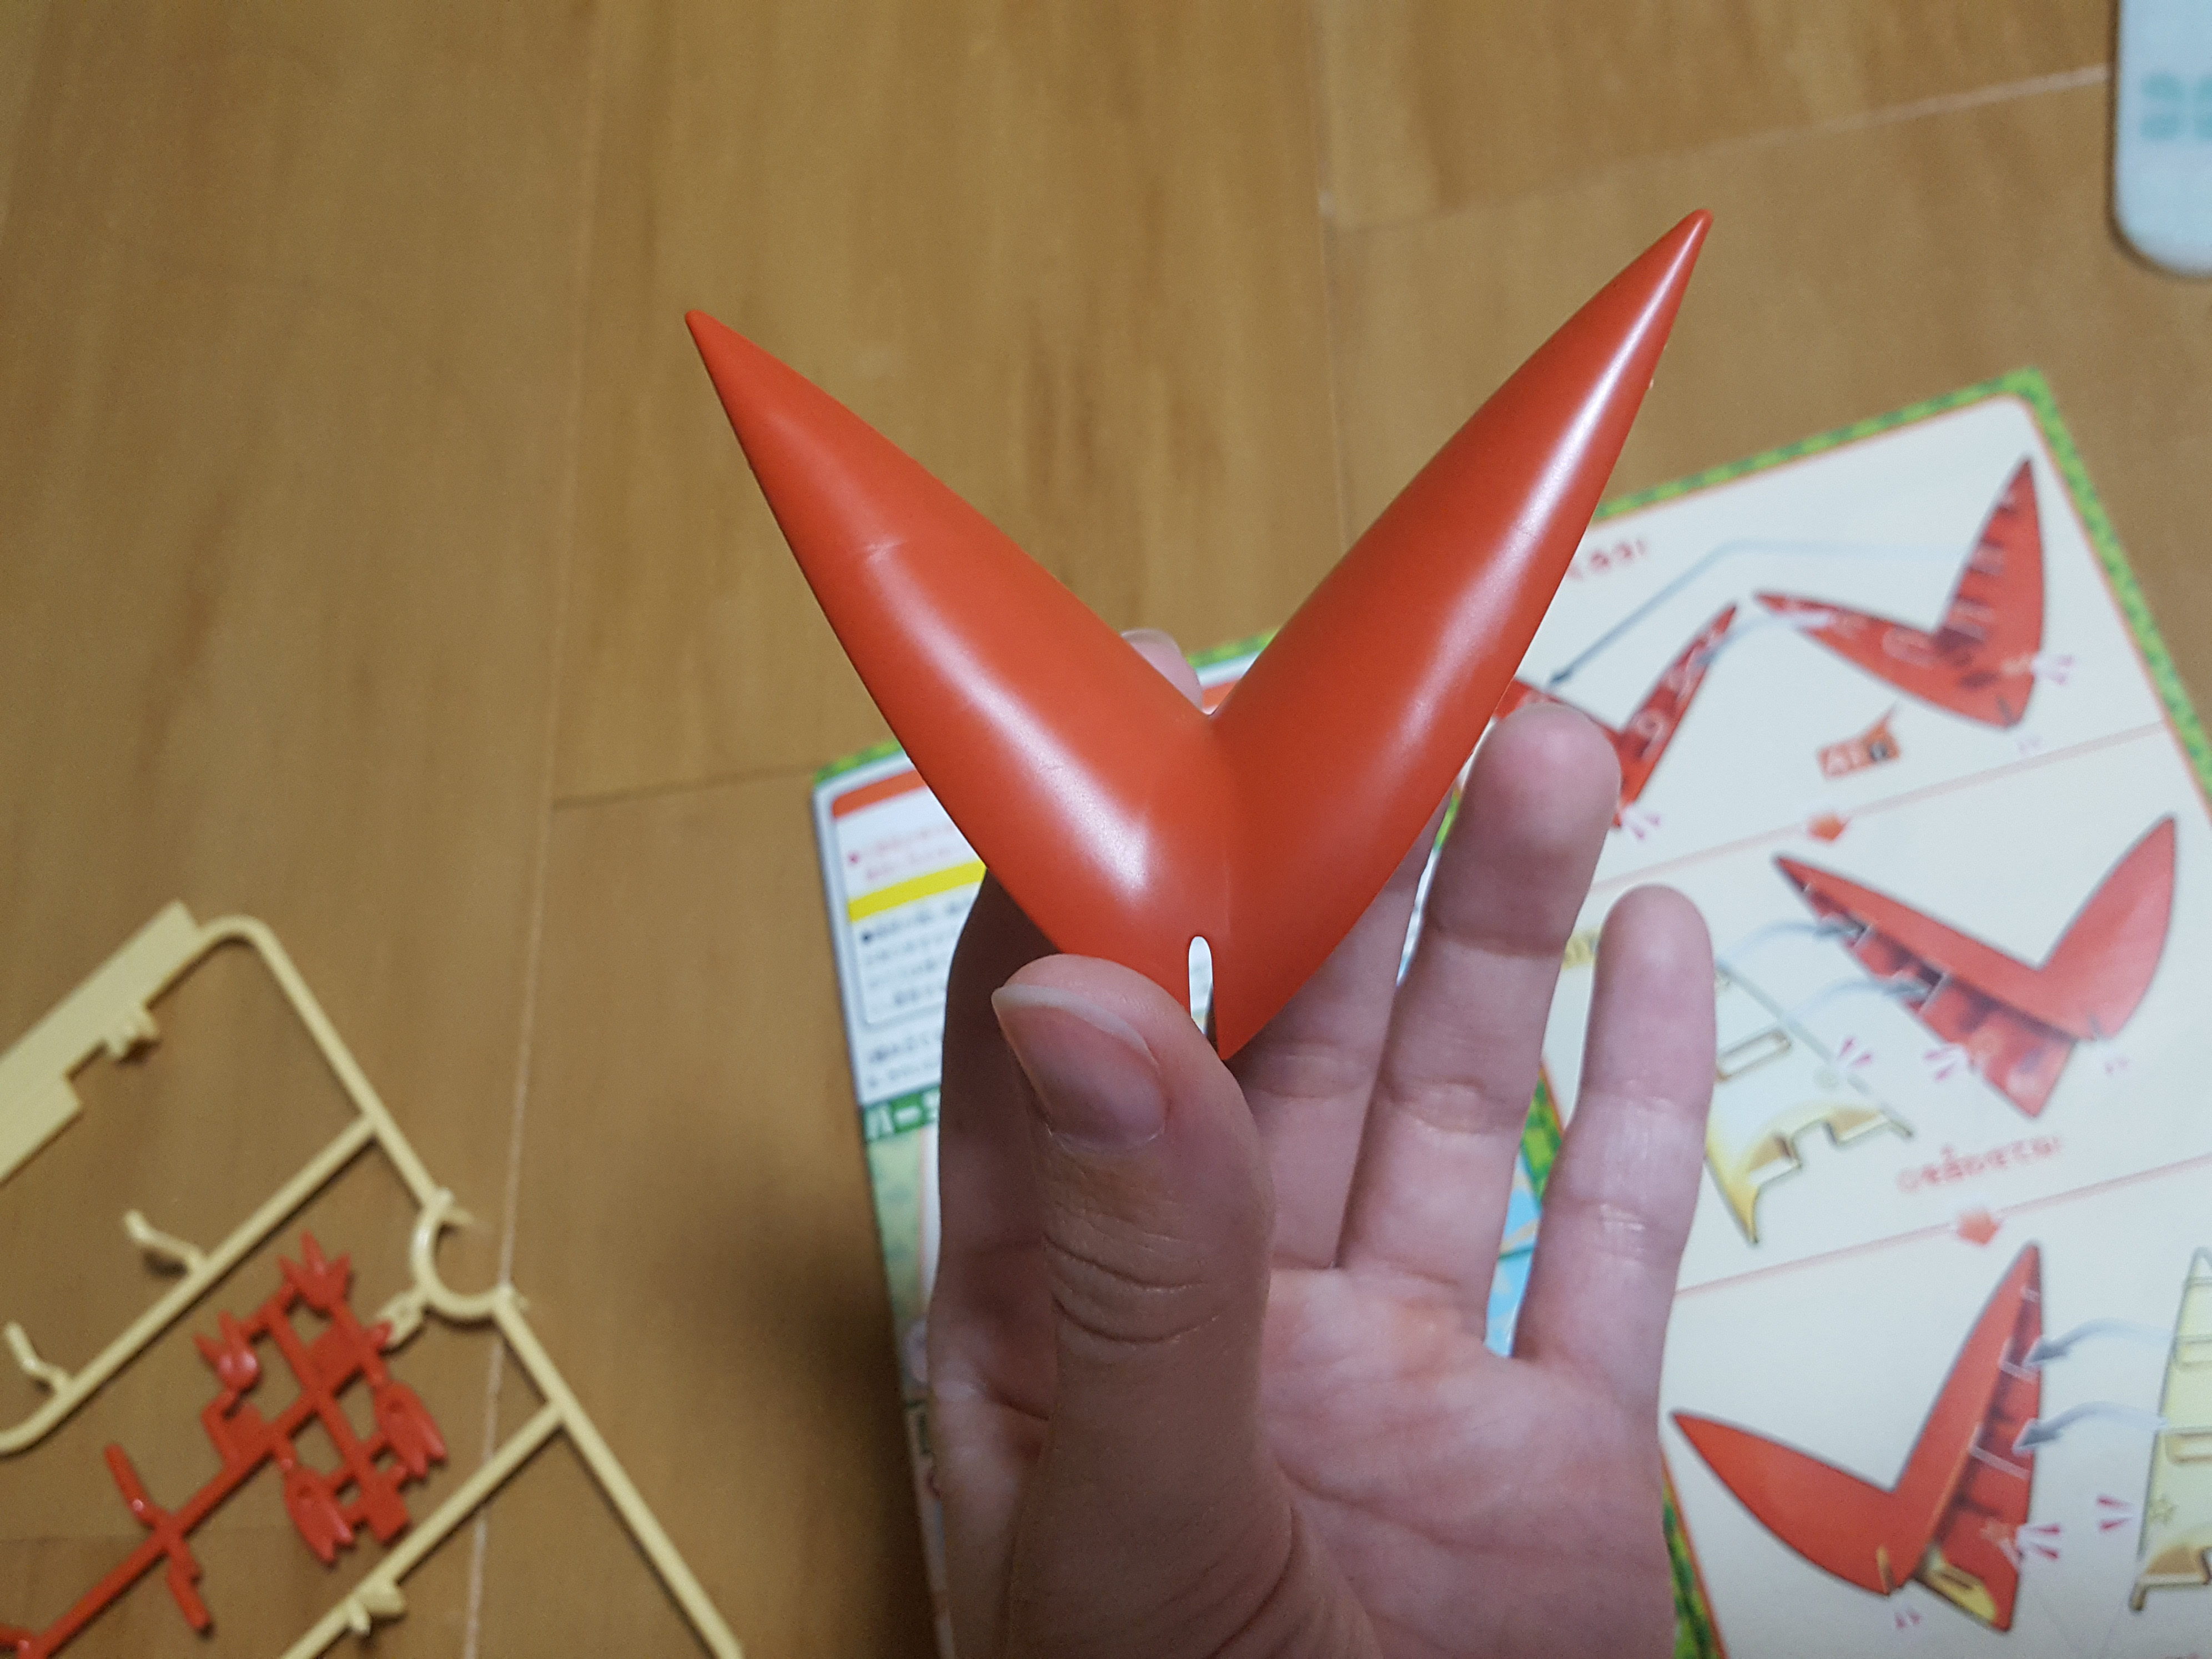
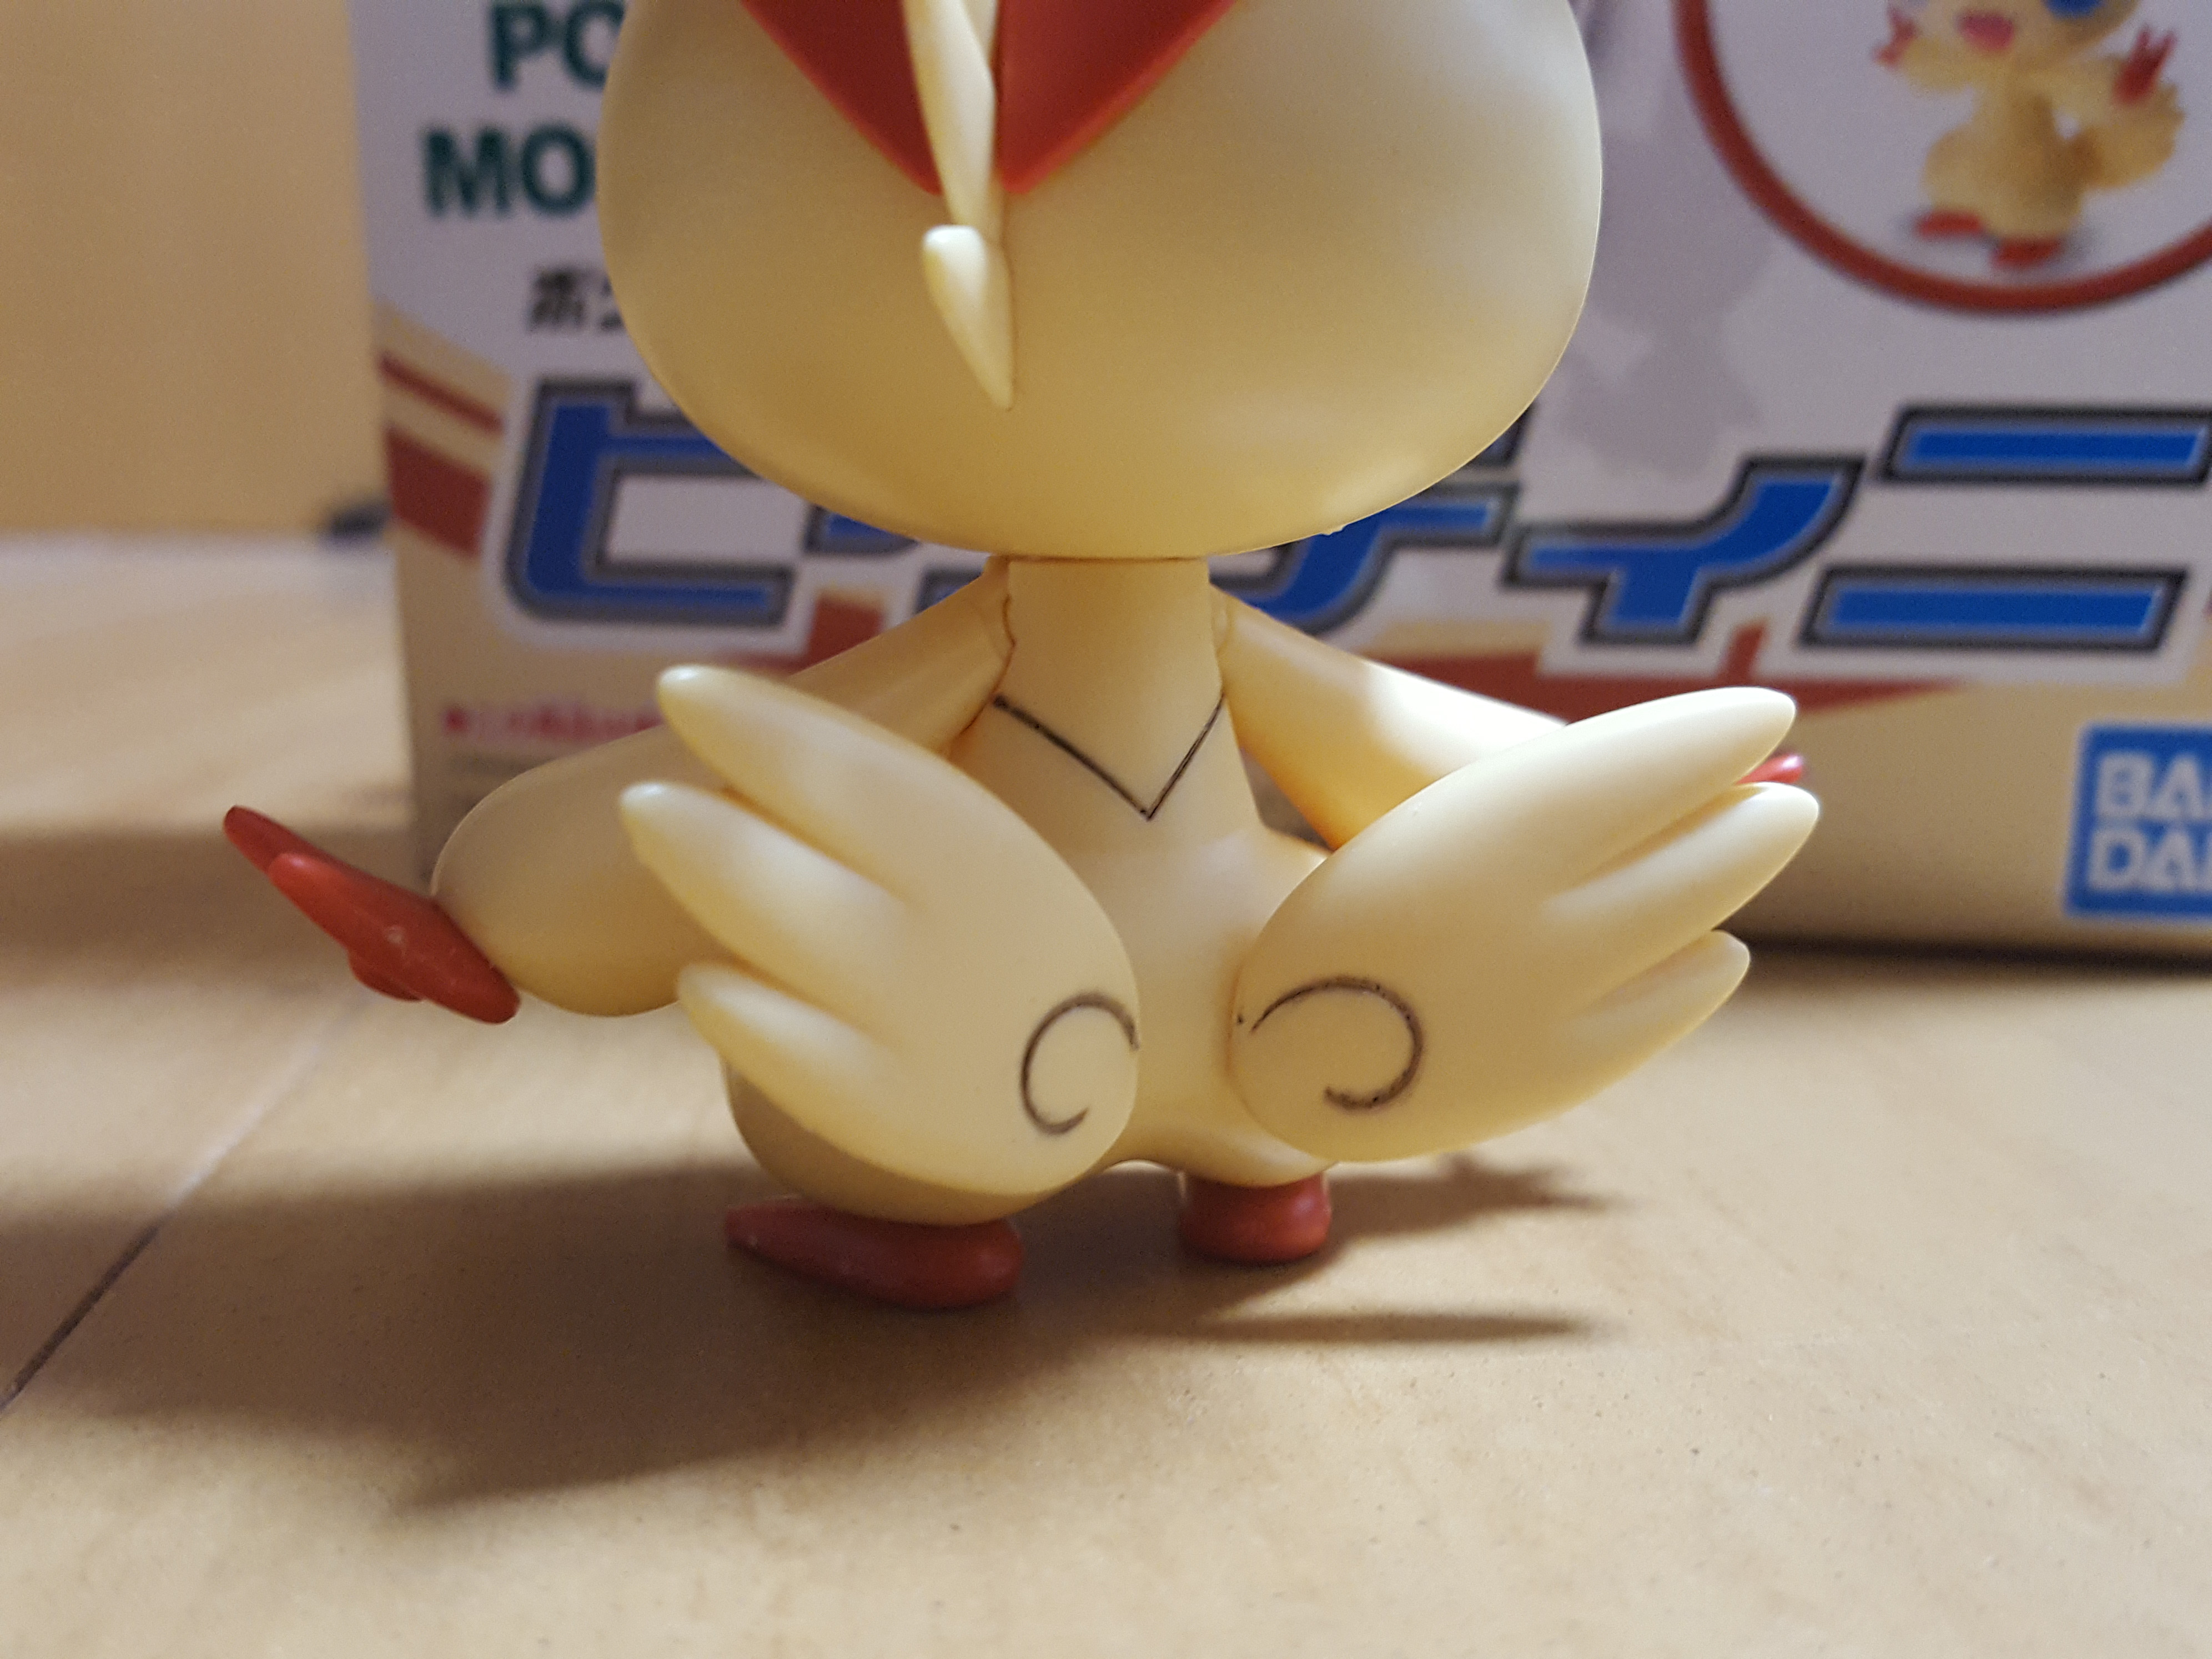
Here’s what they look like straight on (from the back).
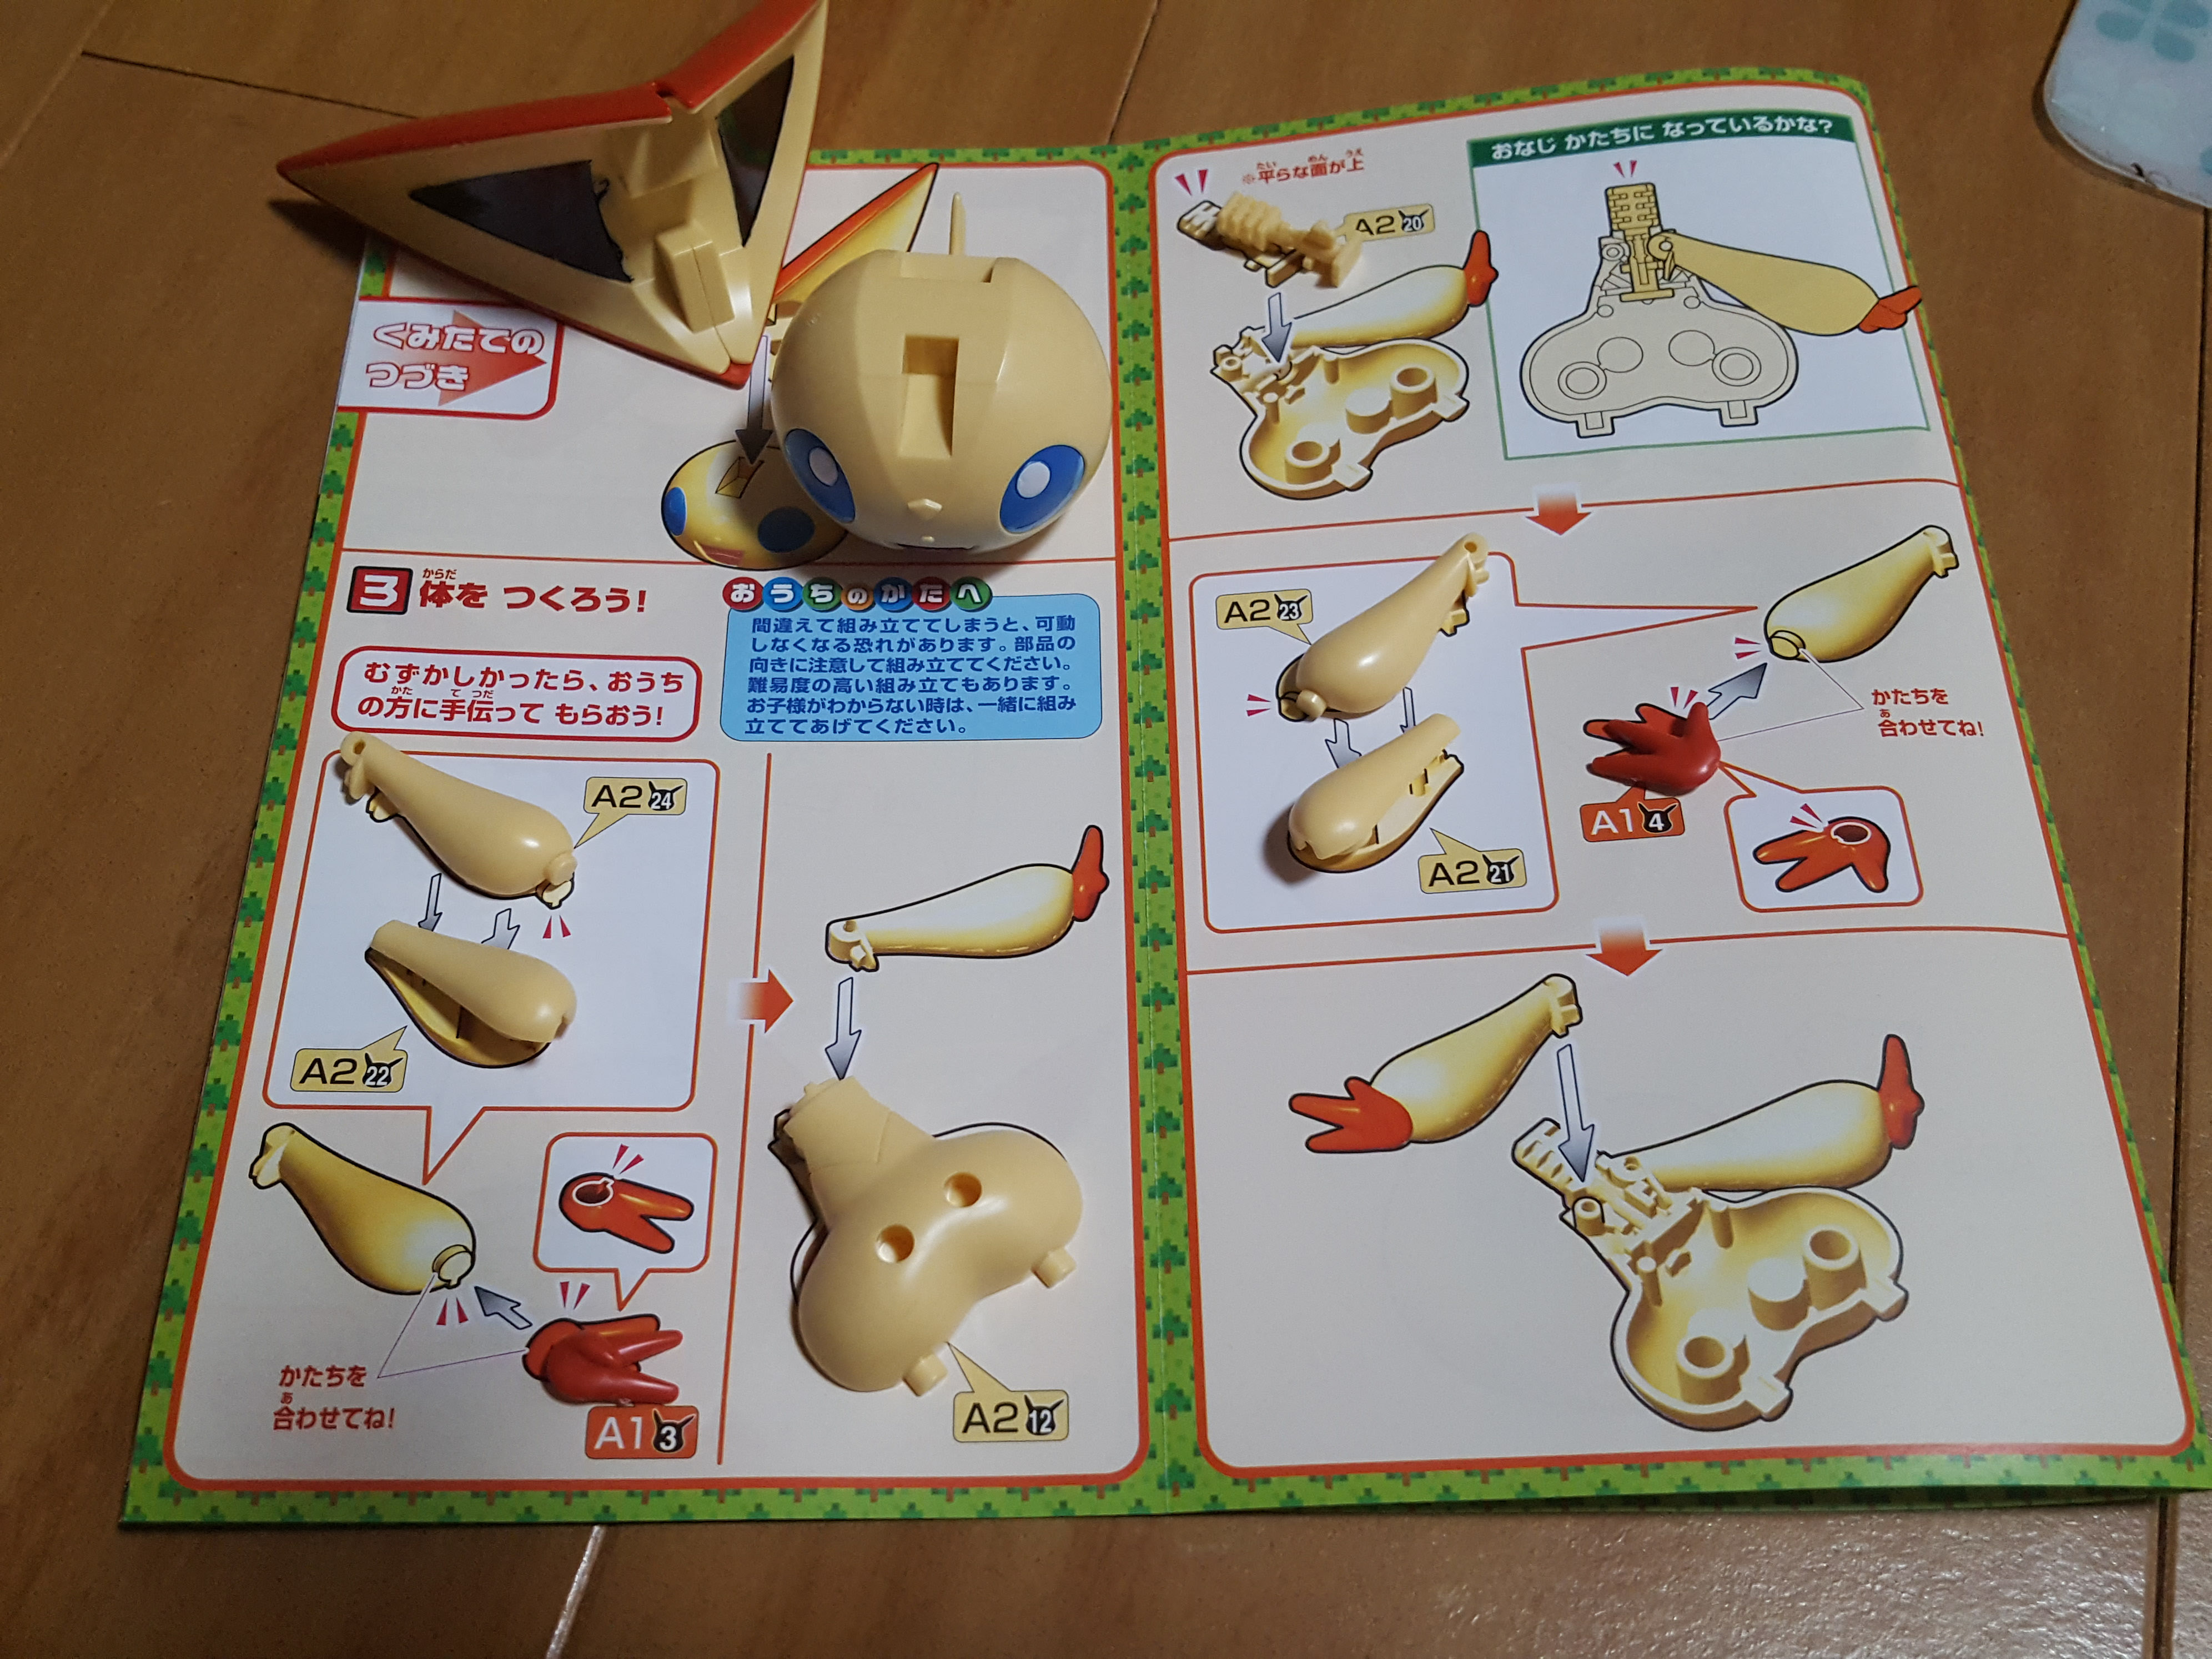
Next, we’re putting the head together and starting on the body and the wee little arms.
Looking sharp!
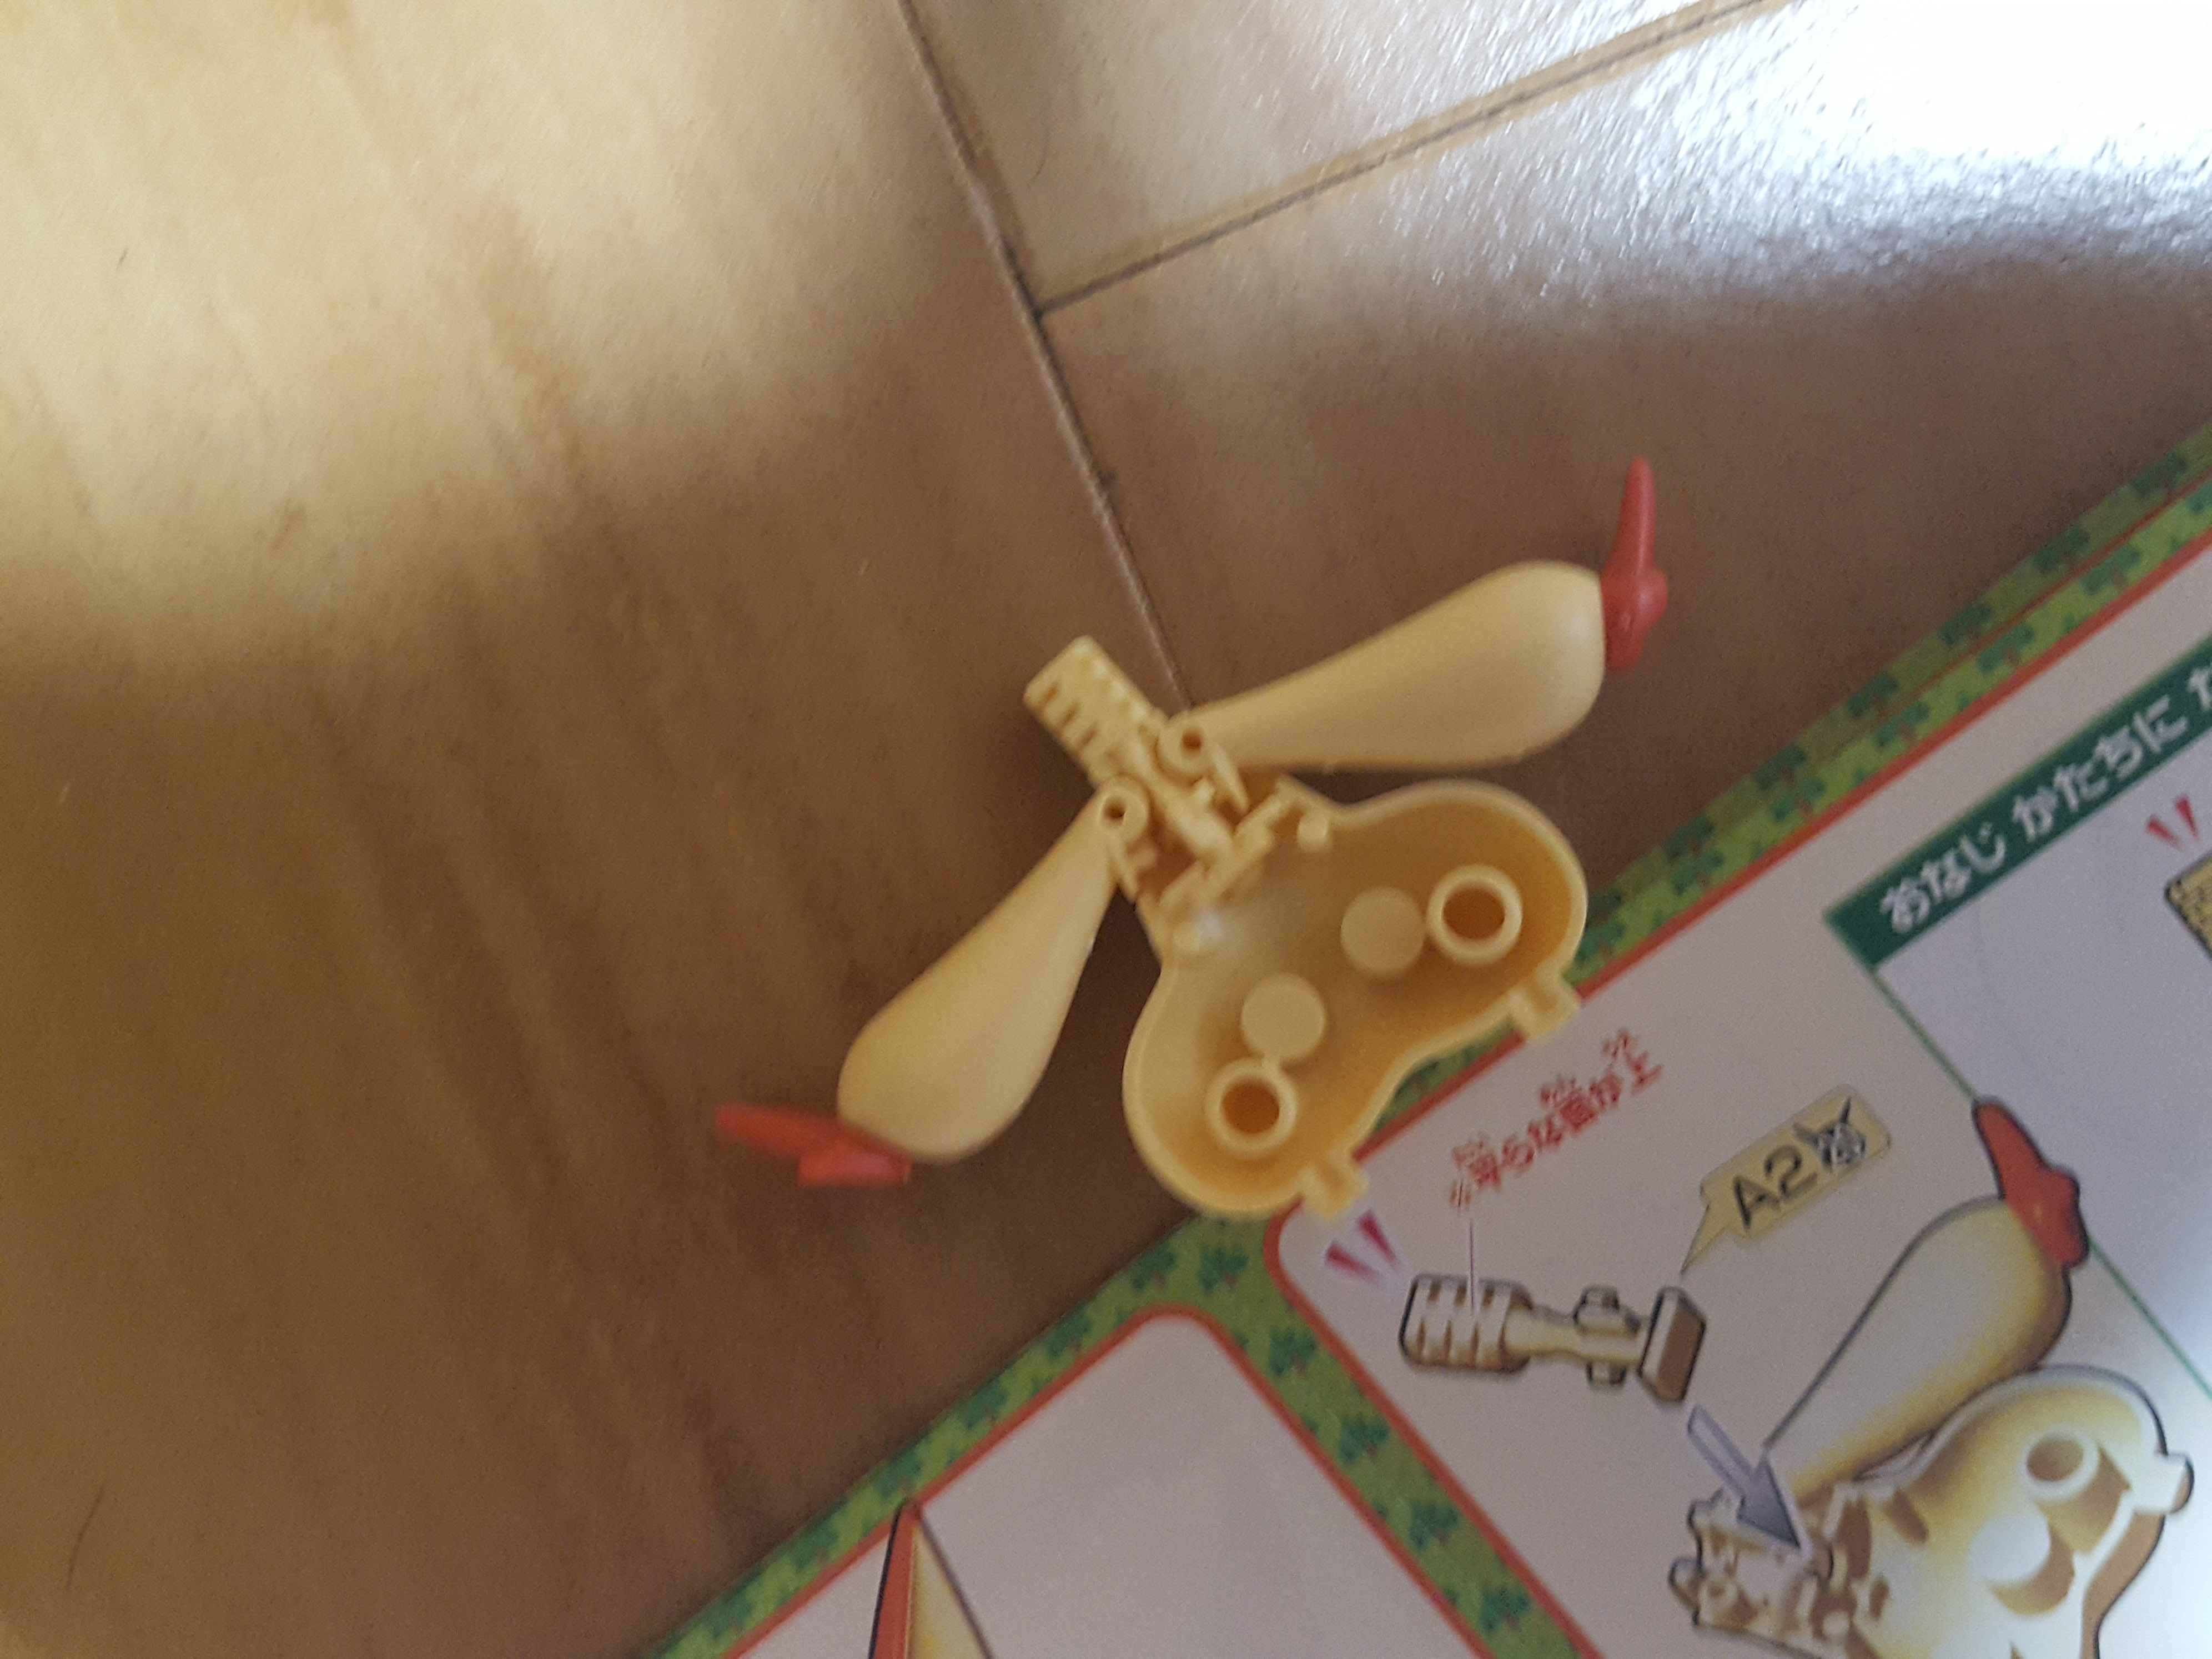
And the awkward looking body. You can see that there’s a gimmick here for the arms, the only real gimmick in the kit.
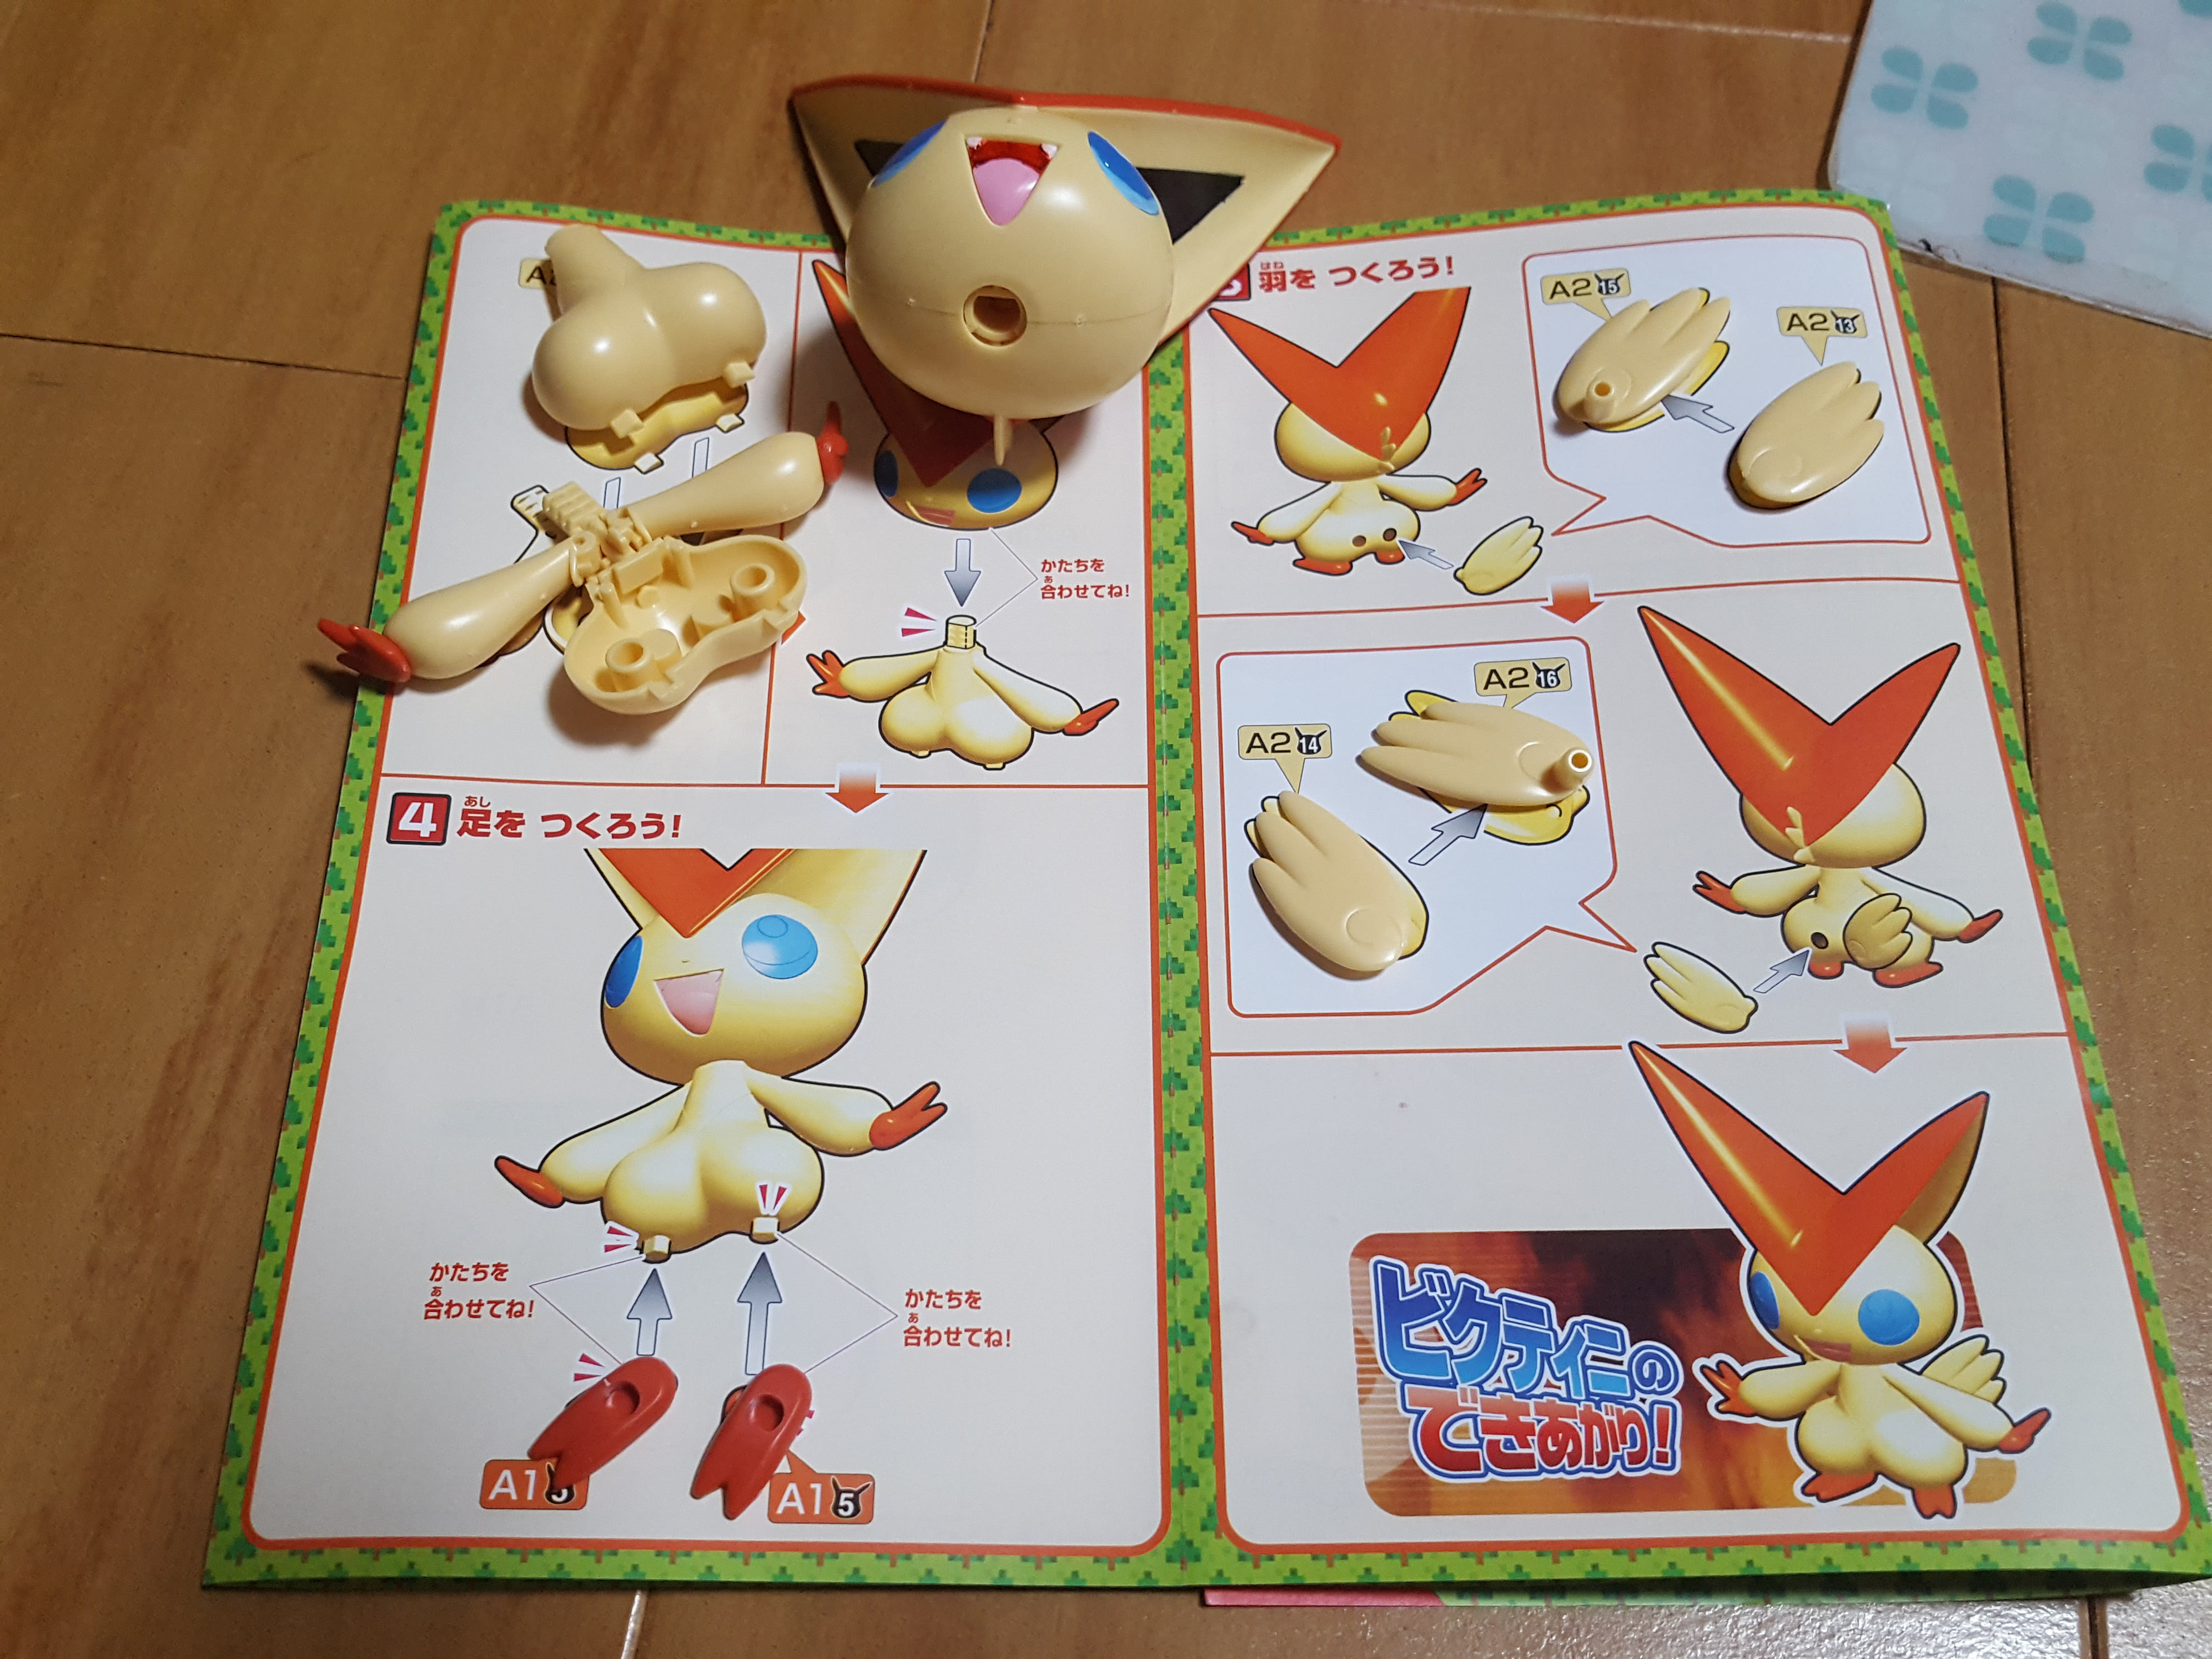
The last two pages of the build. There’s one more page after, but it’s just for the stickers.
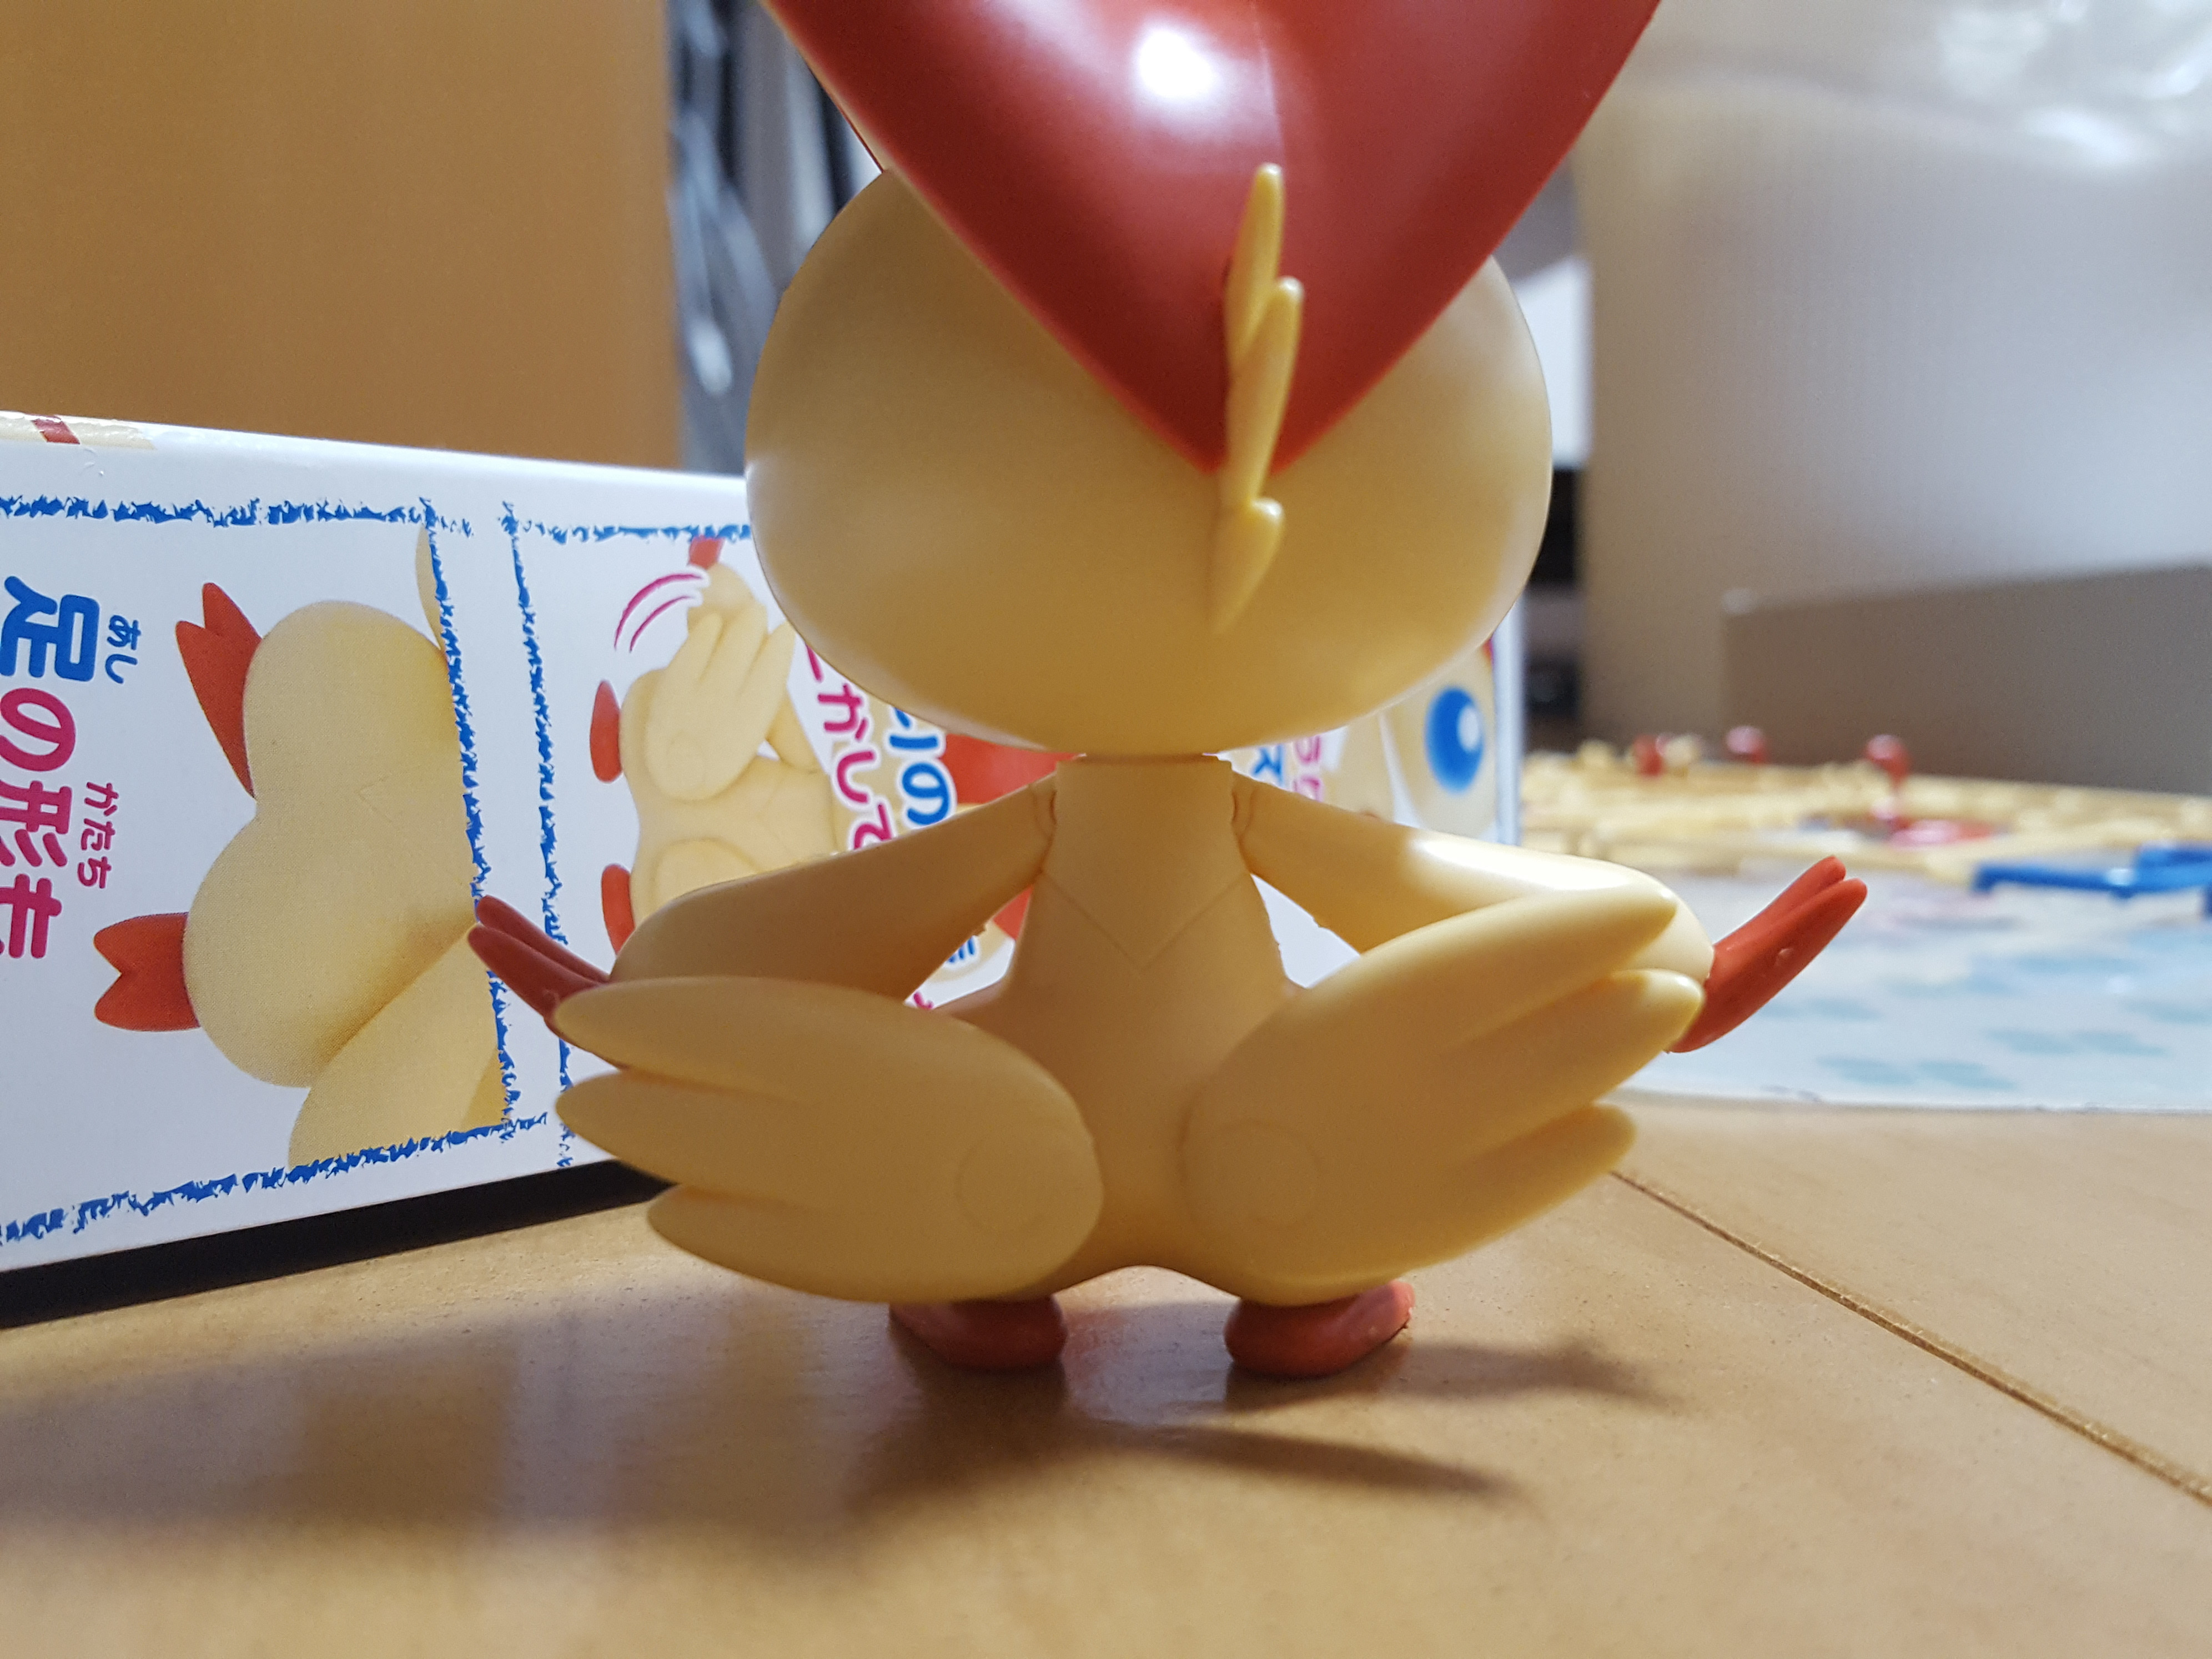
Here we’re just finishing the body and adding (adorable) butt wings.
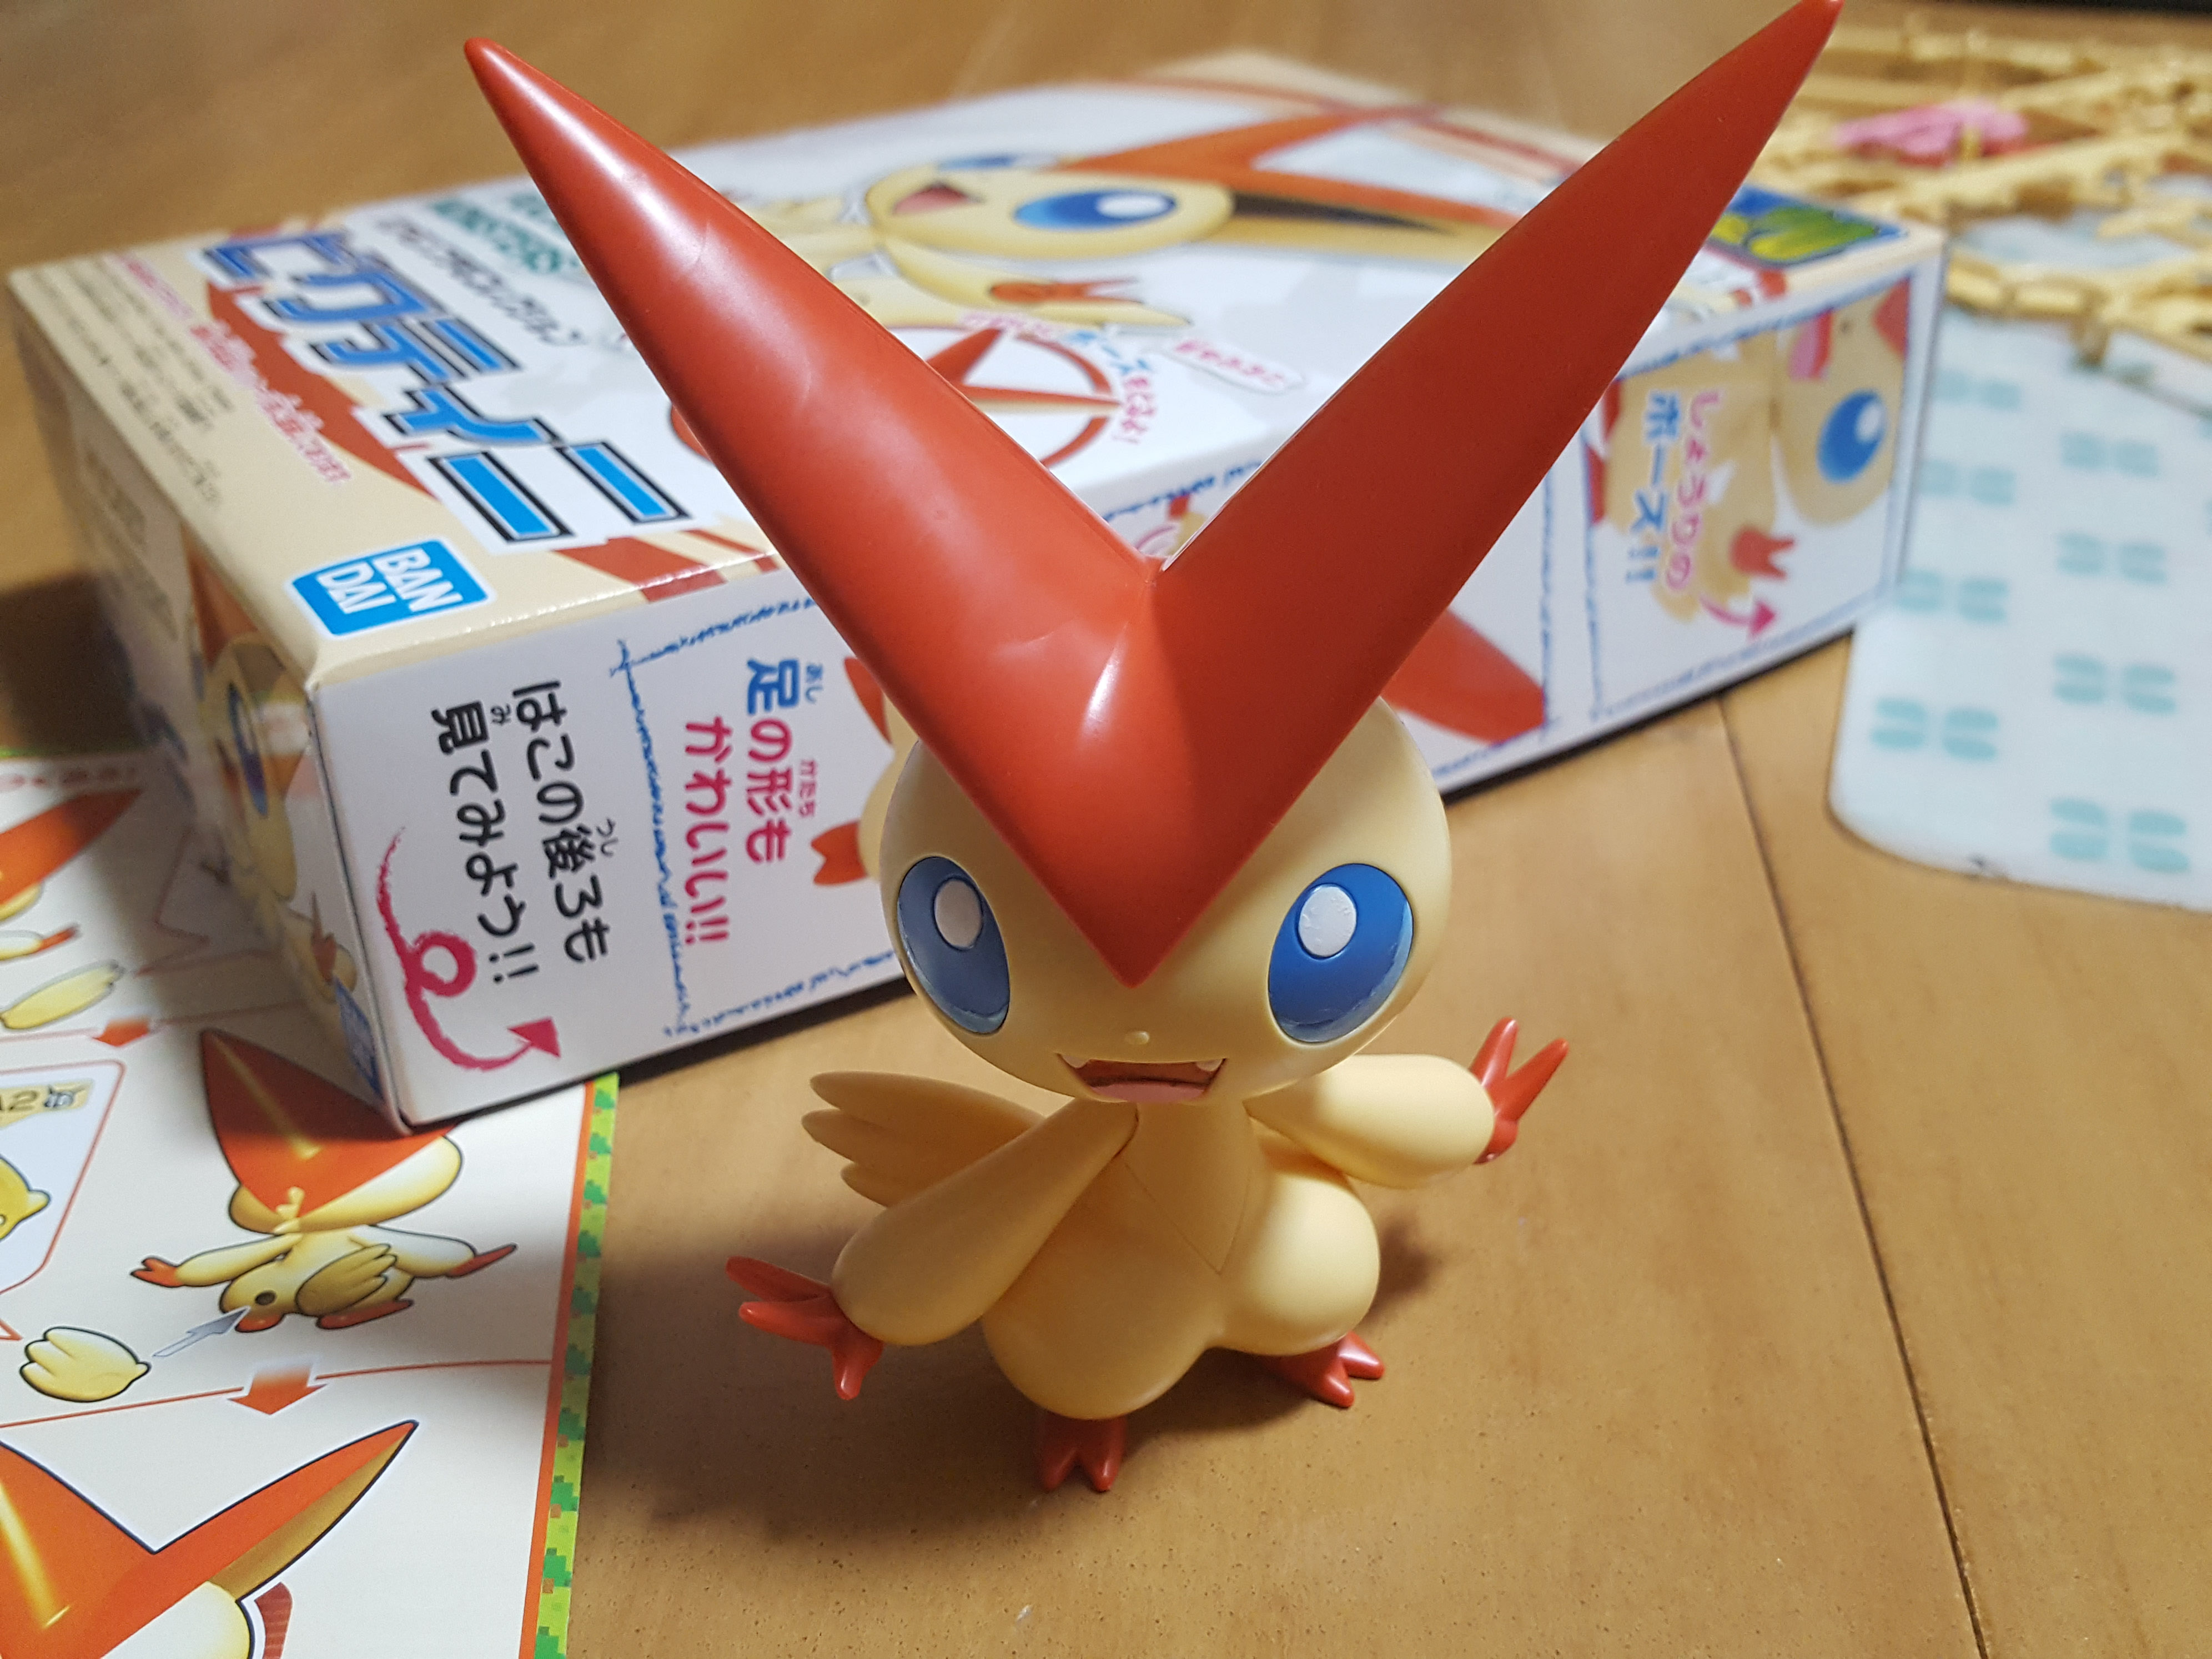
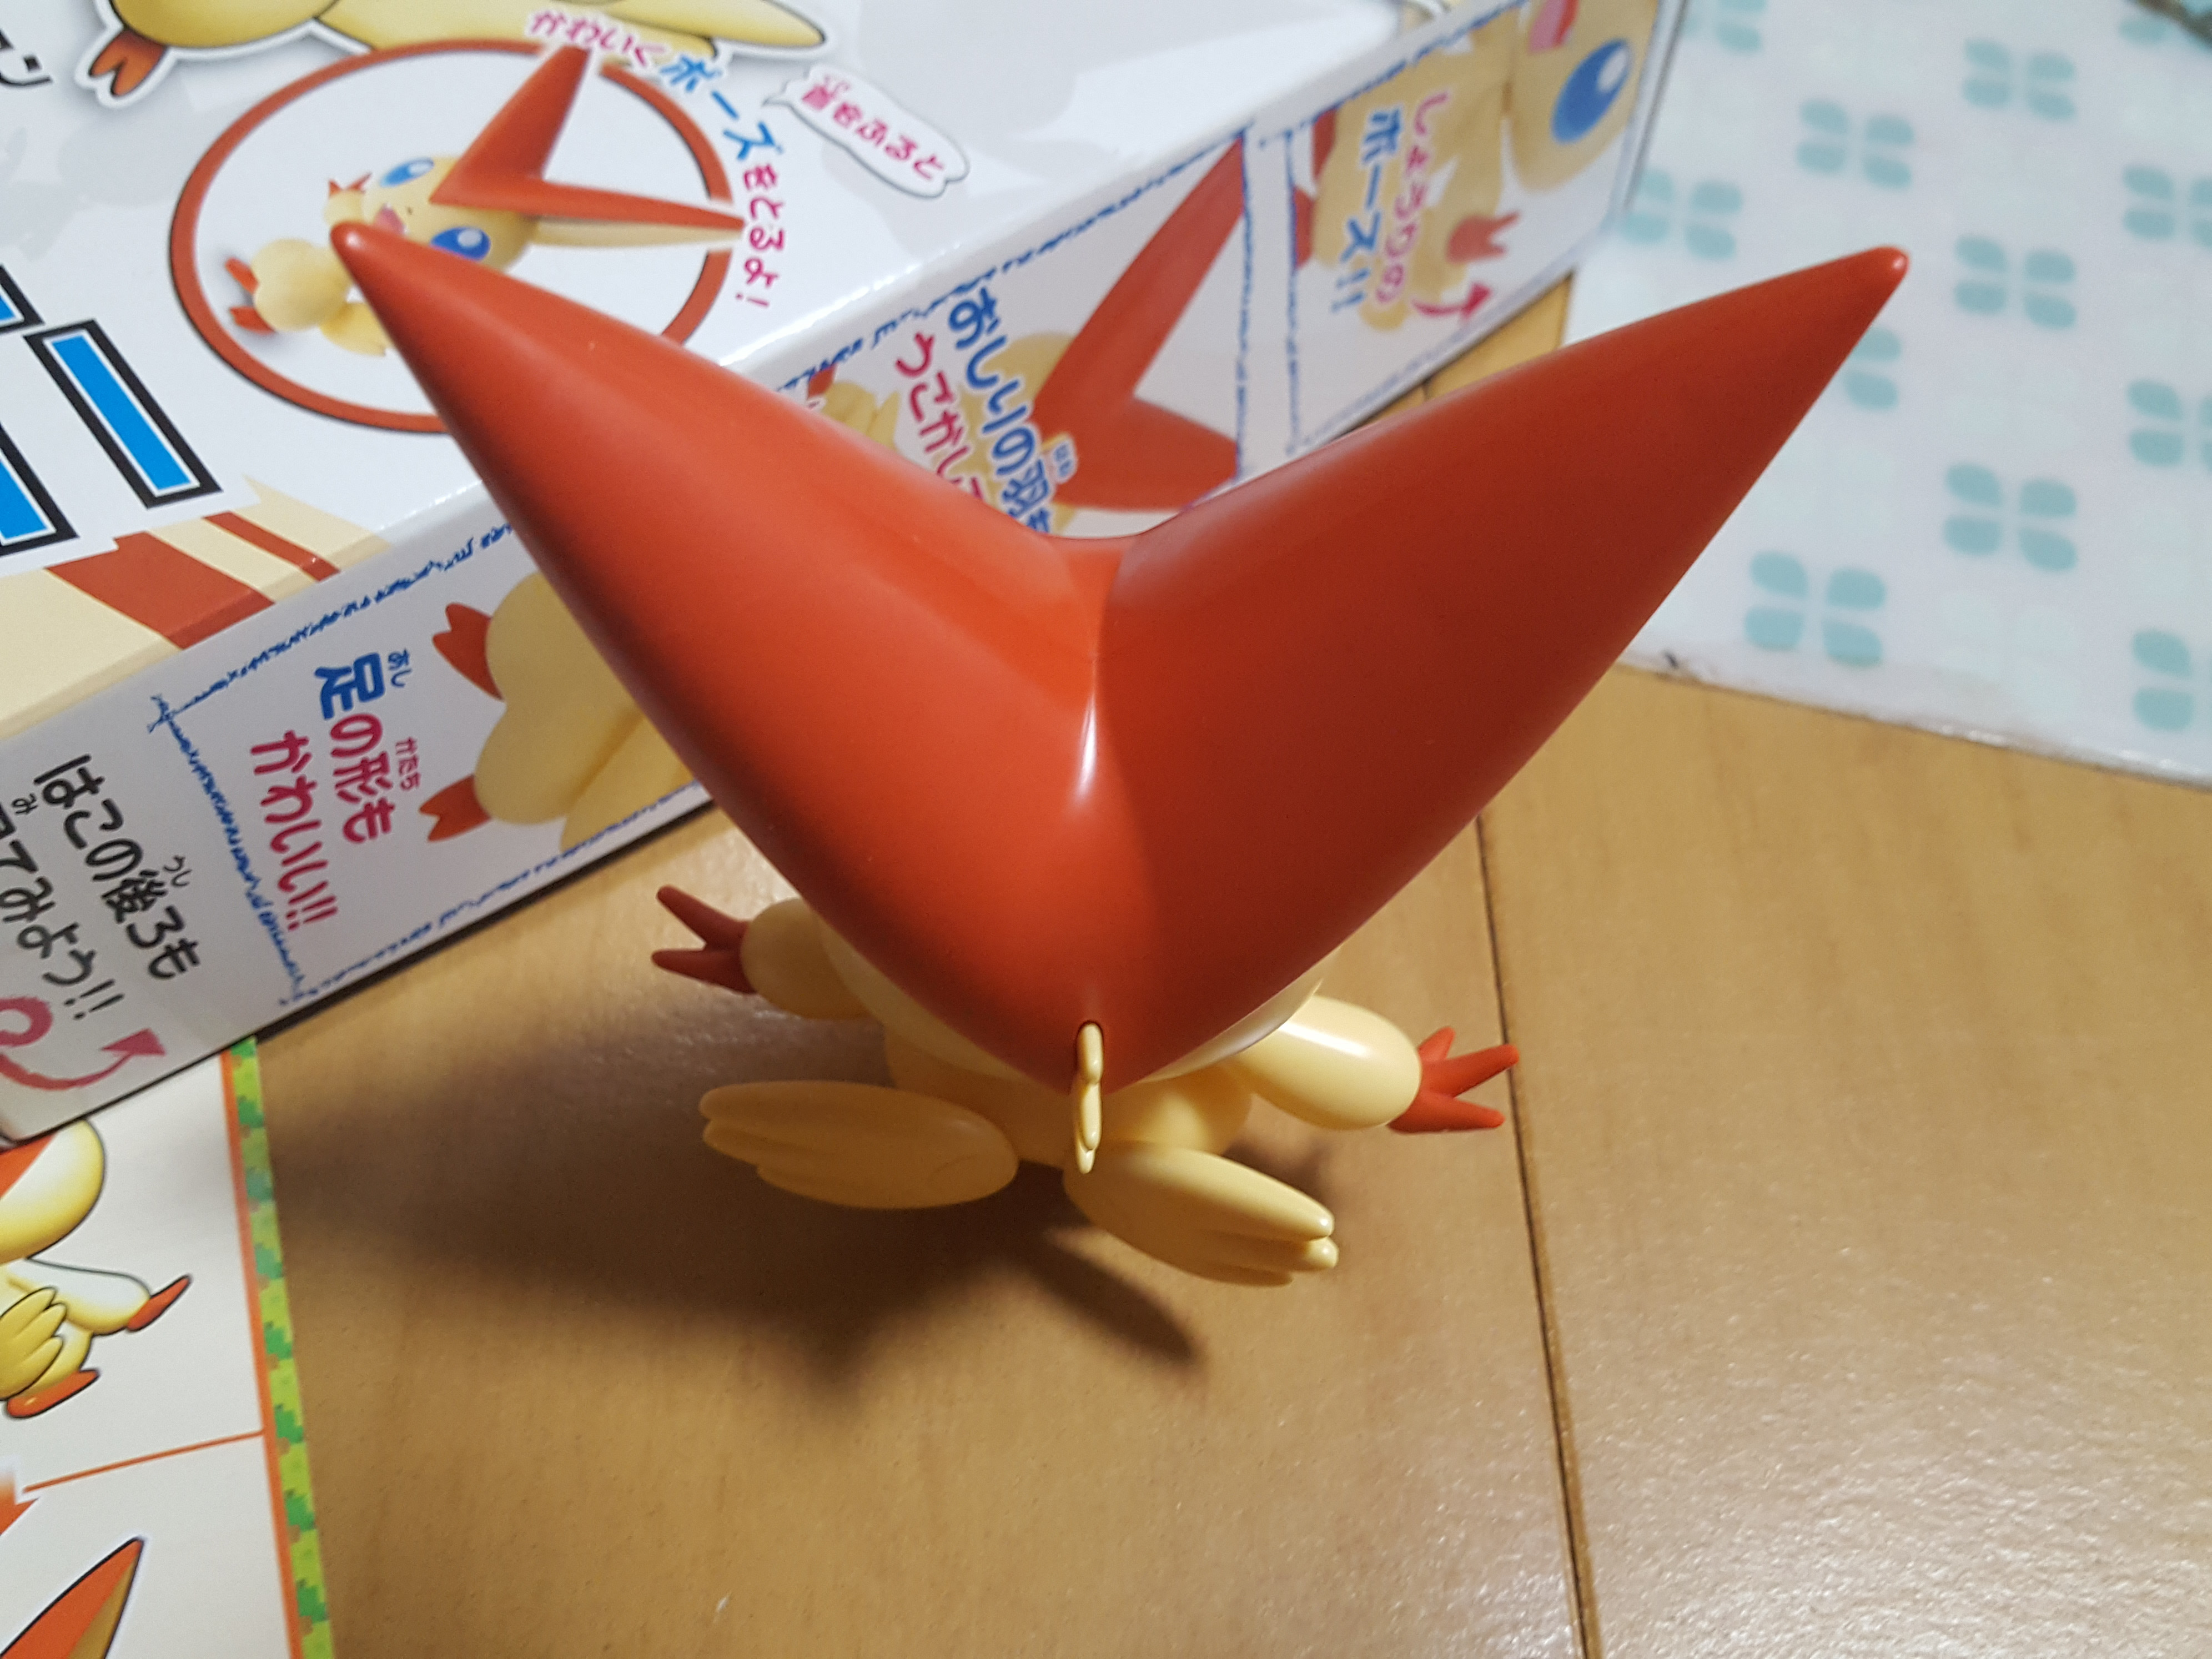
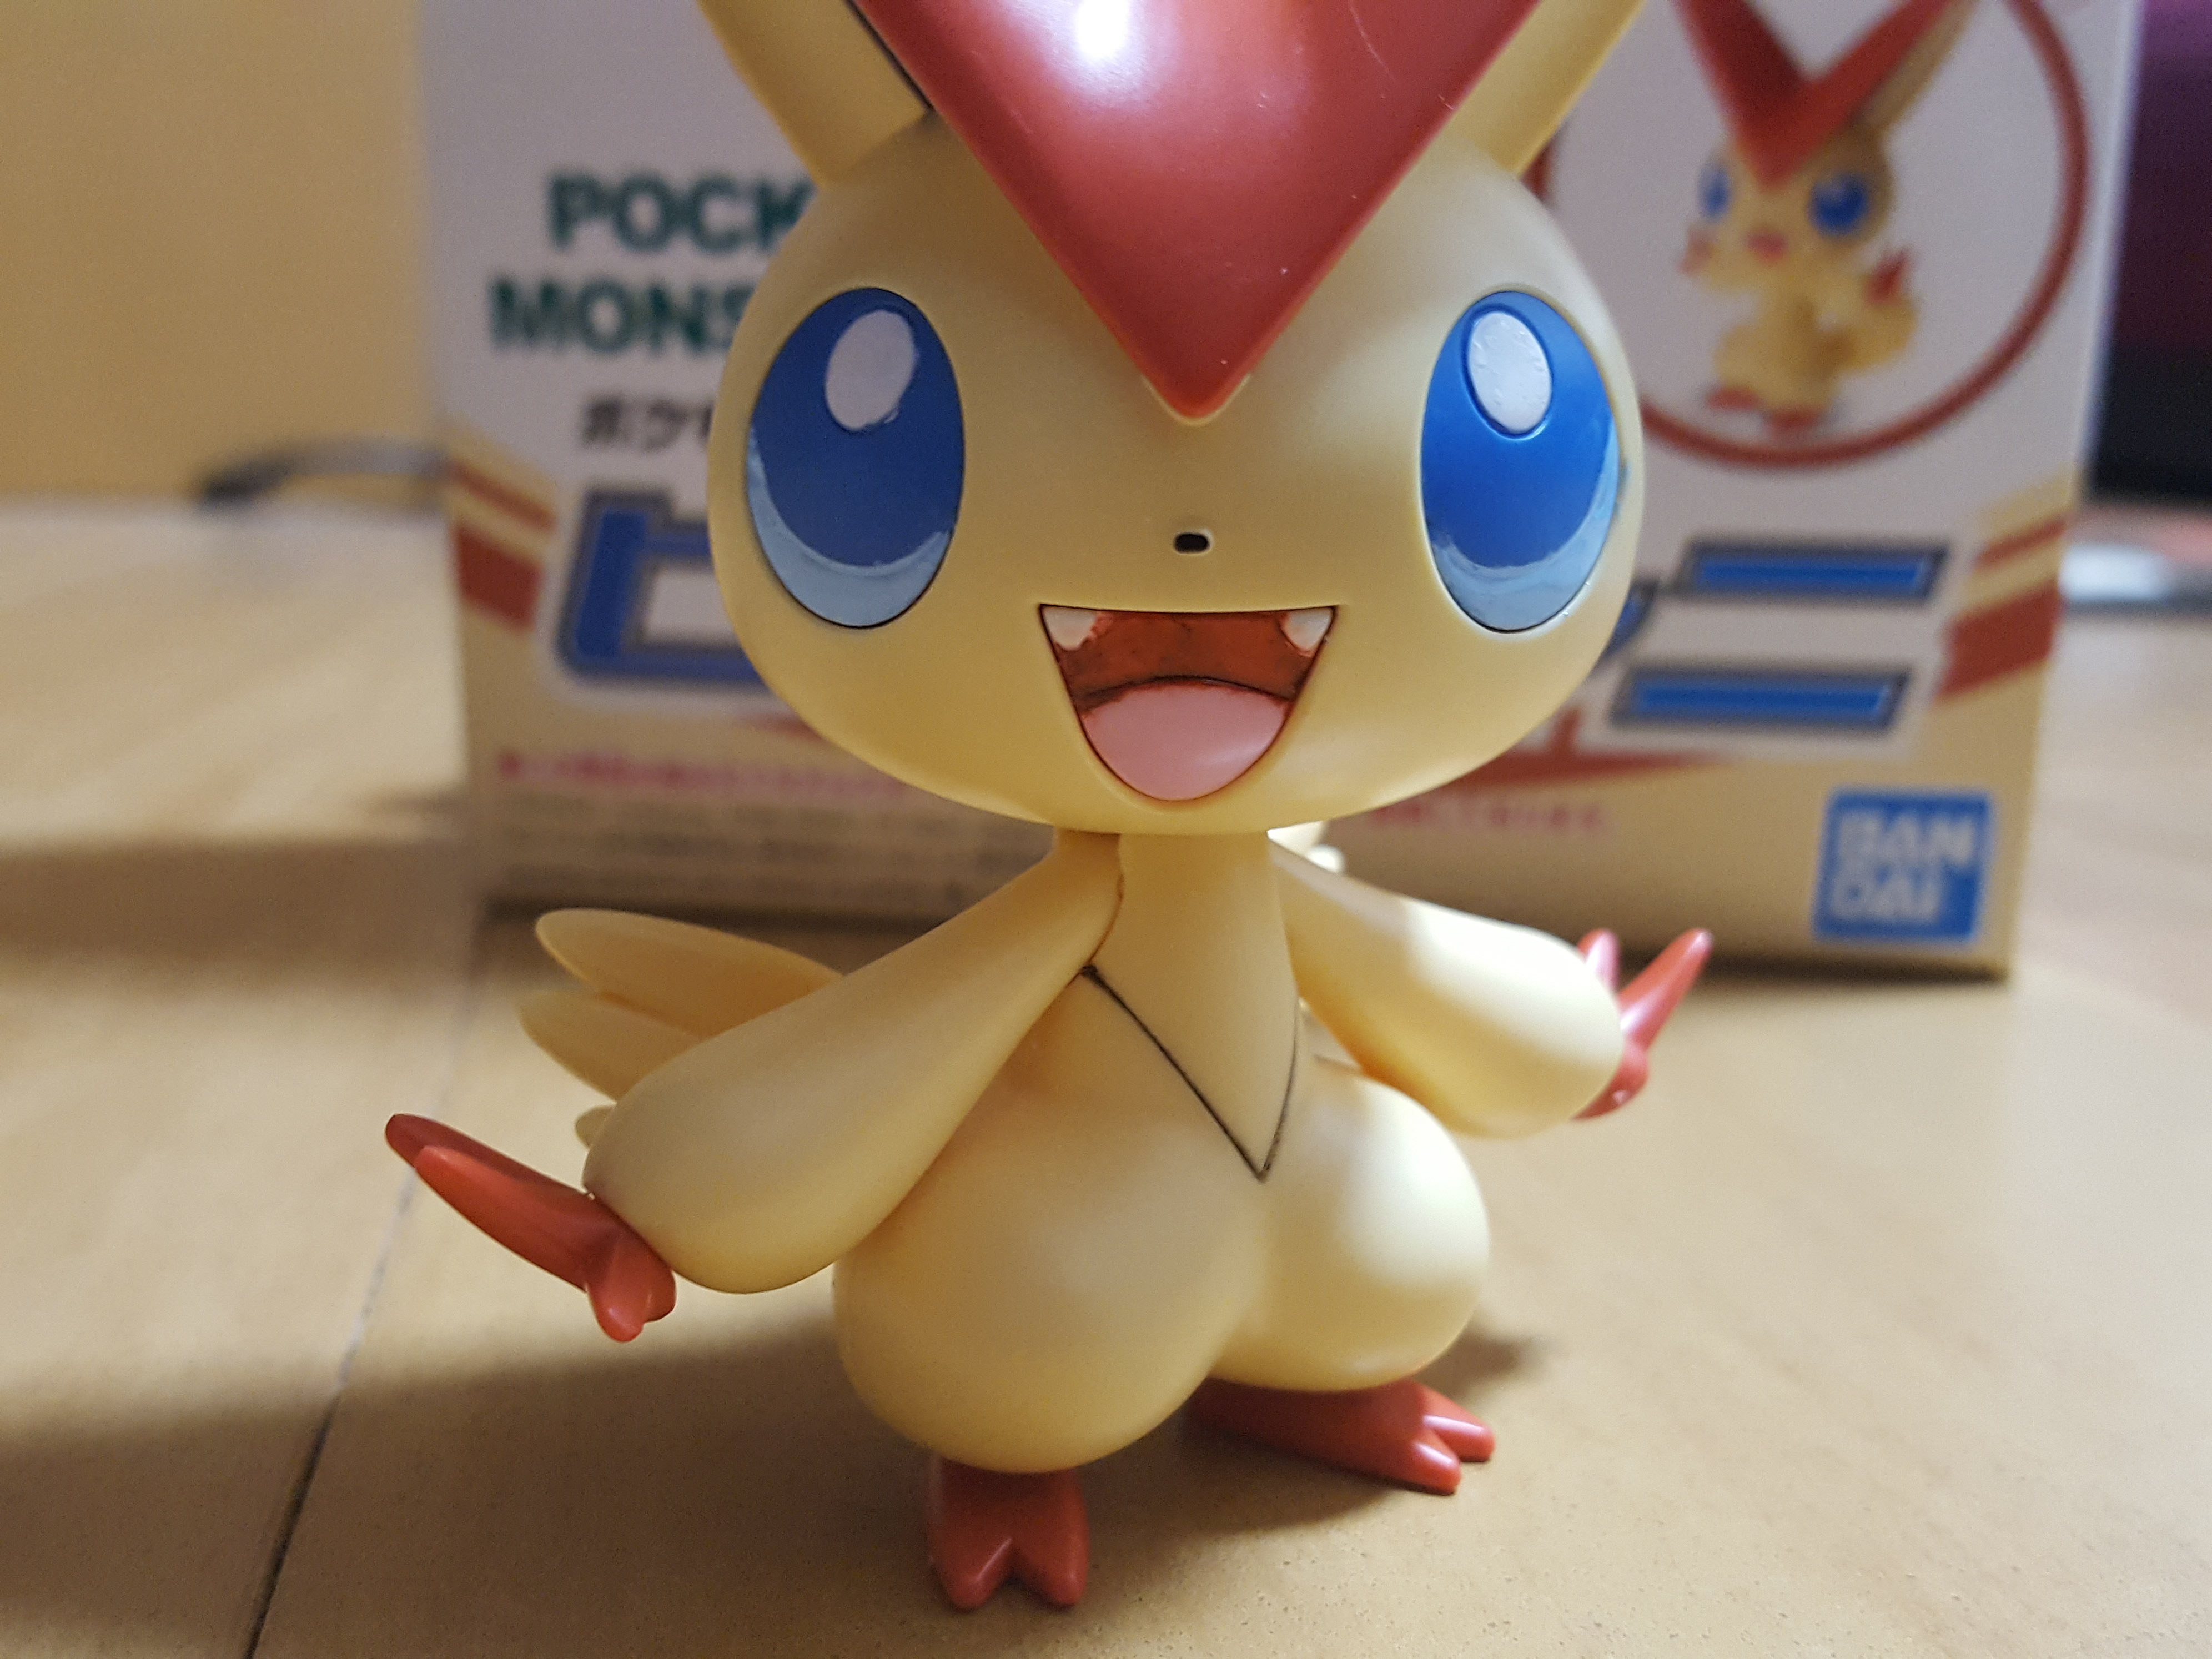
The precious child is finished!
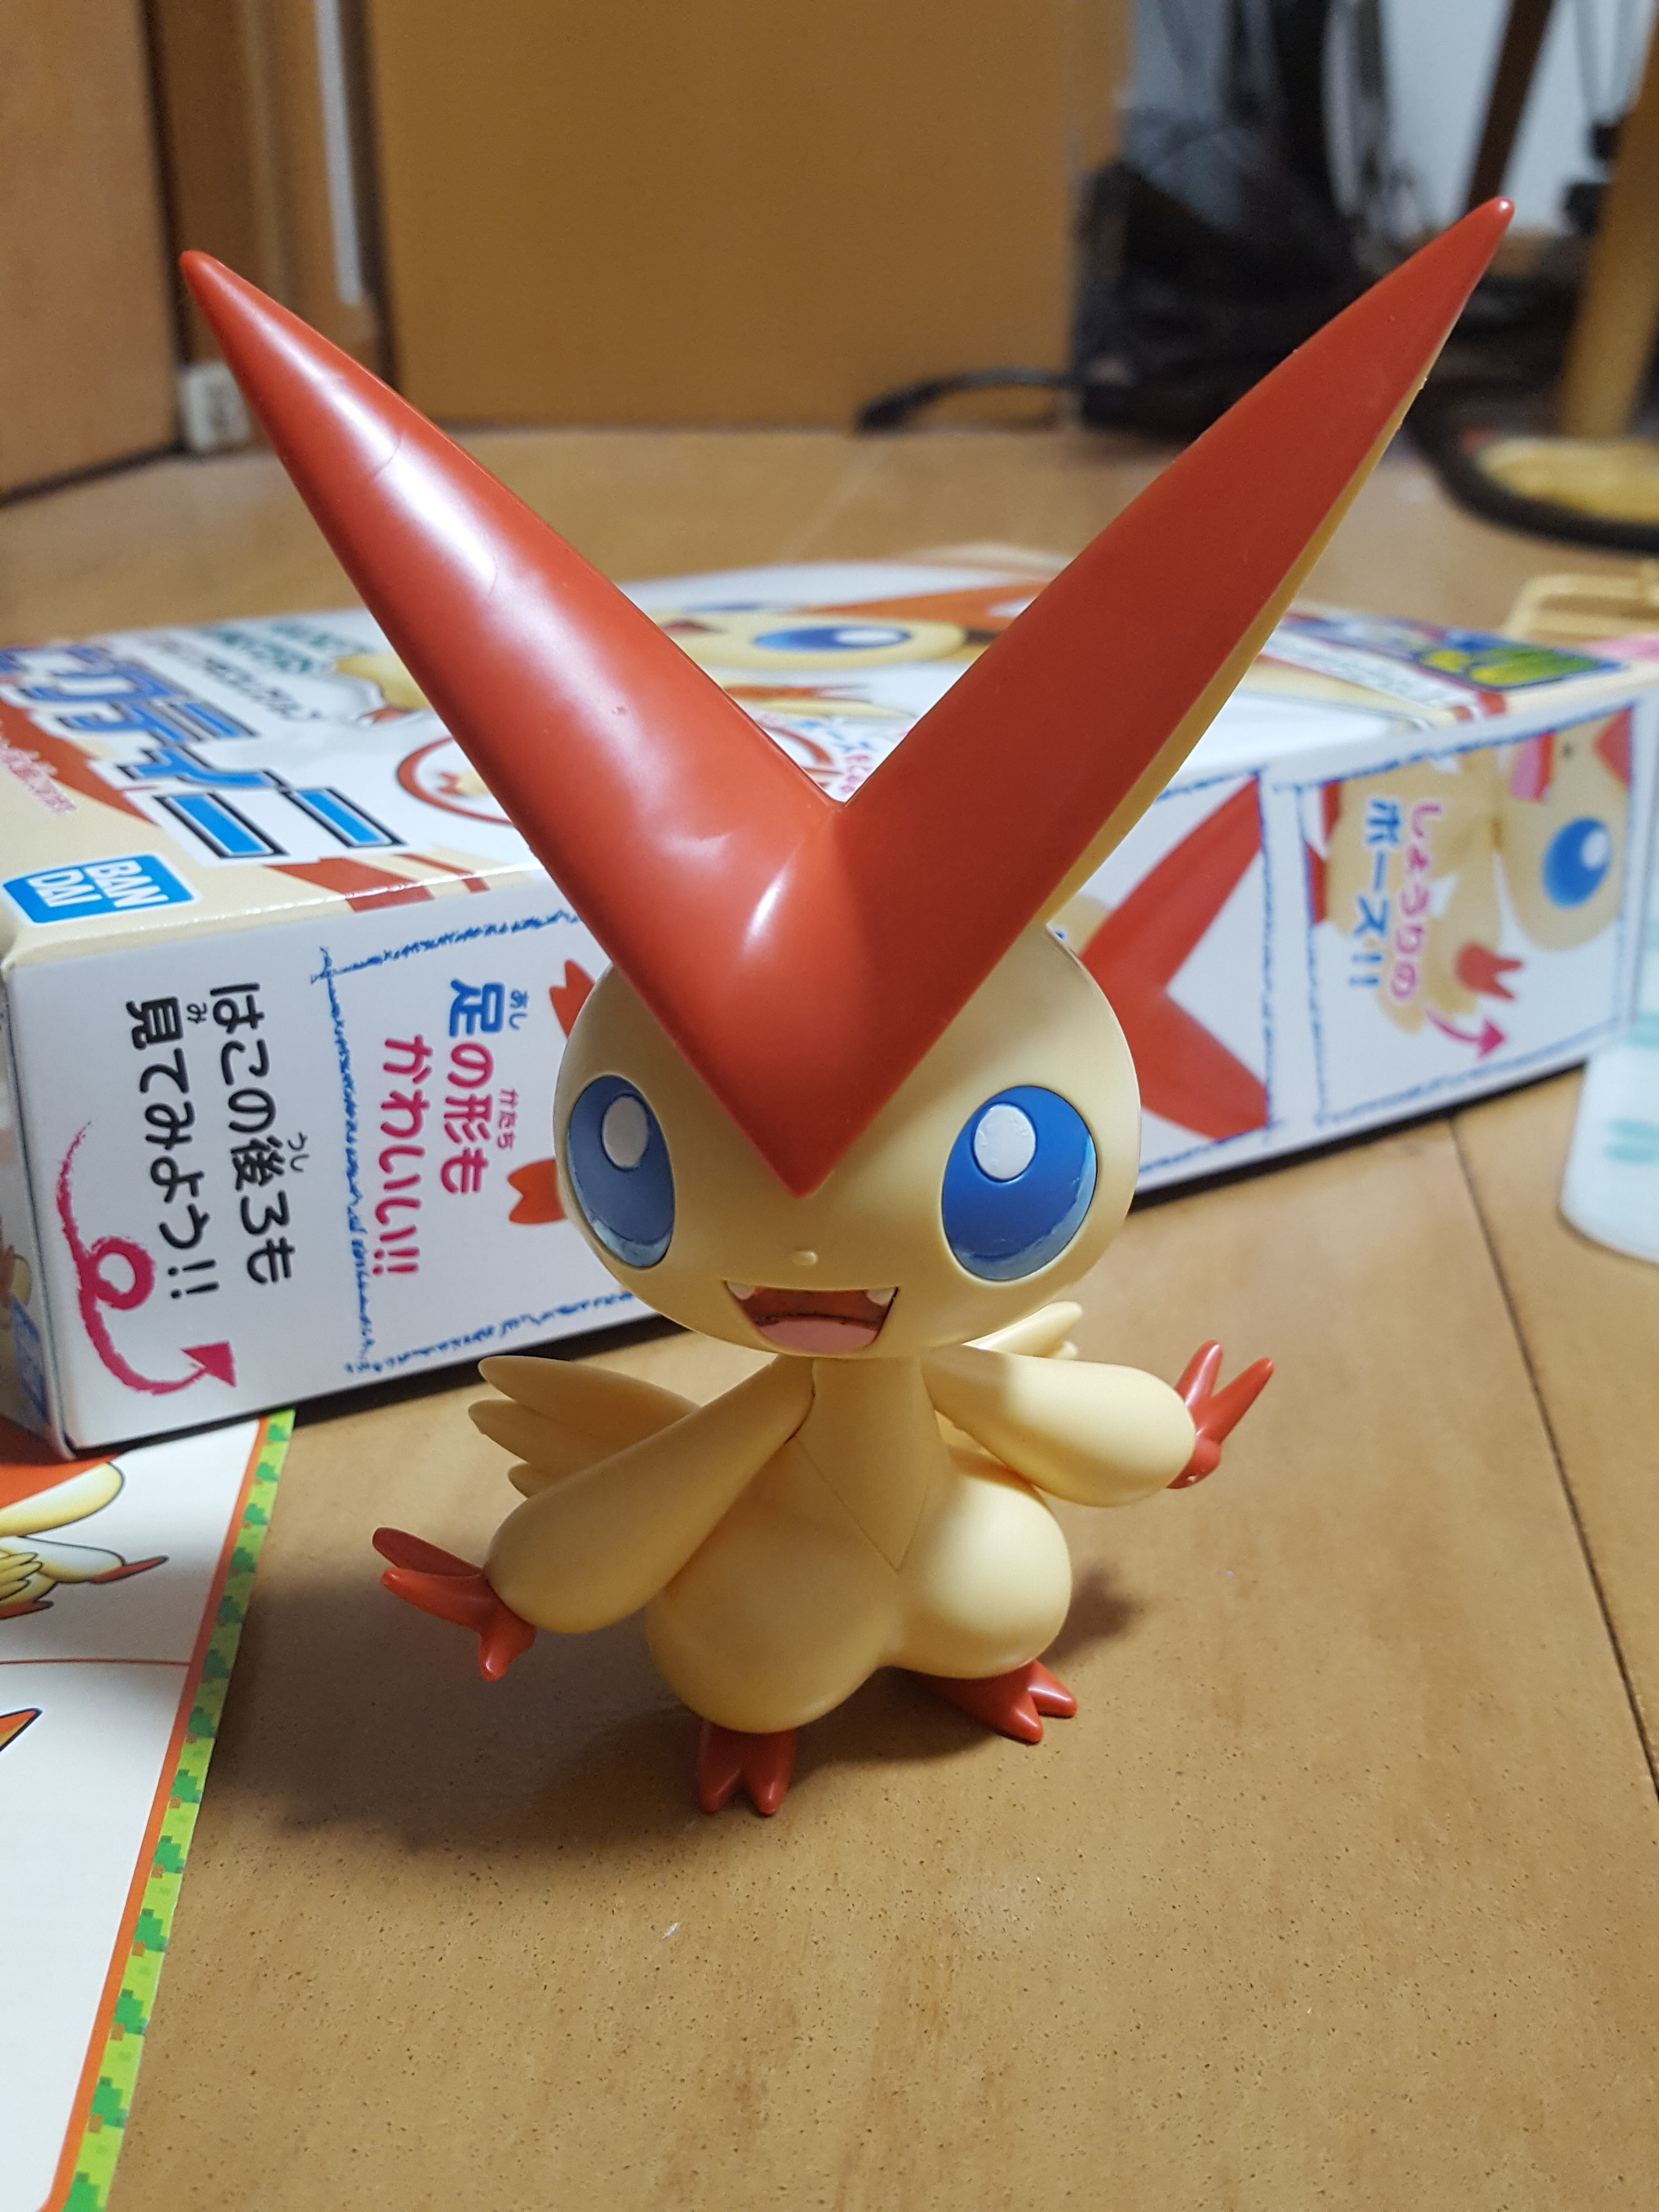
It’s not a bad build. I really like the color separation on this kit. Sure, it’s a simple kit, but because there aren’t as many parts to focus on Bandai was able to do better with fewer parts, I think!
The gimmick we saw before is simple: turn Victini’s head to the right and the arms lift up into a T pose. It’s pretty cute, but I’m good with the relaxed arm pose.
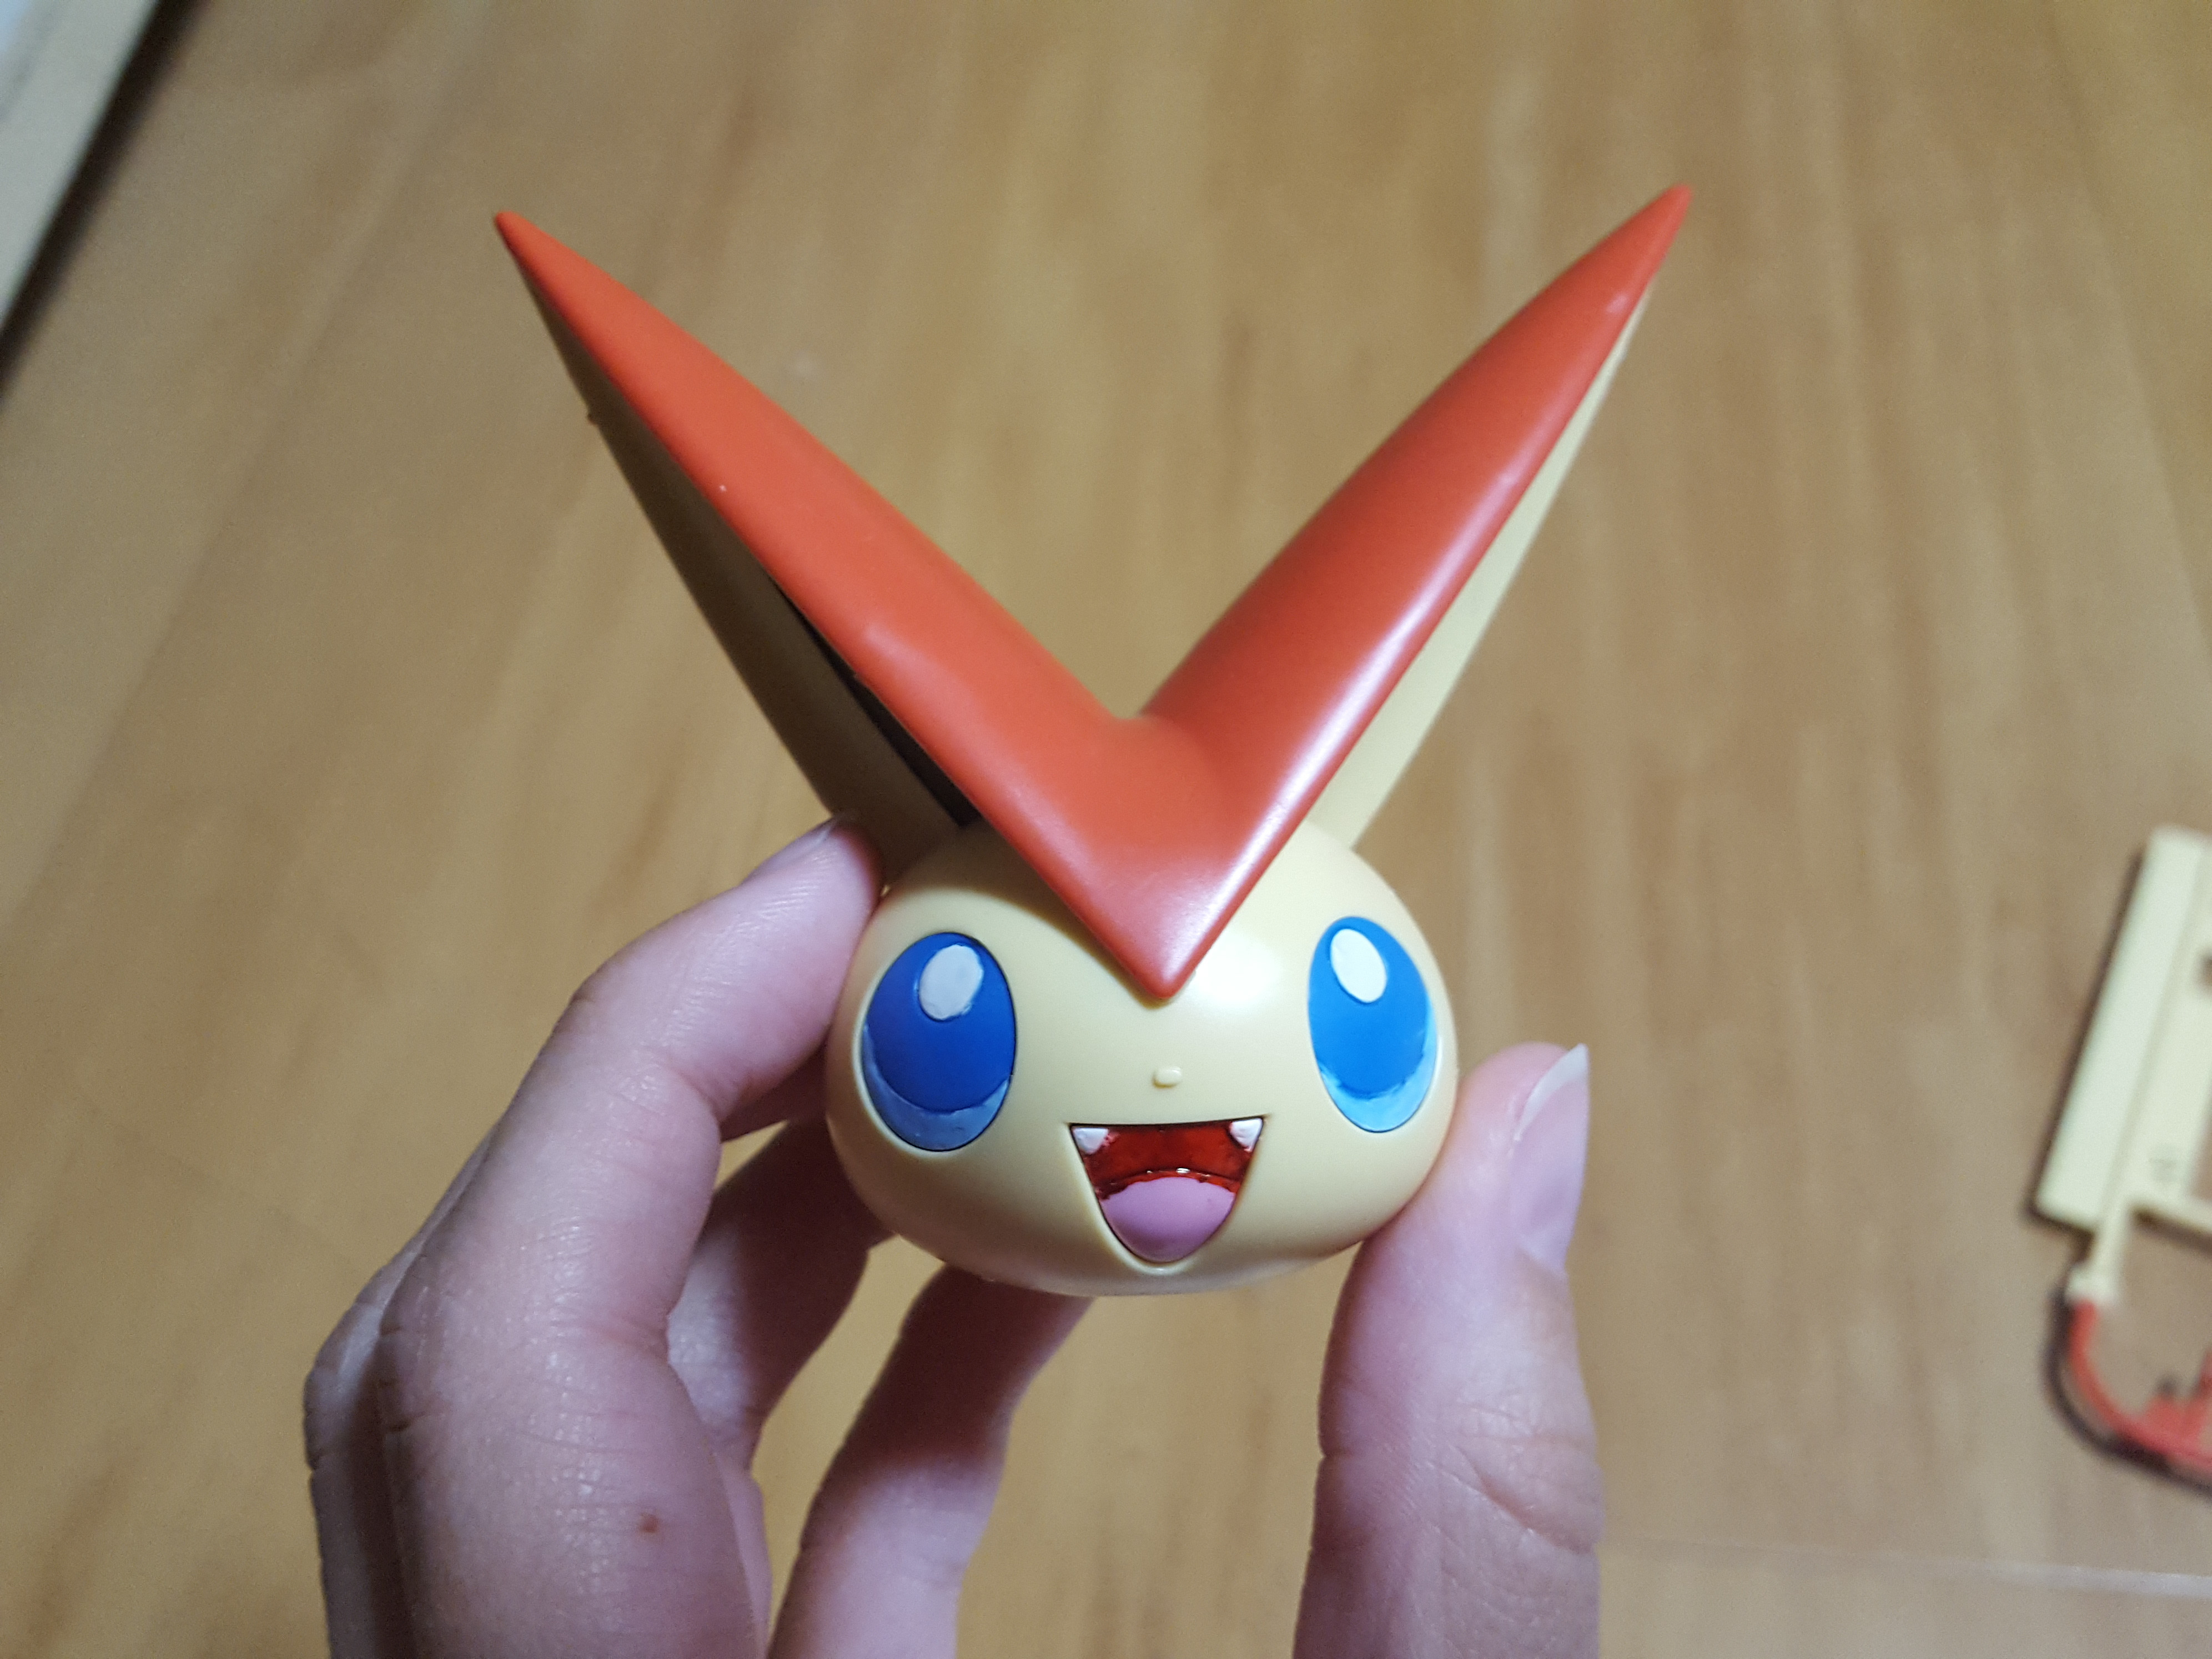
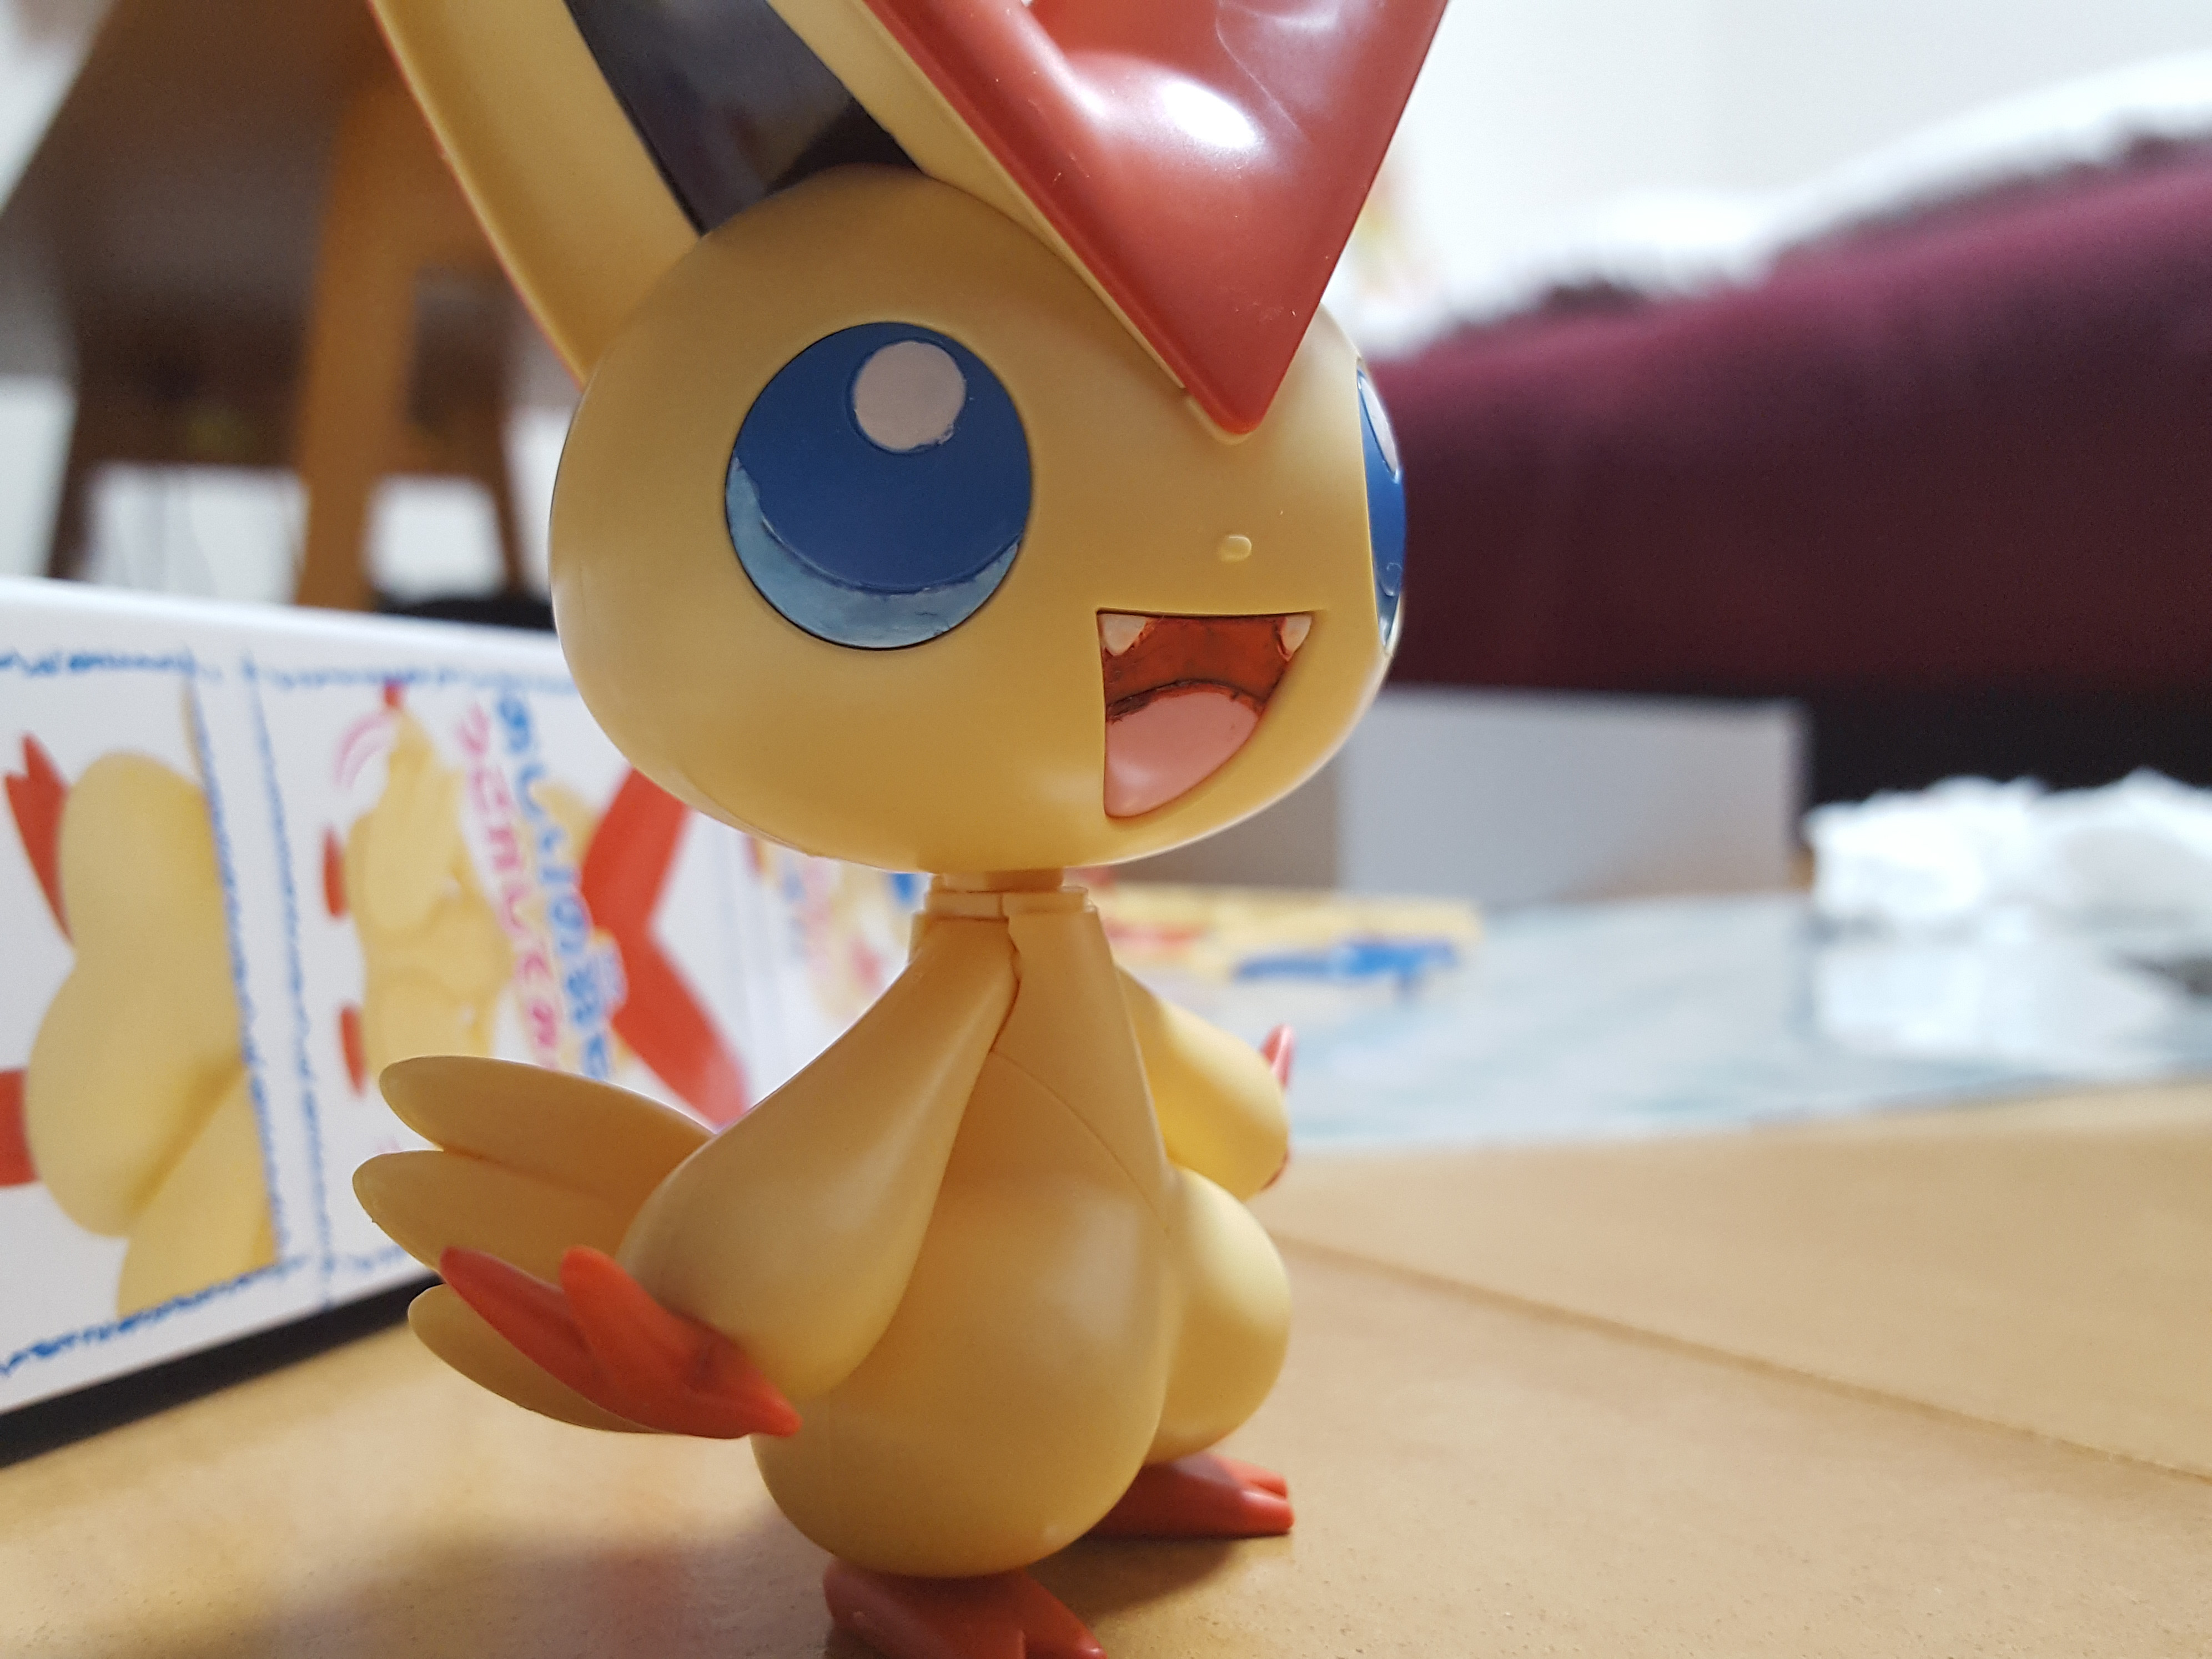
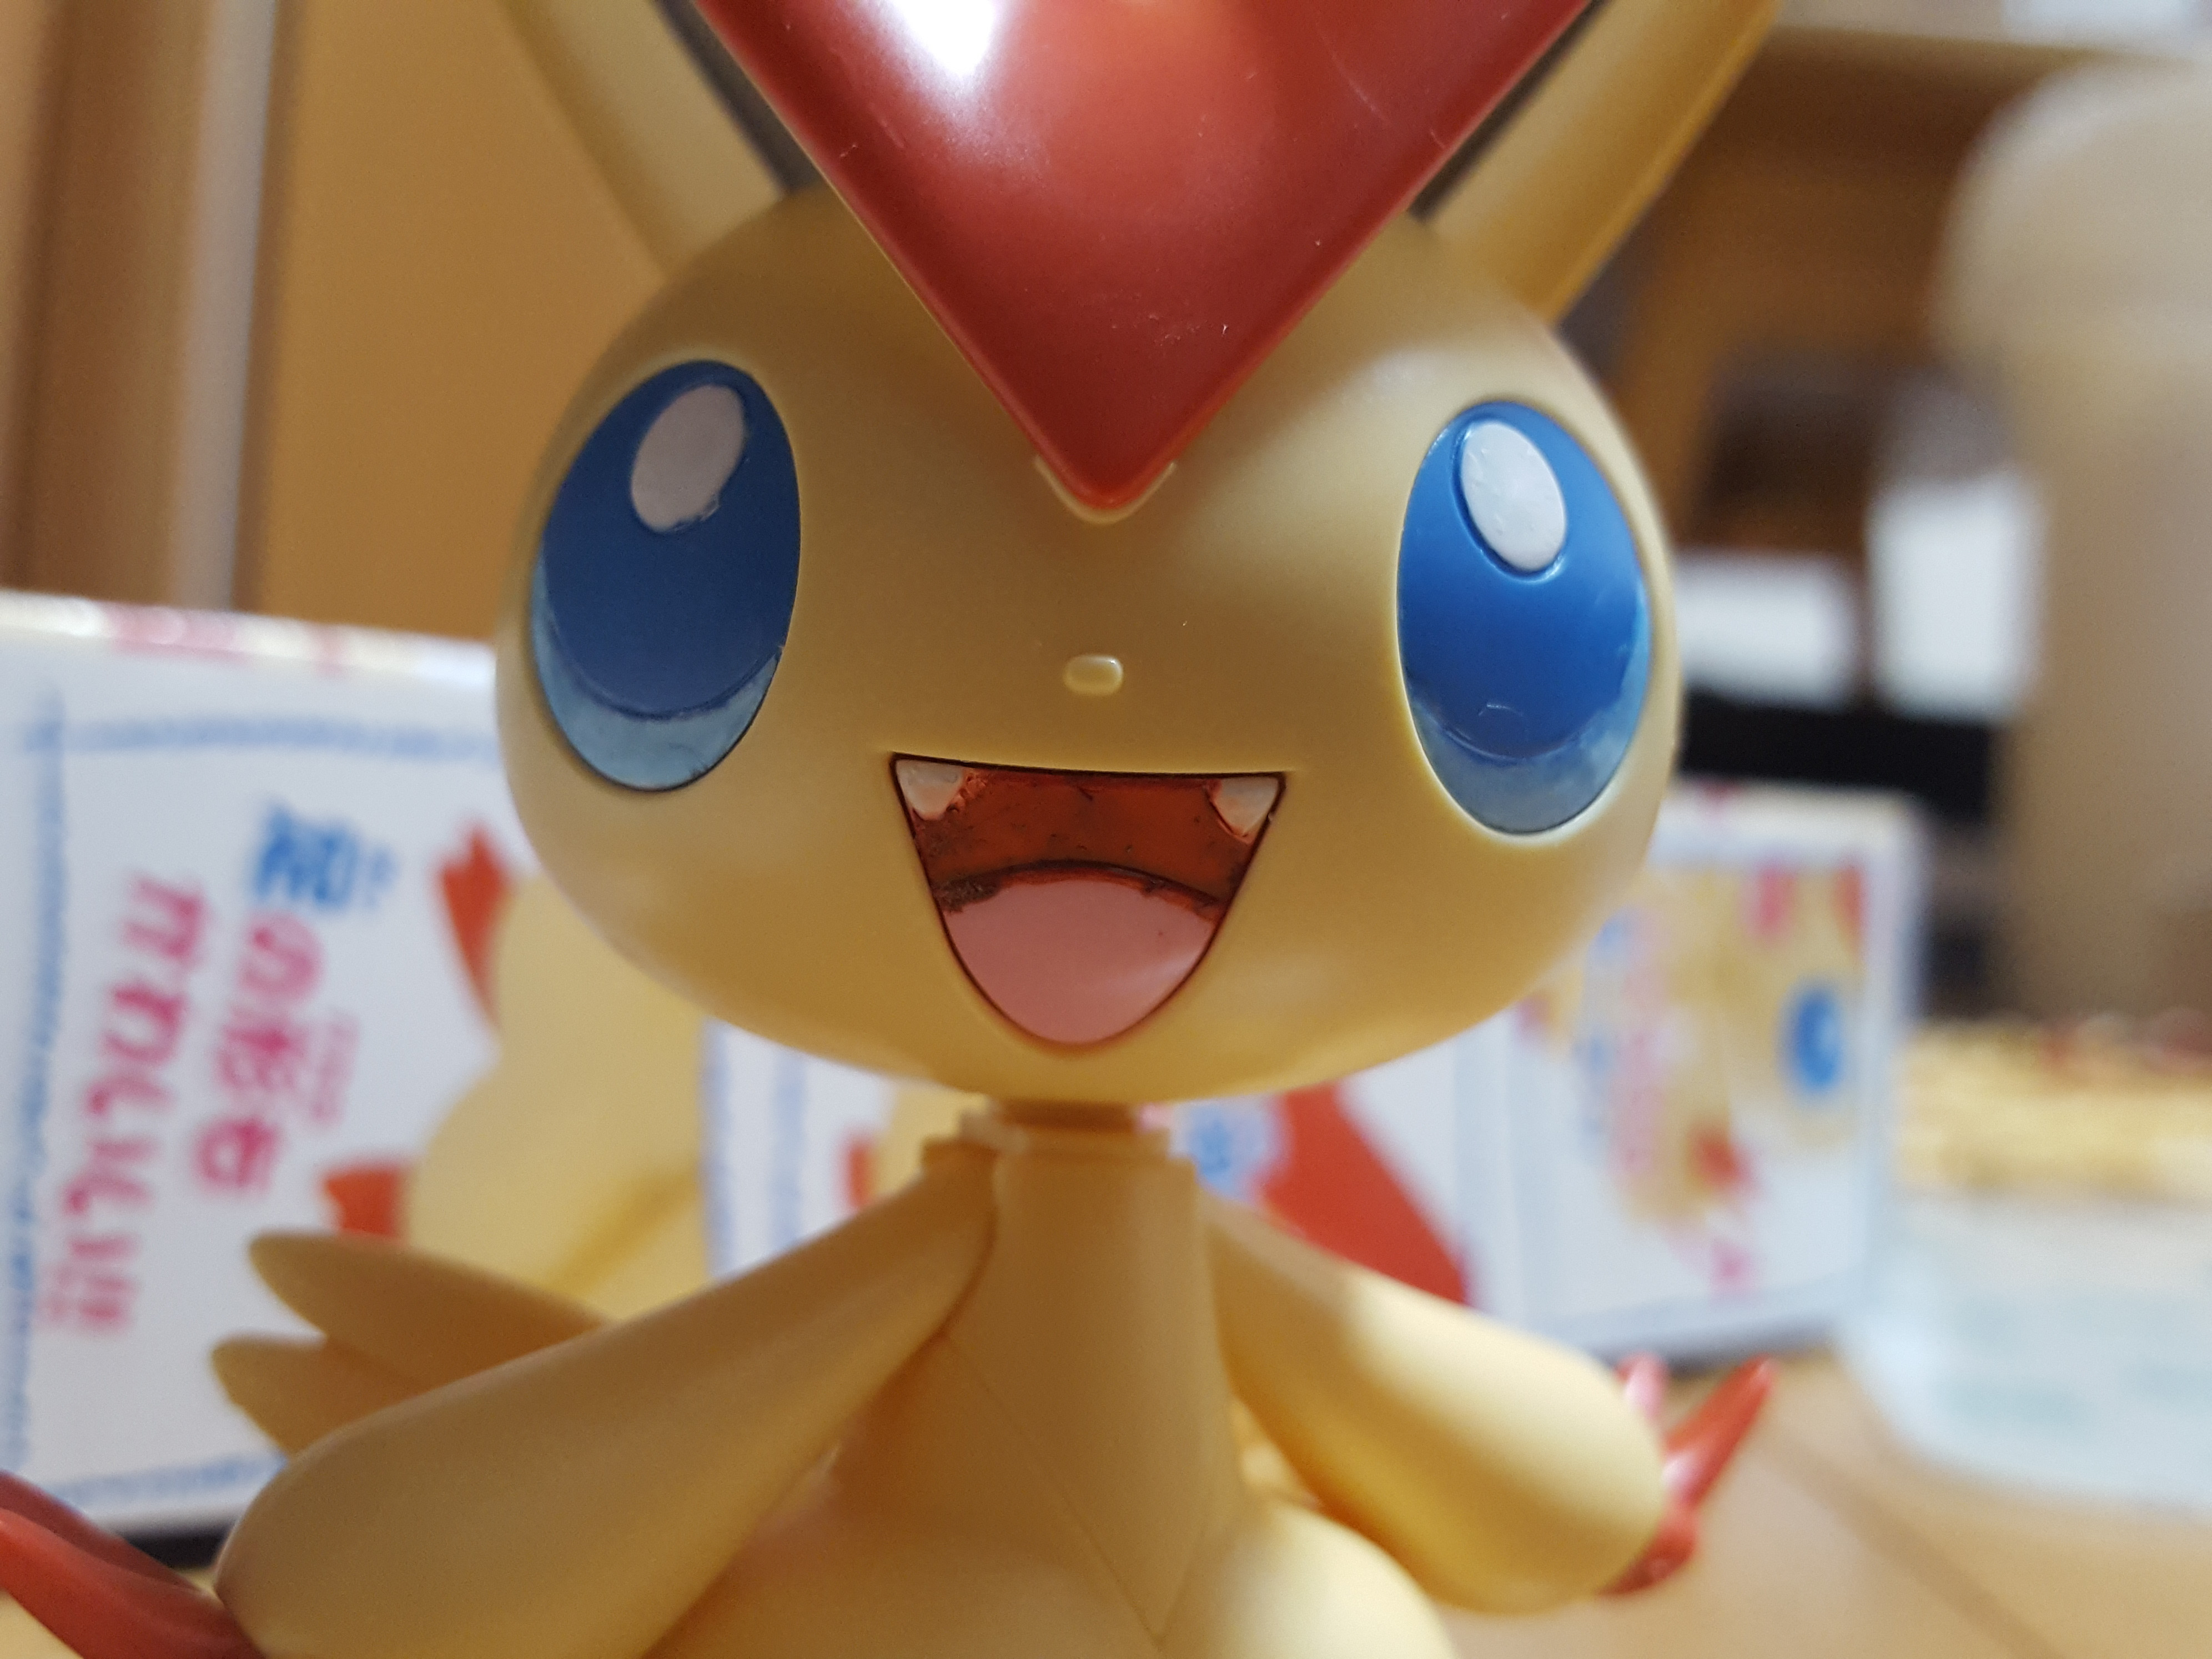
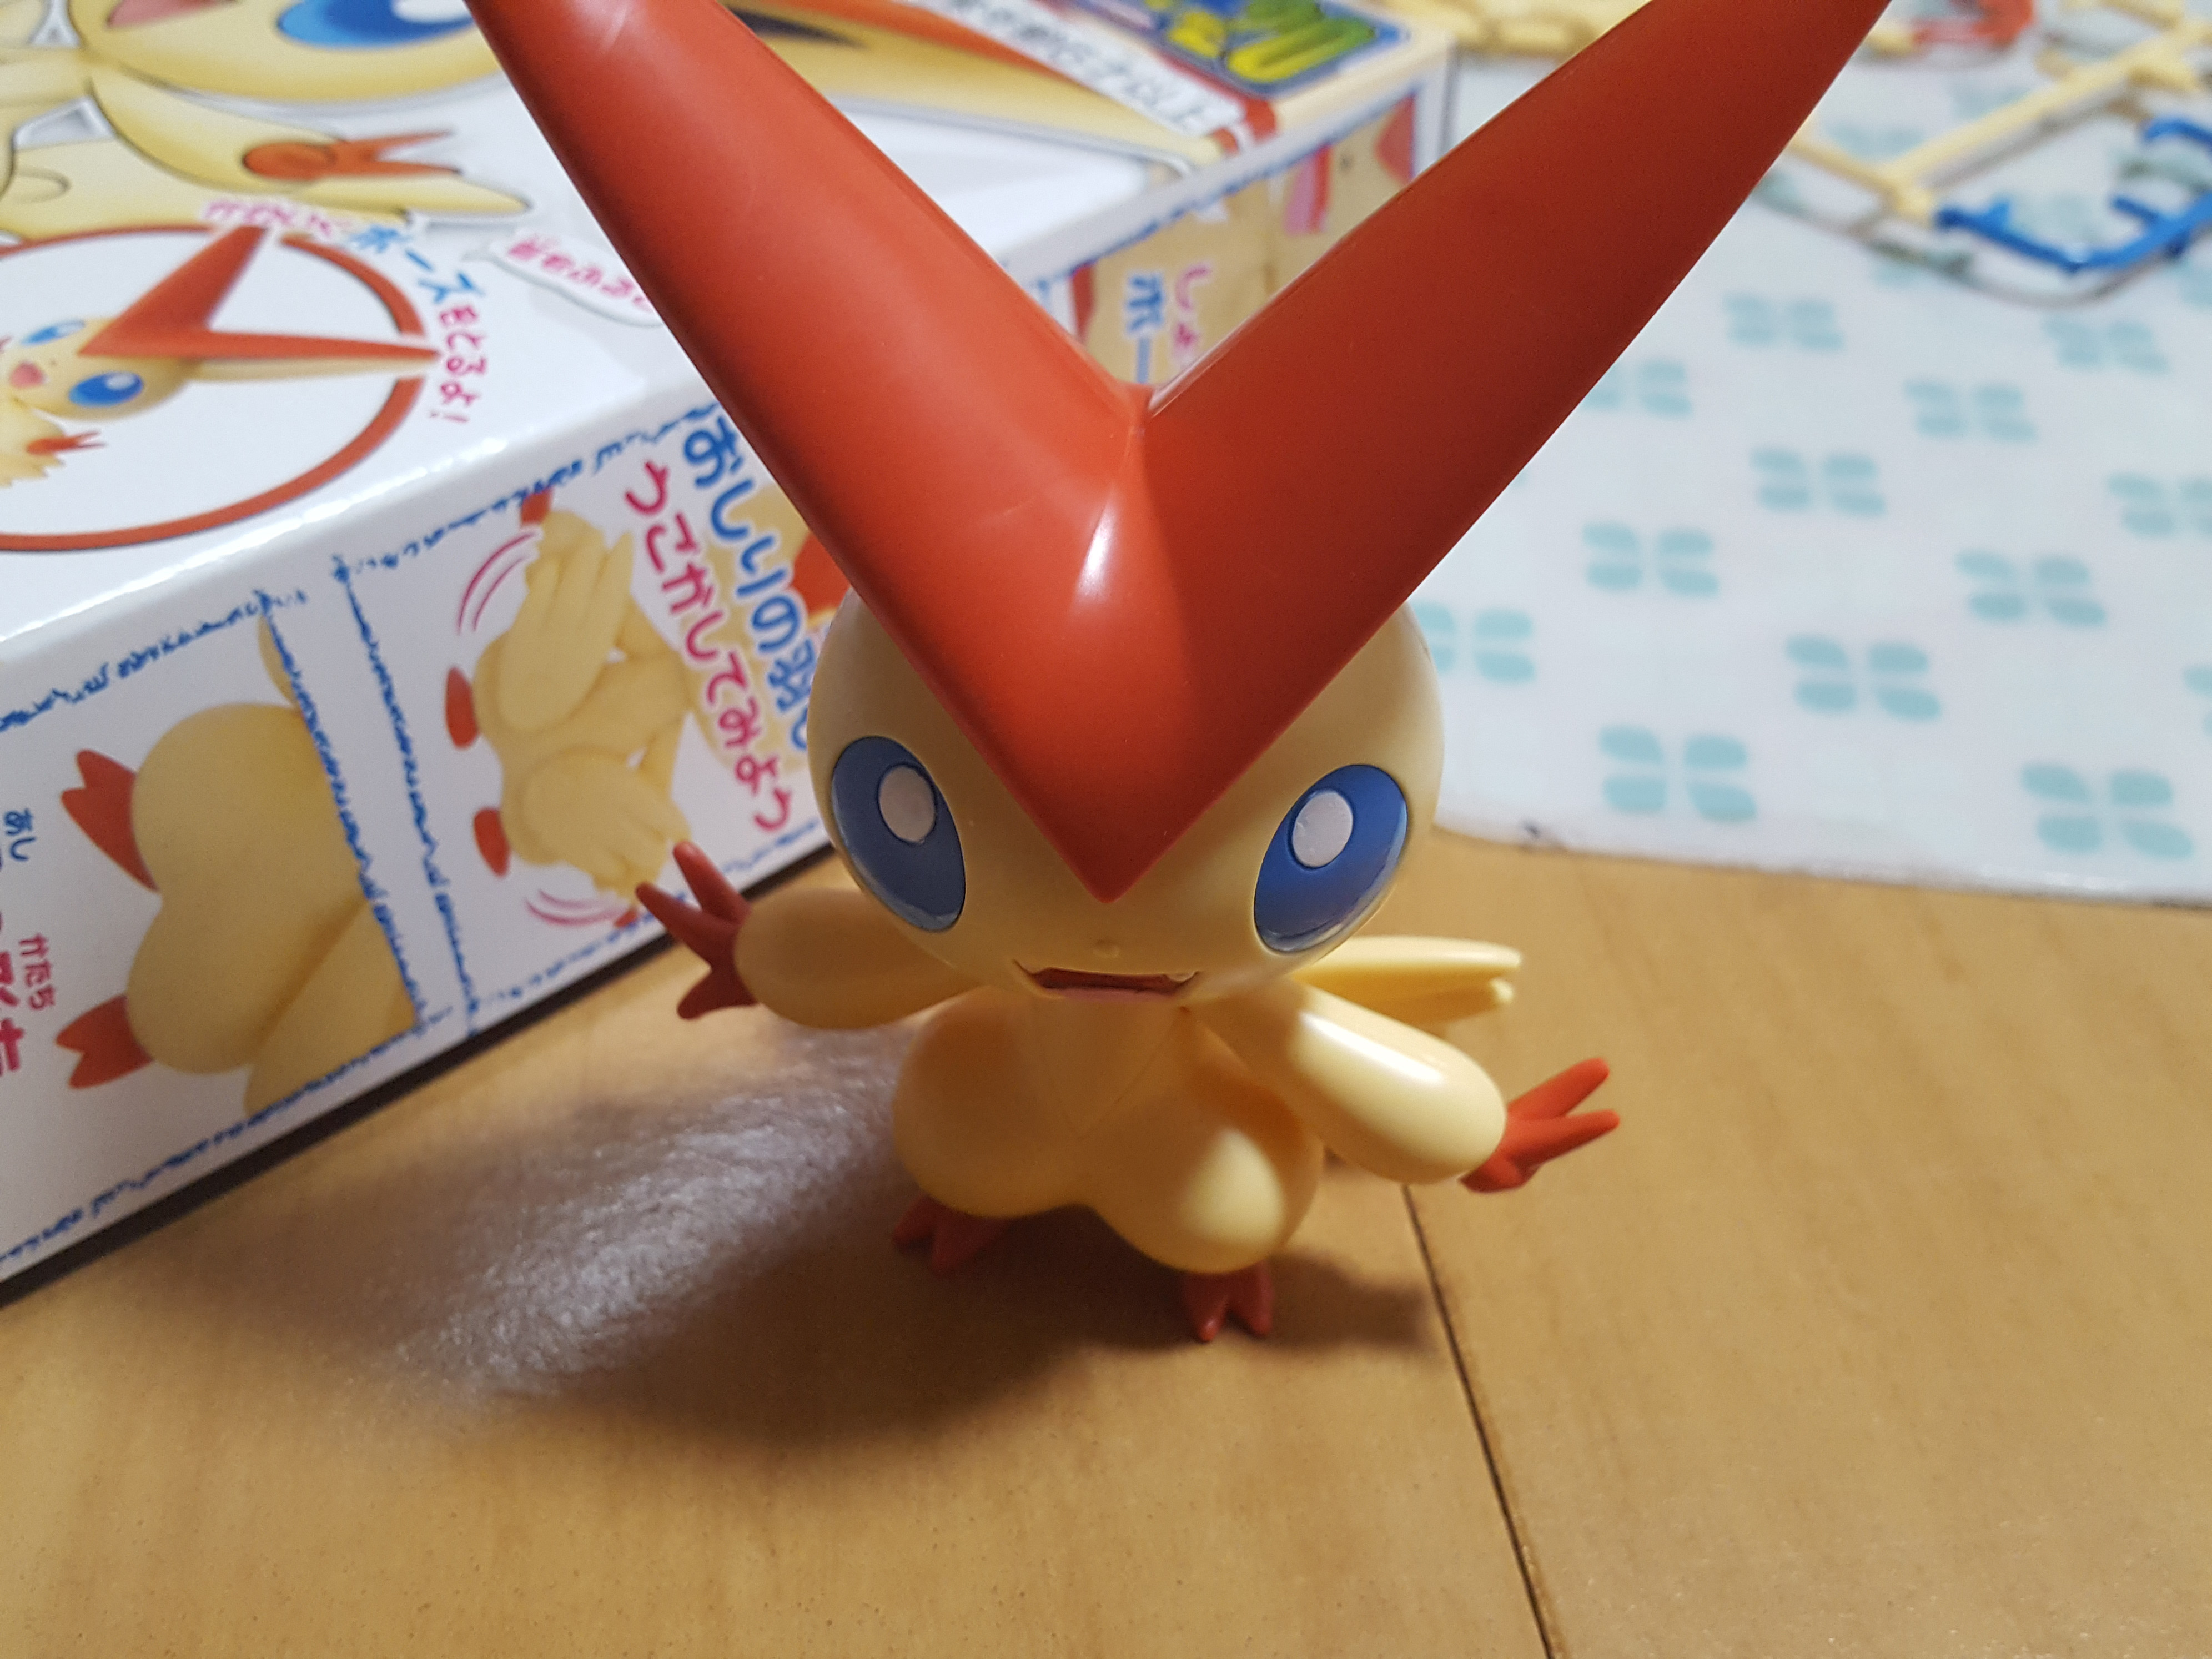
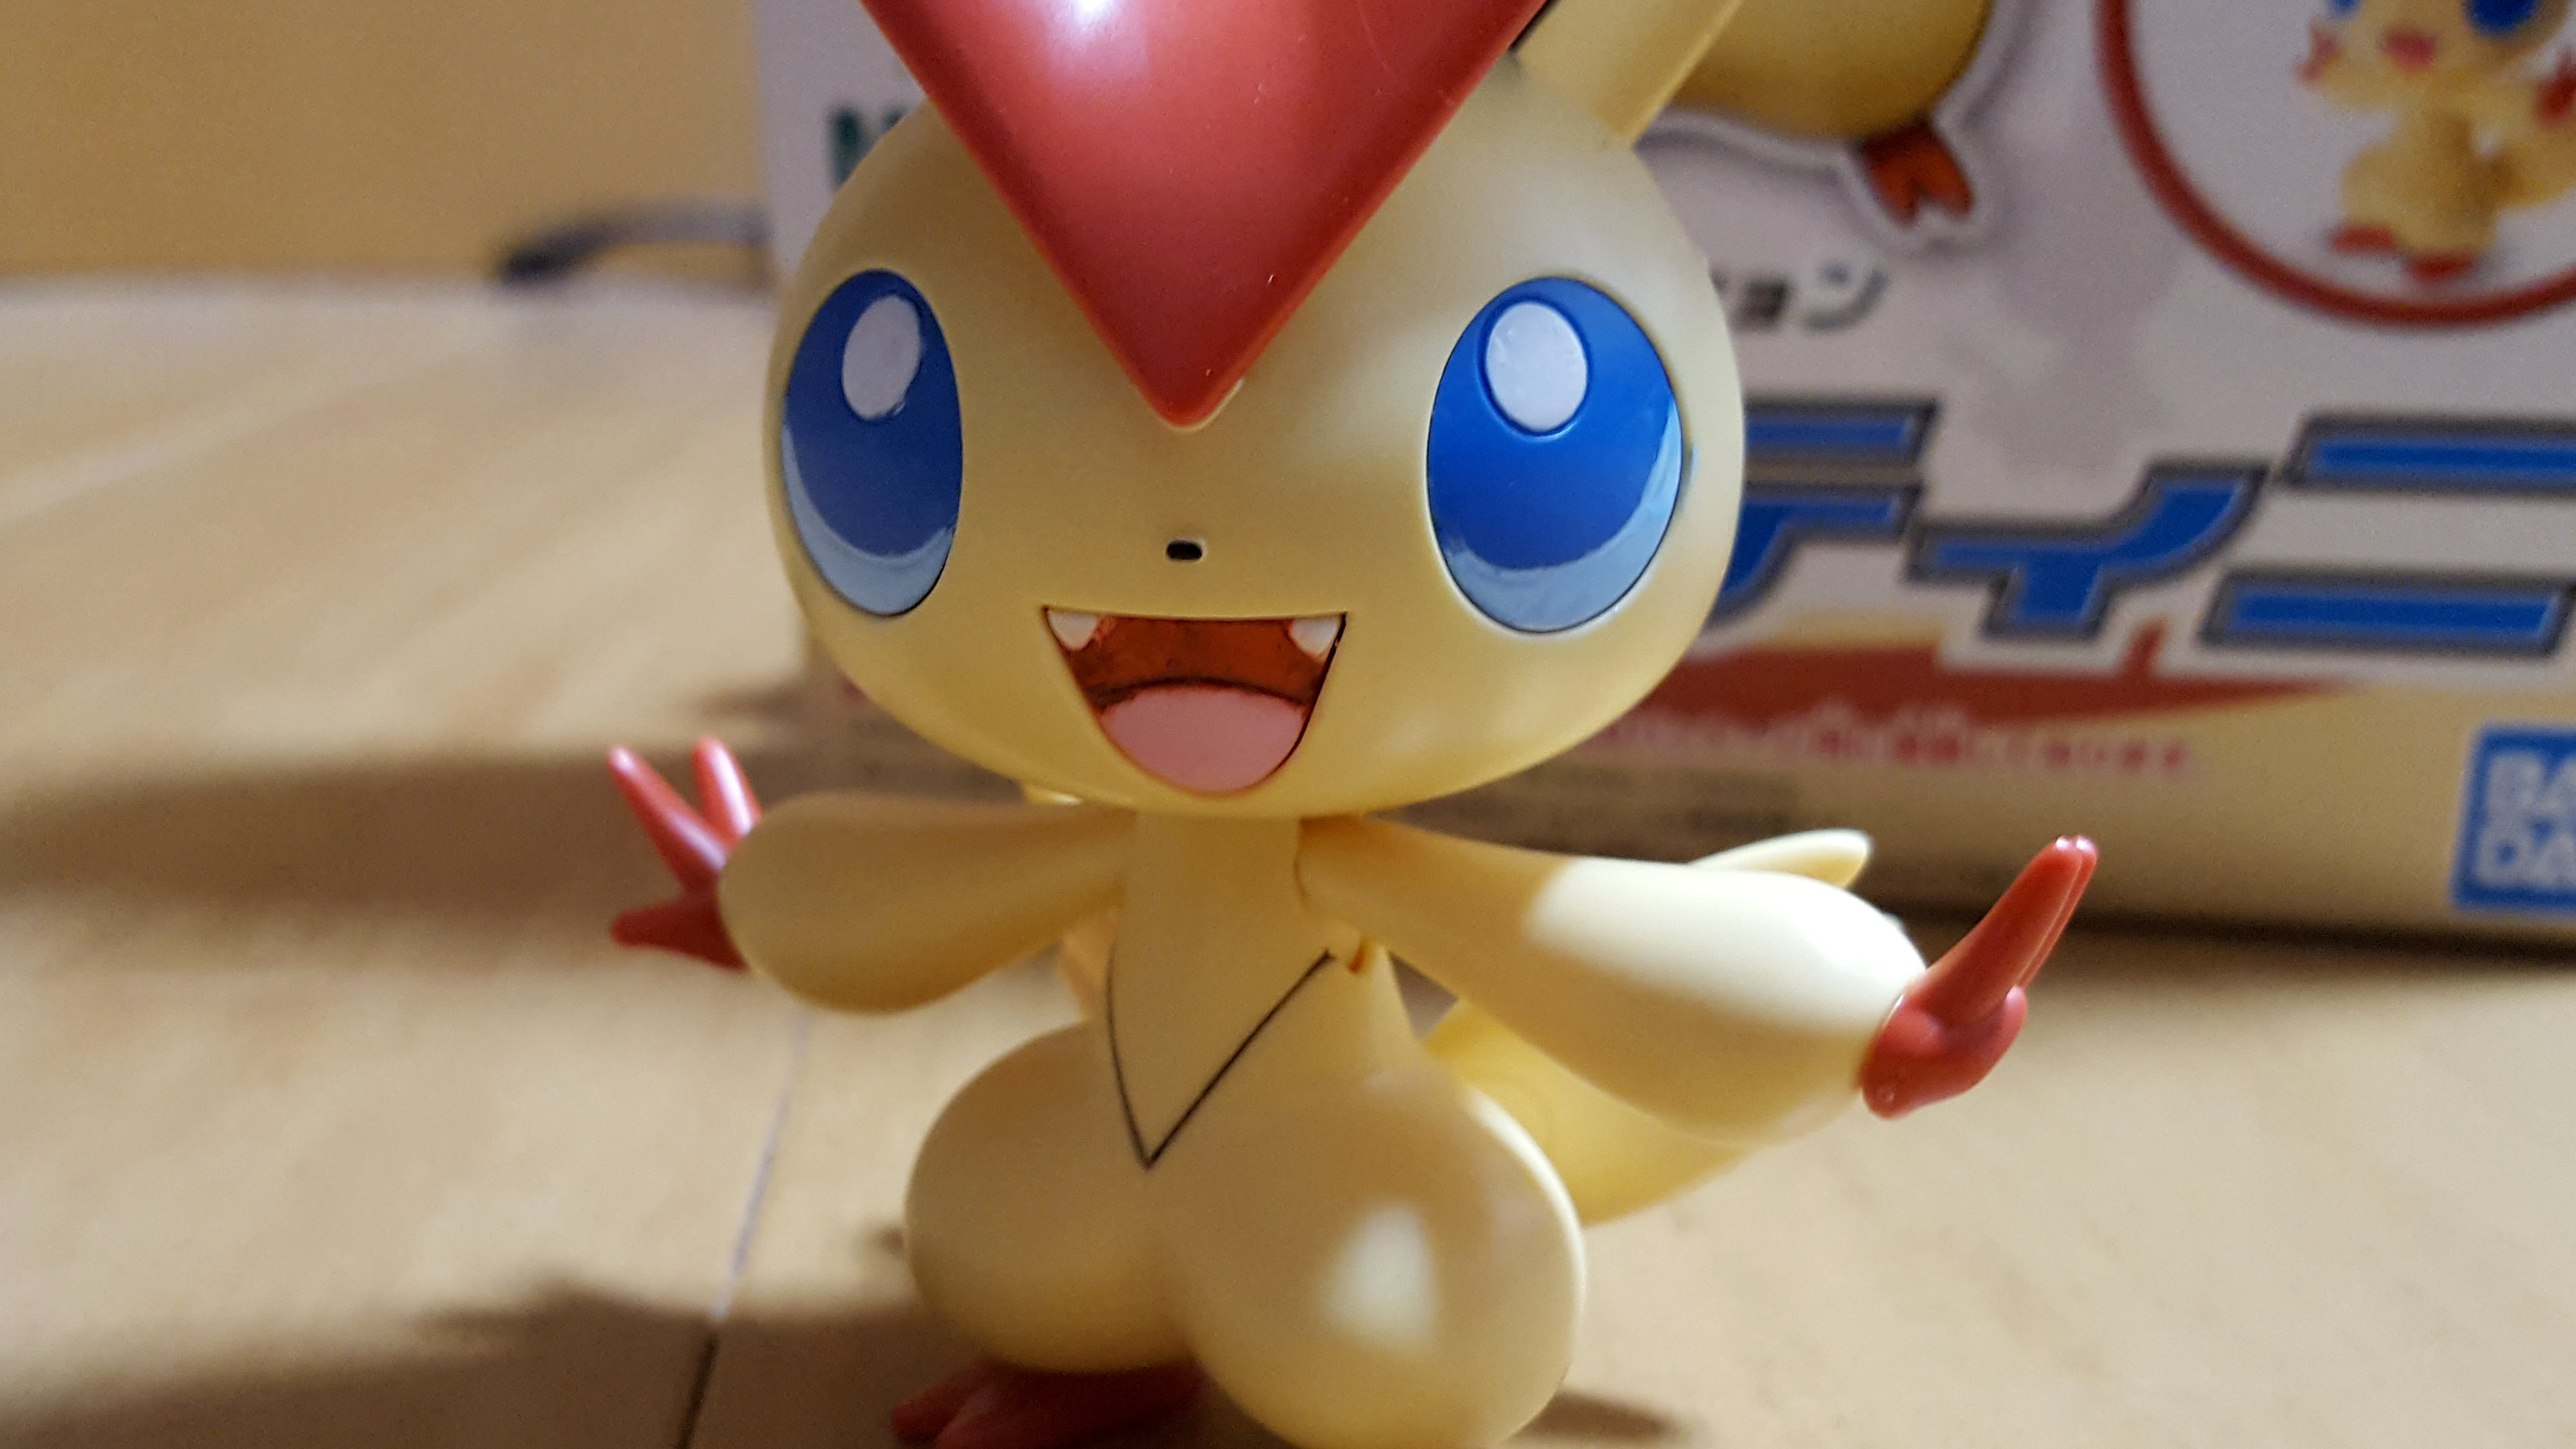
I considered leaving the kit as it is, but looking closely at the paint on the face, I decided I could do better.
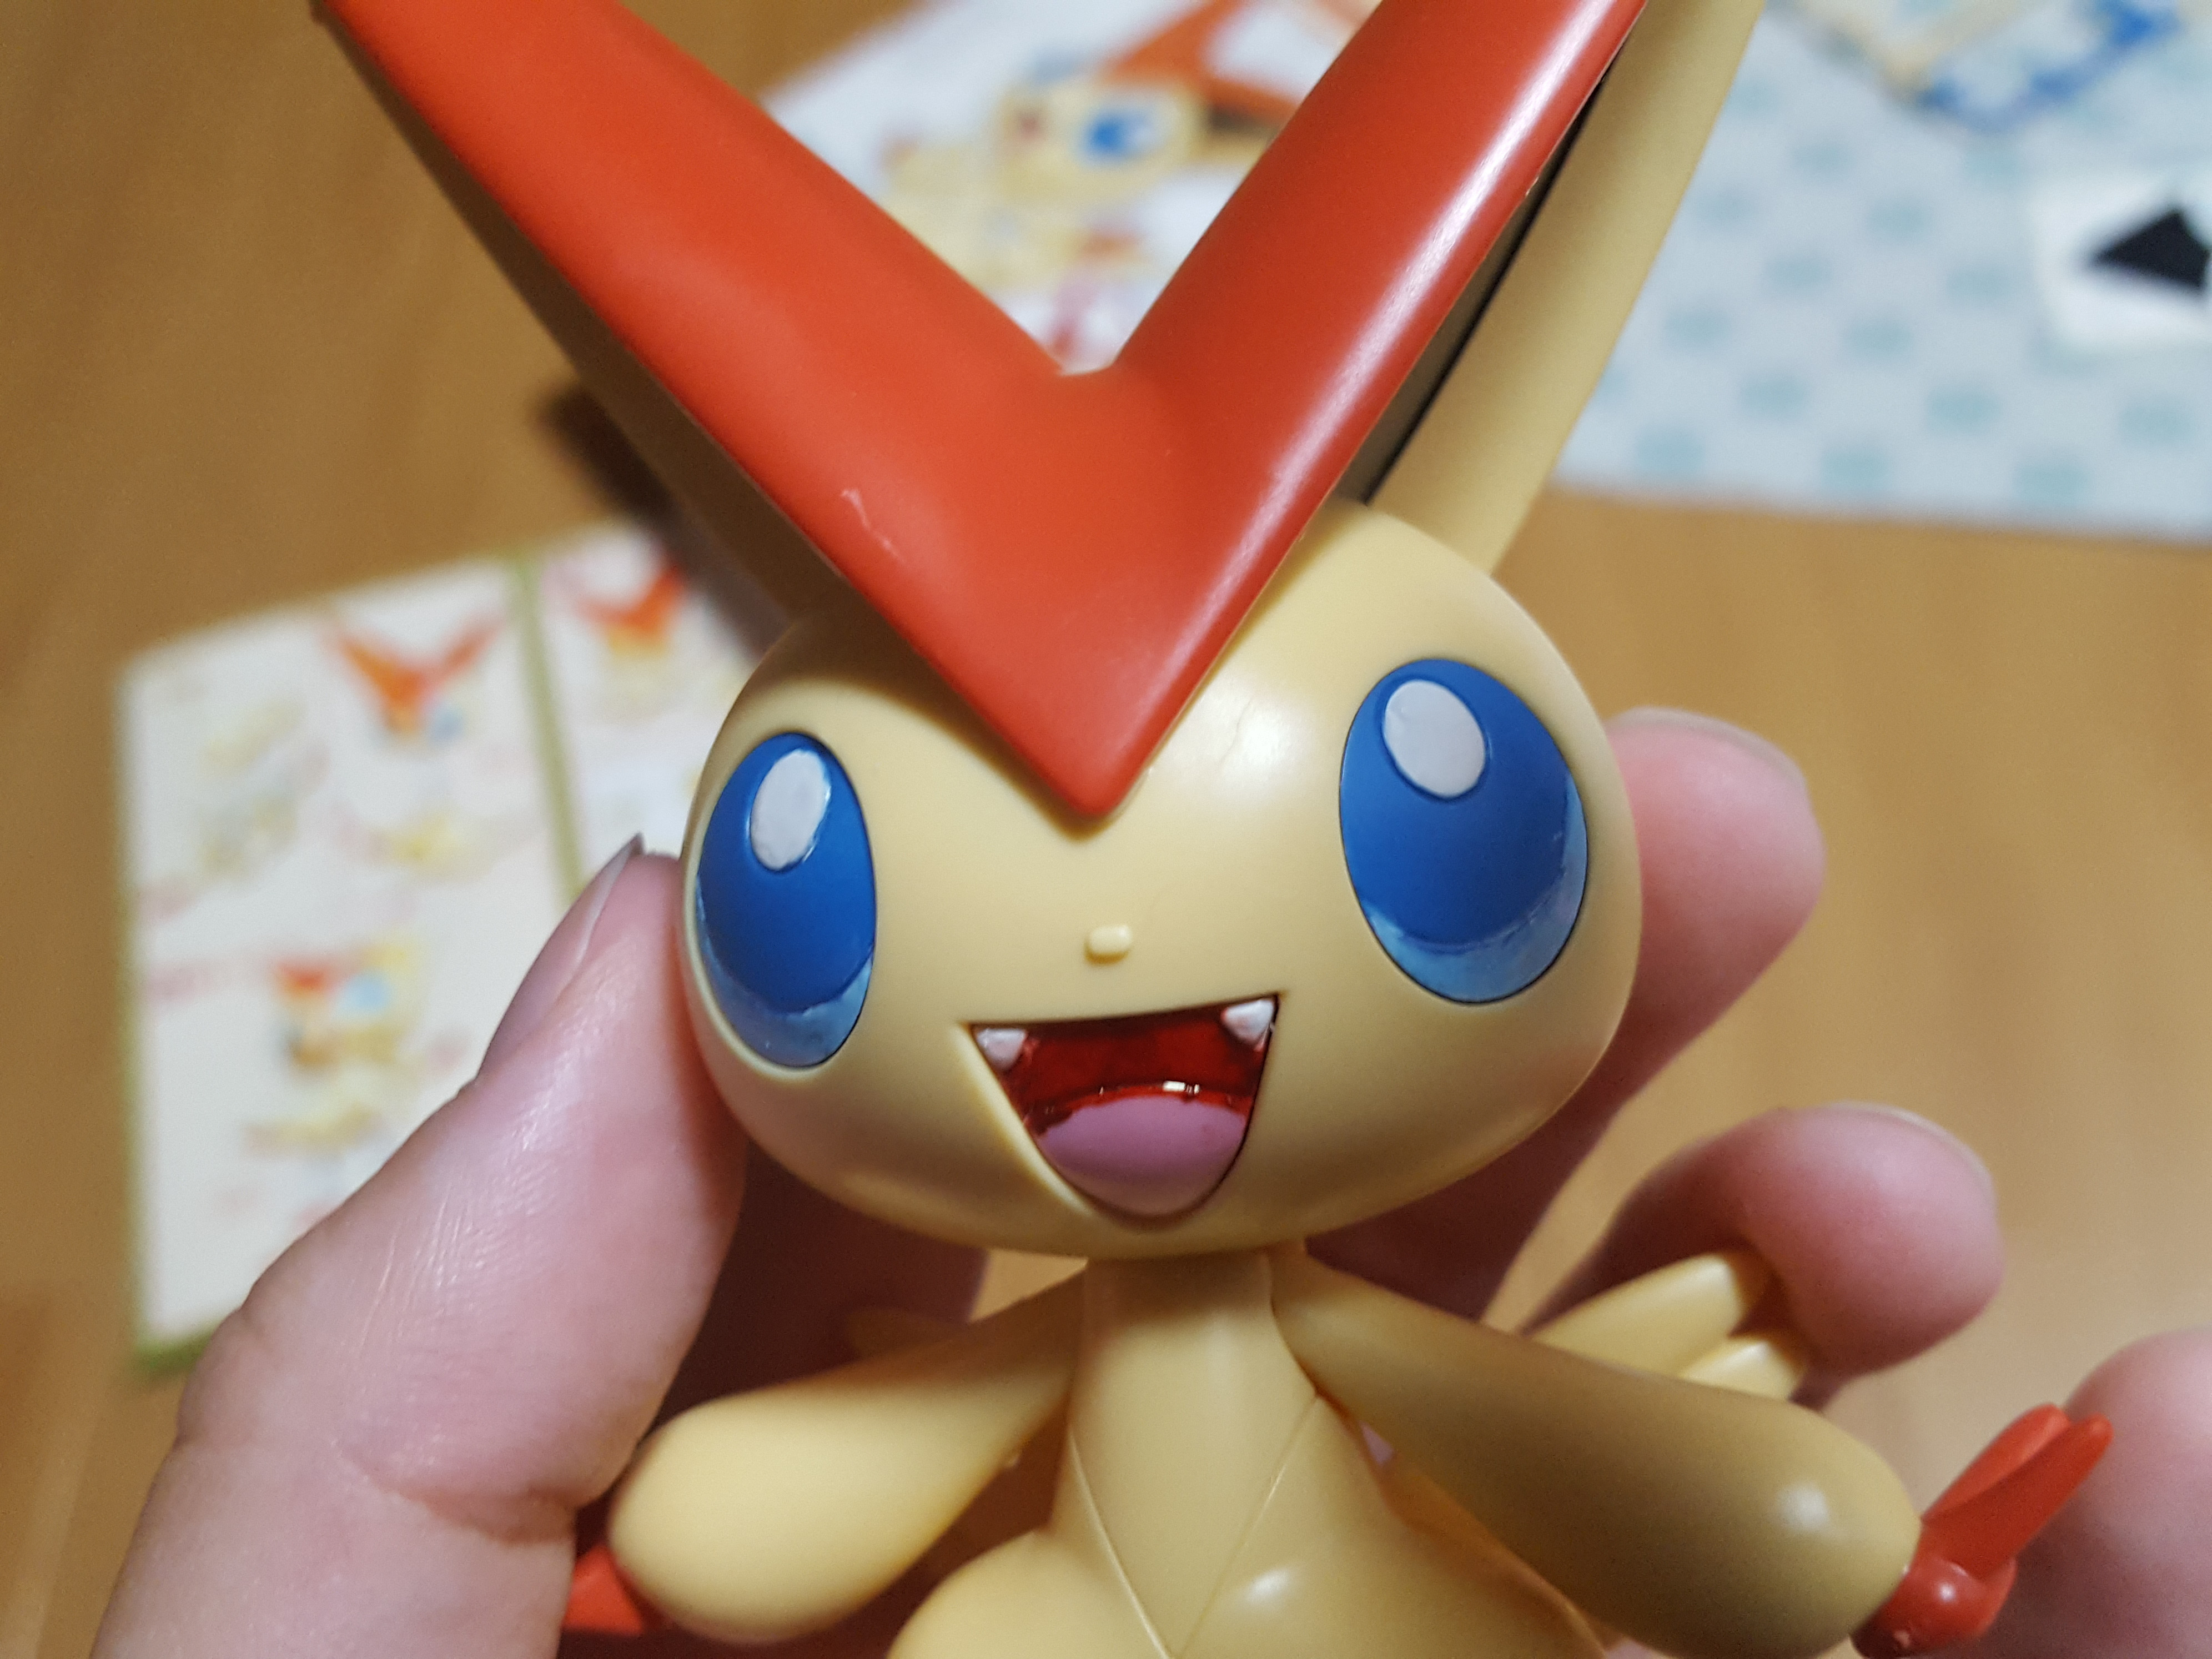
The edges of the eyes and mouth are a little messy. Victini’s nose isn’t colored, and there are some uncolored lines, too, that could benefit from some panel lining, I decided. Sure, it’s not a robot we’re talking about, but the panel line would match the animation style, and it just looks plain without any color.
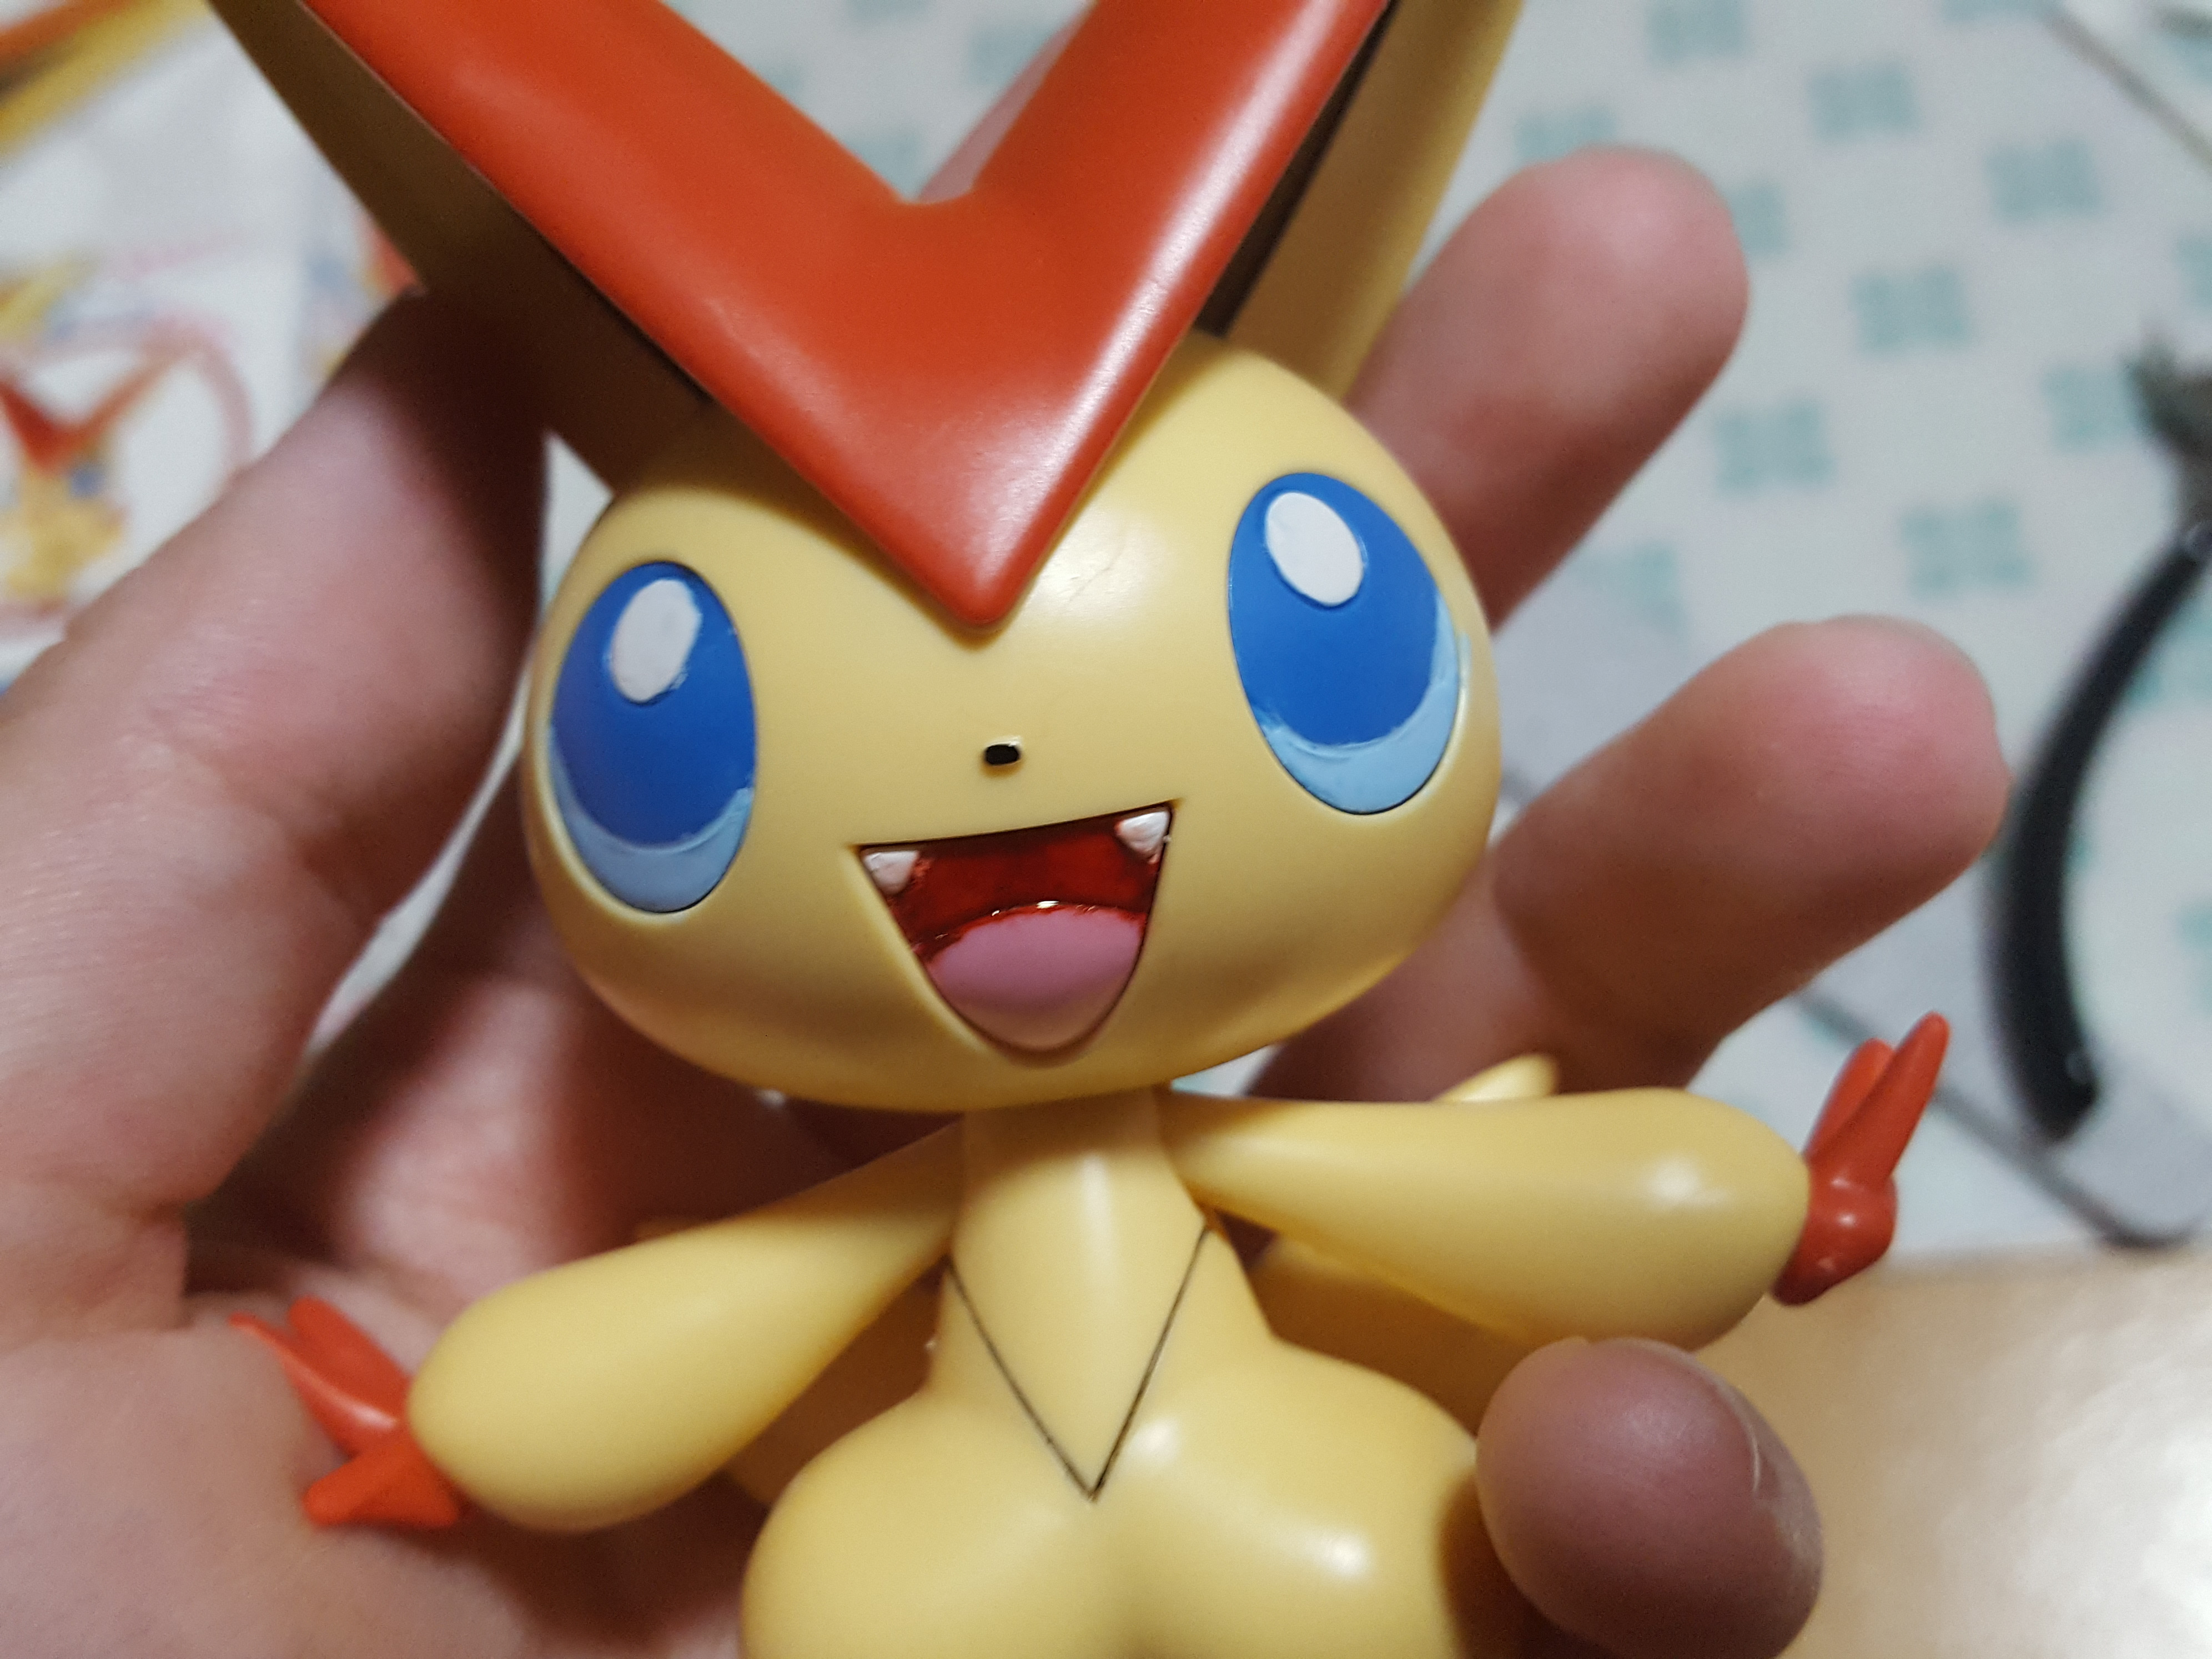
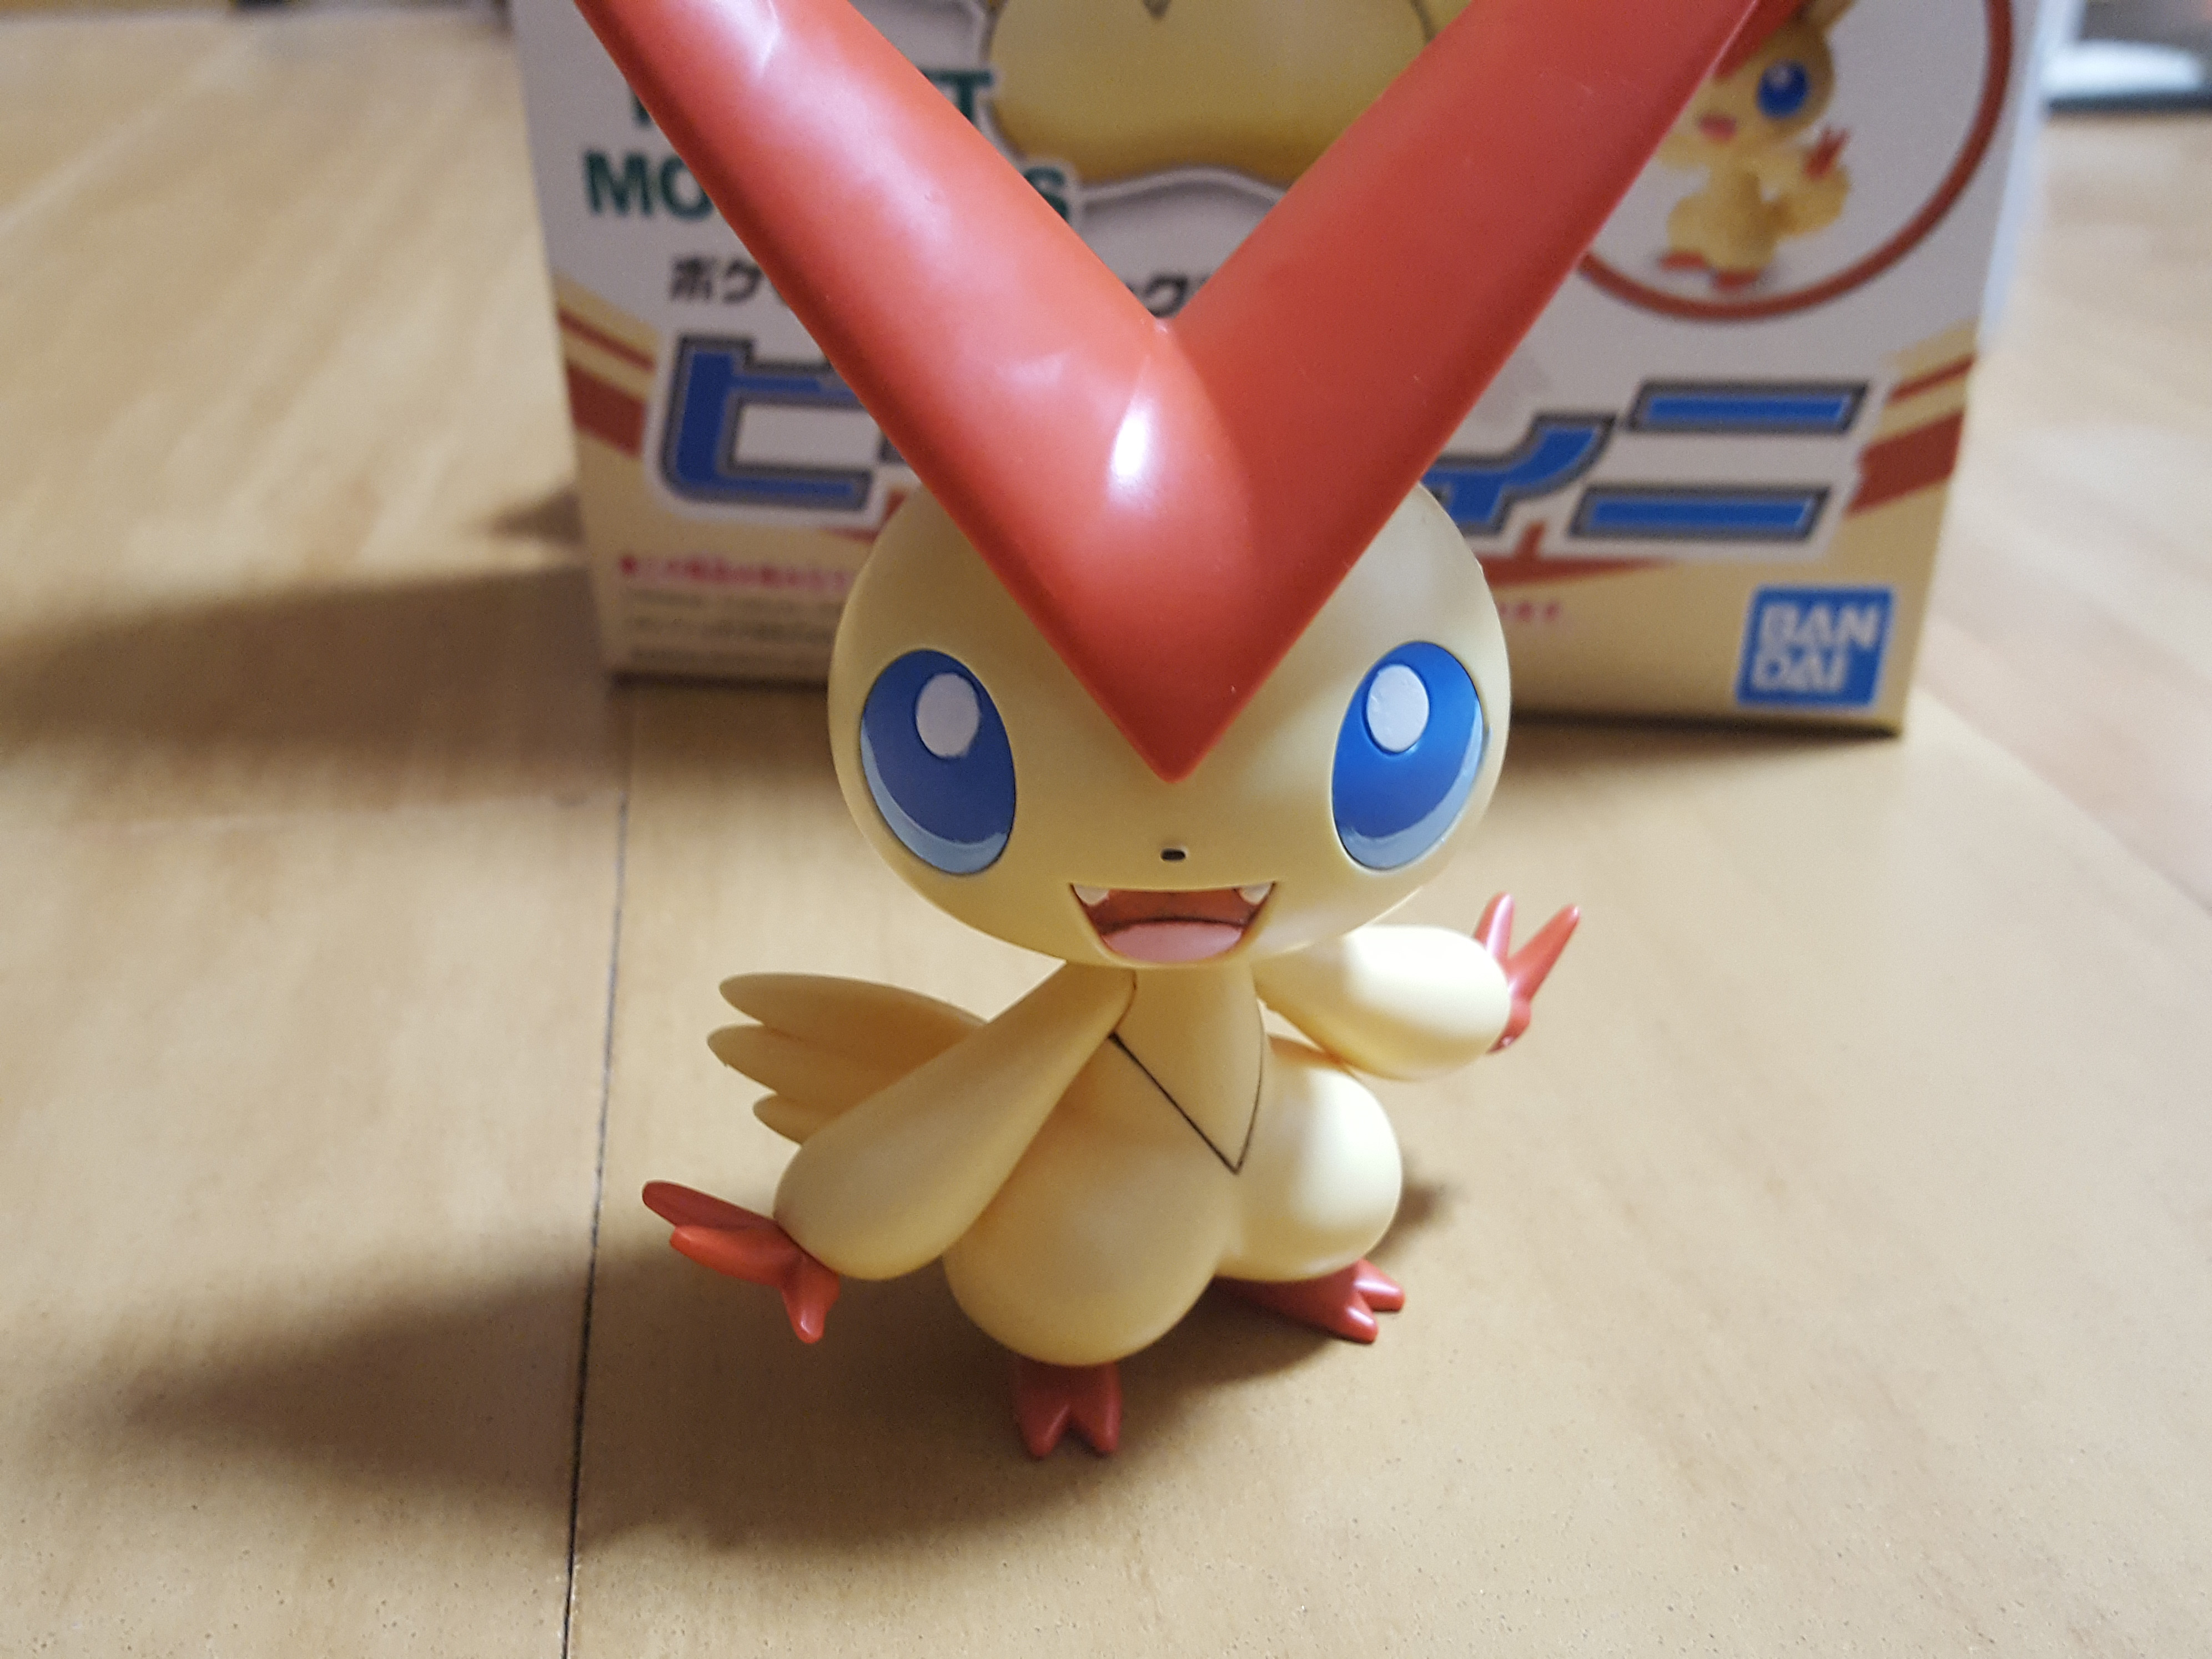
Here’s the after picture.
I used acetone (nail polish remover) on a cotton swab to clean up the edges. Acetone is very strong and can easily muck up your plastic (I’ve seen it before), so you don’t want to use a lot. It didn’t really “scar” this kit, though, so I was pleasantly surprised with the end result!
I also added another coat of blue and red to even out the paint that I did want to keep. It’s not perfect, but it’s better than before.
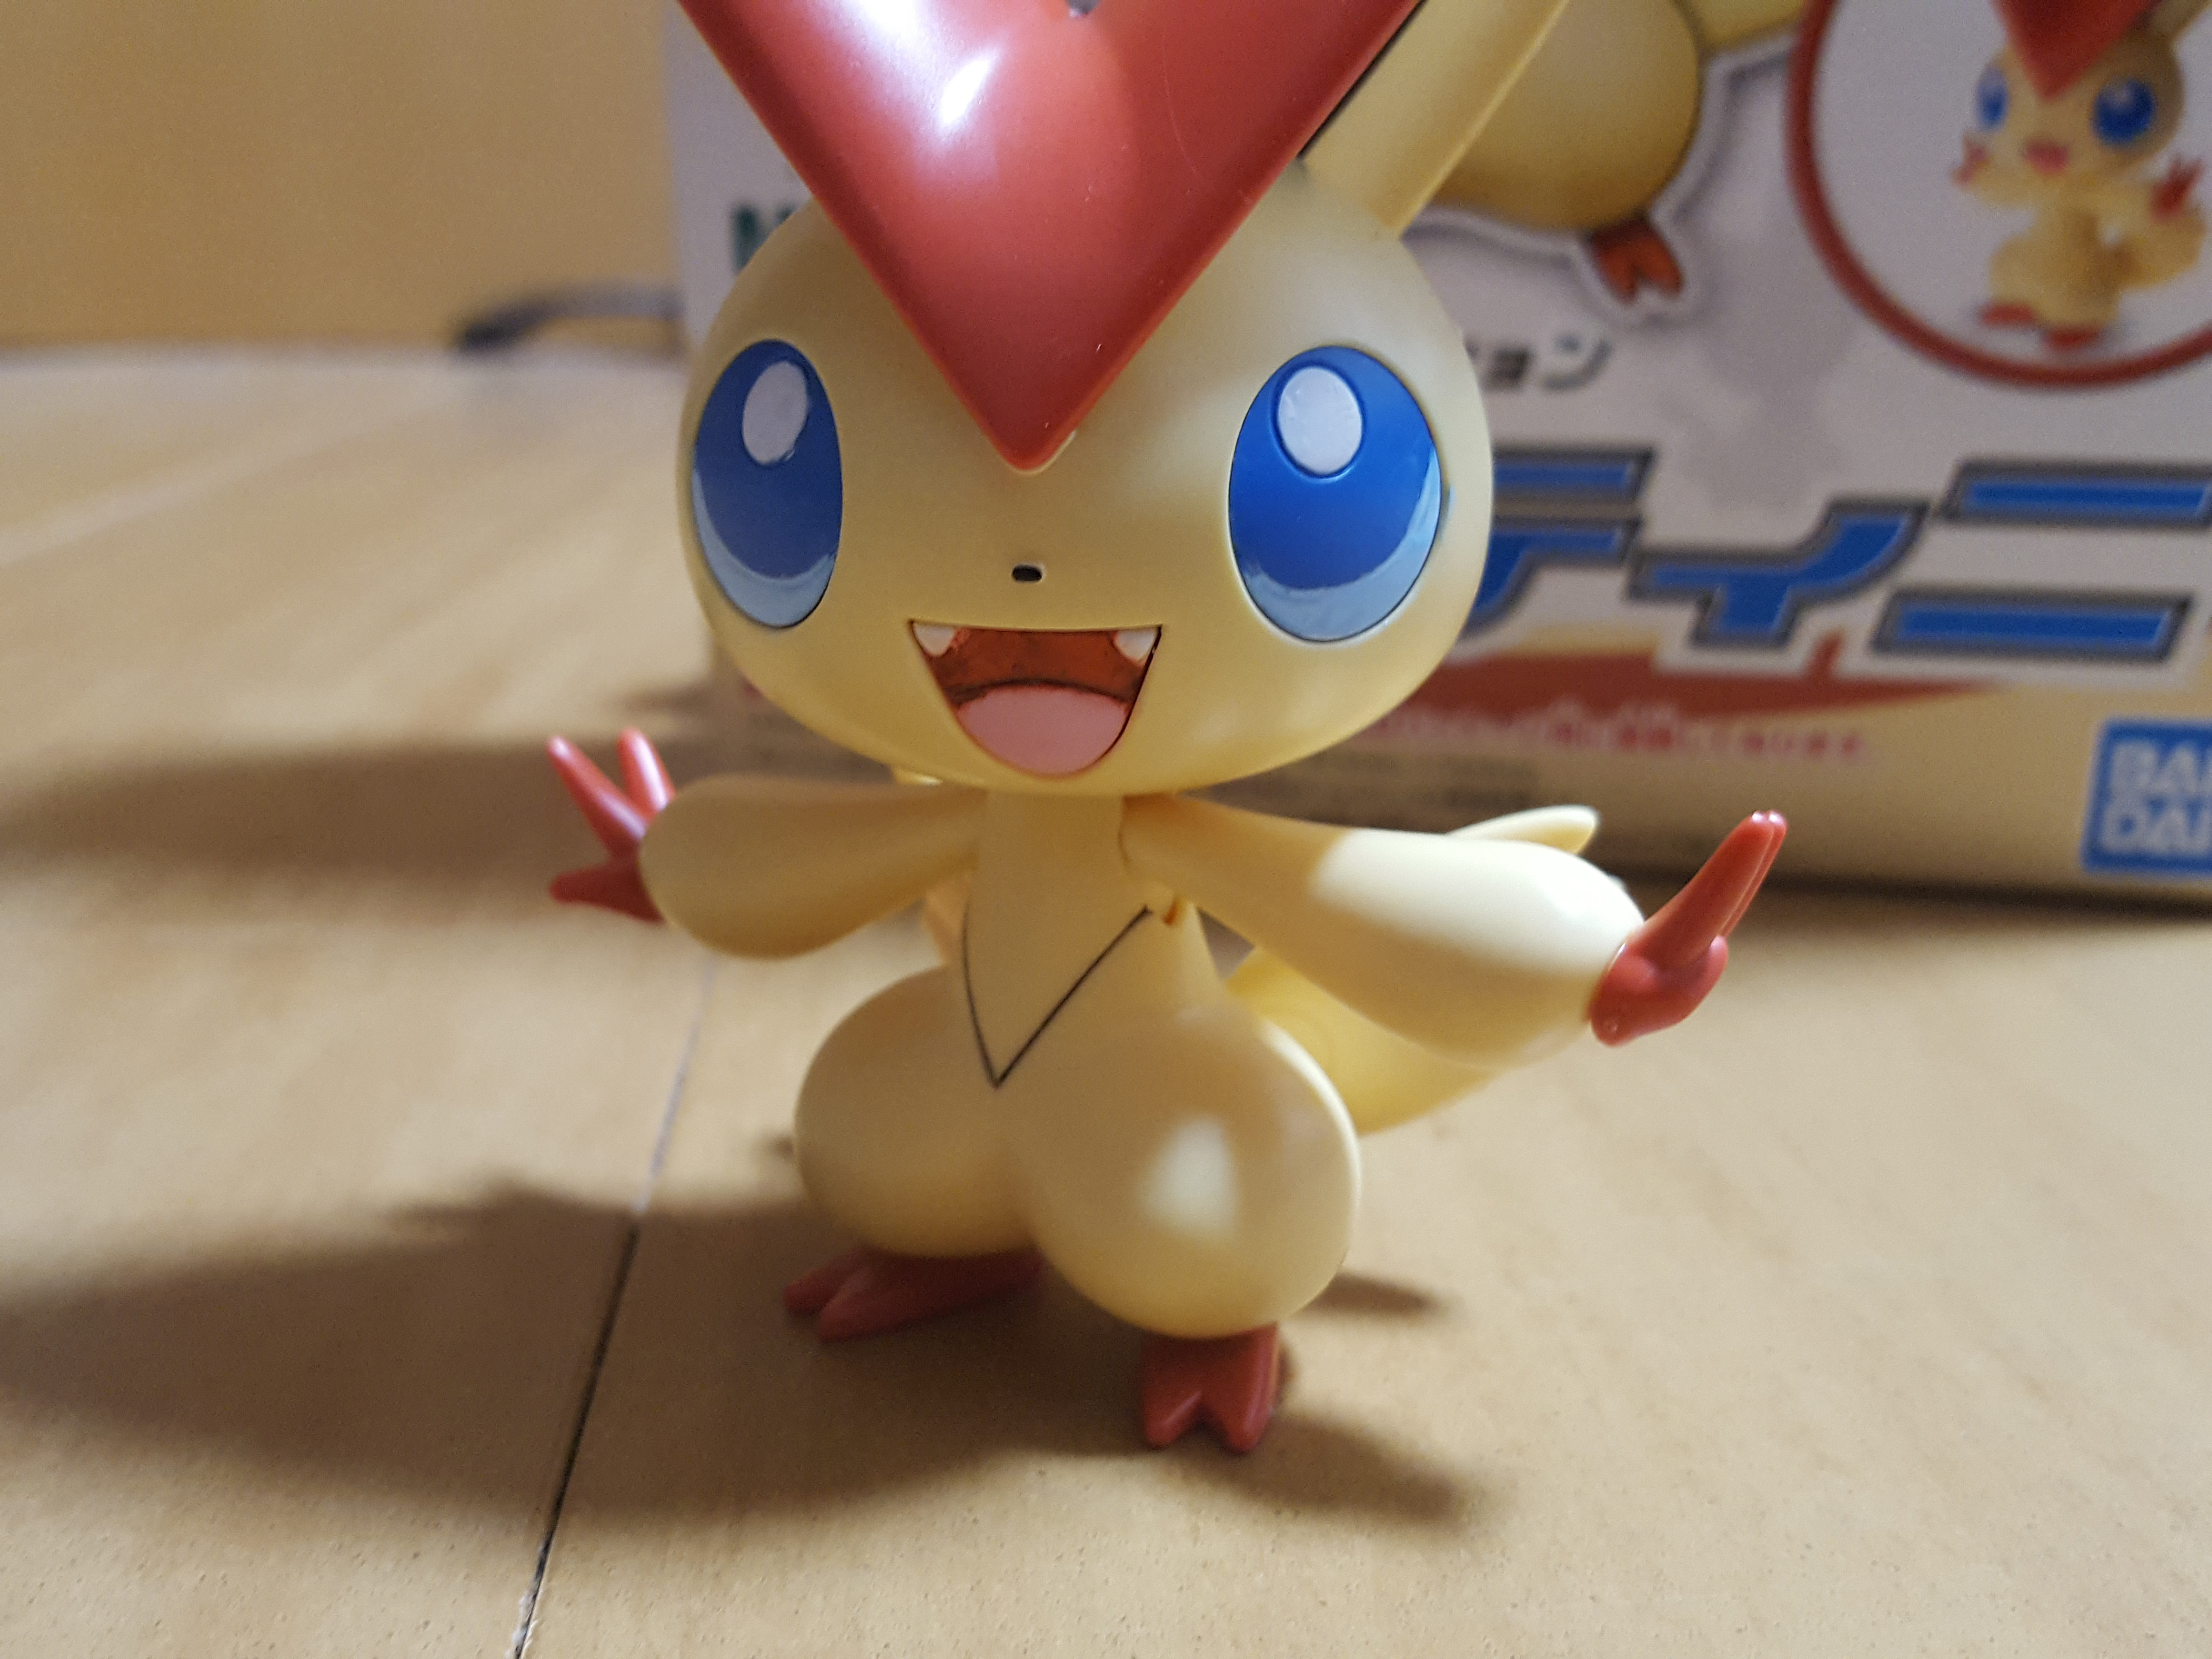
Precious child. Wee angel. I love this kit!
Victini is quite possibly my favorite Pokemon plamo so far. Bandai didn’t try to cram multiple monsters into one box (the evolution kits) or have lots of limbs and details to work with, so they were able to get what details there are, right. I appreciate that the eyes were molded in a separate color, and that there weren’t any parts with that weird, gappy plastic that can only be covered with stickers. Nope — Victini can easily be finished with paint and paint alone, and the end result is very, very cute.
Get yours here:
– Pokemon Plamo Collection Victini

