It’s time to build the first Legendary Pokemon to ever grace us with a presence in the TV Anime itself – Ho-Oh!
As usual with the Pokemon plastic model kits, these kits snap together easily and don’t require paint or glue. That’s really a godsend for someone as useless as me. Compared to Reshiram, I could already tell just how vivid the colours of Ho-Oh’s molds were in comparison.
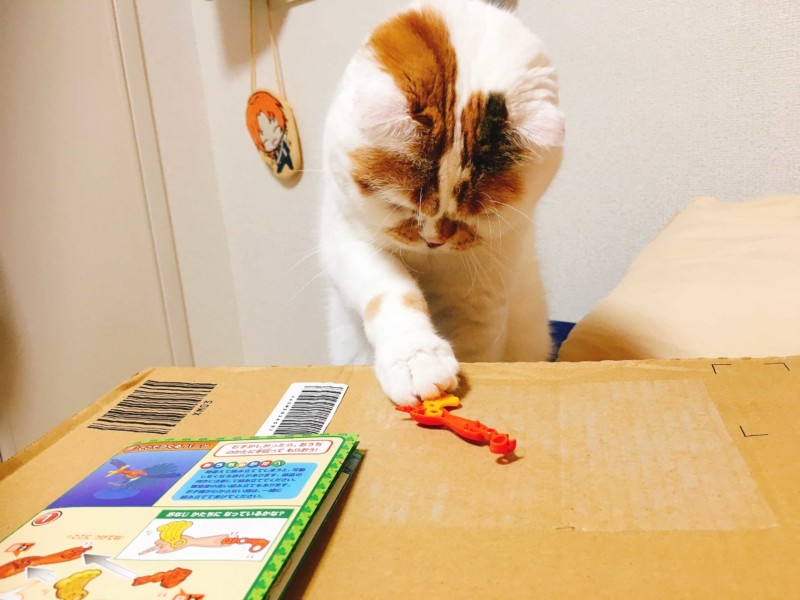
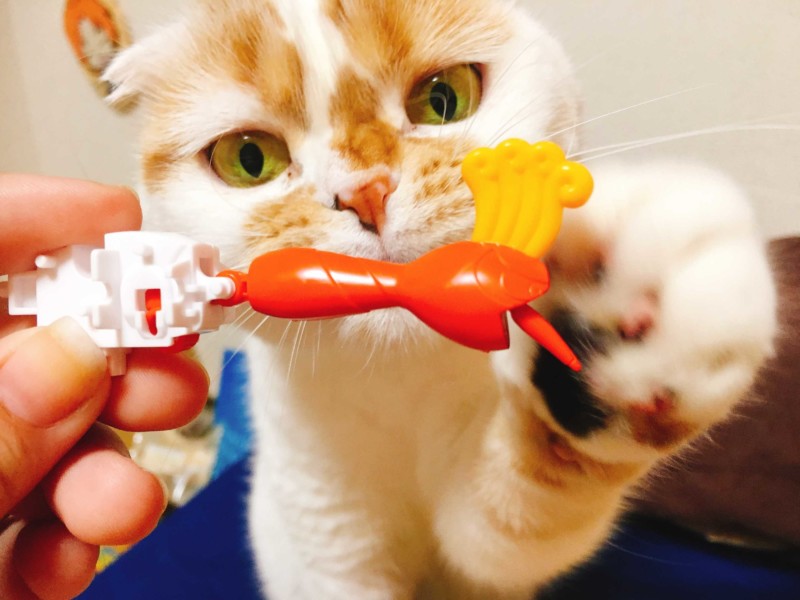
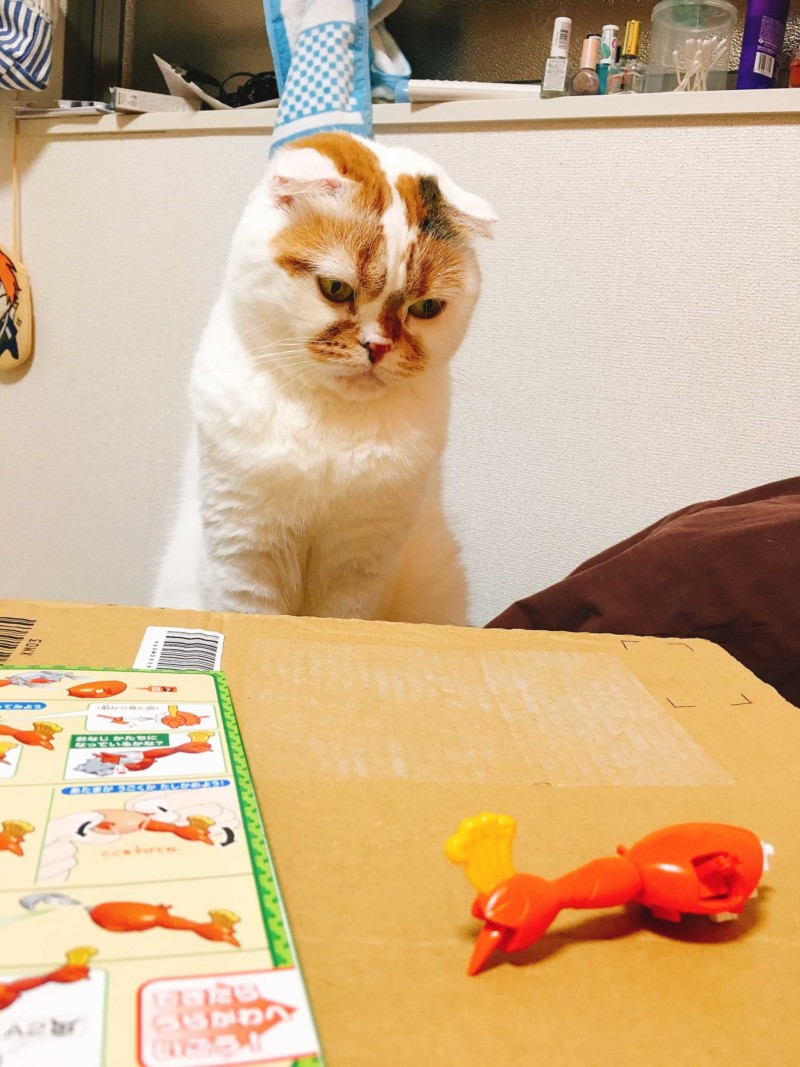
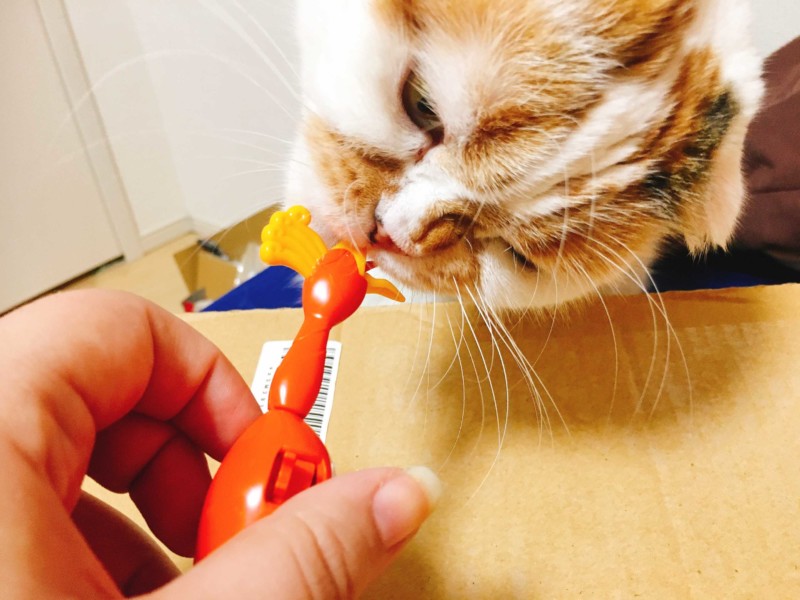
It didn’t take long for my Wonderful Miss Helper Extraordinaire to get involved in the process. I mean, how could she resist – what, with my super-professional cardboard box of a set-up on my bed for maximum efficiency. I’d wanna get in on that action, too.
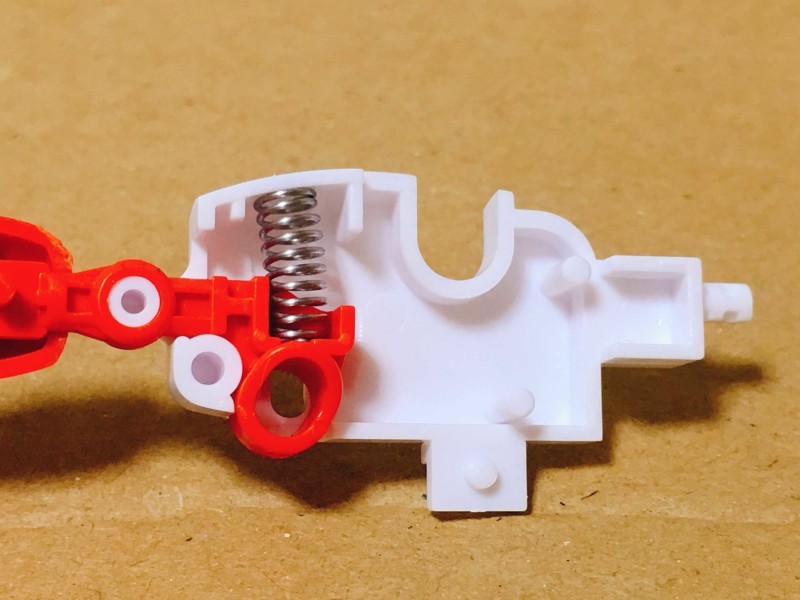
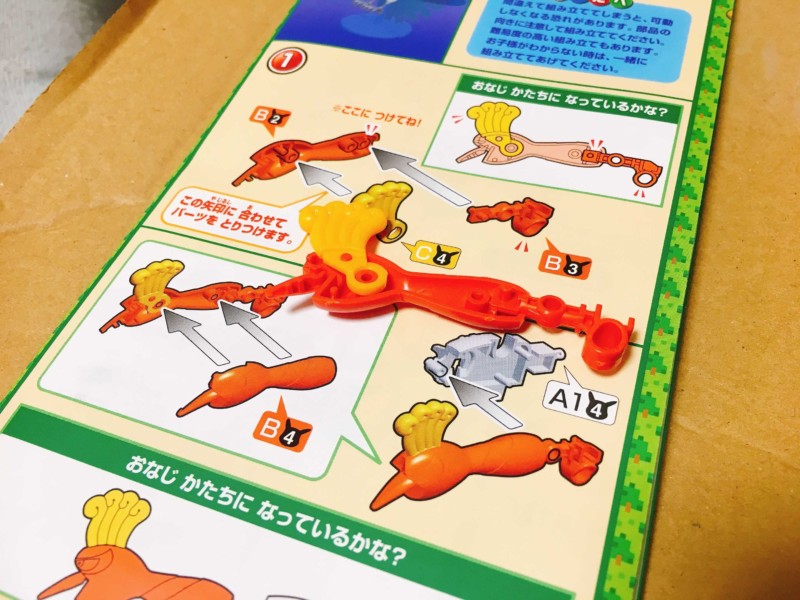
The plastic kit features a spring mechanism that you insert into the body of the model pretty early on. It isn’t difficult at all to install, but I would make sure to press it as far back in as possible to ensure it doesn’t slip out, as this will be the feature that allows the wings to flap when pressing down the head and neck.
Sealing up the head part and attached the tongue! Looks a bit like a messed up Ekans, if you ask me!
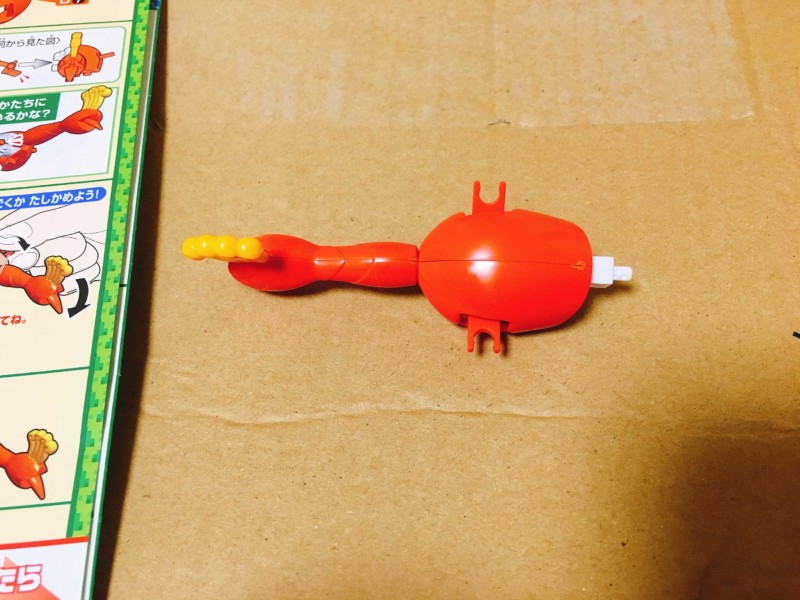
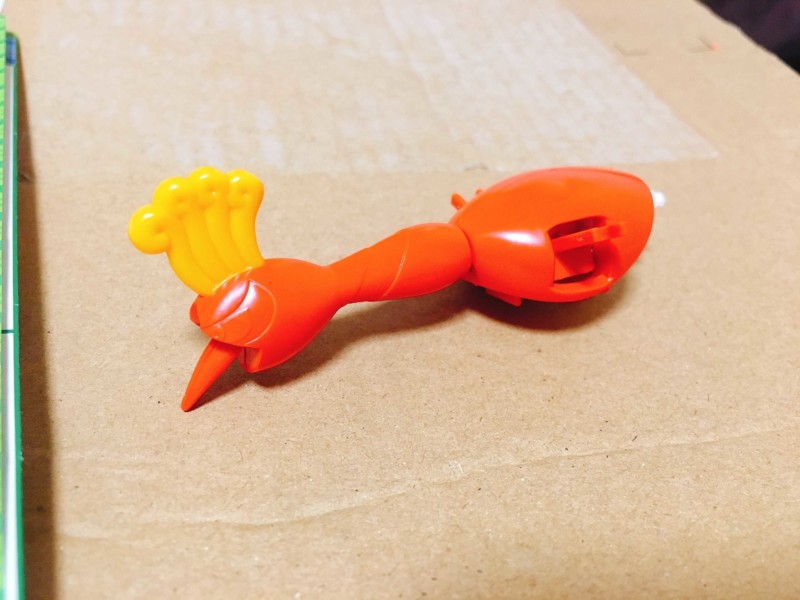
Aaand, the body, too! This is one of my favourite parts of building these kits, believe it or not! That moment when some pieces of random plastic start to take on a recognizable shape – it’s kind of rewarding in its own way.
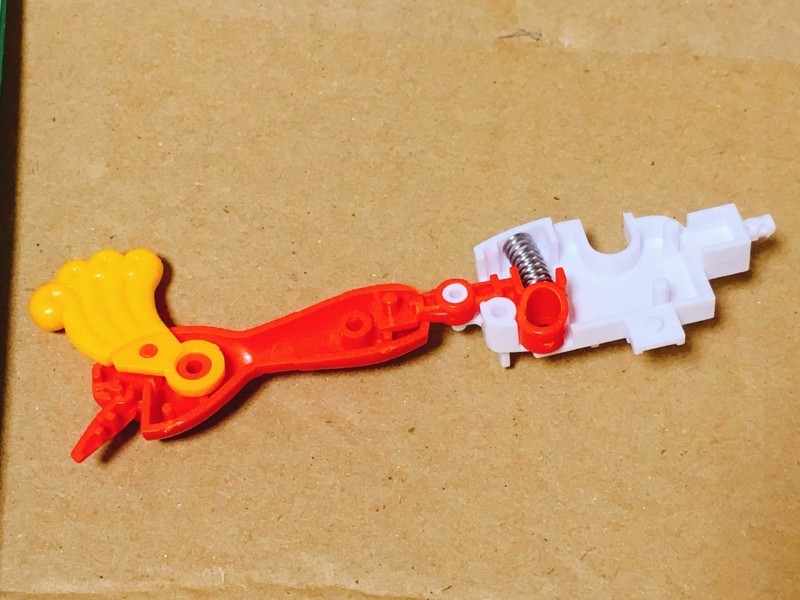
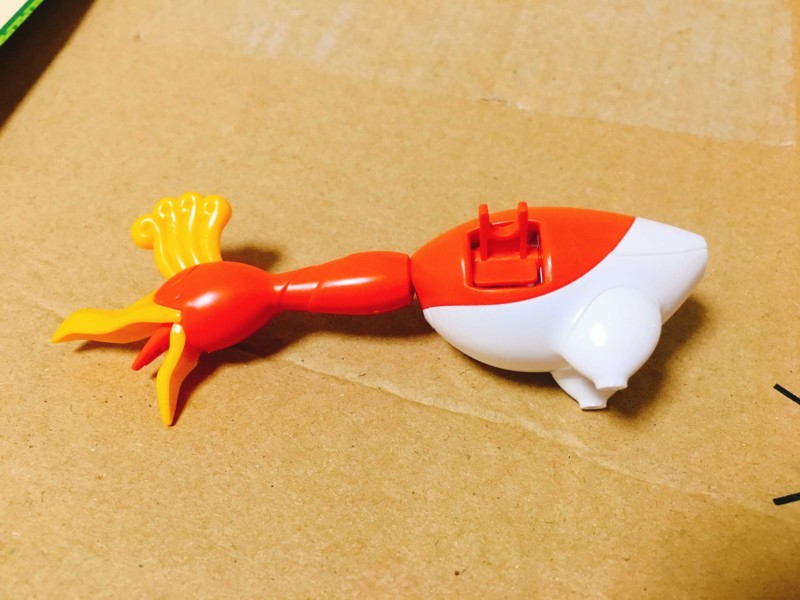
A bit more progress. You can see on the belly where we’ll insert the leg parts later. You can also see how the wing flag mechanism is going to be installed.
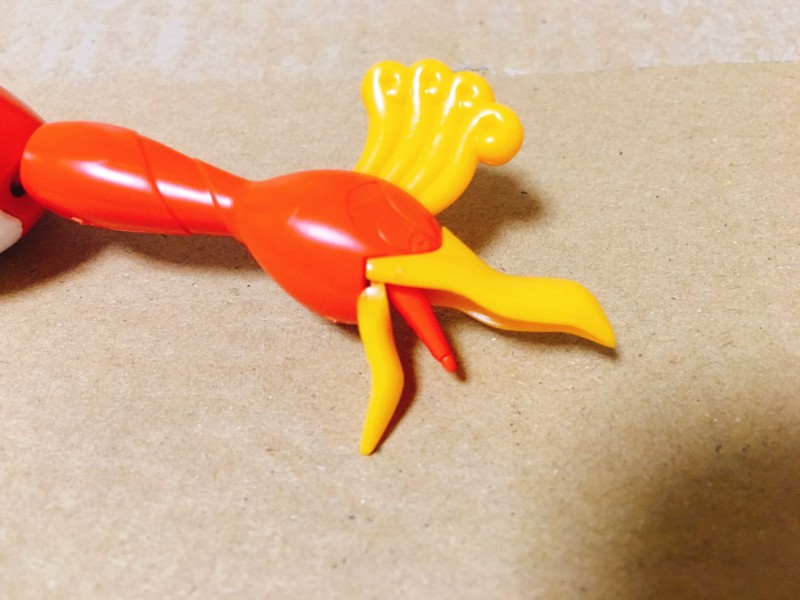

Attaching the beak is really giving Ho-Oh that signature flare, already. I love the curve to the beak – it’s really a detail I appreciate them giving this legendary bird.
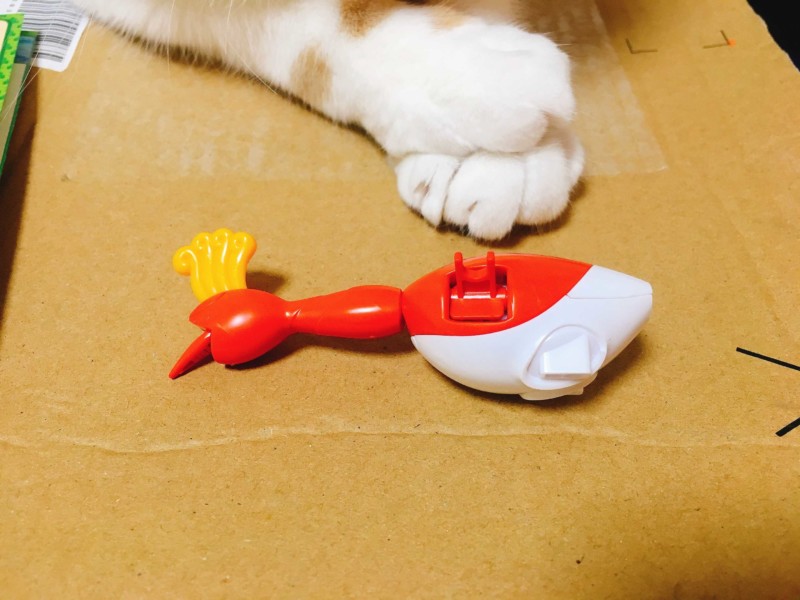
Well, in case it wasn’t obvious, I highly doubt this chicken will be able to stand on its own without a base. Attaching the legs at this stage makes it flop forward pathetically.

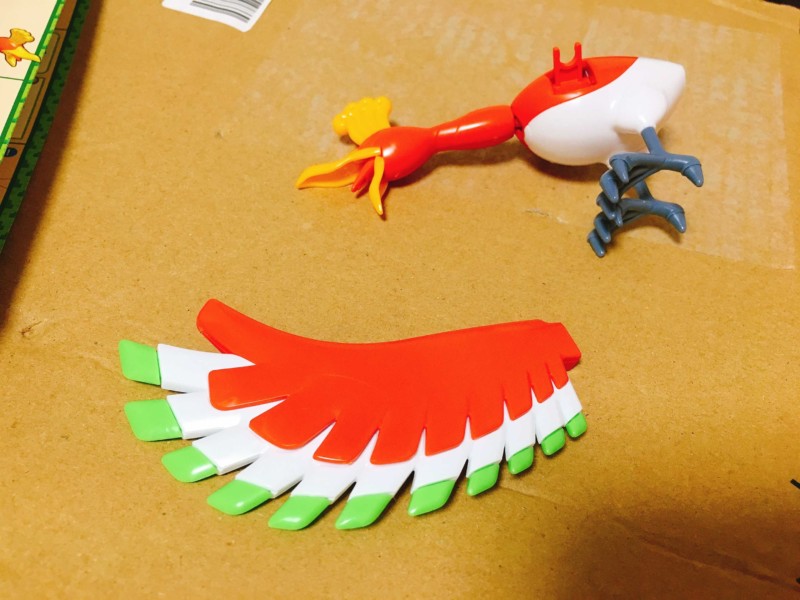
Building the wings was my absolute favourite part of this kit. It was so satisfying fitting together the large sheets of plastic in such vibrant colors. I love the soft green and white in contrast to the vivid red. I found myself holding the wings out and admiring them. It should be known that the red part of the wings came a bit dented in some areas; probably can’t be helped considering how massive these parts are.
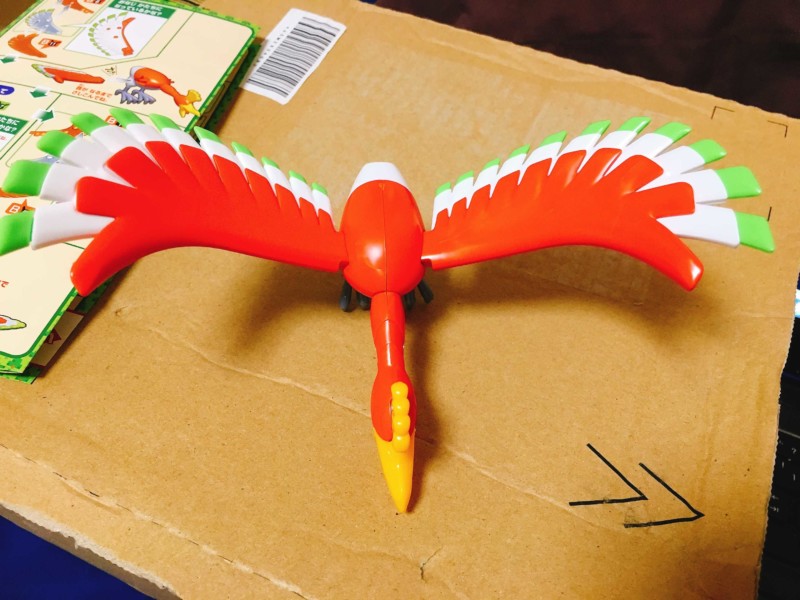
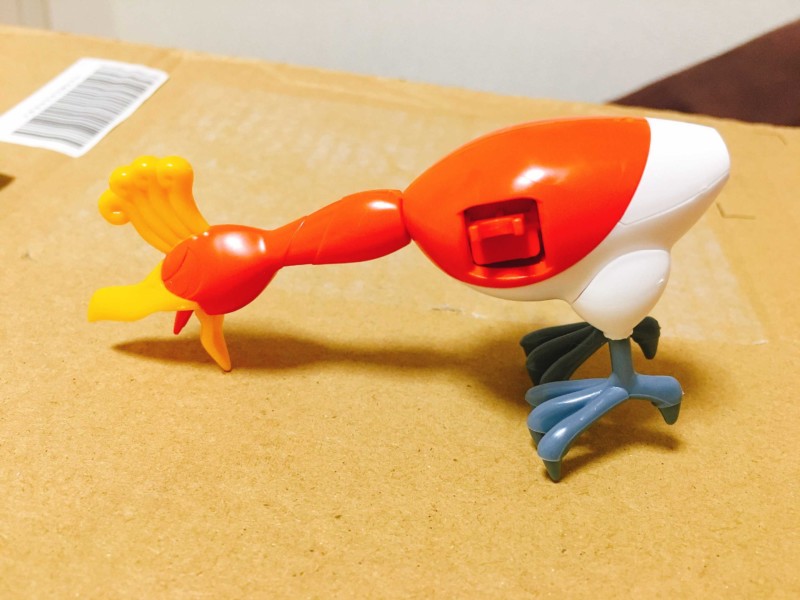
He’s almost done!
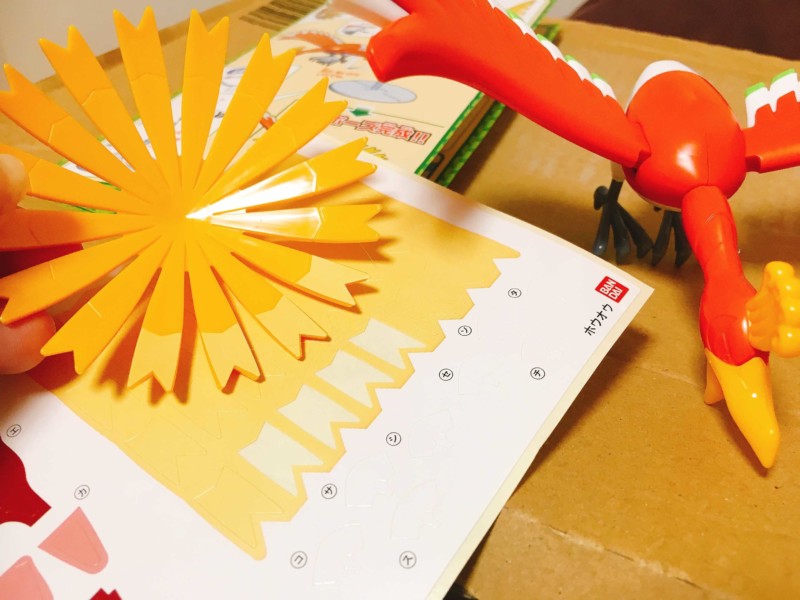
The stickers on this beast are no joke. If you hate stickers, you’ll hate this part of the kit. Each lighter yellow part of Ho-Oh’s tail is a sticker that needs to be carefully placed on. That means 32 stickers for the tail alone! That’s nothing compared to the headache of the talons, though. I would recommend just taking some opaque white paint to the talons, instead, as it would make for a less aggravating experience and cleaner finished product. The eye and tongue stickers weren’t that bad!
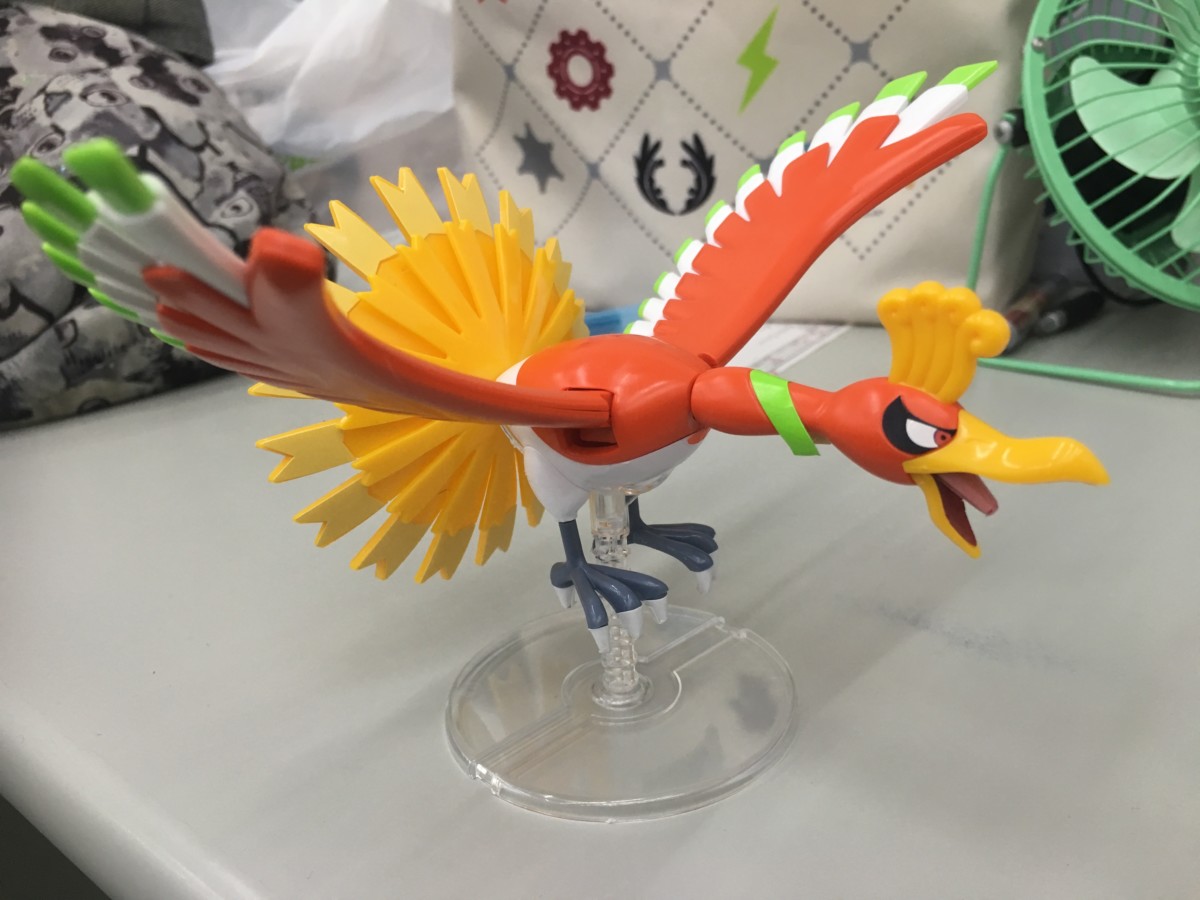

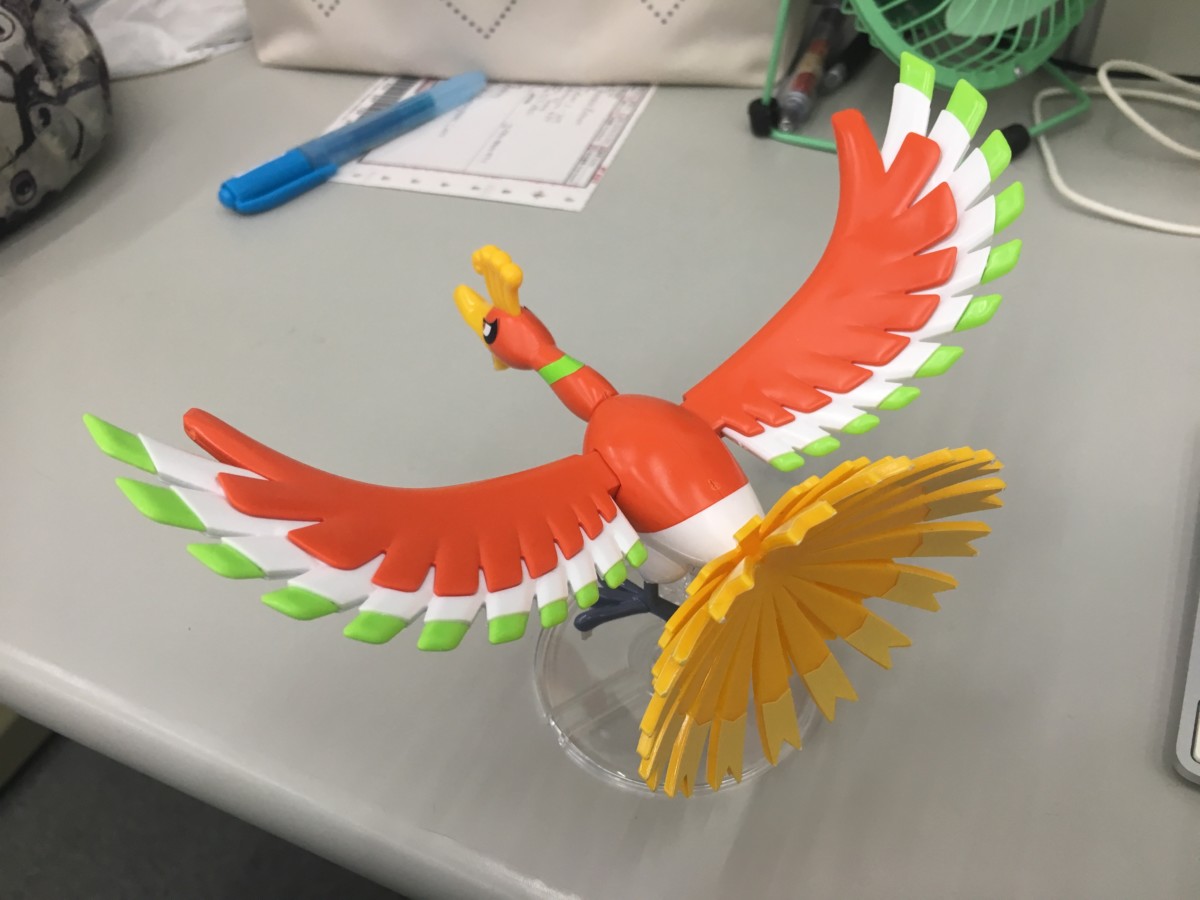
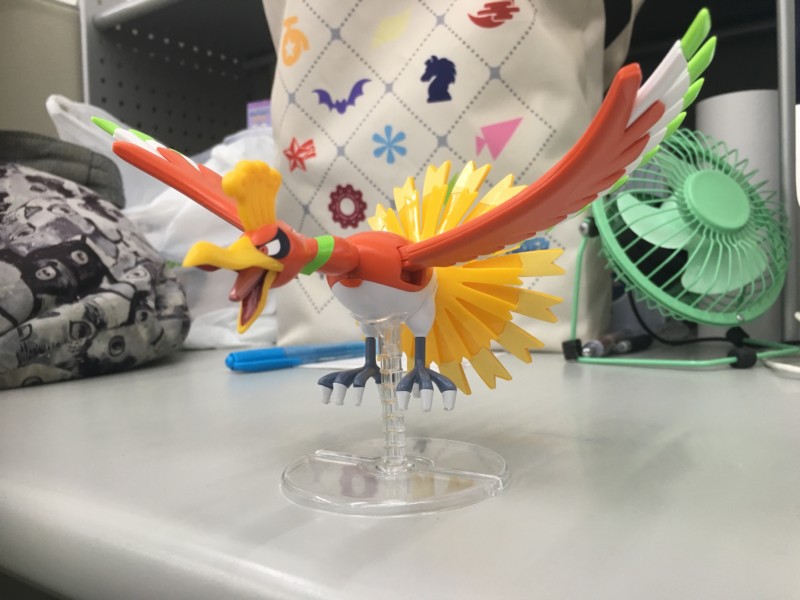
A finished photo from my work desk (that could use some organizing – please don’t judge me). The display of the finished project is pretty nice! I had a lot of fun with this kit, but probably not as much fun as my cat. I feel like this Ho-Oh would look really sick next to a Lugia plastic model; the sun and the moon legendary birds contrasting one another.
If you’re a fan of the 2nd generation legendary birds, you’ll definitely wanna pick this one up for yourself.
Get yours here:
– Pokemon Plamo Collection Ho-Oh