Charmander
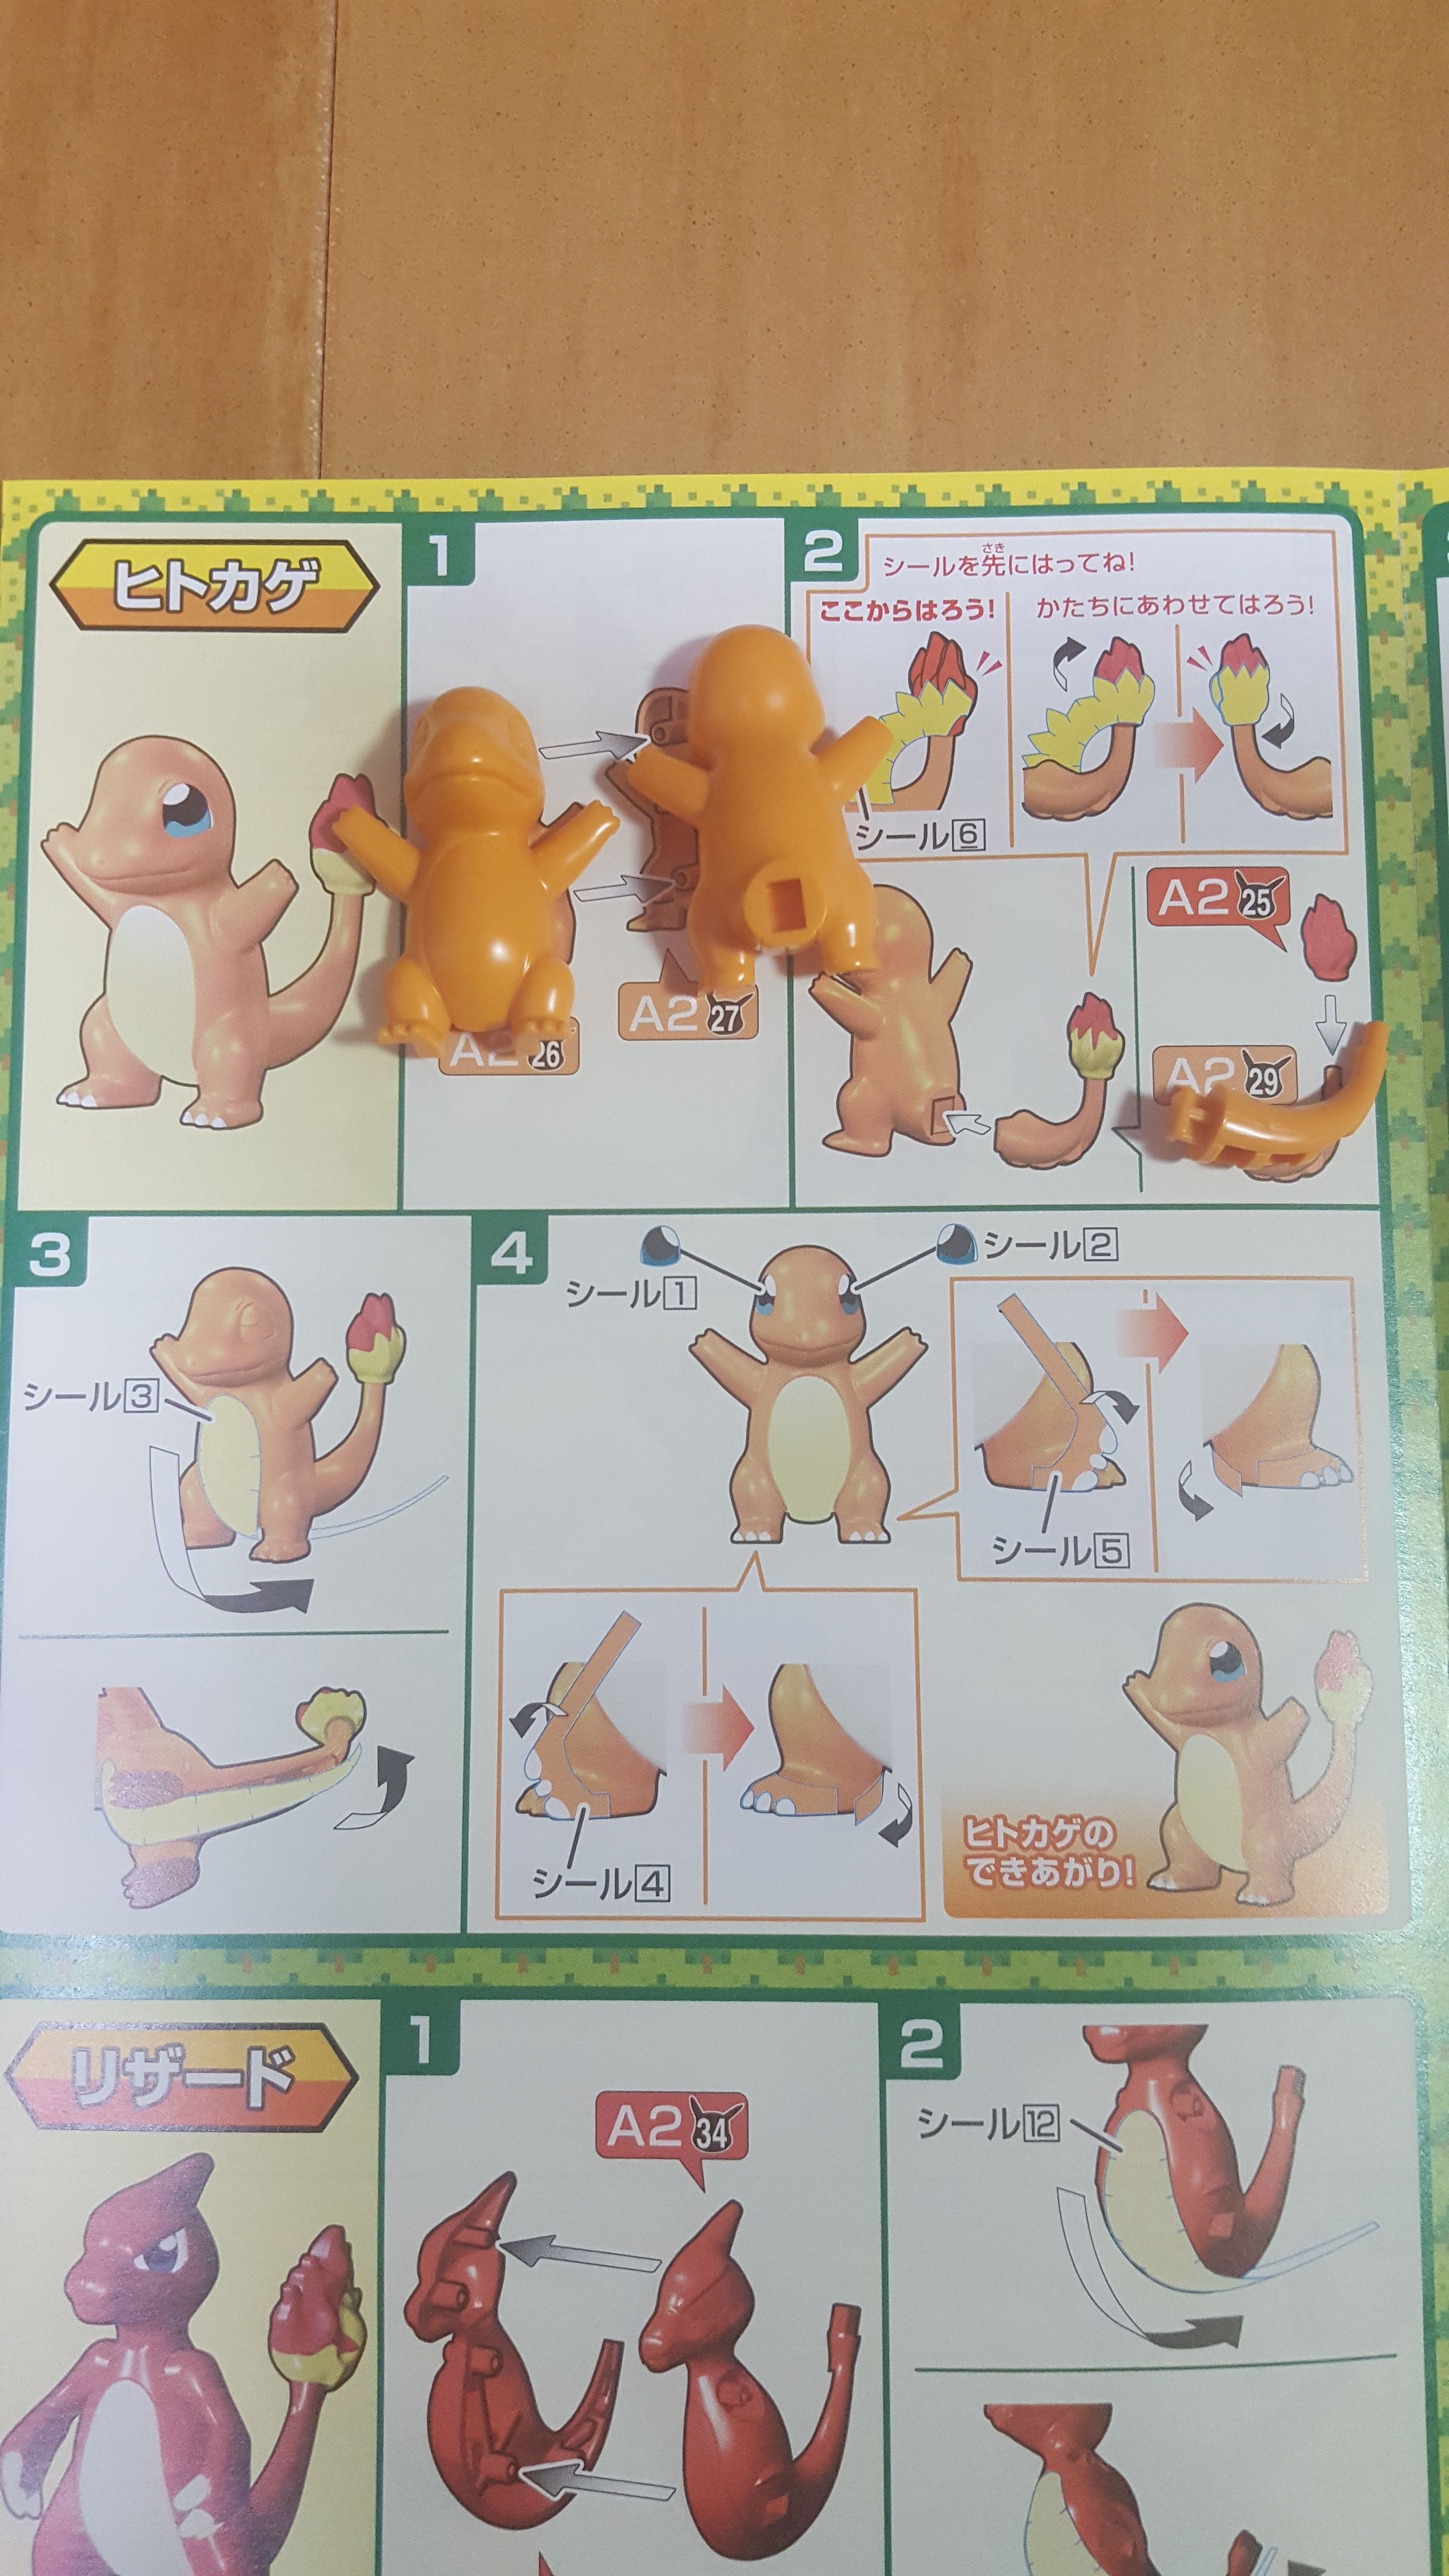
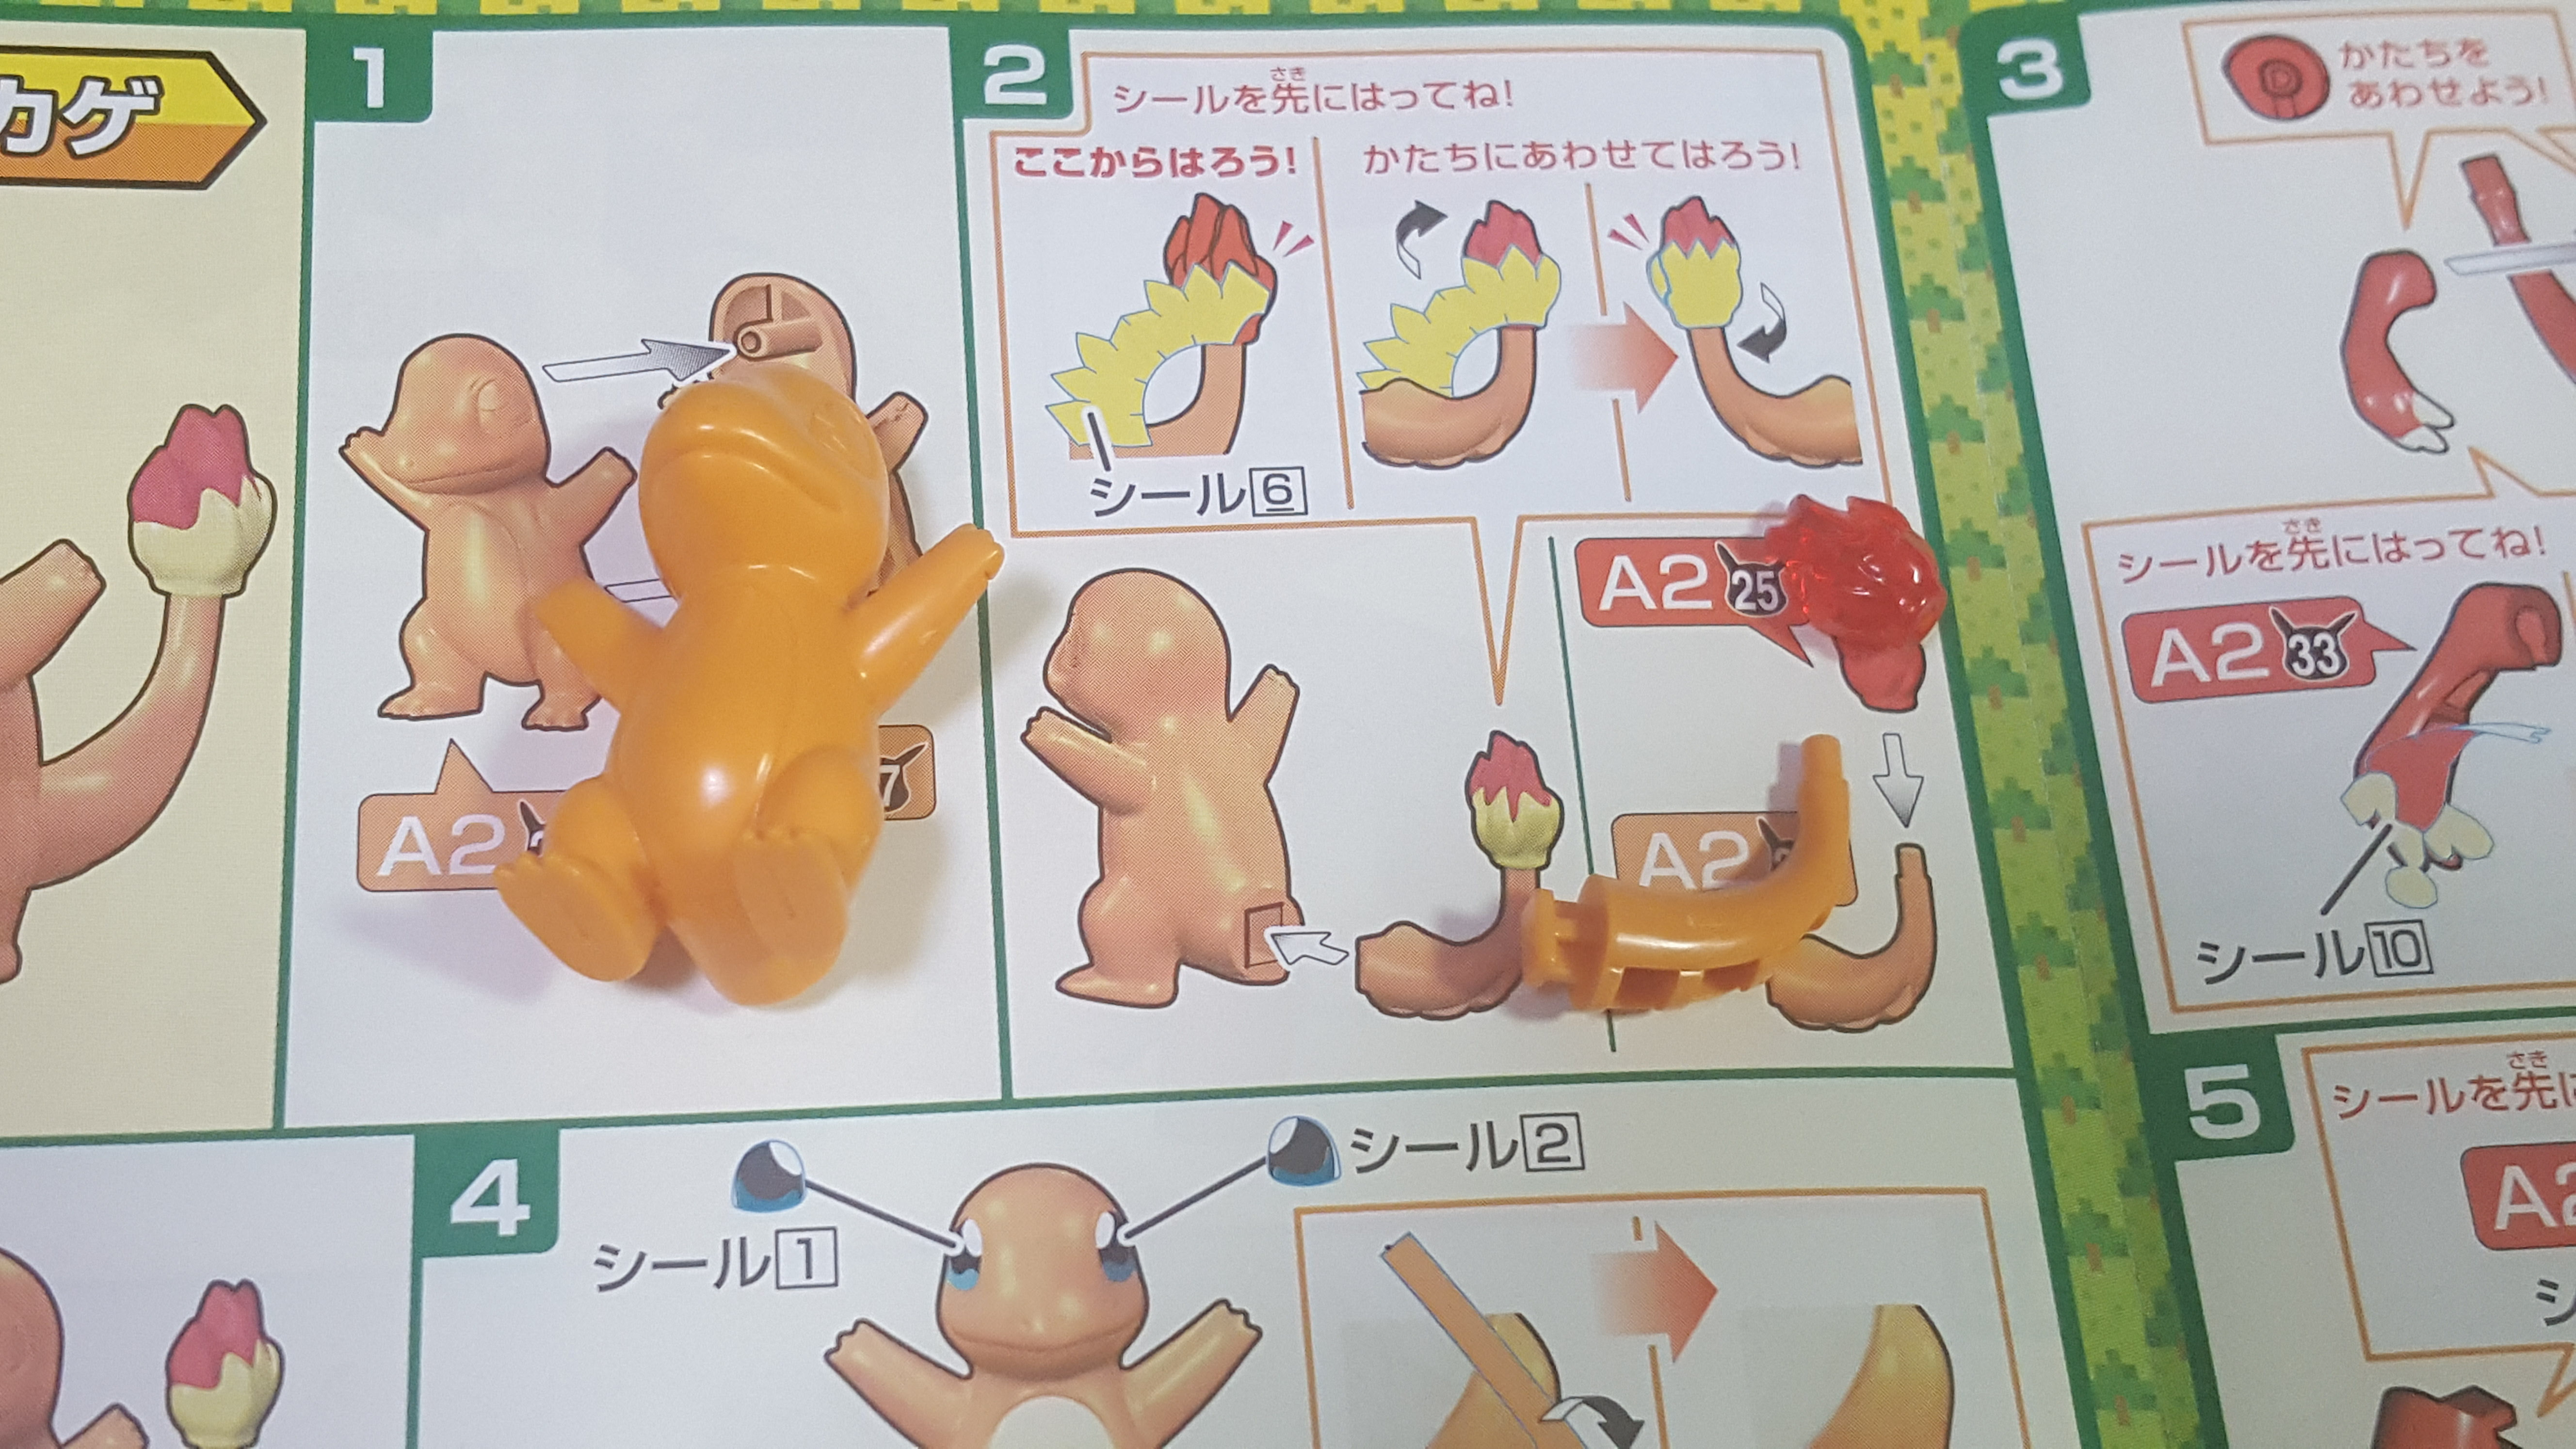
Charmander consists of 4 parts and a whooole lot of stickers. He reminds of of the Dratini from the Dragonite evolution set I built before — when the stickers start taking up most of the kit’s surface space, you probably want to consider paint.
Anyway!
Here’s the assembled body, waiting for the tail parts.
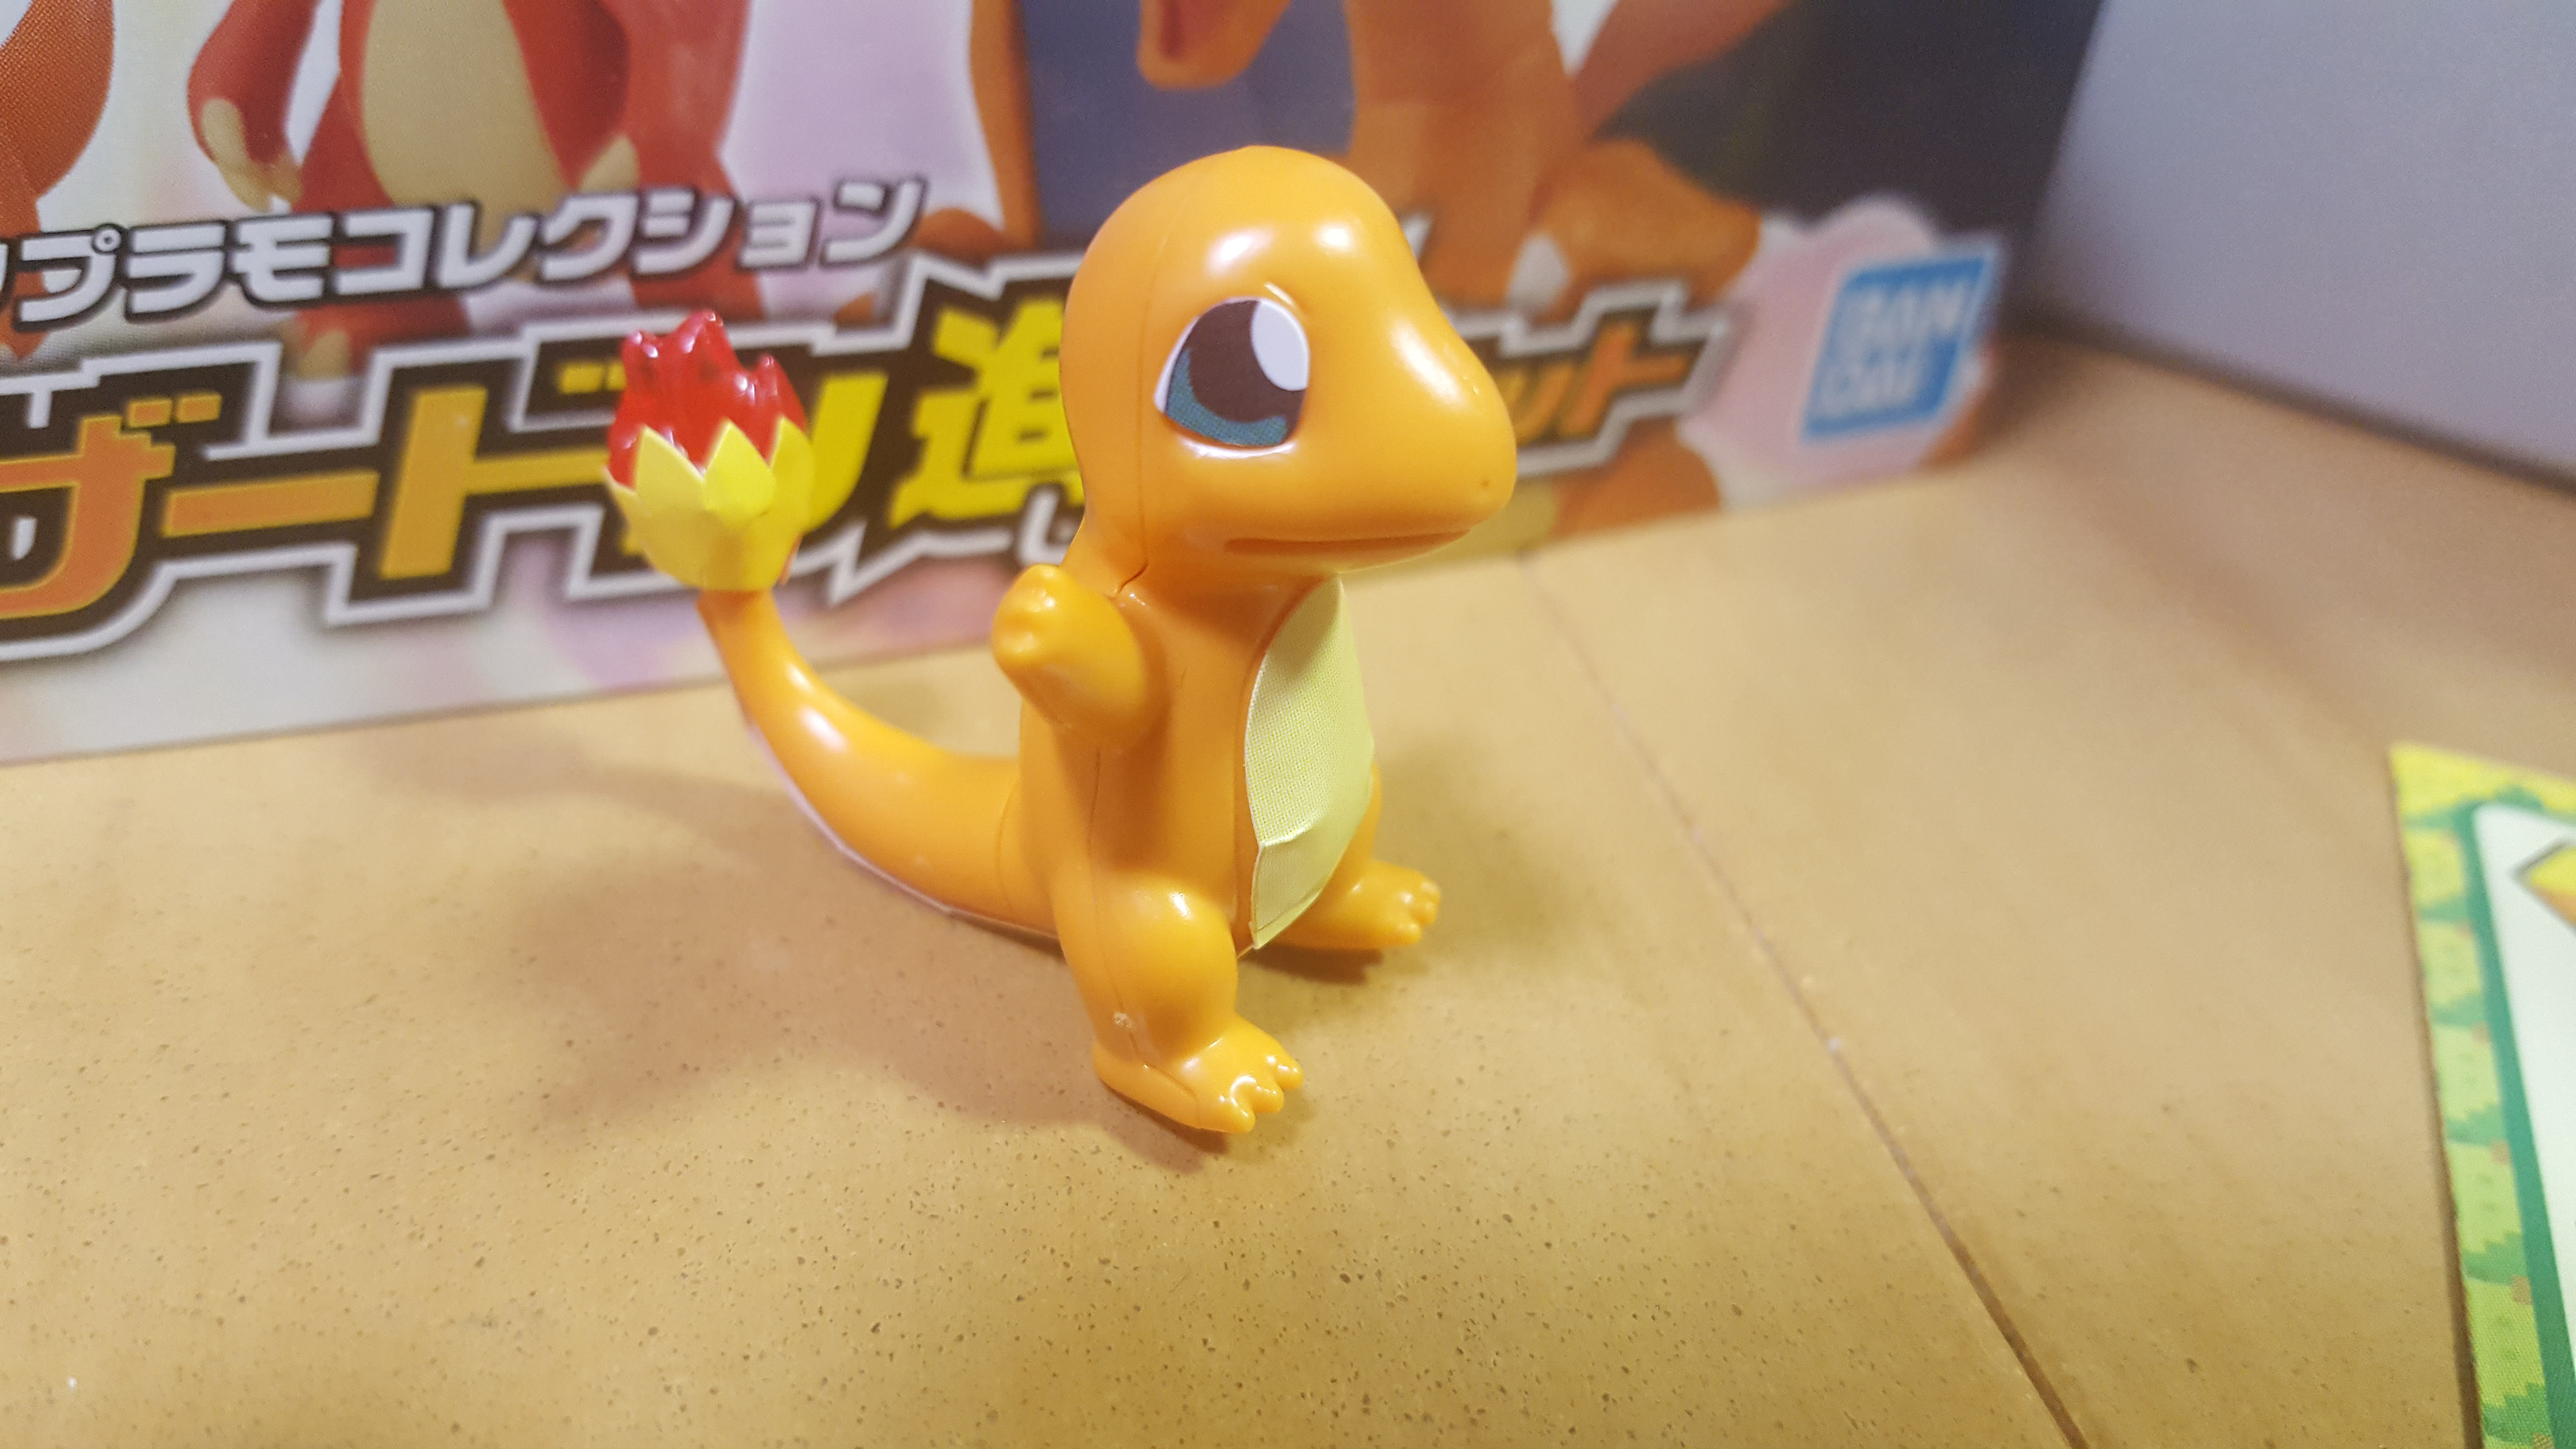
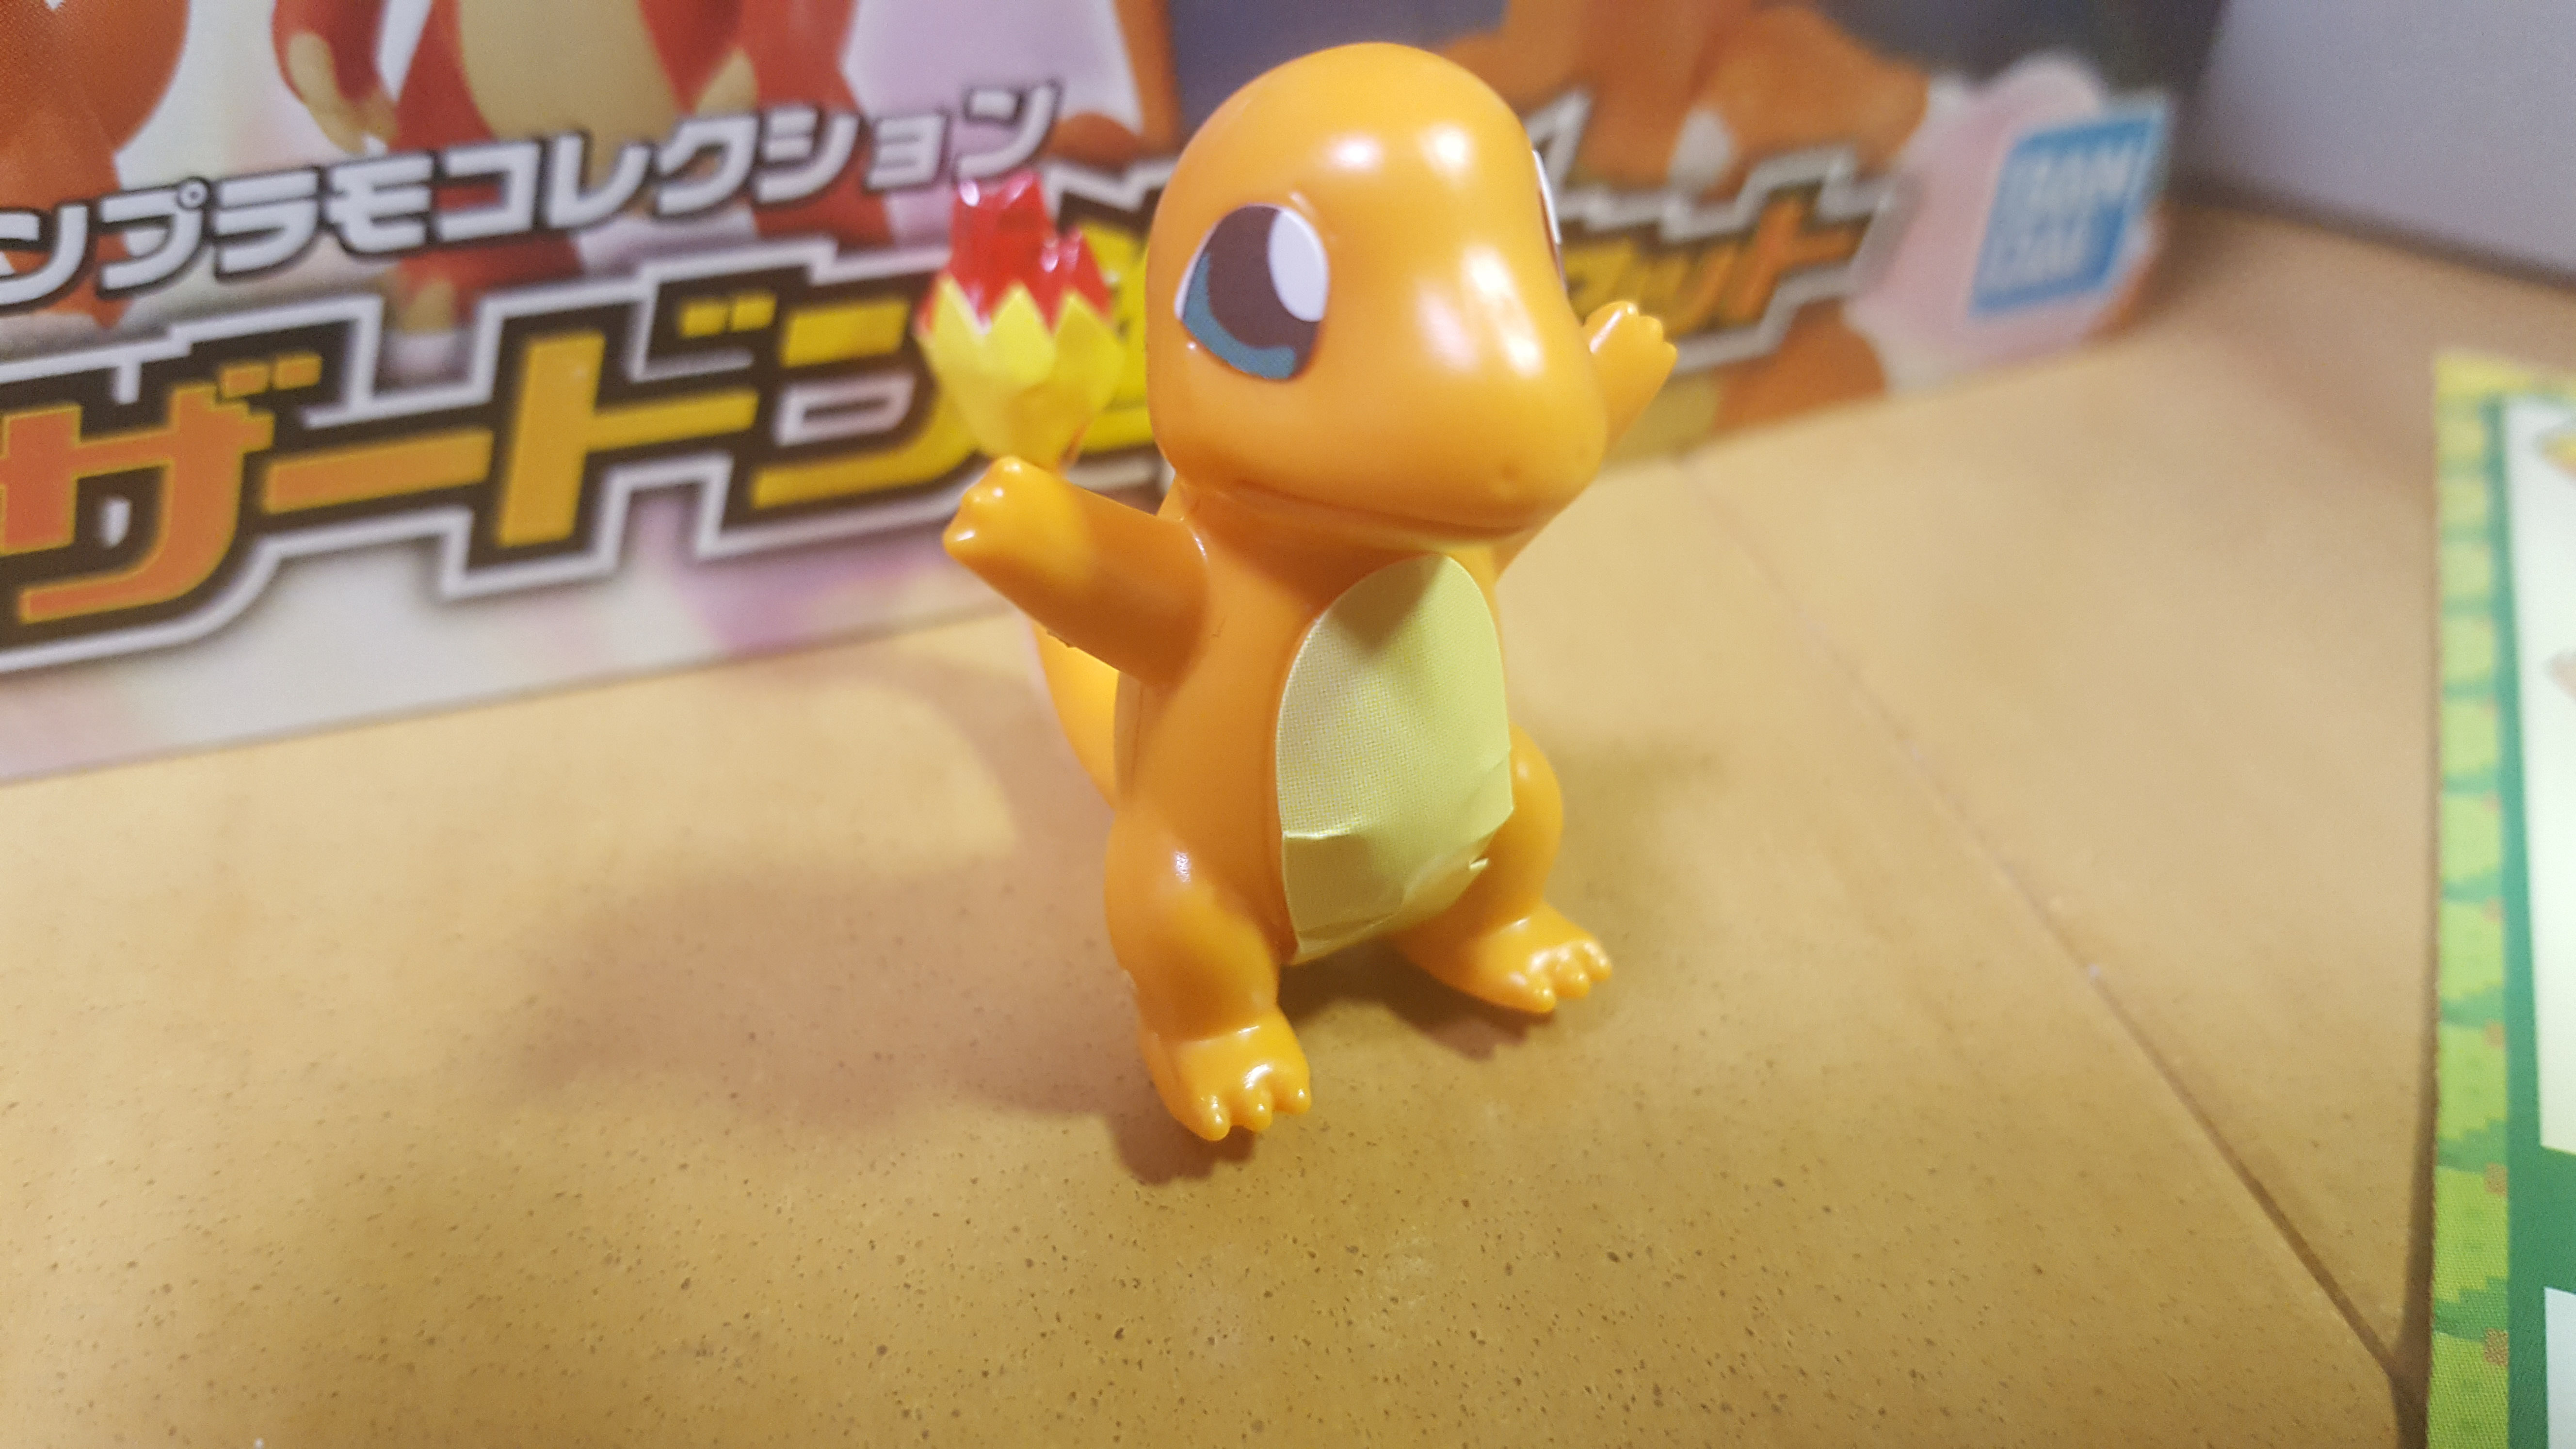
And here’s the completed kit! He’s a cute little guy. I realized when I was taking the first photos that his feet were looking a little bare. It turns out I missed those stickers — oops!
In the meantime, here’s another angle. To be honest, I think the tail flame would look better without any stickers.
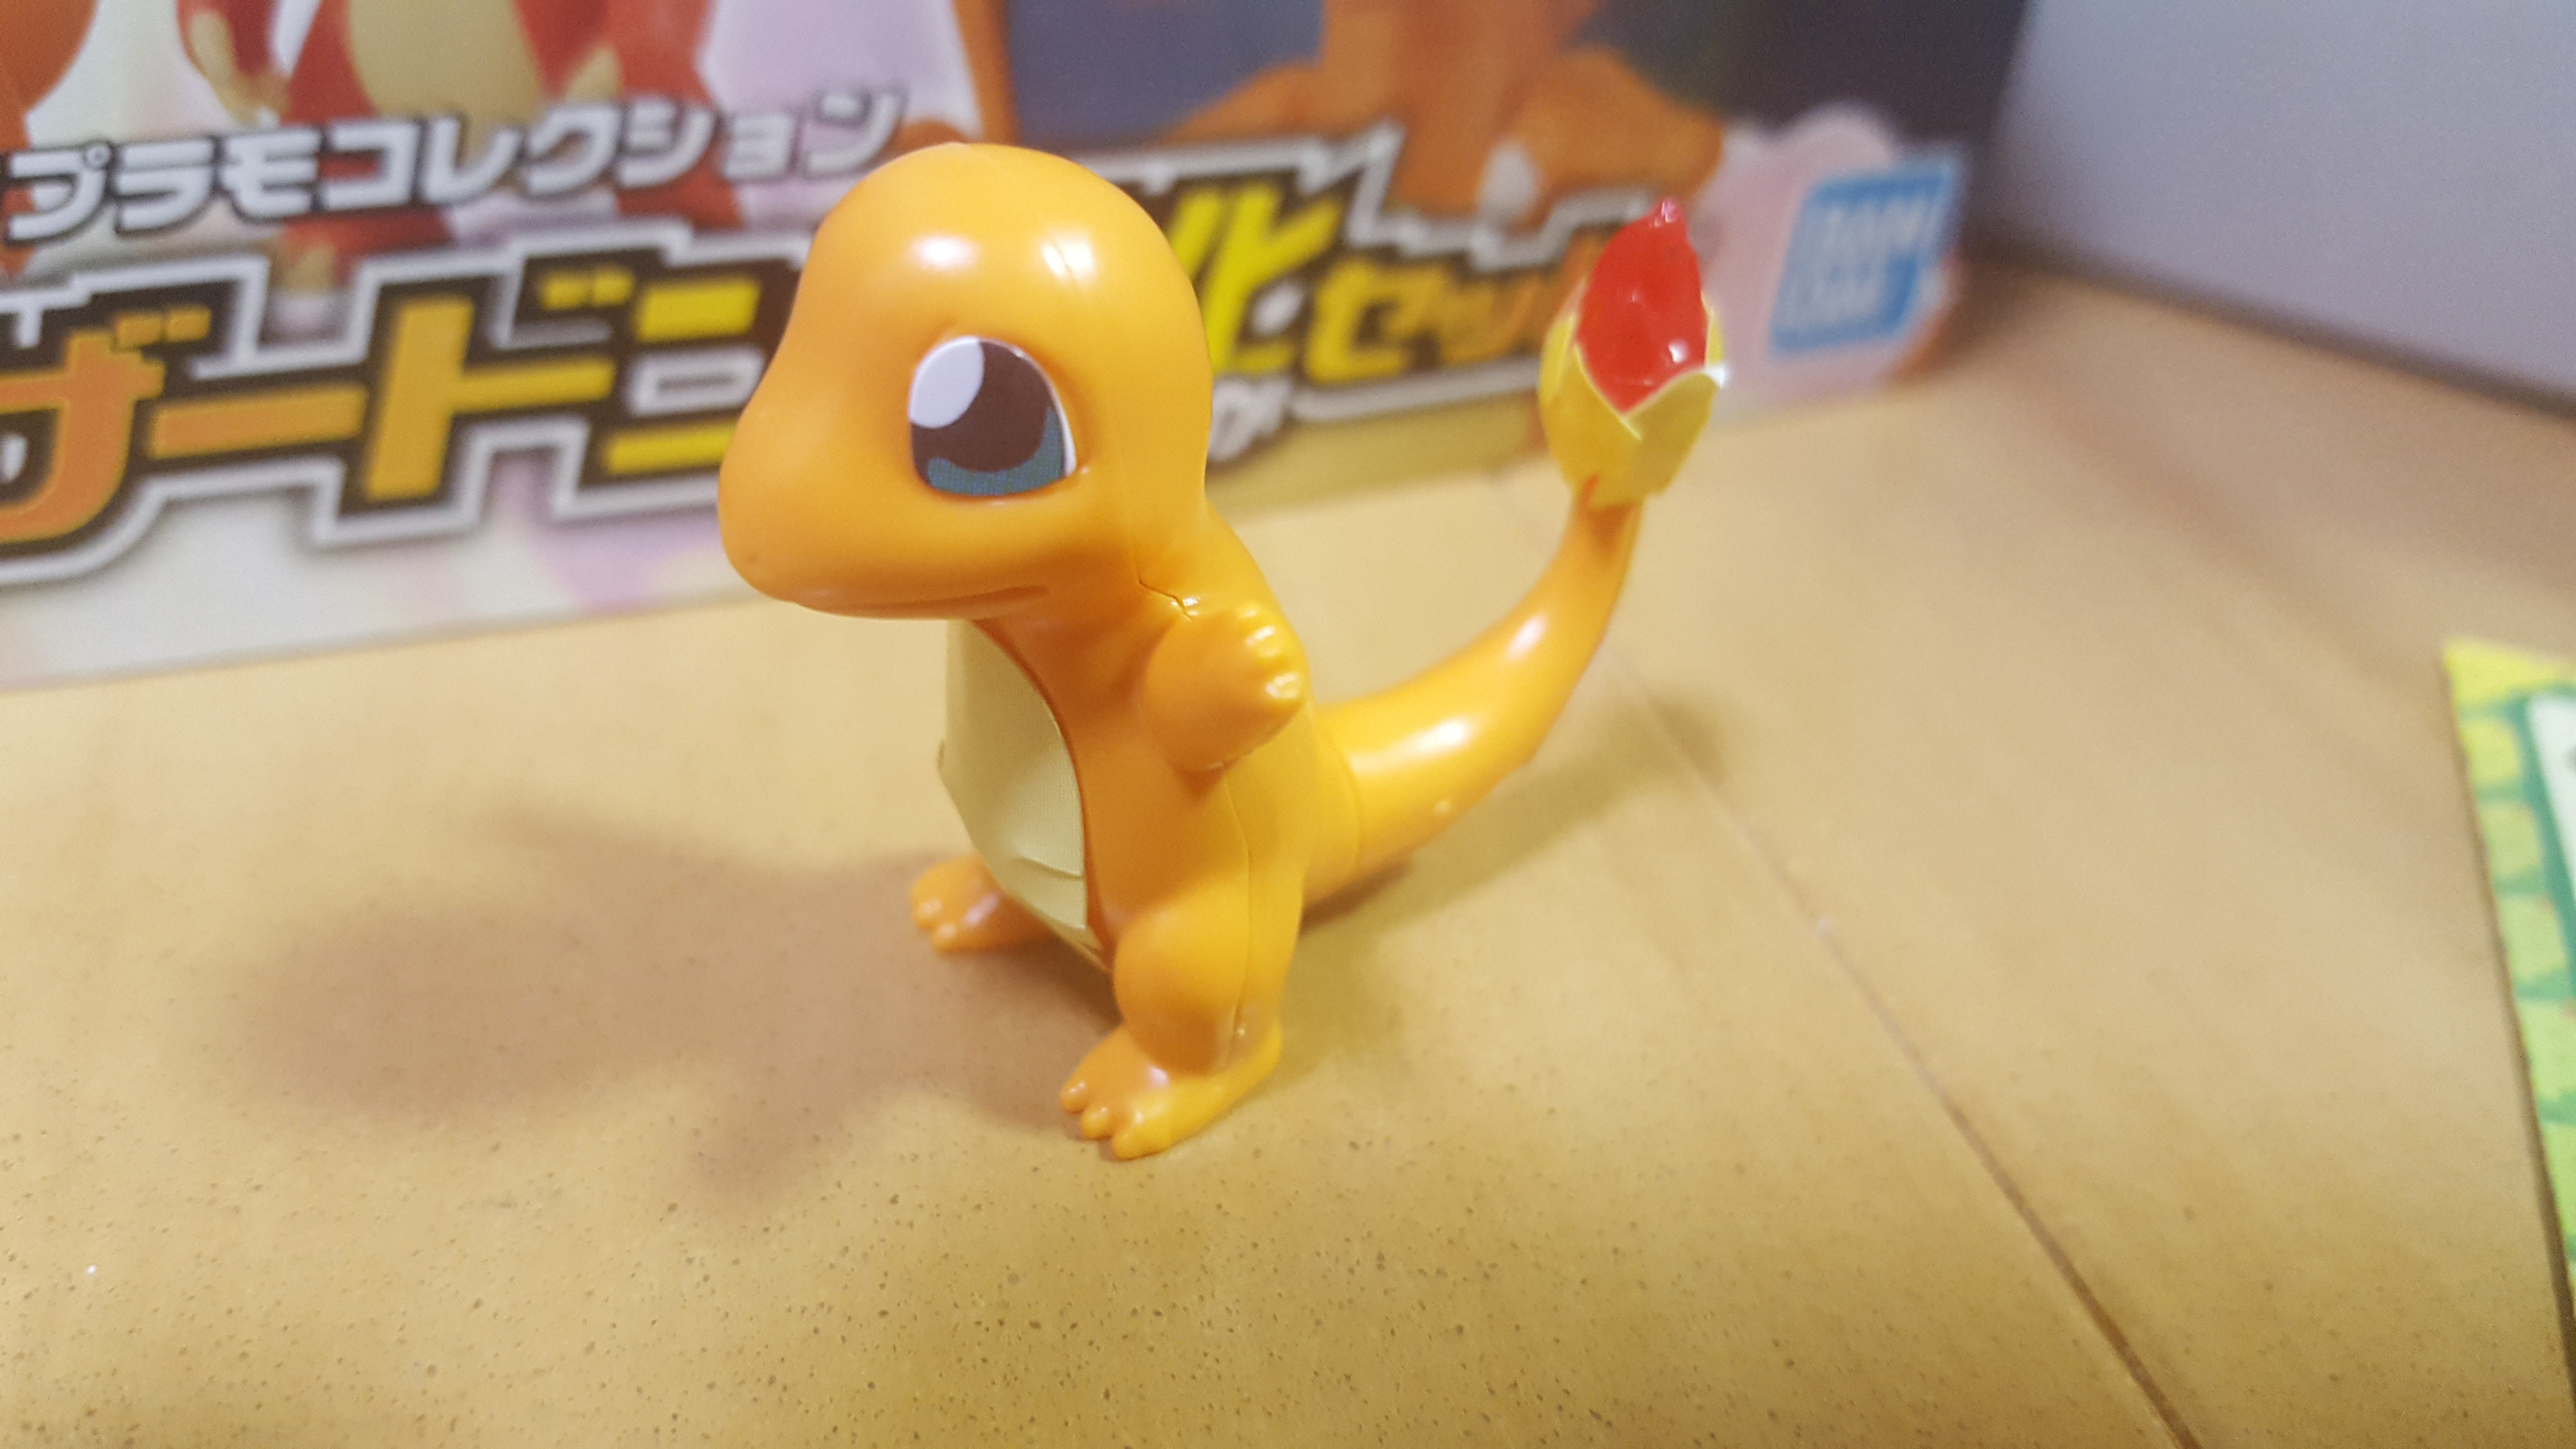
And another angle!
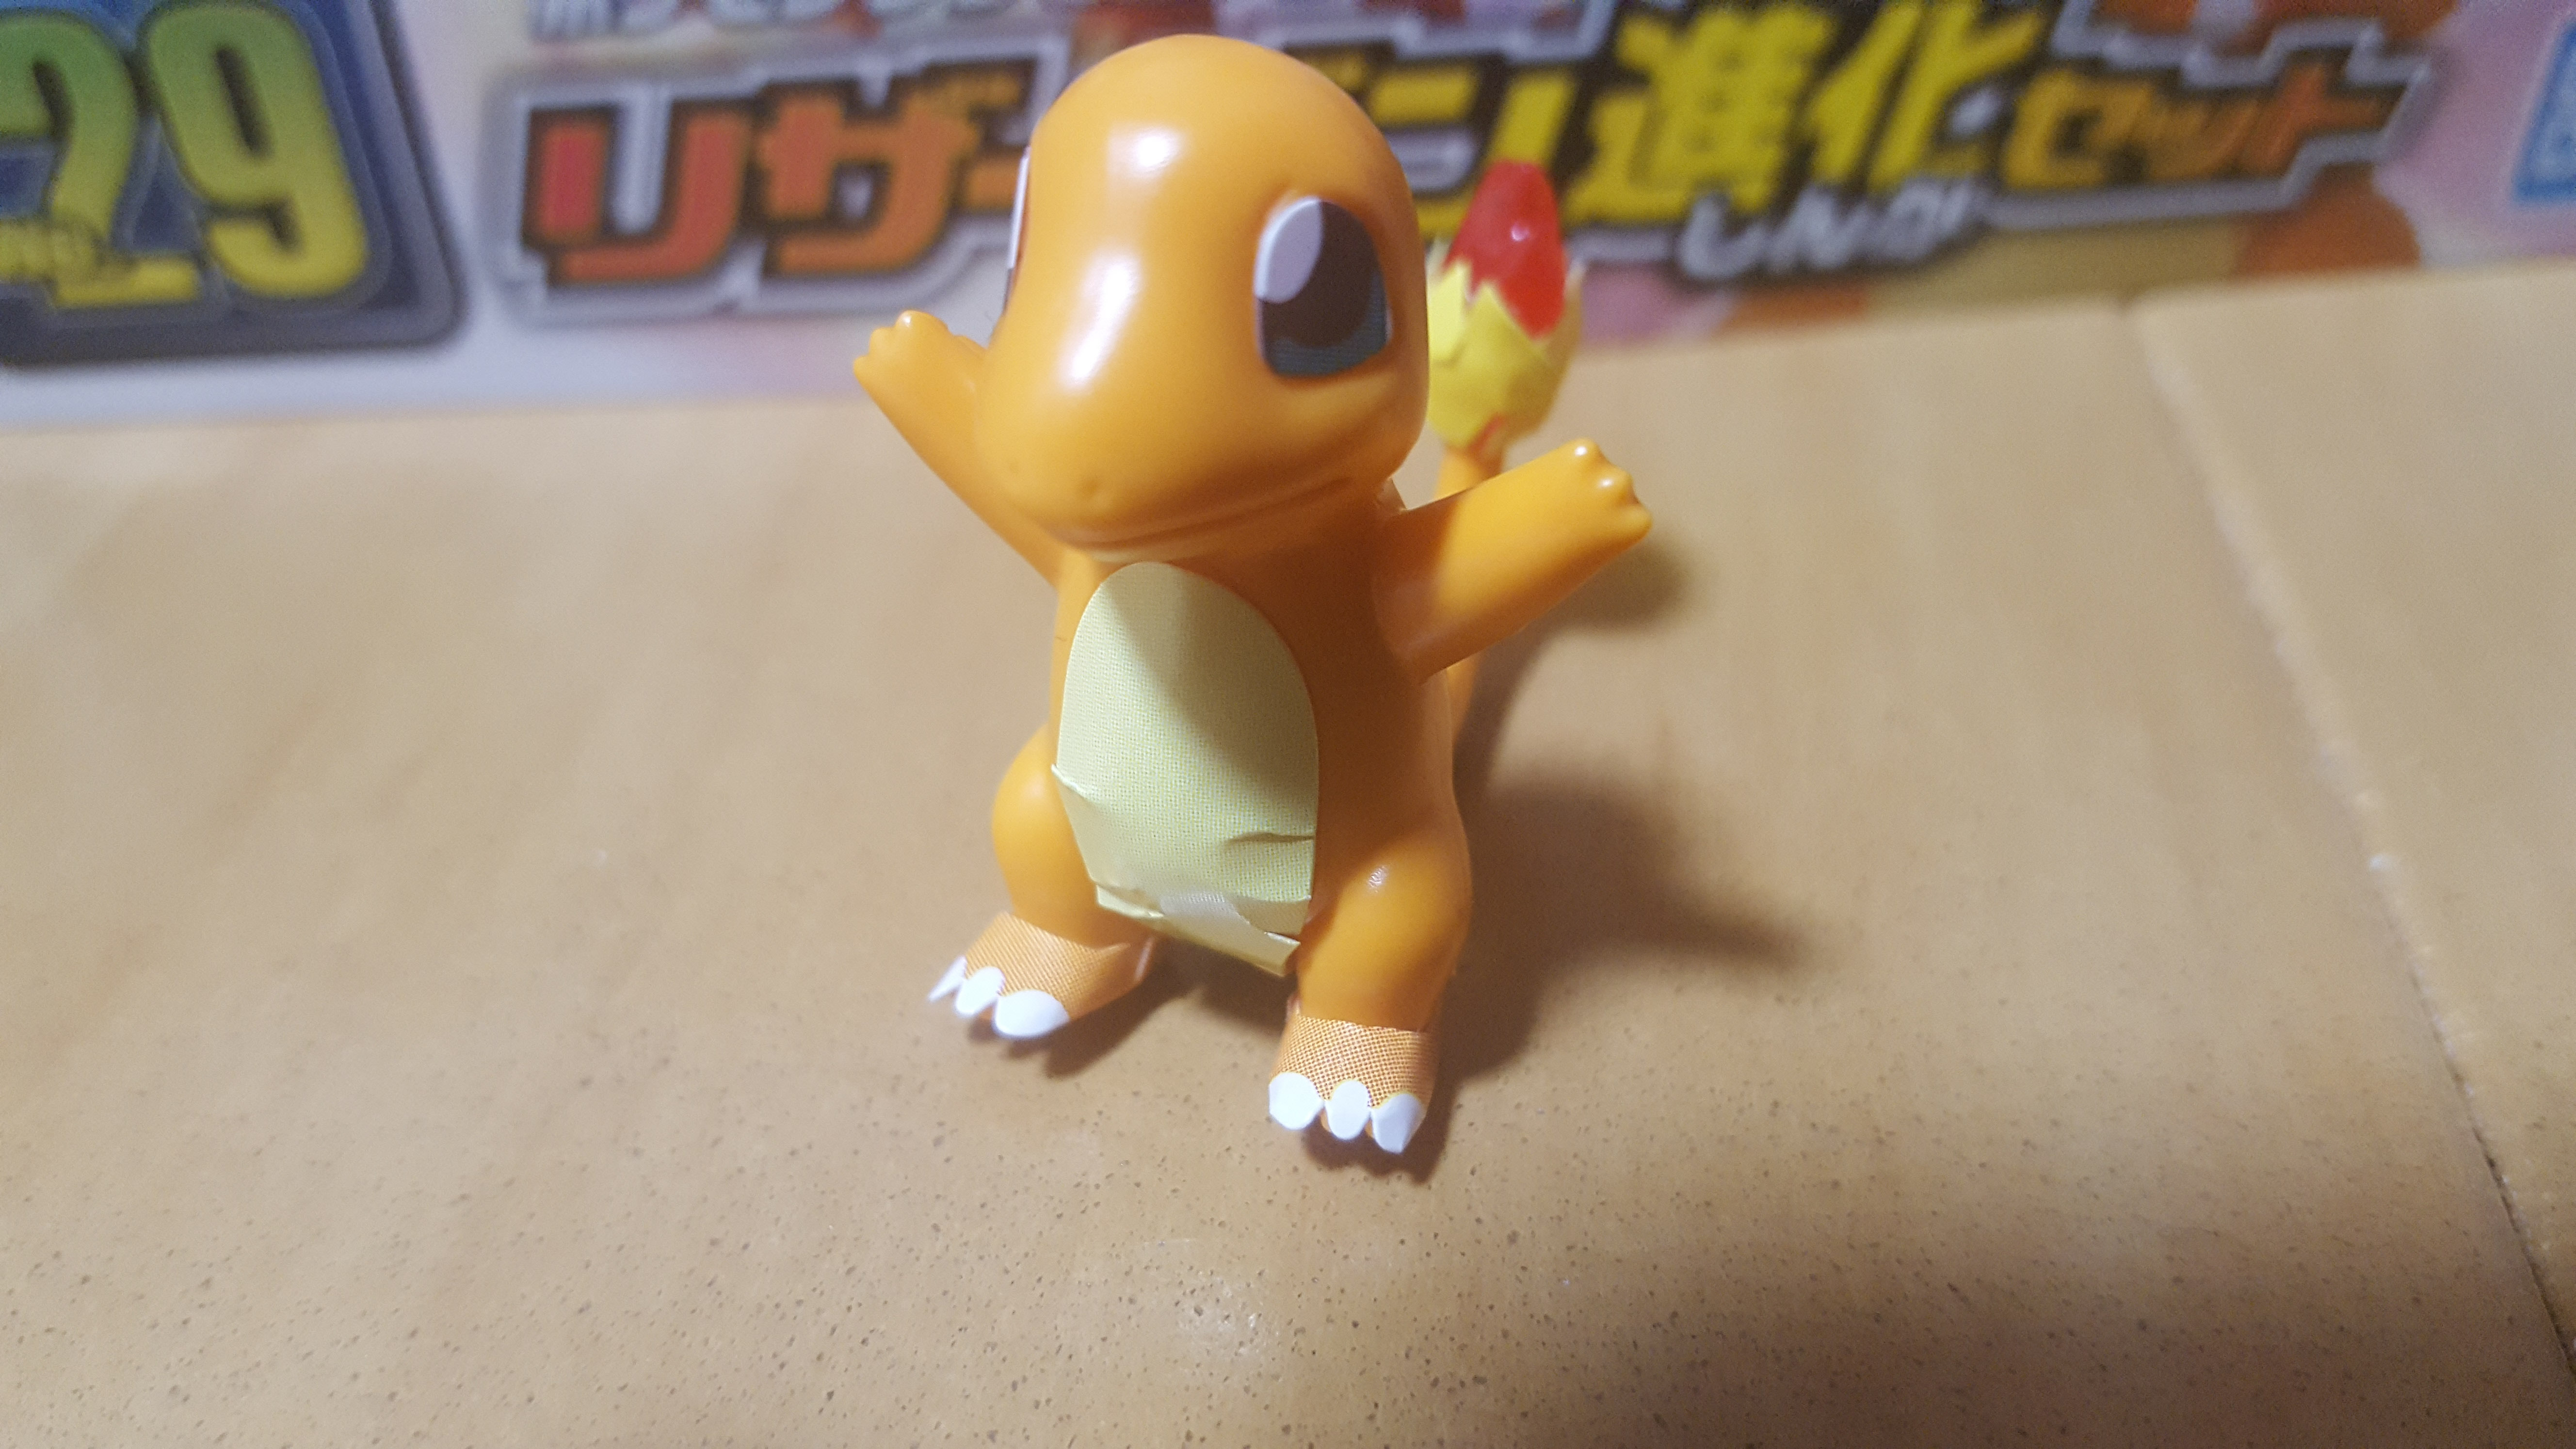
Finally, he has toes! It bums me out that the orange doesn’t really match the plastic… In this case, painting his toes white would surely be the better solution (and possibly easier that using these odd wrapping stickers).

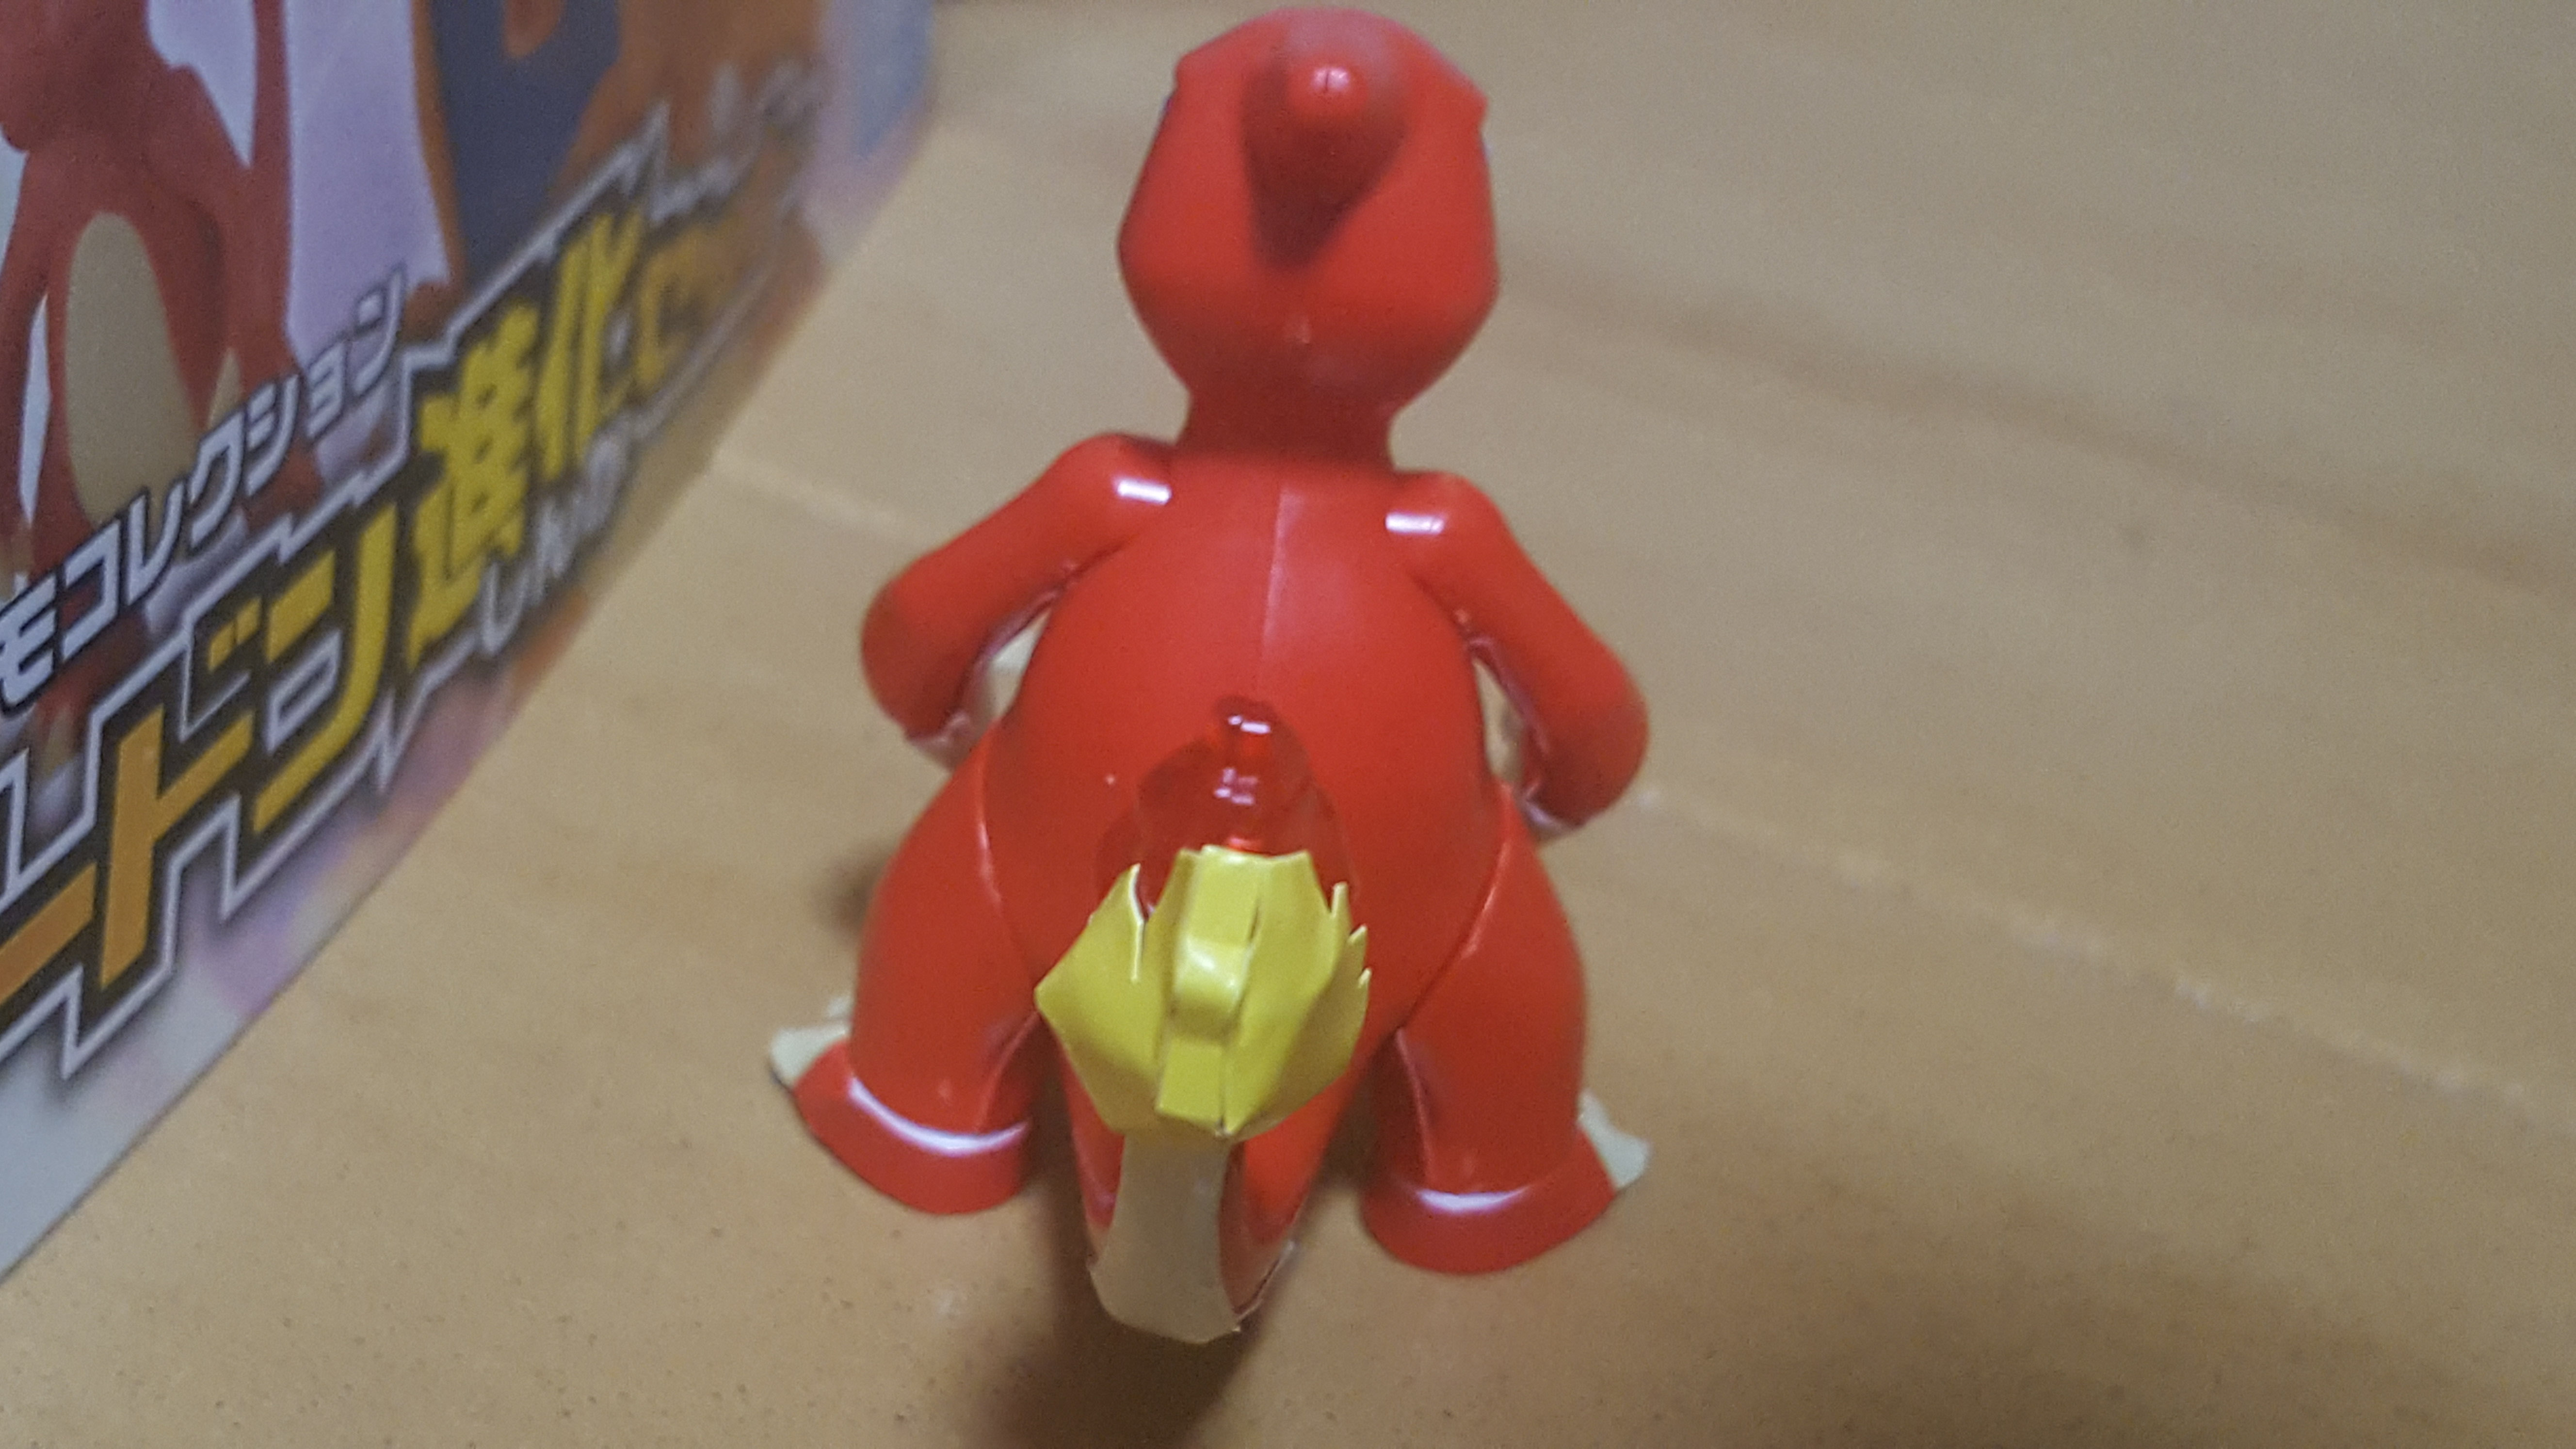
And from the back! His tail is unfortunately out of focus, because I’m no photographer, but you get the idea.
Charmeleon

Charmeleon takes up a little more space in the instruction booklet. He has 8 parts and some series sticker real estate.
Here’s the completed body and arms. I am really terrible with these curved stickers.
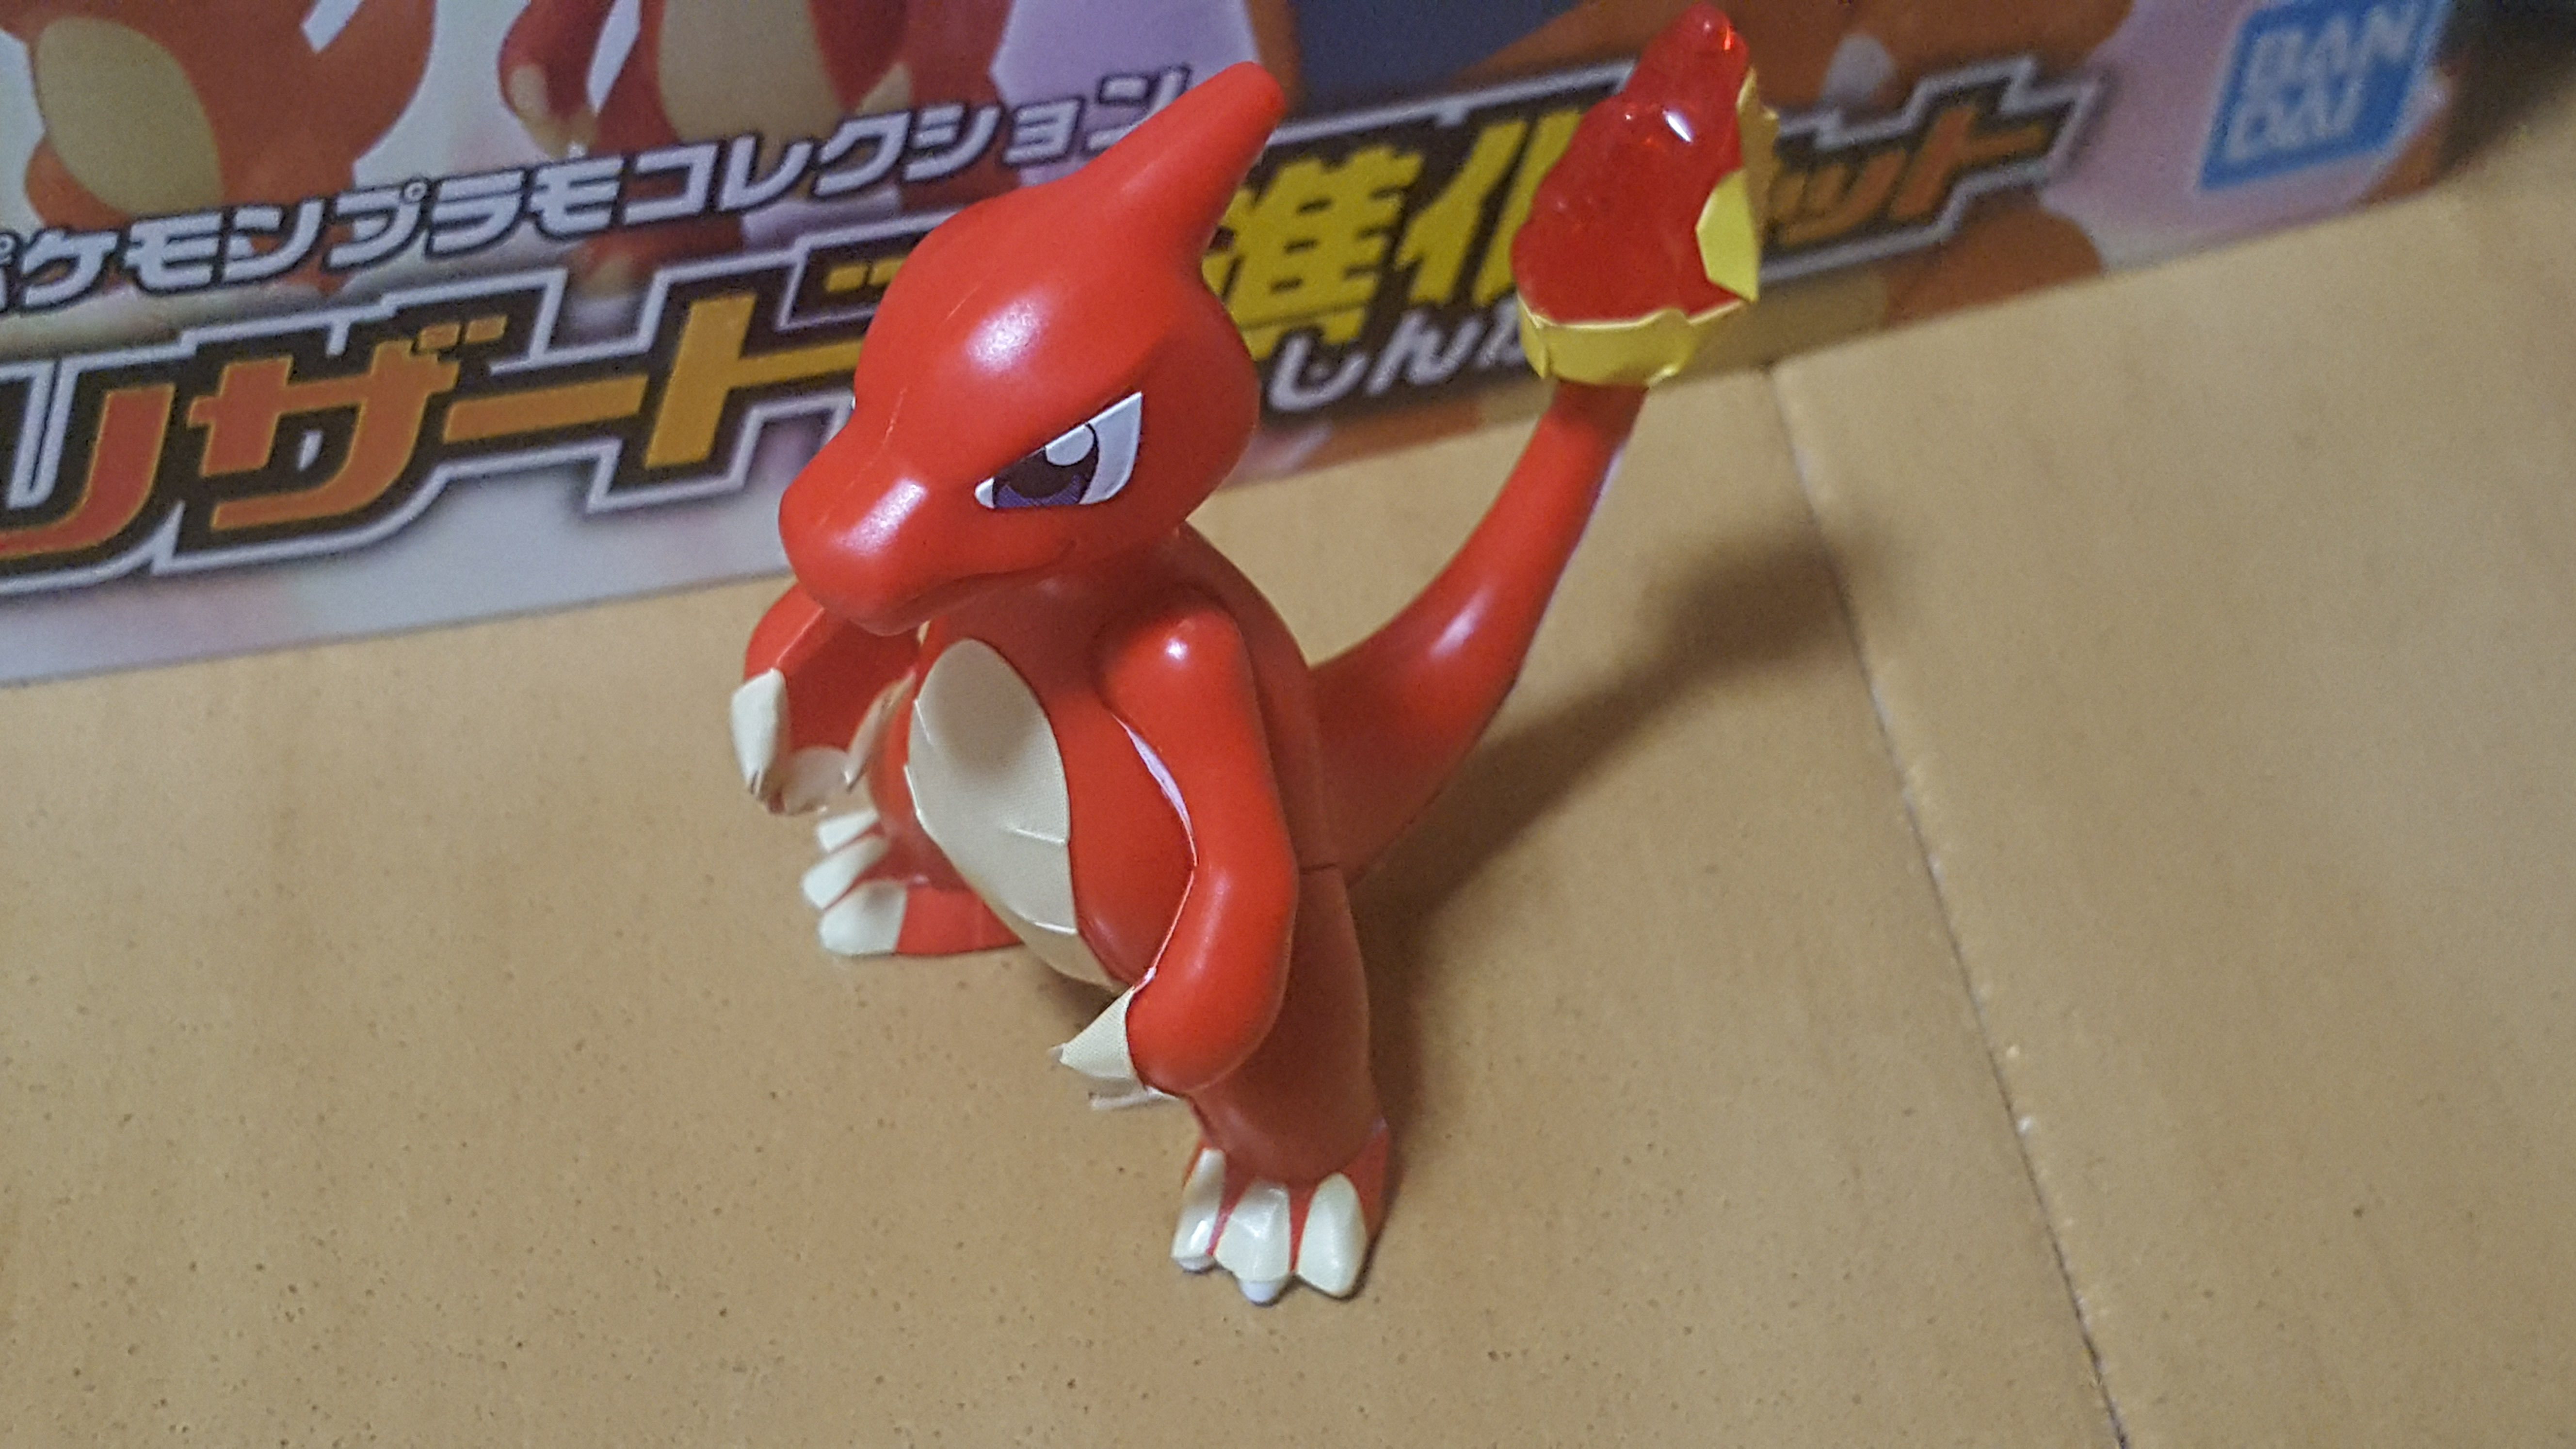
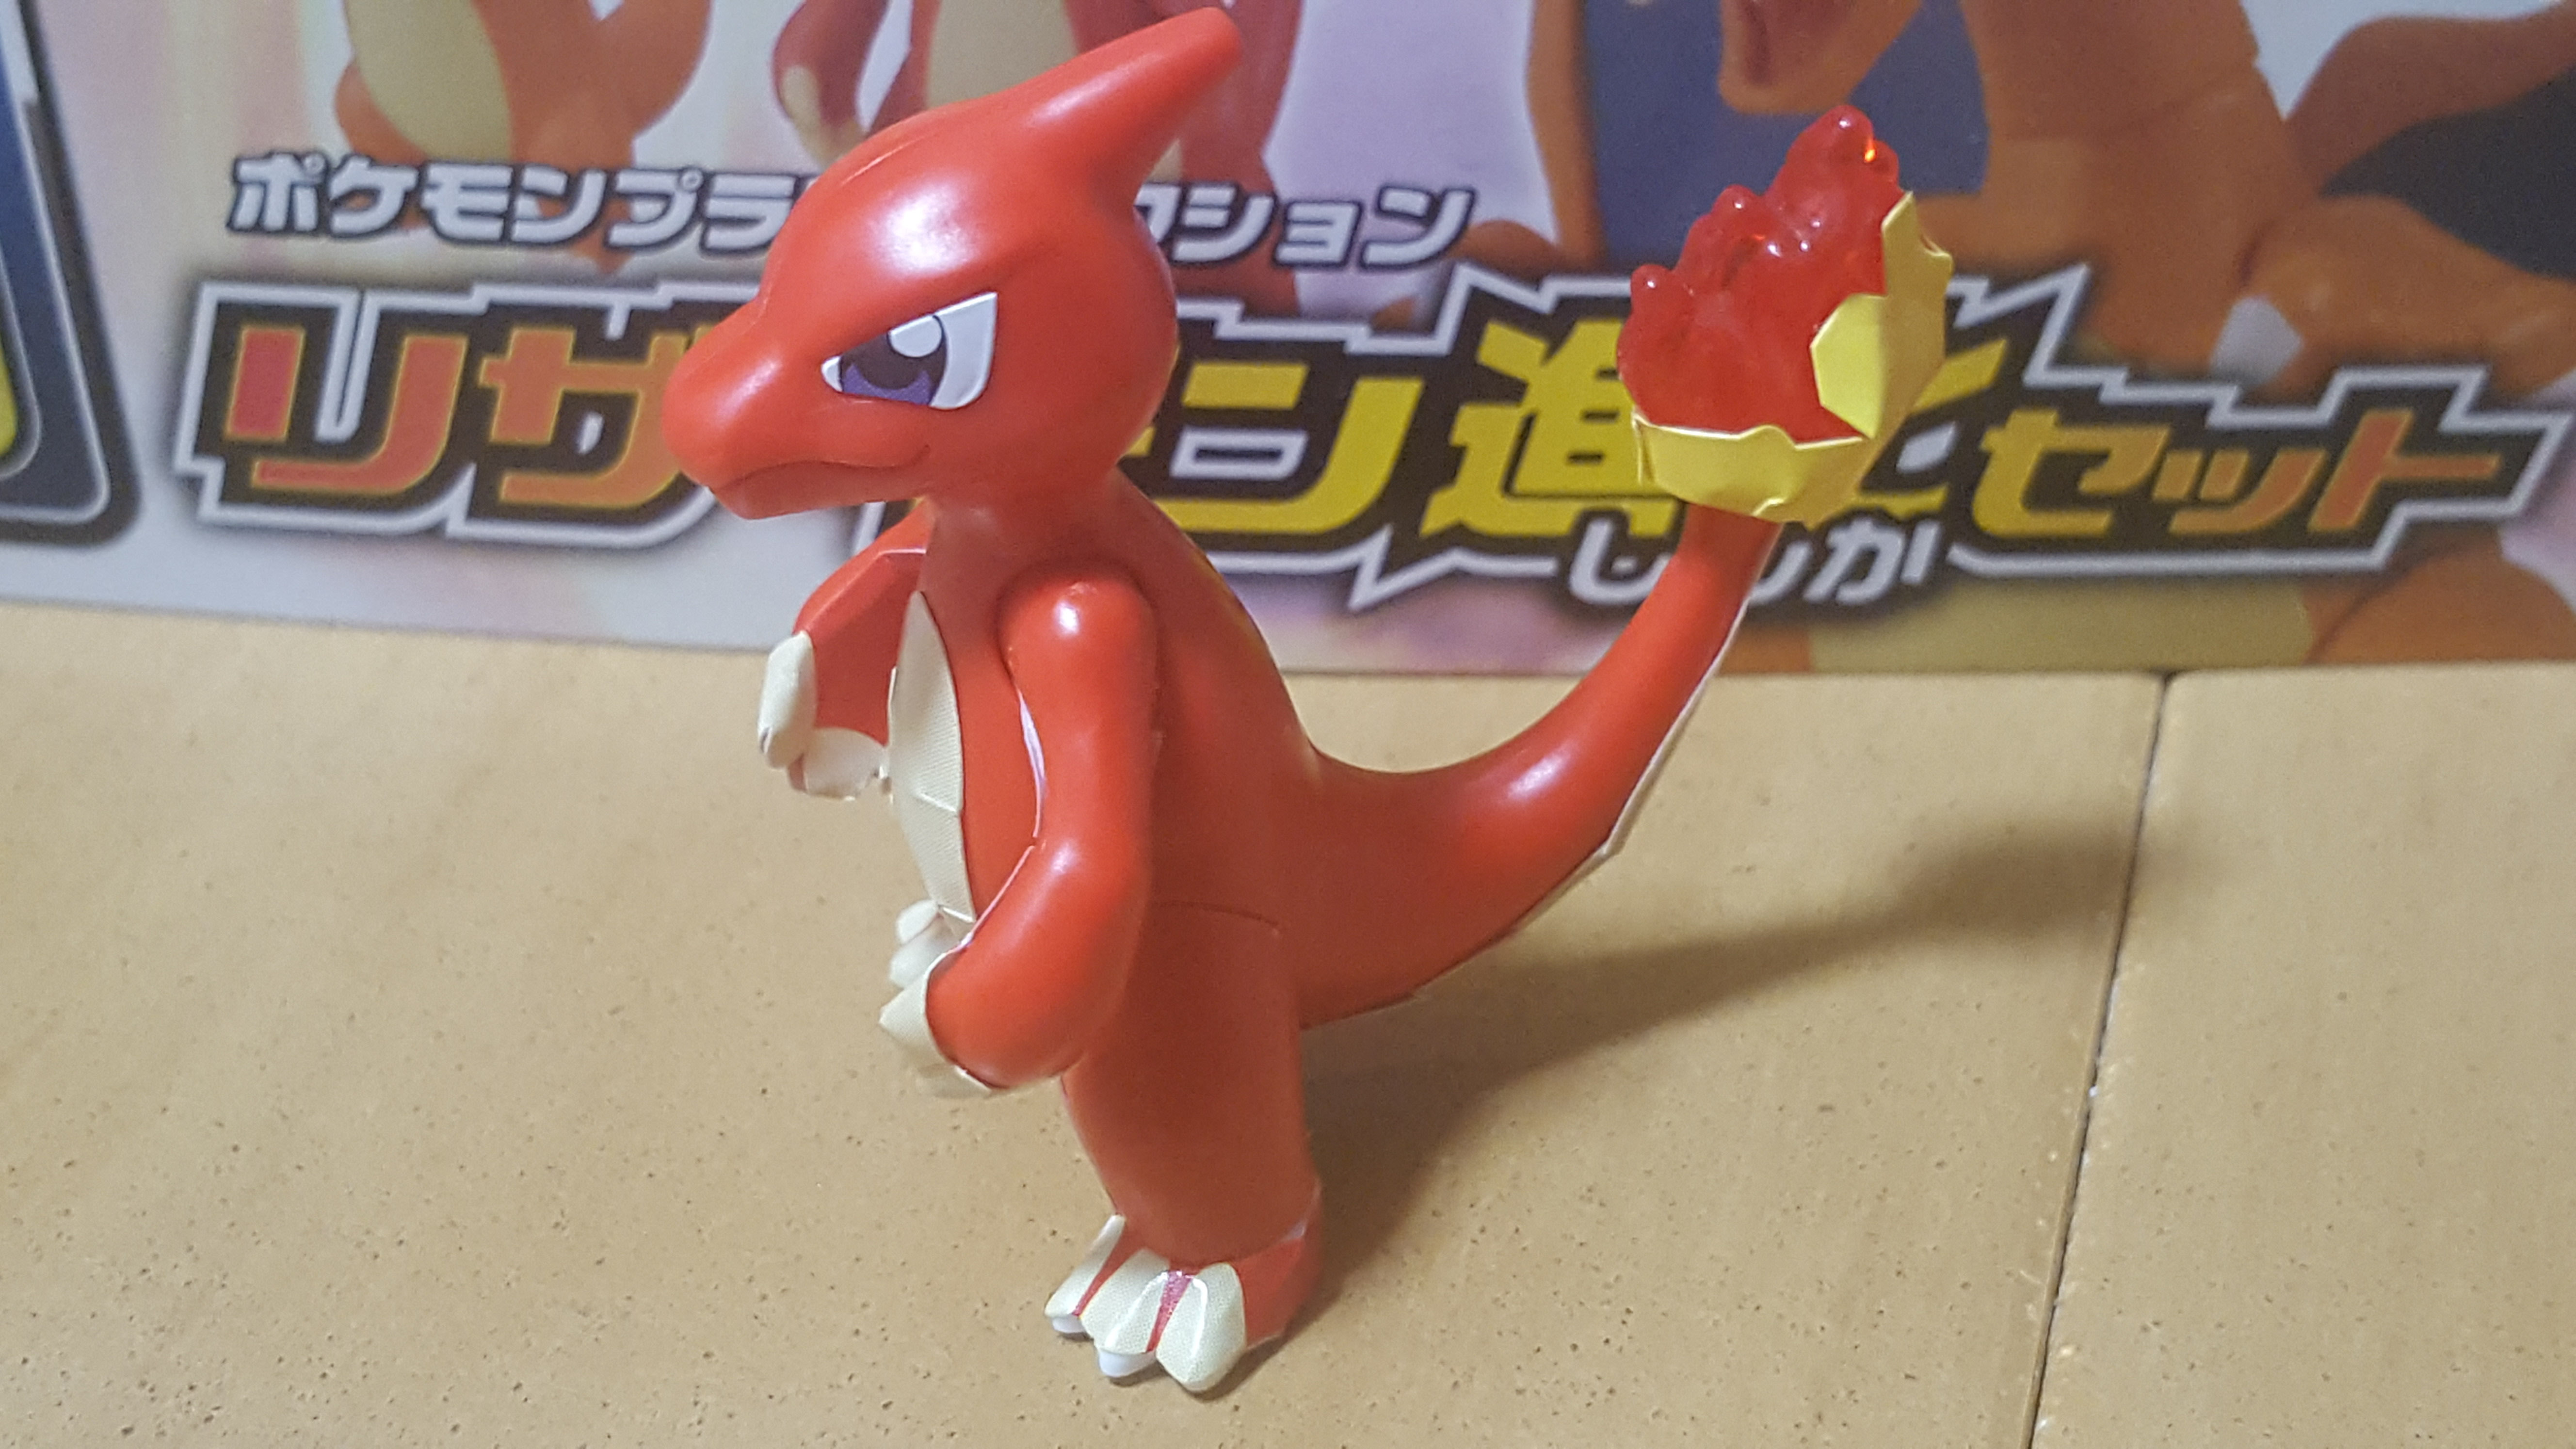
And this is what he looks like when he’s completed.
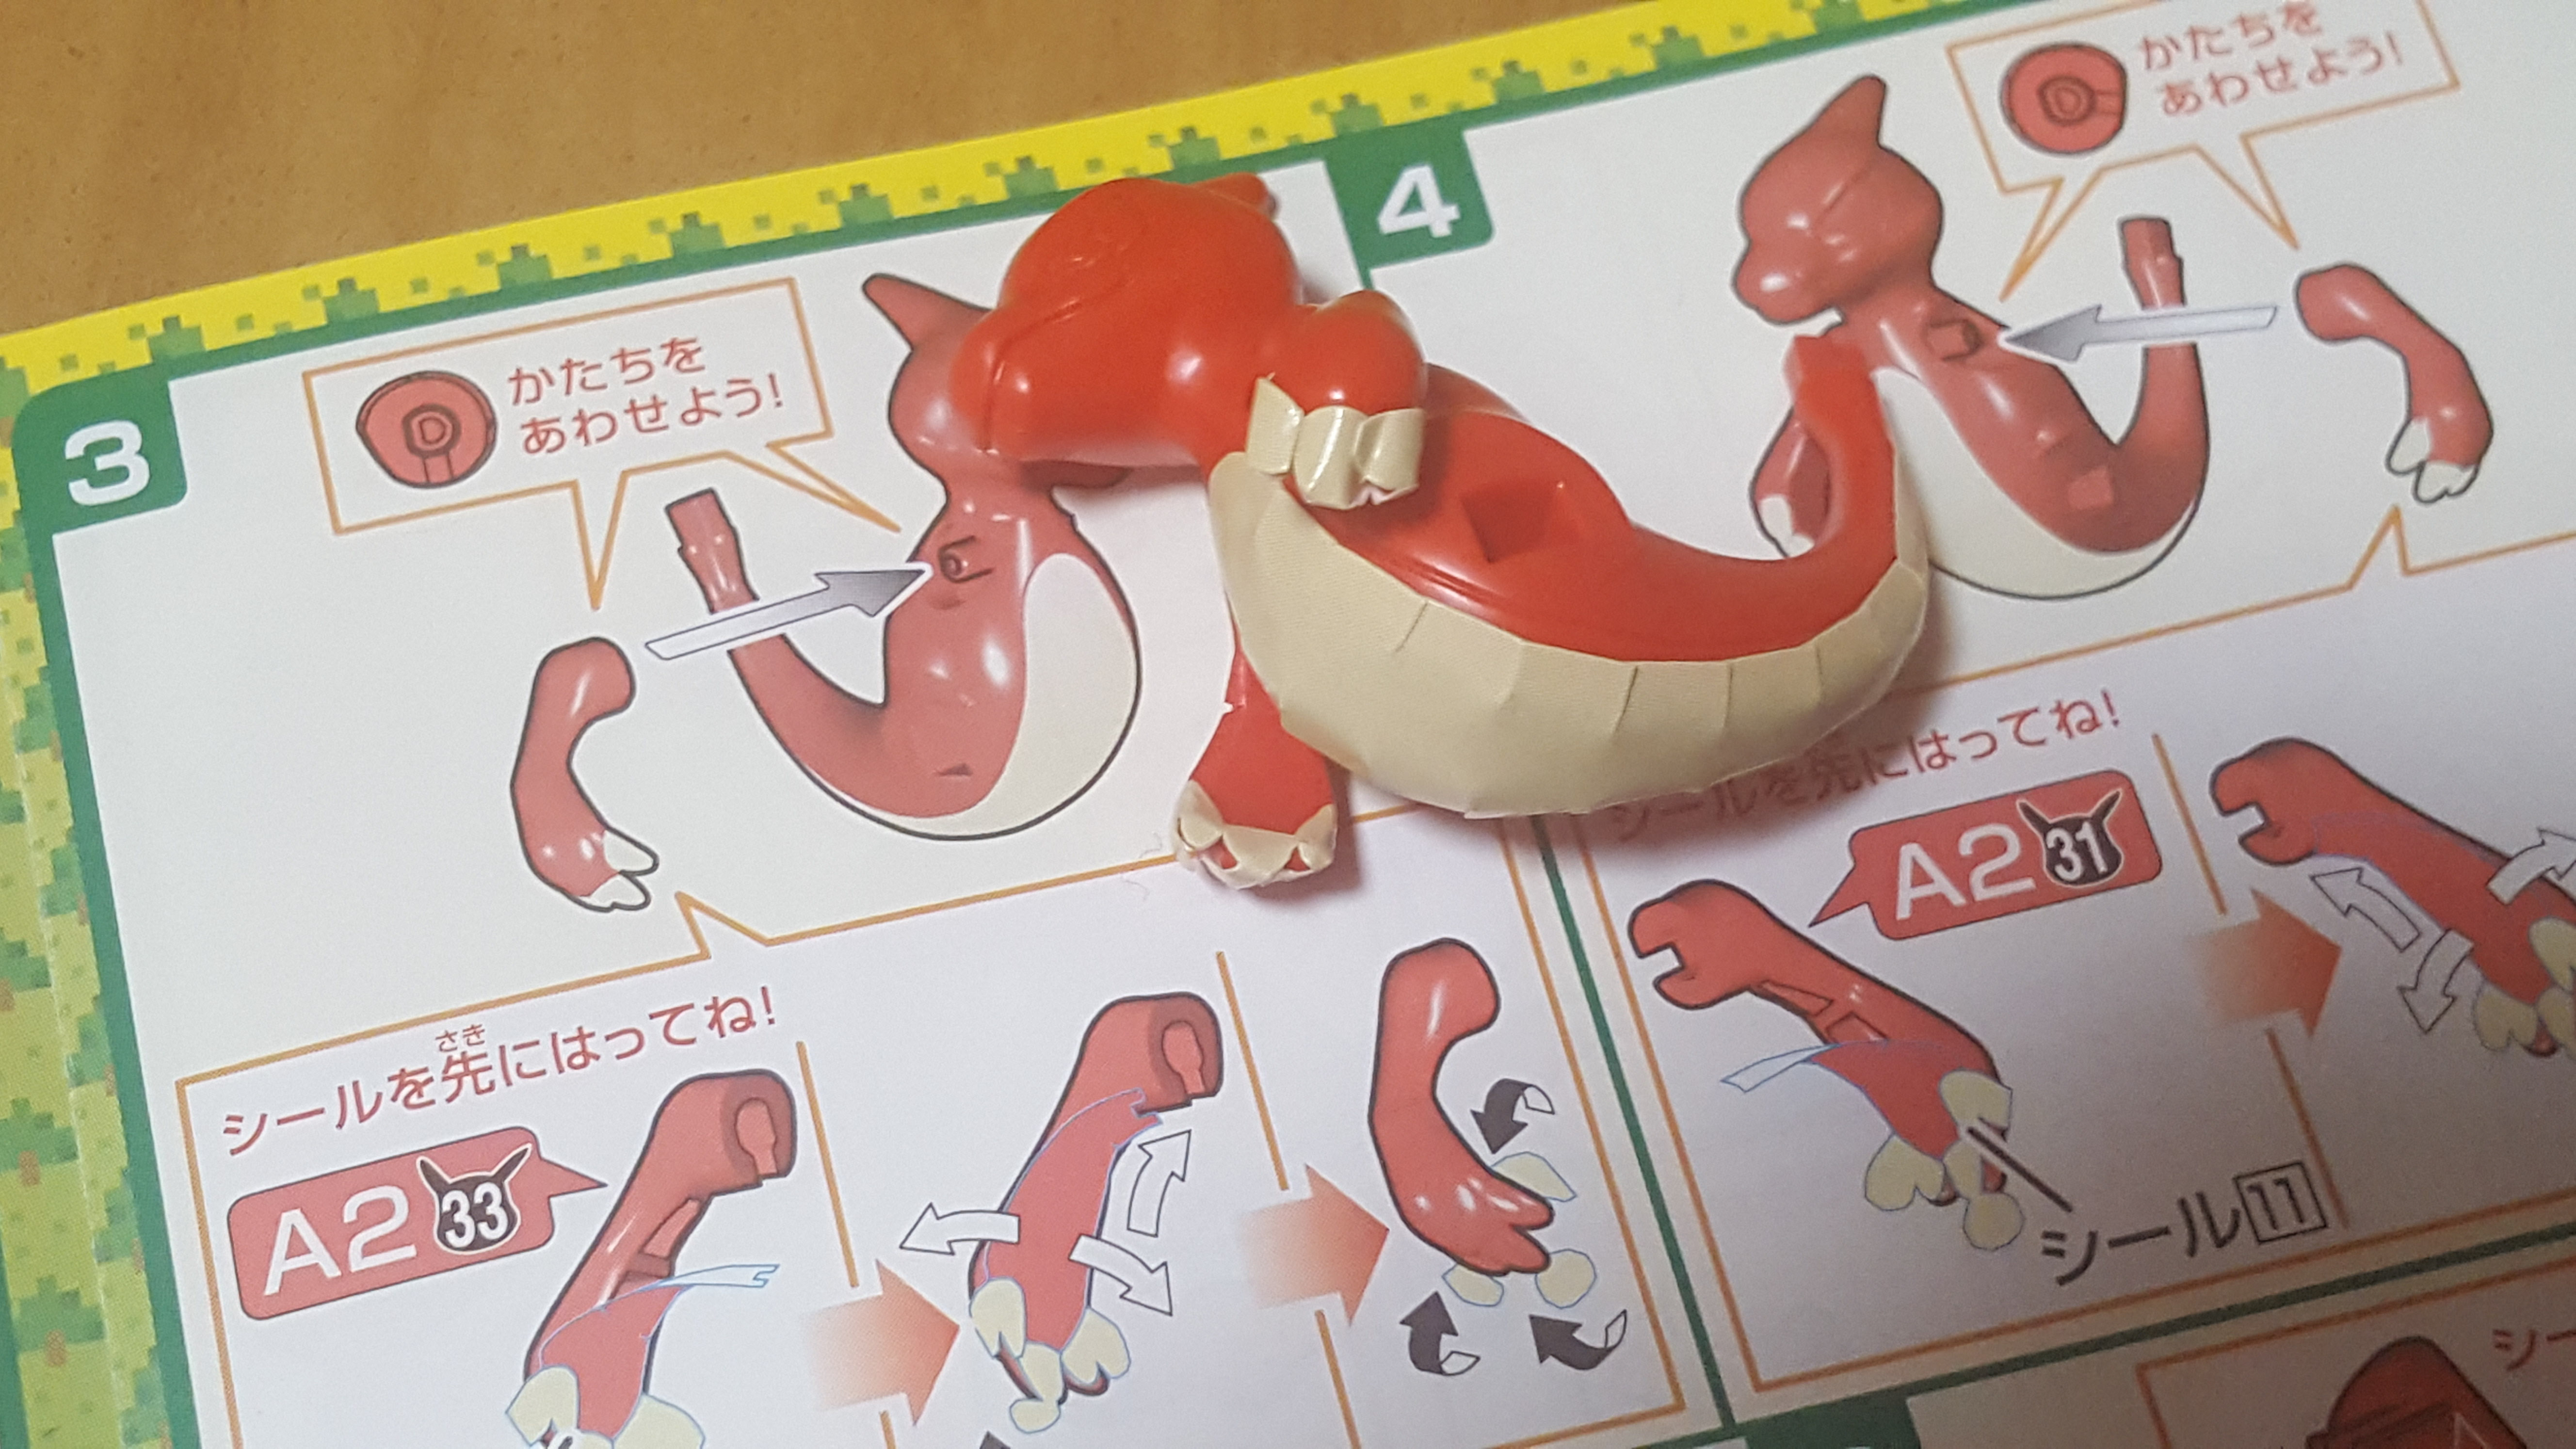
Charmeleon, too, I noticed had stickers left over when I was done putting him together and it took me a while to figure out what they were for. The stickers were red and seemed to just go on his legs… which are already molded in red!
You can see the edge of one of the stickers on the side of his leg, here. It turns out, the inside of Charmeleon’s legs are surfaceless. In other words, they’re hollow, so you put stickers on them to cover that up. I don’t really know what the reasoning here is — maybe it’s cheaper to mold with gaps? — but it’s a little odd. I’ve never seen this before!
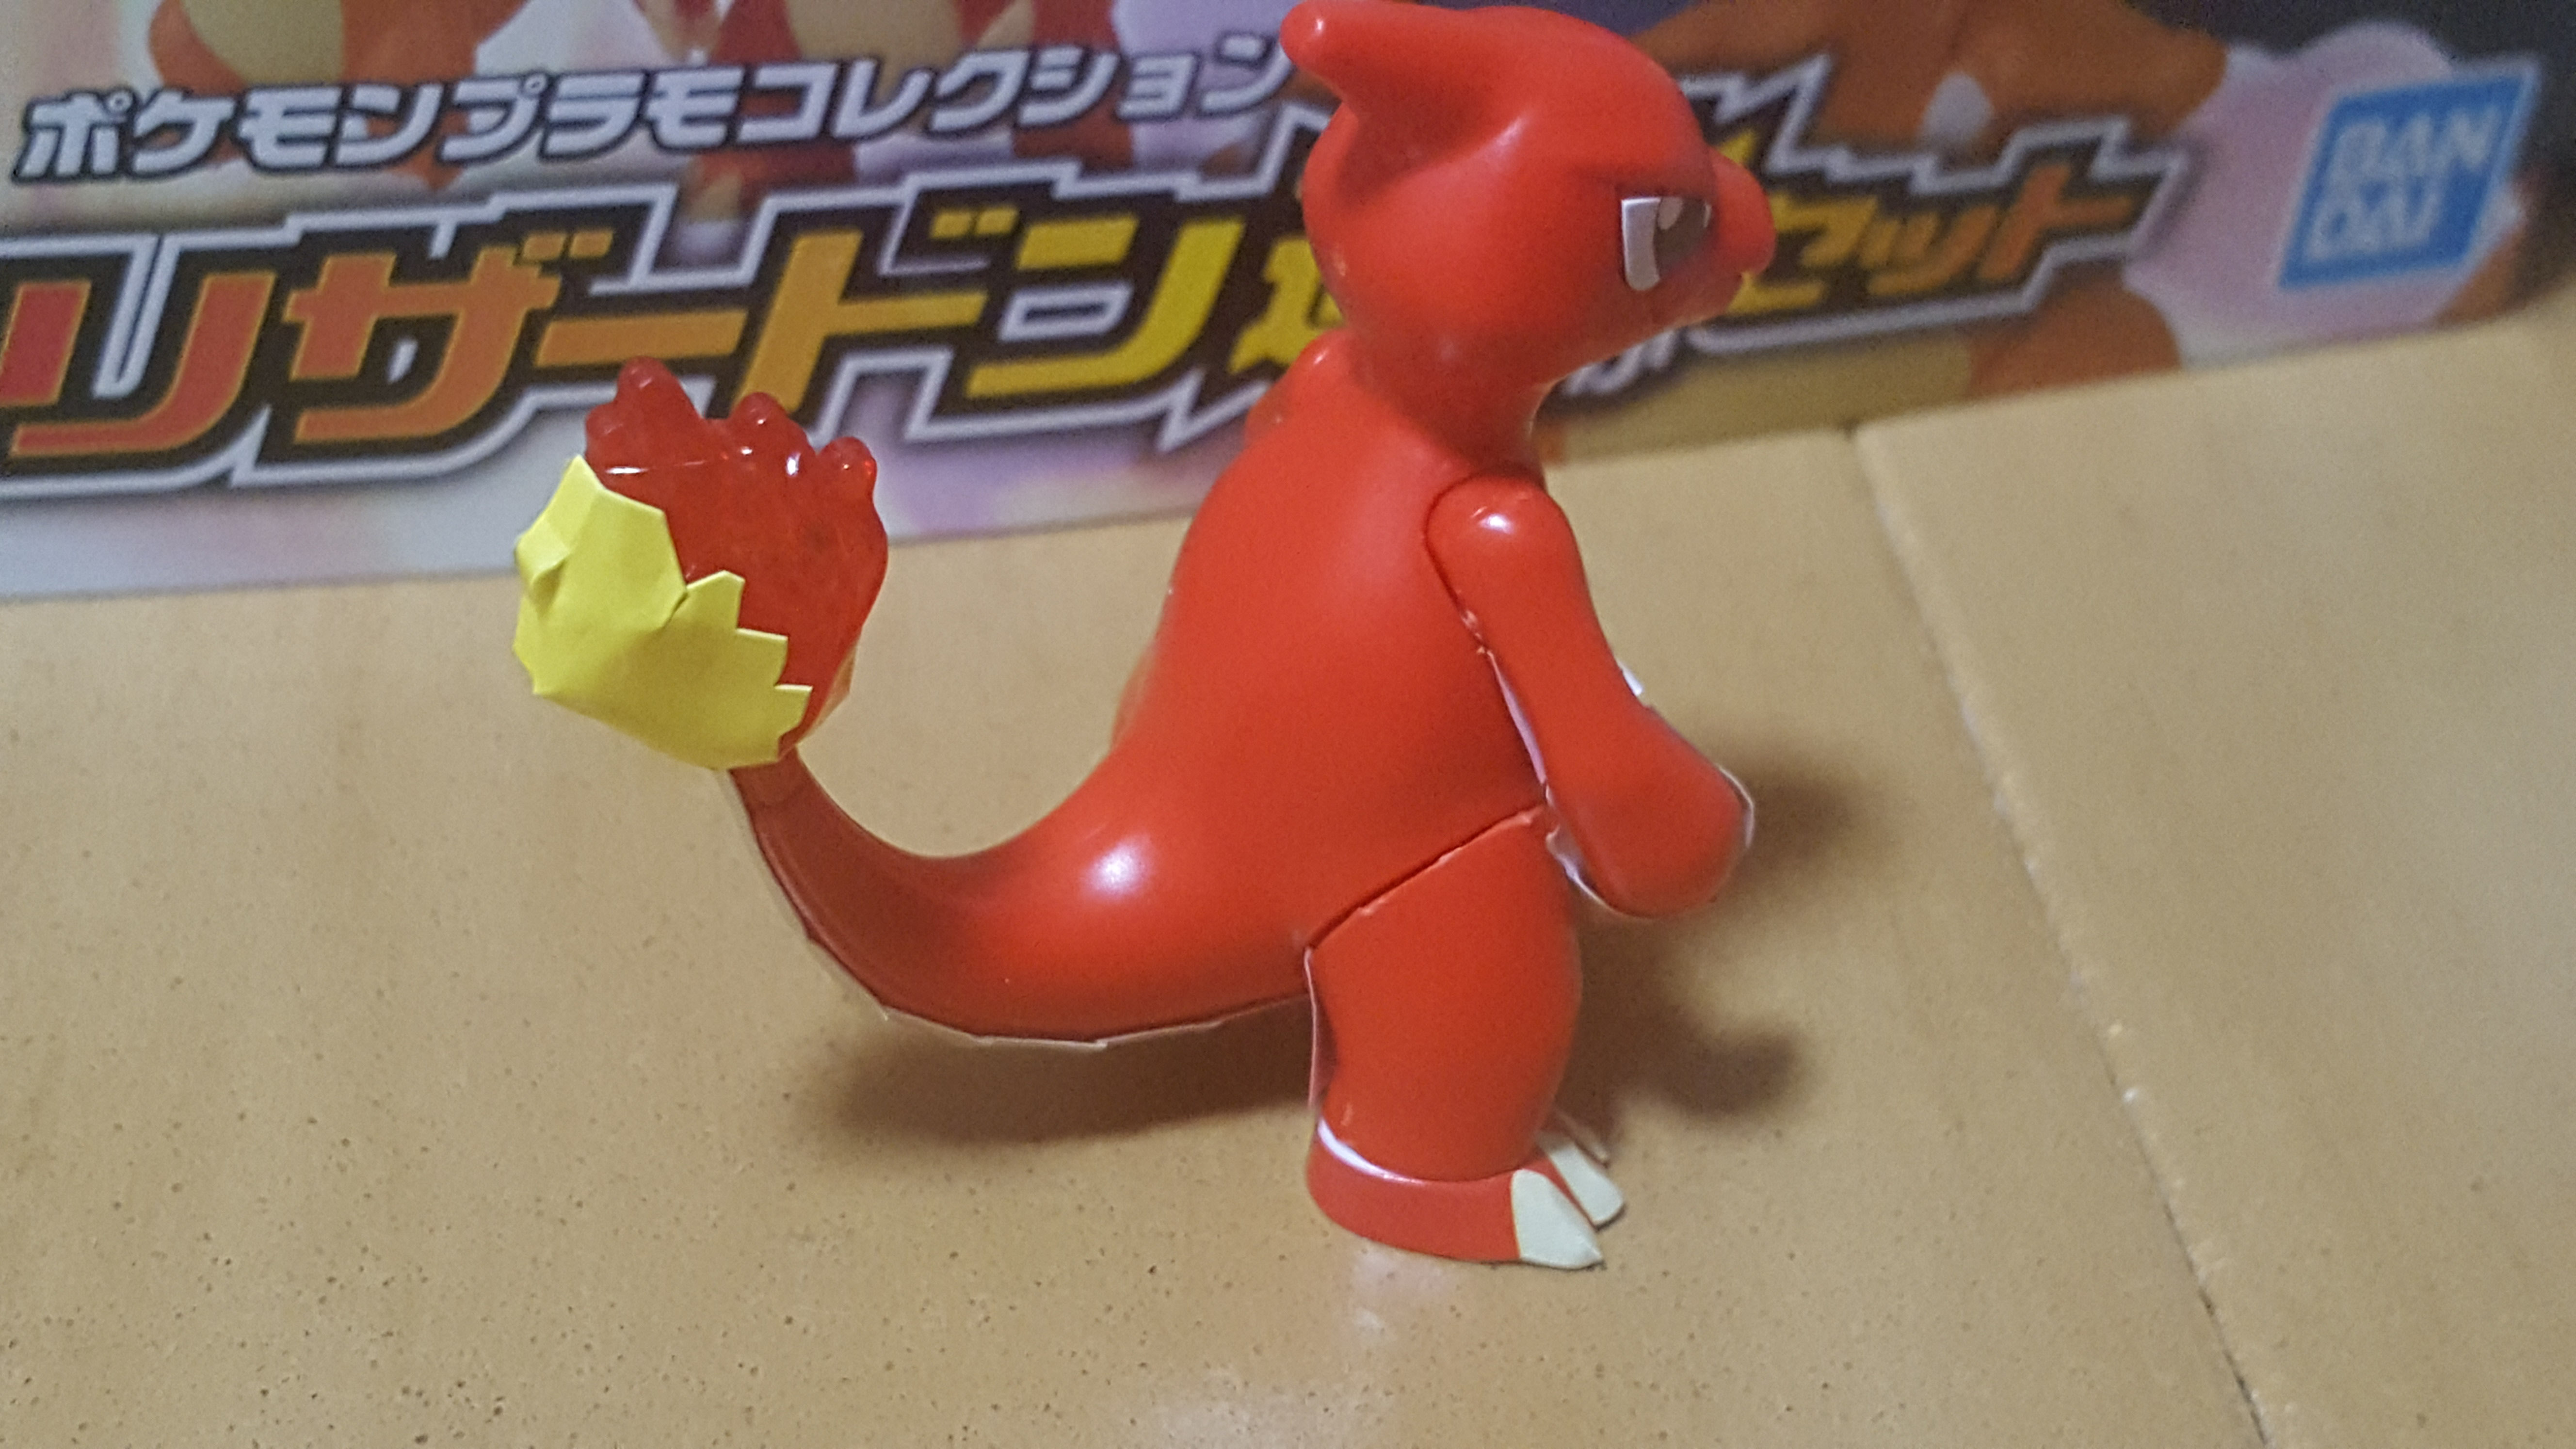
Here he is from the back. Again, the flame would really do fine without a sticker!
Charizard

Page 1. The assembly is just like the 2017 kit I built before.
I really like the way his head/mouth are molded. The stickers inside the mouth actually fit neatly and don’t look as jarring as Charmander and Charmeleon’s do. The mouth is a little hard to get open if you close it all the way, but you can use your fingernail and just push it down.
Charizard construction continues!
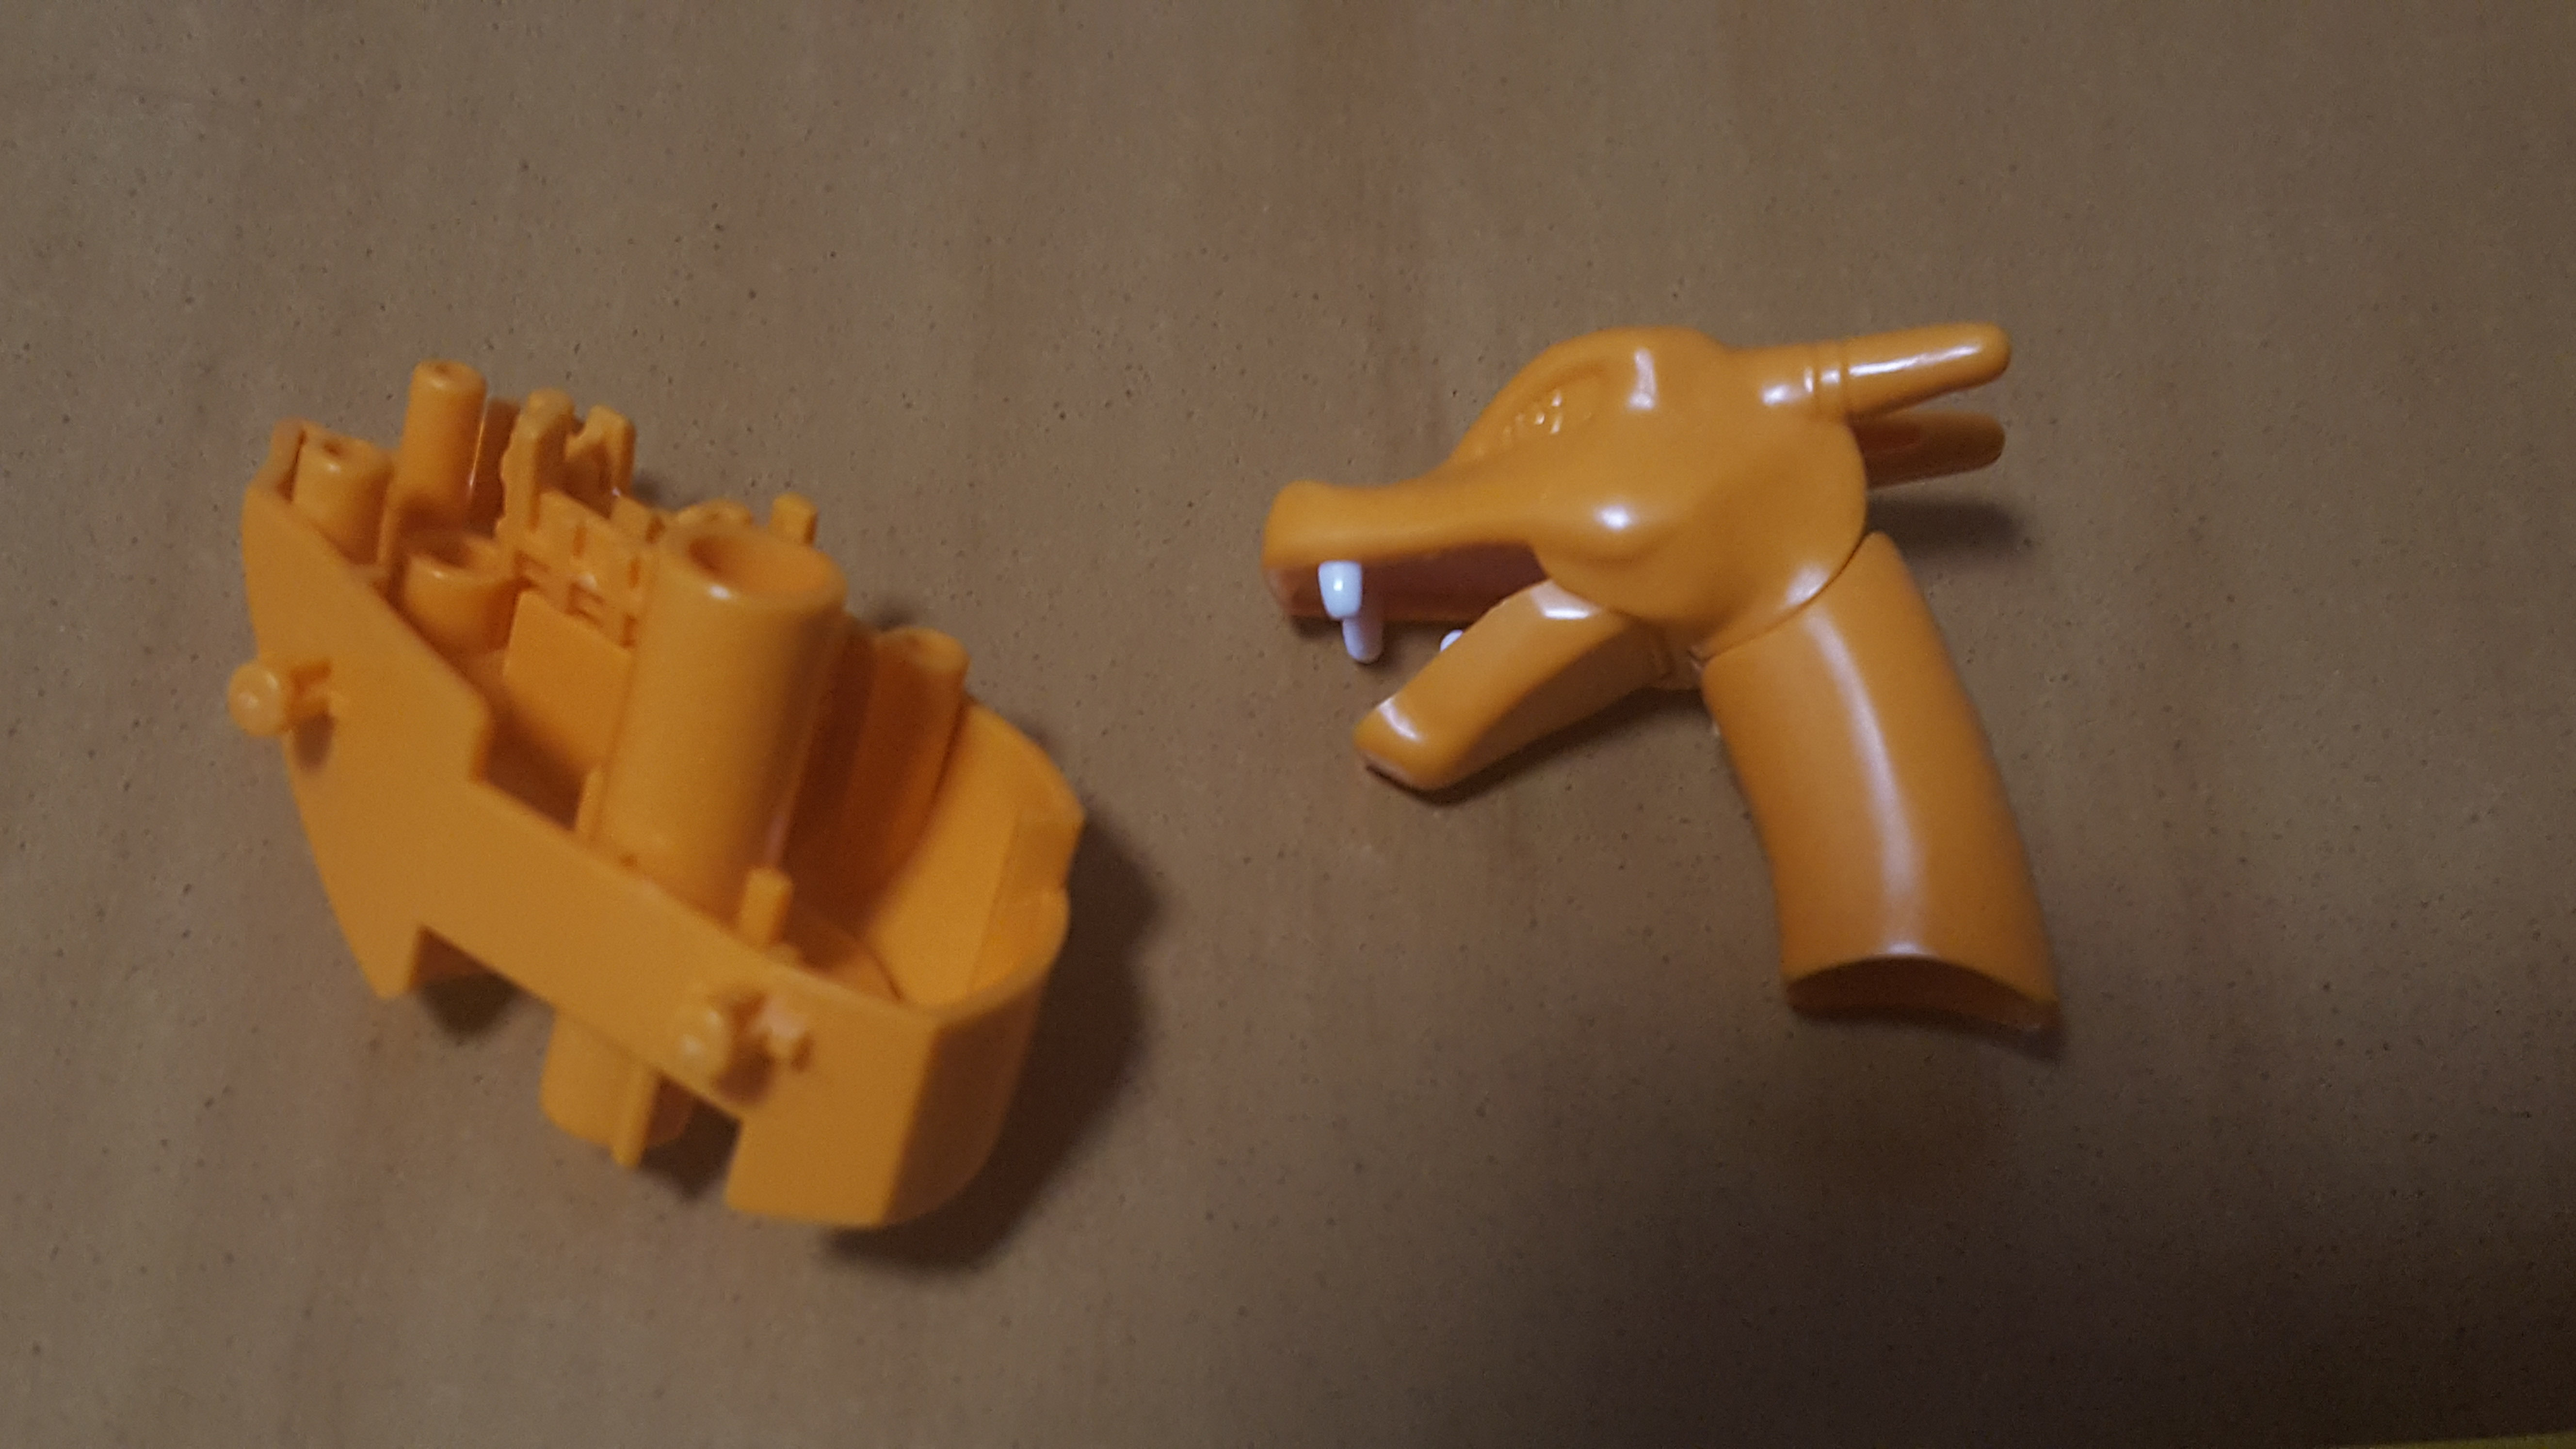
Here he is at the end of page 3. My least favorite part of this build is hand stickers. The hands are molded in white, so there are orange stickers you have to jam into every little crease in the palms and it just doesn’t work very well.

Another angle of the page 3 Charizard.
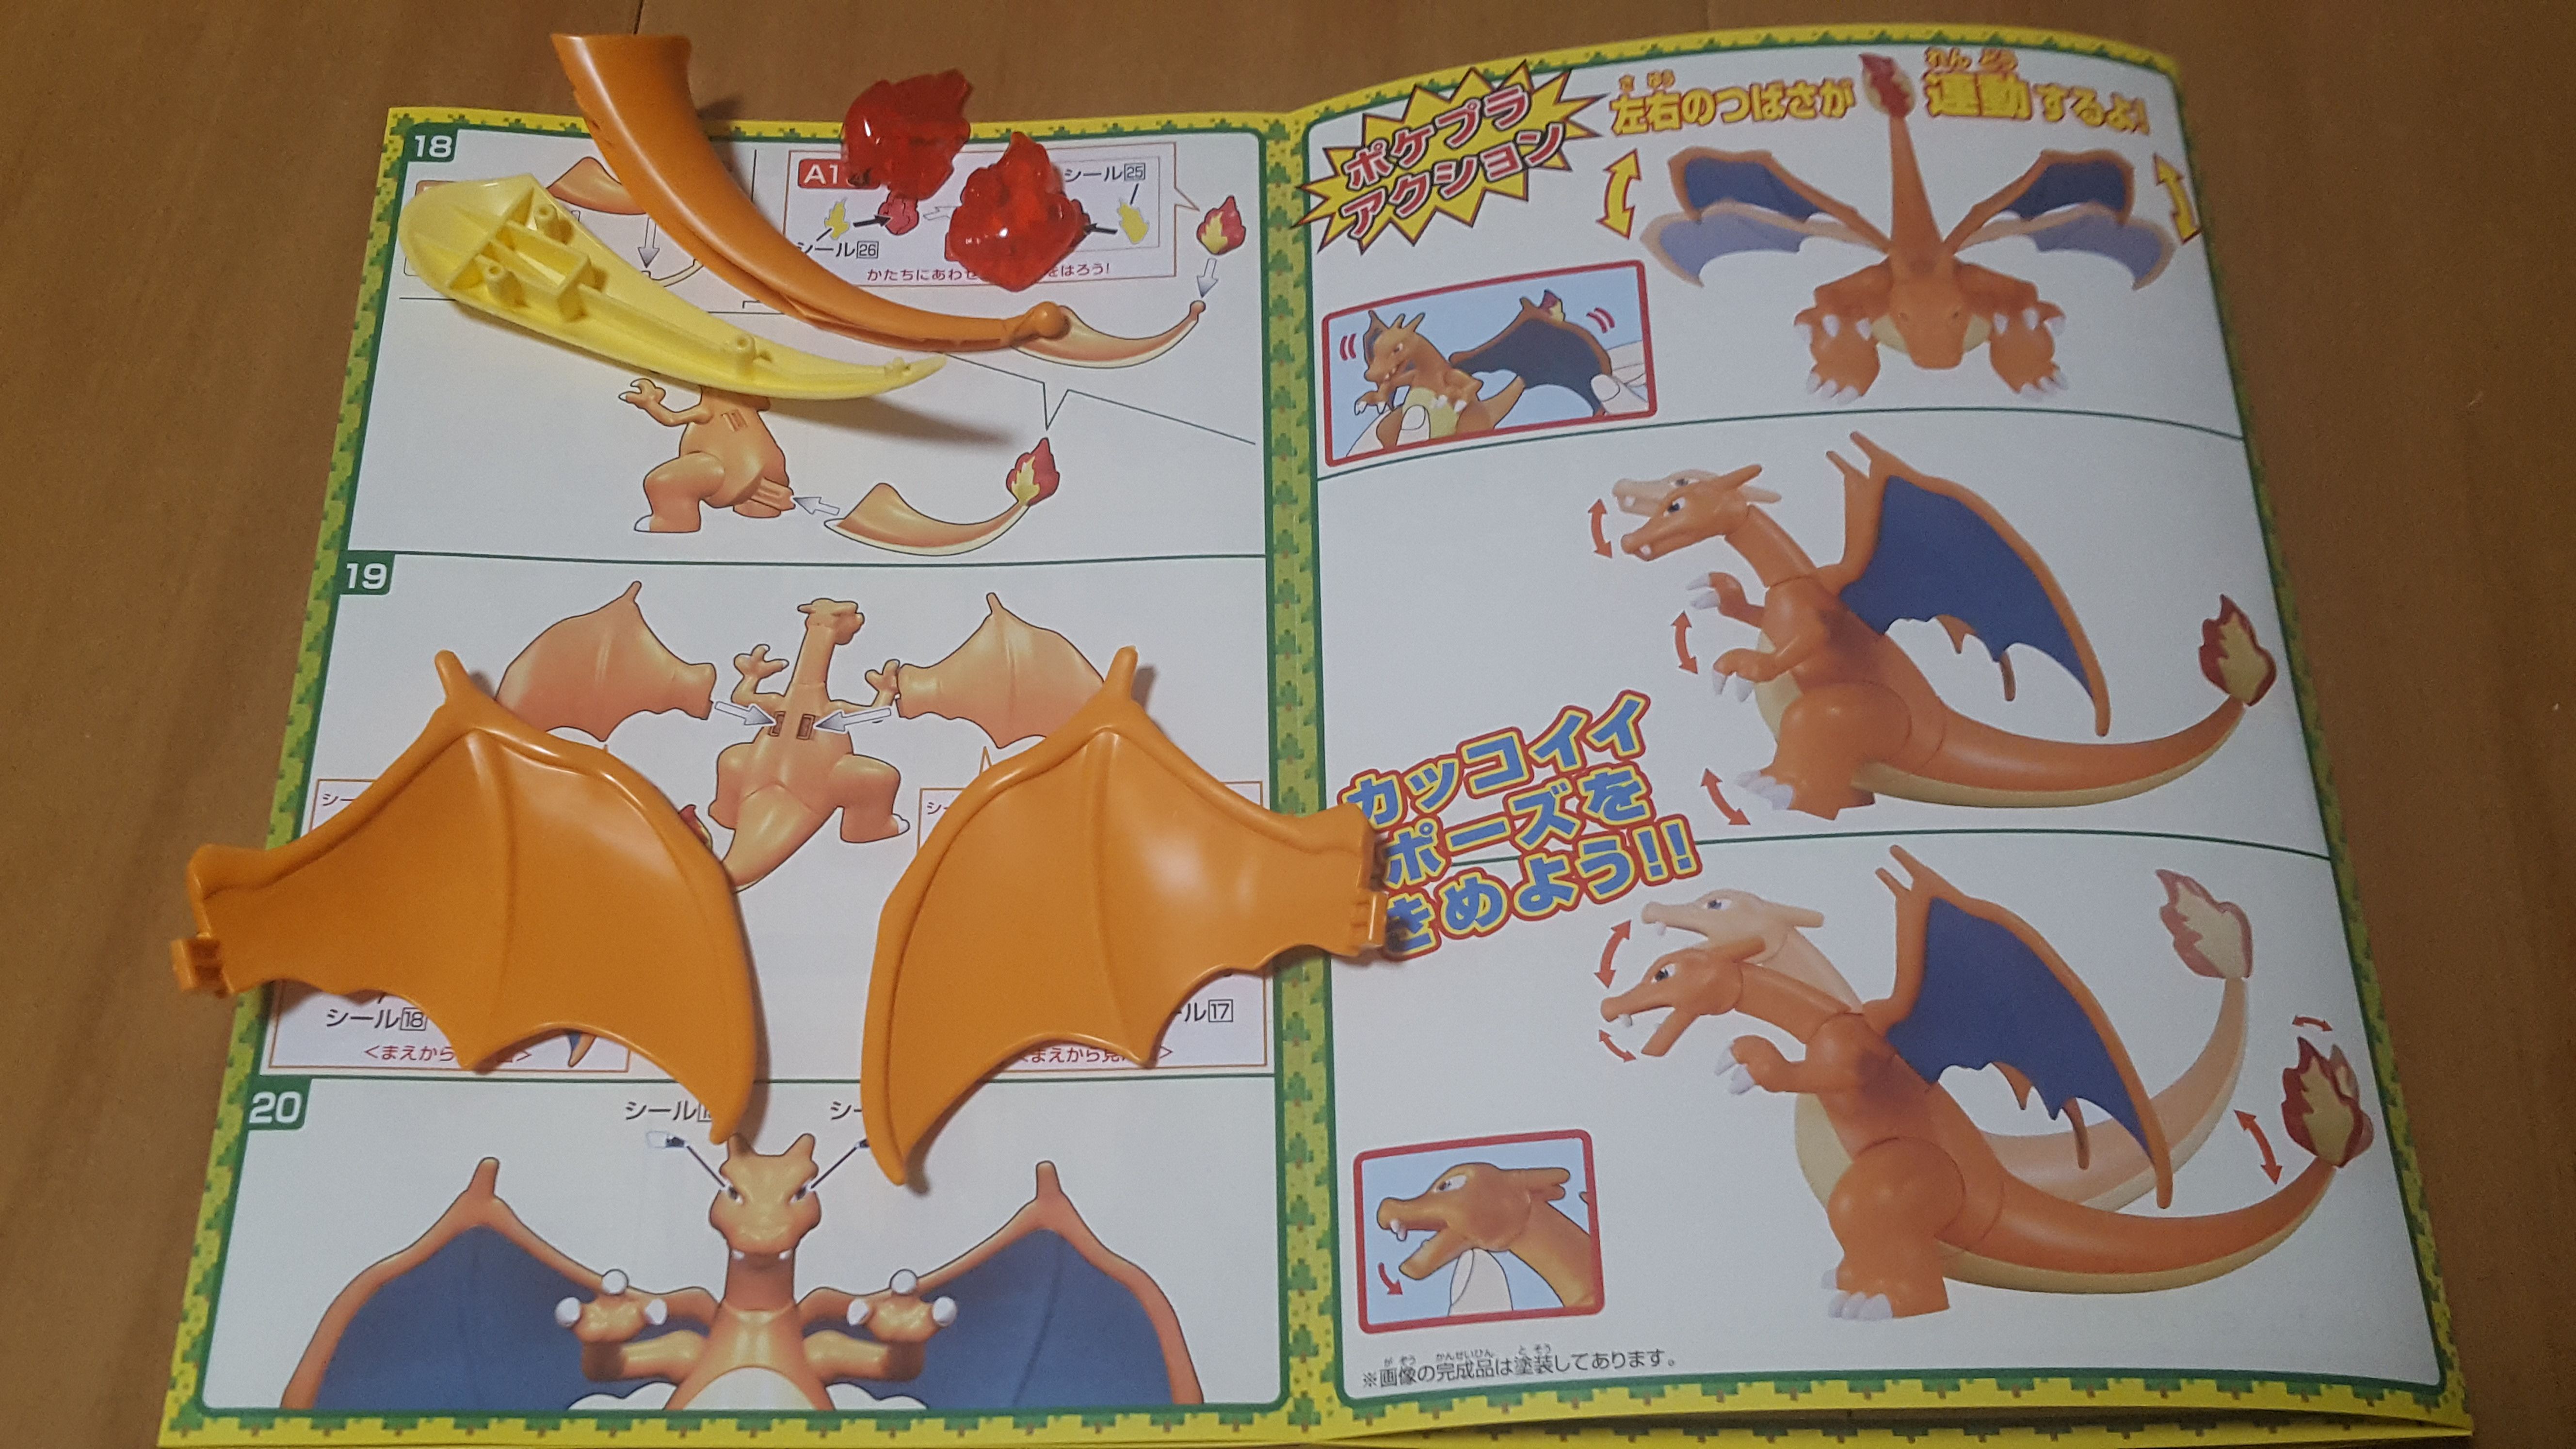
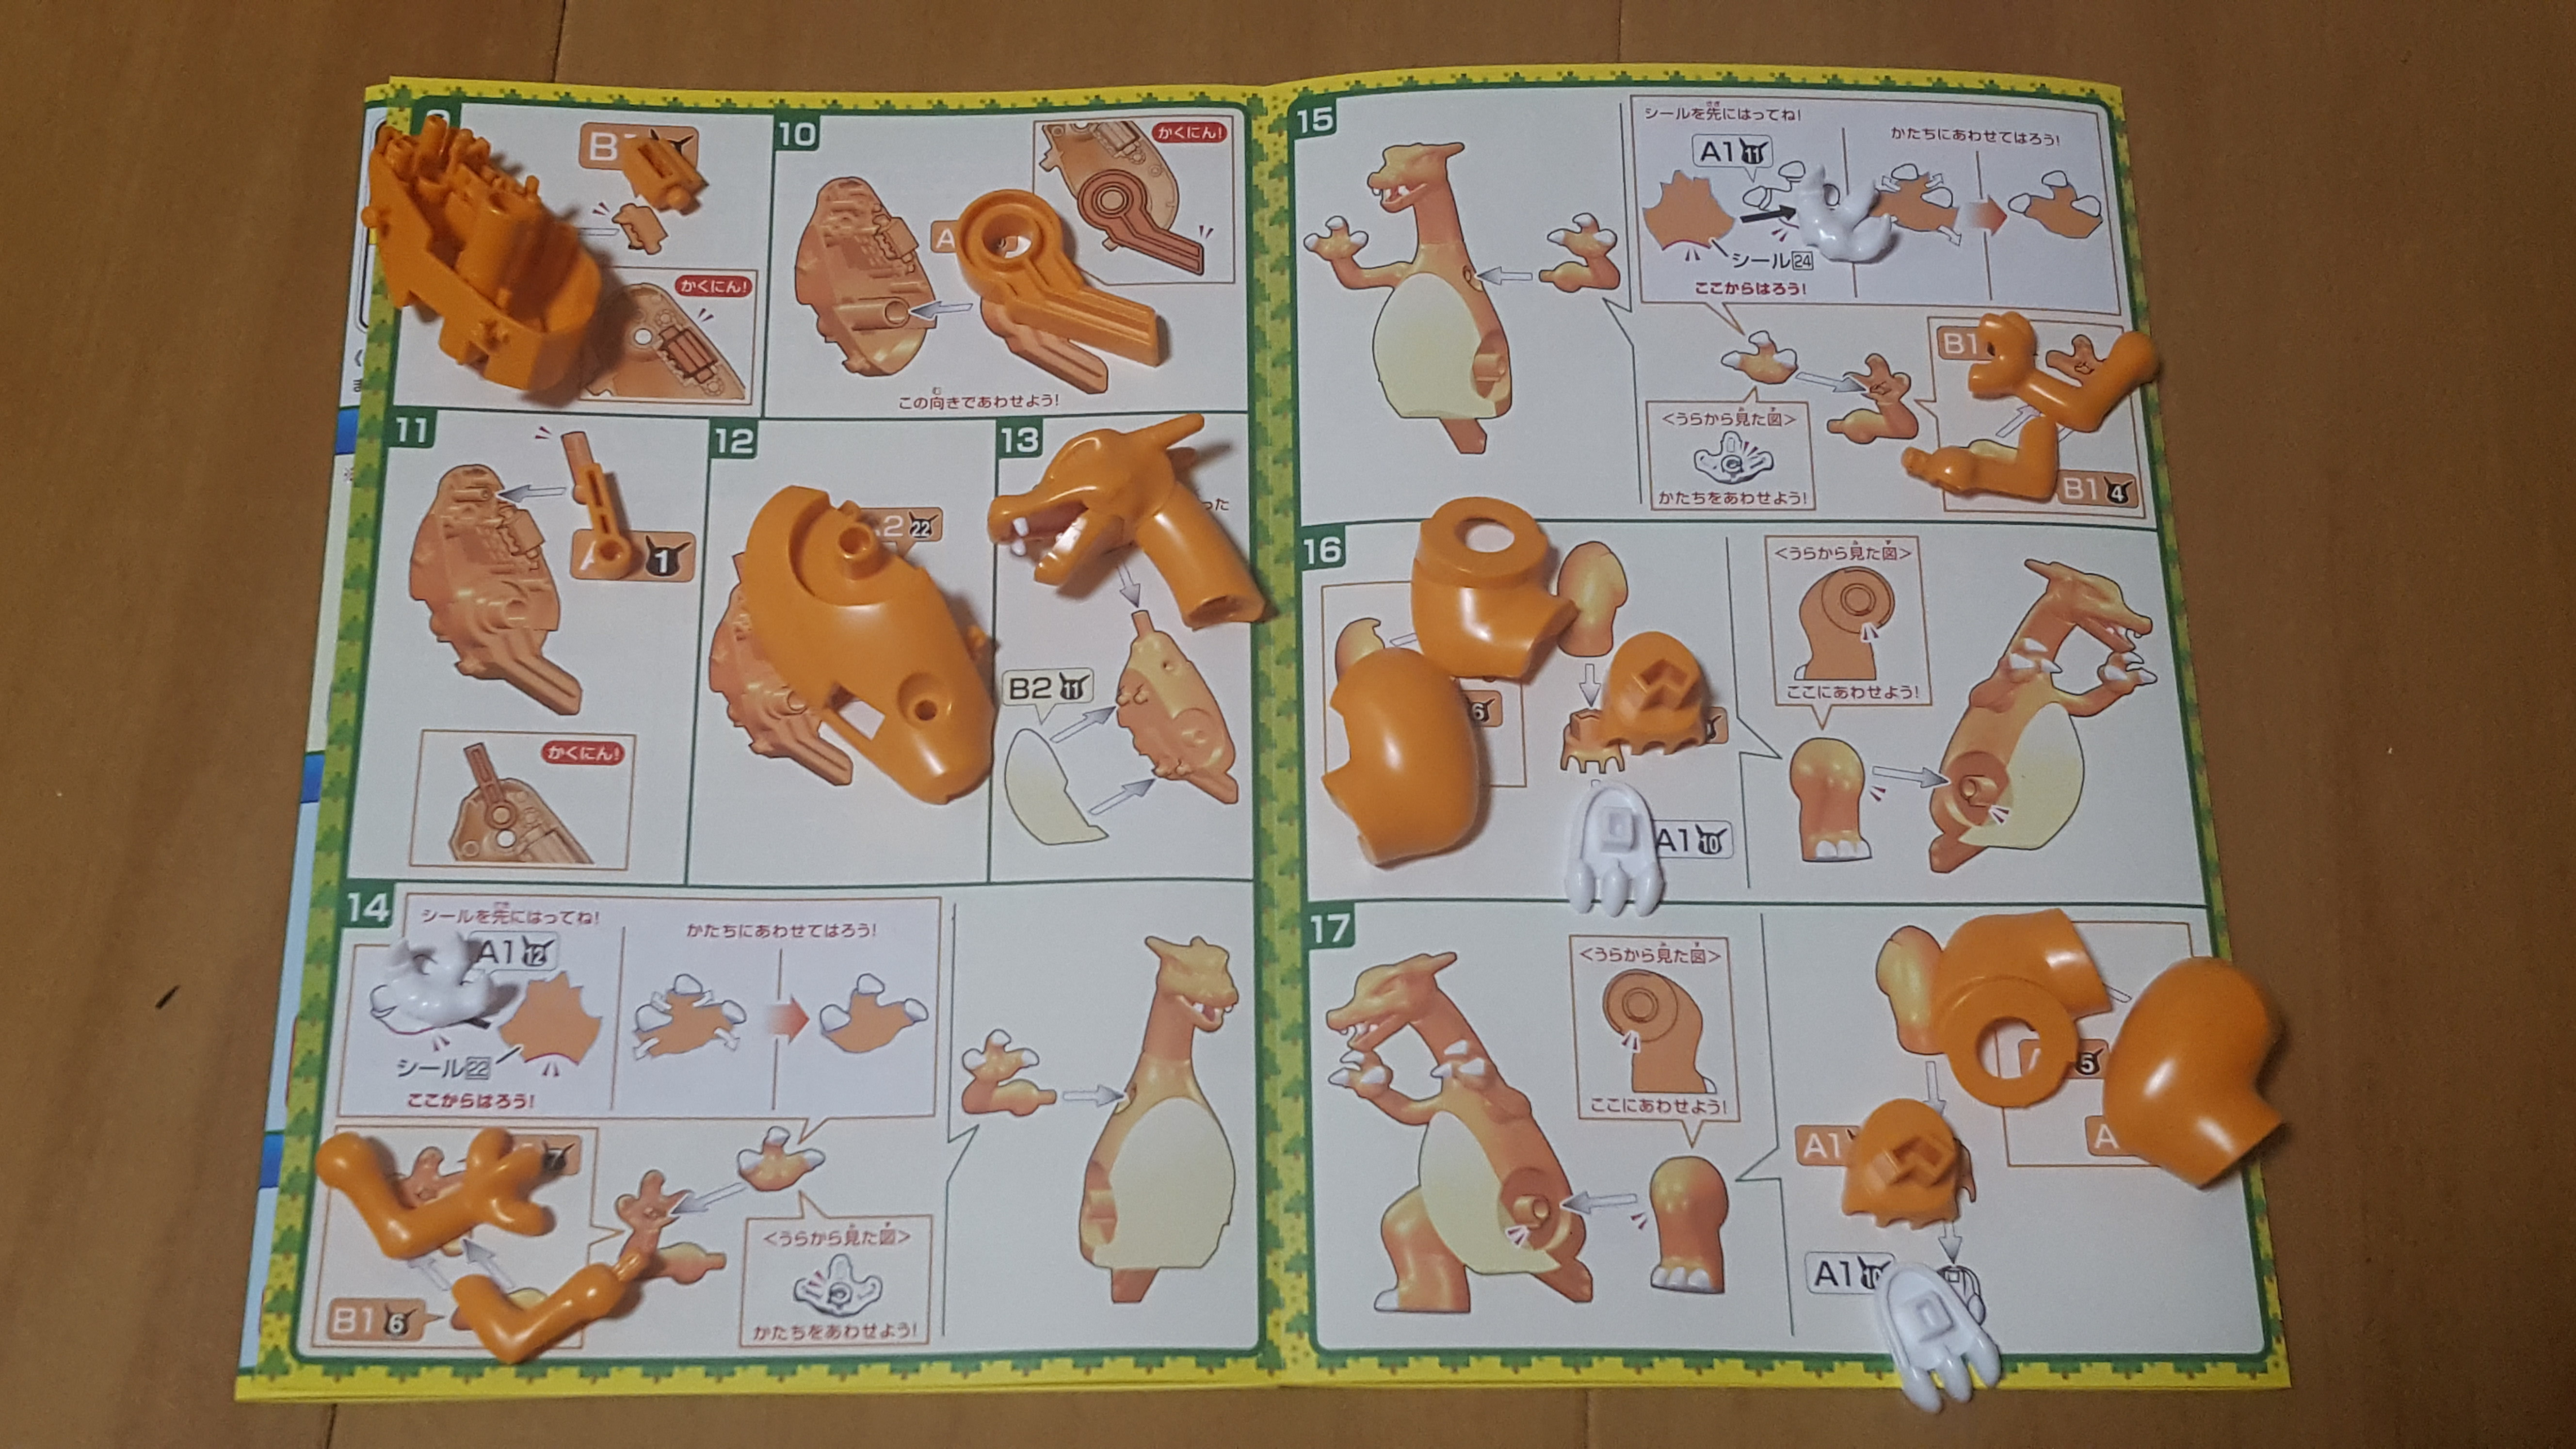
Here are the last steps, which handle the biggest parts. The instruction manual even includes a graphical explanation of the gimmicks.
I mentioned this with my last Charizard, but I’ll say it again: when putting the wing stickers on, be sure you really push around the protruding part in the middle to crease the sticker around it, or you’ll lose that lovely little detail.
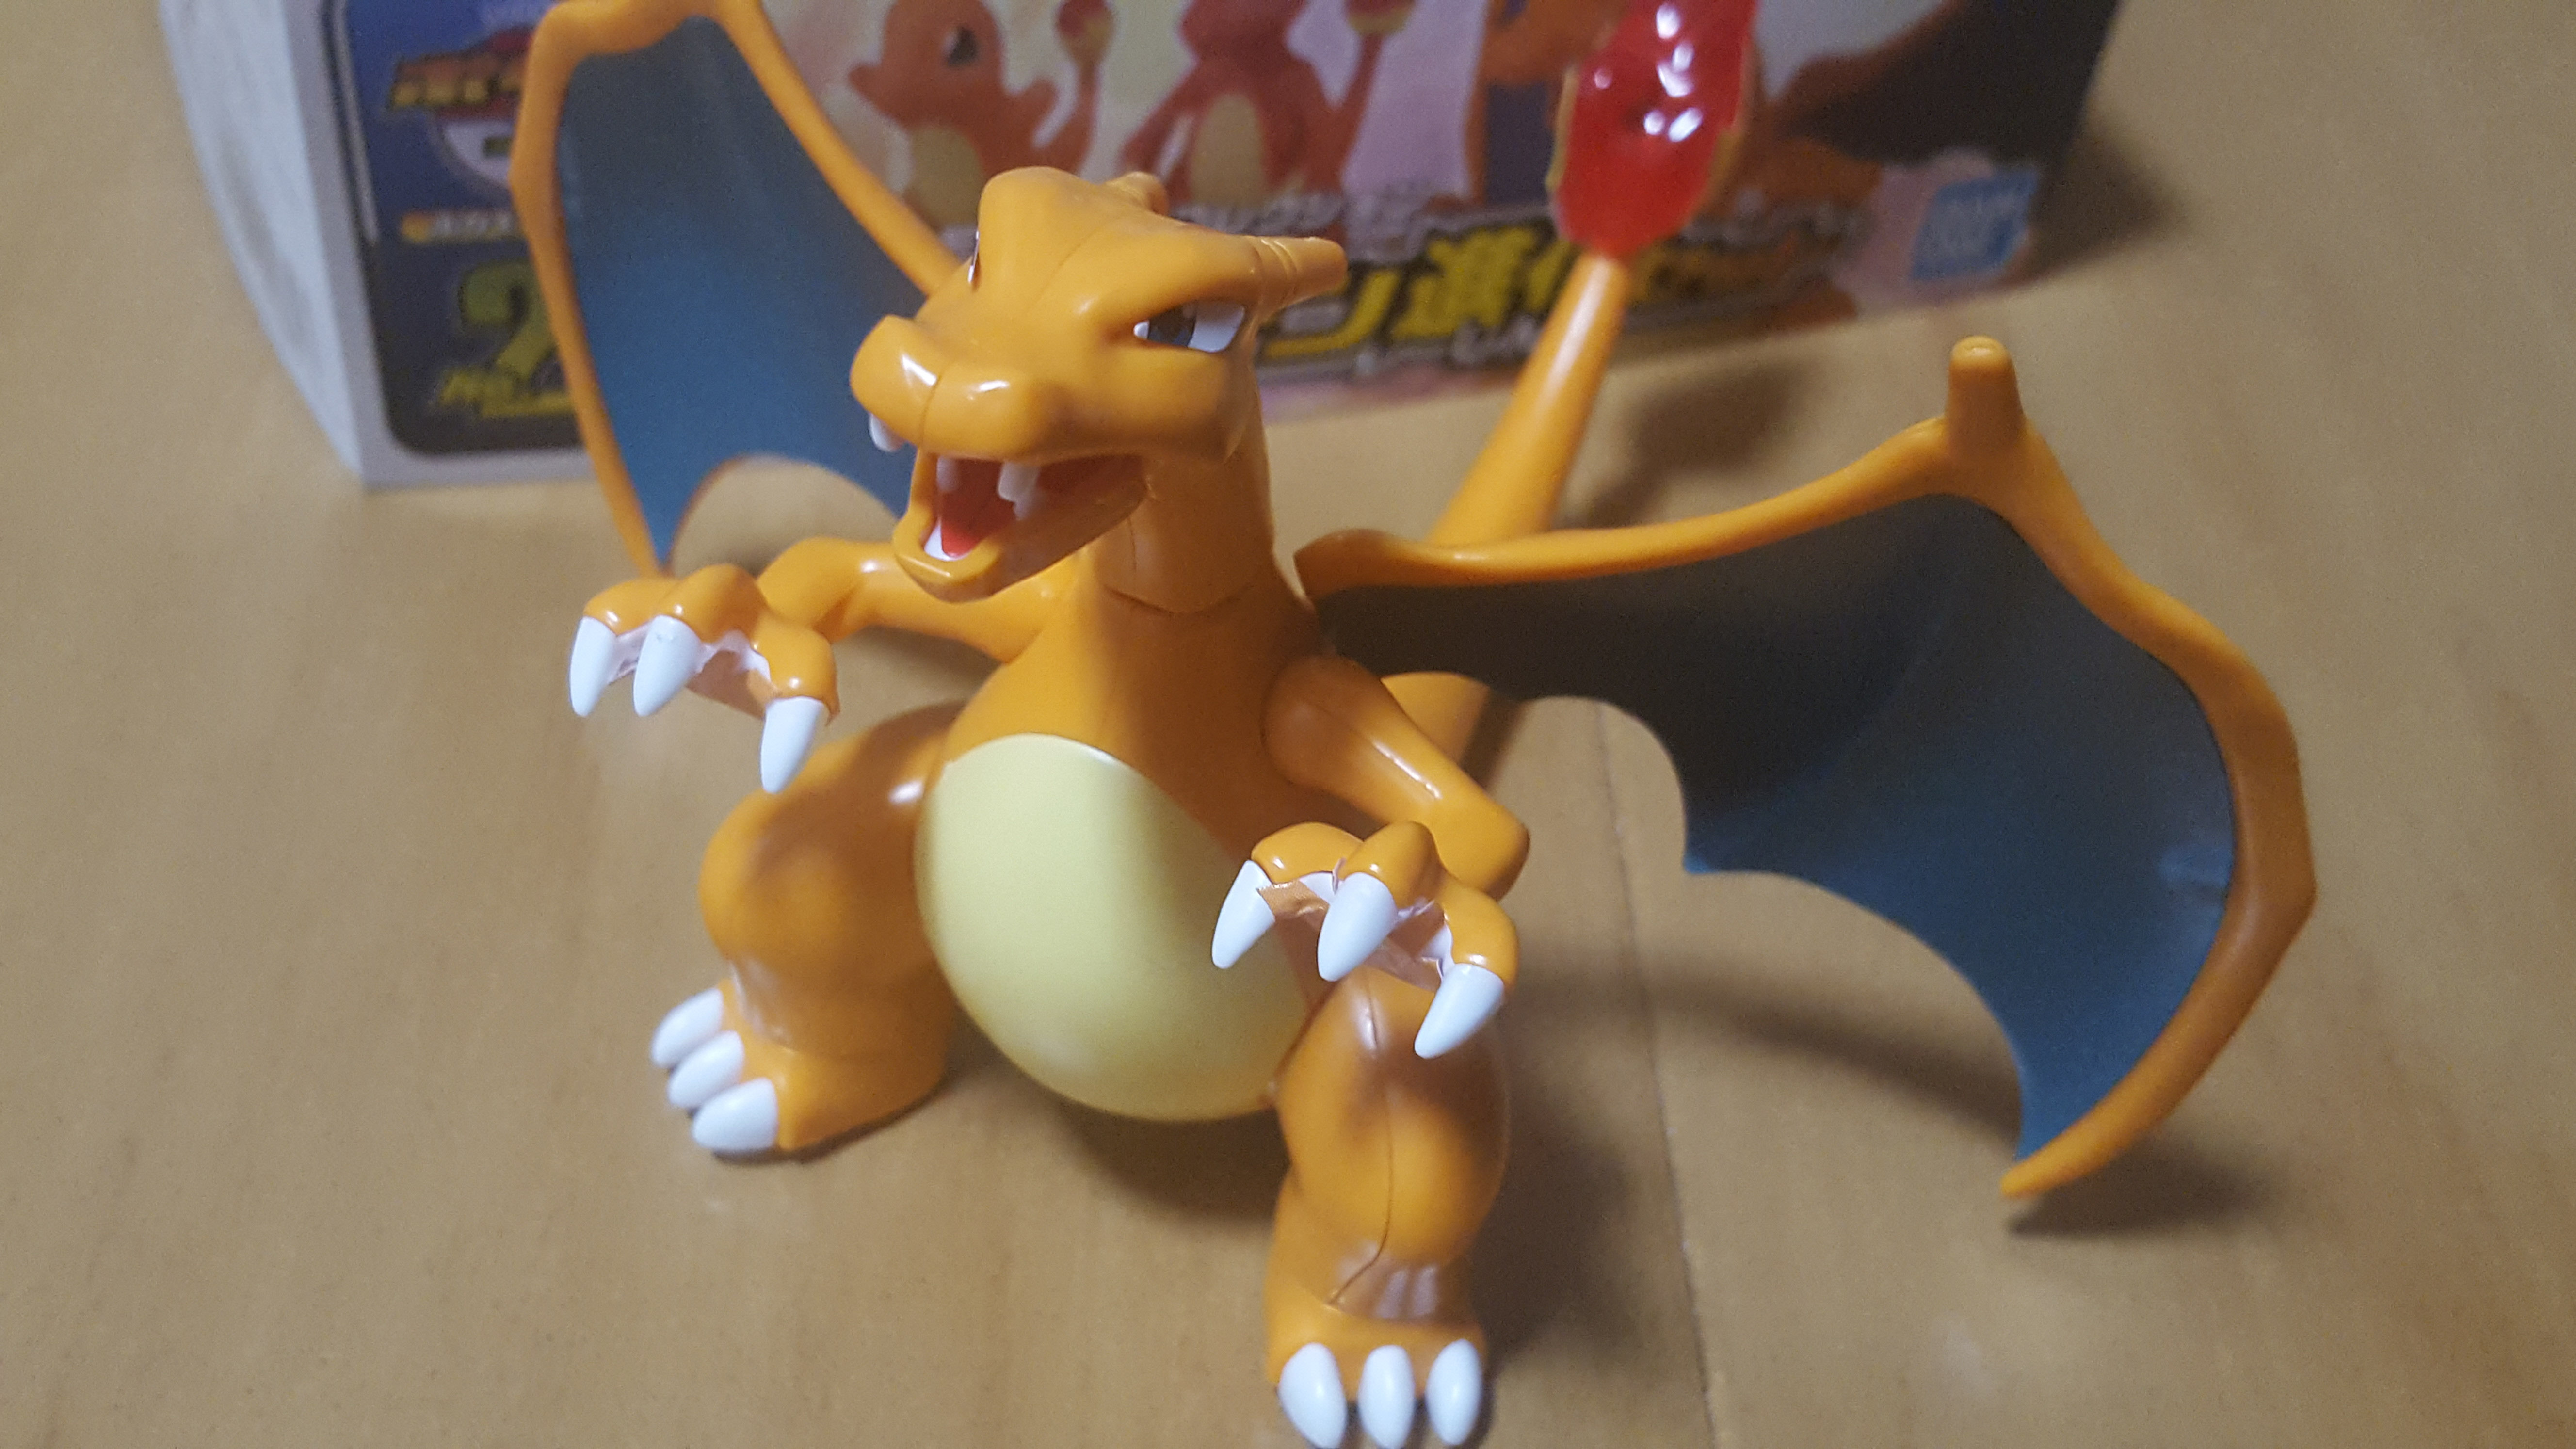
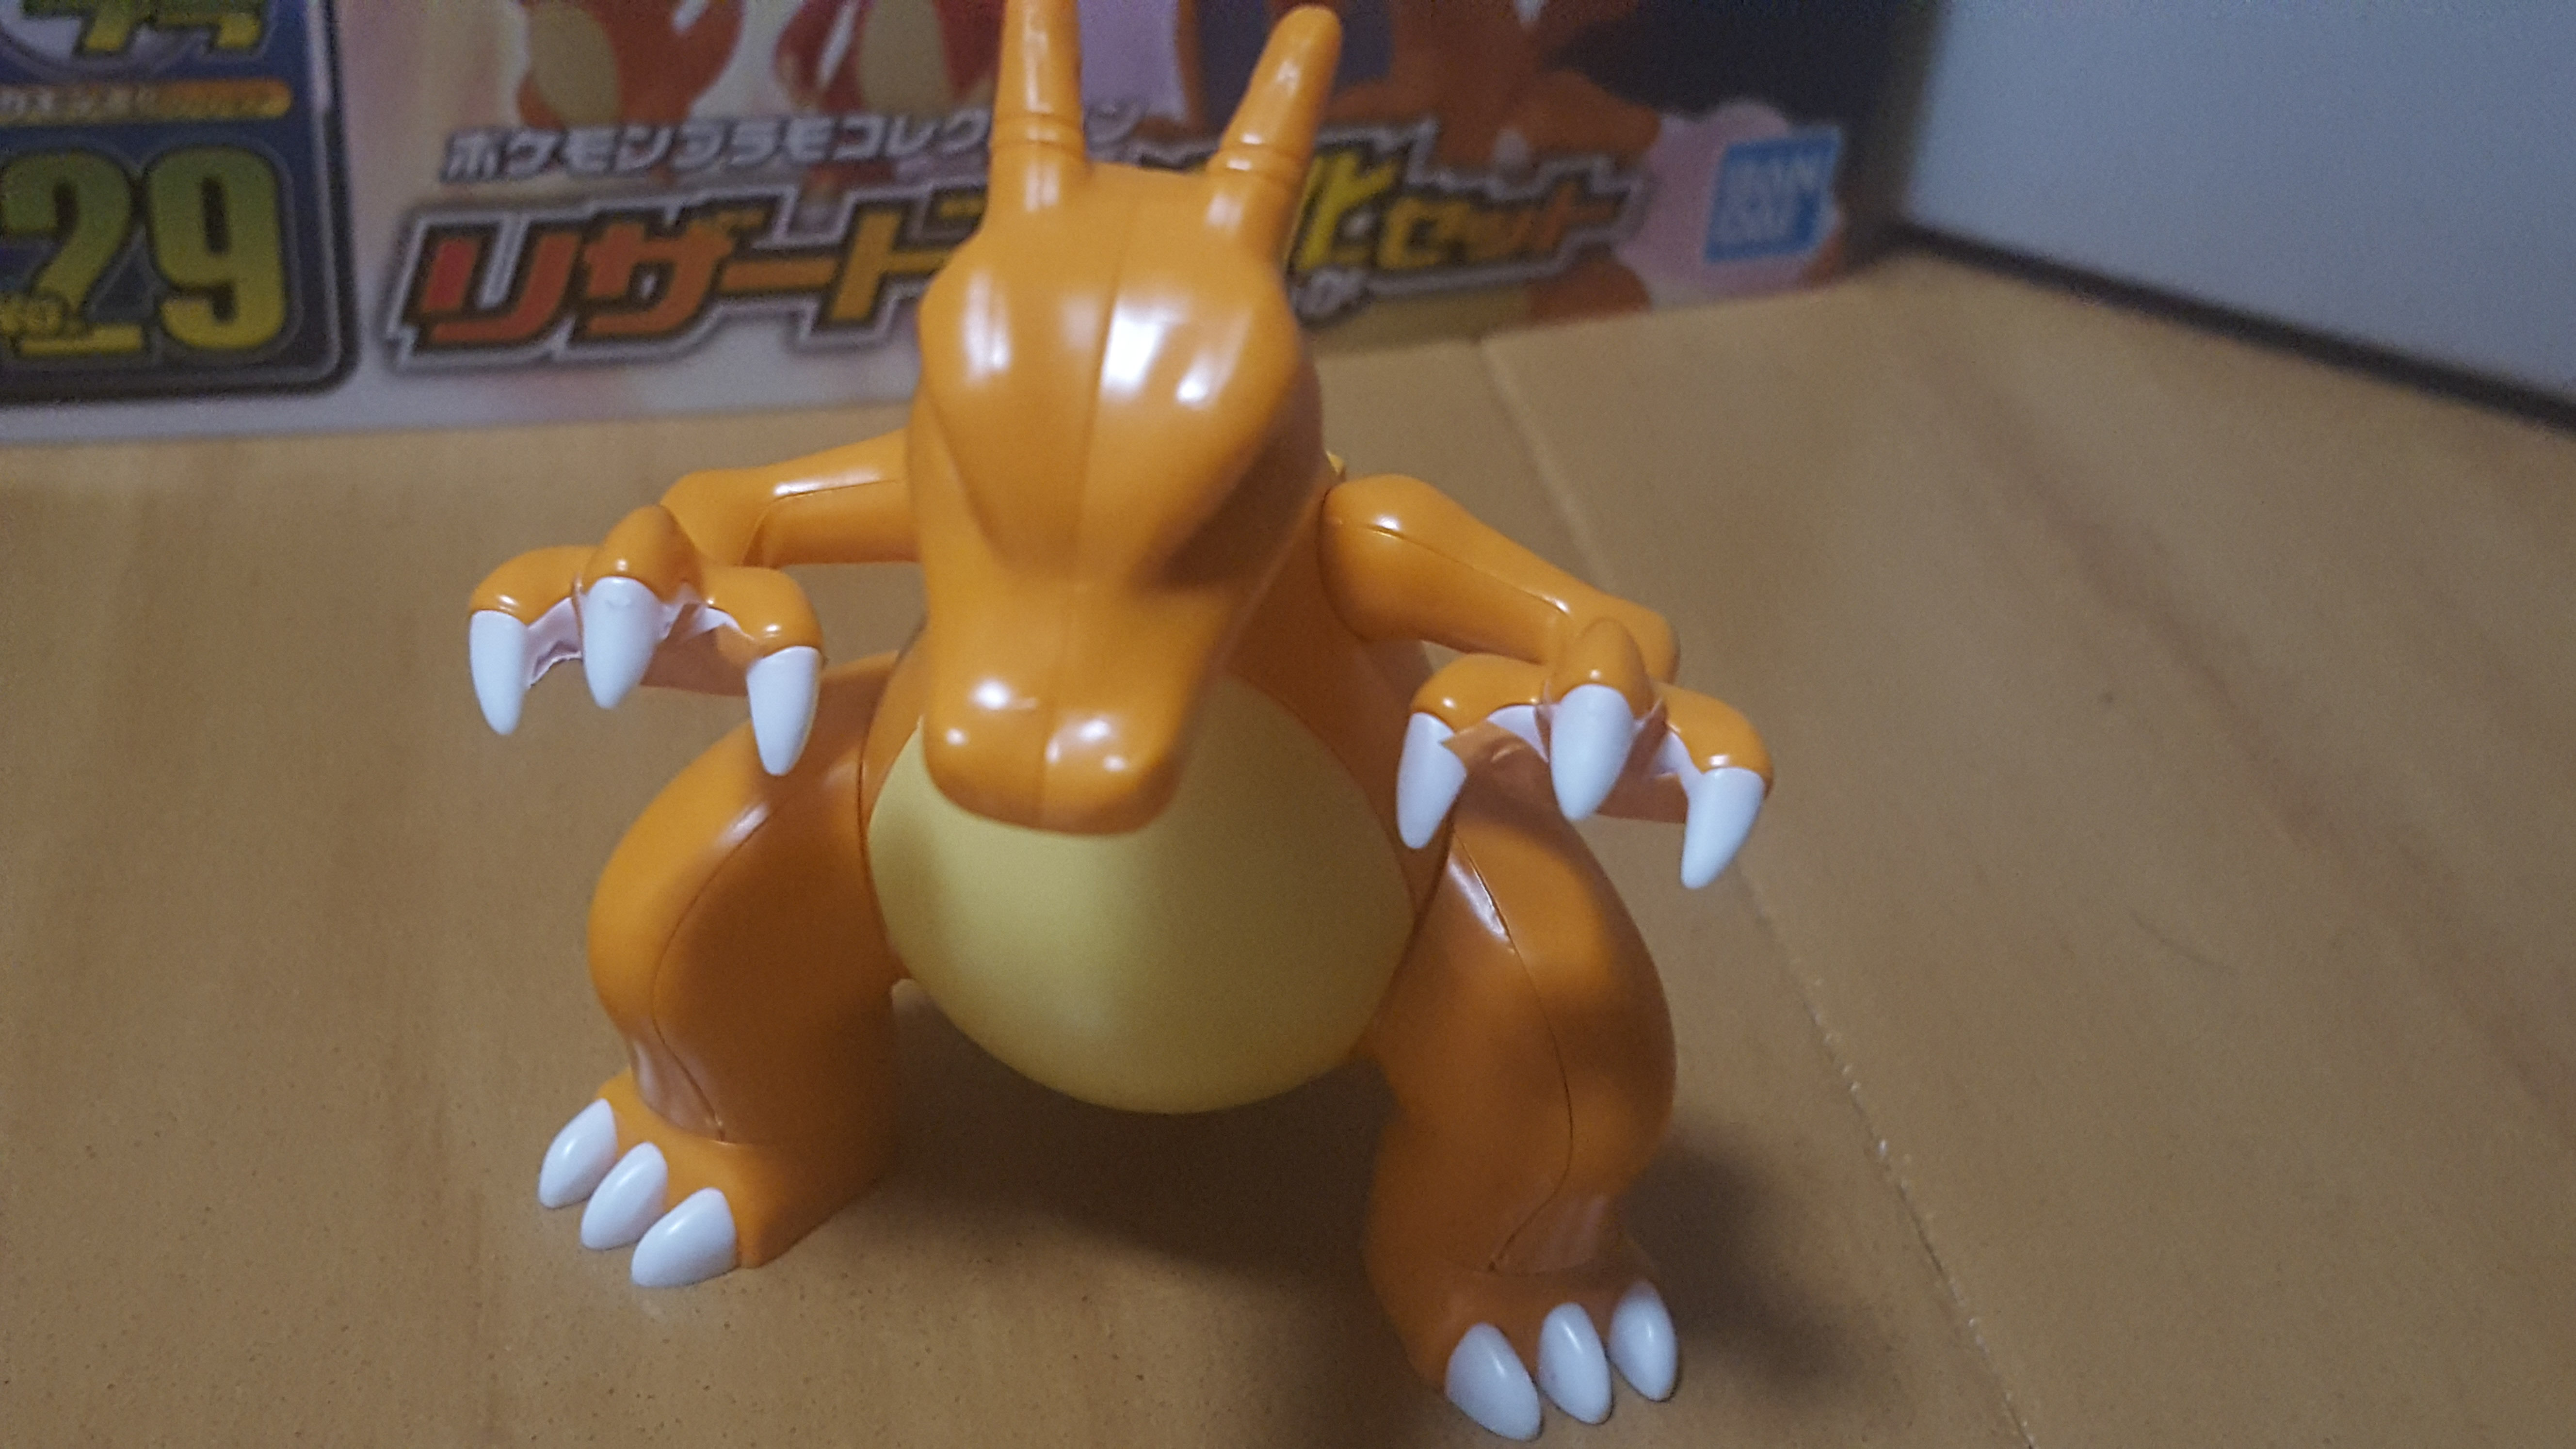
And he’s done! He looks pretty good in my opinion. Aside from the hands, he’s really not bad.

Here he is from the side.
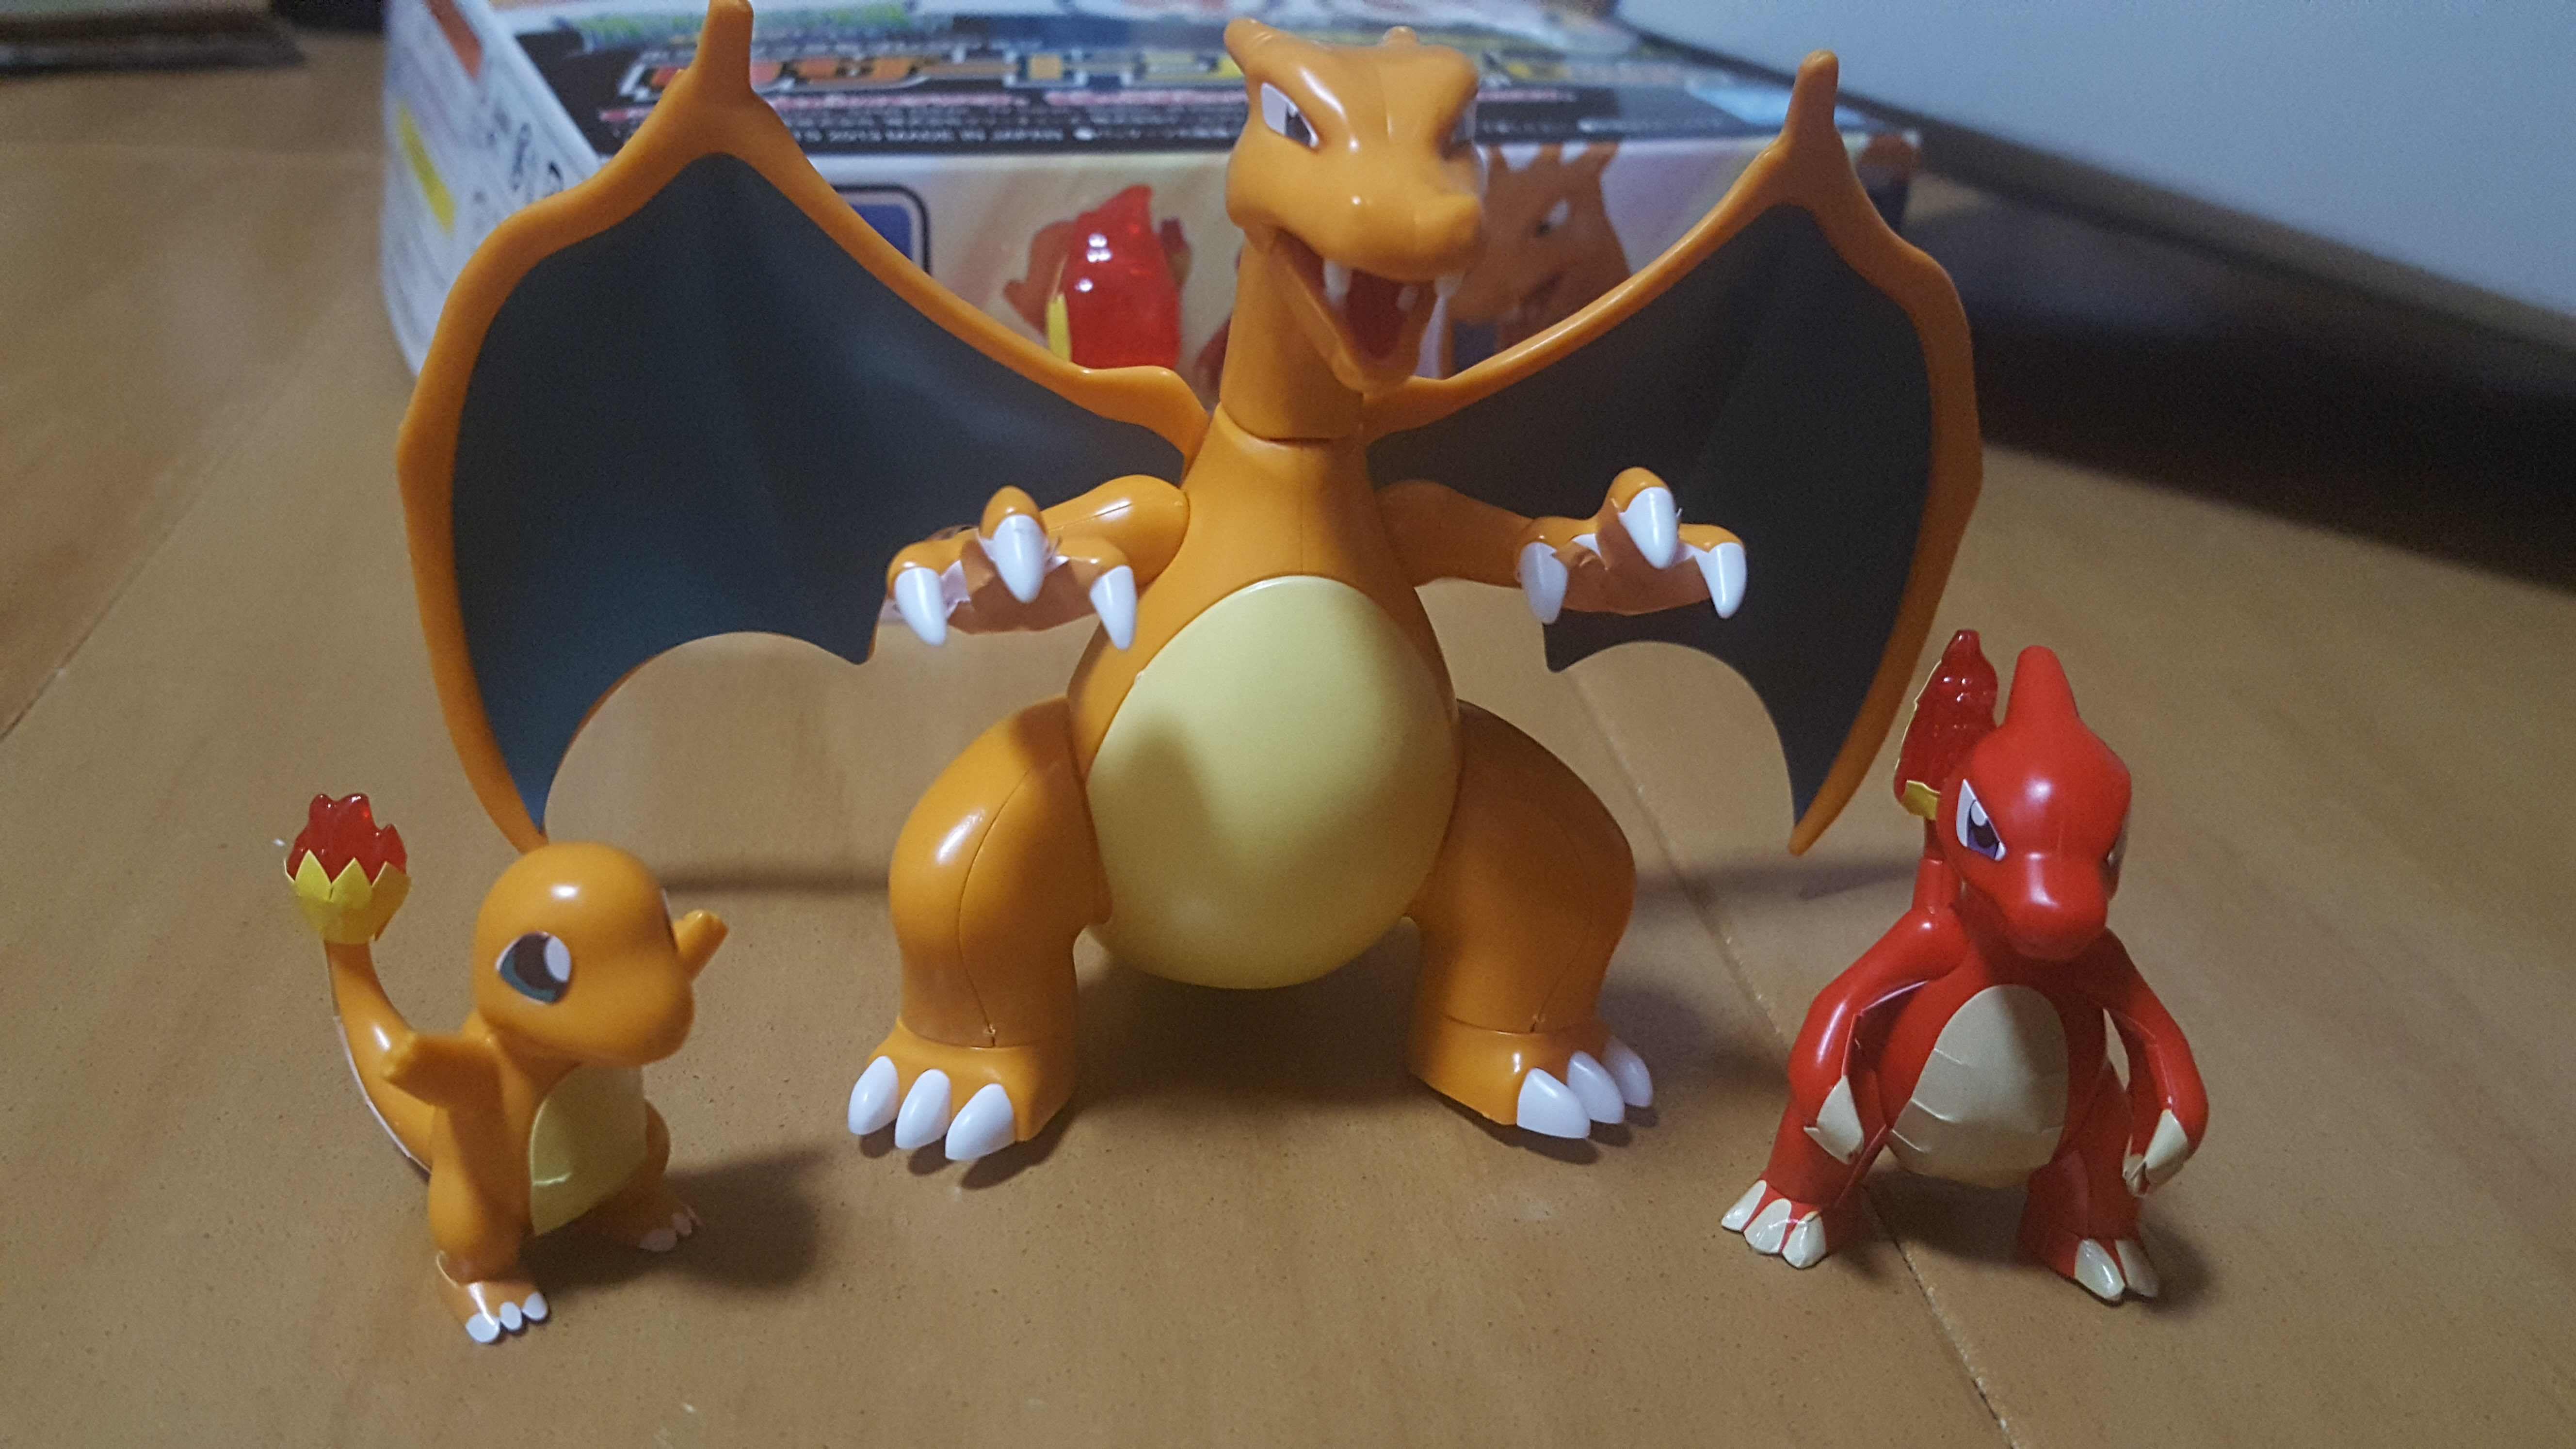
And here’s the whole family! Charmeleon and Charmander sort of have balance issues caused by the foot stickers and their tails, so if you’re going to have them on display it may be best to prop them against something or stick their feet to something. Charizard is great as-is!
Get your own kit here:
– Pokemon Plamo Charizard Evolution Set