Hey, everyone! It’s been a while, but I’m back. Today we’re starting a new series. I was originally going for a different build, and had made some decent progress, but I ran into some issues that forced me to change my plans.
There are hundreds of ways to add detail to a model: styrene pieces, scribing panel lines, aftermarket detail parts… we’ve gone through a few in past tutorials. But in this tutorial, we’re going to remove plastic to enhance the look of our model.
The Model Kit
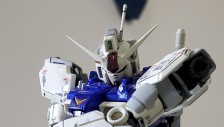
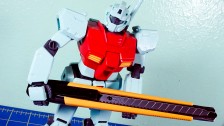
The kit we’re detailing up is the always-cool HGUC Nu Gundam Heavy Weapon System. It isn’t the newest kit out there, but it’s definitely aged like fine wine. I could tell throughout the build that Bandai did a great job (even reminiscent of these day’s technology, I would say) to hide seam lines or camouflage them as panel lines.
As you can observe in the picture below, I haven’t put on all of the parts, and that’s because they’re a bit difficult to take apart. So until the model is fully painted, I won’t be attaching them to the mobile suit.
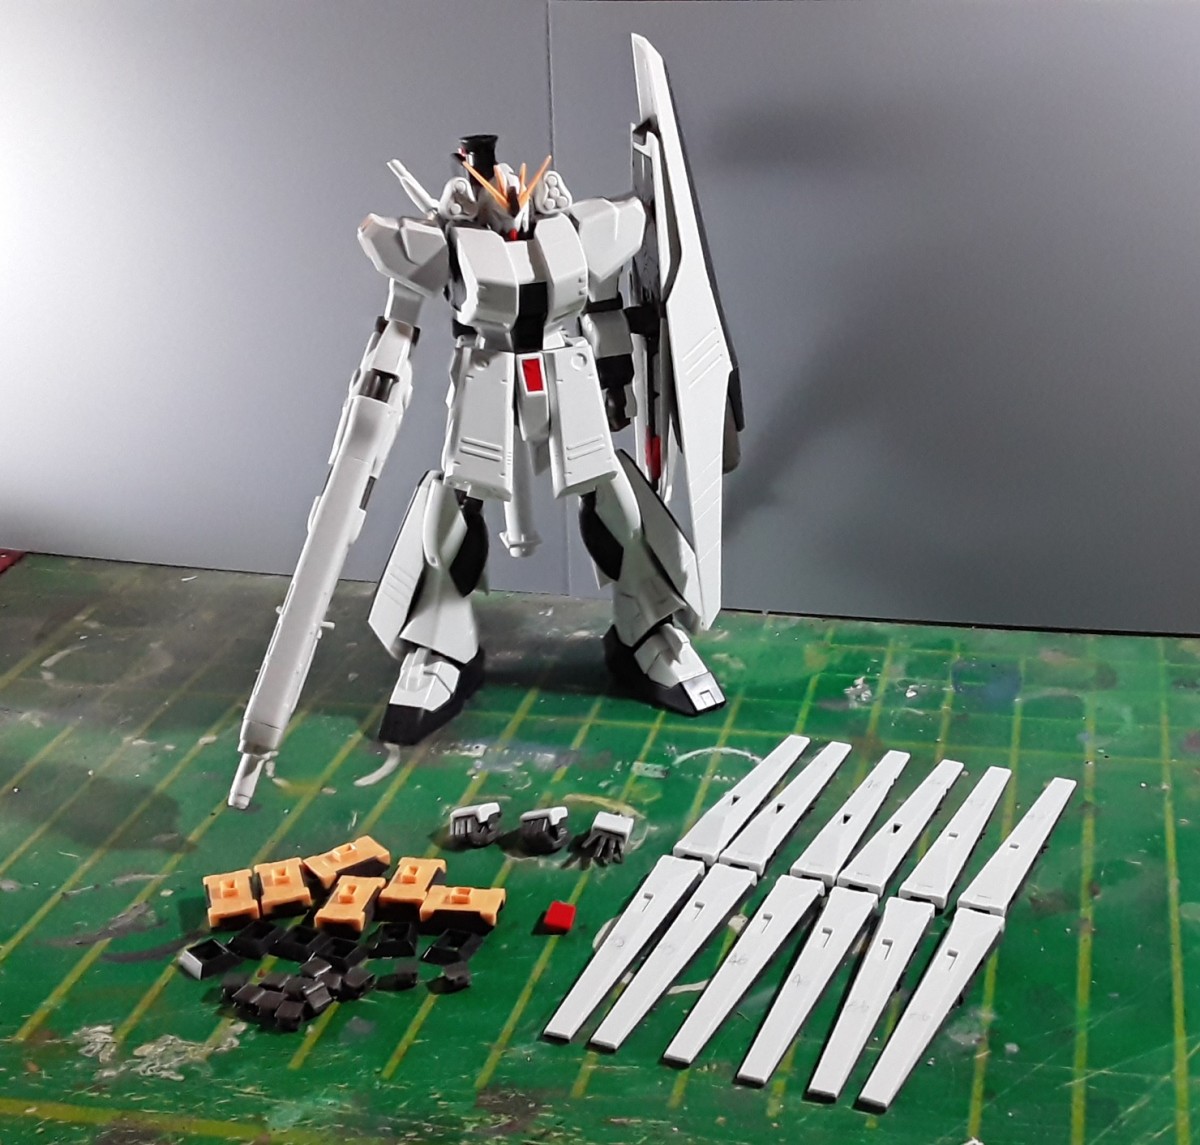
So, why this model kit? To begin with, it is a relatively large kit for a High Grade; it offers plenty of space for detailing. Furthermore, and this is a personal preference thing, I find Gundams perfect for armor trimming, especially if they operate mostly or only in space.
Unlike grunt suits, which I associate with realistic battle machines, Gundams give me the impression that they’re much more futuristic, and the technique we’re going to learn today fits that avant-garde look.
Preparation
Naturally, we can’t just go ahead and cut out plastic like crazy if we want to achieve good results. I always disassemble the model so I can inspect the parts more thoroughly. We don’t need to go as far as taking every single part apart; sub-assemblies are enough.

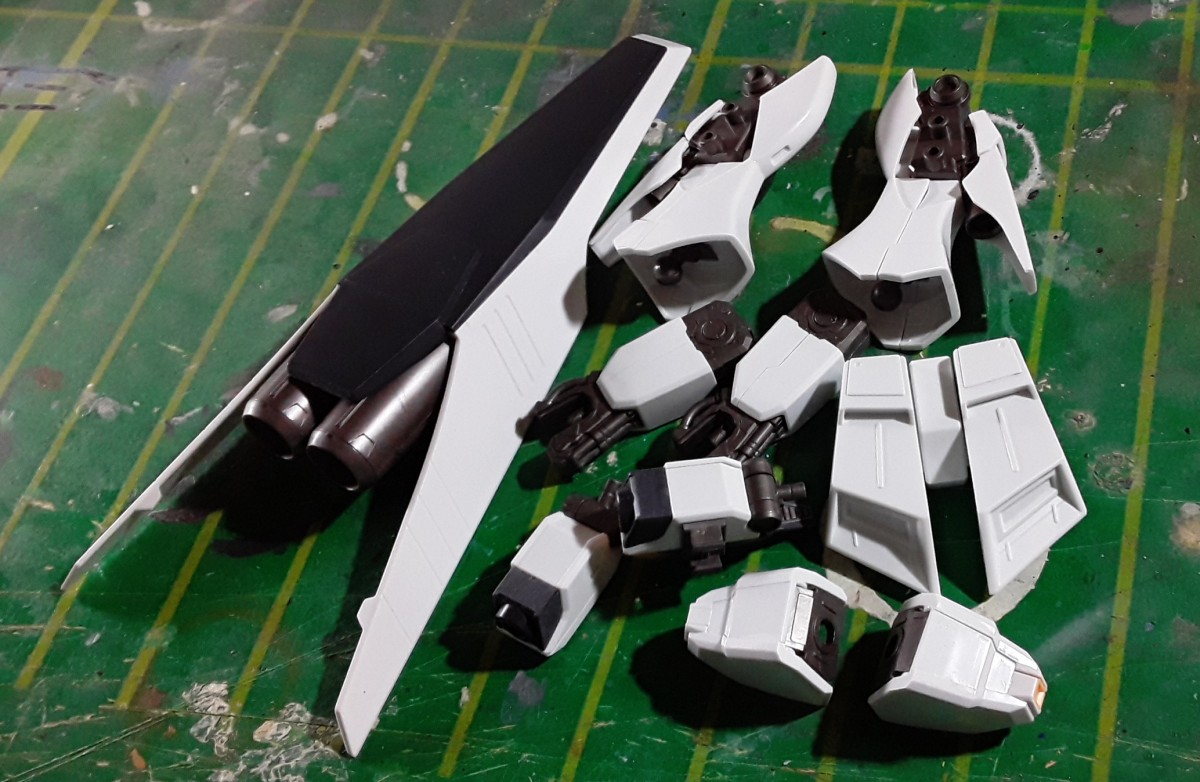
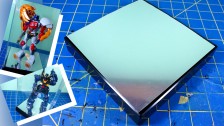
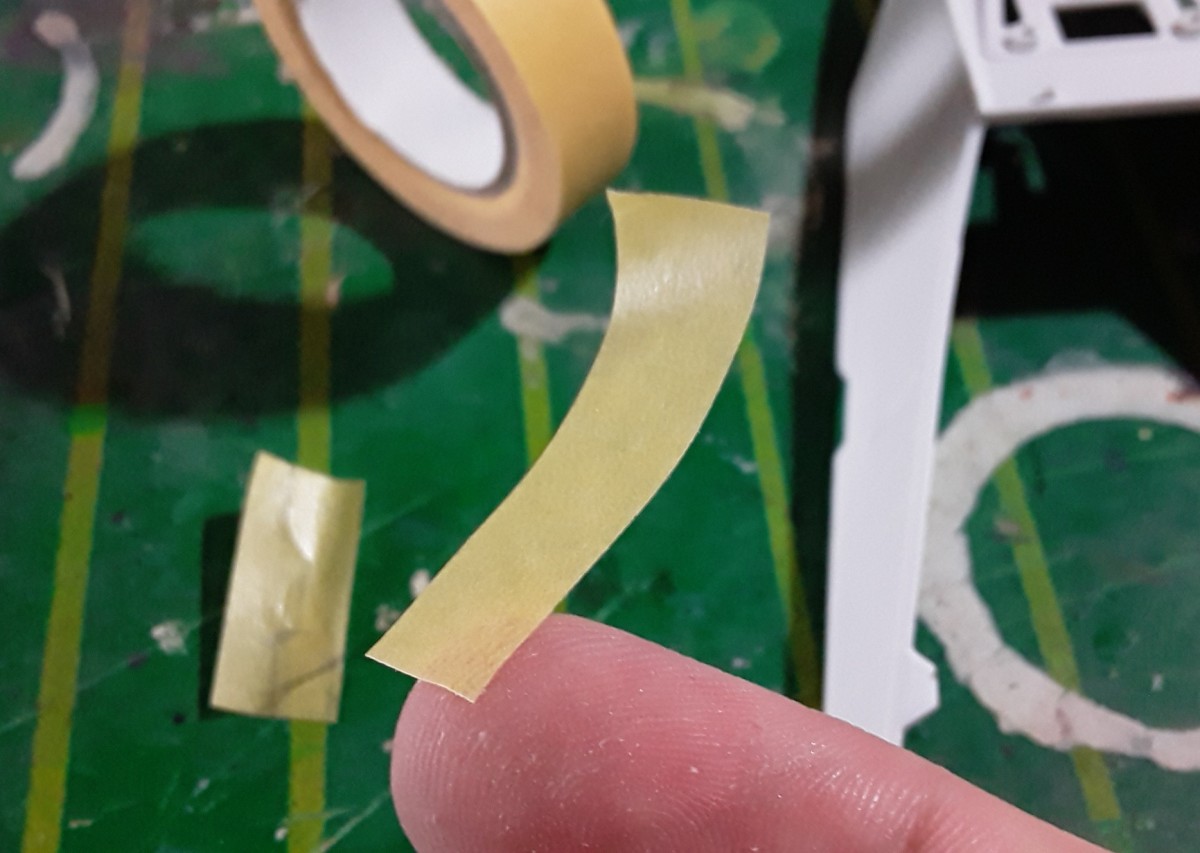
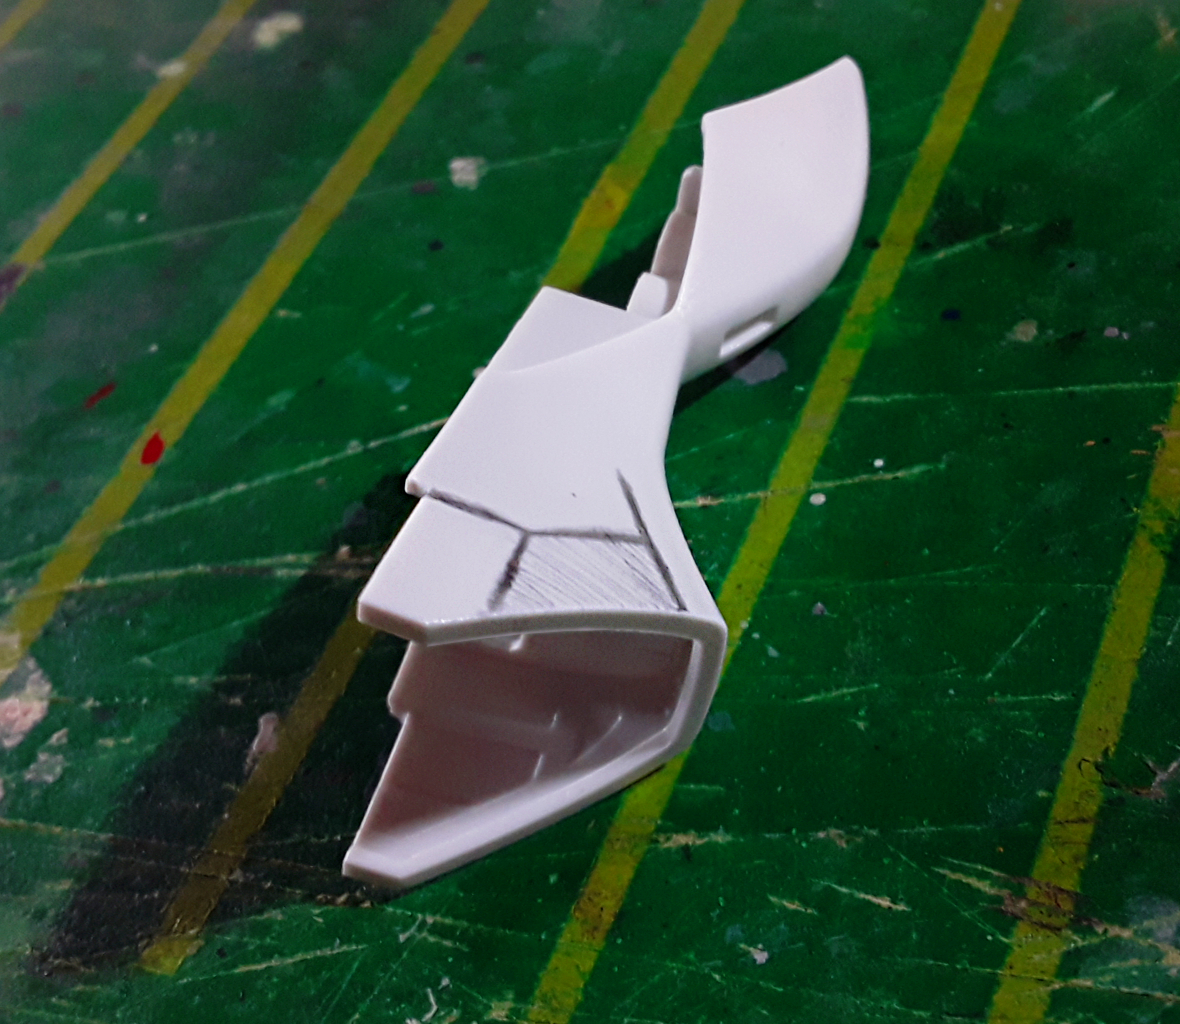
I searched for areas where a small indent could look interesting, like big plain surfaces near edges. After going through all the sections, I separated the parts with the aesthetic I’m after. I found armor cutting potential in the big shield, thighs, lower legs, forearms, shoulders and back skirts (second picture above).
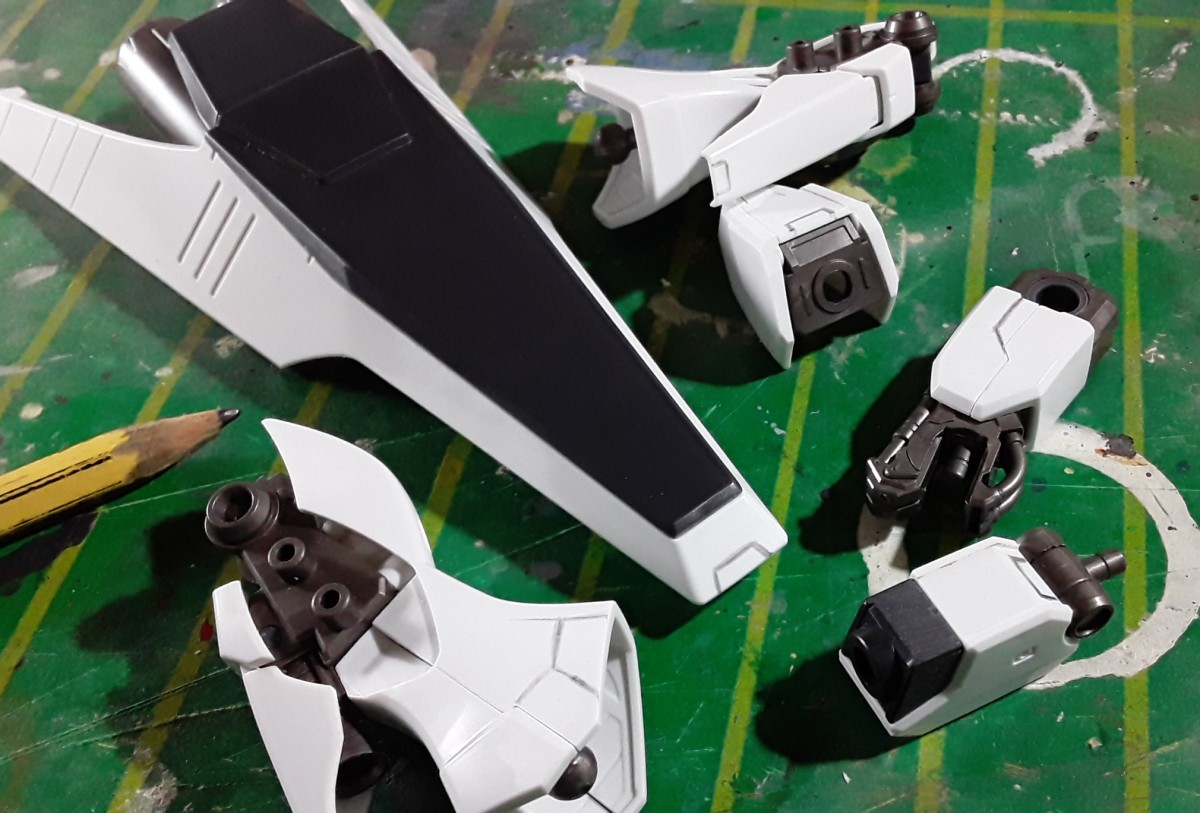
Next we need to decide where on the parts we’re making the notches. I use a regular pencil to sketch them out on the parts. If you want, you may lightly sand the surface to make the graphite stick better. Take your time, erase and start again as many times as necessary.
For the shapes, I usually follow reference points, mainly edges. In fact, if you look at the indents I drew in the picture above, you can tell that almost every line is parallel to an edge.
Trimming with a knife
This is where we get our feet wet. We’re going to start making the actual cuts to our model. I suggest using a brand new blade for this; I’m using a standard cutter only because I ran out of spare blades for my hobby knife. The latter provides more precision, so I recommend you go with that.

Even with a brand new blade, this method is preferred only when we’re cutting thin pieces of plastic. We’ll be going over a technique for thicker parts later.
In order to create a clean indent on the part, we should avoid cutting out the plastic in one go. I always do it in steps, following the order you can see in the diagram below.
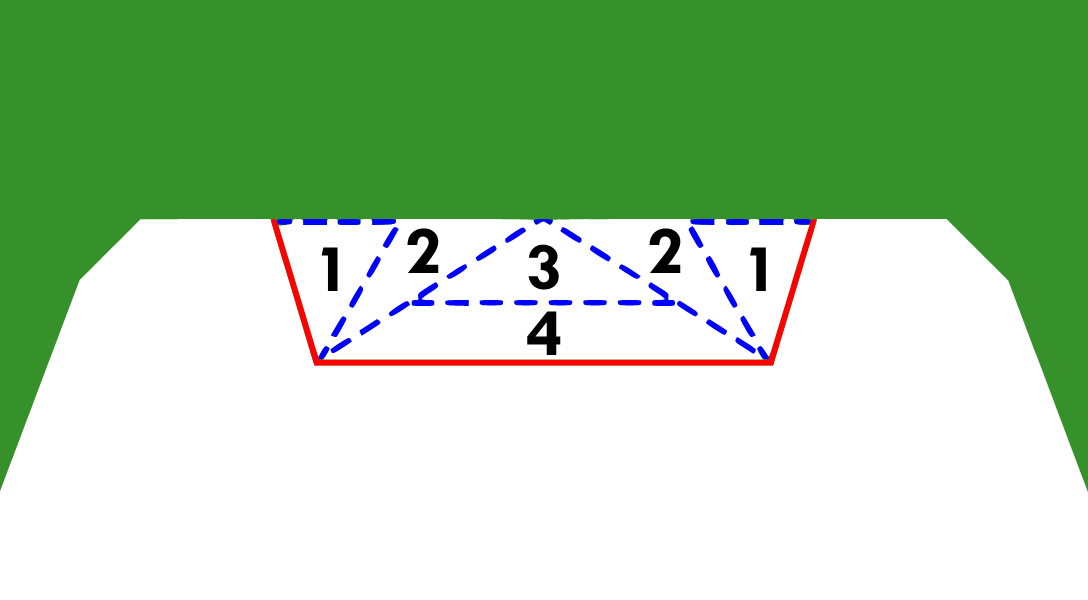


For step 1 we make two cuts. The first cut will determine the length of the notch, since we’re marking where it starts. The second cut goes from inside the area we’re clearing out to the corner of the indent. Not only will it set the depth of the indent but also give us more room to make subsequent cuts. Repeat for the other side and the result will be one triangular cut on each end of the notch.
Steps 2 and 3 are much simpler, since they consist of only one cut. First we go from (roughly) the center to both corners, and then make a horizontal cut to remove the triangle that resulted from step 2.
Finishing with a file
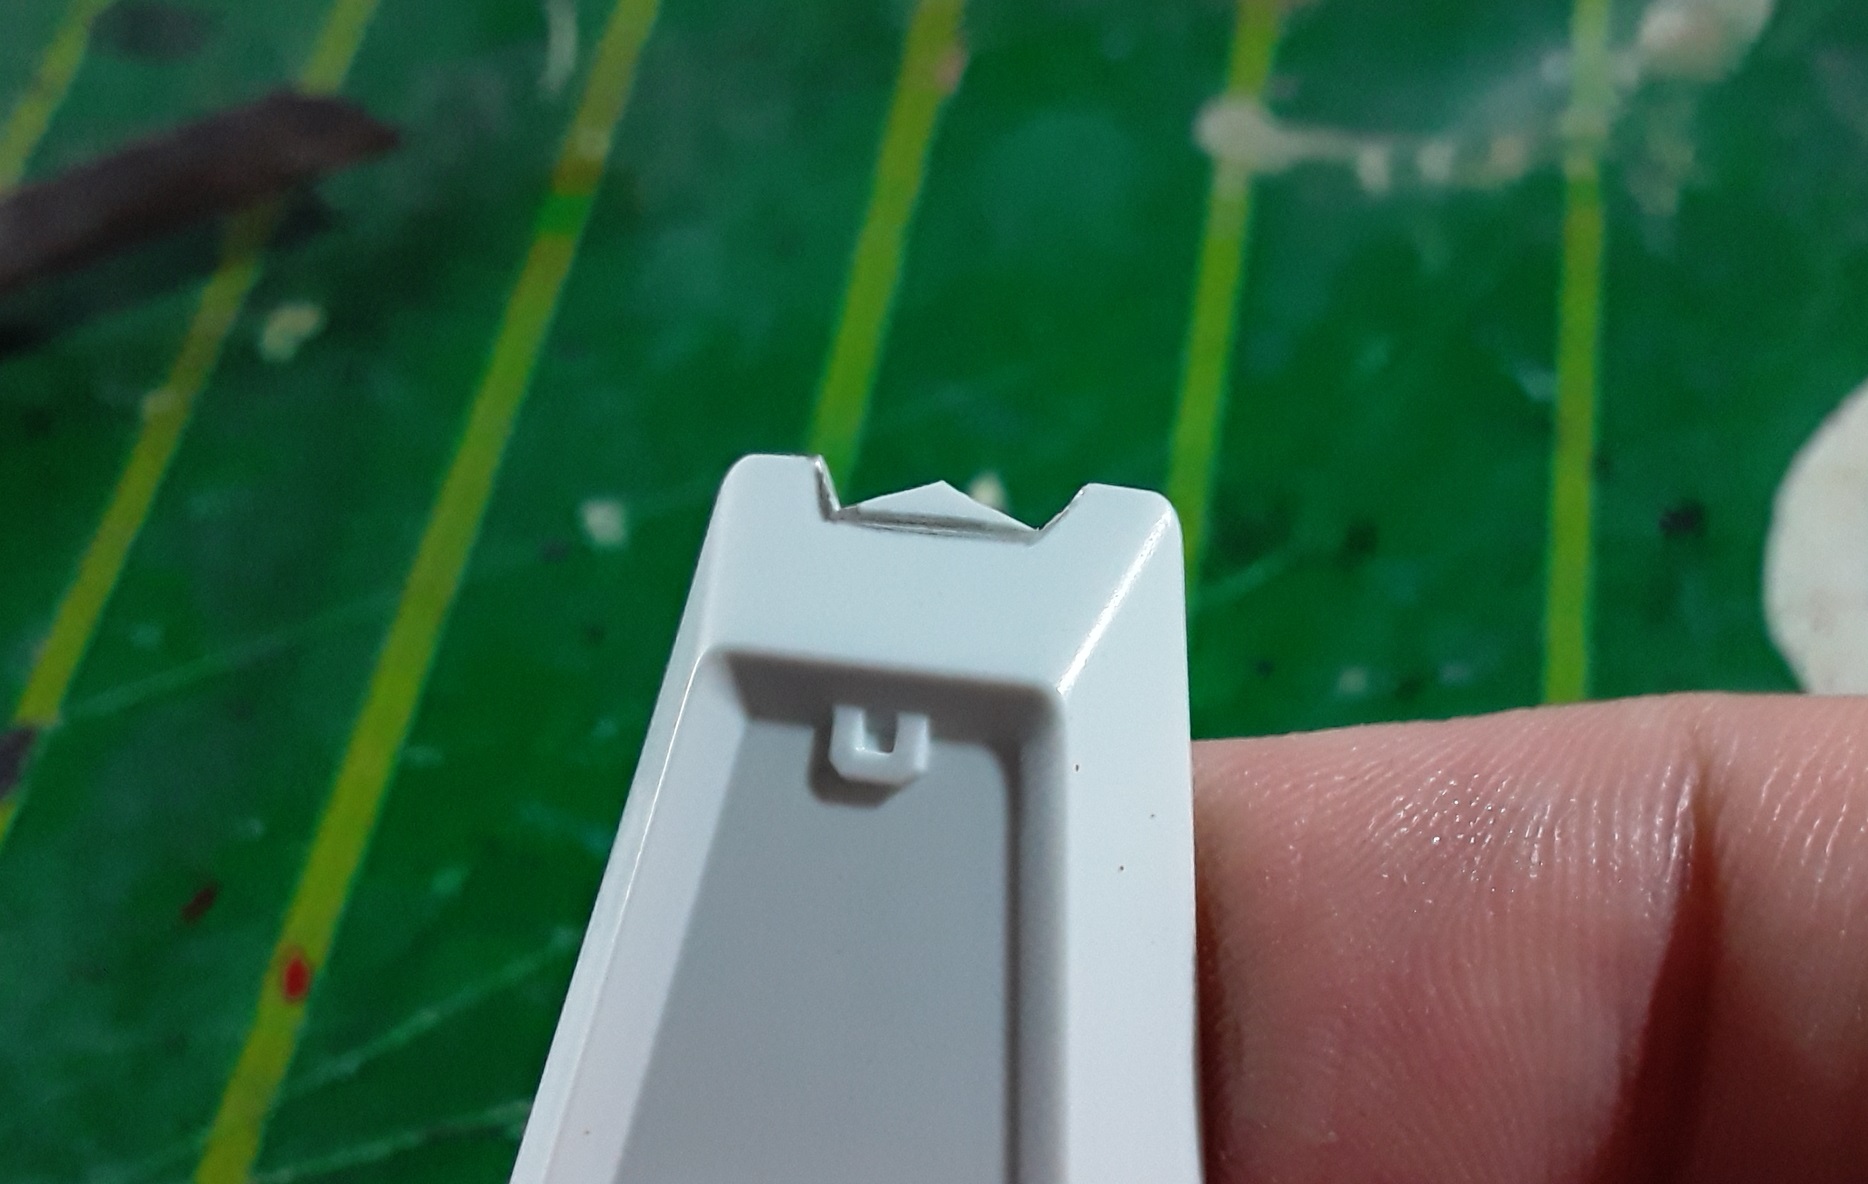
Finally, we’re going to call the best friend we can ask for when it comes to this kind of work: a precision file. Step 4 basically consists of getting rid of the little horizontal overhang; gently go over it several times with the file and that’ll sand away the excess plastic.


This Vallorbe file is amazing; the grit is perfect for most building and modification techniques, and I really feel I have control over how much I’m filing. That’s necessary when finishing the notch, as we need to go over the three sides lightly to ensure the surfaces are all nice and flat. Mind the angle at which you’re filing; the closest you can get to 90 degrees, the better.
Symmetrical notches
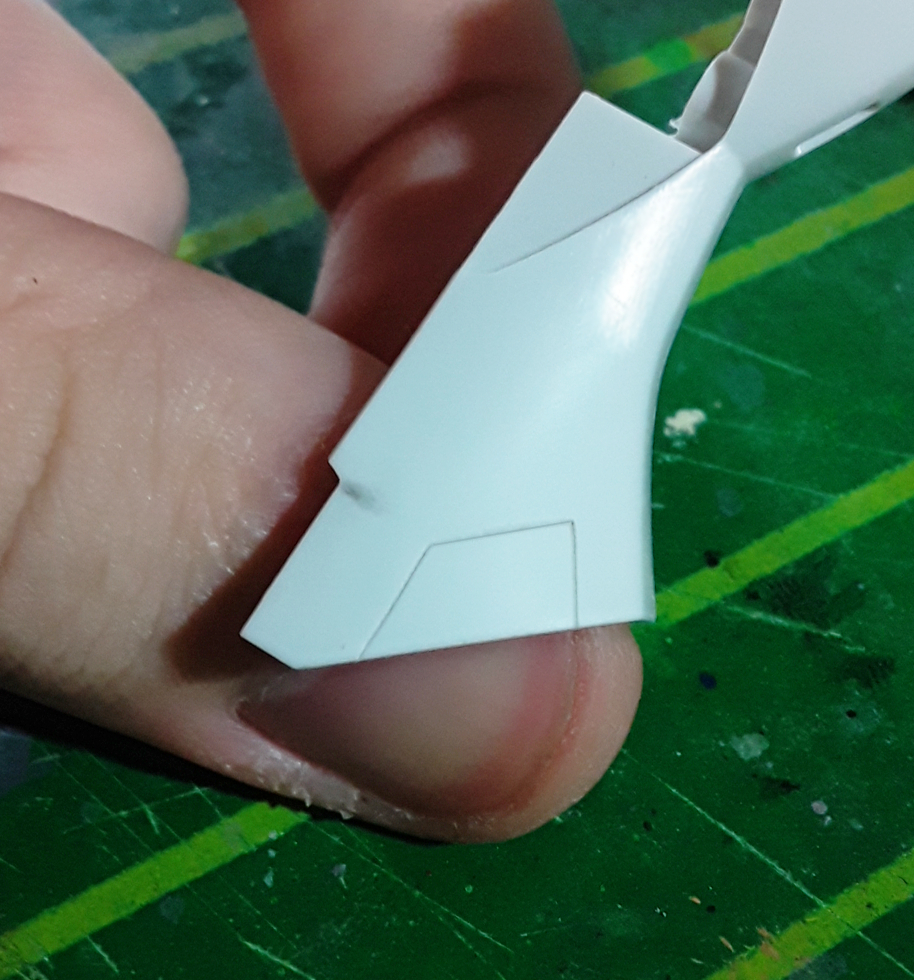
I made a similar indent on the left side of the shield, but unlike the previous one, I need to replicate this detail on the other side. This is a good chance to demonstrate how I go about mirroring notches.

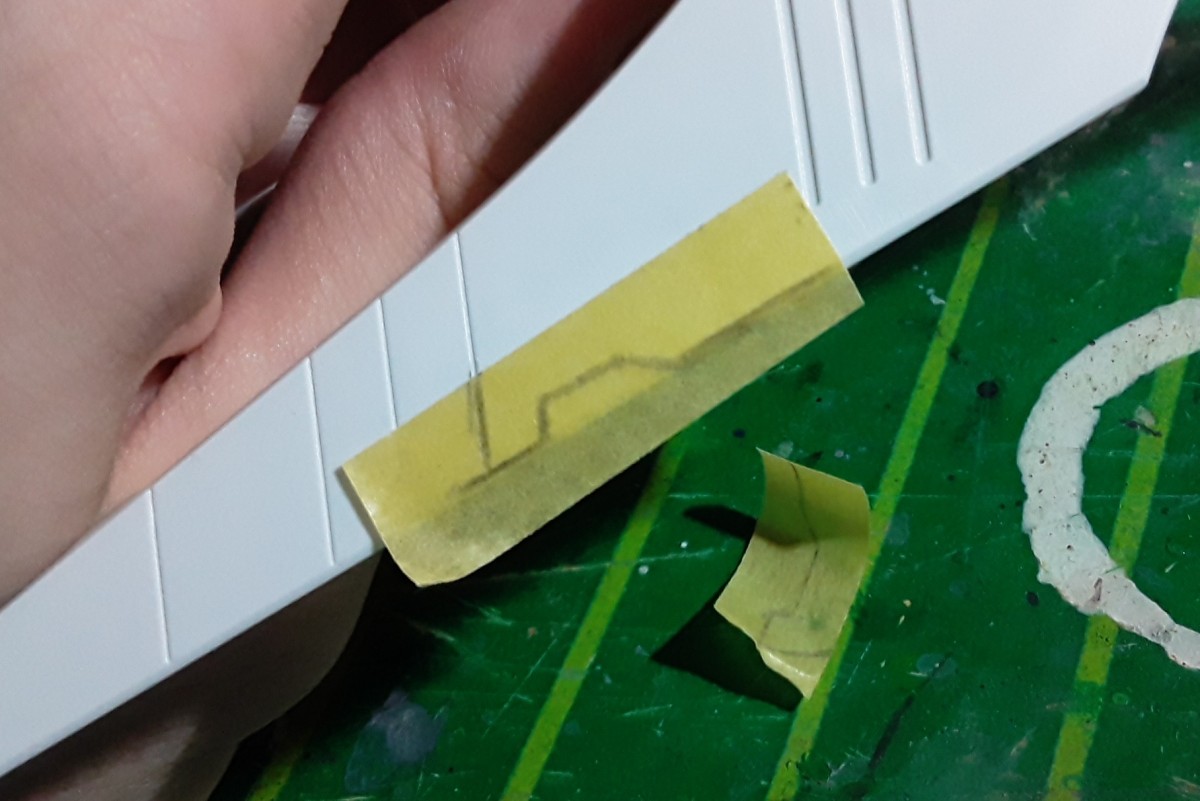
In order to copy this indent onto the right side, we’ll need a semi-transparent adhesive, just like… you guessed it, masking tape!

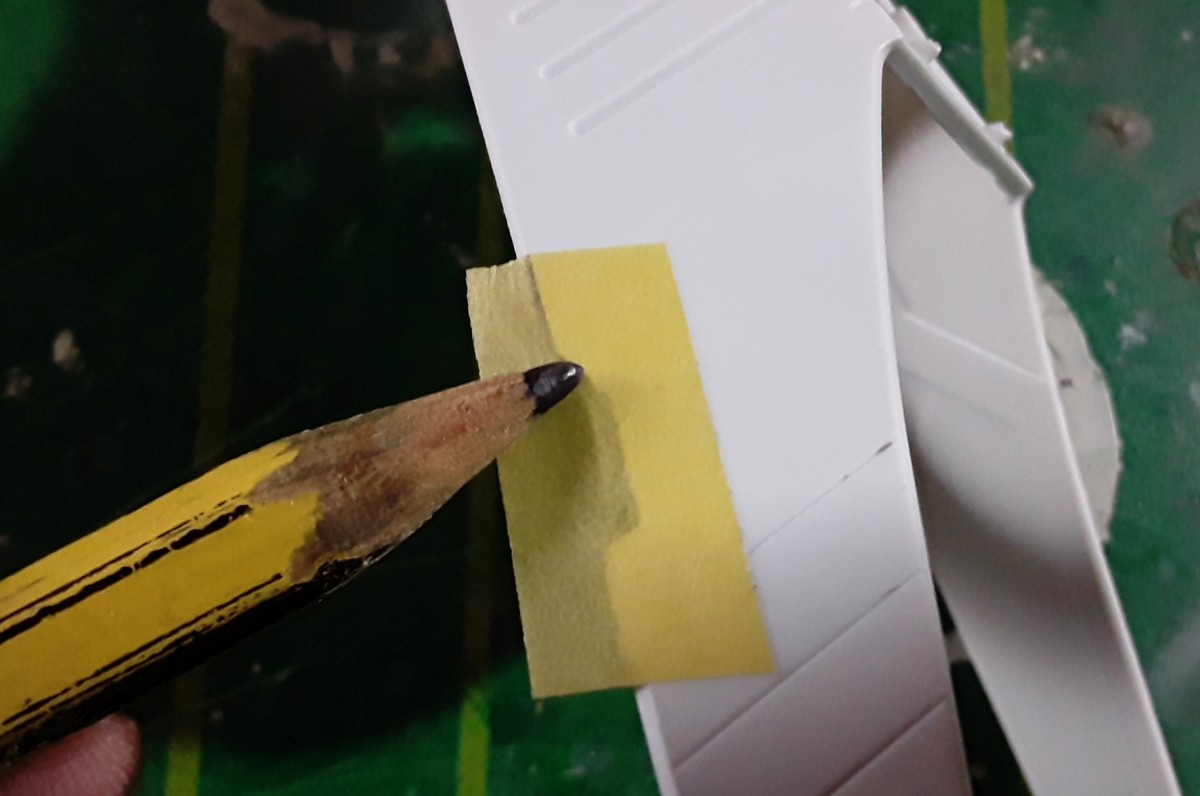

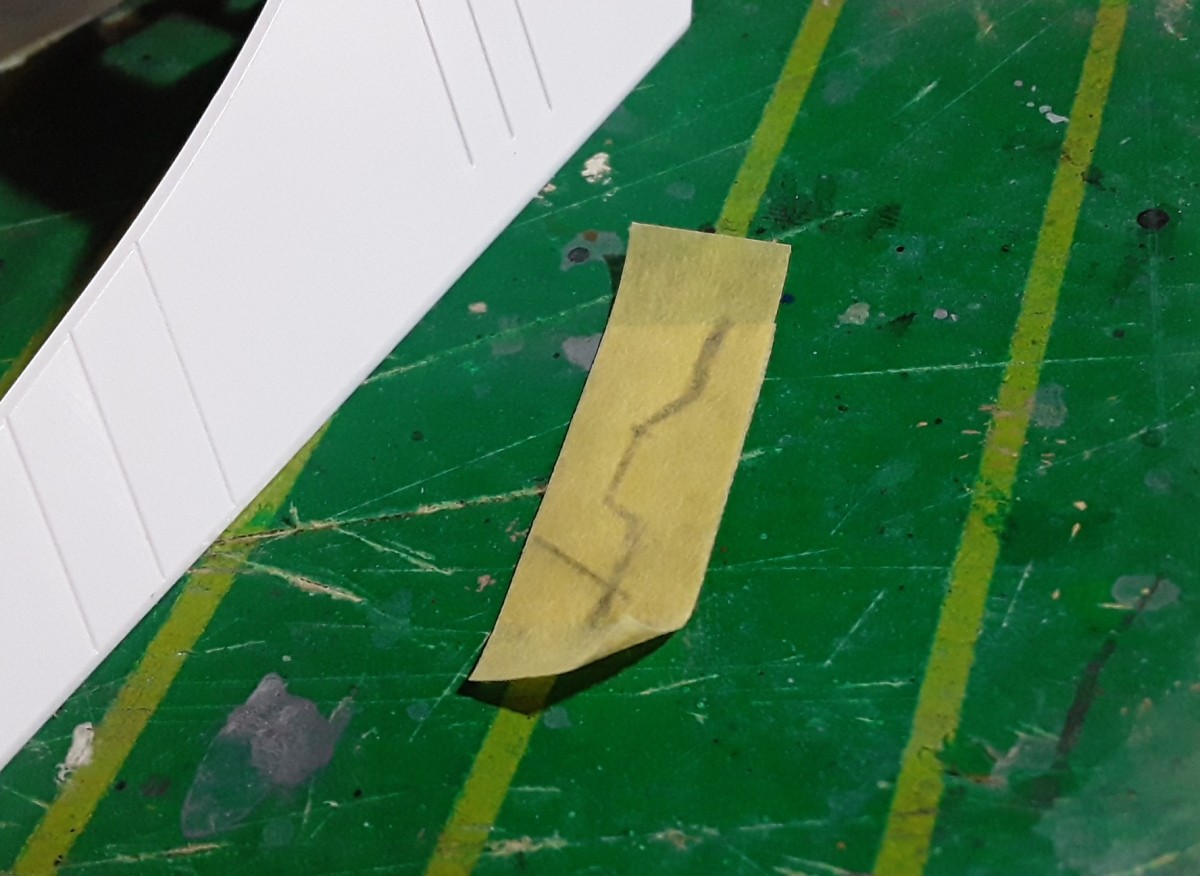
Lay down a strip of tape over the indent and run a pencil along the edge to trace the shape onto the masking tape. If you look at the 3rd picture above, you may notice that I also traced a panel line that has nothing to do with the notch detail. Actually, it’s an important step because we’ll need a reference point so as to know where exactly to stick the tape on the other side.
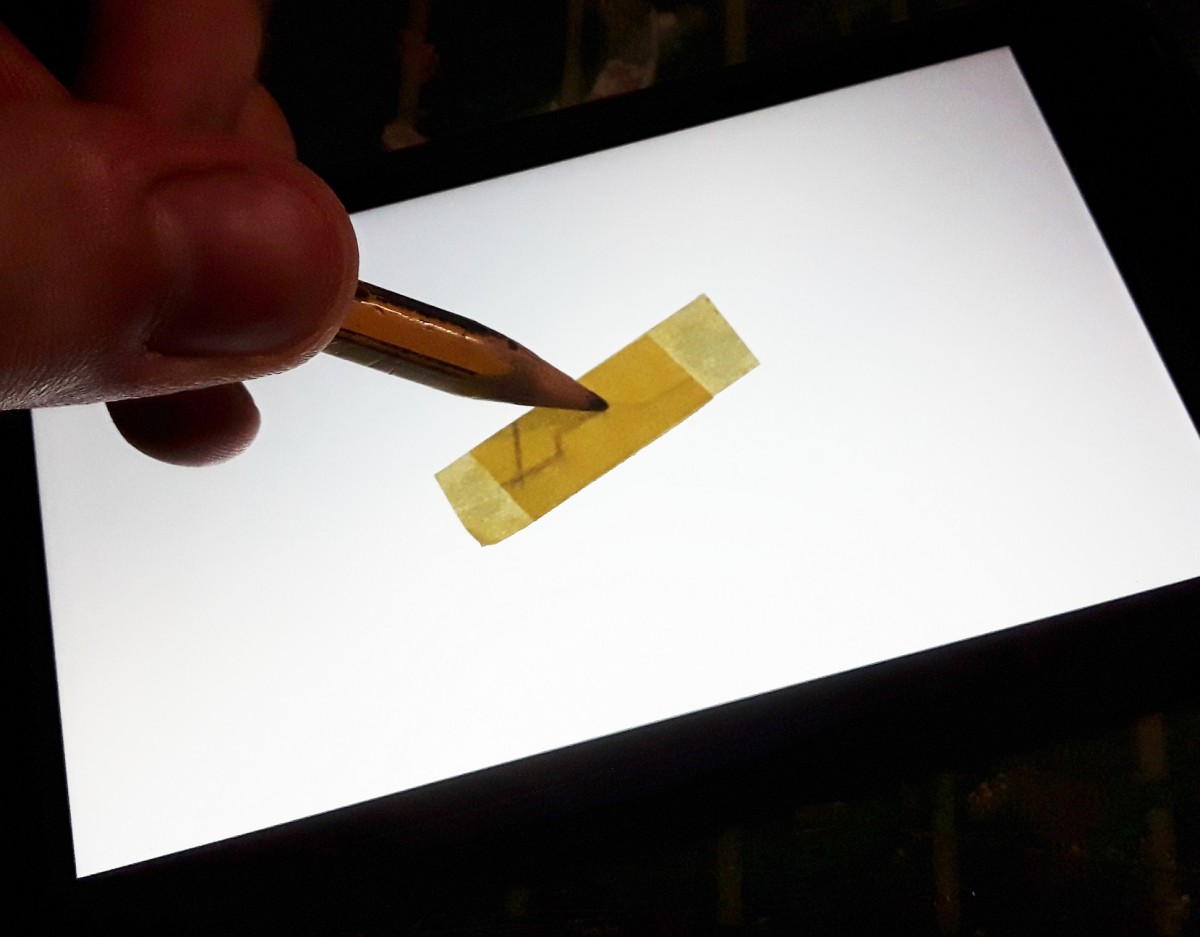
Cut out a longer strip of tape and stick it to the one you just drew the notch onto, with the sticky sides making contact. Then stick them on the screen of your phone with a white background (with maximum brightness preferably), so that you can see through the tape. The longer strip should face upwards since you’ll have to draw on it. Trace the shape of the indent that’s on the bottom piece and the mirrored template will be finished!


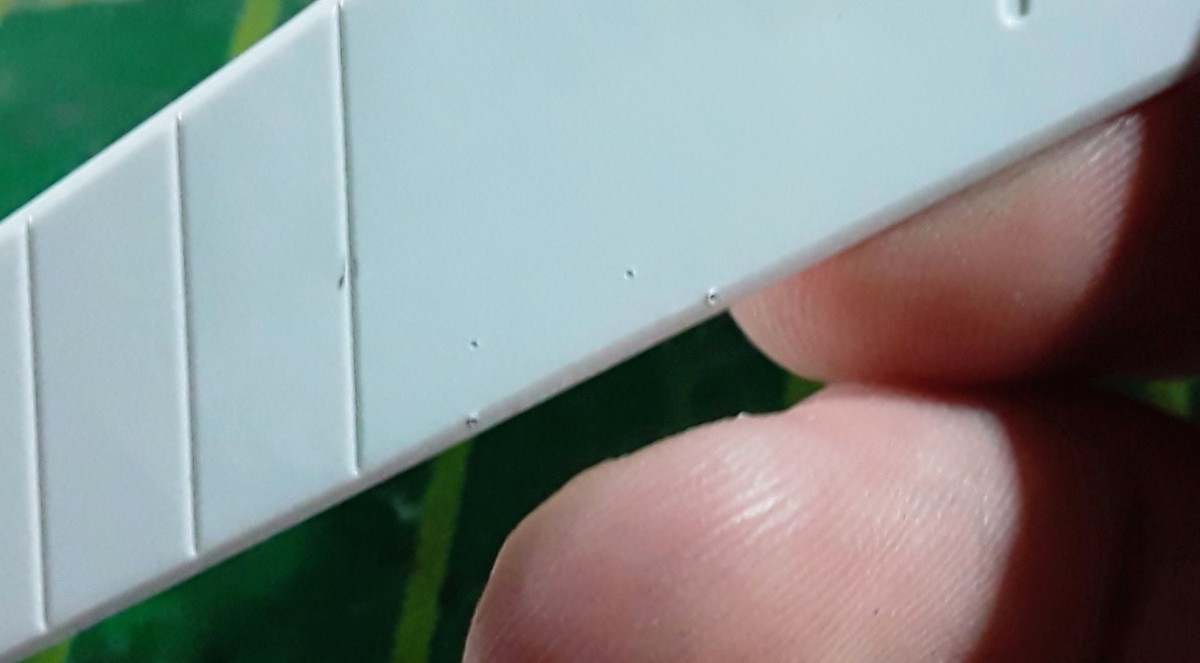
I peeled off the top piece of tape and stuck it onto the right side of the shield. Then I went in with my beloved carving needle and lightly poked through the tape to mark the corners.
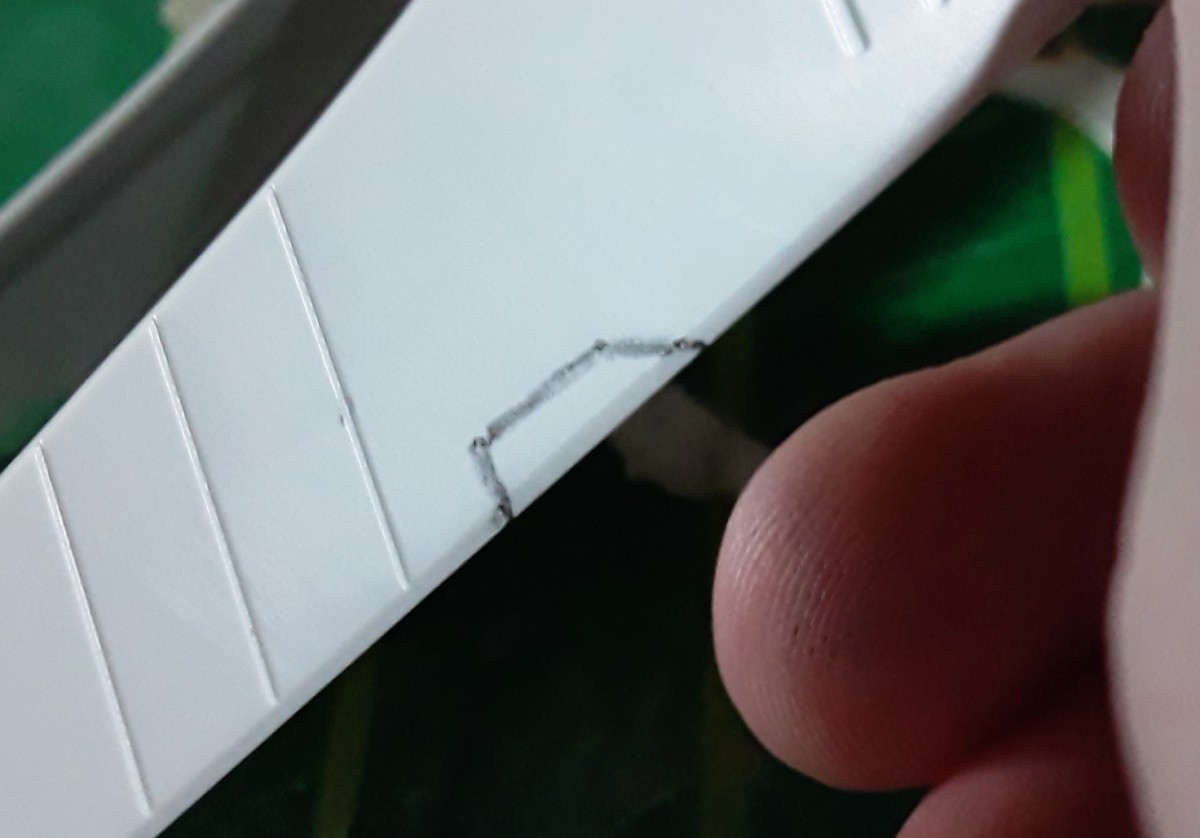
Next I connect the holes with a pencil and use the resulting outline as a guide for trimming. I cut in several steps, just like we did for the first notch. After filing the edges flat, we’re done!
Drilling
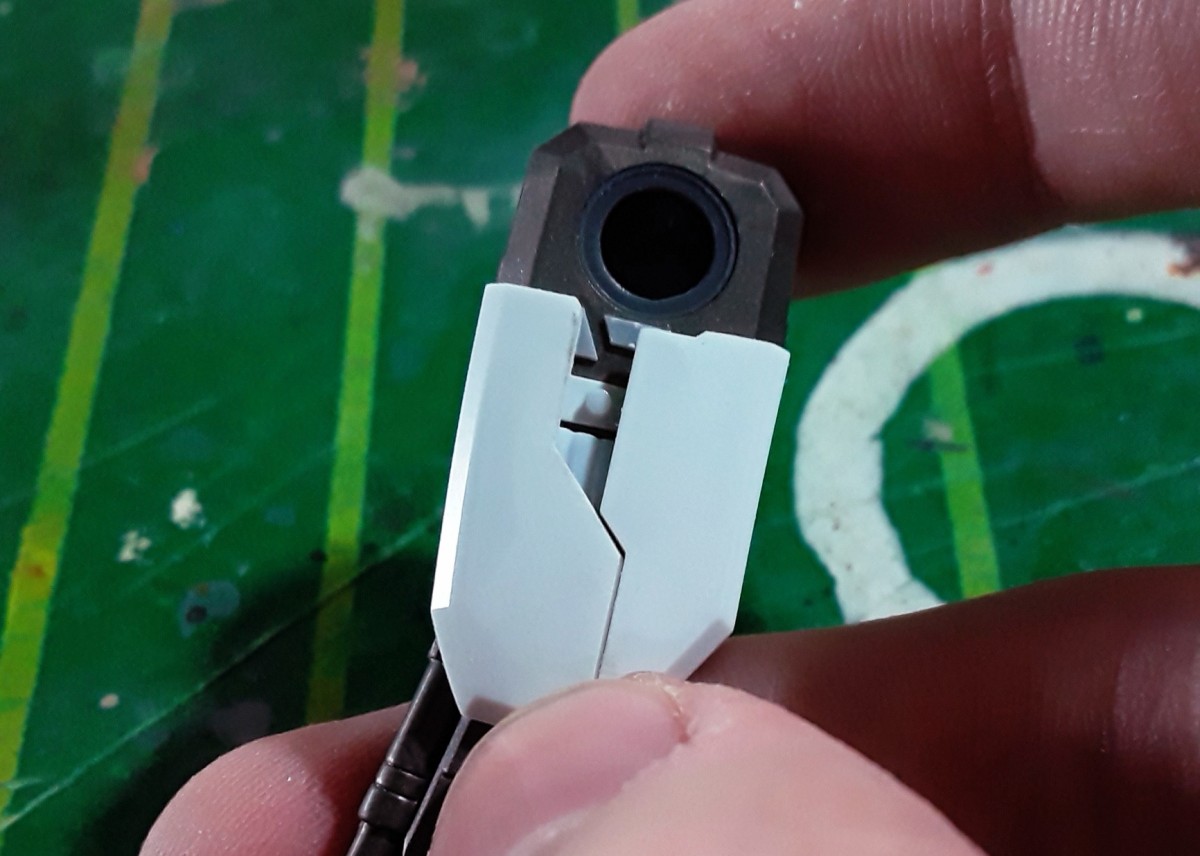
Until now, we’ve only modified thin pieces of plastic (1.0-1.2mm at most), but what about thicker parts? How do we go about cutting through tough chunks of plastic? Fortunately, it’s easy; albeit a little more time-consuming.

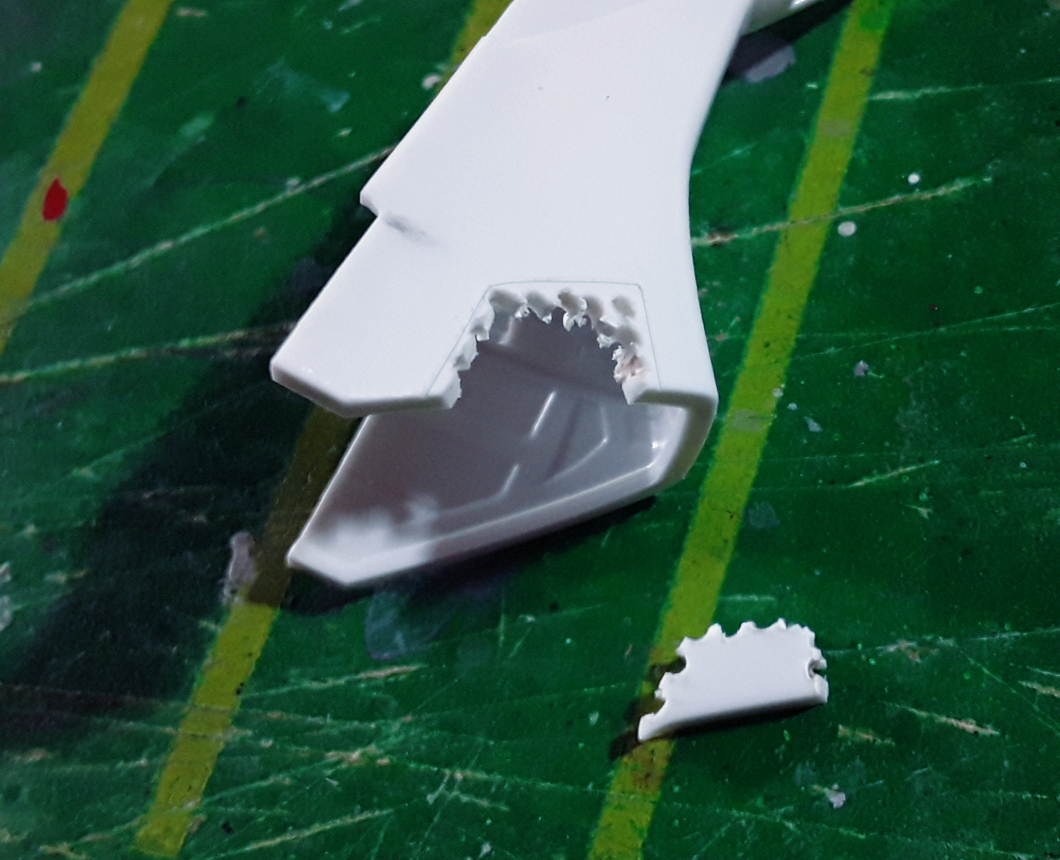
This leg part will be a pain to pierce through with a hobby knife or cutter, so we’ll need to approach it differently.
First I drew the shape of the indent directly on the part and then scribed it as a panel line. After that, I drilled a few holes with a 1.0mm pin vice, keeping a safe distance from the scribed recess.
Only now I switch to the cutter, and I use it to join the dots; a few light passes will suffice. I take my time and do it gently because I don’t want to scratch the part or cut my finger. You don’t need to go all the way through the plastic, at one point you’ll be able to push the unwanted area down with your thumb and get rid of it.
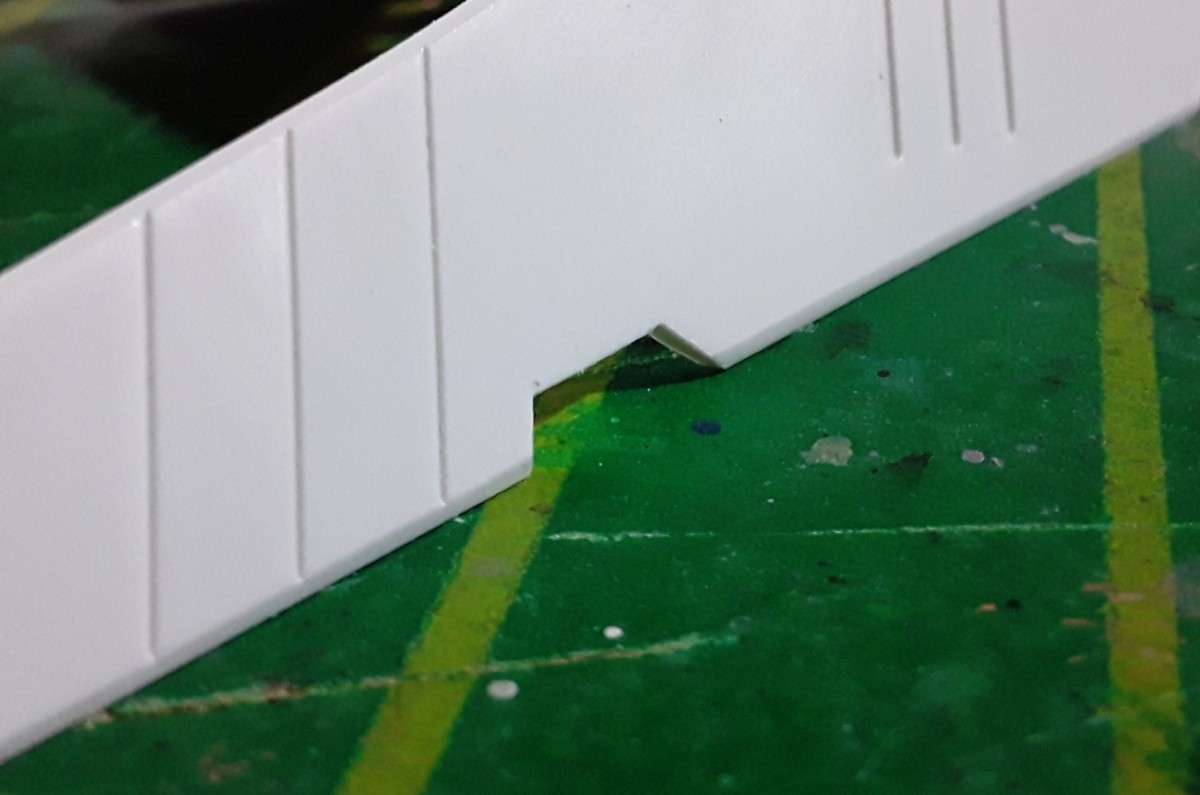
After that, it’s all a matter of clearing the excess plastic with a hobby knife and a good precision file as we did for the other parts. The panel line we scribed earlier works as an outline so you know where to stop.
This technique might be familiar to you if you remember the derelict house we scratchbuilt for the Galbaldy Beta diorama.
Adding detail underneath the armor
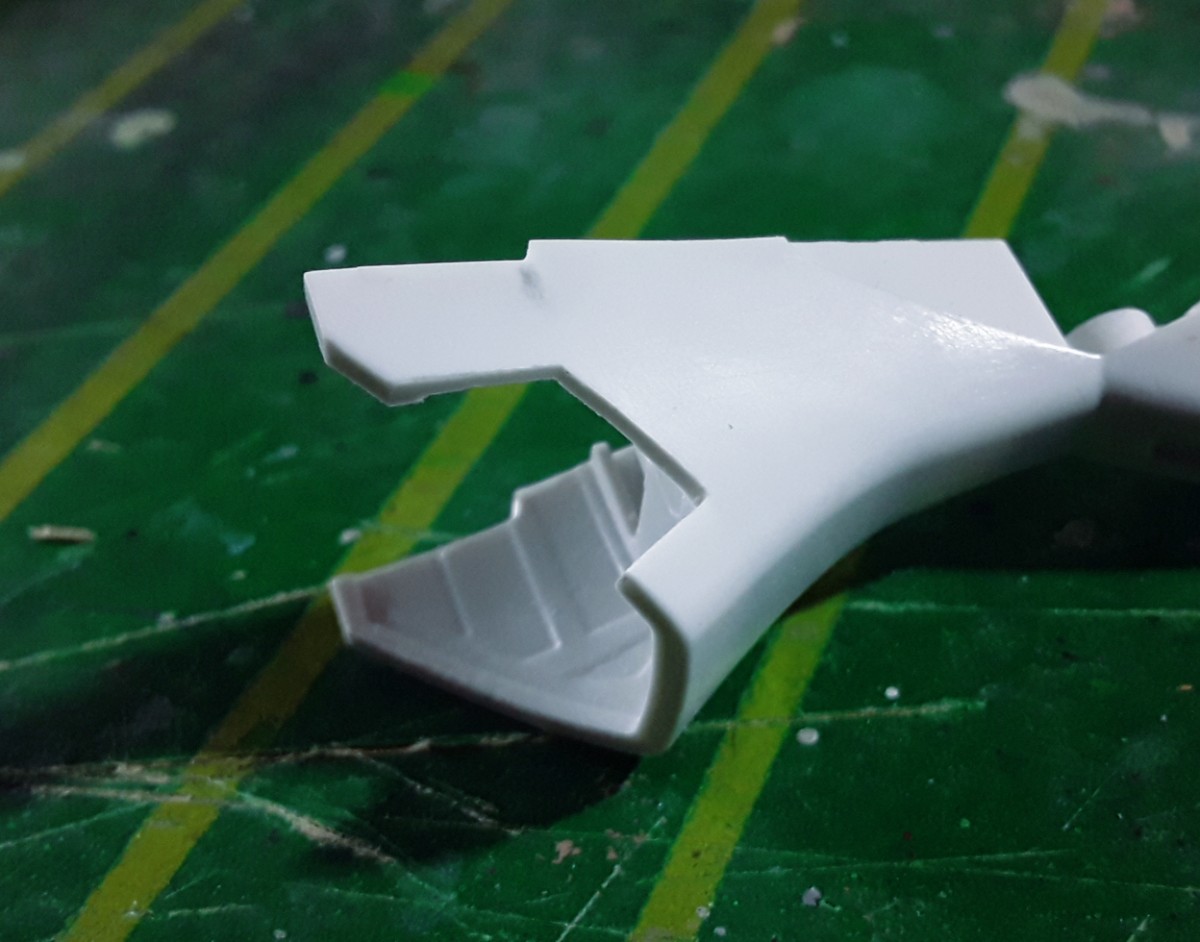
All this armor trimming adds plenty of visual interest to the model, but we can further exploit it by placing extra detail on underlying parts that are now exposed by the little cuts we’ve made.

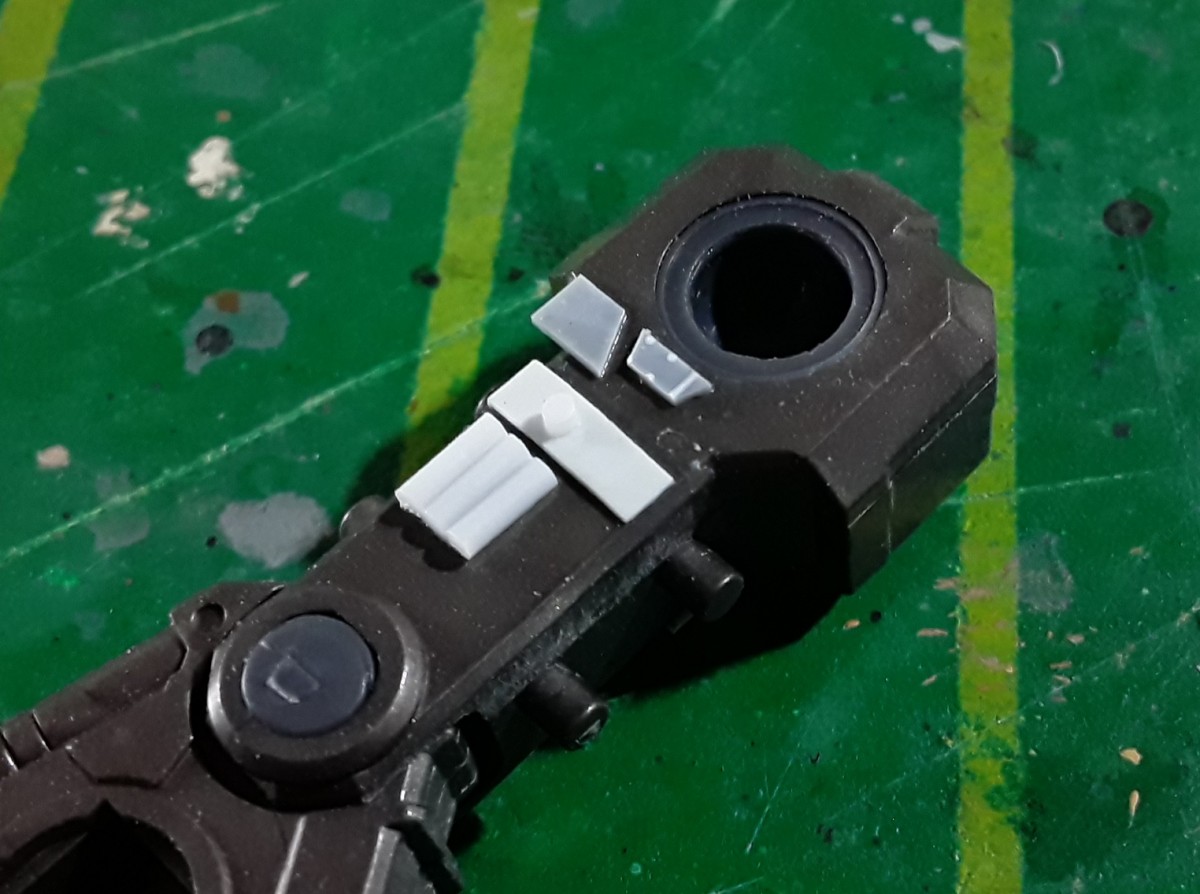
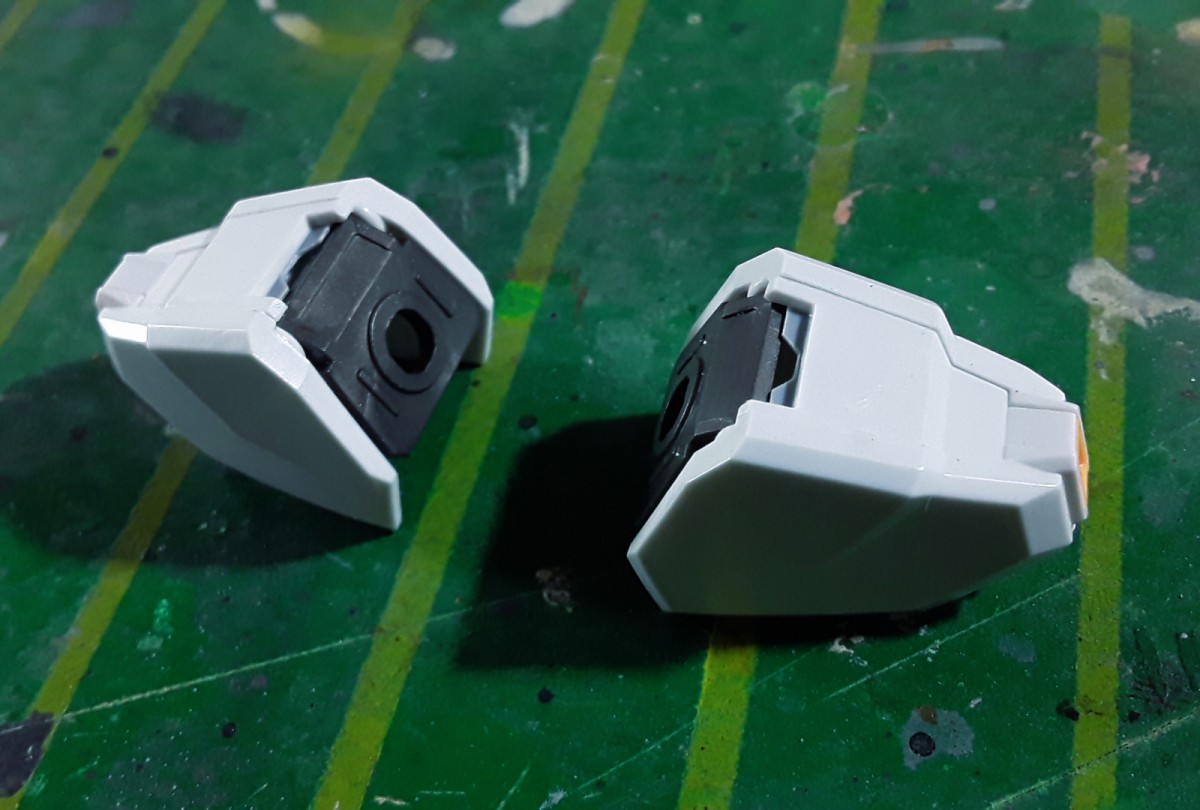
Here’s a good example. Once I made a notch on the inside of the thighs, I took it apart and glued pieces of different scratchbuilding materials onto the inner frame. For these particular parts, I used styrene sheets of two different thicknesses and a couple of 1.0mm styrene rods. It’s a pretty enjoyable and straightforward process; just make sure the greeblies you use are the appropriate size. If the parts stick out too much, they may hinder reassembly.


I’ll be adding more detail to these parts in the future, but for now, that is all! I hope you found this tutorial informative and you apply these tips to your Gunpla projects.
However, if you don’t feel ready to cut out pieces of plastic from your models, I suggest you start slow. Try this technique on leftover parts first to get the hang of it, and when you feel comfortable enough with the hobby knife and file, start experimenting with your kits.
It’s a hobby, and as such, it shouldn’t feel discouraging. Go at your own pace and enjoy the process. Happy modeling!