Product available online at HobbyLink Japan: 1/35 AFV German 88mm AT Gun PAK43
—————————————————————————————————————————————
The PaK 43 is the natural evolution of the Flak 36 adapted for its anti tank role. A number of armored vehicles also carried versions of this gun, under different designations, including: heavy tank Tiger II (KwK 43 L/71), self-propelled gun Nashorn (PaK 43/1), as well as tank destroyers Ferdinand/Elefant (PaK 43/2) and Jagdpanther (PaK 43/3 and 43/4). It was an excellent weapon that able to penetrate the heaviest Allied armor at combat ranges, including the Soviet IS-2 and the American M-26 Pershing.


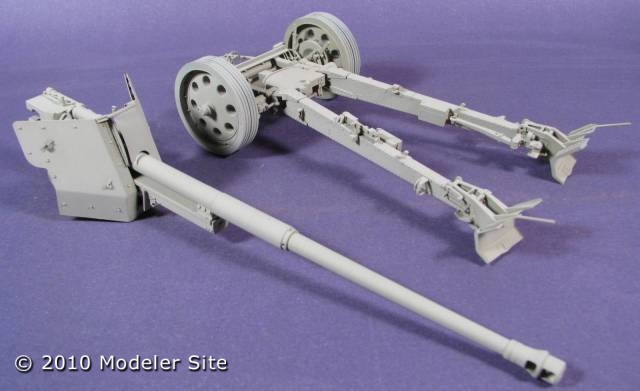
The main version of the PaK 43 was based on a highly efficient cruciform mount, which offered a full 360 degree traverse and a much lower profile than the anti-aircraft version of the 88 mm. However the manufacture of this version was slow initially, and to speed up production some guns were mounted on a two-wheel split-trail carriage from a conventional howitzer, resulting in a version known as PaK 43/41. This version, while retaining the full power of the gun, was much more difficult to handle and camouflage.
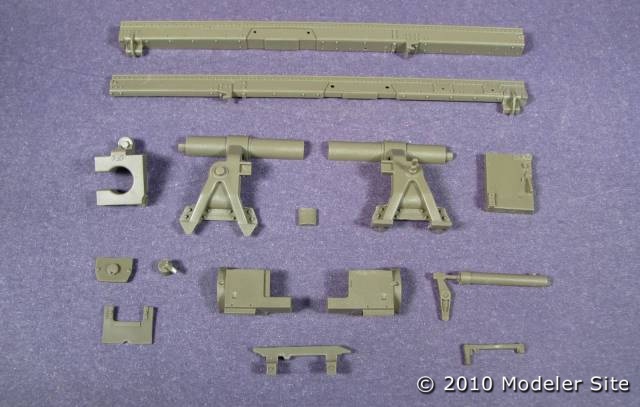
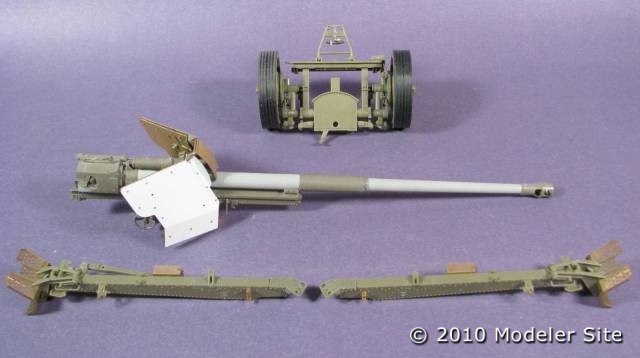
There are four available options to mount a PaK 43/41
Gunze: Among the 4 kits, this is the oldest one. It was an excellent kit then, but nowadays the competition has surpassed it. It comprises white metal and etched parts, difficult to work with and soft details.

Precision Models: Ref.# 35007. Good kit featuring resin and etched parts, in my opinion, better than the Verlinden’s .Highly detailed and very good resin.

Verlinden – Ref. #1032: Typical Verlinden kit, well detailed , good resin free of bubbles and correct fit.

AFV Club – Ref. #35059: Is the kit we are referring to along this note.

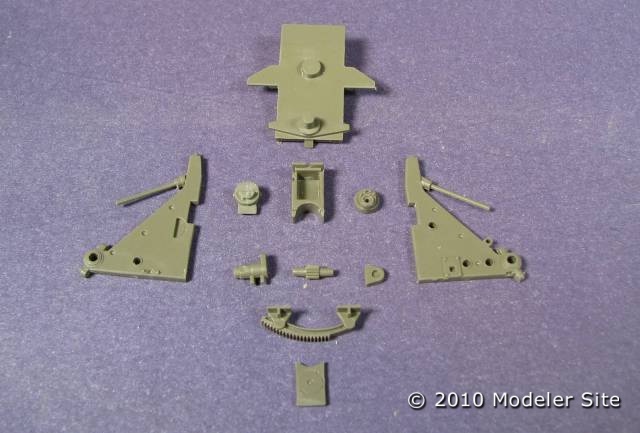
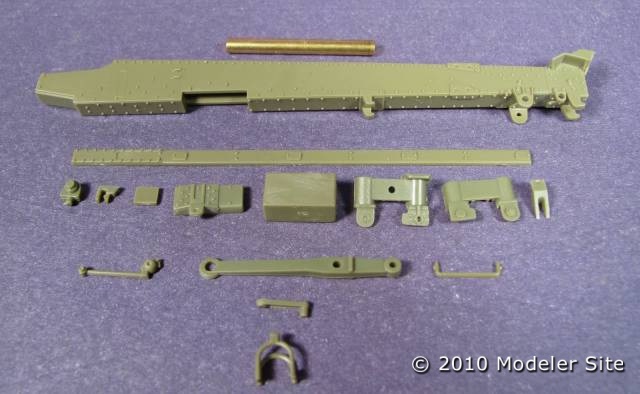
Some time ago, I had bought the old Verlinden PaK 43/41 kit, which is not superb but captures the lines of this Anti tank gun. When AFV released this kit, I forgot all about that old one, and decided to build this injection molded plastic version. To complete the kit and get better details, I added the Vayager PE set (#35046).
The AFV kit comes highly detailed but has two serious problems. First, the plastic is too brittle. When cutting a part away from the sprue, you have a high chance of damaging it. The second problem is the fit of parts. There are areas such as the breech, which will need long puttying sessions. Almost all the parts need putty and sand to get a good fit and finish.
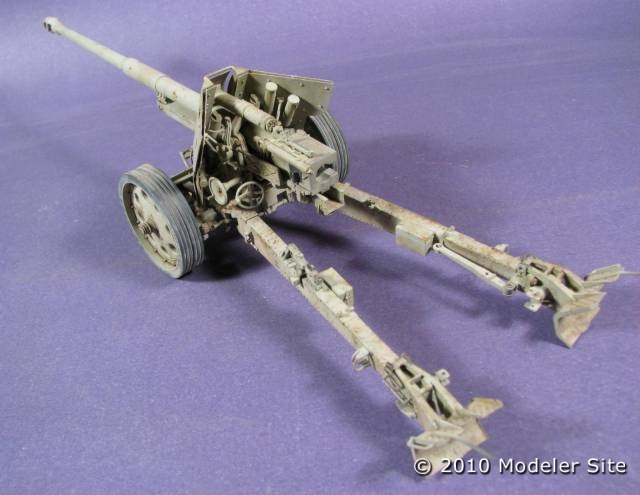
The kit allows to make the gun in combat or transport position. From the very beginning, I thought about the combat position, so I paid the necessary attention when placing the parts.

Building
Step 1

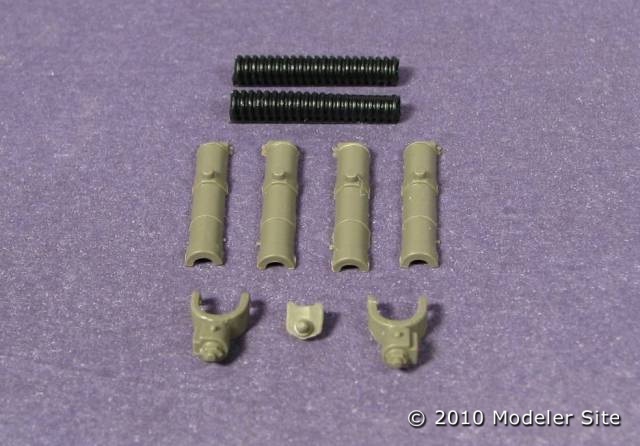
Mounting and painting a metal barrel have some tricks. As it is supplied with the kit, it’s nearly impossible to be painted. A completely polished surface has an adverse effect on adherence of paint or glue.

Firstly, with the help of a file, I removed the small flashes on the ends, then, all the surfaces were sanded with #360 or higher, up to leaving the surface without brightness.

Over this finish and without touching the surface with your fingers since your skin will leave grease, I applied a matt enamel coat of any light color, I chose Humbrol Light Grey

Then, before the paint was dry, I heated the part over stove to get it glossy. Pay extra attention here since the enamel is highly inflammable. Once heated, the enamel gets a stronger and perfect adherence. I allowed it to dry at least for 24 hours before mounting the rest of the parts.
The fit of the plastic parts to the metal barrel is not good so each part had to be puttied and sanded to get a perfect fit. It would have been better if AFV would have supplied a typical plastic barrel instead.


Step 2
Voyager instructions show us that we will have to replace a small plastic part with others from the etched set, but I decided not to do so, since this part would not add more detail to the whole.
As we can appreciate in the picture, the lower area of the gun carriage has a joint very difficult to remove. It’s almost impossible to correct this without removing the rest of the details but as it is in the low area and not very visible , I decided to leave it as is.
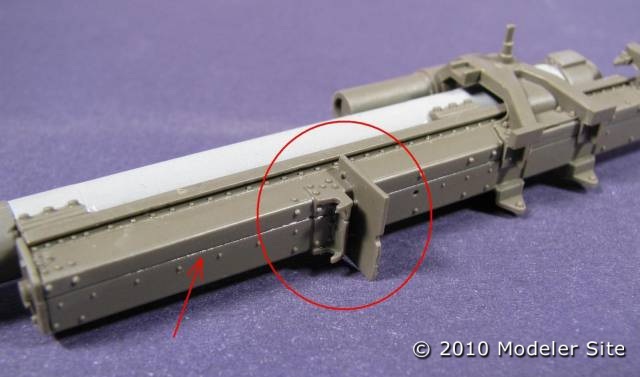
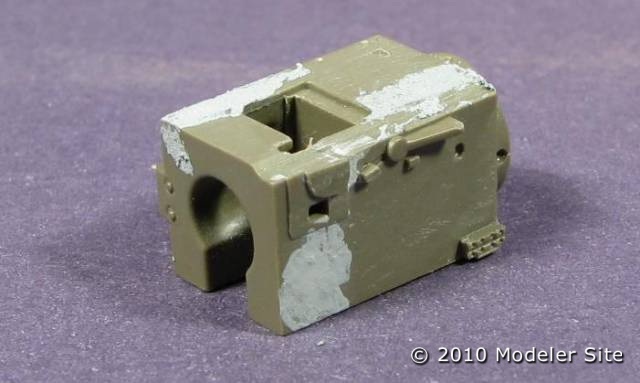
All the breech assembly will have to be puttied conscientiously. The part in the real thing, is a single machined steel block without fissures. The kit supplies one comprising 4 parts, highly detailed but very bad fit. All you need is patience…
The position of the cylinder part E17 is confusing. In the picture you can appreciate the right position.
Parts E31 and E32 has a plastic excess inside which was removed.

Step 3
Part E27 is difficult to be placed. I recommend to use a cutter to remove the guide points to be able to place it easily.

Also it will be useful to remove some teeth from E36 to improve the fit with E27. The breech block was not glued since it has to be painted steel color and it’s better to paint it separately.
Step 4 & 5
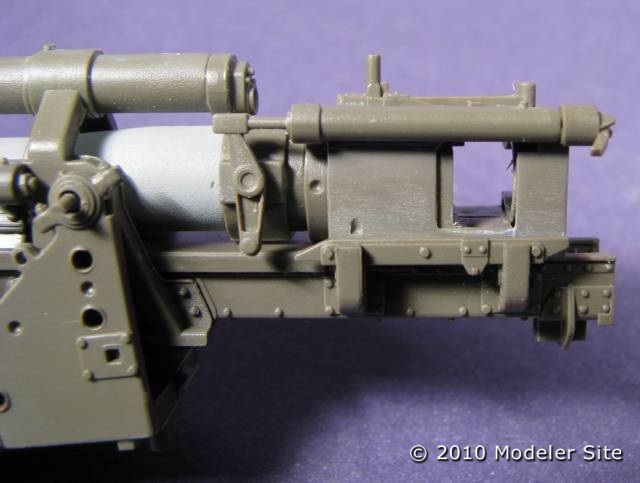
Part E40 was replaced with metal rod. First, I glued the rod to the support (E16) and then was inserted into the cylinder.

The spread (parts R2) were shortened 5mm, since I was going to represent the gun ready to fire configuration and 5 mm was the proper size to give the right elevation.
Step 6 – 7 – 8 & 10
The shield was mounted during these steps.

After testing the Voyager shield, I decided to use the AFV’s, it’s perfect since its adapts to the kit parts besides of coming folded with the appropriate angles.
To seal the joints of the AFV shield, I used CA applied from inside.
fter sanding all the joint, I applied a drop of cyano ( some gel type to avoid runnings around the whole) allowing it to become hard.
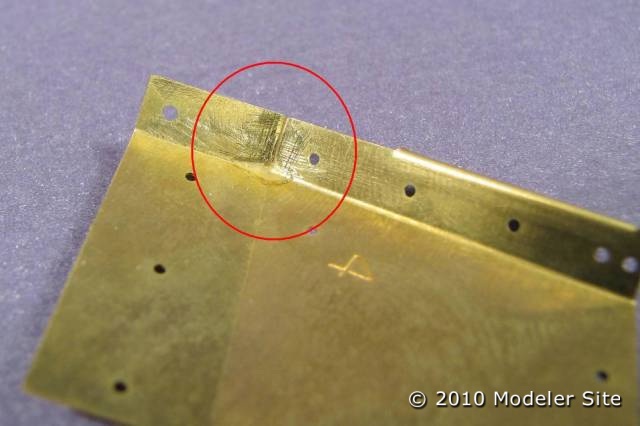
Once dry, it was filed as if it were a plastic part until the joint was completely removed.
Gluing the barrel and shield subassemblies is complicated but not impossible. I suggest to glue first the lower areas of both sub assemblies together, and with the help of the tweezers, place the rods that join them (piezas E51 a E54).
Step 9
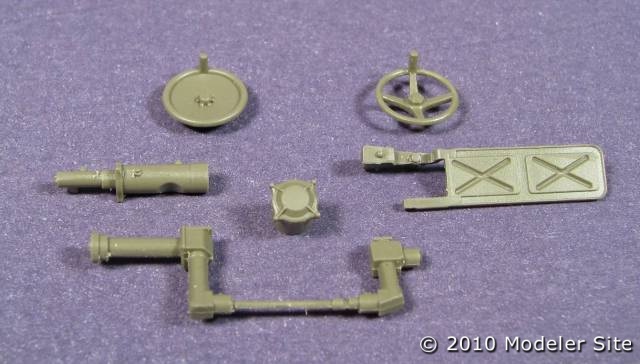
The subassembly of the telescopic sight was mounted but not glued to the kit. It’s better to paint it separately to glue it in place at the end.
Step 11 & 12
The legs don’t involve much difficulties. They were detailed with etched components. Neither the range finder poles (Part A1) nor the gun barrel cleaning rods were glued.
Step 13 – 14 & 15
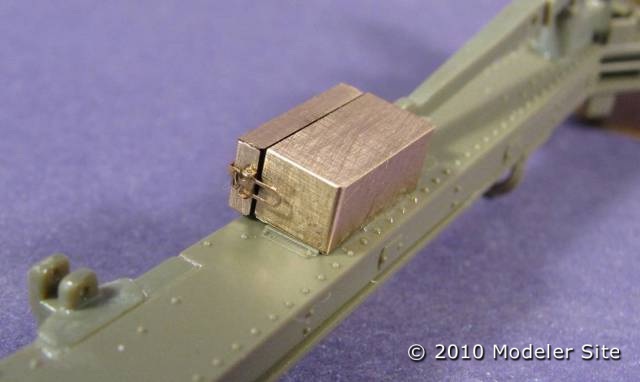
The trail spades of the legs were replaced with the Voyager’s. This is a real contribution of the etched set to the kit, the plastic parts are actually very thick and replacing them with the metal ones is effective and looks very well.
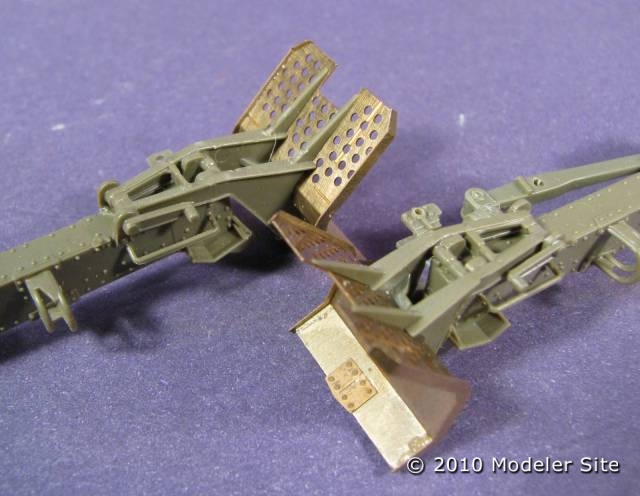
Let me tell you that they are somewhat complicated to mount but it’s worth the effort. The trick is to bend the parts in such a way that they aren’t under strength and glue them with very little cyano in order not to mess the parts.
The kit was engineered to be in transport configuration. I wanted to accomplish it in combat configuration and had to modify the spades. In short, you should thin the inner side of parts C2 and C5 so that they don’t touch the leg.
Step 16 – 17 & 18
Here, the main section of the gun was assembled. No difficulties were found, I just replaced the tool clamps with etched ones. I used the upper plate of the front shield provided with the kit while the lower part came from the Voyager set.
Step 19

Mounting the wheels offer no more difficulties than being careful not to damage the parts. The connecting rods of the brake system are quite fragile! I suggest to build one wheel at a time since it’s usual to lose the order of the parts corresponding to the right and left wheels
The tire mold marks are thick and were removed with the help of pliers.
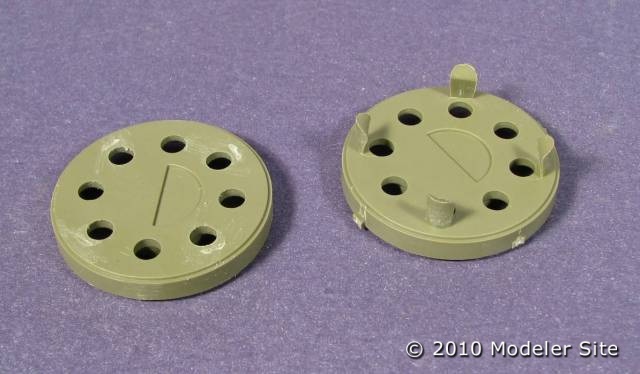
Again be careful when accomplishing this simple task since the plastic is very fragile. The tread has mold marks but can be removed by sanding with # 80 grit.
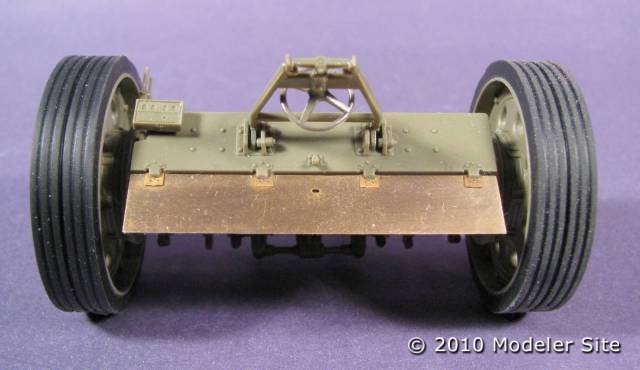
Step 20
Finally, I had the lower assembly ready. The kit allows the legs be movable but I’m not in favour of this. Movable parts at times get broken, so I prefer to fix everything in place with glue.
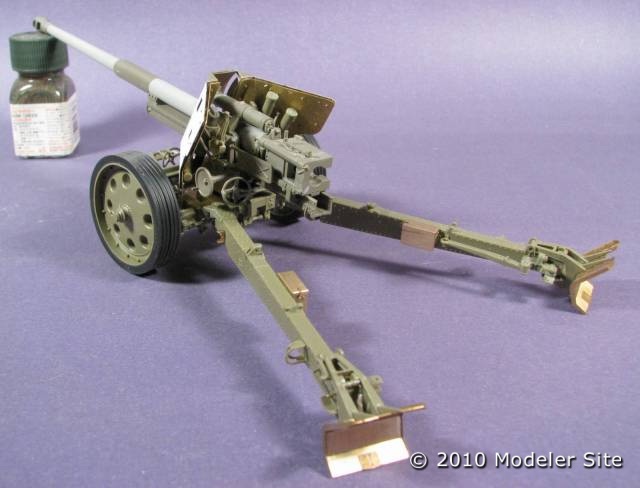

The wheels are very weighty and tend to become misaligned. Much patience will you need to leave them parallel, 90º from the ground.
Painting
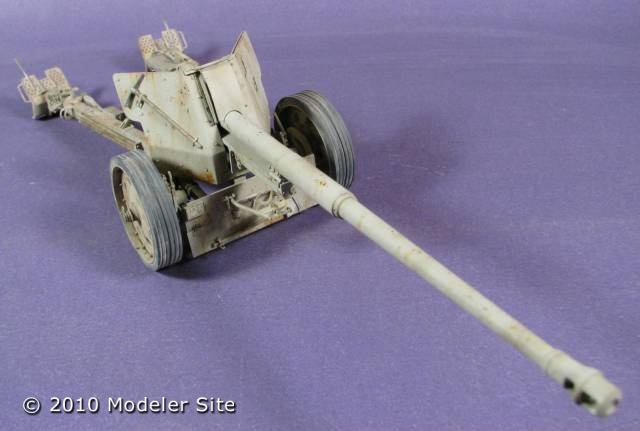
Standard late-war camouflage scheme was yellow in its different tones. The yellow is a color that can be obtained starting from cheap chemical compound, easily available.
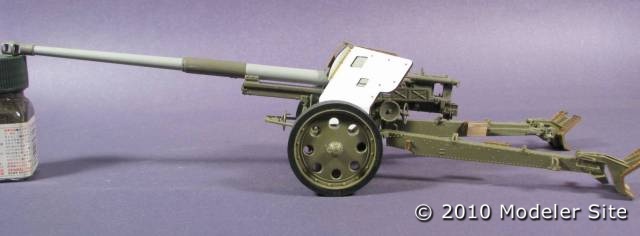
Ready to be painted
That advantage made that there was a great variety of tones depending on the chemical compound the paint was made from.
This is why I don’t pay much attention to the base color of my kits. In this case, I used the XF-55 Deck Tan, a color rarely used in military vehicles but very appropriate.

Next, using a sponge I gave slightly dabs with XF-64 Brown to simulate very small chips and dirt. Larger chips were accomplished with brush on selected areas.

Next, using a sponge I gave slightly dabs with XF-64 Brown to simulate very small chips and dirt. Larger chips were accomplished with brush on selected areas.
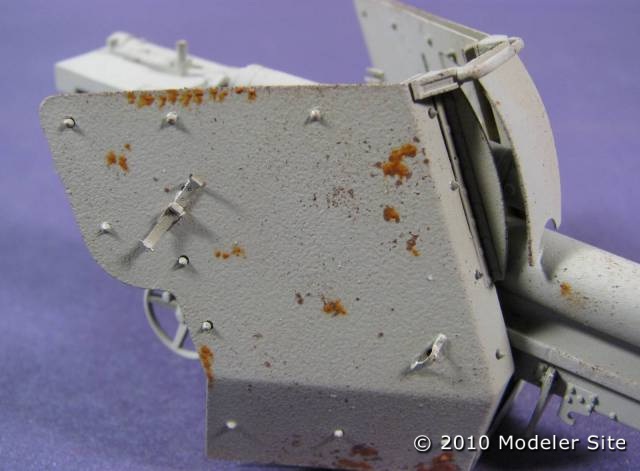
Over each stain resulting from the big chip, I applied a bit of Raw Sienna oil.
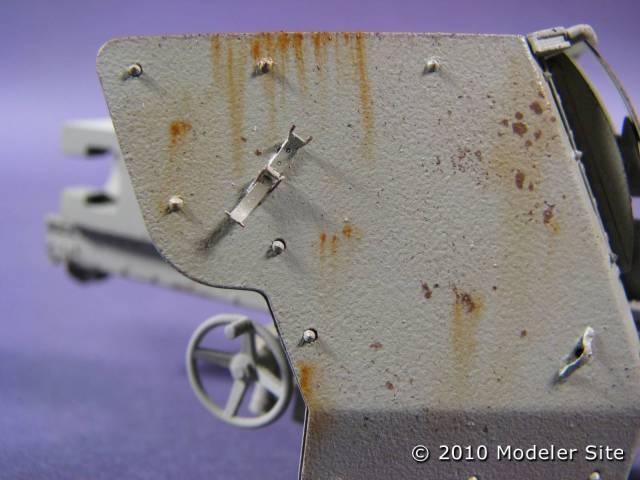
Which was dragged downwards with a brush moistened with clean turpentine.

Also you can apply new rust to full areas spreading the oil evenly.
Then, I painted the details:
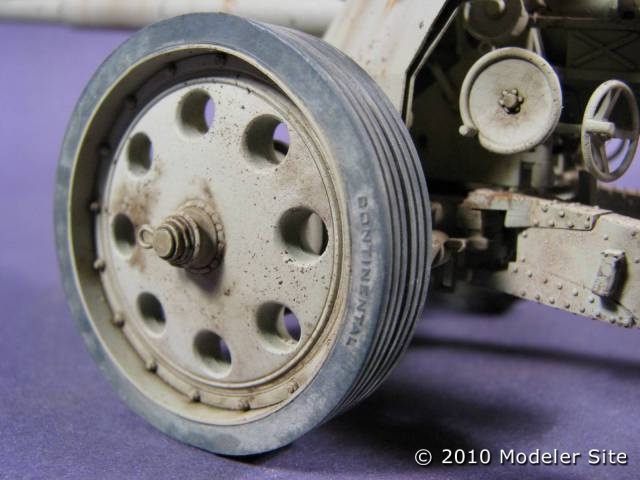
Wheels in Panzer Grey

Tools…etc.
Finally, beige and earth pigments were applied diluted with turpentine until getting a sort of muddy water. More pigments were given especially to certain areas to simulate dust accumulations.

Conclusions
Building guns involves many different tasks, is not the same as building tanks. They are more complex kits comprising lots of small and fragile parts, and you’ll need to follow a particular assembly sequence.
This AFV Club kit is not the exception. By definition, its assembly is not straightforward (especially the shield) but with the addition of the bad fit of parts that makes things even more difficult unnecessarily.
Once finished, the model looks attractive. Needles to say I do not recommend it to those builders who will be reluctant to spend the necessary time on puttying and fitting of parts.
The Voyager etched set is only necessary to detail the trail arms and spades; for the rest it’s completely useless.
Miscellaneous
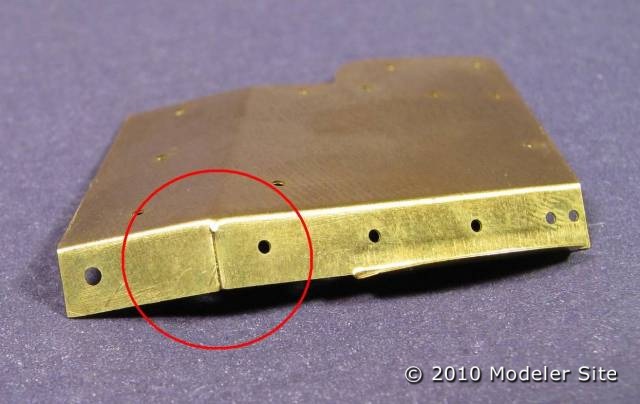
Working with photoetched parts, in pictures.
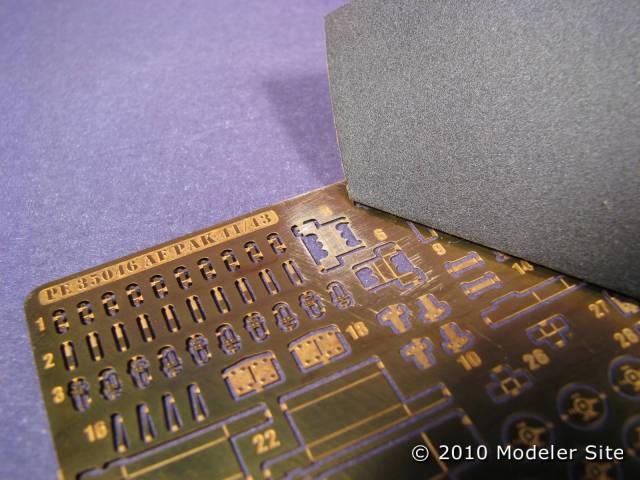
Sanding
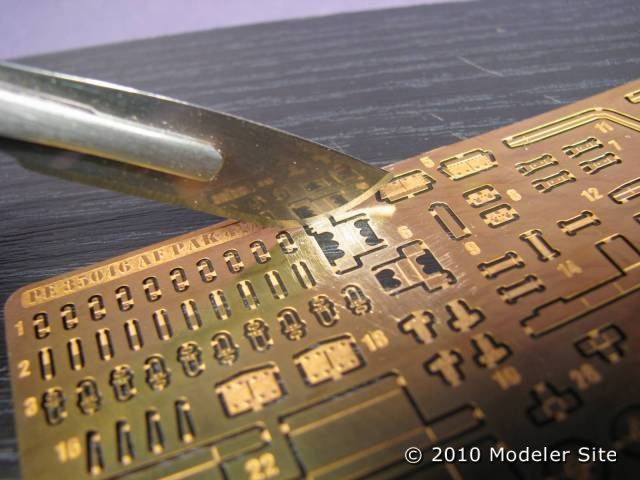
Cutting
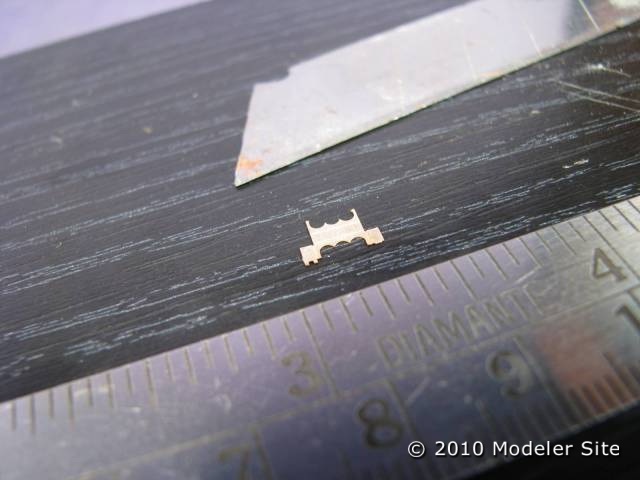
Ready to be folded
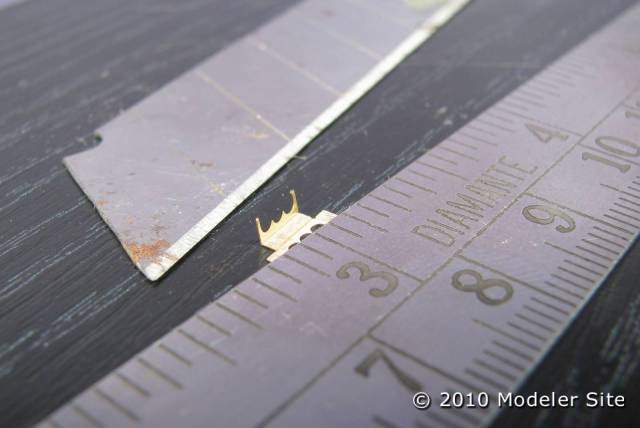
Folding
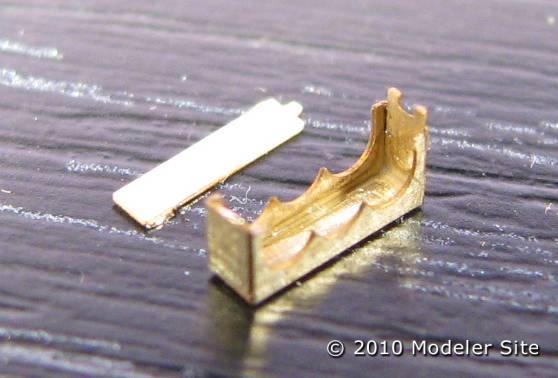
Finished

CA glued
By Patricio Delfosse
Marc
Wow! Amazing!
Great article, thank you.
Paul Brown
My pal from college sent me photos of the Gun he restored, thought you might like to see, by the way, your article was great, thanks for posting…….Paul
http://www.mckaylodge.com/pakrestore/PAGE_01.html#INTRODUCTION
chartered
The winner of Best Single Image in a Cultures & Traditions portfolio is
Philip Lee Harvey, UK. When you listen to music, look at a
journal or even viewpoint a commercial on the road, this
is all because of photography. Essentially, photographs under such category
must highlight the company product or service, and not
merely the individuals working behind the veil.
De Coster Andreas
Hello;
Verry nicely done ; beautifull work!
I ‘m starting the Precision Model kit…
question : do i need to purchase als a metal barrel ? or is the barrel in the box good enough ?
Greetings