Hello there! Welcome!
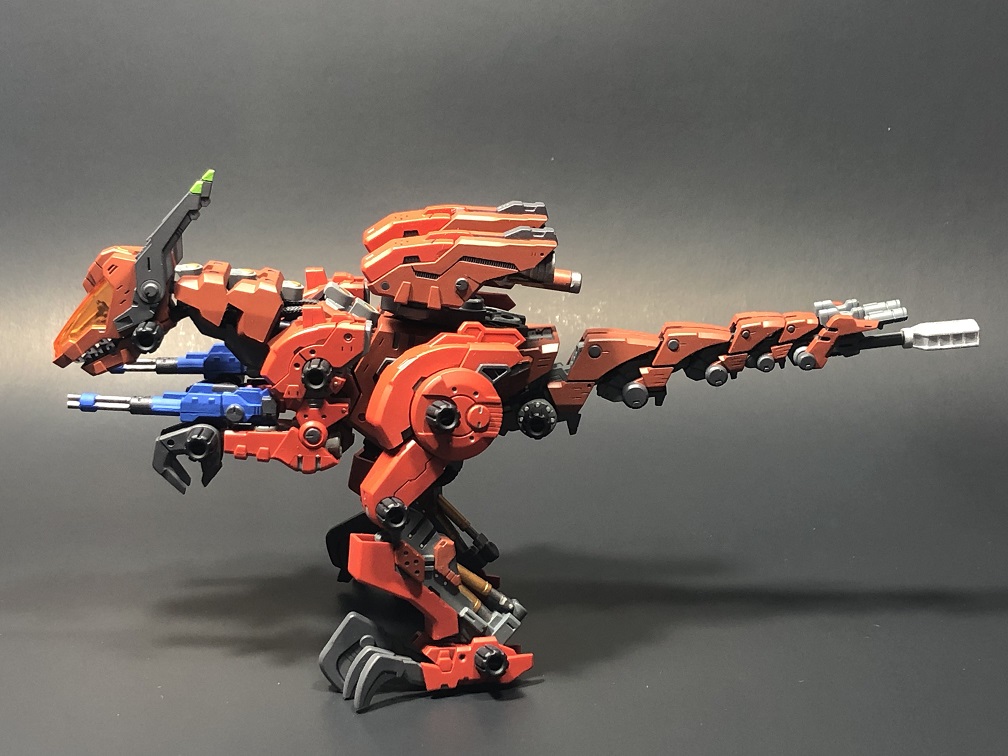
My name is Anthony and today I want to share with you a few more tips for converting a “generic” Zoids model kit into a custom mech from the anime. In this case, we’ll finish the conversion of a Kotobukiya 1/72 scale Gun Sniper with Wild Weasel Unit into Naomi’s Red Gun Sniper Special from the popular 2001 anime Zoids: New Century/Zero.

This will be the final part of this series. Last time, we primed our kit and painted it with the base colors. At this point, if you assemble the kit as it is you will have a finished model.
But I think we can still improve how it looks, don´t you think? Let’s add some details to our Zoids! I know this could be the most time-consuming part of the process, but I assure you it is worth it!
Before painting
Before we start, I suggest we establish some “parameters”.
Just like we did at the start of the project. We need to think about what we are going to do. Which details do we want to highlight and what colors to use?
Therefore, I suggest that we look carefully at the references we gathered in part one, to get an idea of what we should paint. Another great idea is to find some new references. This new inspiration could be of any machinery that you like, not only Zoids. The idea would be to look at how some details, like hoses or screws, integrate inside real-life machines. This will help us to understand better what to paint to make our mech look more realistic.
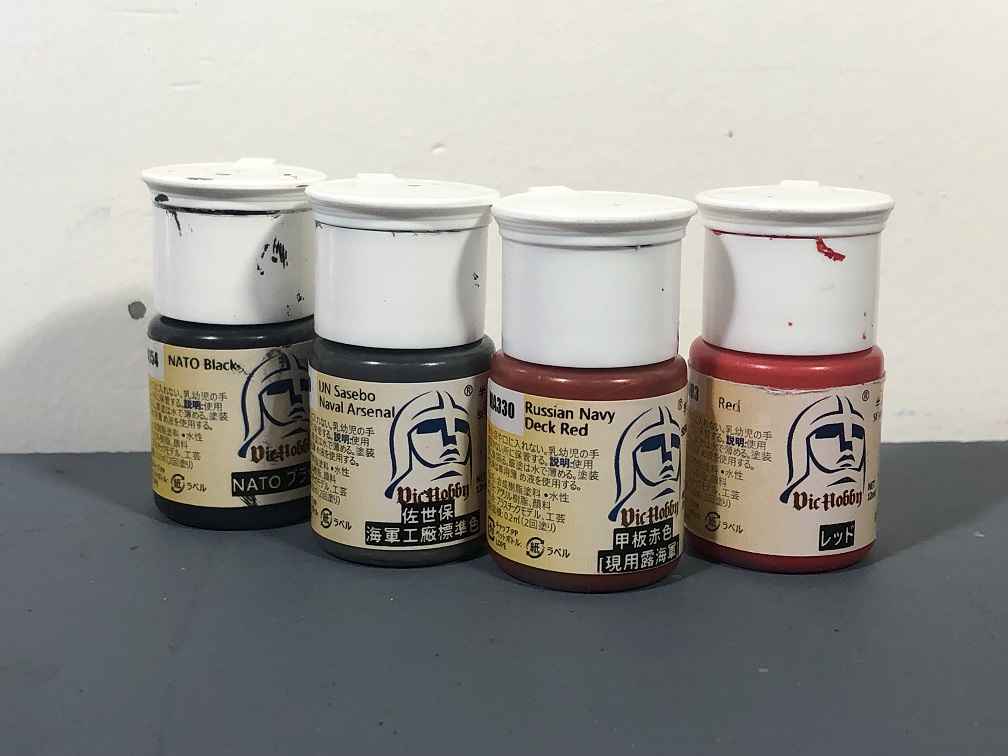
The next thing to do is choose our colors. For example, I’ll limit myself to the colors that we already used as the base colors:
- Vic Hobby: IJN Sasebo Naval Arsenal.
- Vic Hobby: IJN Sasebo Naval Arsenal + Vic Hobby: Nato Black (on a 1:1 ratio)
- Vic Hobby: Russian Navy Deck Red
- Vic Hobby: Red
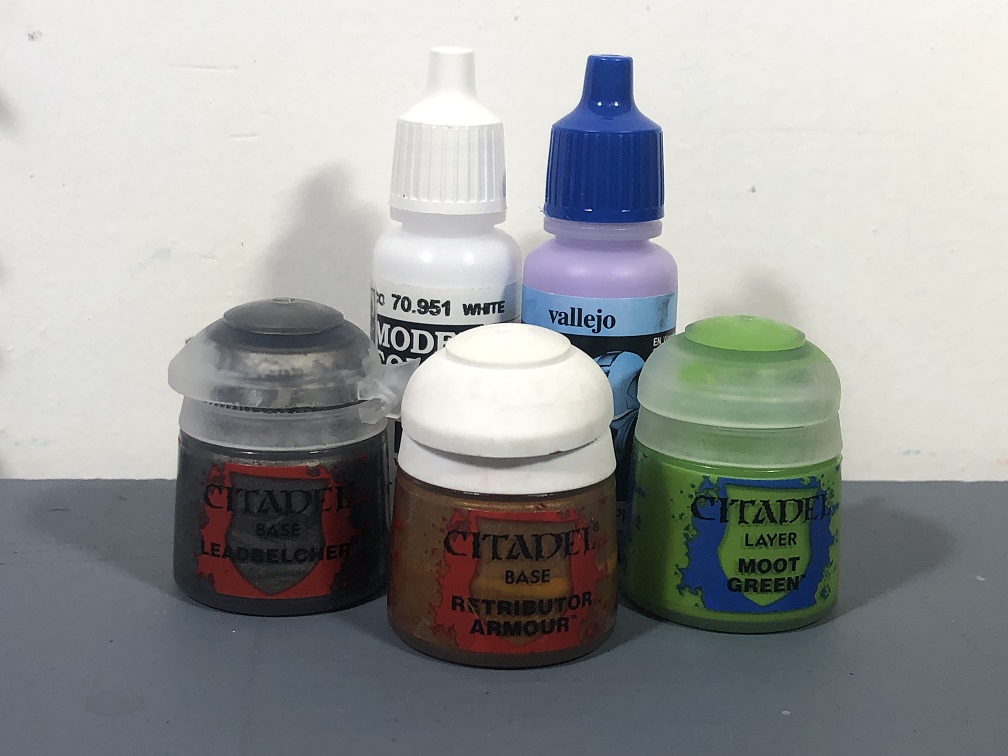
Also, I’ll use 5 new colors:
- Citadel Retributor Armor
- Citadel Leadbelcher
- Citadel Moot Green
- Vallejo Model Color White
- Vallejo Mecha Color Purple
But we need to be careful and thoughtful on where to apply them. The last thing we want to do is overdo this and add more details than needed.
Detailing
Materials
To paint small details, all you need (besides the paints) is a hand brush with a fine tip. This will help you to have more control when painting them.

Remember to thin your paints. Two thin coats are always better than one thick coat. Especially with this kind of work, one thick coat can hide the details from sight!
The process
There are a lot of different ways to tackle this process. What I usually do is combine the assembly process with detailing. Let me tell you how.
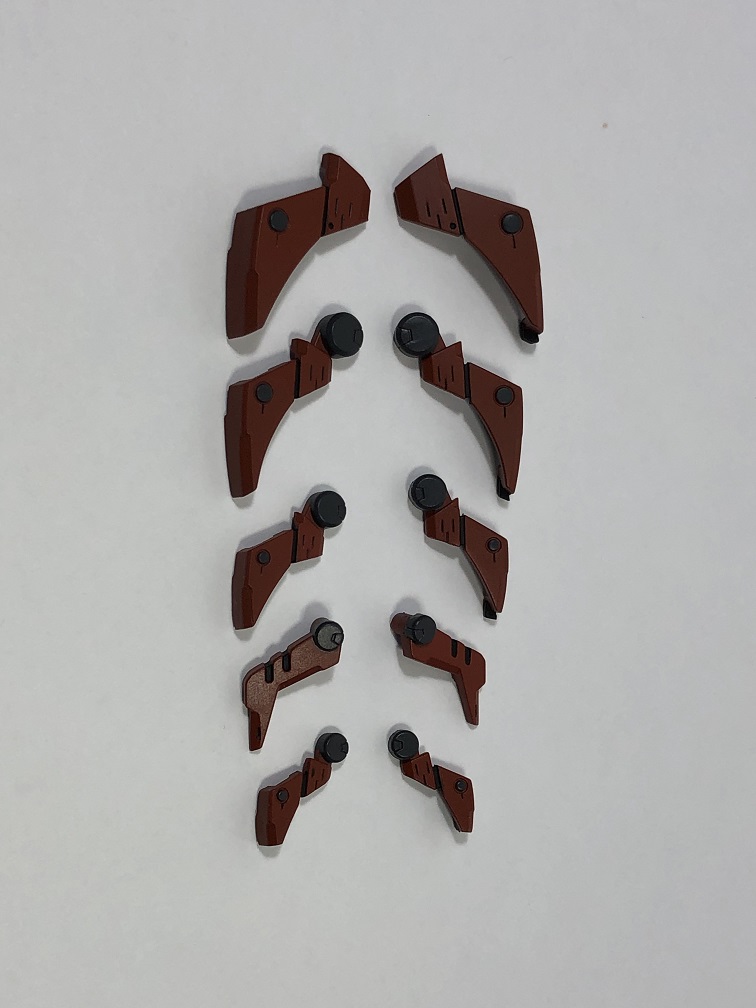
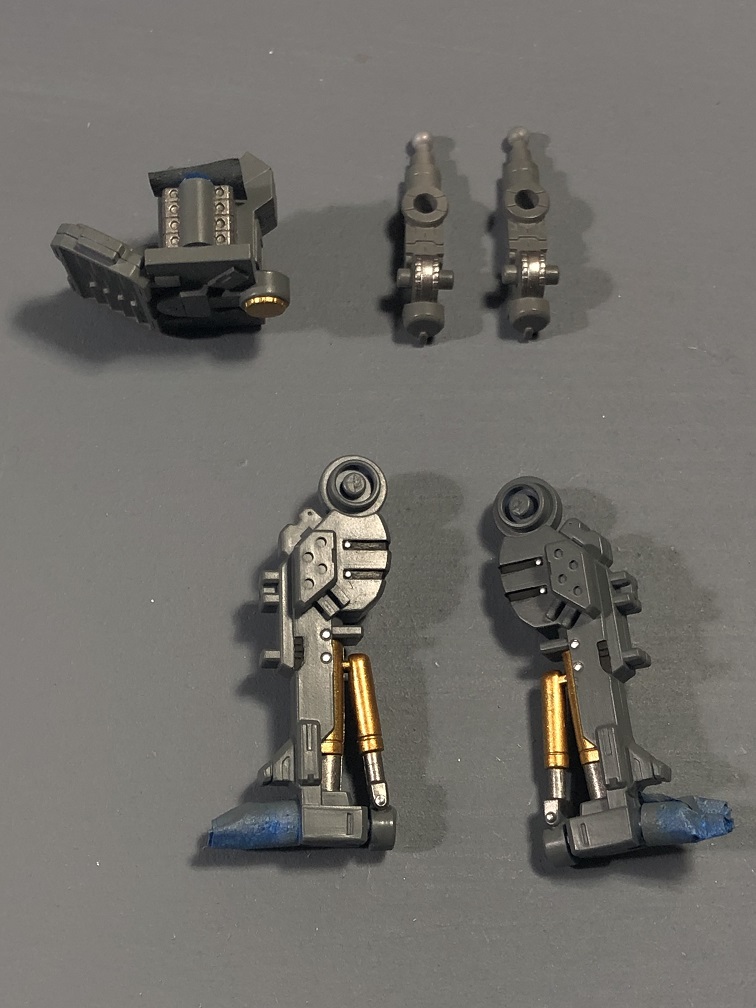
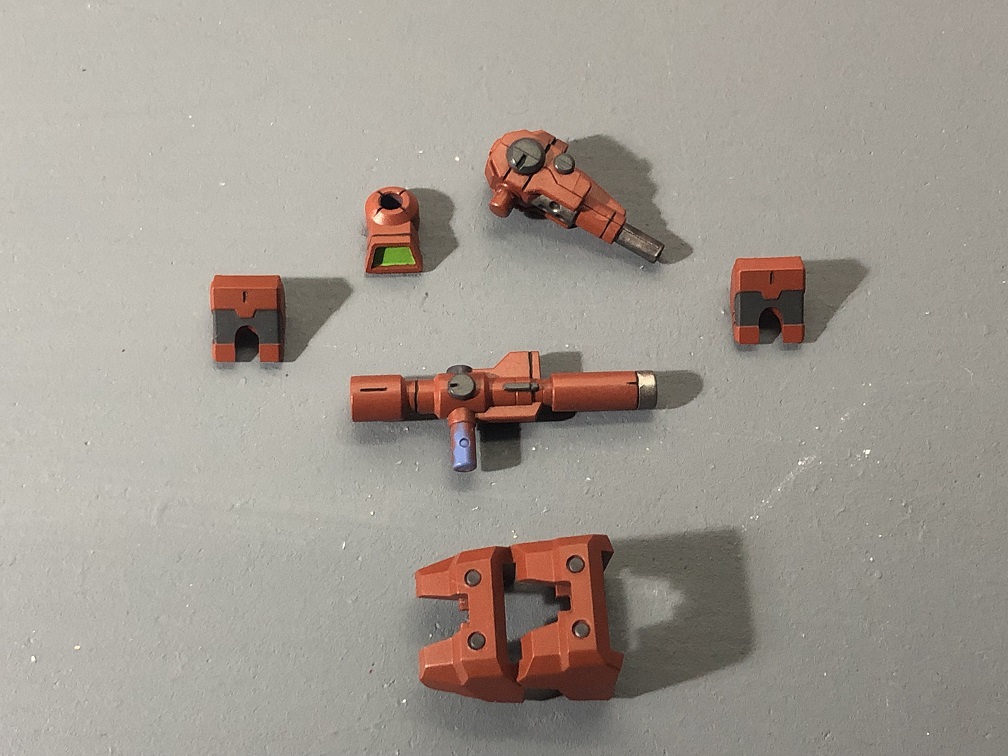
First, we need to decide which part of the kit we want to build and pick all the pieces needed for this. For example, let’s use all the pieces we need for the tail. Now, instead of assembly, the part we are going to start to paint the details in a “methodic” way. What I mean is that we are going to paint all the details of all the pieces one color at a time. For example, let’s use some silver to paint all the screws of all the pieces of the tail, as well as some pistons and the muzzle brake of the gun. Once we are done, we can change color and repeat the process with other details but with the same pieces.

Once we are done, we’ll apply a clear coat over each piece. I highly recommend you do this before the assembly, to protect the paint from scratching.
Let me show you how you could detail your kit.
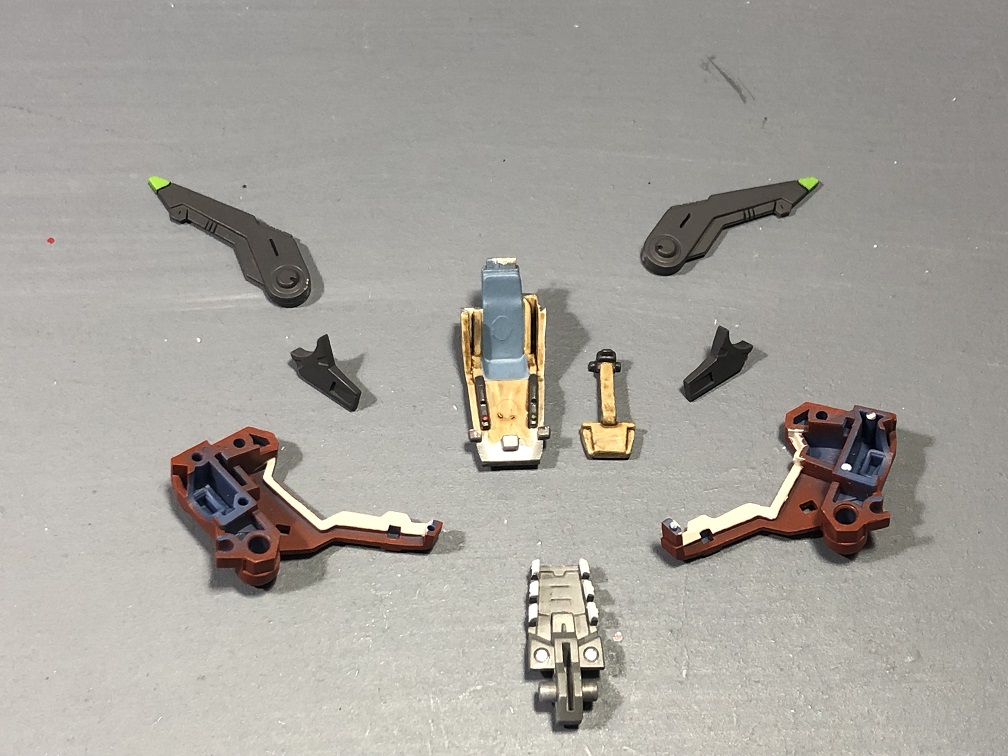
General details

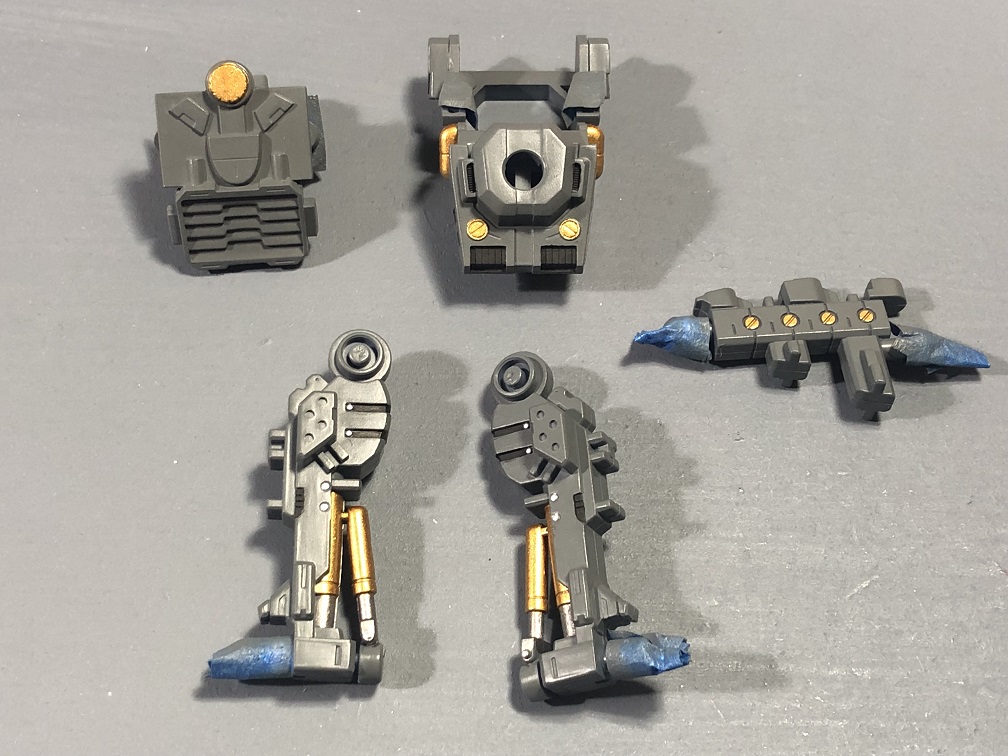
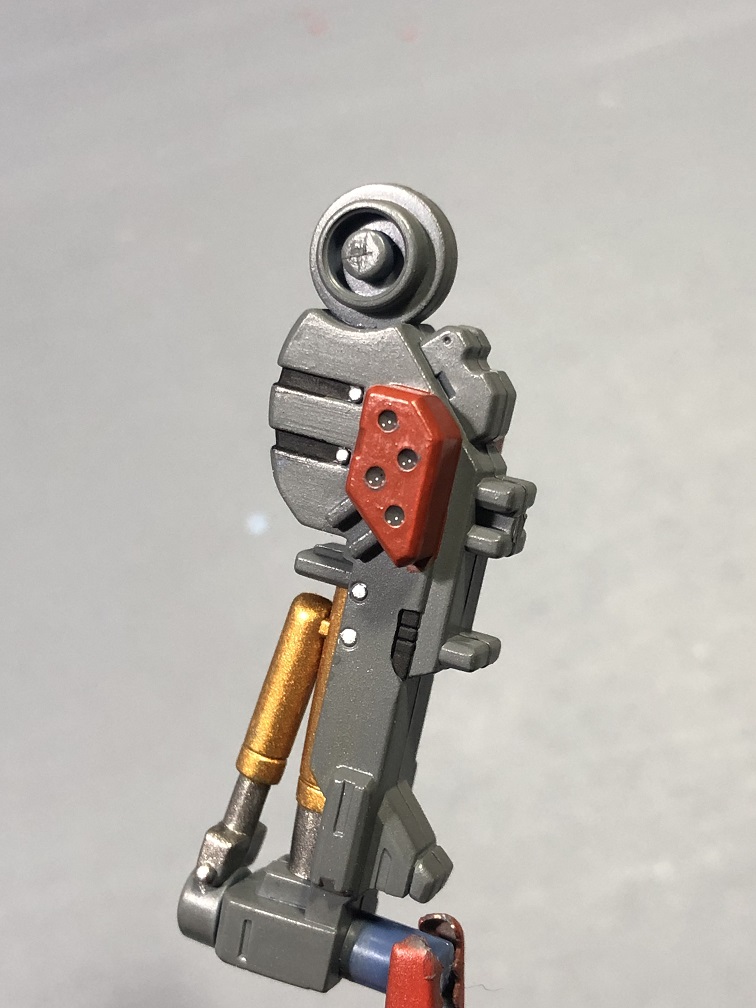
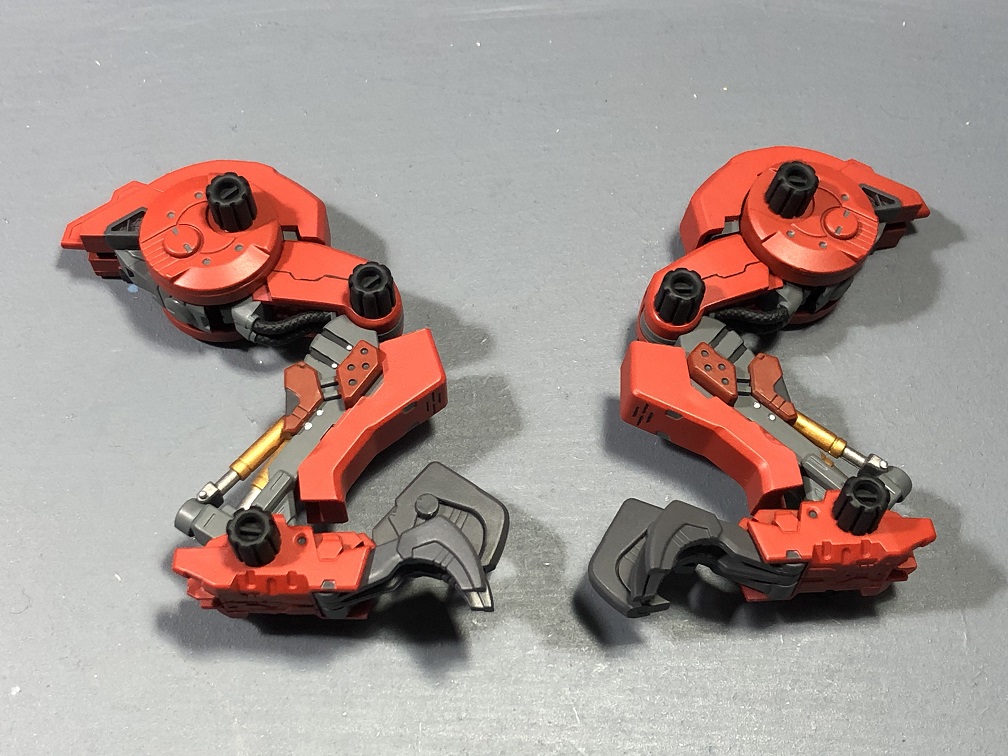
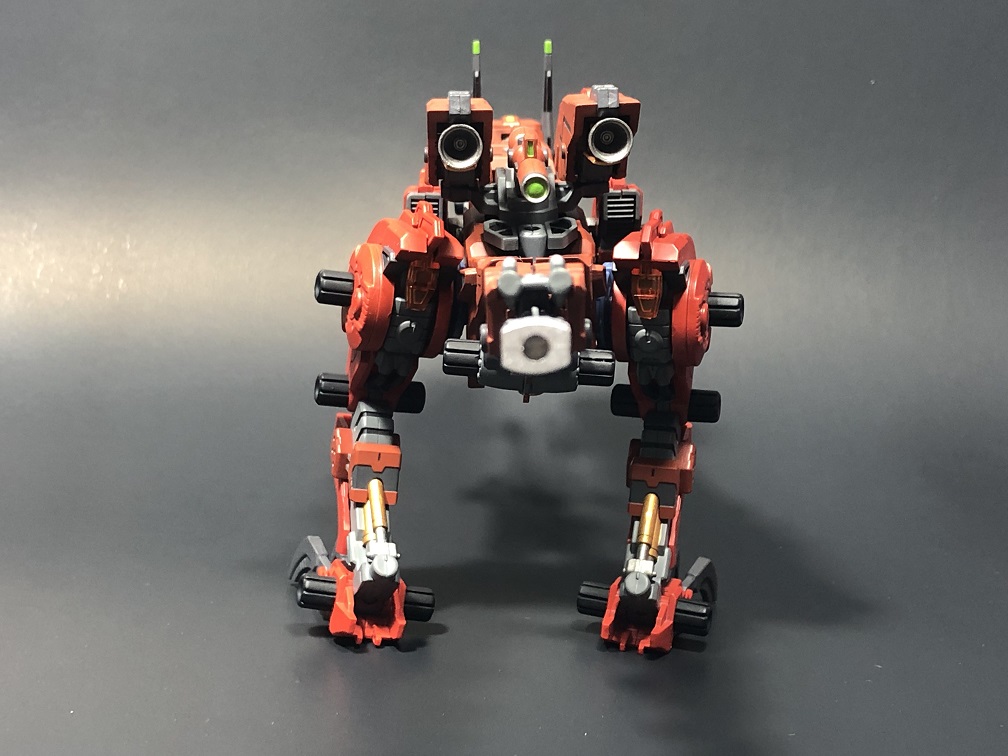
The hoses and air vents were painted with Vallejo Black Added some gold details here and there using Citadel Retributor Armor I always like to pain the pistons with gold and silver. Also, painted the screws with Citadel Leadbelcher The engine exhausts were painted with Leadbelcher as well. For the missiles, I mixed IJN Sasebo Naval Arsenal with a really small amount of Vallejo Mecha Color Purple This were painted just like the pistons. With Leadbelcher and Retributor Armor

Detailing with base colors
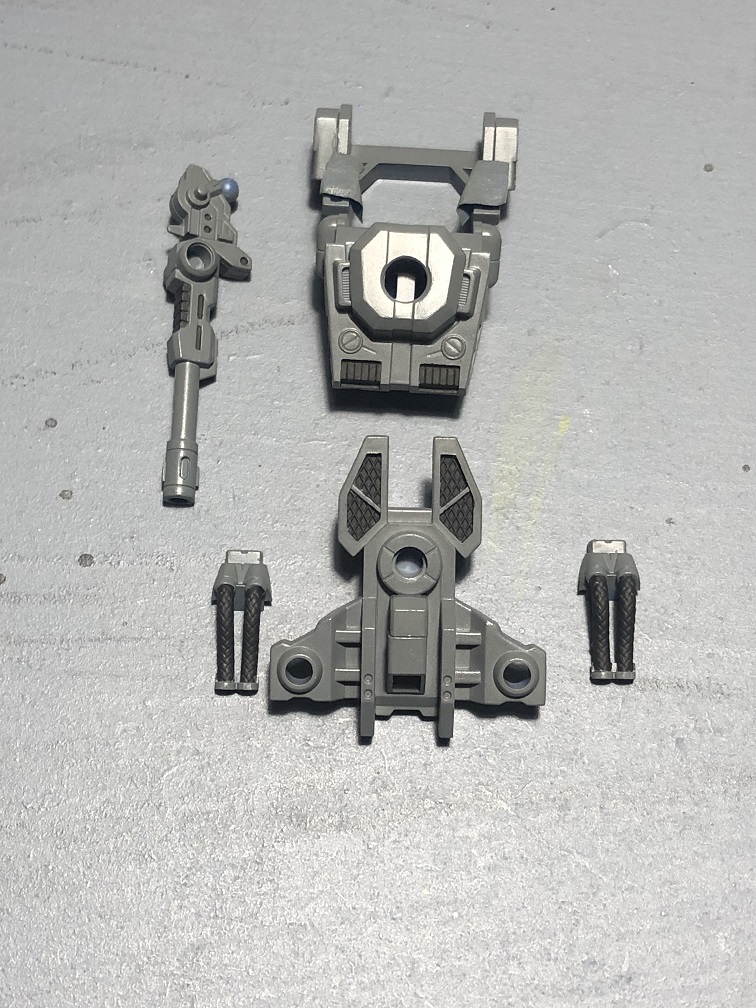
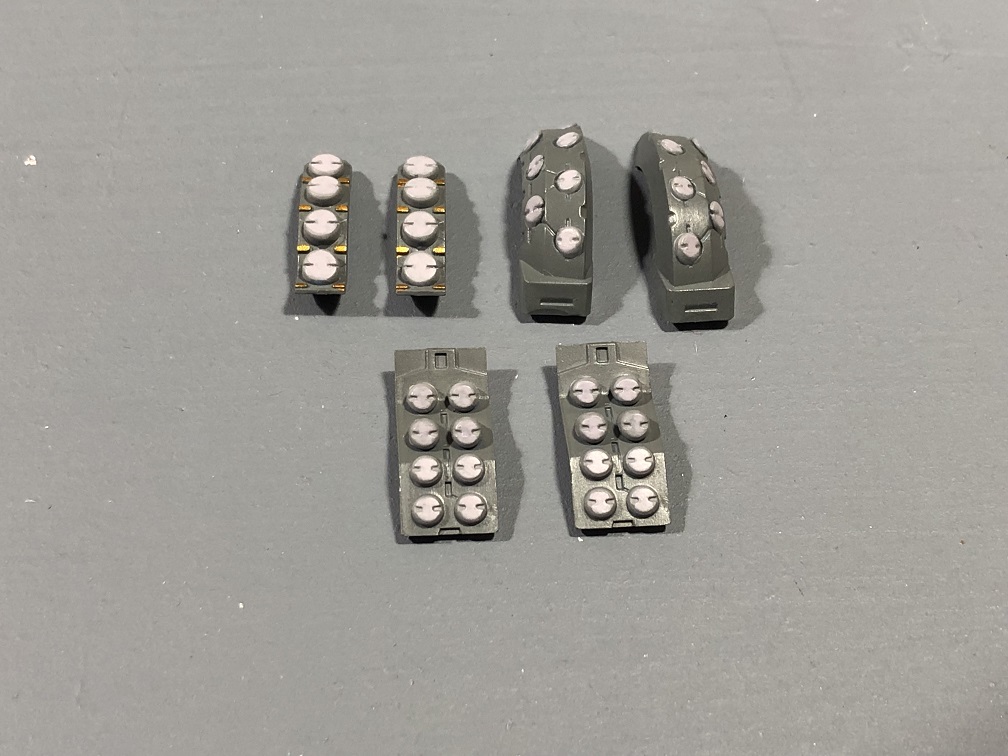
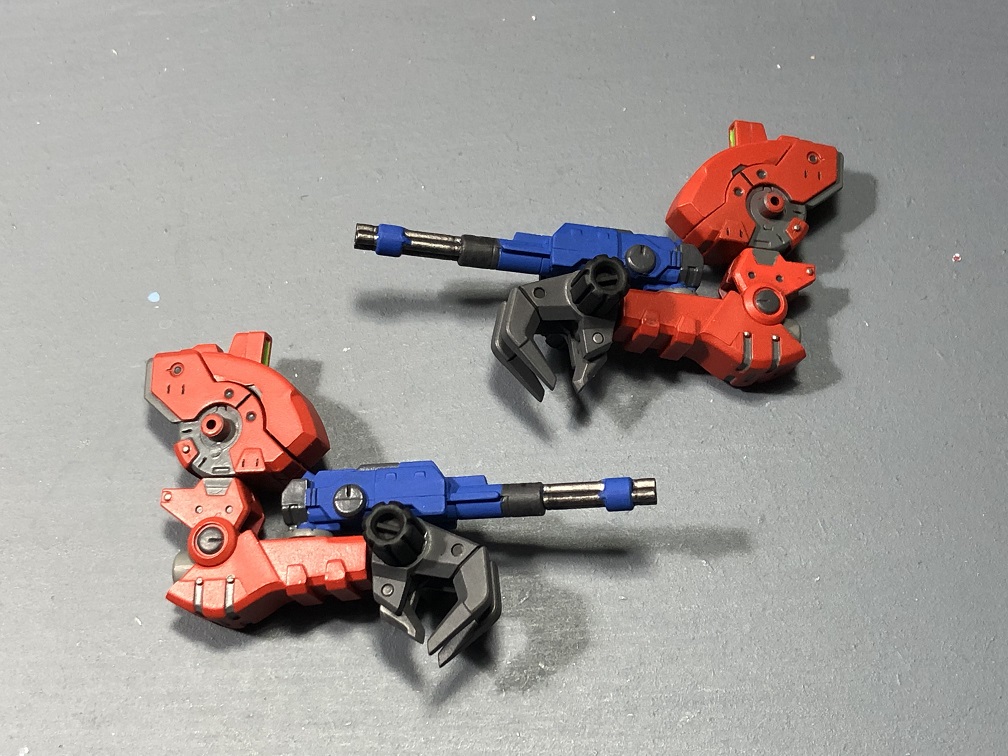
A cool trick we can use to make the kit look more realistic is to use the base colors to paint details. For example, let’s work with these missile pods.
If you look carefully you may notice that they have nice details sculpted in each side, some vents, and circular parts. Well, let’s paint those with the same color that we used on the inner frame: Vic Hobby IJN Sasebo Naval Arsenal with Nato Black at a 1:1 ratio.

By doing this, we create the illusion that these 6 pieces are made of more than one piece each.
Now, let’s repeat this all over the kit, like in the arms, legs, tail, etc.


When doing all these remember to take your time, thin your paints, and be patient.
Fixing mistakes
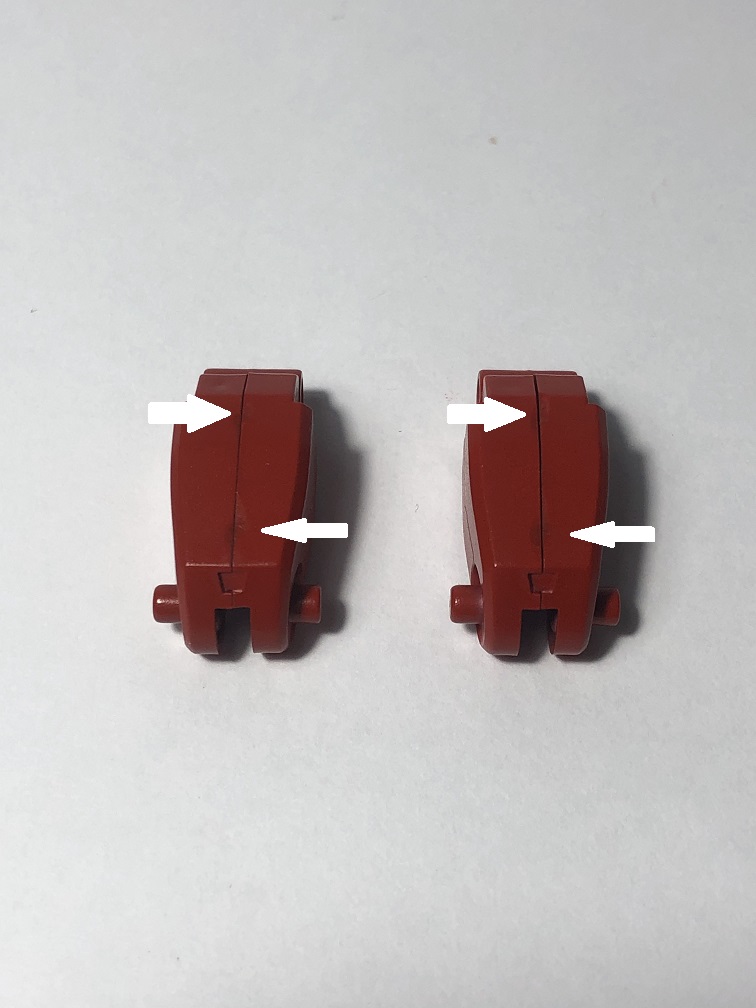
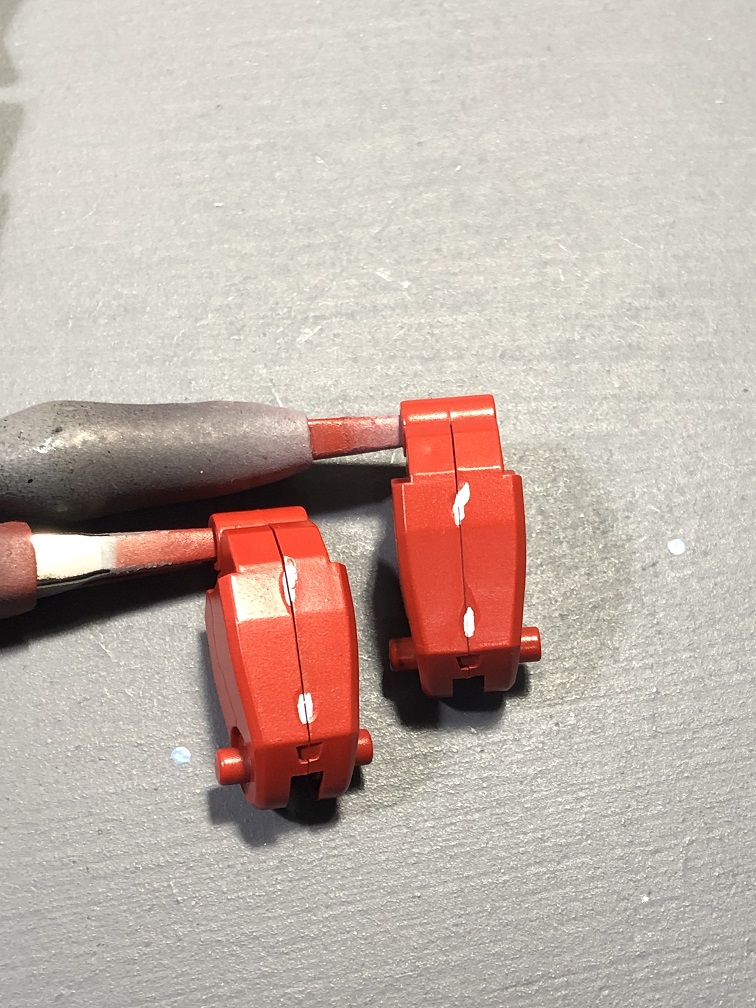
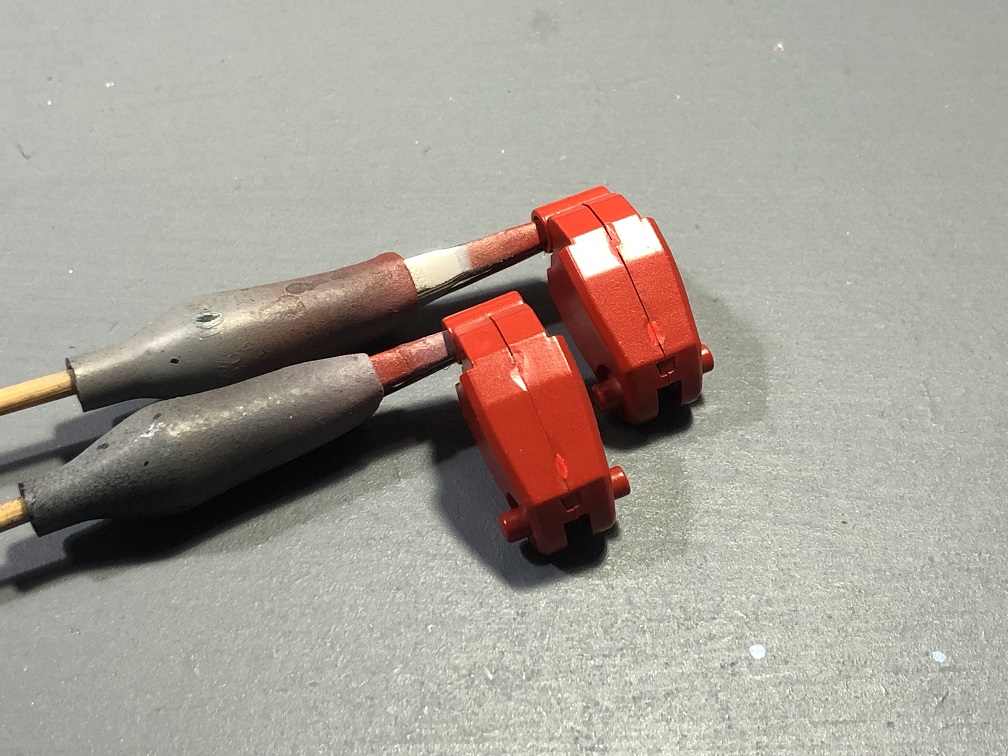
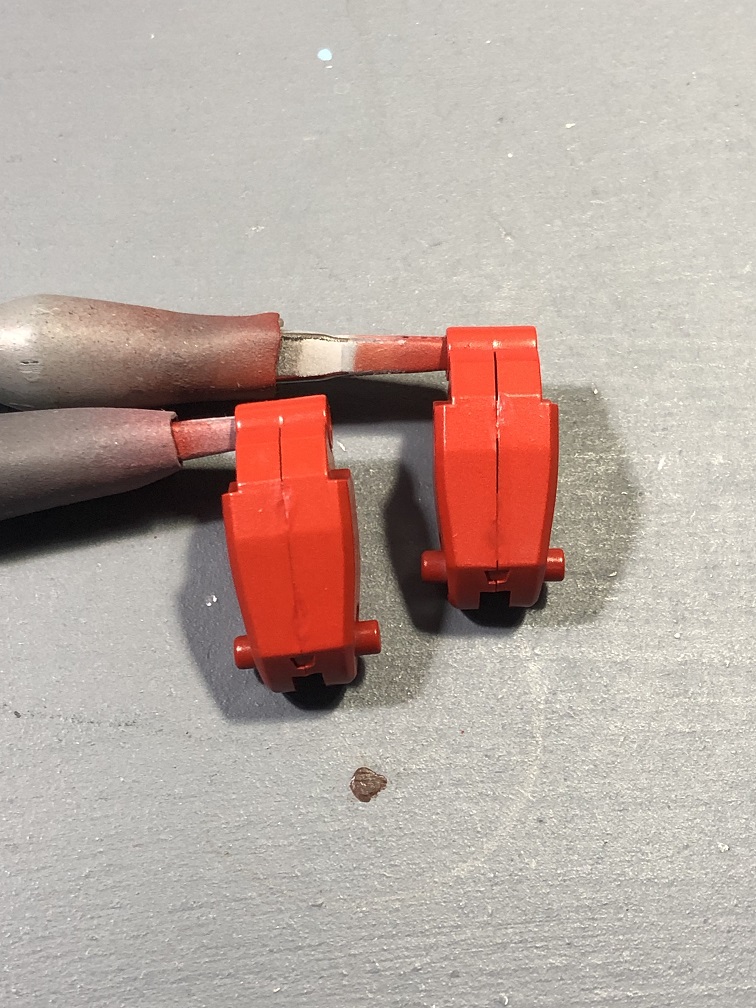
The best time to fix mistakes done to the paint job is during this step. If you remember, back in part 2 we had some troubles with a few numb marks. Well, the time has come to fix those issues!
This is how they looked back in part 2 First, let’s cover the numb marks with a light color. Then, start applying thin layers on Vic Hobby Red. Do this all over the surface and not only over the numb marks. This way you will achieve an even tone all over. Keep applying thin coats until the numb marks are no longer visible.
Another good reason for detailing while assembling the kit is this:
During the assembly process, you may find some areas that are unpainted and visible. And since we already have the base colors at hand, it will be a lot faster to fix these mistakes.
Before we continue with the assembly, there are two more parts that we need to paint.
Wrist cannons
Let’s paint the weapons mounted on each wrist.
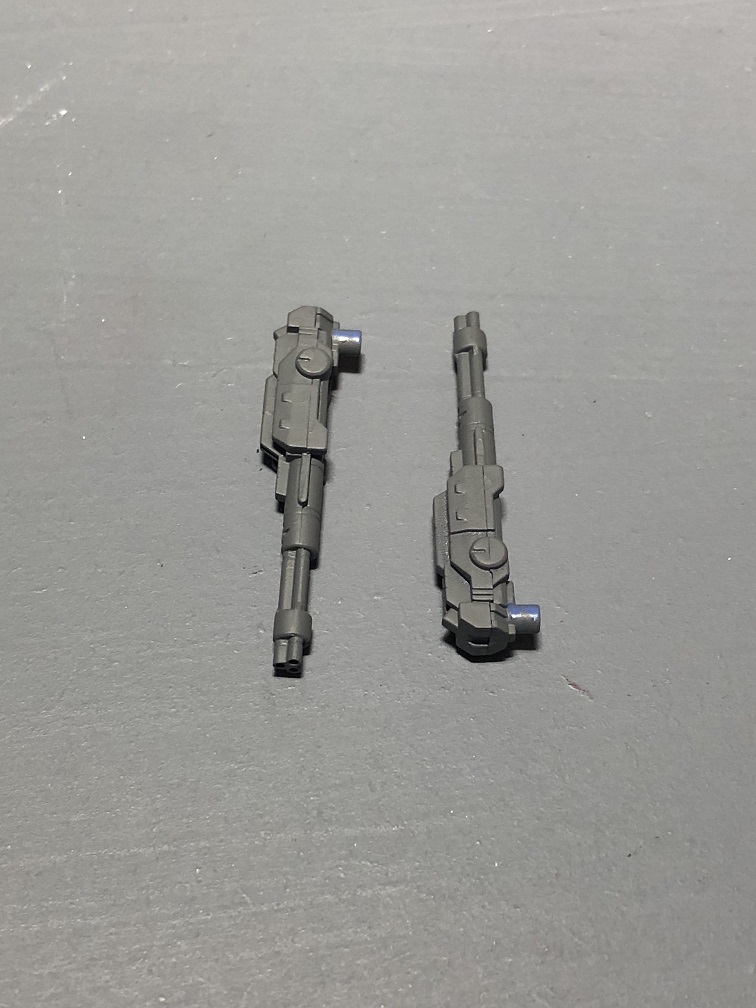
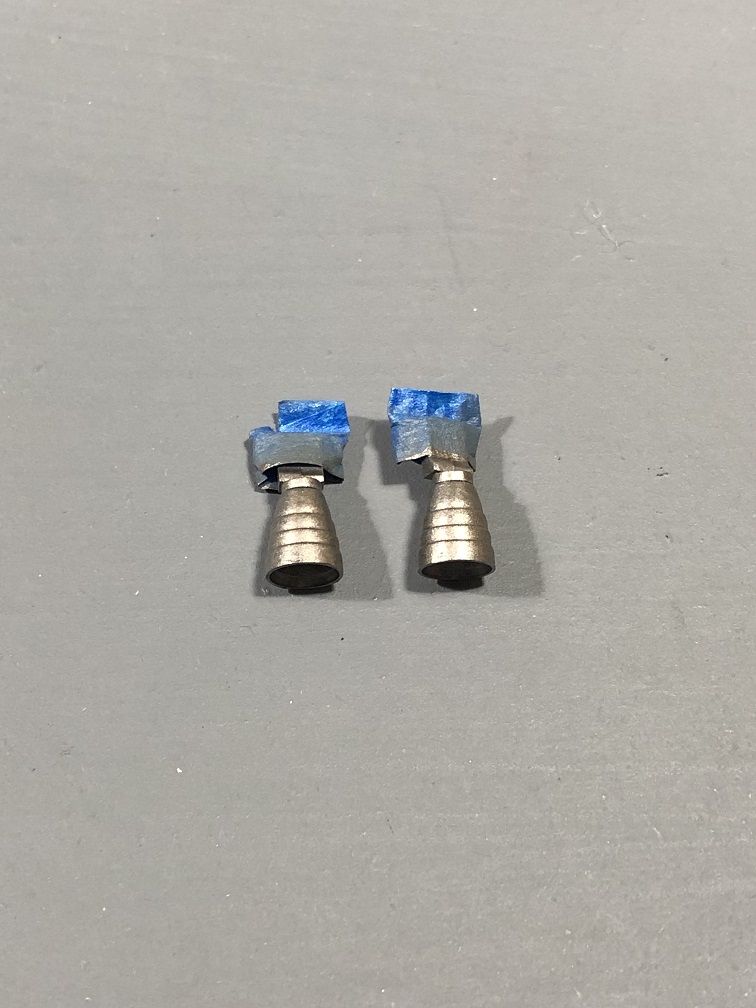
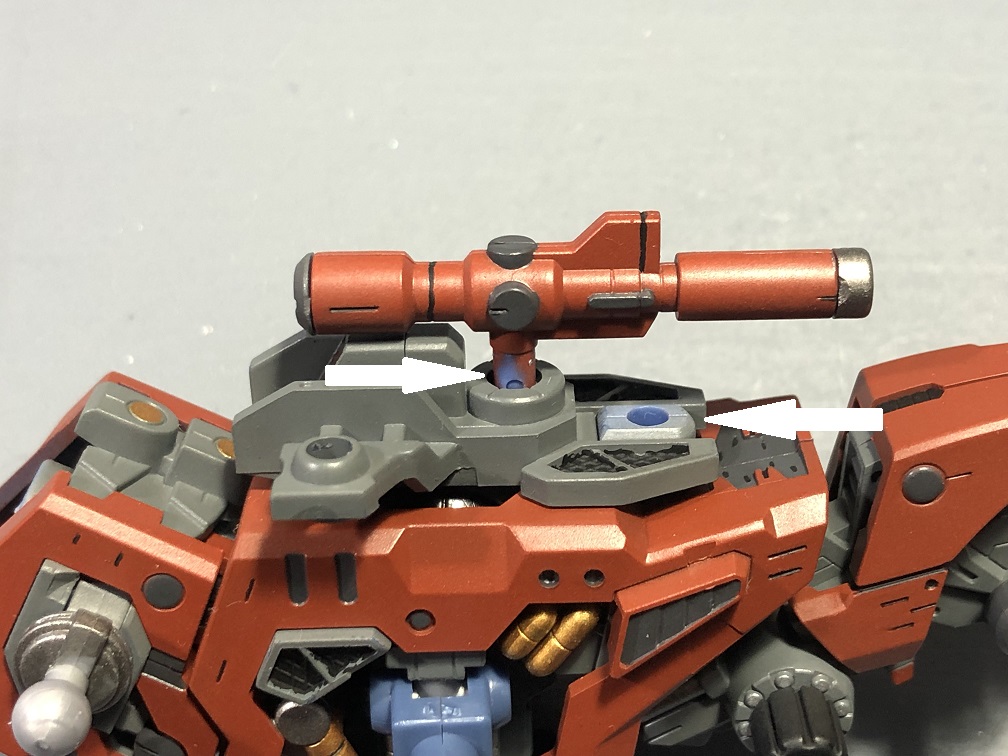
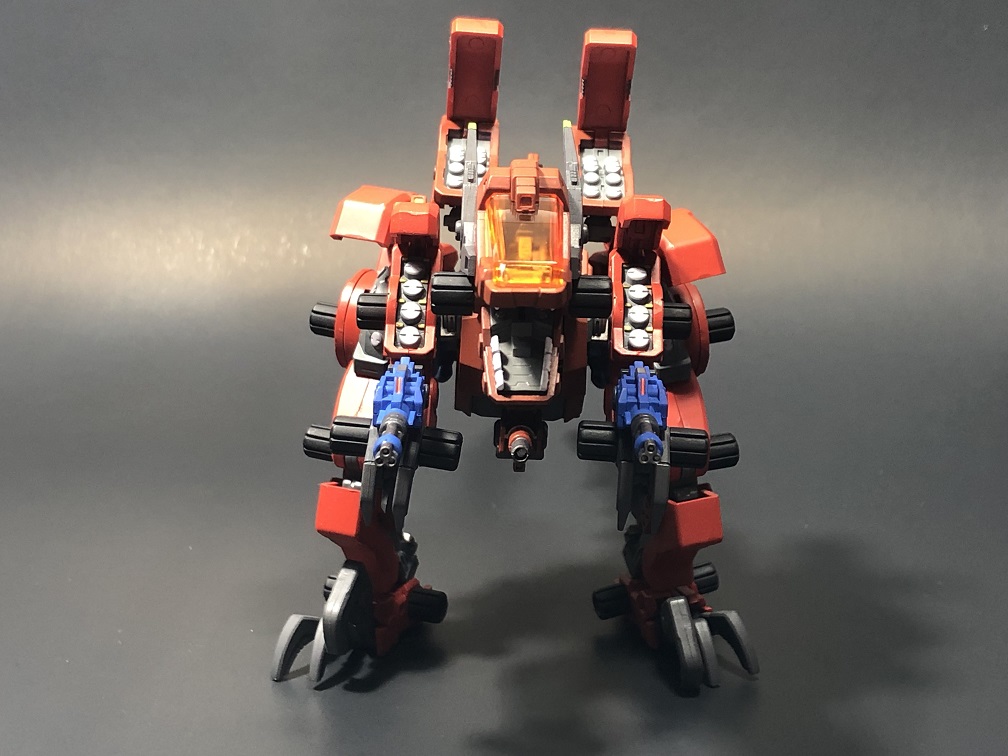
First, let’s apply a base color coat using a new paint: Vallejo Blue. Apply 2-3 thin coats all over each weapon, until you achieve a consistent tone. After that, add some details just like we did with the other pieces. And don´t forget to paint the camera lenses. I suggest we use some orange instead of green for these. It will have a very nice contrast with the blue.
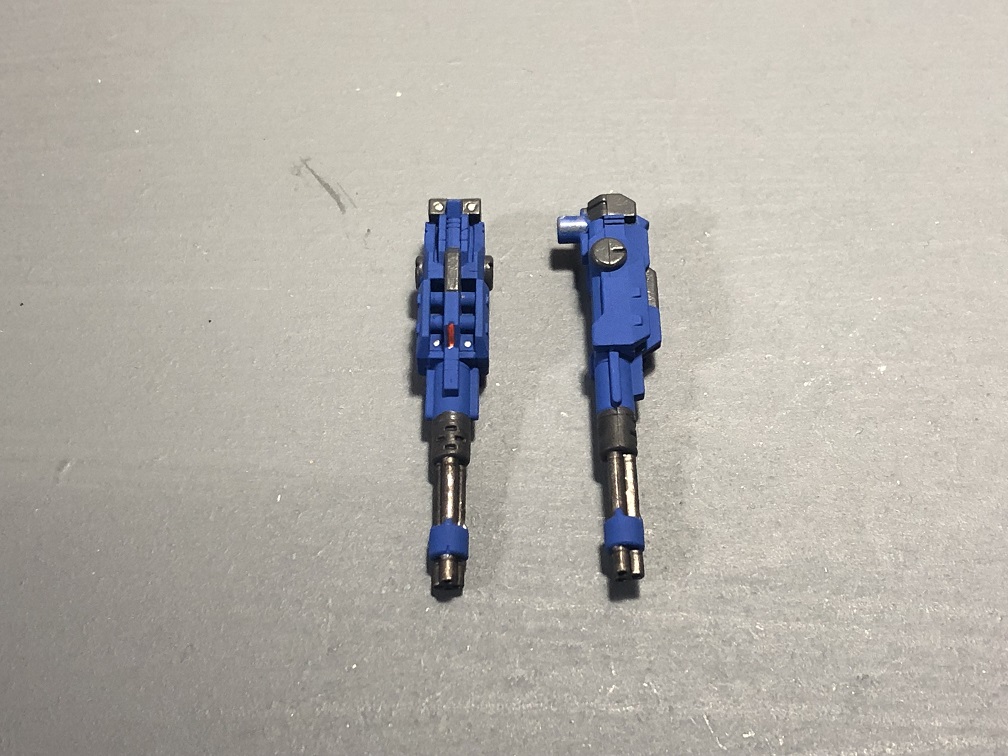
For some reason, Naomi’s Gun Sniper has its machine guns painted the same way as a common GS. And, to be honest, this blue has a nice contrast with the red.
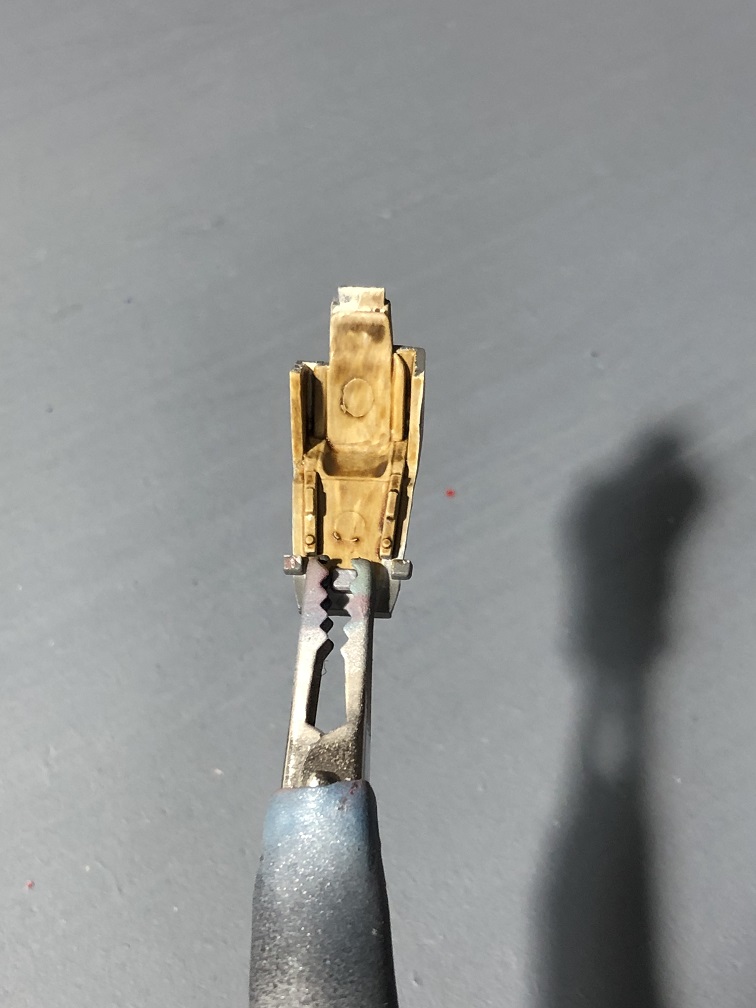
Cockpit
Now, let’s paint the cockpit. If you look at some pictures of the anime, you may notice that the inside of Naomi’s Gun Sniper is beige with a blueish seat. Let’s try to emulate this.
First, we’ll apply a base coat of Citadel Kislev Flesh. Apply as many thin coats as needed until you archive an even tone. After that, let it dry. After that, we’ll mix our beige color with a small amount of brown to darken it. Then dilute the mix with some water to create a wash and apply it to the main area. Finish it up by painting the control panels with our dark grey mix. For the seat, we need to mix Vic Hobby IJN Sasebo Naval Arsenal with a tiny amount of Vallejo Blue.
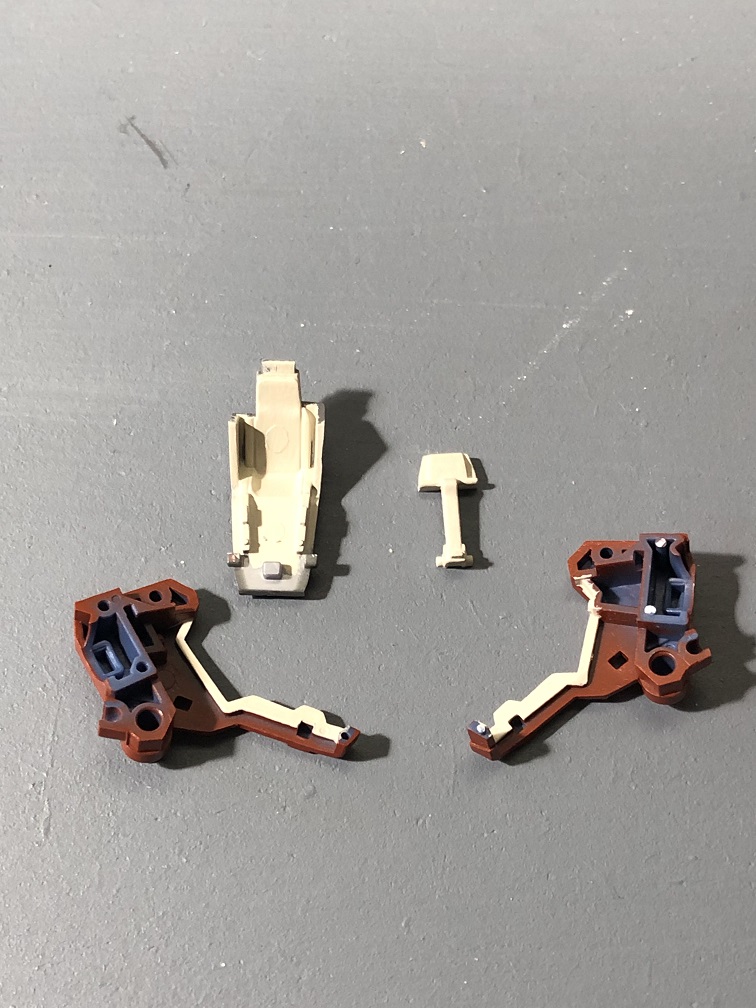
Finally, paint the teeth of the Zoids with white and the tips of the antennas with Moot Green.
Final Assembly
And now, we are ready to assemble this mech!

Now, I suggest that we apply a clear coat to each piece before we start assembling the parts. And then apply another clear coat to each part before we finish the assemble. I used Vic Hobby Mate Clear for this build.
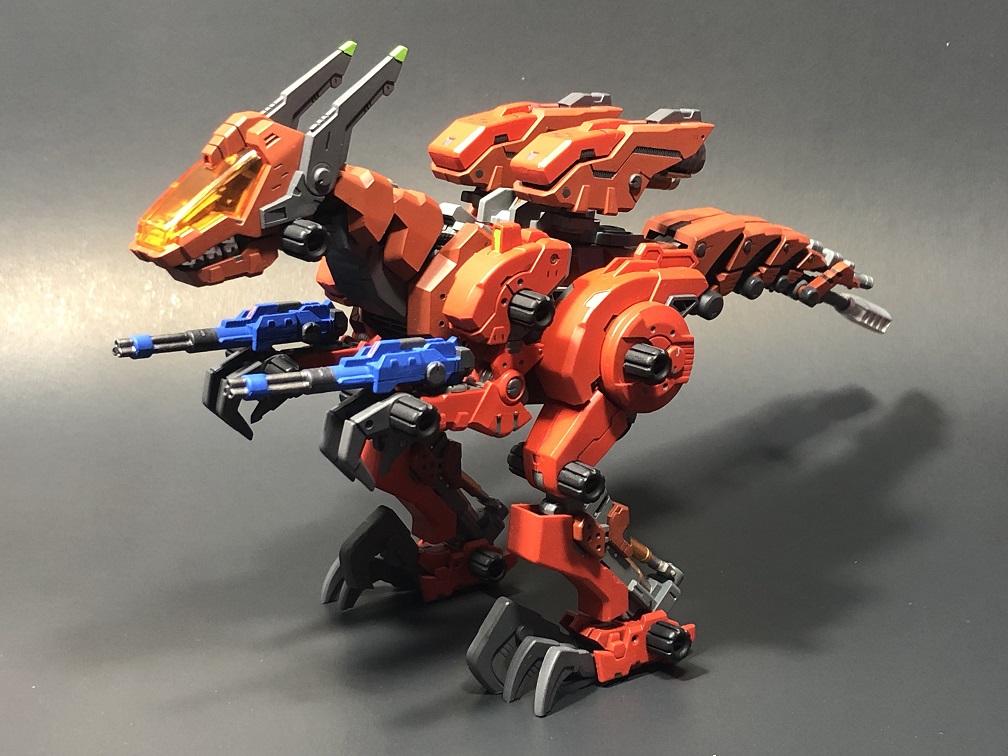
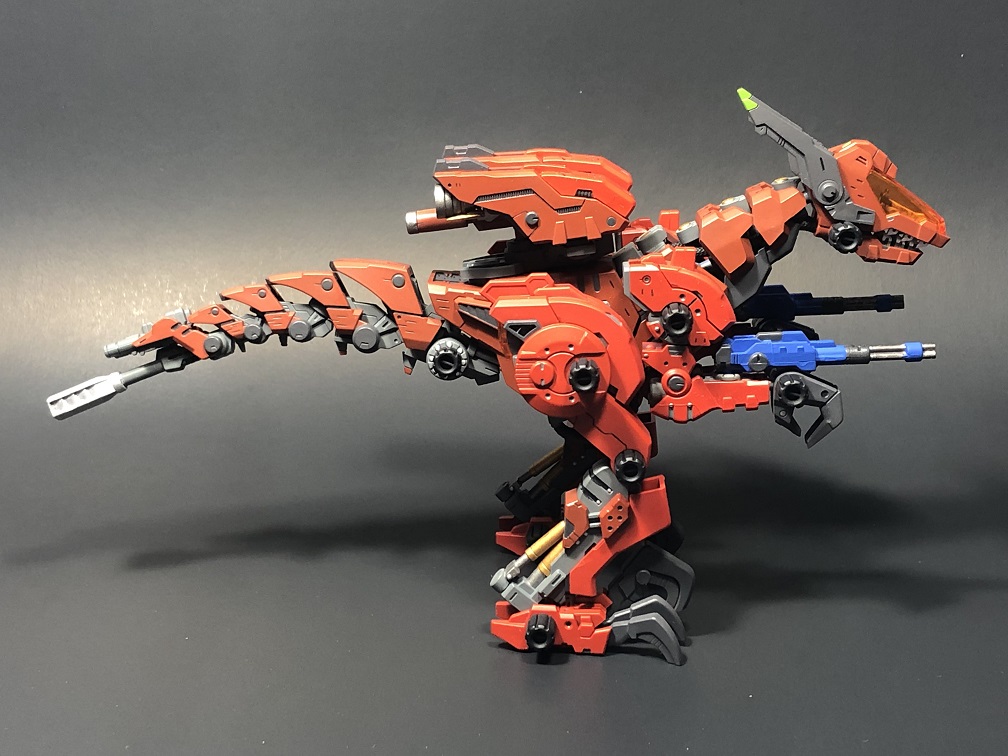
And there it is, our own custom Naomi’s Gun Sniper Special from the 2001 anime Zoids: New Century/Zero.
Extra: The Red Comet
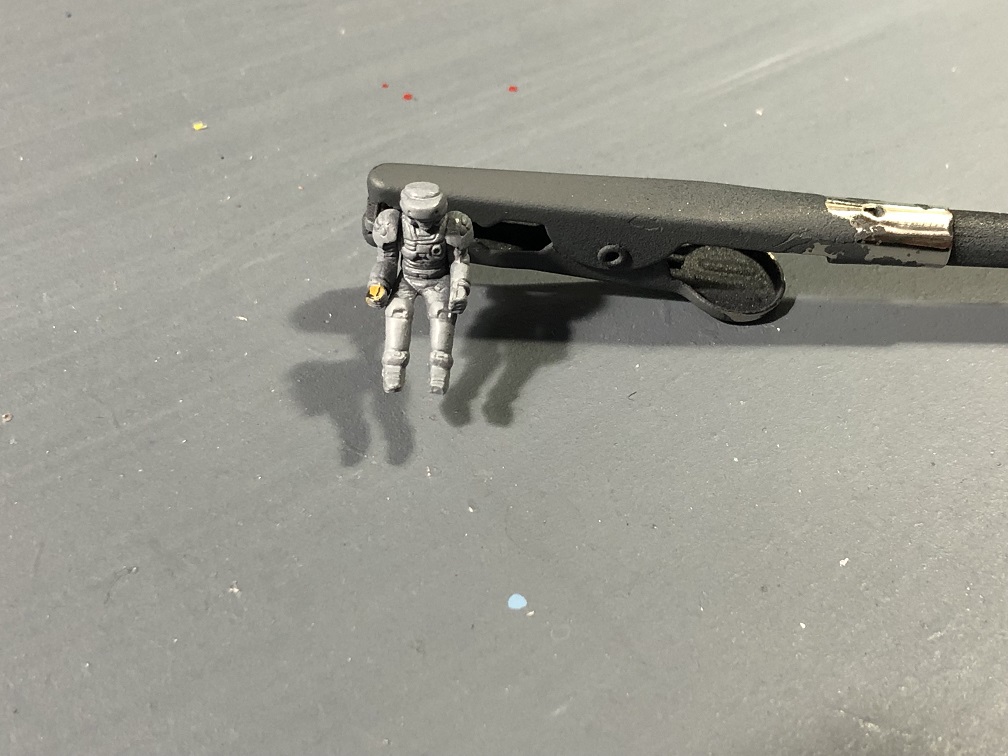
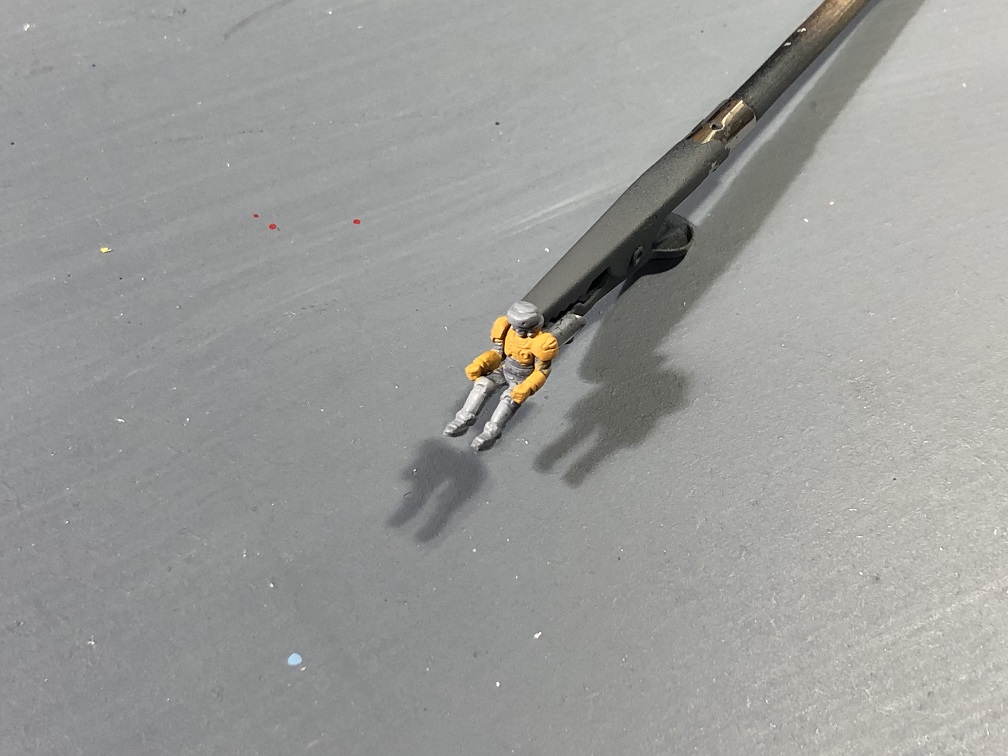
Believe it or not, in the title of episode 2 of the anime, Naomi’s nickname is “The Red Comet” just like Char Aznable from the Gundam franchise. With that said, to really finish up this kit we need a pilot.
The best thing would be to have the Naomi Pilot Figurine that came with Kotobukiya’s Gun Sniper NS a few years back. Or, at least, have a generic female pilot. I really wish that Kotobukiya start releasing some female generic pilots for these kits.
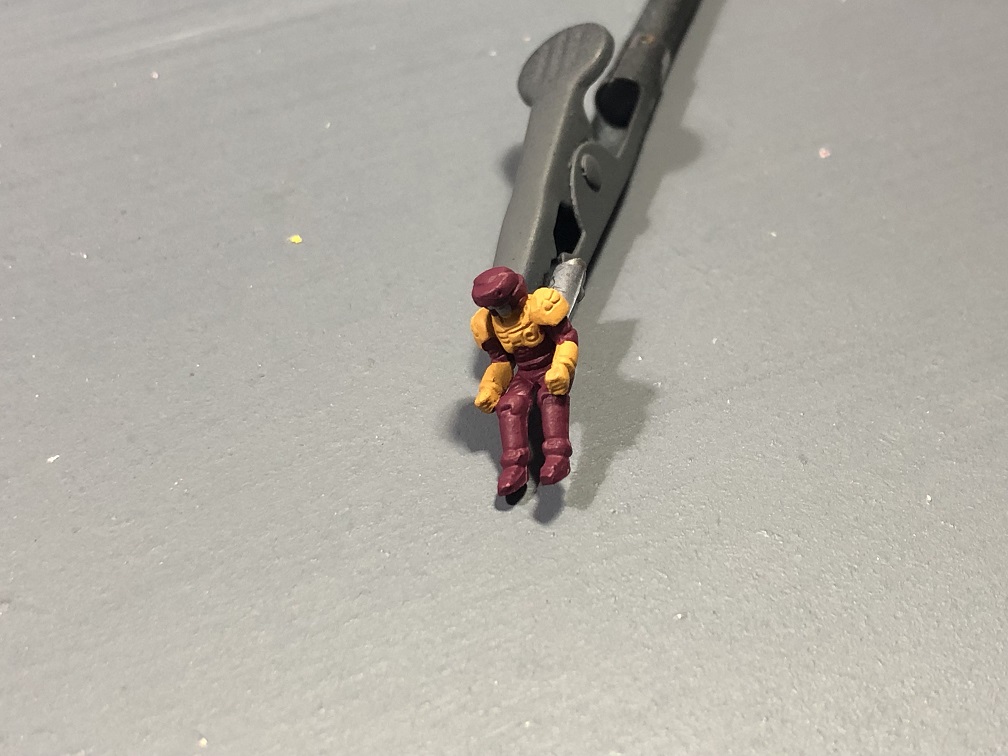
But, in the meantime let’s work with what we have. Now, let’s use Naomi’s character color pallet for inspiration. And you can find it on the internet. If we watch carefully at her design we’ll notice that her clothes are shaded red as well as her hair. She also wears dark yellow gloves and a top. And just some random green and dark blue details here and there. So these will be the colors that we’ll use to paint our pilot.
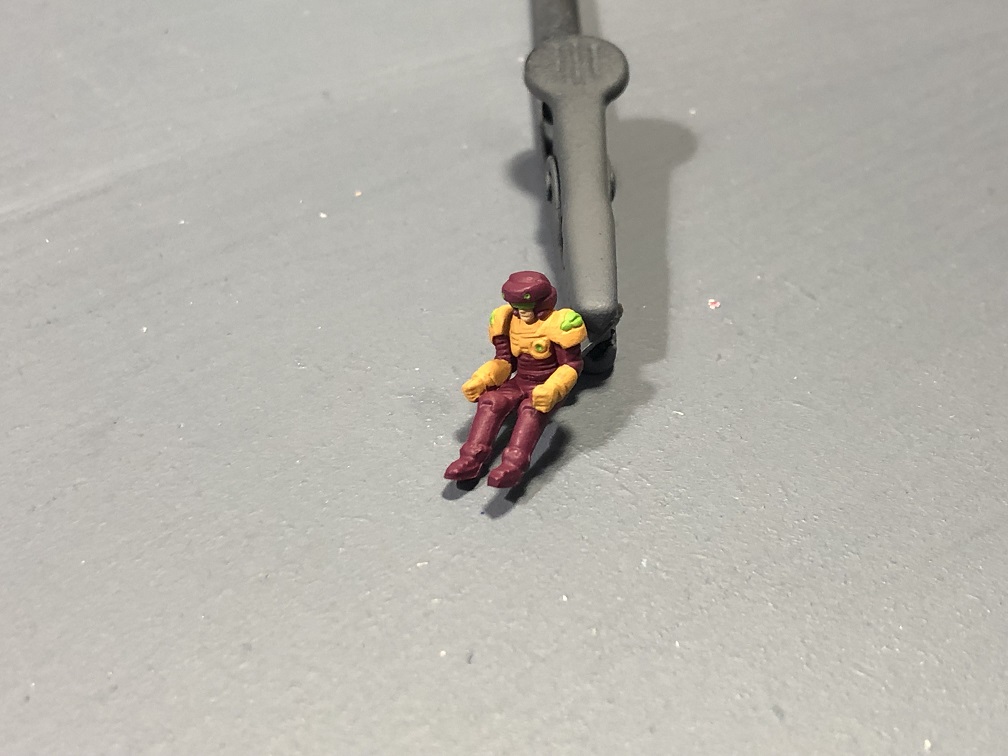
Let’s start with the yellow. We’re going to paint both the shoulders and chest armor as well as well as the gloves. For this, I used Citadel Aveland Sunset Then, we’ll use Citadel Screamer Pink for the helmet, the boots and the suit beneath the armor, basically the rest of the figure. Don´t worry if you paint over the yellow. If this happens, just let it dry and paint over it. And last, using the same green we use for the camaras, the symbols on the shoulders, and the visor. Don’t forget to paint the chin of our pilot!
The end!
It was a fun build and I really like how the custom paint job turned out.
I hope you’ve found this article useful and enjoyed this series!
Remember, if you wish to buy a new Zoids kit or some Vic Hobby paints you can do so at hlj.com
Also, you can check some cool articles here at hobbylink.tv!
You can check more photos of this and other builds on my Instagram!
If you have some questions, please, feel free to leave them in the comments below, I’ll be happy to answer them!
See you at the next one!
Happy modeling!