You’ve built your latest mecha model. It’s sitting on your shelf or in your cabinet, but for some reason it’s still missing something. Compared to the model on the box, it’s lacking the same kinetic energy that you’d expect from a machine that can level skyscrapers.
Sounds like you need a hand with posing.
Here’s a beginners guide to help position your model so it stands out little more off of your shelf.
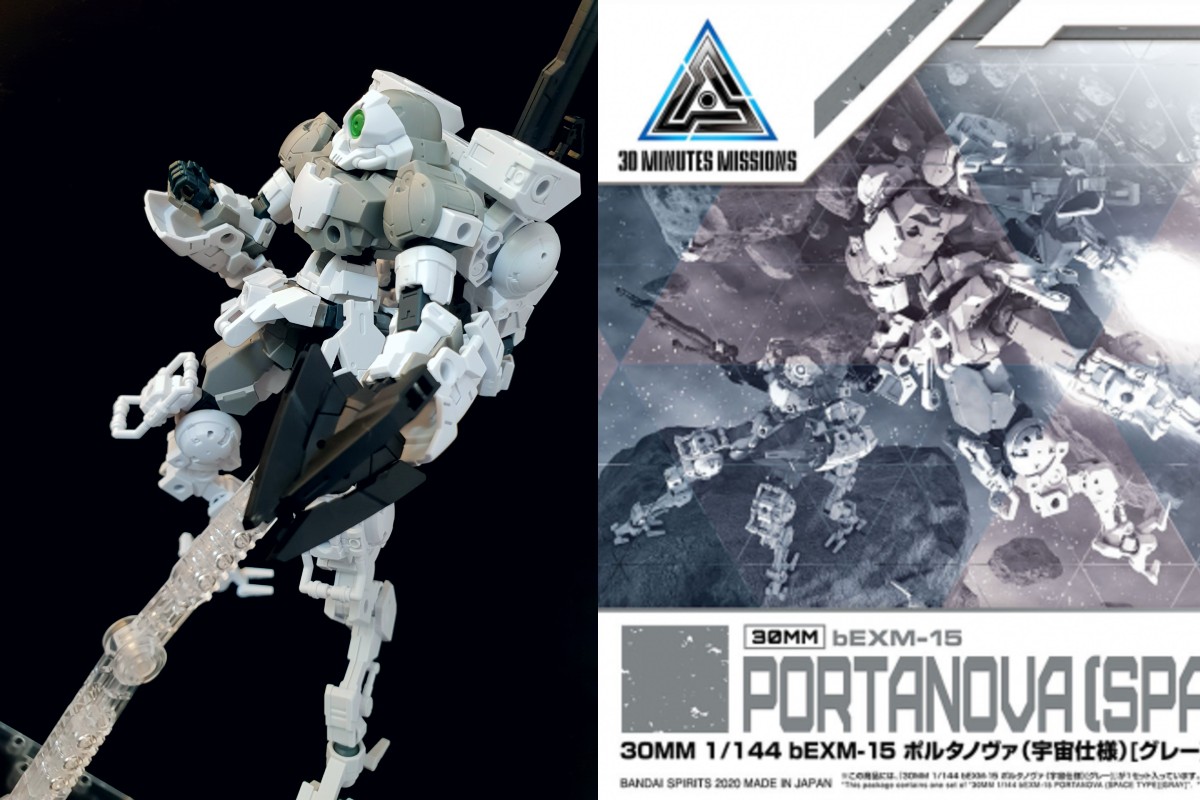
An example of poor posing
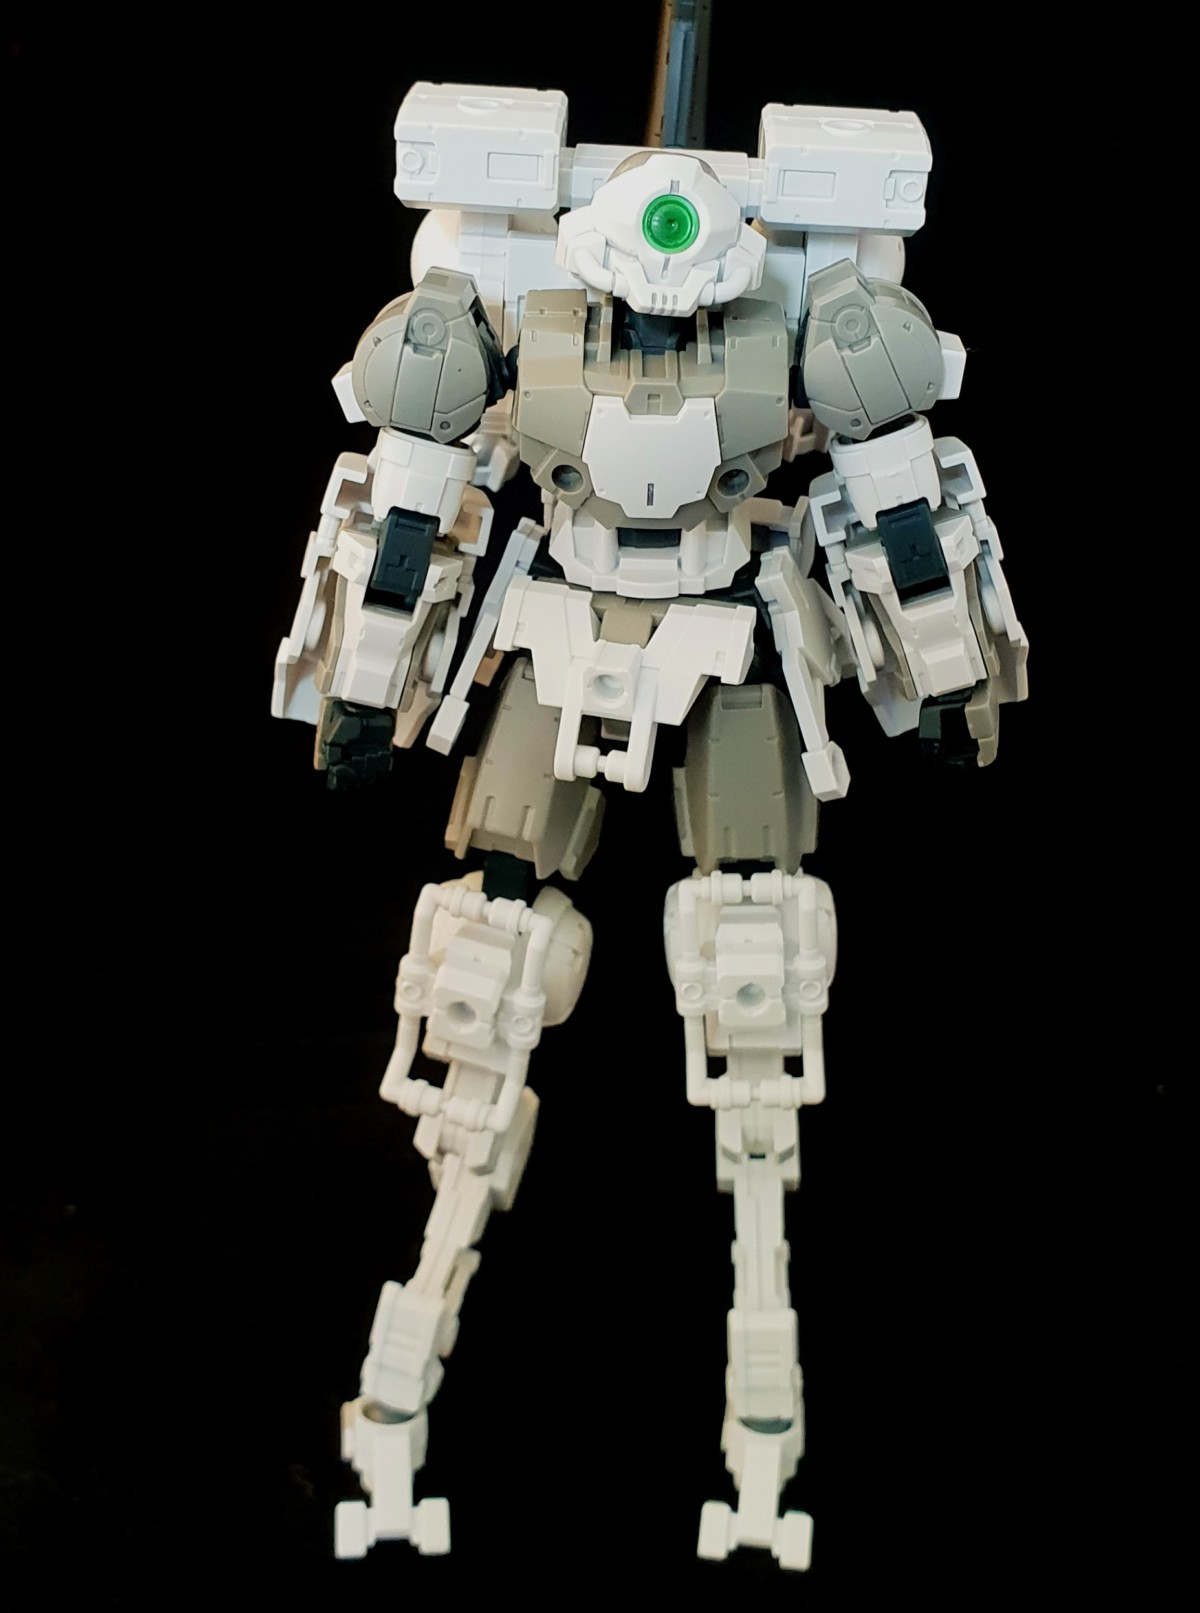
For this guide i’m using the 30MM Portanova (Space Ver.). All I’ve changed is the colour of the monoeye, and added basic panel lining in some places
This is the first 30MM I’ve built and I’m impressed with it’s simple build and posability. On the right is an example of how not to pose your model.
The stance is fairly boring and the mecha doesn’t feel or look particularly intimidating.
Standing poses and starting tips
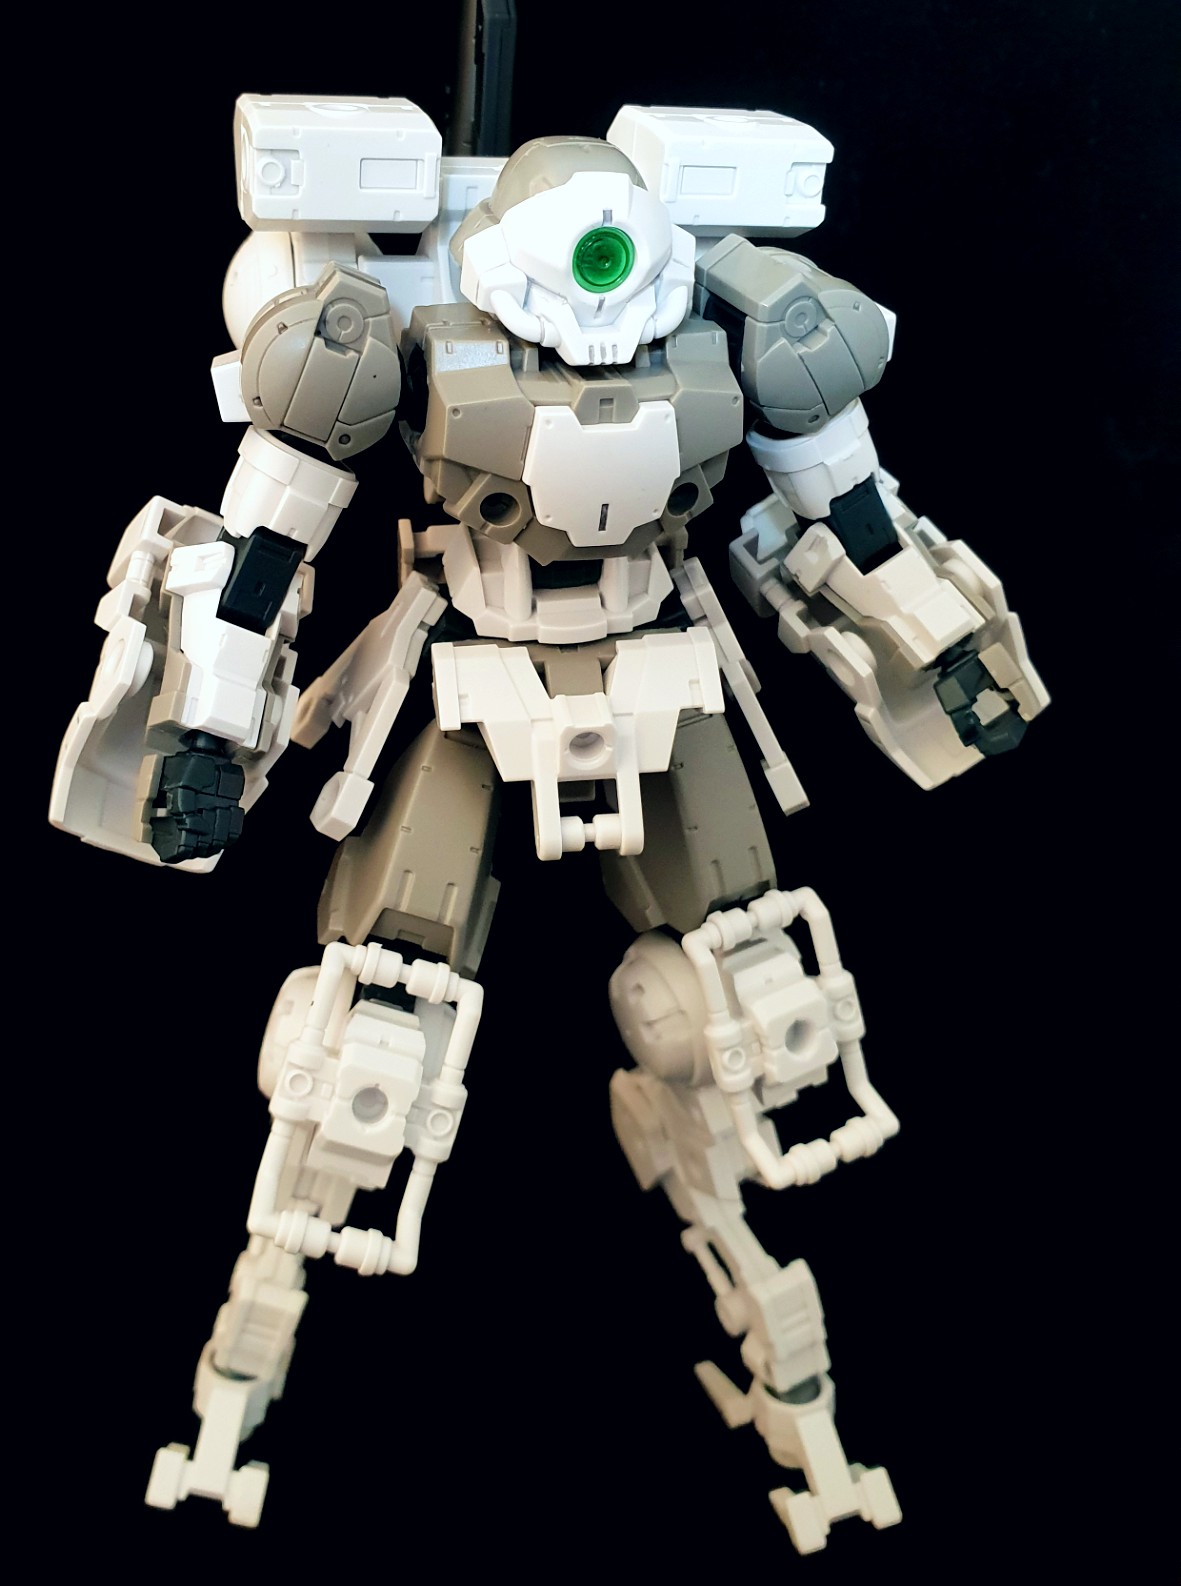
Here’s a better example of how to pose the model; now it actually looks as if it’s ready to jump into combat. The improved posture gives the model far more character and
leaves it looking more aggressive.
Here are five helpful tips to improve your posing:
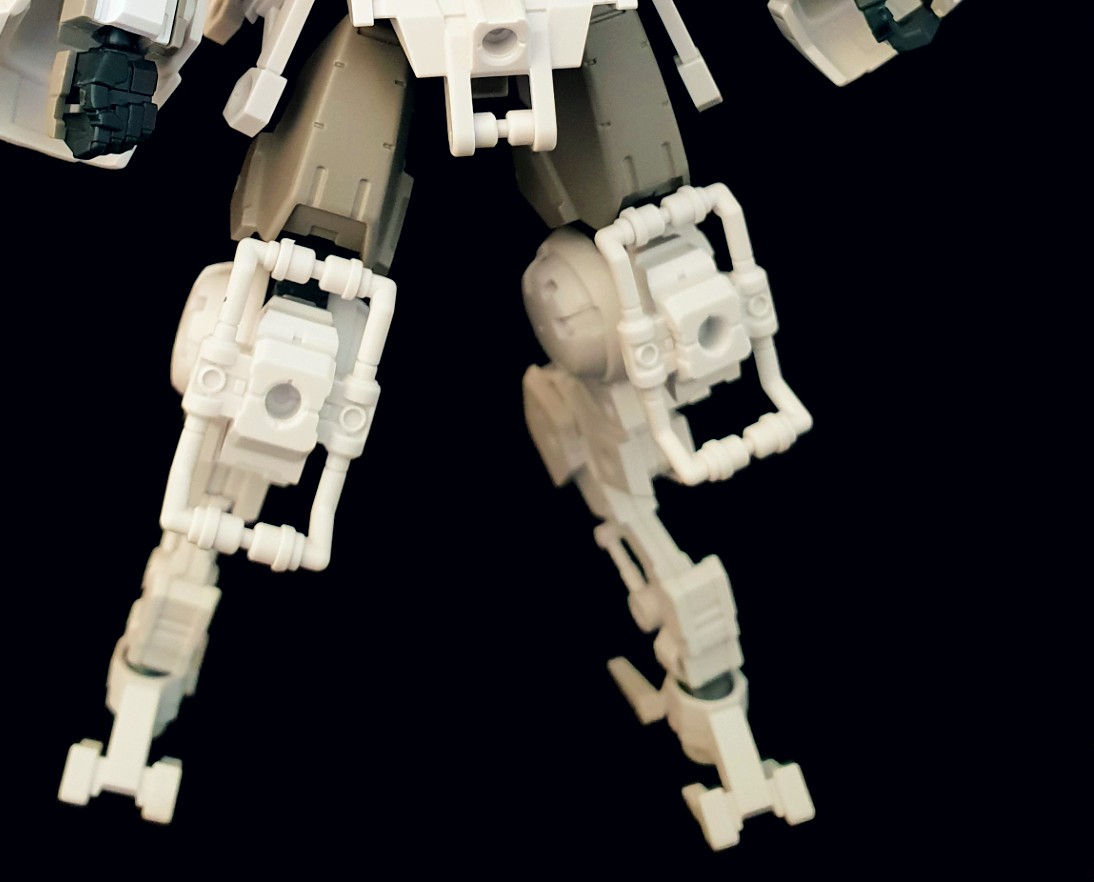
1. Angle the legs apart
It seems like a simple tip, but this allows the model to hold a more natural stance while also looking combat ready.
When doing this, also ensure that both feet are flat against the floor. Not only will this help with how the model looks, but it also helps increase the model’s stability, too.
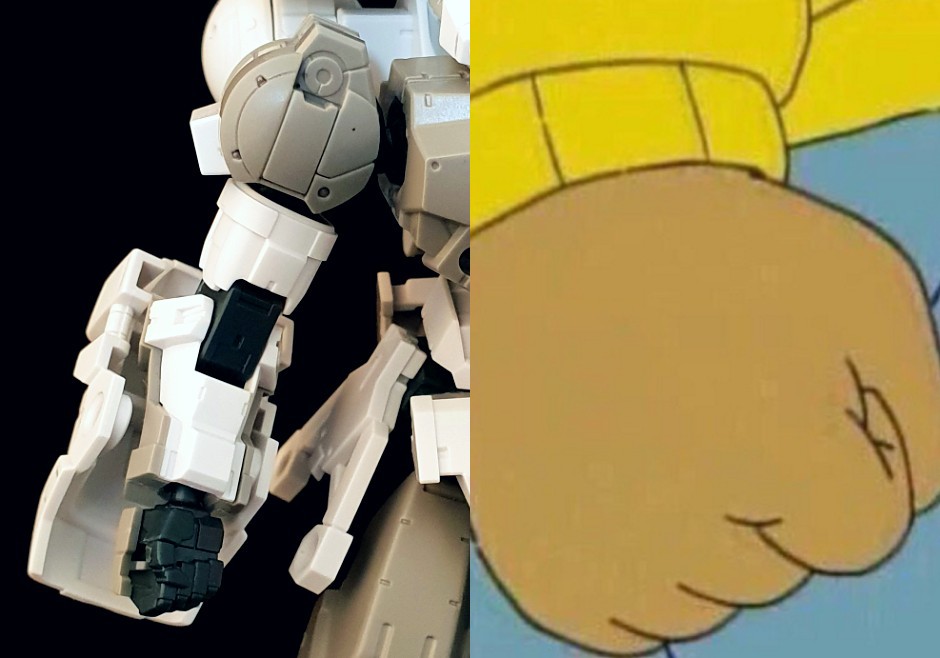
2. Bend the forearms and legs
This tenses the model up and makes it seem more alert. With straight arms and legs it gives the model an appearance of being inactive and in it’s default position.
Think Arthur levels of tense — that’s what we’re trying to achieve here.

3. The “S” shape is your friend
Rather than having your model stand straight, try this. Push the shoulders and waist back while pushing the other aspects of the kit a little farther foward.
This gives the figure a little bit more depth and looks less like a statue.

4. Tuck that chin in
For a standard pose, it’s better to try to tuck the chin in when possible. Unfortunately, due to the additional faceplate this isn’t possible here. Sometimes kits won’t allow for certain types of posing so you have to keep that in mind.
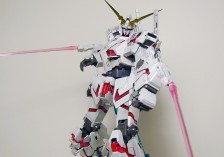
This can work even better on models with a more traditional Gundam style face as it gives off an intense glare.
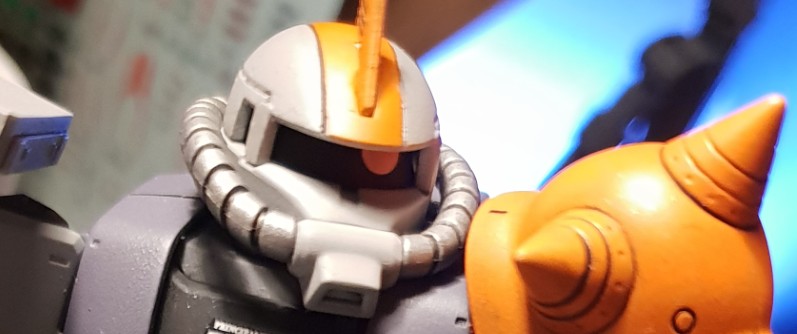
Here’s an example with a Zaku II that I built recently. It can give the model a much more sinister vibe.
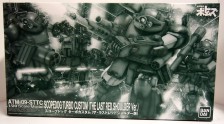
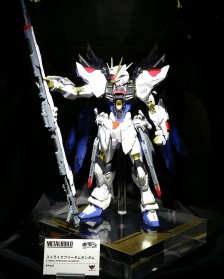
5. If all else fails, use the box art!
Finally, remember that it’s not cheating to use the art from the box. On both the box and in the instructions, there are always a couple of dynamic poses for you to try out.

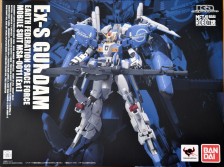
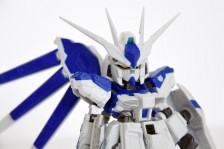
Feel free to take inspiration from other models too, as I have done with the Strike Gundam, here!
I hope this helps your posing in the future and keep an eye out for my next beginners guide where I’ll be going through some tips on mecha photography.


Lazarus
I like the idea of using other models box art as inspiration! Never thought of that before! 😀
PetitGguy Type 全不全
Nice little guide, love the use of memes and easily memorable notions. Good job.