1/48 Space:1999 Eagle Transporter – Available from HobbyLink Japan
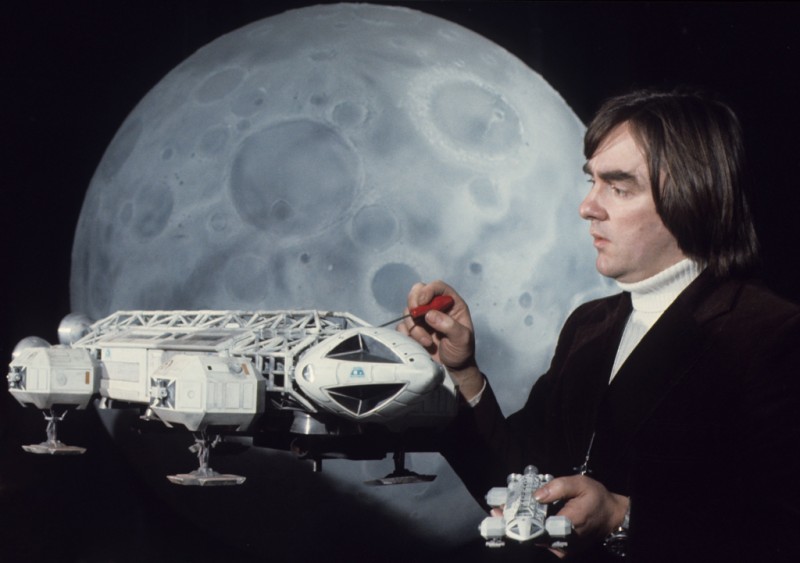
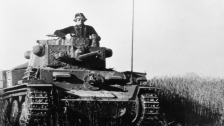
When Brian Johnson, who had worked with Gerry Anderson before on Thunderbirds, was called into the ITC Studios to take charge of the ship design on Space: 1999, the world of SF was undergoing something of a sea-change. The sleek, ‘futurist’ designs of the optimistic ’50s had rather given way to a form of grubby reality, in the wake of the US landing what can only be described as a foil-covered egg box on the moon (several times) by the time Space: 1999 crept out of the shadow (no pun untended) of its forbear, UFO, to become a series in its own right.
When Brian and his team were presented with the task creating technology which would meet not only the imaginative expectations of the sort of increasingly mature audience which had taken so readily to UFO, but also reflected the beautiful brutality of the ‘real’ science of space, Gerry’s faith in them was immediately vindicated.
This was not only because he had worked with Brian very successfully on Anderson’s signature series – the immortal Thunderbirds – as everything from a tea boy to a cleaner, but because he had been hired as an SFX assistant on 2001: A Space Odyssey, on which film, along with caring for and repairing models, he helped devise the famous floating pen sequence, which defied the analysis of generations of film buffs despite being one of the simplest movie tricks imaginable (in case you still do not know, the above linked interview gives it all away).
Whilst not serving as overall model designer of the film, Brian still saw how the reality of the space age could be blended with a certain aesthetic charm, and it seems to have colored all his future work, be it on Space: 1999, Alien, or The Empire Strikes Back. Specifically, when he was drawn into Space: 1999 and was given the task of giving a sense of purpose to the moonbase, the memories of working on Kubrick’s film became his yardstick.
The sets and models had to be rooted in the sort of reality which anyone could access by turning on a television. Every child now knew what a space suit looked like, how space vehicles were made, and even how people moved about on the moon… The sleek, silver ships of the imagination would no longer suffice… Well, not entirely.
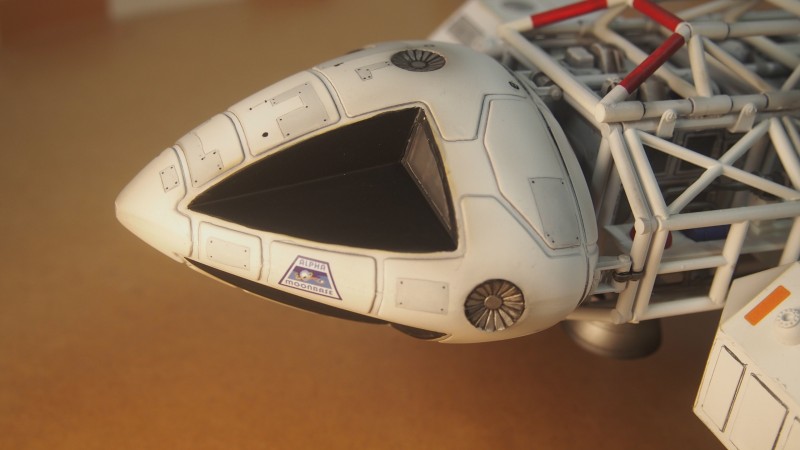
Because when Brian turned his hand to the ubiquitous Eagle as the workhorse of the series, although he created a utilitarian-girdered, almost jerry-built affair of the a spaceship, he still gave it that sleek, gorgeous nose, which has become so beloved of fans.
Round 2
So, we all know the series and the Eagle as an icon of SF fandom, to be sure, but how this kit came into being is a story which is worth the telling in and of itself.
Gerry Anderson’s series have always, except perhaps in Japan, been rather poorly served by toy and model companies in some ways. Certainly, as a lad Dinky was there with their (often oddly-colored) toys, and several outfits made small and often heavily-compromised kits to sate the general market. However, none of the commercial companies could risk the investment of reproducing larger scale kits, especially in the 1970s and ’80s. However, there WAS a demand, and it was filled by a number of specialist toy makers, crafters, and garage kit companies who took their standards from the studio scale models, and, seemingly with the tacit blessing of Anderson Sr., began filling that need.
All the series had their hour in the sun… Wave’s huge Skydiver model, the Takara TB-2, and a whole range of other kits… So many that I cannot devote room to them here.
Save perhaps for the passion which surrounded the Space 1999: Eagle, and the fans who simply would not let the matter of owing a decent model rest.
Over the years, and taking the 22″/23″ and 44″ studio models as their ‘grails,’ people such as Jim Small, Chris Trice and Daniel Prud’homme (among many, many more) undertook what can be called Herculean labors of love to create the Eagle, from scratch in all the glory of its filming days. Alongside the garage kit companies which did make larger scale kits and accessories (such as WARP Models) these chaps kept the Eagle aloft until, after many years of badgering, Jim Small managed (possibly by sheer force of will) to get Jamie Hood of Round 2 Models to seriously consider a studio scale kit, to complement their already well received 12″ eagle kits.
Working closely with Jim, Chris, David, and other members of the model community, this project, across a span of years, has finally come to its first flowering, and with the promise of more things to come.
This is not so surprising, though. After all, Round 2 has a longstanding reputation for delving into the obscure, fannish, and clannish end of the model spectrum and, within the bounds of profitability, bringing builders golden kits which would once have been dismissed as pipe dreams…
The 1/350 NCC 1701, for example…
The Frenzy….
When the model was announced, and that so many of the ‘old guard’ had been working on it, it came as bolt out of the blue to be honest, but I was not entirely put off balance by the prospect, thanks to a friendly little chappy by the name of Todd Morton, who runs the Space: 1999 model group on Facebook. With so many folks contributing to this kit, it might seem unfair to isolate one man, but he was my way into this kit, helped me procure my first example (and also ensured that this one model will have ballooned to five by the time the kit sees release in Japan in April 2016).
If you’ve a mind, join the page, have a look around, and see what the community is up to with the new kit… as well as keep an eye out for what Round 2 is doing next. Lab Pod? Boosters? Interiors? Freighters? Who can tell? This is a kit decades in the dreaming, and now it is here.
I have no more words.
Should have sent a poet.
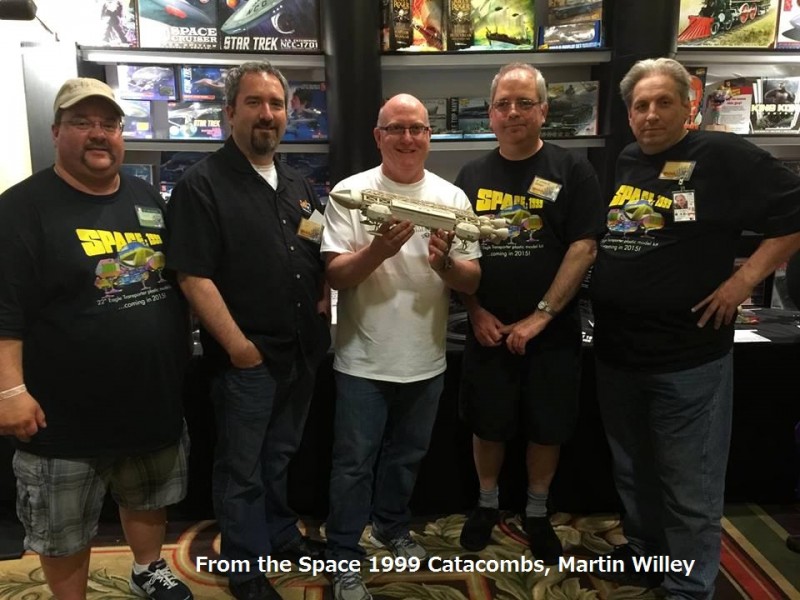
From the left- Todd Morton (Facebook admin), Jamie Hood (Round 2 Boss), Gordon Moriguchi, Jim Small (The Prime Mover) and Donald Hayunga.
The Build
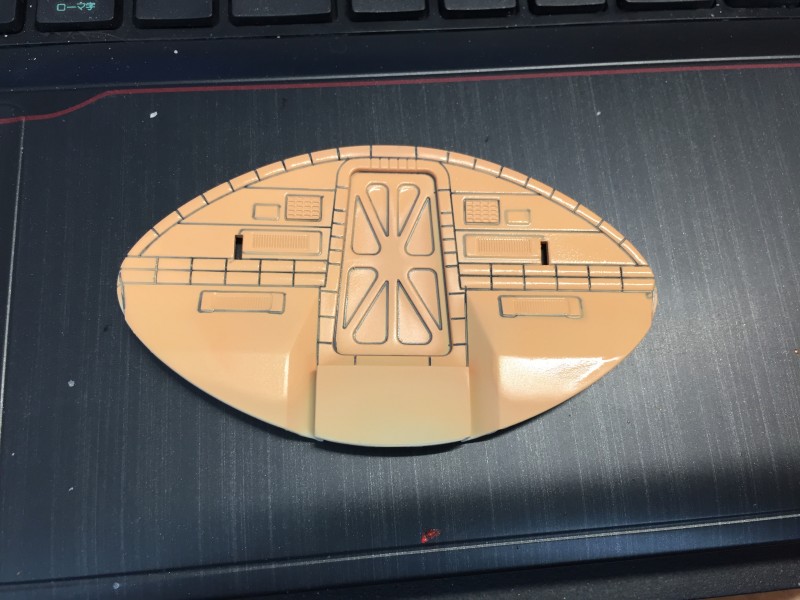
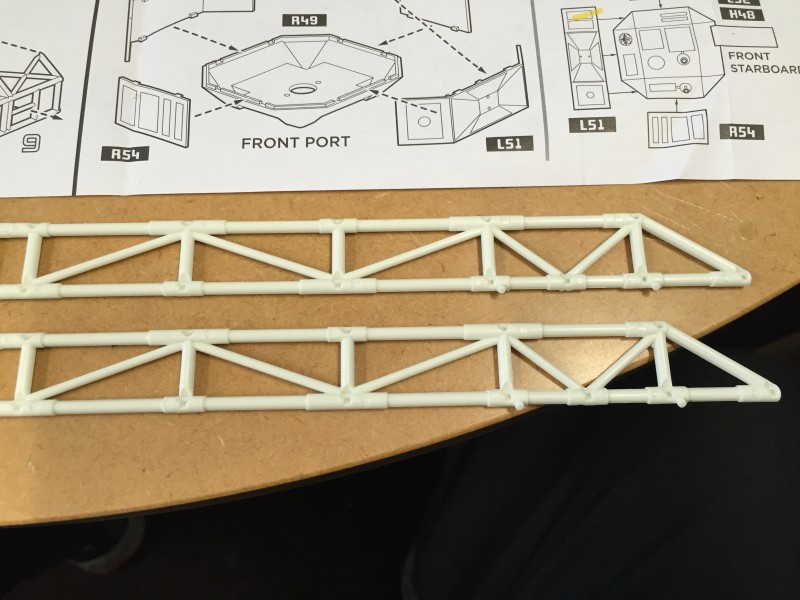
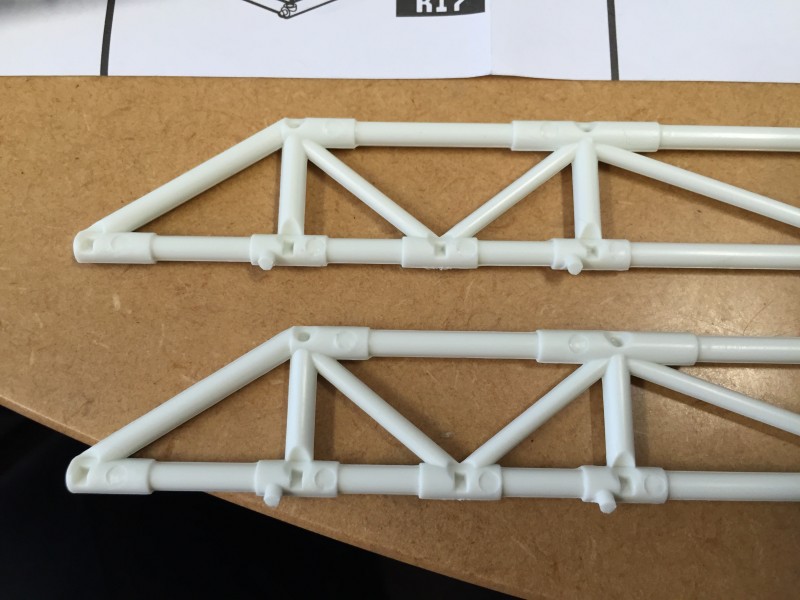
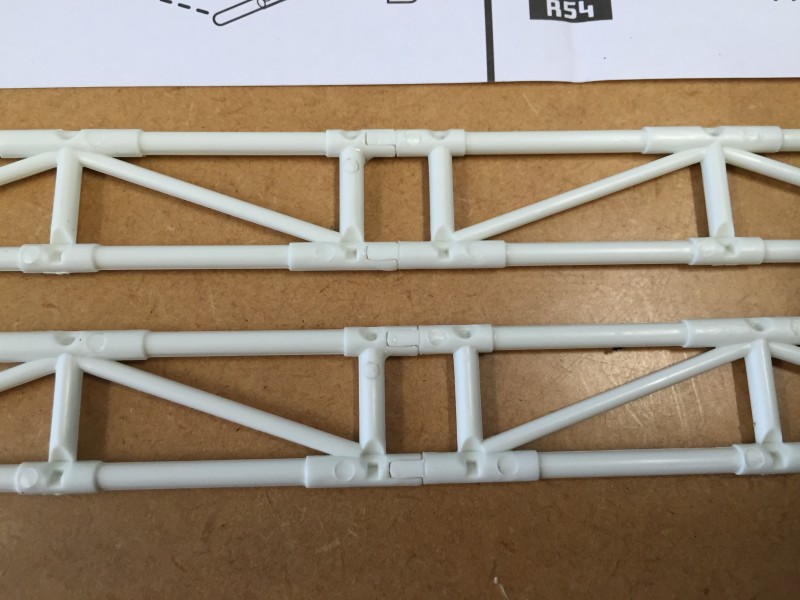
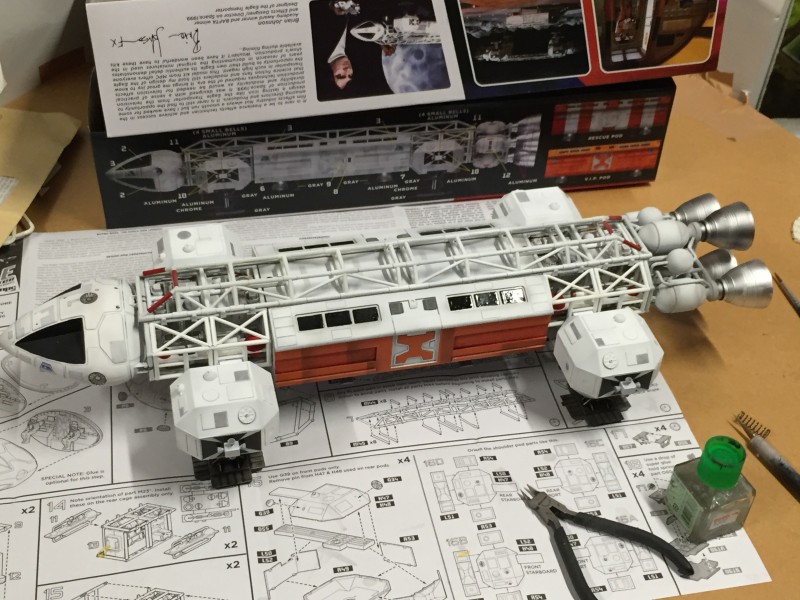
This is a straightforward build, to be sure, and my review model has been built out of the box. However, there are things which can be done to improve on the already excellent kit.
Many hints and tips have been collected together by Neil Strawbridge, one of the regulars in the Space: 1999 community and can be found here.
Some of the issues encountered will be addressed in the second kit run, whilst others are merely ways of improving on excellence.
This was going to be a daunting build, and as I have several to do, I wanted to get my teeth right before I started messing about with electrics, lights and interiors.
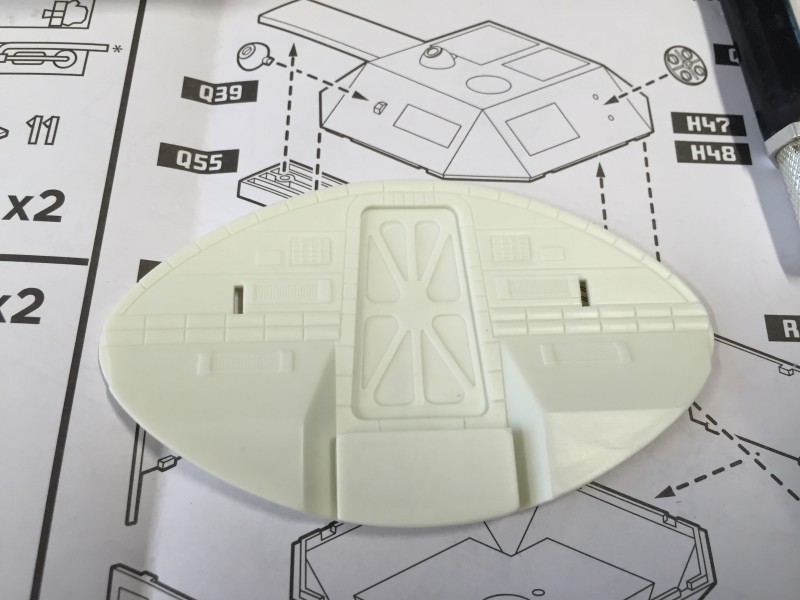
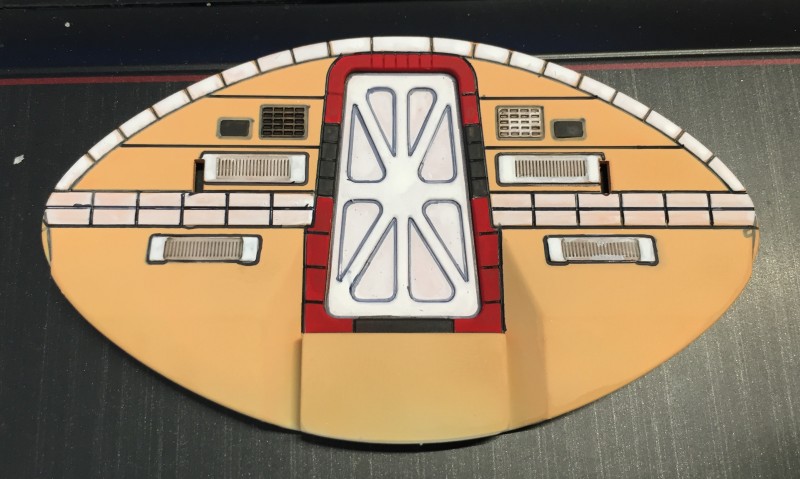
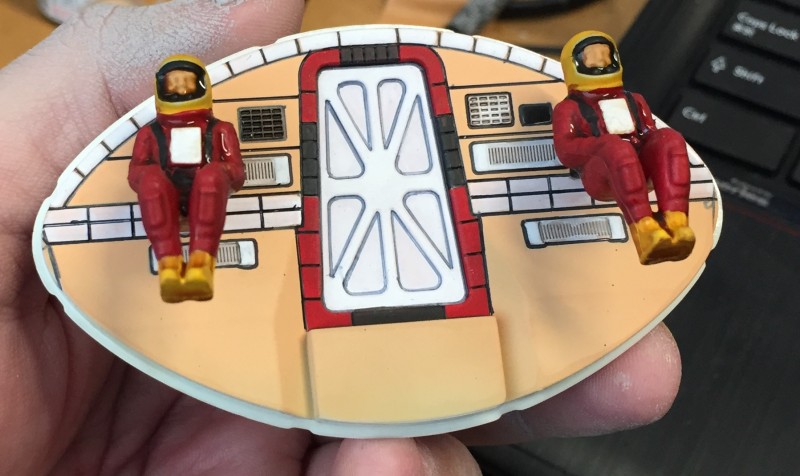
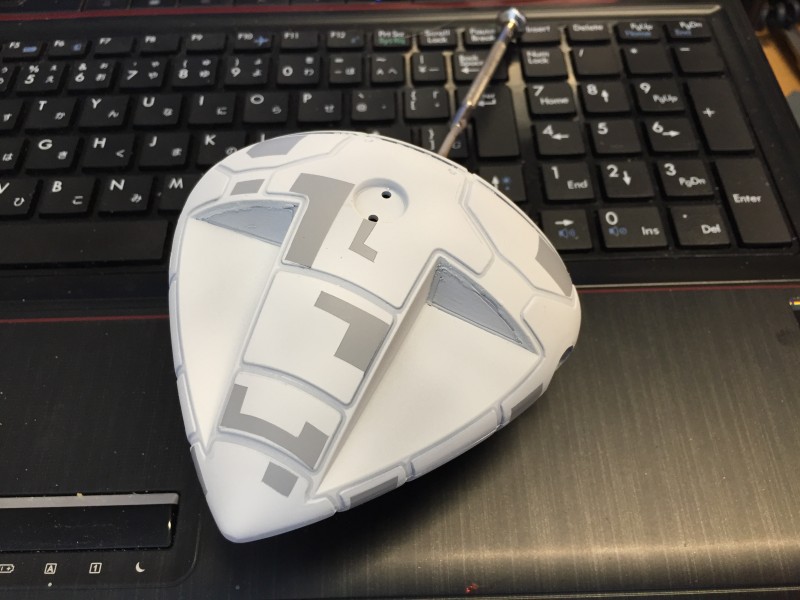
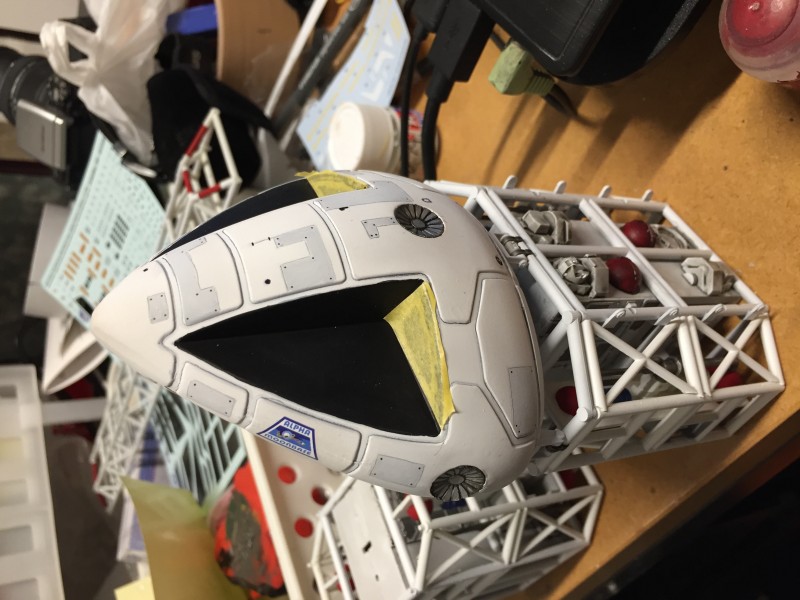
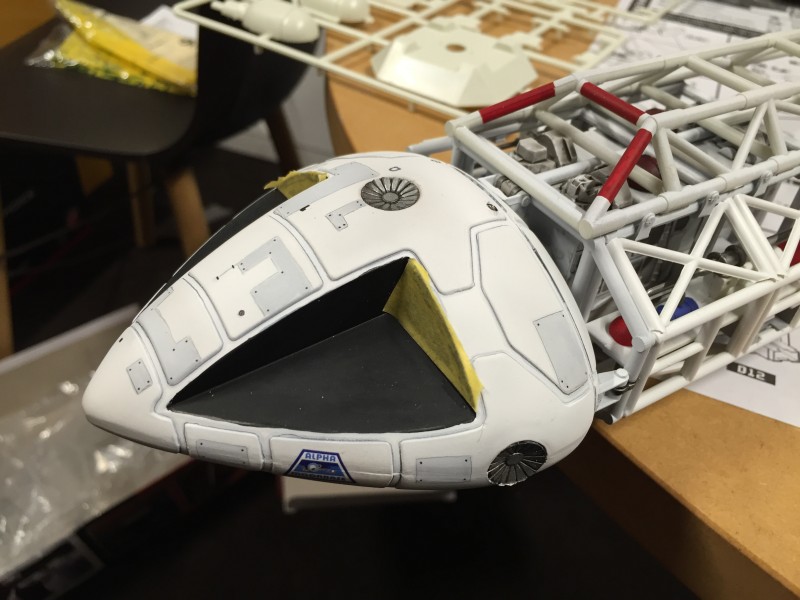
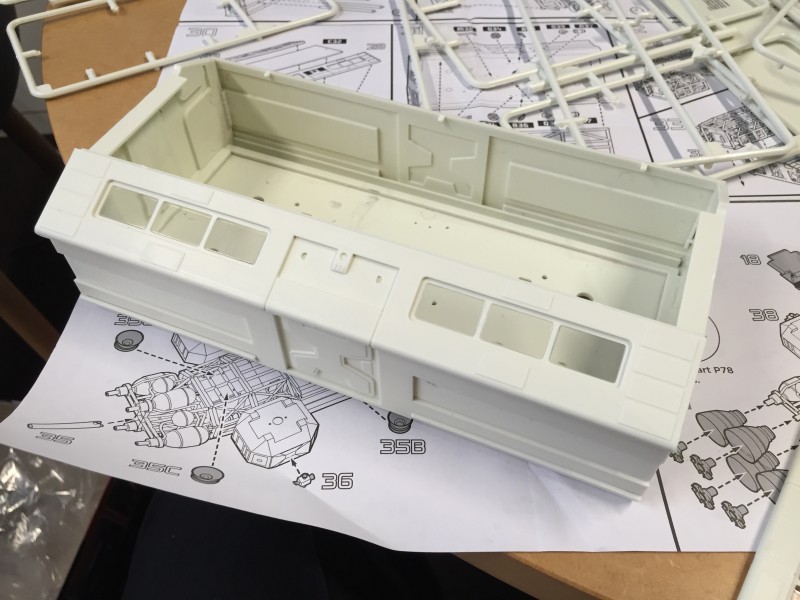
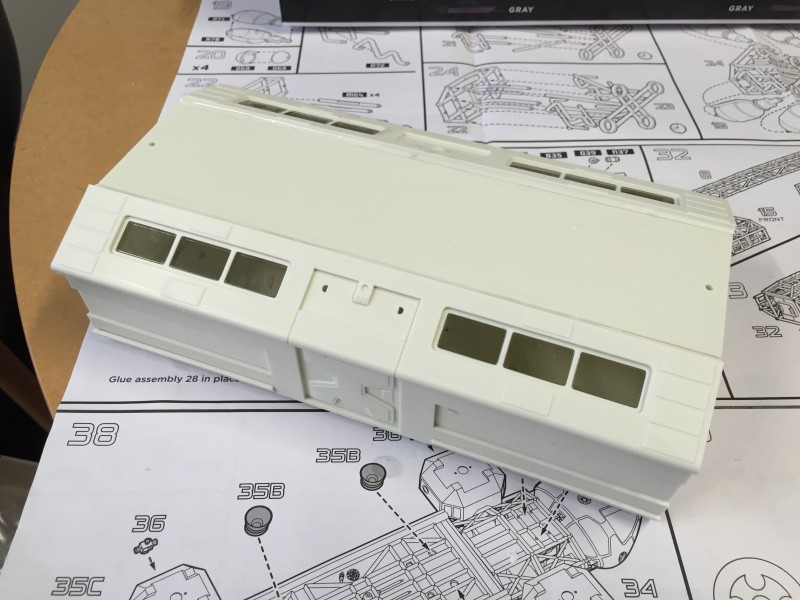
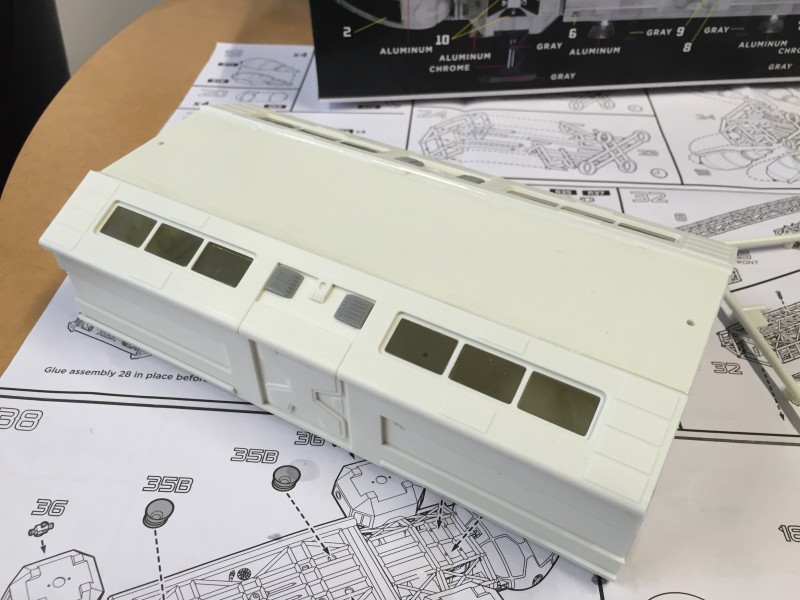
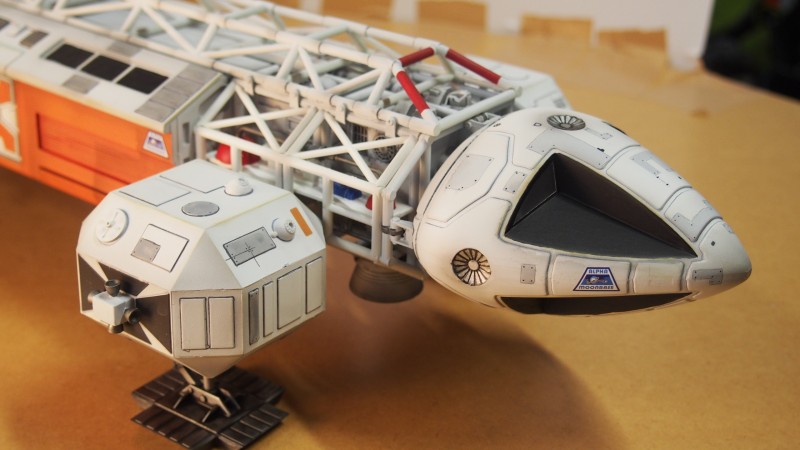
The cockpit reflects the old Master Replicas 22″ collector model, which did the rounds in 2008 (and the price scalping of which seems to have been one of the driving forces behind the creation of this kit).
If the layout seems odd, especially in relation to the actual series, there is a reason.

As you can see, the set was far too large for the actual model, and this ‘creative licence’ has made it difficult, if not impossible, for any model company to come up with a more reasonable cockpit layout for their kits. Odd though it looks, once built, the small windows make the whole thing seem more reasonable indeed.
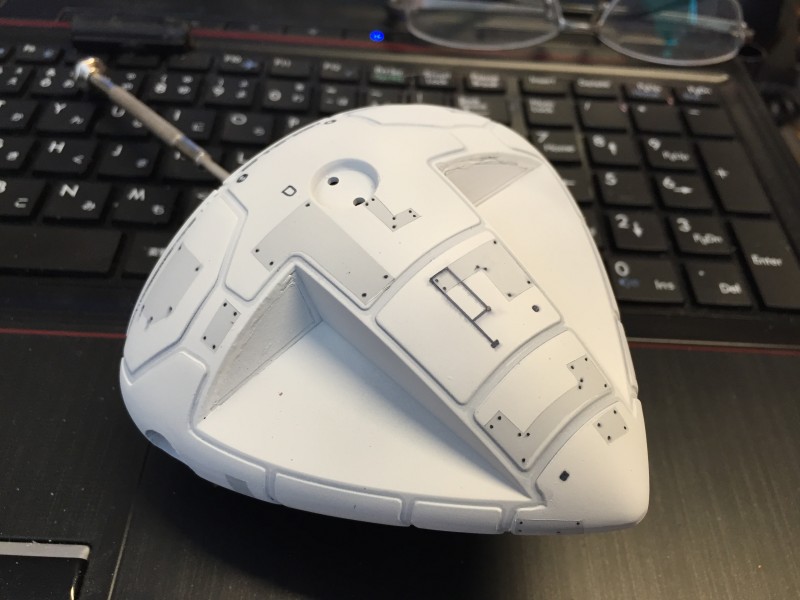

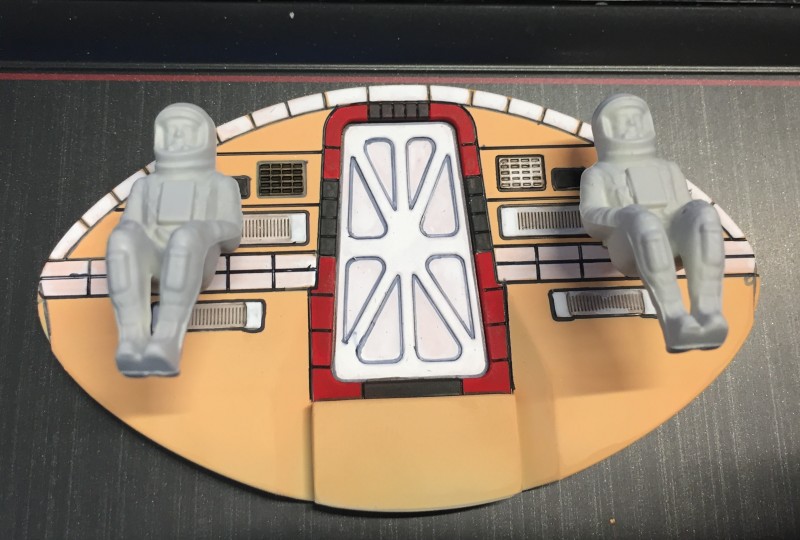
As you can just see, even in an unlit cockpit, the odd, hanging nature of the pilots is not in evidence.
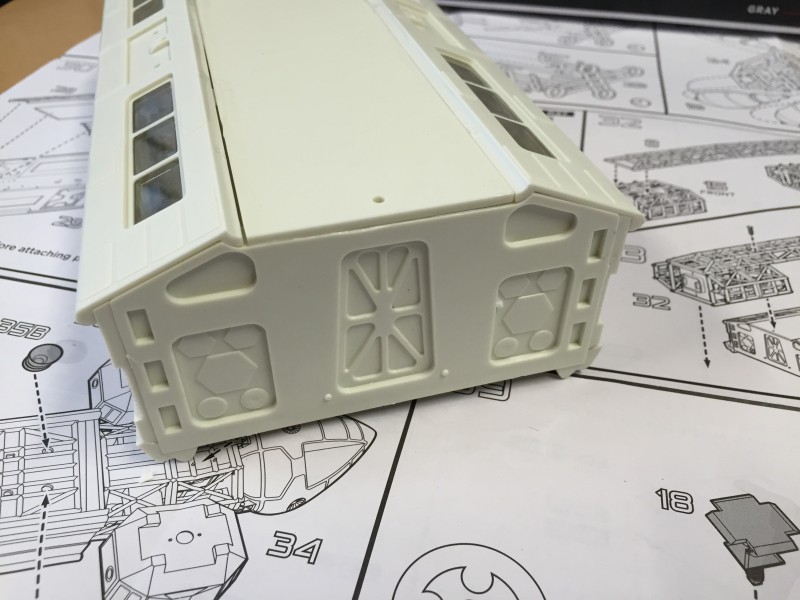
Another minor matter related to the cockpit is that the transit airlock is not properly reflected in the build. This mirrors the studio model and the flaw is found therein, so it cannot be called a failing on the part of Round 2.
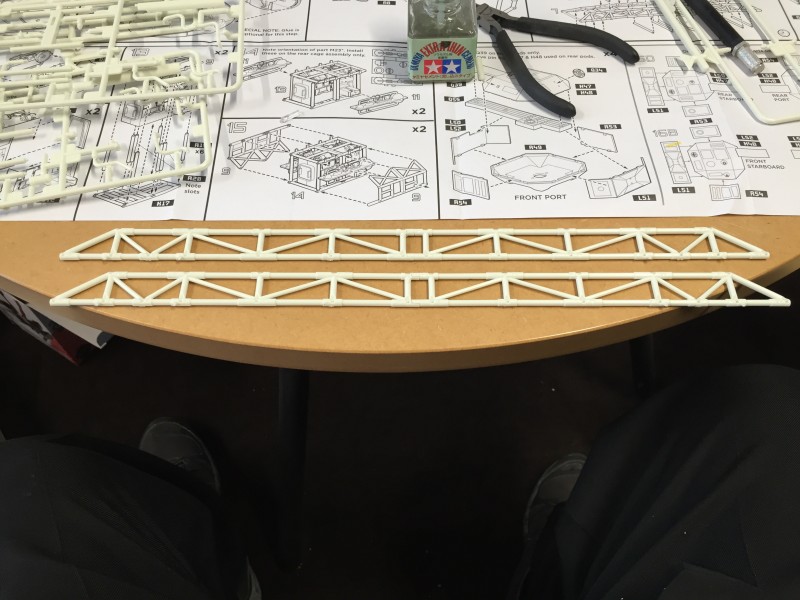

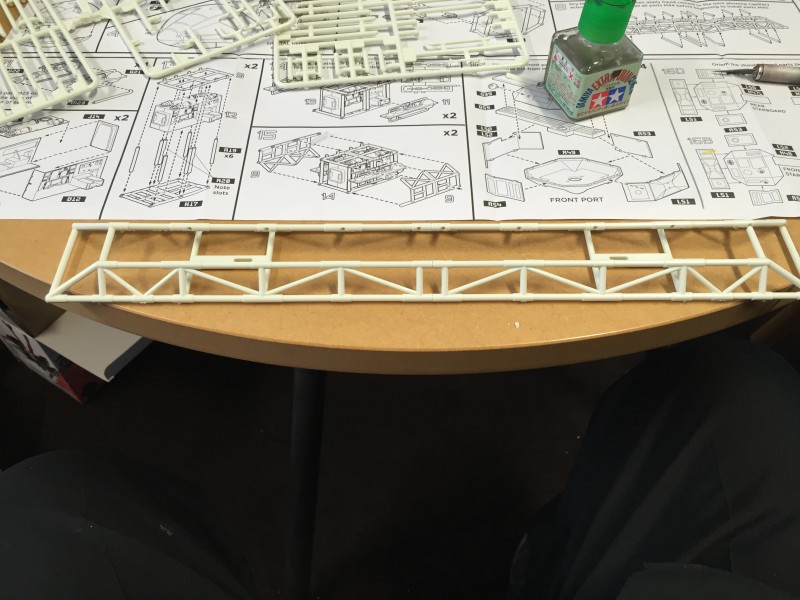

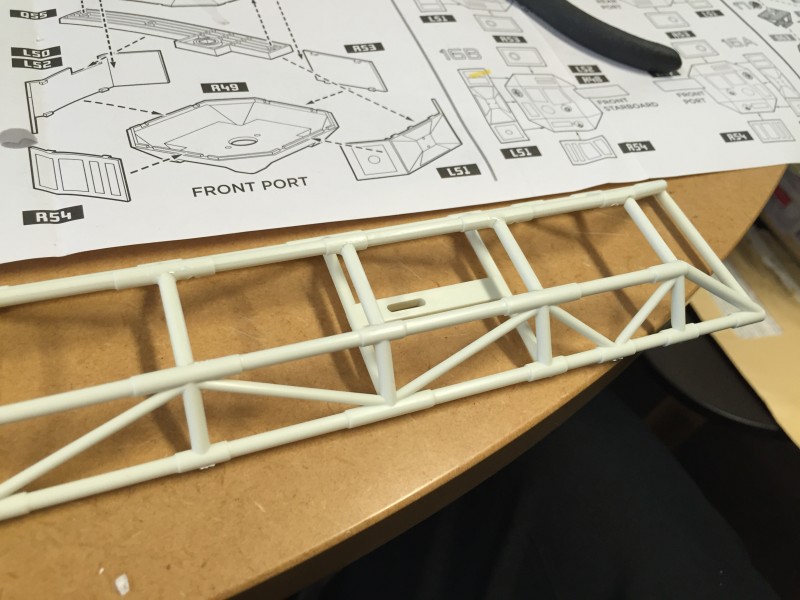
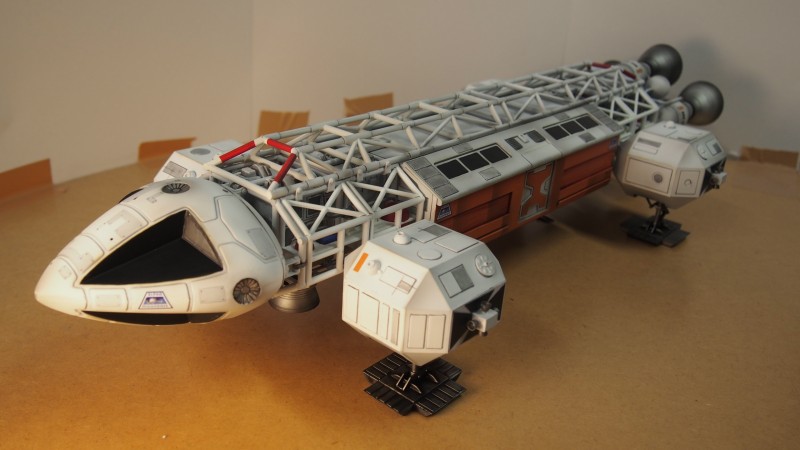
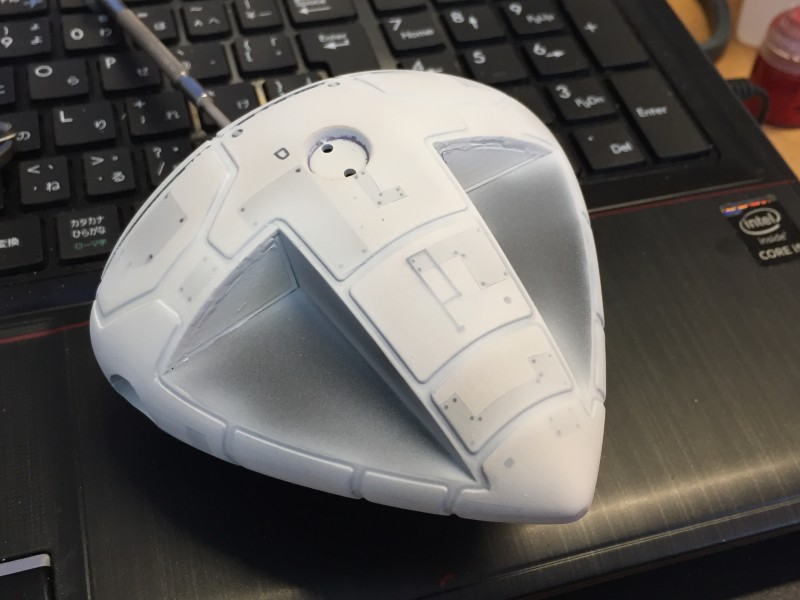
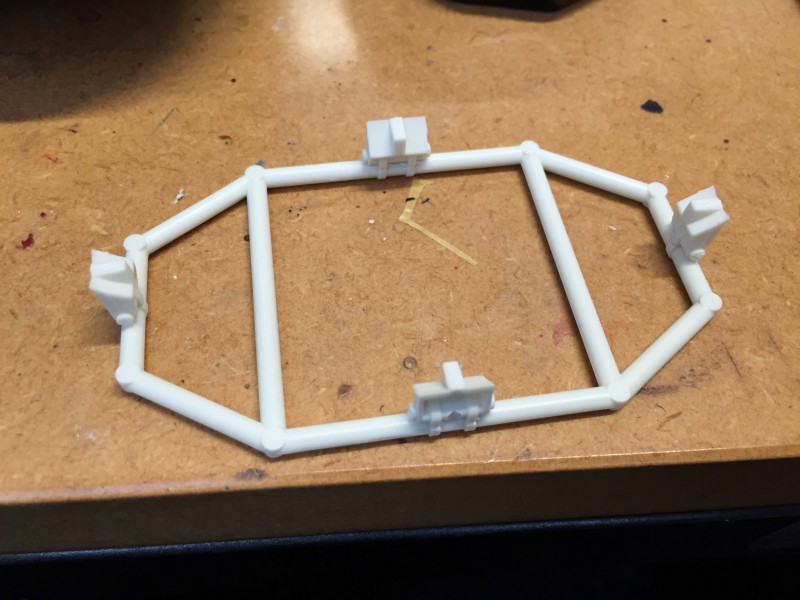
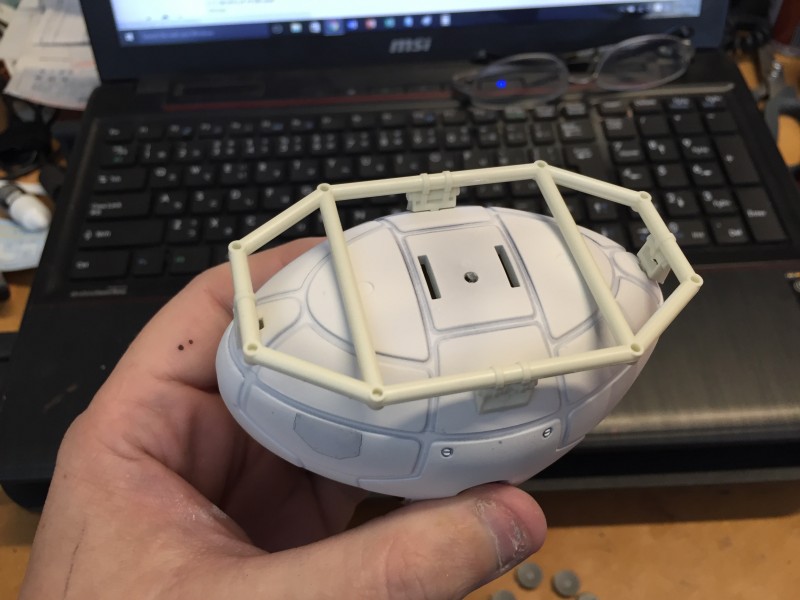
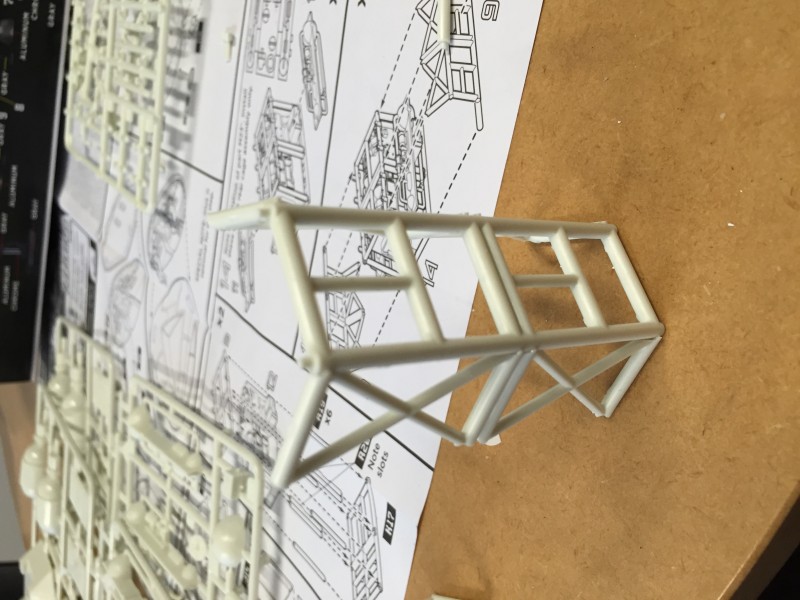
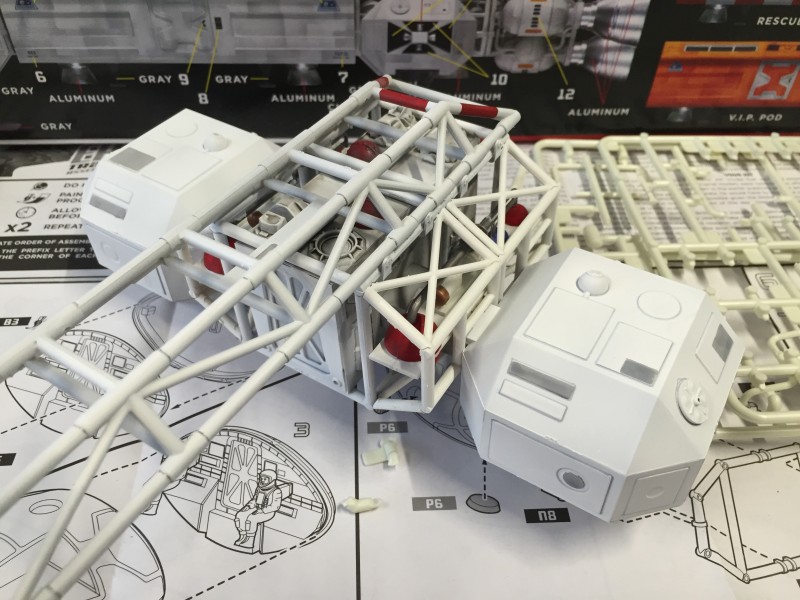
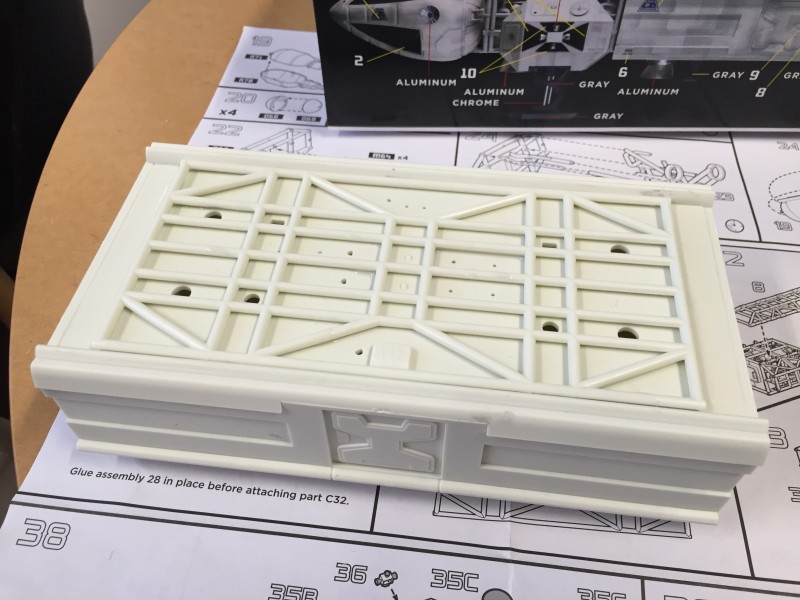
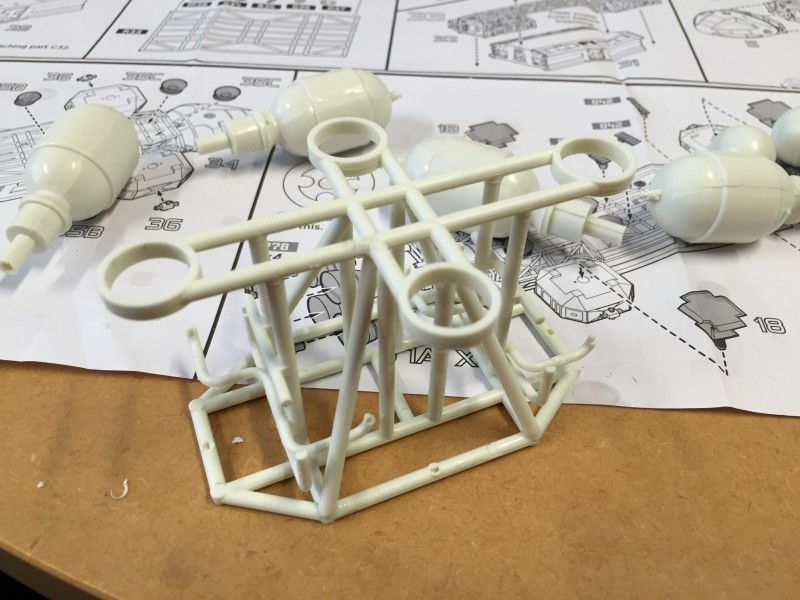
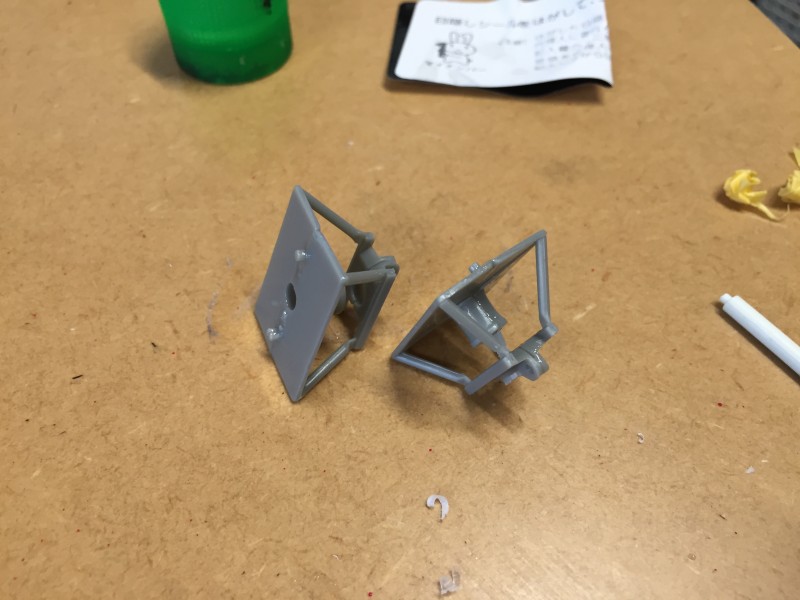
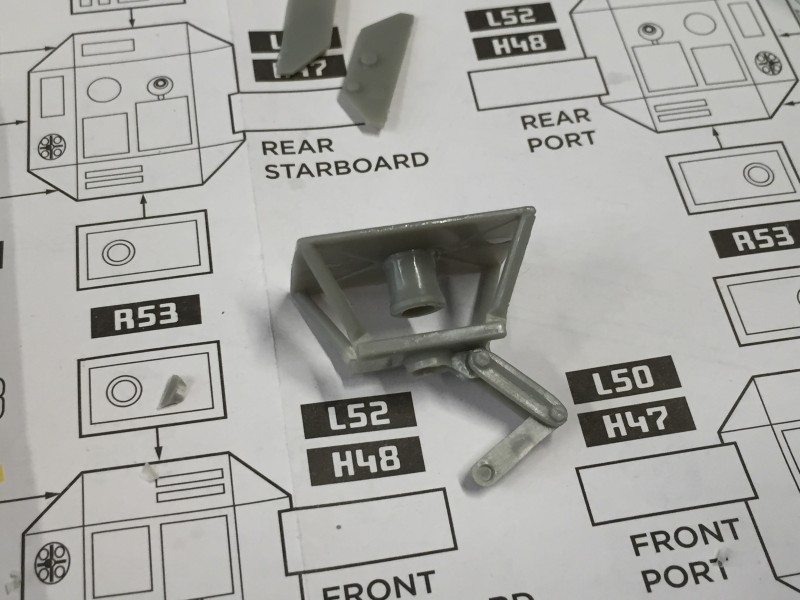
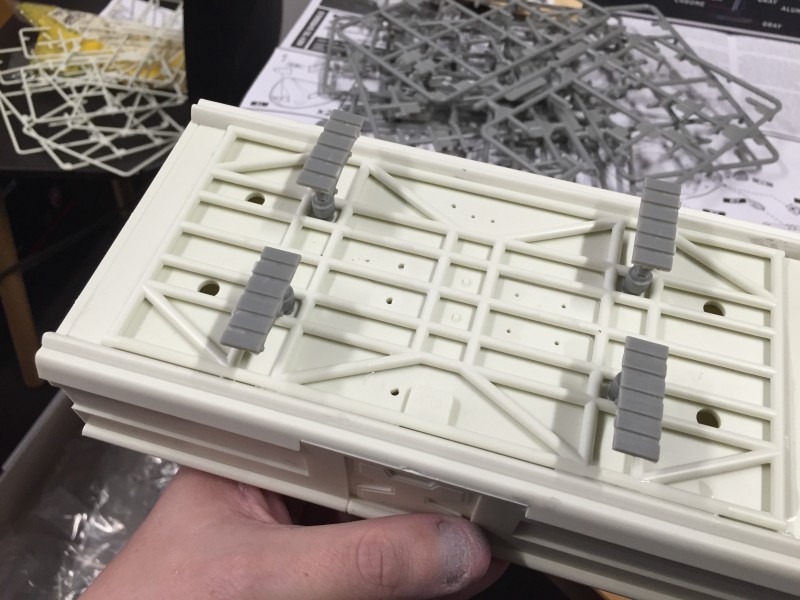
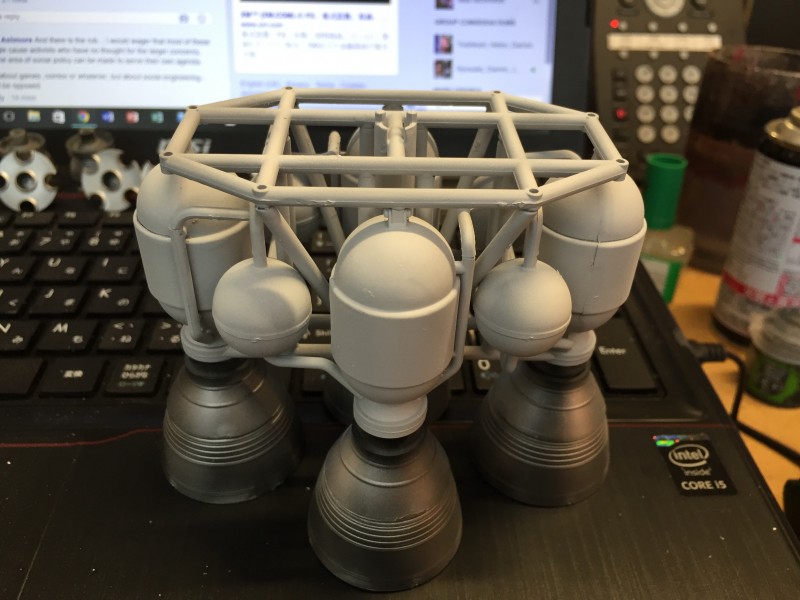
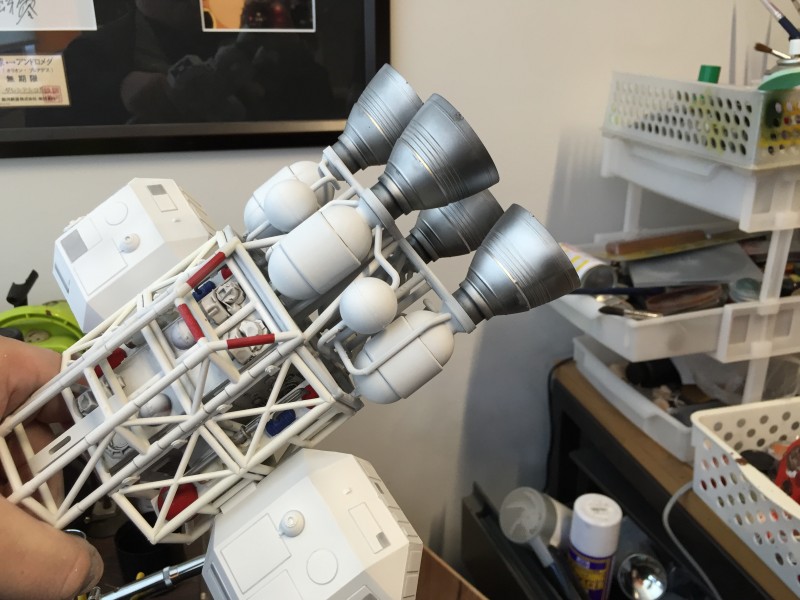
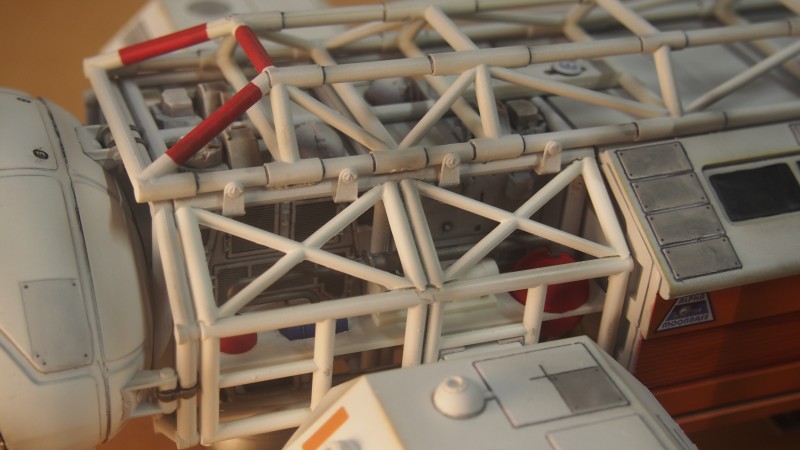
The spinal mount, on which the whole structure is strung. Caution must be used here, and strong cement. It can take a fair bit of weight, but it is not made of steel…
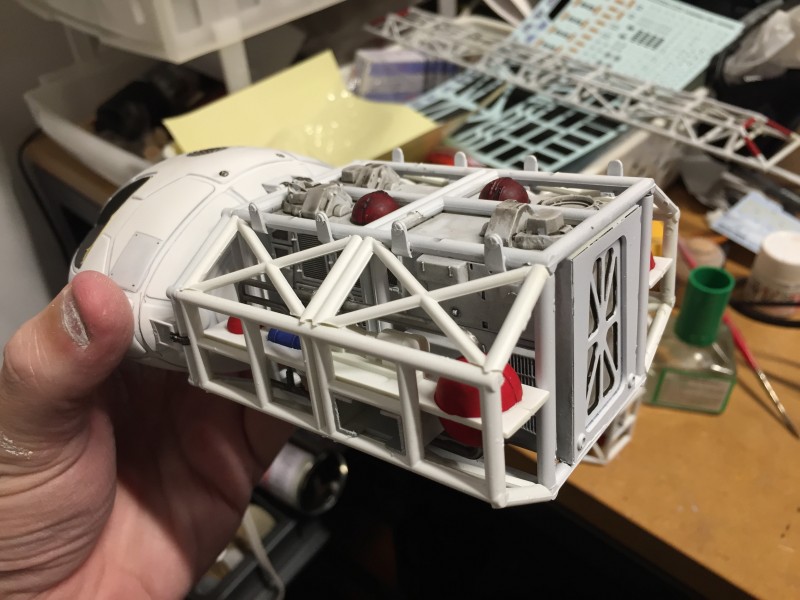

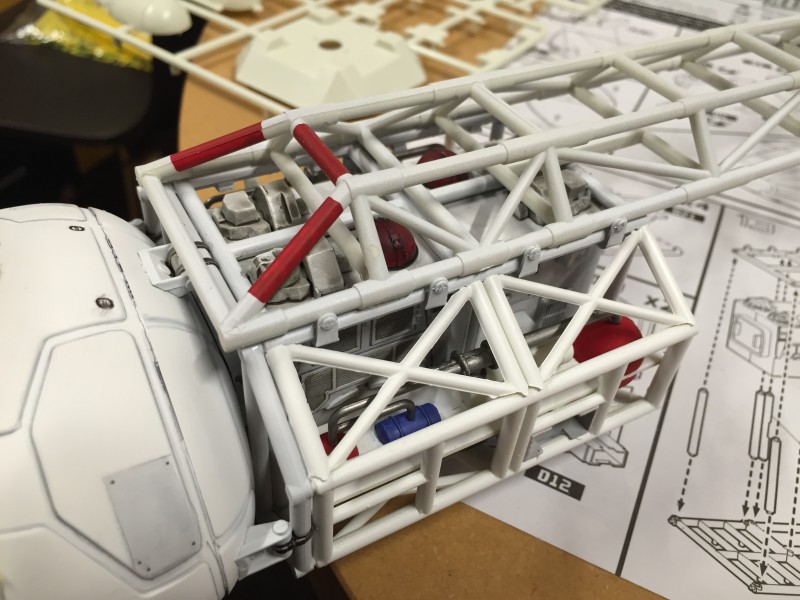
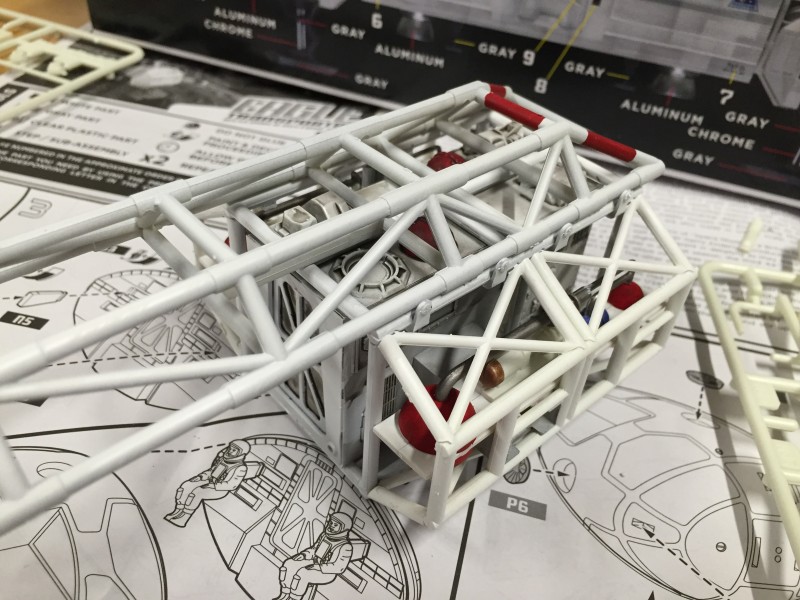
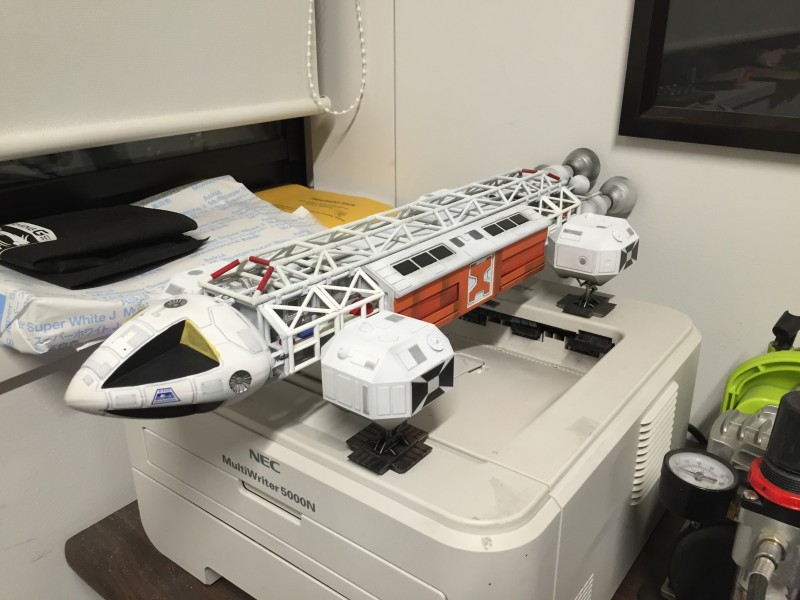
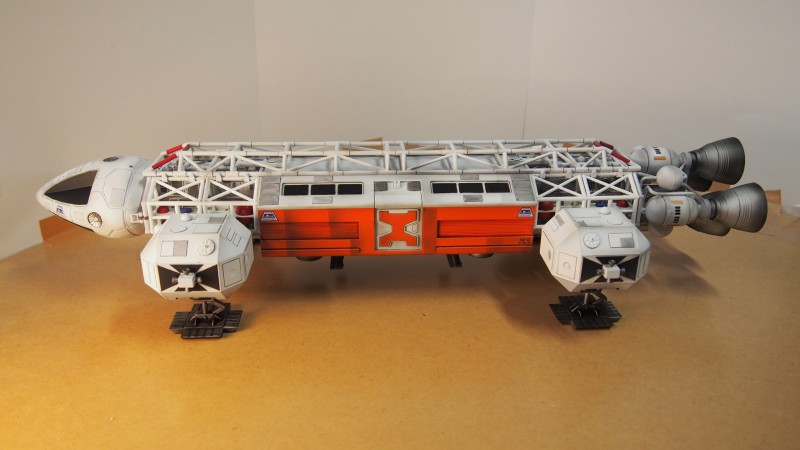
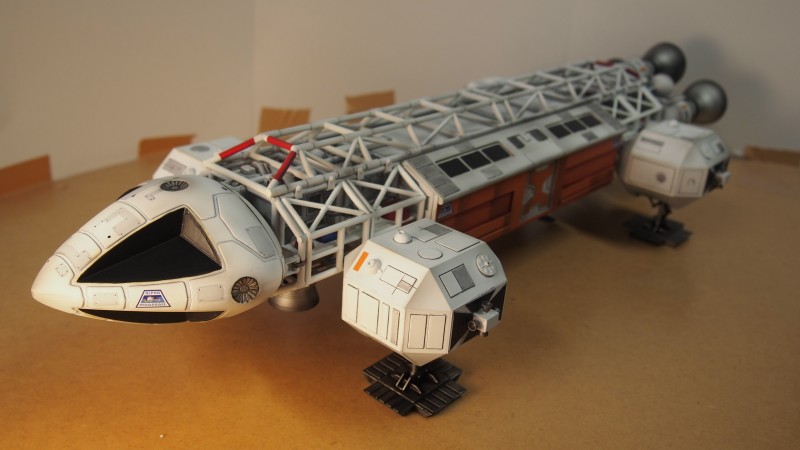
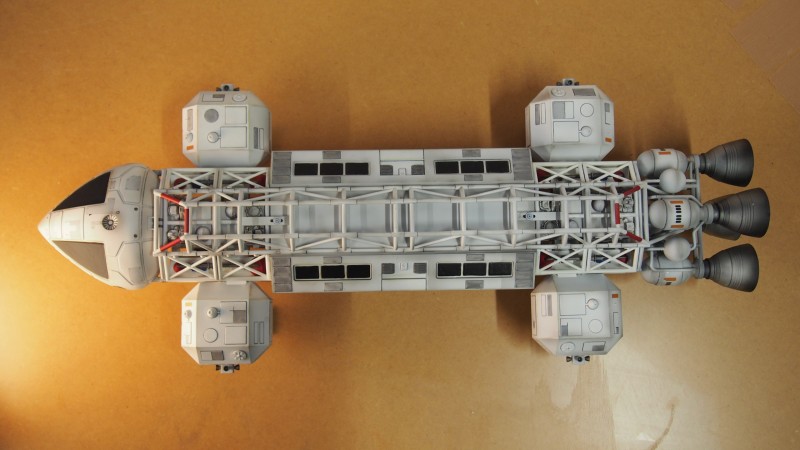
A good look at the features which made the Eagle so appealing as a model: modular, practical, and evocative of the Apollo mission vehicles.
I’ve taken a few liberties with colouring here, to help break up the lines a little behind the cages. Not lore-correct, but….. /shrug
A sort of Beautiful Ugly.
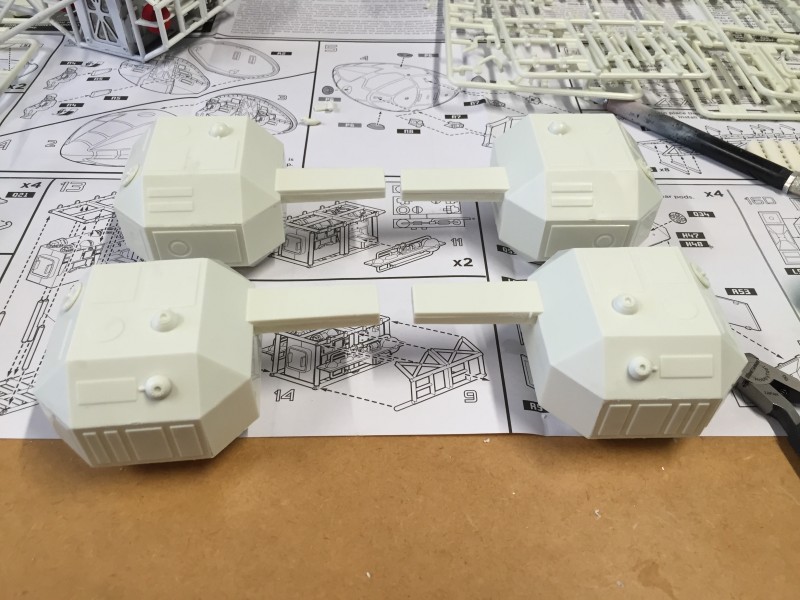

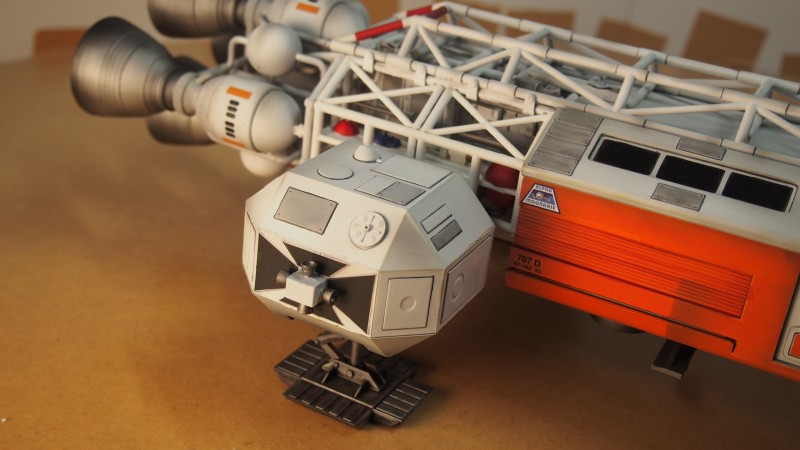
The landing gear pods, in their geometric, and totally un-streamlined form, lend further authenticity to the model.
This is not a ship that has (or should have to) worry about aerodynamics (well, it does, but we don’t talk about that…).
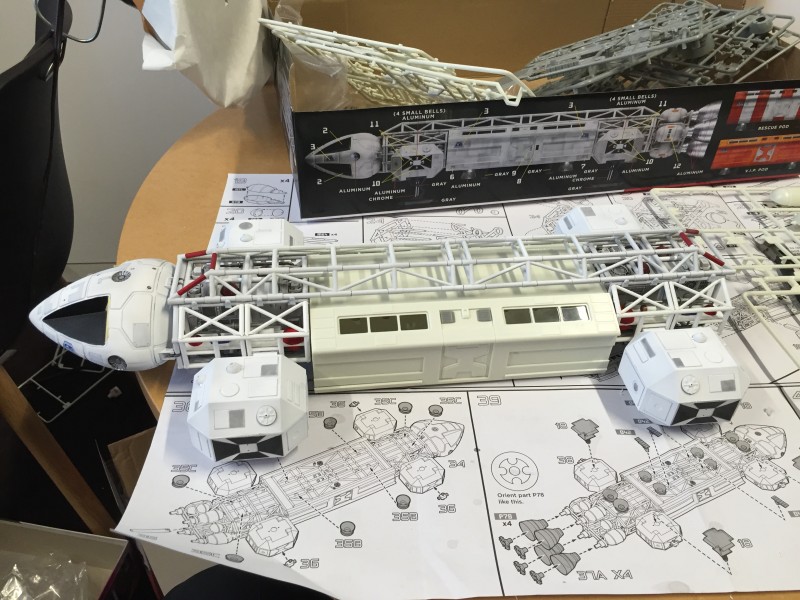
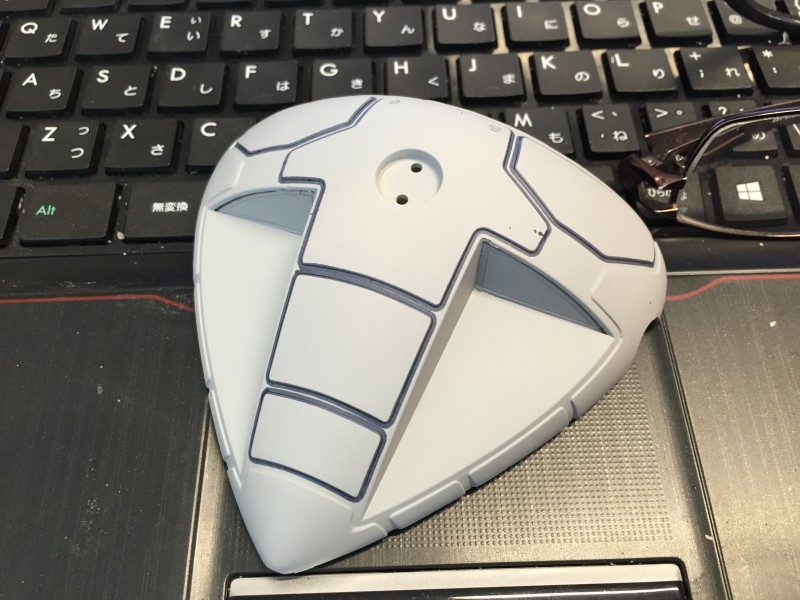
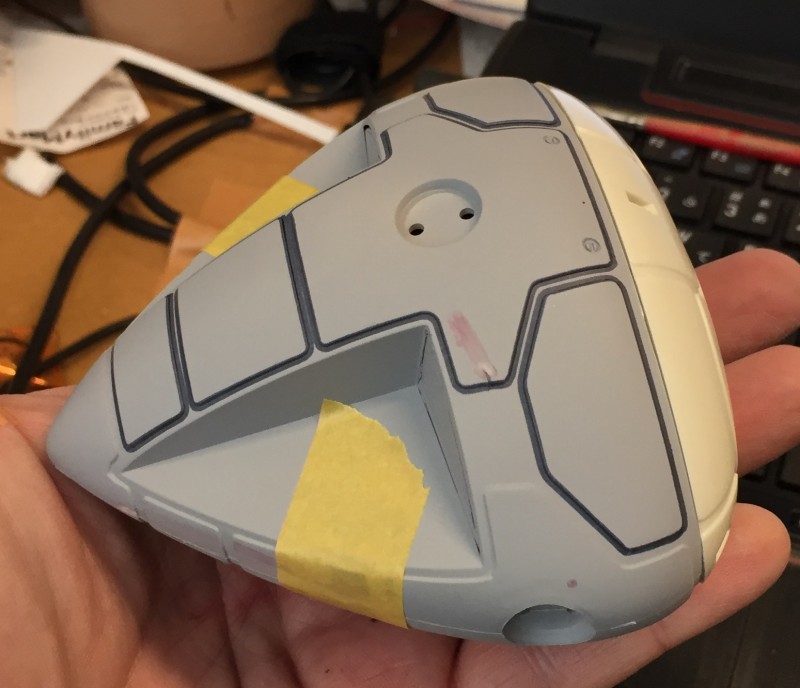
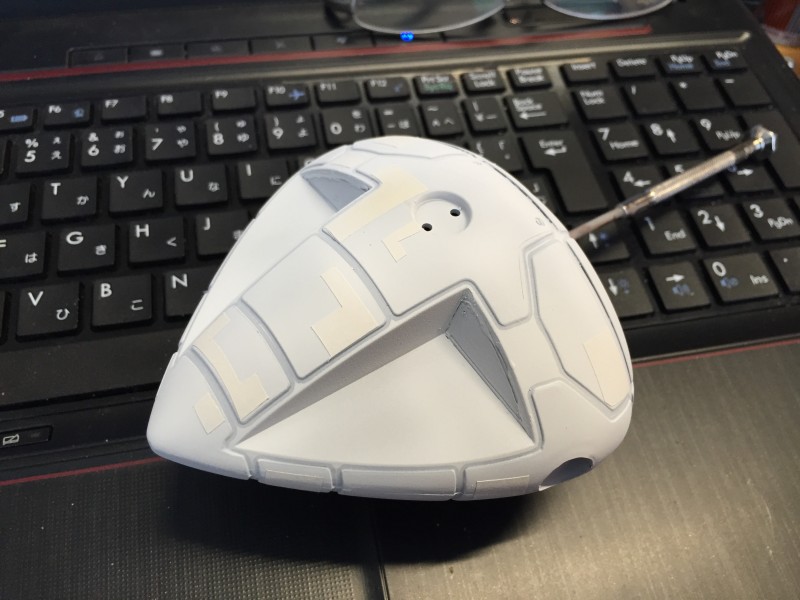
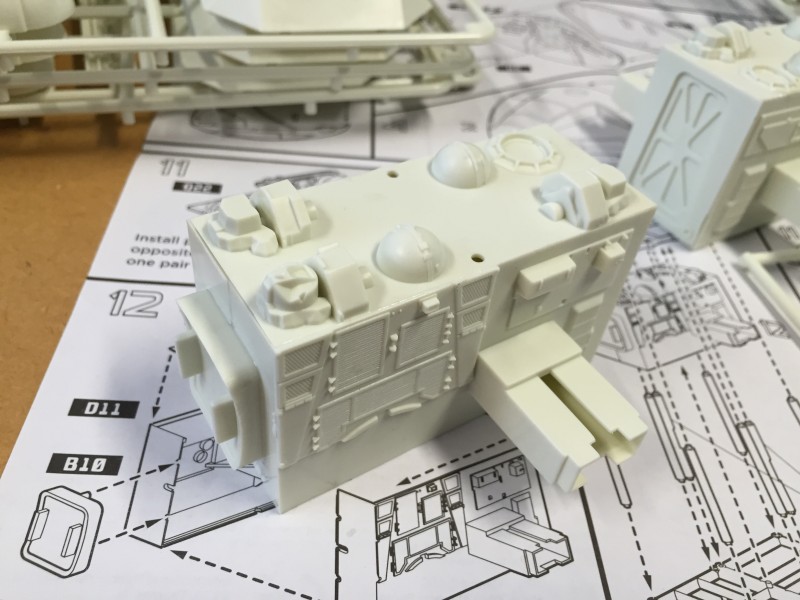
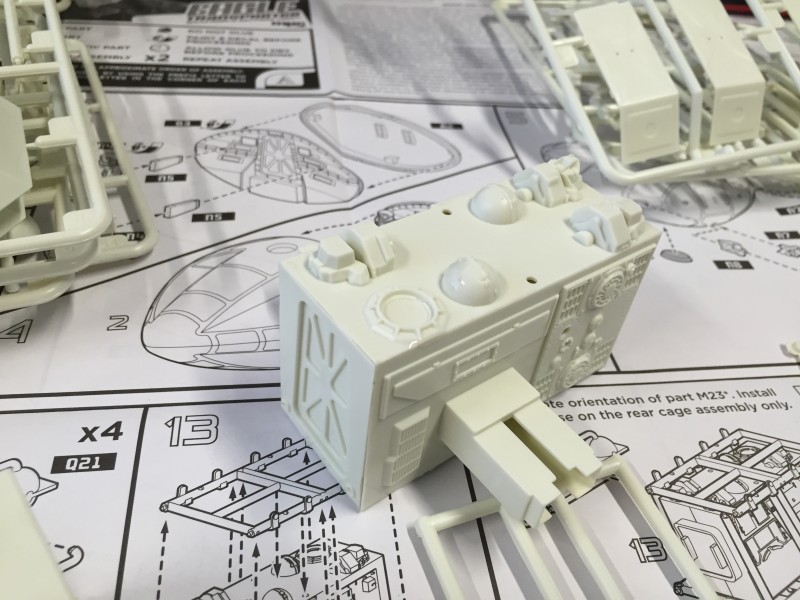
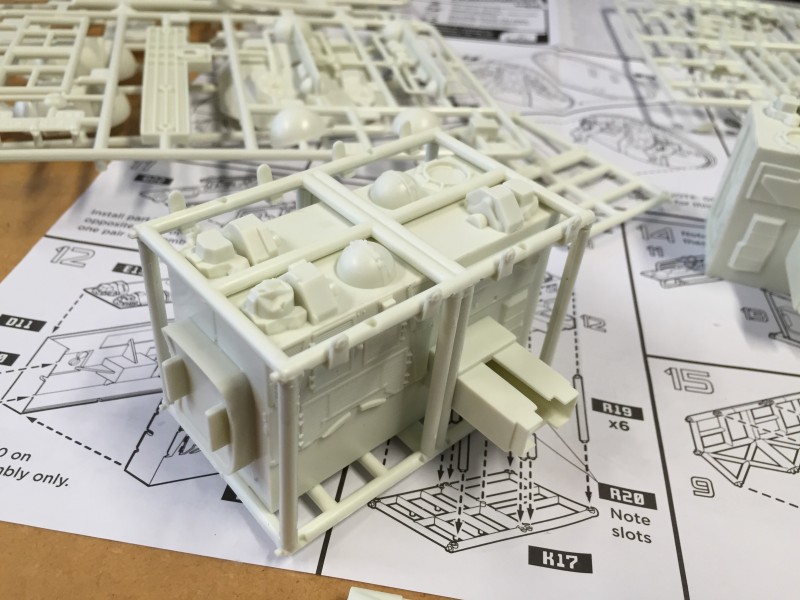
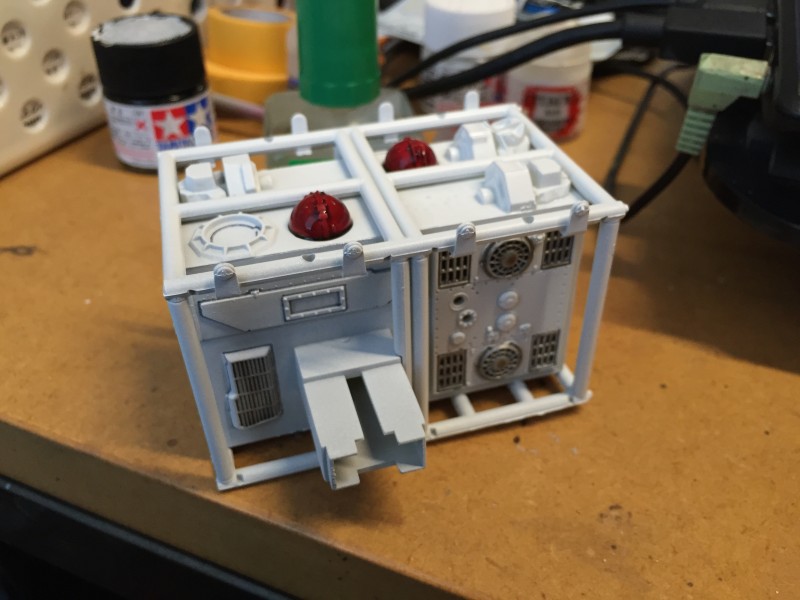
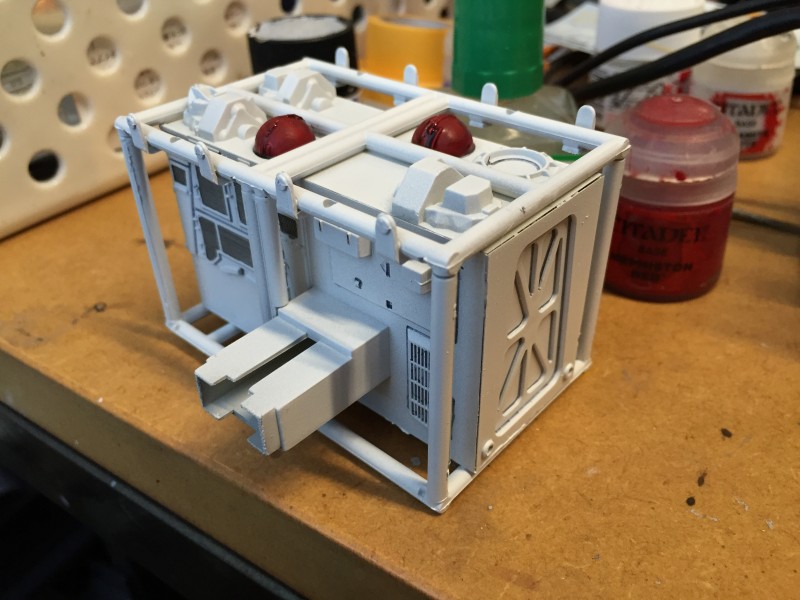
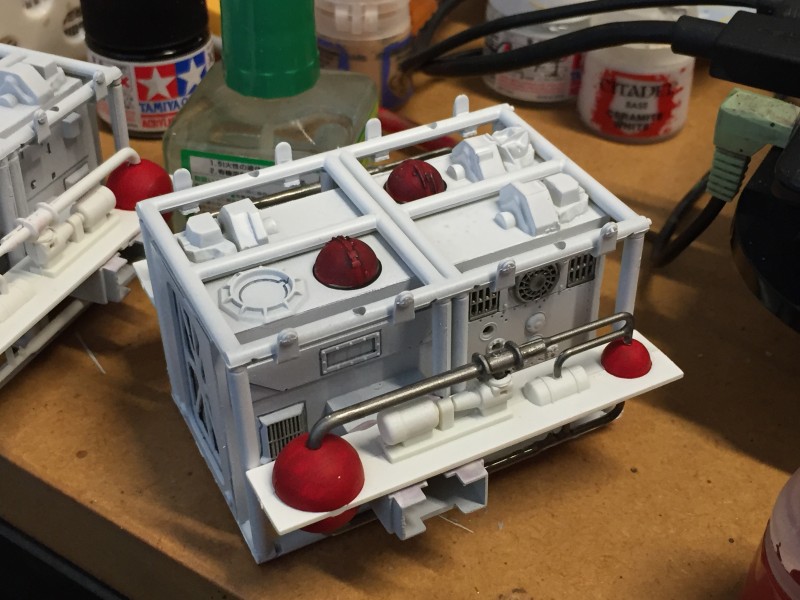
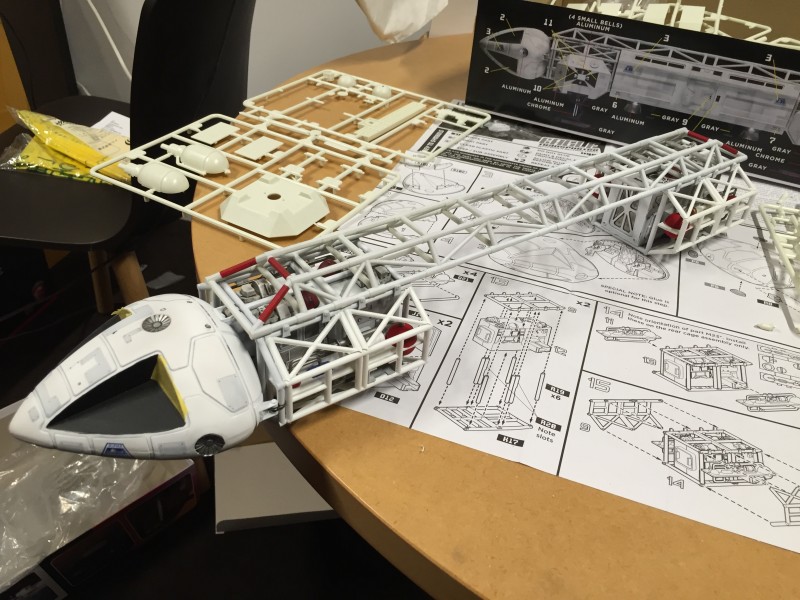
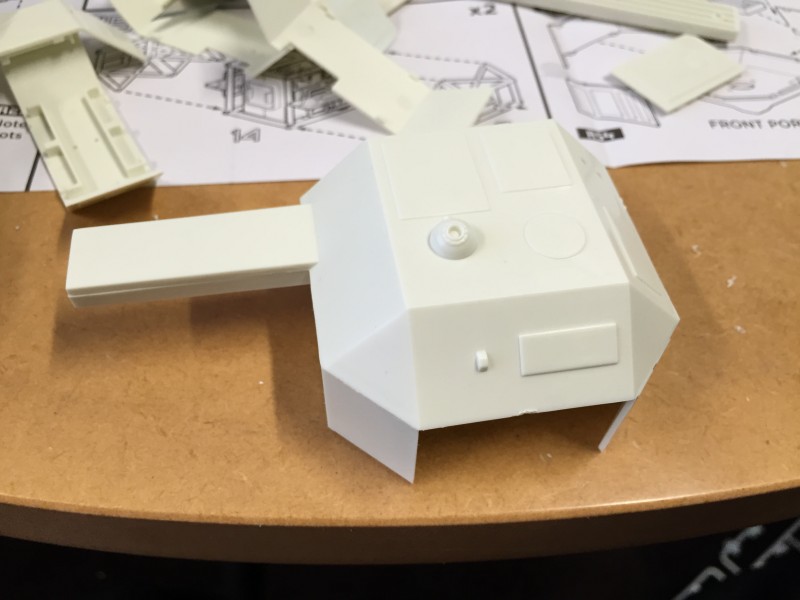
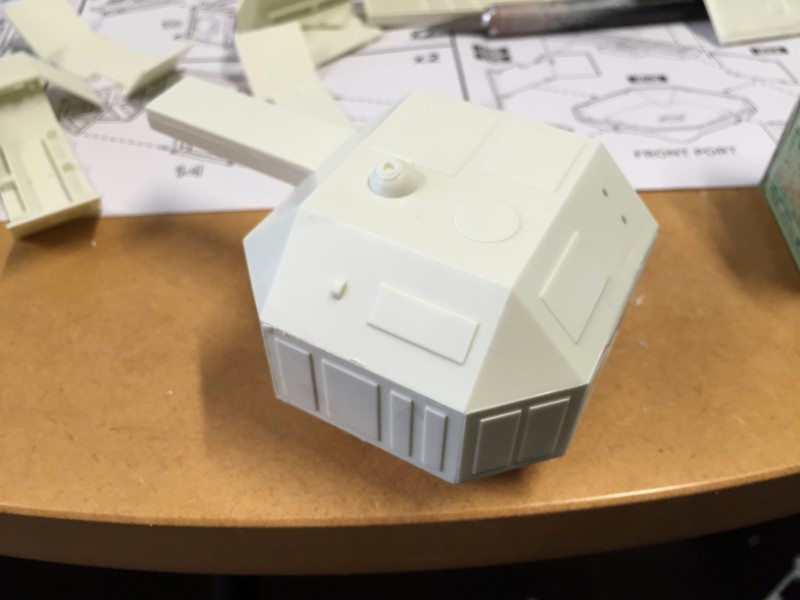
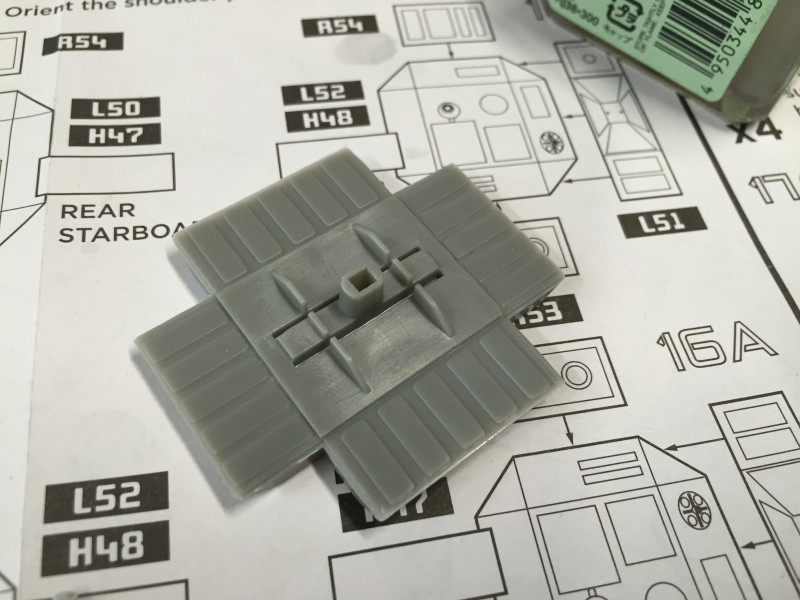
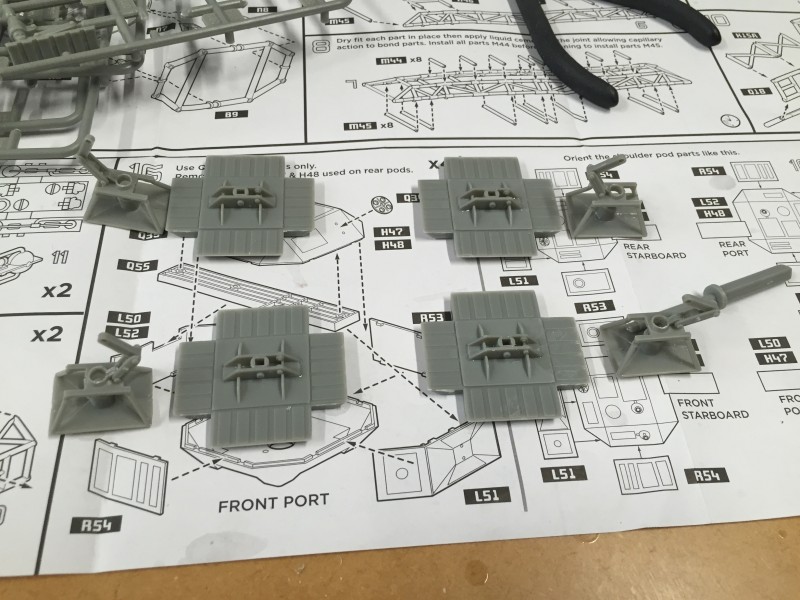
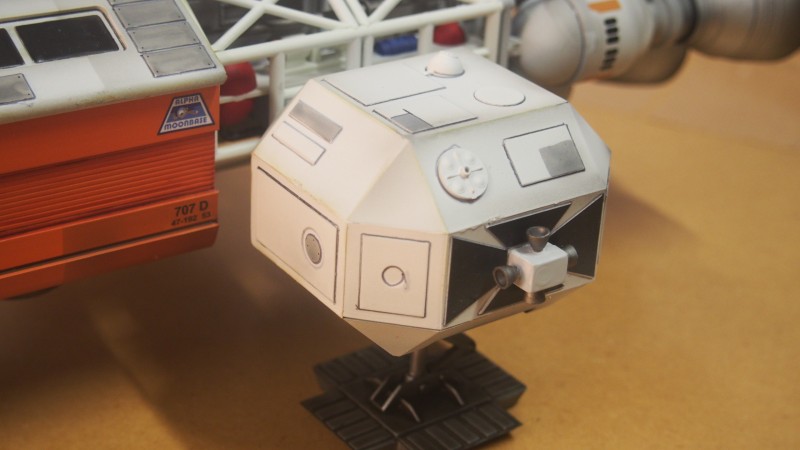
The basic transporter pod. As fans will know there were many different forms (freighter, lab, waste disposal, reccy, and so on). We can but hope that Round 2 will see its way clear to releasing some other ones as time goes by.
And an interior, for that matter… Seems a waste to have clear windows on a model for which there are no inner gubbins.
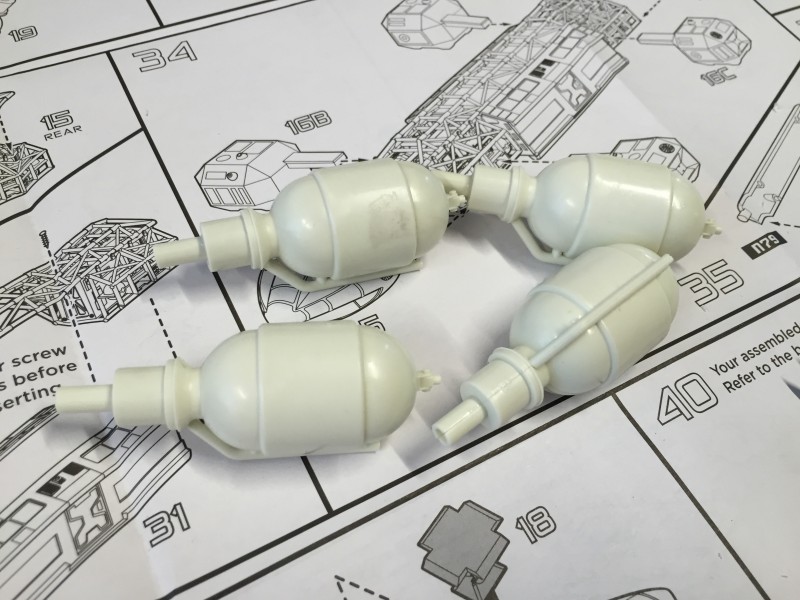
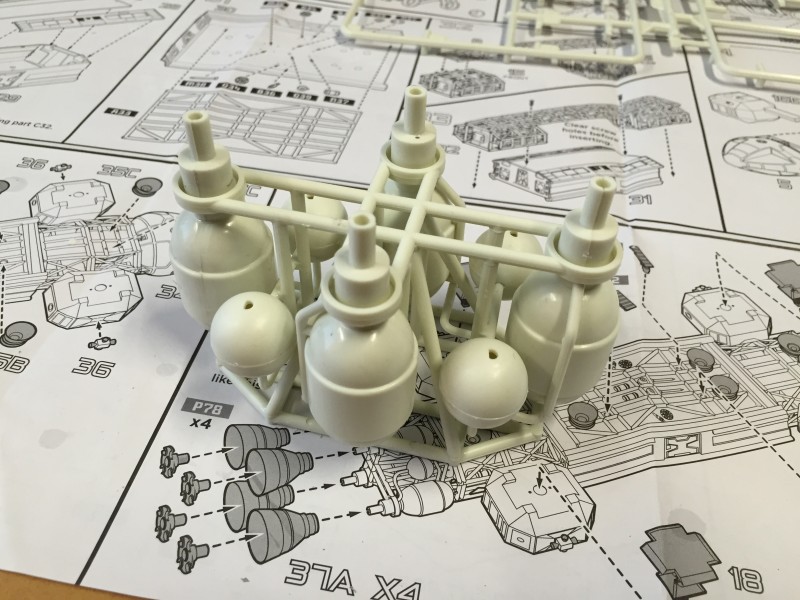
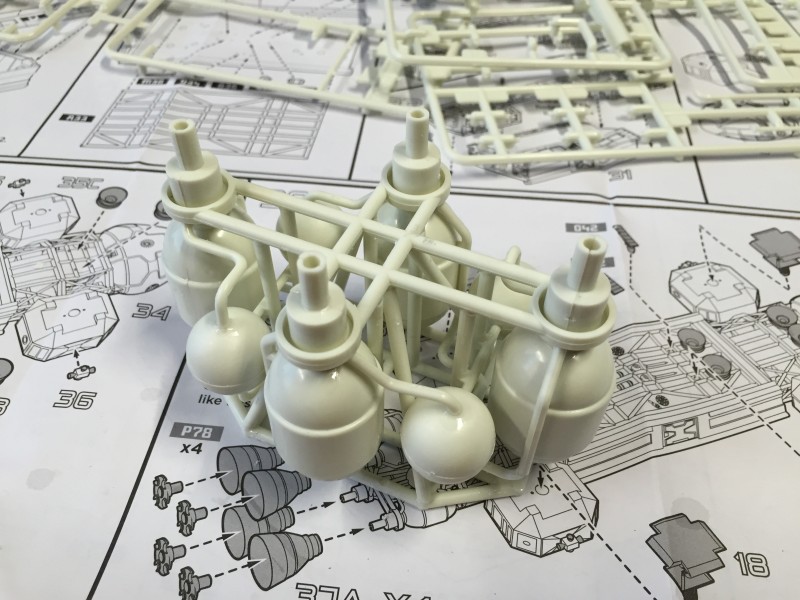
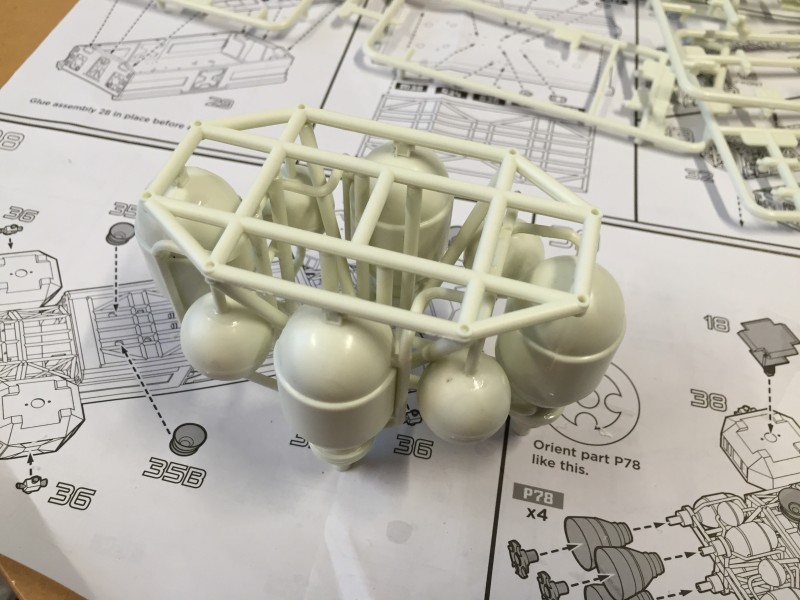
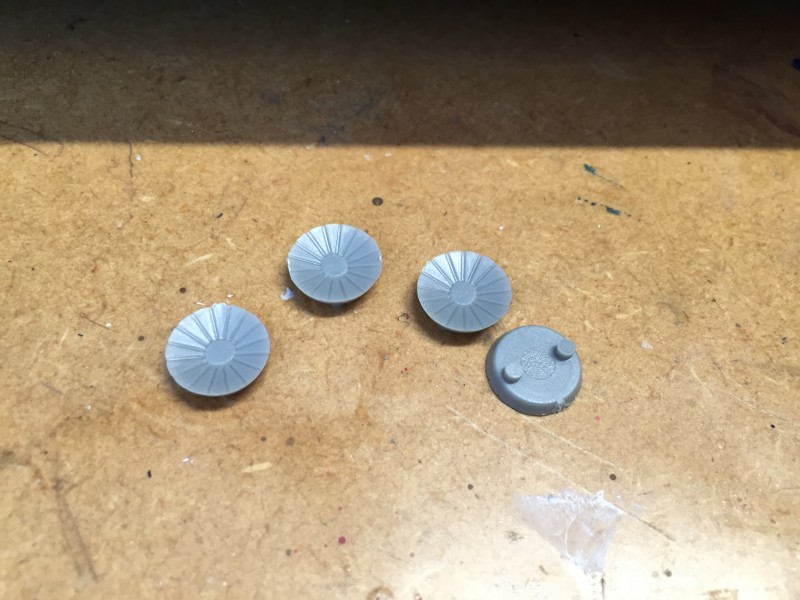
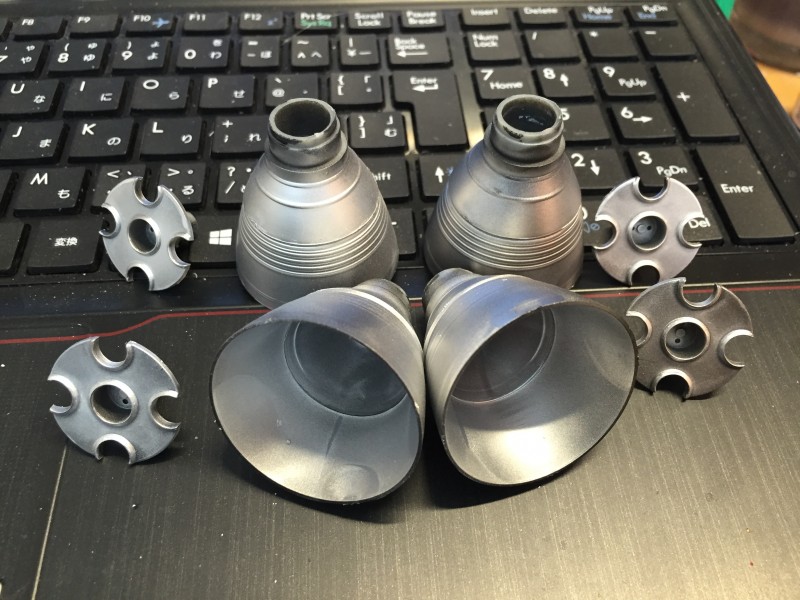
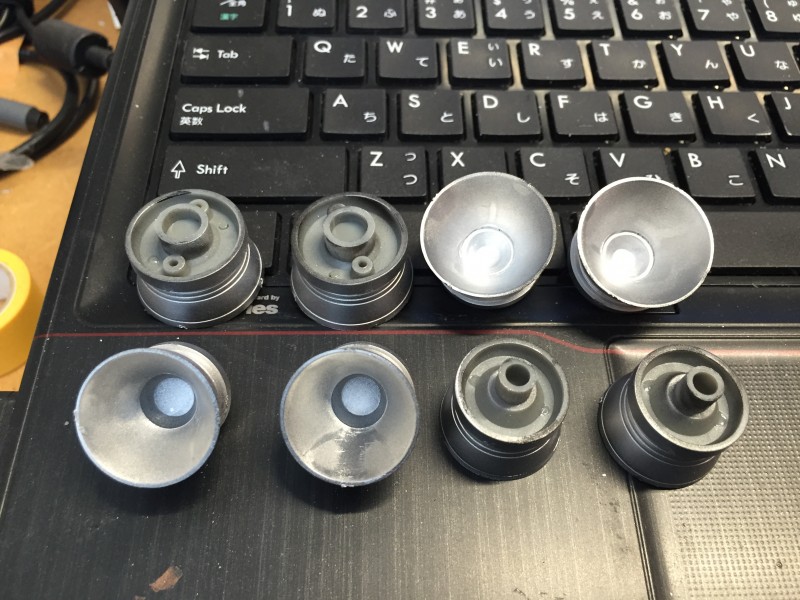
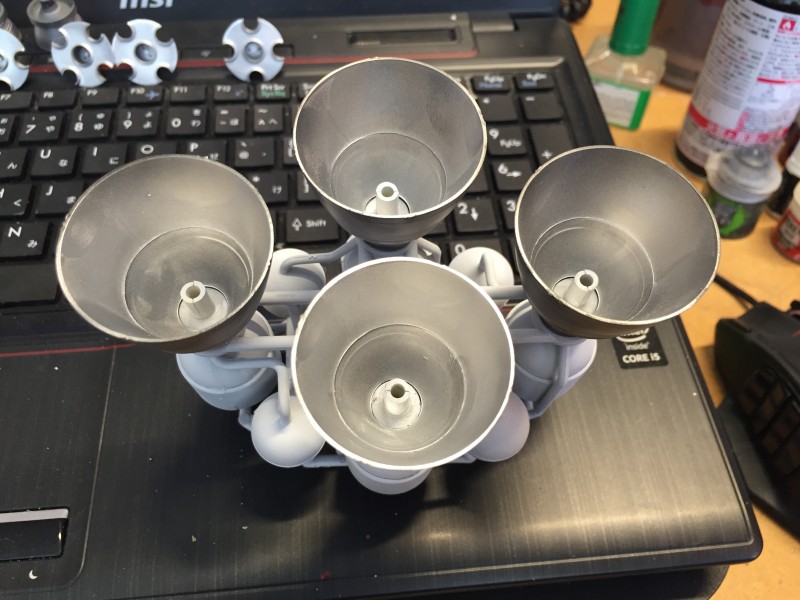
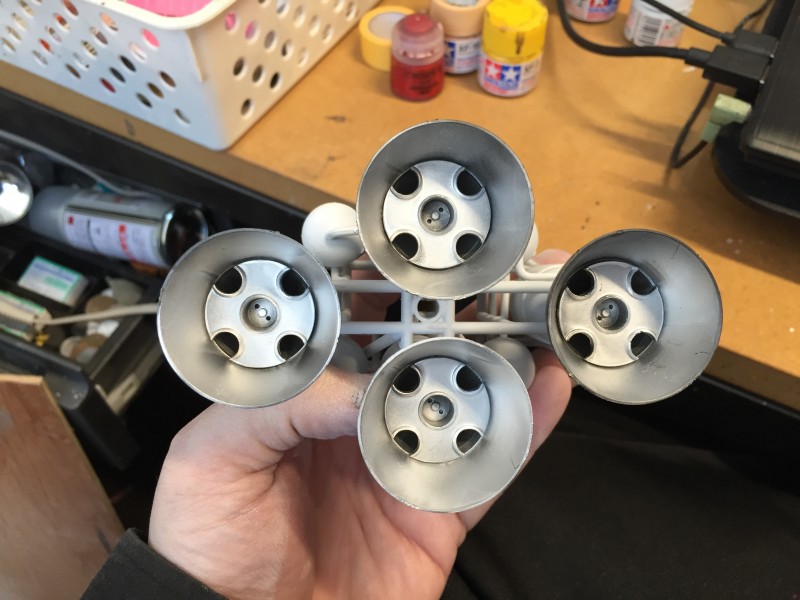
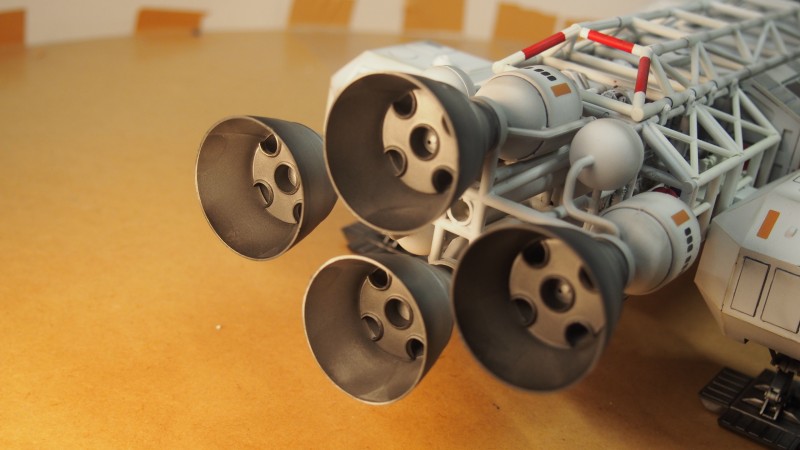
One of the things which makes the Eagle so real: the engines. Although in the lore they are supposed to be fission Nuke boosters, they have the look of classic chemical jet motors, and this is not without cause – as the production team used compressed air (or it might have been freon) piped through the model to create flight effects.
A warning though… These pipes are very fiddly to get into place. The concept is clear enough (though the instructions are a little vague), but one needs three hands to do the job correctly, the first time at least…
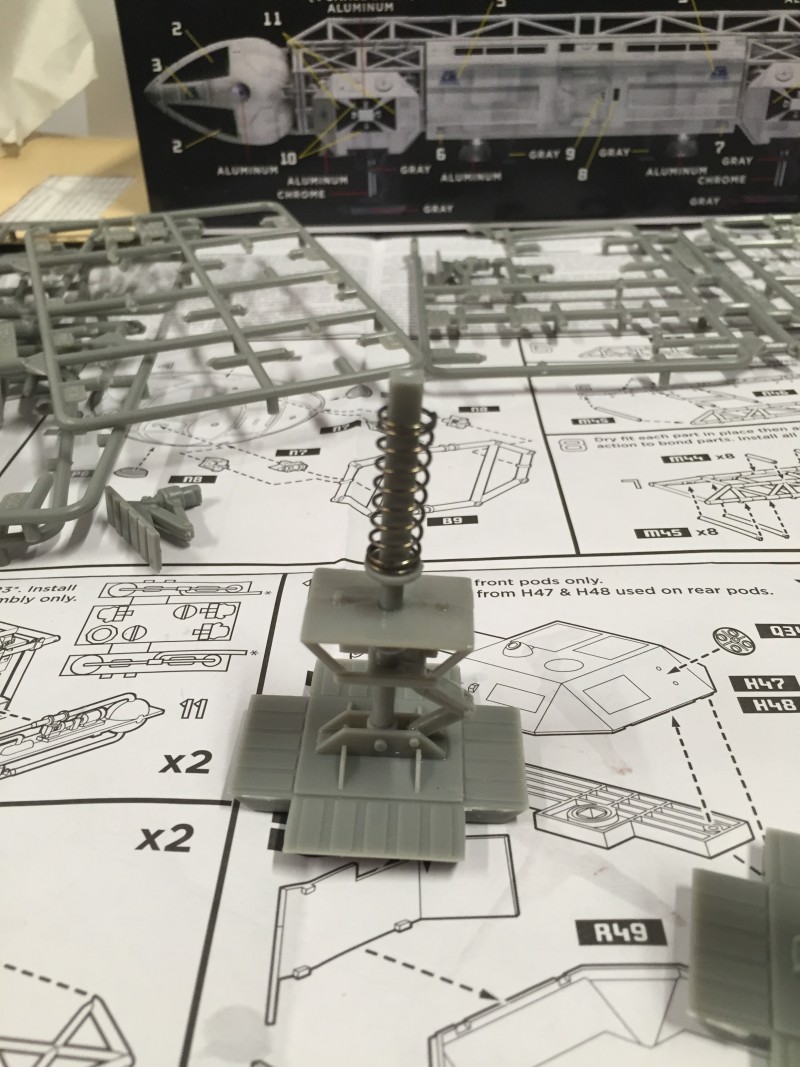
The landing gear is sprung all round, but the spring used is a little too stiff. If you refer to the guide, you’ll see how to make the kit sit better on its pins.
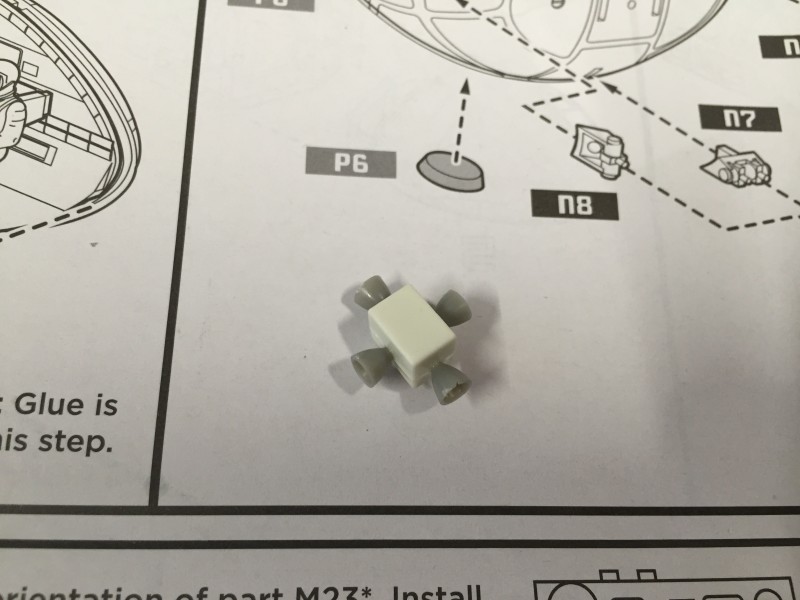
Whoops… Wrong orientation! 🙁
The rear bells I painted in Alclad Aluminium, though Round 2 also sells machine Ally bells for all the motors, which are nice, but pricey.
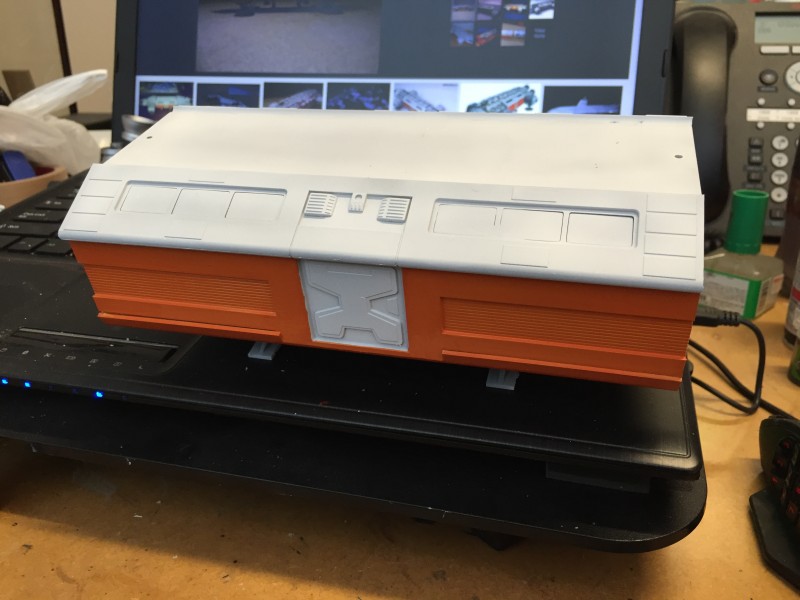
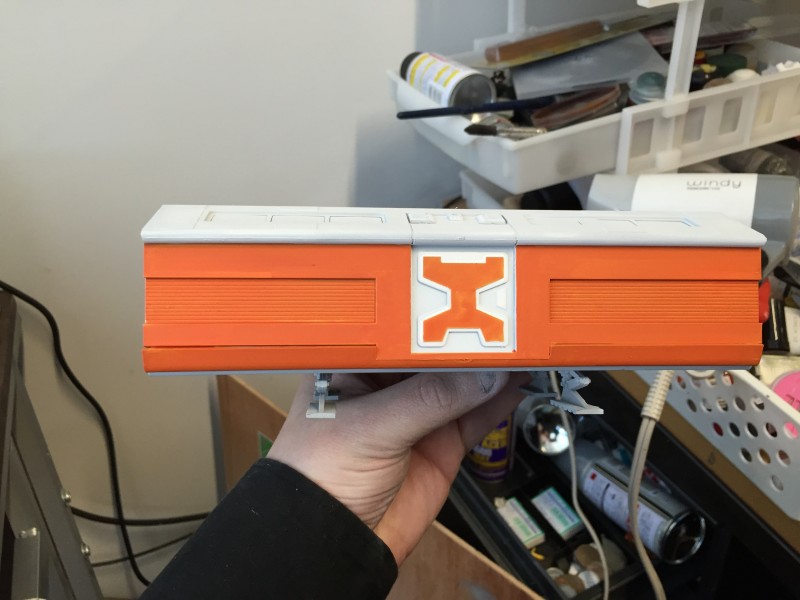
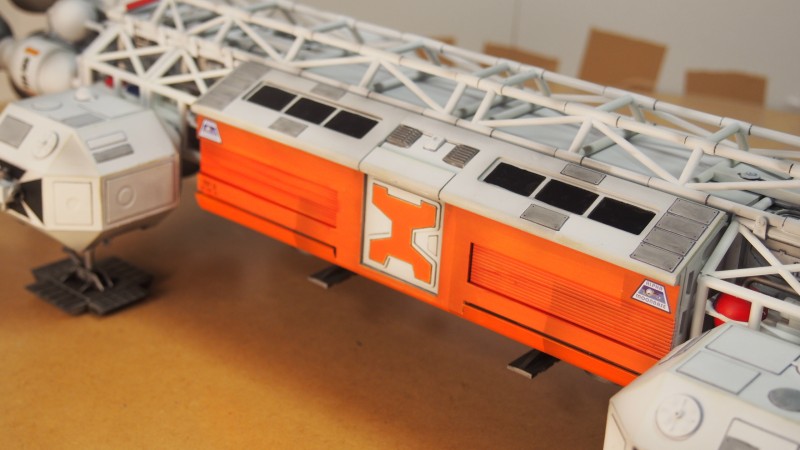
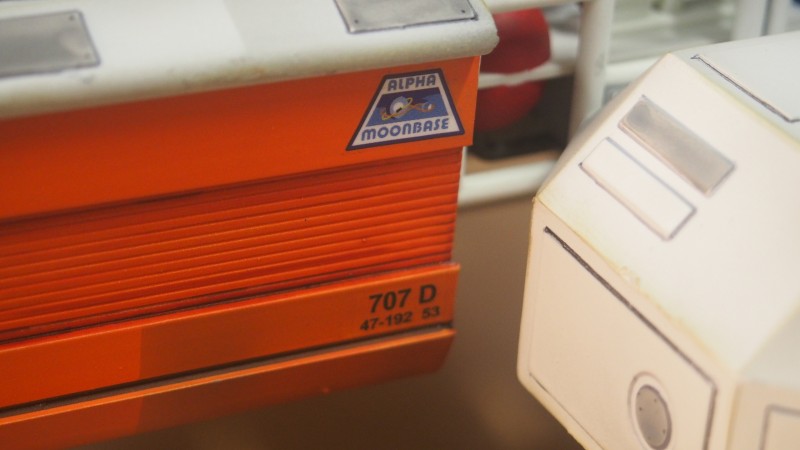
Note the difference in pod color scheme between the model and the box? Well, thereby hangs a tale, and one that begins with the picture below…
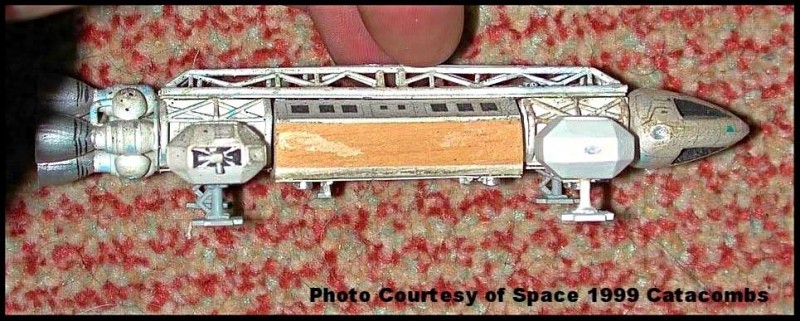
This is one of the small, 5.5″ models used in some shots on the series. Now… The VIP Eagle only appears very briefly in Episode one, ‘Breakaway,’ to mark the arrival of Commissioner Simmons at Alpha to oversee matters. This filmed model appears to have orange sides, but there was some debate as to whether it was just the sides, or the whole cab unit. Indeed, until the release of the Blurays, it was difficult to see the truth (unless you had seen the actual model), that the whole cab was colored orange and this is where this little model comes in, as per this picture.

With this small model above being stripped of its side panel, in a certain light, to a certain eye, and perhaps through the bottom of a beer glass, it could be argued that the VIP Eagle pod only had orange side panels.
This is what convinced Product Enterprise and Aoshima to release their version with the color scheme I have used here which is, though incorrect (and Jim Small has made sure that the correct scheme features in the painting guide of the R2 kit) the favoured scheme of many stubborn buggers who insist on sticking to their ways.
A slice of fan lore getting out of control and taking on a life of its own…
The Finished Article
Nostaglia at a full 22″ – with VIP Pod
A little anachronistic detailing on inner pipe and tank work, to make them stand out more.

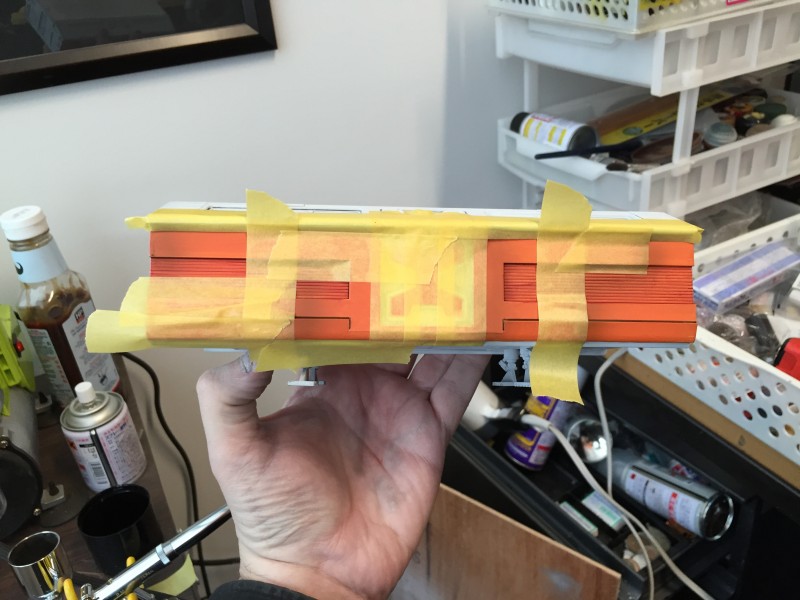
You flipping moron, Darren… Mask the windows before you matte coat! This is like the 3rd time now, you soft pillock!
It was a hard decision to go for a little hard/forced contrast on the detail, but a 2B fine lead pencil did not overdo things
I blacked out the windows on this build, but the next one I think deserves a lit interior – and cockpit
The legs ride a little high right out of the box on their strong springs. If you refer to the linked guide, you will see how to get them at the correct level.
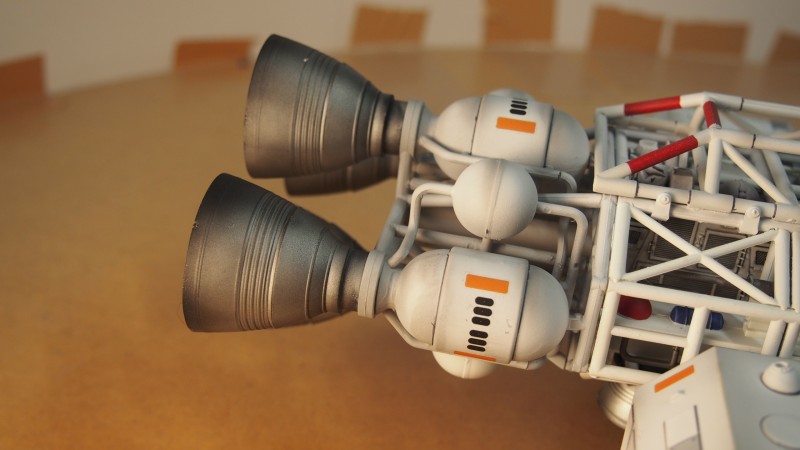
Though the Deluxe Engine kit is available, I found using Alclad paint just as good.
Orientation, Ashmore! Make sure you haz it!
Still… Not half bad for a 1.5 day build.
In Conclusion
In conclusion… This is a kit for which we have all waited, even if we did not know we did.
It is, in the vein of many R2 kits, a little rough and ready in places, as well as needing some tuning to be right on the money, which is something the price tag might not justify. However, do bear in mind that this is the first run of a model that, much like the other large R2 kits, might well not have been were it not for fan aid, fan love, and even fan pressure.
There is nothing really sloppy about this kit though. It goes together well, and just needs some TLC to bring it all off properly (as per the guide noted above). I have often heard the complaint that ‘in this day and age, such problems are avoidable…. Just look at Tamiya…[etc. da capo]’. This is hardly fair…. I’ve worked for Tamiya and if Round 2 had the facilities, staff, logistical support engineering, design facilities and time to work with (for example, the recent 1/32 Mosquito was in planning for five years before production) we might be able to throw rocks at Jamie. I do not wish to sound like an apologist, but MPC/R2 have done wonders with what they have.
Still, this is certainly a kit for fans. Those who ‘get’ Space:1999 will know why this kit is so important.
This has to be my kit of the year… Even in March I can say this. Nothing can match up to the nostalgic glory – unless it happens to be a Round 2, 22″ Lab Eagle with booster, of course.
Dr. Robodaz to Main Mission. Let’s take her up!

Scifitodd
That’s a fantastic article, and thank you for the kind words, I’m so glad you got your kit and it looks spectacular Dr. Robodaz! 🙂
Richard Lamer
Thanks for sharing, BEAUTIFUL build.
K Moore
What others have already said. I have been building a Eagle model for a while (placing internal lighting) and other set backs, My idea was to show a worn, dirty, jury rigged fixes (supplies can not last forever) still the work horse Eagle. As in all things the hardest thing to do is to say, “STOP!”, that is enough. I would very much like to send you pictures of my build in progress. 1) to show off some of my ideas, and 2) hopefully get some of yours.
Robodaz
Aye, surely.
Share them here that we may all see and get in on the chatter. Round 2 are still on the go, as you know and not done yet with Space 1999.
Paul
Thoroughly enjoyed reading and looking through your journal of this build, loved the way you went off piste a bit with the colours of the support pieces-the best advice I have seen ever about making models is that it’s your kit.
It’s been a labour of love completing my MPc 1-48 – loved the show and especially the Eagle .