So after painting the figure we can start on the basic paintjob of the tank. I want to create a “panzergrau” tank so I can make this simple and spray the complete tank in the “correct” grey color. However, I’d like to try and make the coloration a bit more interesting. A part of that will happen with the use of filters, and in the later stages/chapters, with a little bit of extra work, I try to modify the basic color in this chapter.
Shading
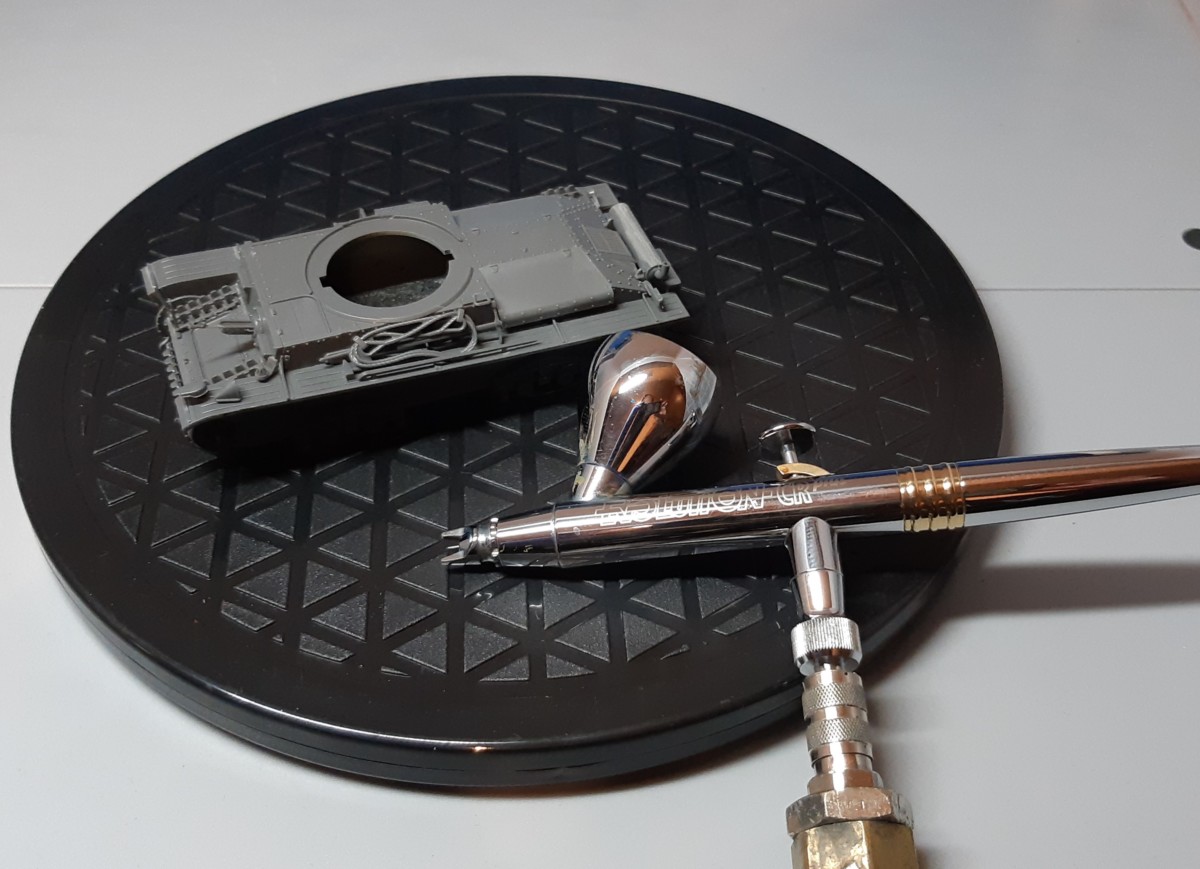
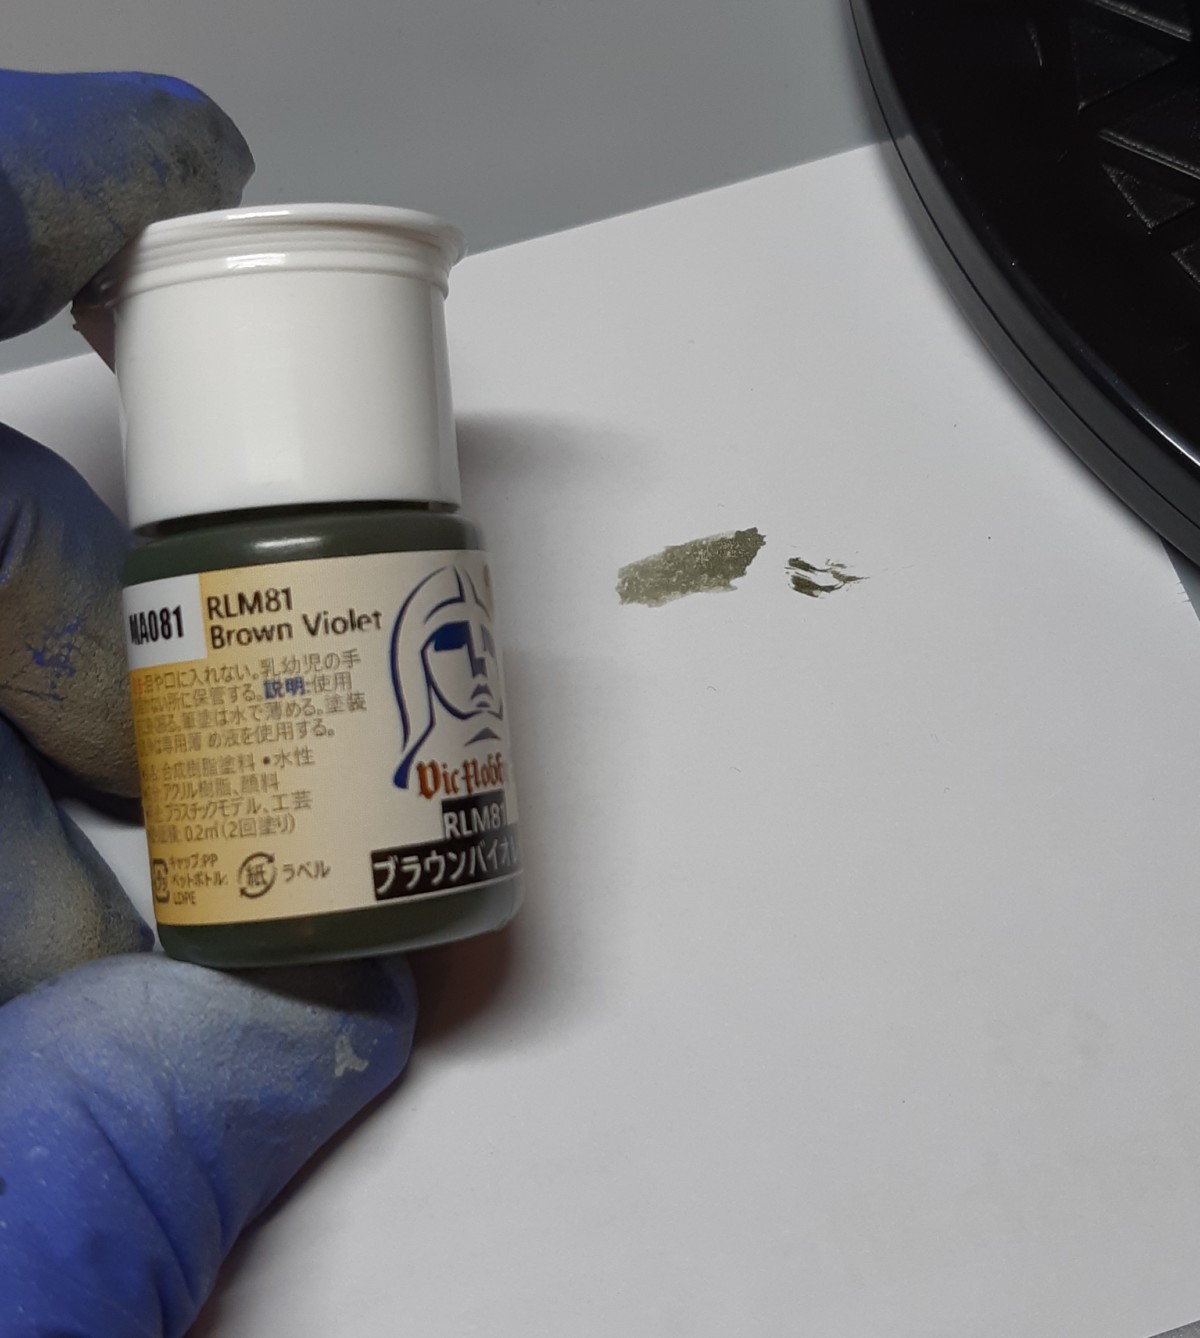
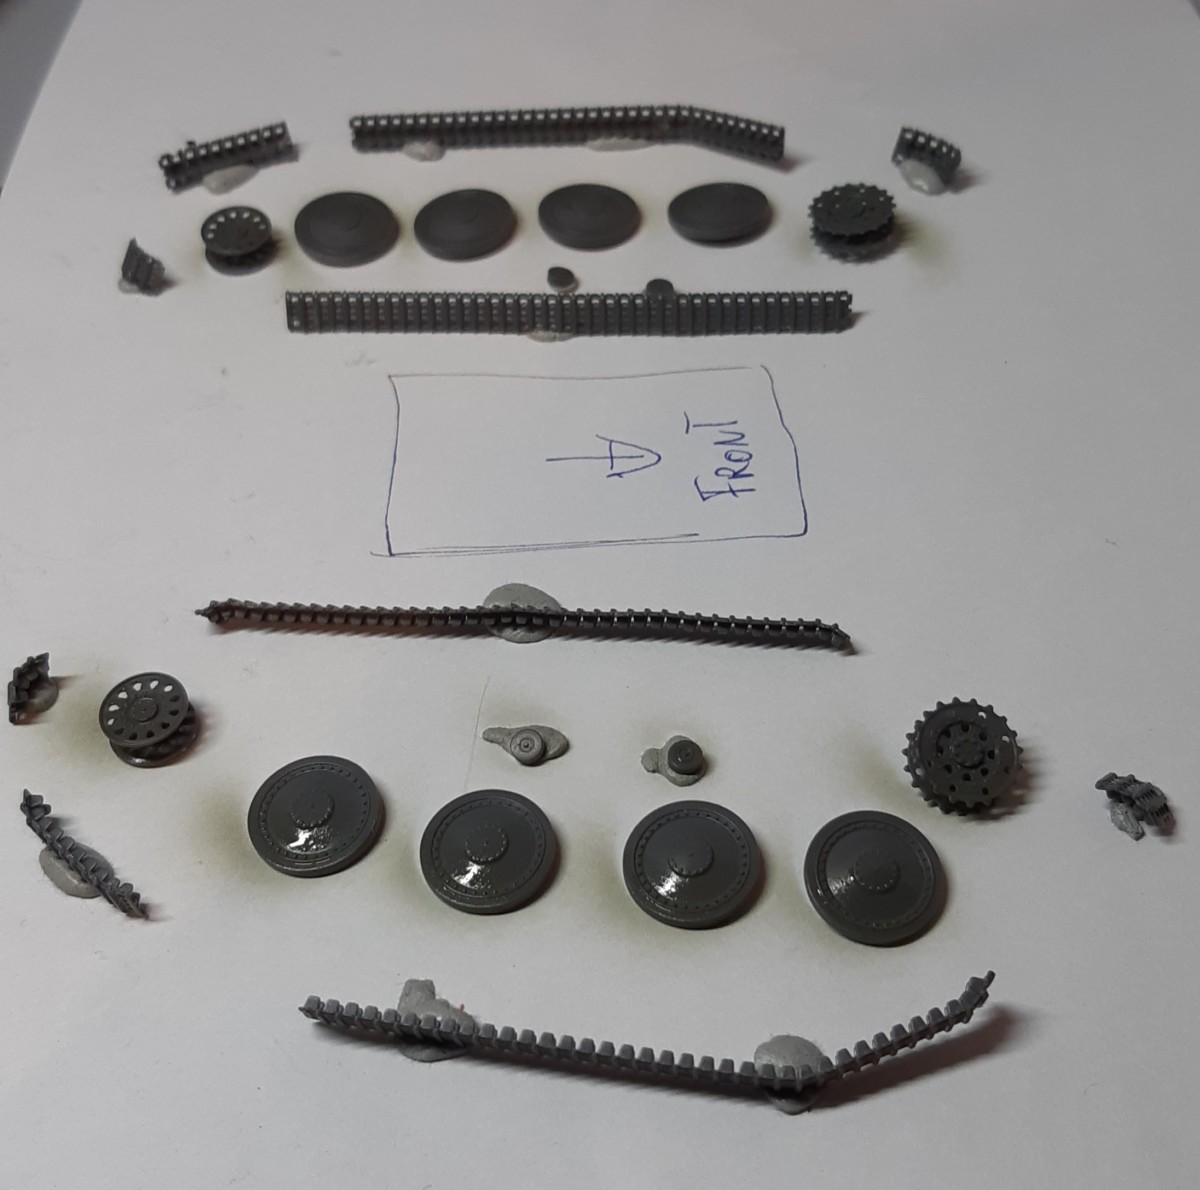
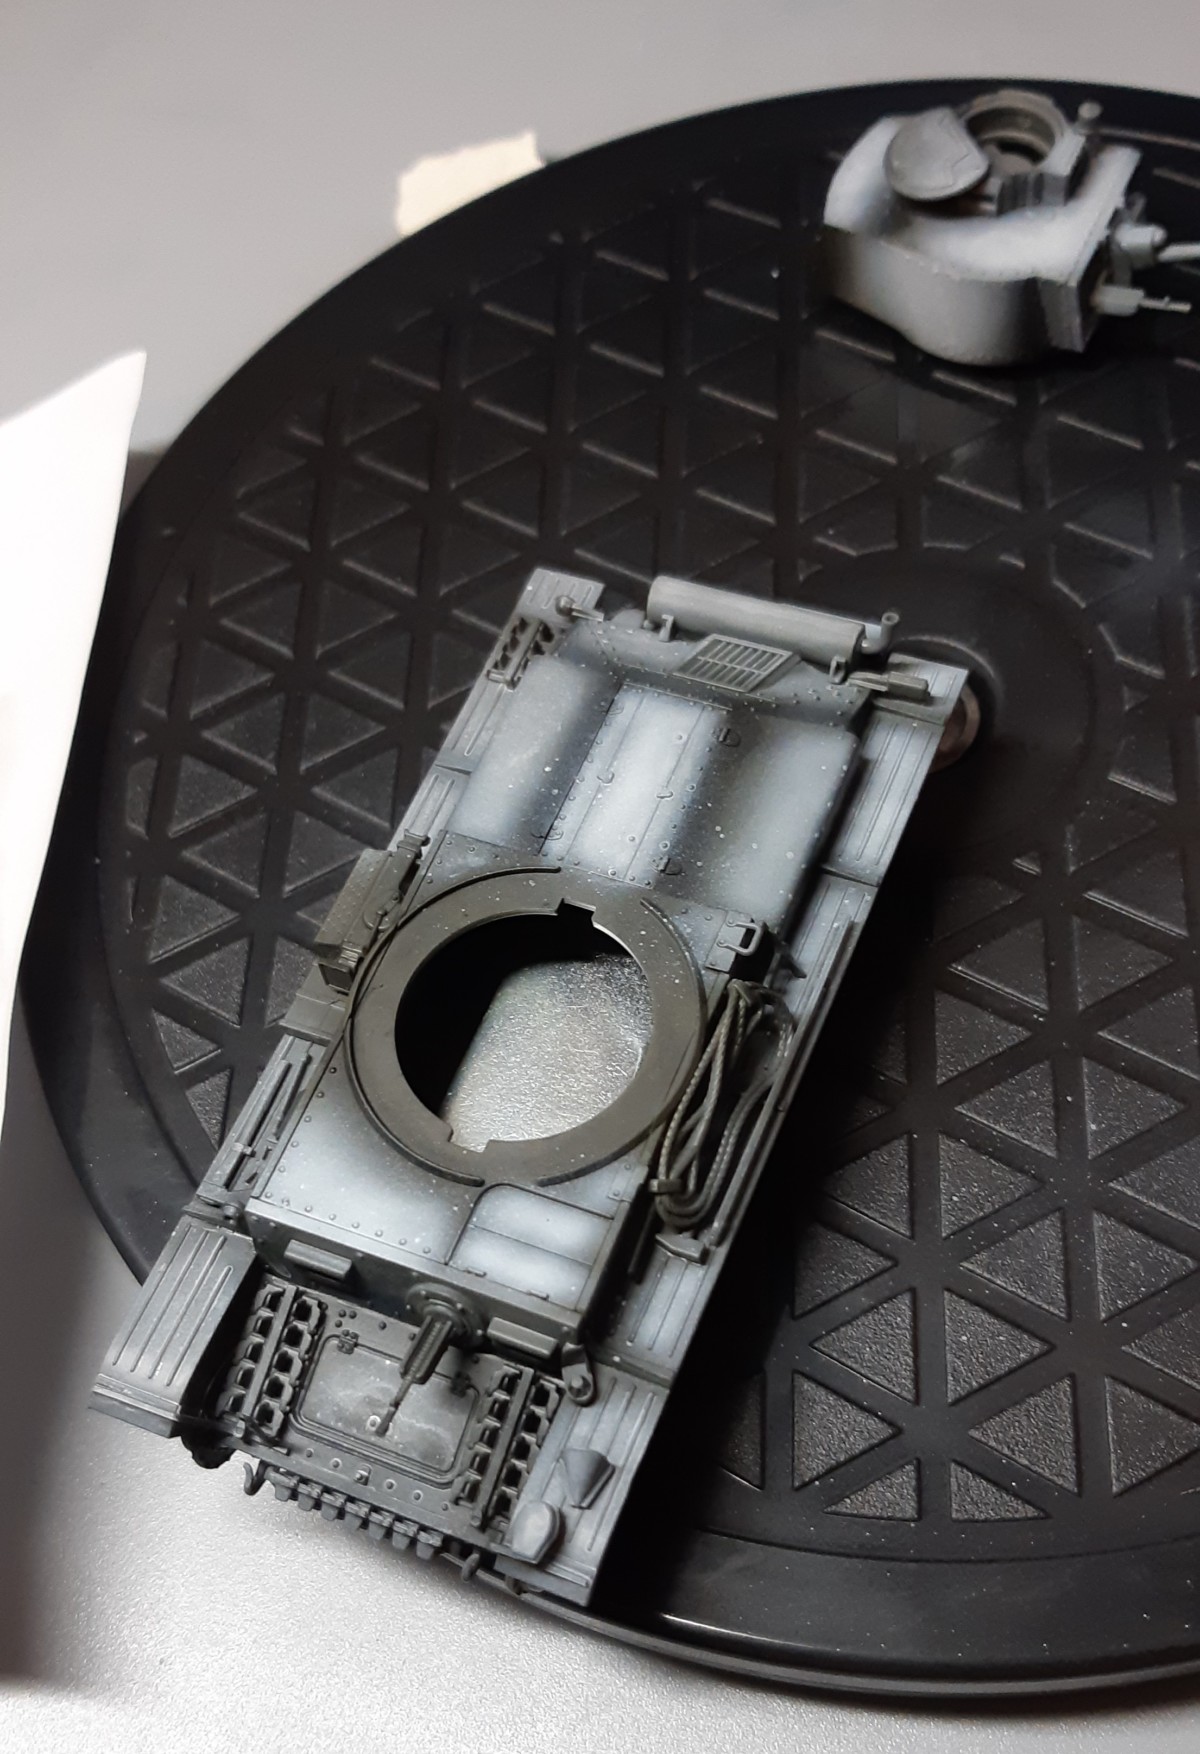
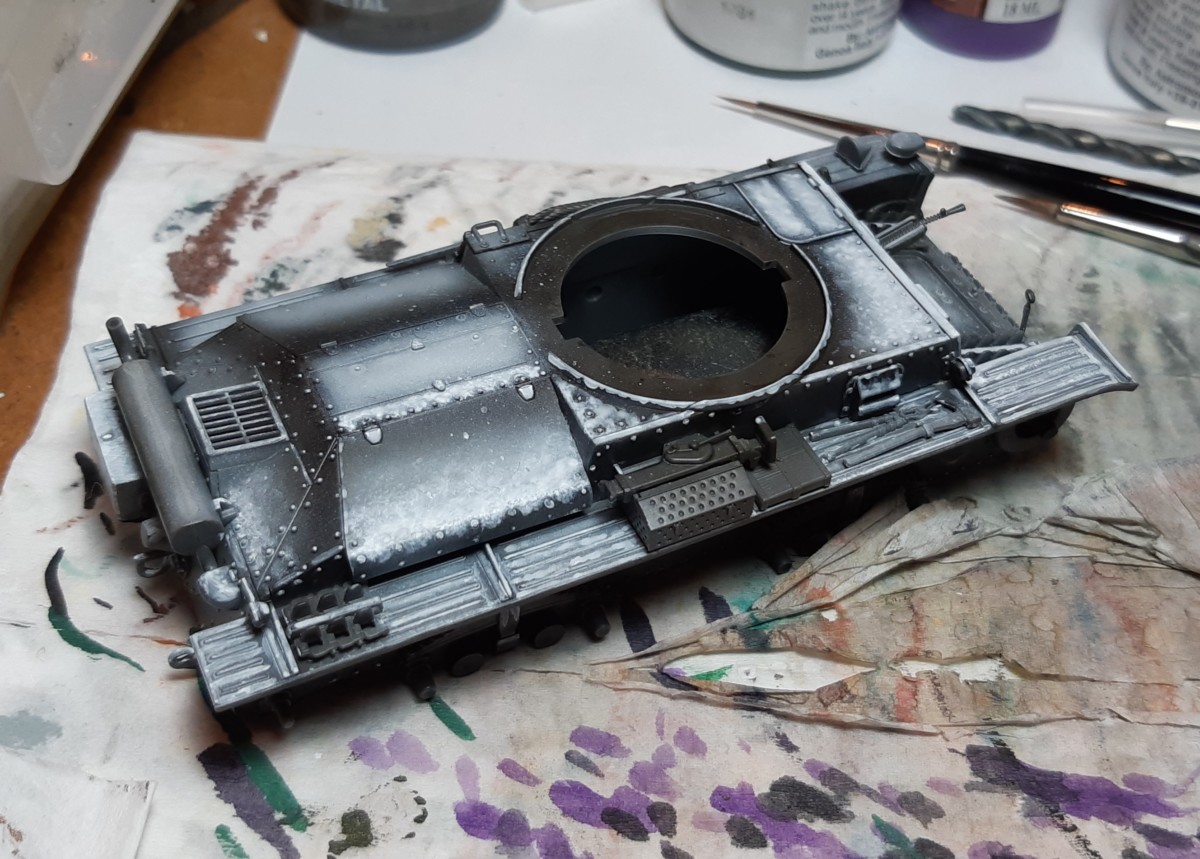
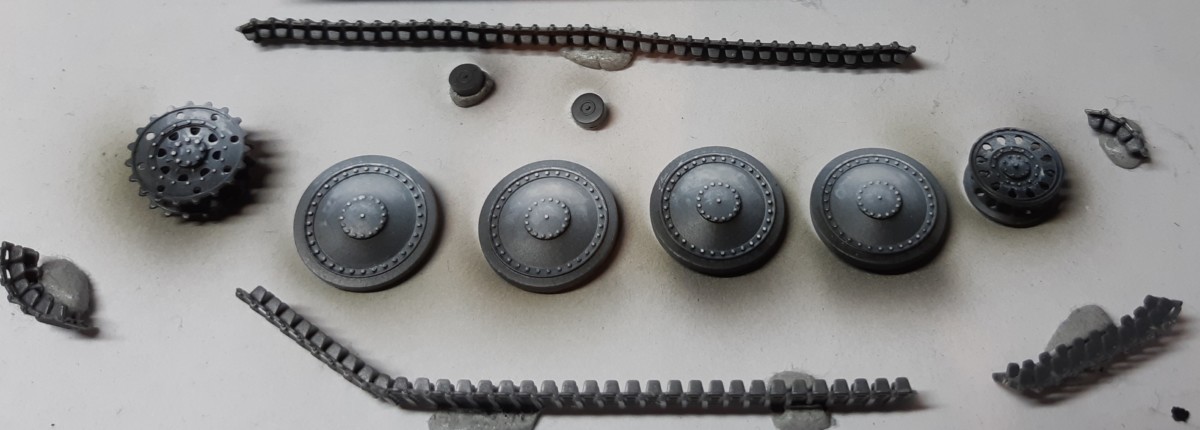
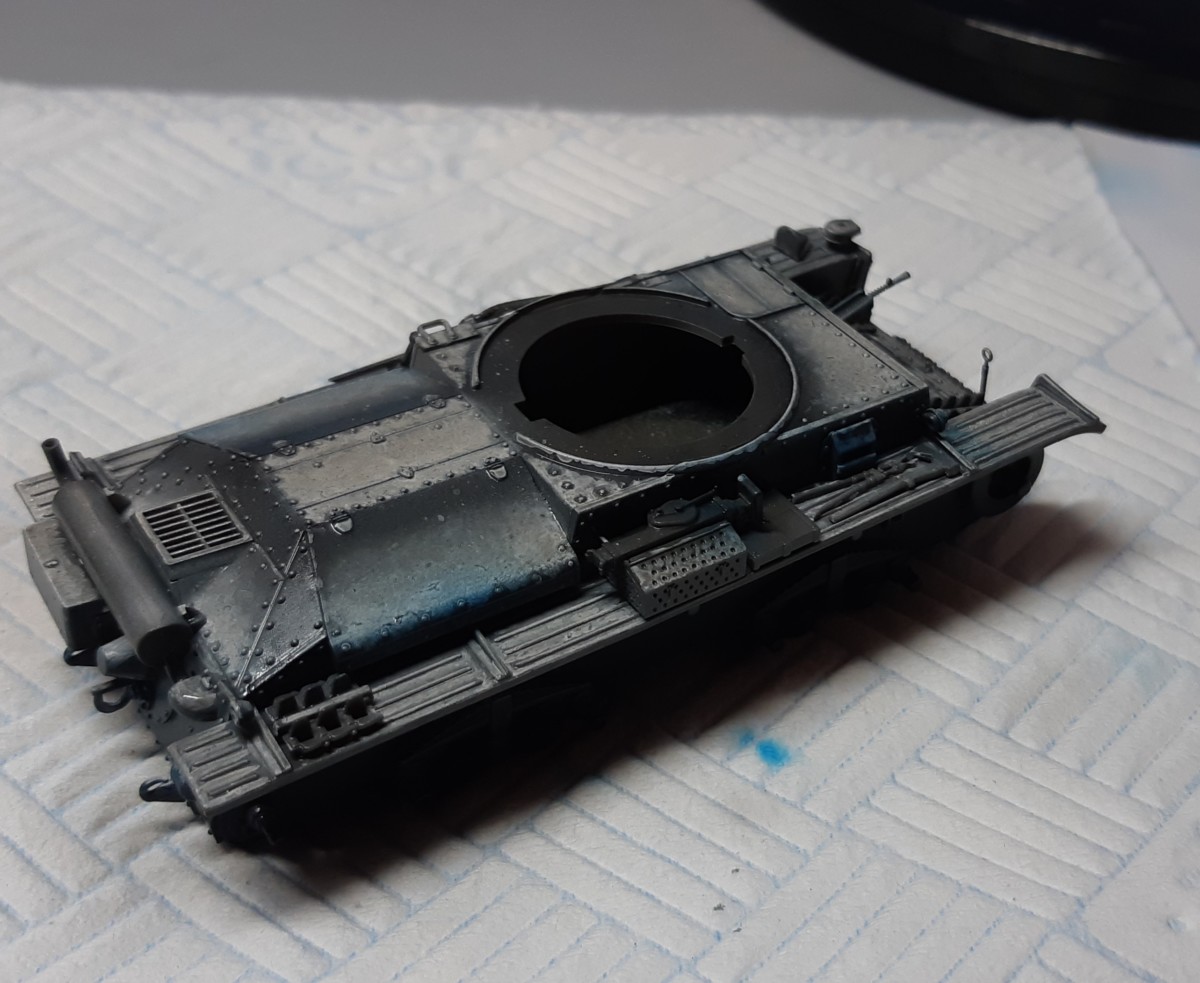
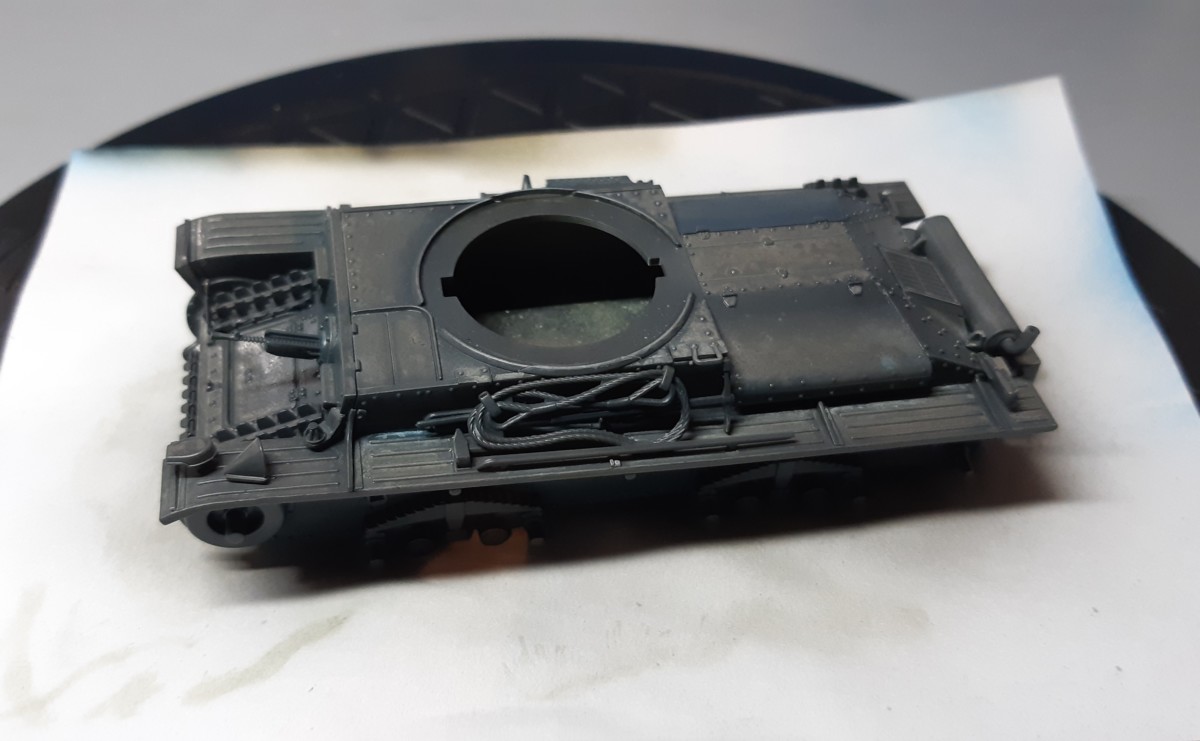
I start without primer (to reduce the number of coats on this very small model) with a green brownish color to add interesting “summer” shades in the model. You can also see my setup of the running gear. All components are fixed with blue tack/poster buddies to a sheet. The backside will be barely visible so I’ll leave those blank for now. With a couple of gentle passes of a very thinned down paint I paint in fake shadows. In some places I use a small piece of paper as makeshift masking tool.

After a couple of passes with this “intermediate” shading, I’m repeating the same with black. I try to define the shades better. The bottom of the tank is a good location to experiment with line thickness and handling of the air pressure.
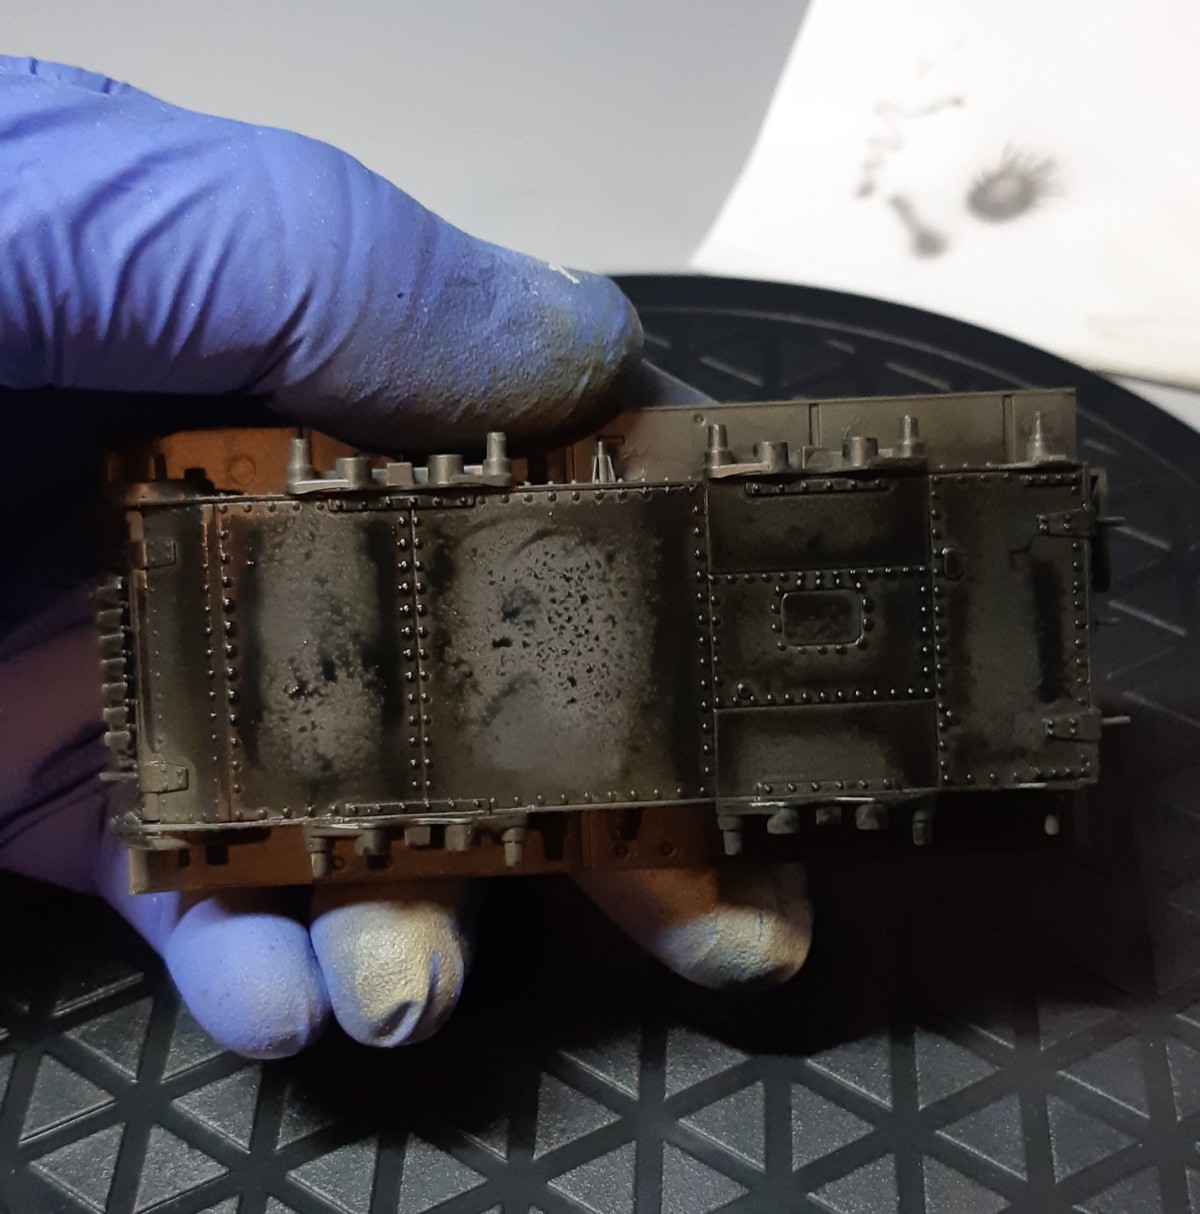

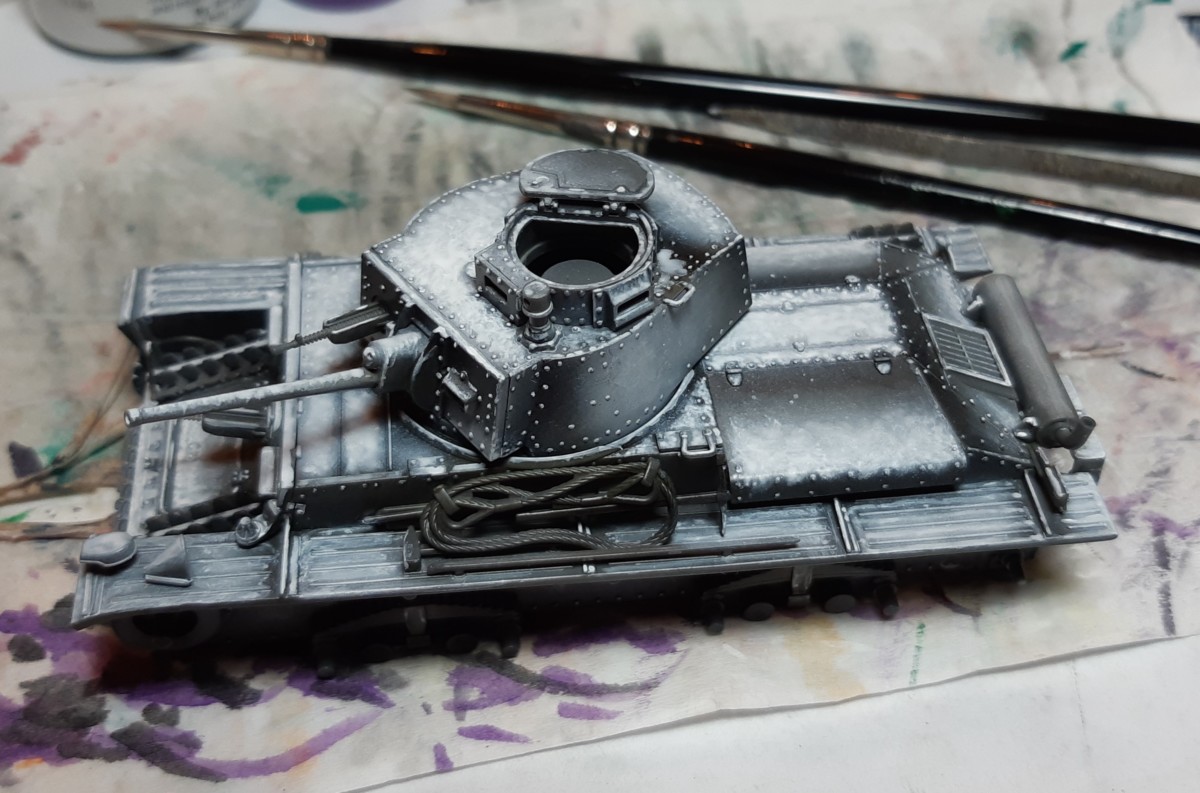
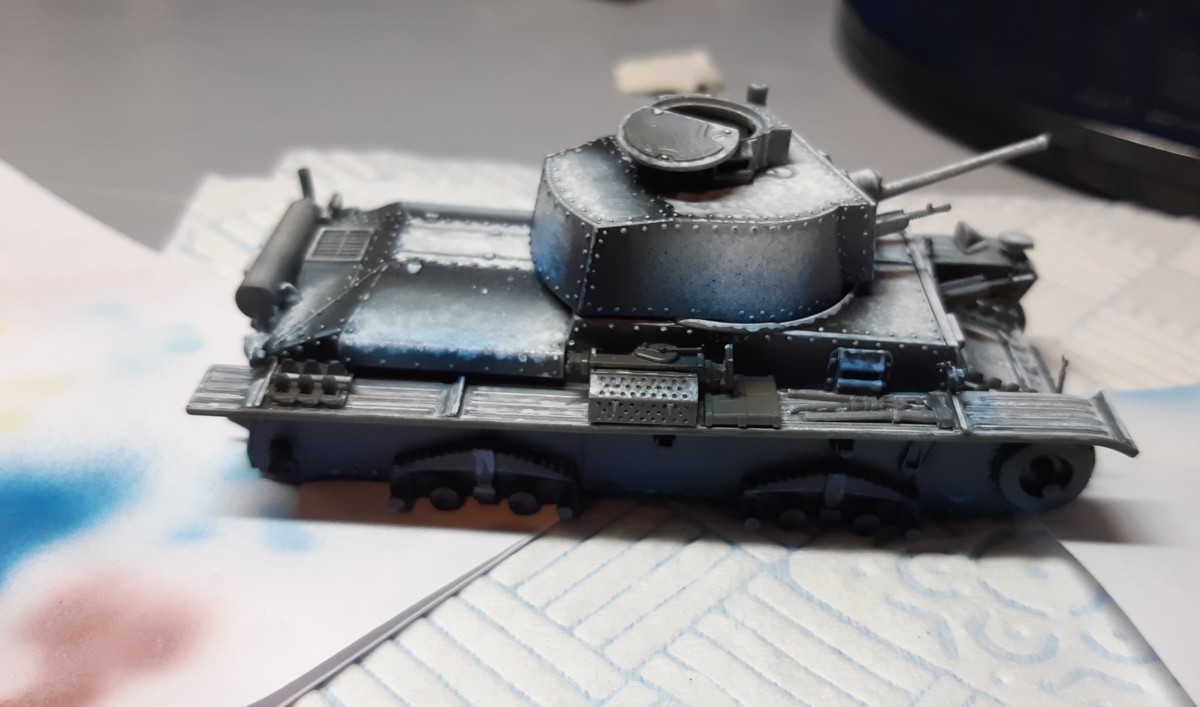
I hope you agree with me that this exaggeration of the light situation shows off the contours and shapes of the vehicle a lot more. We are going to push this even further. With pure white I’ll first airbrush this and then push it even further by painting by hand.
Highlights
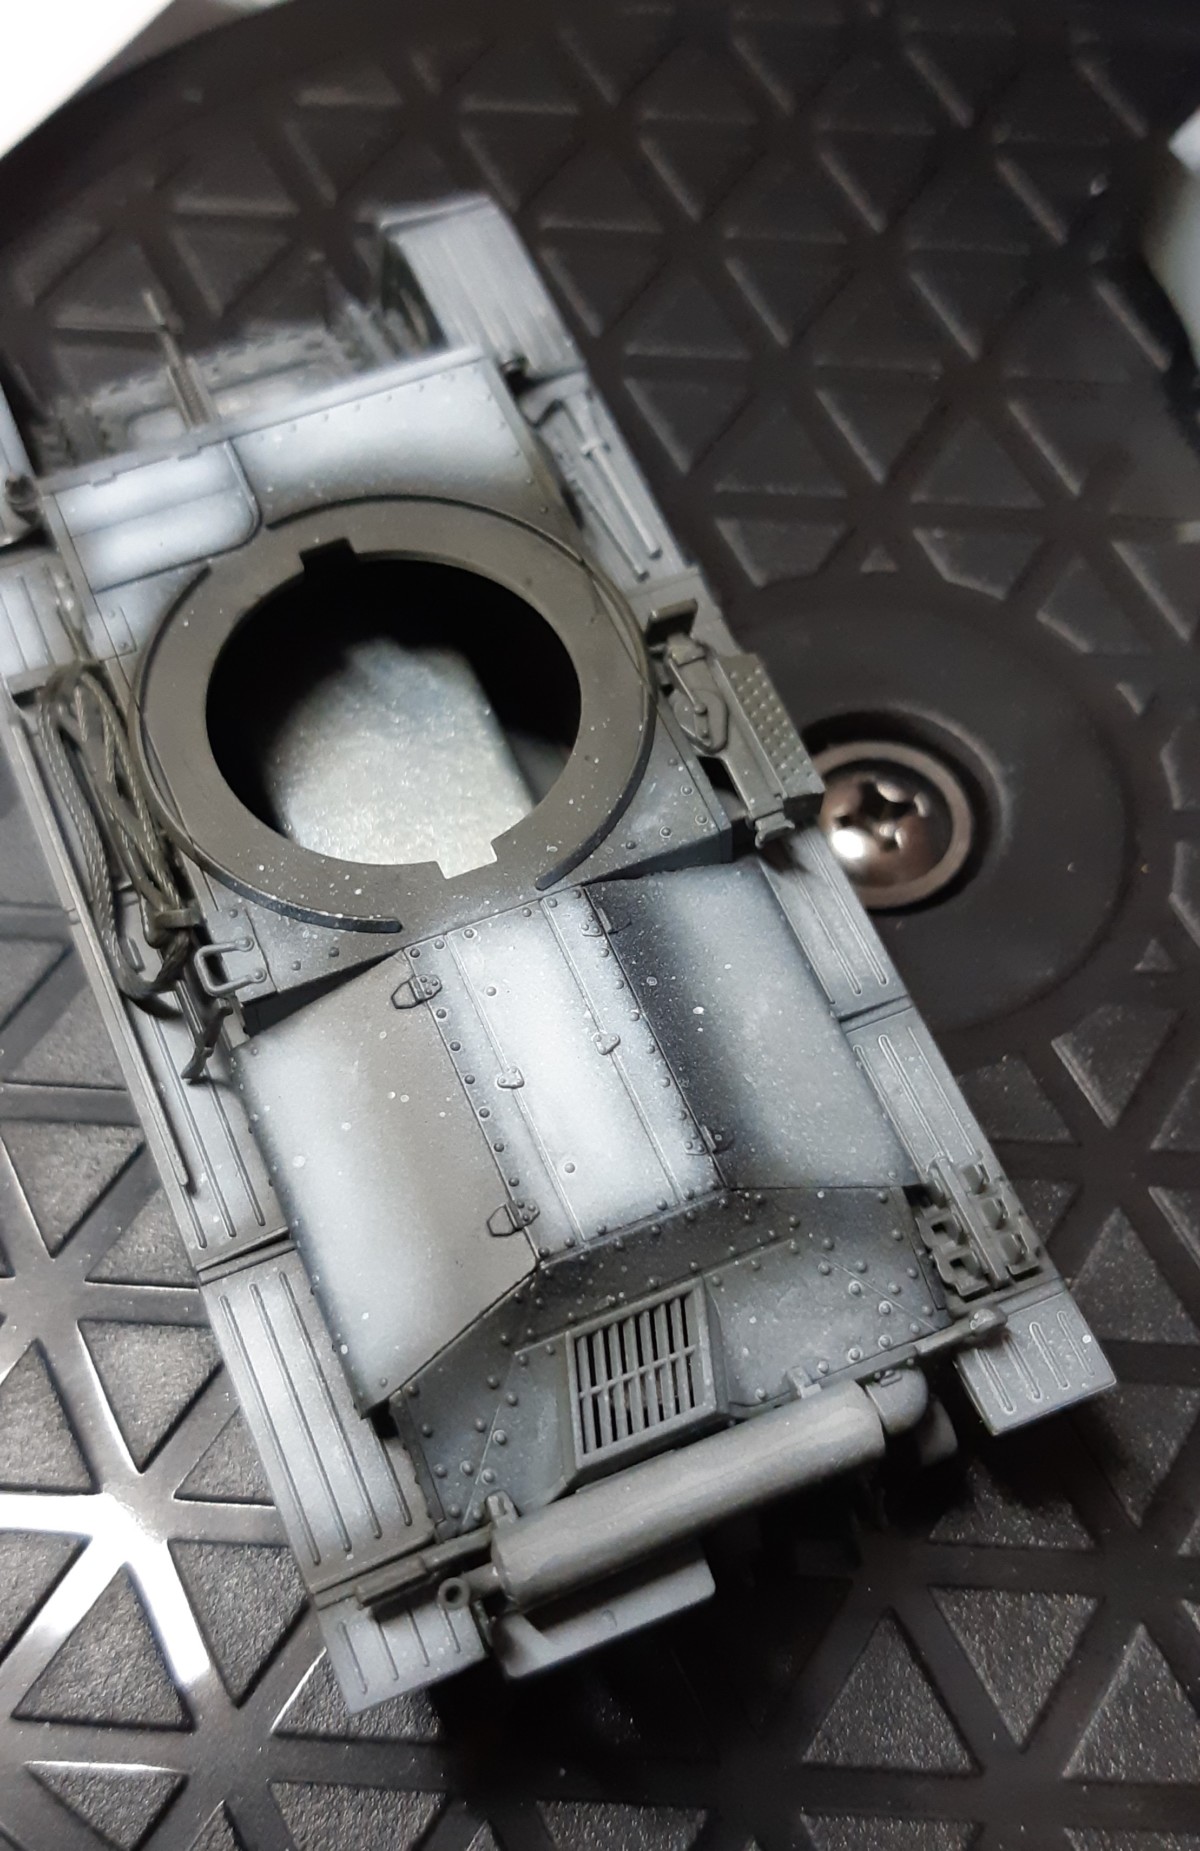
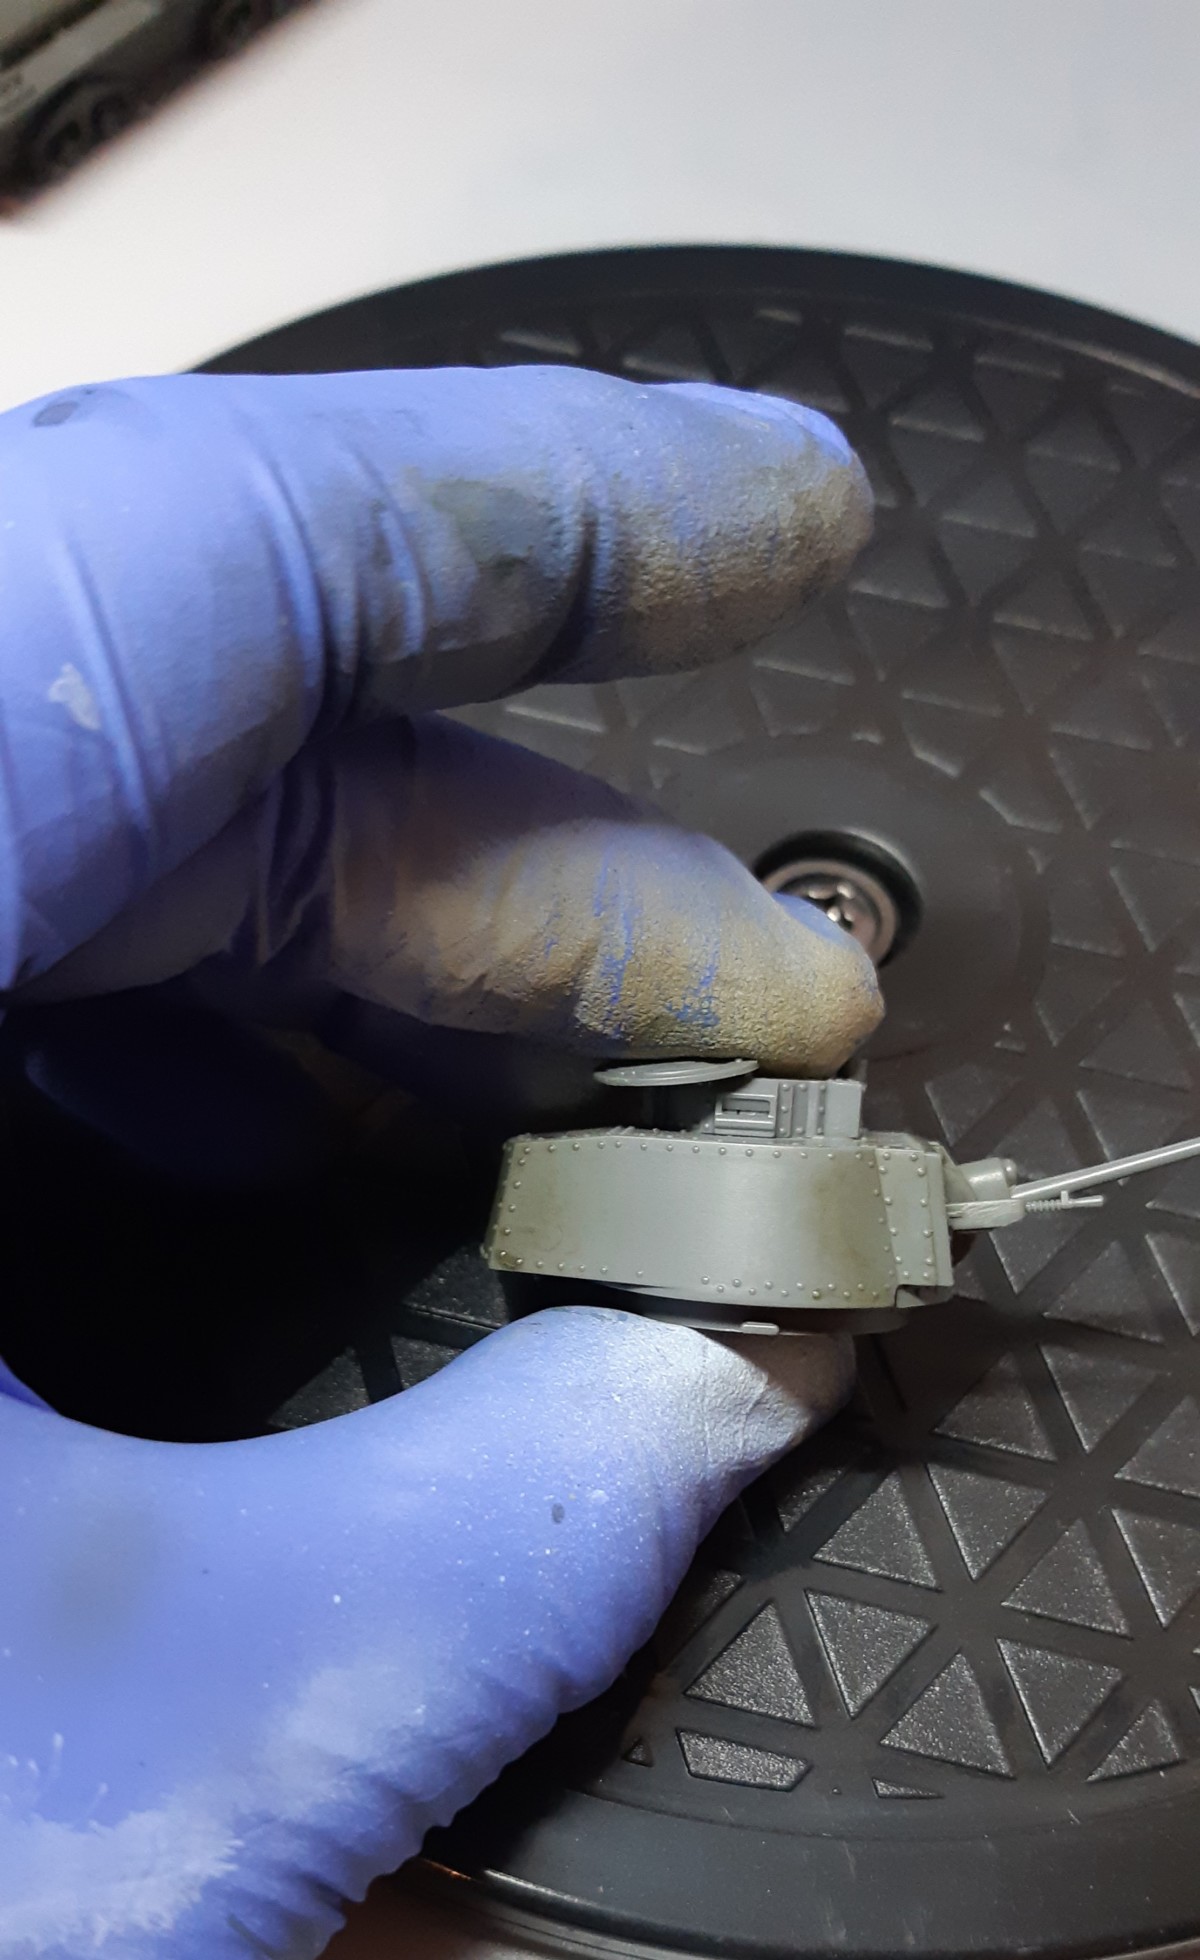
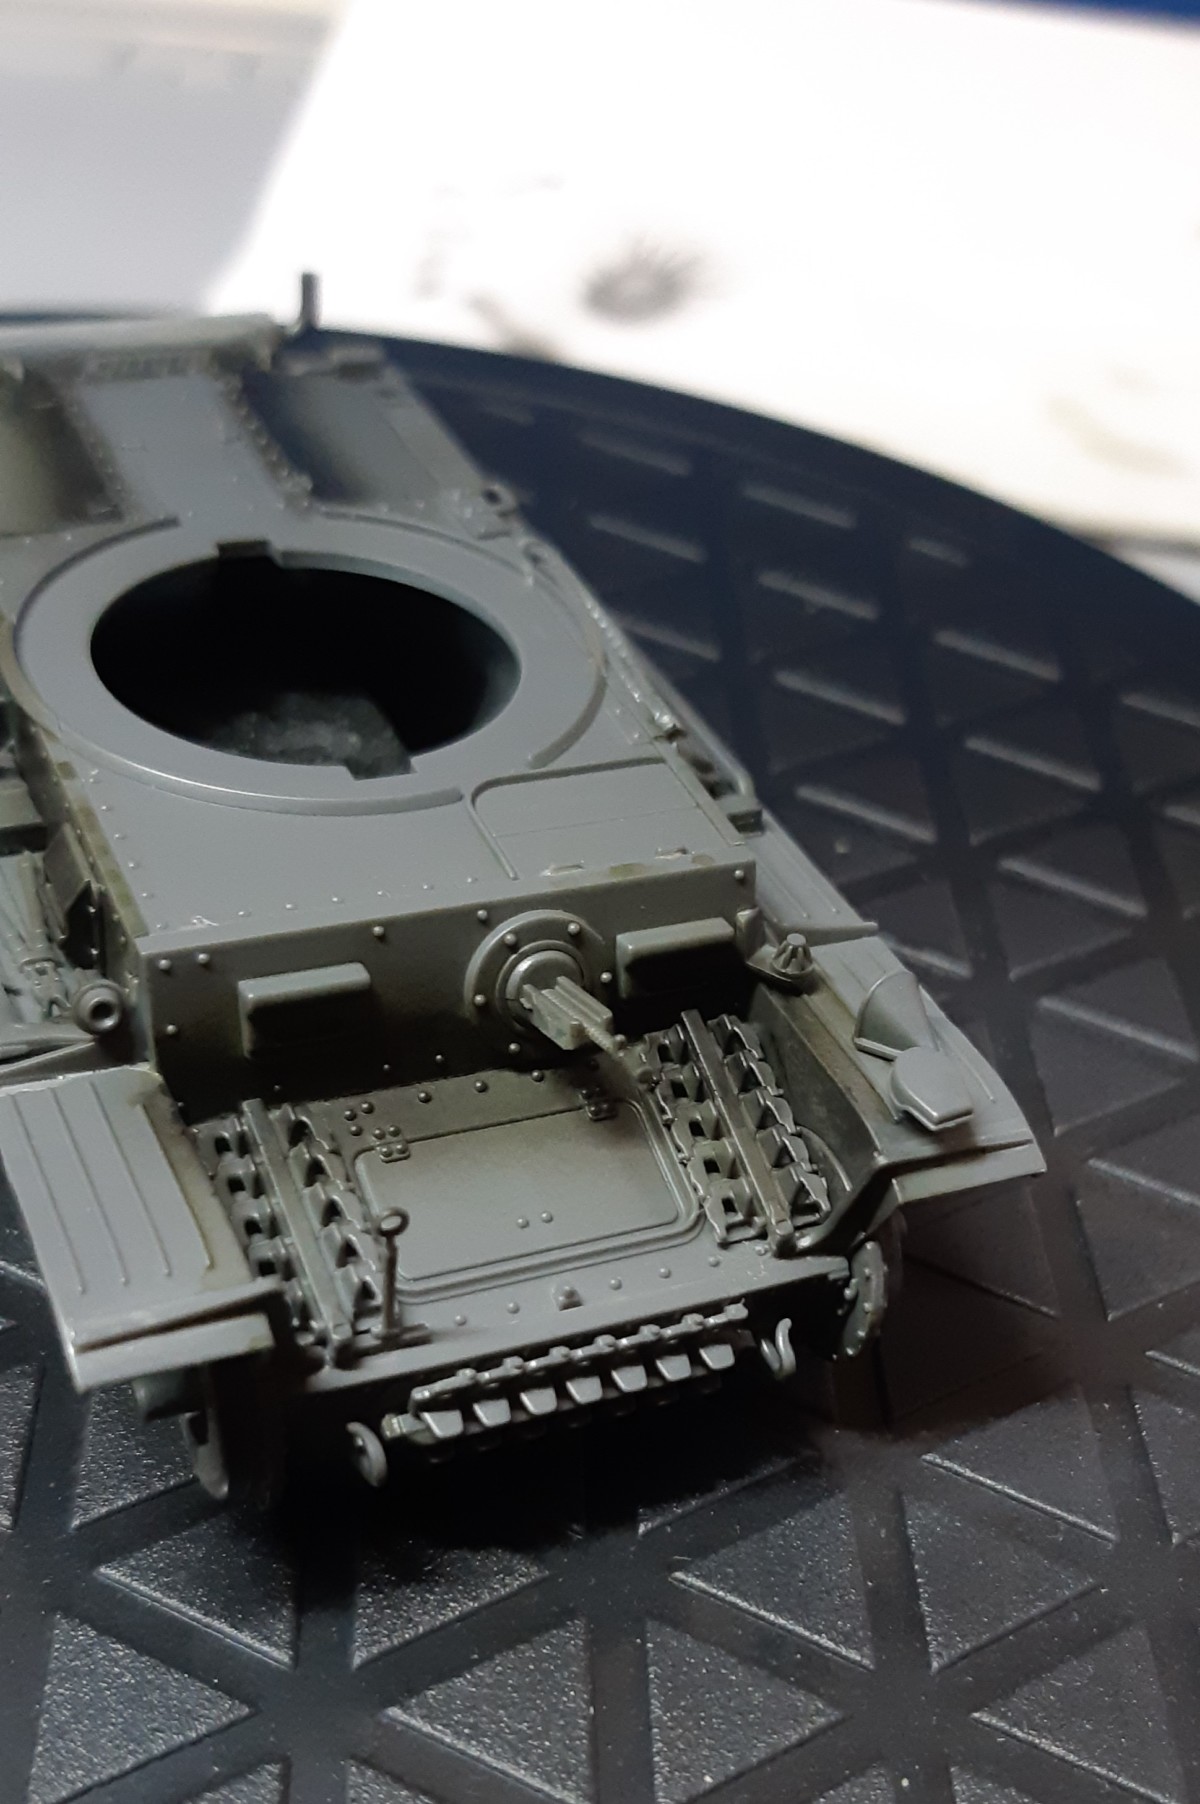
The brush painting is aimed at picking out the small surface details & enhancing the airbrushed “sketch”. You also see that I worked with a stippling motion. This is an attempt at making the surface a bit more interesting.
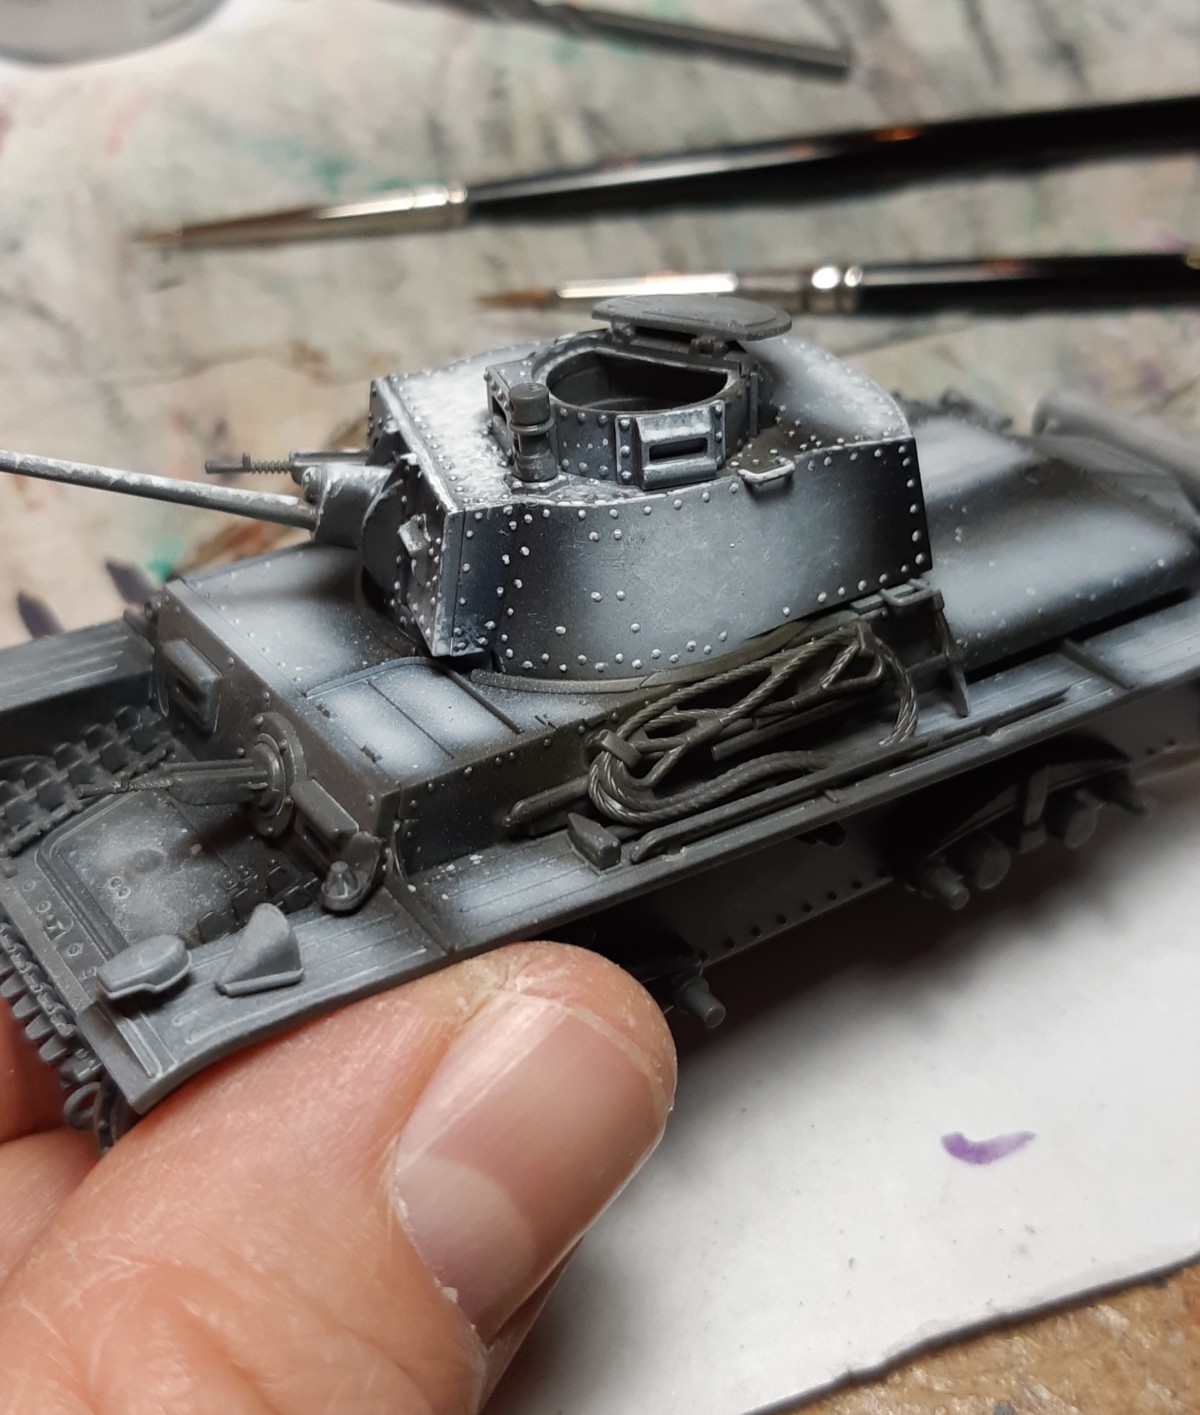
Before the top coat I’ve added just a slight extra hot/cold contrast. I want to make the shades a bit more colder so applied a tiny blue accent.
Top coat
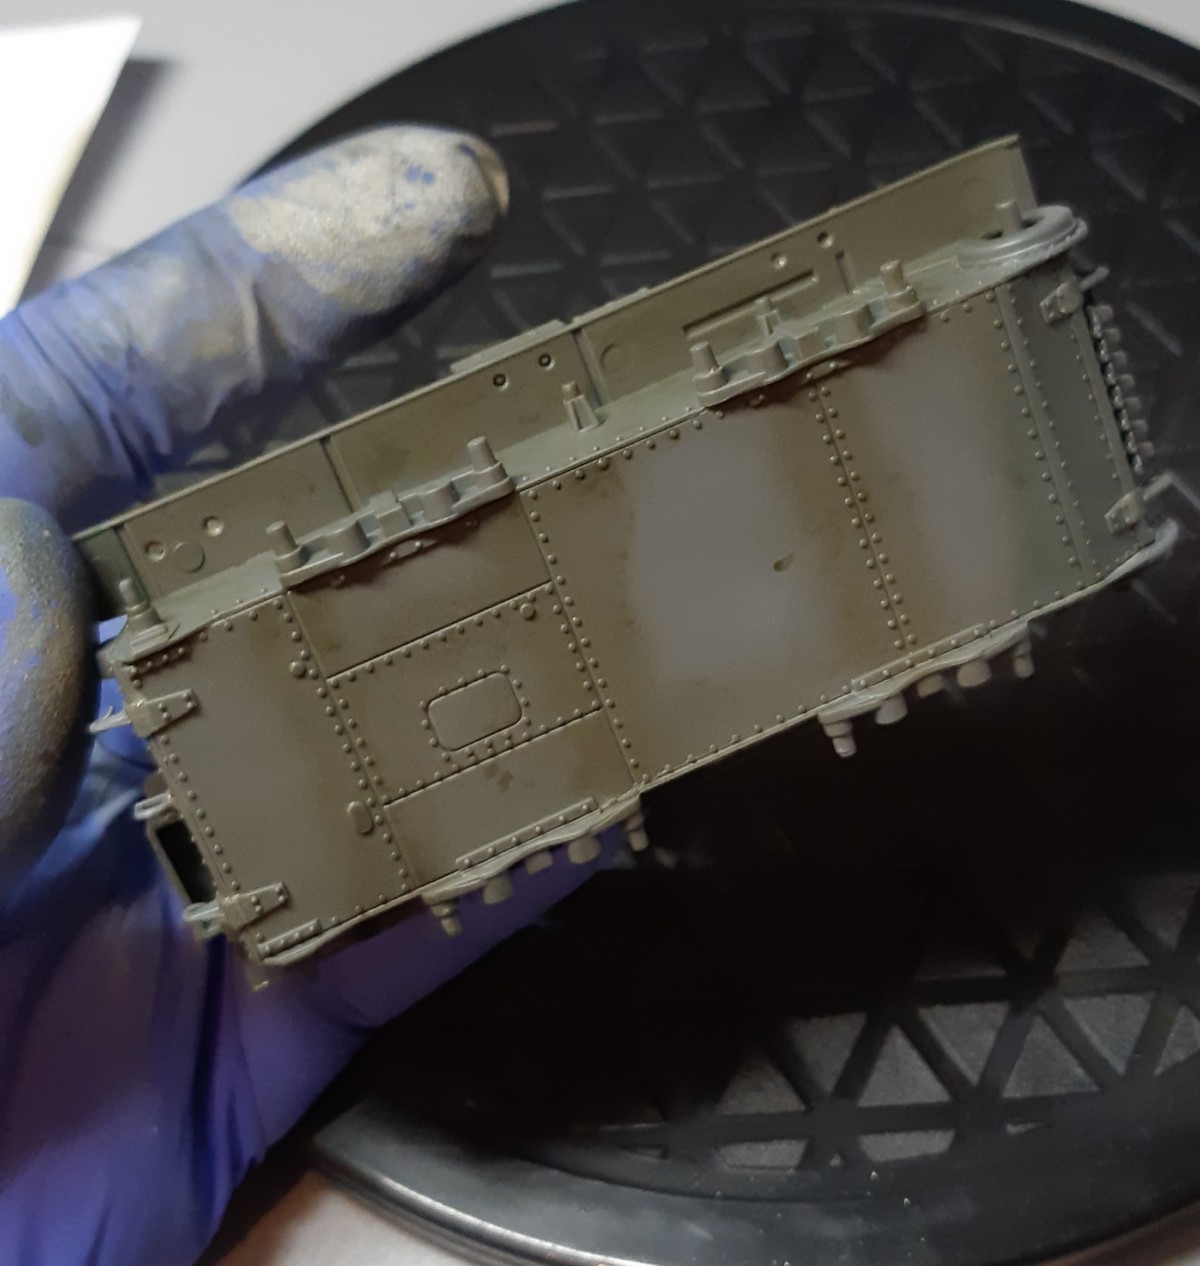
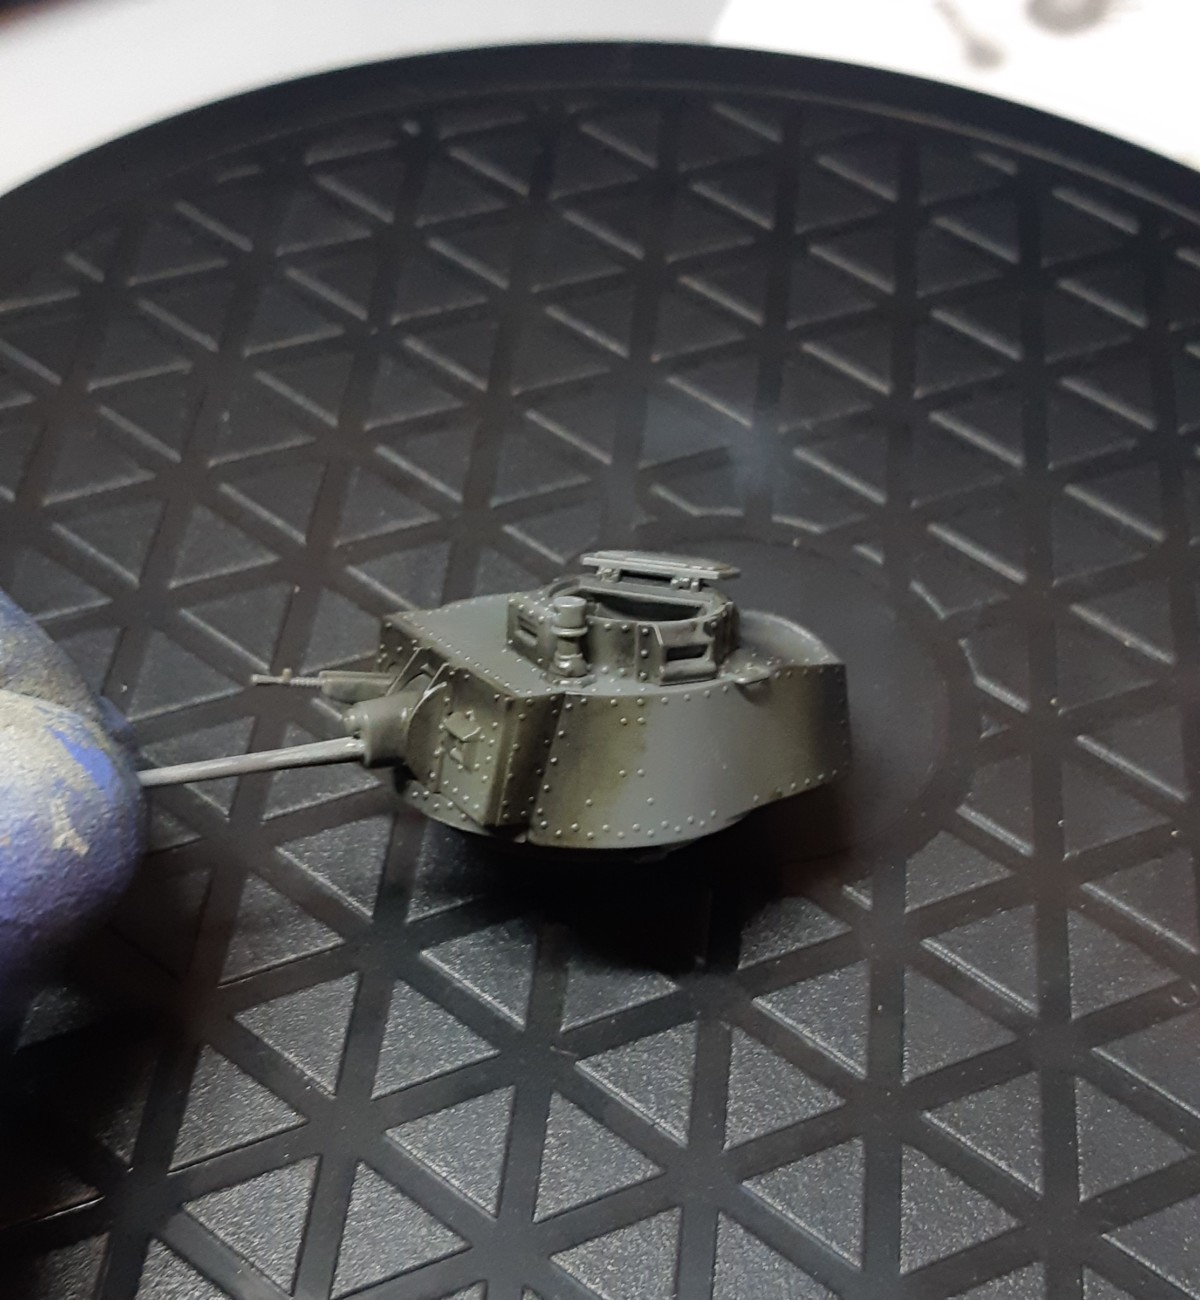
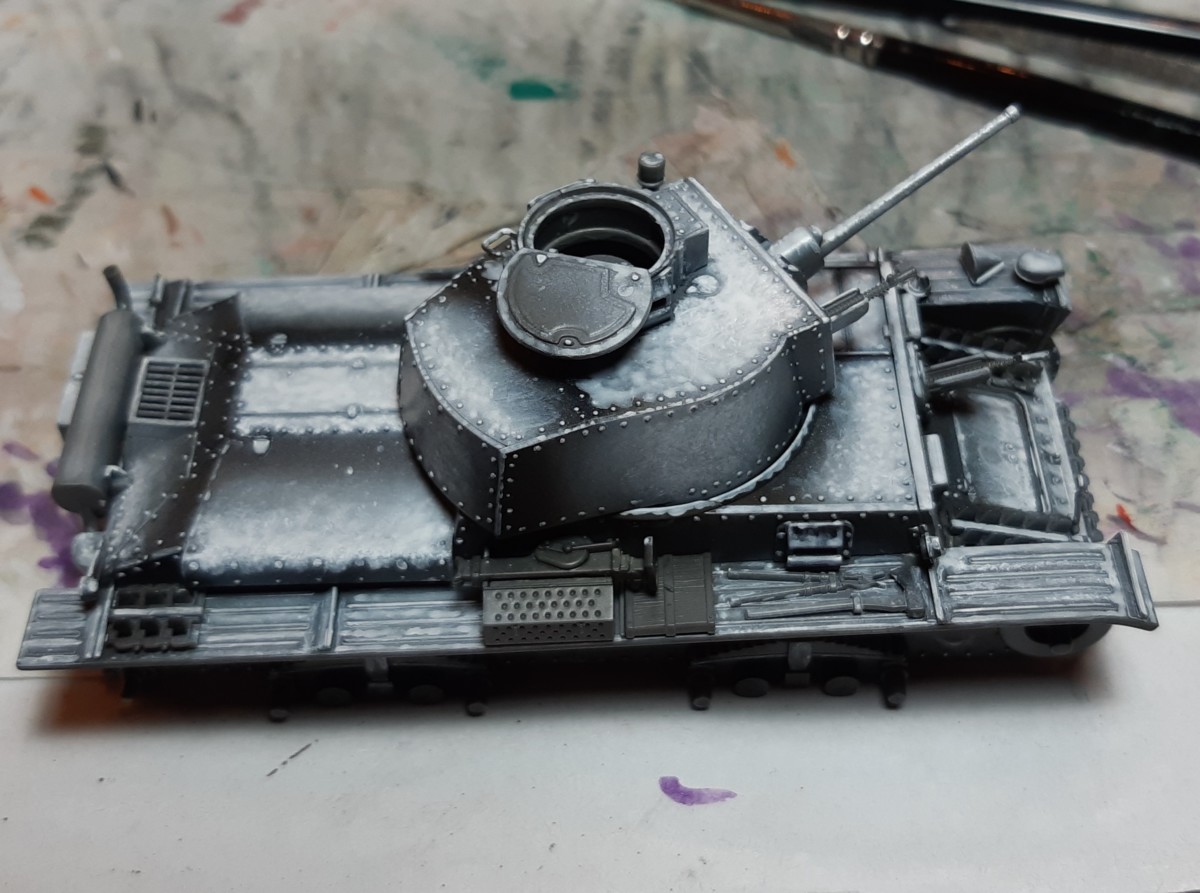
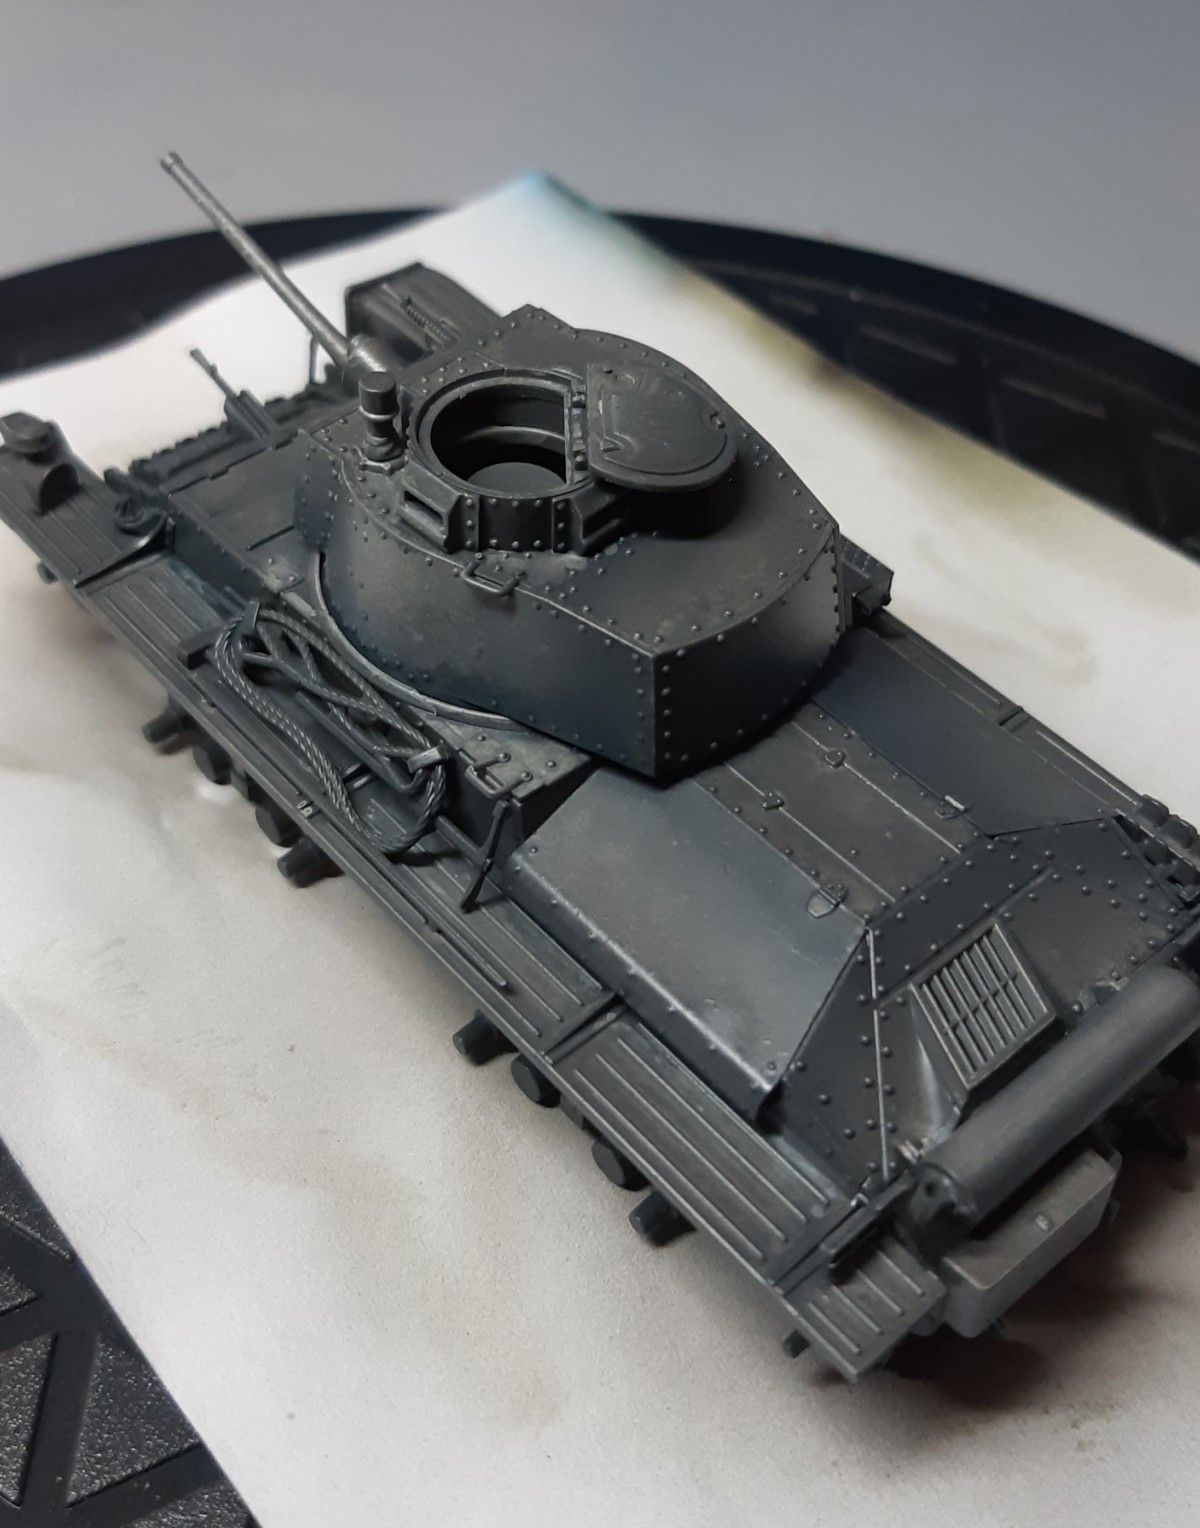
And now we come to the final and crucial step in this article. I’ll coat this with a couple of thin coats of German Gray by Vic Hobby.
A couple of small side notes first: I’ve experimented with paint by Vic Hobby for the first time in this project and I’m pretty pleased with it. I had to experiment with the consistencies for airbrushing and brush painting. But that is always the case and often differs from pot to pot and color to color. The longevity overnight on my wet pallet was a bit less satisfactory as the pigment separated a lot from the medium… all in my humble opinion of course.
I’ve also slightly overdone the final coat and this hides the previous efforts a bit too much. So yeah… live and learn. Additionally it’s pretty hard to see on the final pictures. That means that I’ll need more help from the filters in the next stages.
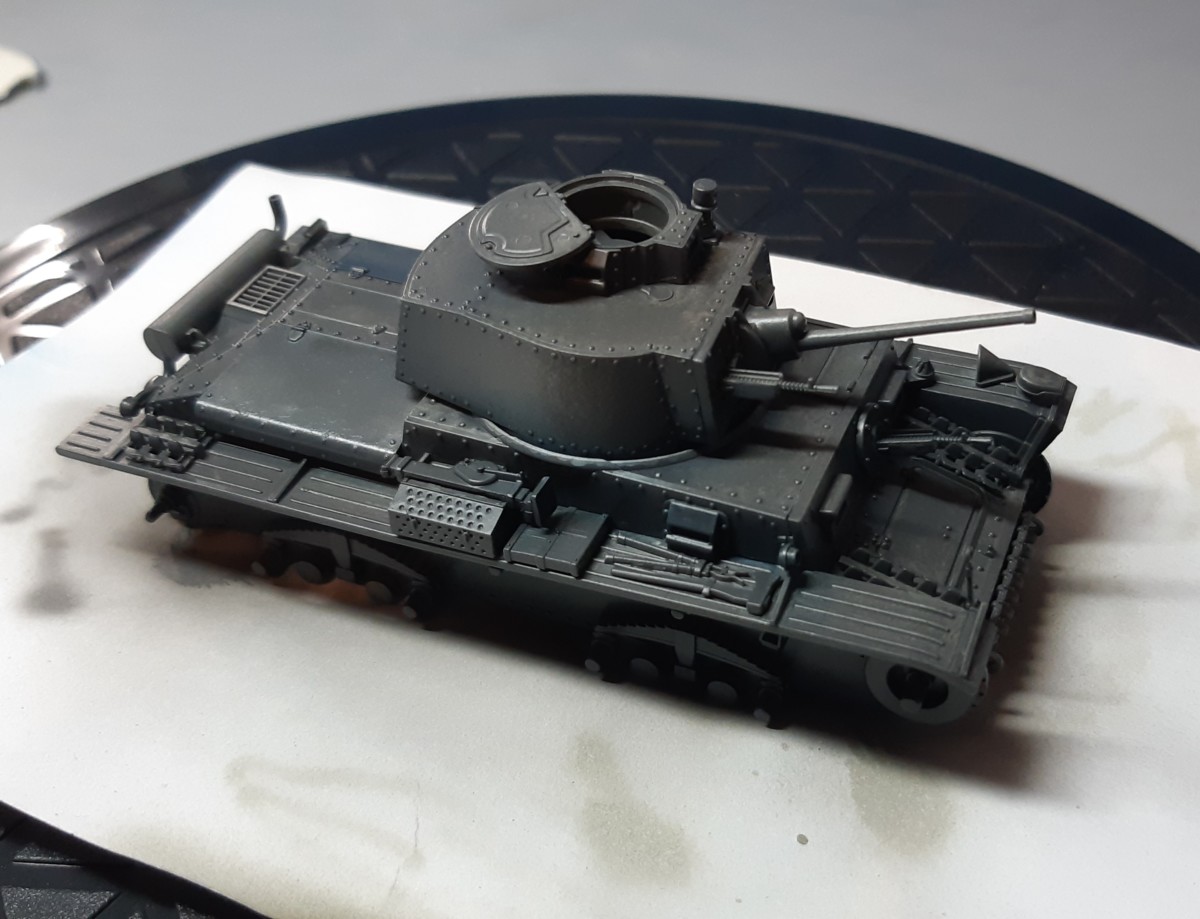
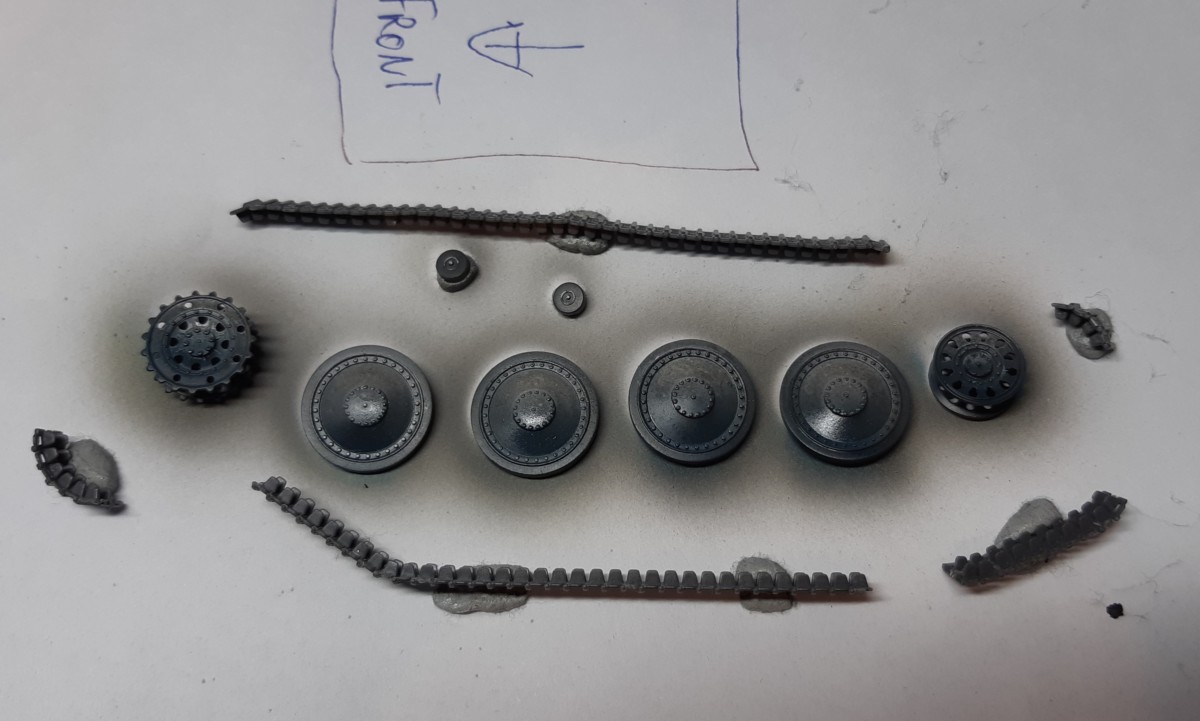
So I hope you’ve enjoyed my journey until this point. You’ll notice that I’ve left the tracks unpainted for now. I’ll immediatly paint thes brown once we get to the weathering stages but that is for another chapter. I’ll work with filters and chipping and start painting the details.
Until then!