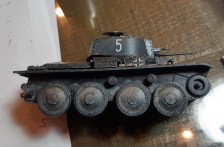
Let’s continue the building of this 1/48 Pz Kpfw 38(t) E/F.
The track section is always a difficult part when building tanks. Realism is created by giving these tiny plastic parts the impression of having weight and actually being a coherent chain of steel links. Tamiya provides a mixed solution where you have some separate links & some combined in a certain number of connected tracks. I guess that makes for an easy assembly… if you don’t want to paint your tracks and wheels separately.
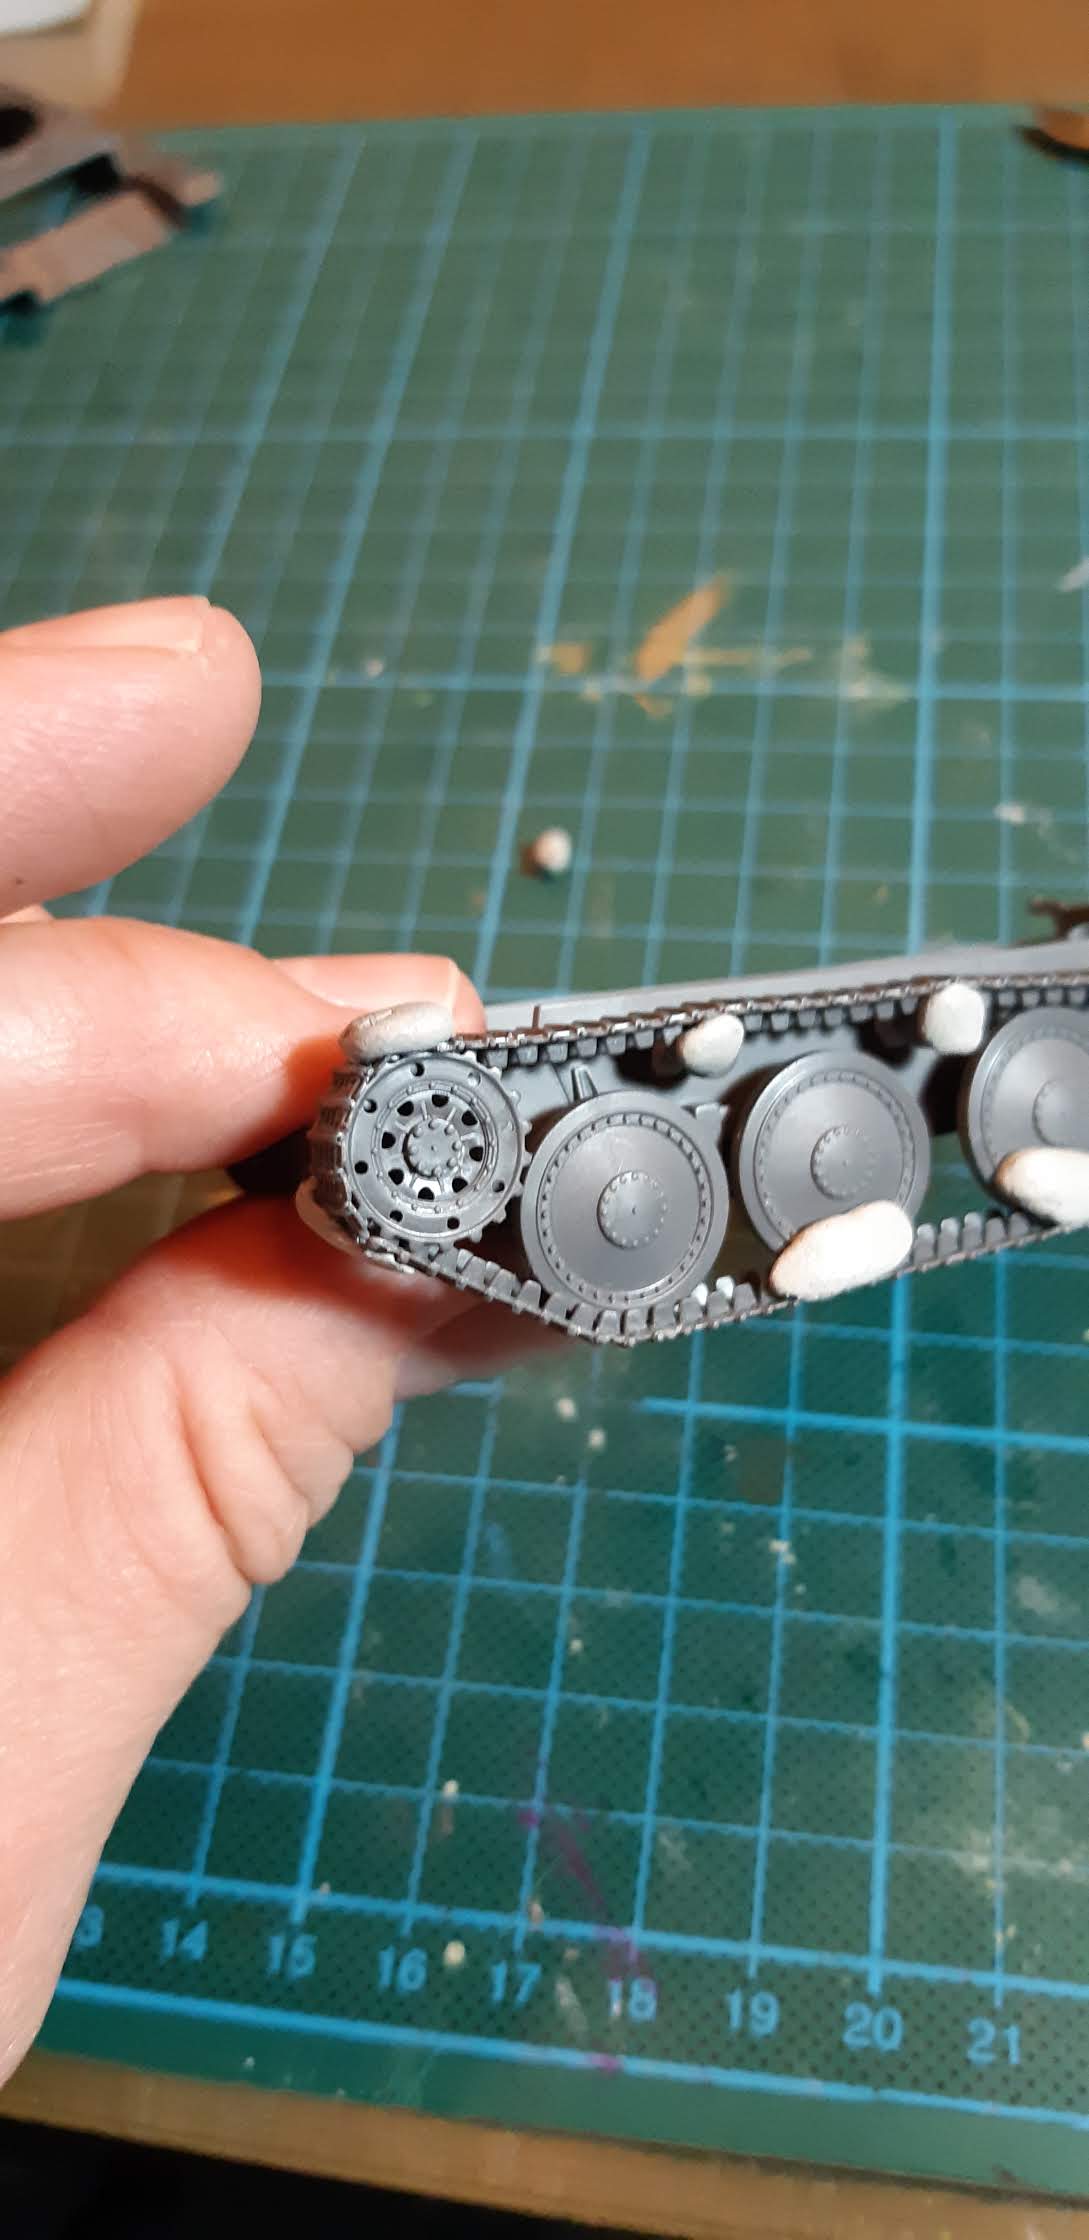
I would like to paint these components separately to weather these better. This creates some small challenges that I solve with patience, perseverance, and a lot of poster tack.
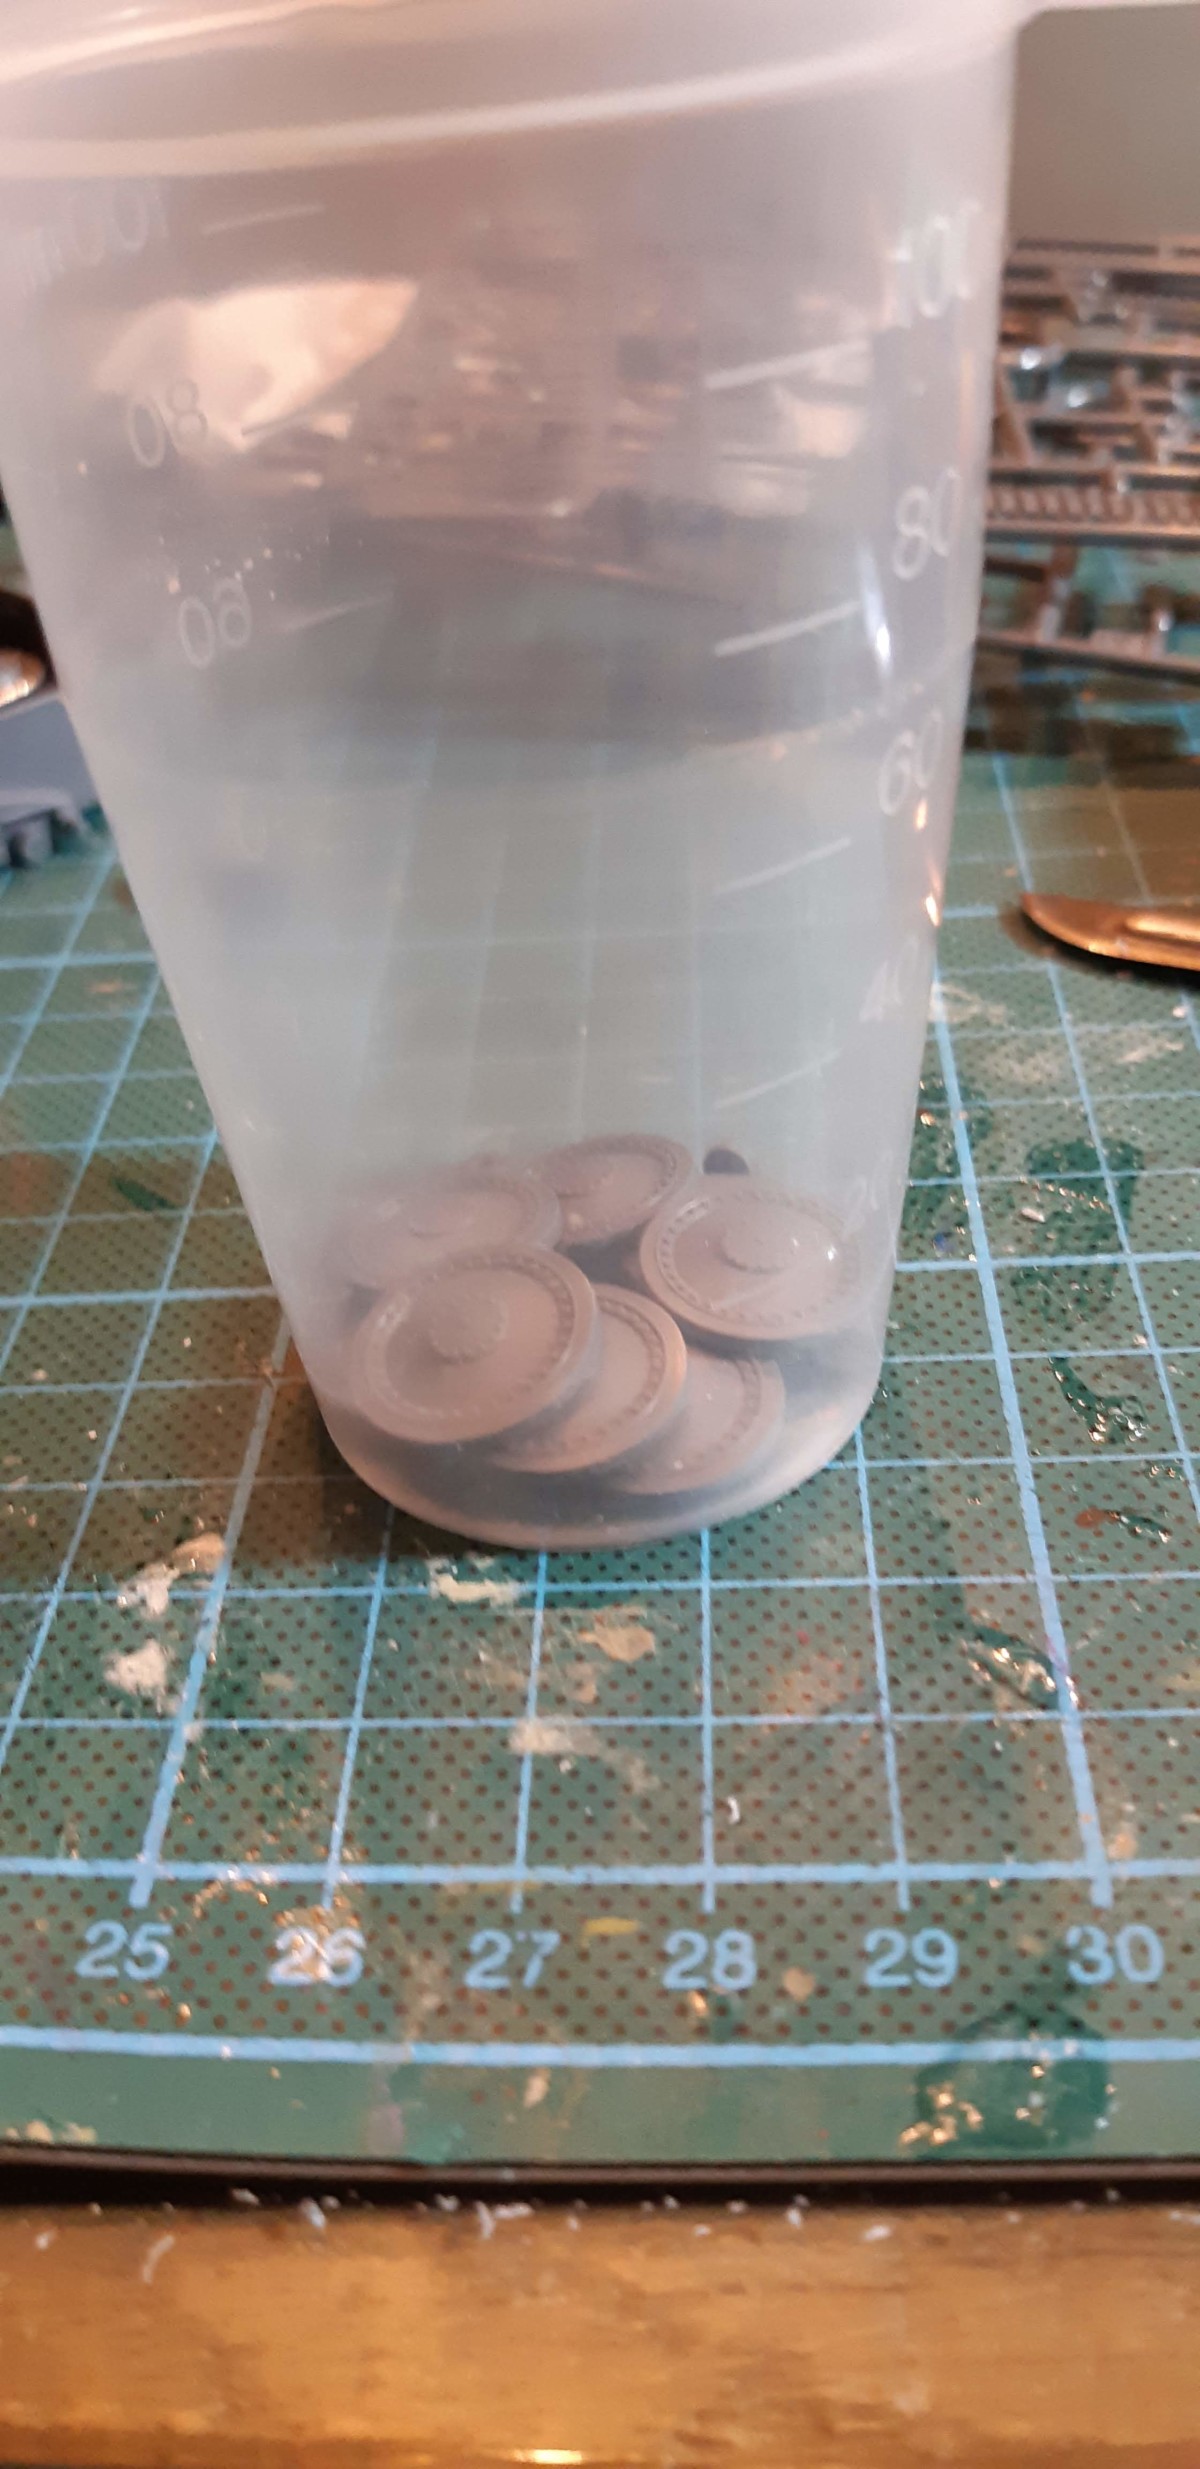
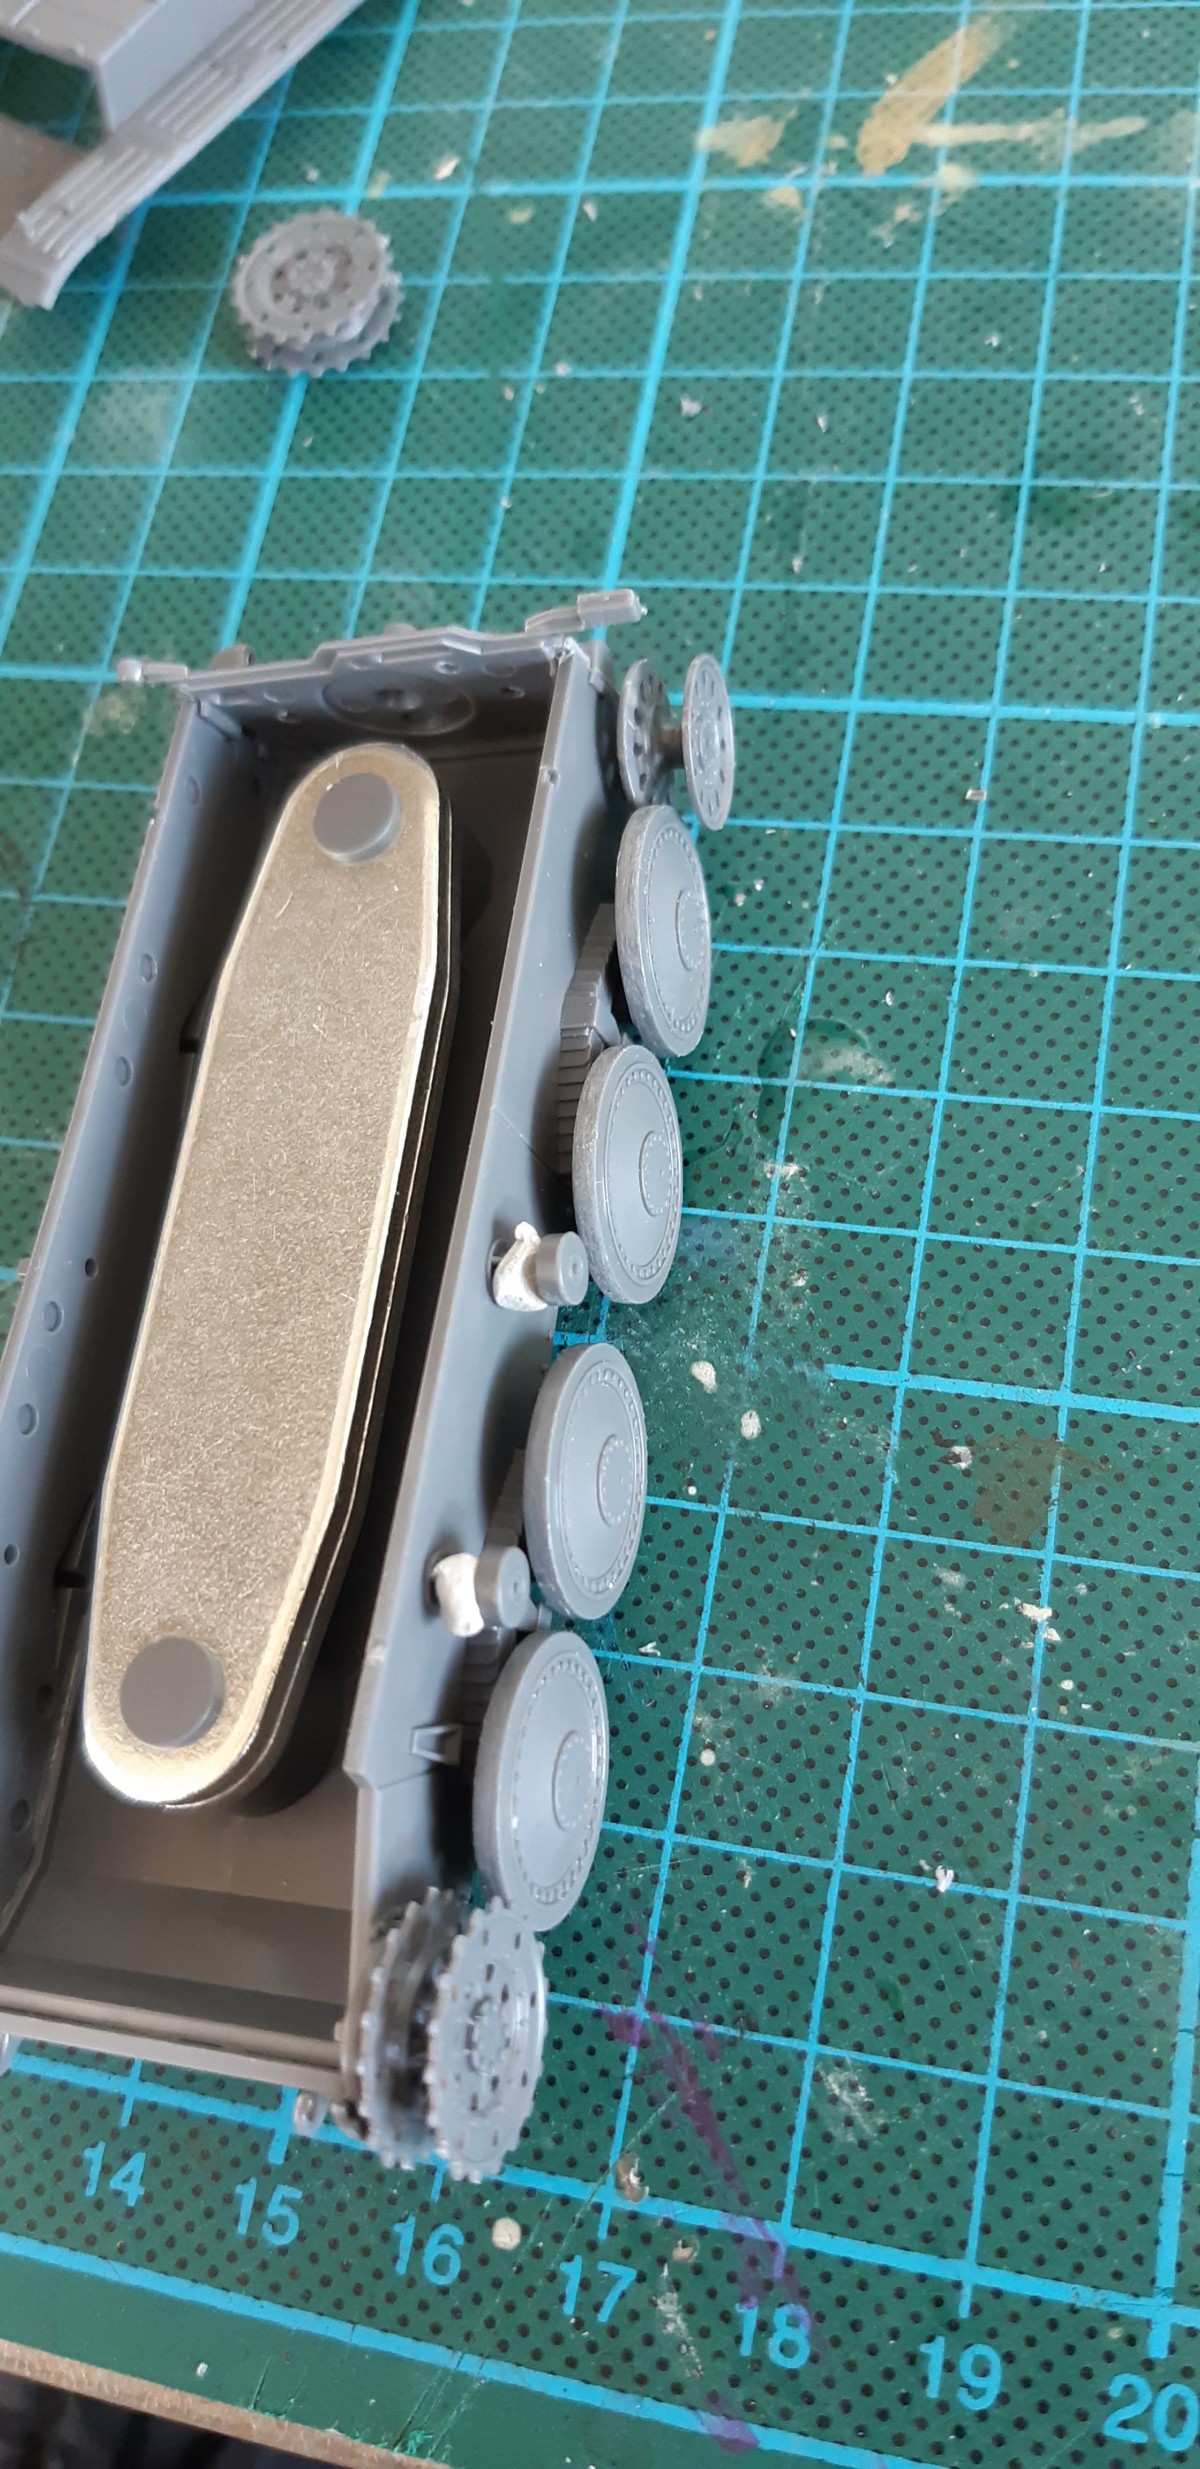
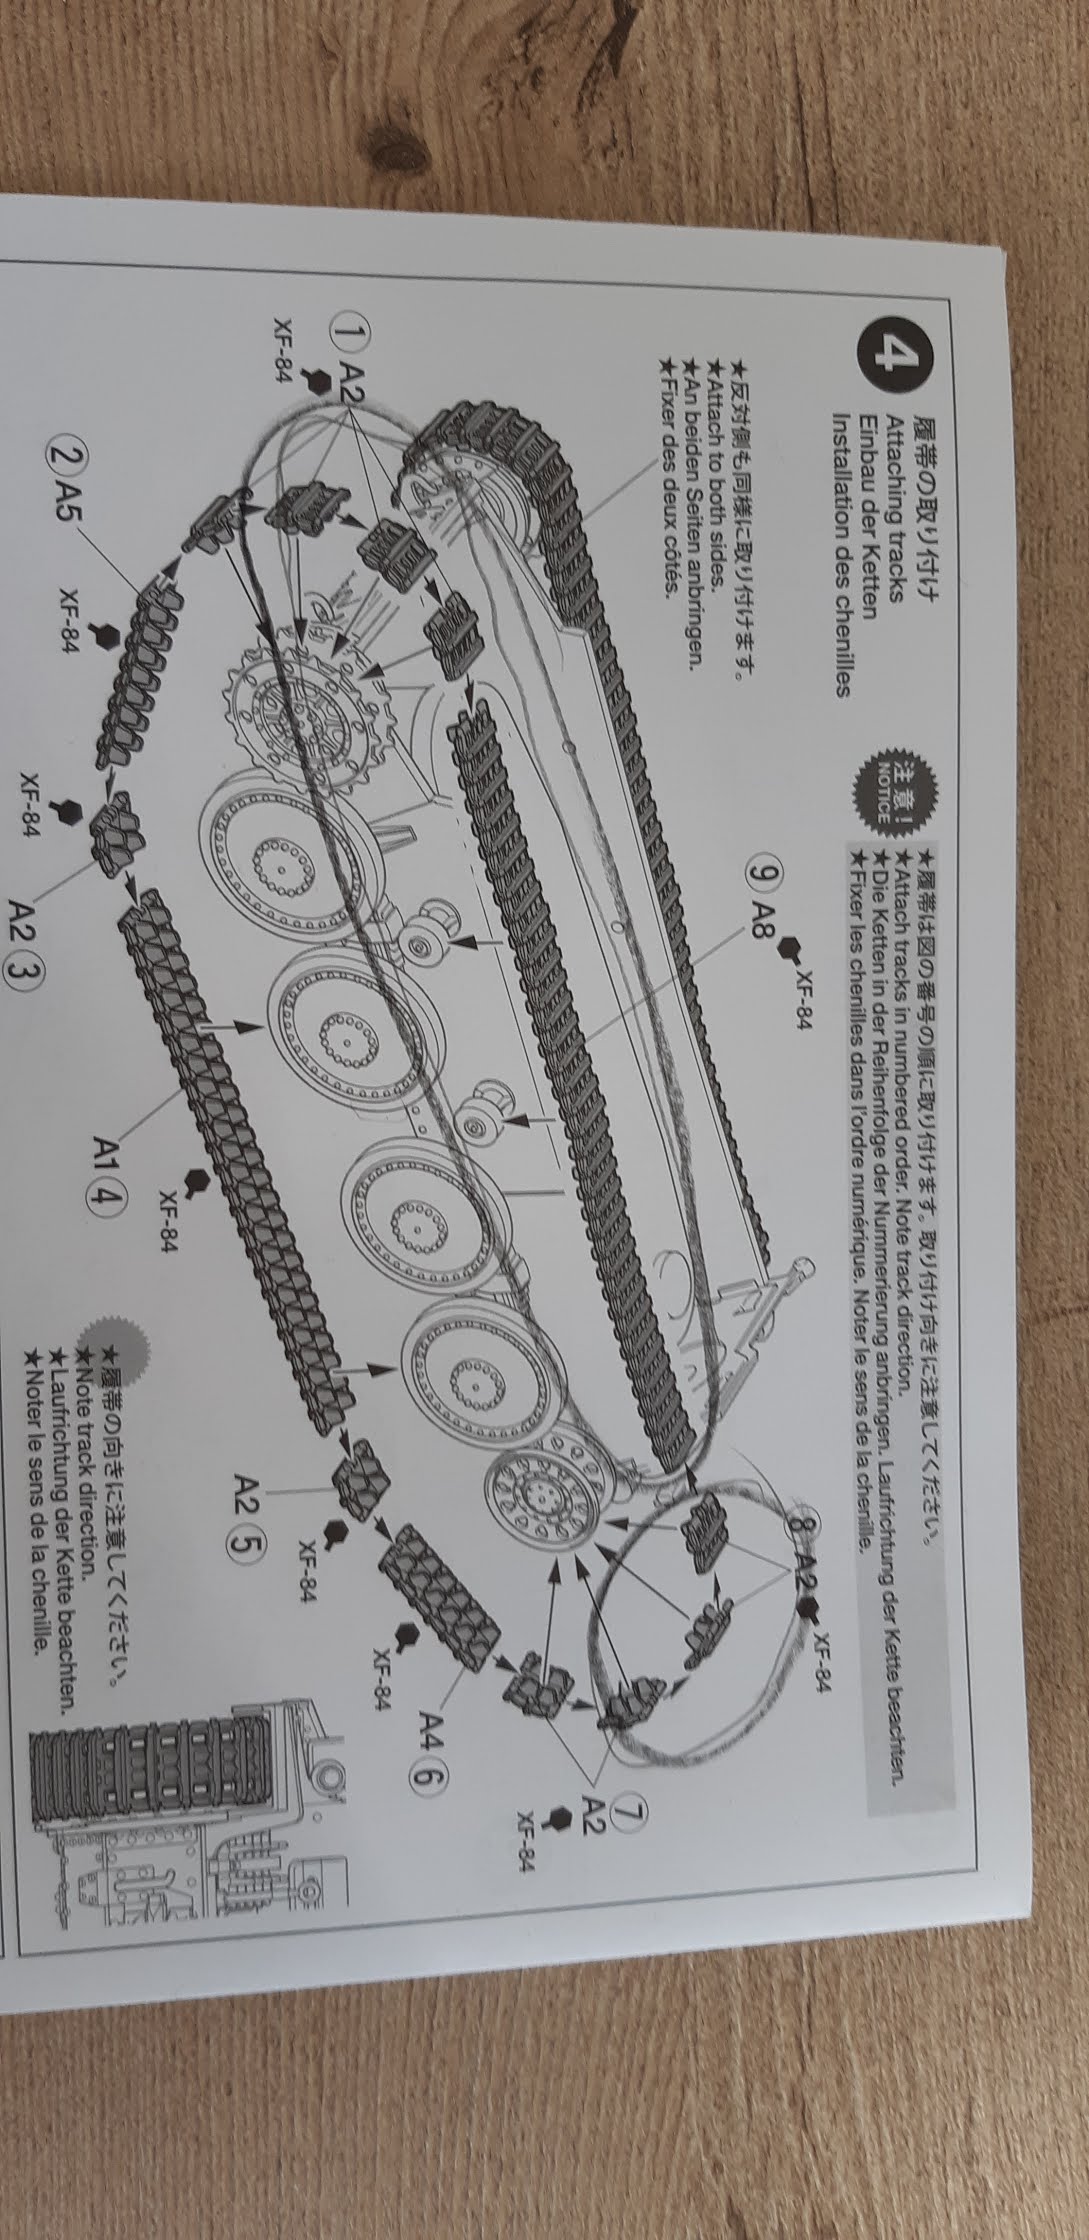
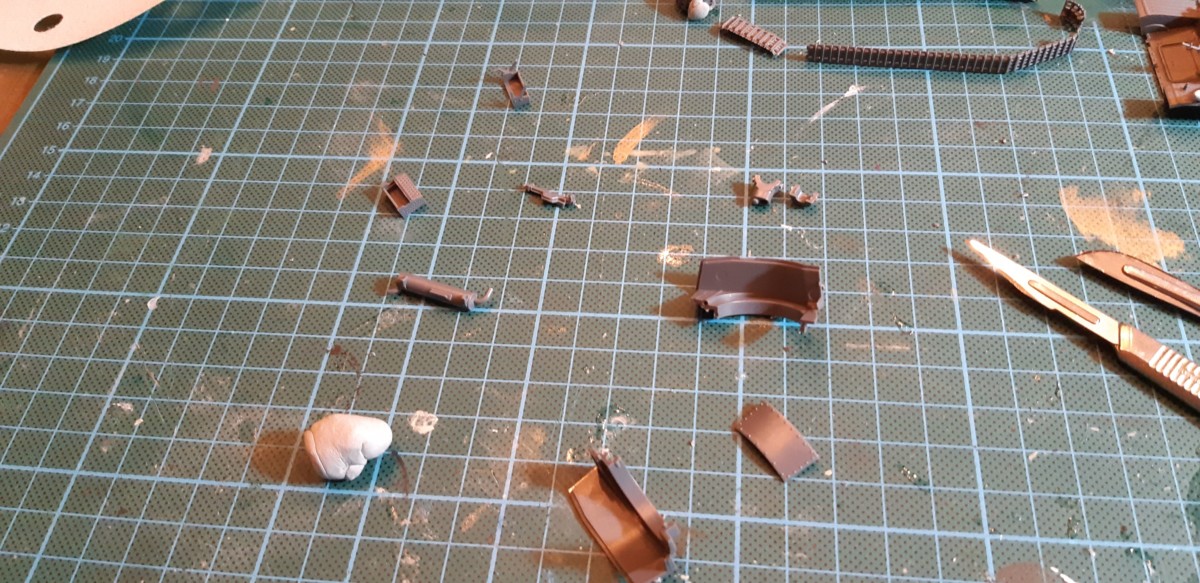
The goal is now to combine the loose tracks into small glued pieces that follow the roundness of the sprocket & drive wheel. They should also precisely fit the fixed length of tracks that are provided. I’ve also included a remarked picture from the manual to show my plan.

mini assembly of 3 links bent around the drive wheel


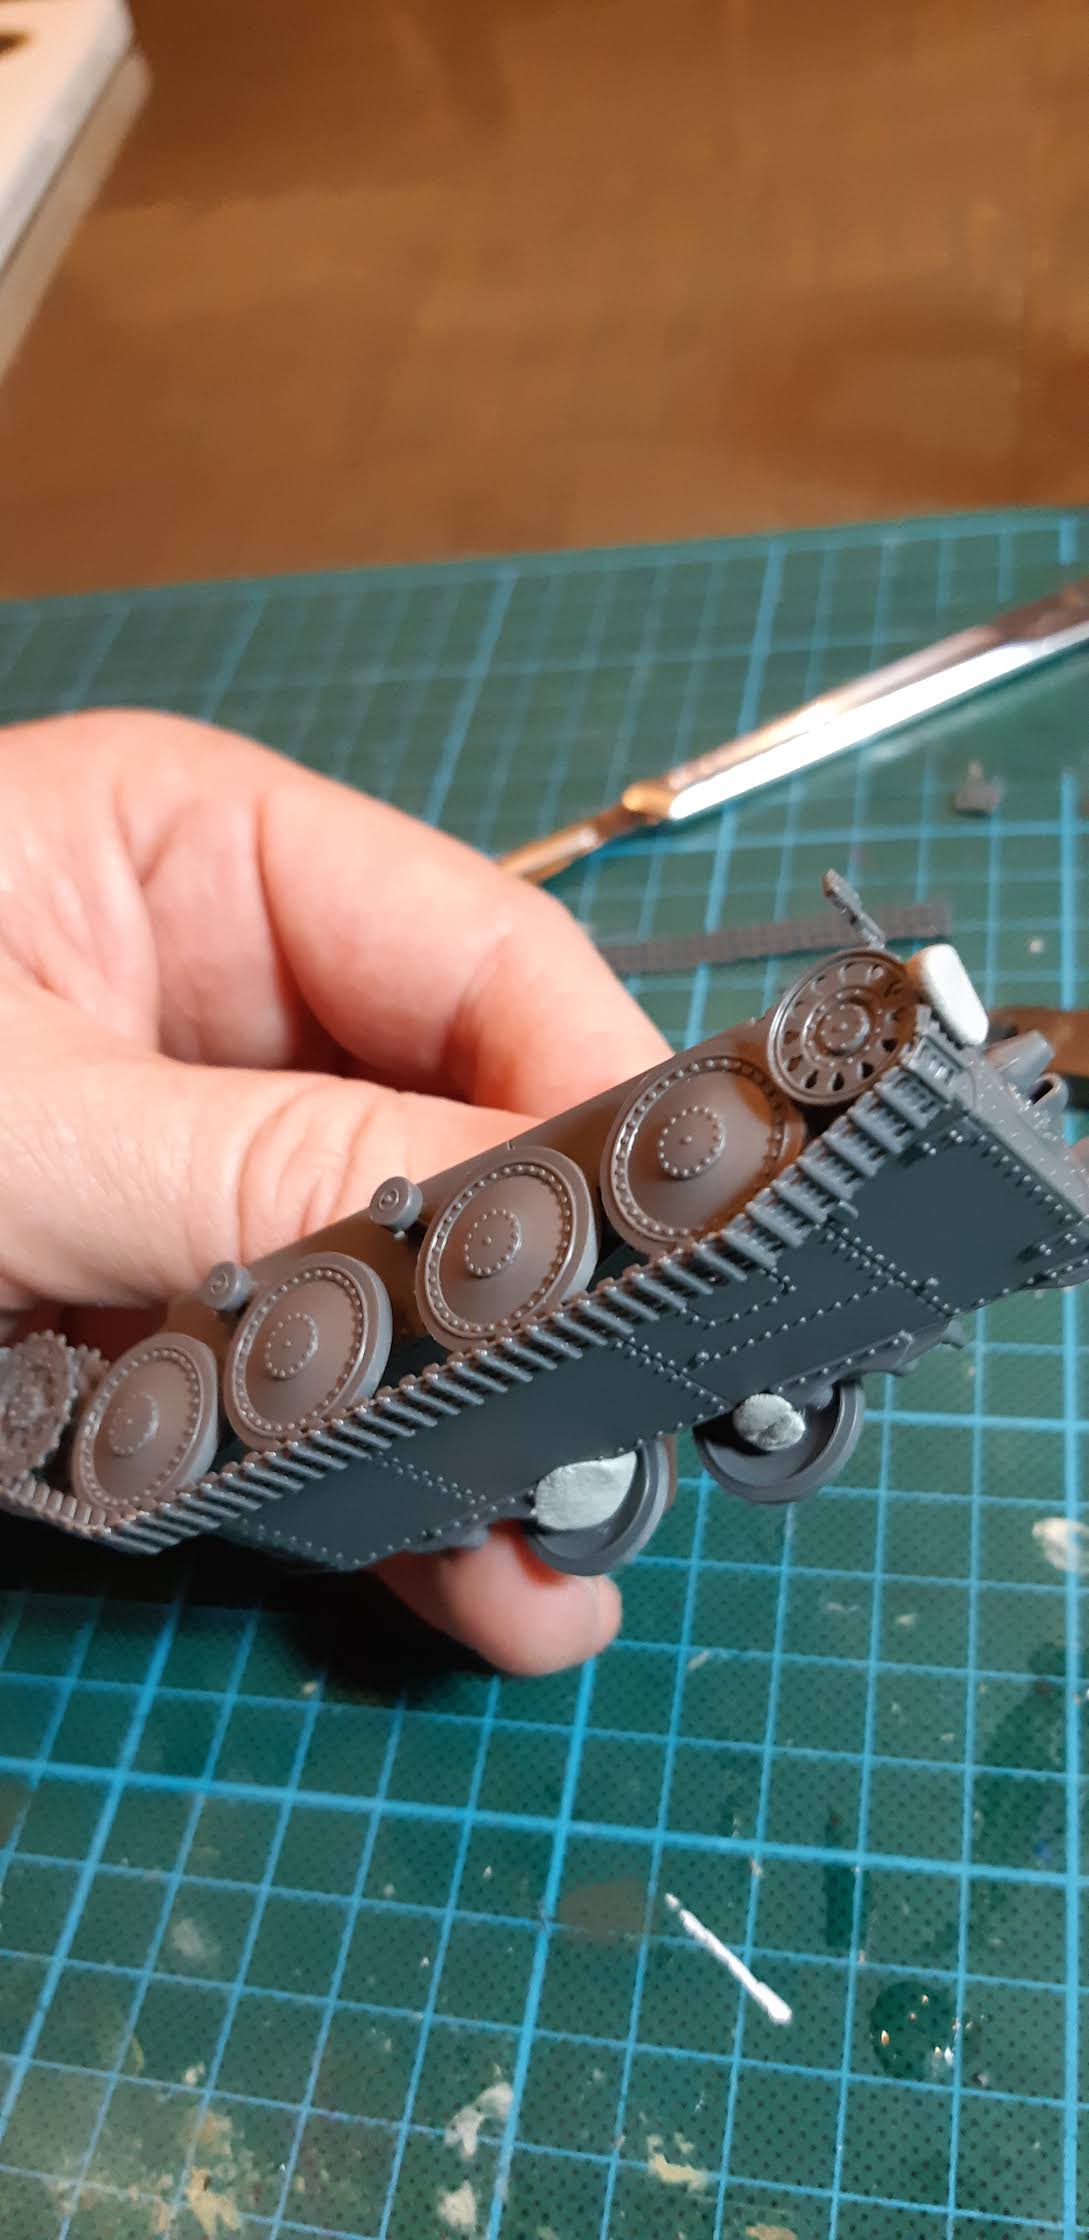
Especially important and challenging are the hinge/bend locations at the front roadwheel & last roadwheel. The long trackrun underneath the roadwheels needs to be centered precisely to prevent a forward or backward shift of the complete track system. We also need to take care that the tracks with glue don’t stick to the wheels yet.

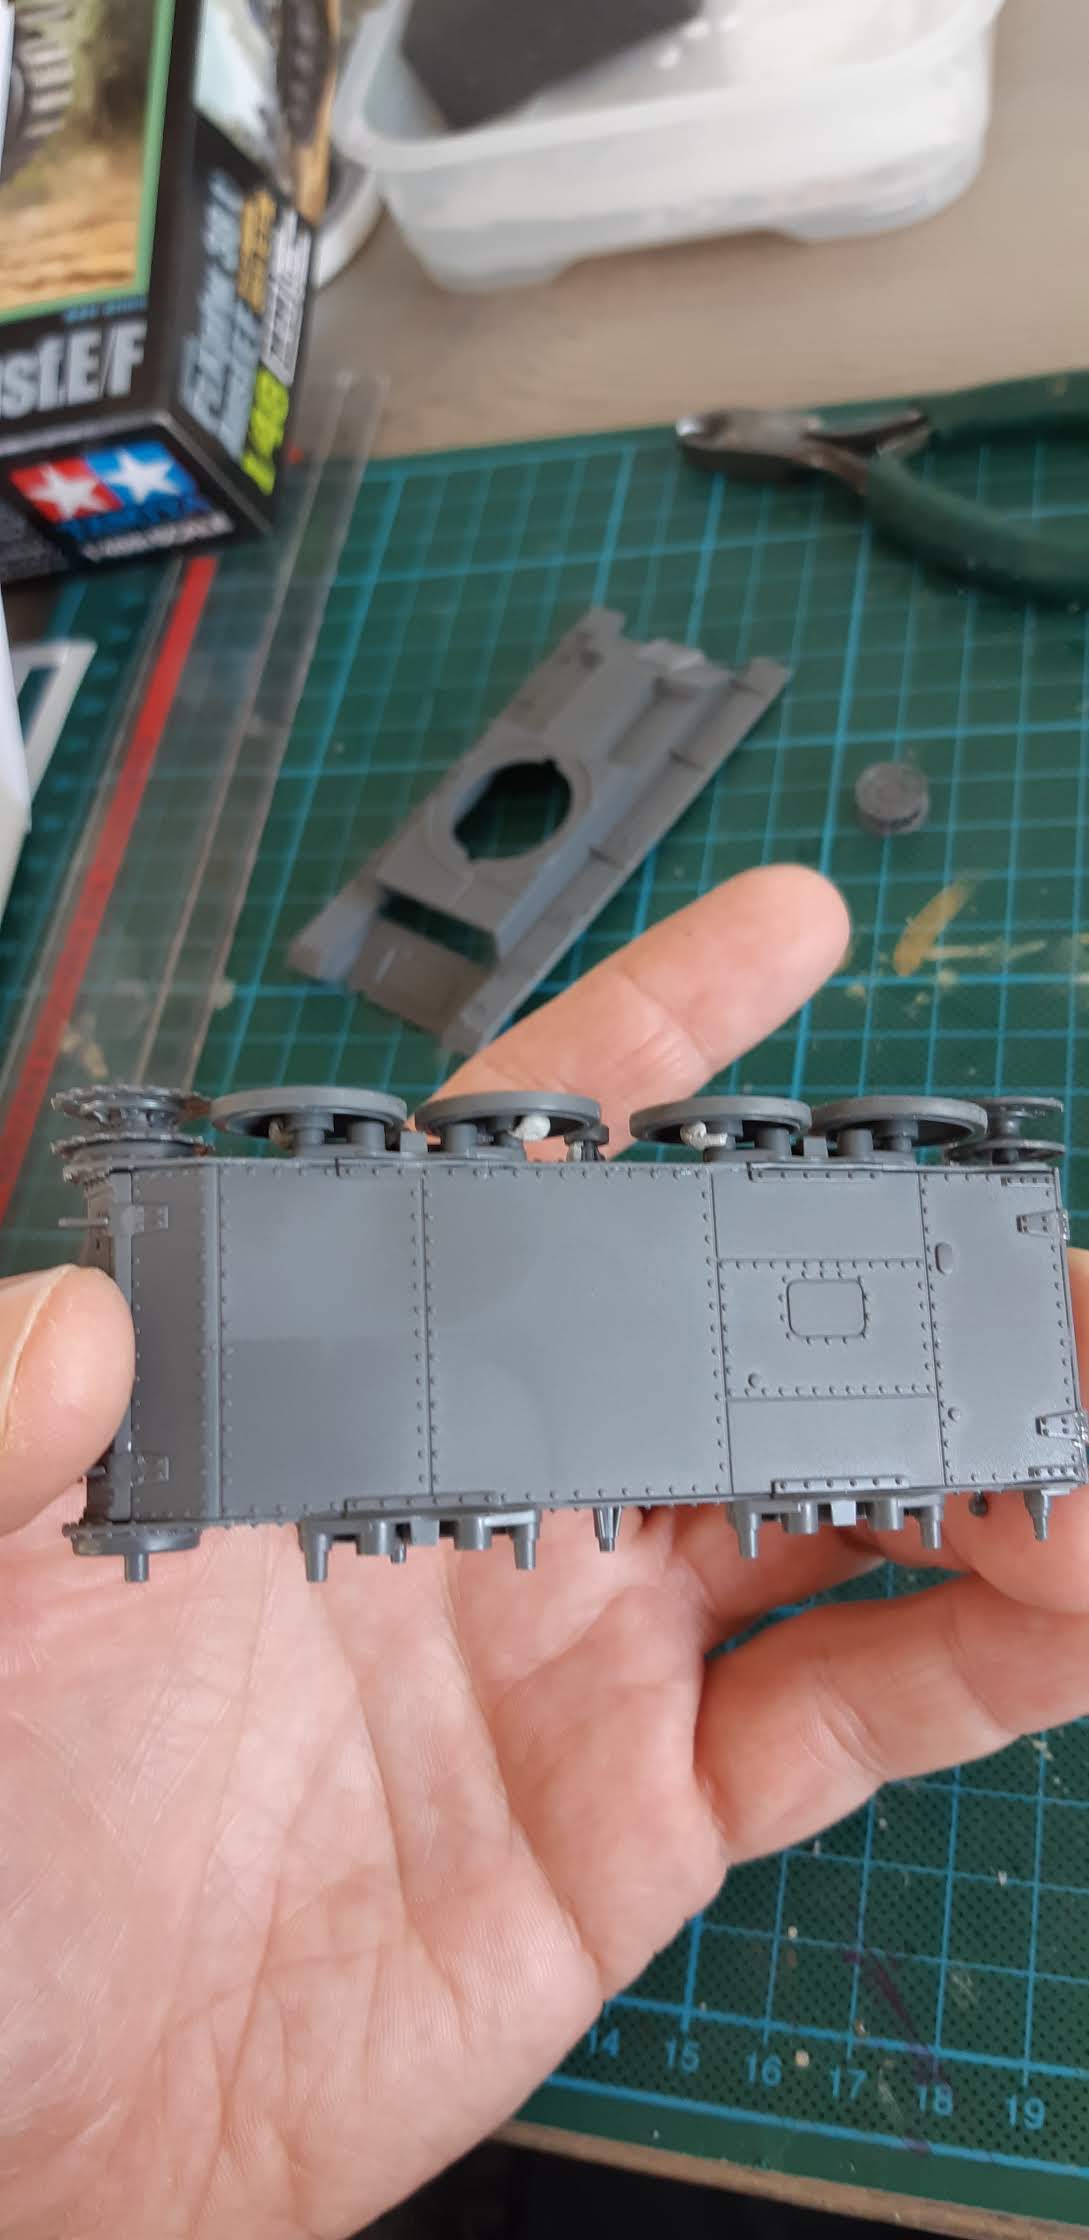
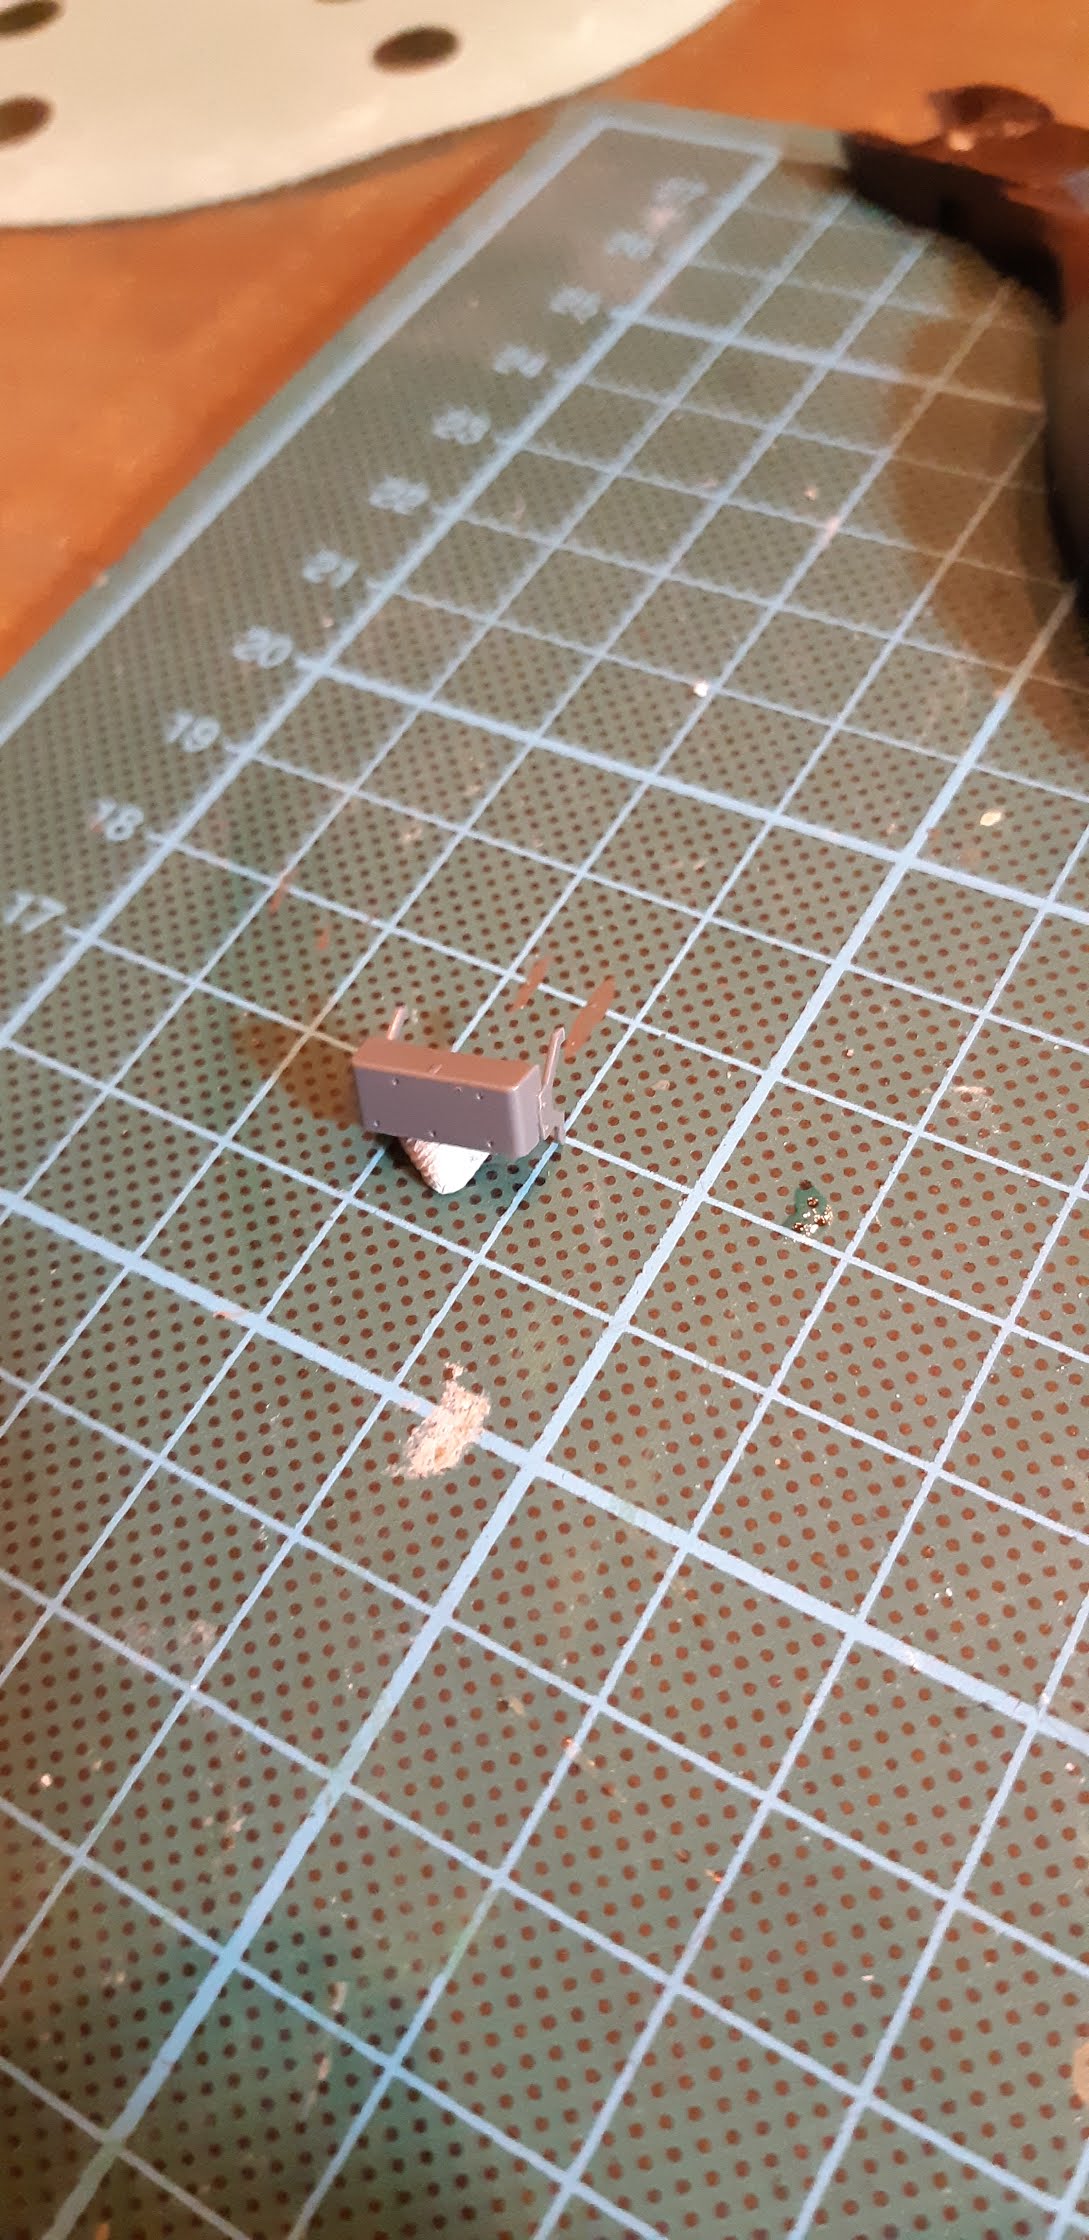
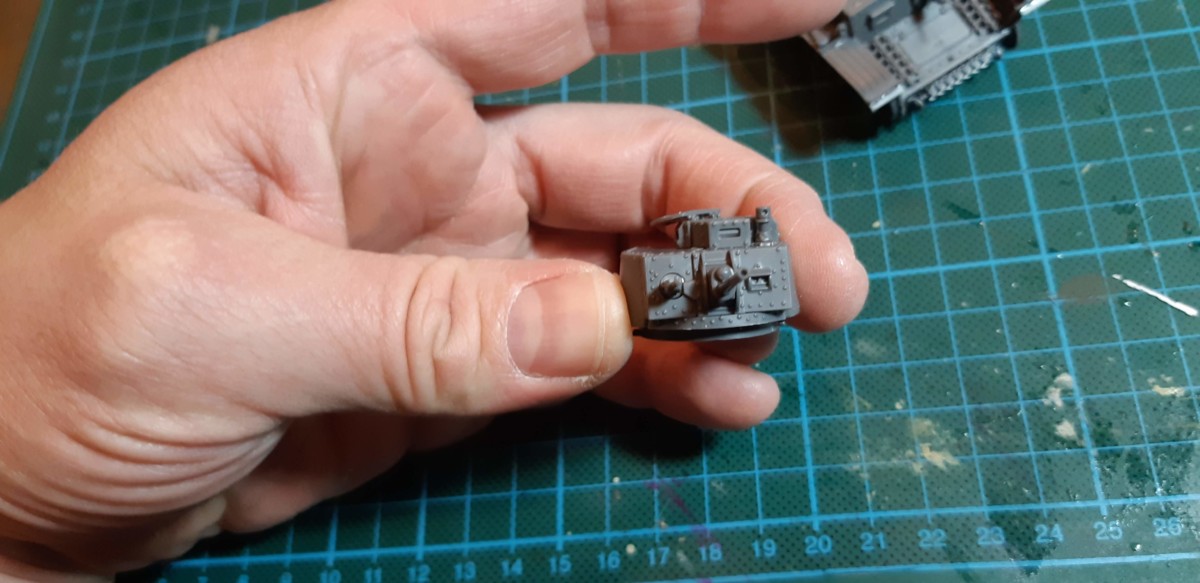
To build more “efficiently” I’ve worked a bit more on the upper hull during all this fitting, fixing, and careful gluing. While cleaning the mold lines of the shovel, I broke the handle. The perfect opportunity to show another practical use for the poster tack: holding the handle in place while the plastic glue works its magic.
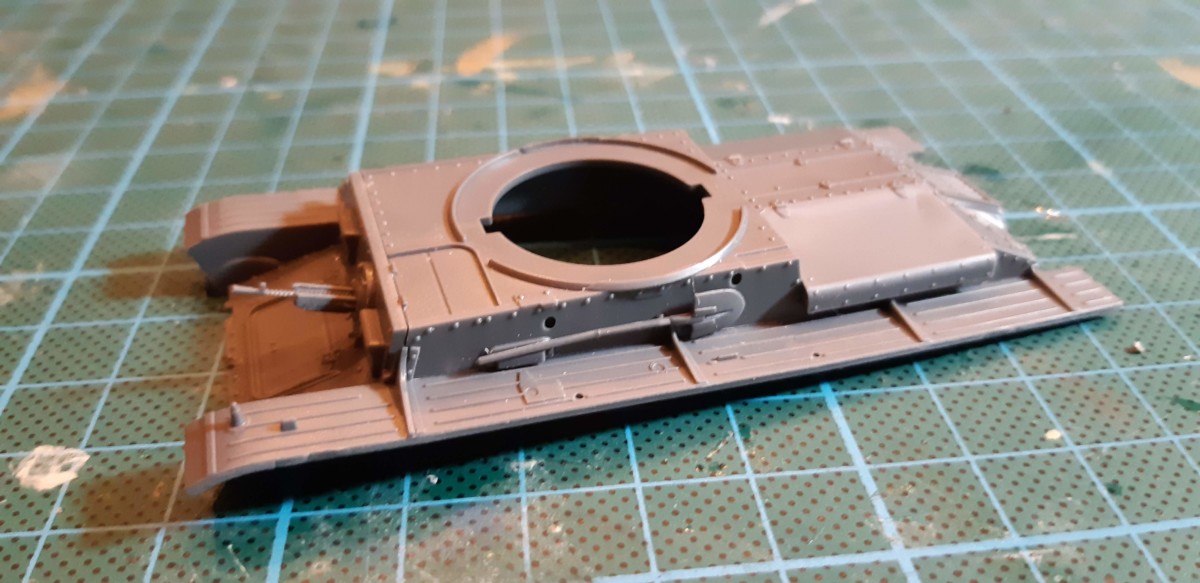

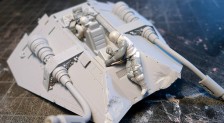
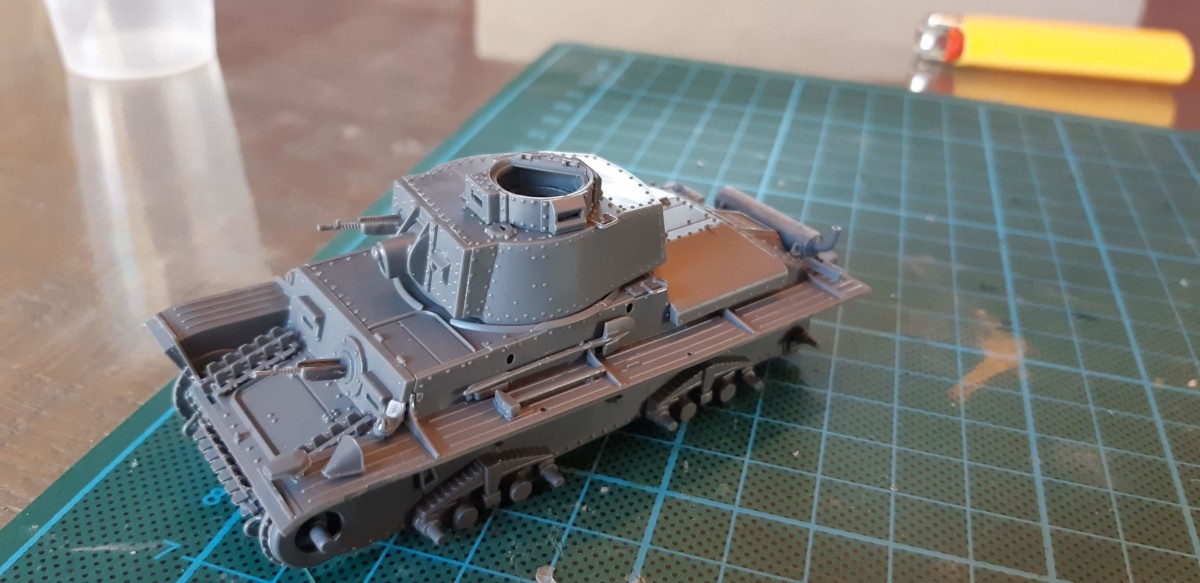
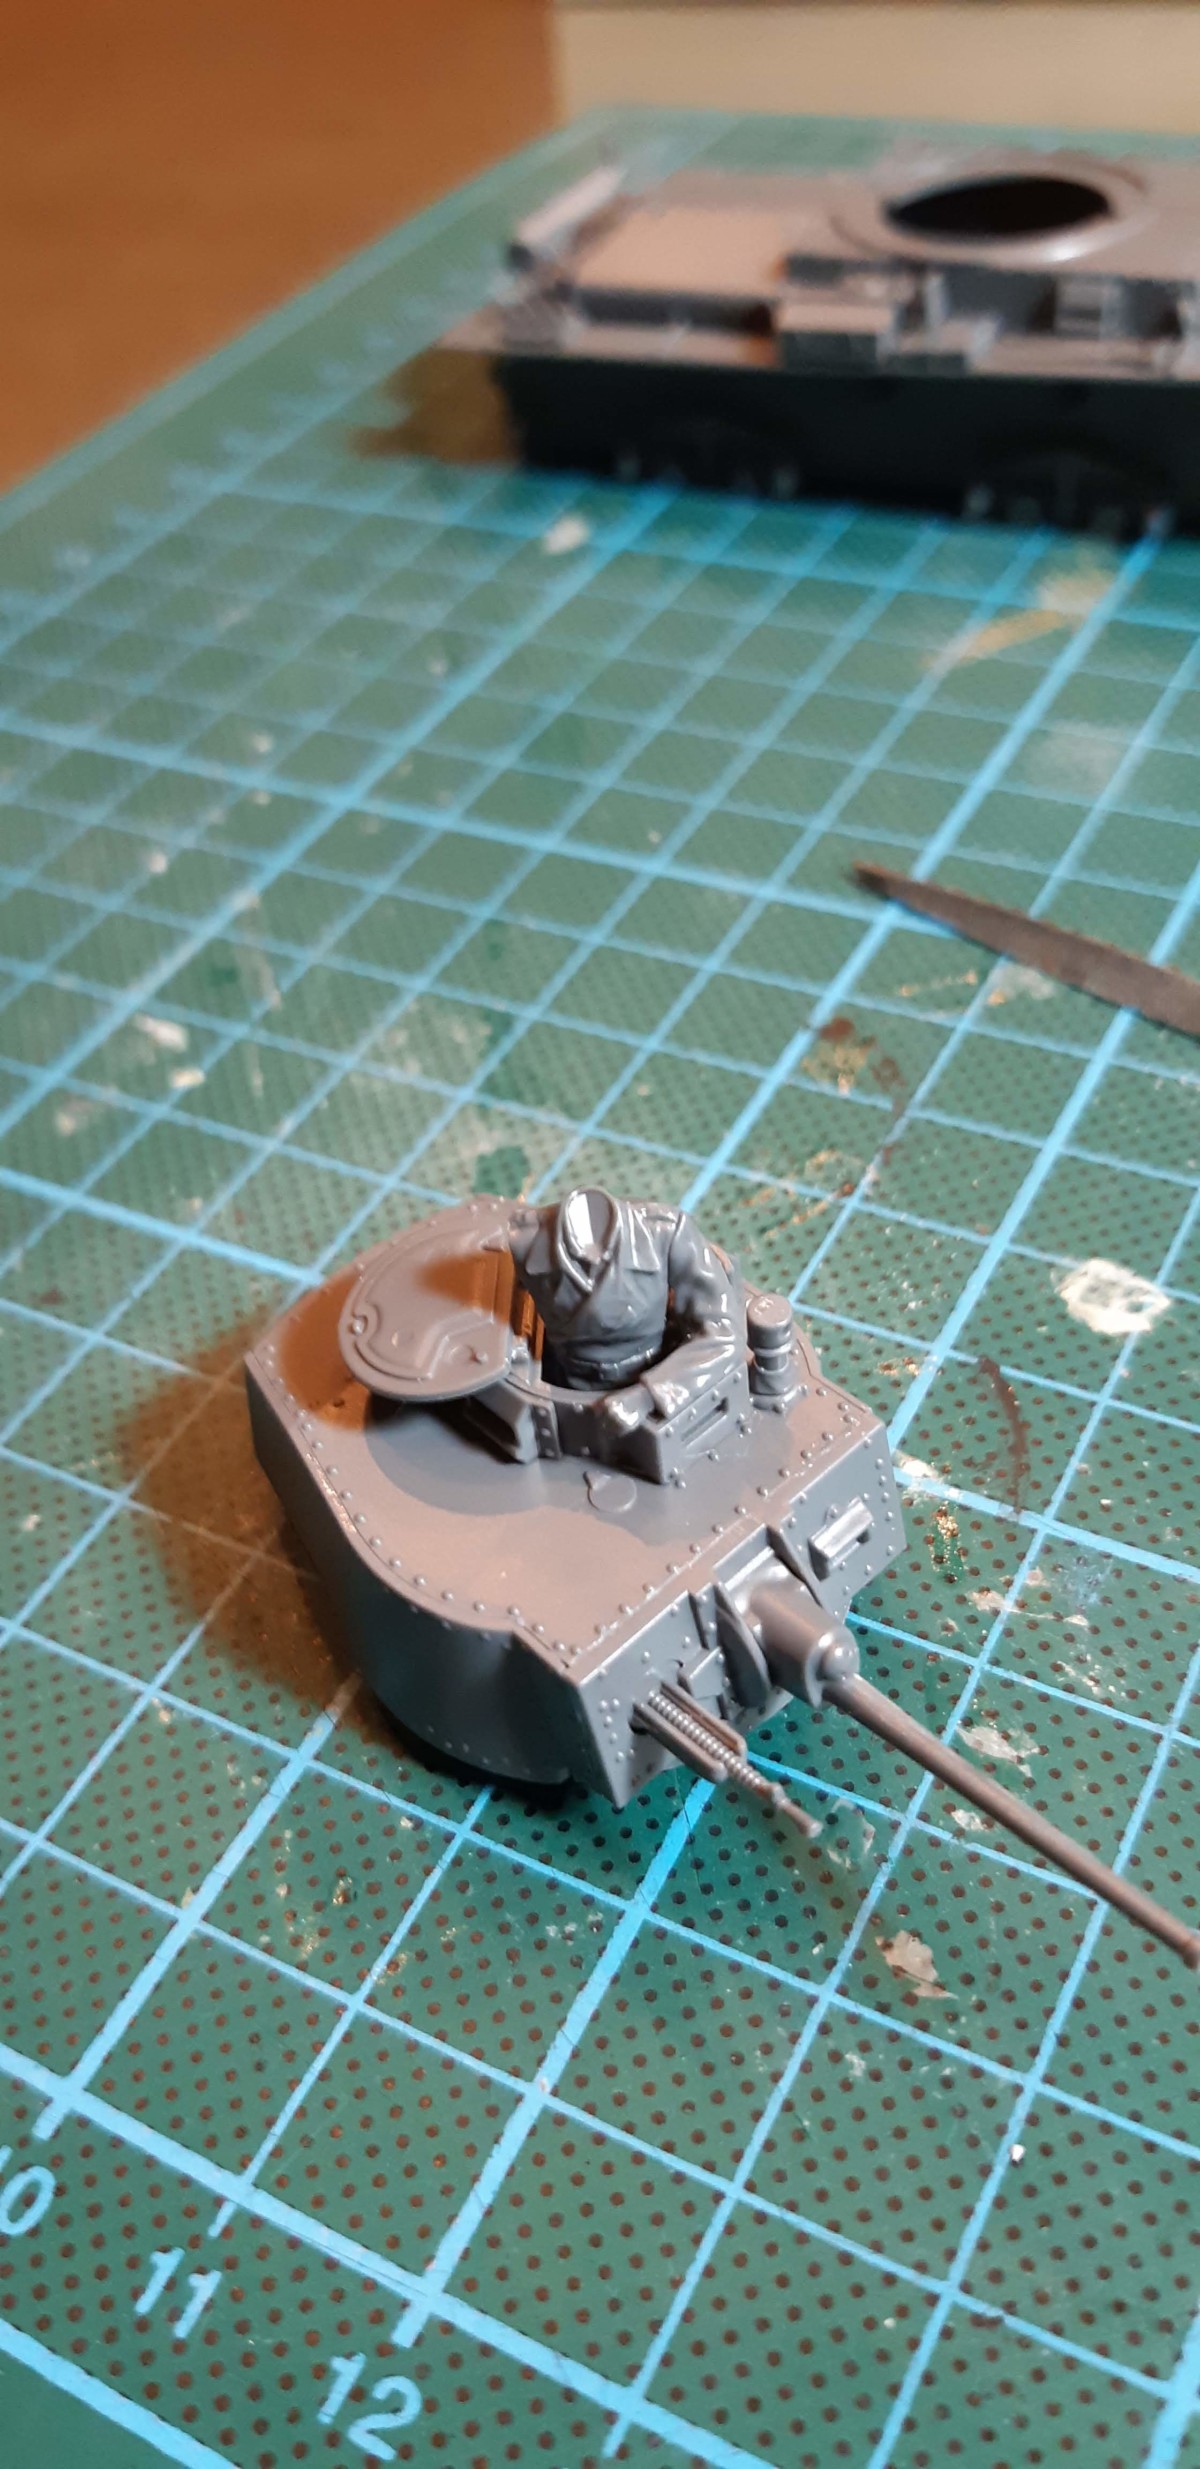
I also build the various small sub-assemblies & the turret, while constructing the track runs on both sides.
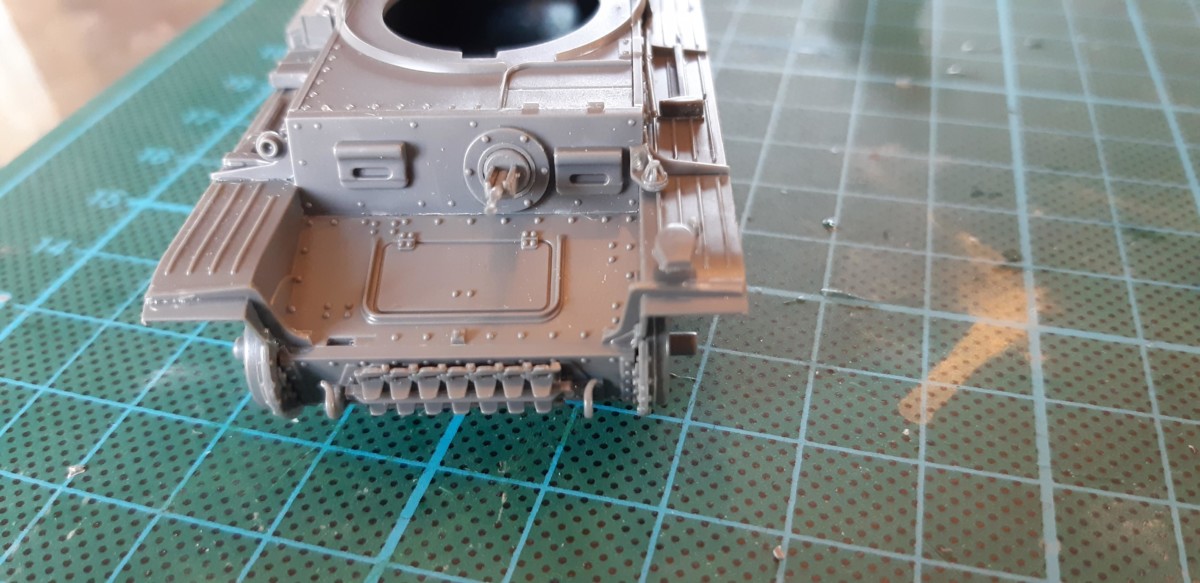
the gun block should not be glued. Working in parallel prevents these things from slowing down construction Upper hull used as mold for turret assembly small stuff is added to the upper hull
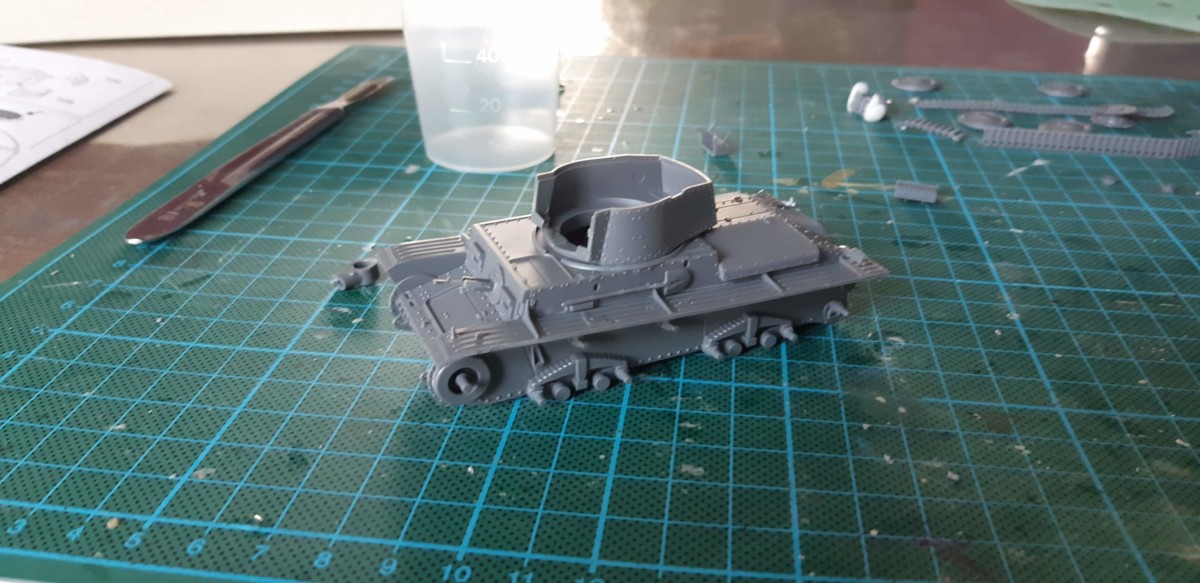

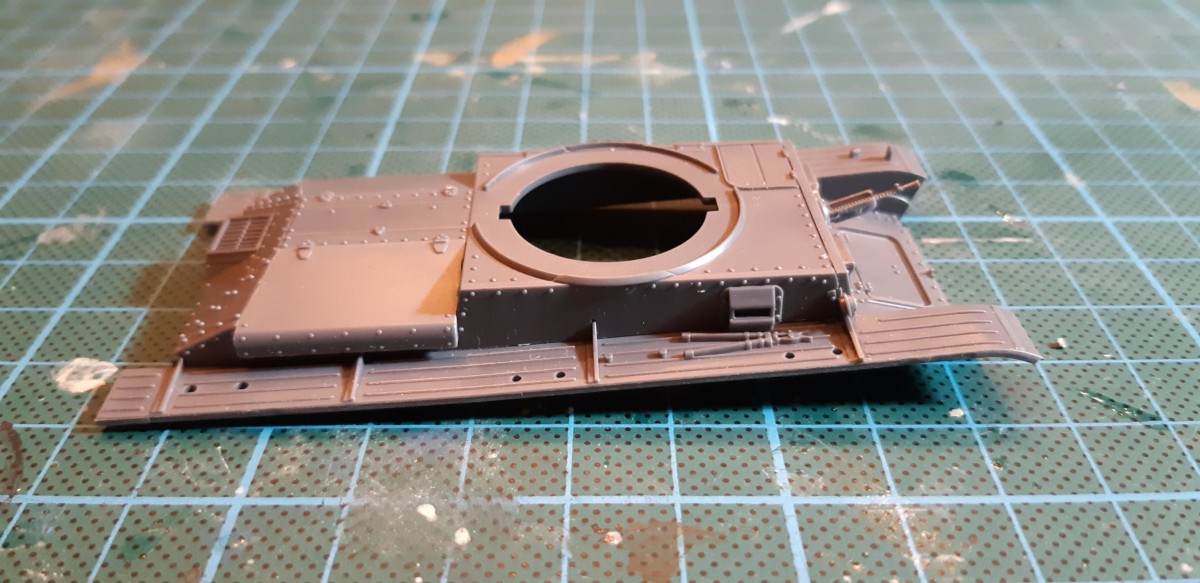
I keep adding all tiny addons to the upper hull. I was constantly switching back and forth between fitting, gluing. and tacking tracks while constructing the rest of the tank.
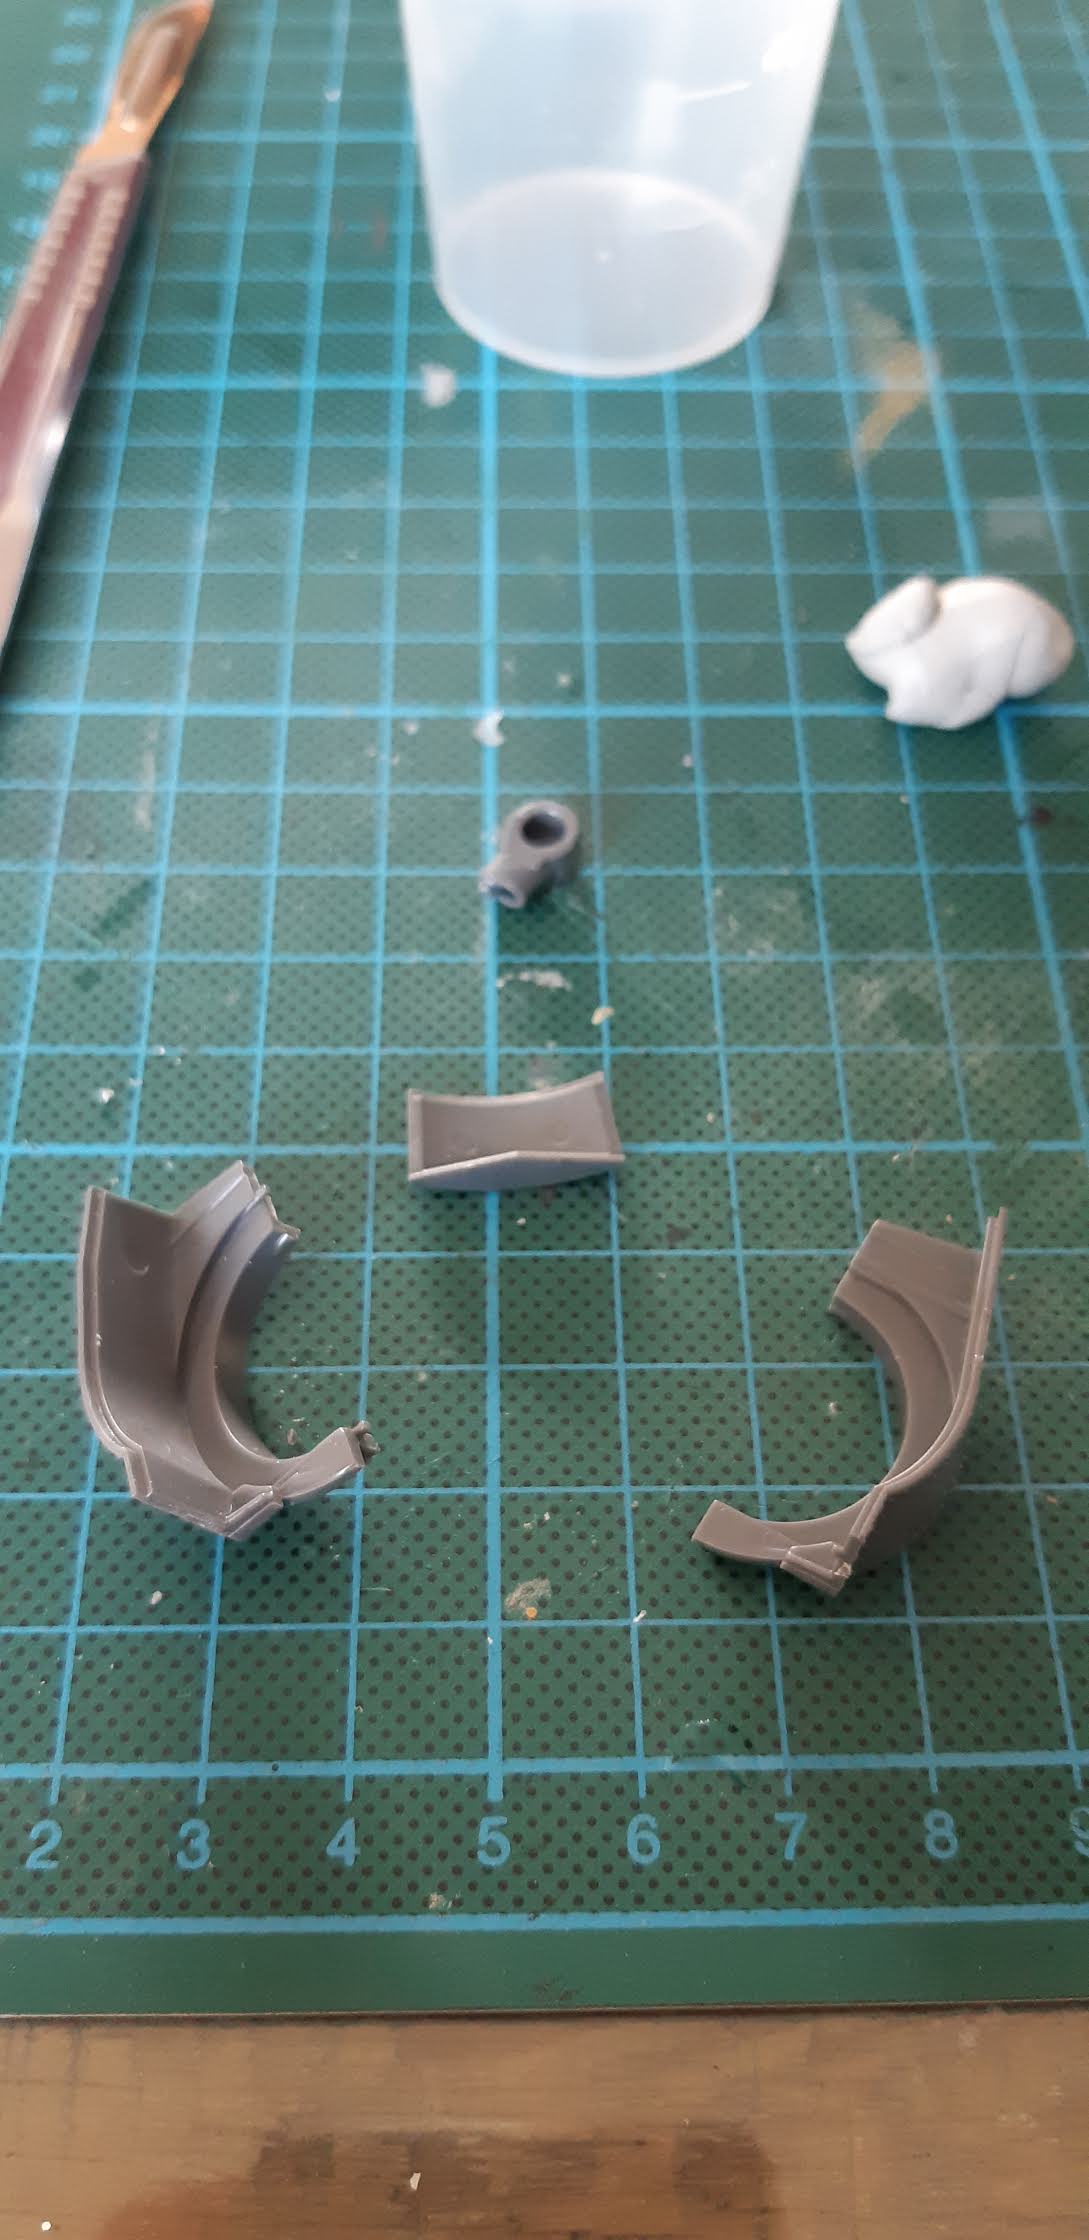
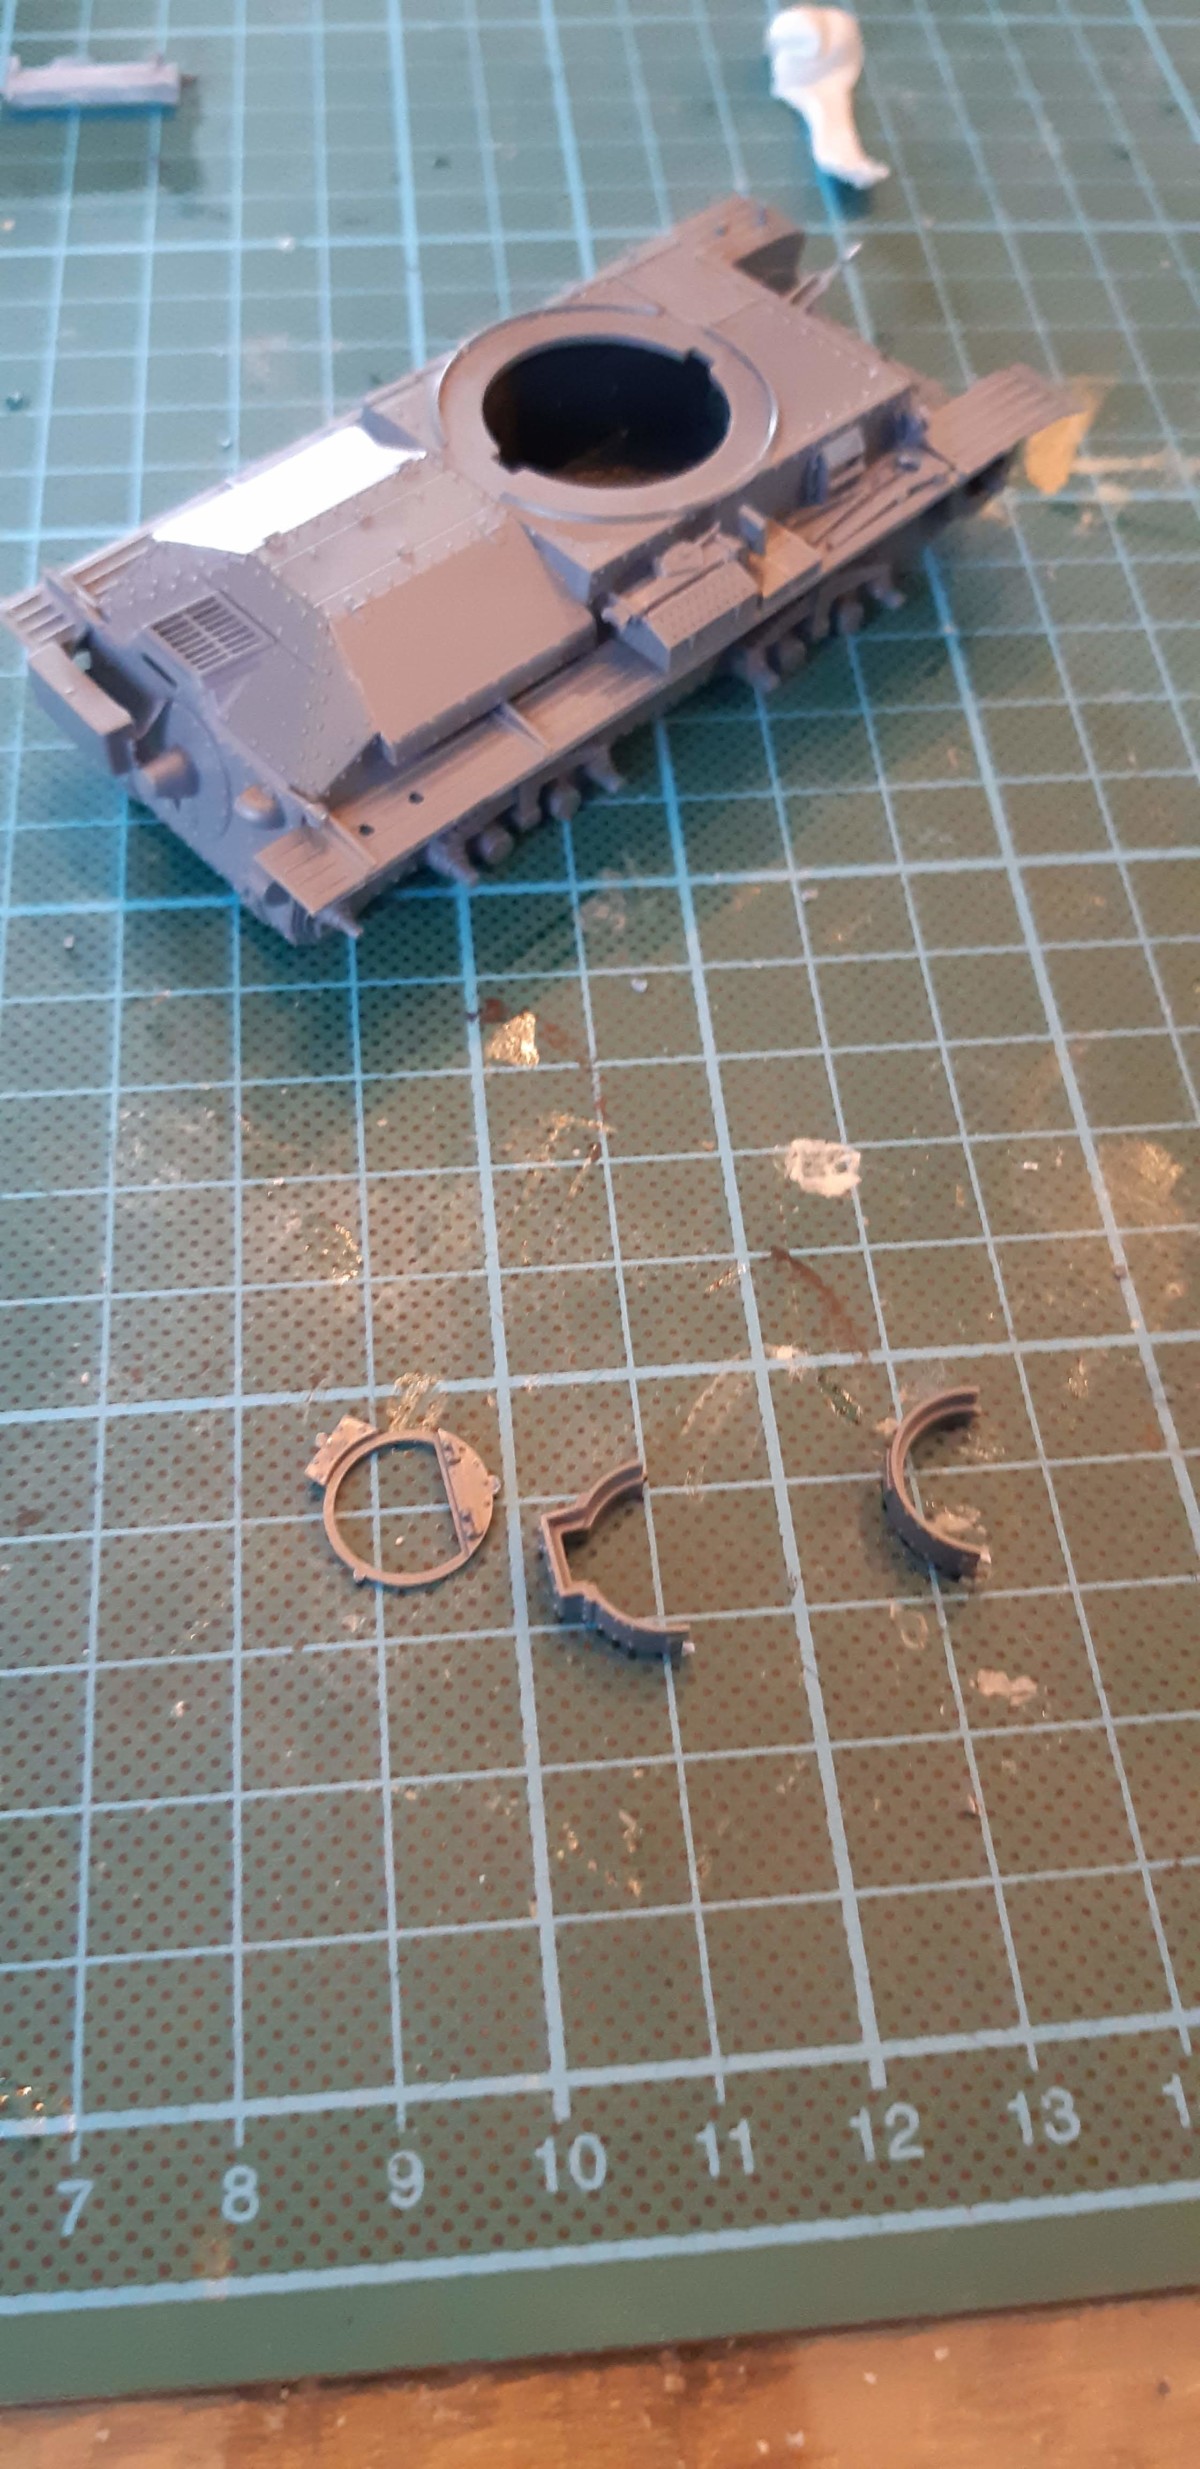
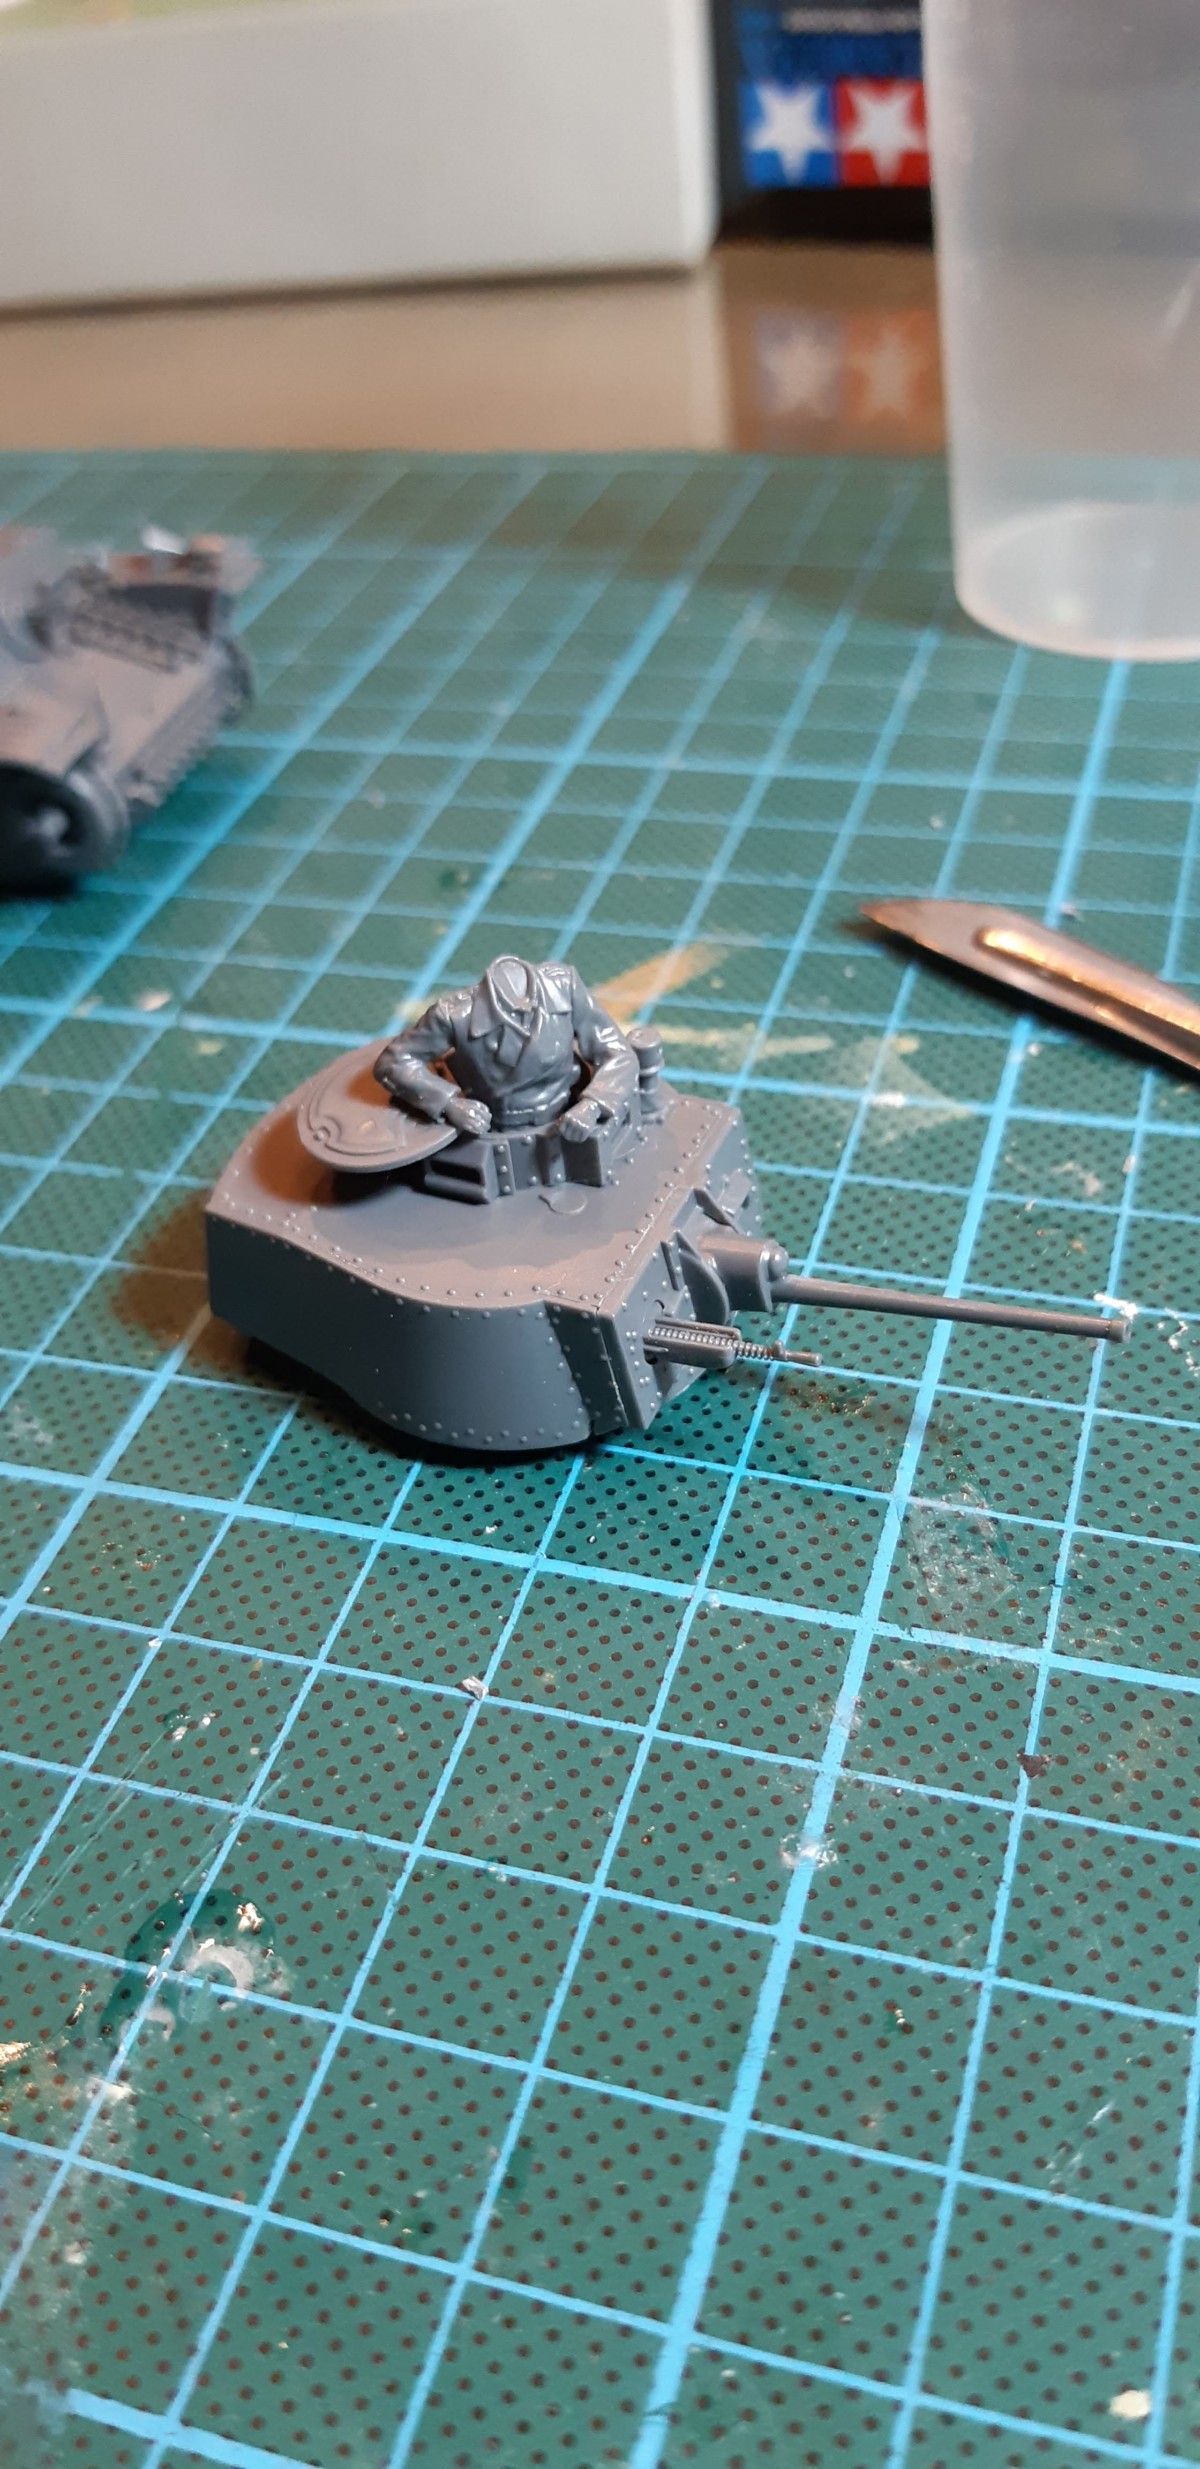
Commanders cupola parts about to be cleaned Again I dryfitted the cupola on the turret body to assure a correct shape while drying


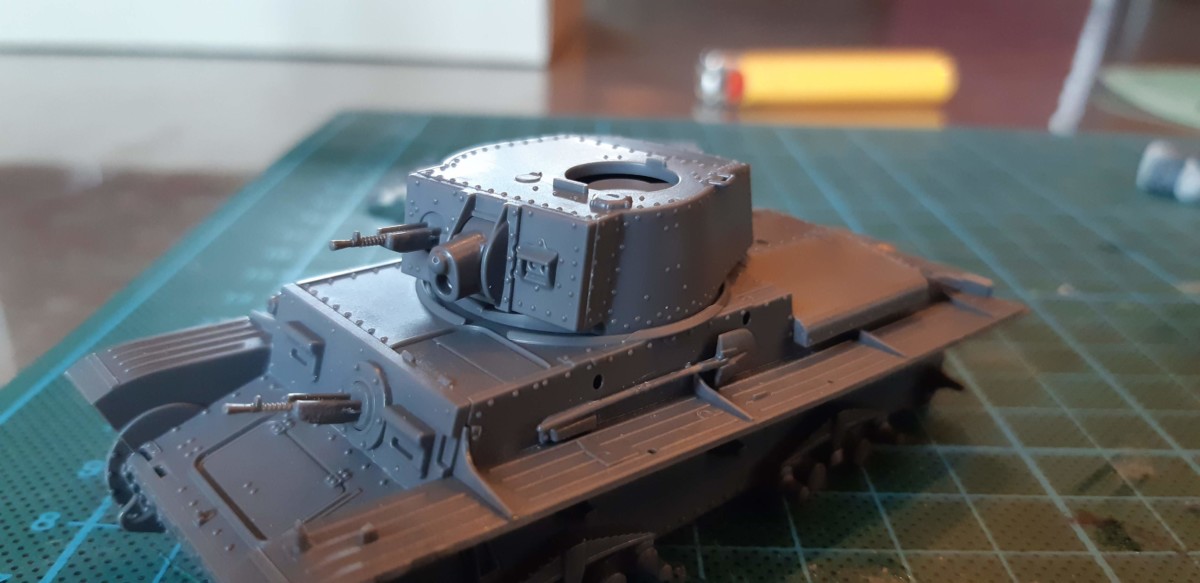
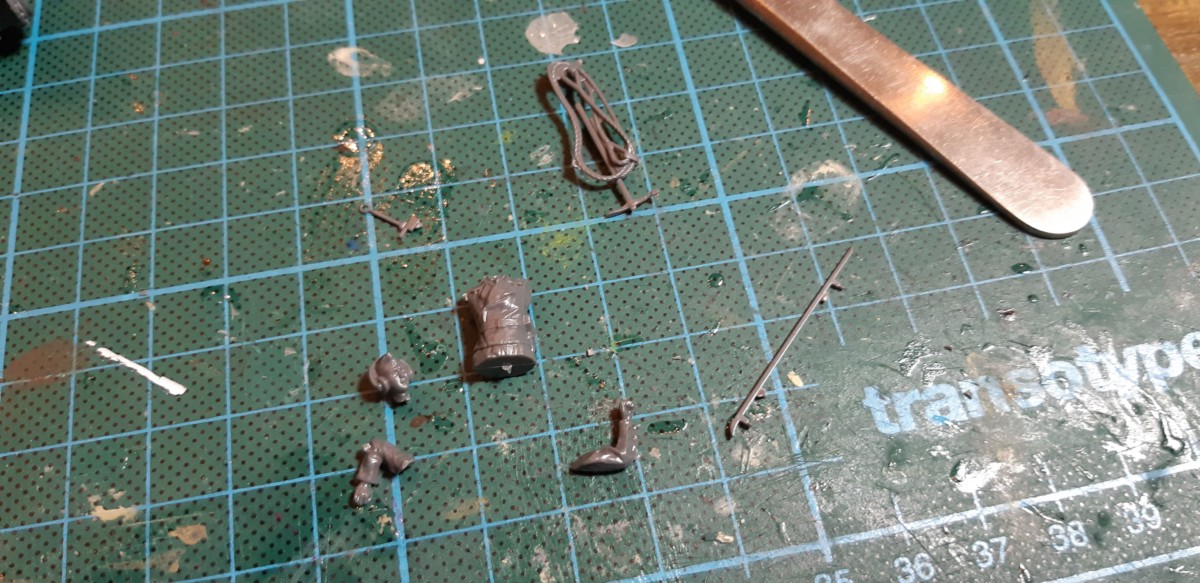
Almost done with construction. The final bit posed a bit of a dilemma. Do I mount the towchain, or not? Mounted it makes the airbrush step a bit harder. But it’s a very fiddly bit to keep separated, so in the end I did put it on the tank. You can also see the commander being built out of the box. In my next post, however, you will see the super detailing of the commander with some etched brass: 1/48 German Panzer Troop Accessories
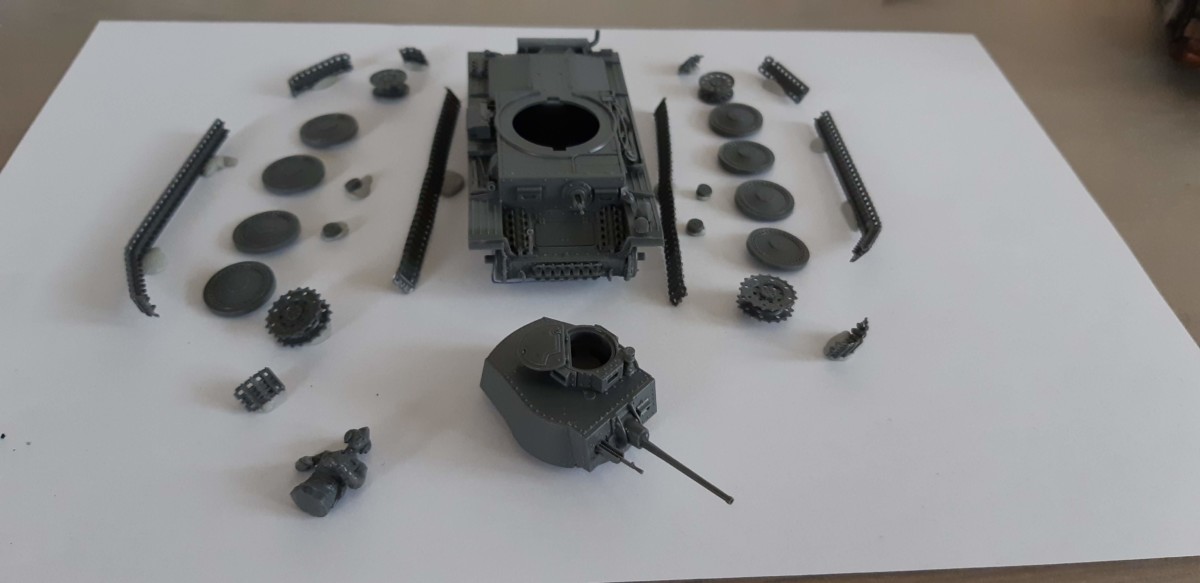
So the tank is built and I’ve all tacked it down to a A4 sheet. The main purpose is to remember where every small part of the track sub-assemblies should go when I want to do the final assembly. But before I pop out the airbrush and start putting some color on the panzer, I’m going to do some more work on the tank commander.
I hope you like the article so far. Please comment if you’d like more explanation on specific parts.
Until next time!