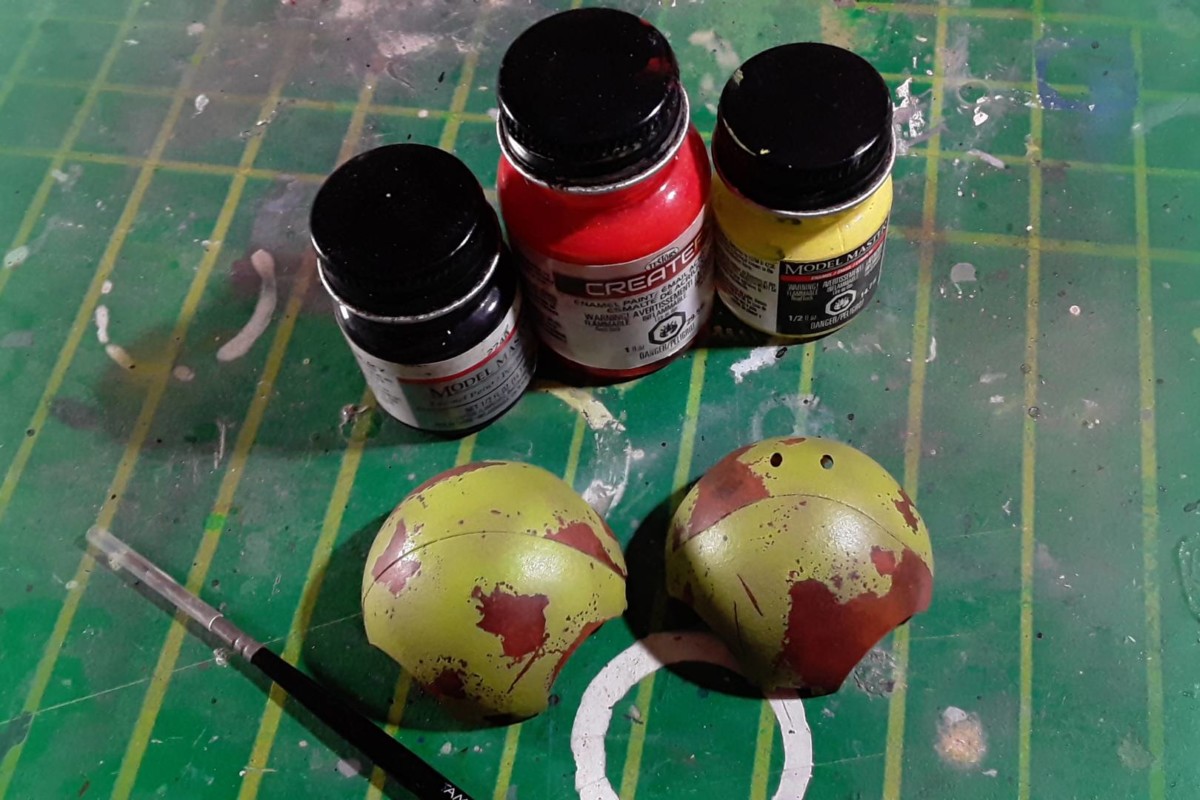
Hey, Gunpla fans! I’m back after a while, and it’s time to make the final rust effects on our little Haropla model. We’re going to paint some eye-catching rust streaks, as well as blend the patches of bare metal with the green base color we sprayed last time.
Streaking with enamels
For the streaking, we’ll use enamel paints because they have a longer drying time than acrylics, which will help us when blending the effect with the underlying coat of paint. We can’t use lacquers either, since smudging it with lacquer thinner would probably affect the green paint underneath.
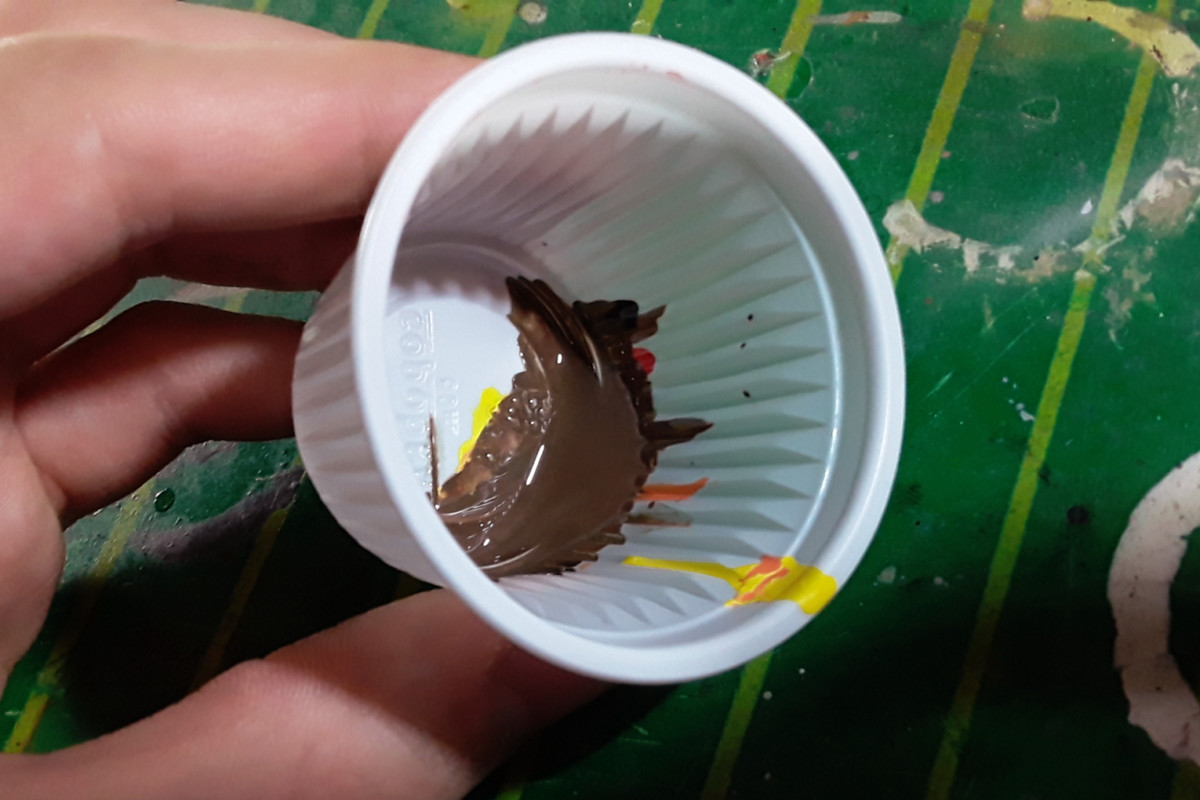
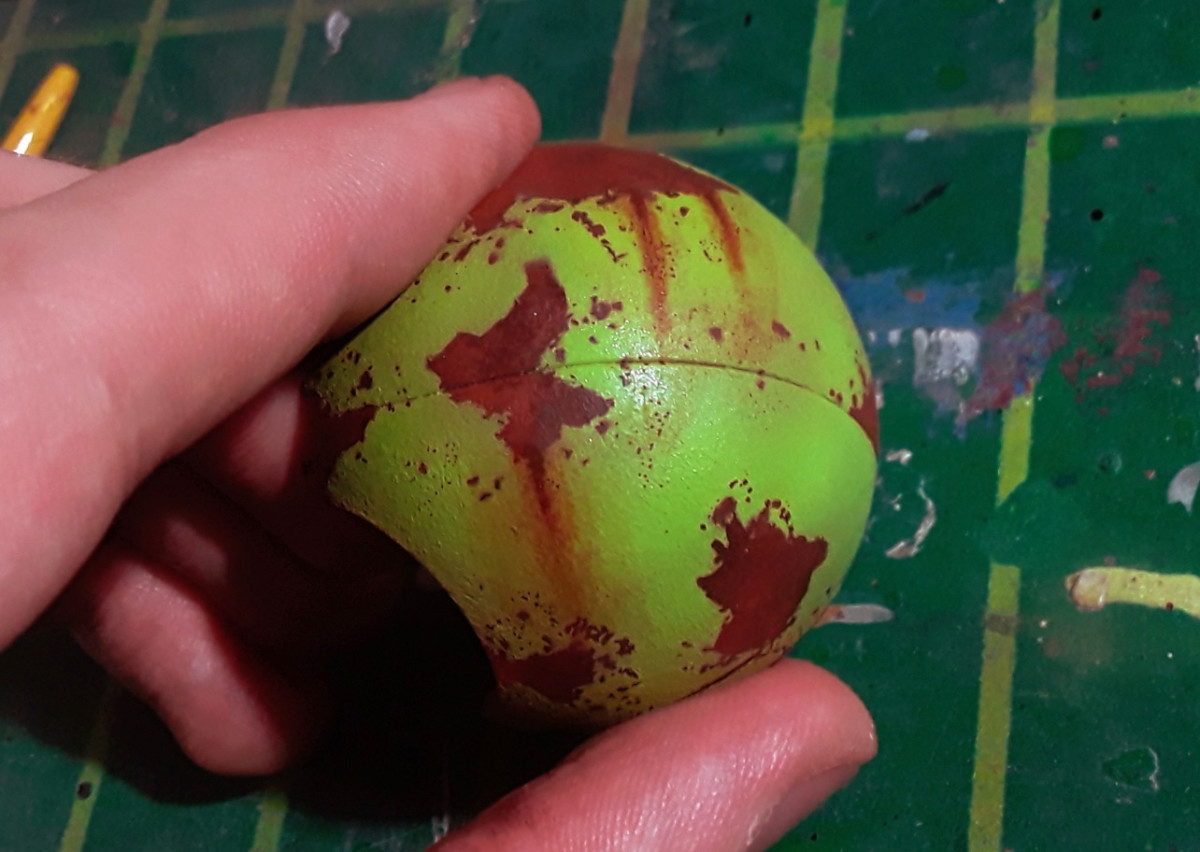
I mixed a neutral rust brown, and painted the streaks using a fine brush. Normally, this color would be more orangey, but we are going to add the orange hues later through a different method.


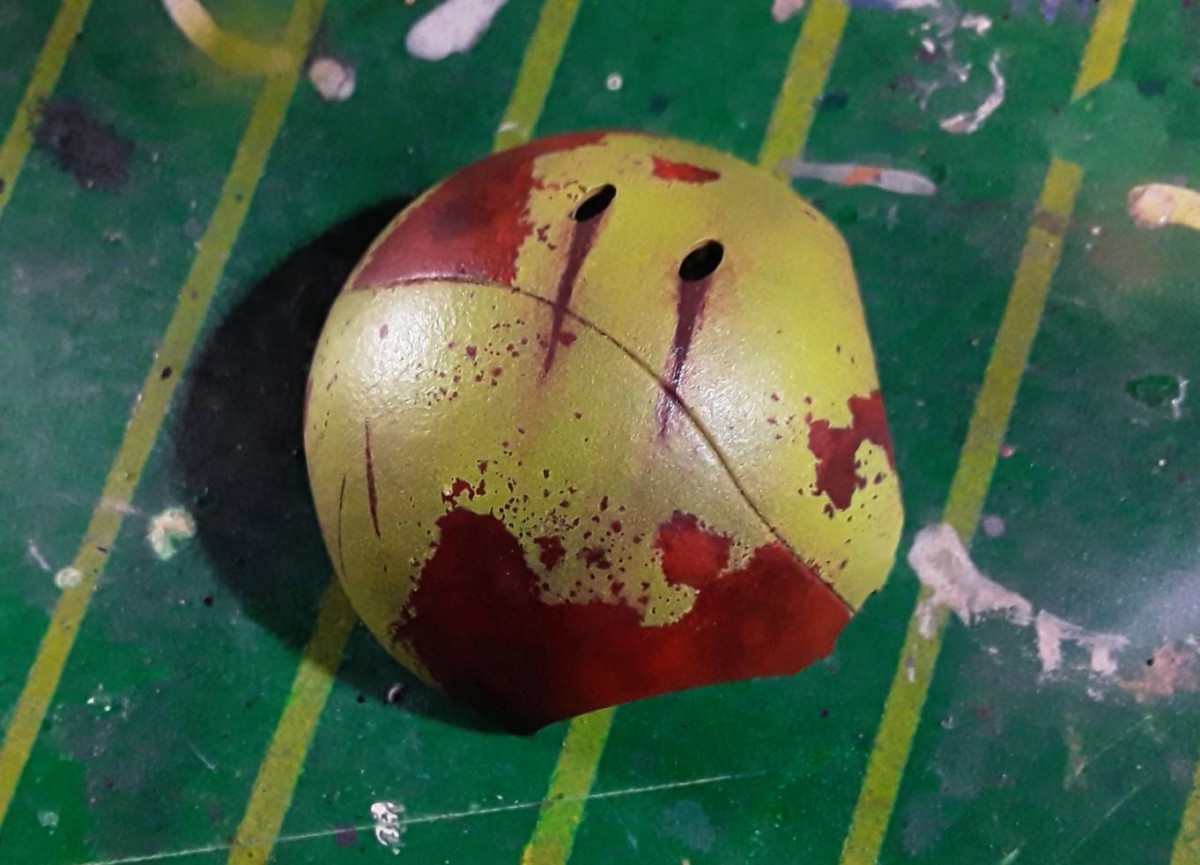
Also, it’s worth noting that unlike the streaks on the rear piece, the ones under the eyes are falling at an angle. This is because I wanted to have some fun and go a bit further with the backstory. Basically, the streaking on the back originated earlier, when this Haro was lying straight on the ground, causing the perpendicular streaks. Eventually, something caused the robot to tilt and lean at an angle. It’s been in that position since then, so gravity and the weather did their job on the front.
Needless to say, you don’t need to get this nerdy with your rust effects… but it’s a fun thing to do!
Blending the streaks with the base color
The next step is to blend the enamel paint with the green base coat. You can use enamel thinner or lighter fluid for this task; I went with the former. Always load a small amount on your brush, or else you may run the risk of removing more paint than wanted. Feel free to use a paper towel to brush off any excess thinner.

Most people smudge the paint uniformly in one motion with the brush. It looks good most times, but real rust streaking hardly ever looks like that. Therefore, I usually smear either side and then the bottom, keeping the center more opaque, as shown in the video below. Here’s a comparison between the two techniques, which should demonstrate the differences clearly.
Using Real Touch markers
Rust stains
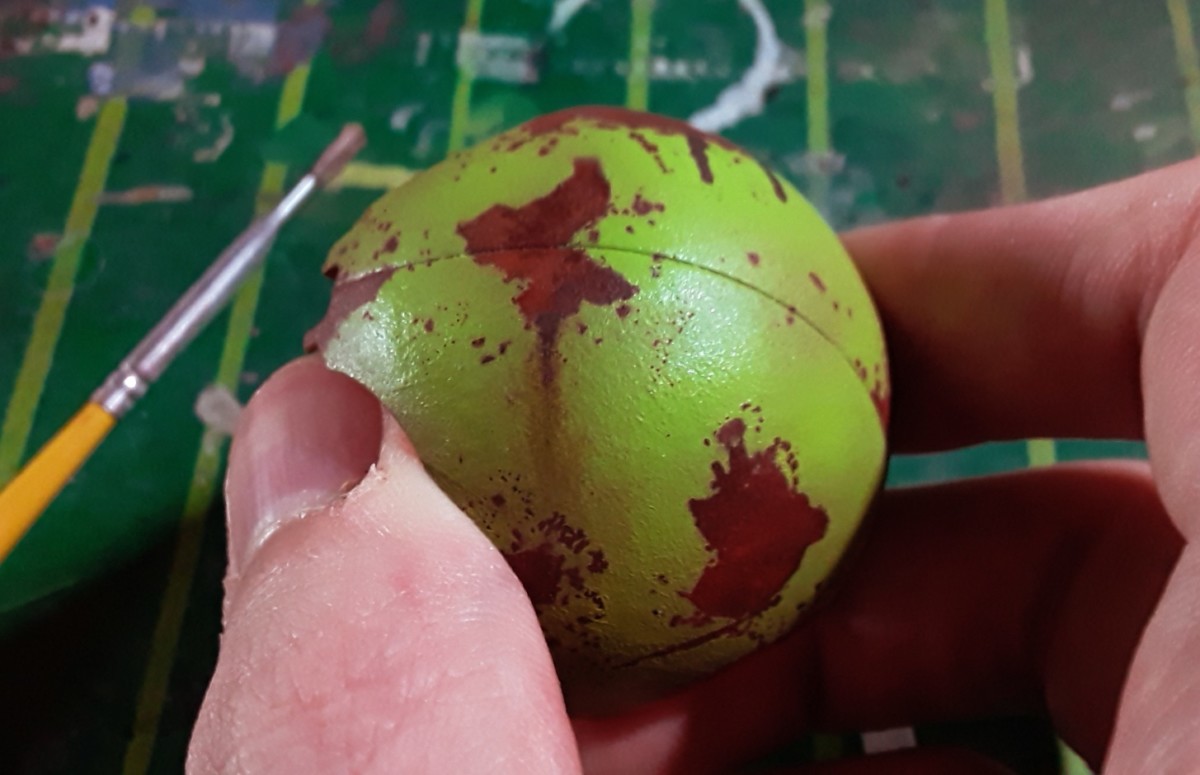
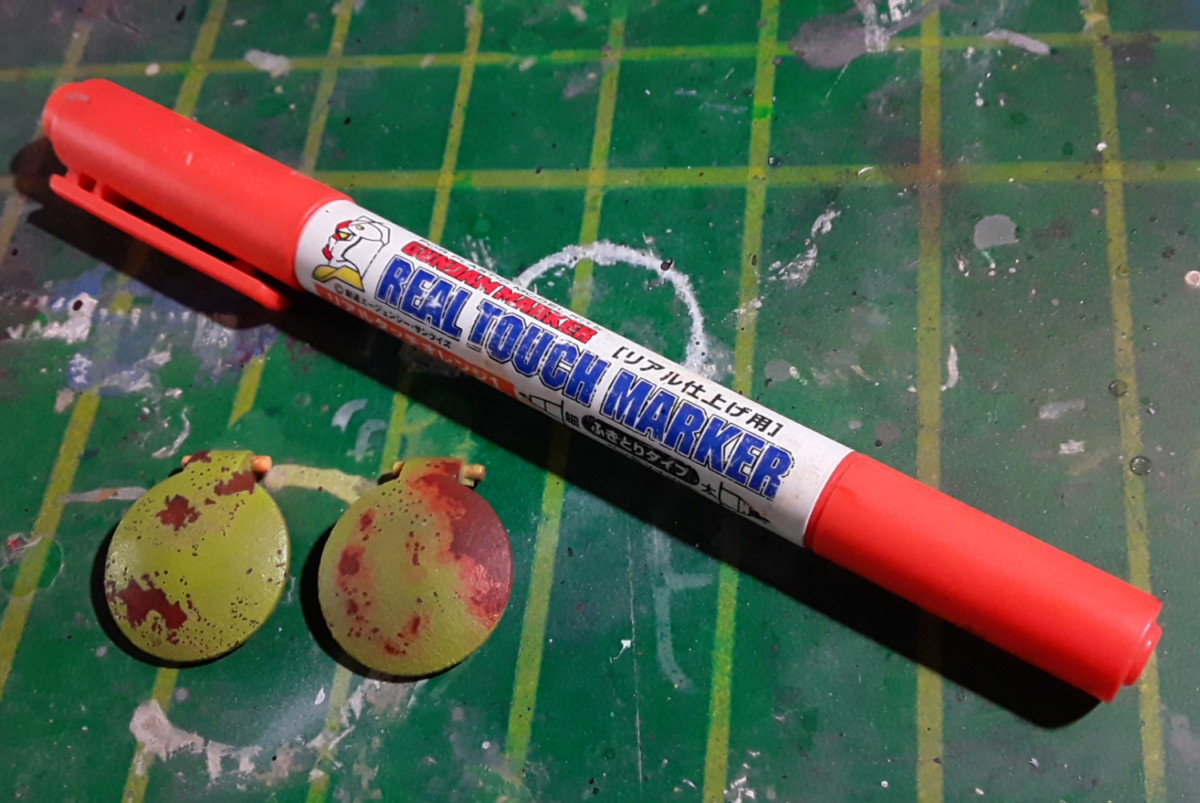
We’re not done with the streaking, but while the paint dries we are going to use an orange marker from the Gundam Marker Real Touch line. We’ve made other effects with these versatile markers before, but today we’re going to use them to paint rust stains that blend the green color of the body with the exposed rusty metal.
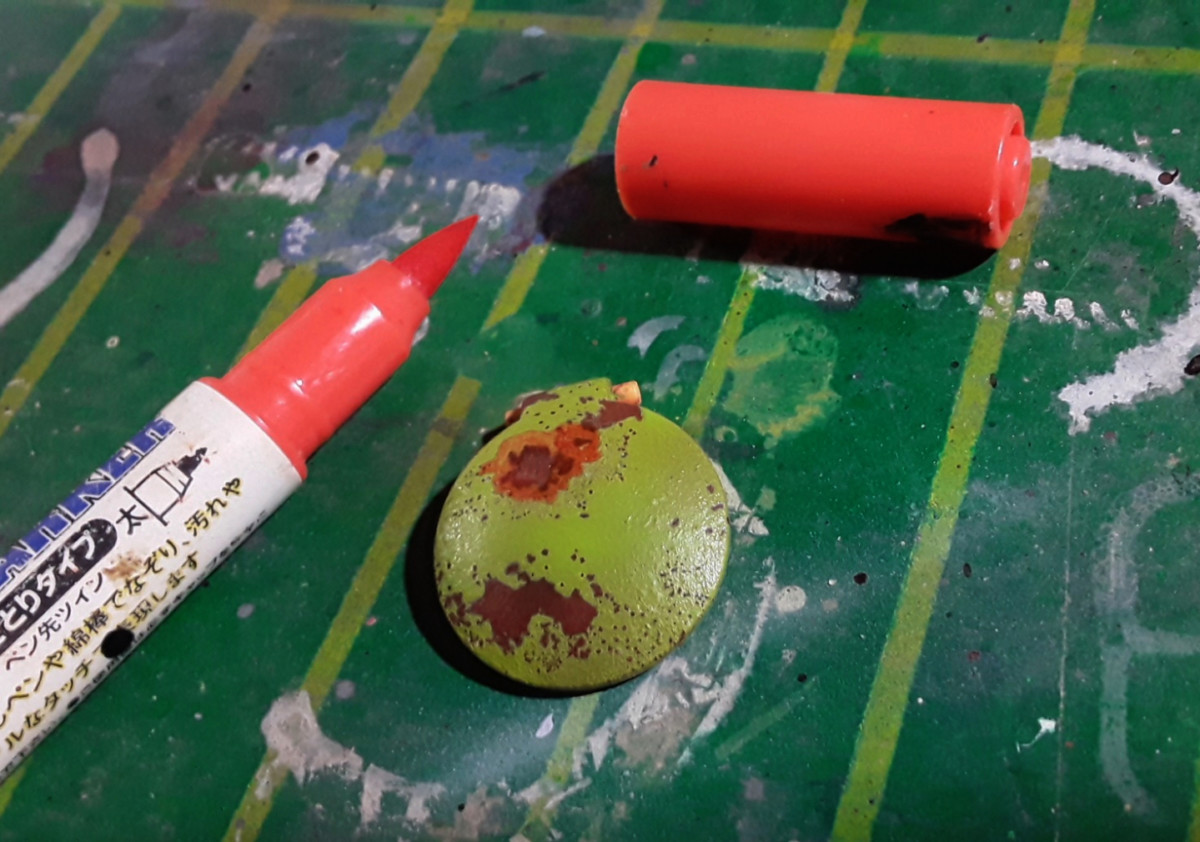
We color around the edges of the large chips with the broad tip. I apply some ink on other areas as well, but keep it to a minimum so as to not overdo the effect.
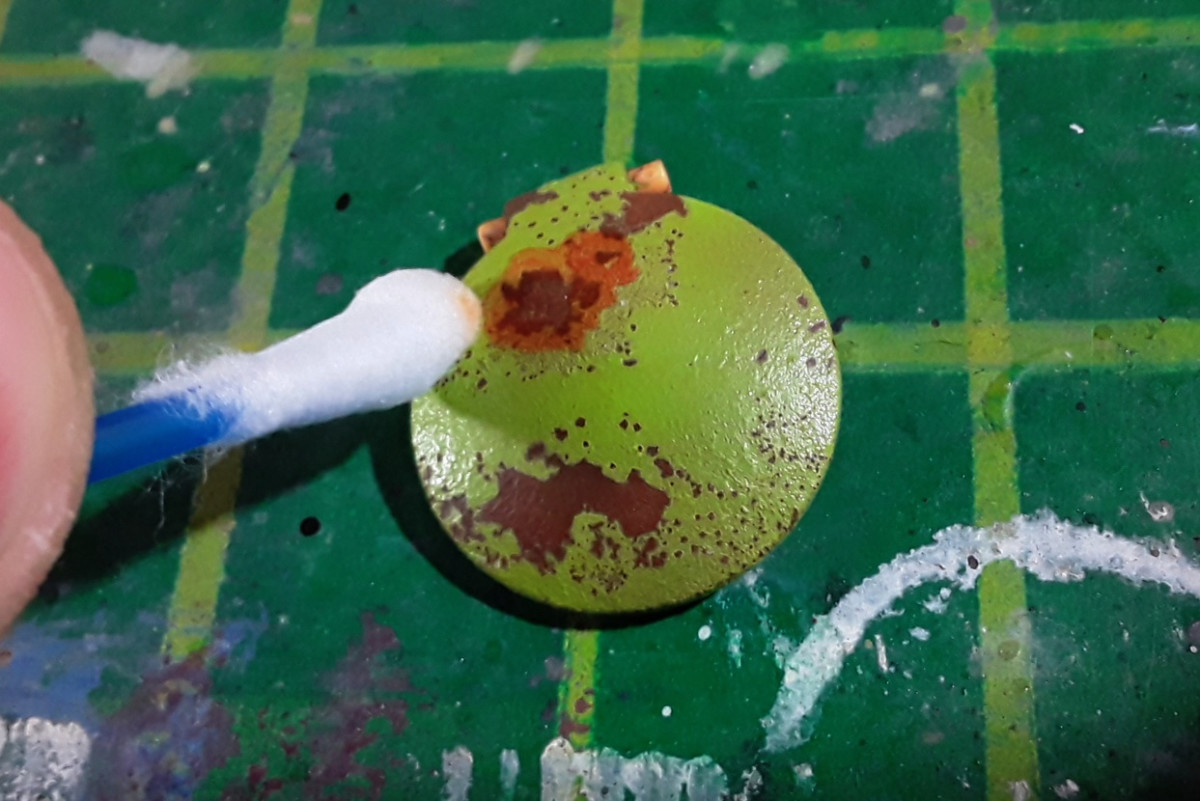

Next, we blur the edges with a cotton swab. This will create a smoother transition between the orange and the green areas.
It should be pointed out that the texture of the base coat will determine two things ahead of this step. Firstly, it directly affects how much working time we have before the ink dries and sets. With a glossy surface like this, we have plenty of time to go in with the cotton swab. On the other hand, a matte finish will soak up the ink quickly and leave almost no time for the blending task. Additionally, the texture will decide whether we need to dampen the cotton swab or not. I only needed a minute amount of water, given the satin finish of the green base coat. You may need more if you apply this effect over a dull surface.
Complementing the enamel streaks
I said before that we’d add orange tones to our streaks, and Real Touch markers are perfect for this kind of job. Their transparency allows us to enrich the rust with more hues while not affecting the brown paint significantly.
Application and blending are very similar to what we did for the rust stains around the paint chips. Color with the marker, smudge with the cotton swab. Quick and easy.
Panel lining

Here’s another use for Real Touch markers. With all the weathering we’ve done, we almost forgot about this single panel line that runs across the model. Switch to the finer tip on the other end of the marker and ink in. Smudge the excess ink in a vertical motion to produce subtle streaks and the piece will look great.
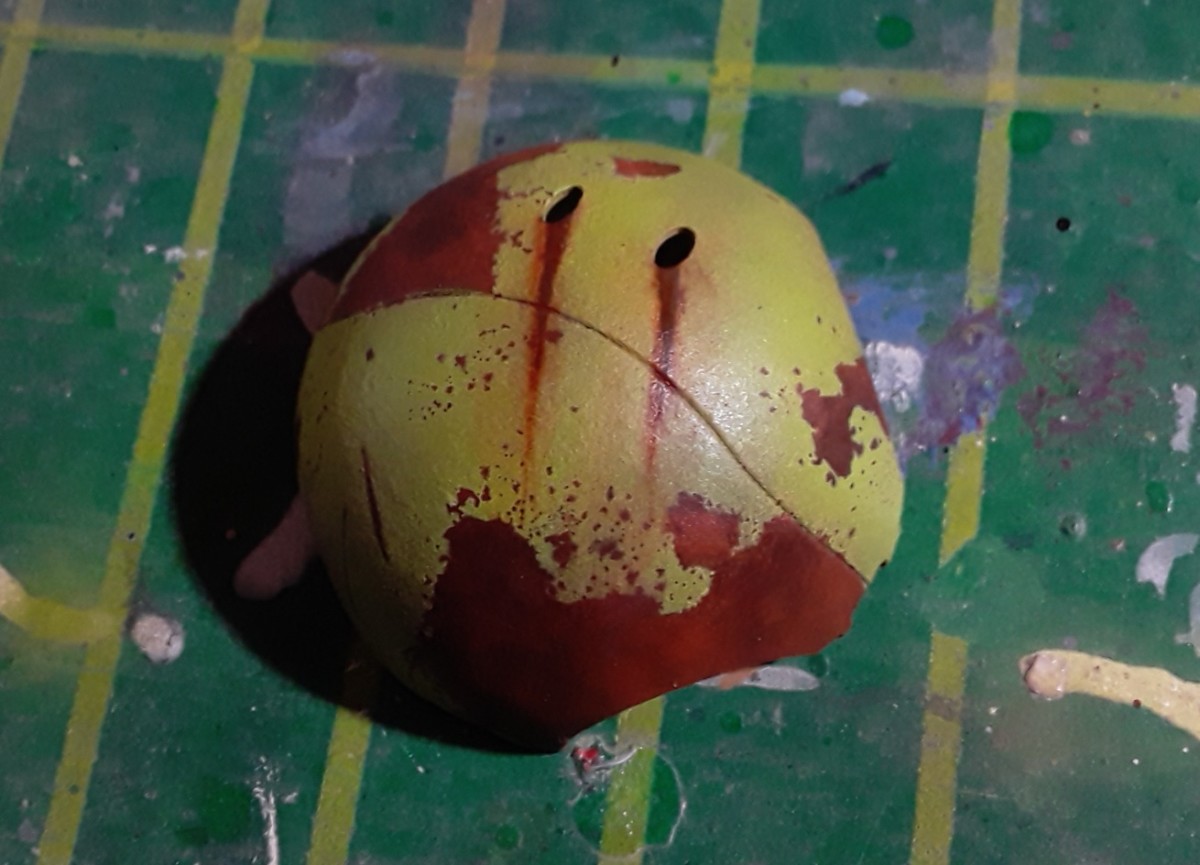
End product
These steps created a striking aged appearance that can immediately catch a viewer’s attention. We didn’t overdo the effects, so there’s a good balance of lime green and weathered areas.
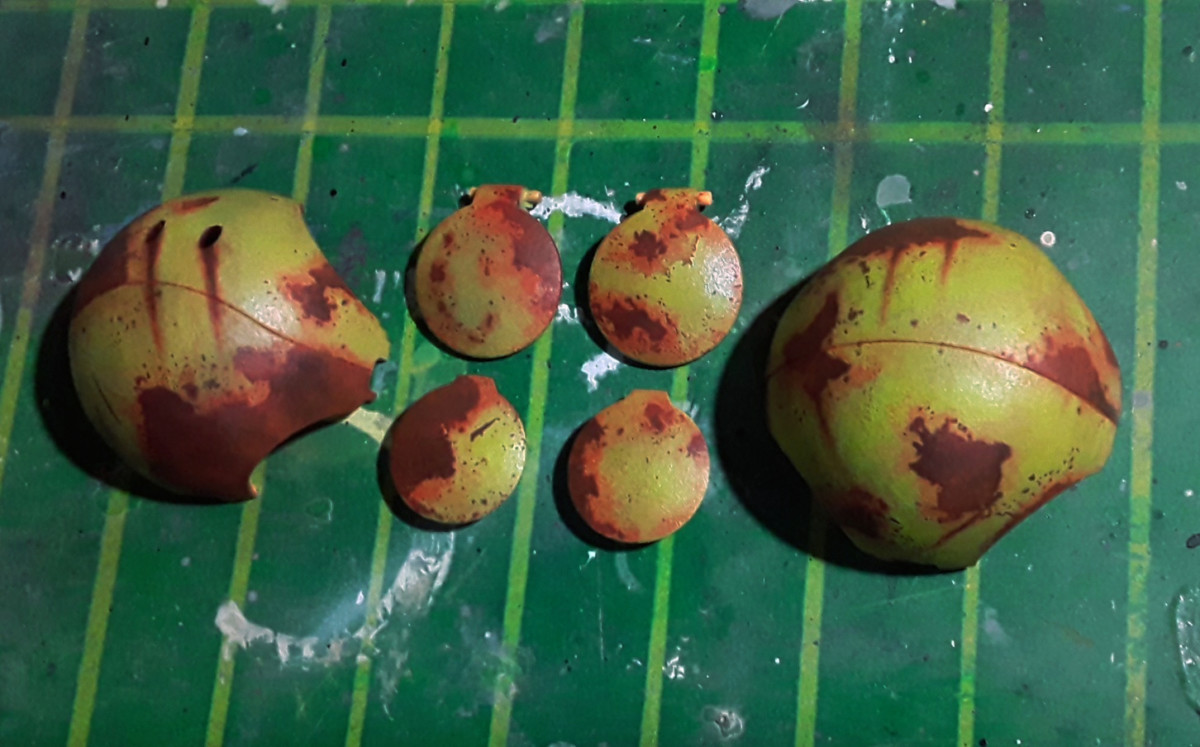
The weathering stage is now finished, so we can spray a flat coat to seal our work and proceed to building the diorama base. That’s it for today’s tutorial though, I’ll see you soon!


