Building F1 resin model kits: A step by step guide for novices – Part 5
Step 7: Painting
At this time all the parts have been prepared, so, their position have been tested and undesirable marks and flaws have been removed. Now it’s impossible to go on with the construction, as the following steps will require the parts painted.

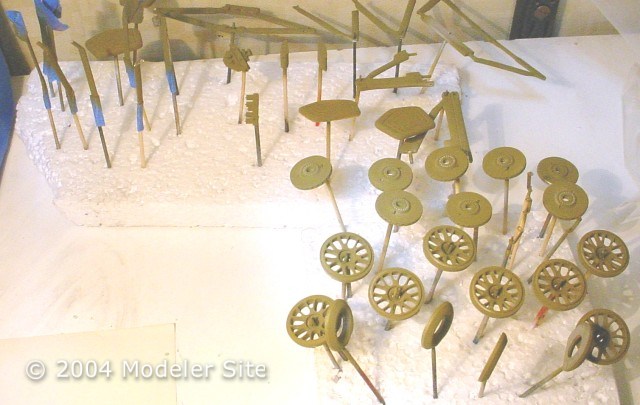
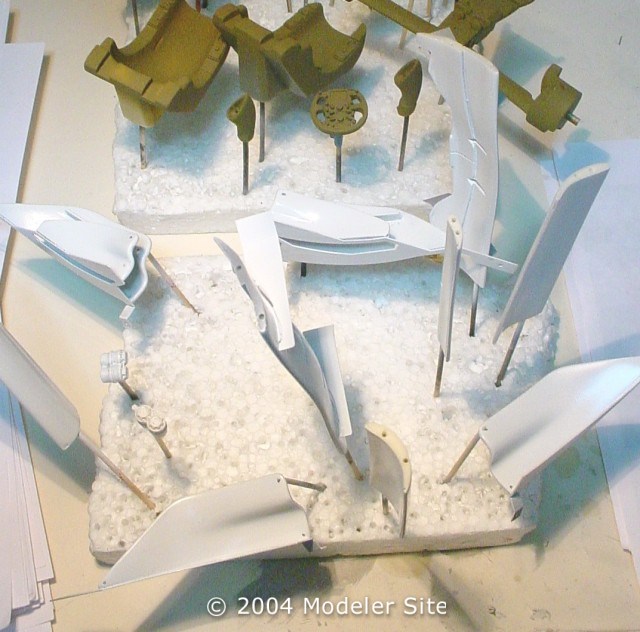
The parts which will not receive a final finishing with white paint, can be primed with any primer, I used an Humbrol matt paint. To get a smooth finishing, each part is placed on a toothpick to be painted separately.
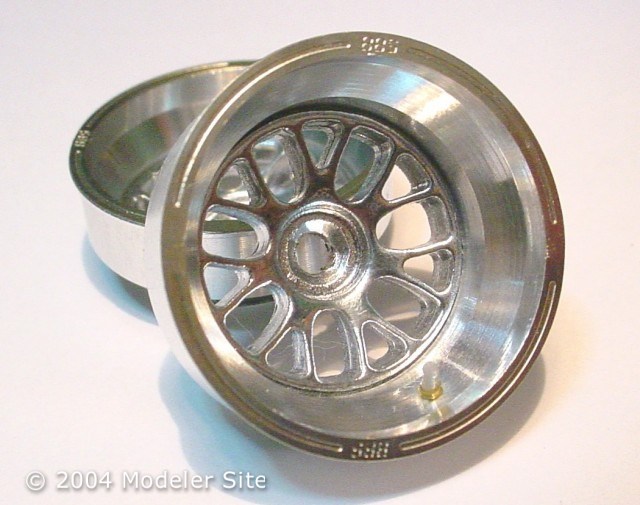
The wheel is ready to receive the tyre. Its centre has been primed and painted with gloss black enamel first, and then Alclad HPA. The narrow PE rim with the BBS logos, has been carefully glued, with CA (liquid). Note that the polished aluminium is not like the Ferrari wheels color, however painting these parts would mean they would not show a natural metal color…actually, it would be a pity to have them painted.
The parts which will be painted gloss white, are white primed. In this case, I airbrushed light coats of well diluted 130 Humbrol enamel. Once the primer is dry, they can be sanded with Micromesh #2400, to get a smooth surface to apply the gloss white.
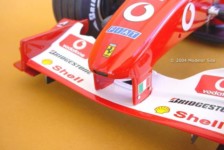
Barge boards look, once they were finished and placed on the model.

A rear suspension arm, masked after being primed and painted semi gloss black.
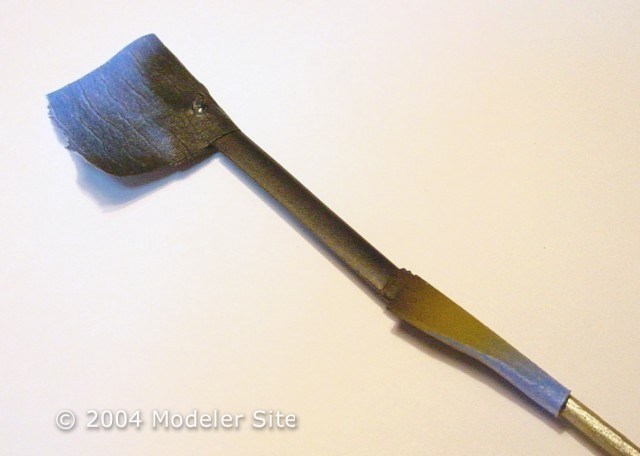
A few hours after the black paint had been applied, part of the masking has been removed. Have a look at the polished area, as it was explained in previous steps.

Here you’ll appreciate how the arm was attached to a toothpick with the same masking tape. I made the same task with every part.

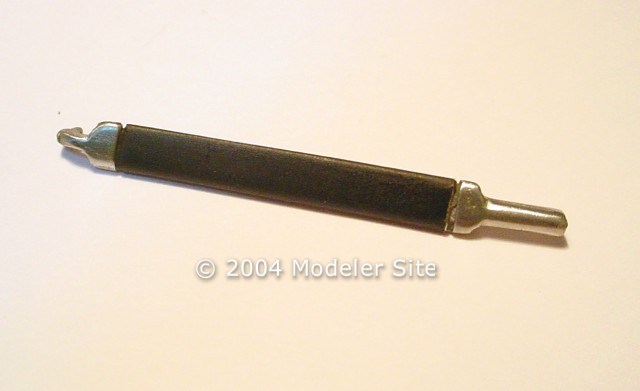
Finished part ready to be assembled.
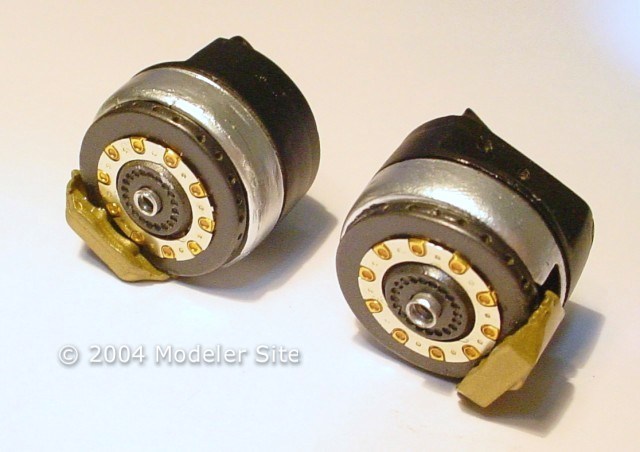
The 2002 front uprights, with the disks and break callipers. The PE(s) have already been glued, see how the uprights have been painted gloss aluminium according to the references.
The body painting means, in itself, a subject inside this article, and everybody will choose the technique he knows best. I use modeling paints which are suitable for this purpose, and it wouldn’t be necessary to resort to any other paint, if they were correctly used. Here, You’ll be able to know my technique using Tamiya enamels and lacquers:

1)If possible, you would have to paint in a well ventilated room, a clean place free of dust and fluff. I usually spray water around the working area and to the spray booth. I recommend not to wear wool clothes. The resin (or plastic parts) parts must be washed with soapy water and left them drying without being touched with no kind of fabric. No matter which painting technique you decide to use, this will be very important to prevent or eliminate the electrostatic charge.
 2)At least two hours before painting, mix the Tamiya’s paint from a new bottle with lacquer thinner(50/50), to paint in a room with a temperature of about 25°C. You should increase or decrease the paint dilution depending on the room temperature.
3)I use a Badger 200 airbrush with big head ( proper for big scales), it must be very clean and with a new or well washed bottle. If the room temperature were less than 20°C, you should paint with 20 lbs pressure; if it were greater than 25°C, you may decrease to 15 lbs. The goal is to paint the body part once for all, covering it with several thin coats and a thick last one, without showing flaws or orange peel. I consider that trying and playing with all the variables, it will work. The last coat will be the secret to get a good painting job, it must be thick, and if we pay special attention to the pressure and dilution, the paint will not run. Something important to take into account is, that all these coats should have to be given in 3 or 4 minutes time.
4)Let the part resting in a clean place, during 10 or 15 minutes while we paint other body parts or prepare the Tamiya varnish, which will have to be diluted with lacquer thinner. As a general rule, say that it should be diluted more than the painting.
5)Then, we apply several thick coats of varnish. I use a double-action Badger 150 airbrush to keep more control without interrupting the paint flow. It’s always advisable to extend the movement by spraying from outside the area of the part we’ll paint, toward outside of the other end, to avoid abrupt changes of paint flow.

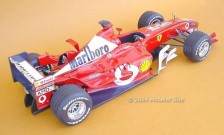
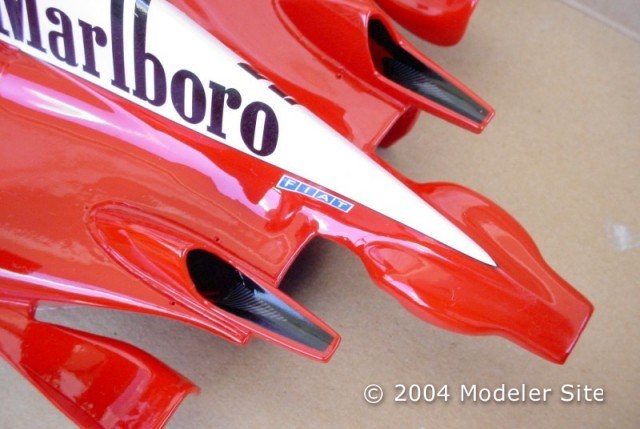
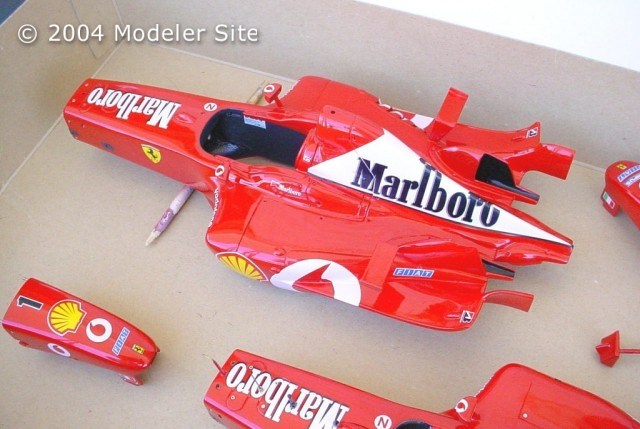
Note in the blue circles, the airbrushed area shows no dust around the edges, just a soft cloud without splashes, this means that the paint dilution was the proper for the room temperature, which is relevant for the drying time. The final result, if everything worked as expected, will be a gloss coated surface with an intense tone.
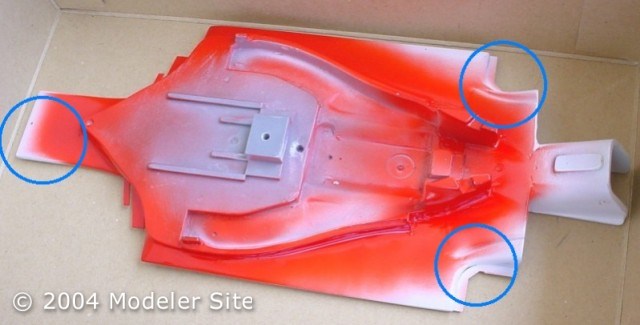
The headrest (in the white circle) is semigloss. A thin semiglos varnish layer was applied on the gloss red, the result is very convincing

To receive more information about the painting tasks, you may read some articles from back issues such as:
Painting, the key to plastic modeling?
Working with Alclad2 “natural metal finishes”
Step 8: Applying decals to the body
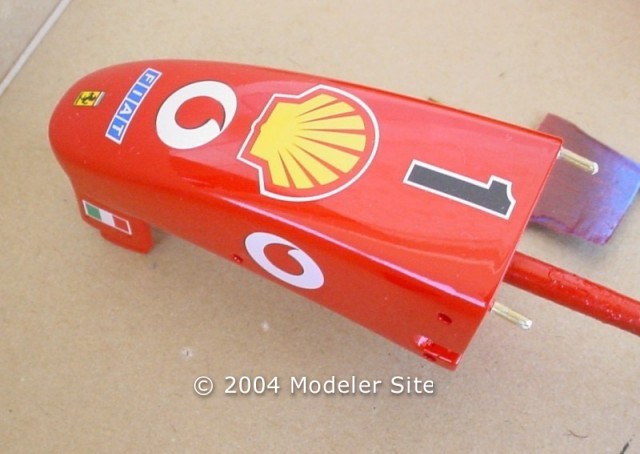
This kit supplies good quality decals, so, if you follow some basic rules, you’ll encounter no difficulties when applying them. There’s an interesting article among our back issues where all basic lineaments about decals applying are explained.
Applying decals, how and why: Cars and Motorcycles
By Mario Covalski
Editor www.modelersite.com
To be continued…