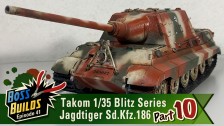
The Jagdtiger’s assembly is nearing completion, and this episode offers not only more scenes of Scott struggling with tiny parts, but his guidance on how to work with metal photo-etched details — something becoming increasingly common in scale kits!
In this episode:
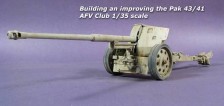
– 1/35 Blitz Series Jagdtiger Sd.Kfz.186 Early/Late Production, 2 in 1

Castoff20
Those photo-etched parts look fiddly, good thing the boss has steady hands and a keen eye! I’d be so nervous the first time I try to build something like this, but I’m learning a lot from this series and hoping to build one in the future! Looking forward to the next part!
Ramrod
I prefer transparent epoxy glue. CA Glue likes to color the edges white (cloudy), especially with yellow, pure black and red parts depending on which plastic it is. Unfortunately, epoxy glue is very difficult to dose as well as difficult to attach to small parts and the drying time of +1 hour is very long. By the way, a little tip: Instead of paper, take a piece of aluminium foil to drip the glue on. With aluminium foil, CA glue remains liquid for a bit longer.
MightyLeg
never seen that gold grid
Ramrod
The taiwanese company Madworks produces photo etched parts for Gunpla. You can find more information on the facebook pages from Madworks: https://www.facebook.com/madworks.tw/ and https://www.facebook.com/MADWORKS-Malaysia-165029020962044/
Here is a RG Sazabi with photo etched parts: https://www.youtube.com/watch?v=tp4z-6-MKxM
Mild Sauce
woah high level model kit
Andrés
Man, this really requires a whole new level of patience…
PetitGguy Type 全不全
Another video that’s both useful and informative.
JimO
The plastic film is also there to keep a part from flying as you cut it from the frame. Especially things like the handles and smaller bits.