Hello all! I hope you enjoyed my previous look at the Moderoid Gurren Lagann from Good Smile Company. If you haven’t seen that post, please feel free to take a look then pop back here.
After building the model kit, there were some issues here and there with it. I’m not saying it is a bad kit – far from it. But I do feel a bit of work on it will definitely improve it. So, without further ado, let’s dive in!

First, I’d like to start off with a little disclaimer. This is how I personally fixed up this kit. If you know any other methods that you prefer, feel free to do as you please. This also applies to the supplies I’ll be using; you don’t have to use the exact ones I use. I’m just using what I have available. So, with that in mind, let’s get started.
Overview
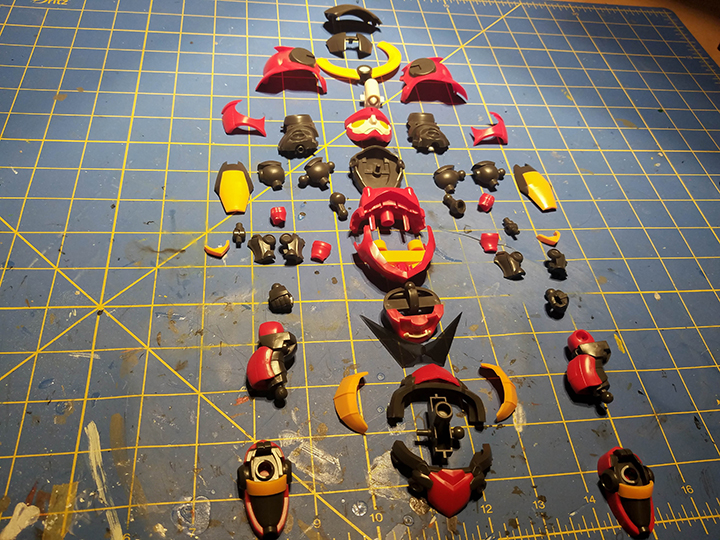
So, here are the areas we are going to primarily focus on.
Some of the joints around the body are, for some reason, loose. The neck is, primarily, due to the head being removable.
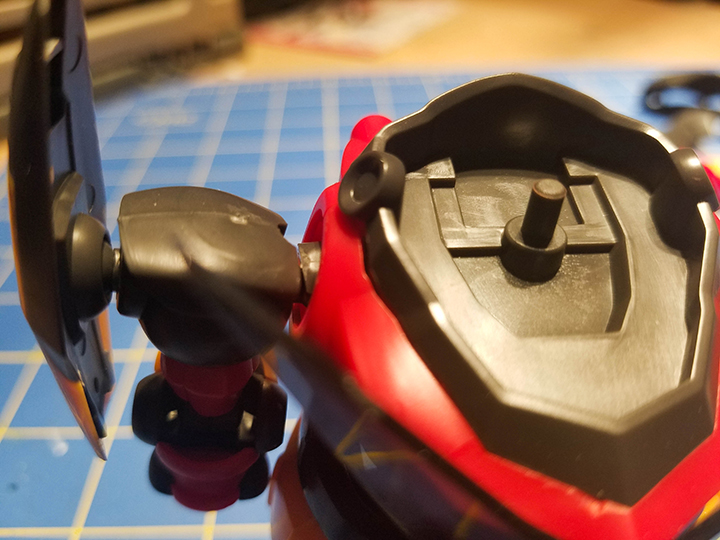
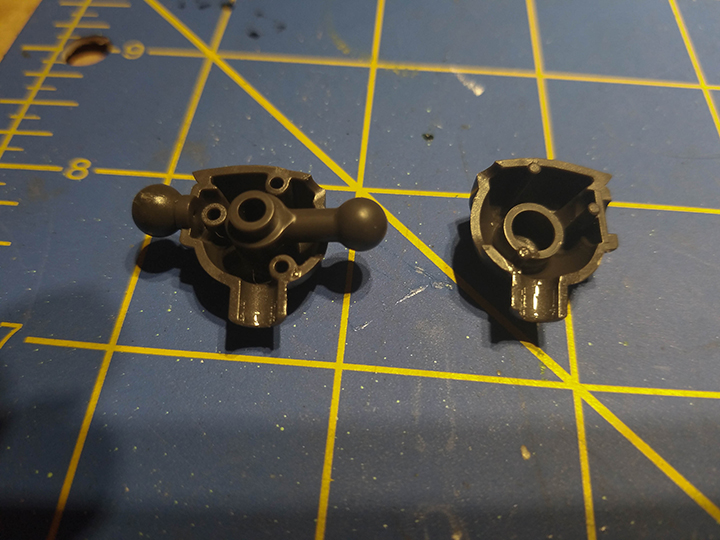
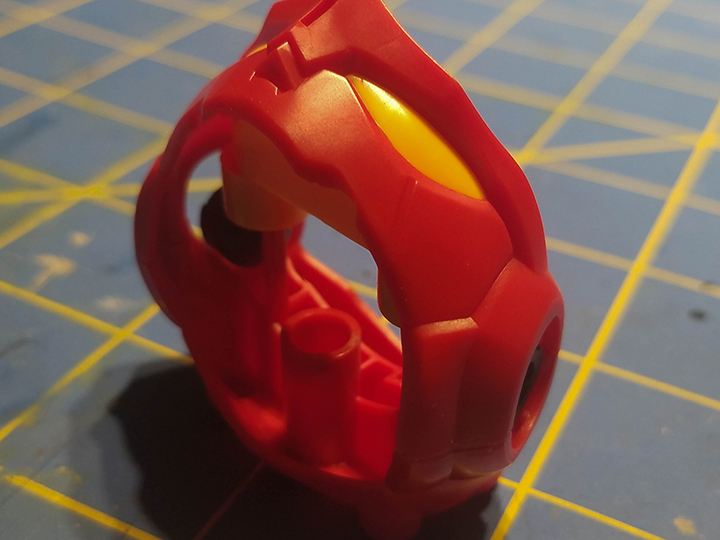
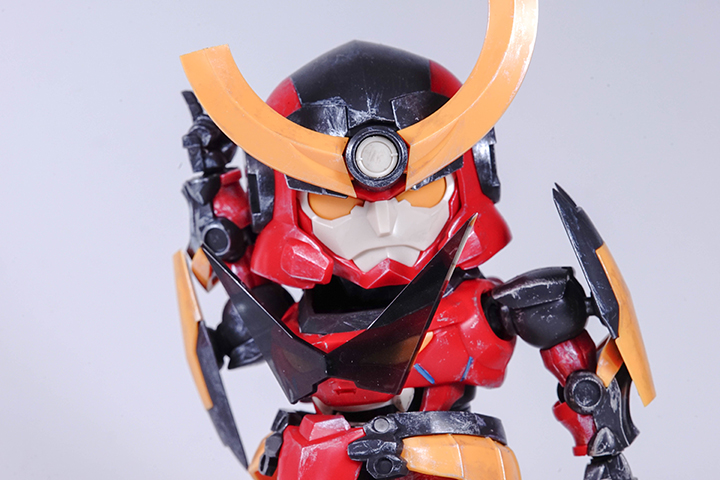
On the head, the ball joint here keeps getting smashed or moved around when removing the head to make Laggan. We will be securing that ball joint.
Next to the elbow joints. They like to just separate on their own. It is an easy fix, but man does it get annoying.

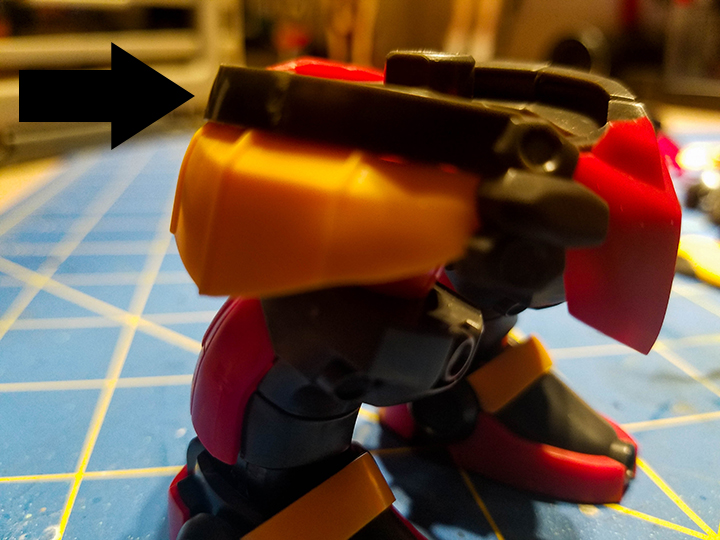
Following that, the shoulders love to just pop out of the sockets, an issue that I find really, really annoying.
And finally, the seam lines. Now I’m not going to do seam line removal for several reasons (limited resources being the leading cause). Still, I will show how to keep the part from separating and make it look flush.
Disassembly
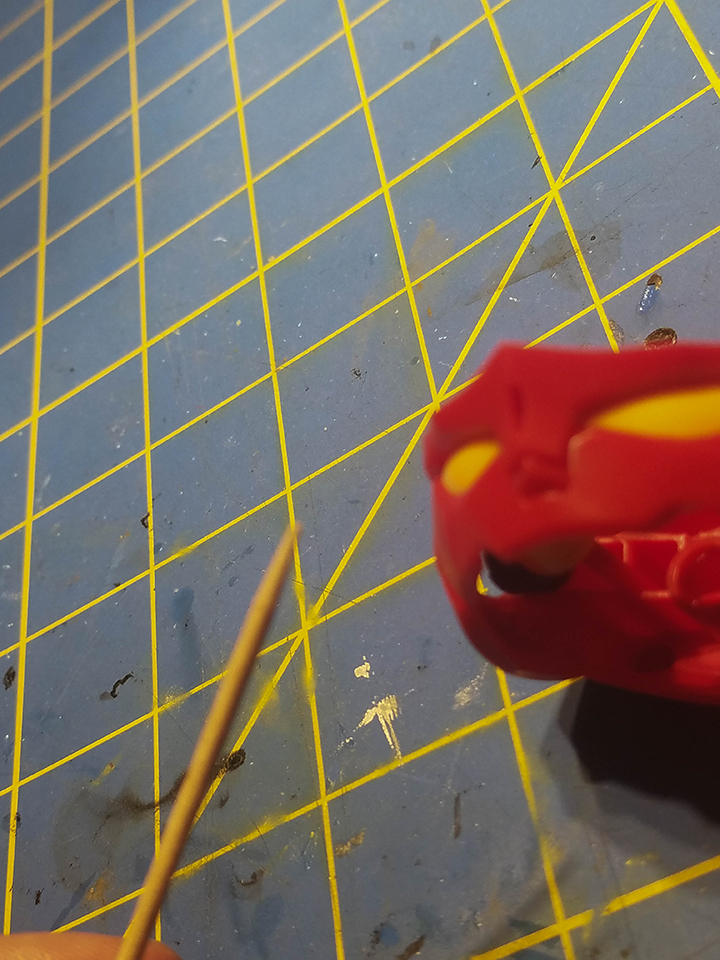
The first step in any touch-up project I recommend is disassembling the model kit. I know what you’re thinking: “But I just built it.” Well, that’s how it is sometimes. Dismantling is more or less easy, and this kit comes apart pretty quickly. There may be a few tricky parts, but using a parts separator, or a chopstick or a toothpick as a makeshift wedge, may work well.
Tightening peg/ball/socket joints
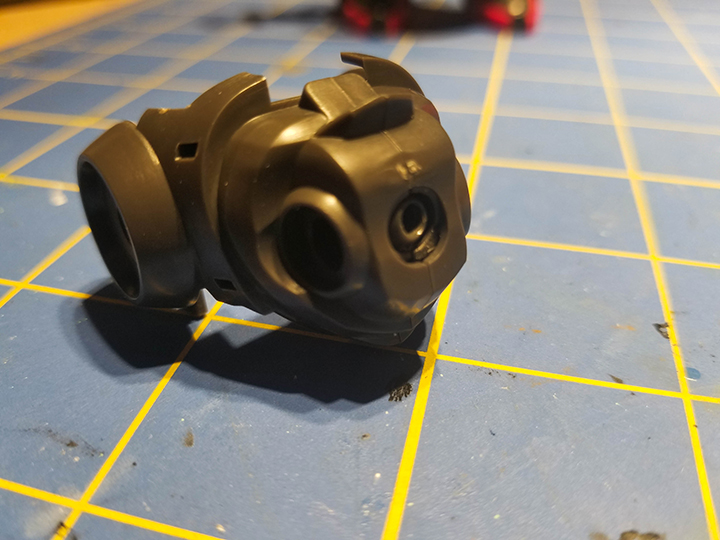
Now, this is going to be a quick little guide on how to tighten peg, ball, and or socket joints. This kit desperately needs it. This is specific to this particular model because, honestly, I haven’t had this issue with any Bandai kits, at least not in recent times. The poly caps that this model uses have some, for lack of a better word, bits, hanging off of it from where it connected to the runner. I recommend trying to shave it down. Easier said than done, I assure you. But this will help keep the ball in the socket.

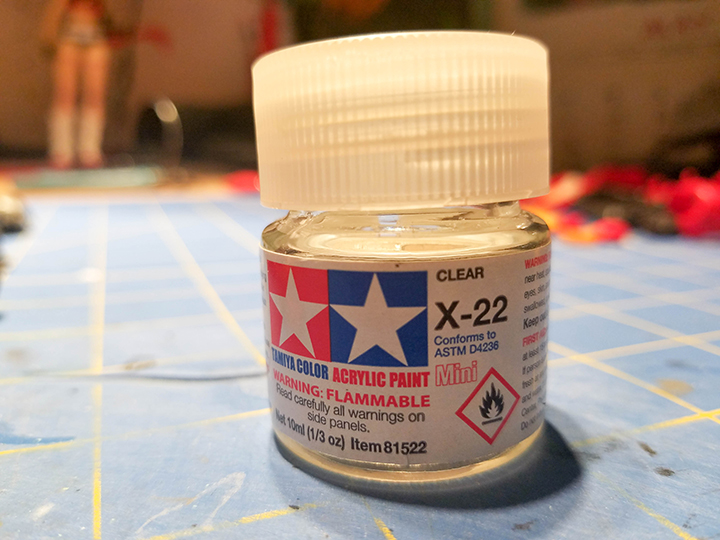
Now, there are two ways I tighten up these joints: the first is with clear paint, which is for parts that I know are supposed to move around more.
Next is with superglue; this method is a bit more secure, but comes with its pros and cons. Just make sure it’s going on a super loose part that you want to make sure is going to be nice and sturdy. Give it plenty of time to cure. If any of it is still wet, well, you just glued two parts together.

However, for this project, I’ll be using the clear paint, since it is primarily the ball and socket joints we’ll be fixing up.
Taking a paintbrush, and with some clear paint, just coat over the socket and well, let it dry.
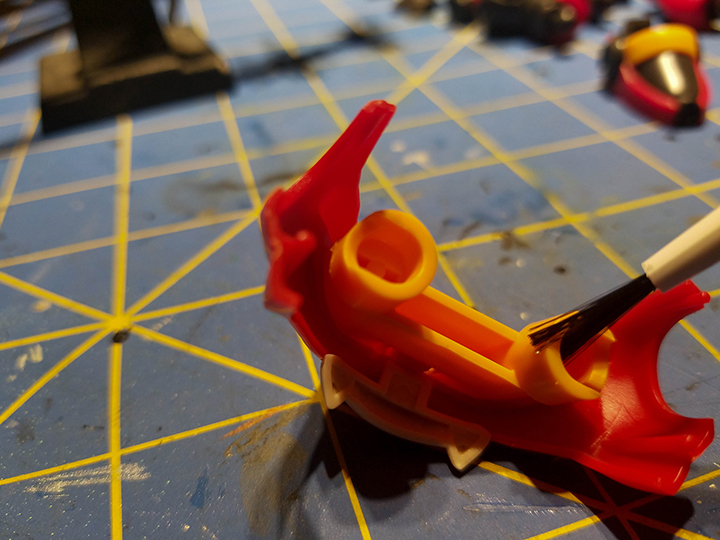
The same goes for the pegs in the elbow joints.

Once you coated all the sockets, let it dry. If you are using superglue, give it time to cure.
Just a quick heads up: make sure not to put on too much paint. Do a little bit at a time; if you put too much, the peg may become too thick and will either not go back together smoothly, or become too stiff and break upon moving.
Seams
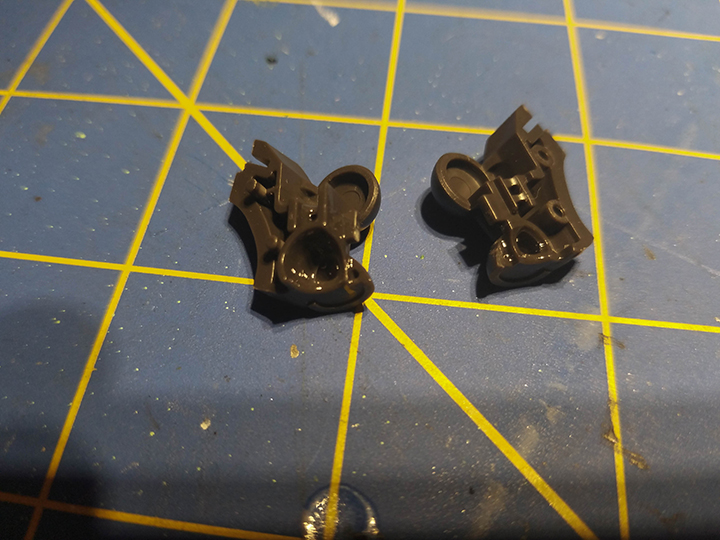
I call this second section seams because, honestly, that is what we are doing, but we aren’t doing seam line removal. Or, well kind of, more of like half of the steps. So starting off, we are going to look at the head, because that spot is honestly causing me trouble. As stated the head is wobbly and loose after you remove Laggan so many times. I’ve already tightened the joint with some clear paint to try to keep it from wobbling, however, I have noticed that the parts tend to separate a bit when putting the head back on. Which explains why the ball inside is all over the place. To fix this, we are going to glue the two halves together.
And to do so, we’ll be using this particular liquid cement.

Now a quick heads up: after applying the cement, make sure you put all the parts that go in between the two parts you are about to glue together. It will be a pain separating the pieces after you stick them. So back to the guide.
Apply the paint to the edges that sandwich together. I went ahead and did this to the head’s frame.

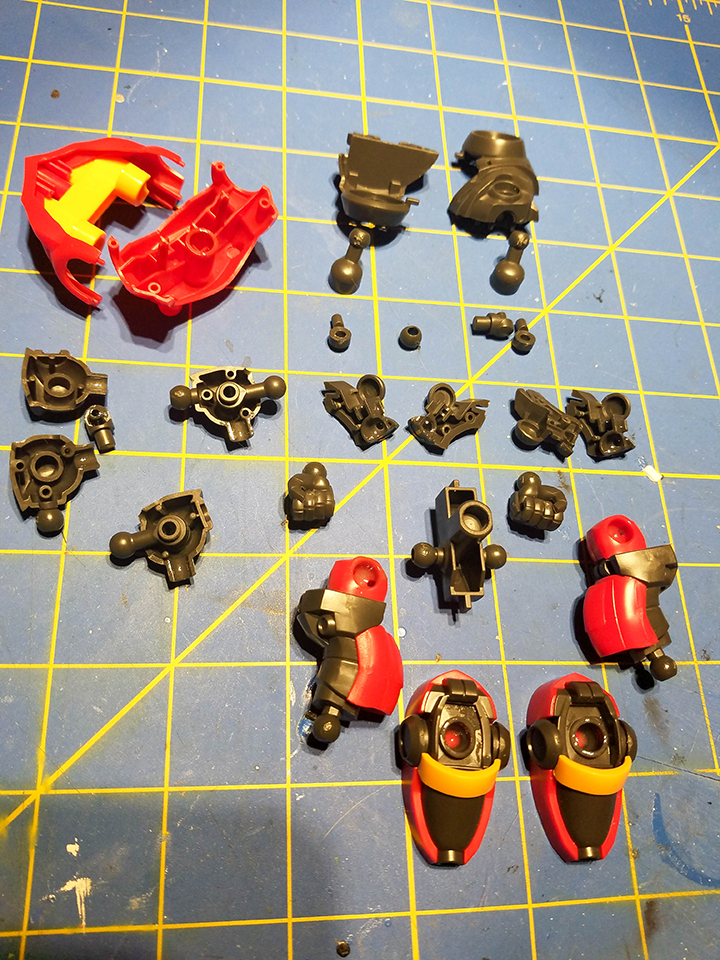
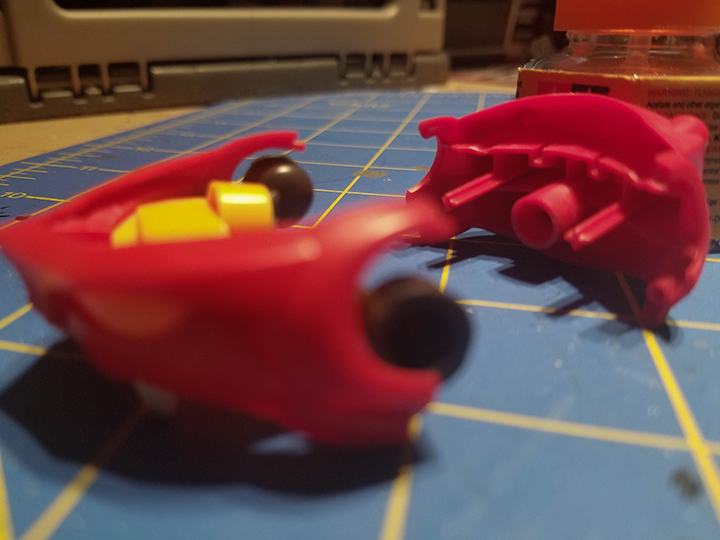
The shoulders,
The forearms,
And the upper body, but like I said earlier, make sure you put all the parts that go between them together before gluing.
Now, there is one more part we will have to glue, but that is for later, and that is the waist. But we will save it for later.
Painting
Now we have reached the painting step. So, I’m not going to go full-blown, paint primer, and the works on this. Far from it; this more of a “lazy” way to bring out the detail without having to do everything under the sun, so to speak.
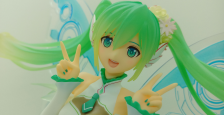
I’m going to base some of the color touch-ups off of the Revoltech Full Drillized Gurren Laggan figure.

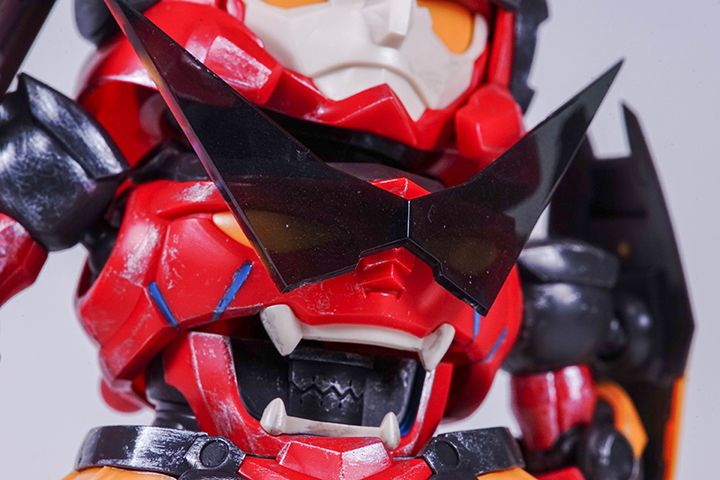
Now, starting off, we are going to need some sky blue.
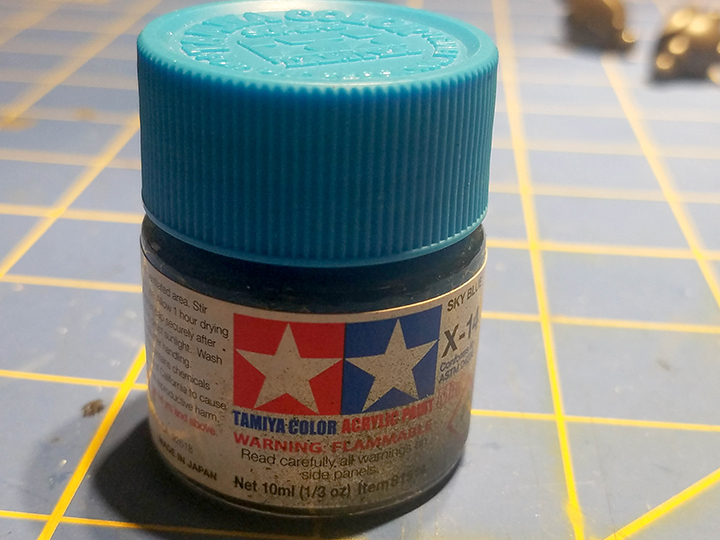
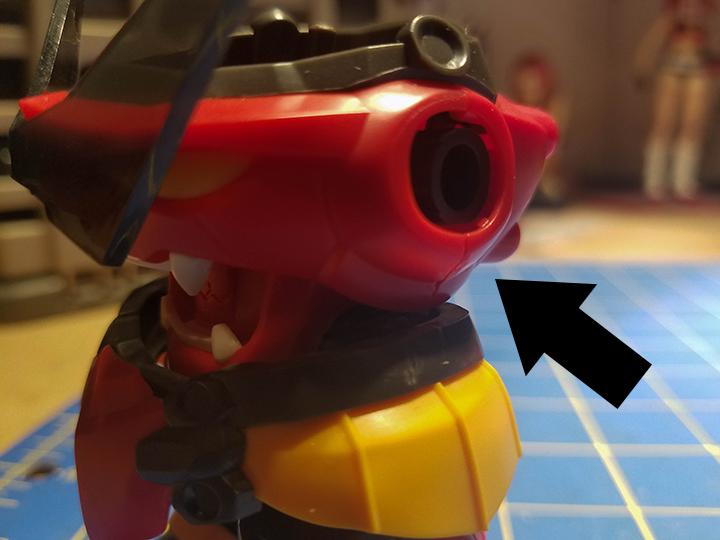
Which is going to go in these little, tiny groves doing down the side of the face on the chest.
To do so, I recommend either finding a tiny brush or if you don’t have one, like me, then use a toothpick.
Here is how it came out on my end.
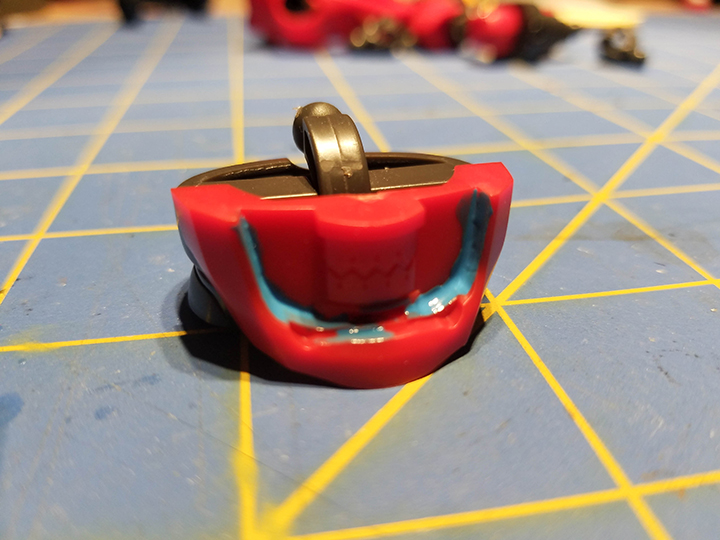
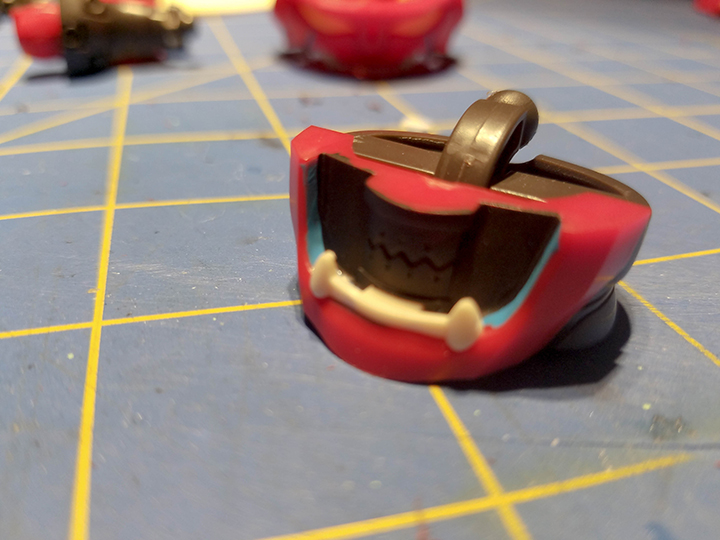
Next, using the same blue, paint the gum line of the abdomen. It is alright if some of it gets on the inside of the mouth, we are going to cover that up soon. Oh, and feel free to use a paintbrush here, you don’t need to use a toothpick.
Next, we are going to need to use some black.

And now we are going to paint in pretty much anything that is red in the mouth area. Don’t get any black on the gum line, but the teeth and, I suppose, hollow space between them, and the gumline is free game.
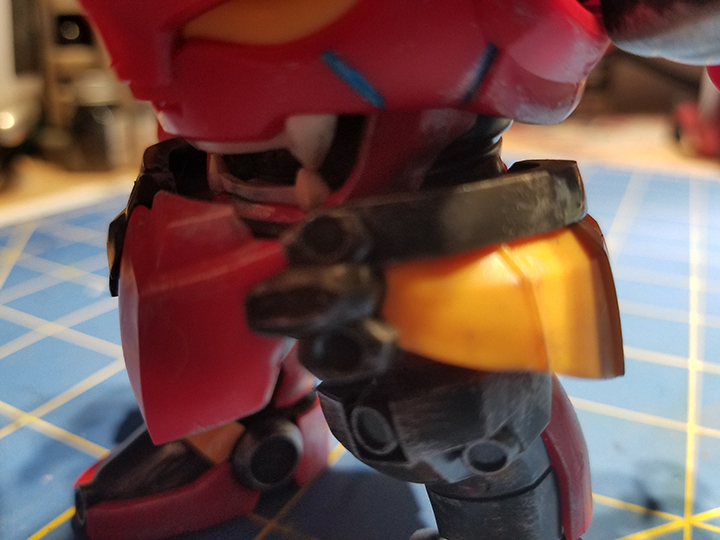
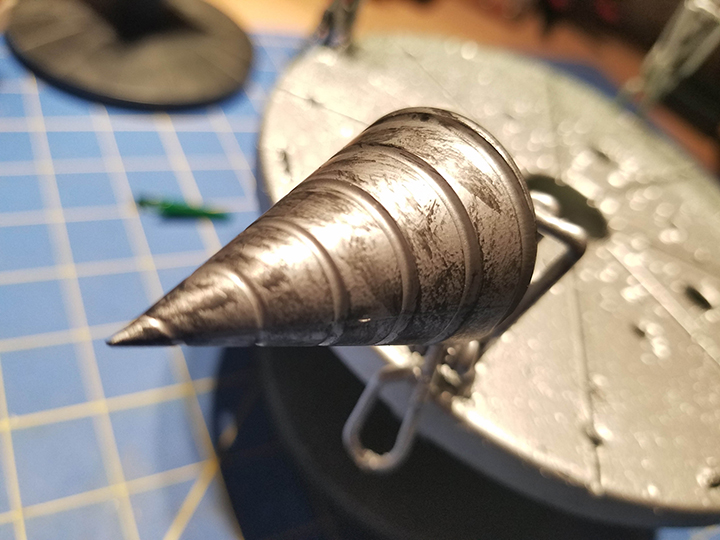
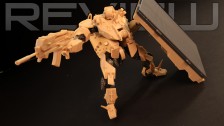
After that, or while doing that, let’s take a look at the drill.
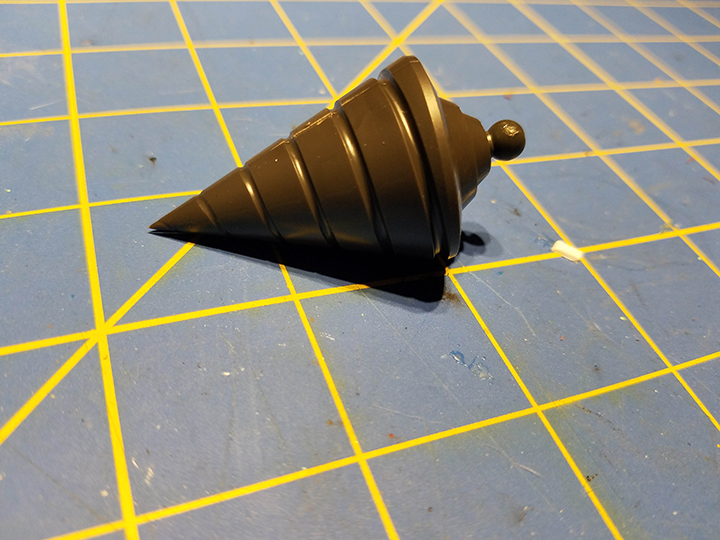
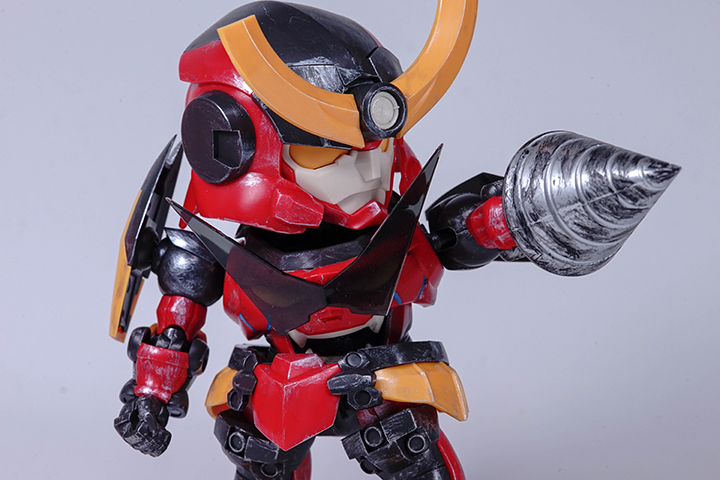
The drill is, well, boring. I’m not a fan of the all grey color. So, let’s take some silver and fix that up.
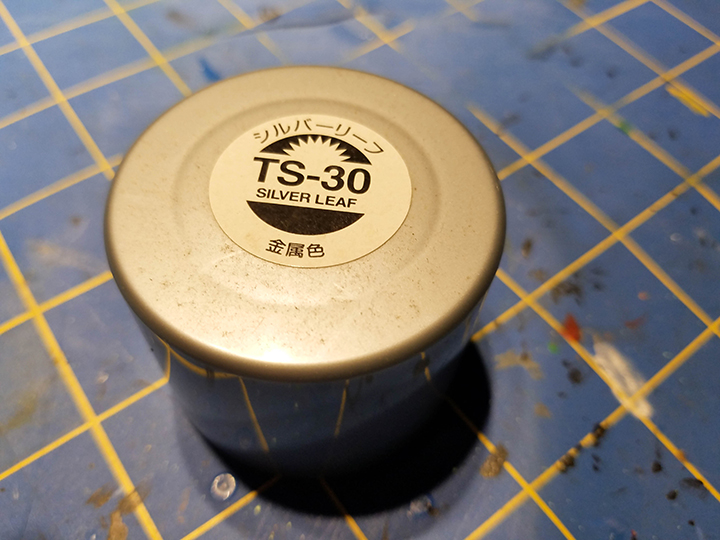
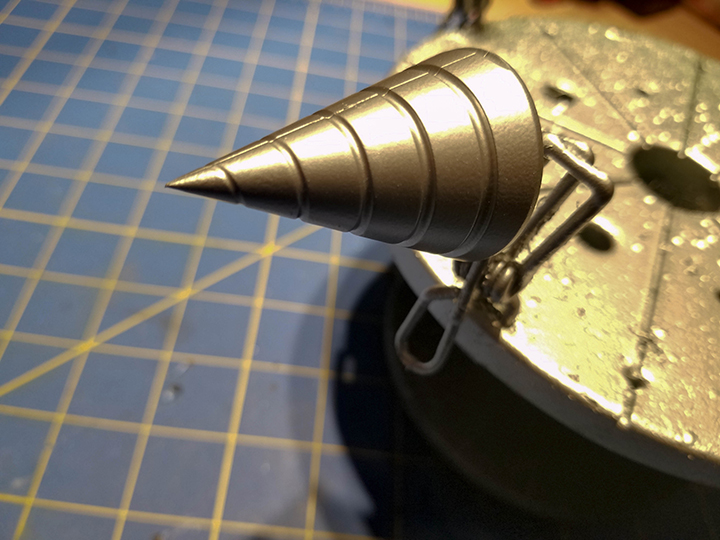
This is silver spray paint, if you wish to hand paint it, go right ahead. You may even give it a cool texture if you do.
I will say, I did take some primer and primed the drill first, then spray painted it silver. After that, we have our now silver drill!
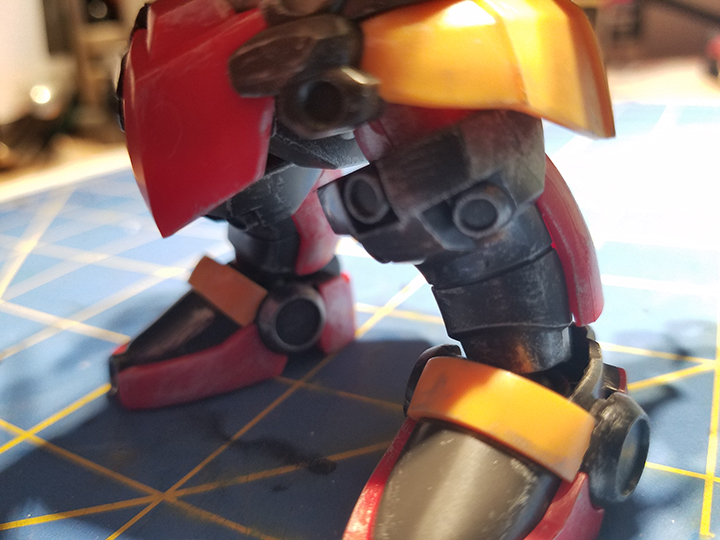
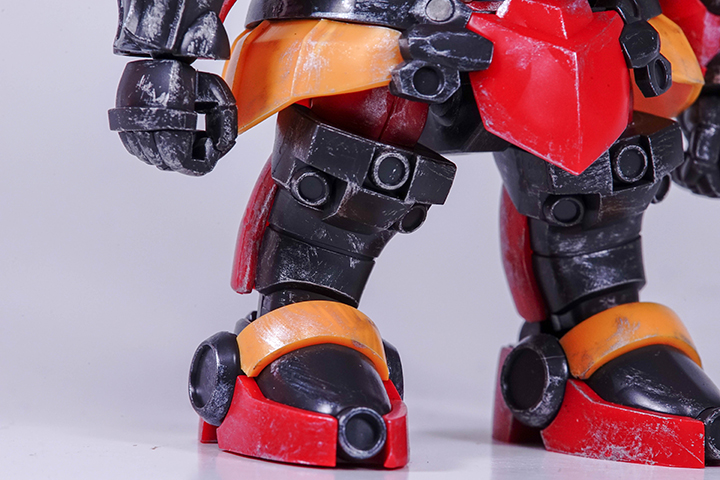
Dry Brushing
After that, we now jump into weathering. My personal favorite: dry brushing. Dry brushing is pretty easy, at least to me it is.
Dry brushing is relatively simple: take a tab of paint, in this case, silver, dry the brush off on a paper towel, then we can get started!

Now again, this is up to you. You don’t have to dry brush it, in fact, you can do whatever you want, you can even stop here if you’d like. I personally like dry brushing, it serves as a great way to cover the nub marks as well. Also, a bit of weathering goes a long way. Make sure while you do the dry brushing, you follow the edges around. And honestly, just have fun. If you are new to dry brushing, look up reference pictures, like weathered metals. It is a great way to make the details pop on the model and does a good job of hiding nub marks.
Here is how some of the dry brushing came out on my end.
As for the drill, I wasn’t sure what to do, so I went ahead and used a black to weather it instead of silver.
Assembly
And now we come to the part when we put the figure back together. If you haven’t already, go ahead and glue the waist together. Just make sure you assembled what needs to be constructed first. Then if you want, go over it with some dry brushing after it dries.
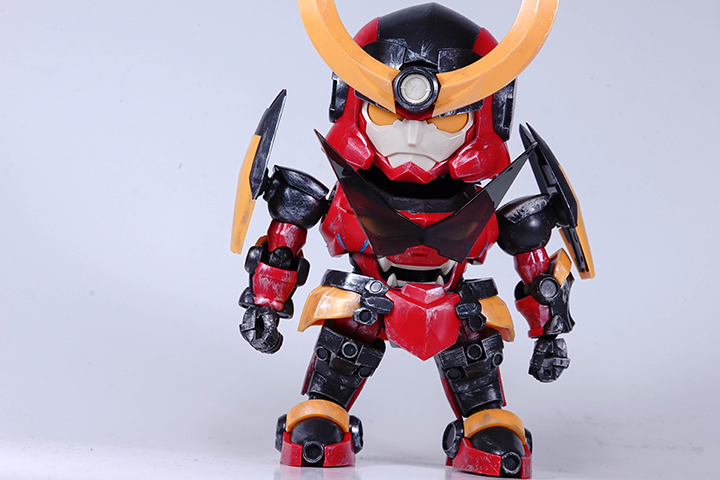
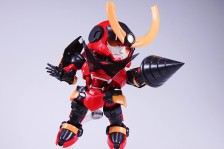
After touching it up, we are now given the final look.


Again, this is all objective; if you have your own way of going about fixing up this particular model, then, by all means, this is just more of a suggestive post/guide for those who may not know exactly what to do when touching up a model kit. I hope this post came as help to you.
Until next time, stay safe.
– Zeroconvoy


Ramrod
Nice! Thanks