Snap-building Gunpla can have its rewards. But there might come a time when you want to paint the kit for additional flair, so you decide to disassemble it to prep the parts for painting.
However, horror fills your face as disassembling the model kit is tougher than it looks. You might think, “I already assembled my gunpla, how hard can disassembling be?” Those words will bite you in the behind once you reach parts that require you to pull an extra muscle to pull apart.
Herein lies another problem, as using too much force to disassemble or remove Gunpla parts may result in the dreaded “snap.” Now you stare blankly at the broken parts, as you try to figure out how to repair it instead of focusing on painting the kit.
Proper Gunpla disassembly might look tricky to the untrained eye, but it’s not an impossible feat. Many modelers (which might include yourself) have already experienced damaging parts because of trying to disassemble the kit for painting.
Nonetheless, following the correct procedures and some mods will make disassembling your gunpla easier than before.
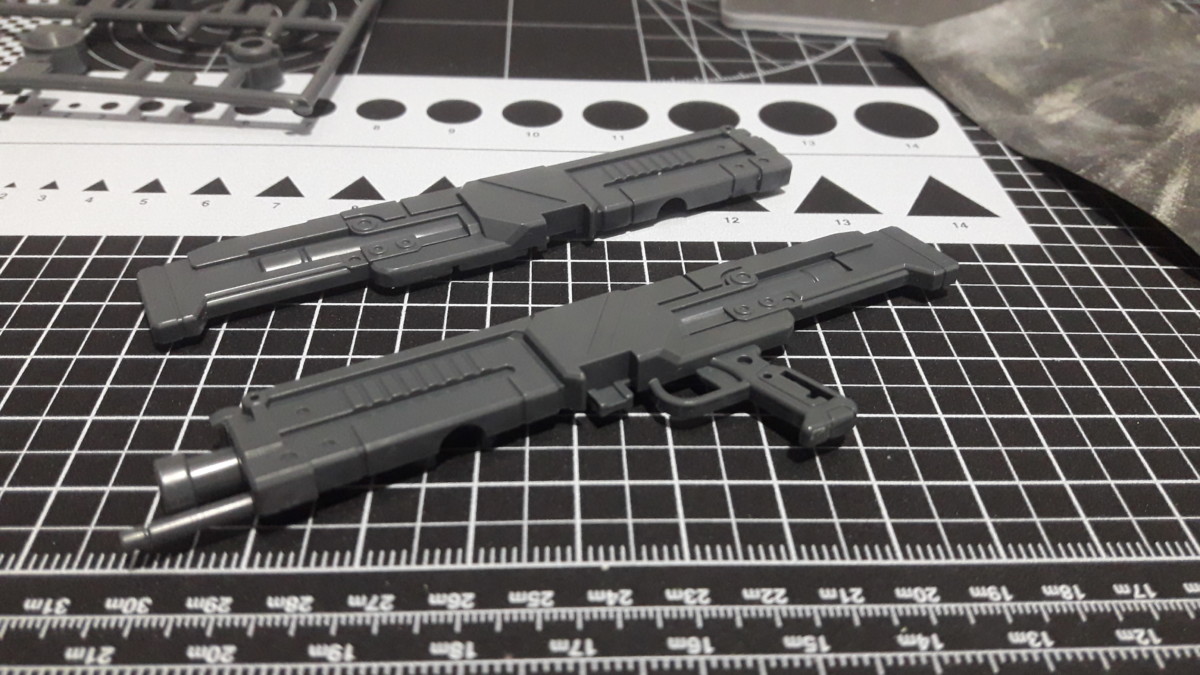
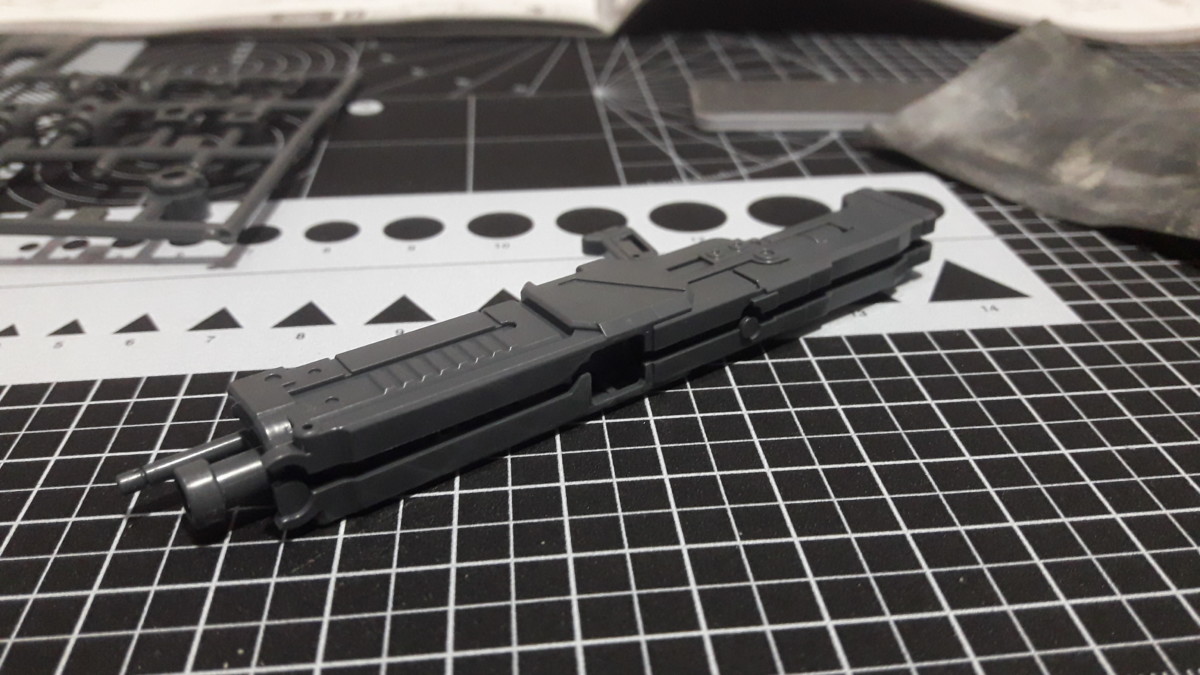
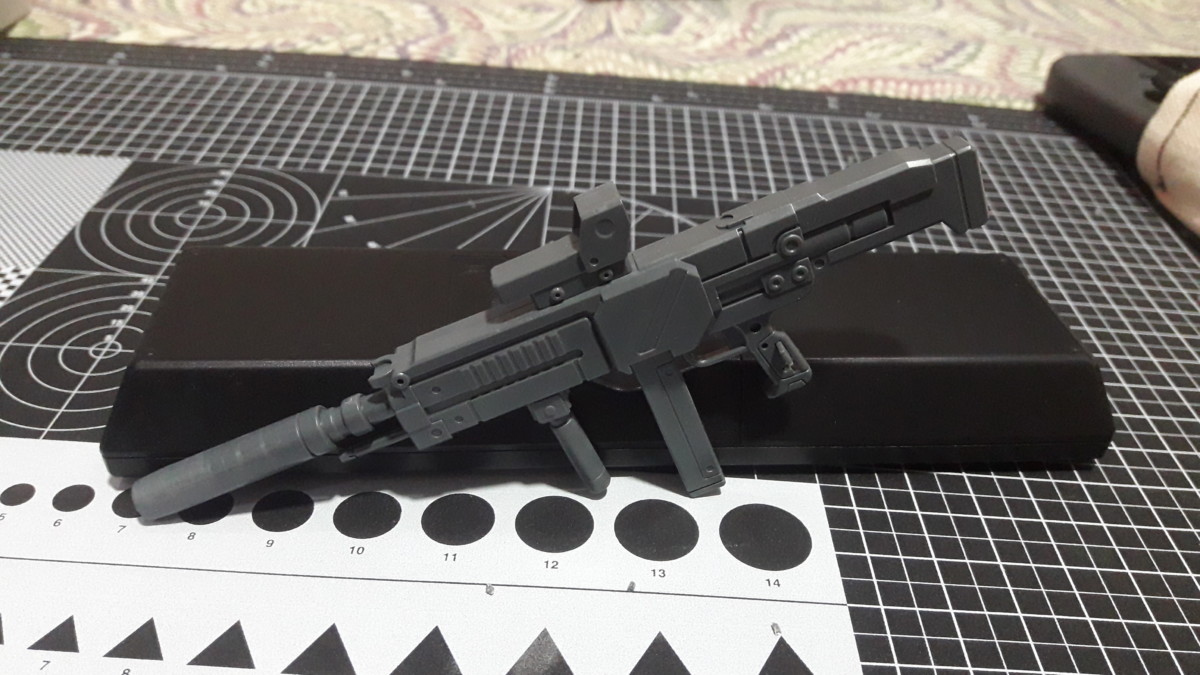
We’ll be using parts of the MG 1/100 Jesta, mainly its beam rifle. Also, you’ll learn how to:
Gathering the Tools
Disassembling Gunpla parts doesn’t require a lot of tools. But you do need some important tools, like:
Finding Pegs to Cut
You can try other Gunpla disassembly methods, but we’re going to make use of a basic (if not the most basic) mod to make disassembly easier than average.
Take note that most gunpla pieces connect through friction. In other words, the “male” part should fit into the “female” component snugly. Shorter pegs create lesser friction than longer pegs. Additionally, short pegs allow part separation easier than their longer variants.
One way to know if you need to mod the pegs is to connect the pieces, although you’re not going to push them all the way.
Study the pieces, and check if you can pull them apart without sheer brute force. It’s also at this point when you can figure out which parts of the pegs to cut (IF you decide to mod said parts).
Modding Pegs for Disassembly
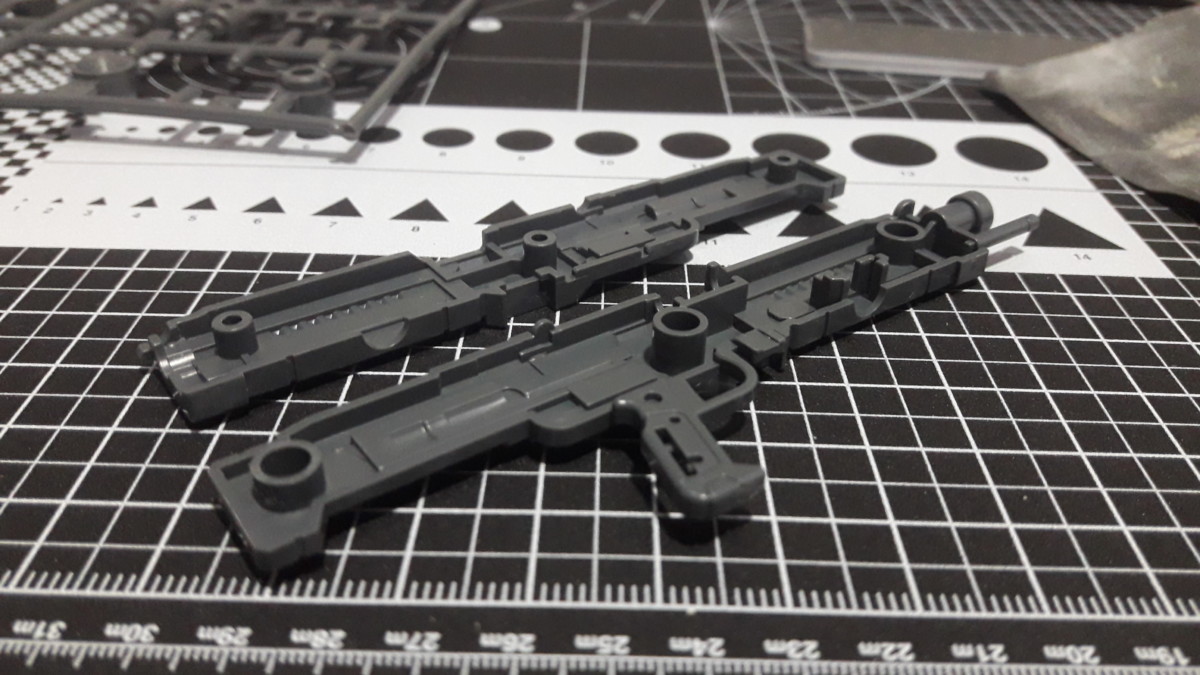
Before we proceed, it’s important to note that you should only concentrate on the inner “male” pegs.
Don’t consider slicing the outer pegs as doing so may severely affect the kit’s stability. Some cases may even make reassembly impossible until fixed.
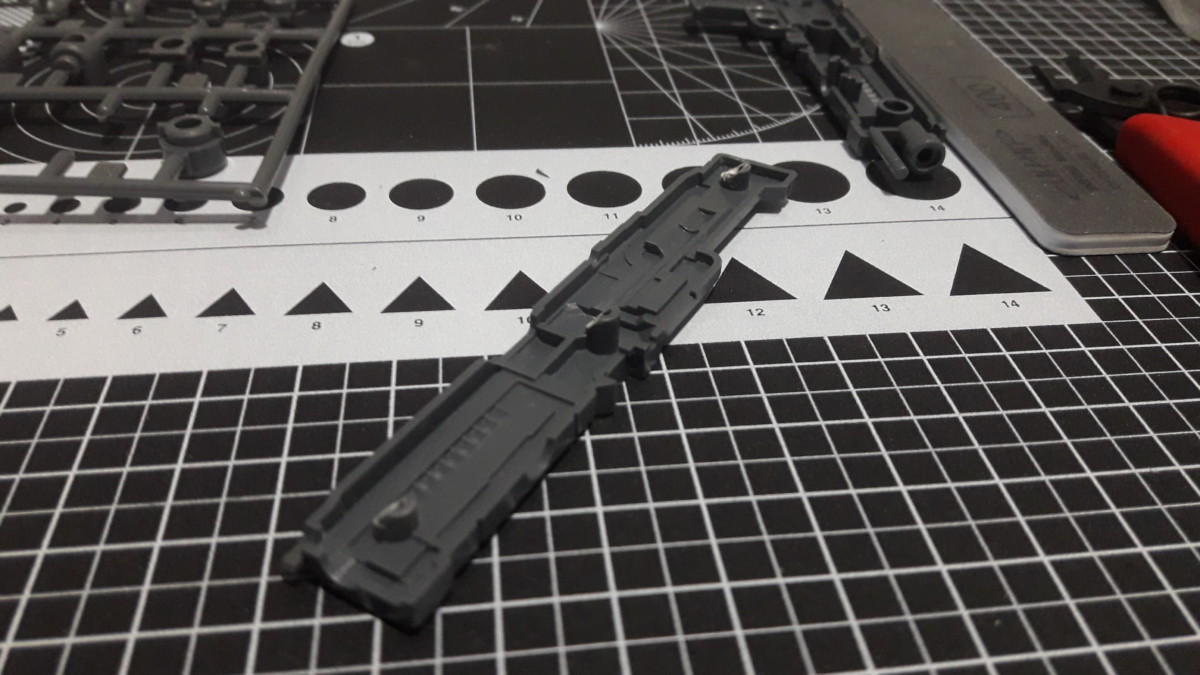
Now that you know which peg to cut, it’s advisable to use your hobby nippers at this point. You can cut pegs using a hobby knife, but a slipup can lead to accidents (and the occasional bleeding fingers). Remember to always practice caution when building Gunpla. Stay safe!
Next, cut the pegs you want to mod at about a 45-degree angle. If possible, follow one direction for all cut pegs to maintain consistency. Also, it’ll make separating the parts later easier as compared to cutting the pegs in different directions.
It’s also easy to fall into the temptation of cutting all the way through. Only cut about 20% to 40% of each peg.
You might come across large, thick, solid pegs, which tend to be quite common for MG and larger scale kits. If so, the chances are that you can’t use your nippers to cut through the dense plastic. Instead, use sandpaper or sanding sticks to make quick work of these parts.
Once you’re happy with the results, you can continue with the rest of the kit.
Pro and Con Summary
Pros:
- Easy to do for all gunpla modeling skill levels
- Reduces risks of damaging parts during disassembly
- Easy reassembly after painting
Cons:
- Can become a time-consuming endeavor
- Cutting or shaving off too much of the pegs can cause issues
Final Words
Remember to exercise patience when handling gunpla parts for disassembly. Don’t get too excited to remove and reassemble parts, lest you risk damaging or breaking the pegs. Follow this guide, and you shouldn’t encounter a lot of problems reassembling your kit after painting.