Hello, and welcome to the second tutorial in the Haro series! Today we’re going to reproduce paint chipping on our cute little robot. We’ll go over a simple technique that requires a bit of planning and can yield great results if applied well.
Concept
Unlike with the Galbaldy, we are going to apply the main color over the previously painted bottom layer. Normally I’d go about it the same way as I did for the Galbaldy: spray the predominant color first to then go in with a sponge and a fine brush to emulate chipping on top. However, for this model the focus is on the rust underneath. It’s not just one solid color. We achieved a rich variety of tones and shades through several steps, and we want to show it off!
Masking tape
The salt chipping technique creates irregular tiny dots that make for eye-catching paint chips, especially with rust. But if the plan is to make the various rust colors we painted last time stand out, we need to leave large areas of the rust base exposed. With that in mind, we are going to combine salt chipping and masking.
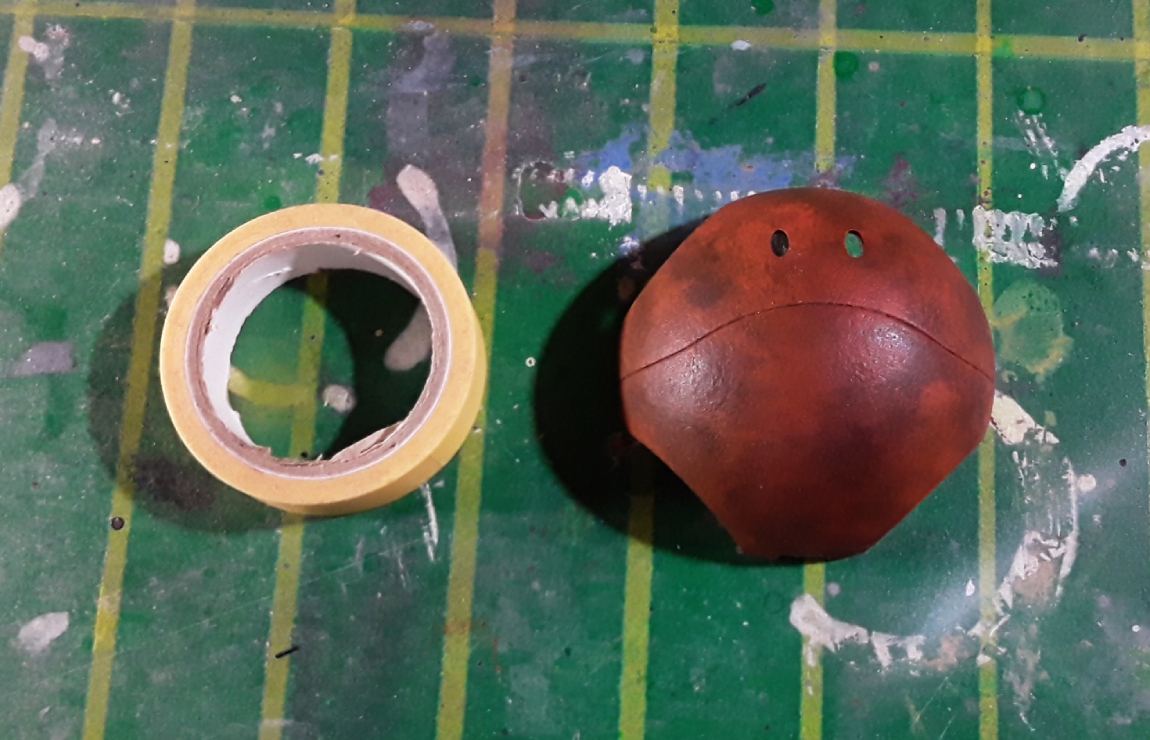
Using standard masking tape, we’ll emulate big portions of paint that bubbled up and fell off due to humidity. Differently from normal chipping, the theory here is that what caused the chips was the exposure to the elements, rather than contact with another surface.
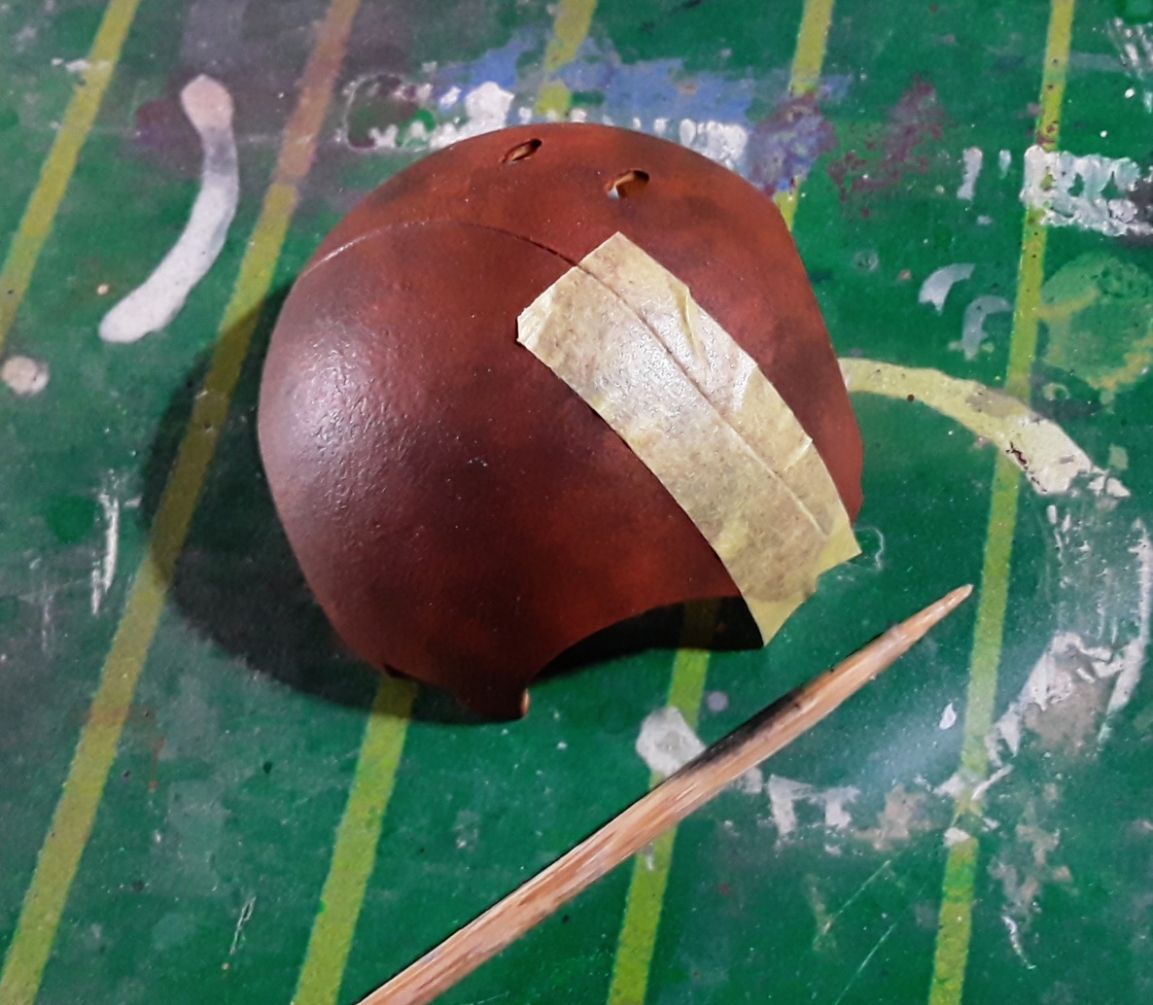
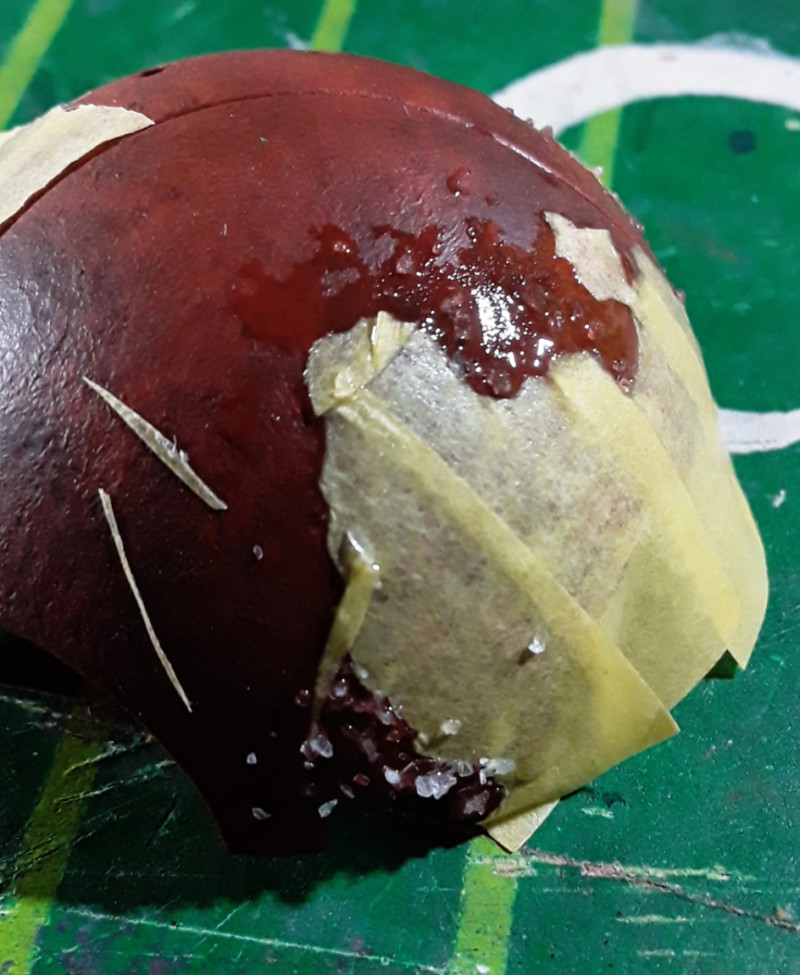
The first chip will be on the bottom panel, conforming to the shape of the panel line to create definition. I put a strip of masking tape on the part, and run a bamboo skewer along the crevice to trace the shape of the panel line. Next, I peel the tape off and move it to a piece of bare plastic.

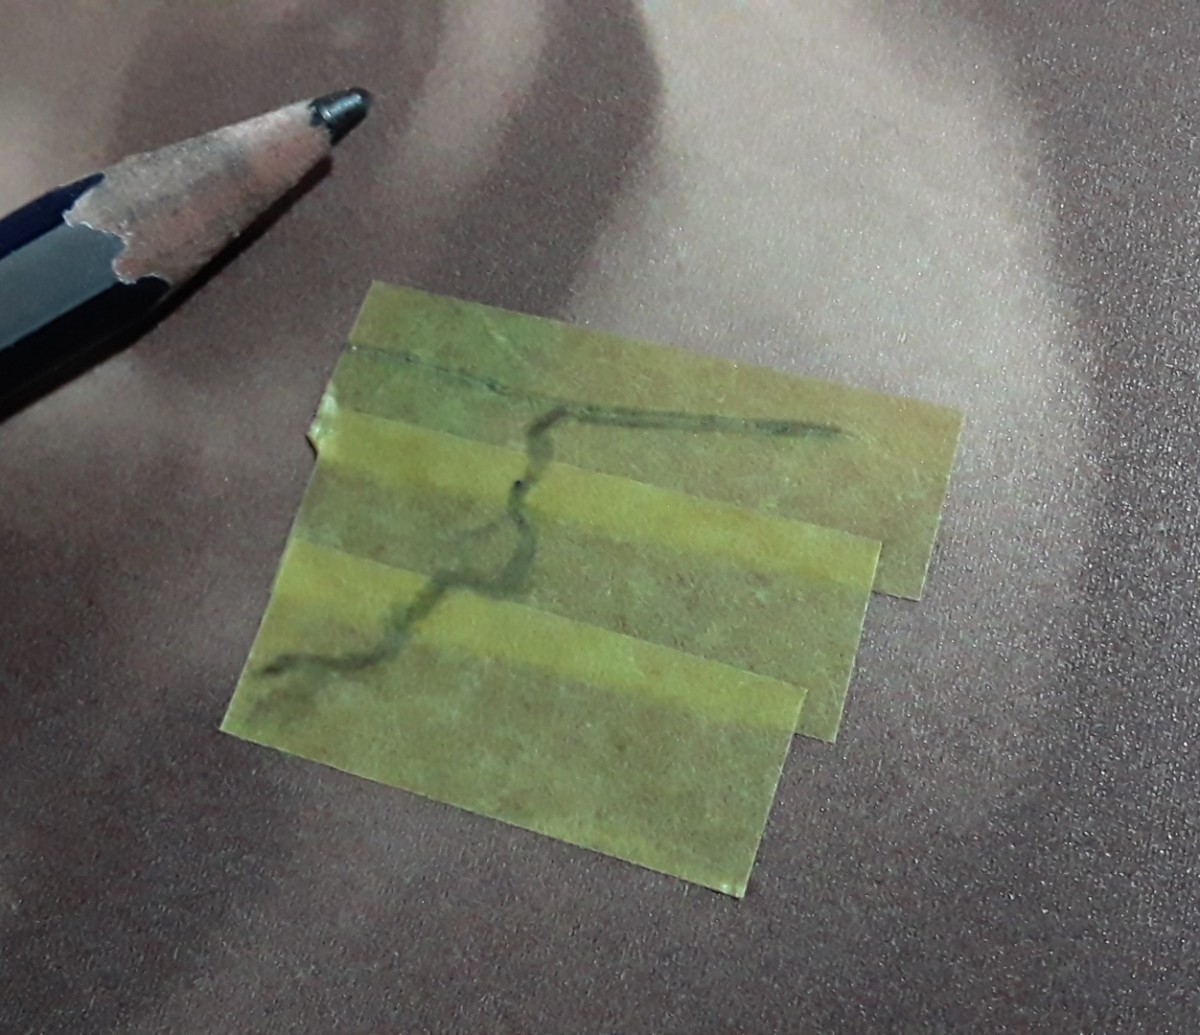
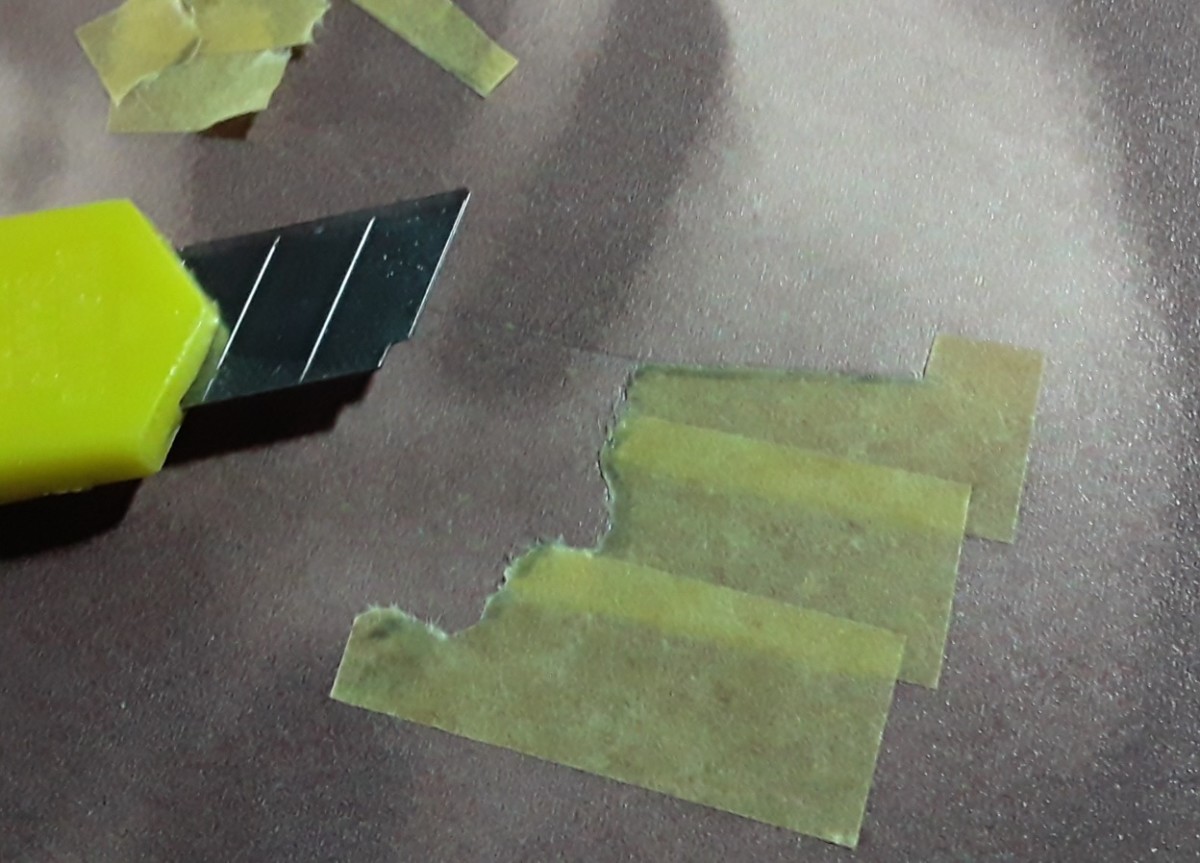
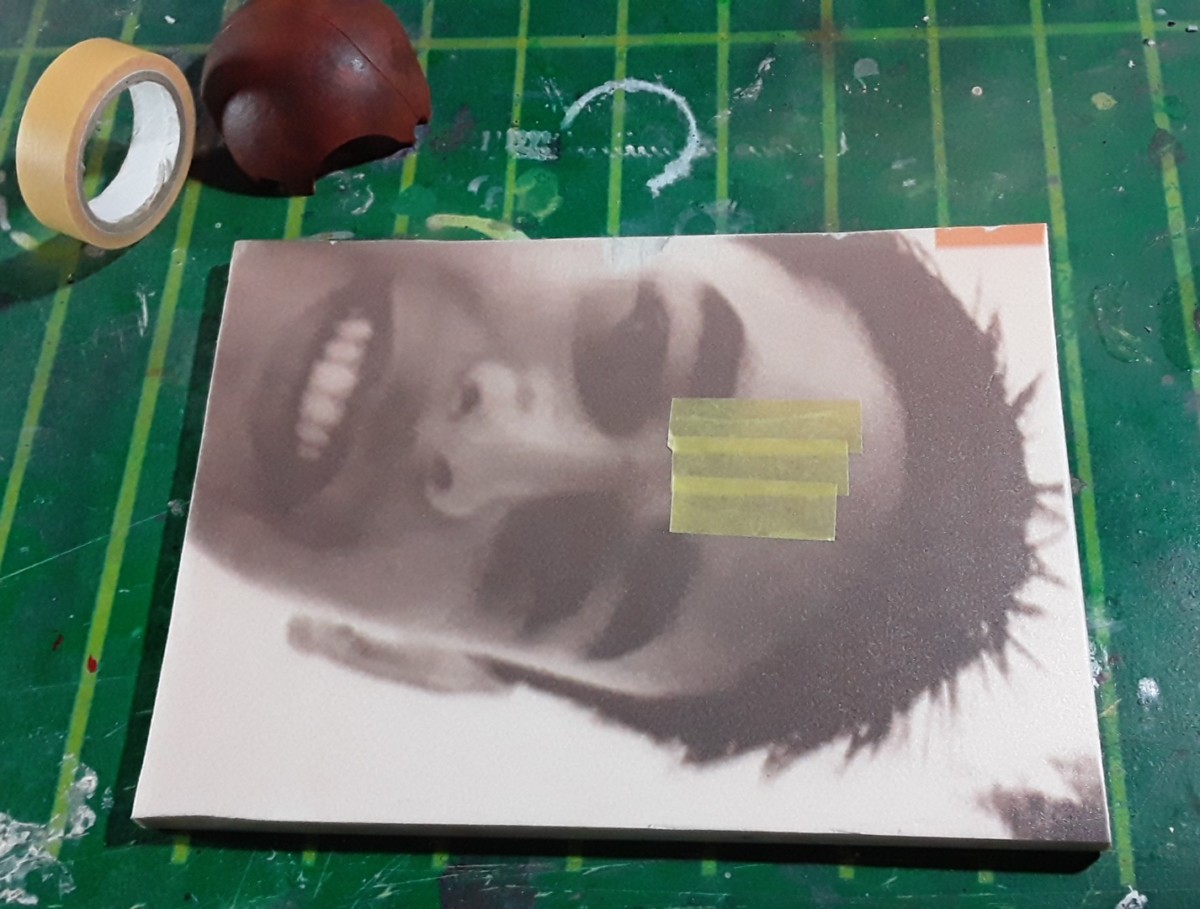
I lay down two more strips, making sure they overlap partially. This will allow us to peel them off together later. Once the chain of masking tape is large enough to cover a decent area of the model, we can draw the shape of our paint chip. It’s important that we keep it rough and irregular, like the real thing. Then, all that’s left is to cut out the tape with a sharp knife.
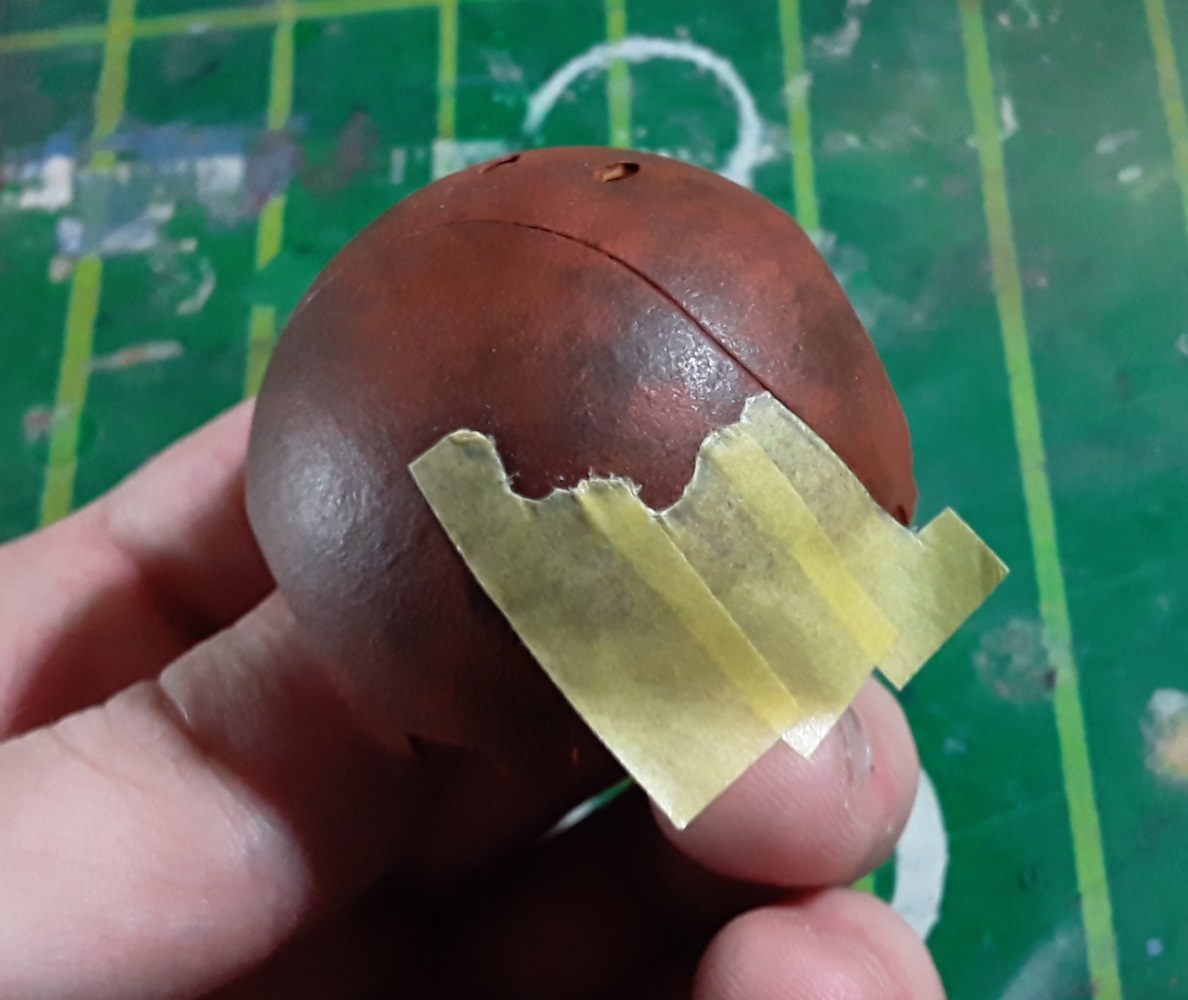
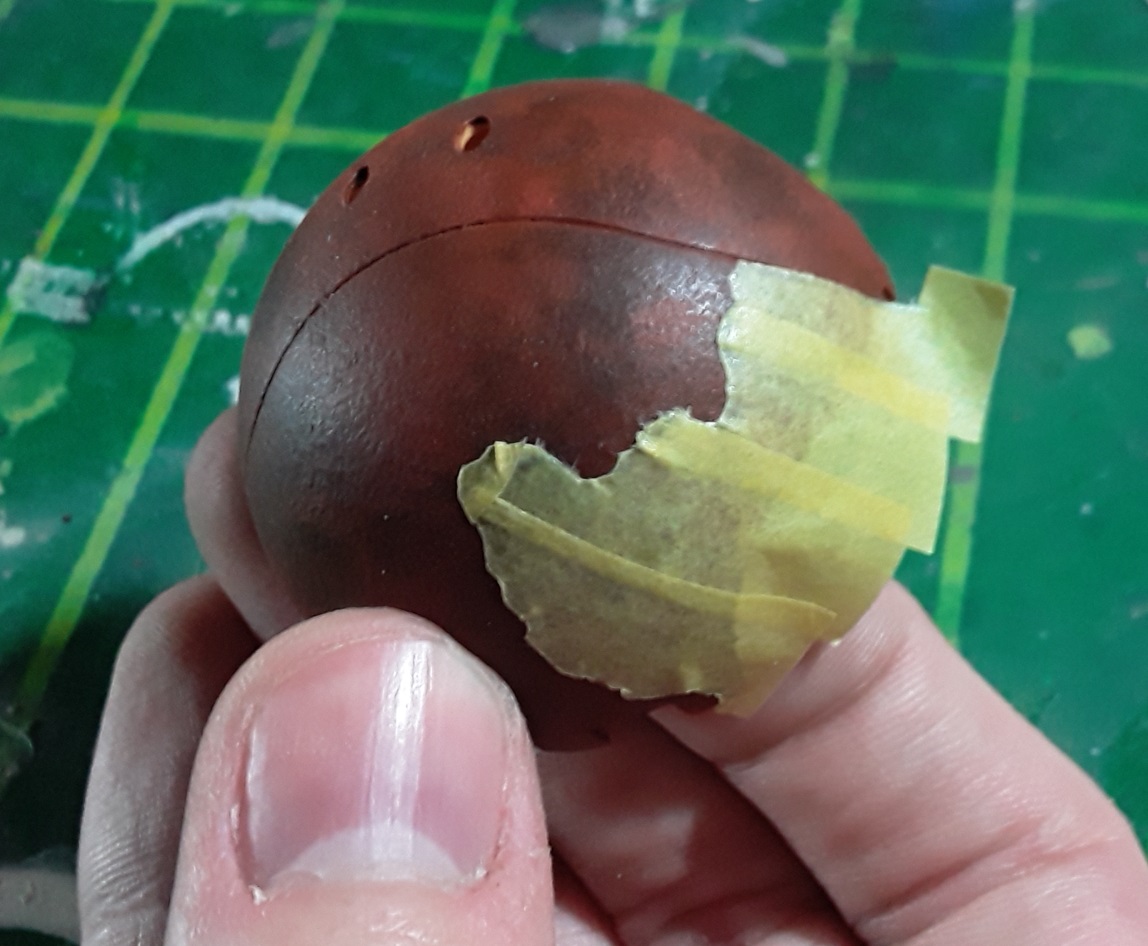
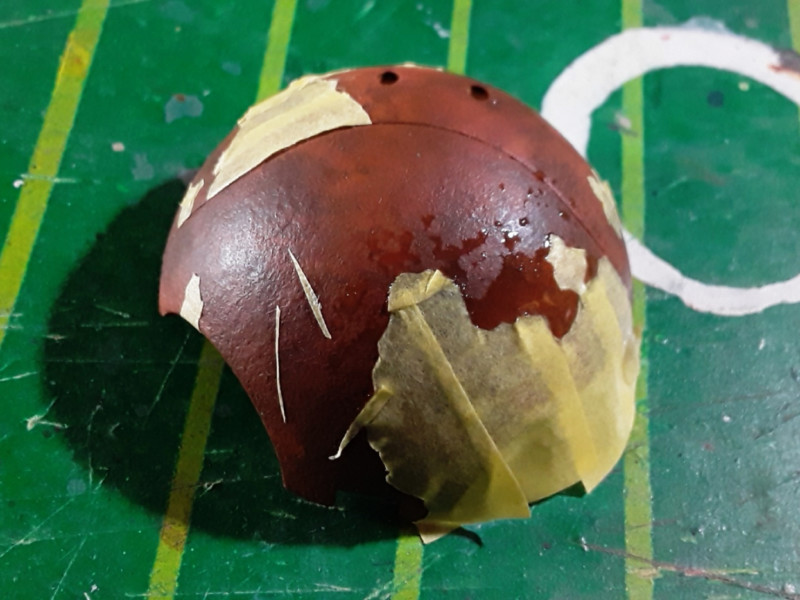
When I laid down the masking tape on the model, I realized I should’ve added one more piece in the previous step. No worries; I easily fixed it by repeating the procedure with a separate strip. After putting the tape back on the Haro it looked much better.

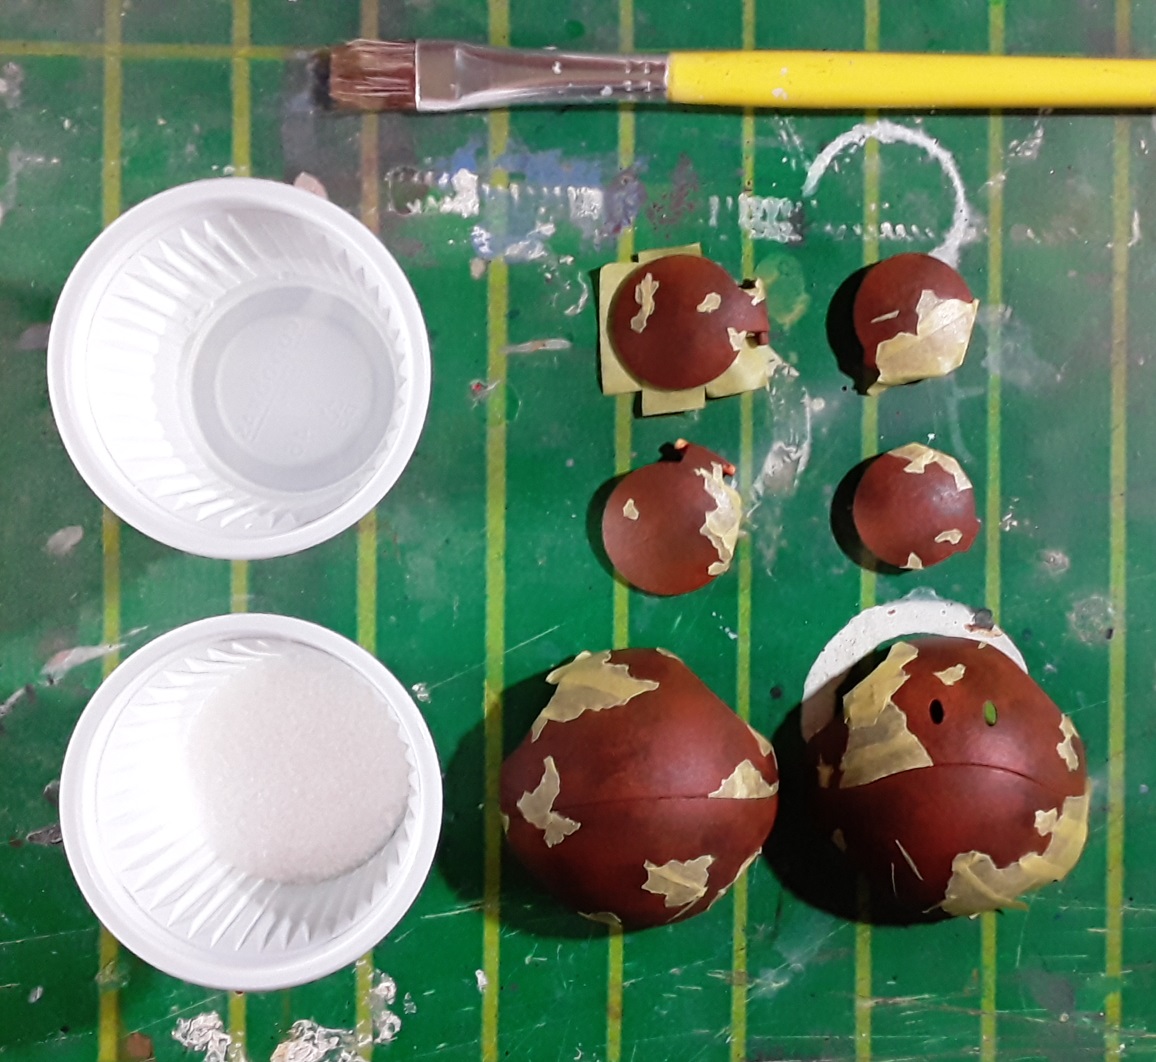
I kept making paint chips with masking tape until I was satisfied. It’s important that we keep the shapes, sizes and placement diverse and random. As you can observe, some chips are really big, some are smaller, there are a bunch placed against edges, a few on open areas, a couple of them look like countries on a map and others are just scratches.
Salt chipping
Preparation
Now that the large chips are done, we can proceed to salt chipping. This technique allows us to create smaller chips caused by objects like pebbles. Besides creating new chips on open areas, this will complement the big ones we just made by moderately altering their shapes.
Firstly, we apply some water on the piece; this will give the salt something to stick to. I suggest using a brush with soft bristles for this task.
Then we sprinkle the salt over the water. It’s not easy to control, but you can make use of a toothpick to manually move the particles around once they’re on the model.
Wait 15-30 minutes for the water to dry, and the parts will be ready for paint.
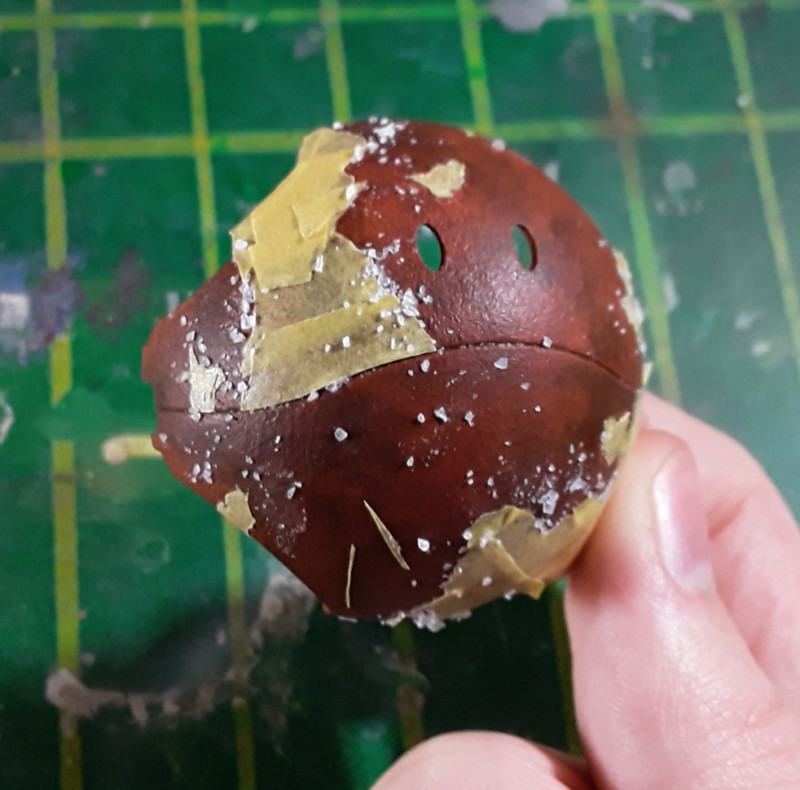
If you think there’s too little salt, though, feel free to add some by repeating the process on a smaller scale. Just be careful not to move the surrounding particles all over the place. On the other hand, if there is too much salt, use a brush or toothpick to remove a little. This is much easier to do when the surface is dry.
Painting
The next step is pretty straightforward; we just spray the main color with an airbrush or spray can. Handpainting is not an option here, as the bristles of the brush would make contact with the model and consequently wipe away the salt.
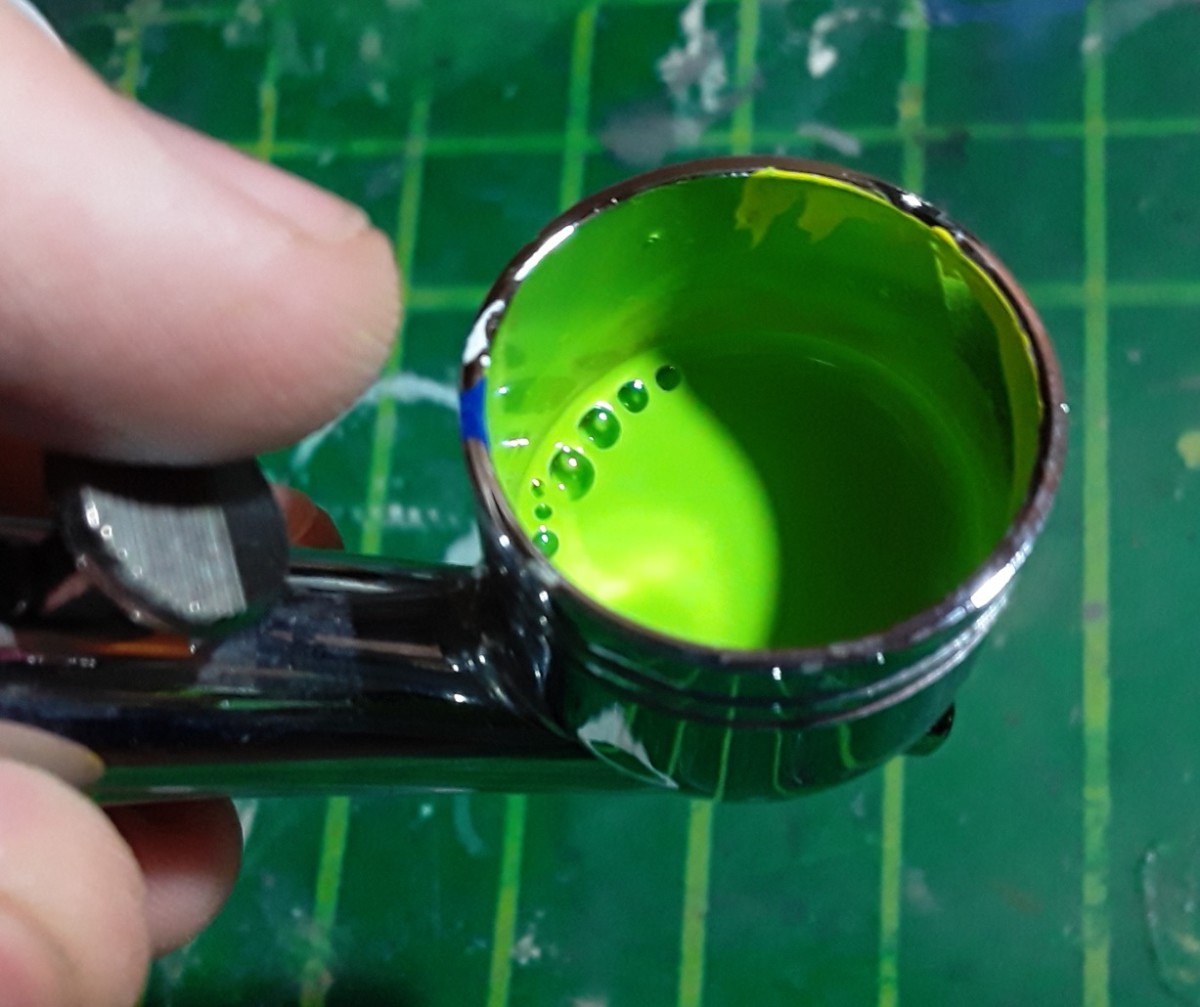

The original color of the Haro in the show was basically a slightly more yellow hue of the Zaku II light green, but my mix is much brighter instead. The reason for this is, I wanted to keep the paint layer relatively thin, and leave the base coat showing through partially in some areas. Doing this tones down the vivid green quite a bit, turning it into a paler color which is closer to the shade you’d see in the anime.
Unmasking


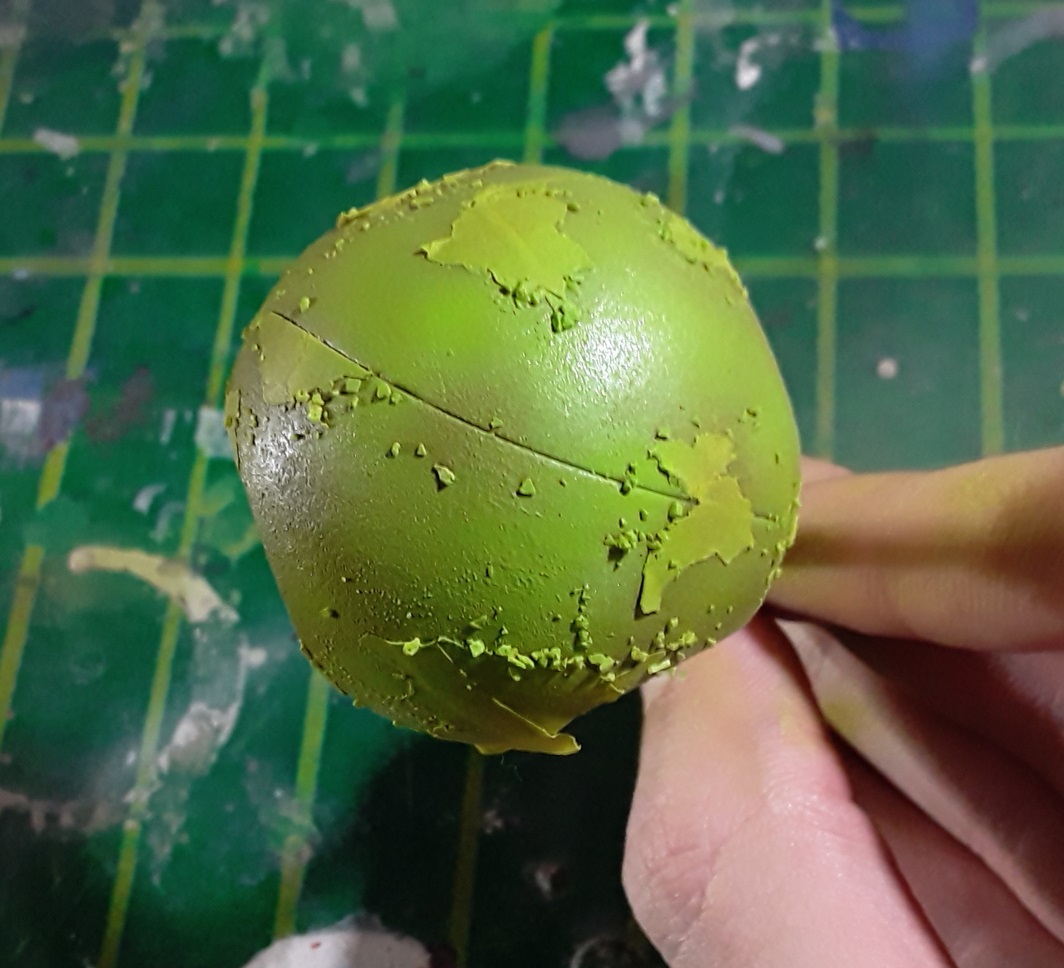
After the paint has dried, I remove the salt with an old brush. Take your time when doing this; it’s easy but it may take a while depending on the model you’re weathering.
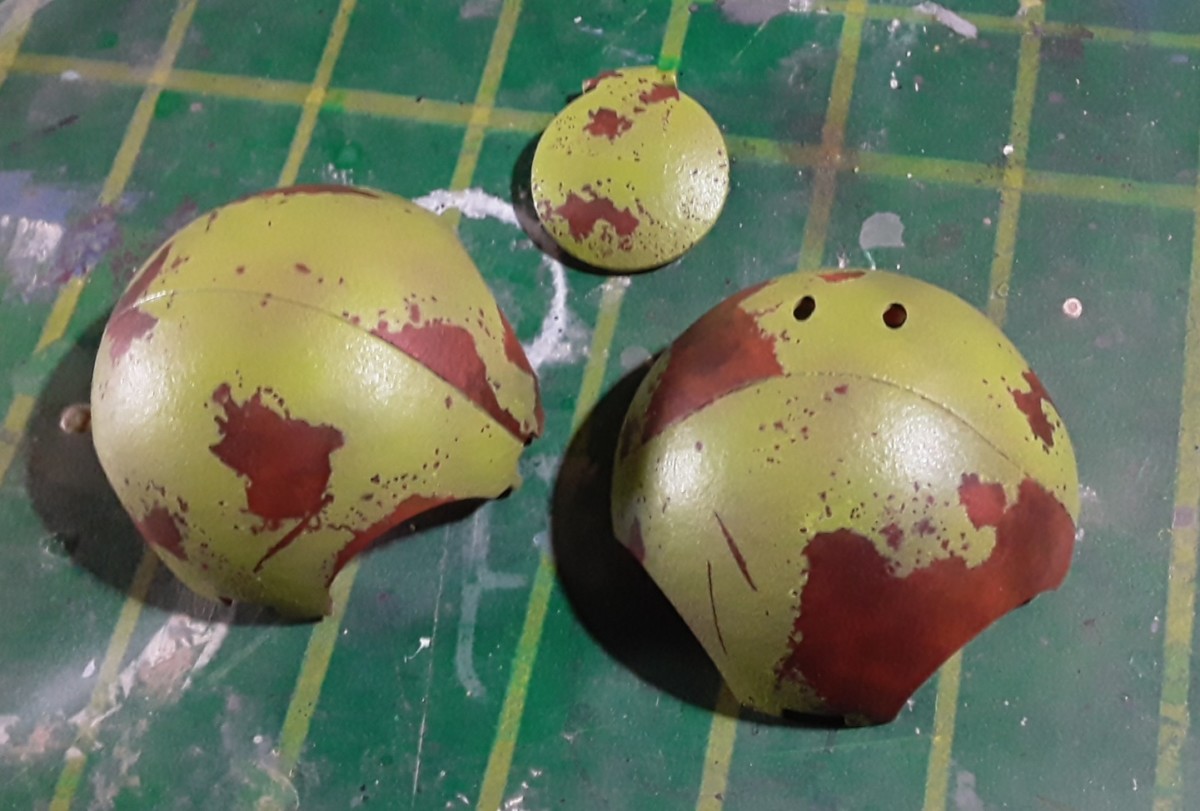
Gently scrubing the piece made the salt come off, and revealed the rust colors underneath. With this, the salt chipping effect is complete!
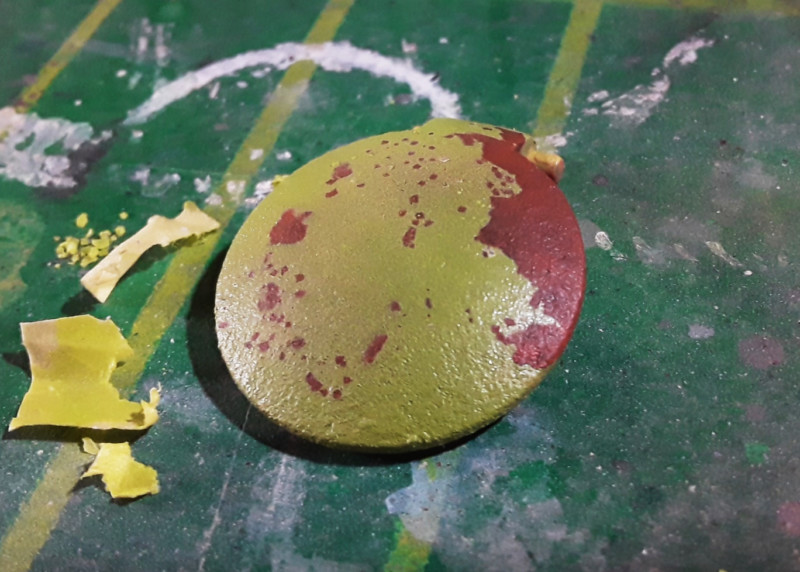
Next, I peel off the tape using a bamboo skewer to conclude the masking tape chipping. Never use a cutting tool like a hobby knife for this job, because you may run the risk of scratching the paint.
Final product
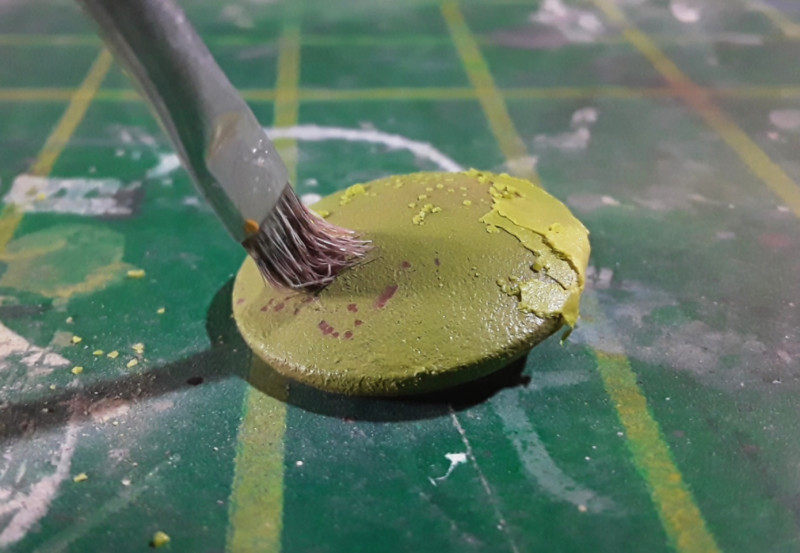
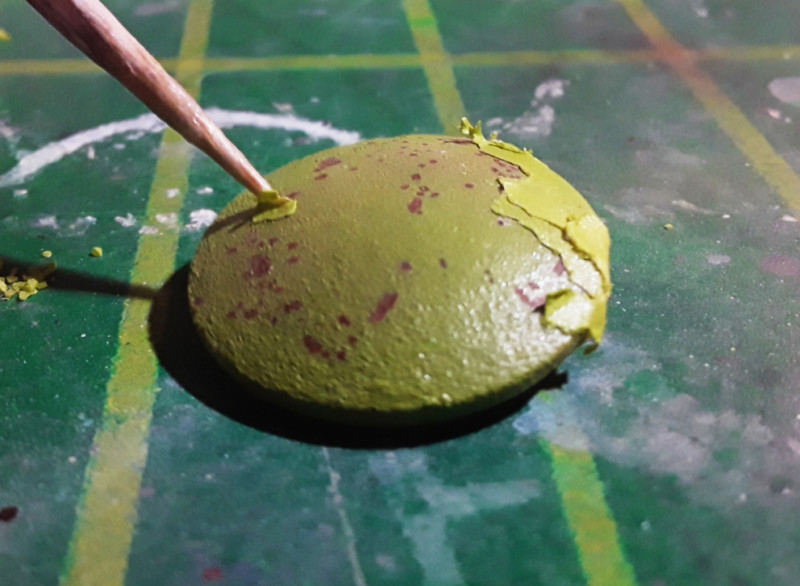
I did the same for the other parts, and here’s the result. I really dig that big patch of rust on the bottom of the front part. The dots around it produce a quite realistic look.
That is all for today’s tutorial. Join me next time, when I add the final rust effects to the model. Until then, happy modeling!