What’s up, Gunpla fans? It’s Enrico again. I’m back, and starting a new series of tutorials!
Last time, we finally concluded the Galbaldy Beta diorama by making a detachable rain effect window for it. Although I had to improvise a little with the pictures of the completed model (for reasons mentioned in that post), I did upload proper photos on my social media as promised. So if you followed the Galbaldy series, make sure to check those out.
Anyway, we’re here to begin a new build, so let’s talk about that. Now that I’ve covered the basic steps I normally following when building models (except for scratchbuilding, which we will see in the future) we can focus on other techniques here and there, rather than the whole process. This will also allow me to make more frequent, shorter tutorials.
Today we are going to paint rust. This skill is quite useful and versatile. You can apply it to most genres of scale modeling, as long as you adapt it to the scale you’re working with.
The Model

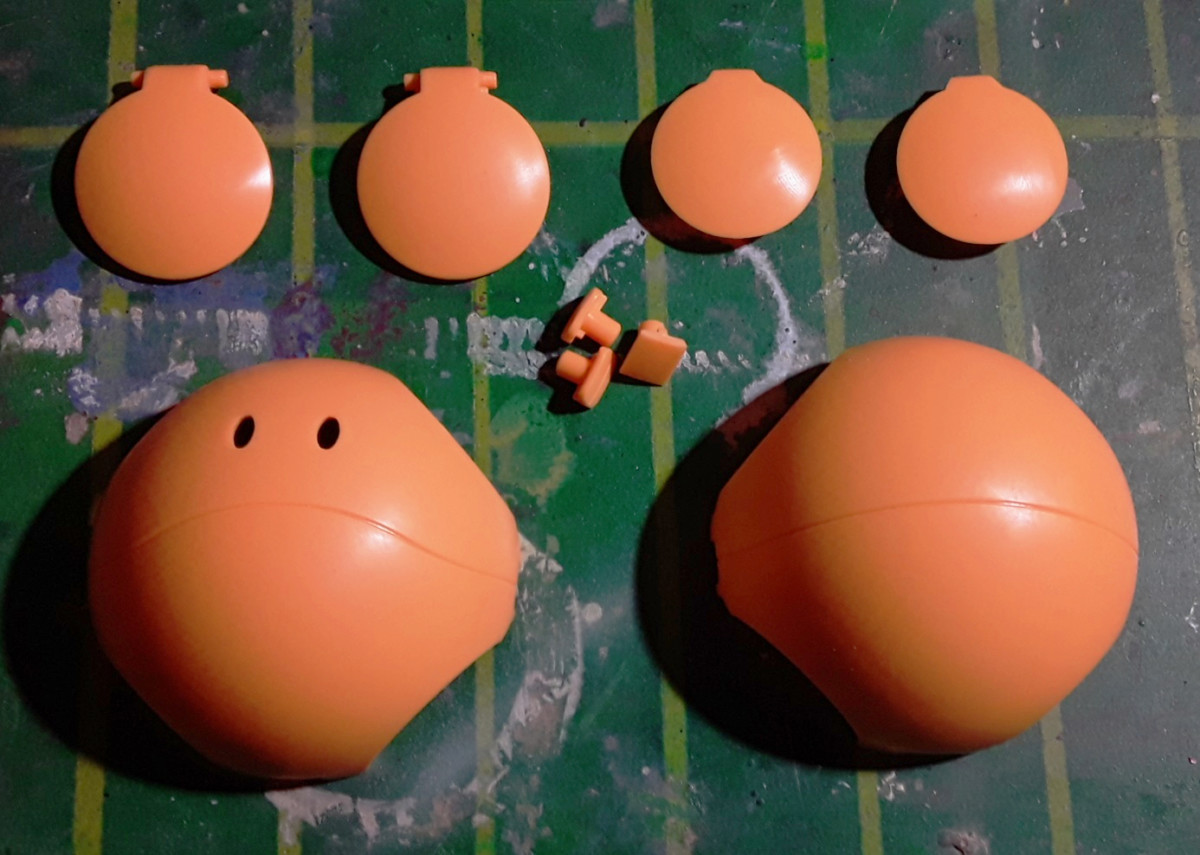
The model kit we’re going to rust up is the Haropla Haro Shooting Orange. I’ve been mastering my rust painting skills for a while, mostly by practicing on 1/144 scale models. However, I figured it’d be more practical to teach you this technique by applying it on a model with decently sized parts that lack intricate details. Furthermore, I am going to build a simple diorama/vignette for it, so I’m looking forward to working with a bigger scale.
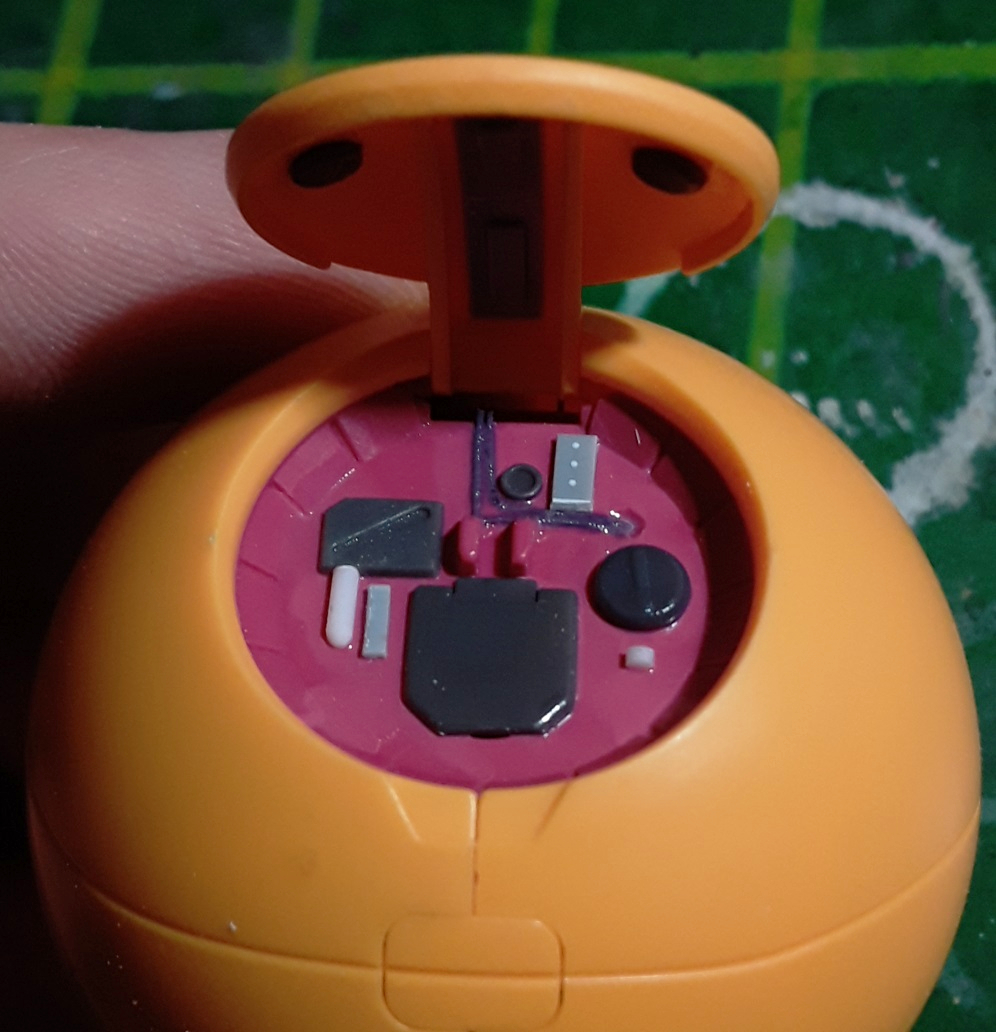
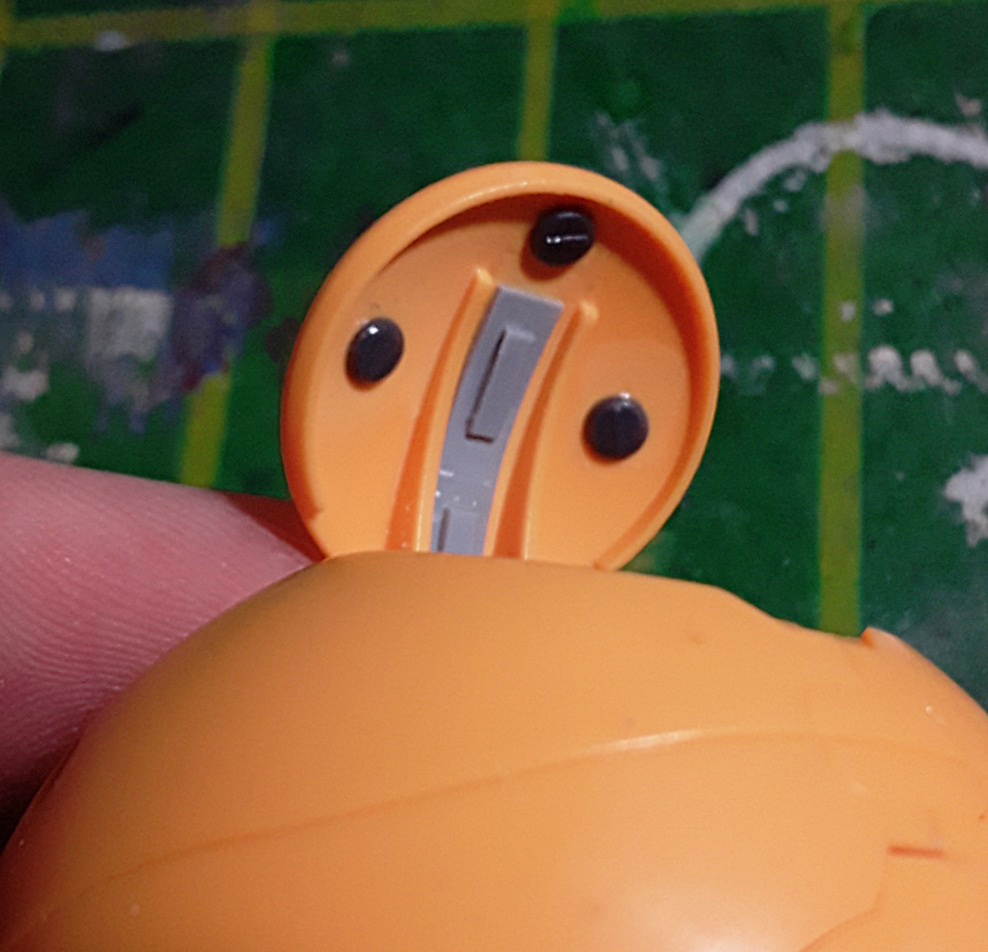
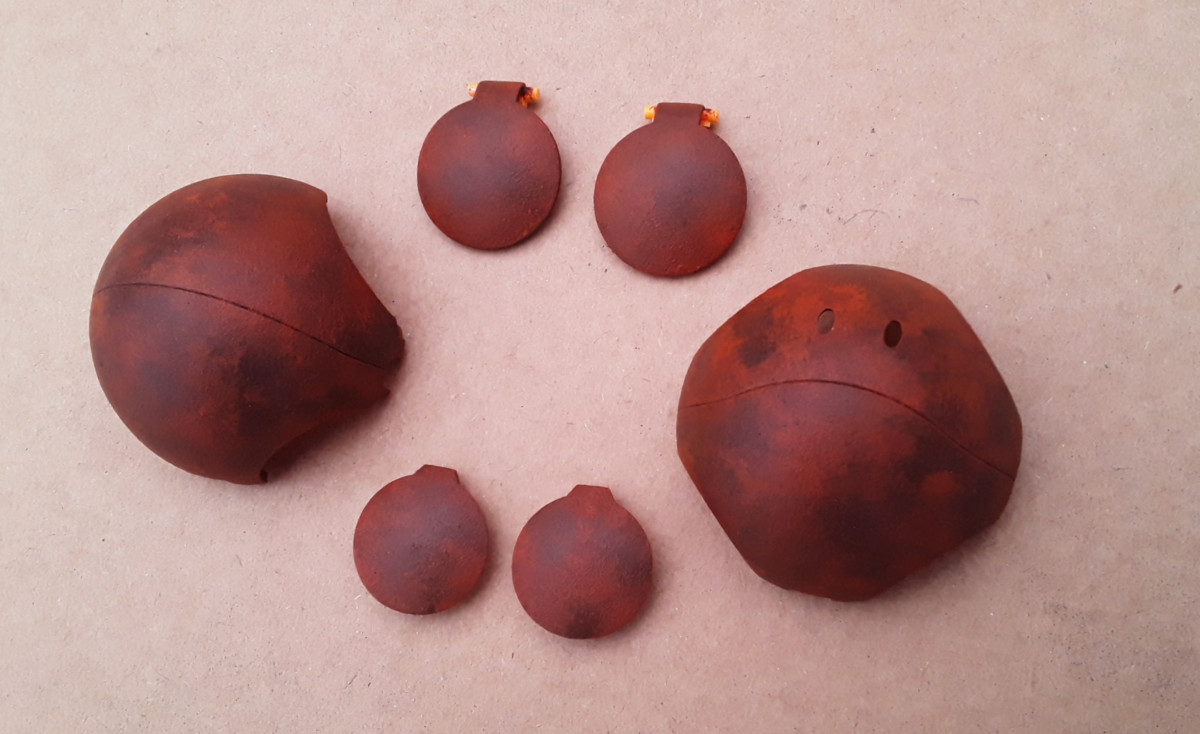
In the scene, one of the “ear” hatches will be open, so I added some detail parts to make that area more eye-catching. Besides adding detail, that big gray hatch also covered the hole where the little arms that come with the kit would plug. We’re not going to need the cute limbs for this build, so… to the heap of leftover pieces they go, haha!
Surface Preparation
The orange pieces are the ones that will receive the rust treatment. The inner frame bits will be painted separately afterwards.
As you may already know, paint sticks better to plastic if you apply a coat of primer beforehand. This time around though, we will do it with a good old paintbrush. The reason for that is, our rusting process starts now!
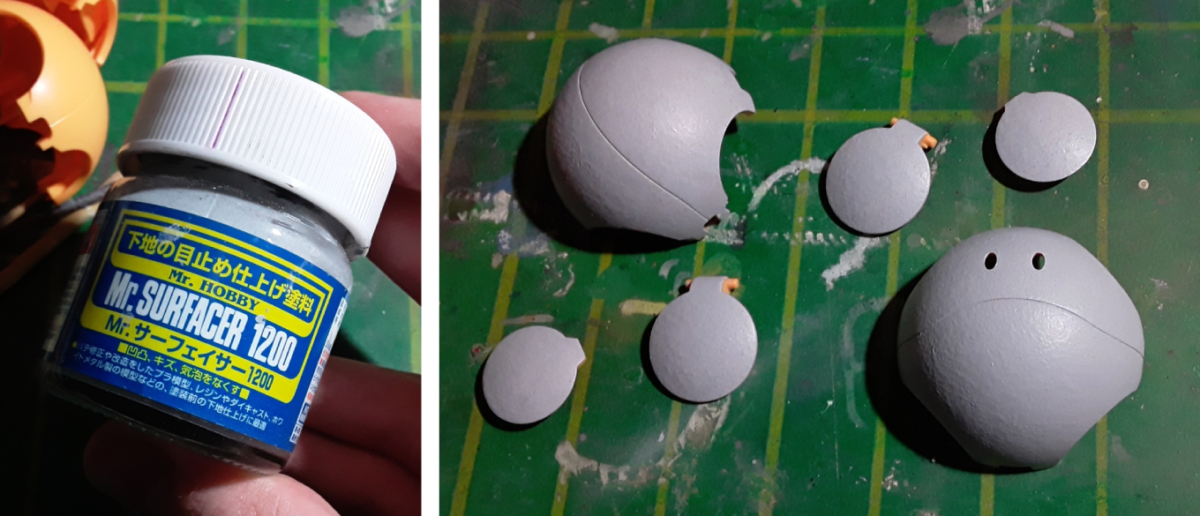
By handbrushing the previously thinned primer in a stippling motion, we get this rather interesting texture that emulates a slightly blistered surface like you’d observe in aged iron or similar metals. This will make for a perfect starting point for the rust effect.
Base coating
Since we’re going for a weathered, textured look, I will not use my fine modeling paints for this task. They aren’t really necessary here, so instead I’m handpainting cheap craft acrylics that I can find locally.
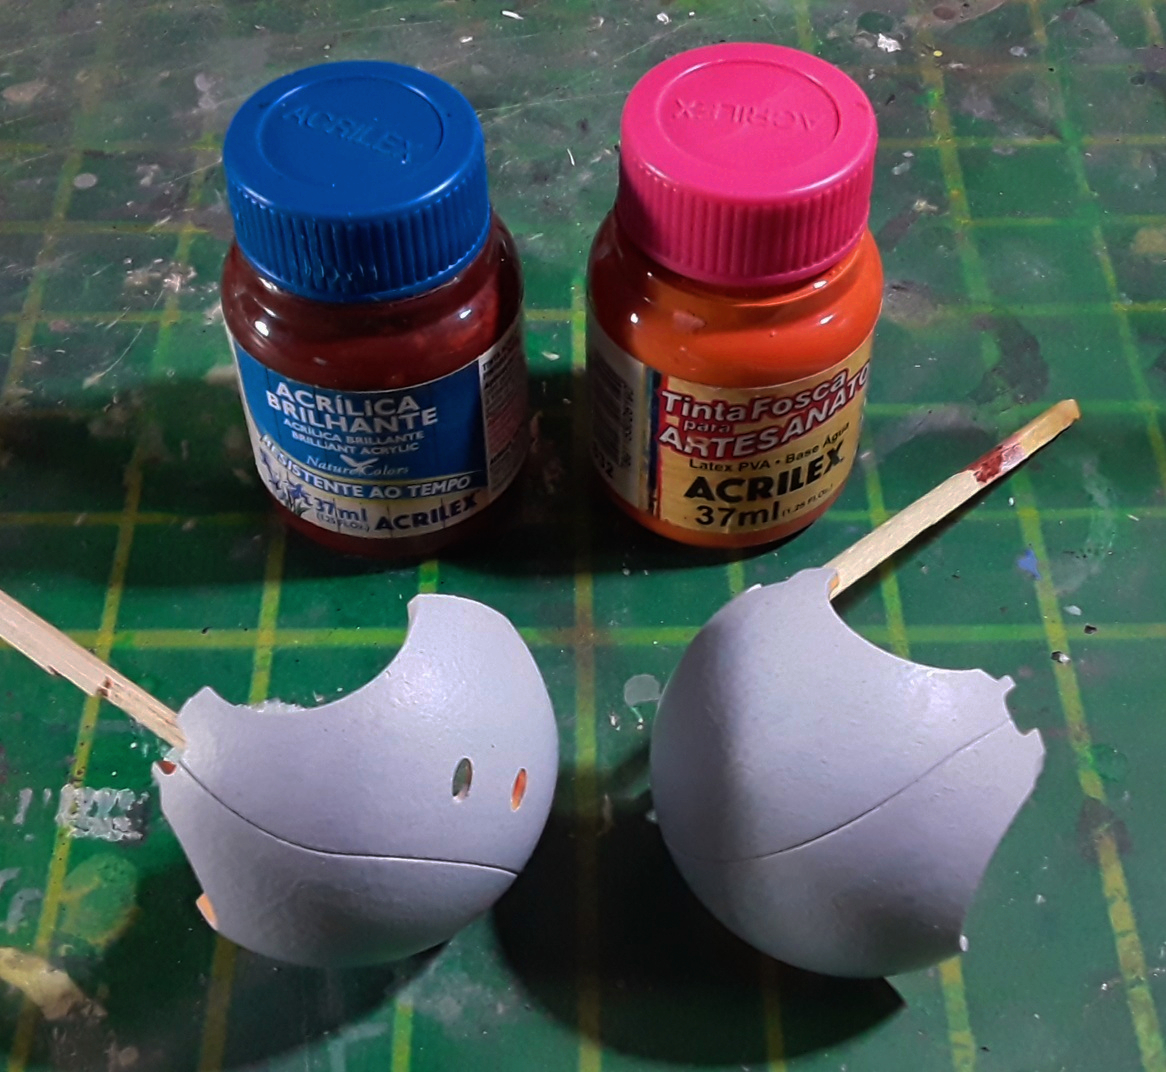
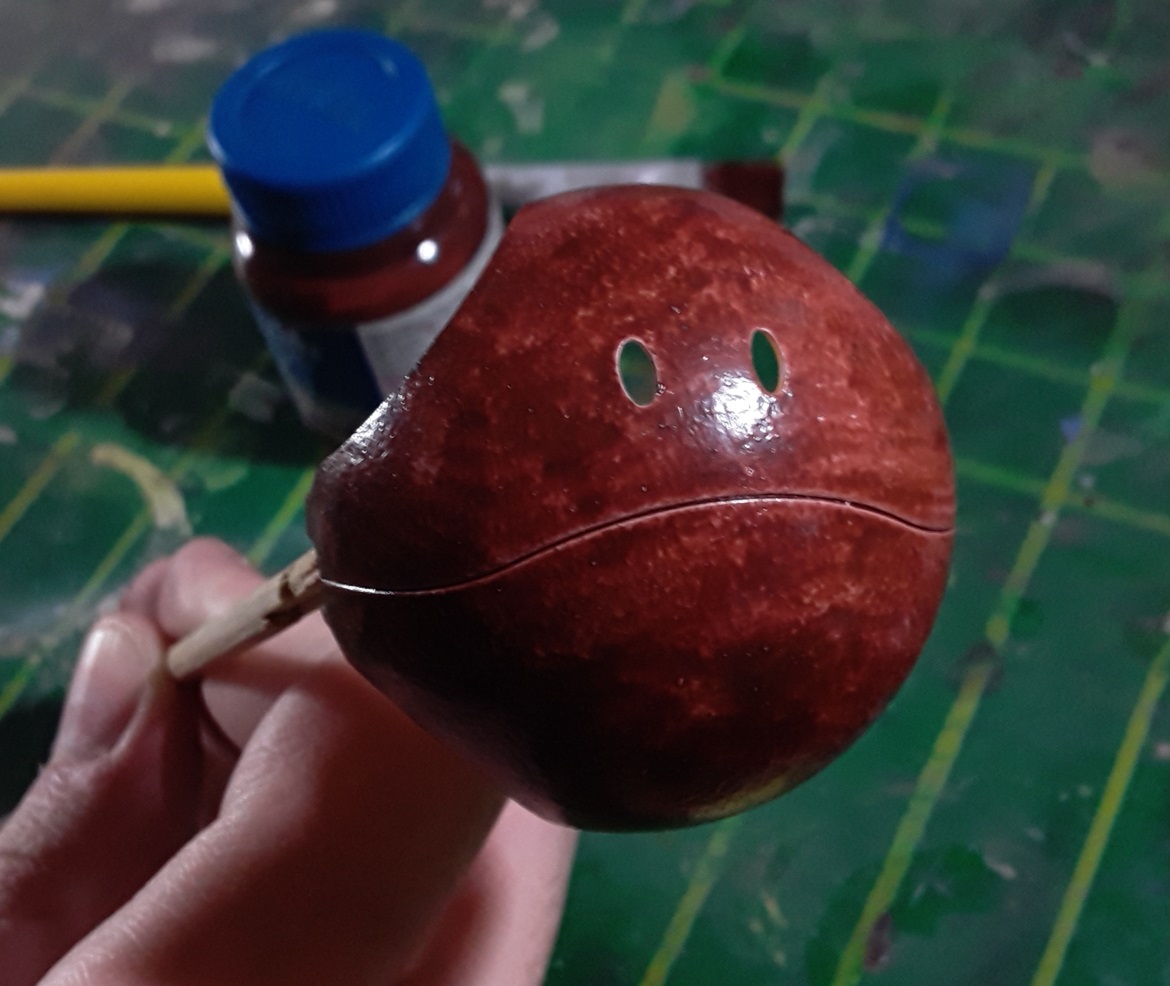

The base color is the gloss brown that’s on the left, in the first picture. I watered it down and brushed thin layers on the parts, with the same flat brush I used for the primer coat. After two layers, the coverage is almost uniform. We can stop here, as the rust effect doesn’t require a perfectly homogeneous undercoat.
Adding color variety
With a paintbrush
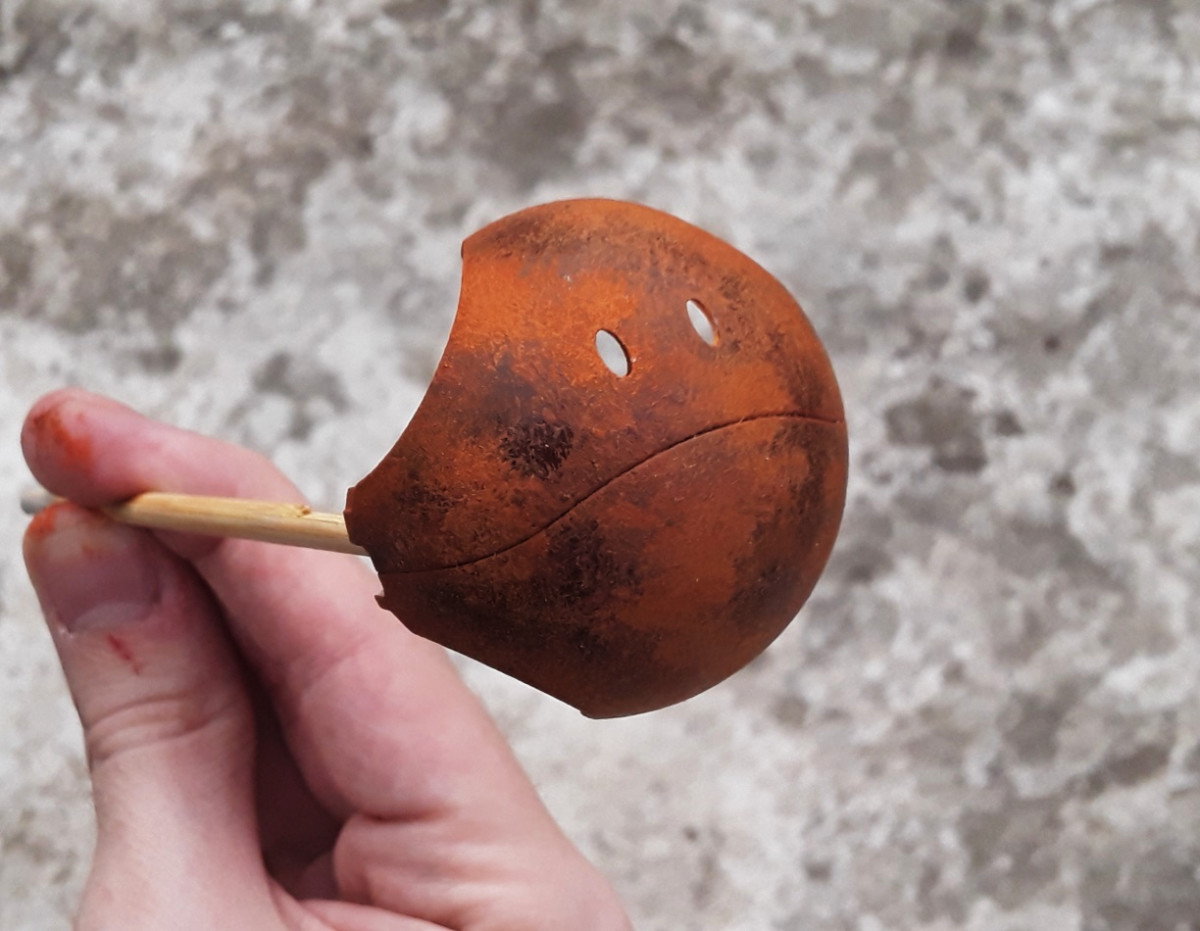
Here comes the fun part: it’s when the rusty Haro starts to come to life. We put some brown paint (I went with the same color I used for the base coat, but feel free to experiment with a moderately different shade) on a palette and add a little bit of orange.
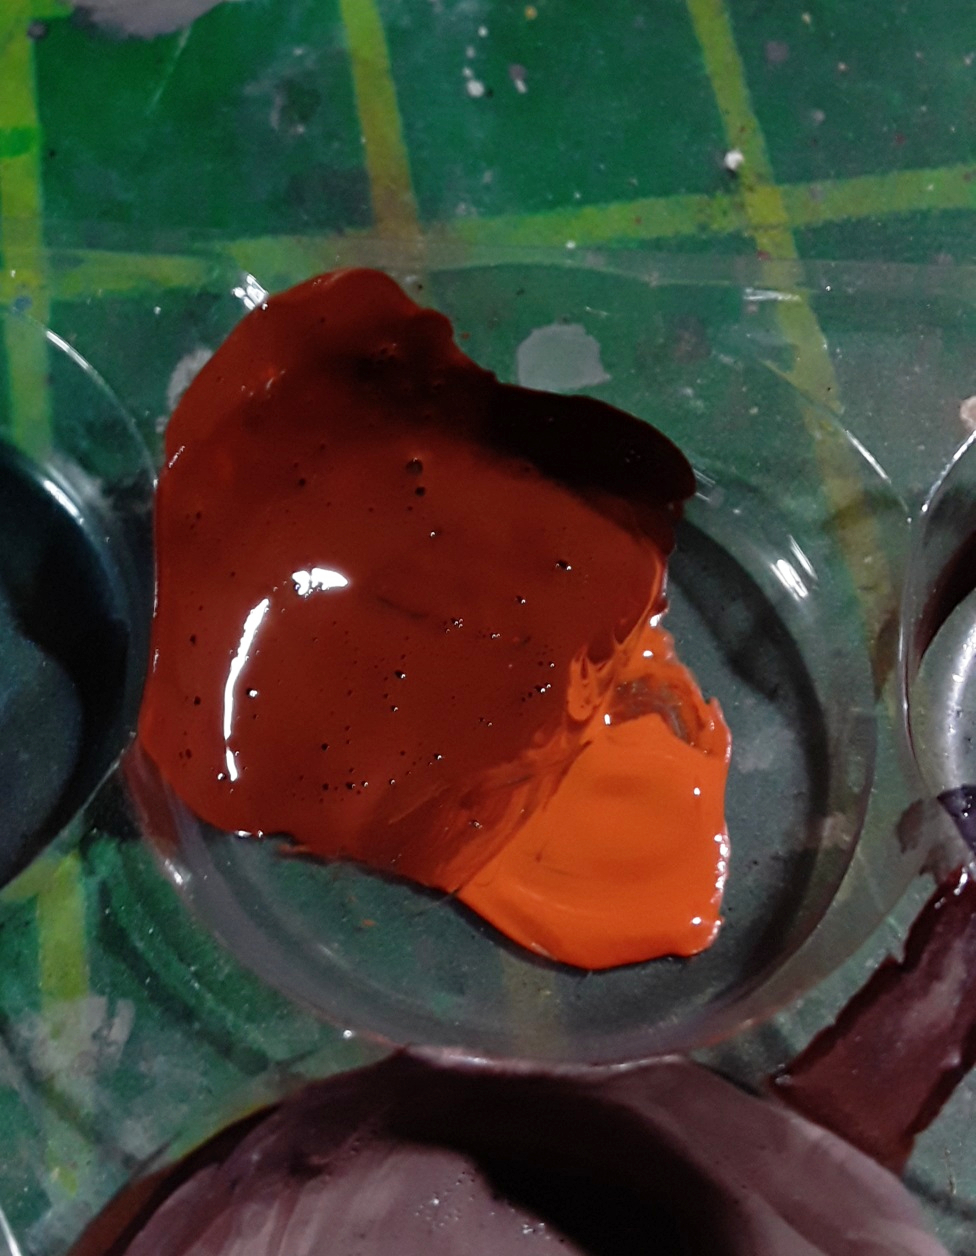
We then grab a finer brush and stipple this more orangey brown onto the parts. Just randomly apply small amounts, move the brush around and leave most of the brown undercoat exposed. Let the paint dry for 2-3 minutes and add more orange to the mix, then repeat the stippling process on different areas of the model. It’s important that the different colors unarrangedly overlap to produce a more realistic effect.
The key is to gradually add more orange to create a realistic and visually appealing color variety. Once you’ve painted 3-5 shades and the original brown base isn’t the predominant color, you can proceed to the next step.
With a sponge
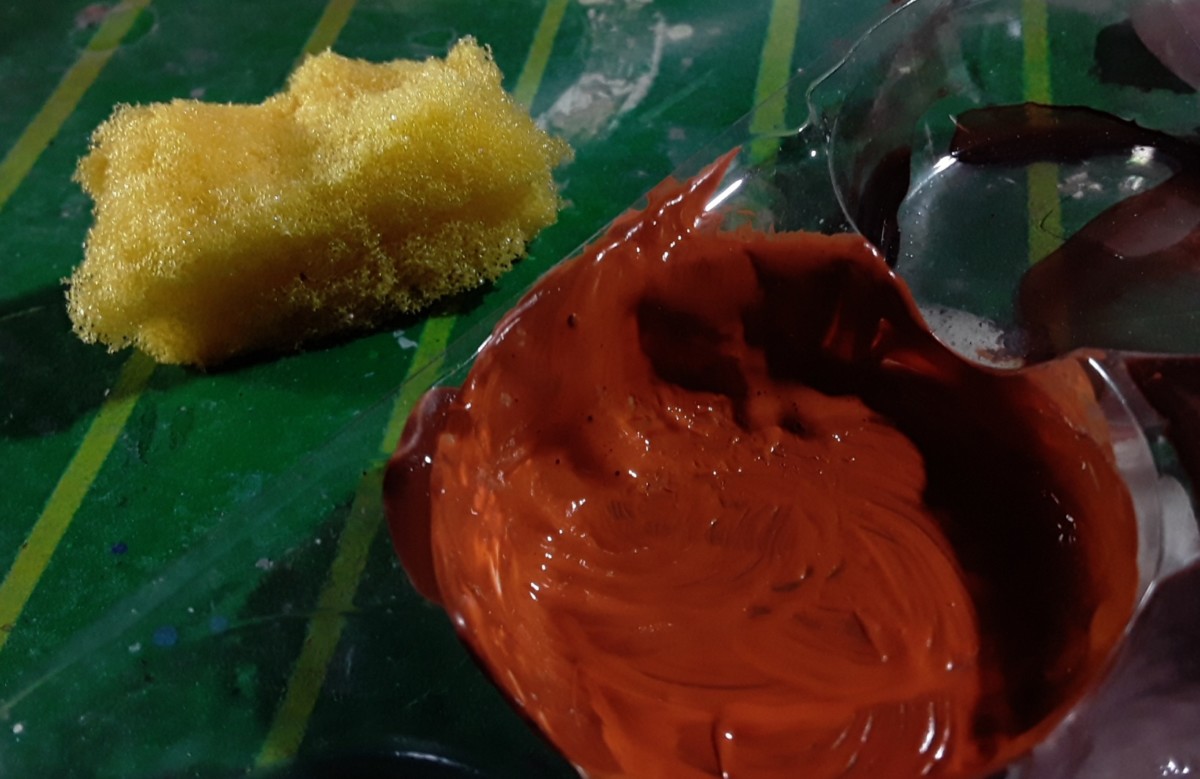
We’re not only looking for richness in tones. We also want the rust-colored blotches to have diverse shapes. Thus, we’ll use a piece of sponge to create sequences of dots that, combined with the strokes produced by the paintbrush, will enhance the rusty appearance of our Haro. Alternatively, we could also spray a couple of shades through an airbrush to introduce a third shape: gradients. Since I wanted to keep this tutorial focused on handpainting, I skipped the airbrushing part. Needless to say, however, I still encourage you to give that a try if you own an airbrush. I’d suggest you do it between the brush and the sponge steps.
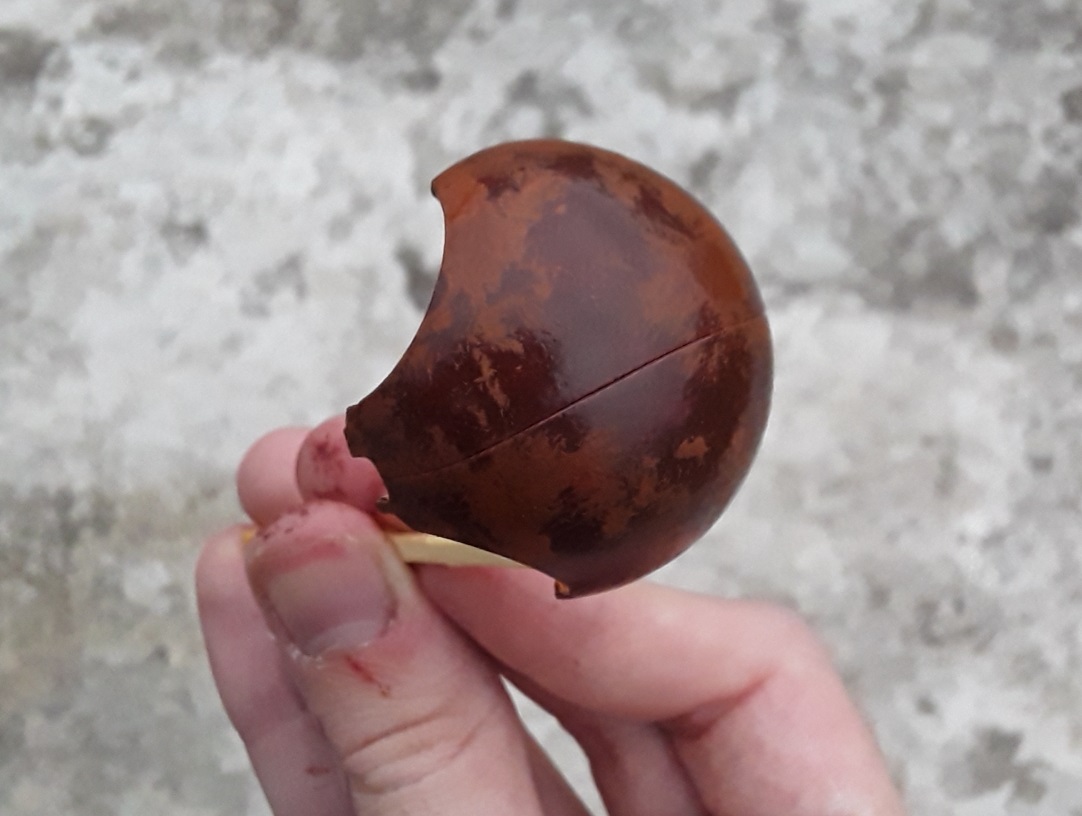
Even though we changed the method of applying paint, we keep slowly adding orange to our mix. At one point, the rust mixture will be more on the orange side, and that’s good. As you can see in the picture above, gradually modifying the mix helped us achieve a decent variety of shades.
Washes
Light rust
I noticed that the orange paint dried to a visibly less saturated tone, so I brushed a thin layer of a custom-made rust orange wash onto the parts to match the original shade that was in the bottle. It also helped tone down the contrast between the rust colors.
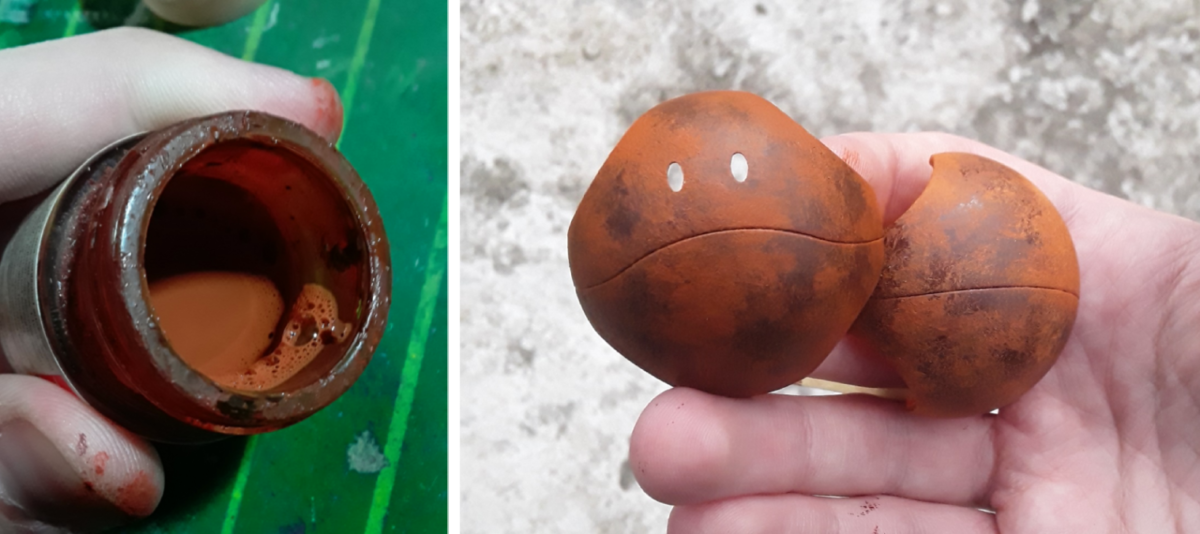
Although it’s a wash, I applied it more like a filter; uniformly and covering the entire surface of the parts.
You can see the difference between the parts in the picture above. The one on the left has been coated with the wash, whereas the other one hasn’t.
Neutral brown
In order to further blend the rust colors together, I mixed a very dark brown wash with the orange wash we just used.

Unlike the previous wash, this one was applied randomly, like a traditional gunk wash. For this step, you can either make your own wash like I did or buy a ready-to-use product. You may also skip this step altogether if you’re after a more dramatic effect with greater contrast.
Final product
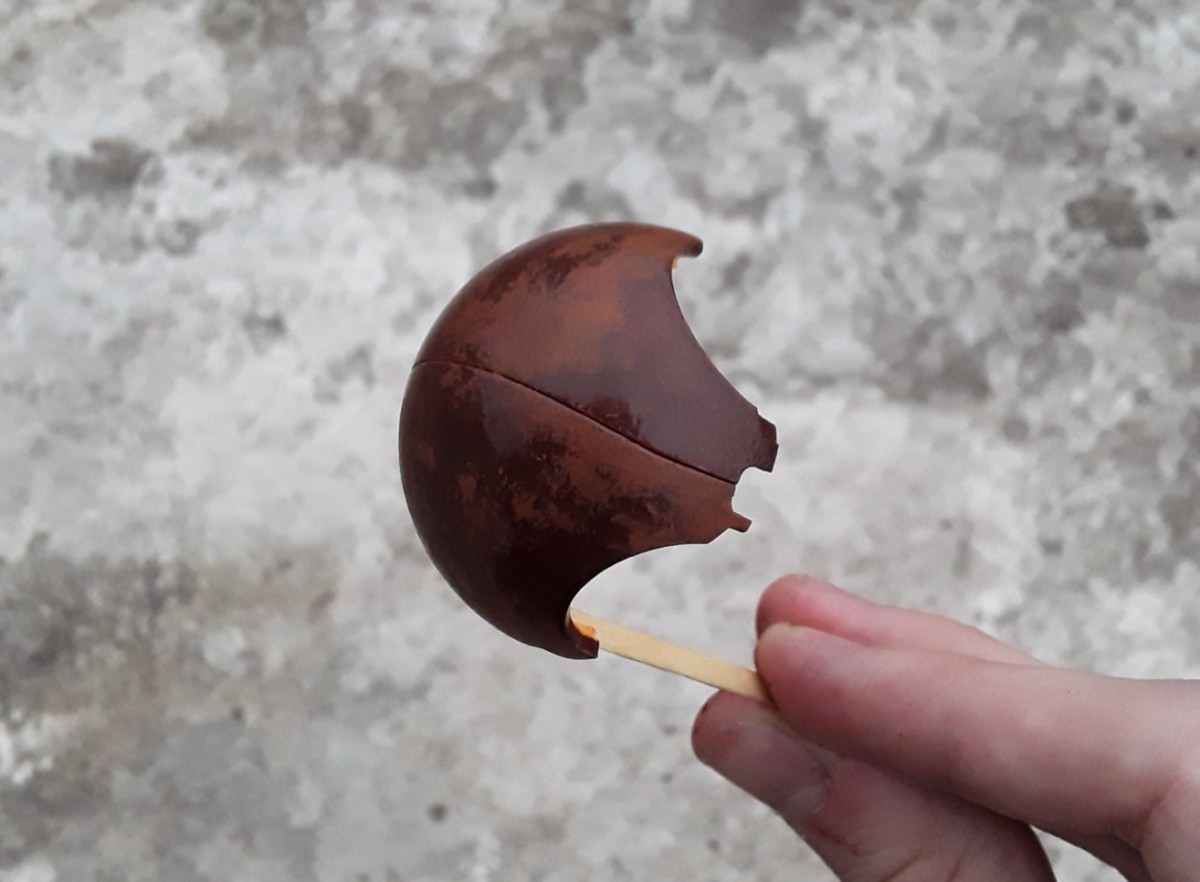
Last but not least, I spray a flat coat to seal our work and ensure that all the layers of paint stay there safely.
With this, the rust base is complete! I’ll paint the rest of the parts before my next update so we can move on to the following step of the build. Until then, happy modeling!