Hello there!
My name is Antonio, and today I want to share with you a few simple, but effective, painting techniques, tips, and tricks that you can apply to your action figures and model kits to take them to the next level! Hope you like it!
Right now I’m working on Bandai’s Figure-rise Omegamon Amplified, also know as Omnimon in America, and I think it is the best option for this since it is a model kit but the final product is more like an action figure. Before we begin, I feel the need to clarify that this isn’t a review of the kit, you can watch that here. This will be a 3-part tutorial where I’ll show you how, with some minor customization, you can take your action figures and model kits to higher levels.
The Starting Point
In this tutorial our fully assembled model kit isn’t going to be the end product but our starting point. Now, this is how it looks out of the box and fully assemble, without stickers.

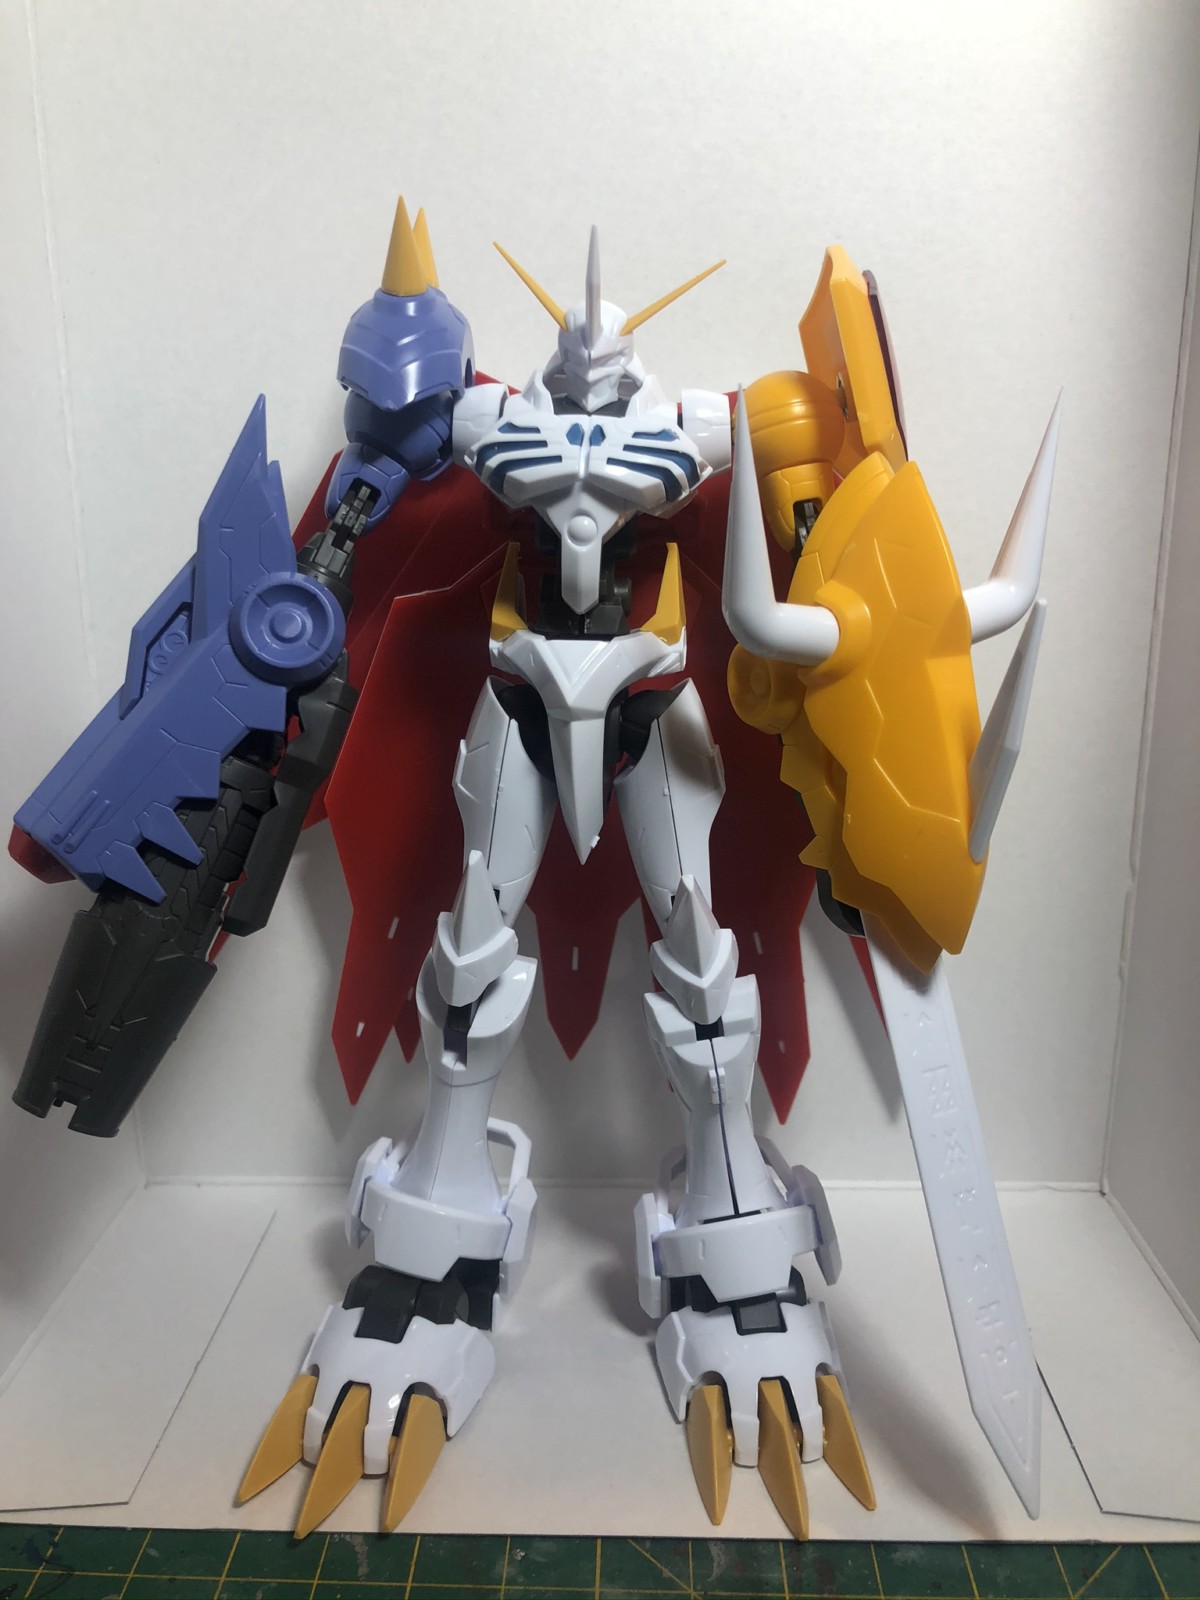
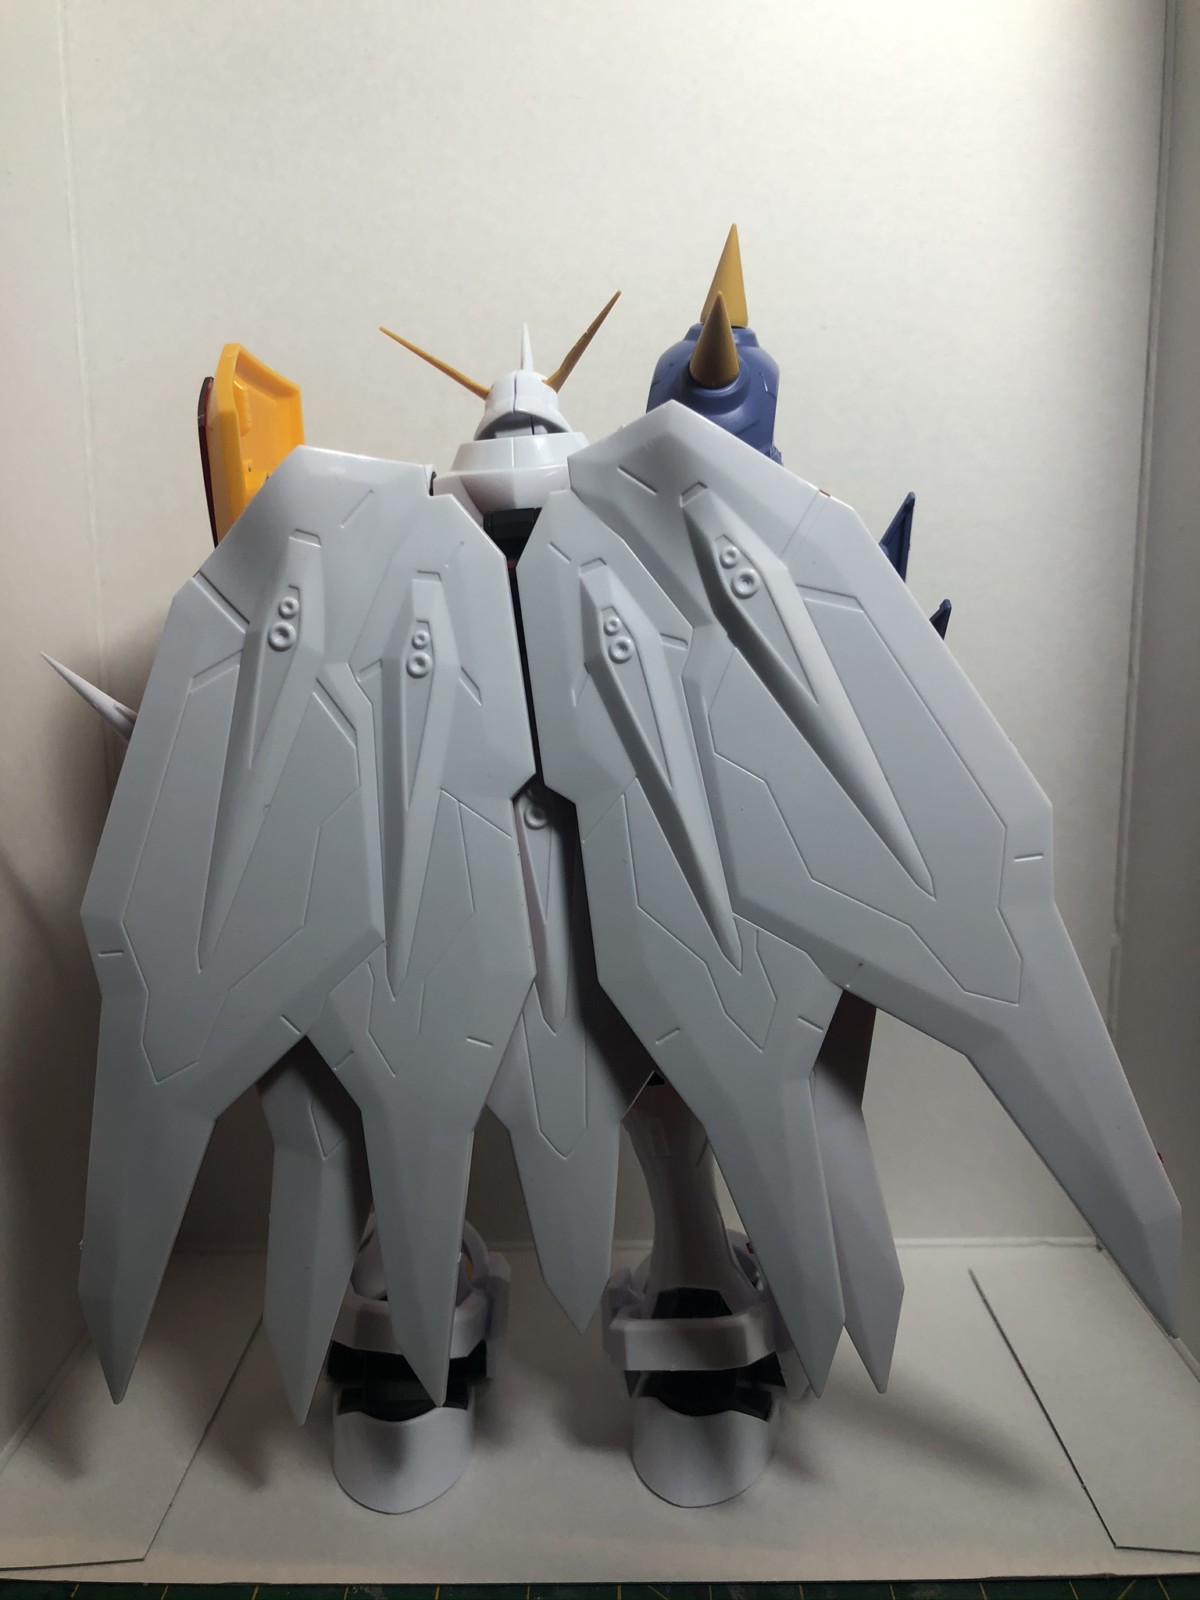
I should warn you, model kits like this one does not require glue for the assembly; for that reason taking it apart can be a little tricky, so be careful.
In this tutorial we’ll work on the head, torso, hips, legs and feet. The second part will be the arms and the weapons, and the third part will be the cape and a few details. Before we start, I shall mention that all of the paint job in this tutorial was made with paint brushes and tin spray. With that said, I’ll share with you two “pro-tips” for painting with brushes:
1. Always use a palette, or even better a wet pallet, but never use your paint directly from the bottle. This way your paints will last longer, it will be easier to mix colors, and it will help for tip number 2.
2. Two thin layers of paint are always better than a thick one. Remember to always thin your paint in your pallet. This way you will prevent brush lines.
Now without further ado, lets begin!
The Base Coat
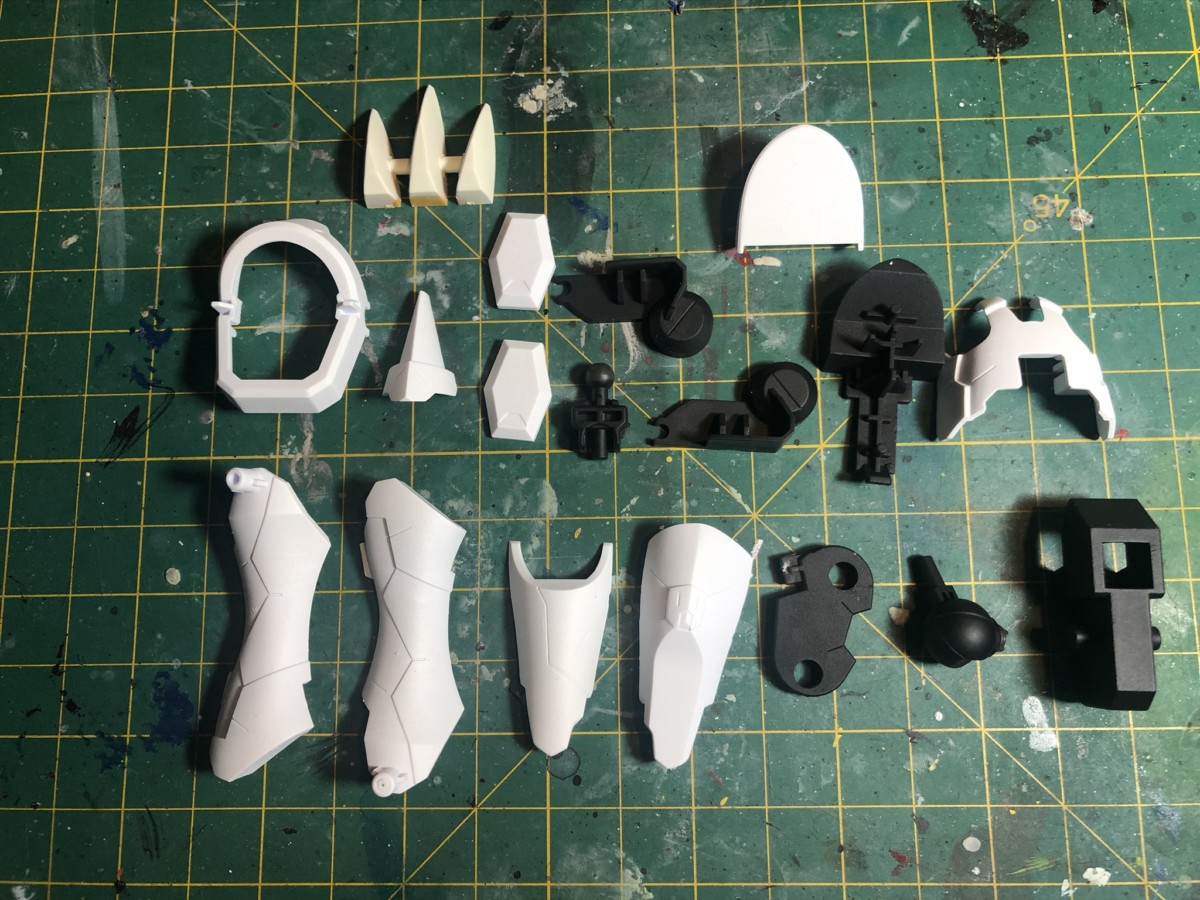
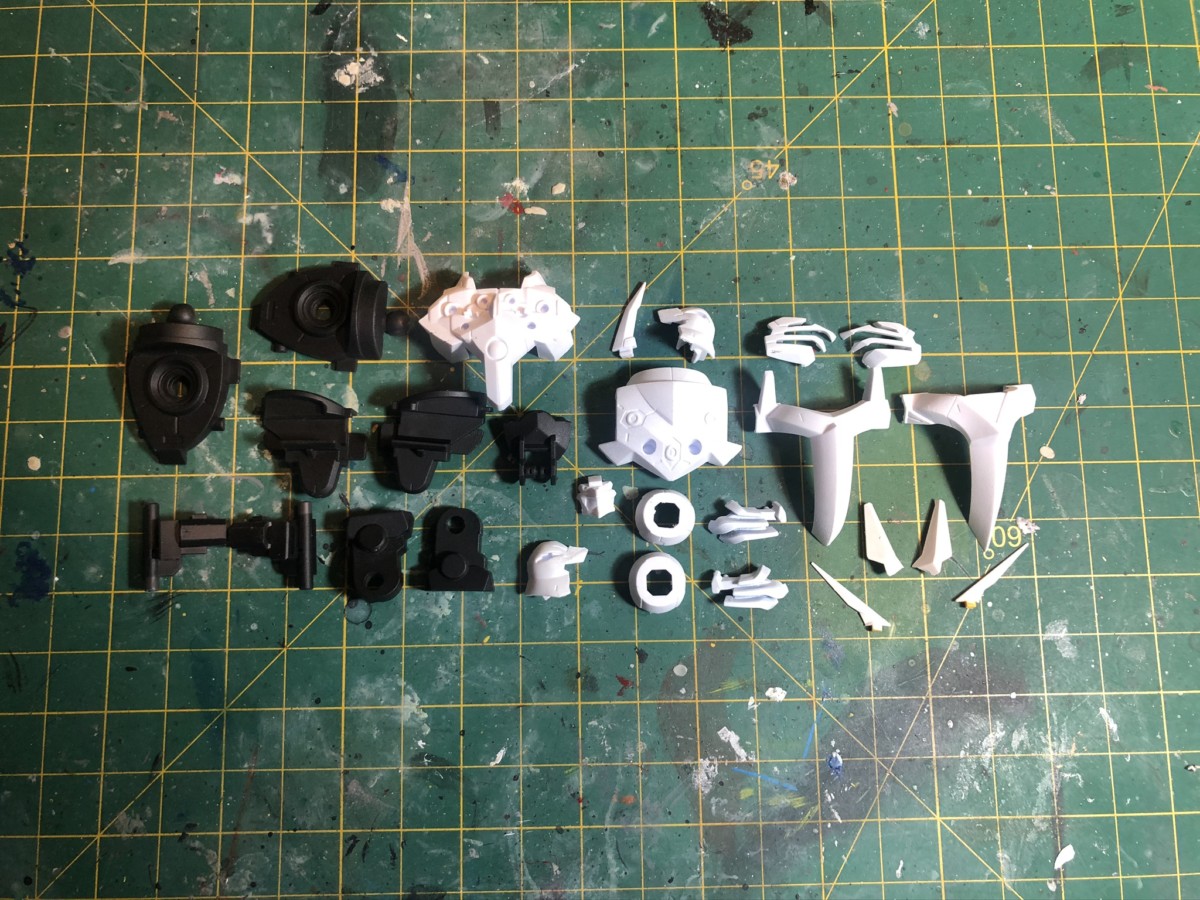
First, we need to cut out the parts from the runners. The tools for this are a pair of nippers, a hobby knif,e and sanding tools, as usual. I suggest you to keep the pieces of each body part together; don’t mix the left leg pieces with those of the right leg, for example.
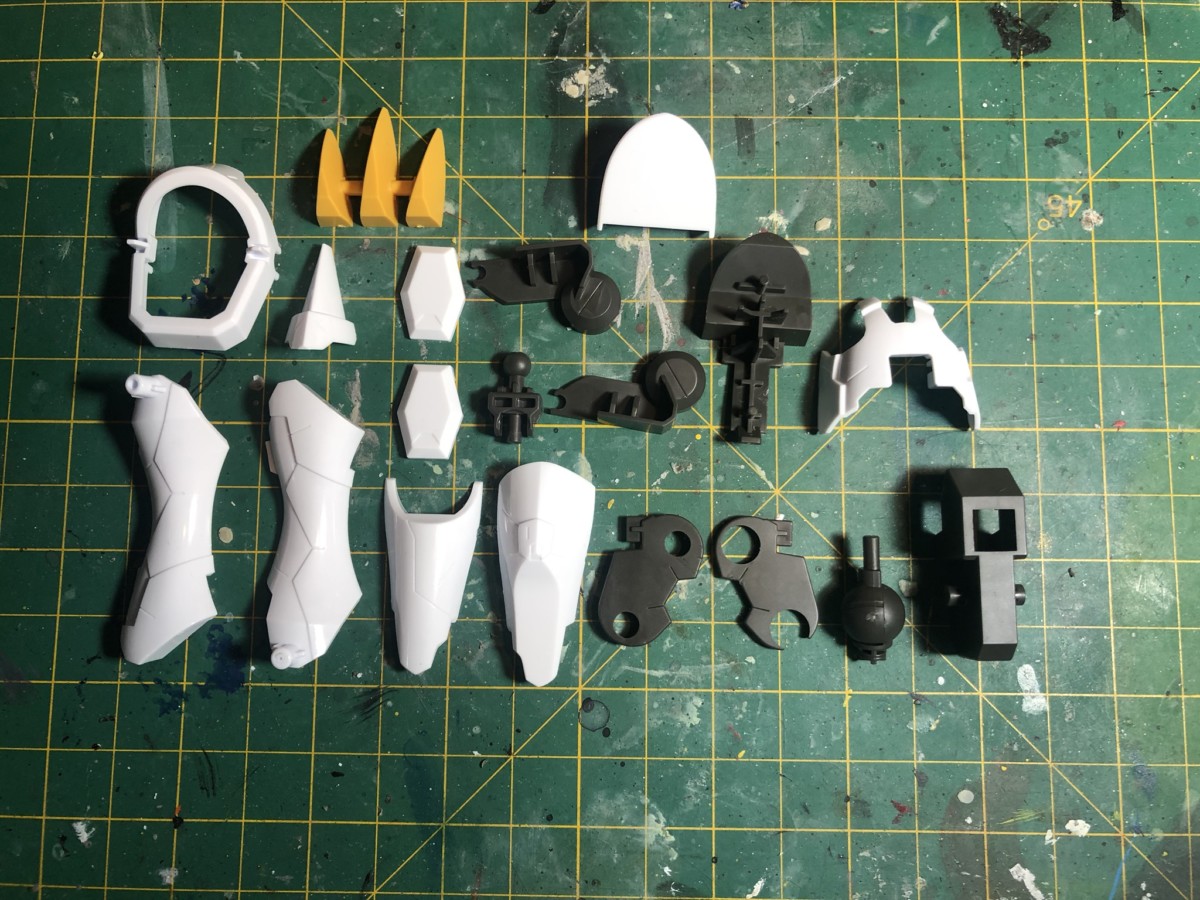
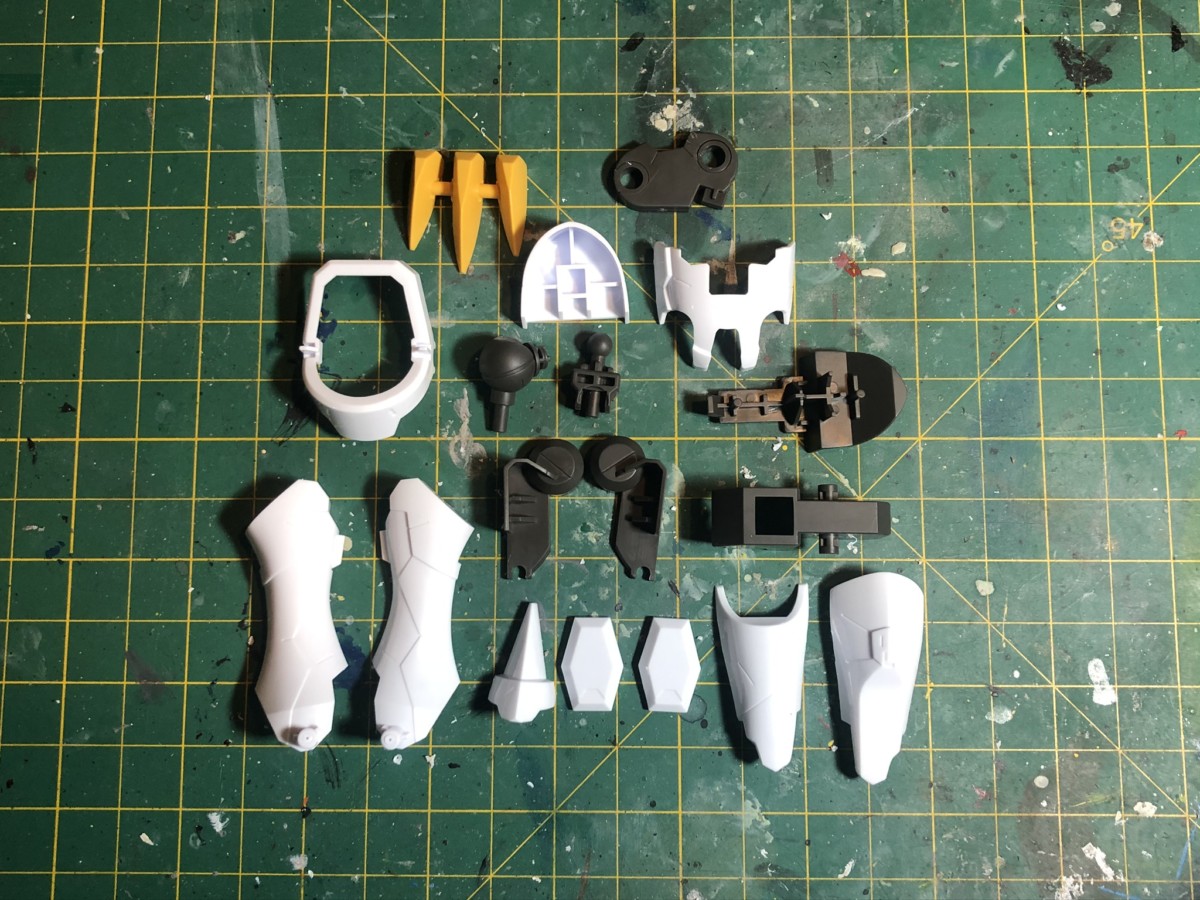
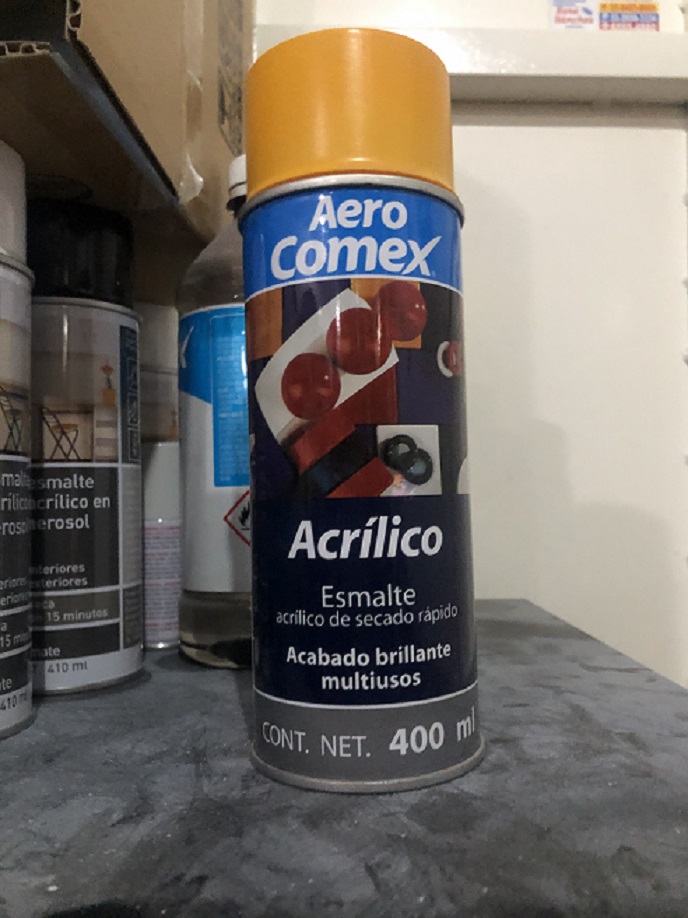
The base coat is just a thin layer of paint that allow us to see all the small details and imperfections that we could have miss when cleaning the pieces of the molding excess. This will also prevent other paint layers to peel off the model. For this you can use any matte color you want — the most common are white, black, and grey — and apply it with a paintbrush, airbrush, or even with tin spray. Some brands make their own base paints that you can buy at your local hobby store, but I always use common acrylic tin spray paint from my local hardware store.
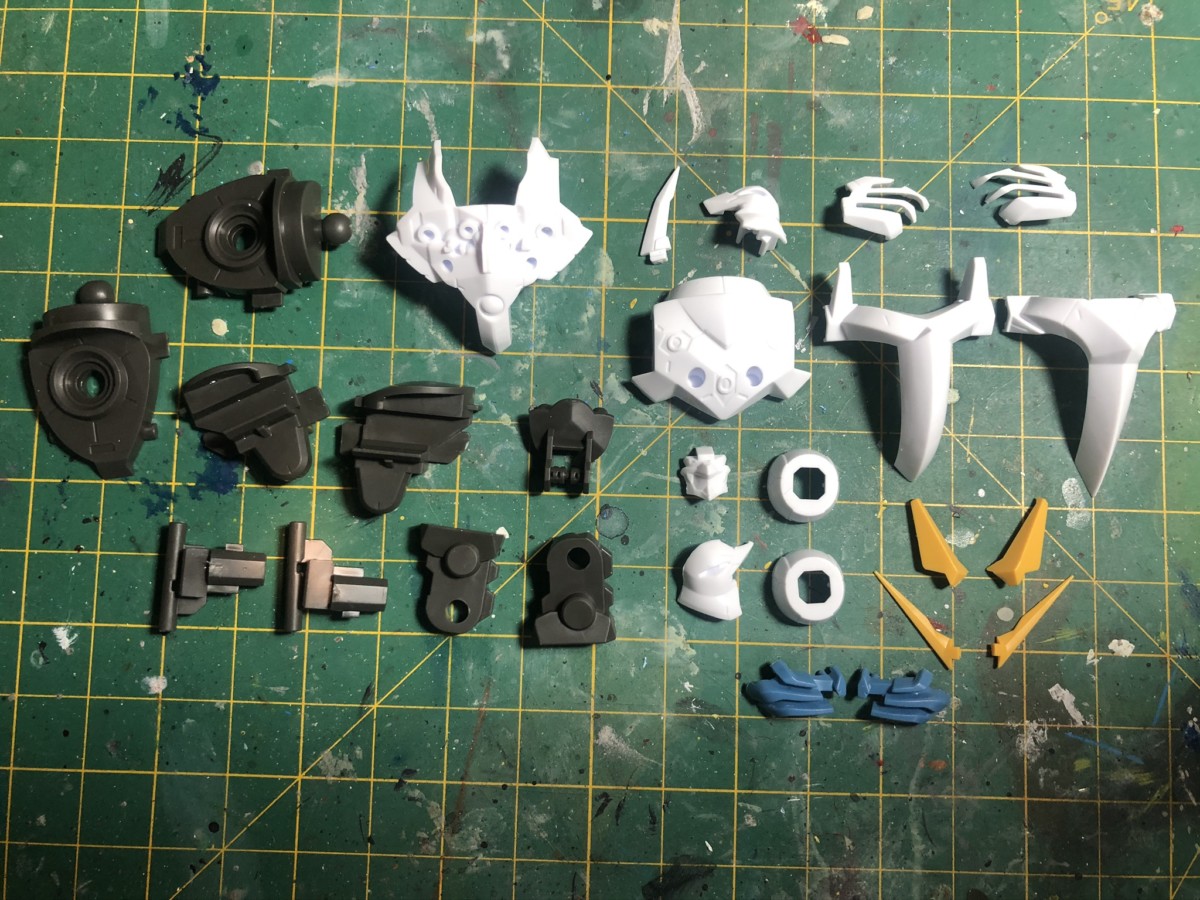
To make things easier, we’ll paint the inner body parts (the dark grey ones) in black and the rest in white and we’ll make sure to give each piece a thin and even layer of paint, like this:
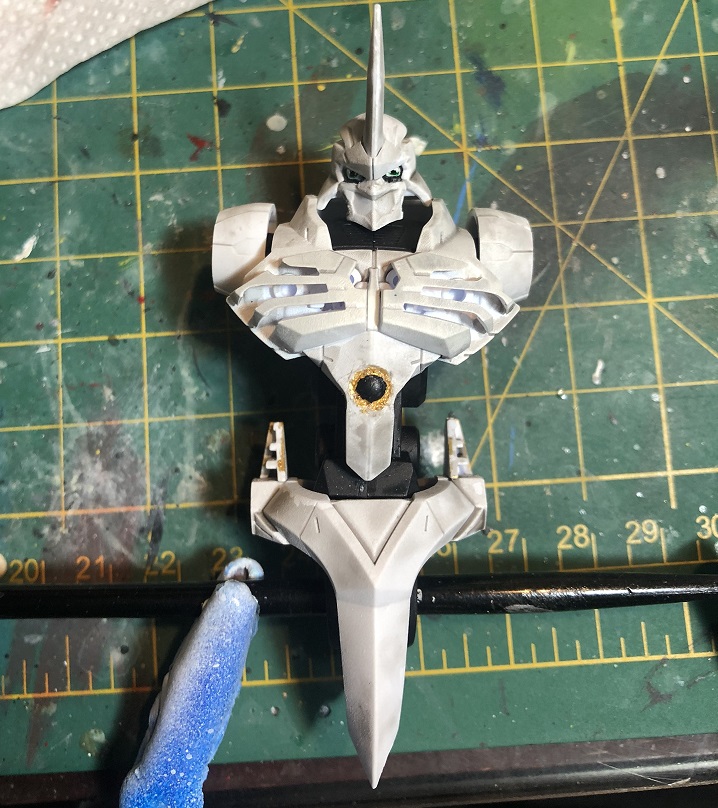
The Eyes
I know this can be one of the scariest parts of painting faces, but trust me when I say “it’s easier than you may think”. In this particular case, it’s even easier because the eyes are already sculpted in the plastic. Now, the model kit comes with its own stickers for the eyes, in case you don’t want to paint them.
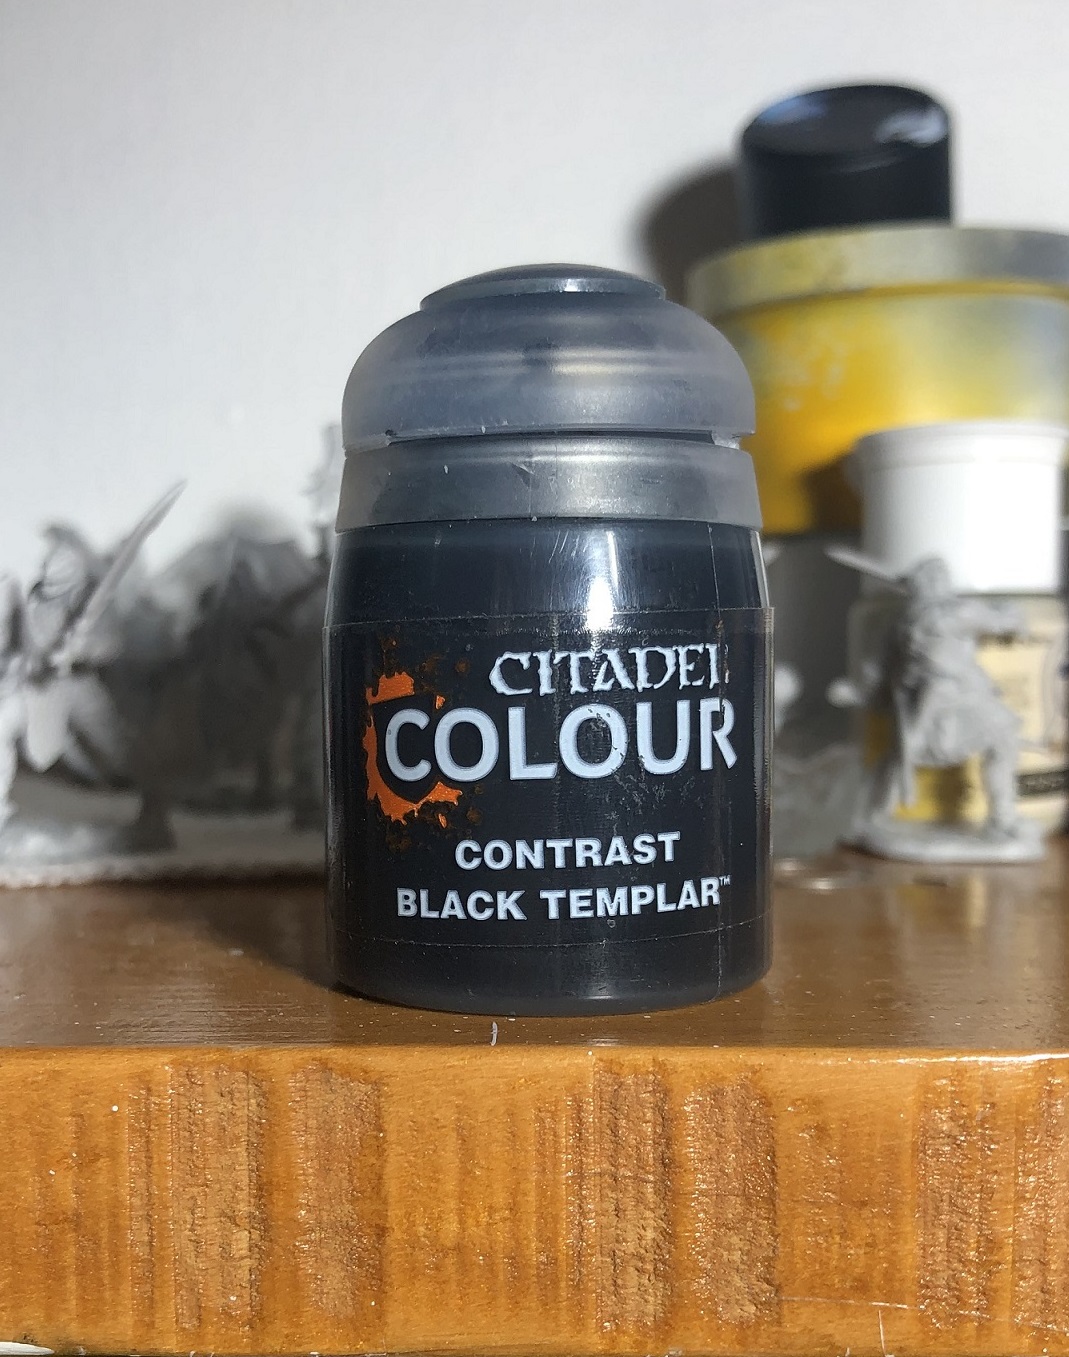
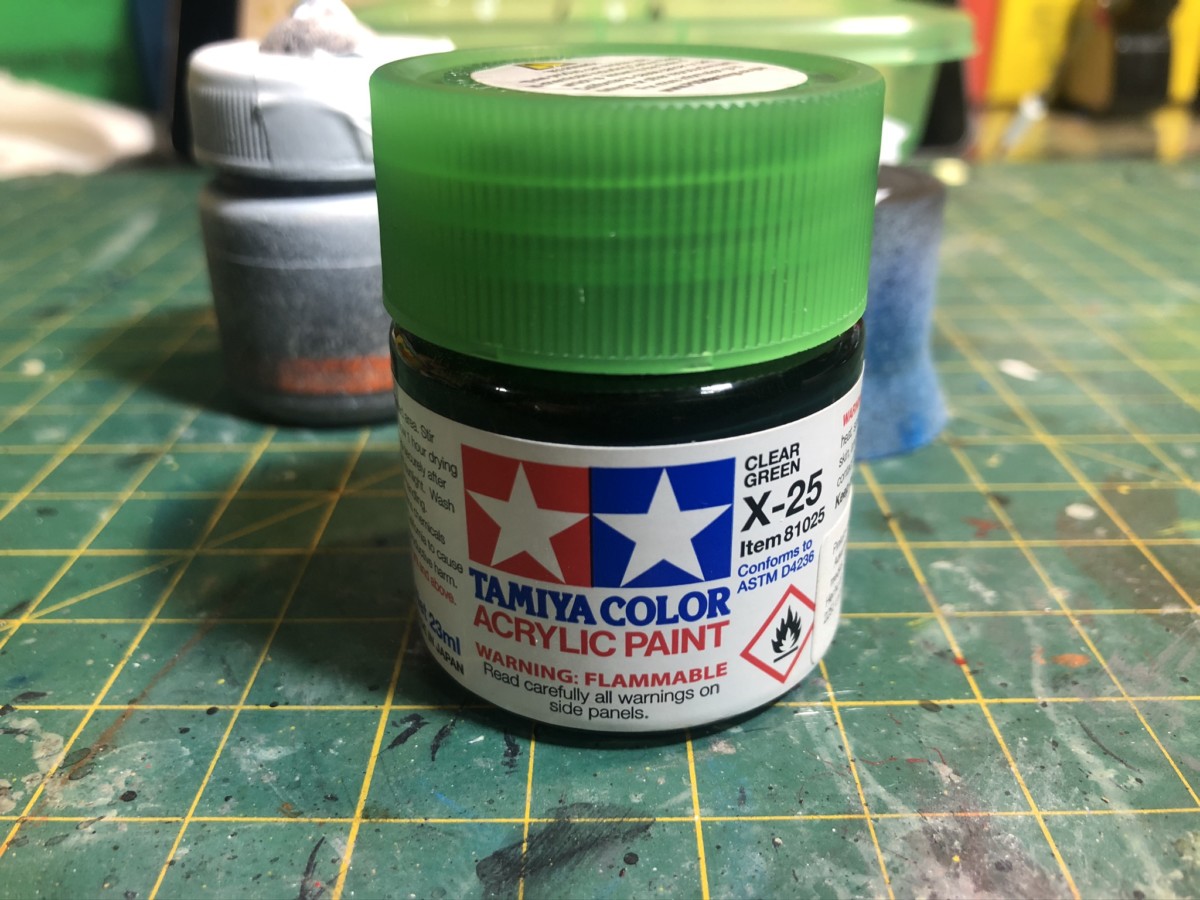
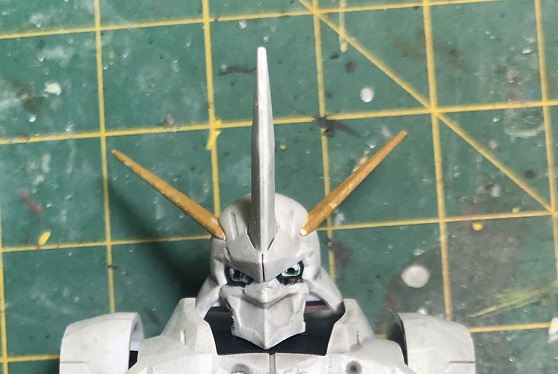
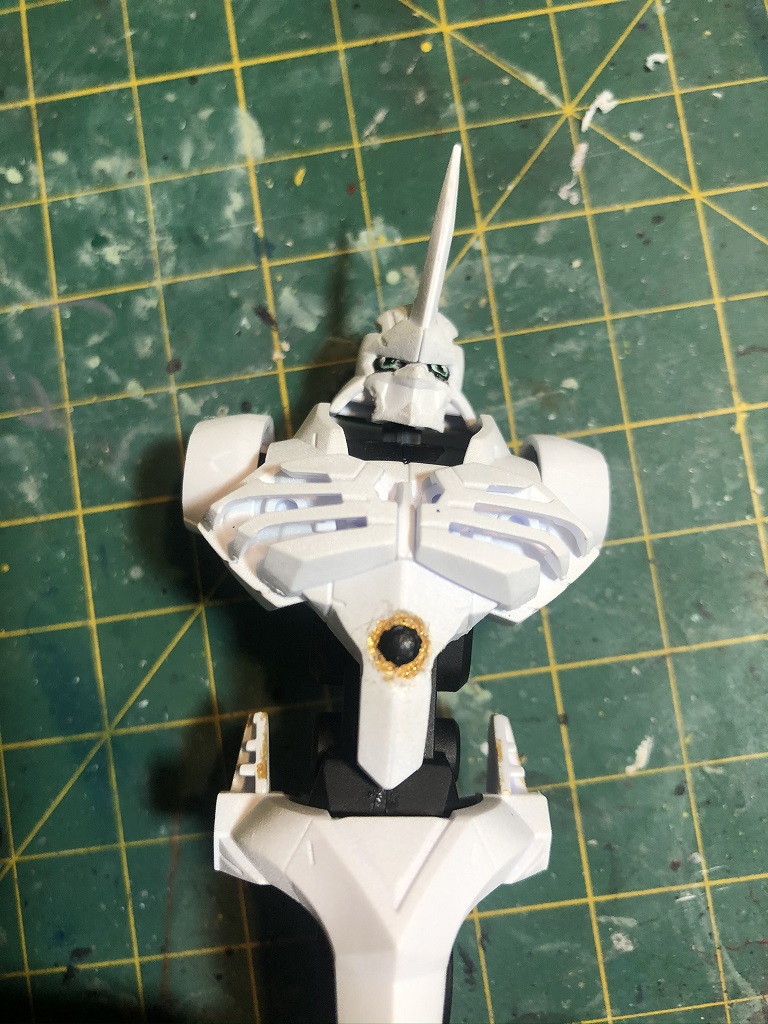
If you wish to paint the eyes, all you need are 3 paint colors and a thin brush. The paints would be black, white, and the color for the eyes. Fortunately for us, we have already painted the face in white thanks to the basing step so we only need to paint the area around the eyes and the iris. In my case I chose Citadel’s Contrast Black Templar and Tamiya’s Clear Green for this.
First, we’ll use the back color to paint the area around the eyes and then the green color for the iris. Don’t worry if you paint more than you have to; we can always fix this type of error by applying some white paint.
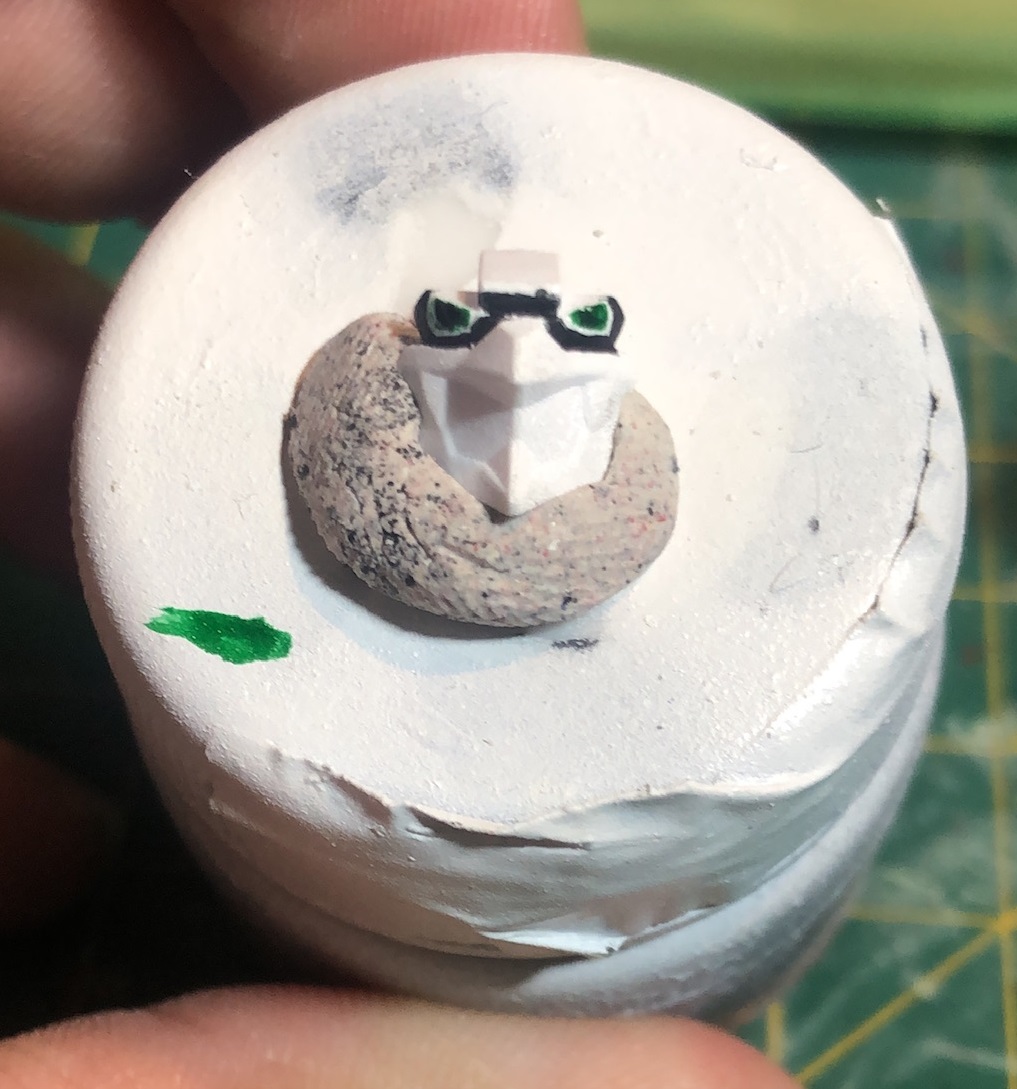
Once the paint is fully dry, we paint a black dot right in the center of the iris. This will be the pupil.
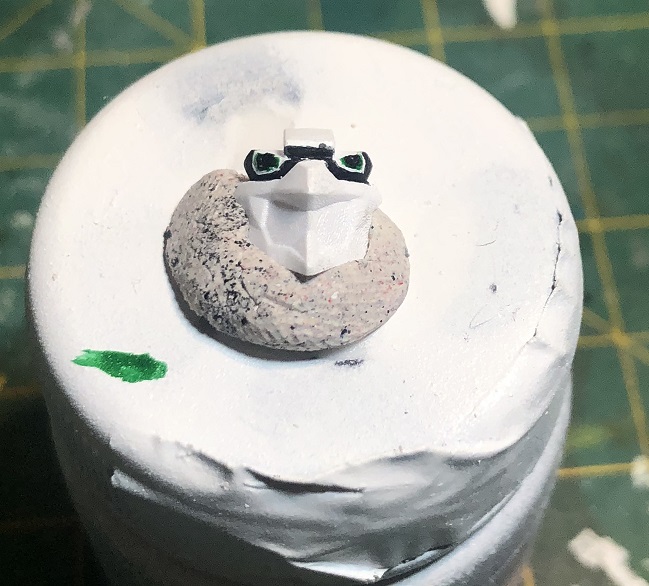
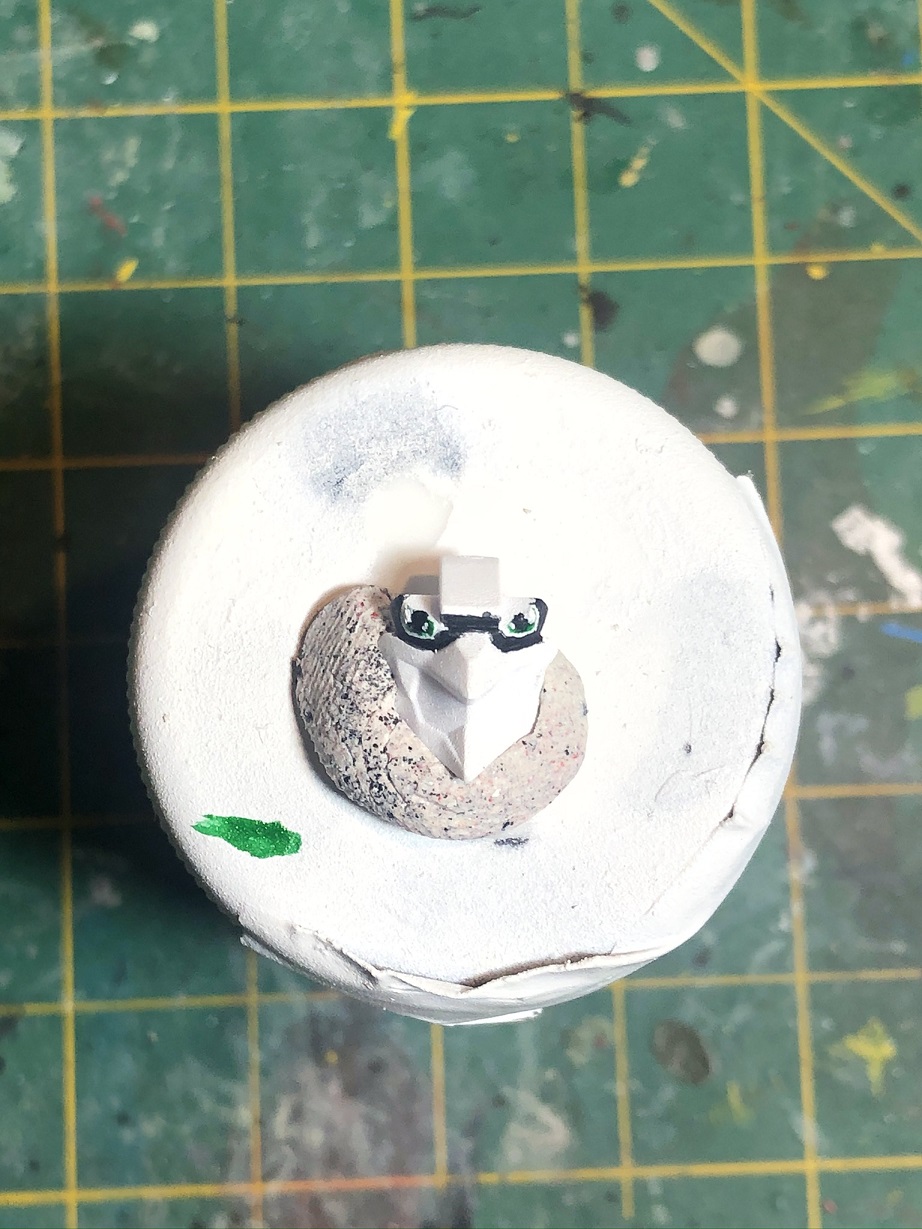
We have now two really good looking eyes, but there’s still something missing. At the end of the day this is an anime character and those eyes can’t be complete without some extra light reflection. For that all we need to do is paint two small dots in each eye. One in the upper far end and the other in the lower end of each eye, near the nose, like this:
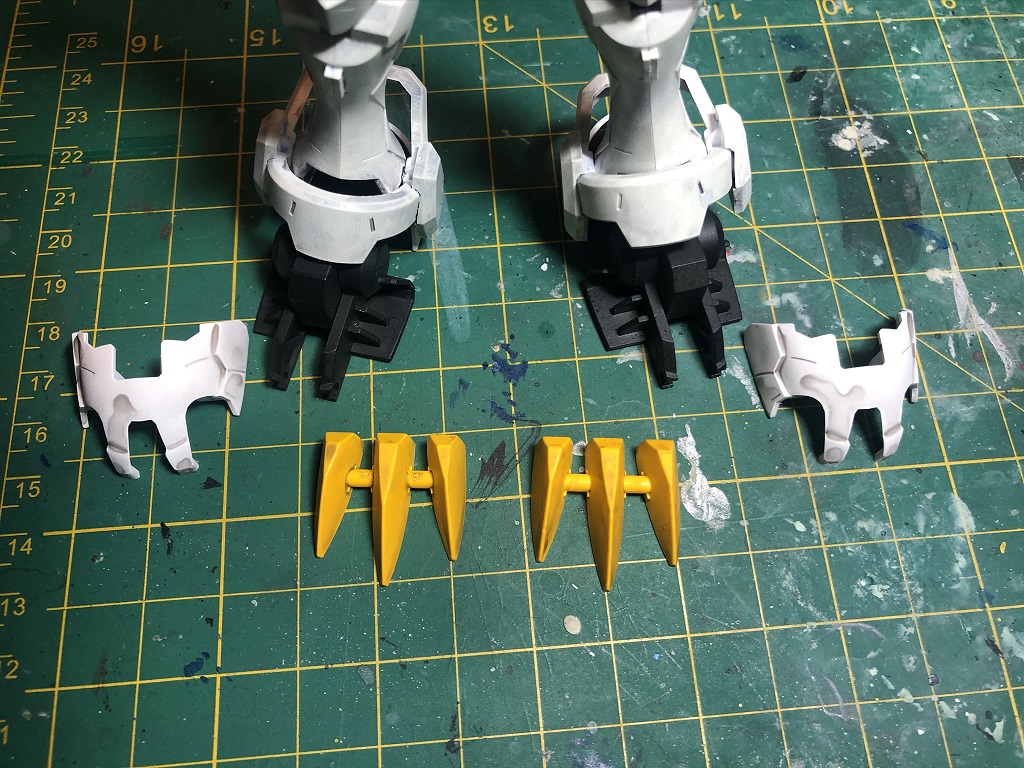
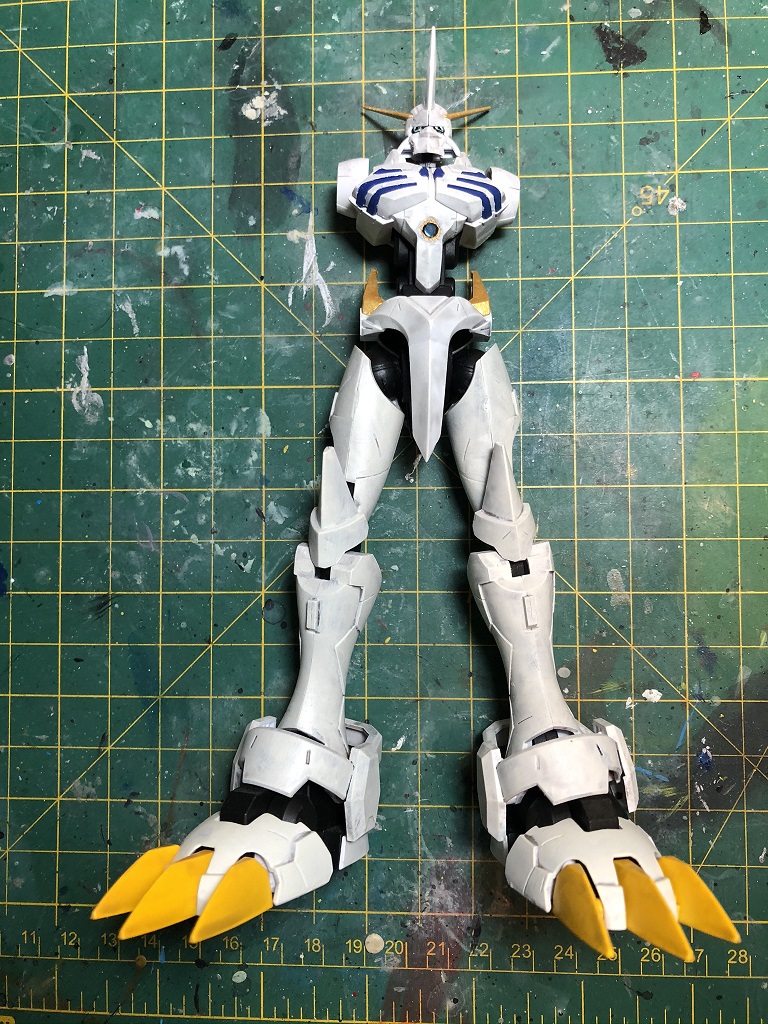
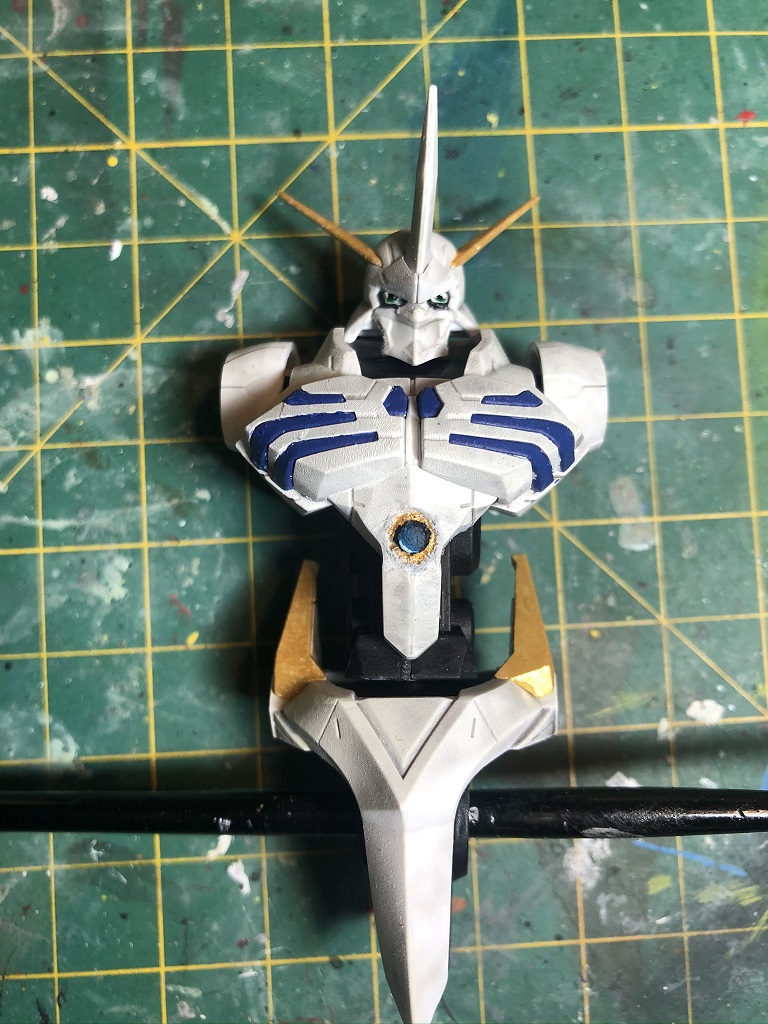
Blue, Gold & Yellow
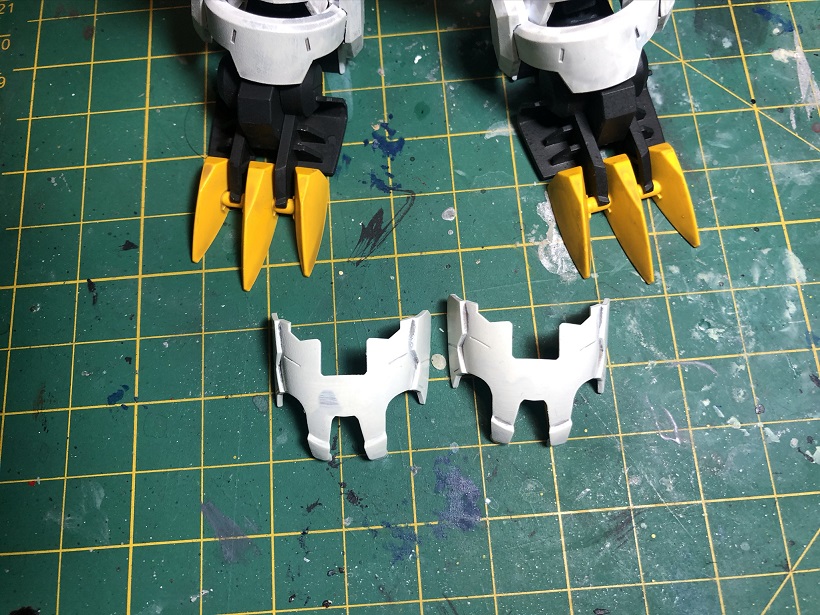
Before we paint the armor there are some pieces that are not white: the spikes of the hip armor, 2 of the horns, the chest stripes, and the feet claws.
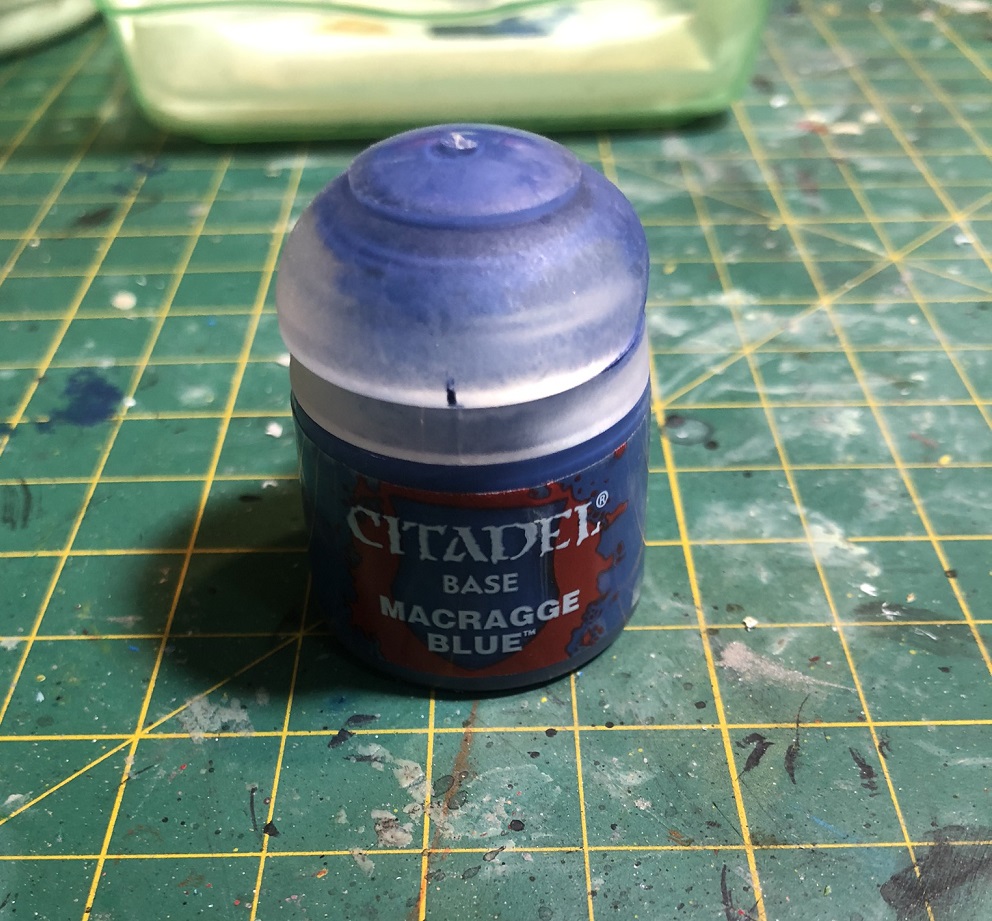
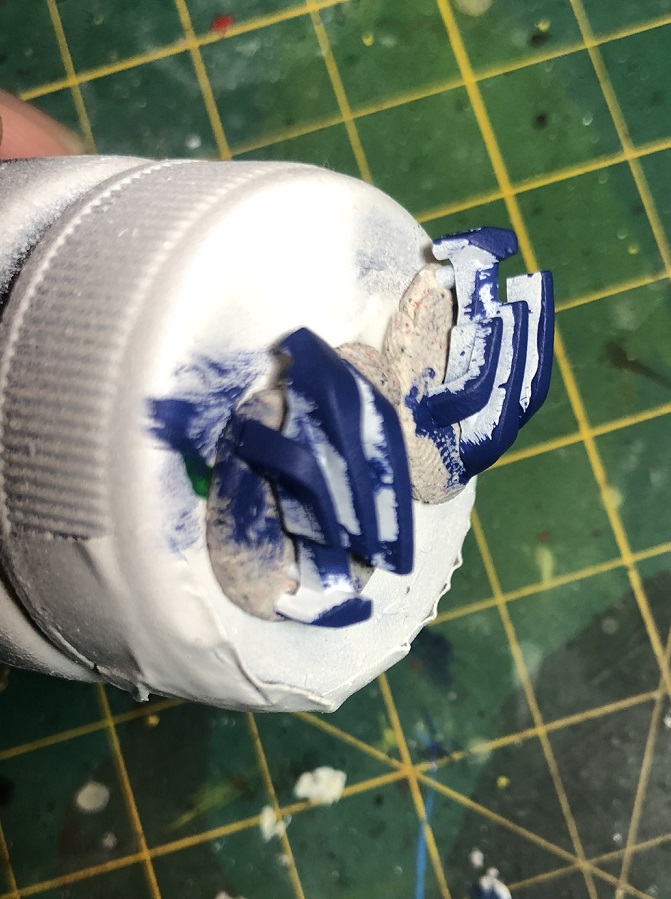
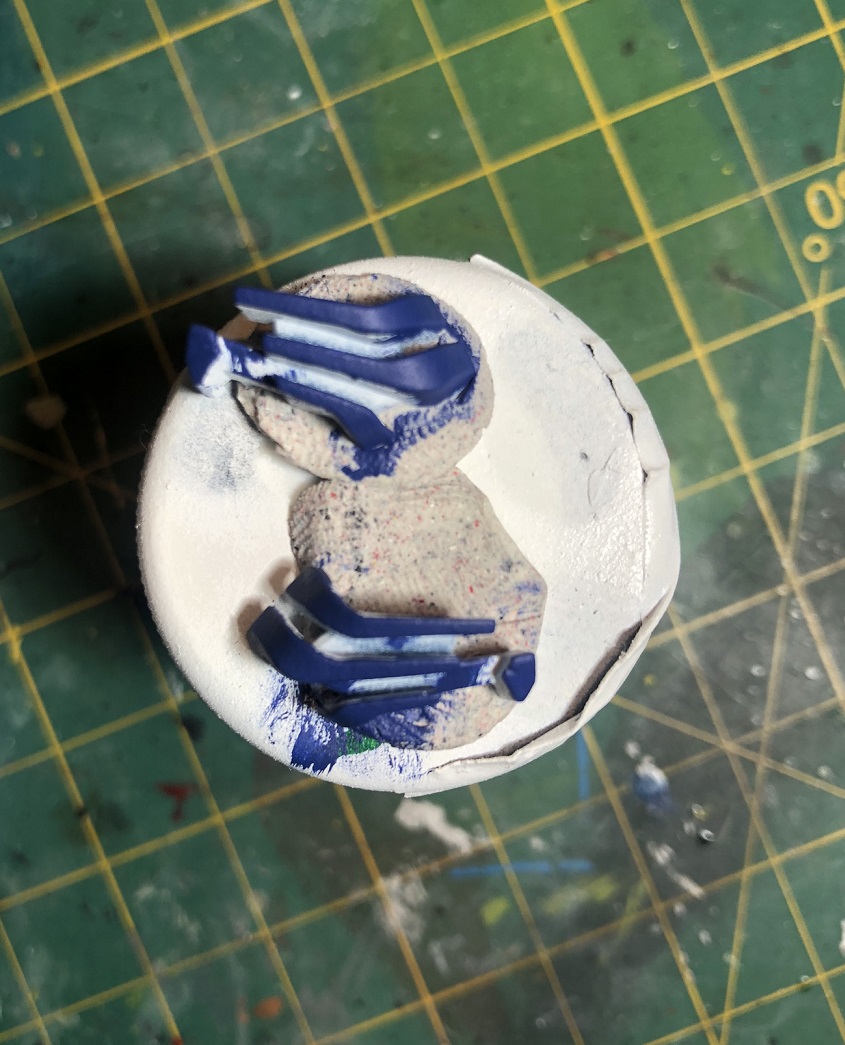
For the chest stripes I applied a few thin layers of Citadel’s Macragge Blue.
Since most of these pieces are going to be under the chest plates, we only need to paint the parts that will be visible.
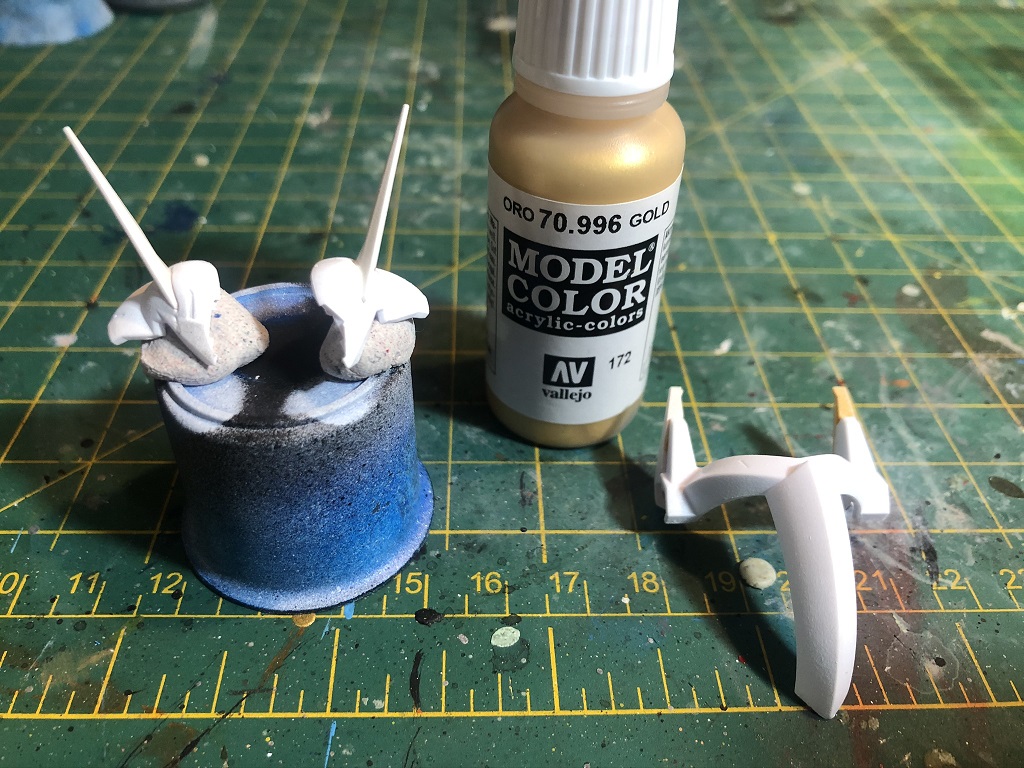
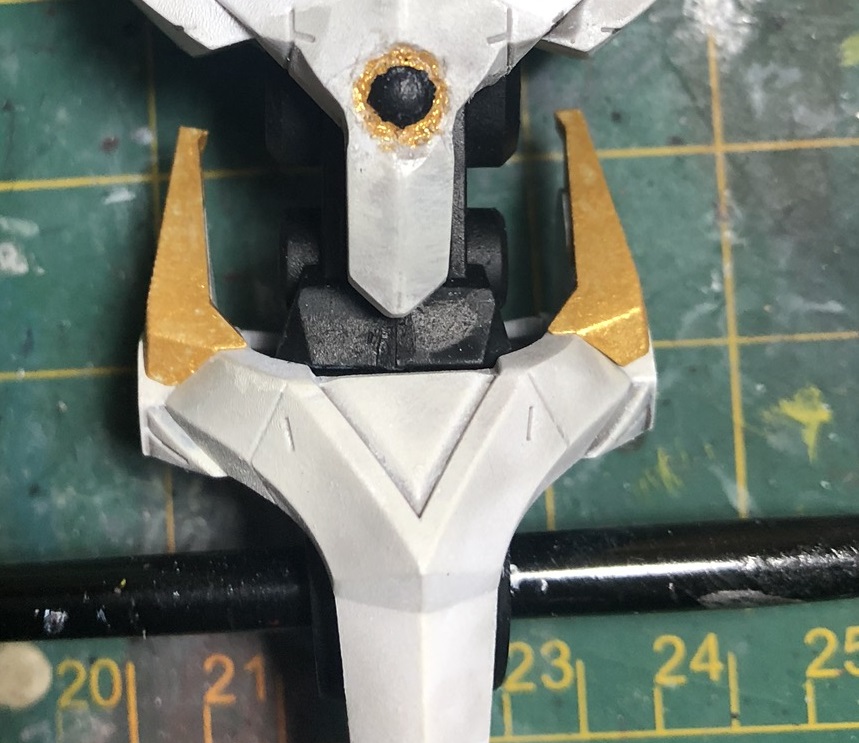
I used some gold paint for the 2 yellow horns and the spikes of the hips. They reminded me of the ornaments that the old knights used to have in their armors. For this I chose Vallejo’s 70996 Gold paint, but this time I did not thin the paint before applying it because its pigment is heavy, and if I thin it the gold pigment would be left in the palette.
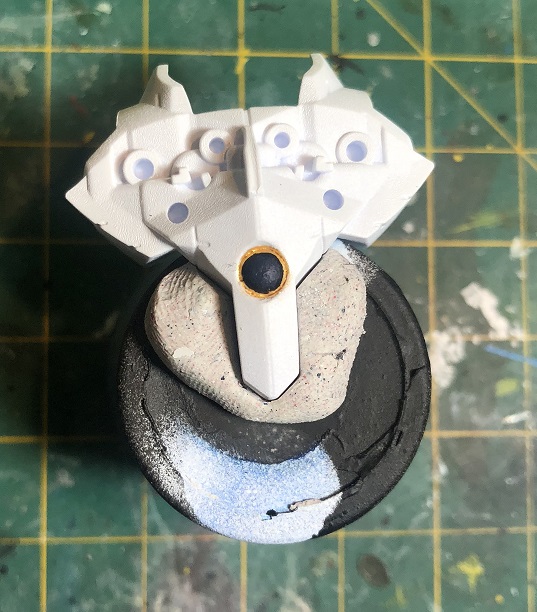
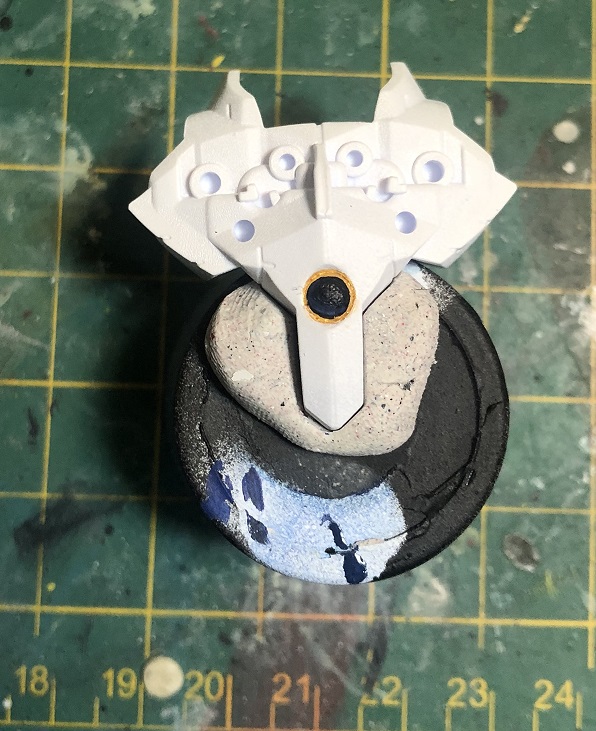
I also painted a small gold ring around the area where the gemstone goes in the chest armor, and painted the inside with some black.
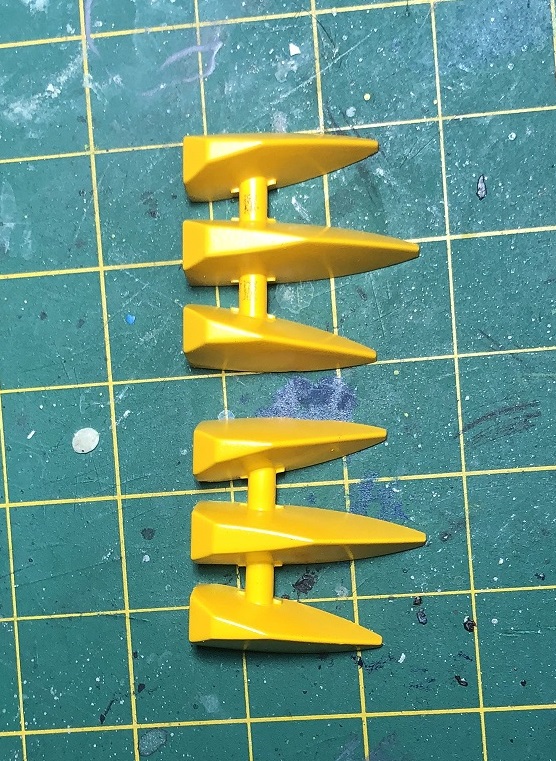
Then, we’ll paint the feet claws. I suggest you paint them in the same color that you’re planning to paint the arm with the sword (Wargreymon), to give some harmony to the model. For this I chose an acrylic tin spray yellow paint from the hardware store.
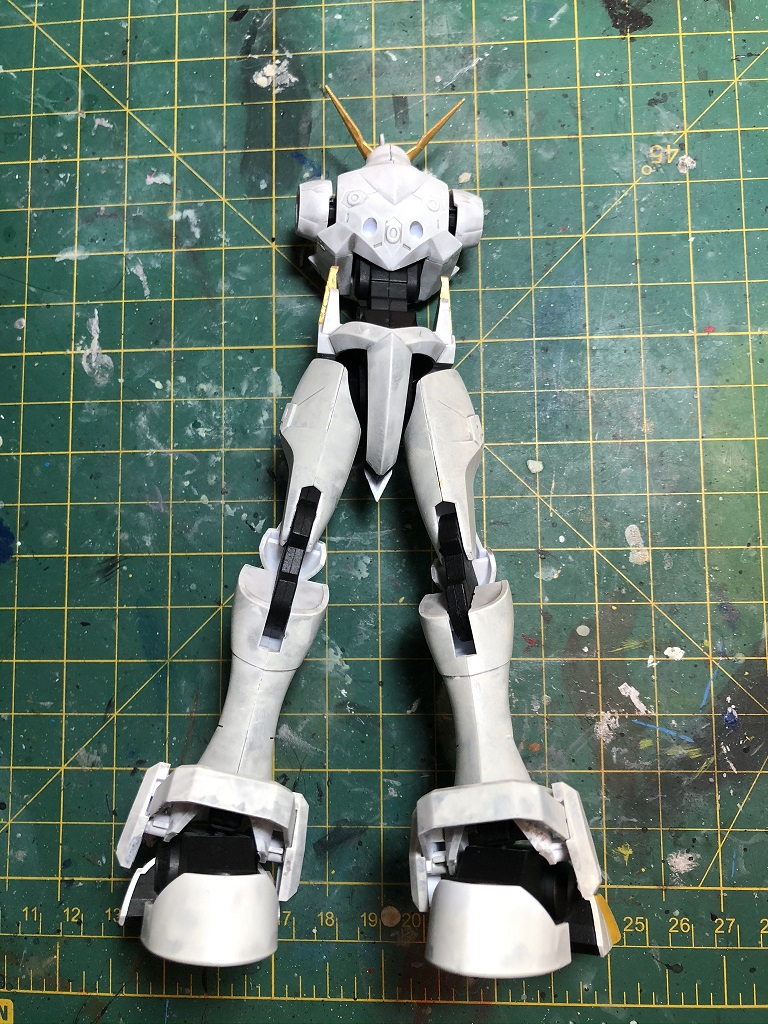
The Armor
Now, let’s work on the armor. Since we applied a white base coat for the armor and a black one for the inner body parts, we can assemble the body (except for the gold and blue parts), the head, the legs, and the feet. This way it will be easier to apply the next technique evenly to the whole armor.
Dirtying the armor
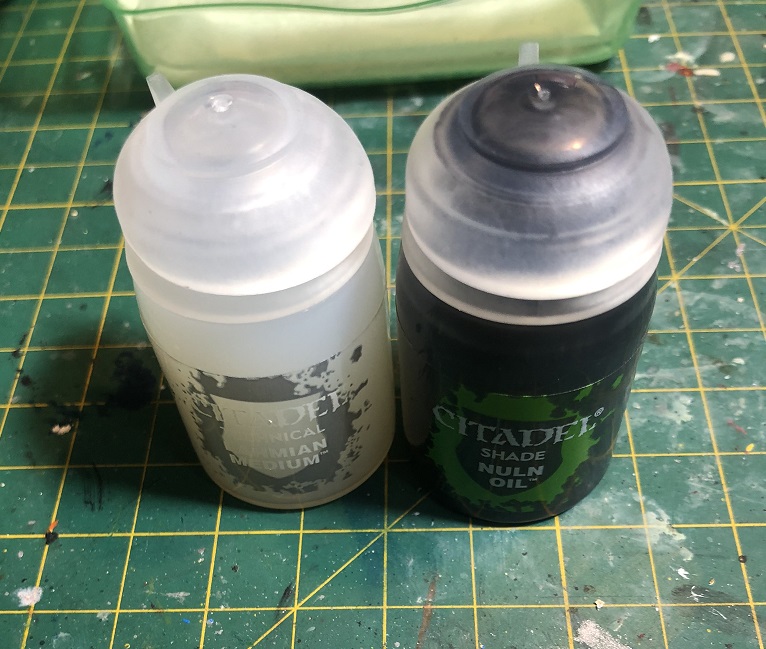
The technique we are going to use it’s called Glaze. For this I chose a 50/50 mixture of Citadel’s Shade Nuln Oil and Lahmian Medium. You can use any other color you want, just make sure that the paint is transparent or a clear color.
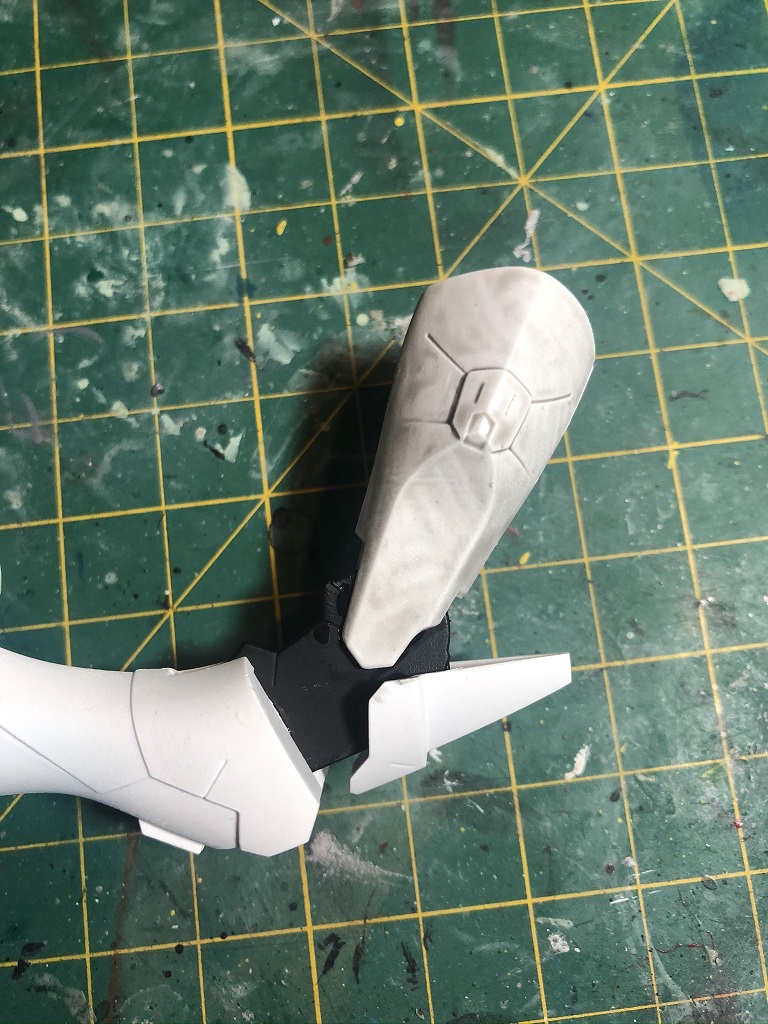
With a medium size brush we’re going to apply the glaze all over the white armor, and we’ll make sure to cover every detail in the armor. This way our liquid paint will get inside of the separation lines and panels and make them pop. We also apply the same glaze on the feet claws.
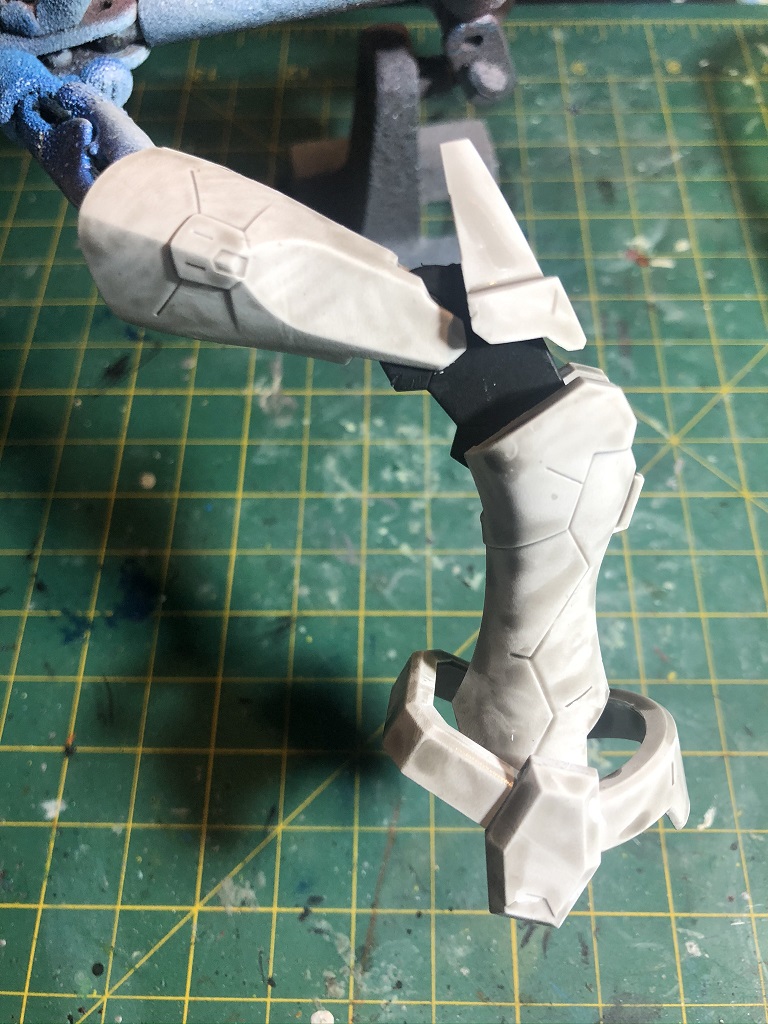
Remember, the more glaze you apply, the dirtier the armor will look. Don’t worry if you apply to much, we can fix it in the next step, just make sure to spread the paint evenly and to let it fully dry before applying a new layer. If what you are looking for armor with a more dramatic combat appearance, you can skip the next step.
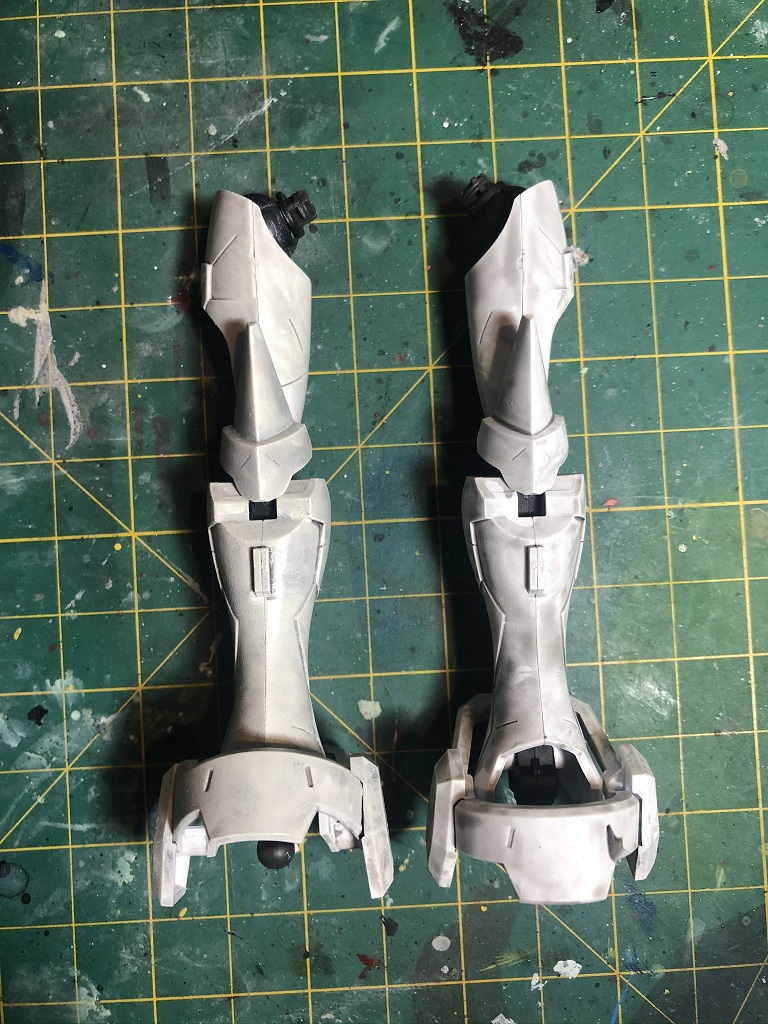
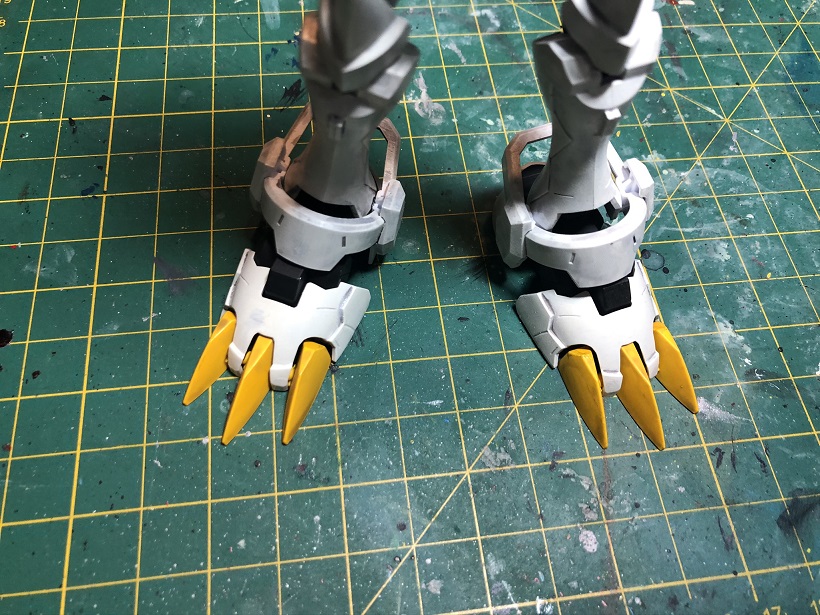
Smoothing the battle damage
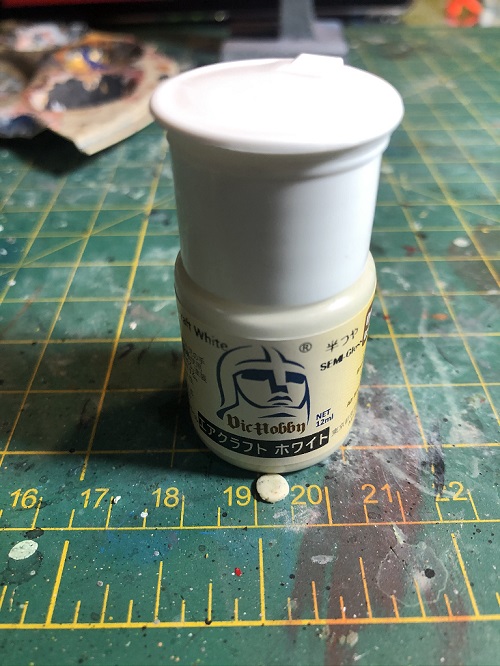
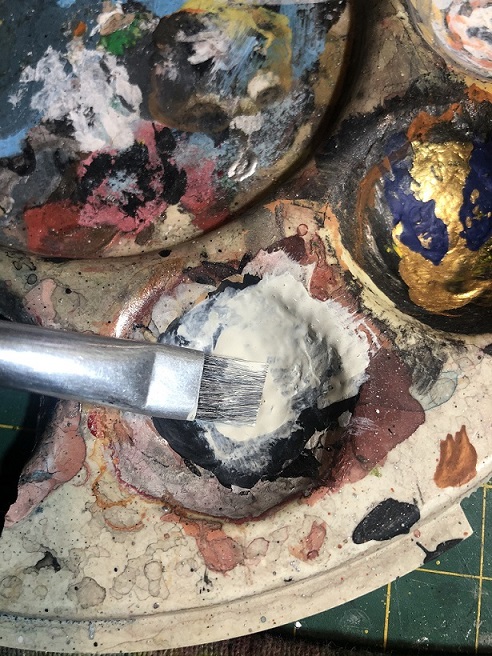
Once the glaze is fully dry we can proceed to cleaning it up just a little and for this we’ll paint the armor with white. For this we’re going to use a dry brush and what we need is our palette, a brush (preferably an old one because this technique is very aggressive), white paint, and a piece of paper or something to clean our brush . I didn’t want my armor to be perfectly white, that is why I choose VicHobby’s Aircraft White.
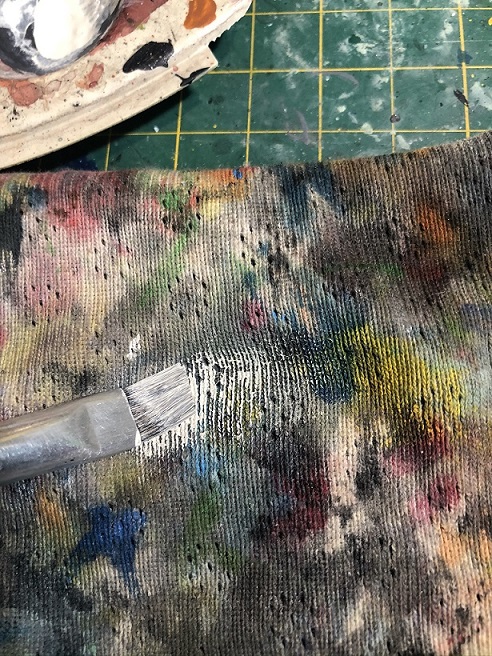
What we are going to do is to take some paint from the palette with our brush and then clean it off on a cardboard or piece of paper towel before applying the paint on the model. What we want is to remove the majority of the paint from our brush, this way we will have enough pigment left on the bristles of our brush to paint over the glaze without covering it up entirely.
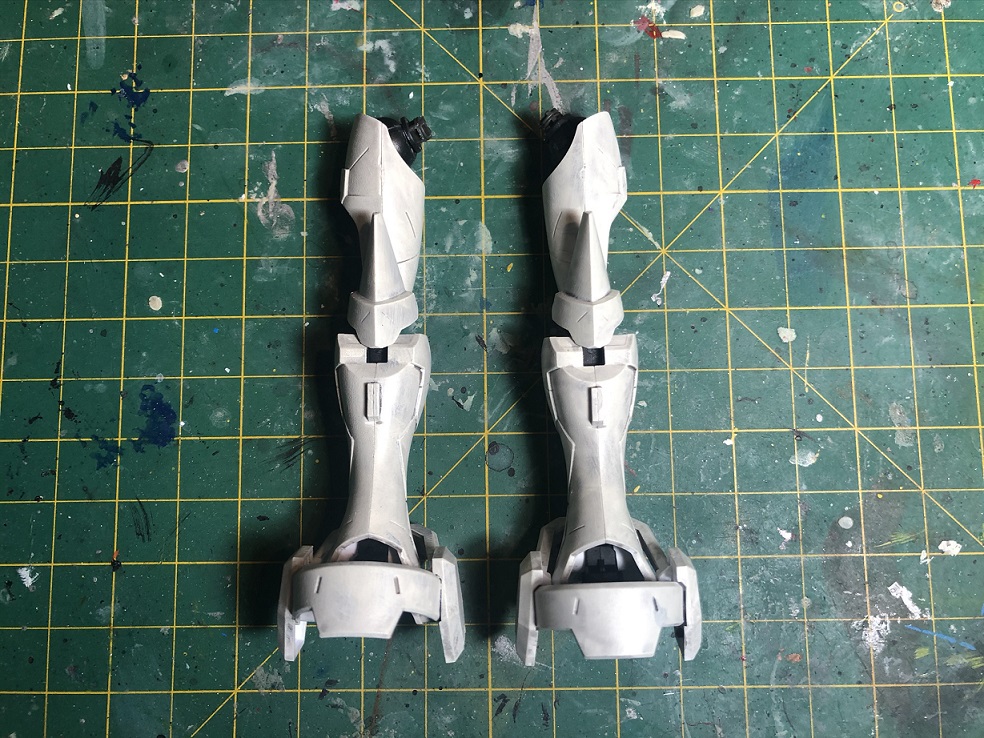
Make sure to paint all over the white armor — be careful with the black inner body parts and the feet claws. The black parts are easy to fix but the claws will require to be painted and glazed again. After the first pass we’ll notice how the glaze is getting smoother. You can apply as many layers as you want just remember that more layers means the cleaner the armor will look.
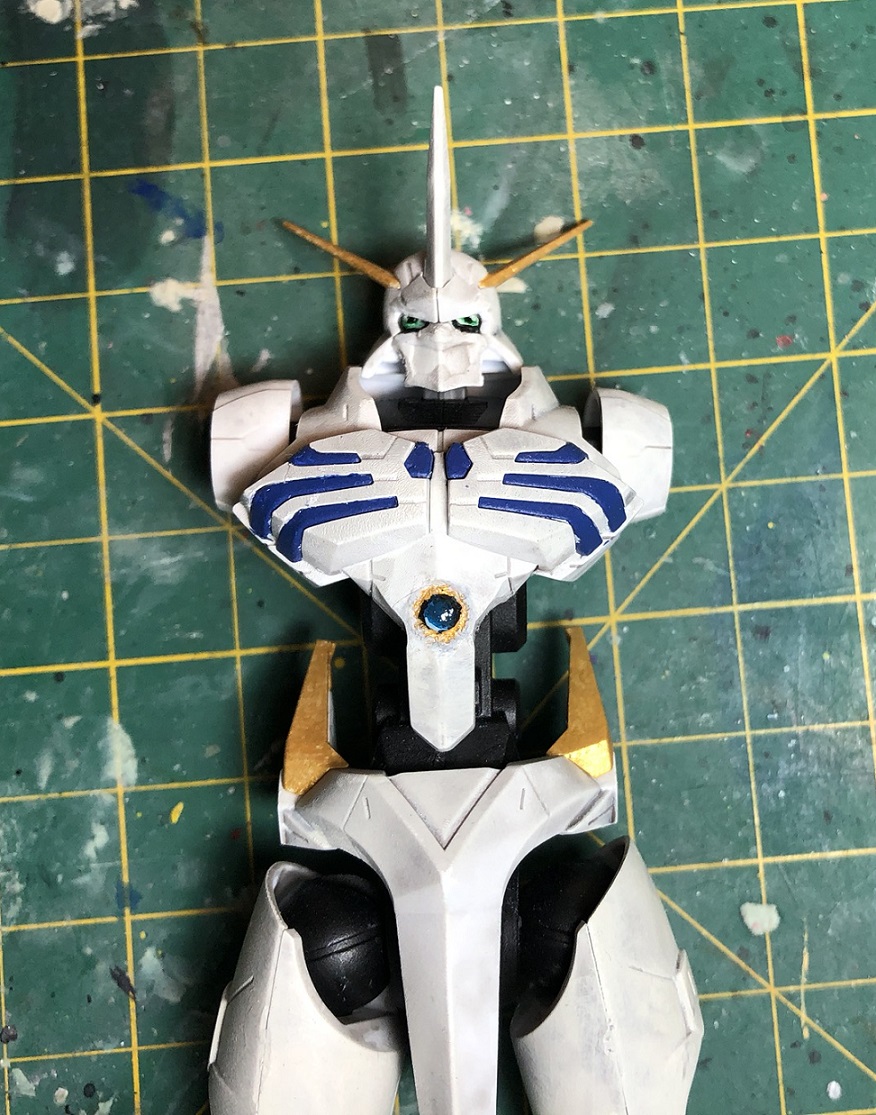
Chest Gemstone
Awesome! We are on the final detail: the gemstone in the chest/abdomen armor. Just like the eyes, the model kit comes with a sticker for the gemstone, but if you want to paint it yourself this is how you can do it.
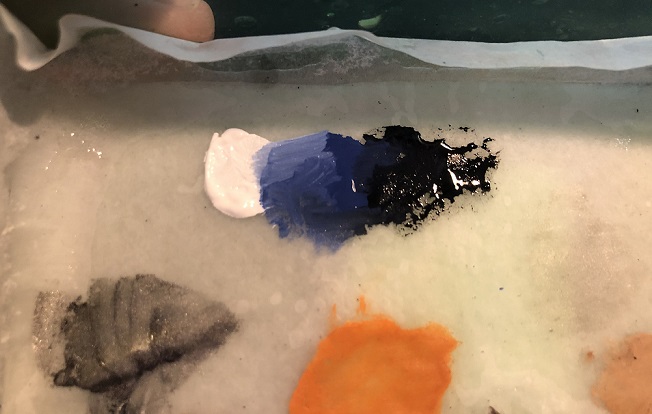
First, you need to choose a color for the gem. In my case I chose Citadel’s Macragge Blue, like the chest stripes. We’ll also need black and white paint. Before we start painting we need to mix our colors. I suggest you place paint of each color on your palette, one next to the other, with your main color in the center. This way we can mix them in the palette to create a smooth transition between the 3 colors, like this:
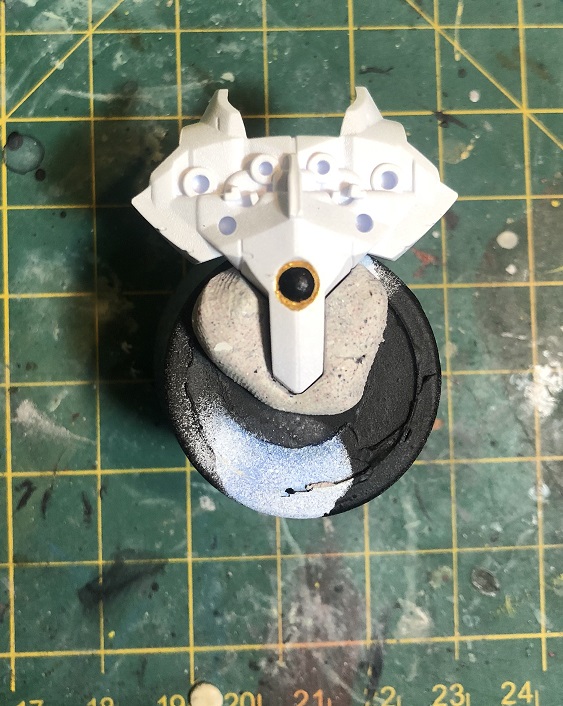
First we start with pure black as a base for the gemstone and we let it dry, then we apply a layer of the darkest blue, almost black, from the palette. We need to make sure we leave a small part near the upper edge pure black.
Now here we have 2 options: we can let it dry and then apply a lighter, but still dark blue, and leave the previous black edge (now dark blue), let that dry, and apply en ever lighter blue, leaving a small portion of the previous color, until we end with a white edge opposite of the black one. The other method is slightly the same but without letting the paint dry. This is called Wet Blending. This way you will get a smoother transition between tones.

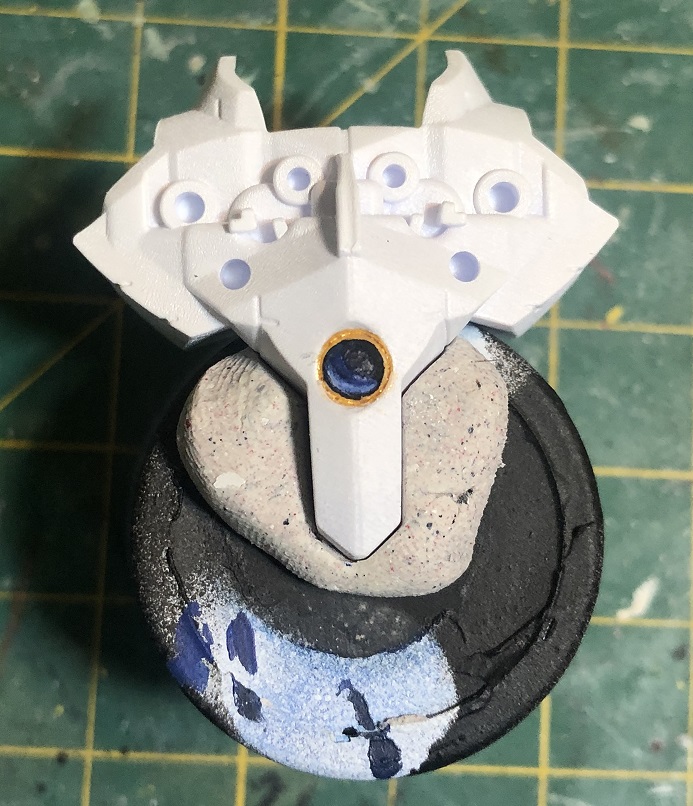
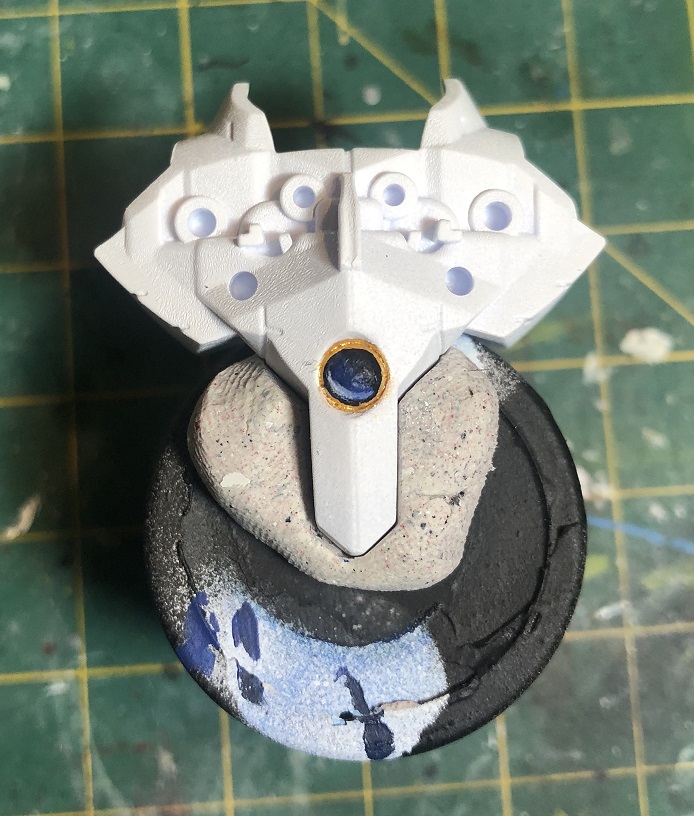
You keep adding layer after layer, with more lighter color or darkening it a little. Just keep doing it until you are satisfied with the result.
Assembly
After we let all the paint dry we can assemble our model. As I mentioned at the beginning of the tutorial, this type of model doesn’t need glue to be assembled — but we can use some to make it more durable.
This is how it looks now:
As you can see, it looks more realistic. It look better than before. Now, it’s your turn! Use these simple techniques to make your models and figures look alive. Take them to the next level, don’t be afraid, and keep practicing!
Oh! Before you go, let me share one last trick with you. As you may already know, its always good to apply a coat of clear paint to the model to protect the paint work. It can be applied with an airbrush or with a tin spray, and it can be matte clear paint or gloss clear paint. For this I used a matte clear tin spray paint to cover the entire model with a thin layer, but then I applied some gloss clear paint with a paint brush on the eyes and the gemstone to make them look real.

Before After
Now, we are ready to start building the arms and weapons.
I hope you liked this tutorial and, most importantly, find it useful.
Let us know what you think in the comment section below, as well as any question you may have.
Stay tuned for the next tutorial and see you next time!


Pedro
thanks for the technique with brushes, i don’t have airbrush so they will come me very handy 😀
Anthony Guz
I’m happy to help! I don’t have one either so the next part will also be with paint brushes, I hope you found those useful too!