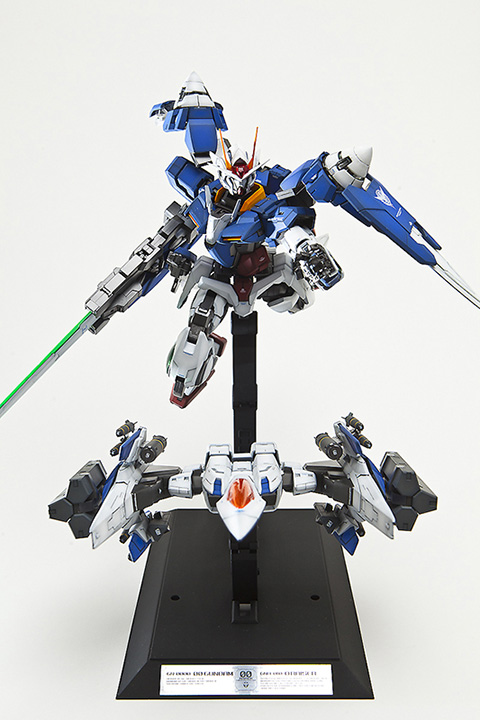
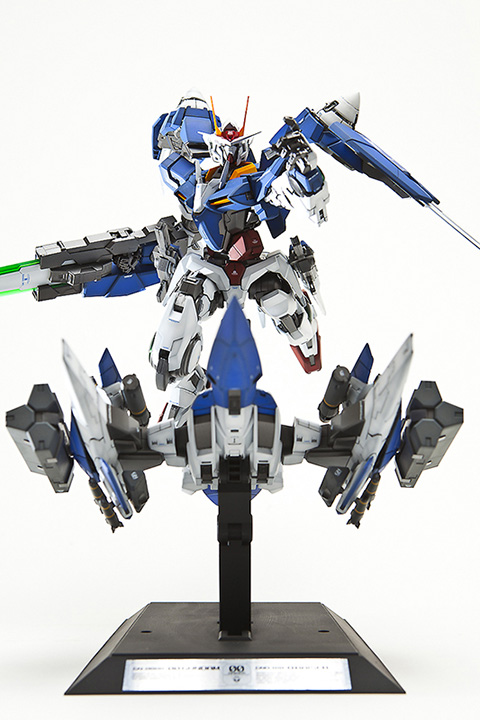
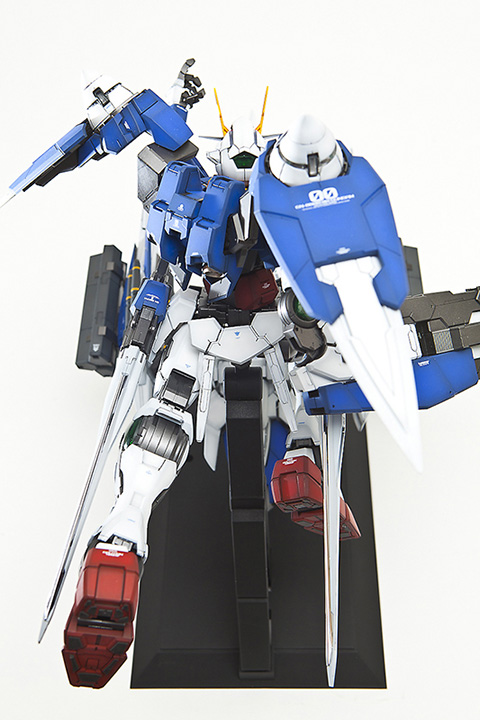
1/60 Perfect Grade 00 Raiser
Submitted By: Matt Mrozek
A little something I finished last week. I got this done fairly quick, in about 3 weeks. I wanted to get it done before I started my new job so I worked non stop for 2 weeks and then finished it up at night last week finishing Thursday night just in time for a local model competition, I took 2nd place. And now that I have a full time job my modeling will slow way down.
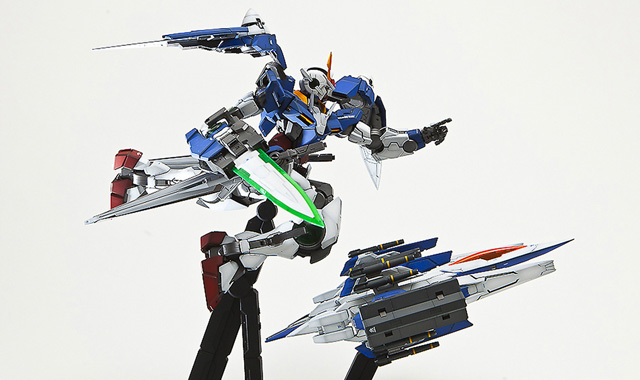
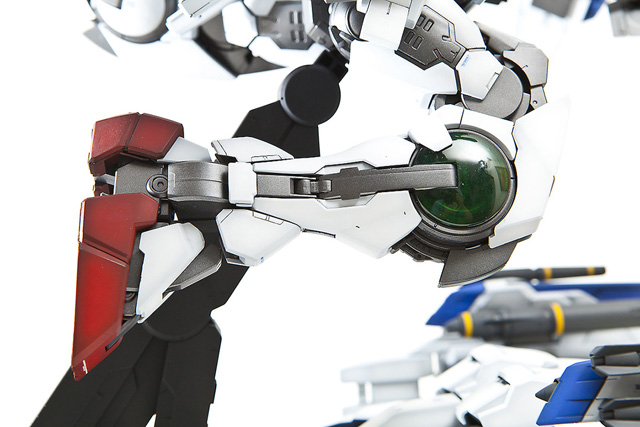
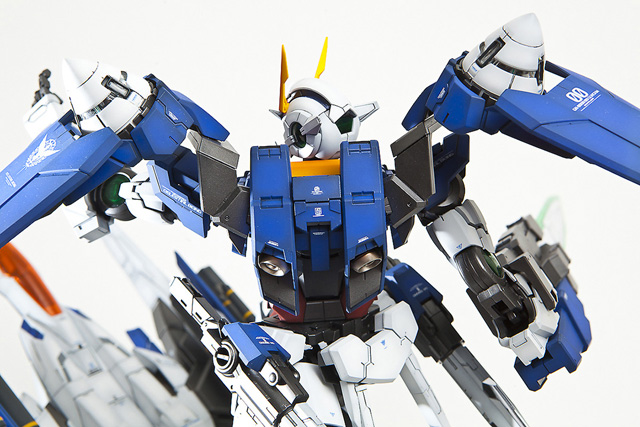
The kit is very nice and has great articulation. (I have to give credit to HowardKhor from ZeroG forum for the pose.) With over 900 parts it took a long time just to pre-build this monster. I did combined the 00 and the Raiser during the pre-building but now with paint I do not want to scuff or scratch the paint that I spent 30 plus hours spraying.
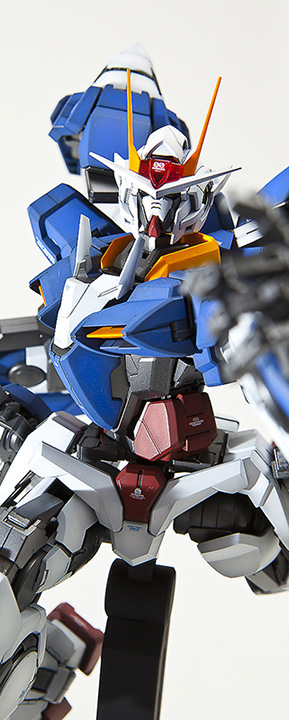
My shading is a little heavier than I usually do and this was done on purpose. To get the heavier shading I did not take my top color as close the edges as normal and I did less blending. The results are nice I think and give a slightly worn look. Again my panel lines are not up to par so I need to continue working on those.
The GN Drives are very cool and even have a self timer so they won’t run your batteries down. A major down side is the LED in the head. You have to take the head apart to get to the switch, but other than that no complaints.
Over all I am very happy with the final kit.
Colors used are as follows:
Pre-Shade white parts: Mr. Color Gray Black
Pre-Shade blue and red parts: Mr. Color Black
White Armor: Mr Color White
Blue Armor: Mr. Color Cobalt blue (same blue that’s on my Strike and Exia commission)
Red Armor: Mr . Color GX Red (The GX paints rock. They spray and cover better than normal Mr. Color and the finish is smooth as glass)
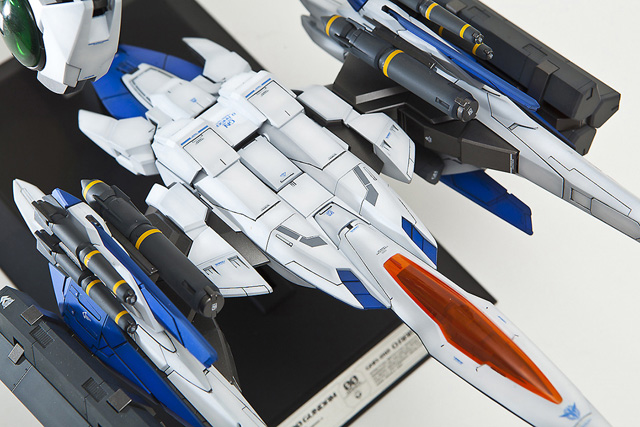
Yellow parts: Mr. Color Yellow then post-shaded with Alclad Clear Yellow


raikal72
Wow. Your work is amazing.
Matt Mrozek
Thanks man!!!!
the13thprince
awesome paint job… makes it look like diecast… awesome
Matt
Thanks. Over 30 hours of painting went into this guy. There are over 900 parts and I paint each one seperately.
Mike
Awesome job. I was thinking of using Tamiya paint on my 00 Gundam. Should I use Mr. Color instead? Are the Mr. Color paints you used gloss or flat? Lastly, how did you do your panel lining? Did you use a Gundam marker?
Mike
Also wanted to ask you, are the Mr. Color paints more accurate than the Tamiya or Pactra/Testor paints? I like using Tamiya, but they don’t have cobalt blue. Just wanted to know if the Mr. Color paints are closer to the color of the Gundam plastic parts. Also, is the Mr. Color white “too white”? Looking at the 00 Gundam white pieces, it seems to be an off-white color. Am I better off using Mr. Color Character White?
Matt
Hey Mike,
Sorry it took so long I am now just reading this.
I use Mr. Color because it’s more resistant to scratching and it drys very fast. As far as gloss or flat I just use the colors I want. Some times they are flat and sometimes they are luster or flat. I doesn’t matter because in the end my top coat makes them all same weather it’s flat, gloss or luster.
For the Panel lines I use Testor’s enamel and lighter fluid.
There are like 6 different Mr. Color whites. #1 is the brightest but when I use it it gets toned down from my base coat of black or grey that I use for pre-shading so it goes more grey. The character white has a tiny bit of yellow to it. You really can’t tell unless it’s next to a bottle of Mr. Color white #1.
Mike
Hey Matt,
I’ve never done primering, shading, pre-shading, or base coats before. Do you mean that you sprayed the white parts first with a coat of black or gray before spraying on the Mr. Color #1 White? Is that what tones down the brightness of the white? Also, what kind of top coat do you use? (What brand and is it flat, semi-gloss, or gloss)?
Thanks again!
Matt Mrozek
@Mike,
I rarely prime my plastic kits unless I am changing the color scheme. The reason for this is to reduce the amount of paint build up. Also I never repose my kits once done. Primer will help addheasion of the paint and will help reduce scratching. I just find that after primer I have to wet sand everything with 2000 grit wet-sand paper and that just takes to dam long. LOL
Yes, for my pre-shading i put down a base of black or some other shade of grey covering up what ever the plastic color is. On the PG 00 I used Mr. Color Grey Black on the white plastic parts and Mr. Color Black on the others. The base color can and will determine the brightness of the top color. The darker the base the darker the top color. This works with all colors as well as white.
I use all types of top coats. The top coat on the PG 00 is Testor’s Dull Cote out of a spray can. I love the stuff. It’s about as flat as you can get and is only about $3.50 US a can. It did take about 4 cans on the PG 00 but on a MG 1 can usually does fine.
I also love Future floor polish. It’s the only type of gloss I use and when mixed with Tamyia flat base you can get anything from a flat to semi gloss finish depending on how much flat base you mix in.
Mike
Thanks Matt. Did you spray the inner frame at all? What colors did you use?
Ben
Nice work! Almost got this kit then changed my mind at the last minute and went for the PG Strike Freedom. You’re making me regret that decision now haha!
Ten
Is this available for sale? Cuz this is very well made
Juan Camilo Riveros
Very well done! You can feel the love just by looking at it, congratulations!