HobbyLink Japan recently teamed up with Nihon Takujo Kaihatsu, the creators of the superb 1/2500 scale GeoCraper mini cityscape products. The result came as three sets of translucent units exclusive to HobbyLink Japan (we’re excited)!
Each set comes with three different GeoCraper units, with buildings molded in translucent red, yellow, or blue plastic, and clear bases and connecting parts. I wanted to explore options for illuminating these pieces, so I grabbed a set of the yellow units and got straight to work.
![1/2500 GeoCraper Illumination Unit Yellow Set (3pcs) [HLJ Exclusive]](https://hobbylink.tv/wp-content/uploads/2019/10/20191015_225305.jpg)
There are a lot of ways to go about actually lighting these units up, because there is no official GeoCraper base or LED set (fingers crossed for those someday…). There are plenty of light-up bases on the market that you can grab depending on the size of the display you want to build, and there are lots of LED sets for model builders, too!
If you’re comfortable wiring up a fancy LED system, that’s something you can easily make happen here. But as a novice, I reached for Milights.
These tiny LEDs were actually originally made as fishing accessories and have no marketing gearing them towards the hobby industry whatsoever — and yet they’re incredibly useful. If LED systems intimidate you, this is an excellent alternative. All you have to do is press the light down and it turns on.
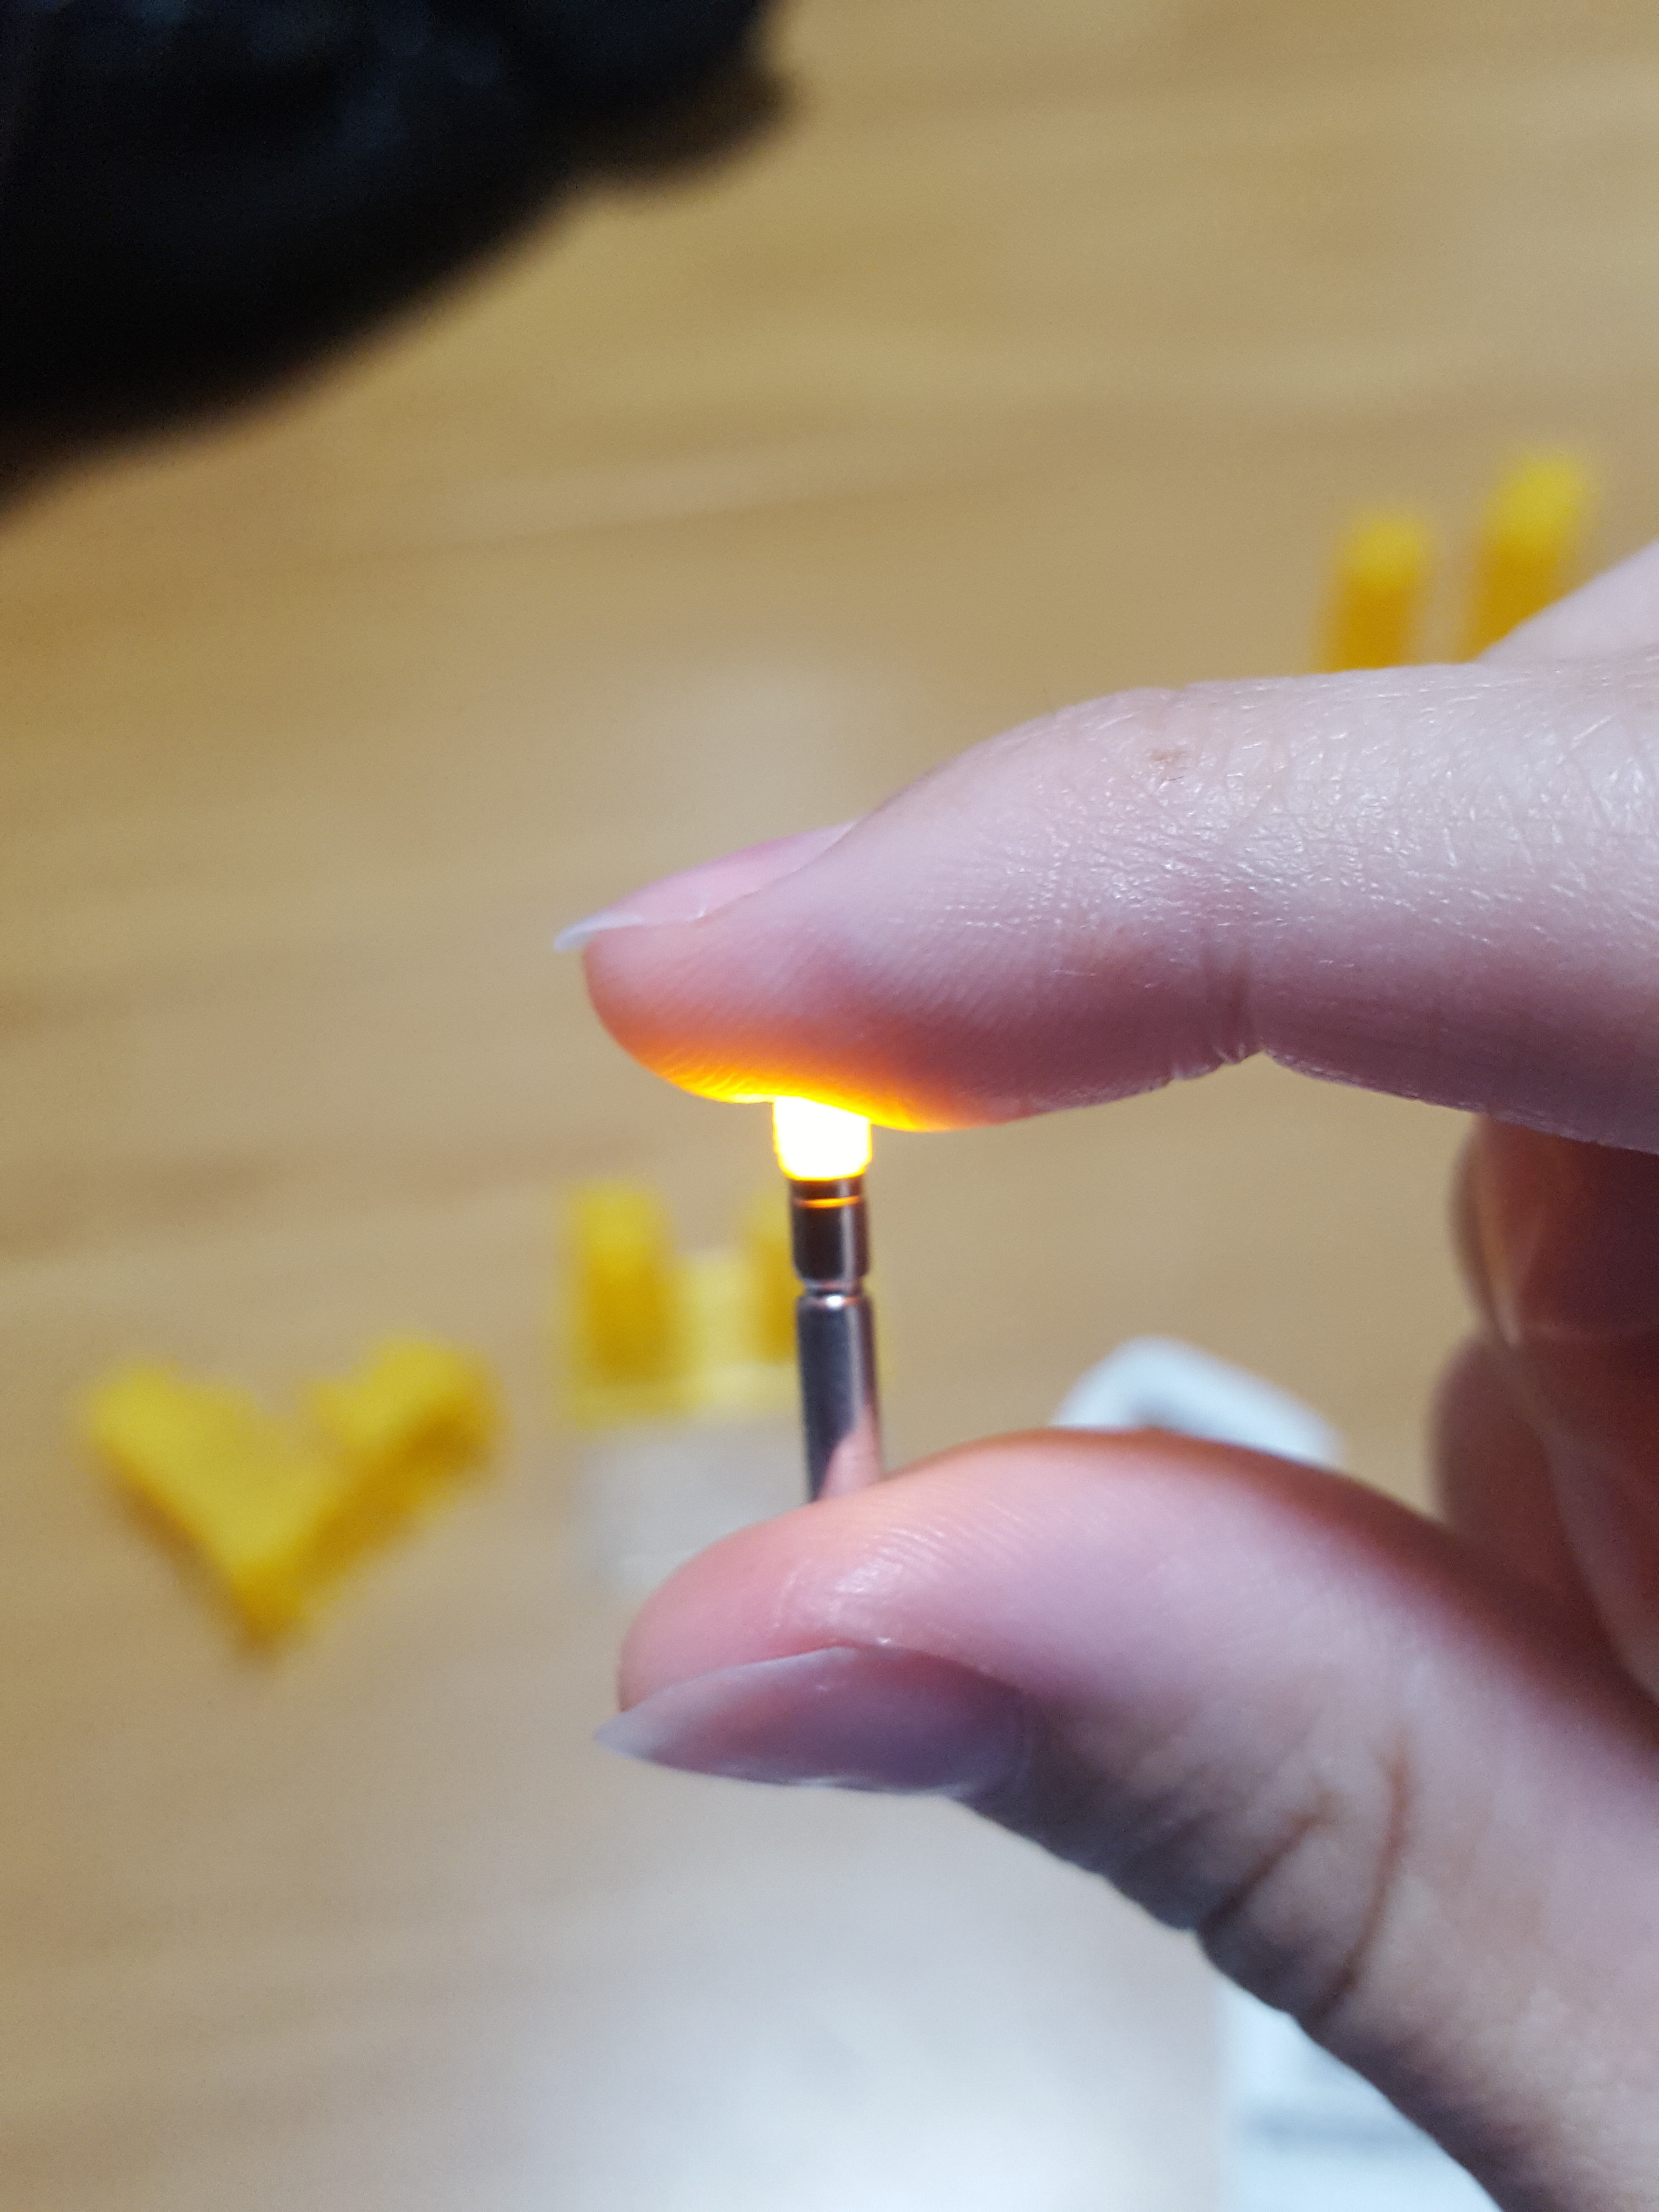
That’s it. Really. Pull the top up (for me, I had to use a tool to get it to fully disconnect) and it turns back off. No wiring, no external batteries. Just a little bitty LED.
I went for a 316Y Milight, which may not mean much to you at first glance, but the naming conventions are helpful. The “3” means 3mm wide, the “16” means 16mm long, and the “Y” means yellow. There are other sizes and colors available, and all of them could work with GeoCraper, but I picked the smallest just in case the longer ones wouldn’t fit in any of the buildings.
![1/2500 GeoCraper Illumination Unit Yellow Set (3pcs) [HLJ Exclusive]](https://hobbylink.tv/wp-content/uploads/2019/10/20191015_225341.jpg)
Now we’re getting into the units. The packaging is superb: a hard cardboard box on the outside, with a card stock box with lid on the inside, bubble wrap, and the units themselves plastic wrapped to a card stock base.
![1/2500 GeoCraper Illumination Unit Yellow Set (3pcs) [HLJ Exclusive]](https://hobbylink.tv/wp-content/uploads/2019/10/20191015_225416.jpg)
Here they are out of the box.
Each unit consists of three parts: two building pieces and a base. The base is basically a 4-square grid, with each building piece taking up 2 grids, usually each with a building.
The buildings are hollow and so is the (shallow) underside of the base, making it so that you can pretty easily get LEDs of any kind inside the units, though you may need to make some modifications.
![1/2500 GeoCraper Illumination Unit Yellow Set (3pcs) [HLJ Exclusive]](https://hobbylink.tv/wp-content/uploads/2019/10/20191015_225637.jpg)
If you’re going with Milights, you can easily just set the LED on its side under one of the buildings. This is easier to see with the lights off —
![1/2500 GeoCraper Illumination Unit Yellow Set (3pcs) [HLJ Exclusive]](https://hobbylink.tv/wp-content/uploads/2019/10/20191015_225646.jpg)
…but the lighting isn’t really distributed or placed well.
To combat this, I resolved to bore a hole in the base the width of the LED (3mm) and mount it in the base. Alternatively, you could drill holes and thread wired LEDs inside, too.
Unfortunately, I don’t have a drill, but I’m nothing if not resourceful.
![1/2500 GeoCraper Illumination Unit Yellow Set (3pcs) [HLJ Exclusive]](https://hobbylink.tv/wp-content/uploads/2019/10/20191015_230251.jpg)
I’m pretty good at making the most of supplies I already have, and this is the one that came in handy for me this time. I can’t recommend following my lead as you could potentially damage your tools, but I have a lot of tools I rarely use so I’m not very worried about it.
You’ll also want to wear a mask when doing this so you don’t inhale the plastic dust you’re about to make, whether or not you use a proper drill.
![1/2500 GeoCraper Illumination Unit Yellow Set (3pcs) [HLJ Exclusive]](https://hobbylink.tv/wp-content/uploads/2019/10/20191015_230558.jpg)
It took a bit of effort, but I got my hole! I’ve placed it where it should allow me to get the LED right in the middle of the first building.
![1/2500 GeoCraper Illumination Unit Yellow Set (3pcs) [HLJ Exclusive]](https://hobbylink.tv/wp-content/uploads/2019/10/20191015_230604.jpg)
It’s a perfect fit. The Milight stays firmly in place on its own, and I have a few millimeters I can push it down or pull it out if I want to adjust the height.
![1/2500 GeoCraper Illumination Unit Yellow Set (3pcs) [HLJ Exclusive]](https://hobbylink.tv/wp-content/uploads/2019/10/20191015_230615.jpg)
Here it is close up.
![1/2500 GeoCraper Illumination Unit Yellow Set (3pcs) [HLJ Exclusive]](https://hobbylink.tv/wp-content/uploads/2019/10/20191015_230645.jpg)
I’ve popped the building on and am just checking now to make sure it’s lined up the way I want it. So far, so good!
![1/2500 GeoCraper Illumination Unit Yellow Set (3pcs) [HLJ Exclusive]](https://hobbylink.tv/wp-content/uploads/2019/10/20191015_230650.jpg)
With the lights on, you can’t even see the LED inside the building. I think that this makes for an appealing day display since you can’t see what’s inside.
Let’s hit the lights.
![1/2500 GeoCraper Illumination Unit Yellow Set (3pcs) [HLJ Exclusive]](https://hobbylink.tv/wp-content/uploads/2019/10/20191015_230721.jpg)
This is much better than before. The light distribution is even and reaches the entire top 2/3 of the building. The bottom isn’t very well lit, though, and I can see the single Milight potentially not being enough for the larger building in the back to be properly lit through and through… but I’ll work something out!
Now that I’ve got my method in place for installing my LEDs, I can grab some more, make more holes, and get the other three buildings on the base illuminated, too!
![1/2500 GeoCraper Illumination Unit Yellow Set (3pcs) [HLJ Exclusive]](https://hobbylink.tv/wp-content/uploads/2019/10/20191016_234342.jpg)
All set. It took some elbow grease, but I have all four holes open now.
![1/2500 GeoCraper Illumination Unit Yellow Set (3pcs) [HLJ Exclusive]](https://hobbylink.tv/wp-content/uploads/2019/10/20191016_234106.jpg)
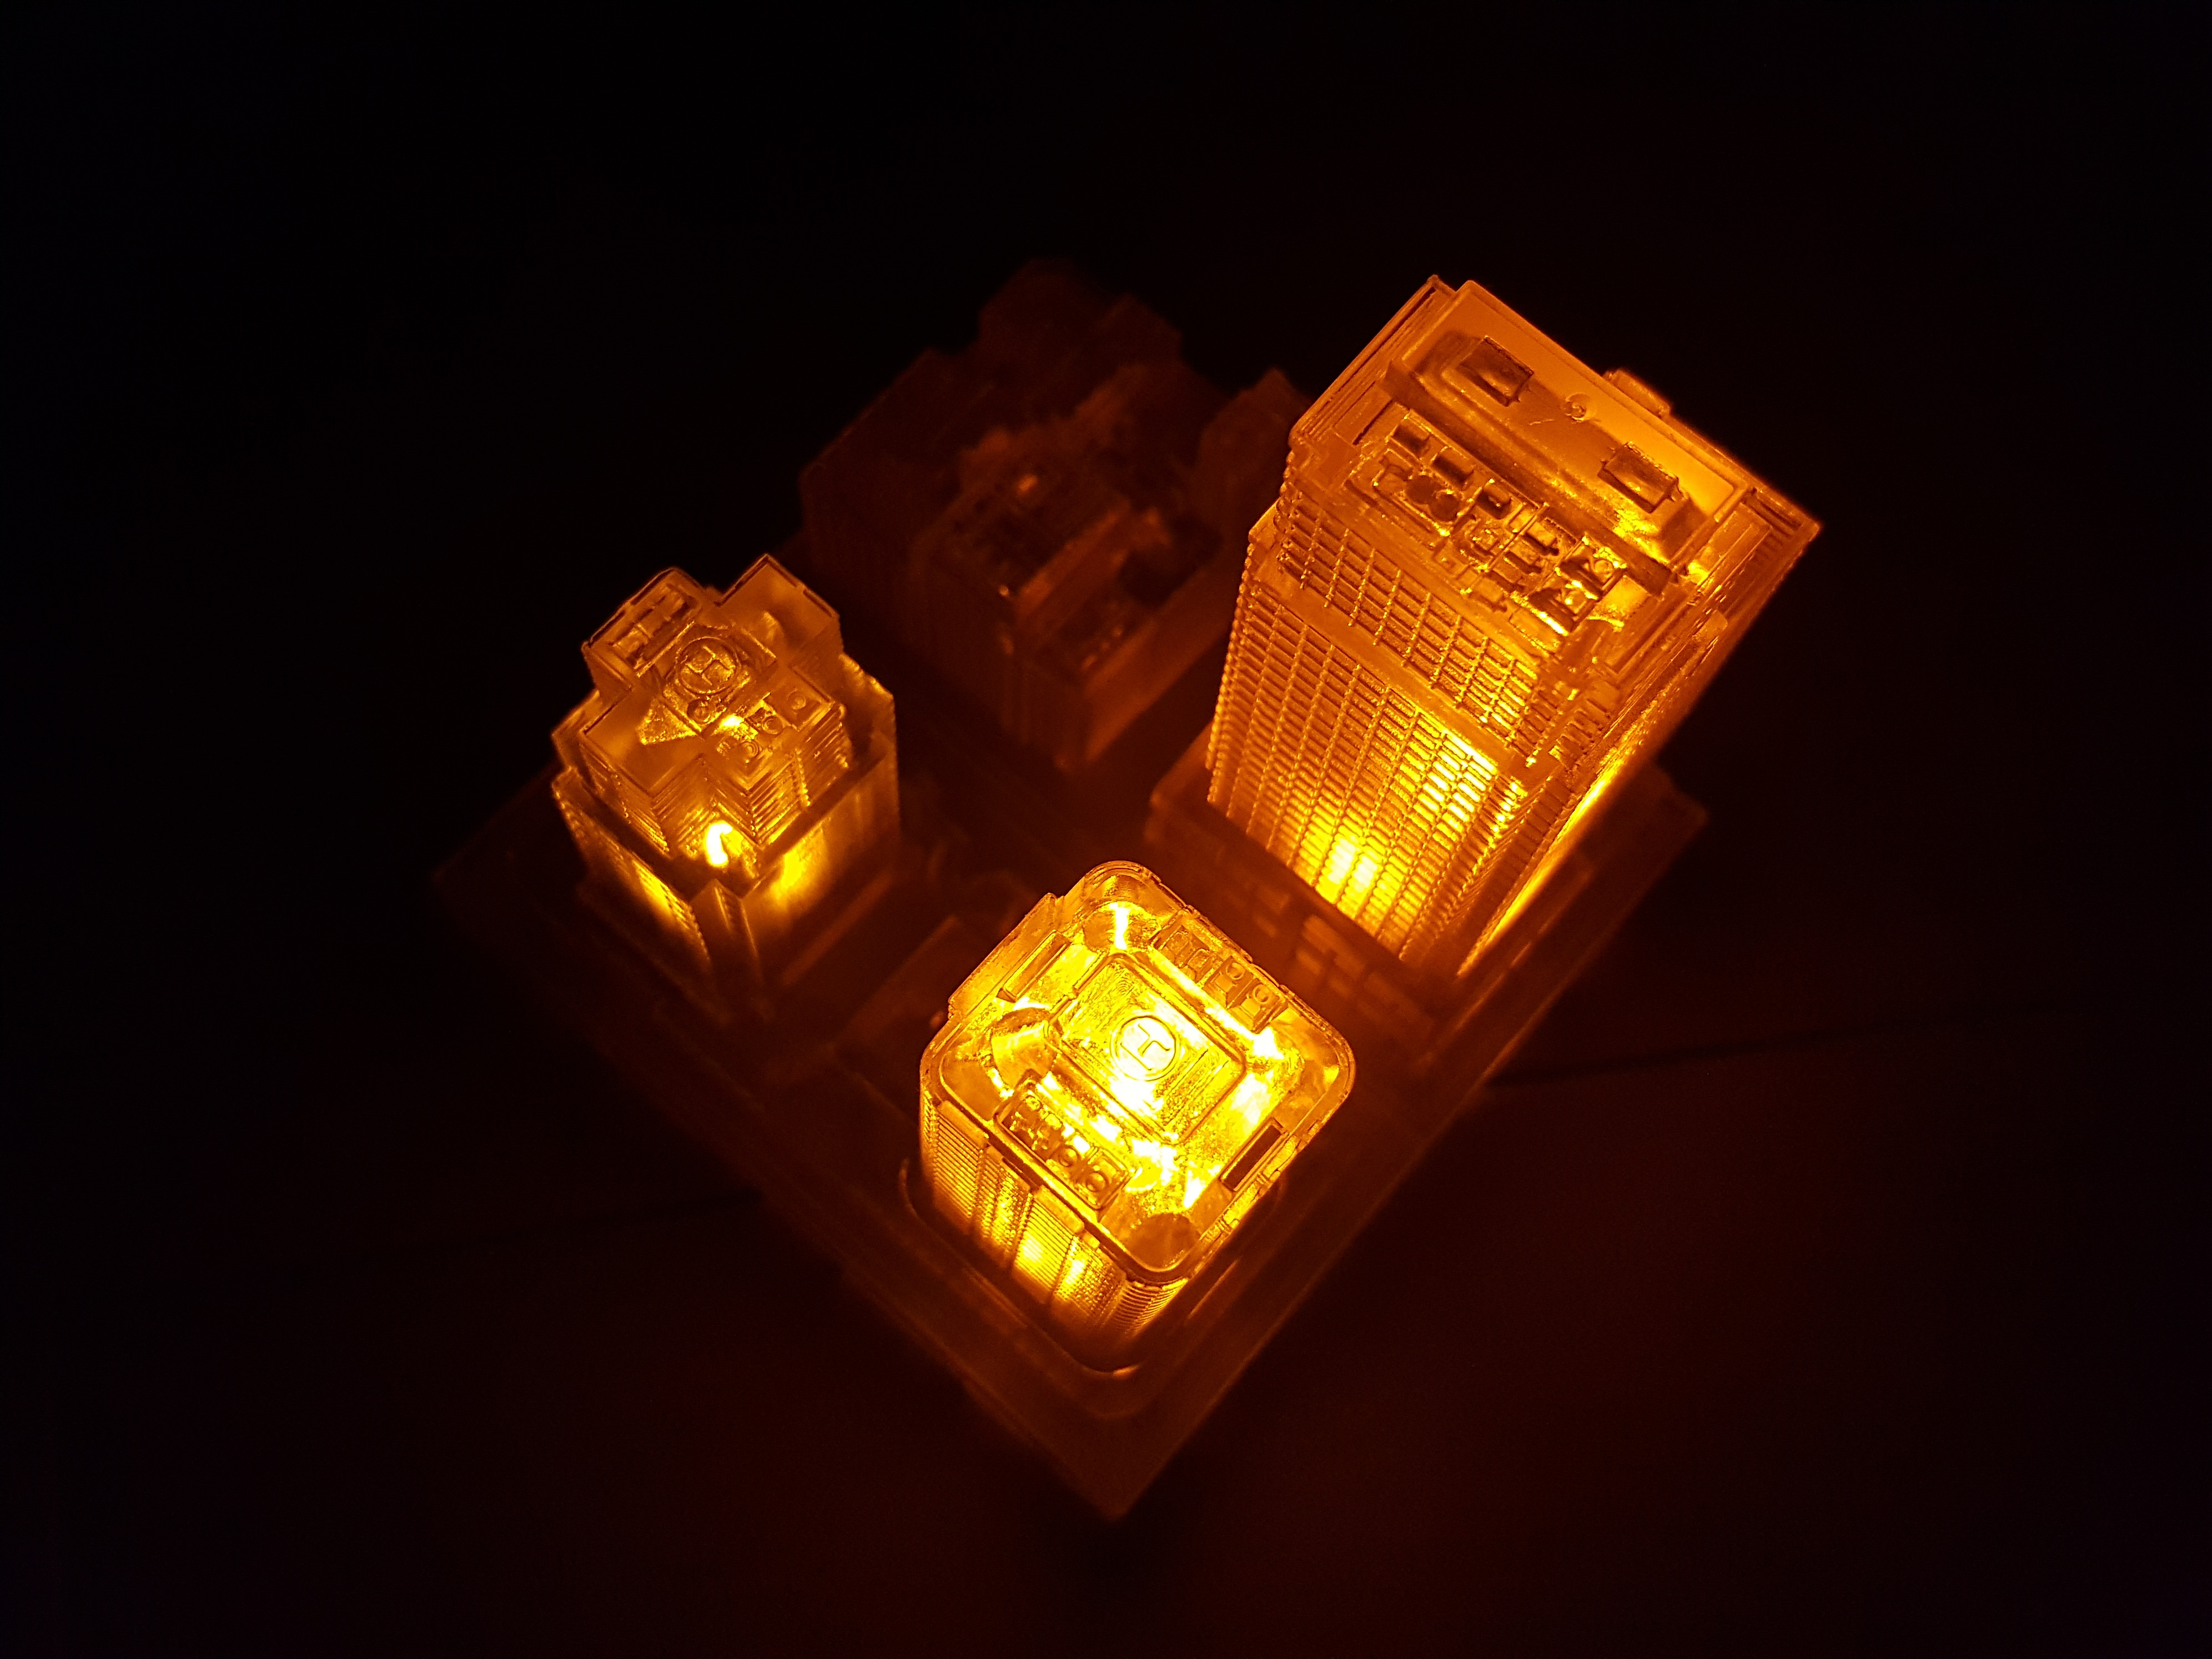
One thing I noticed is that one of the buildings in particular is pretty tall and one LED isn’t enough to light it. Fortunately, Milights come with a clear sheath that’s open on both ends which you can use to link two lights together. That’s what I’ve done here.
![1/2500 GeoCraper Illumination Unit Yellow Set (3pcs) [HLJ Exclusive]](https://hobbylink.tv/wp-content/uploads/2019/10/20191113_233340.jpg)
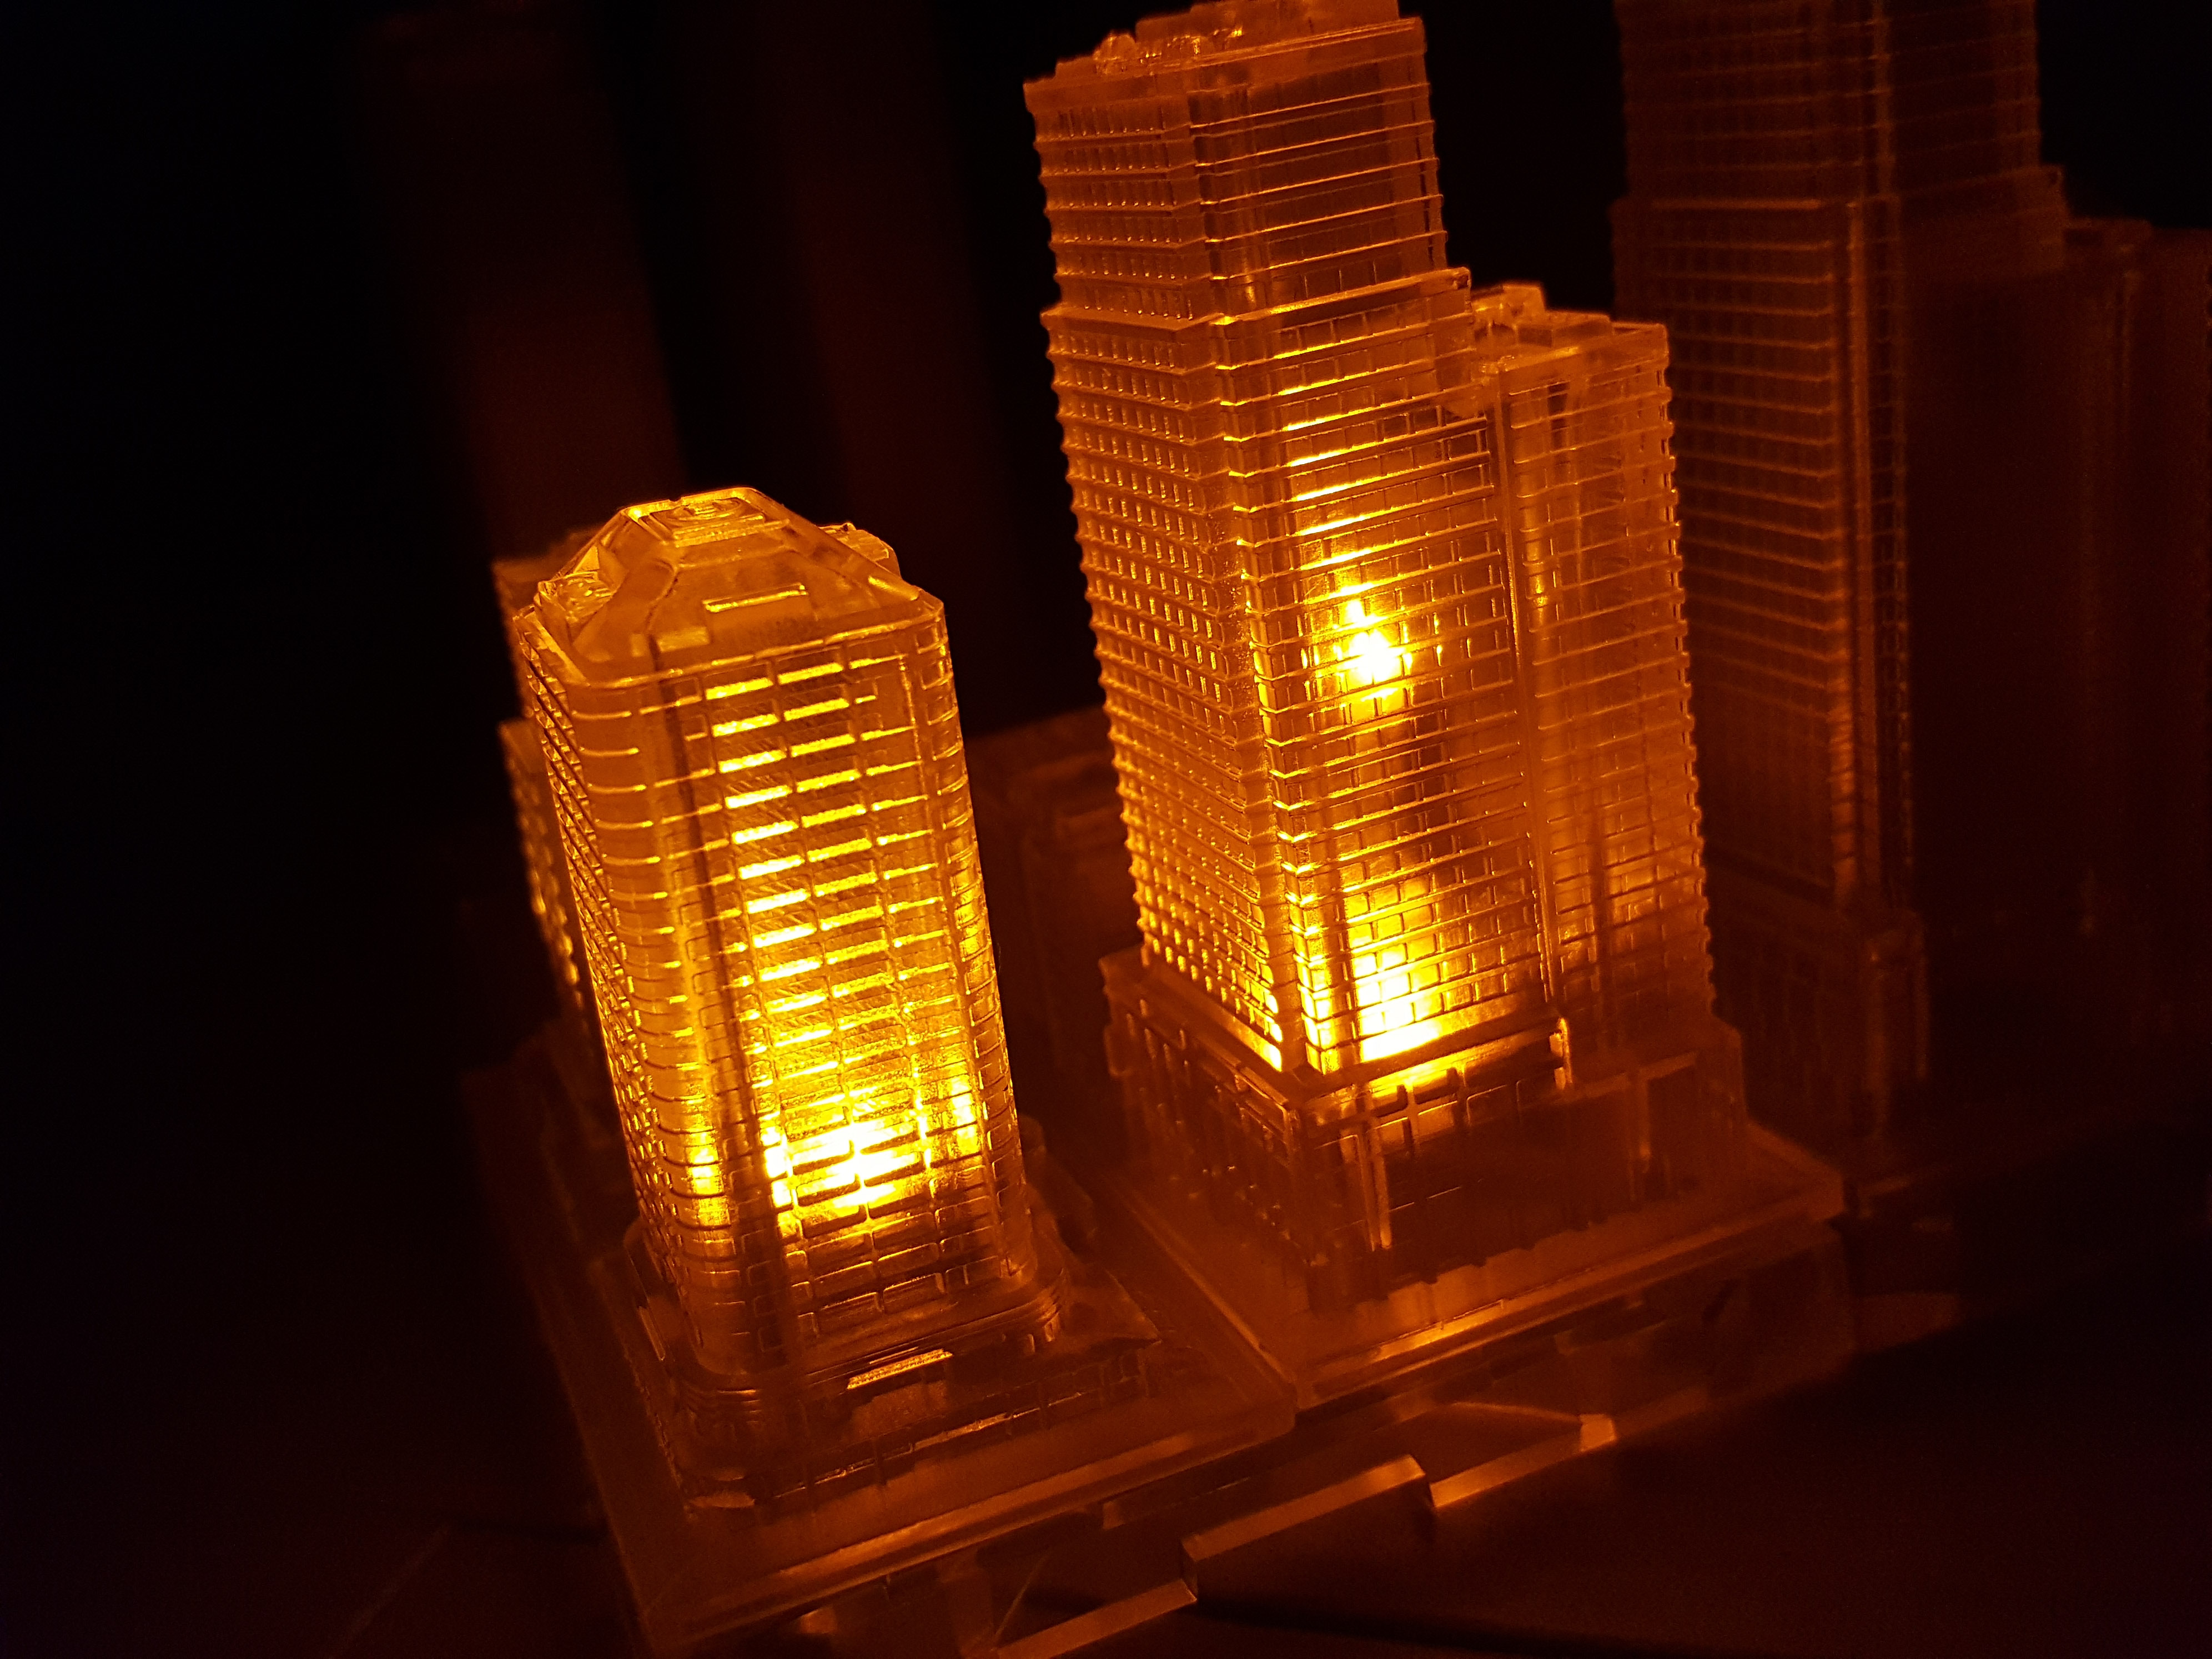
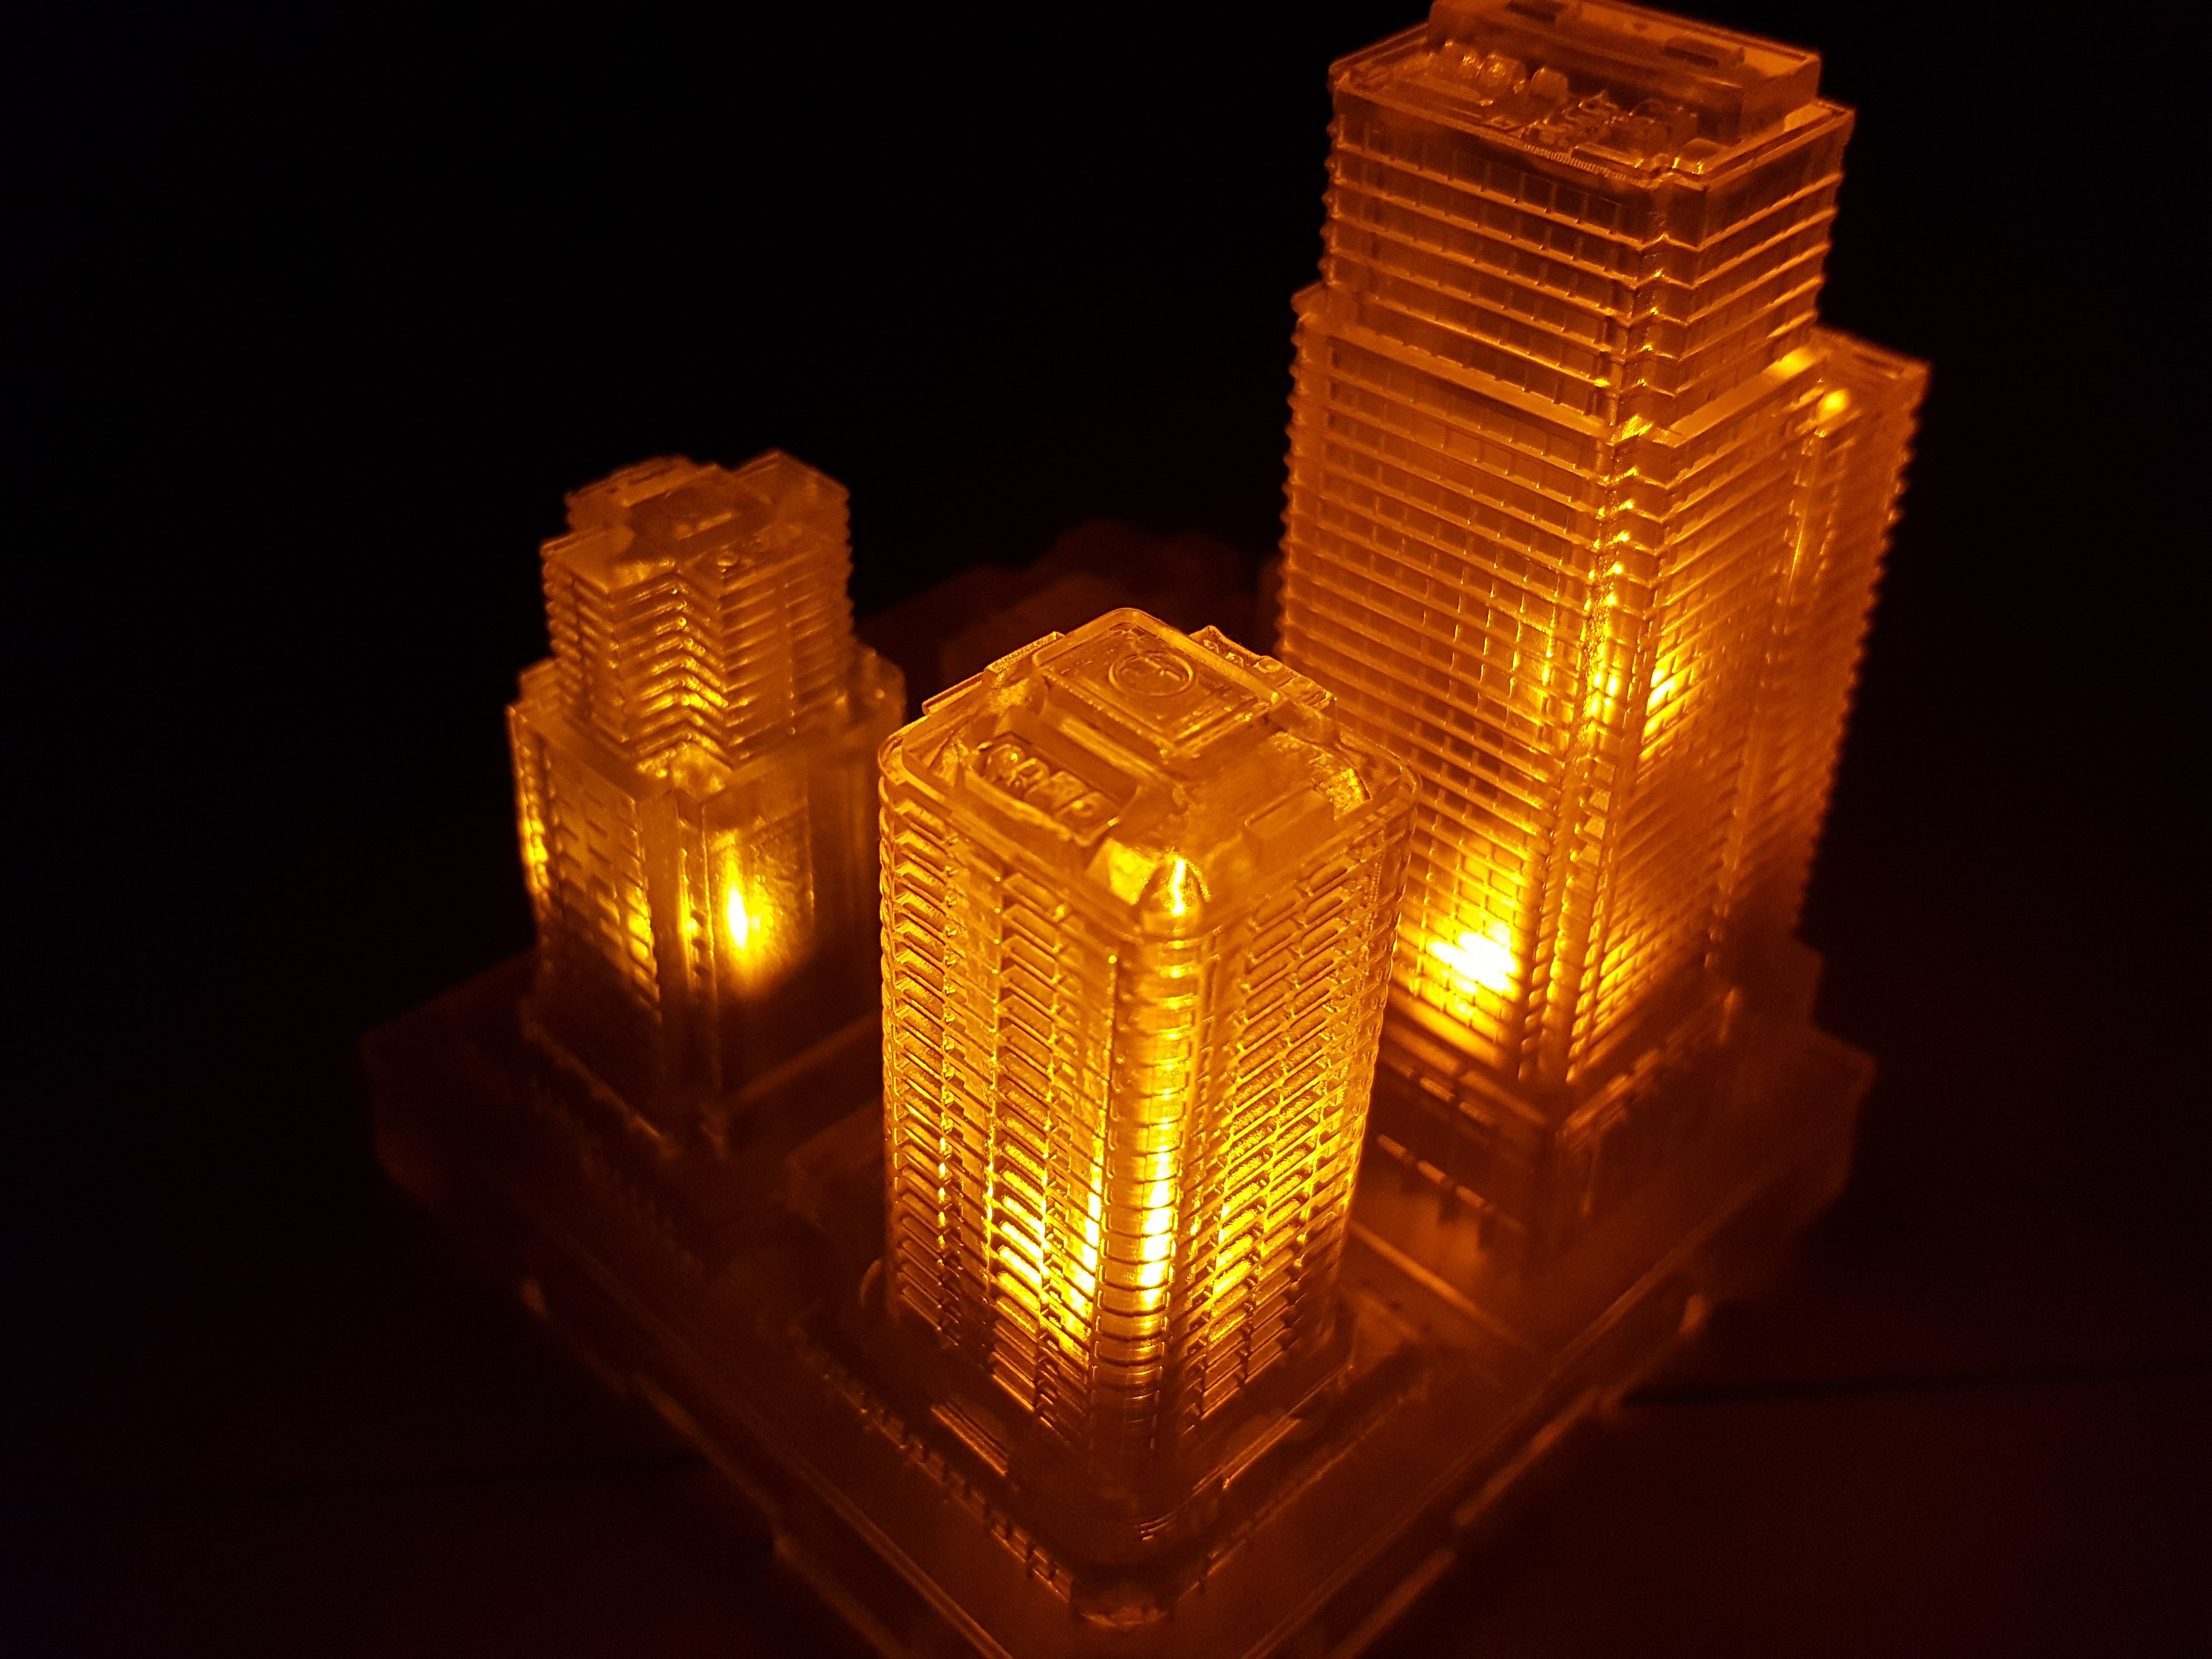
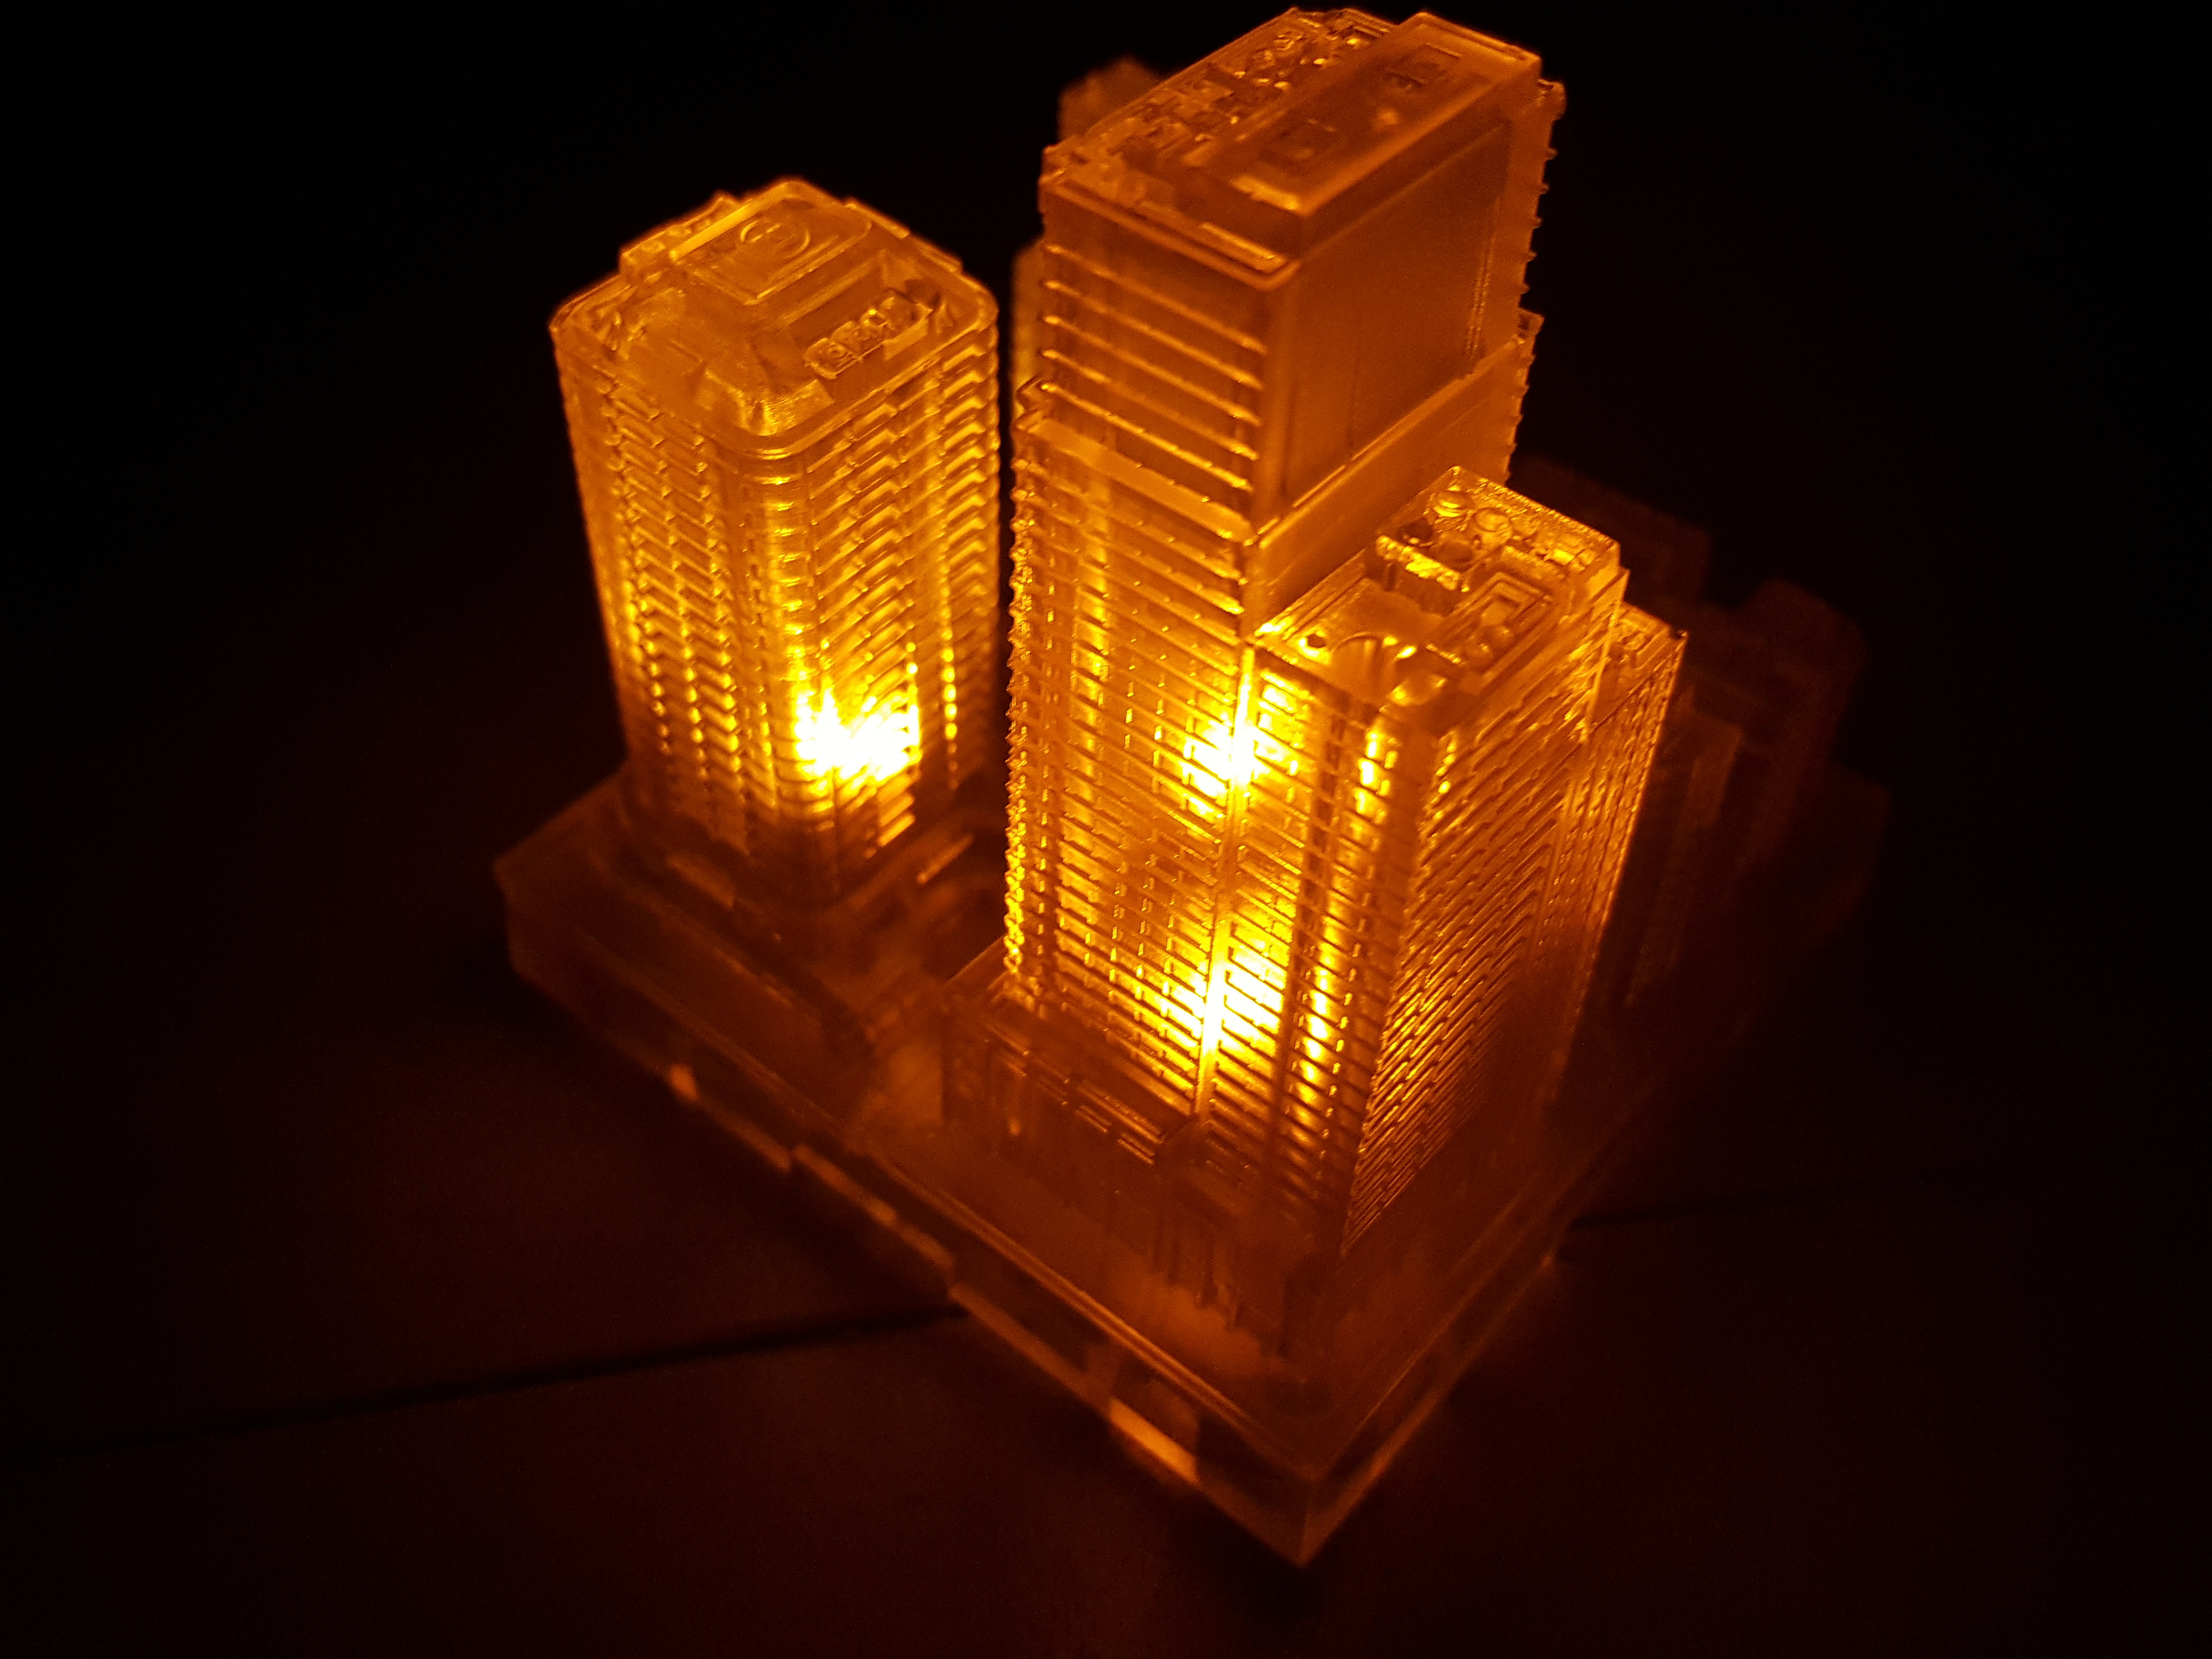
Here’s what we get with the lights on. And with the lights off…
![1/2500 GeoCraper Illumination Unit Yellow Set (3pcs) [HLJ Exclusive]](https://hobbylink.tv/wp-content/uploads/2019/10/20191113_233438.jpg)
Look at that!
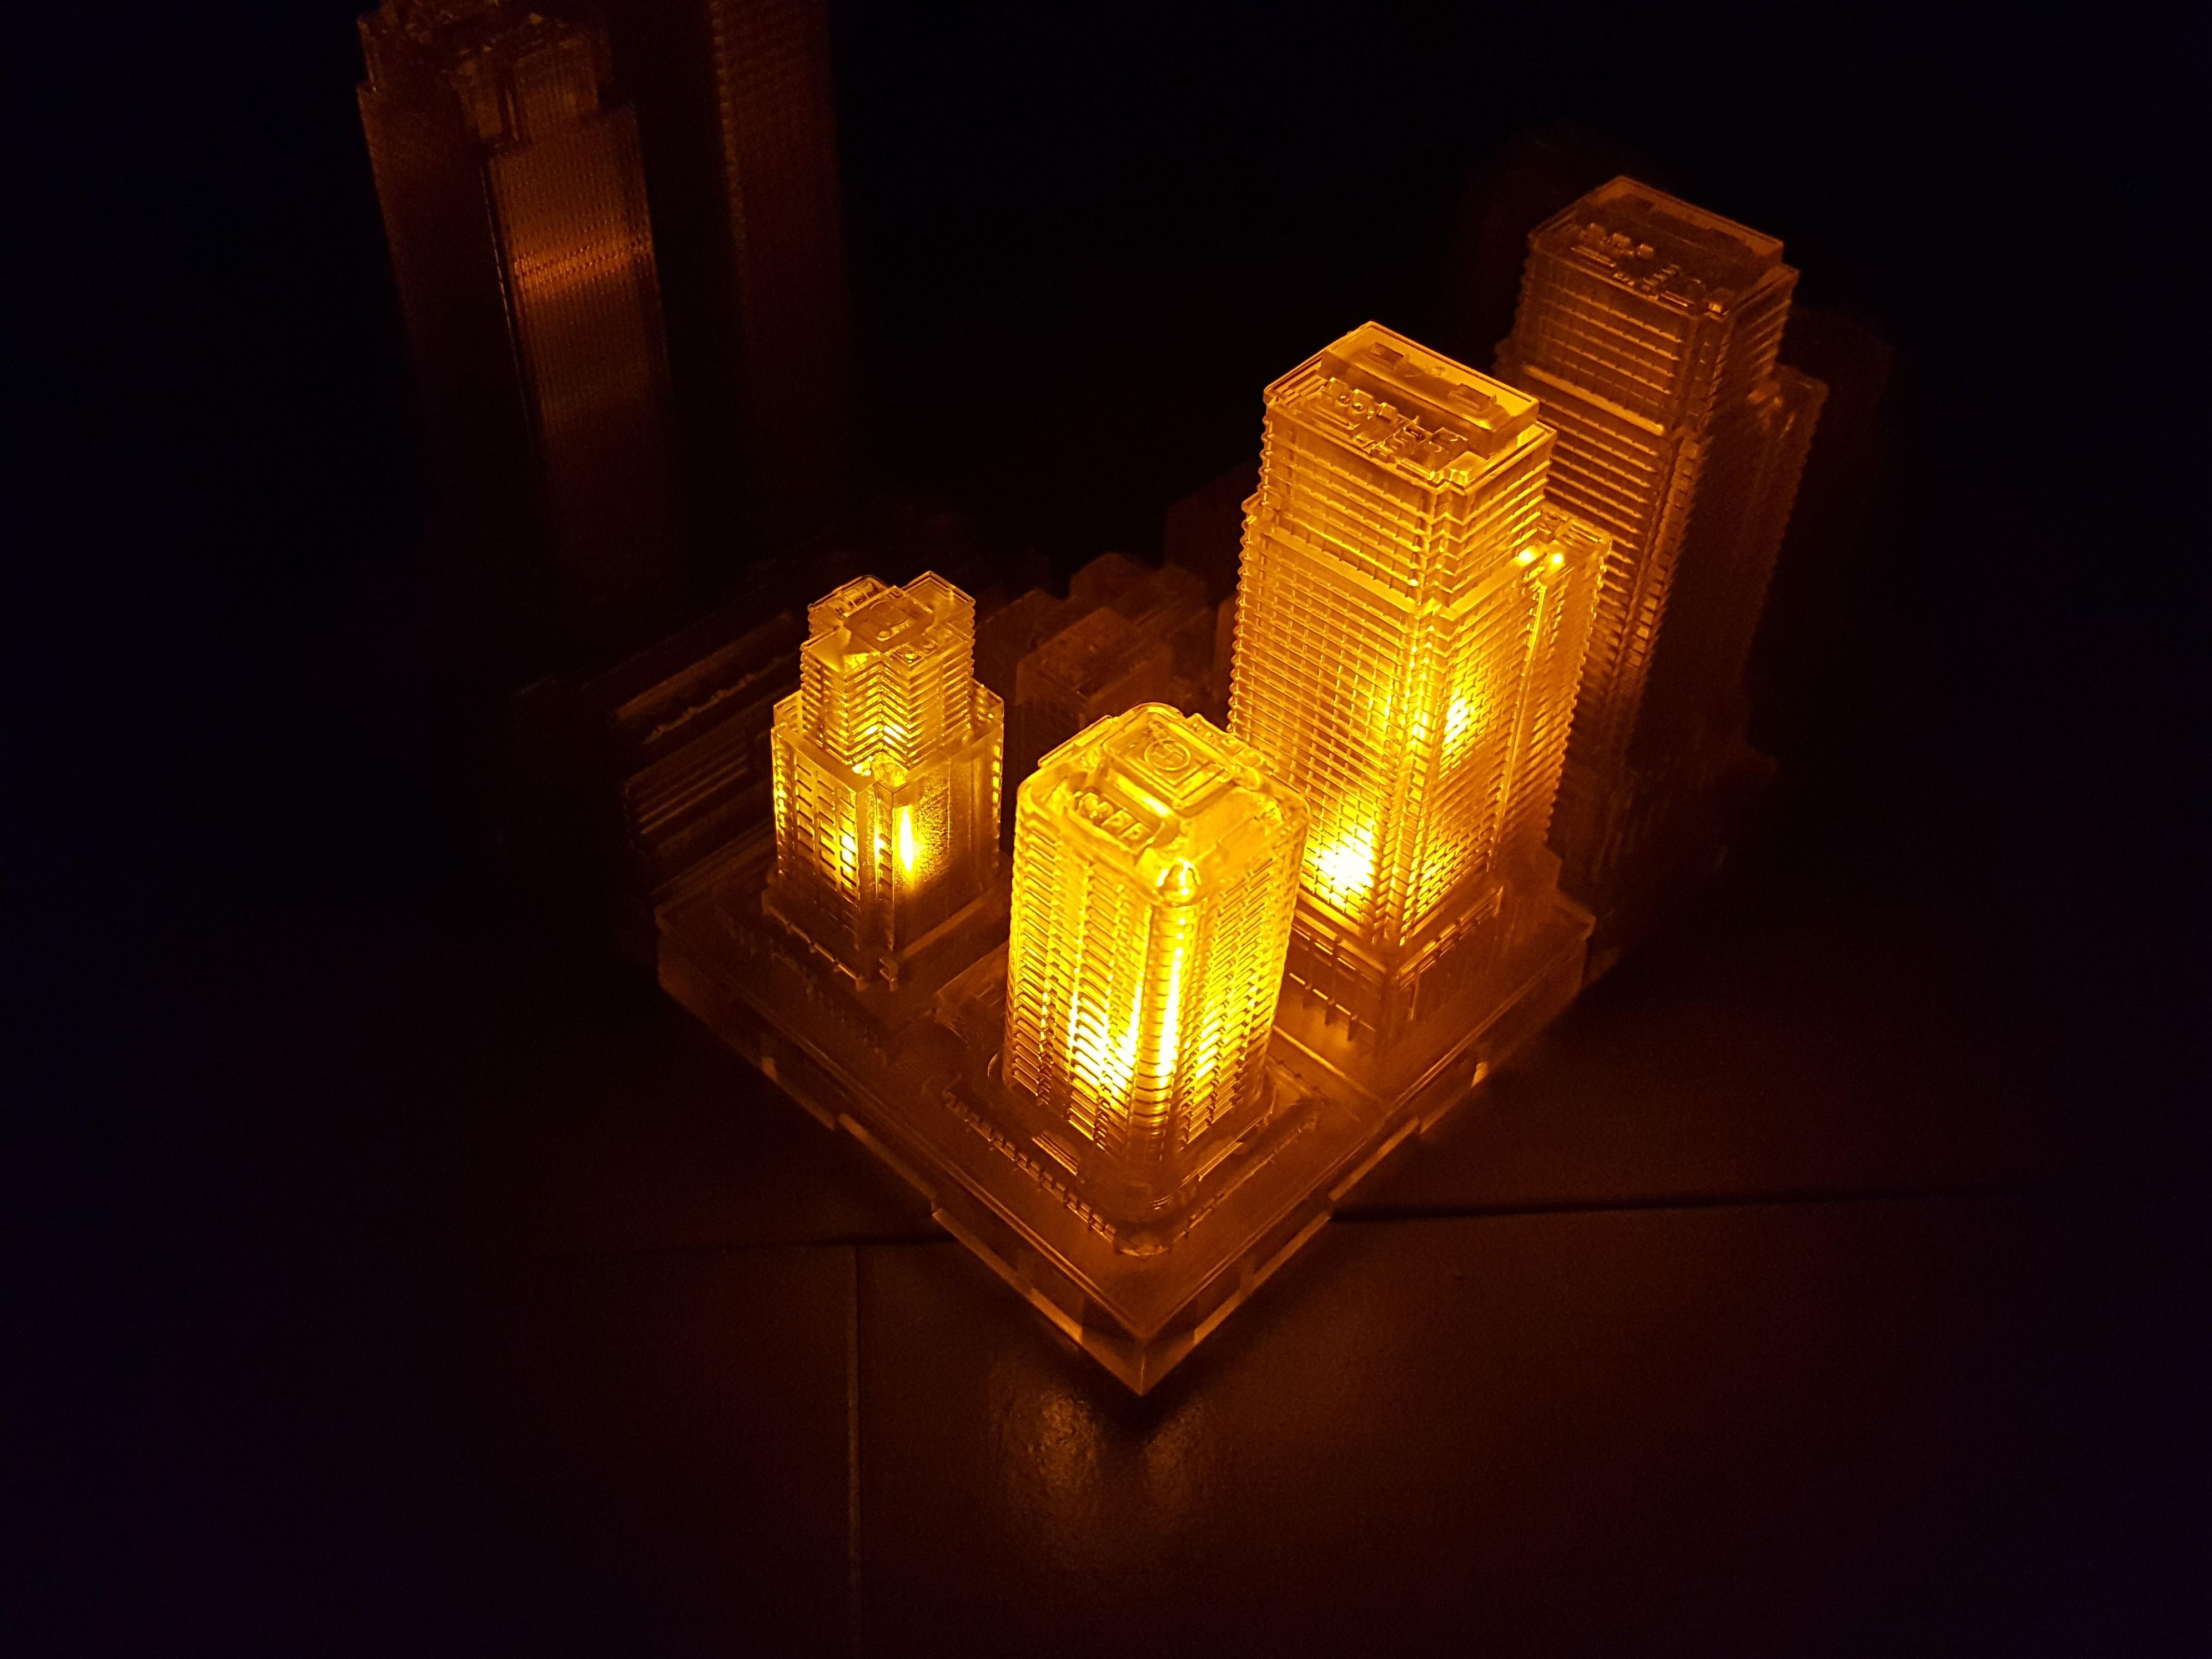
This is only one of the three units that comes with the set, though, so if you join them together, you get a sort of haunted-looking dark city:
![1/2500 GeoCraper Illumination Unit Yellow Set (3pcs) [HLJ Exclusive]](https://hobbylink.tv/wp-content/uploads/2019/10/20191113_233420.jpg)
The Milight method for illuminating these clear plastic GeoCraper units certainly works, but to get it sufficiently glowing, you’re going to need at least 4 LEDs per unit for a total of 12 LEDs. That doesn’t take into account the taller buildings, for which you’ll want to stack additional LEDs to get them completely lit up.
If you’re going for lighting up every building, it may just be better to drill holes and thread strands of LED lights through the bottom instead of using Milights. But I hope that this tutorial has shown that anyone can get their GeoCraper units shining with just a little elbow grease and very little know-how!
Let me know in the comments if you’ve illuminated your own GeoCraper dioramas, and tell me how you did it! (Pics if you have them!)
Get your own HLJ-exclusive illumination units here:
– 1/2500 GeoCraper Illumination Unit 3pc Sets


PetitGguy Type 全不全
Wow. I really like these in blue… Also, you should send some of these out to Tom at the Yogscast. I’m sure a few sales would swing your way from his channel, as he builds geocraper cities for fun.