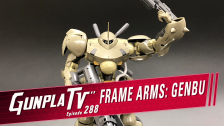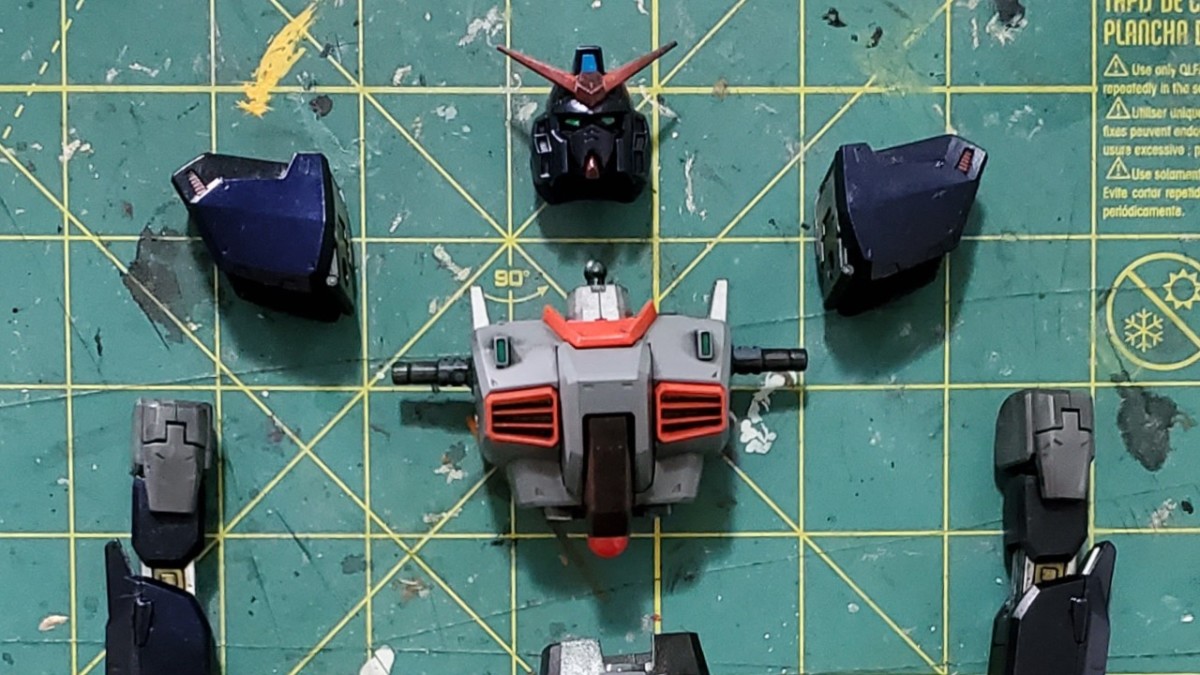
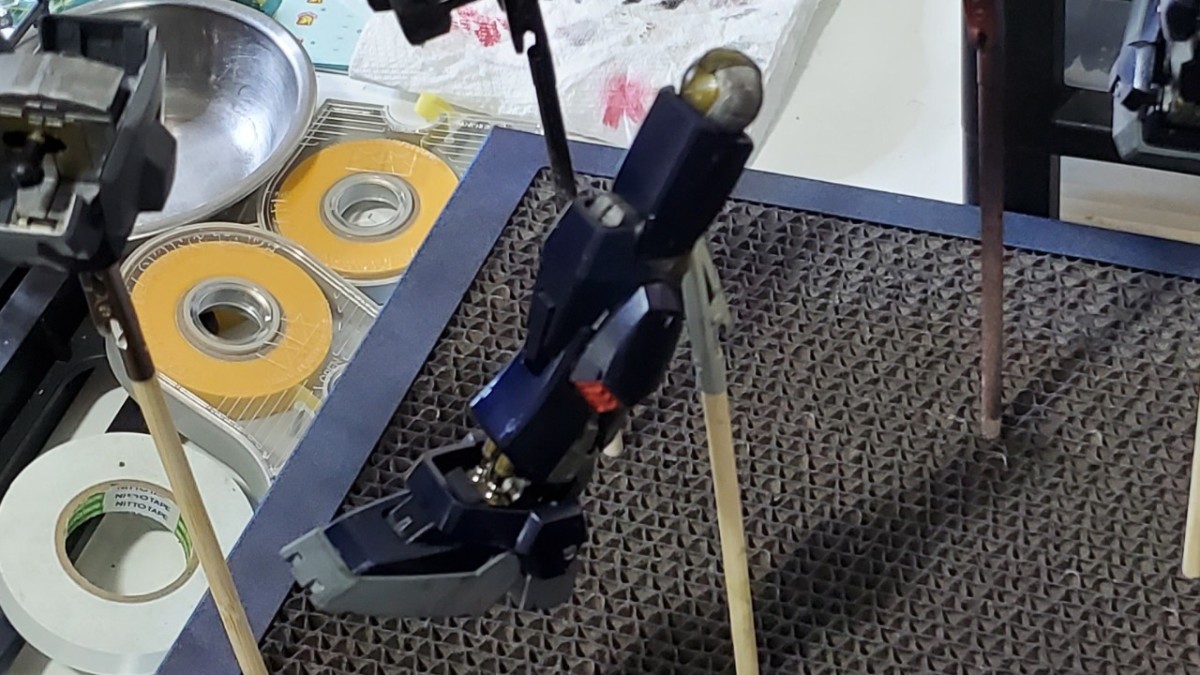
This week on Happy Little Robots, the term “little” is a bit subjective, as we finish up the markings on the larger scale MG Gundam Mk ii Titans Colors.
While this kit may be a bit older, it is no slouch with its great articulation and proportions.
But older kits do tend to have some markings you don’t see as often in newer kits: “dry transfer” decals. And today I’m going to show you how to handle them.
A key step with any kind of decals is to apply a gloss coat over all parts. This helps to protect and seal any applied paint, and provides a smoother surface for decals to adhere to.
To give a sense of why decals are so great, I’m gonna show you the other standard markings first.

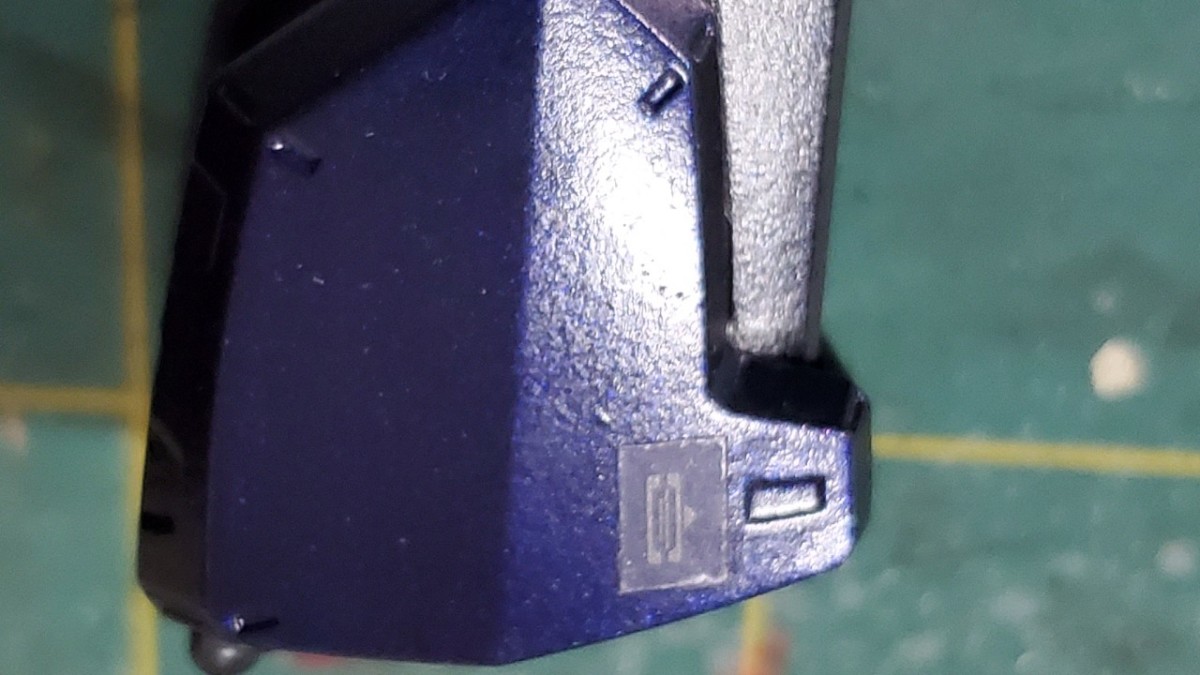
We select our part, in this case the shoulder.
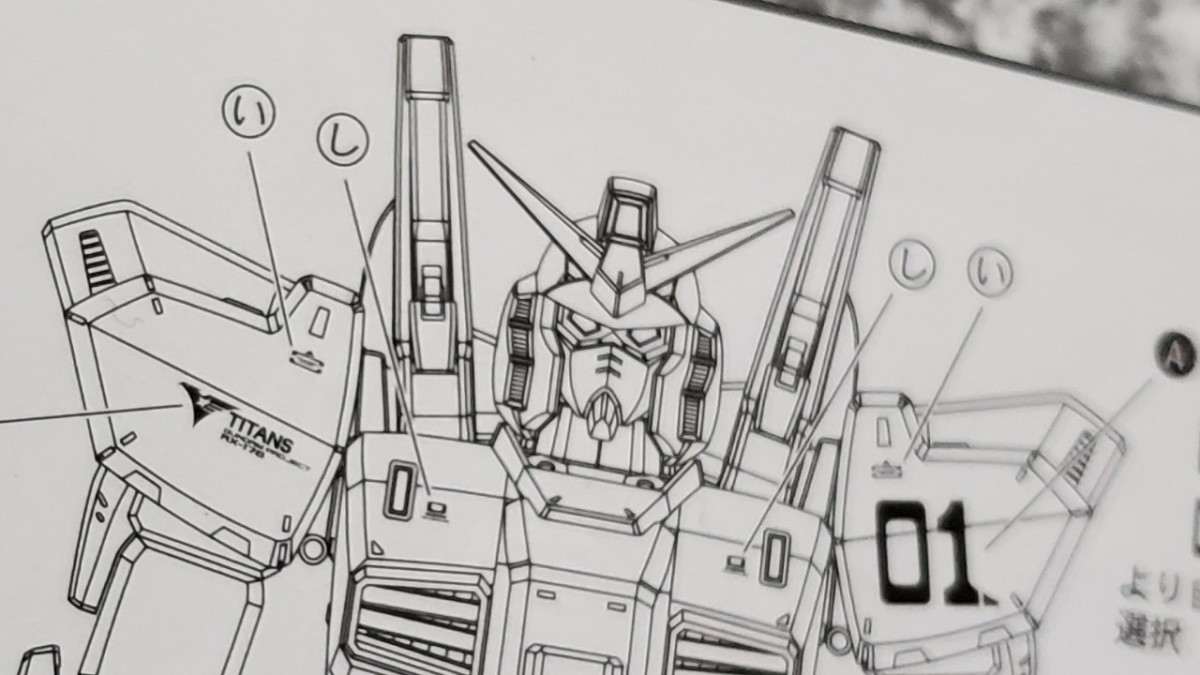
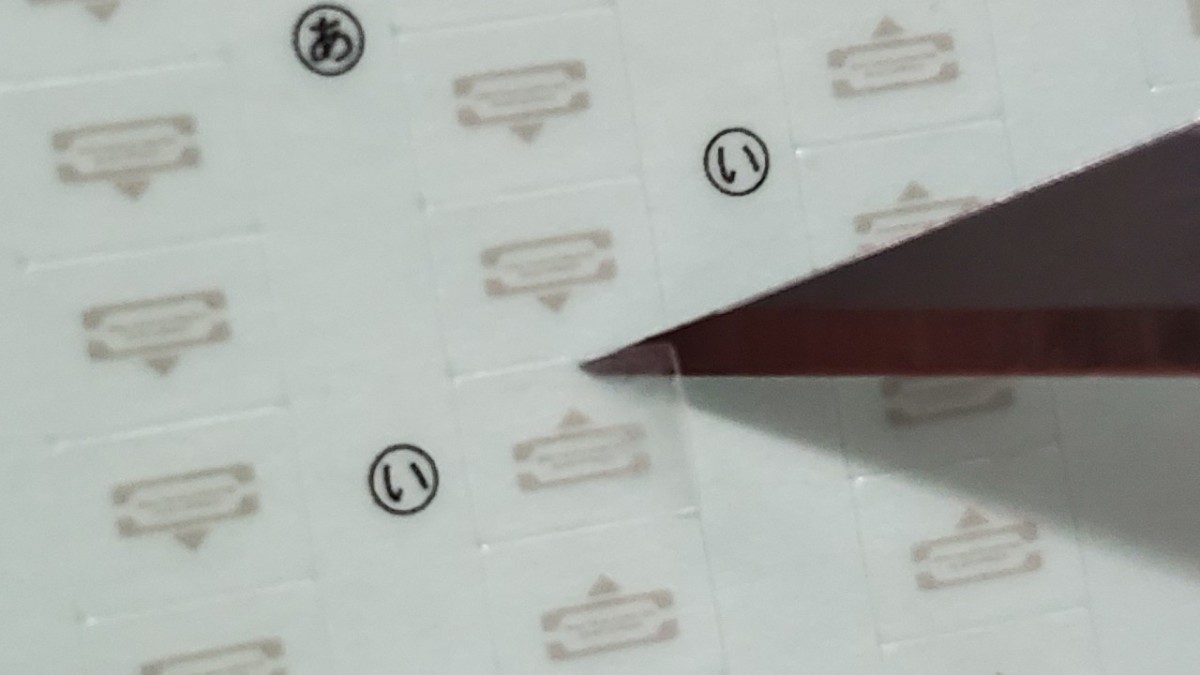
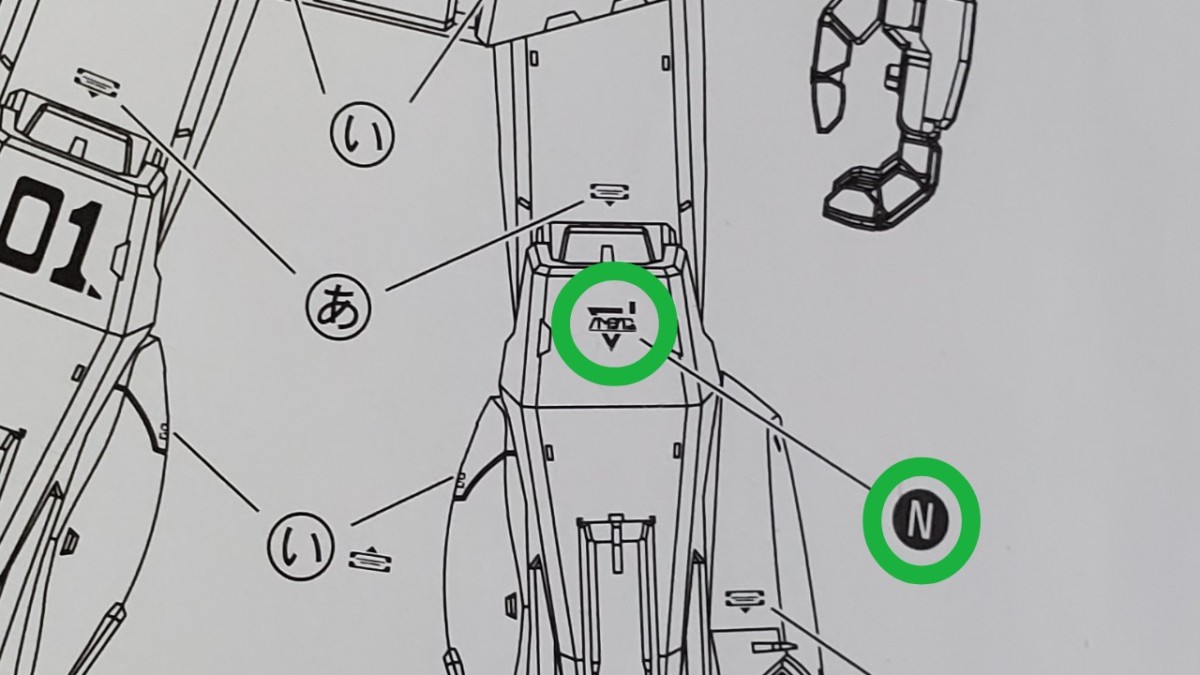
Check the instructions for the appropriate marking, and locate it on the sticker sheet.
Using the edge of a hobby knife, carefully lift the sticker from the backing sheet.
Position the sticker carefully into place.
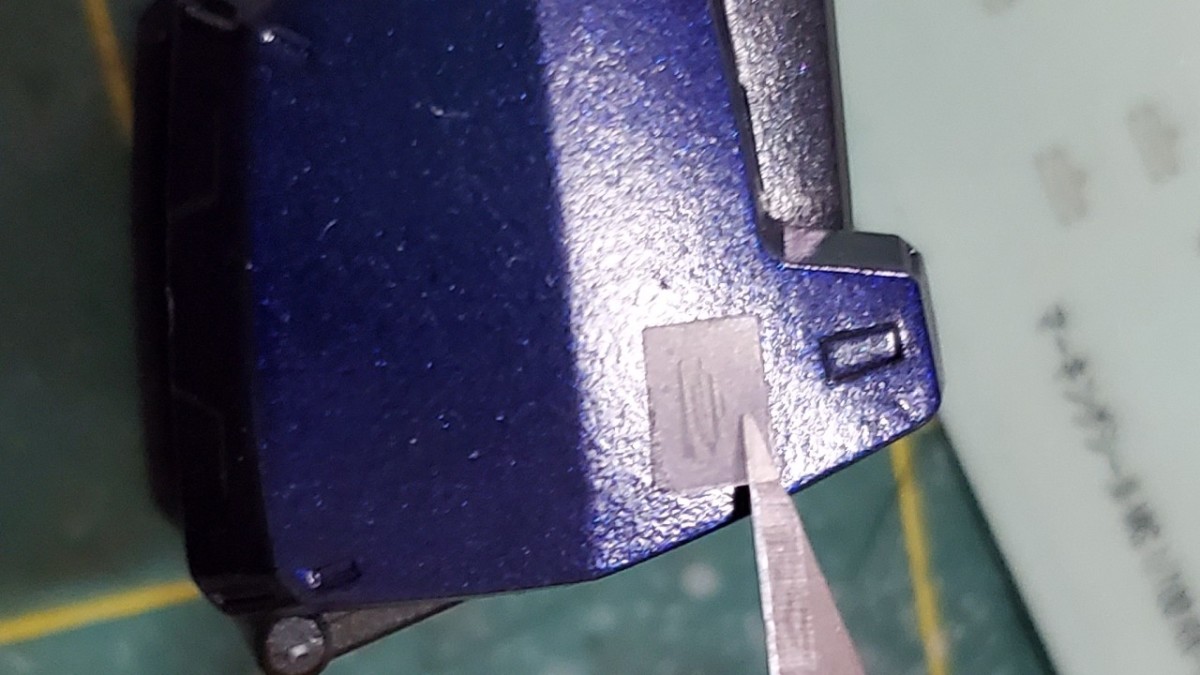
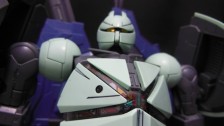
You can still see the border of the marking is quite distinct. Another gloss coat will help to blend the finish a bit more.
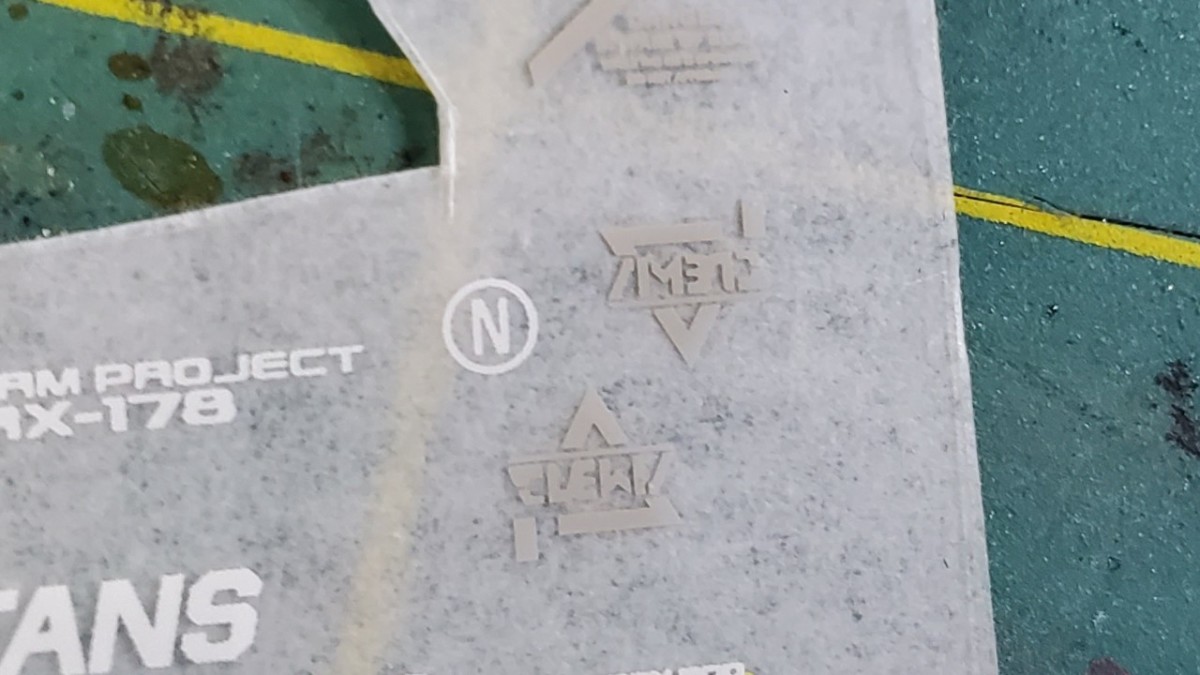
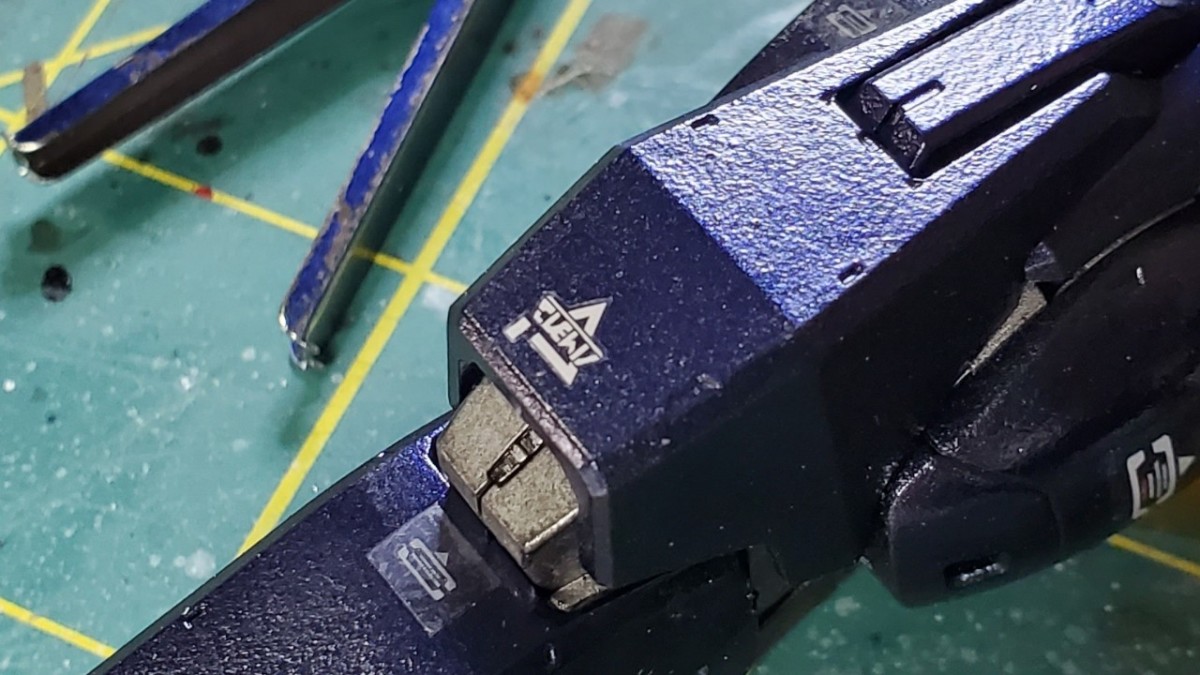
While standard markings are labelled with Japanese characters, dry transfer markings are denoted with English letters.
The dry transfer markings come on a plastic sheet, with a wax paper backing to protect the screenprinted markings.
You can tape the whole sheet down to your cutting mat and cut them out with your knife, but trust me when I say getting a small pair of scissors (like this pair from Tamiya) will save your sanity.

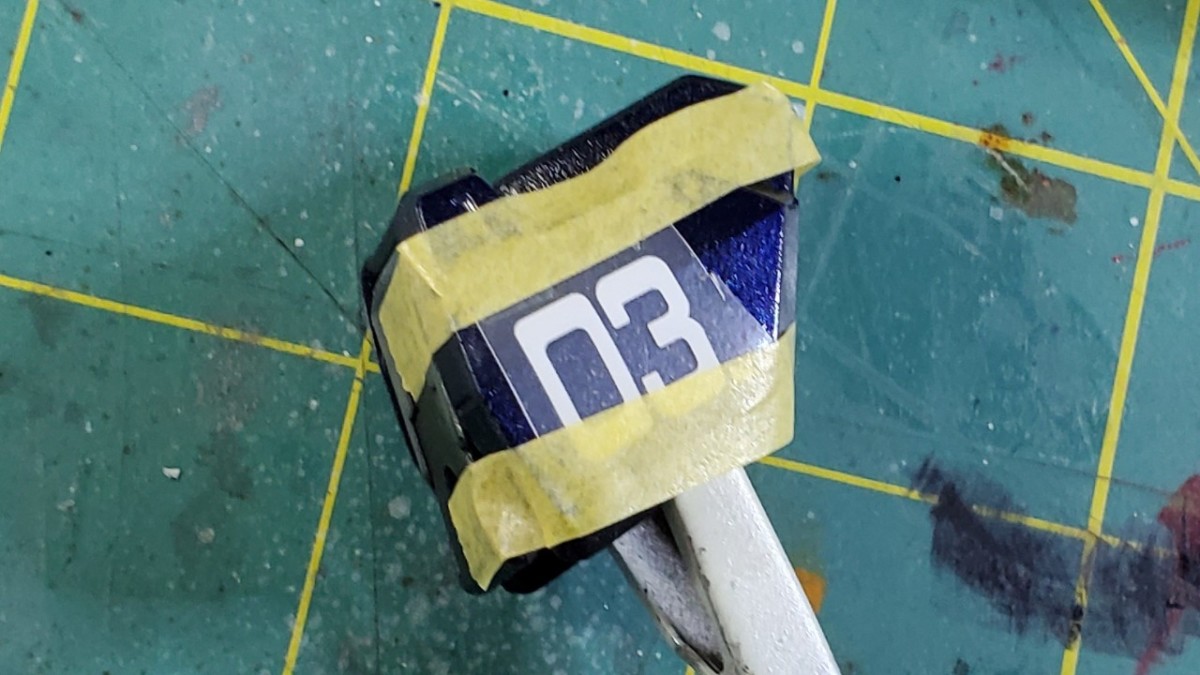
Locate and cut out the marking you need, ensuring you leave some excess on either side

This will allow you to tape down the marking while still leaving it visible, to see if it has adhered.

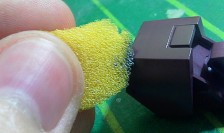
Using a sturdy object (I use a paint clip) begin to apply pressure evenly across the marking.
There is a very, very slight color change that indicates the “transfer” was successful.
Now remove the tape and clear plastic to admire your work! You can see that the decals have almost no border compared to traditional stickers.
Carrying on, let’s go back to the shoulder and get that really nice decal on to finish it off.
Once again, we tape down the edges and apply even pressure across the whole marking.
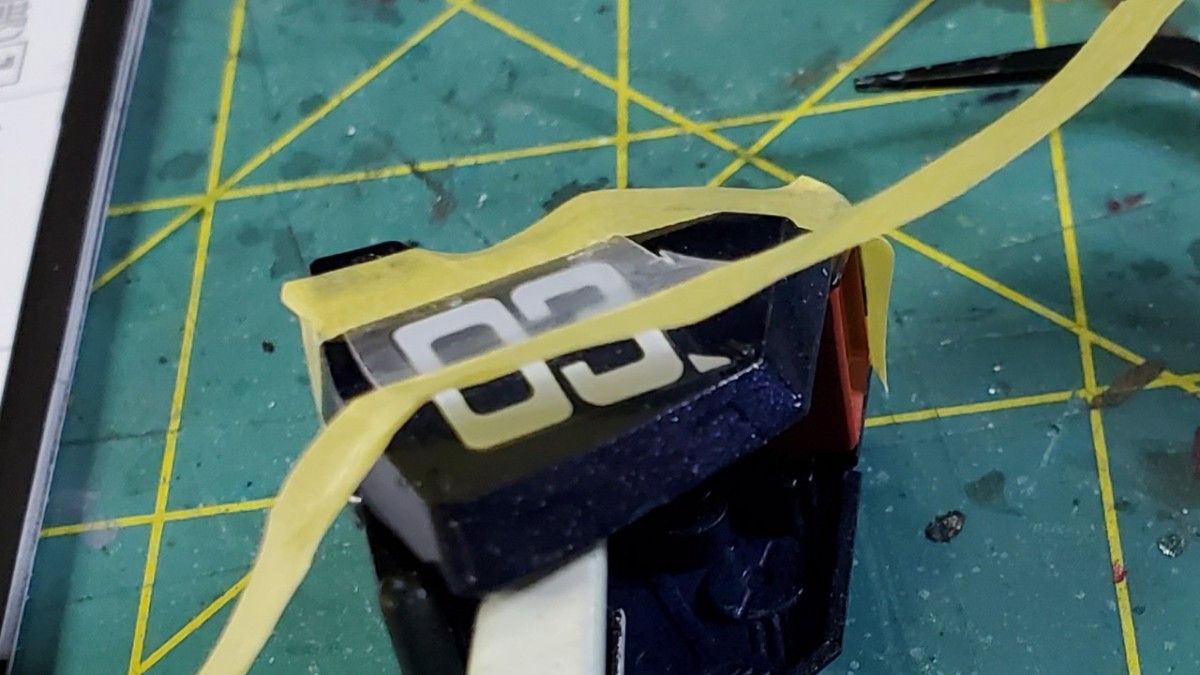
When removing the tape and plastic, it’s good to start from one side so you can see if the whole decal has been transferred.
If it hasn’t, simply place the plastic down and apply more pressure again!
After the decals are all applied, it’s best to go over them with one more gloss coat for protection, and then finish everything off with a flat coat.
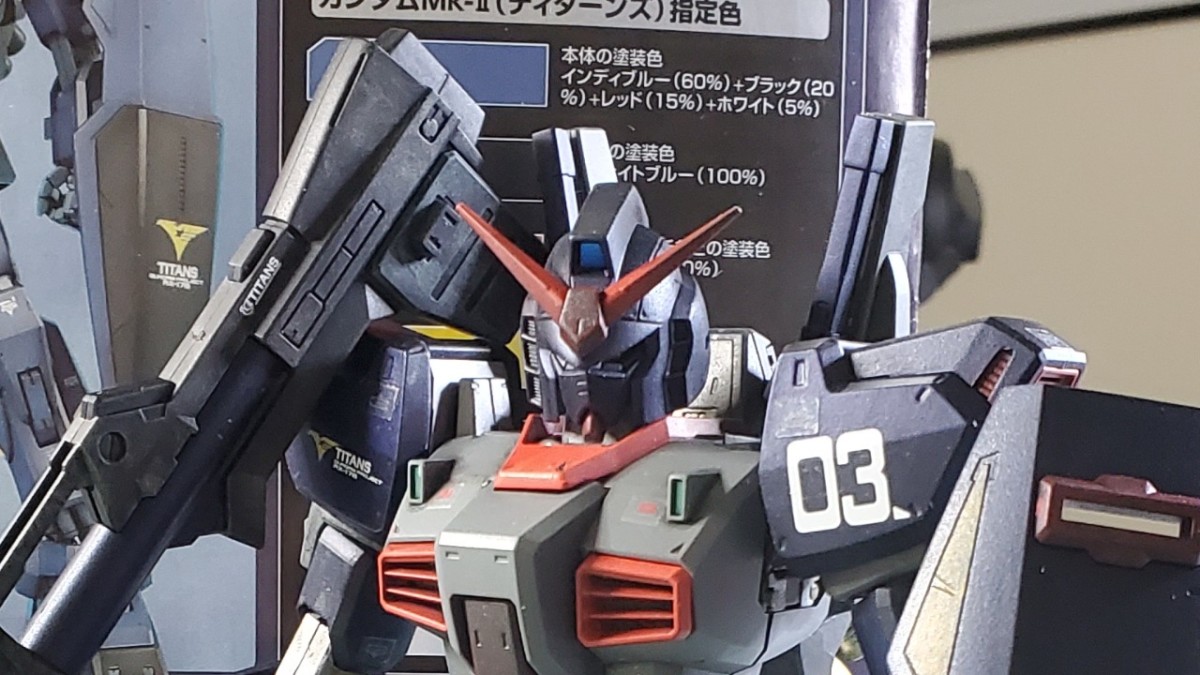
Next time you’re browsing hlj.com, why not try out an older kit with some decals like the Gundam Mk ii!
I think you’ll be pleasantly surprised with how easily you can make another Happy Little Robot for your shelf.
From all of us here at hobbylink.tv I want to wish you happy painting, and don’t forget to wash your hands!