cobaanii’s 1/12 Open-Air Bath Made of Cypress wood kit is available at HobbyLink Japan!
Tools & Materials
I knew I was in for quite the craft project when I picked this kit up, but I wasn’t expecting to accumulate so many tools. Some of these things I already had lying around the house, either for household purposes or for plamo. That’s the good part: most of the tools you’re going to need to put one of these together, you probably already have.
Here’s my list:
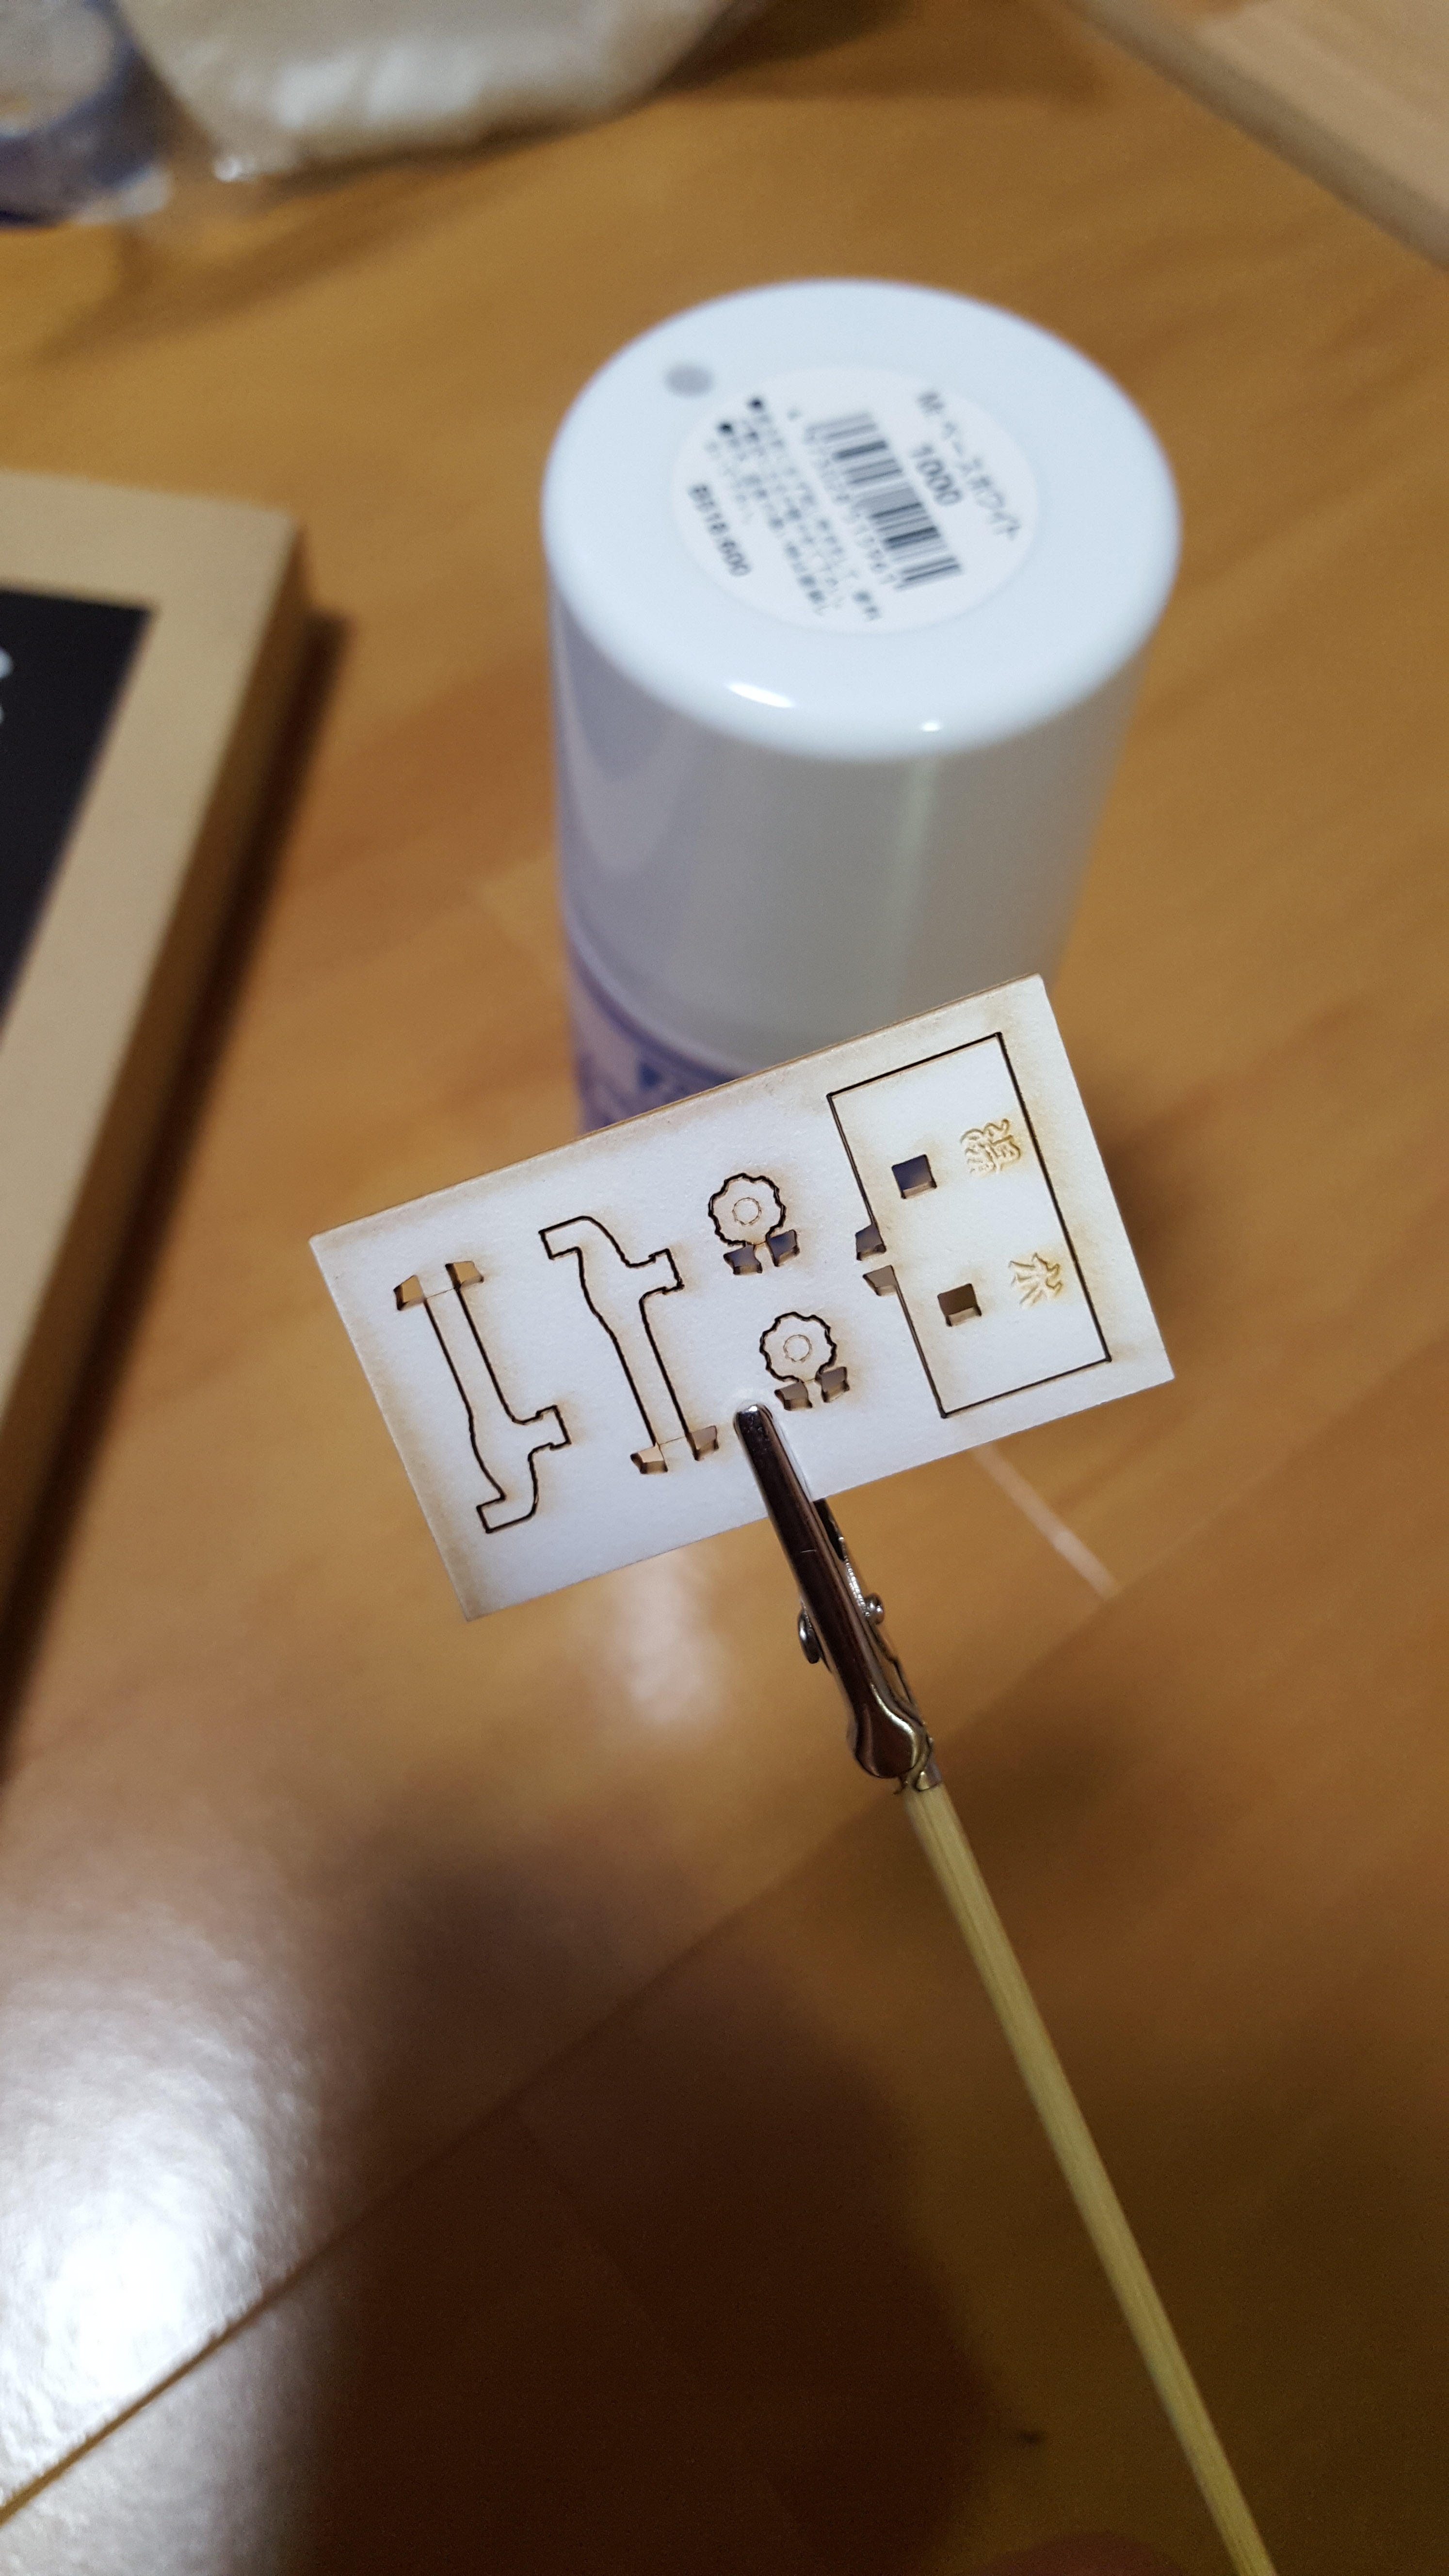
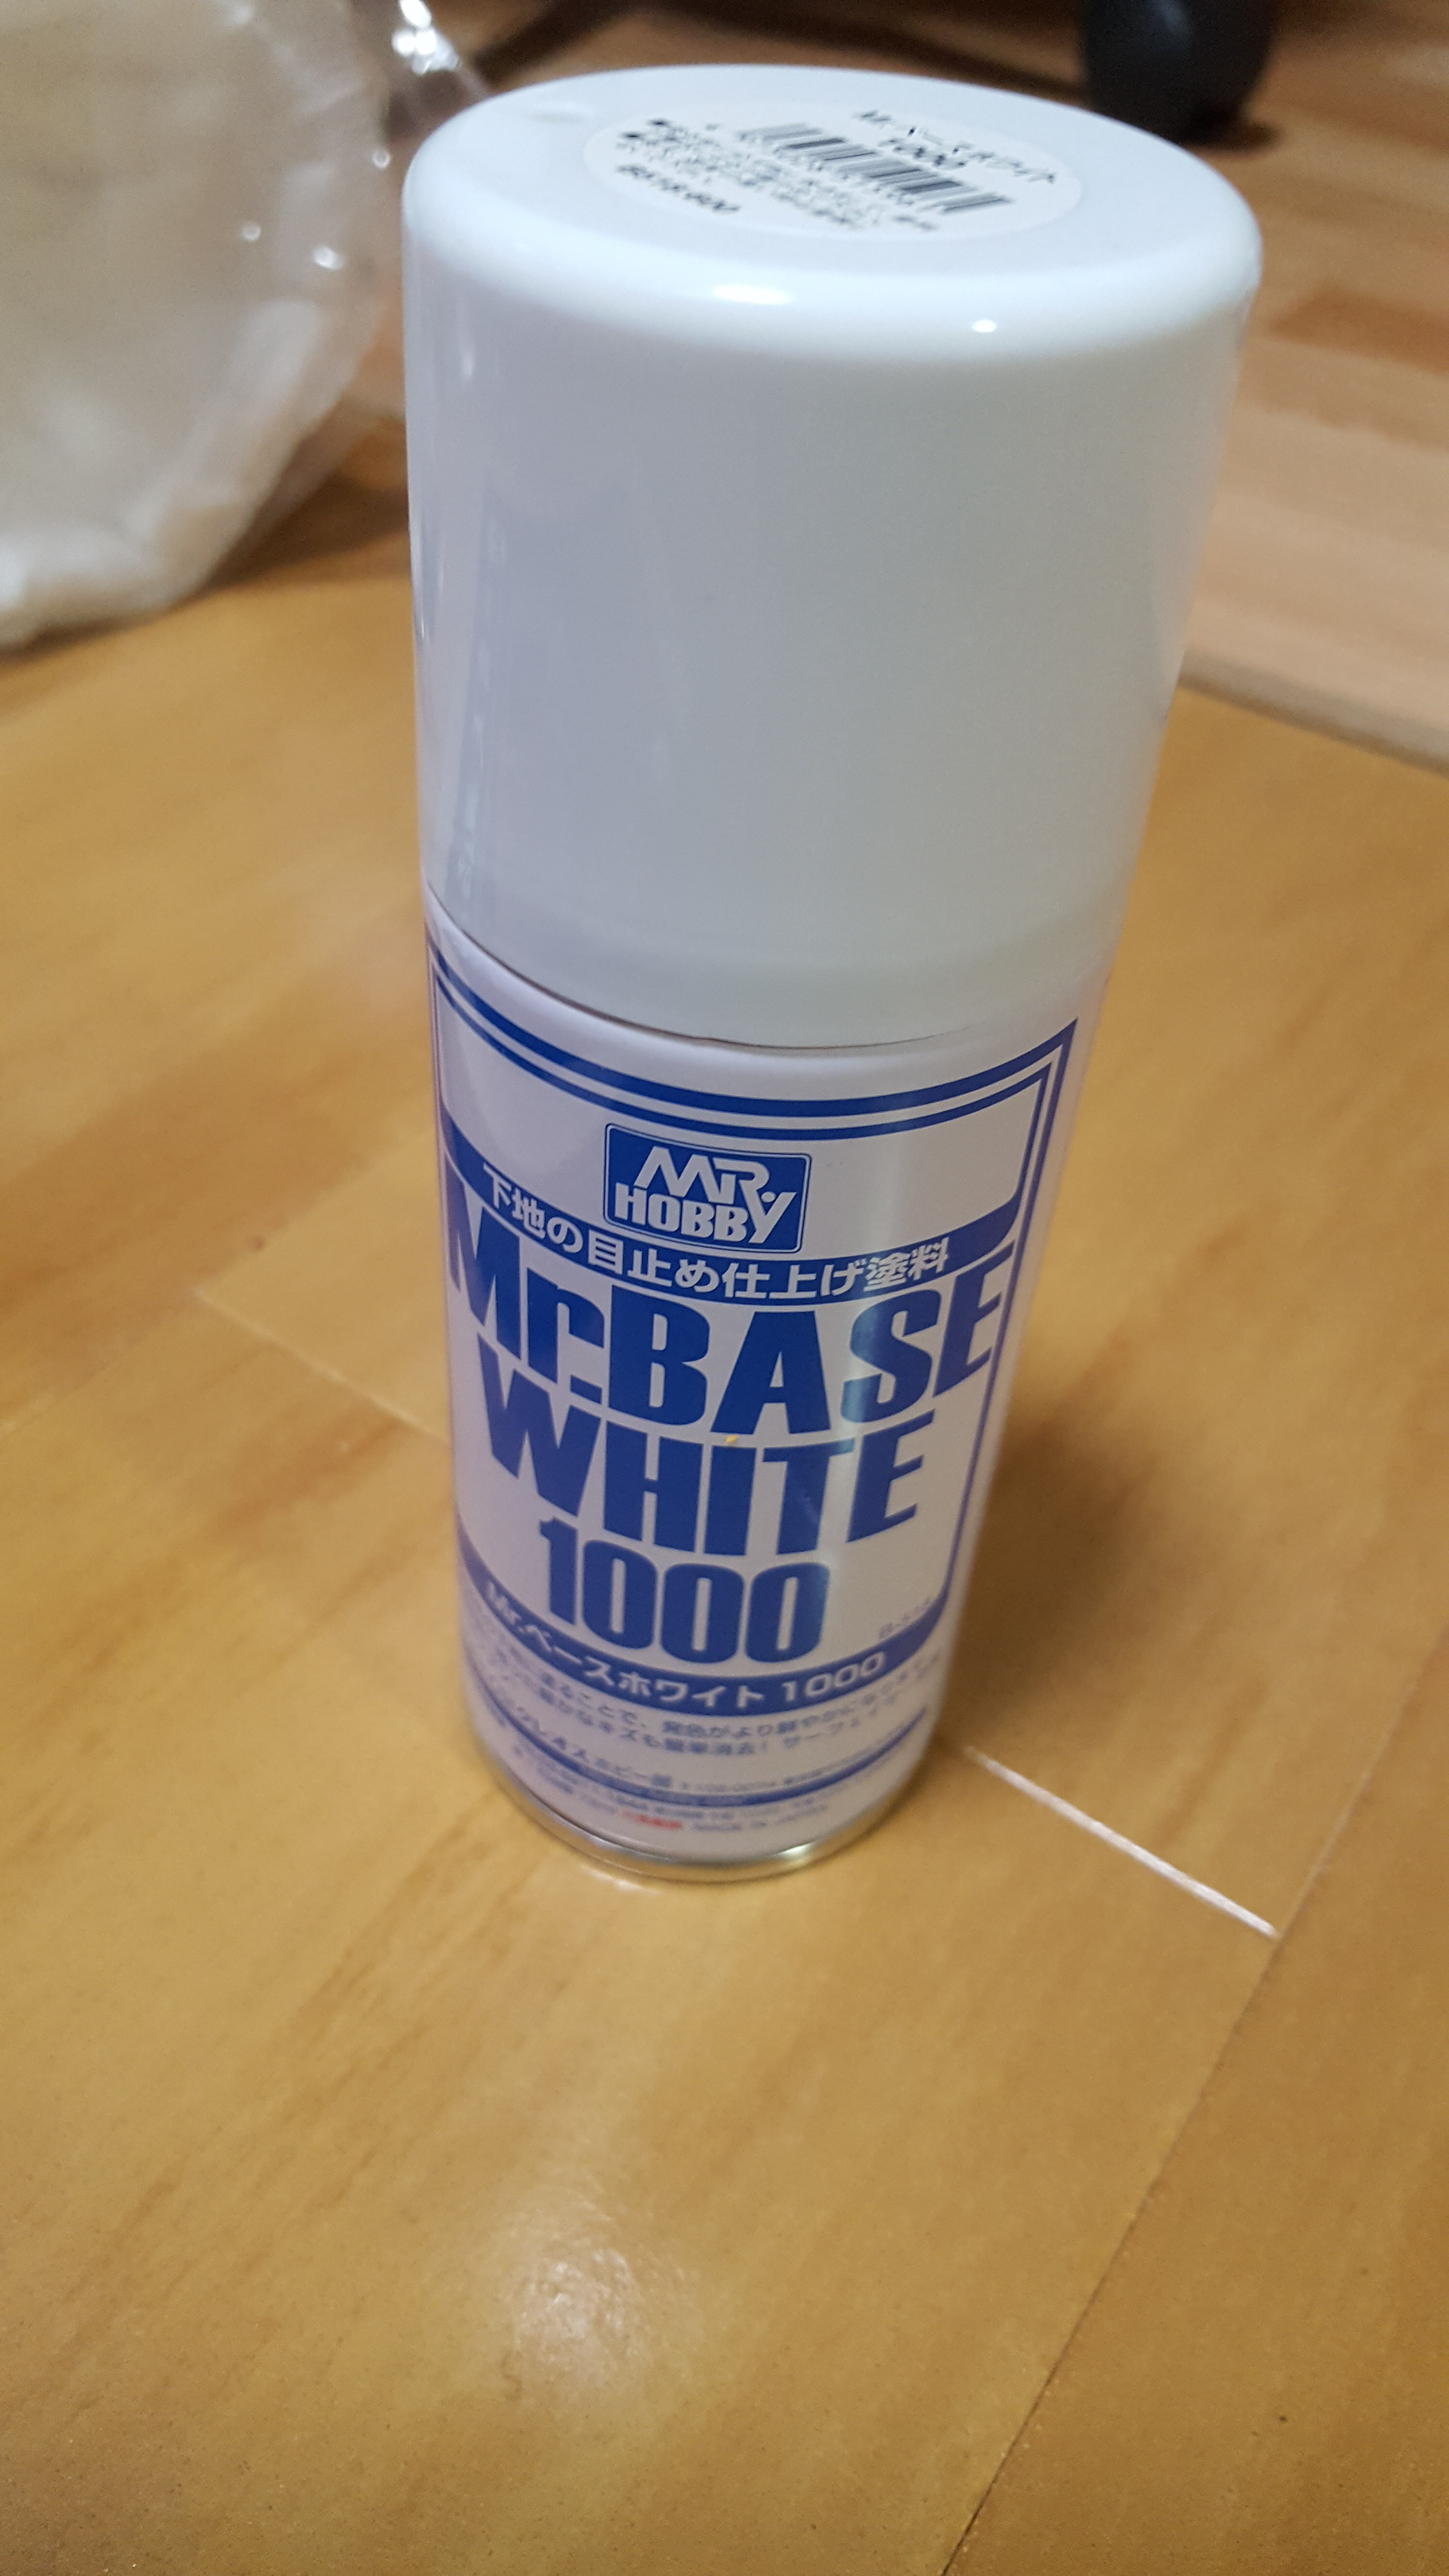
- Mr. Hobby Mr. Base White 1000 (First Photo)
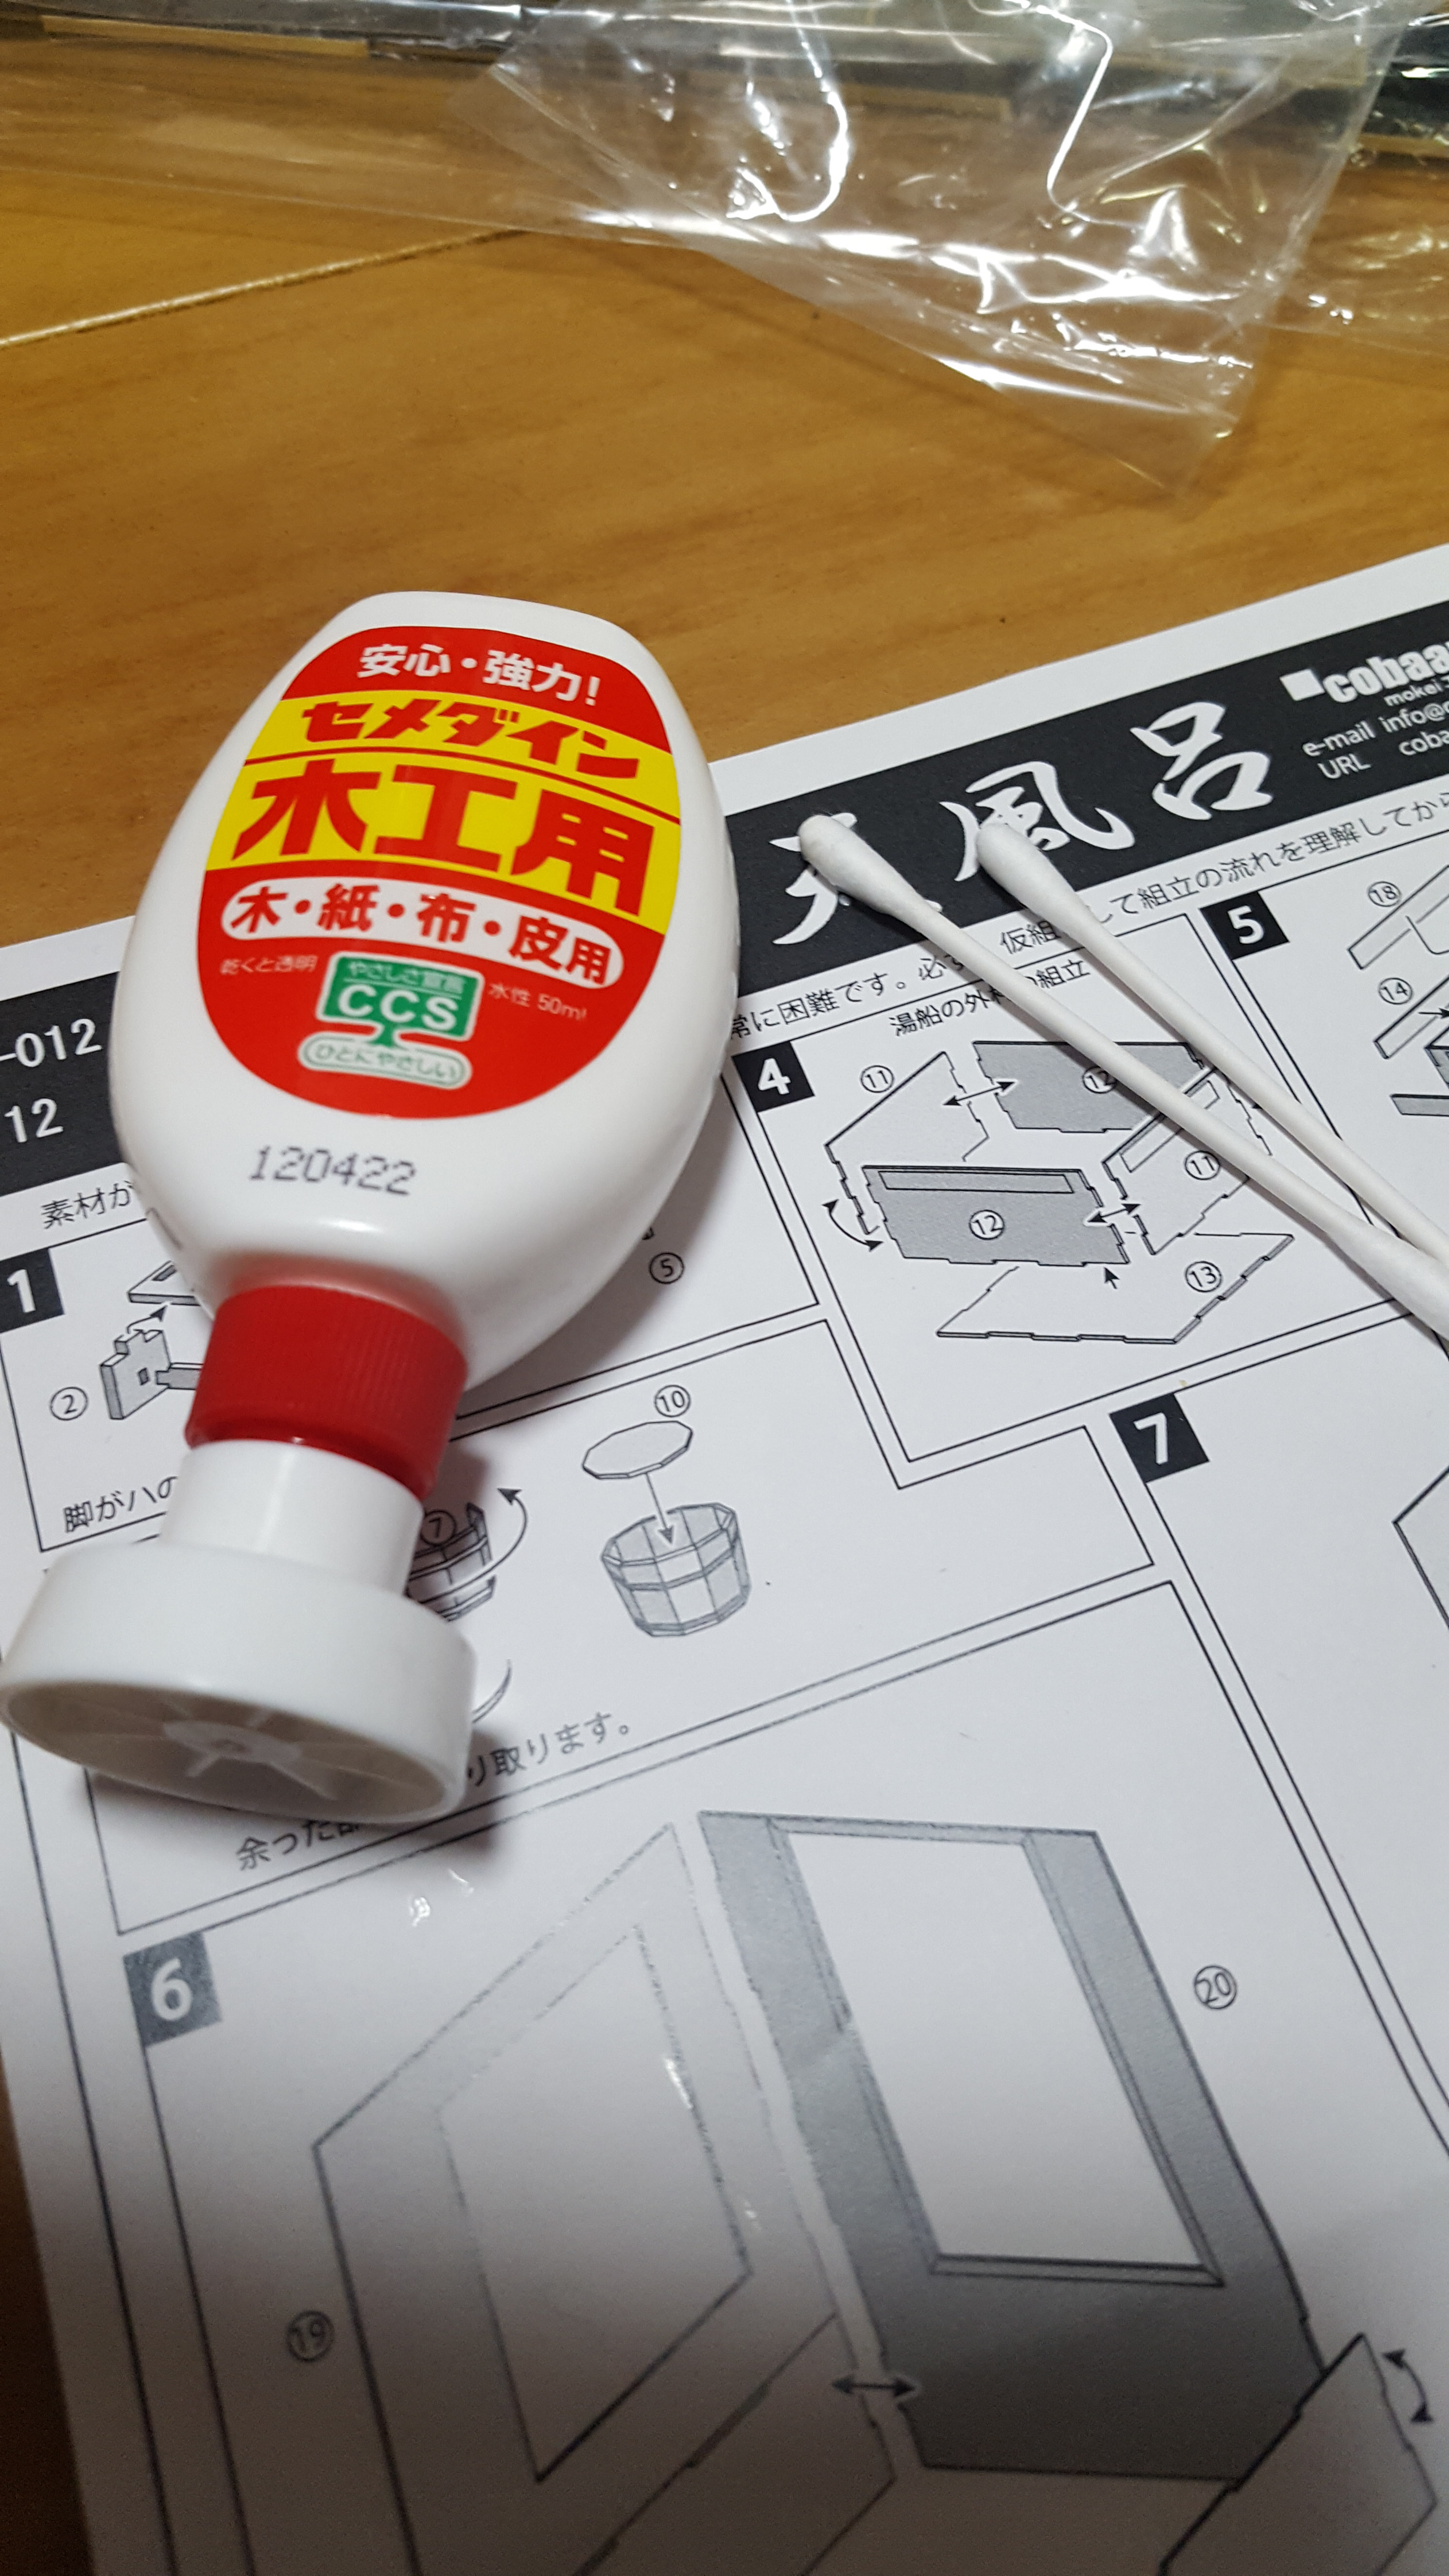
Look, I don’t know if you’re supposed to use this on wood or not. But for the faucet parts I knew I was in for some intense painting, so I pulled this out of my closet for priming. - Wood Glue (Second Photo)
Any old wood glue will do! The stuff I’m using costs about 100 yen ($1 USD) and you can get it just about anywhere that sells home improvement products. You can use any brand, really! One observation about this one is that it doesn’t get firm at all until it’s at least halfway dry, so you need to let newly-glued parts sit until it takes. - Cotton Swabs (Second Photo)
I make an unholy mess with glue, so these are here to help me clean up the edges. I also use them for distributing glue evenly over larger surfaces. - File Sticks / Sandpaper (Third Photo)
There are nubs on this kit. Each piece has at least one wooden peg holding it to the “runner,” so you need to cut that off and sand down what’s left. Be careful — some of the parts are very thin and delicate. Any sandpaper should do! - Nippers / Cutter / Craft Knife (Not Pictured)
You’ll need something to cut the wooden tabs to get the pieces off the frames/runners. I used my plamo nippers, which was probably not a good idea (I imagine it’s going to dull them right fast), but you can use any craft blade that’s strong enough for wood. - Enamel Paint (Not Pictured)
Not every wood kit is going to need paint, but for those that do, enamel is recommended. For my faucet, I grabbed Mr. Hobby Mr. Color Super Metallic 2: Super Chrome Silver Metallic 2 (what a mouthful). I honestly don’t know if it’s an enamel or not, but it got the effect I wanted.
As of this writing, I don’t have them on hand yet — but for the hot/cold tap labels on the faucet, I ordered Tamiya’s Flat Red & Flat Blue enamel paints. - Paintbrush & Paint Clips (Not Pictured)
If you’re doing any painting, you’ll need a brush (for brush painting, at least), and paint clips to hold your pieces while they dry. - Paint Mask (Not Pictured)
I do a lot of craft work with a lot of nasty chemicals, so I’ve invested in some pretty nice masks to keep me from choking on the fumes. I recommend having these on hand anytime you paint for your safety — and of course, always paint in a well-ventilated area!
It seems like a really long list, but most of these are things you should already have if you’ve built model kits before. And for what you don’t have, a quick trip to a hardware store should get you the rest.
I personally also bought wood stain, but decided I won’t be using it on this kit because I like the color of the wood as it is. You may also want a pair of tweezers to keep things neat, but I prefer to go all-in and get glue all over my hands because I have no patience. It’s up to you!
Feel free to let me know in the comments what other tools you use for your own kits, if you’ve built wood kits before!
Painting
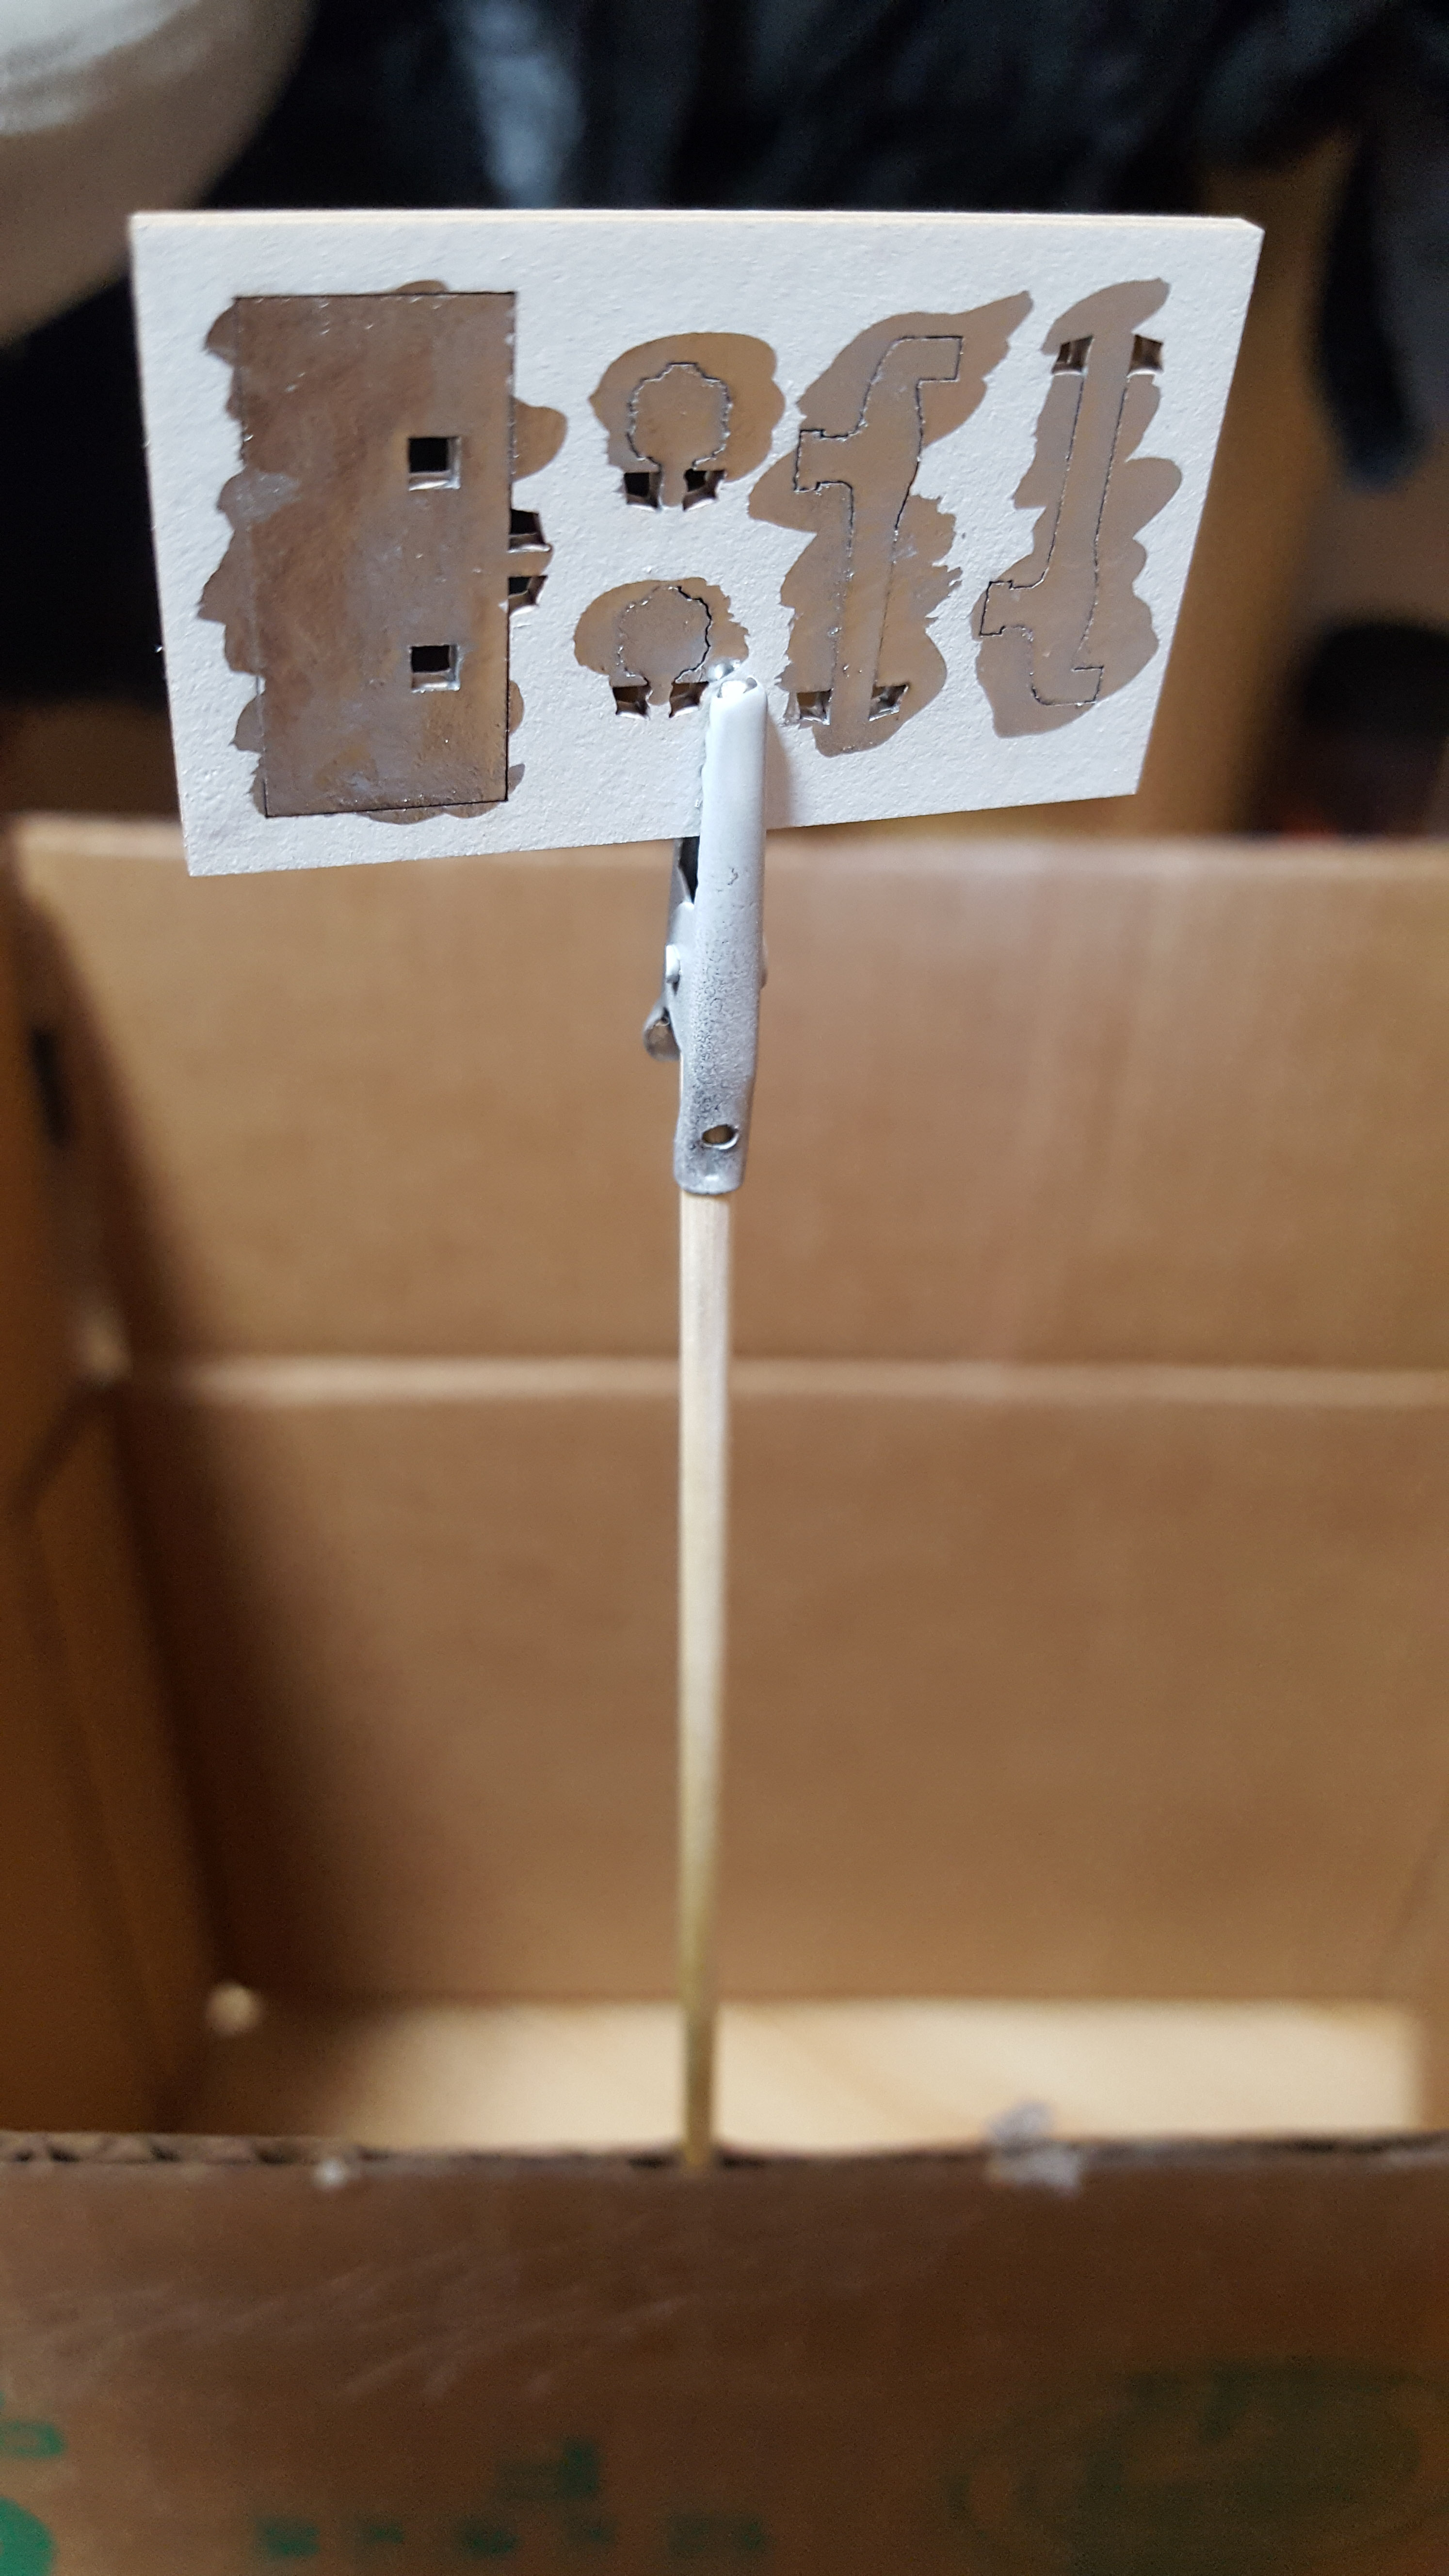
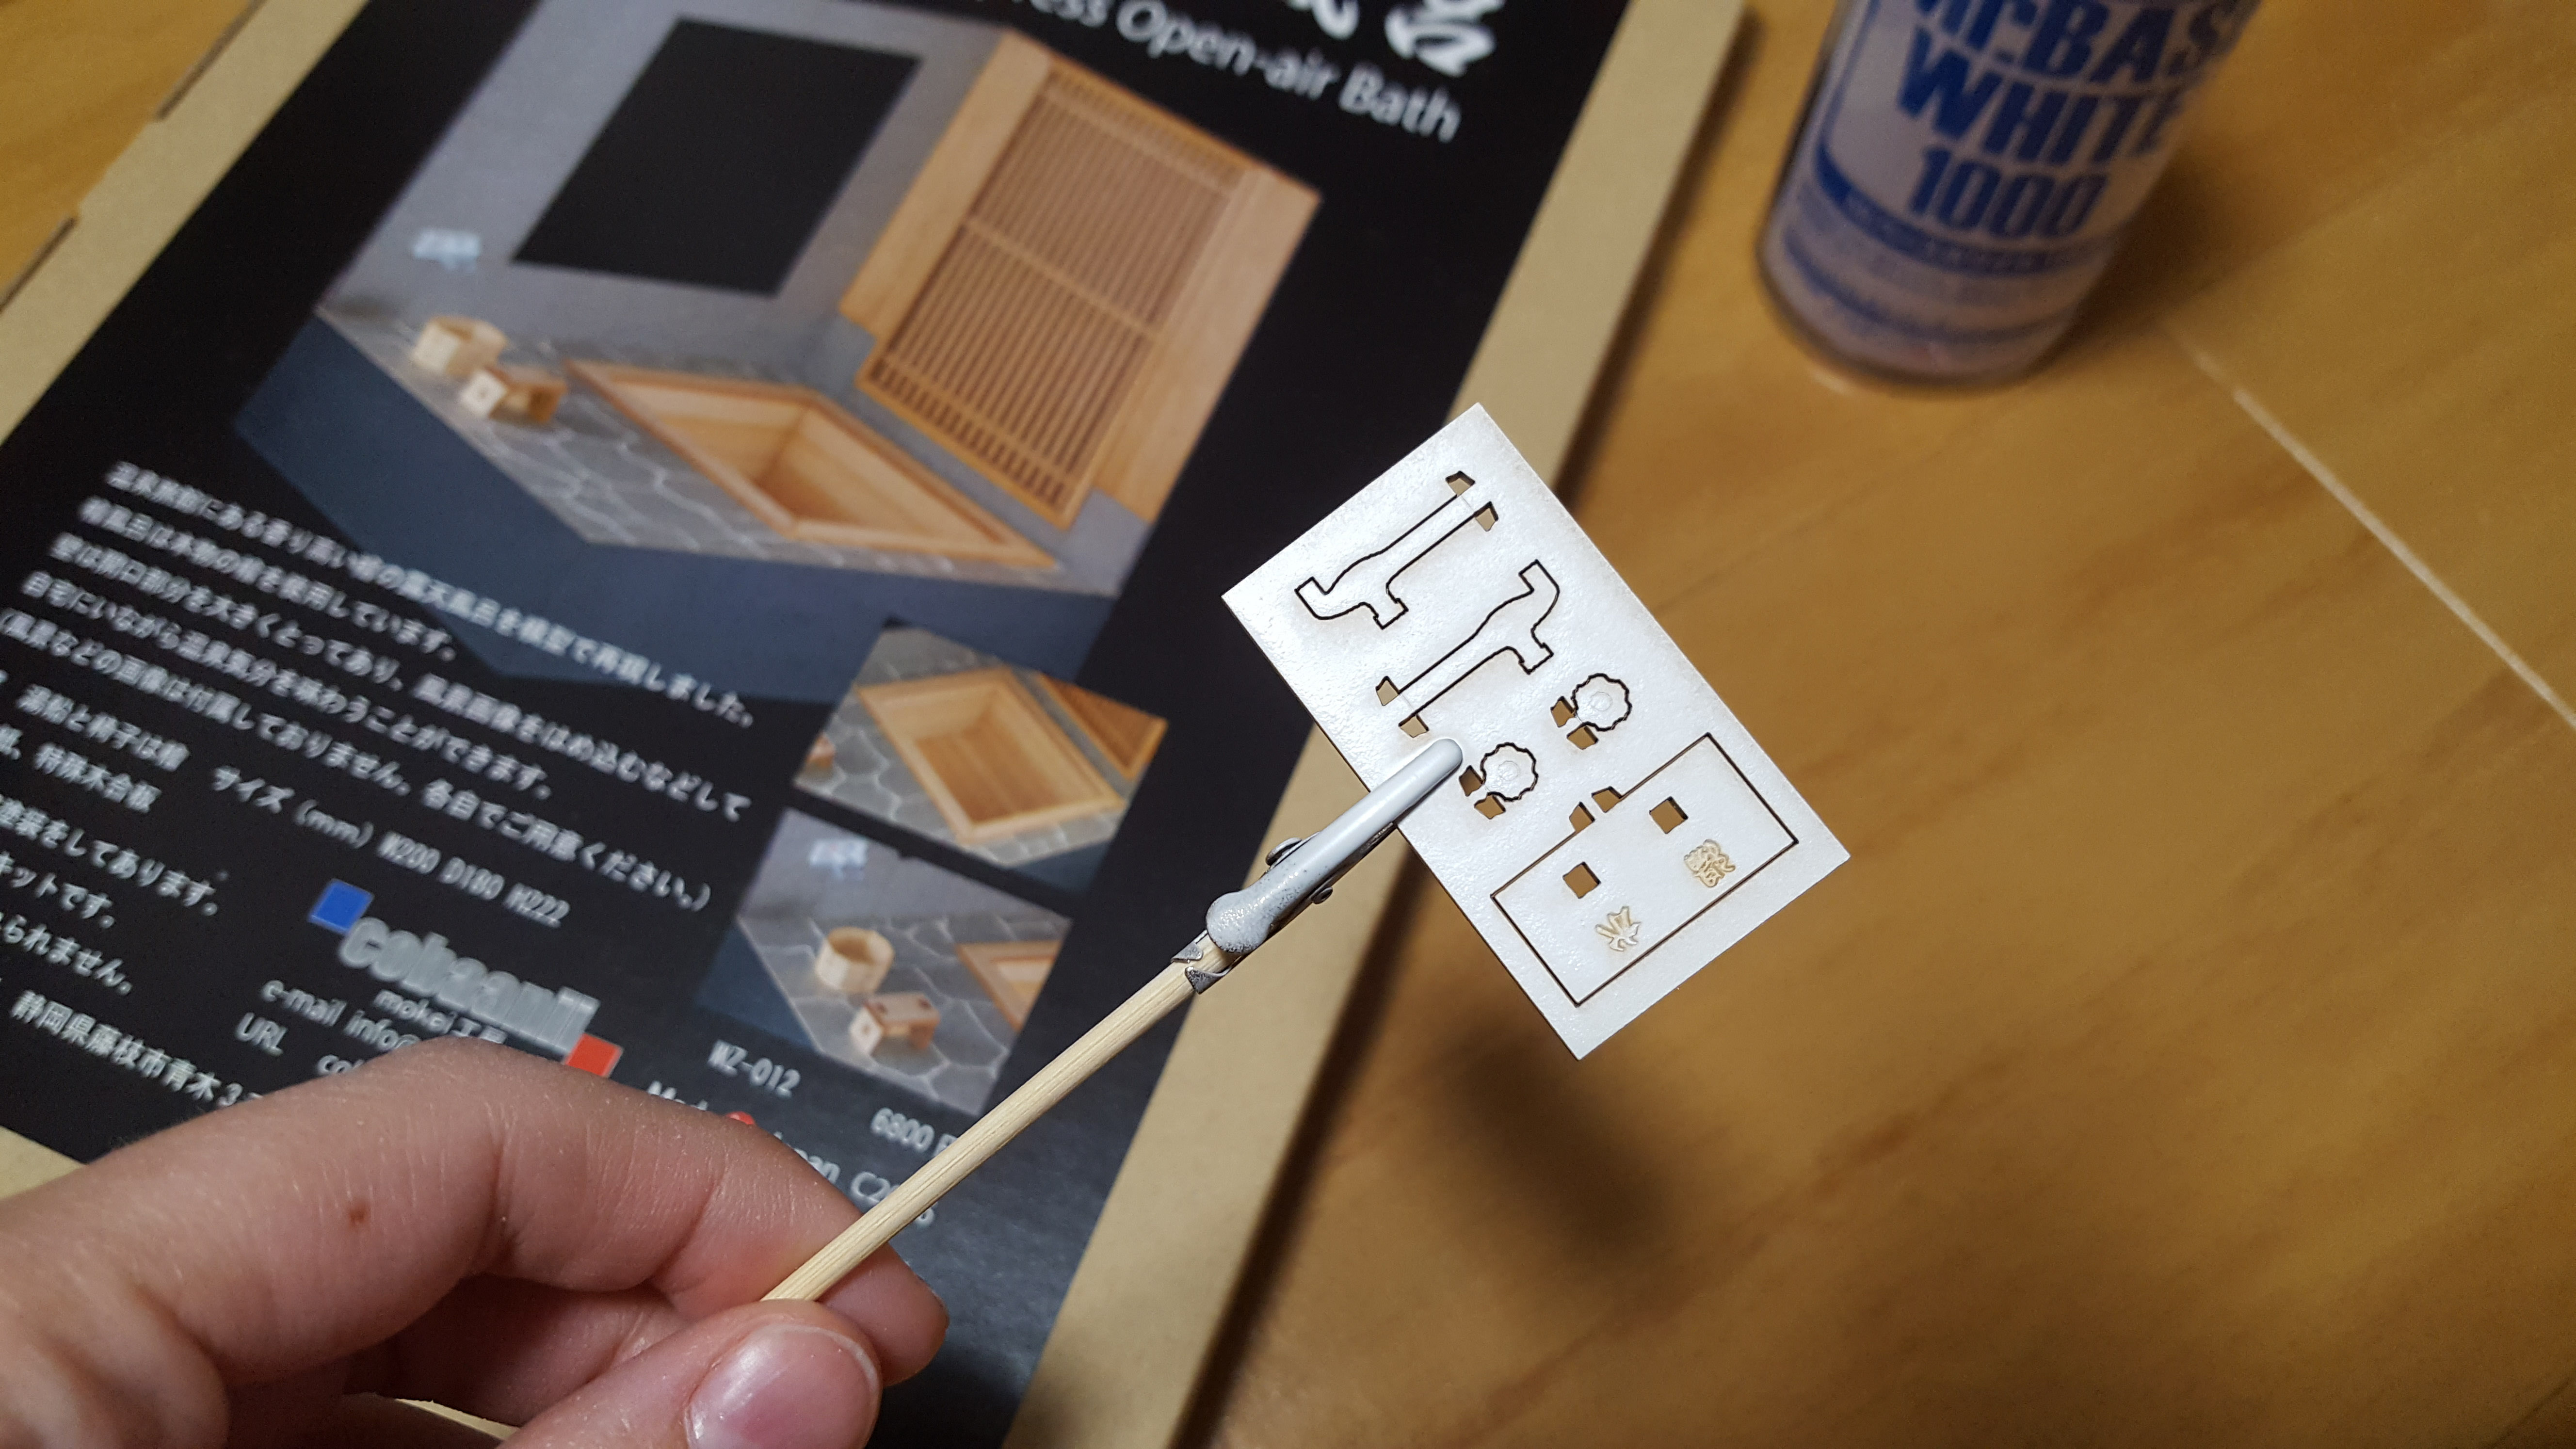
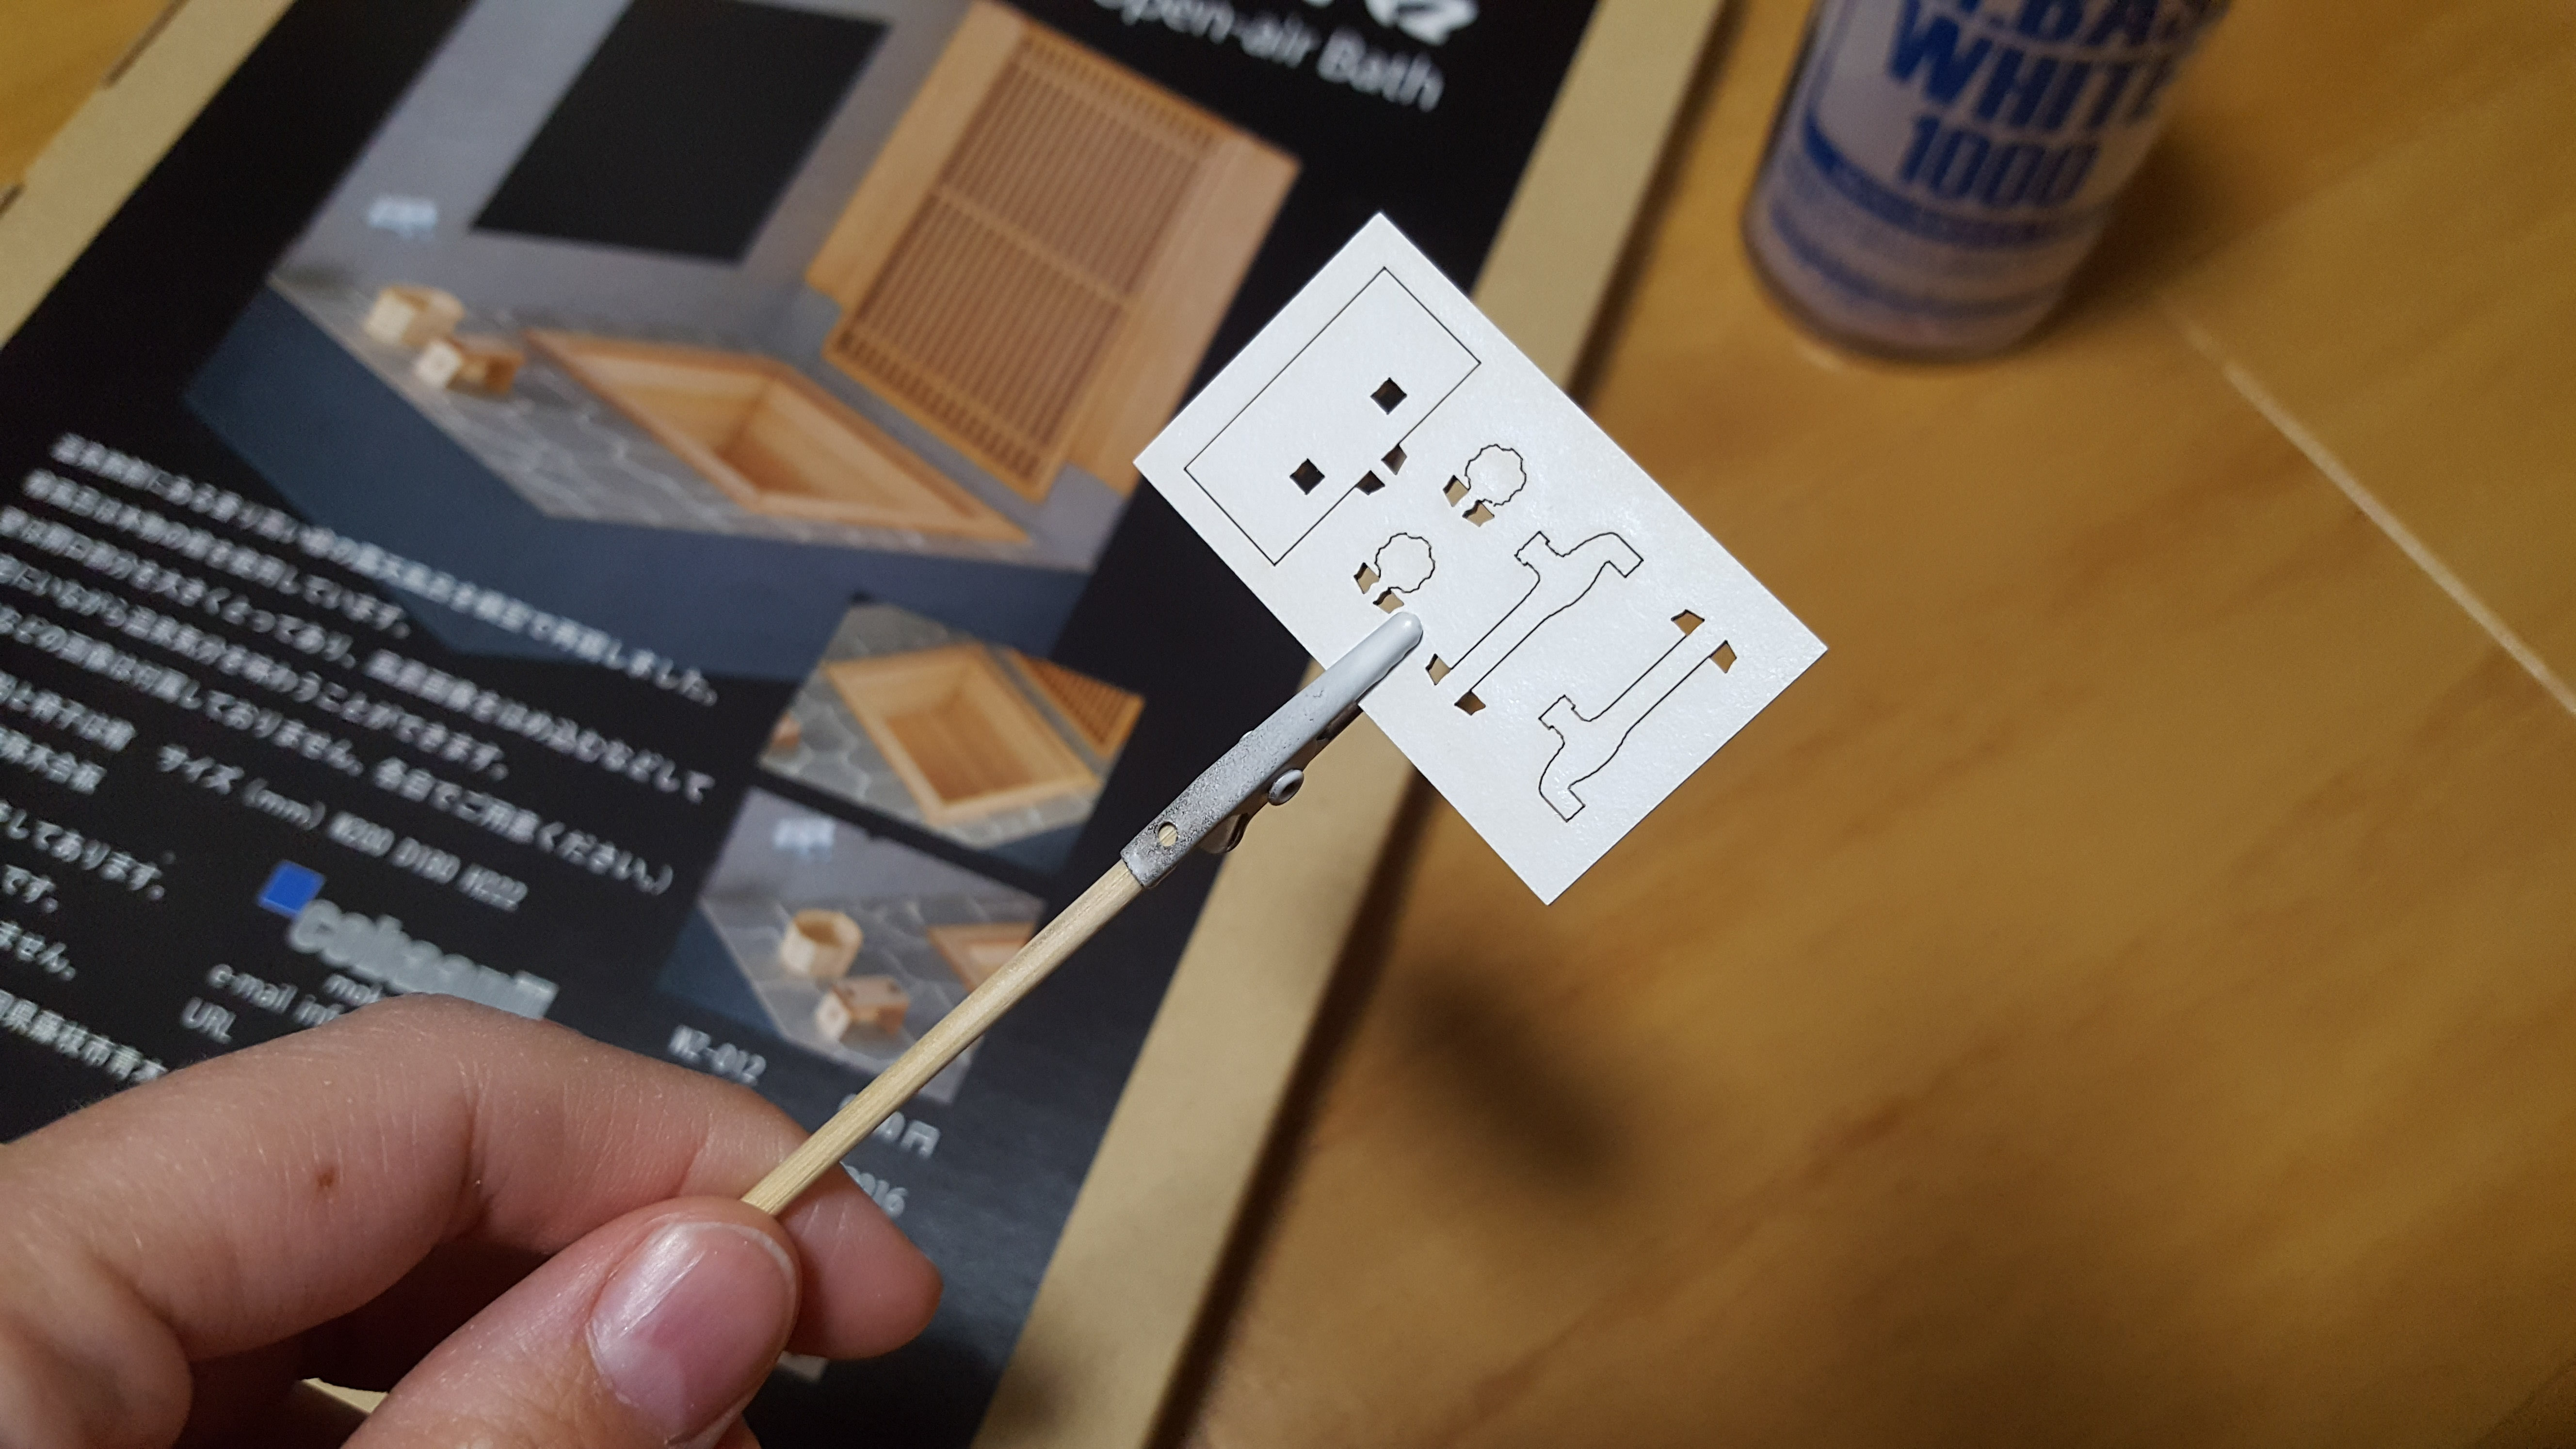
The very first thing I did was paint. Here’s what the faucet parts look like unpainted, on their little frame.
This is the only part I decided to paint on the kit, so I decided to get it out of the way first. I took it outside and gave it a once-over with my Mr. Base White.
The lovely, even result! After allowing it to dry for about 2 hours, I took to it with a brush and my Super Chrome Silver.
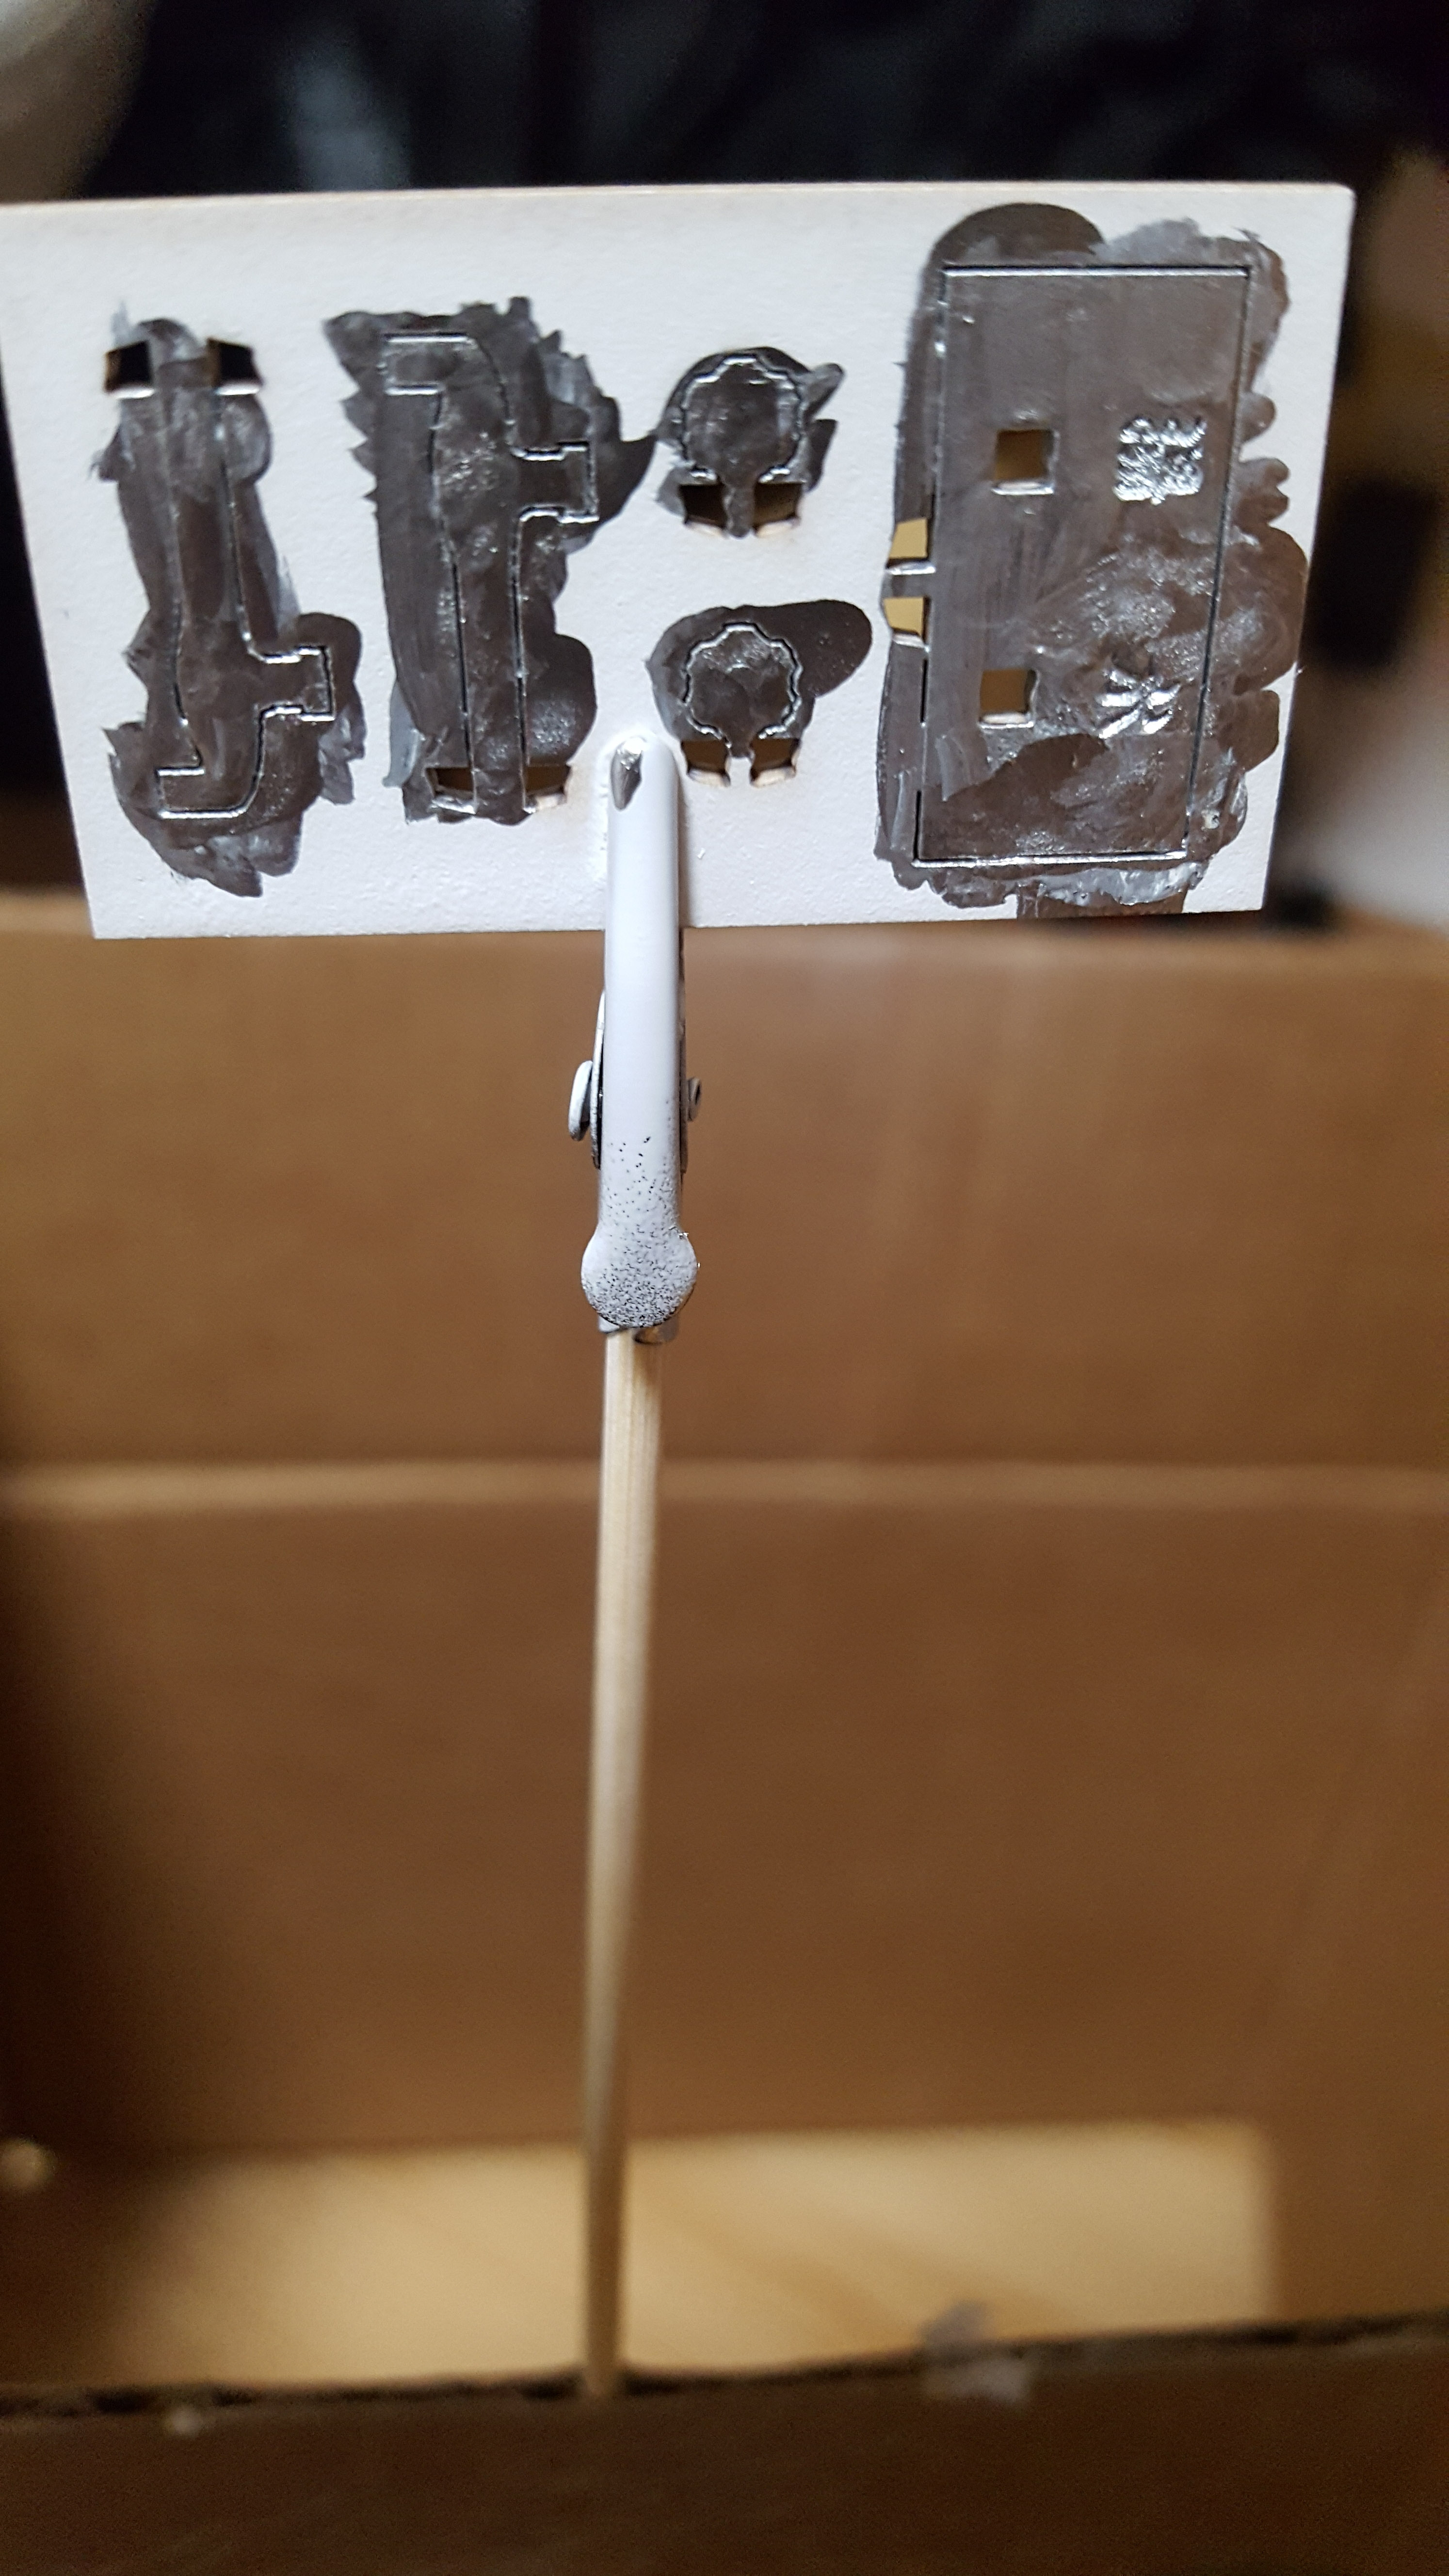
Maybe the base paint bled, maybe the chrome paint doesn’t like my brush, or maybe the material just didn’t take to the base paint well. Regardless of the reason, I ended up with sort of a patchy look on my parts. I’m not too terribly bothered, since this particular bath scene is supposed to look a little old-fashioned, so a tarnished tap is no big deal.
I do have to paint the edges, so I decided I’ll give it one more coat once I’ve got it assembled and see how it holds up.
Next, assembly.
Starting the Build
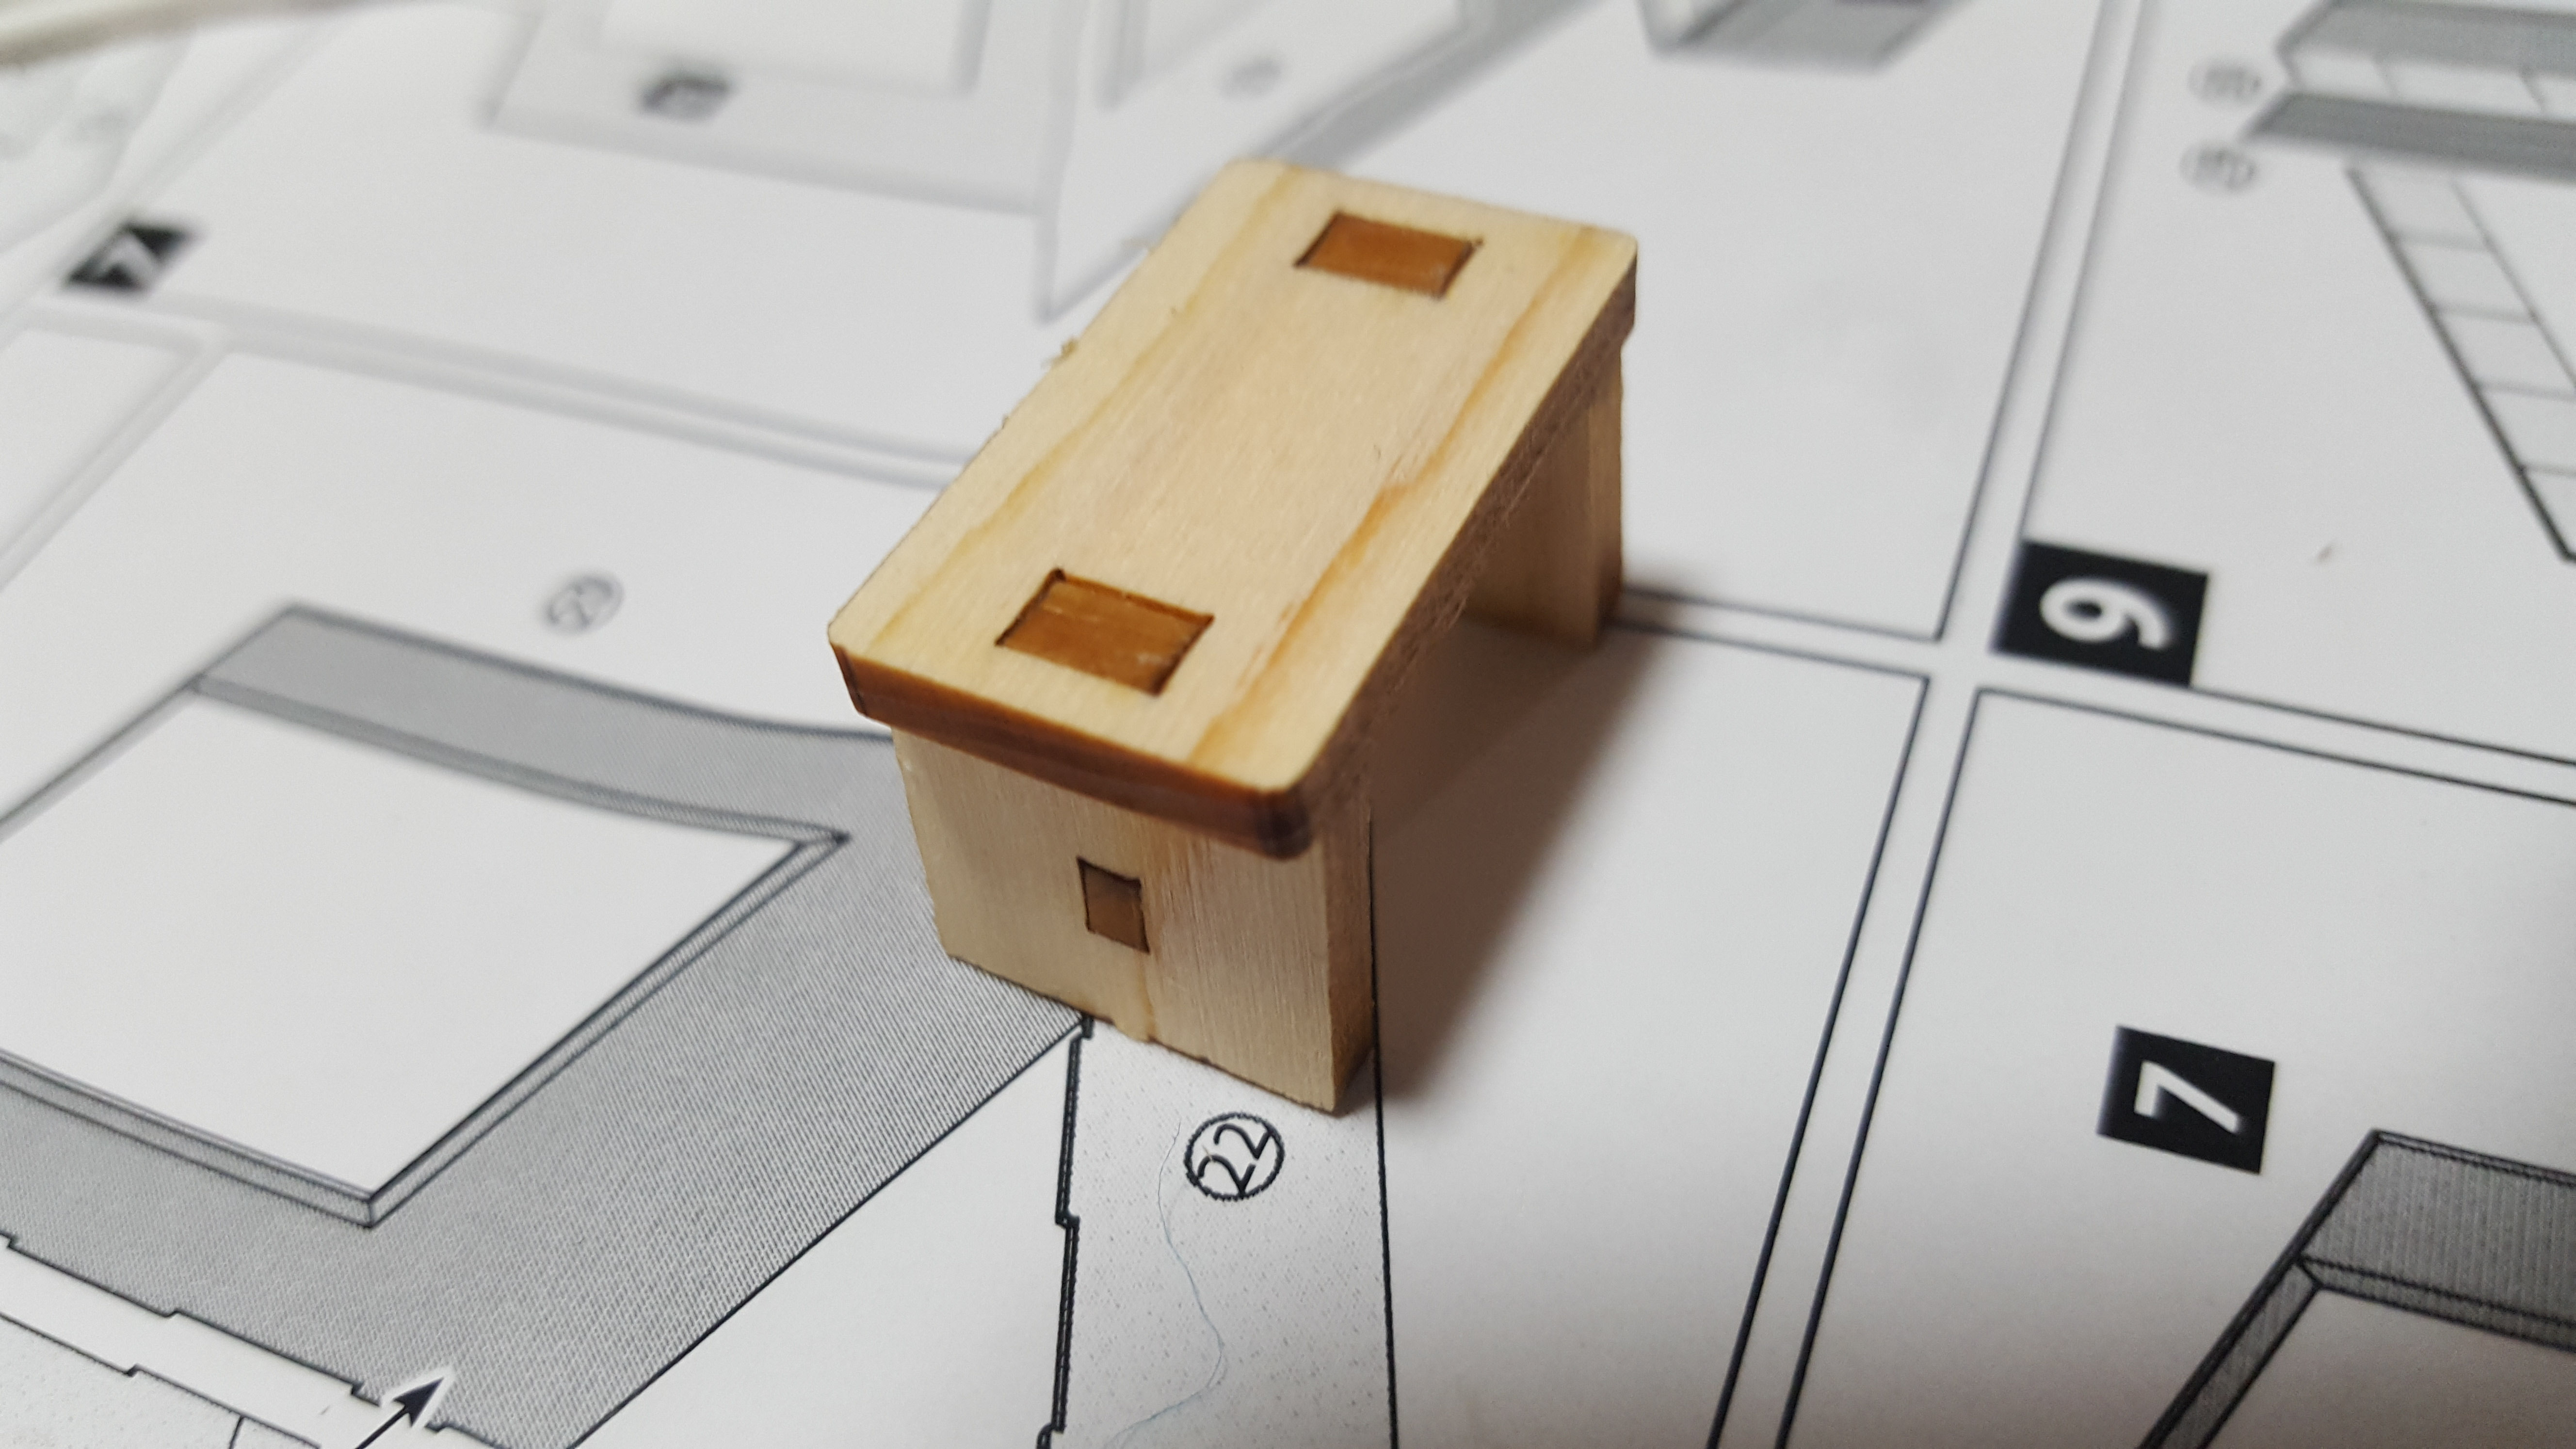
The instruction manual mentions in strong words to make sure you understand how you’re putting things together before you start gluing. I did, but I still struggled a bit right off the bat. For one, the pieces are not labelled on the “runners.” You have to find the shape of the piece in the booklet to see its reference number, and use that to figure out which piece goes where. I had a lot of double- and triple-checking going on as I started the first, most simple accessory: the stool.
The result isn’t bad! It’s made of four little pieces that slot together. (It should go without saying, but glue is necessary for every step of this build. There are no parts that hold together on their own without it.)
Next, to the wooden bucket.
This one was something else. The little slats were pre-scored on the runner so they were very easy to bend into the right shape, but the long strips that wrap around the bucket are very delicate little pieces of paper. It took me quite a lot of work (and a whole lot of re-gluing) to get them on properly.
To get the shape, you push the bottom of the bucket through the top hole with some (a lot, if you’re me) glue and it pushes the slats into the correct configuration.
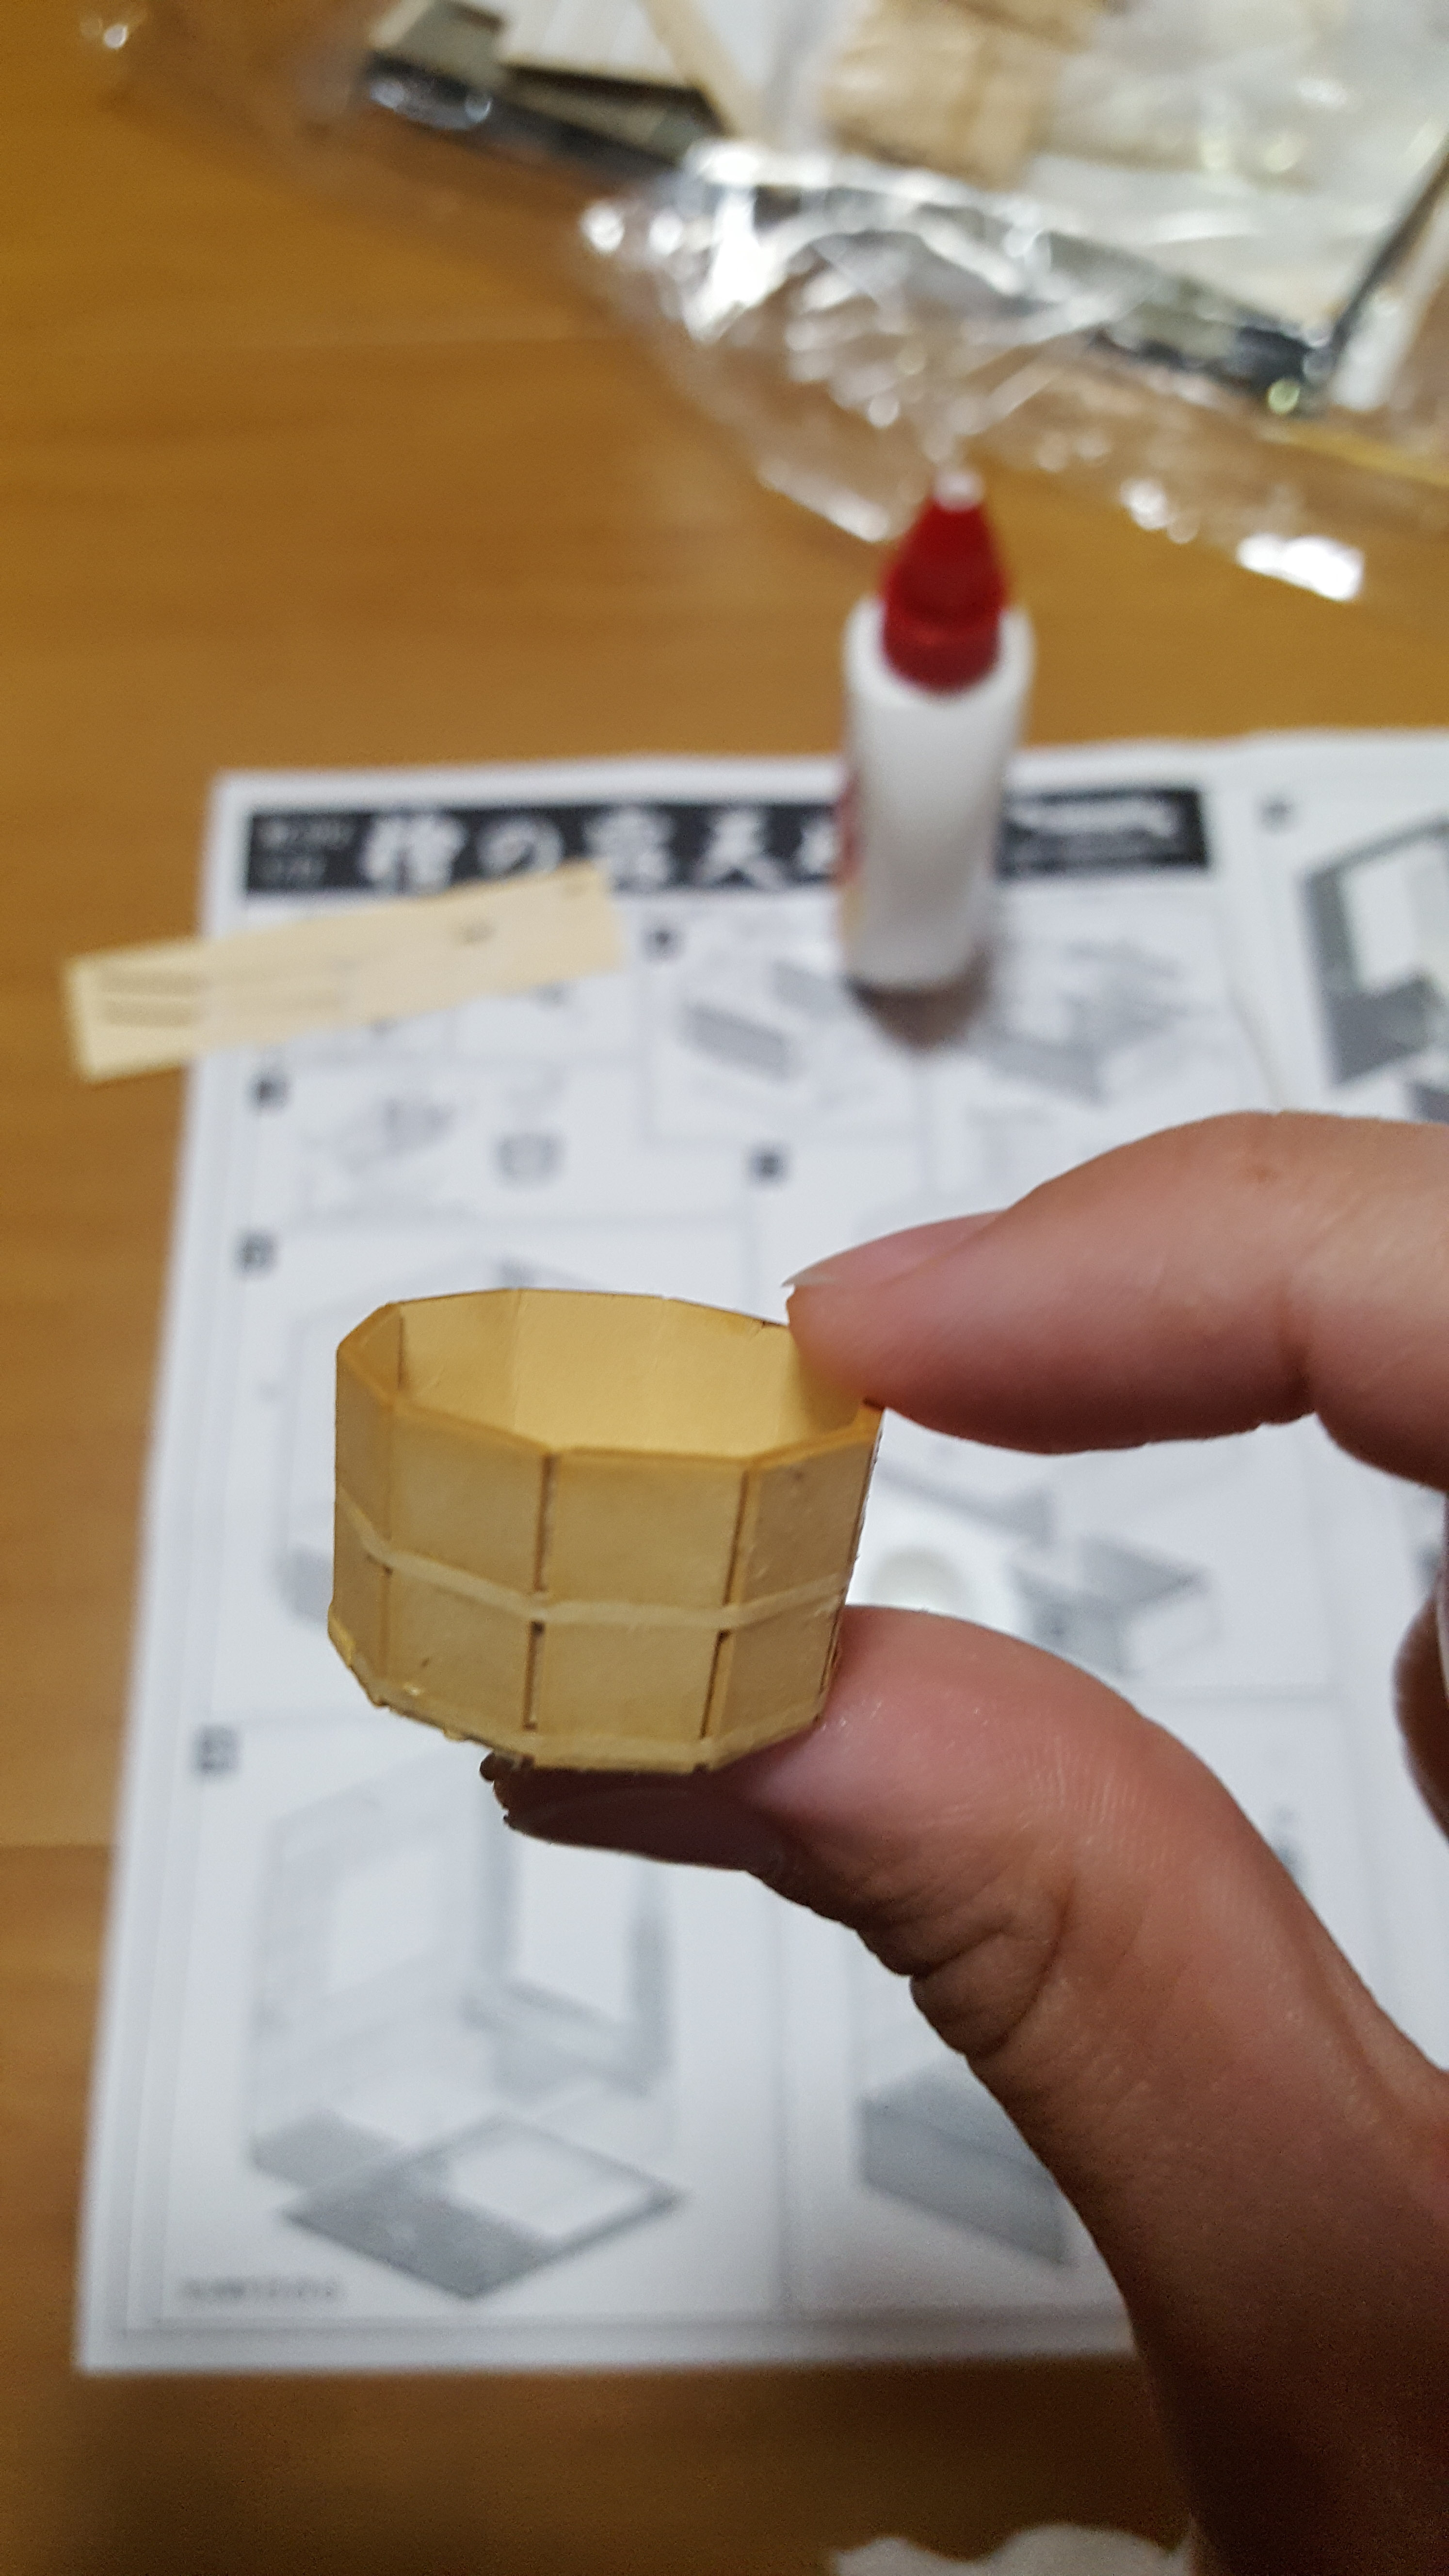
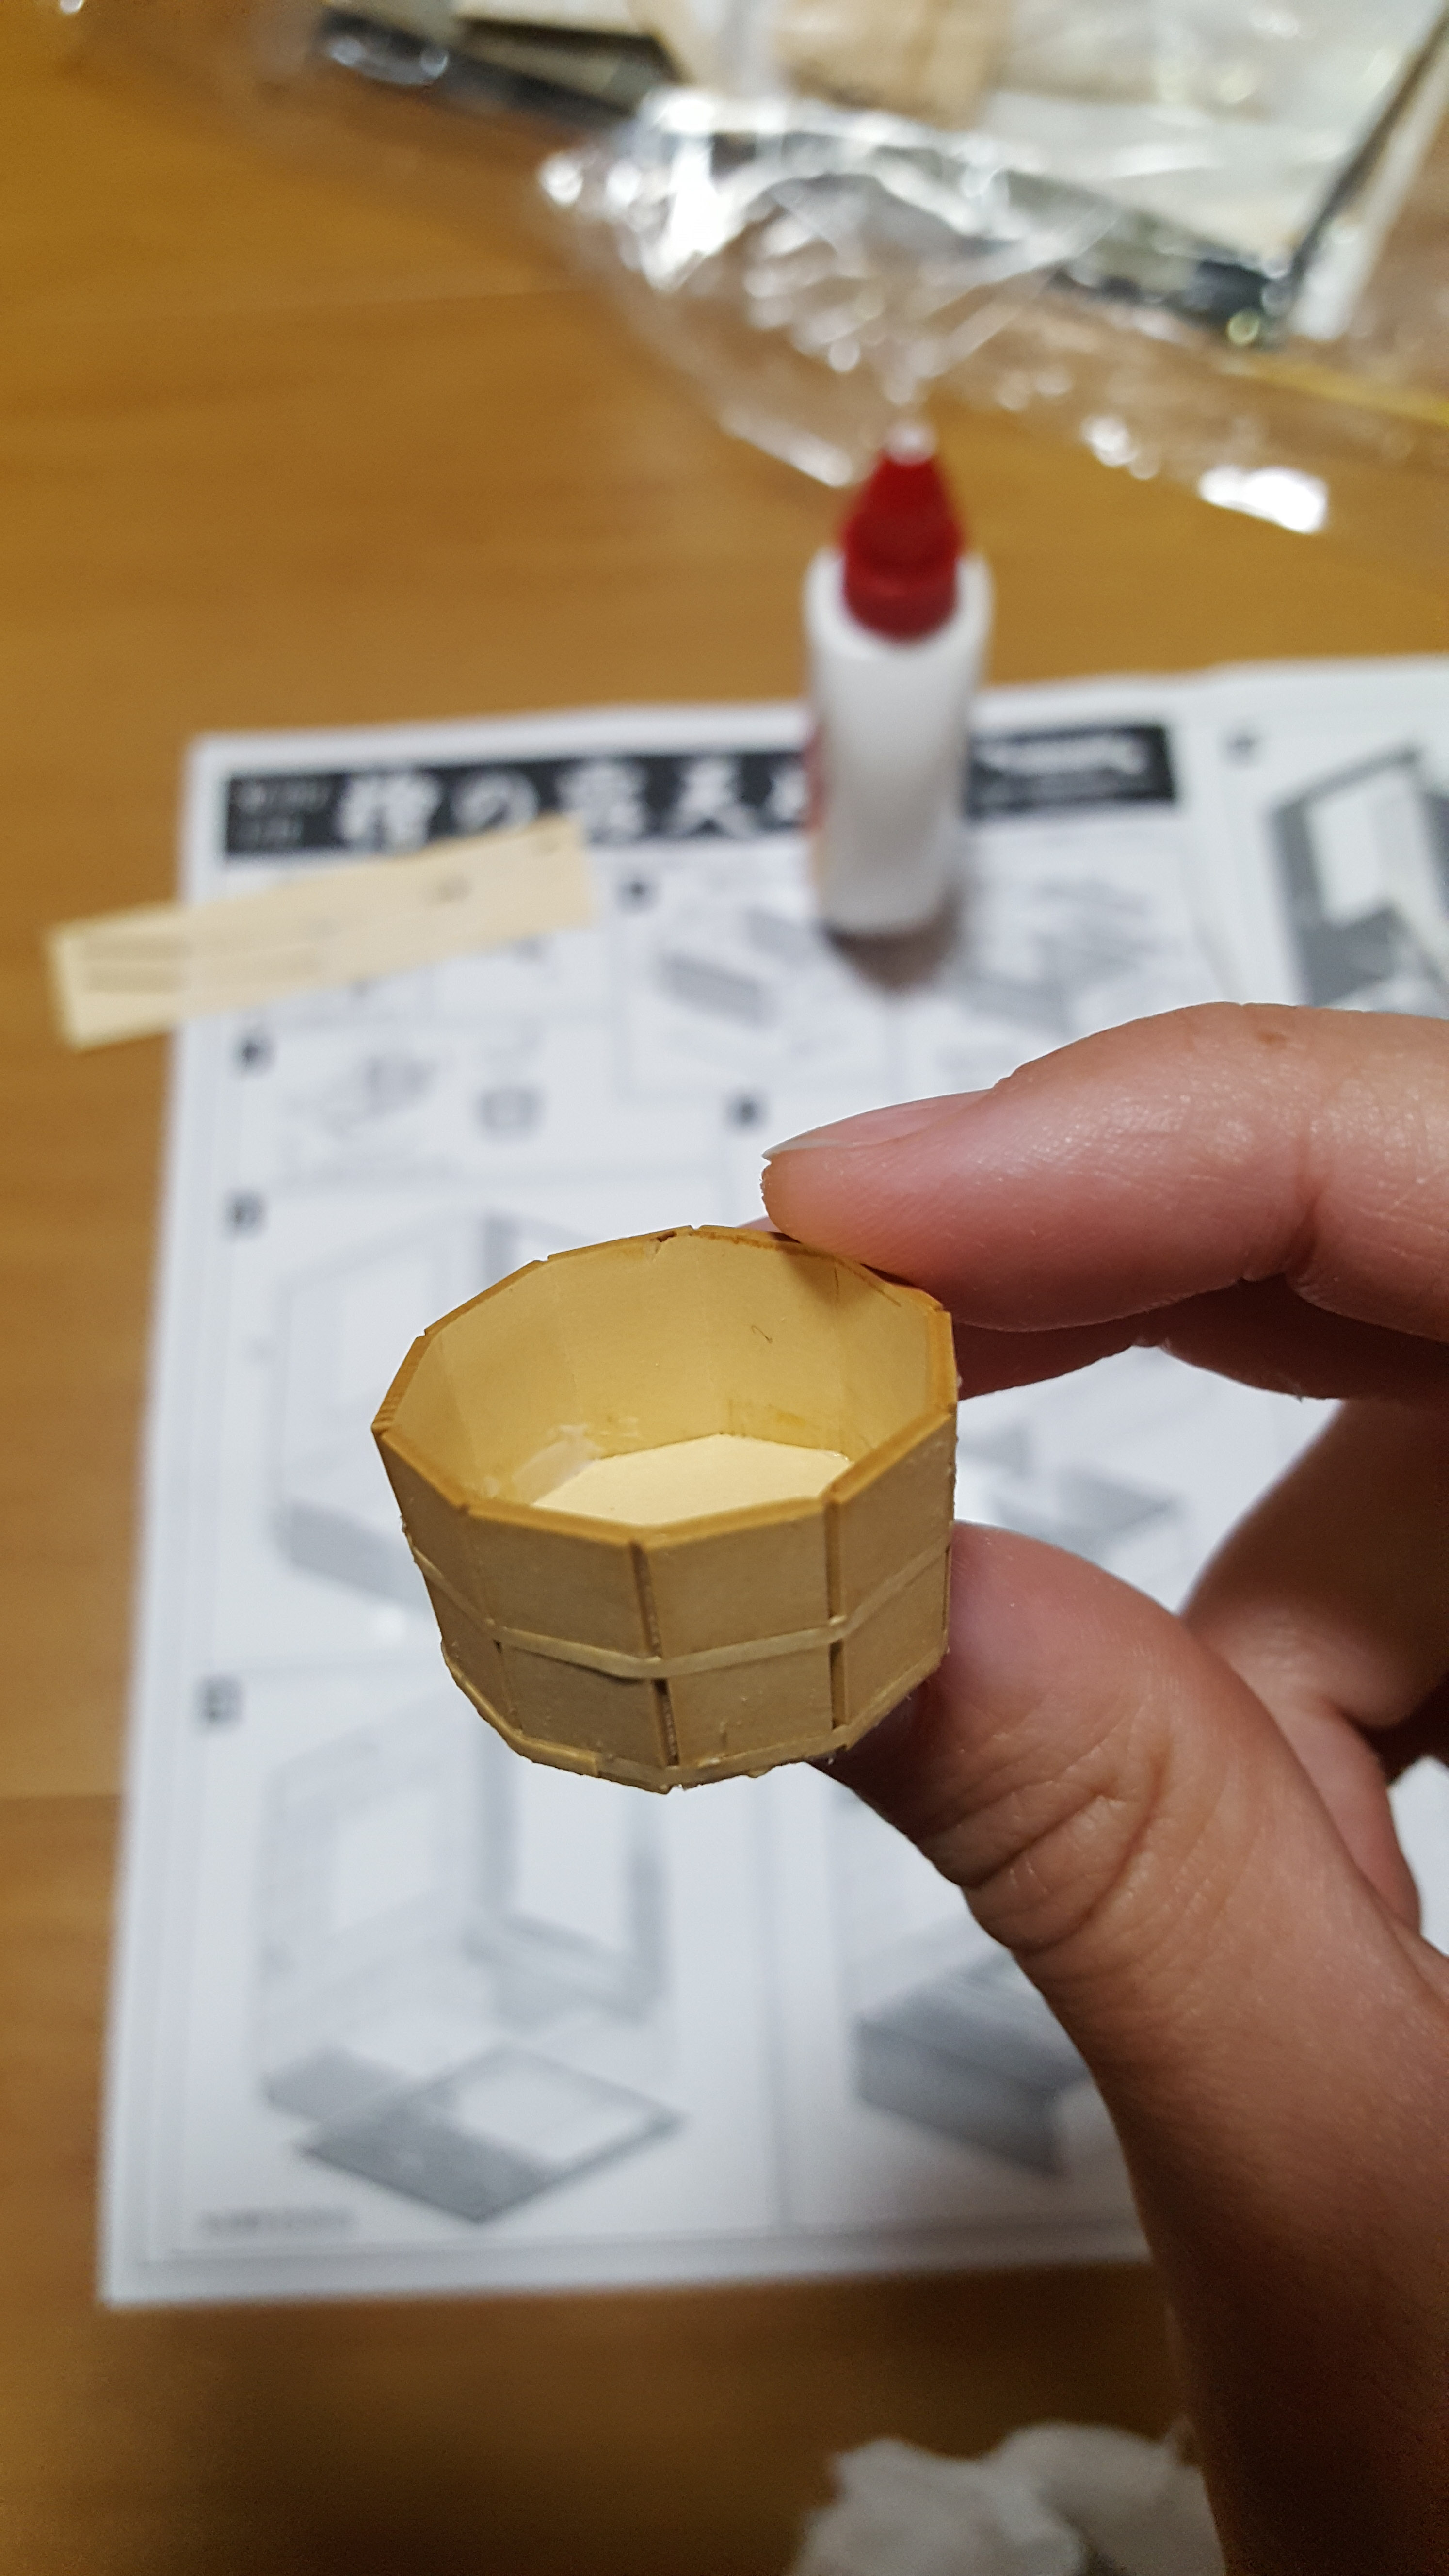
Honestly, I’m very pleased so far with how neatly everything fits together. There were no gaps in the bucket; everything is nice and flush and looking very good so far!
I’ll continue with more build details in my next post, Part 2, as I take on the basin! In the meantime, if you want to take on a wood kit of your own, check out the links below:


