Hello there! It’s good to be back! Today I want to share with you the process I used to convert a 1/72 scale Zoids: Godos (Former Republic ver), from Kotobukiya, into the Godos that appeared in the 1999 anime Zoids: Chaotic Century, which is white and black instead of green.
Also, you can watch a full review of this kit right here. There you will find out all that came with these awesome mech.
Before we begin, I must warn you: this kit doesn’t need glue to be assembled. Therefore, if you wish to paint it piece by piece after it’s fully assembled, it will be complicated, as you need to be very careful taking it apart.
Stage 1: Base coat
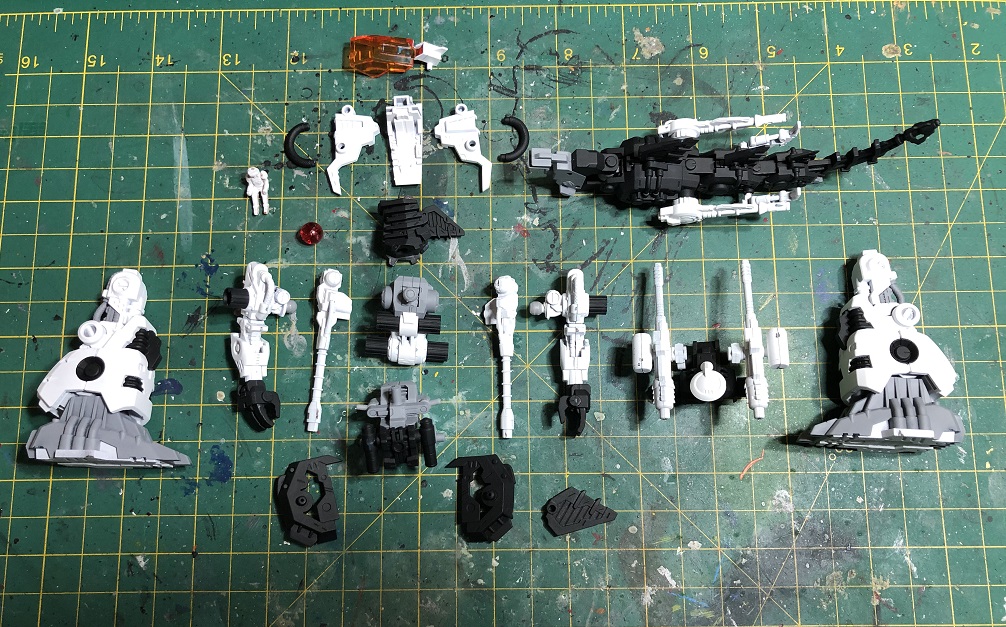
First let’s apply a base coat to the entire model. I suggest you use the same color of the final design. In this case I’m using white, black, and grey. The sprues of this kit already came molded in different colors, making it a lot easier for us to know which base color use for each piece.

Its arms, legs, and head are white. The tail, hands, and neck are black And the torso is light grey
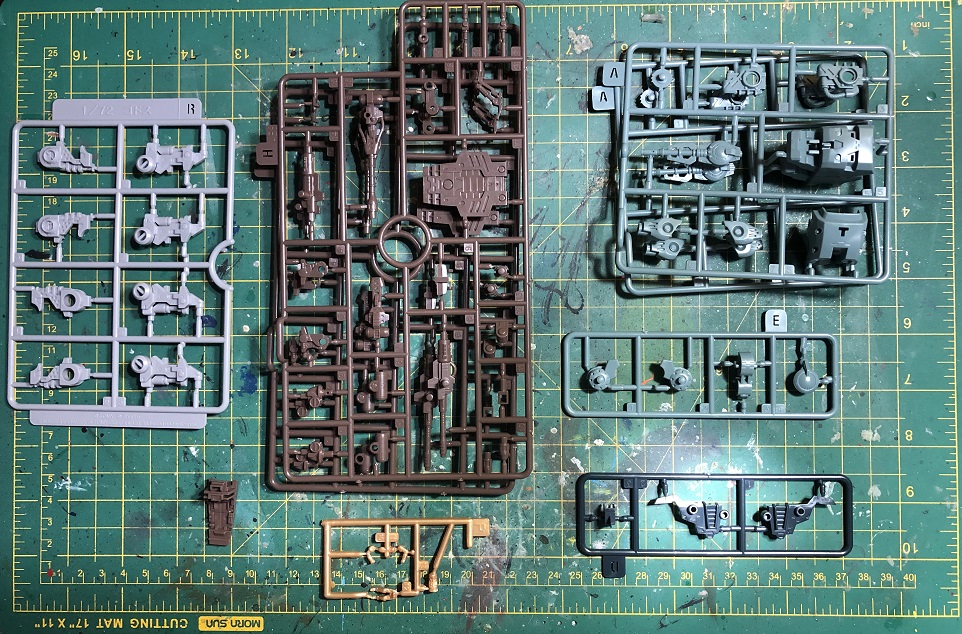
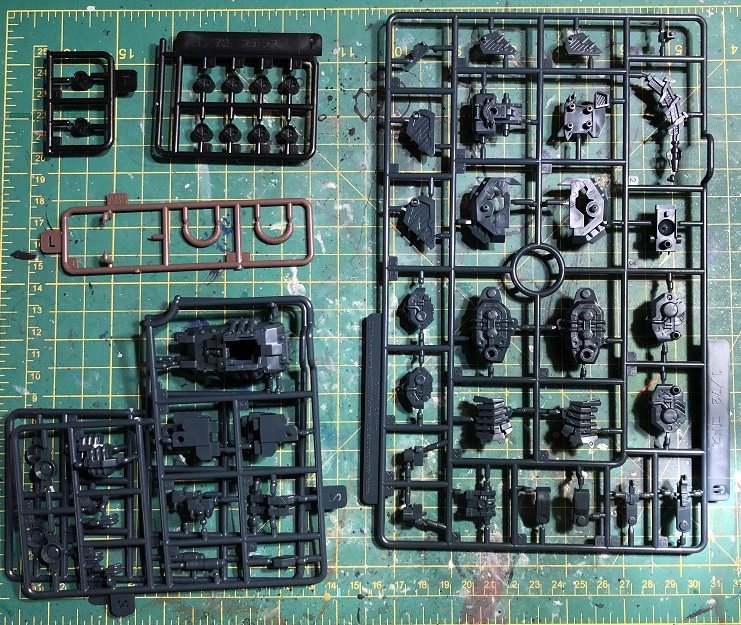
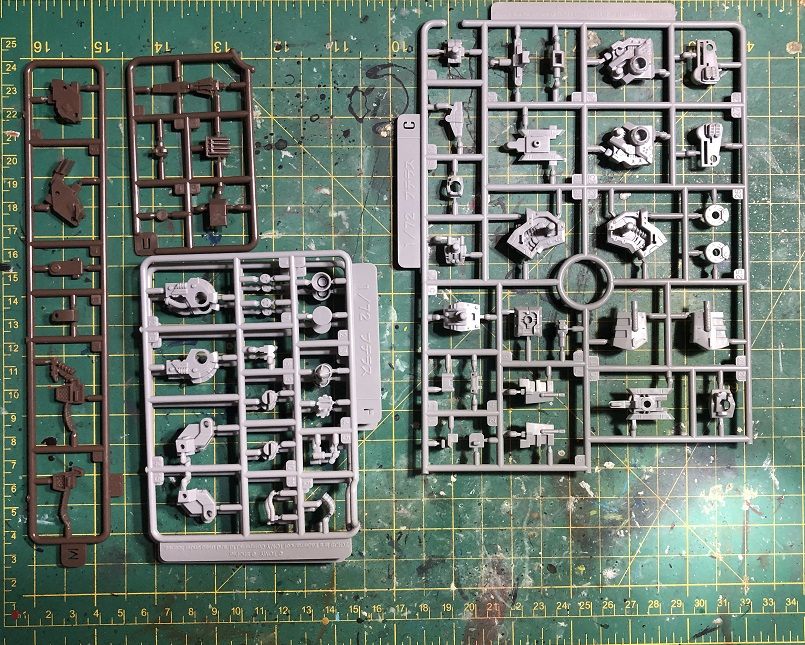
As you can see, some of the pieces that are going to be white are molded in dark colors. If you are using only brushes, like I do, it could be tricky. Therefore, I suggest you use acrylic spray paint. With it, you will only need to apply 1-2 coats of paint instead of +4 thin paint coats with a brush.
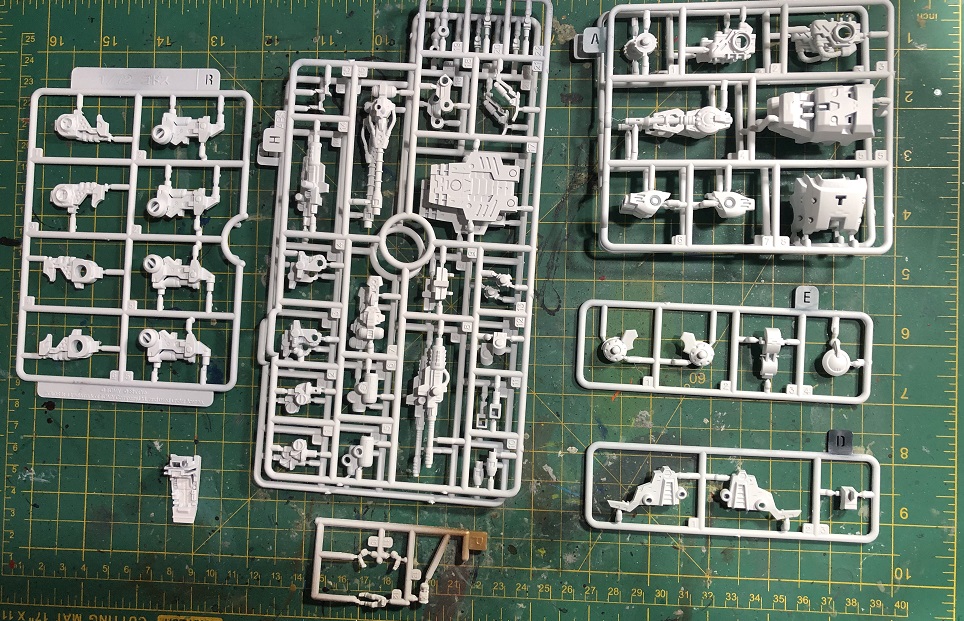
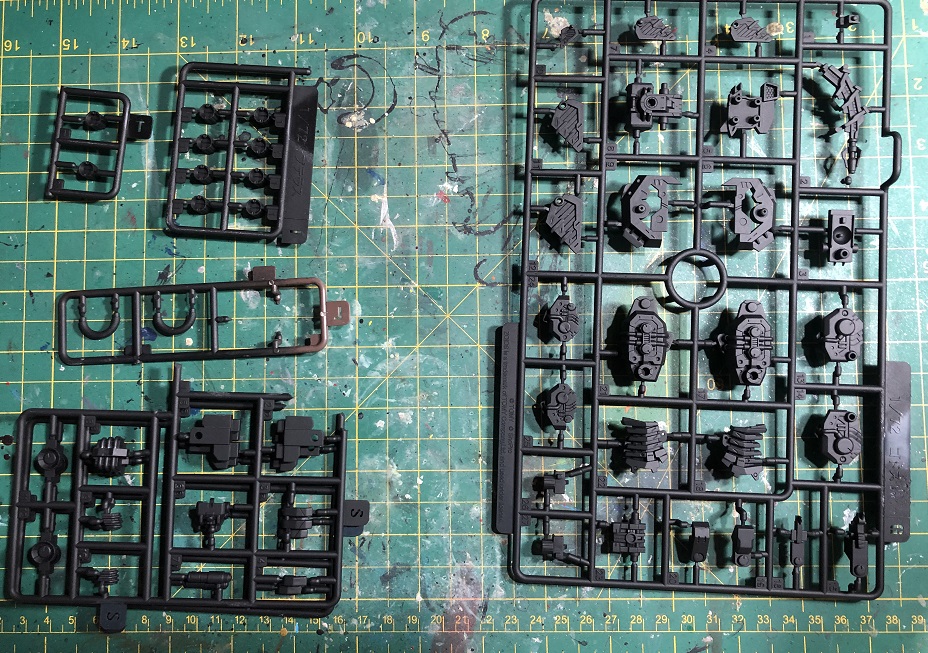
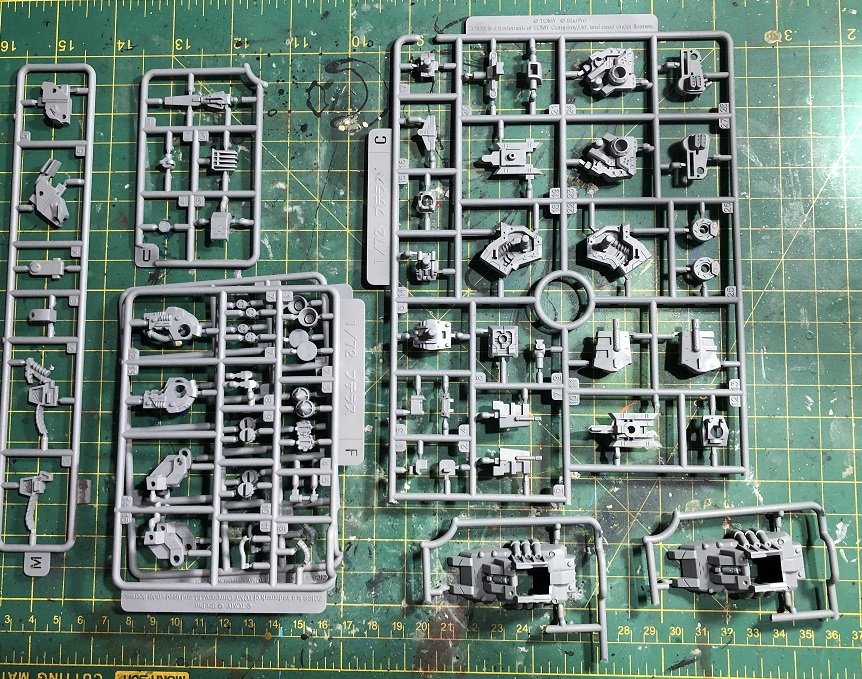
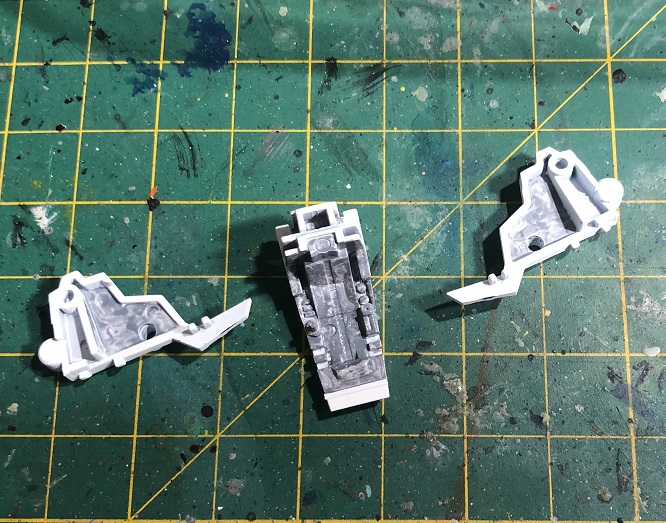
I painted all the pieces while they were still in the sprues. Since the sprues were already molded in different colors and we are going to use simple colors, painting the pieces while they were in the sprues is useful. Of course, this has its own issues as I’ll show you bellow.
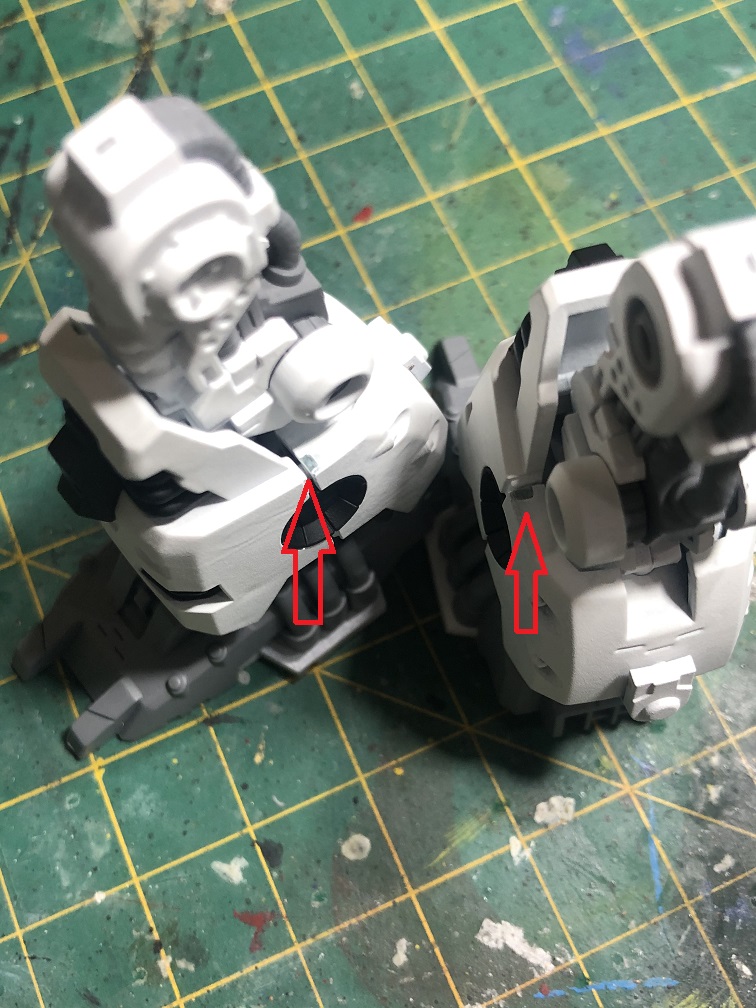
The first issue comes right after we cut the pieces from the sprues. There will be a spot left without paint where each piece was attached to the sprues. This can be easily fixed by painting it with a thin brush and applying a thin paint coat. Since we used common colors for the base coat, it should be easy to fix.


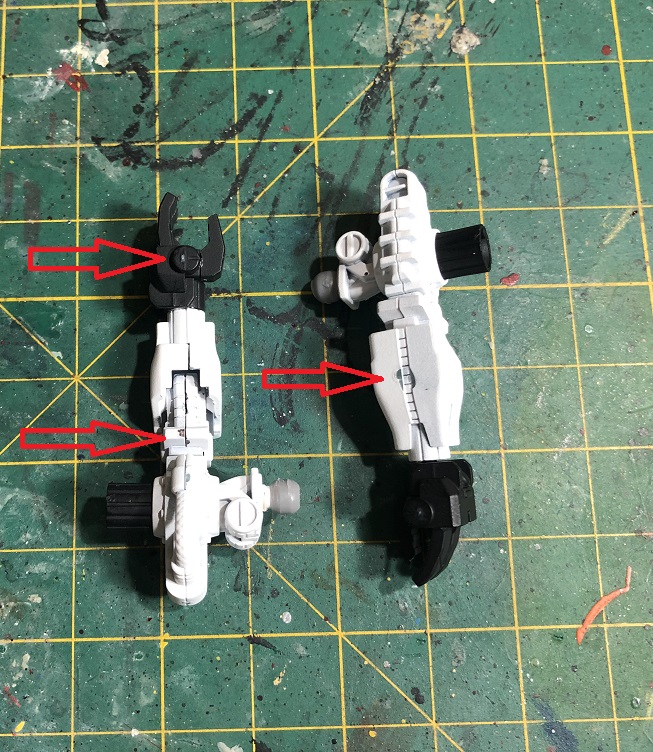
You may notice that I decided to assemble some parts before fixing the mold marks. This way I could see which marks were going to be visible and need to be painted. The assembly process is pretty straightforward.
First assembly
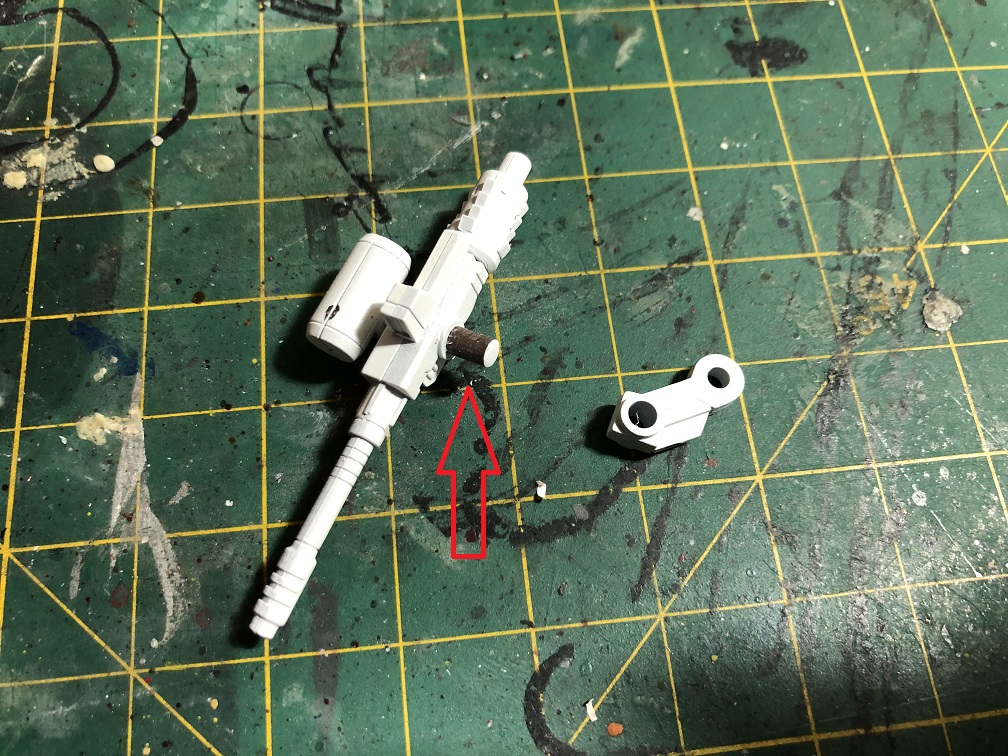
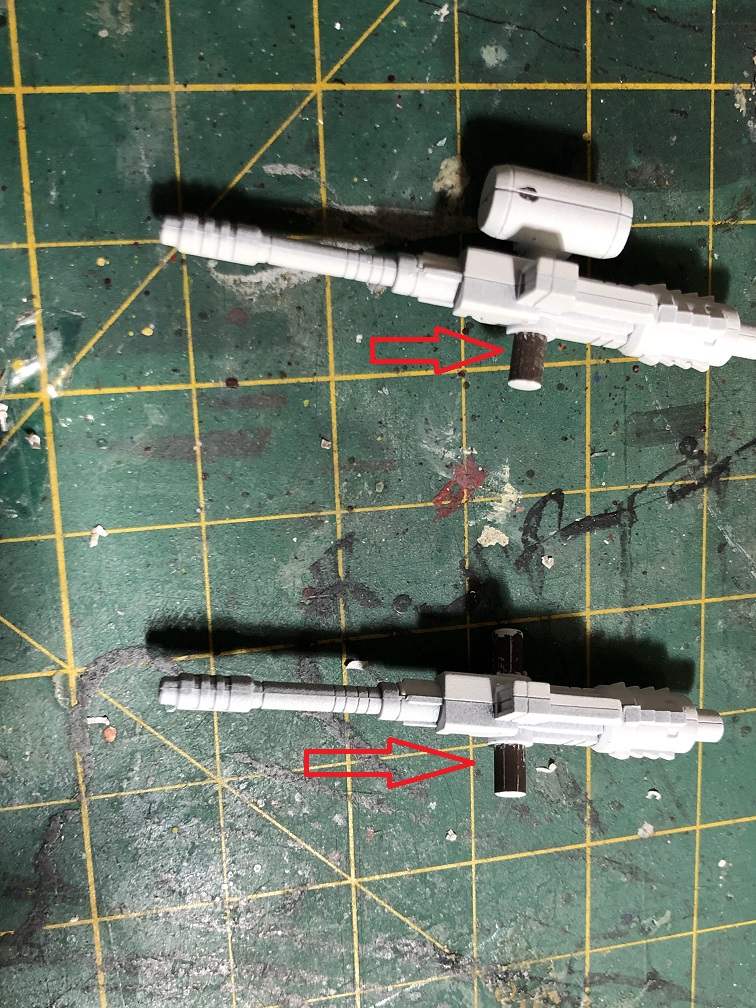
Be advised, since we paint all the pieces before assembling the kit, it could be a little hard to put some parts together. This is caused by the paint in the seams. If this happens, use a sandpaper to remove the paint from these parts, especially if you are going to glue them.
This also happens with the joints of the weapons. Since they are supposed to move, we’ll need to be very careful if we don’t remove the paint; we don’t want to break them.

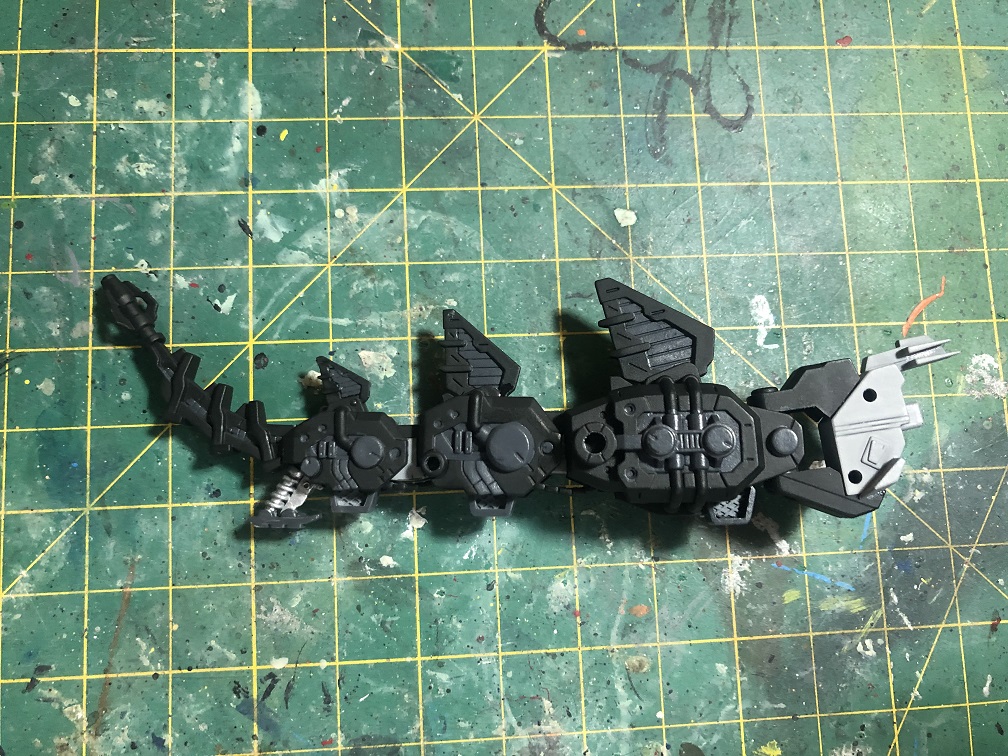
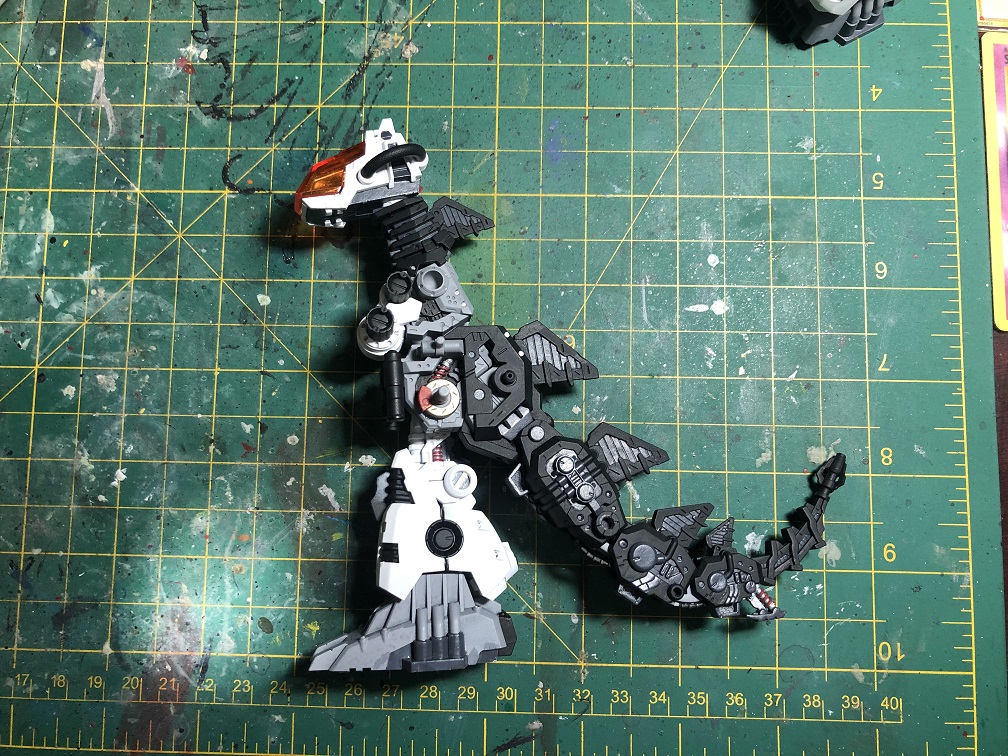
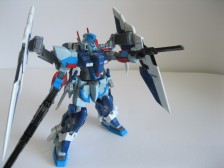
If we fully assemble the kit, we’ll end with a Godos that looks like this:
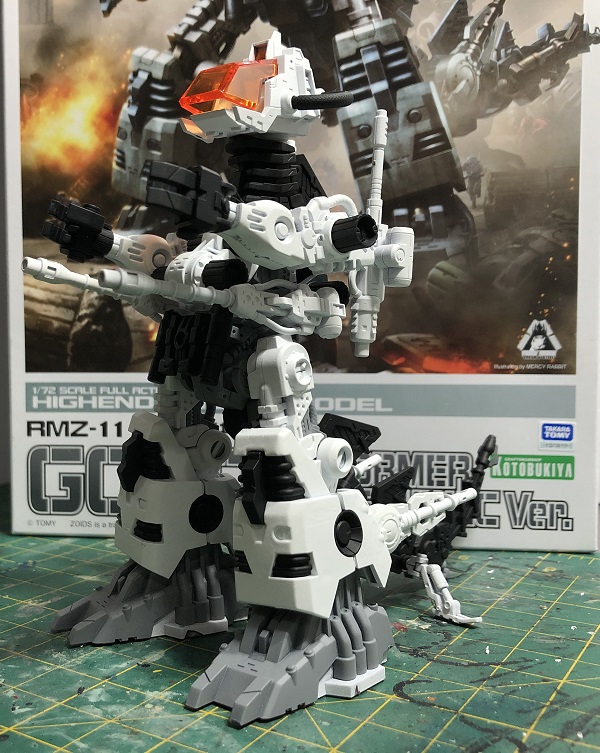

Now we have a model kit with a nice color separation that looks almost like the one in the anime. If you are happy with the result, you can leave it as it is. Just remember to apply a clear paint coat to protect the new colors.
Stage 2: Painting panels, hose pipes, and other mechanical details.
At first this sounds scary. How do we know what color all the hoses, screws, cables, and panels in a mech like this are? Well, actually, nobody knows for certain and that gives us a huge liberty to paint them the way we want. But we can start looking at some references, like the pictures in the box and in the manual. This will give us an idea on how to detail this kit.

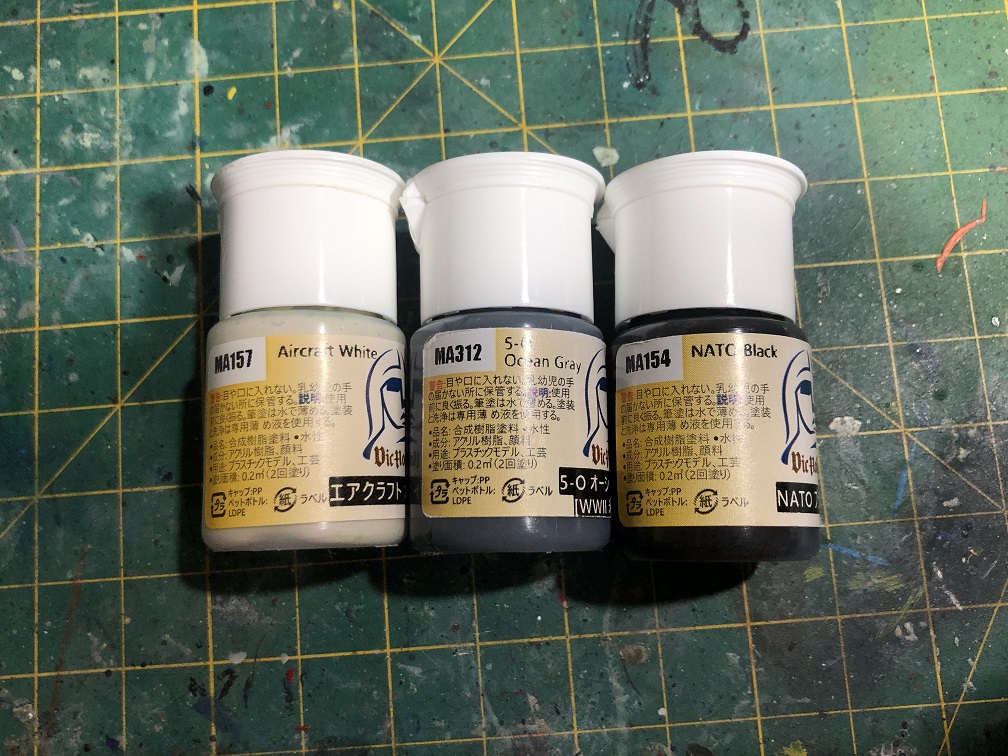
Let’s pick our colors, shall we?
- The main colors are Vic Hobby acrylic paints:
- For some small details:
- Citadel Base Leadbelcher
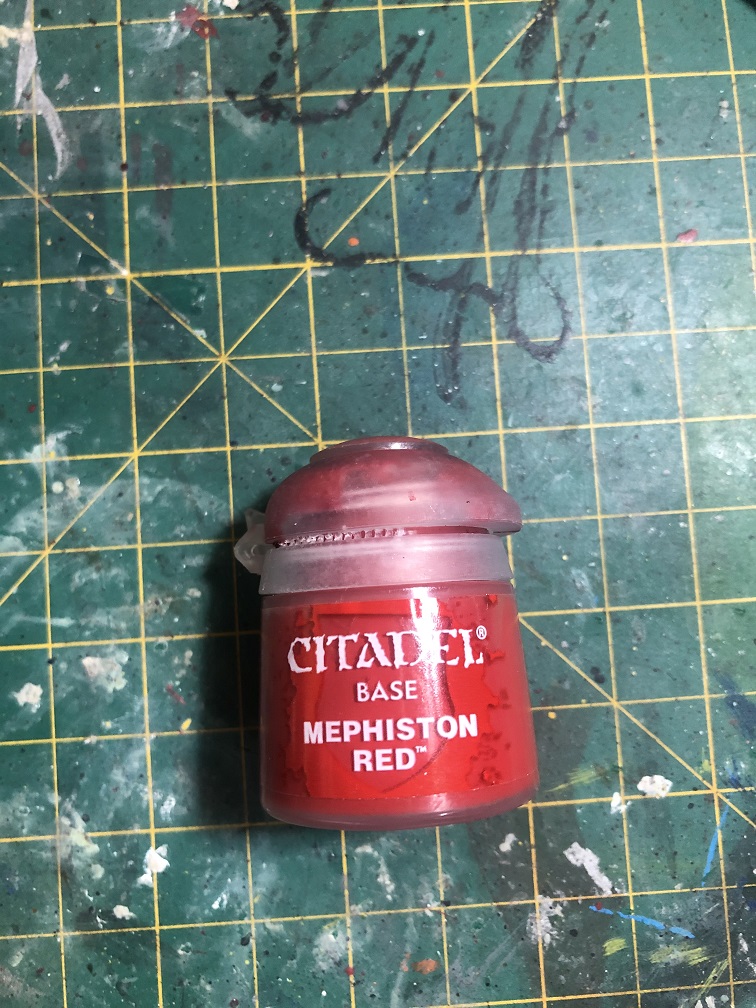
- Citadel Base Mephiston Red
- Vallejo 70996 Gold
- White & Black (try to use the same that was used earlier for the sprue marks)

First, we need brushes, water, and a palette or wet palette.
Remember, always apply your paint from the palette, never straight from the bottles. This way it will be easier to mix and thin your paints and they will last longer. Also remember to thin your paints in the palette with water. Several thin paint coats are always better than a single thick coat.
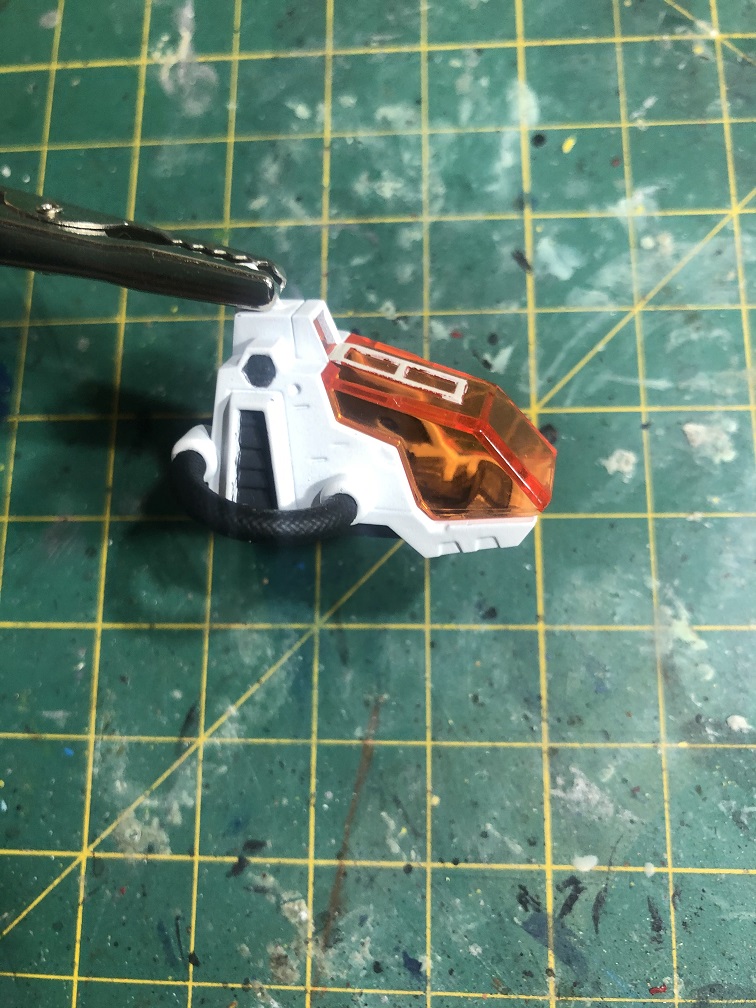
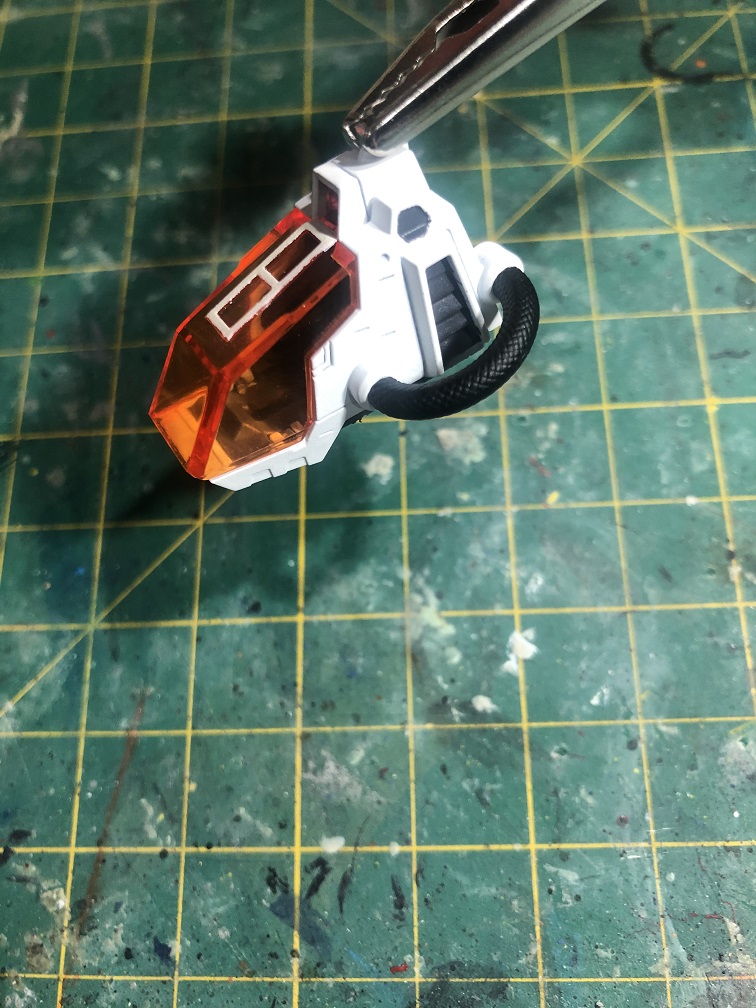
White and Pale Gray + Aircraft White
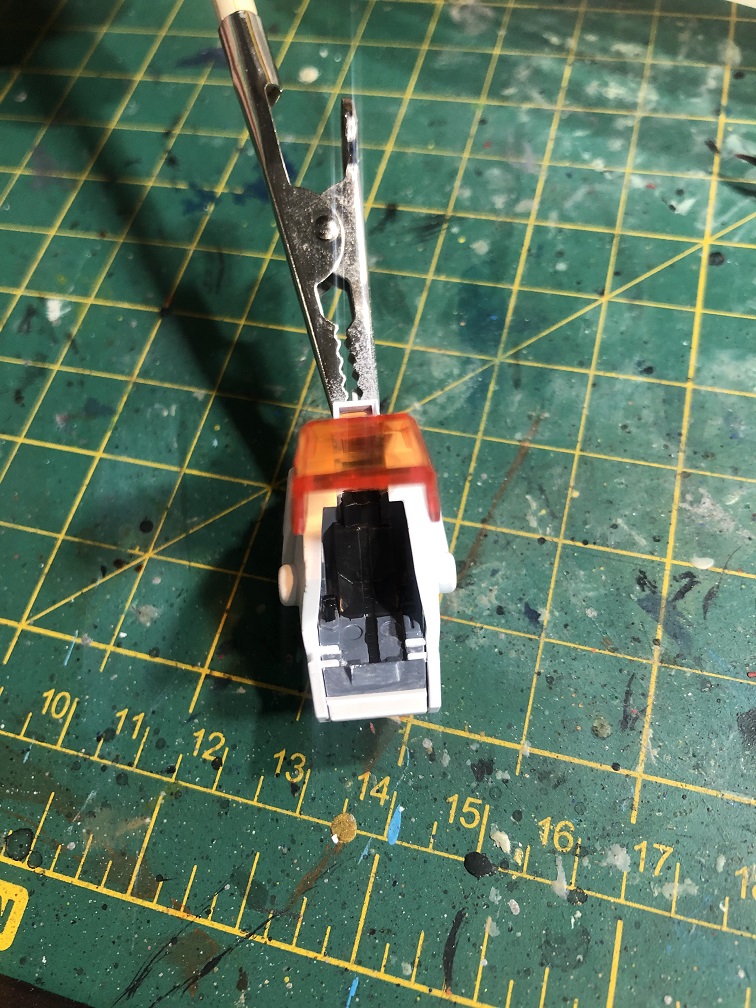
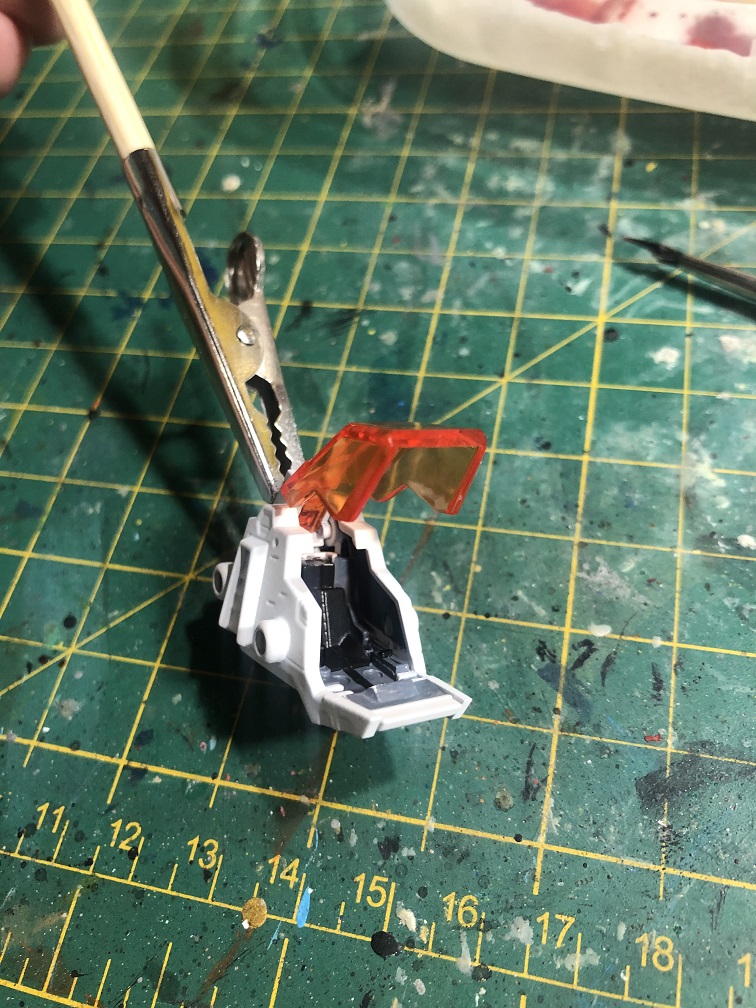
The white paint is for the detail in the cockpit crystal.
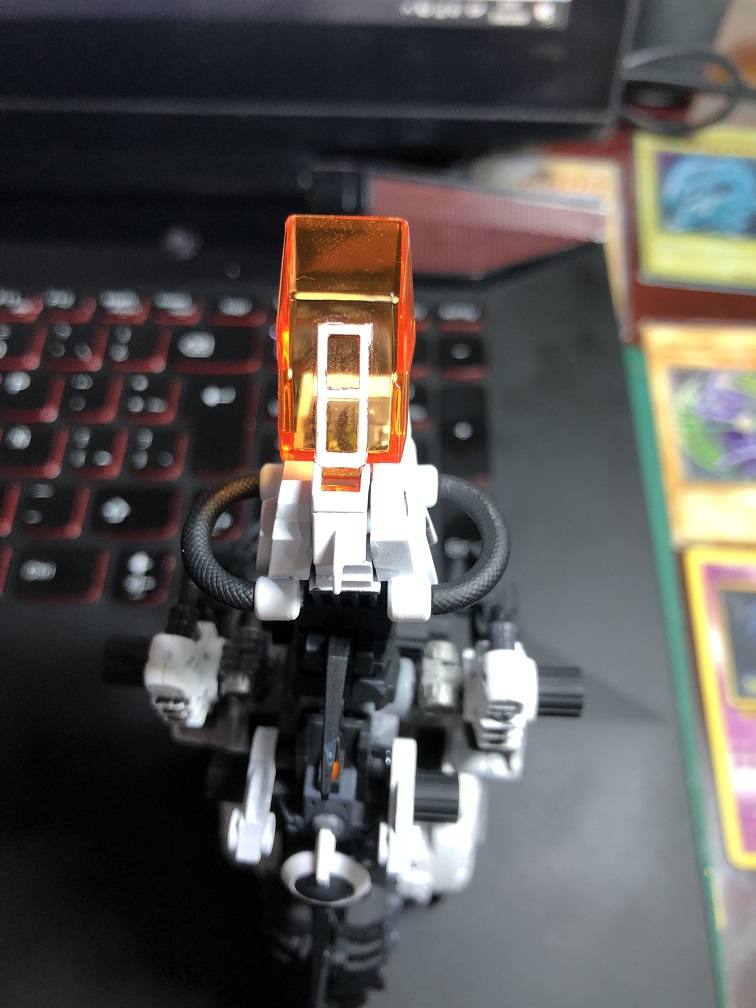
Mix 2 parts of pale gray with 1 part of aircraft white in your palette to crate a light grey.
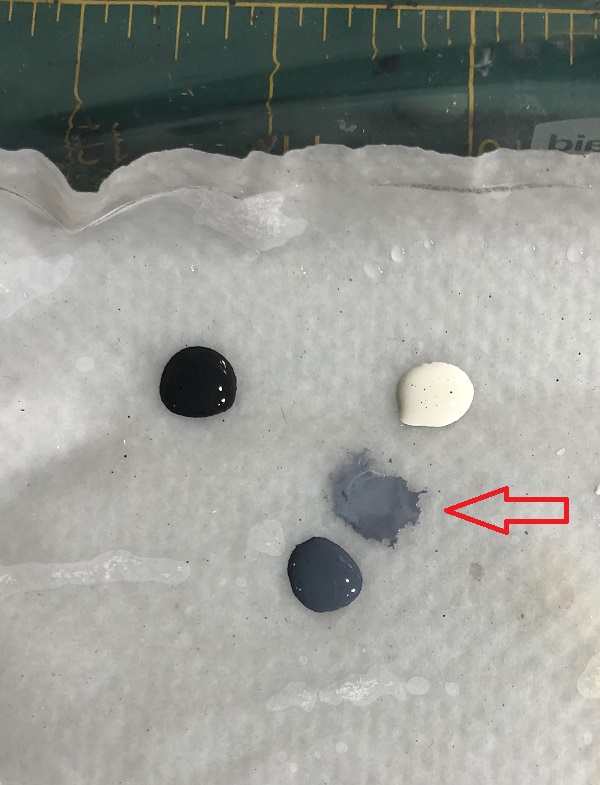
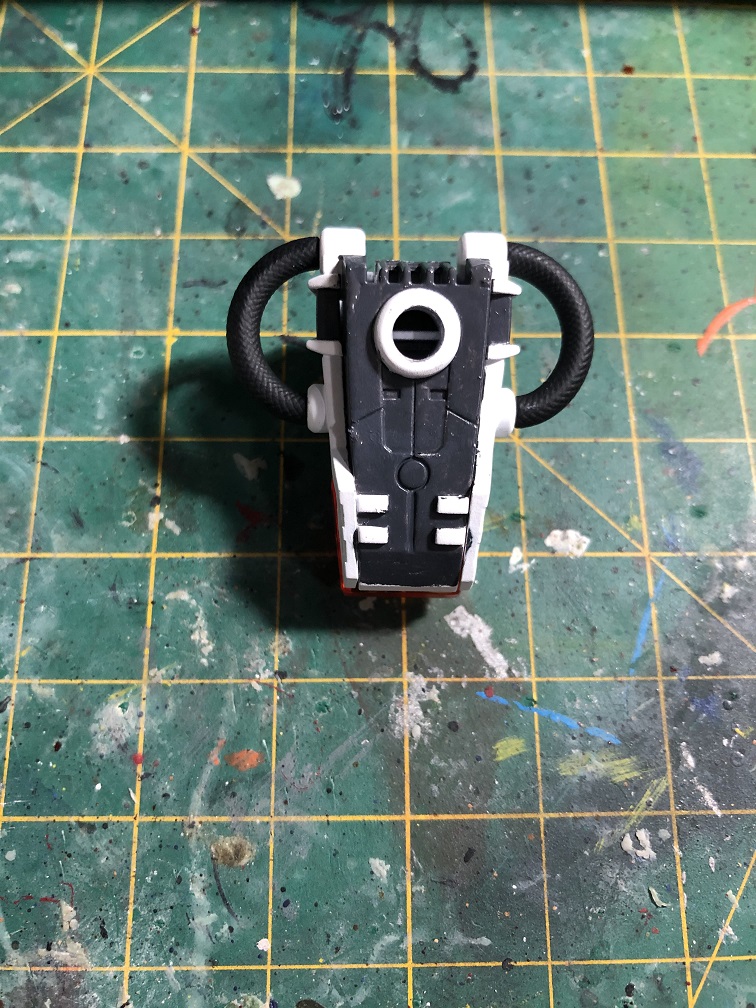
Now, we are going to apply this to the inside of the cockpit and in the belly. You’ll need to apply 2 to 3 thin coats of paint to cover the surface. Remember to let the paint dry between coats.
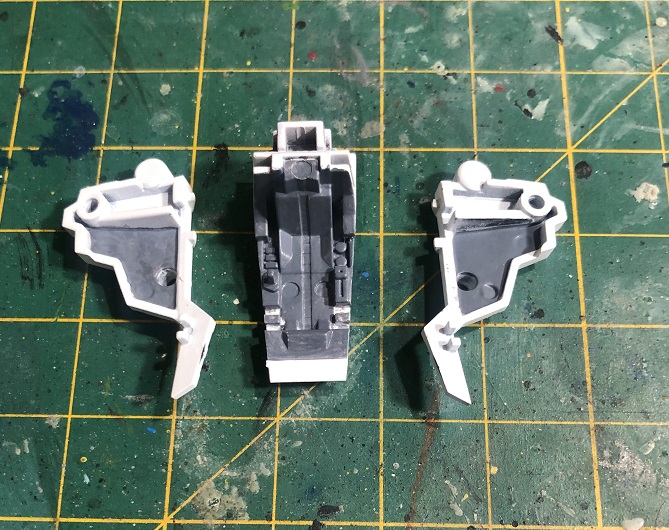
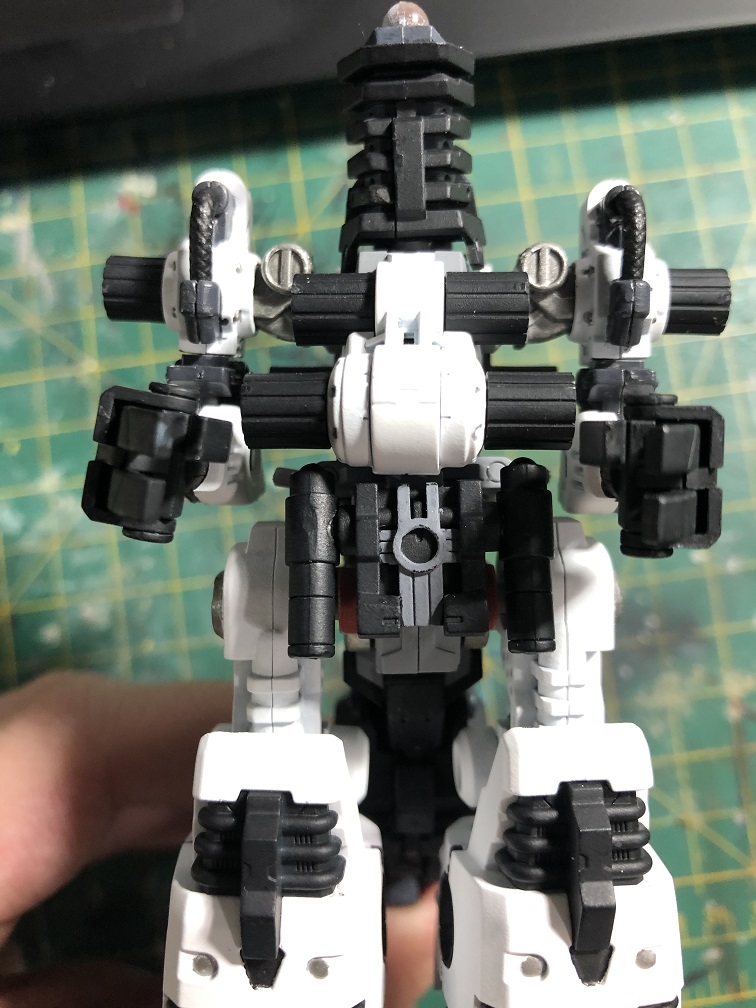
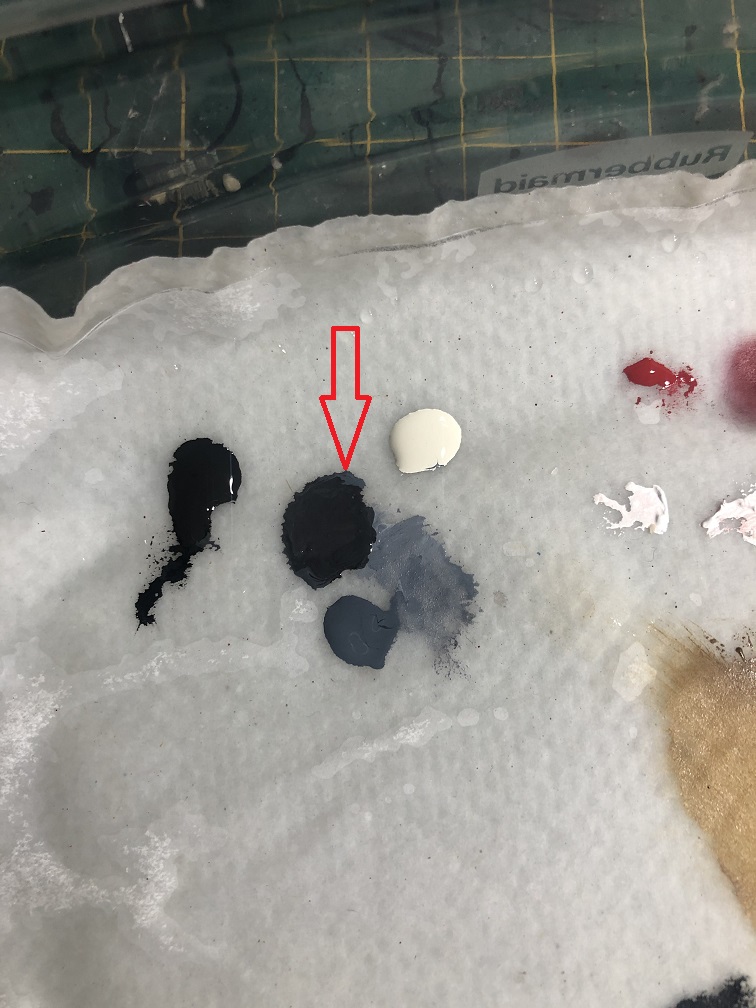
Pale Gray + Nato Black
Next, we’ll mix 2 parts of pale gray with 1 part of nato black to create a dark gray.
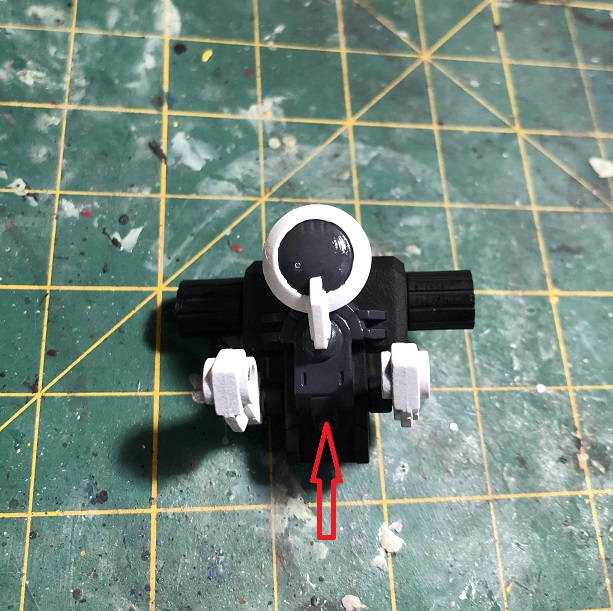
And we are going to apply this color to the panels on the sides of the cockpit and its underside.
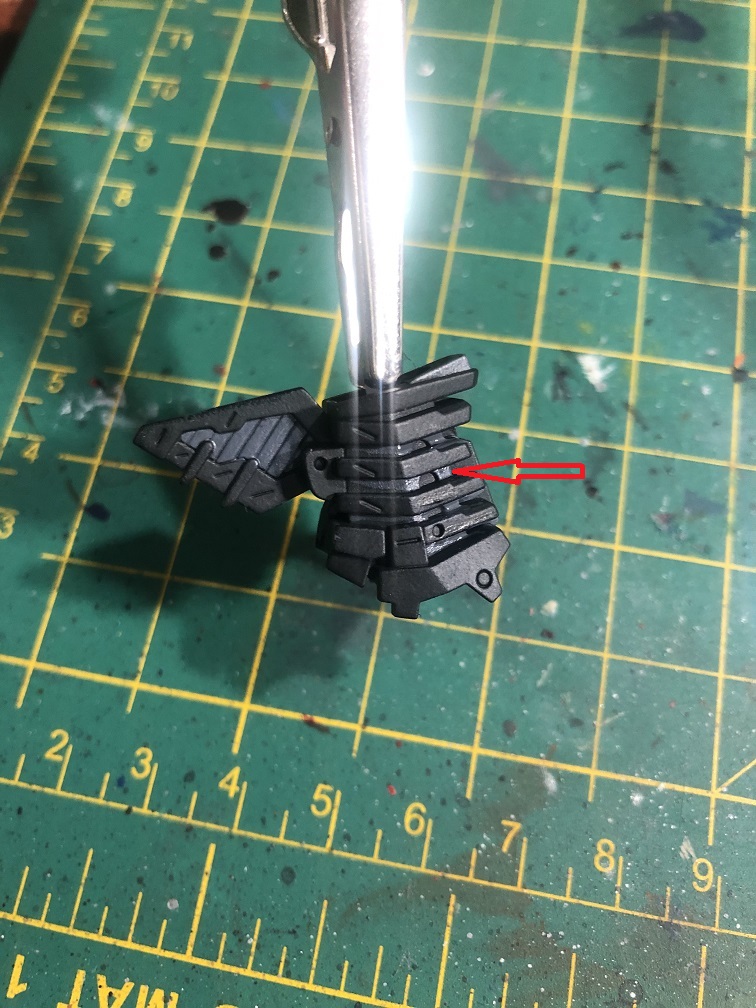
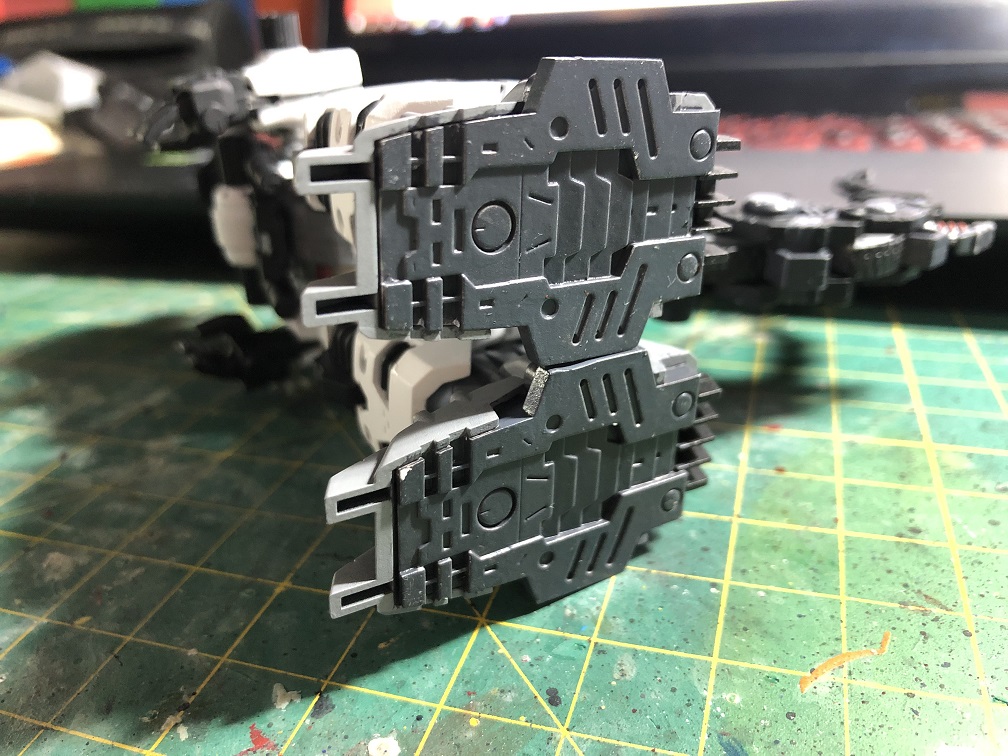
Also to the panels inside the neck, spines of the back, and tail.
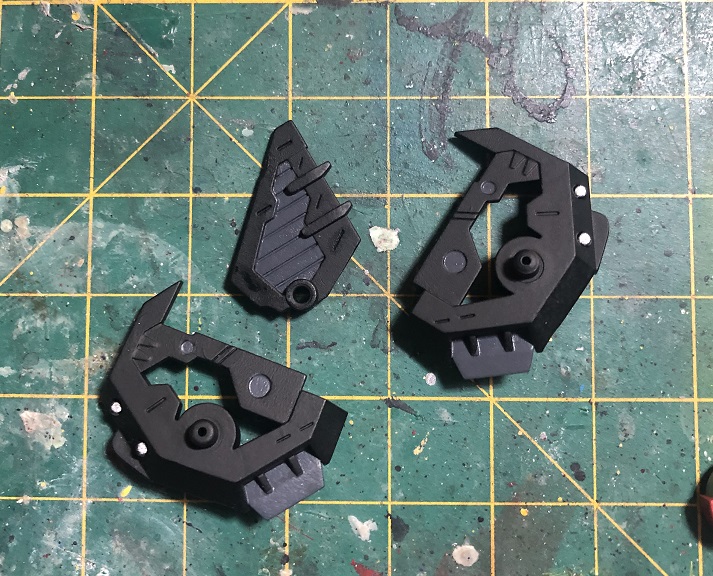
Next, for the arms and the underside of the feet.
Finally for the antenna and the backpack.
Since this is a dark color, it may need only 1-2 coats. Remember, apply thin coats.
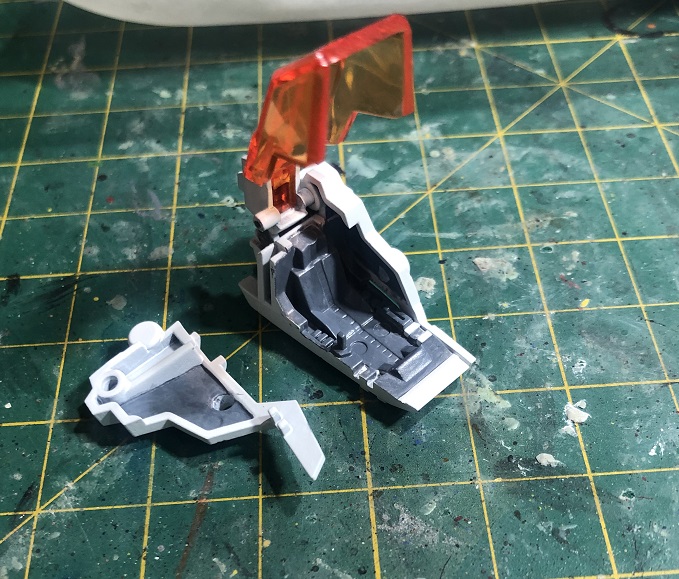
Black & Nato Black
The nato black is for the seat and the “joysick” inside the cockpit.
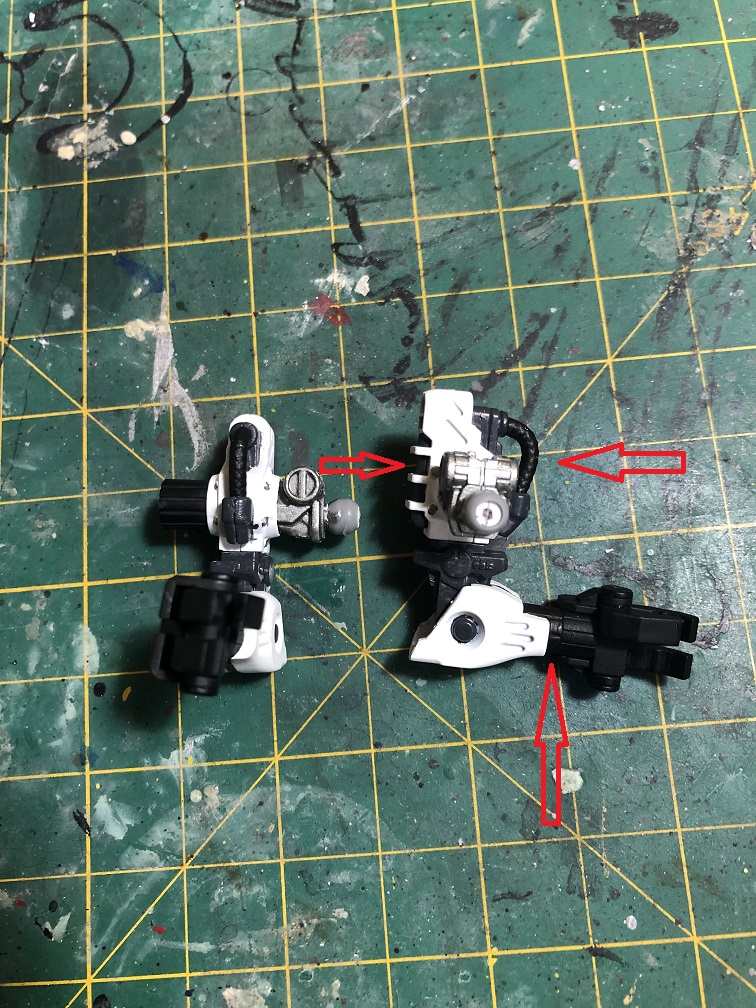
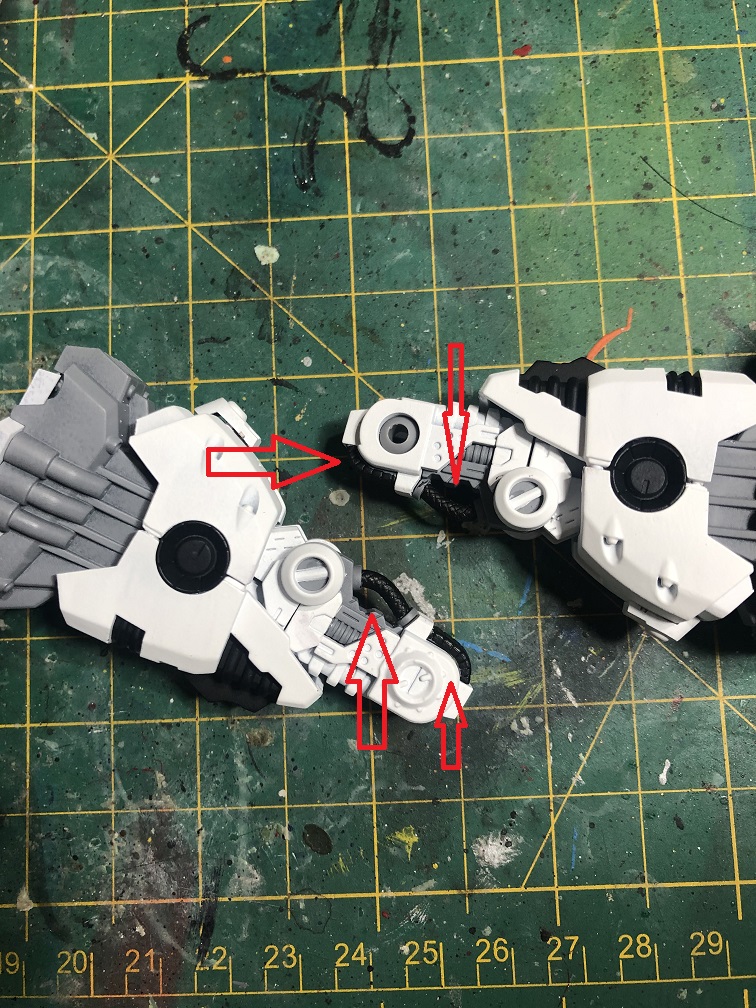
Then, we apply the black paint to the wrists and the hose pipes in the arms and legs.
Also to the core of the hips.
Then, let the paint dry.
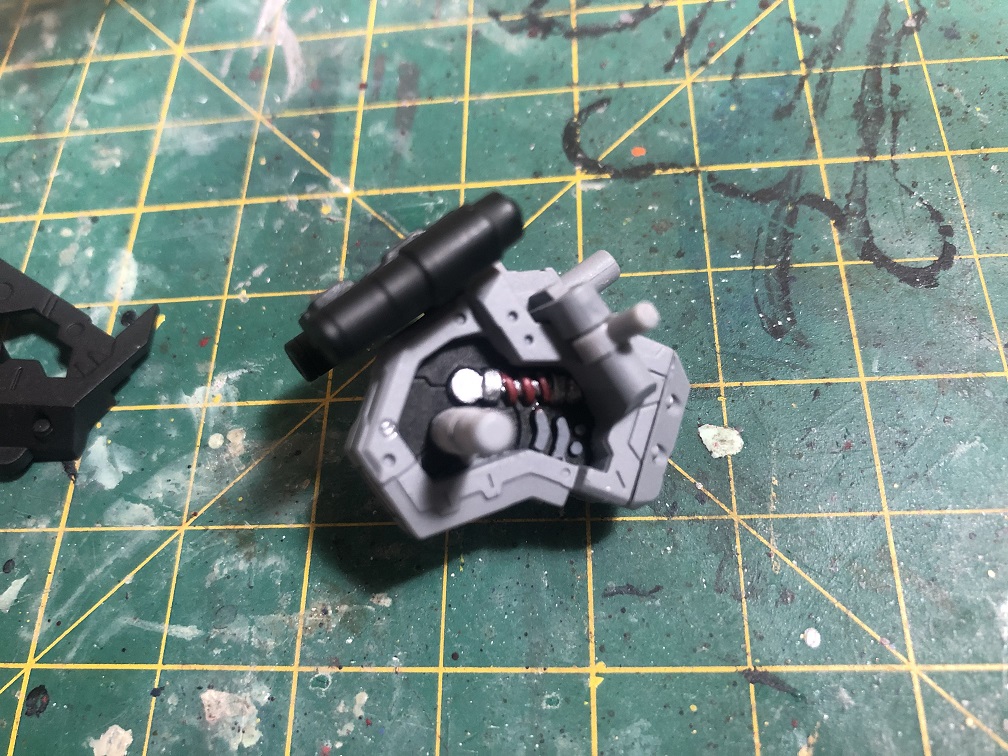
Gold, Silver and Mephiston Red
Let’s add some metallic paint to this model.
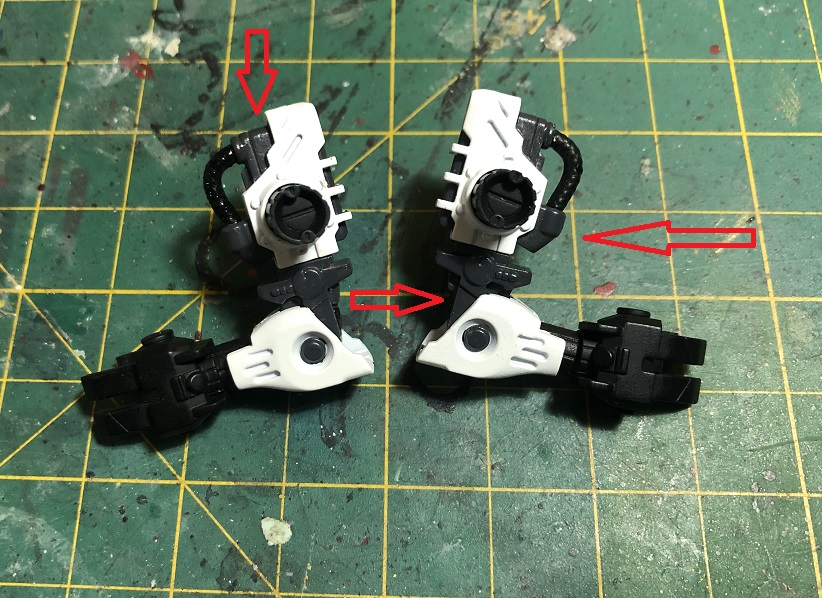
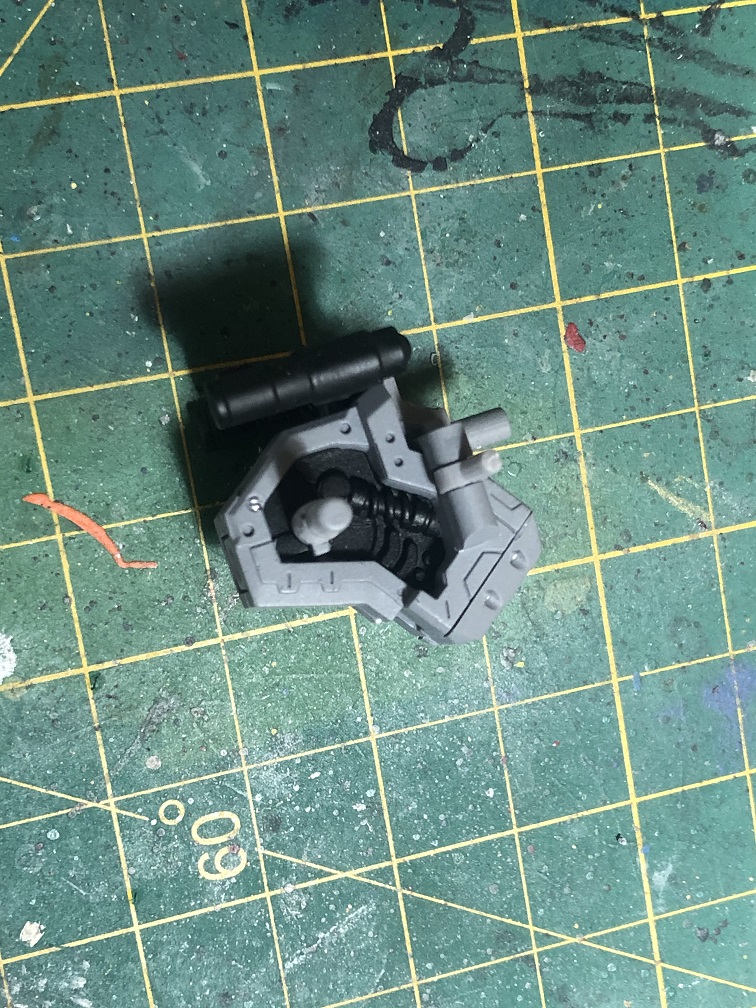
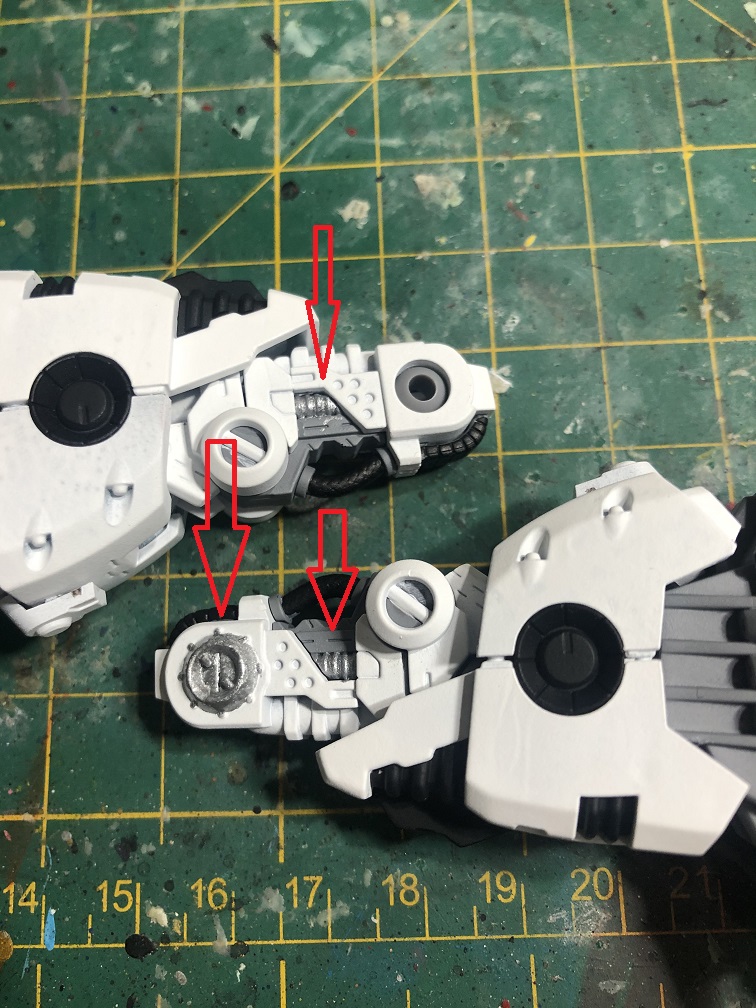
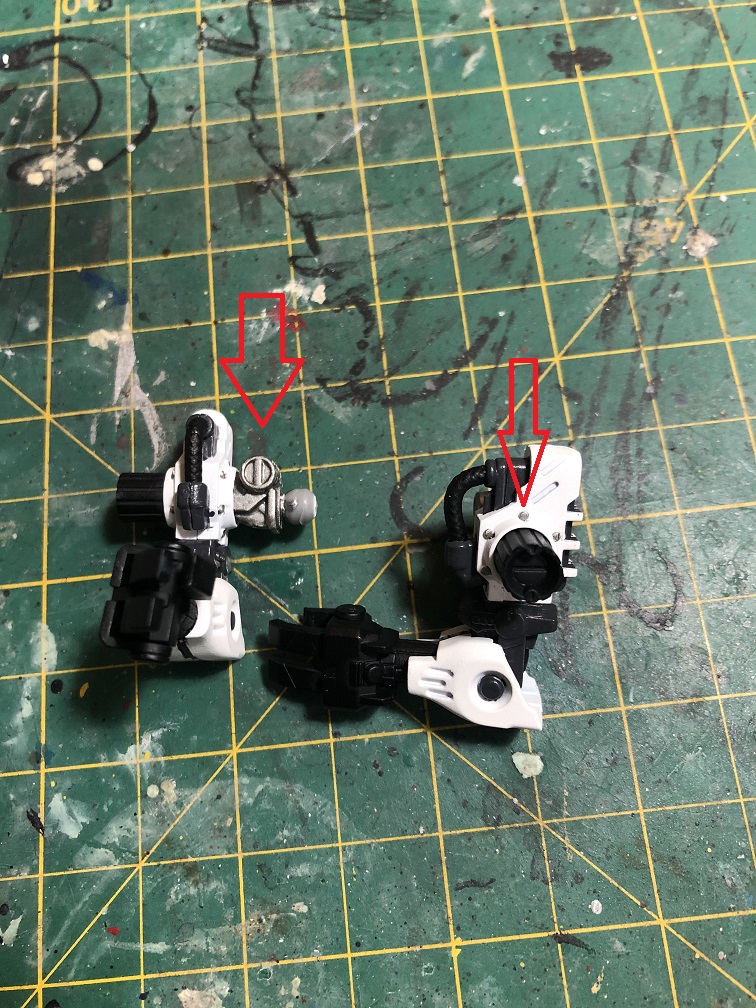
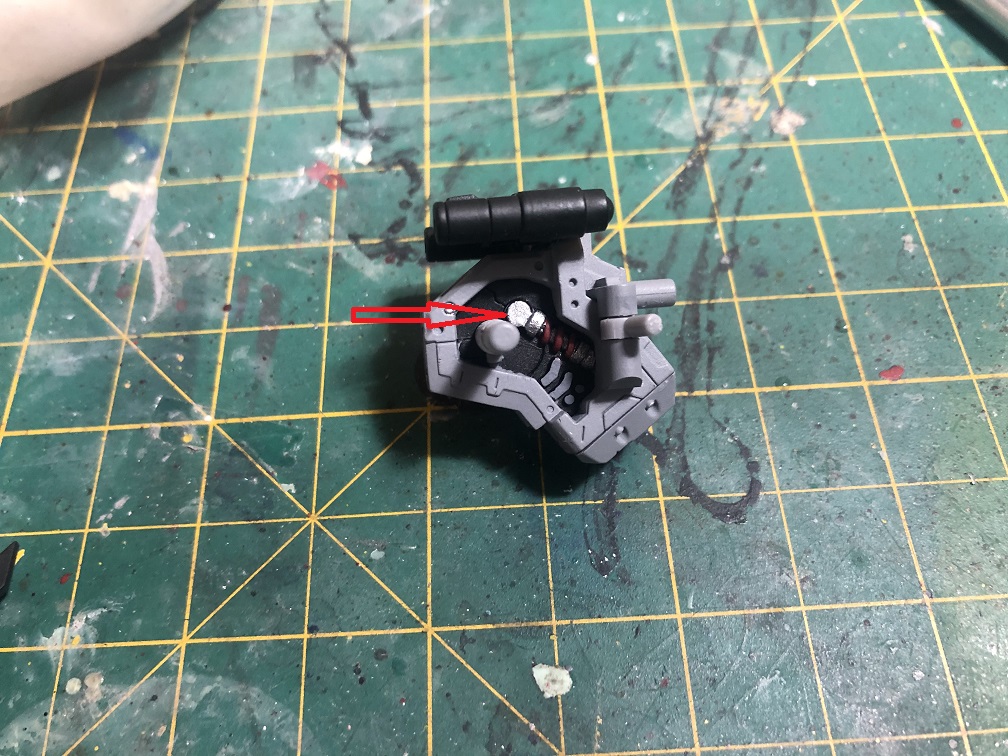
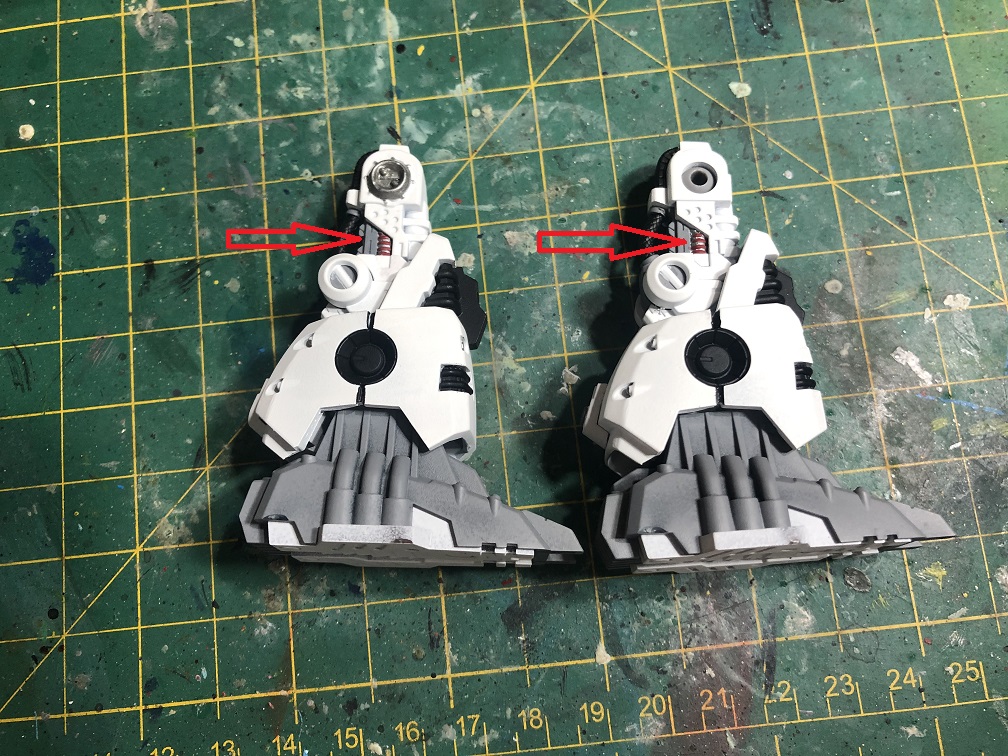
Silver paint is for the screws, the shock absorbers in the hips, legs and tail, and the union between the arms and the torso.
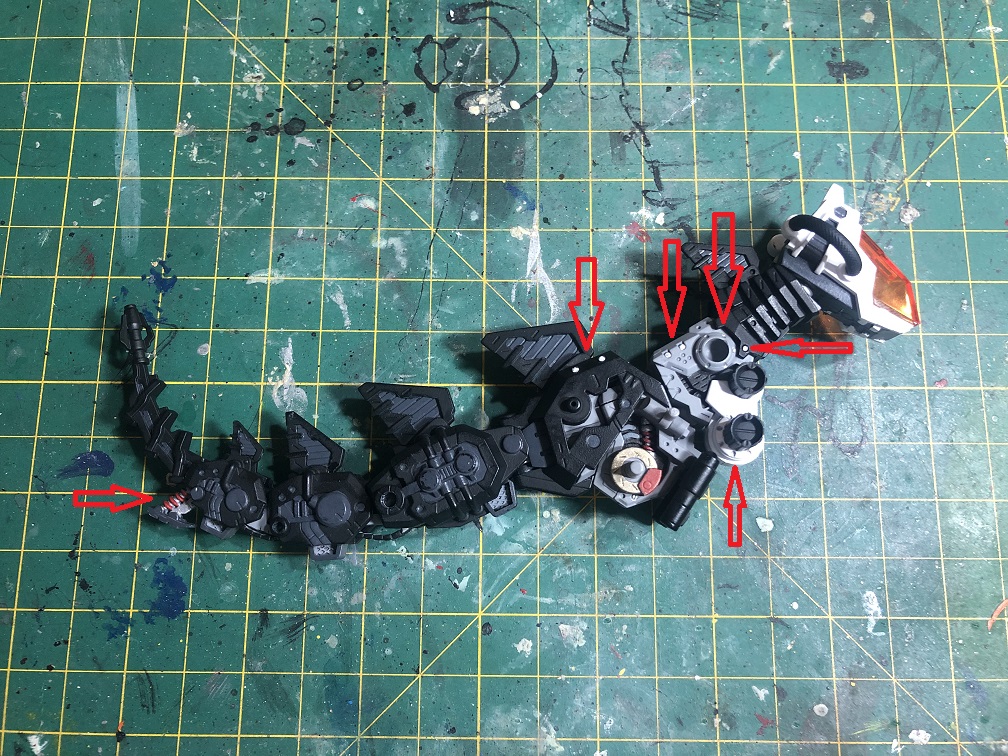
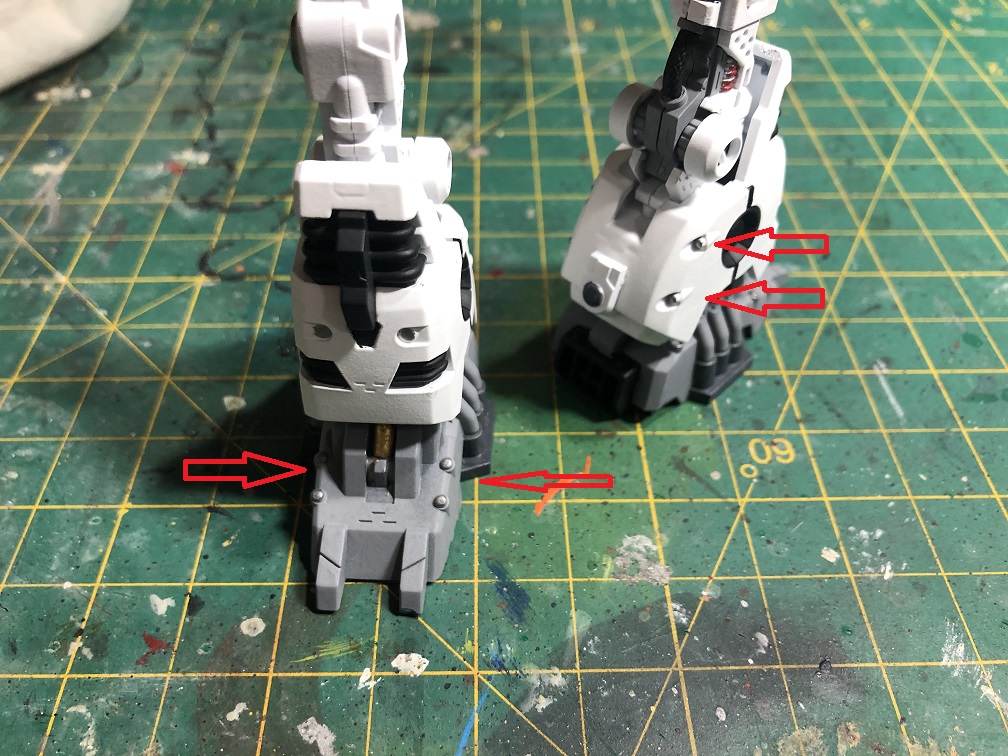
The pistons in the feet are going to be gold.
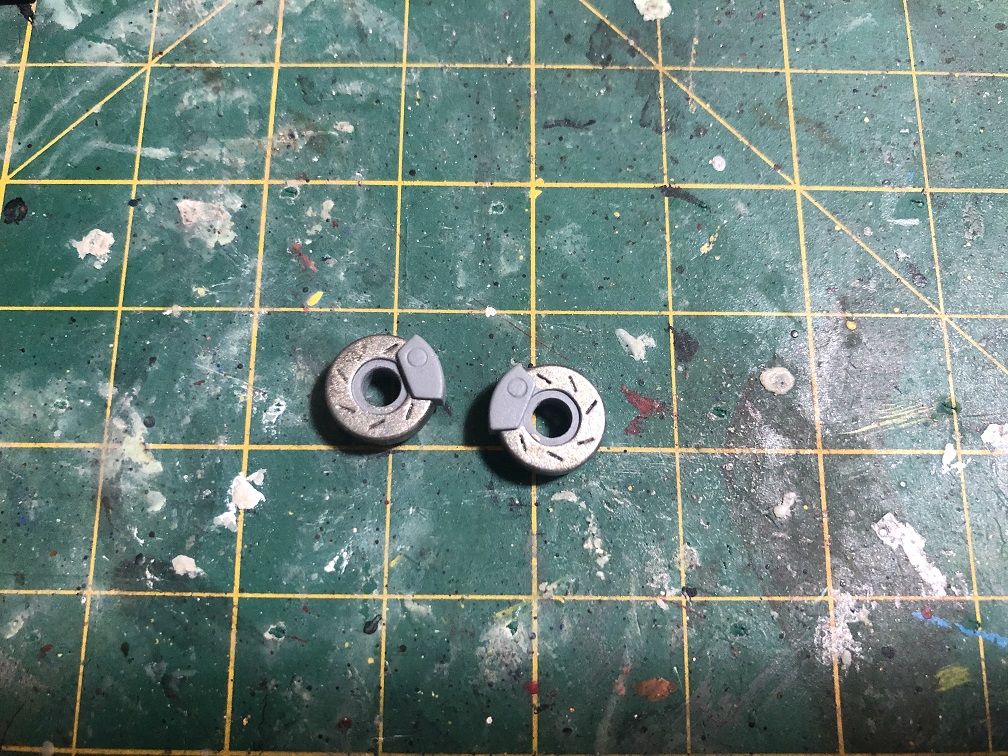
Then, we’ll mix 1 part of silver with 1 part of gold for the disc brakes in the hips.
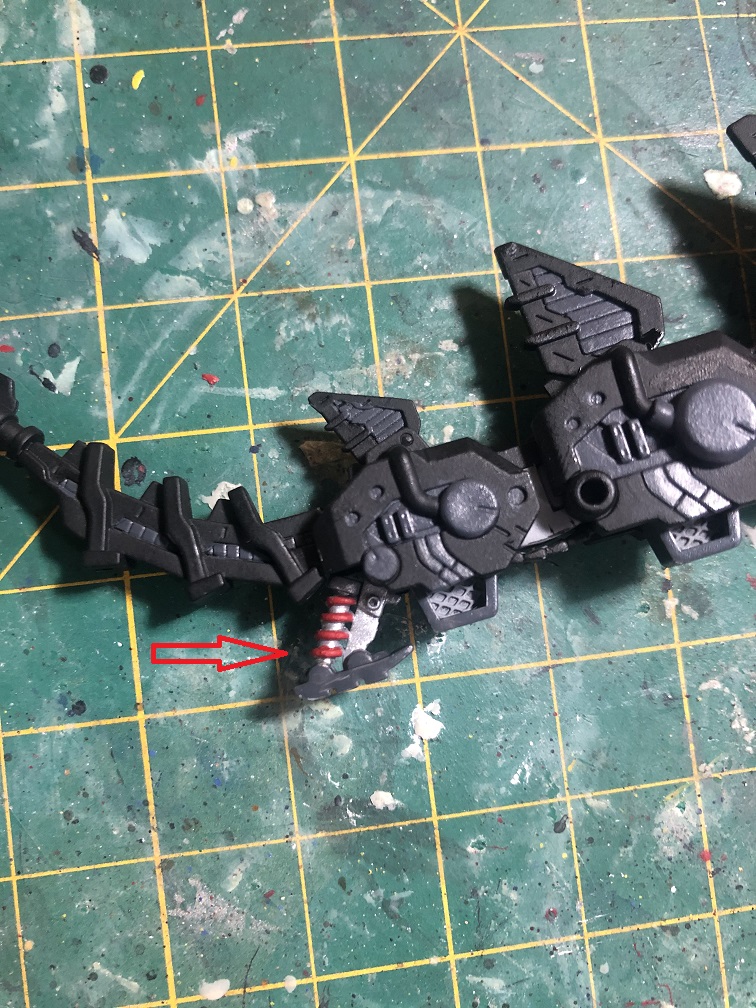
And last but not least, the Mephiston red is for the springs in the shock absorvers and the calipers of the brakes.

Second Assembly
After the paint is fully dry we can assemble our Zoid once again. And it should look like this:
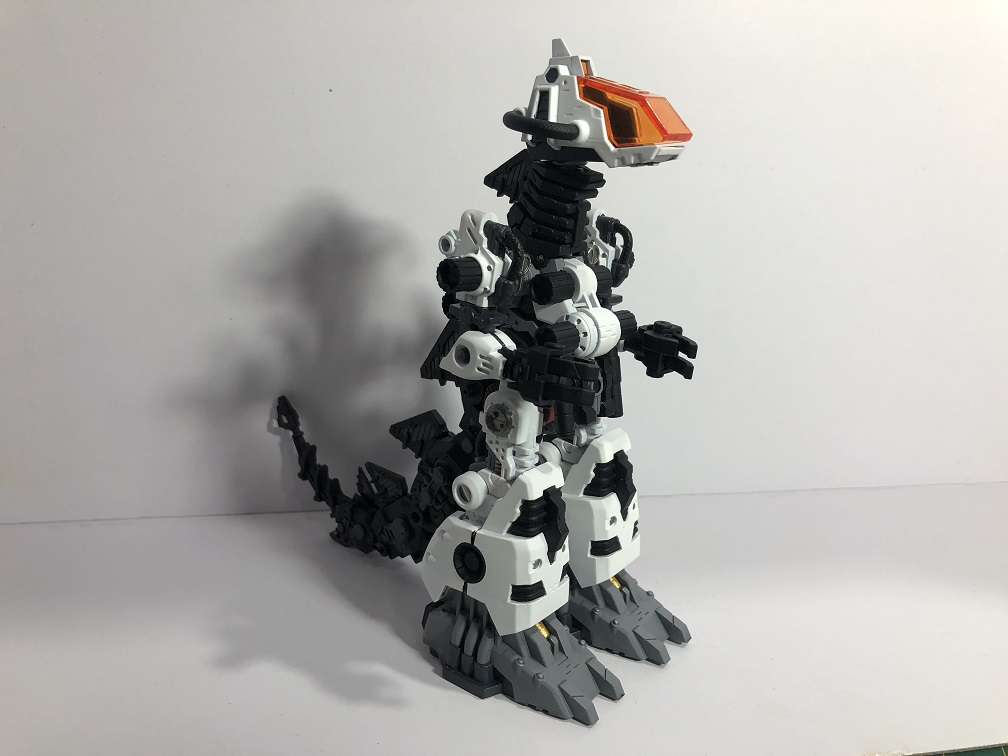
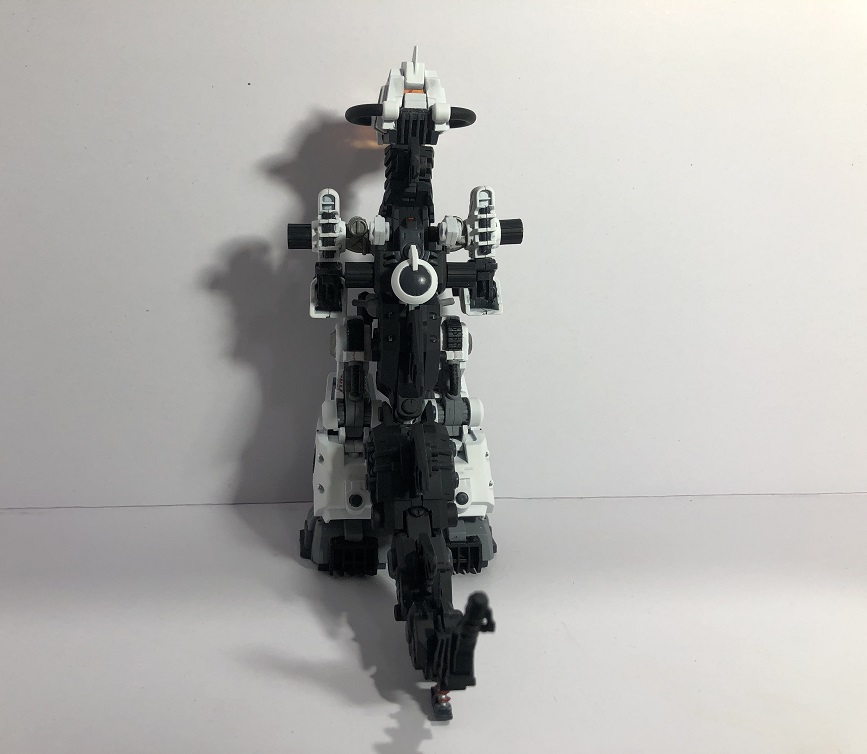
And with that we reach the end of this article. Now our Godos looks very different than it did during the first assembly, right? The next stages would be: paint the weapons, add decals and weathering. But, those stages are going to be in the next article!
I hope this article motivates you to paint your model kits and take them to the next level! If you have any questions feel free to ask them in the comments section bellow!
See y’all later!
And remember, if you want to get your hands in some of the products I used here, visit hlj.com!


![Review: Raiden [DNA Side] by Kotobukiya](https://hobbylink.tv/wp-content/uploads/2010/12/raiden_uc1-224x137.jpg)