Submitted By: Vinh Dao
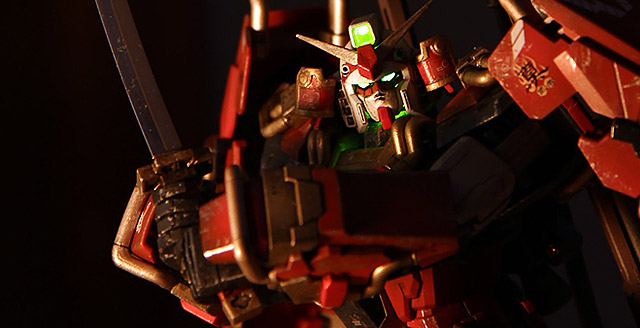
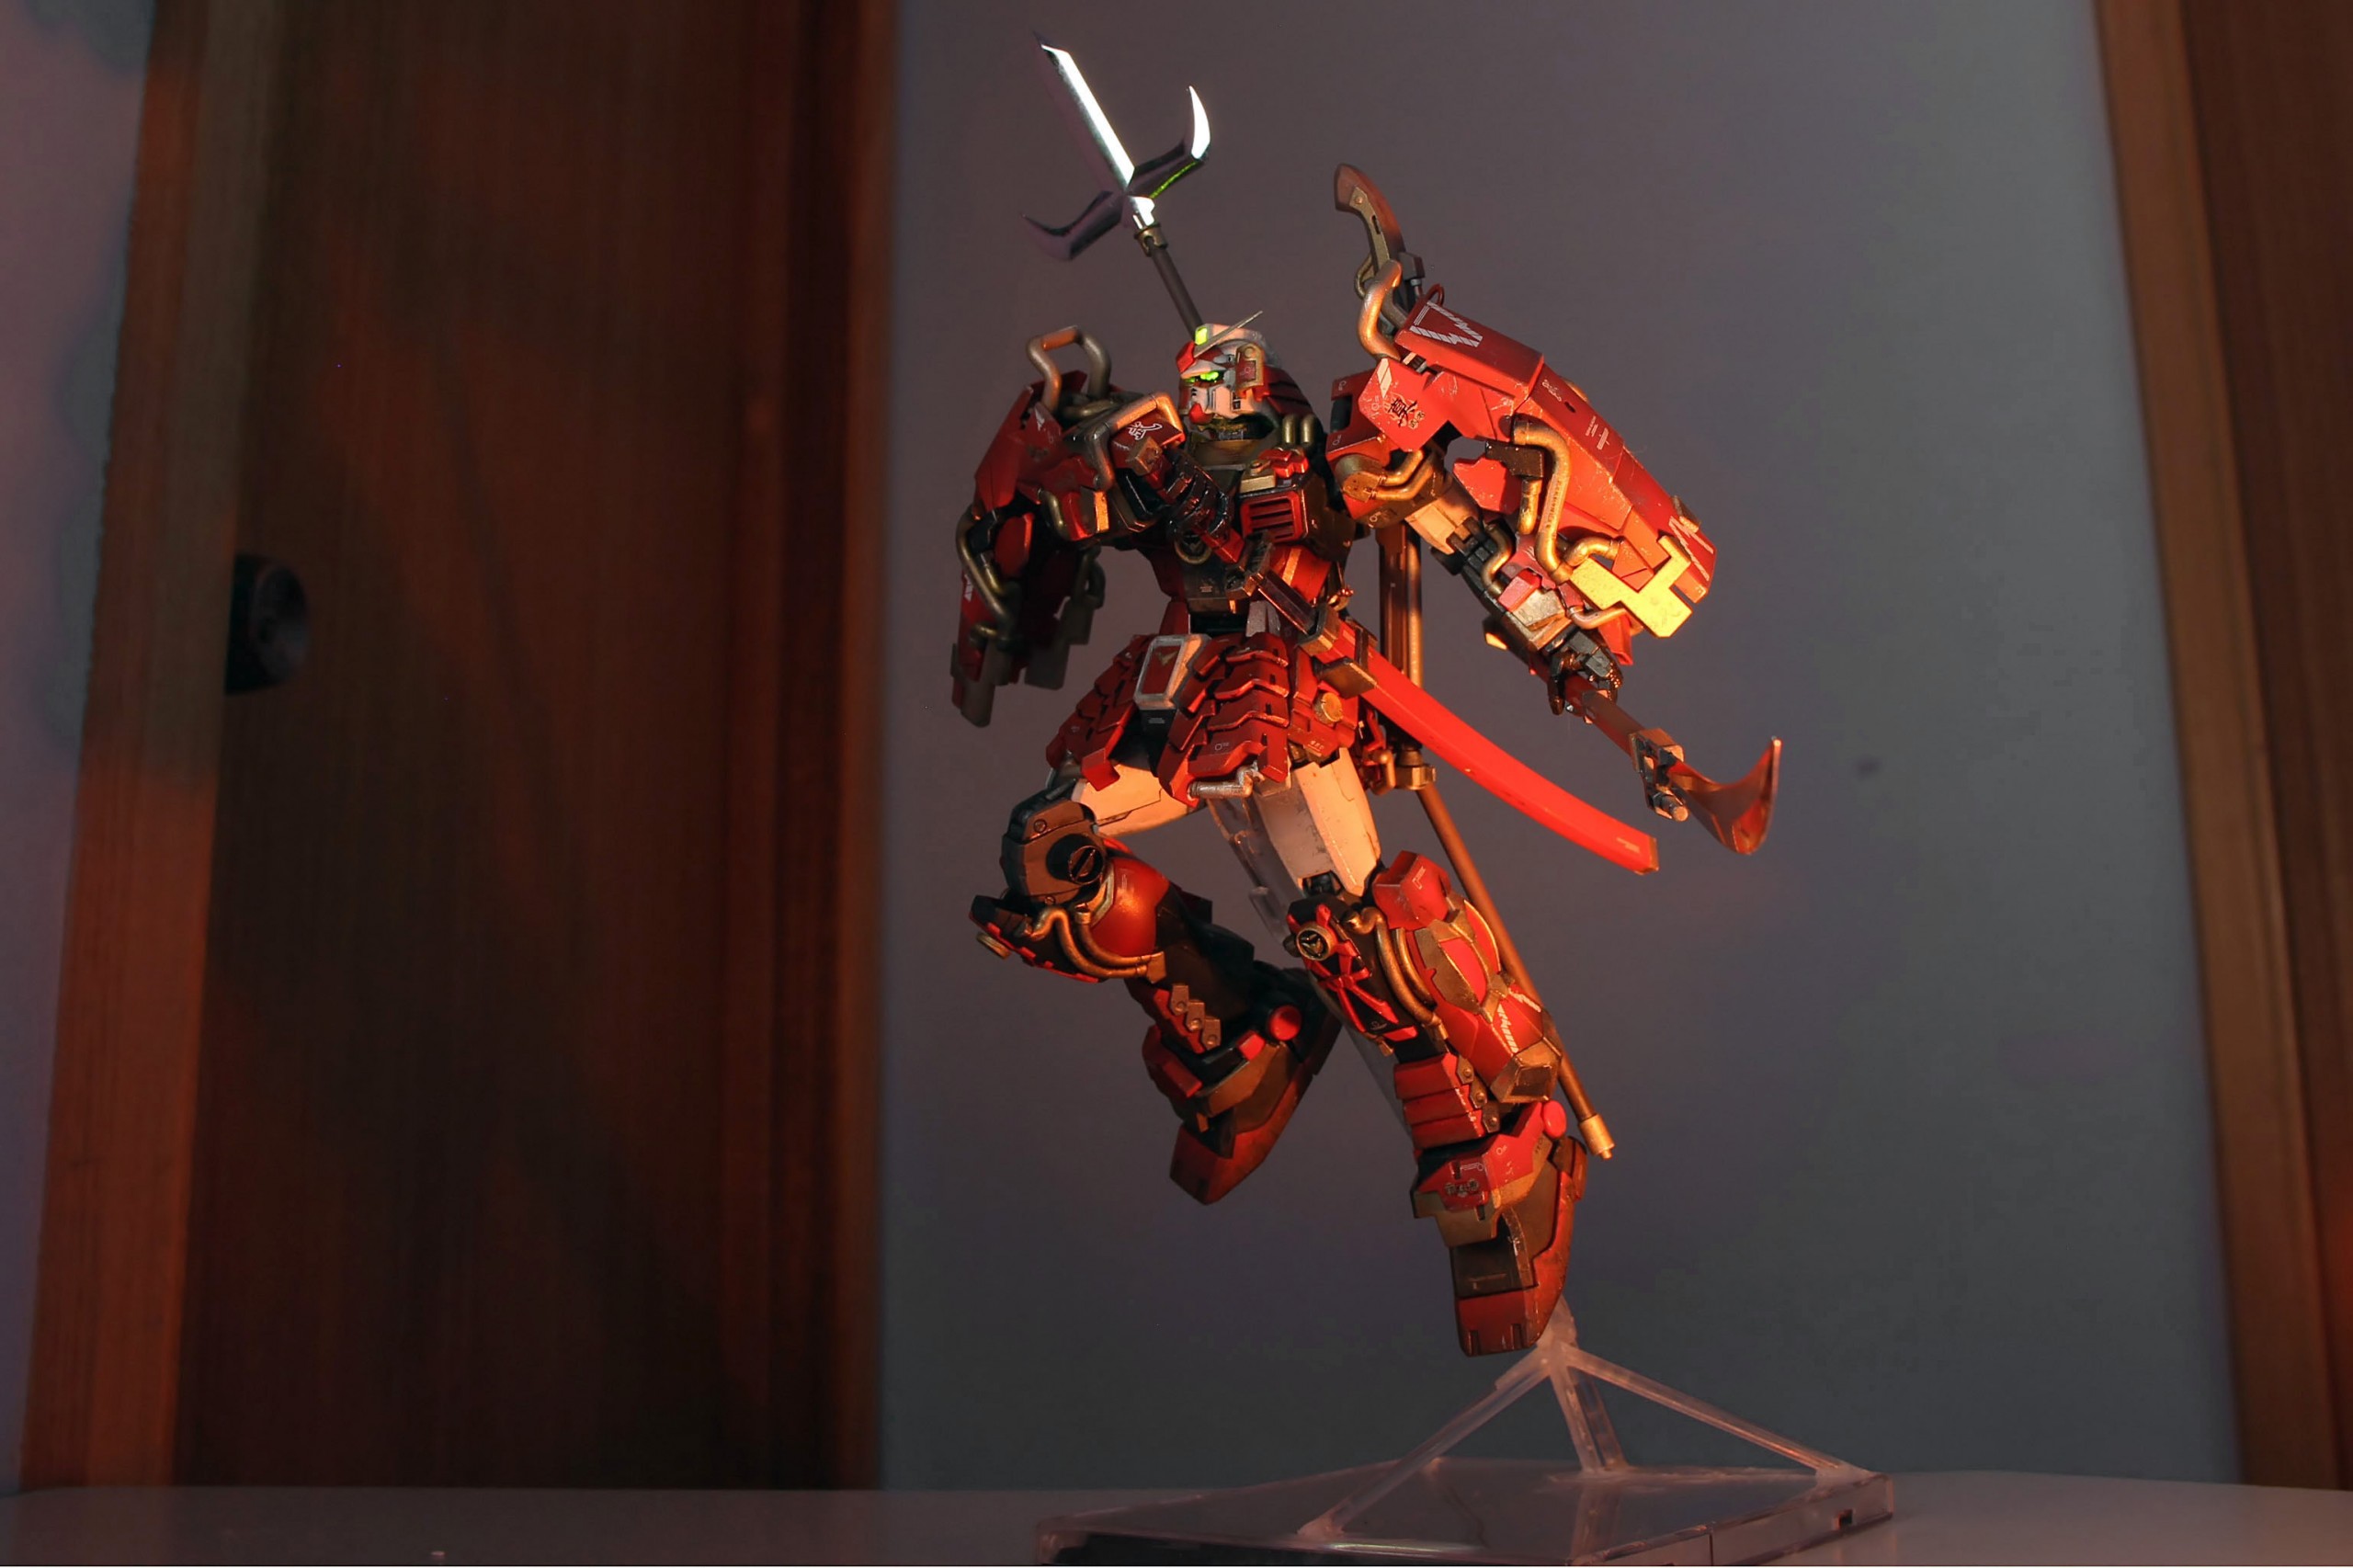
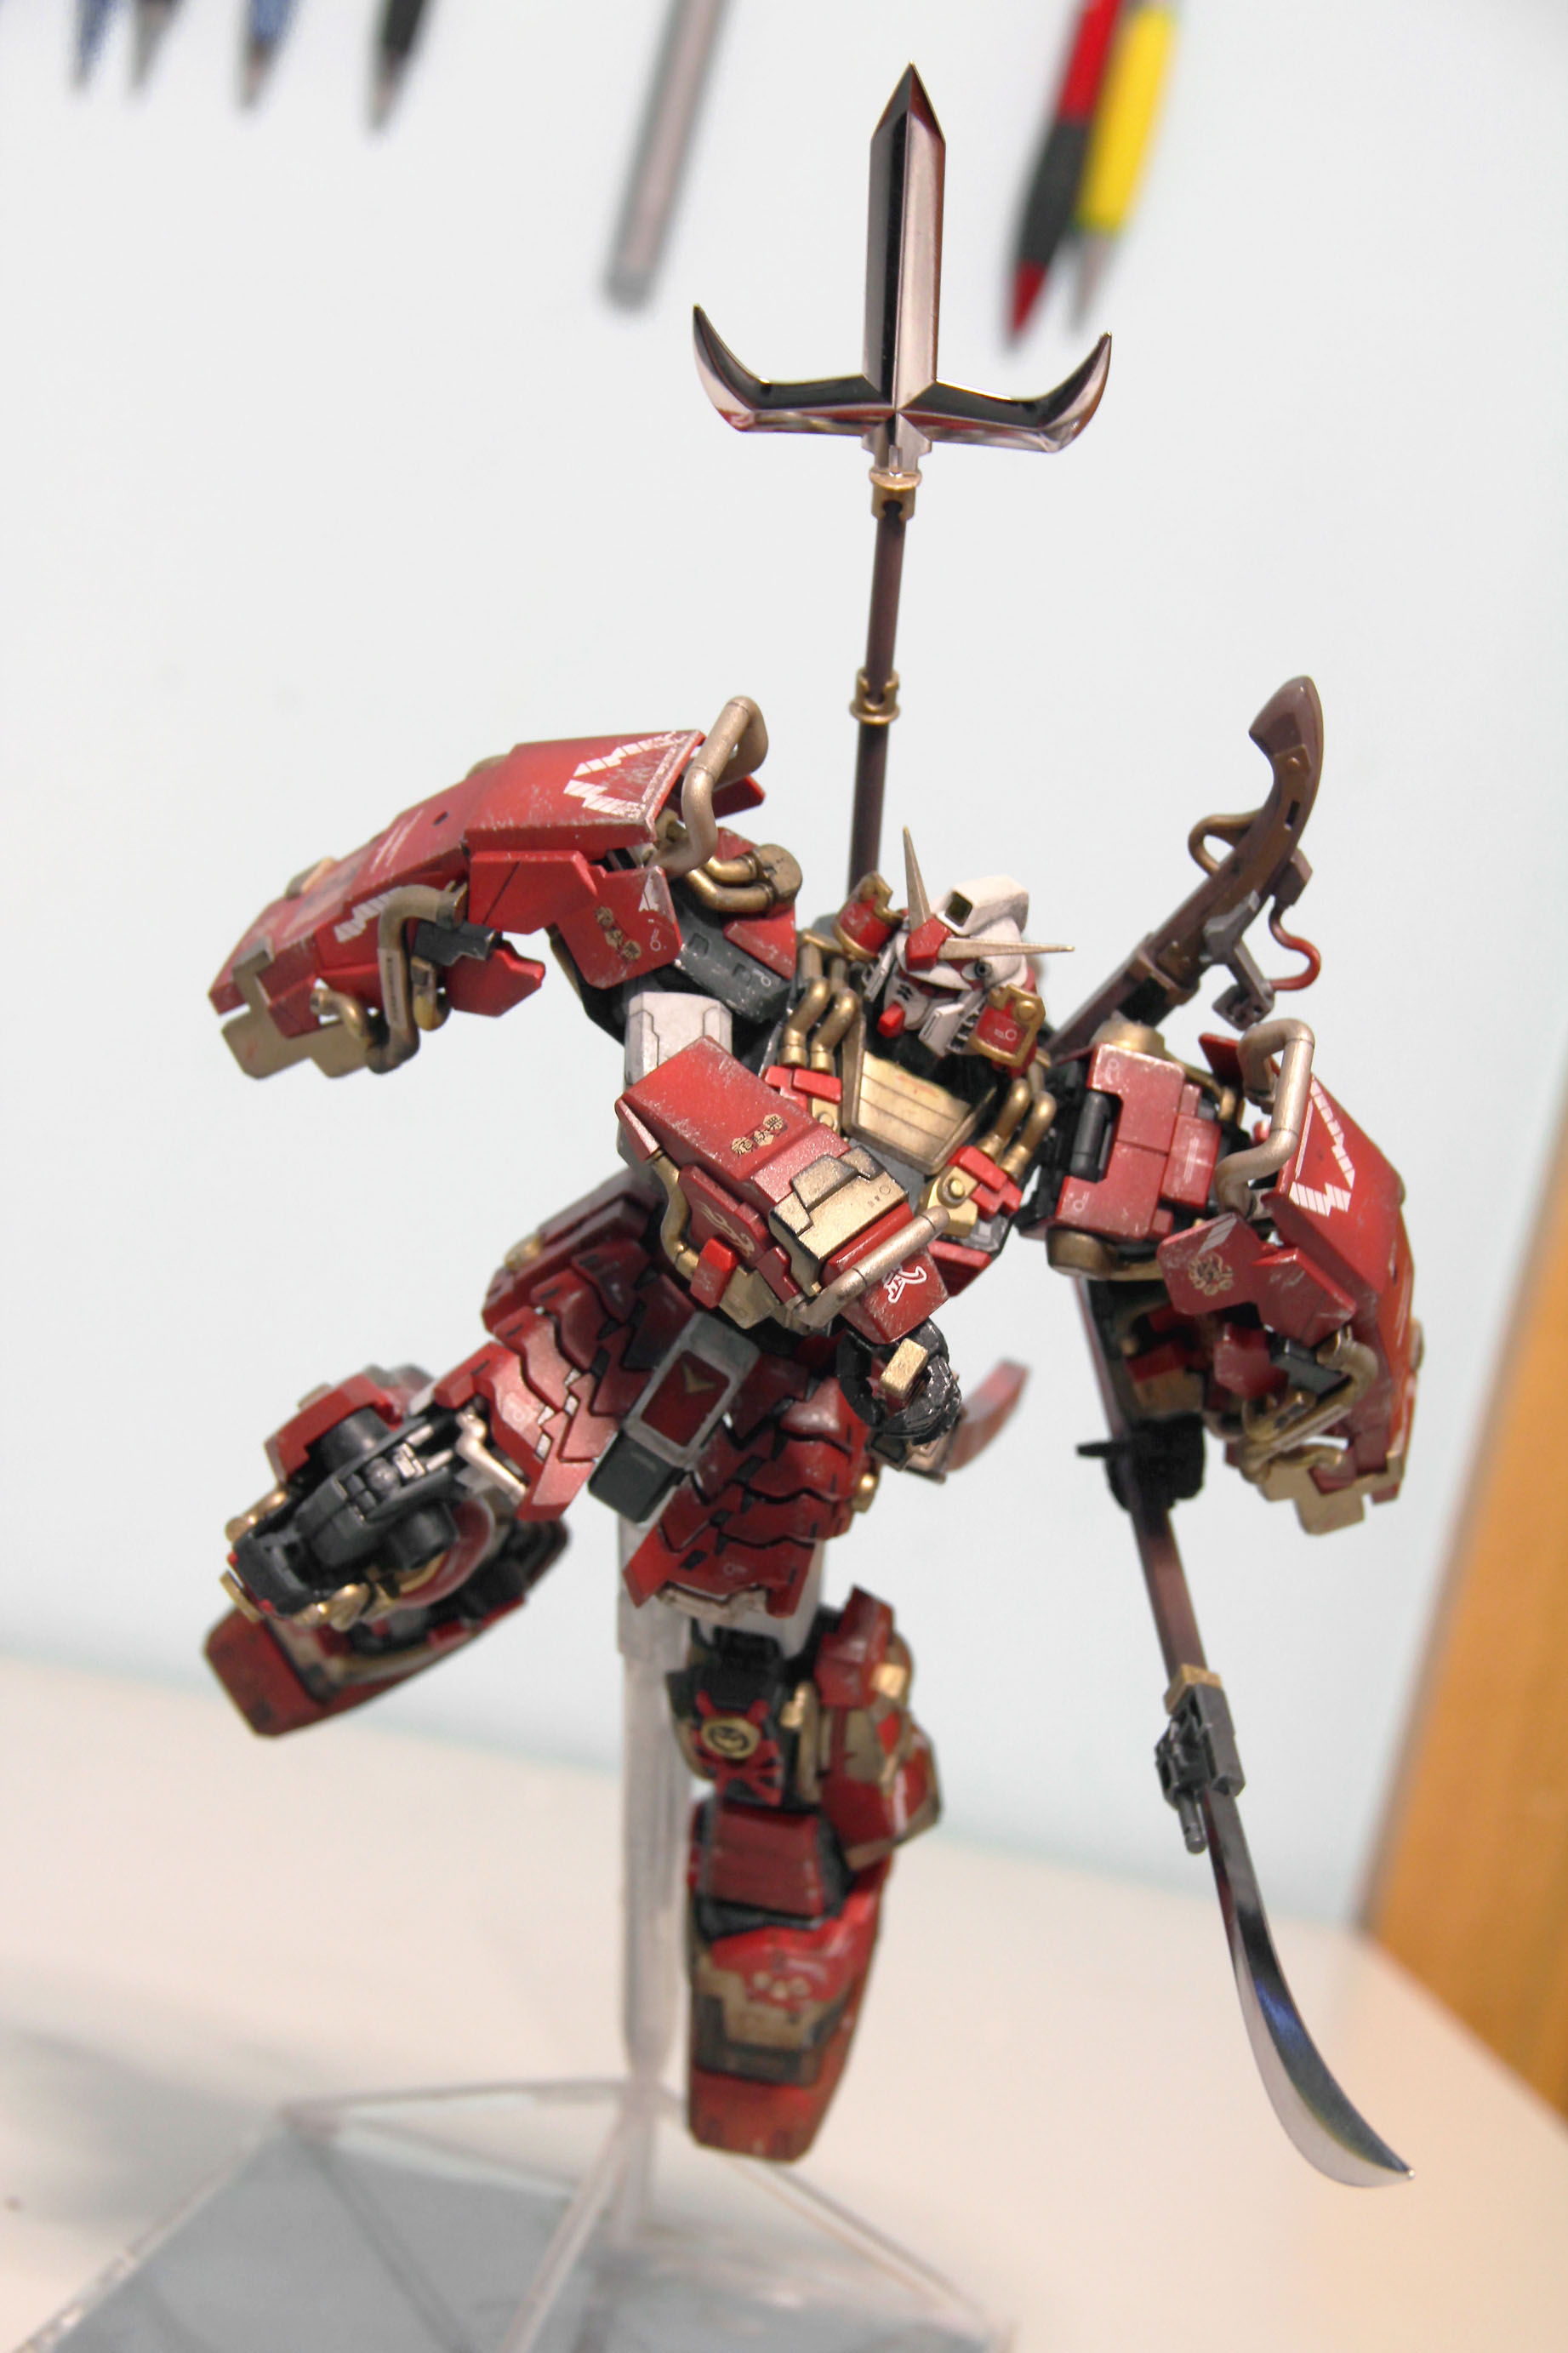
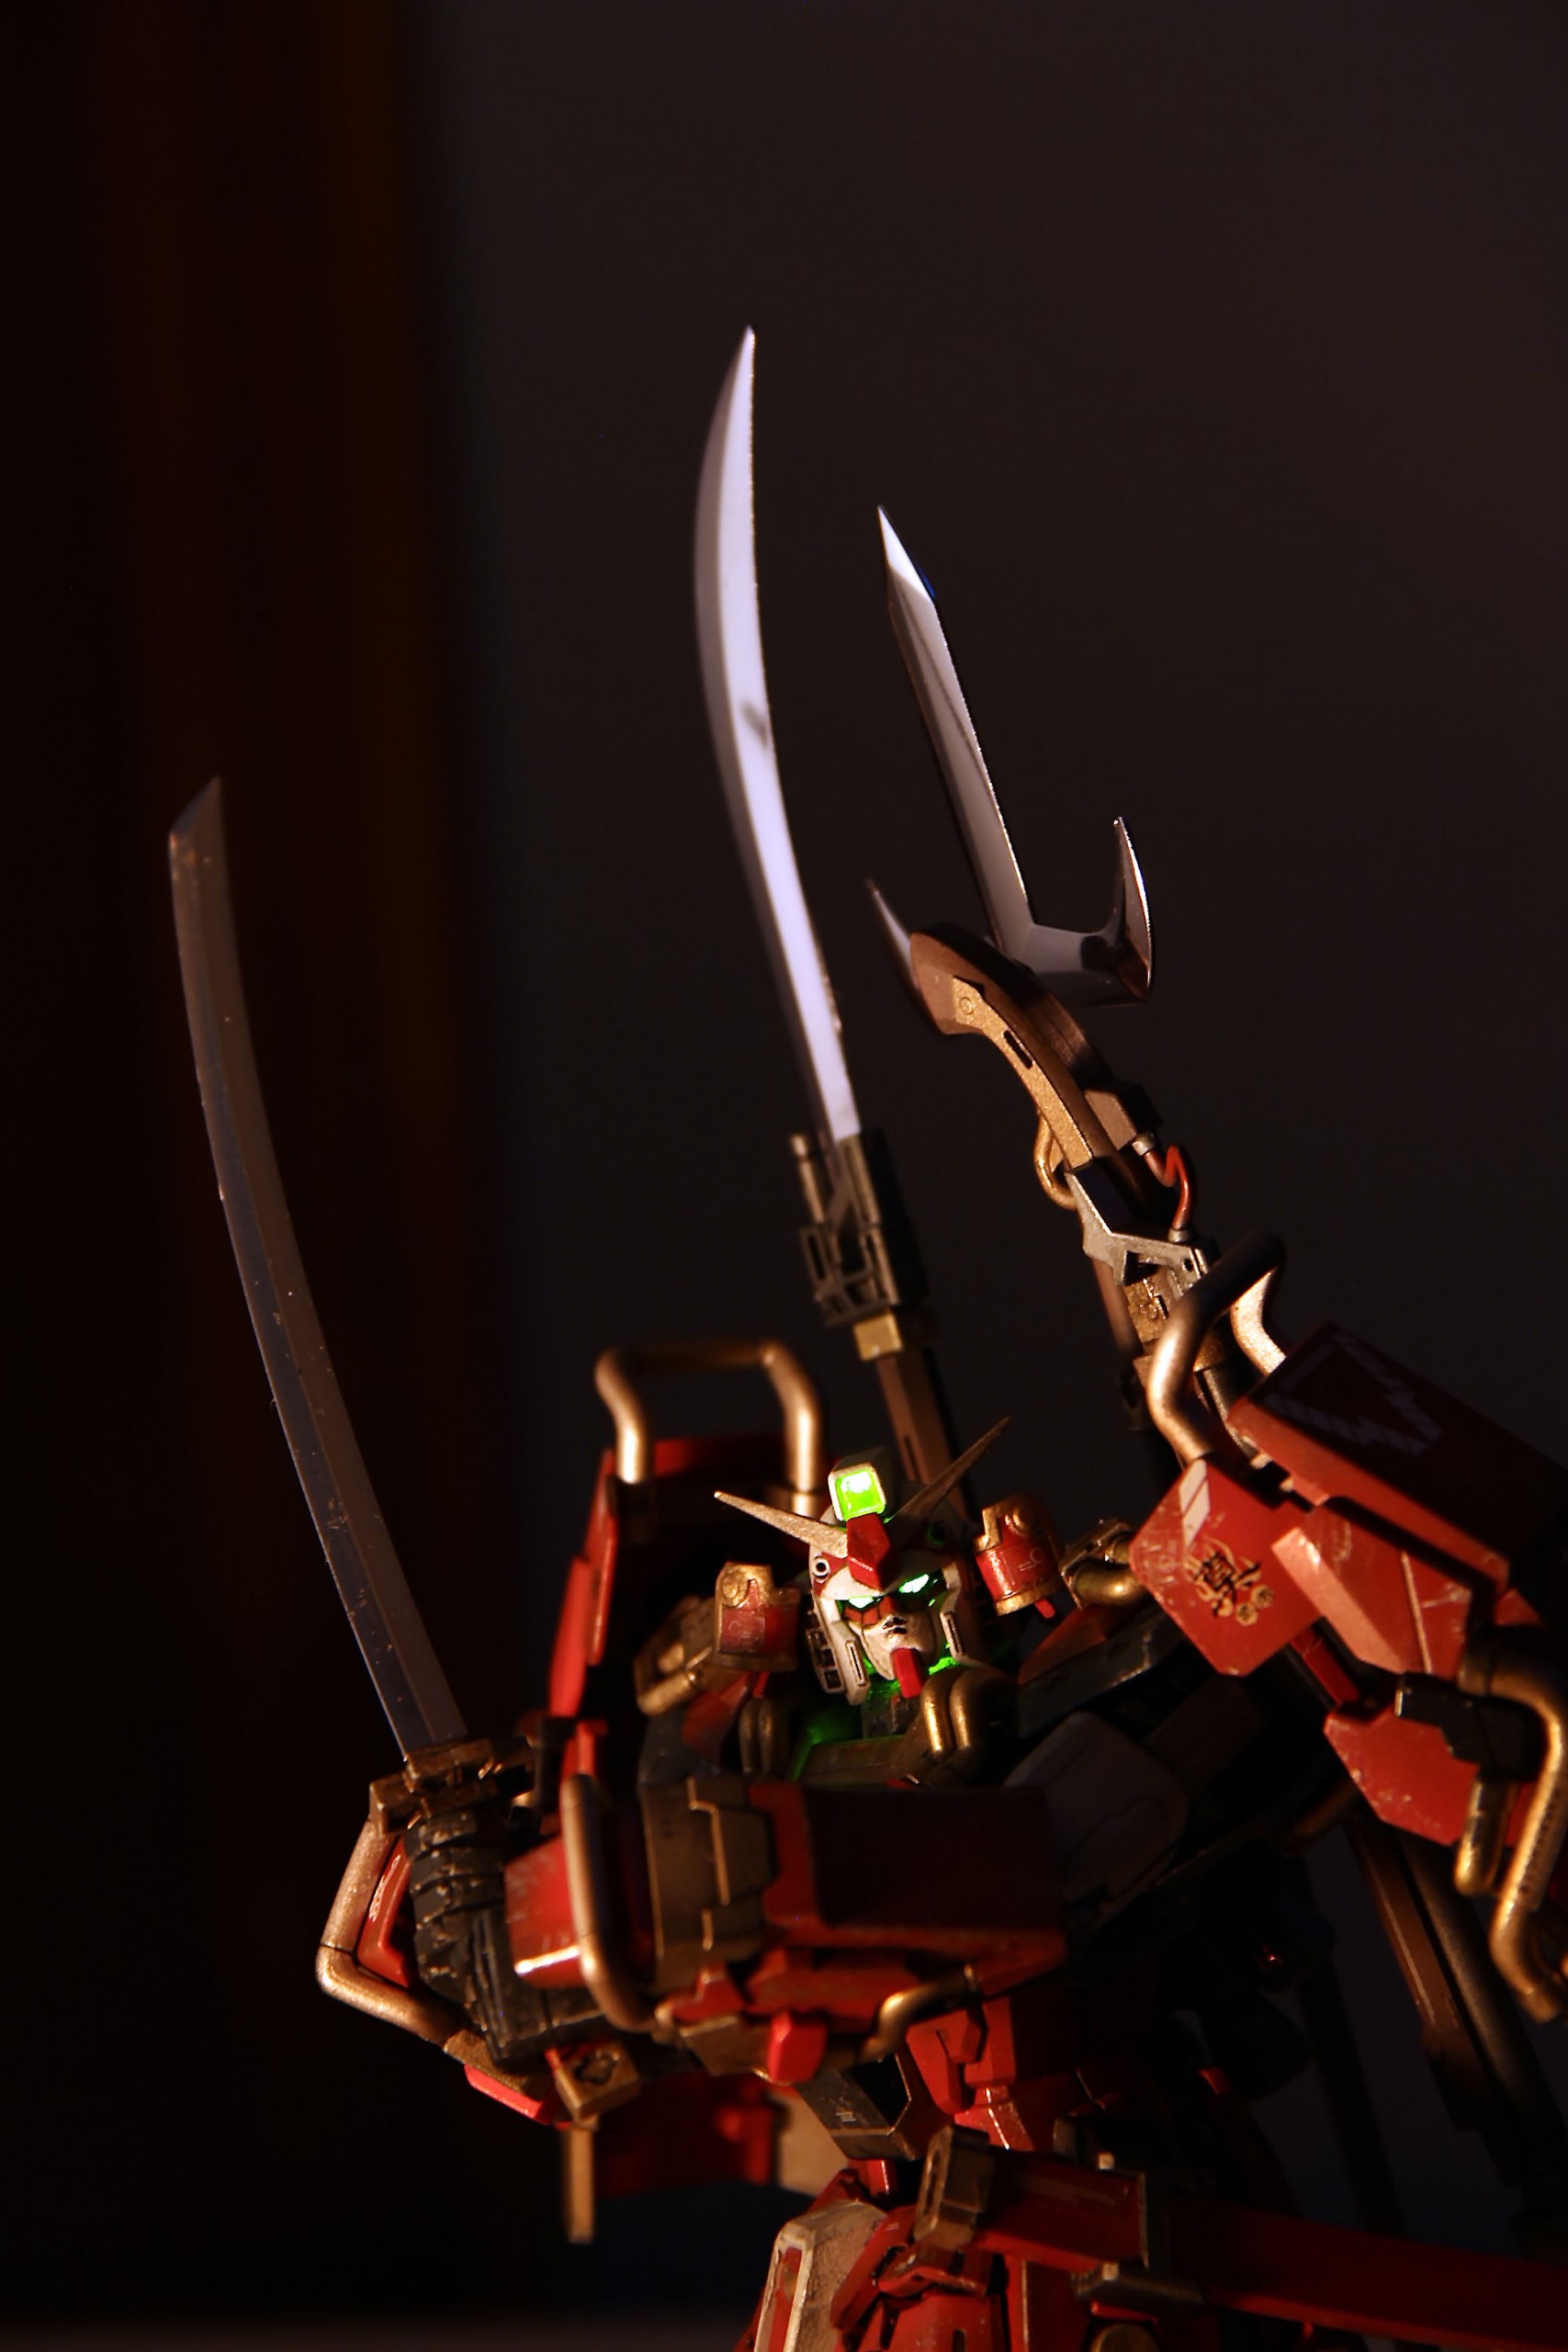
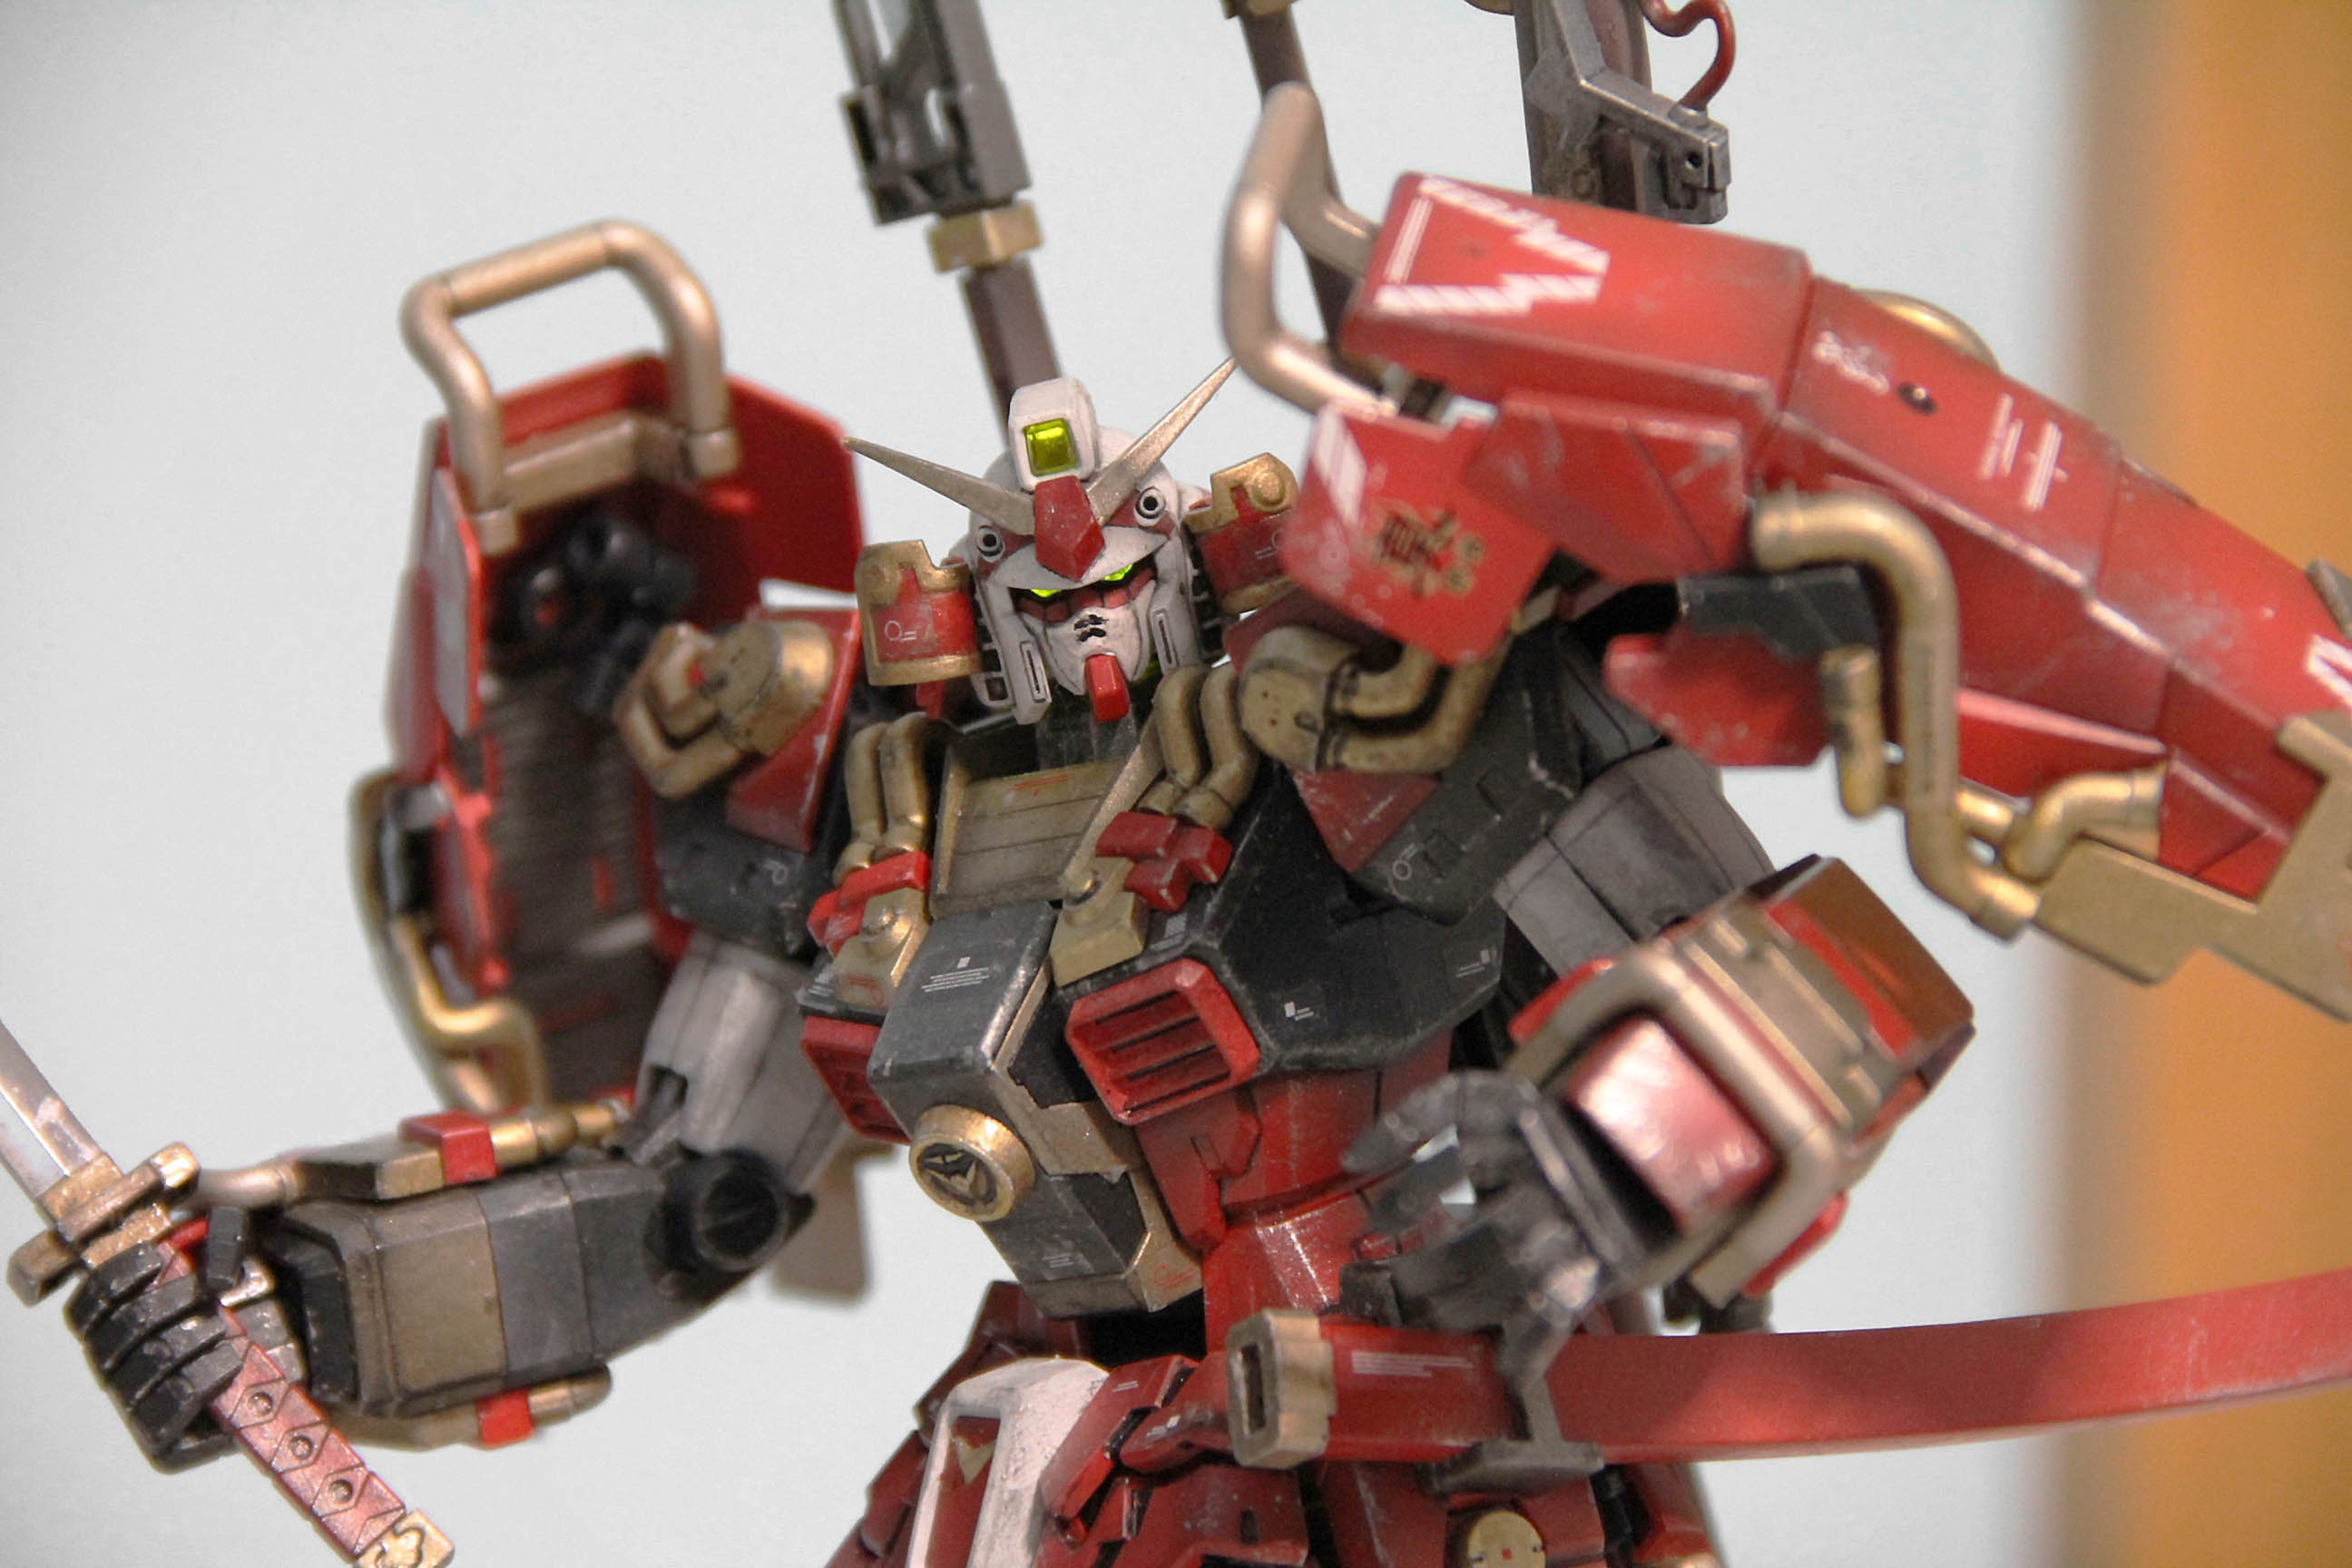
First time air spraying building gundam. Read lots of stuff from other people on how they spray and build before I started. Very useful.
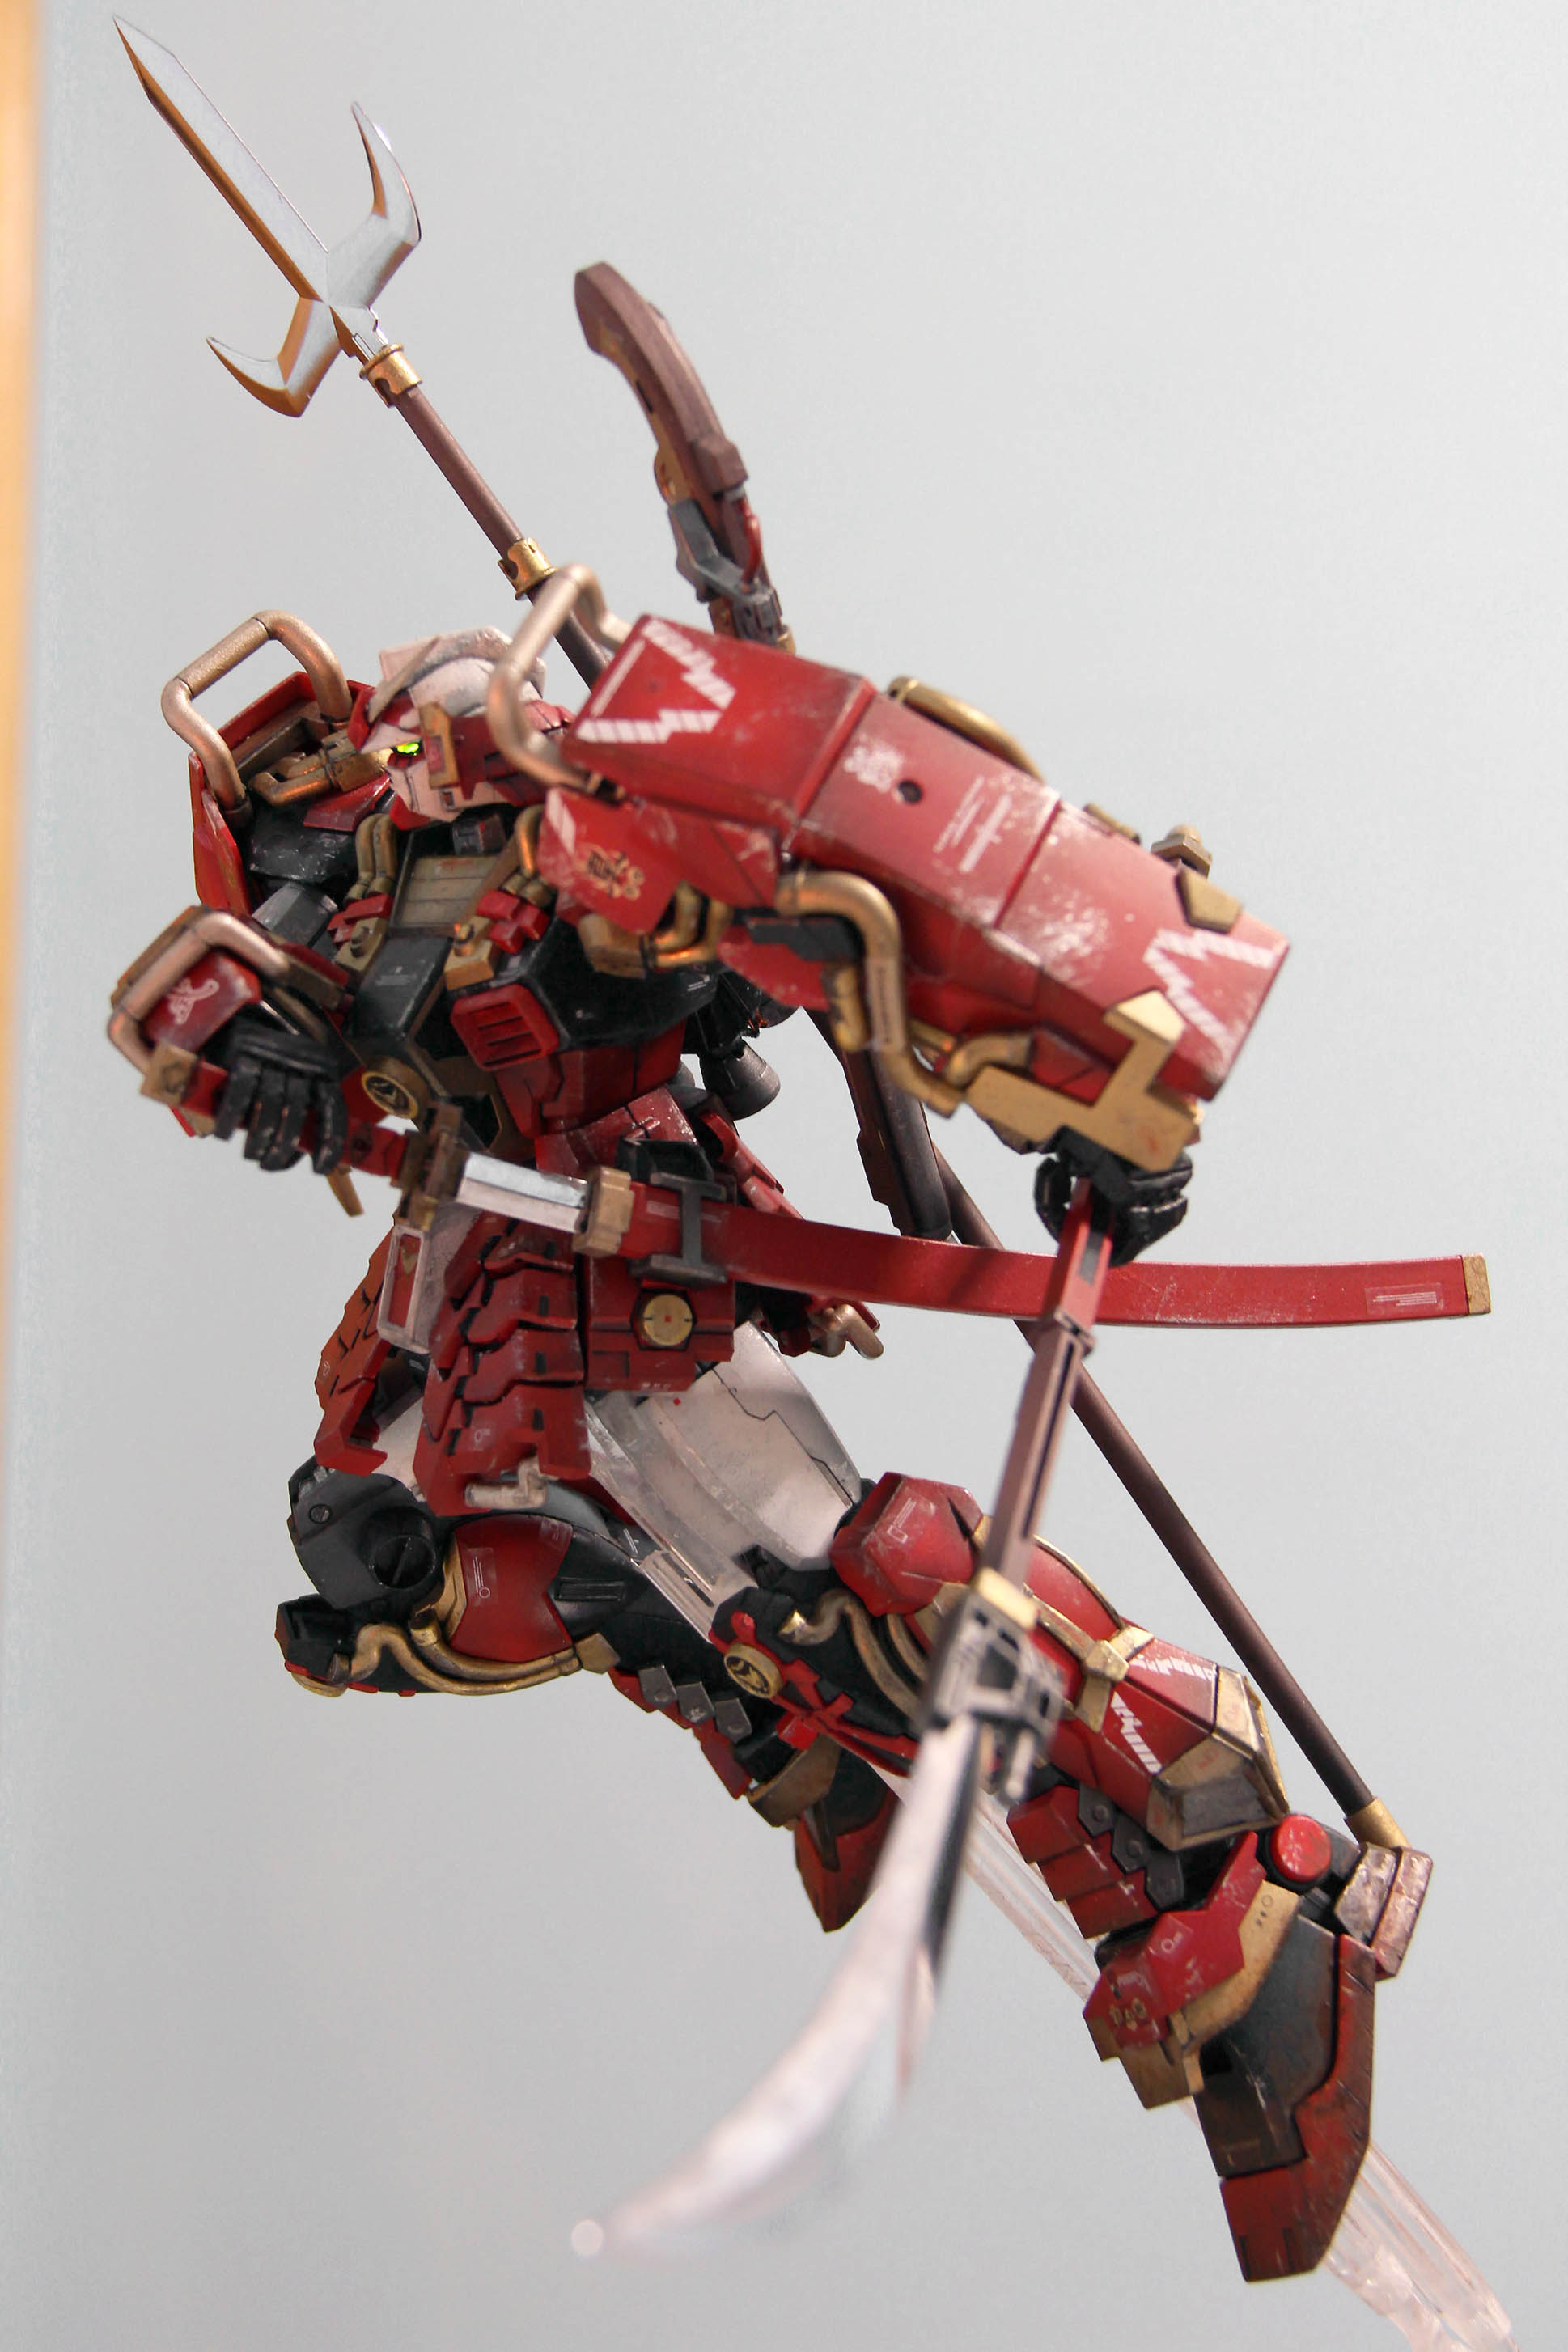
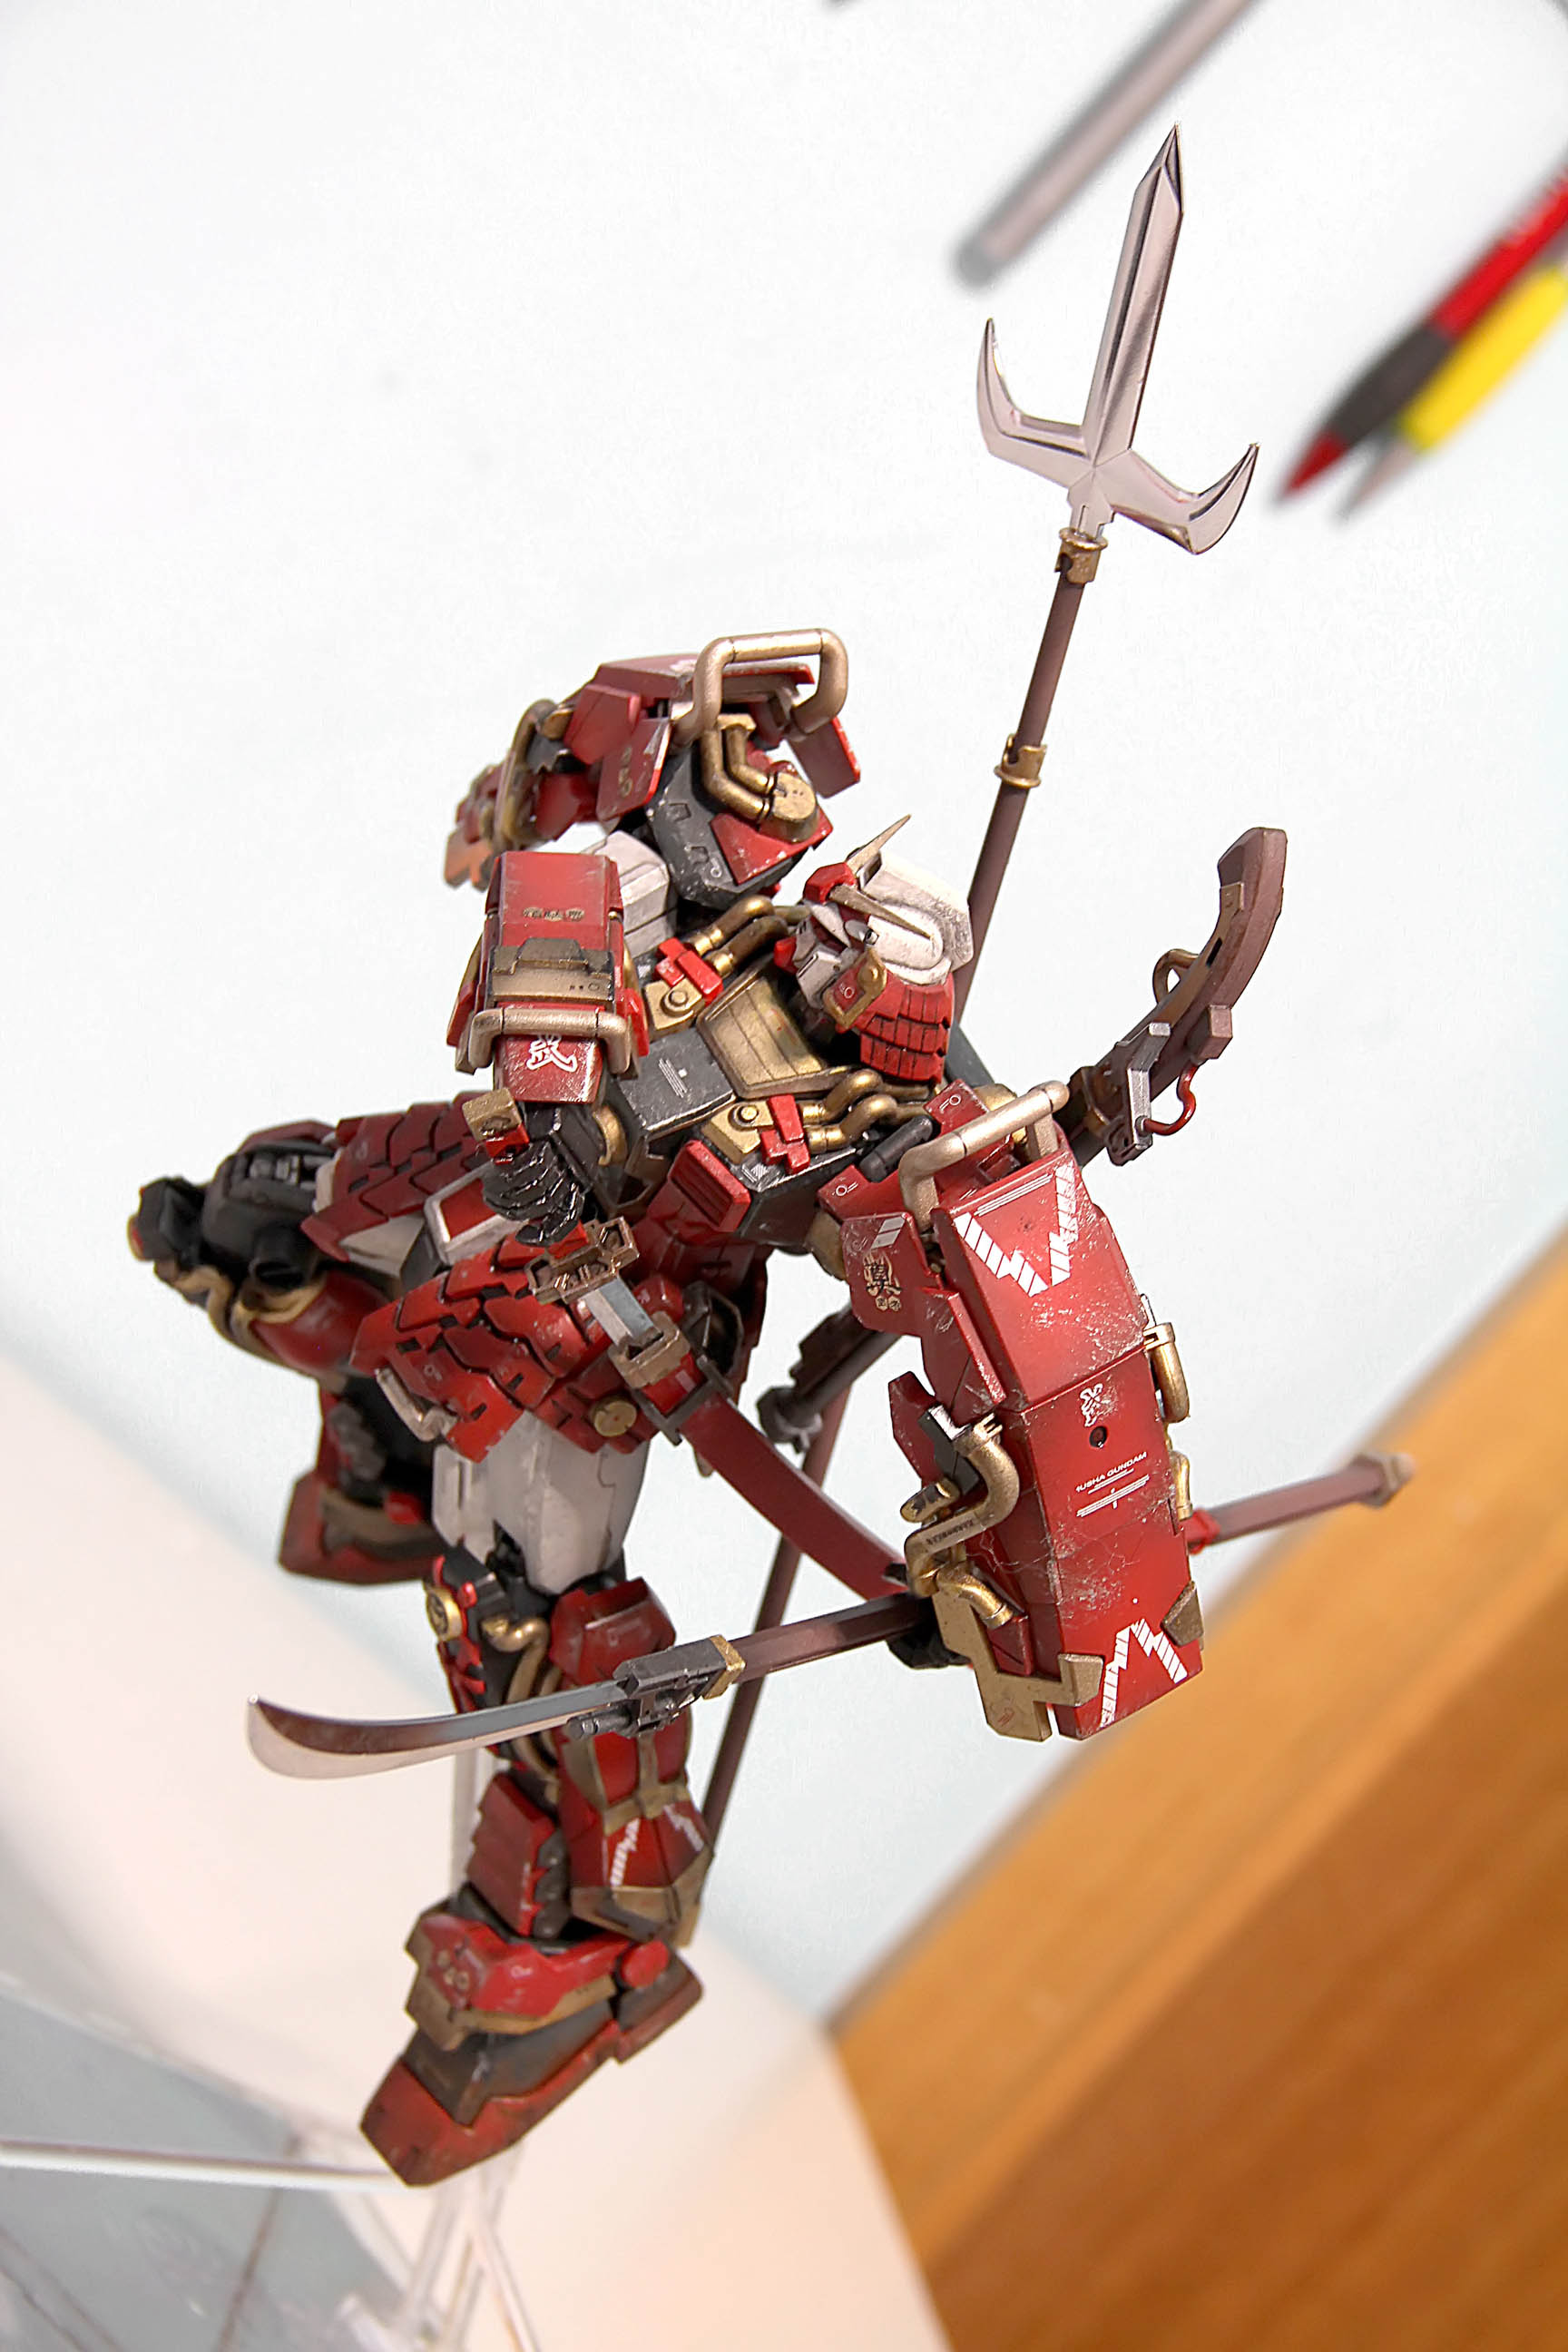
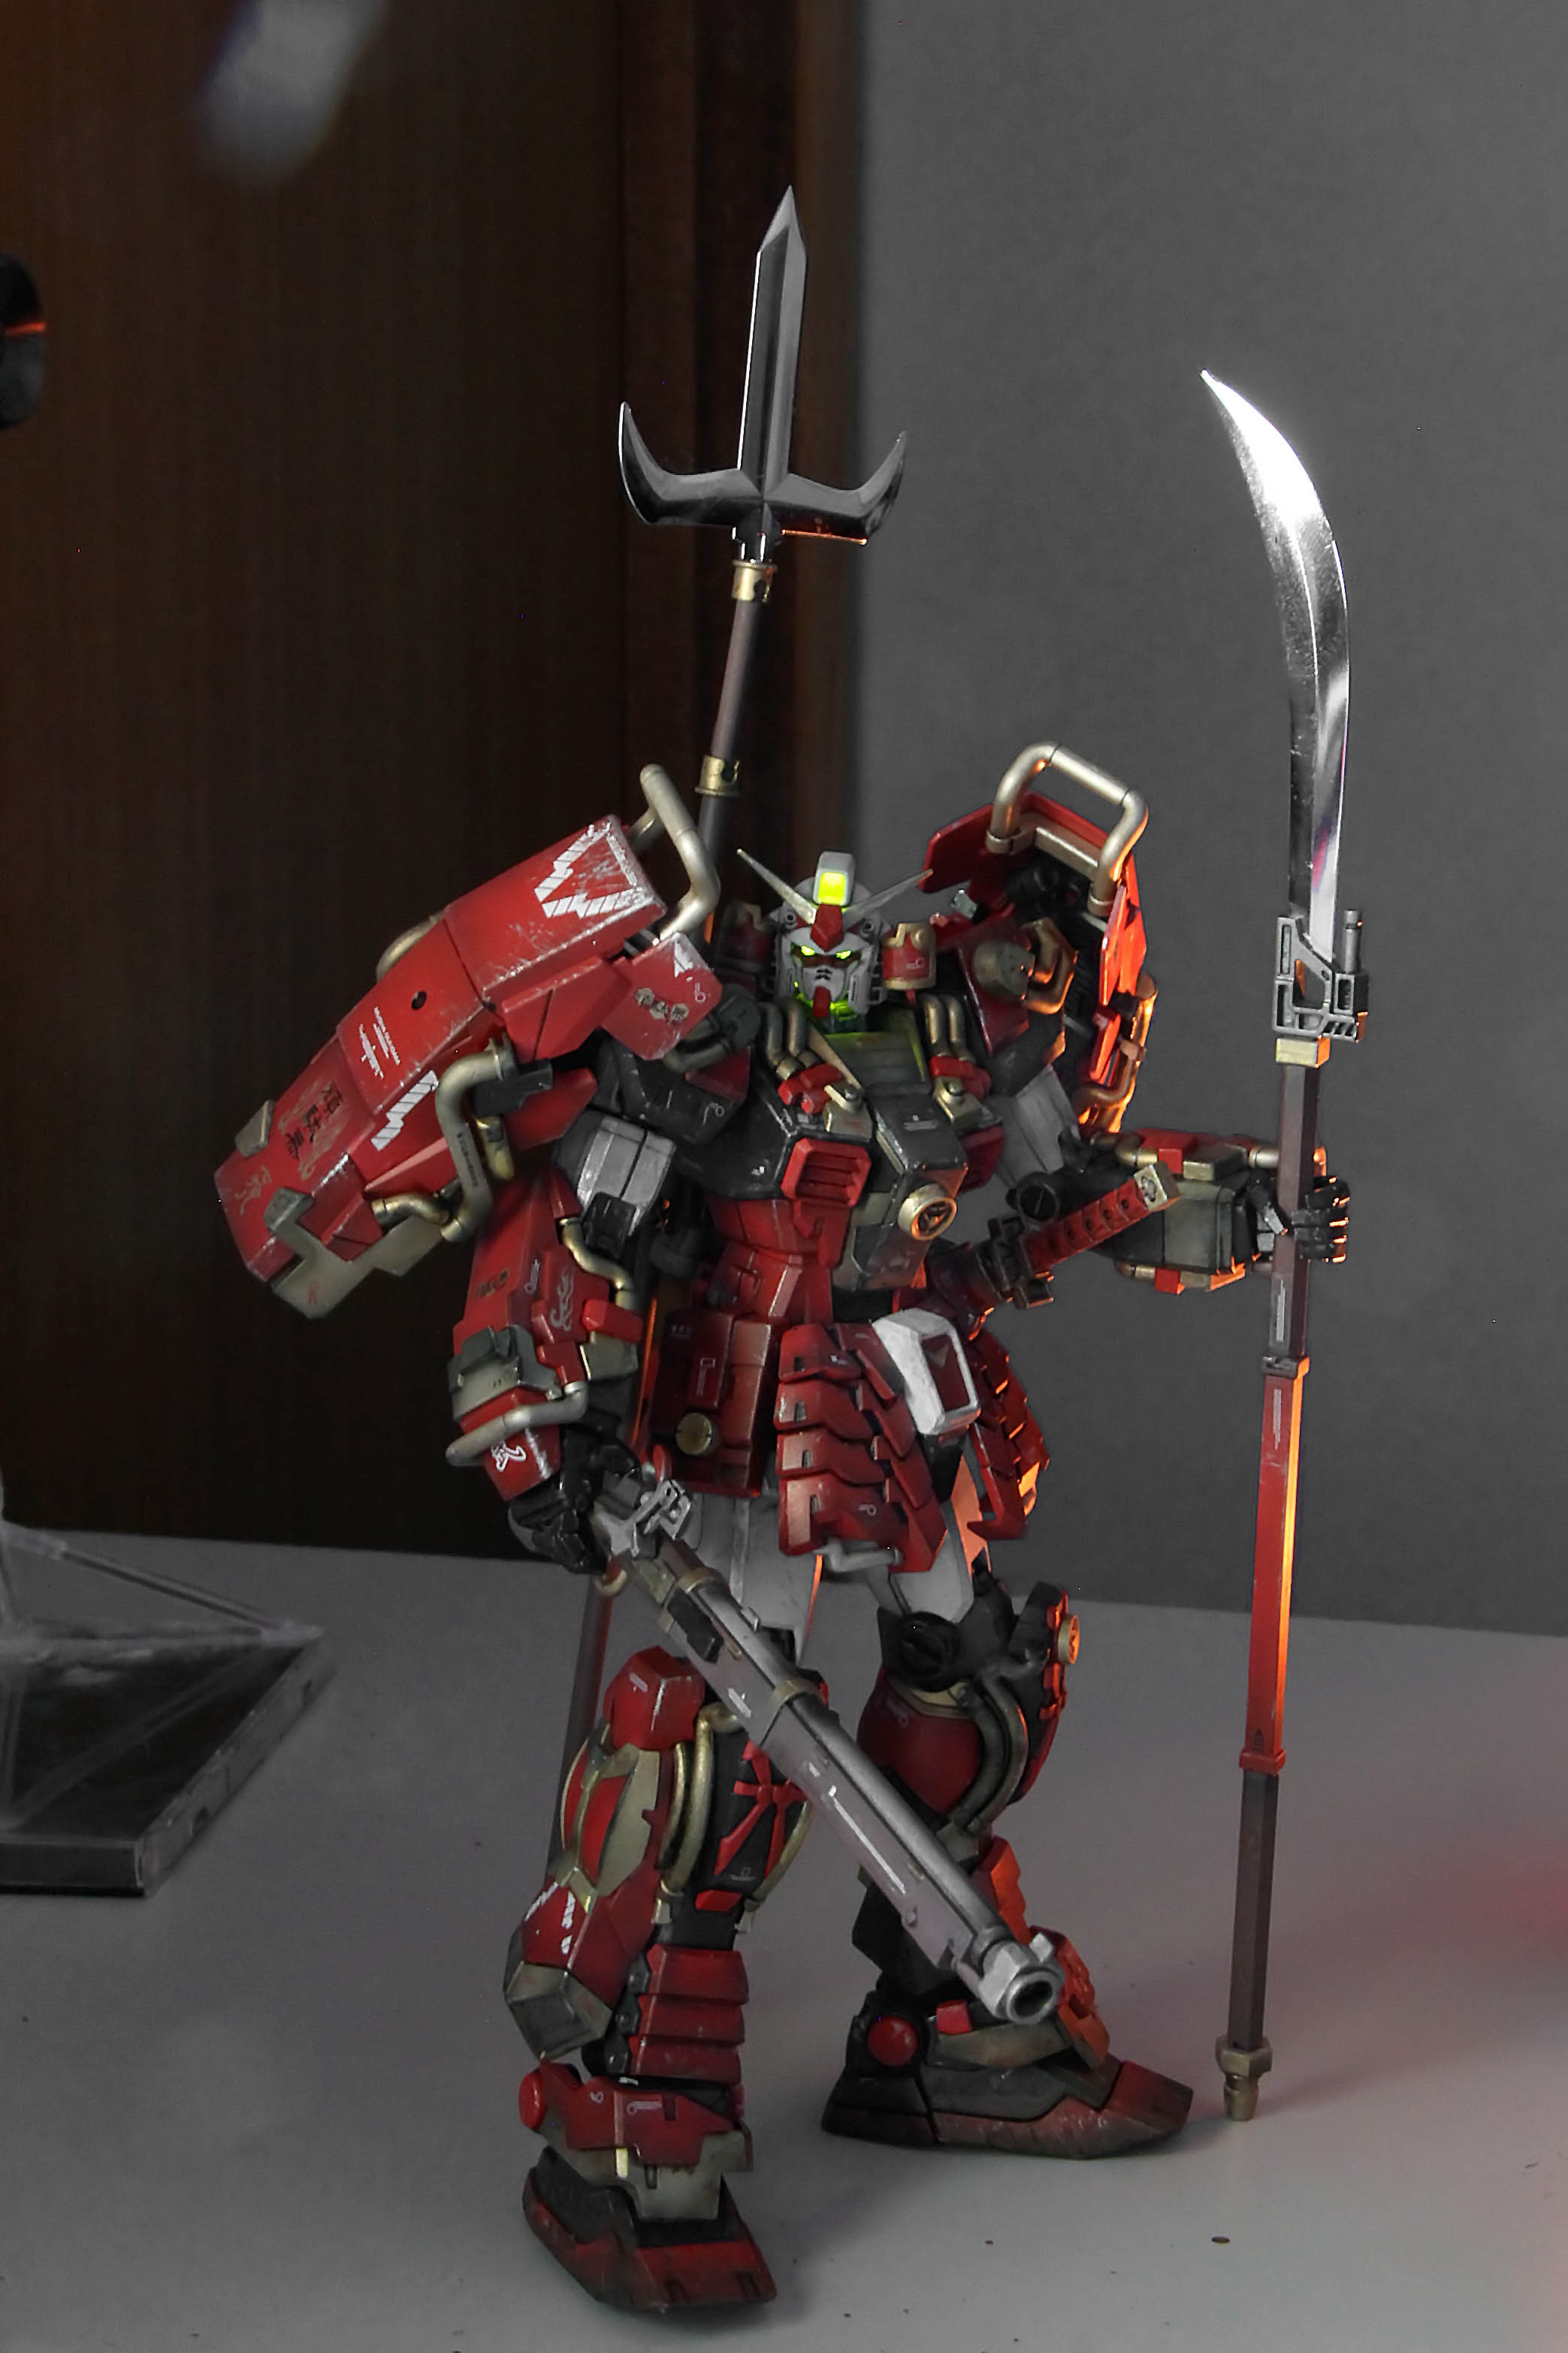
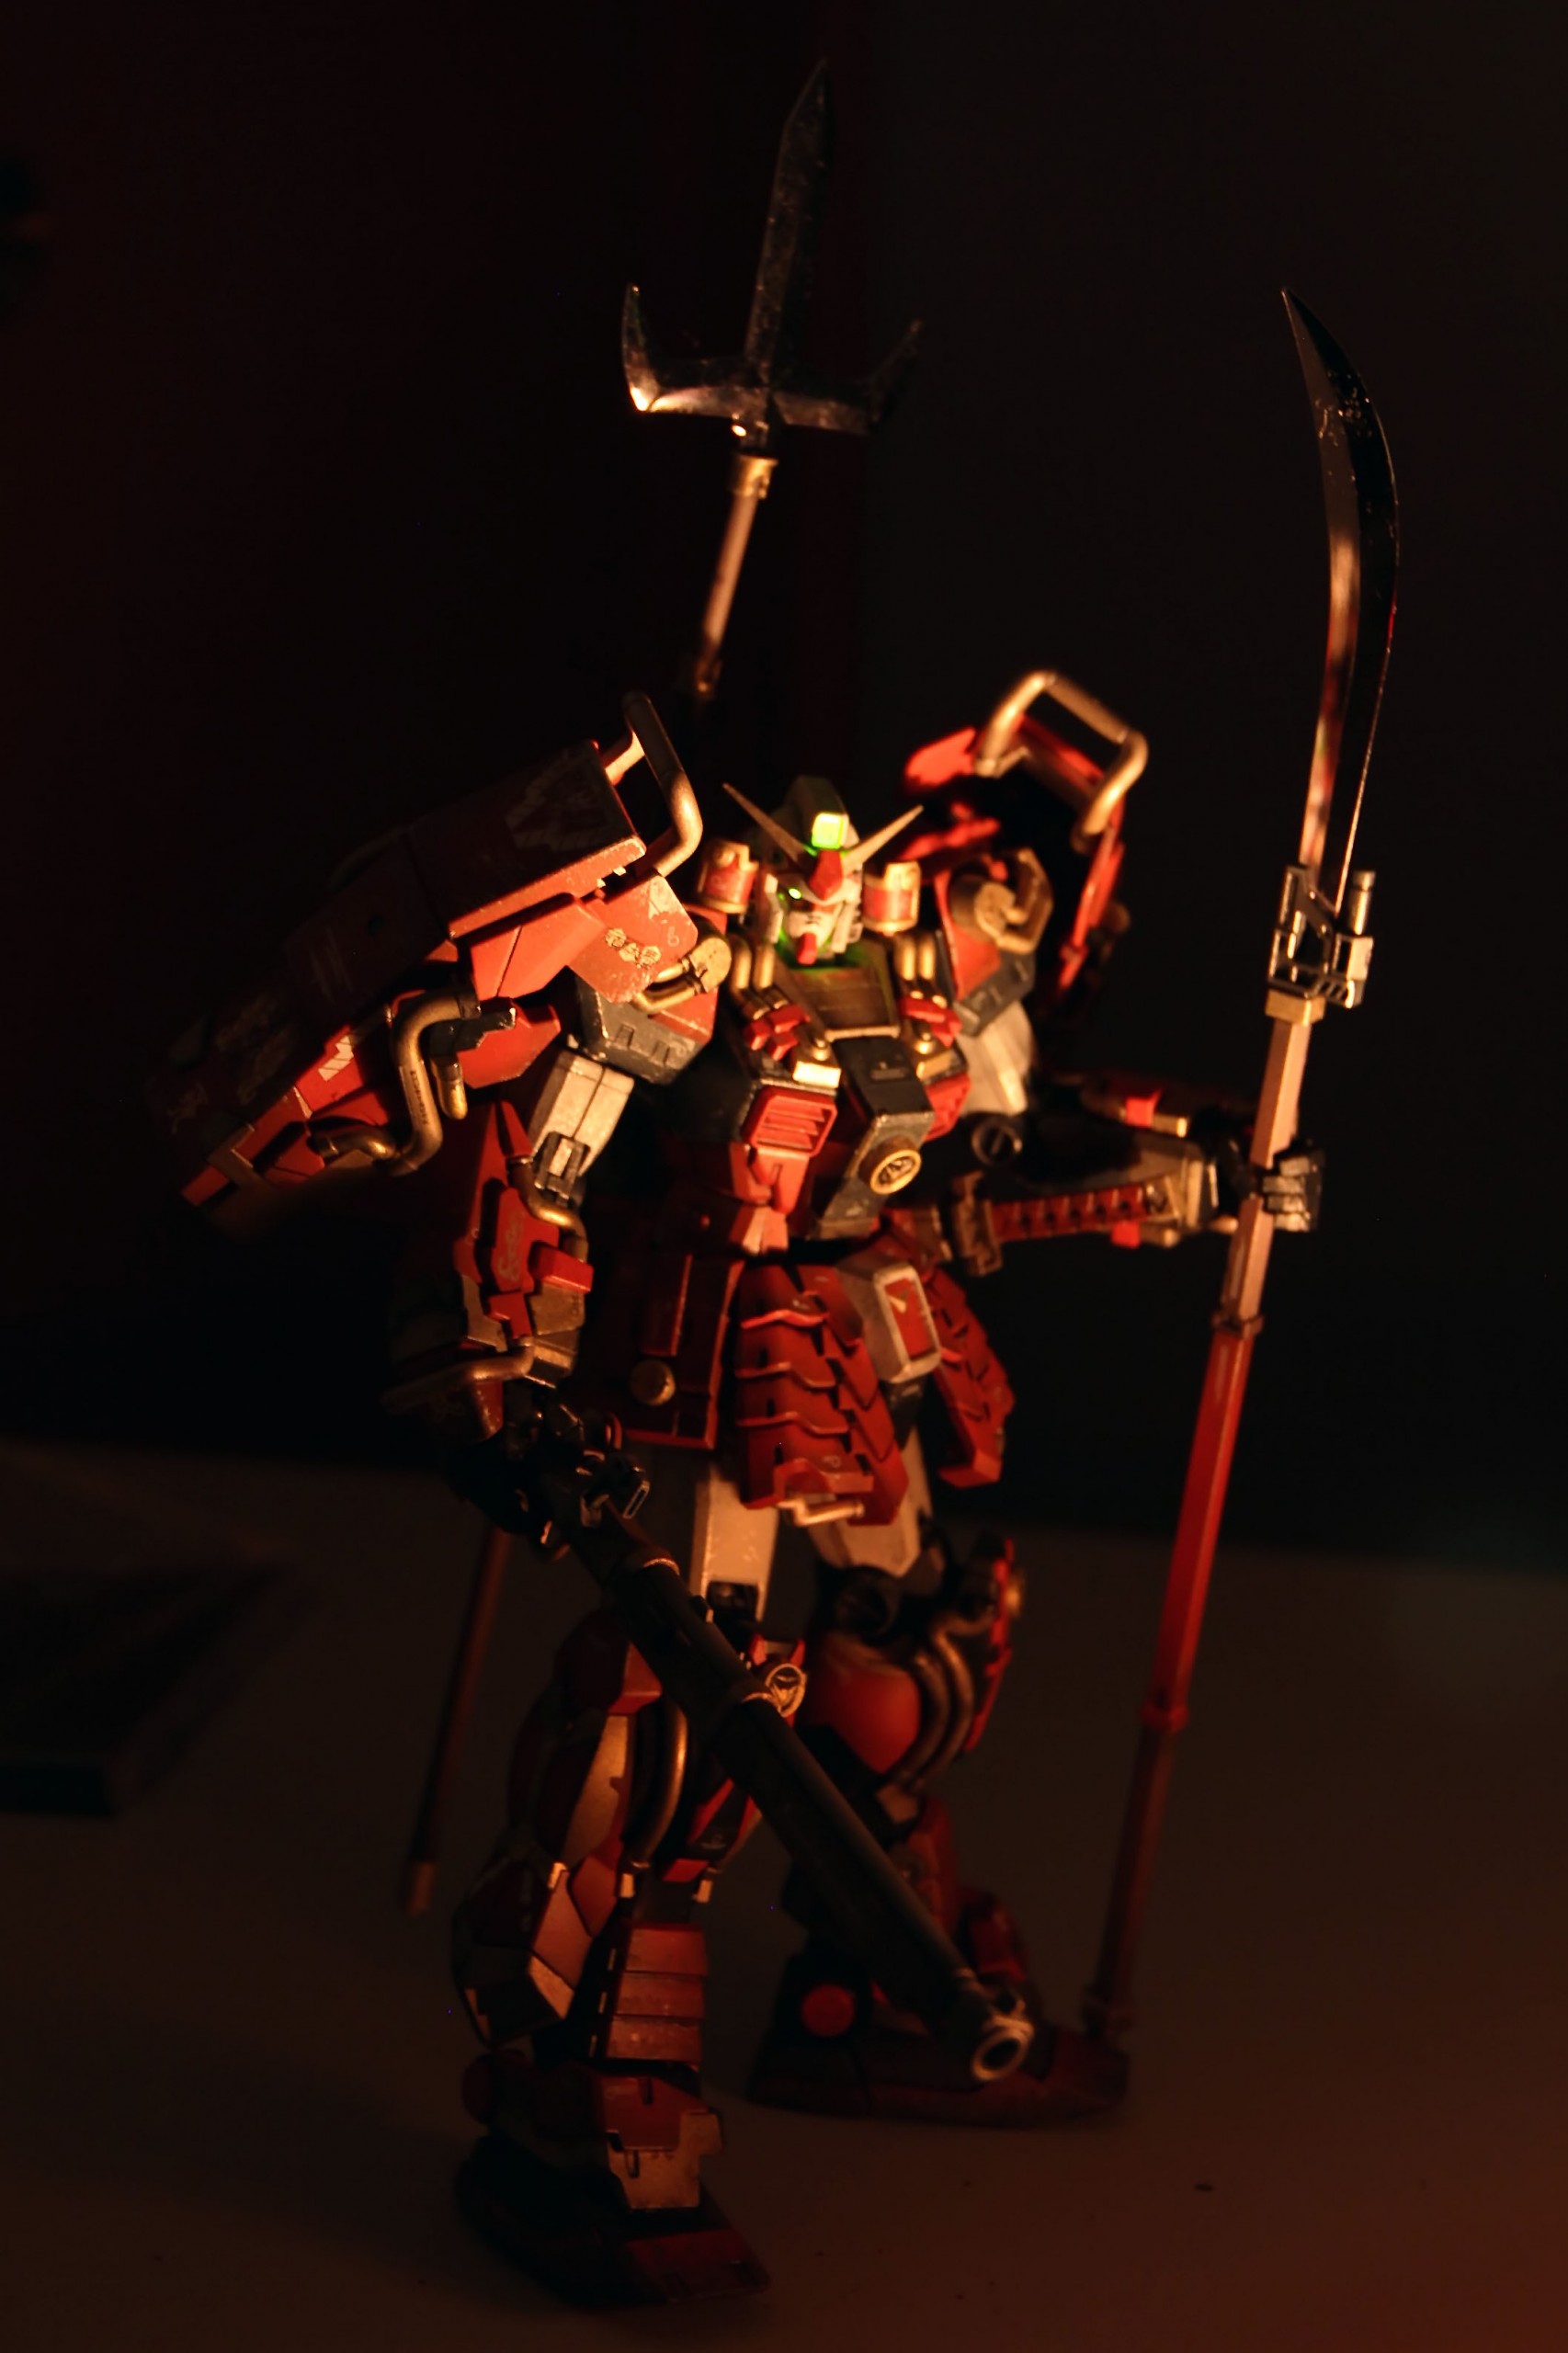
I made the mistake of using Artist acrylic color by Radicalpaint firm. I could save %90 on paint. Turned out that when I aftercoated, the paint reacted badly with the chemical aftercoat. But speaking of badly, it does make very good natural battle damage/wear/tear abrasion with very little effort ^^. Added light modification to head.
This robot was a present from someone in Japan. I felt bad not making it cause I’m lazy and she would be very upset. But I did it. hehe. Lots of time spent making this robot, but I had some fun!
Thanks for watching.


daniel
nice work! keep out the laziness and continue building cool gundam like this one
Vinh Dao
Thanks very much Daniel. It’s been a while since I come here as I am still recovering from a long depression. That person who gave me this as gift passed away from a fatal car accident and I’m glad I showed her this before it happened and she was glad… I miss her…
edwards
hi there, me too had never built a gundam before, was impress by your master piece, i’d bought a shin musha gundam too, but didnt know how to put them together, like to know how did u put the led light in it’s head, mind sharing?
Vinh Dao
Hi Edwards, sorry for delay. Thanks for posting. I bought waterclear green LED 3 mm and had to cut the interior of the head to make room for the LED. And used hotglue (NOT superglue). LED needs to be 20 mW, you need a resistor. I used 3.0 to 5 volt button battery (so 200 ohm can do) and you need micro jumper switch to turn it off and on. Some good time and you get it working. It’s very easy. NOTE remember to use resistor or you will burn out the LED.
Putting Gundam together you can find so many tutorials on Youtube because it will take too long to write here. But that’s how I started too with the Shin Musha. Hope this helps friend.
Derek
Hi, can you tell me where you learned or how you started learning how to weather/battle damage this kit? It looks fantastic and I actually want to make my Shin Musha look battle damaged too, because I just think that is how he is supposed to look. 😀
Vinh Dao
Hi Derek. Thanks for your complements. To be honest, I Googled/Youtubed others on how to do battle damage. You can really find great video tutorials on how to do it. I actually had a full tutorial here on this website, but my second submission was refused (I don’t know why). Anyway, when it came to battle damage, I let my imagination run wild. Because it is battle damage, I experimented with different types from scratching using knife for abrasion damage to hot knife for beam sabre damage. If I make mistake, it’s okay because it’s battle damage. As for painting the metal scratch effect. I used a dry brush and metal paint. Then I add a hint of the paint on the brush and then squiggled the brush on a white piece of paper until it is barely a very small about on the fine hair of the brush. Then slowly and lightly stroke the brush across your model (after it’s painted first). If you do it right, it will look like metal scratches. You may want to experiment with different sized brush and pressure to achieve your desired results. These are one of the ways, the are many more really. Great tutorials are vastly online. Google is your friend. And Youtube is your Teacher. Hope this helps Derek.
Sorry for the delay.