@lightingdragon20
Active 9 years, 5 months ago-

thebanshee13 posted an update in the group
What are you building? 8 years, 7 months agoI think if i put my heart into this and not do nething but this i can get it done before saturday more is already painted but i just wanted to see something done -
thebanshee13 posted an update in the group
Q/A & Help Group 8 years, 7 months agoi finished modding my zeong and i started to paint it however when i did after the paint dried i could see the surface of the plastic to be all scratchy from sanding it down and such is there a way to get rid of that look like prime it or something??
-
What you can do is prime to see where it’s rough. If you use a grey primer then it’s easy to see changes in the surface and so, easy to try and fix. This is the best way I’ve found to smooth out plastic.
-
What Nick said is true, but you’ll be looking for a primer with “micro filler” added to it. Of course you need to sand it after priming it. For a flat paint, a 800 grid sandpaper will do, for gloss and metallics, a 1000 or 1200 grid sandpaper is needed. And you need to get a primer that is compatible with the paint you are using, provided you want…[Read more]
-
so i have to prime it with tamiyas since im using tamiya paints but after that i still have to resand it but wouldnt that create a more scratchy rough surface though??
-
If you are using the Tamiya acrylics, you can’t prime your parts with Tamiya Primer spray cans, nor the Tamiya Surface Primer which comes in a bottle. Both are lacquers and will ruin your messed up paint job even more!
There are two options for you, one being that you use some more paint to thicken the surface and then sand it smooth, the other is…[Read more]
-
-
-
Right now i already stripped off the original paint for the tamiya primer so all i have to do is prime it up then check for scratched surfaces then sand it n then re prime n then paint?
-
That’s correct. Good luck!
-
Actually quick question wht happens if u put primer over the tamiya acrylics
-
The same thing as you put lacquers on top of acrylics. It’ll start dissolving the paint and eventually it’ll peal right off
-
-
-
-
-
thebanshee13 posted an update in the group
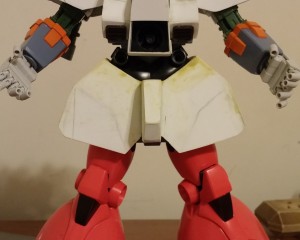
What are you building? 8 years, 8 months agoSome more in progress got the hands in started sealing some awful gaps. Tmr im gunna get that new back pack for this guy n then more sealing gaps and then painting -
thebanshee13 posted an update in the group
What are you building? 8 years, 8 months agoMaybe a few extra pics over some small progress
One question still remains feet or no feet -
thebanshee13 posted an update in the group
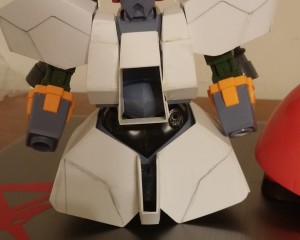
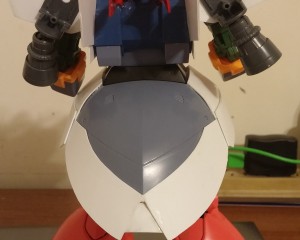
What are you building? 8 years, 8 months agoSchools started but comic con is only a few weeks till today so i have to get this done. Even though im the modeler i would like some opinion on how this is looking so far like maybe crticism or even ideas but im continuing on this massive project till the day its comic con-
The kits coming together quite nicely, maybe scribe a few panel lines for added detail?
Also you may want to round a few of the edges to make them suit the rest of the model.Can’t wait to see it finished!
-
Thanks 🙂 theres still more work to be done on the chest and i will be doing scribing once all the clean up and scratching is done but i wasnt too sure if the legs should still be the same roundness since i was thinking about maybe making it blockier
-
-
thebanshee13 posted an update in the group
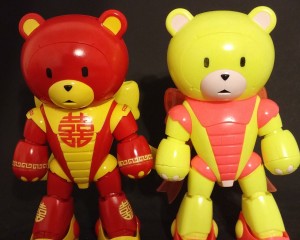
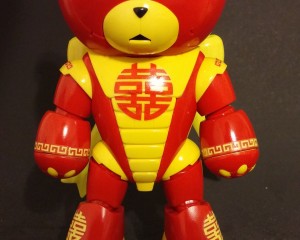
Completed Gunpla/Models 8 years, 8 months agoPainted up chinese wedding version beargguy -
thebanshee13 posted an update in the group
What are you building? 8 years, 8 months agoMy painted up chinese wedding beargguy -
thebanshee13 posted an update in the group
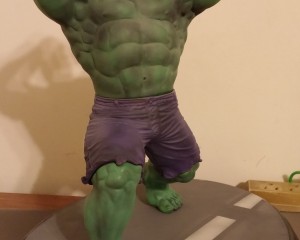
What are you building? 8 years, 8 months agoWell i wanted to take a break from my zeong so instead i spent the time on something not gundam…. But more avenger like -
thebanshee13 joined the group
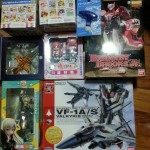
What just arrived from HLJ?? 8 years, 9 months ago -
thebanshee13 joined the group
What are your latest purchases? 8 years, 9 months ago -
thebanshee13 posted an update in the group
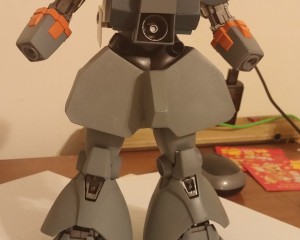
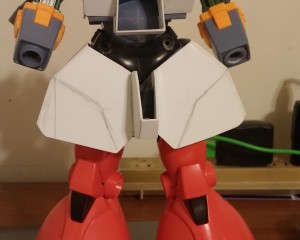
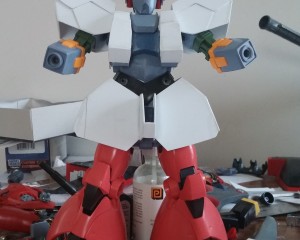
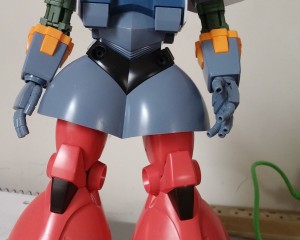
What are you building? 8 years, 9 months agoGetting there with the zeong i need to bulk up the body and add some detail to the shoulders and do more stuff -
thebanshee13 posted an update in the group
What are you building? 8 years, 9 months agoI started my “enhanced zeong” build for ny gbwc just wanted to show out the first of many many many mods -
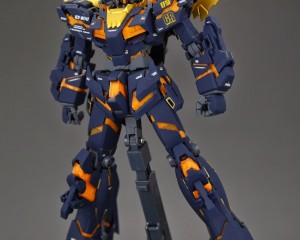
thebanshee13 posted an update in the group
Q/A & Help Group 8 years, 9 months agorecently i picked up the unicorn gundam code 852 version
even though it is a stunningly beutiful kit, its not undergated so obviously i want to at least hide the nub marks alittle bit by adding a dash of gold on the nubs but my problem is what kind of gold would be close to the gold they have on the unicorn???-
I’ve looked up some pictures of the “Hong Kong” Ver.Ka. Unicorn and it looks like a very light “gold” plating.
I would try a dot of silver and a tiny drop of clear yellow, not the normal mix of yellow and orange.
Before i knew of this mix, I used normal clear yellow on top of silver and it turned out really light instead of a, if you will, deeper…[Read more] -
It looks similar to the gold on the Hyaku Shiki, maybe you could try to flat coat some regular Tamiya Gold leaf or Gold gundam Marker on a spare piece or empty runner from the 852, then see how the close the golds look.
-
Actually @teetee580 the gold is darker than u think its more of a hyaku shiki gold i thought that too when i saw it but i was wrong
Although trying it on the runner or something is a good idea to do thanks guys
-
-
-
Slater4u posted an update in the group
CUSTOM GUNPLA! 8 years, 10 months agoI never liked the look of the Build Burning, always felt it was missing something(fitting that it disappoints me seeing as how build fighter try itself is disappointing as a…-
Great custom! Really unique and awesome keep up the great work
-
How or were get water thing it look great
-
if you mean the blue flame effects, it’s something that Bandai makes for use with figures.
-
-
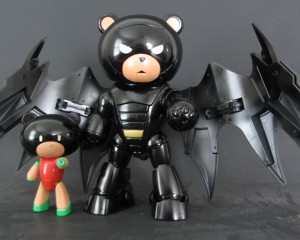
thebanshee13 posted an update in the group
What are you building? 8 years, 10 months ago-
That turned out really great! As a huge Batman geek, I love that idea. And a Robin to go with it! Very very nice!!!
-
thanks its only a shame that the batman decal is so hard to find its coming in soon so by then ill have more pics with it
-
-
thebanshee13 posted an update in the group
What are you building? 8 years, 10 months agoi just realized its been a long time since i posted on this site due the the busy life of painting/building/ gundam/ other stuff 🙂
but neways im gunna do this in one shot
my…-
several of the pictures are out of focus, so it makes things a bit hard to see.
-
srry my camera broke and i was using my phone and my phone isnt too great ma b
-
Great detailing! To think an action base can hold up such a beast….
-
yea the action base cant really hold it too well i wish it could but the stand itself is kinda weak to support it but thanks neways
-
-
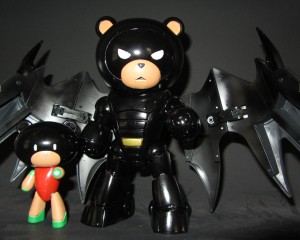
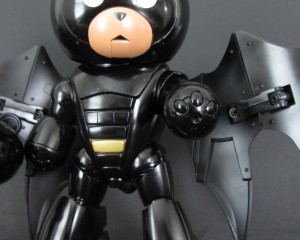
thebanshee13 posted an update in the group
Q/A & Help Group 8 years, 10 months agook two questions
1. i just got a beargguy (SO ADORABLE TTTTTTT) well i want to paint it into the 1989 batman and i got everything painted except i have no clue how to do the…-
it has a little transparency but opaque for the most part. looks like fluorescent orange paint to me. or it could just be a heavy coating of clear orange with flat coat. i don’t see any traces of a silver coat underneath though.
-
On the Batman symbol, I would take a big piece of masking tape and draw the symbol on it, cut it out, place it on the chest and then use paint to either brush or spray it in.
With the Banshee, the Psycho Frame looks to be a Orange Yellow (Mr.Hobby # C58). If you like it to be, you could mix it with some fluorescent paint to get it to light up…[Read more]
-
thx i tried that idea @teetee580 but the problem is that the symbol is so very tiny that its impossible to do ive tried it a good solid 7 times (yes i counted)
thanks for giving me an idea for the banshee daverb and teetee i wasnt too sure but my problem is that my hobby shop doesnt sell mr color they only sell tamiya so i dont think the…[Read more] -
That’s indeed a lot of times. I guess liquid masking is out of the question too. The only way I can think of now is getting a waterslide for the symbol. I don’t know if you have a printer, so you could give it a go yourself. Or you could contact Samuel for some costume ones.
Yes, if Tamiya paints are your only option then a fluorescent mix is out…[Read more] -
yea but idk how tamiya clear over silver leaf looks though ill give it a try thanks 🙂
-
You’re welcome of course. I don’t know either, when putting a clear yellow on top of a silver, it gives a goldish effect, never tried it with orange. Think I’ll try it myself too. Anyways, good luck with your projects!
-
-
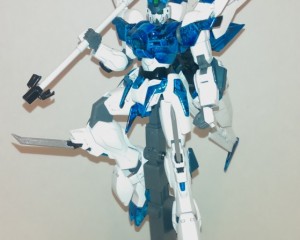
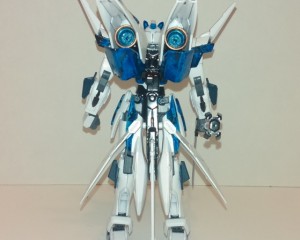
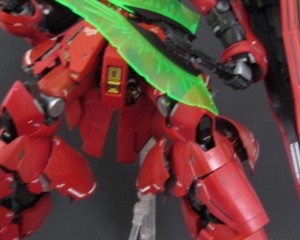
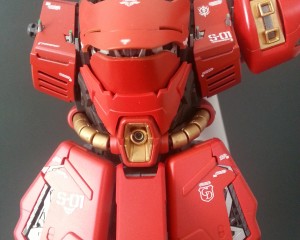
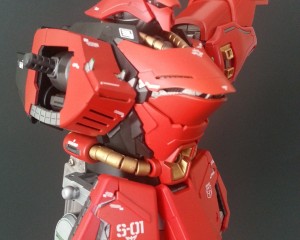
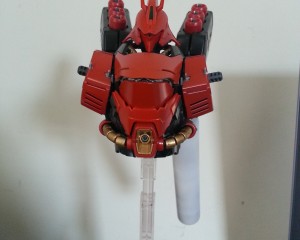
thebanshee13 posted an update in the group
What are you building? 9 years agobeen a while since i last updated well i started painting up the sazabi again i got through some of it im going to get this done ASAP my hi nu is lonely 🙂-
nice! i’m contemplating on getting this to accompany my Nu ver ka. it’s just a daunting and intimidating project for just the sheer size and for it being a ver ka… and i’m still finishing on the Nu. hope you finish it soon.
-
i understand that struggle completely especially when your at the funnels……….
Anyways happy building on the nu im getting through this sazabi and im hoping to get it done by next week latest
-
-
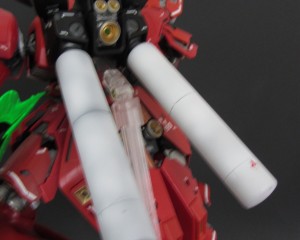
thebanshee13 posted an update in the group
What are you building? 9 years, 1 month agofinally started up the sazabi paint job the back pack isnt painted btw only that propellent every thing is painted though i just couldnt resist not putting that on just to see… -
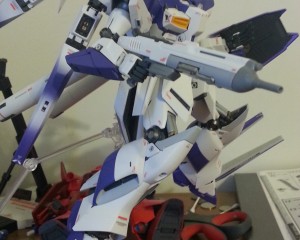
thebanshee13 posted an update in the group
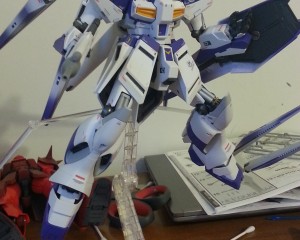
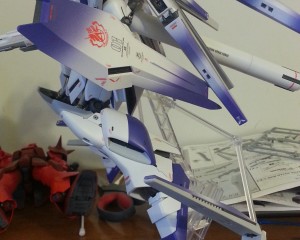
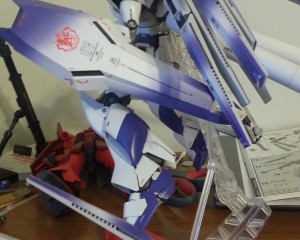
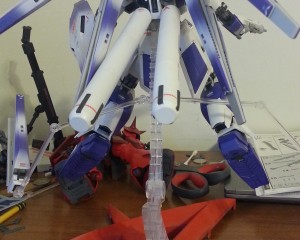
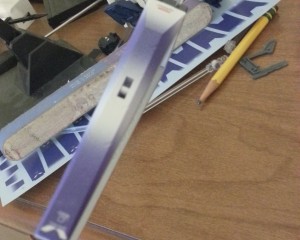
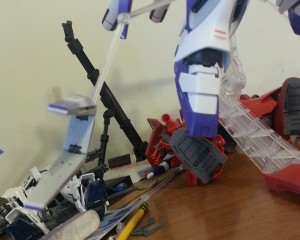
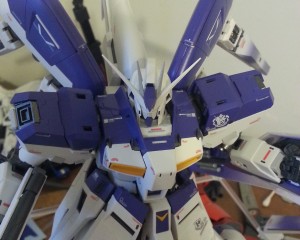
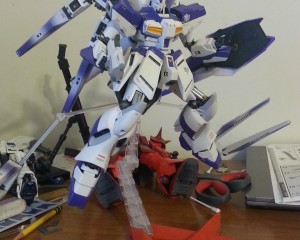
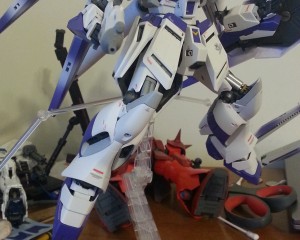
What are you building? 9 years, 2 months agomy hi nu ver ka gundam is finally done after my procrastination with the funnels and partly with the problem with the weather. I painted it with tamiya purple mixed with white…-
ill post nicer pics when i have time right now its time to figure out the scheme of sazabi lol
-
Looks great, did you have much trouble with those fin funnel and shield decals?
-
fin funnels arent decals besides the caution and white decal everything was painted so painting the funnels was just me procrastinating saying i dont want to paint it 12 times lol but if ur talking about the decals no i didnt have problems applying any decals the only problem i had on this kit was redoing the funnel painting when it wasnt evenly…[Read more]
-
that’s a really good paint job you did on your kit
-
- Load More