-

Blue Comet posted an update in the group
Intermediate Modeler – Modeling Competition 2017 7 years, 5 months ago -
minimad posted an update in the group
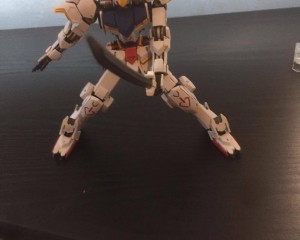
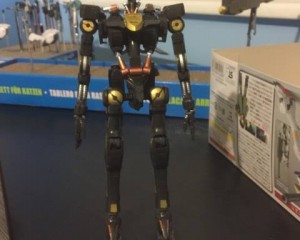
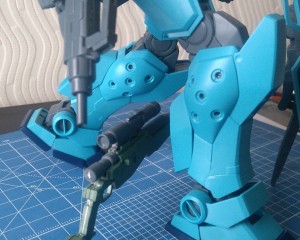
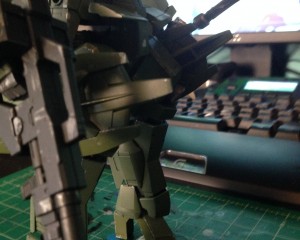
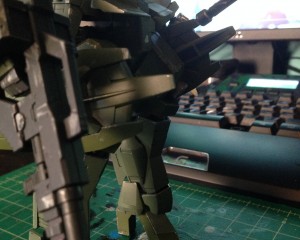
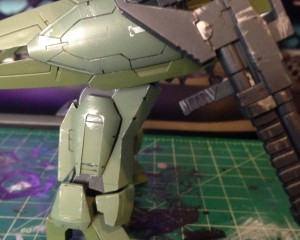
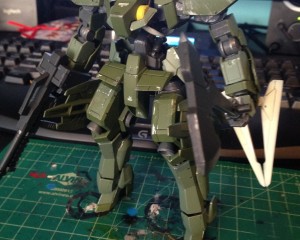
Intermediate Modeler – Modeling Competition 2017 7 years, 5 months agoWIP 06: Masked up the blue thrusters on the bottom of the feet and finished off the grey pieces. Masked up the vents on the legs and also added an extra rectangle… -
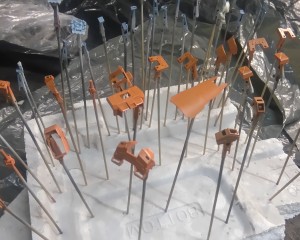
minimad posted an update in the group
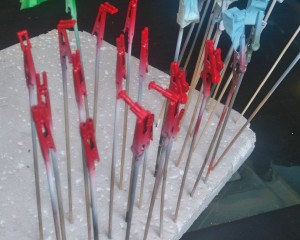
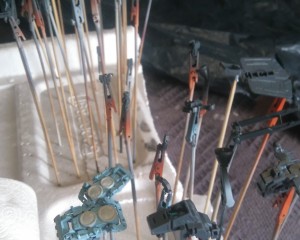
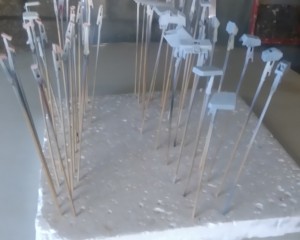
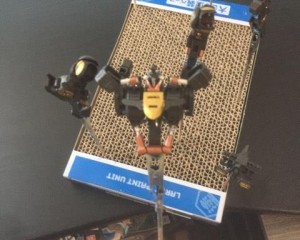
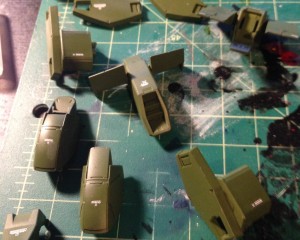
Intermediate Modeler – Modeling Competition 2017 7 years, 5 months agoWIP 05: Most of the inner frame is now painted, I ran out of crocodile clips to paint all the parts in one sitting. Another painting session planned for Friday, which I’ll finish off the dark grey frame parts.-
Buy the alligator clips and bbq sticks separately on ebay. They’re dirt cheap, but putting them together will be a chore.
-
That’s actually what I did ages ago. Funny, I got my clips on eBay too 😀 Thanks for the comment.
-
-
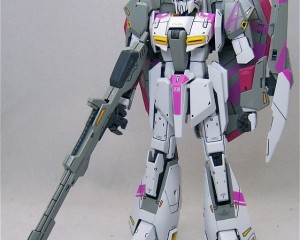
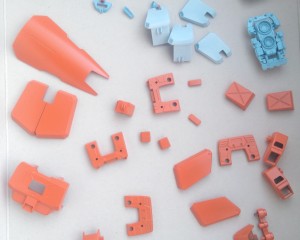
minimad posted an update in the group
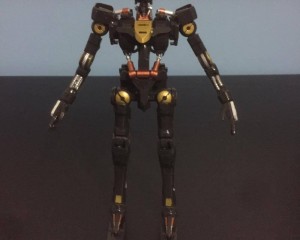
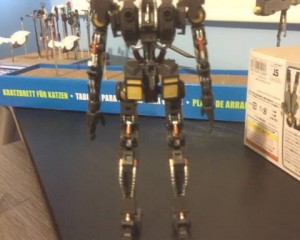
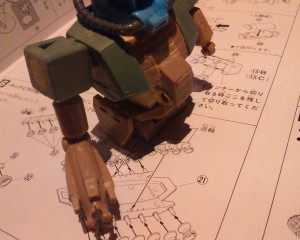
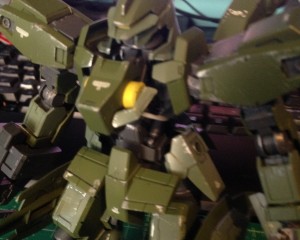
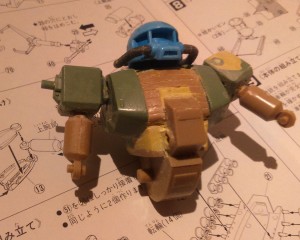
Intermediate Modeler – Modeling Competition 2017 7 years, 5 months agoWIP 04: Finally got started painting. The red parts are painted light blue and the dark blue parts are now a popping orange. I’ve also just started priming the grey frame pieces. Slowly but surely with this build. -
-
thejes1 posted an update in the group
Beginner Modeler – Modeling Competition 2017 7 years, 6 months agofinally finished everything with panel lines and matt top coat -
richigobankai posted an update in the group
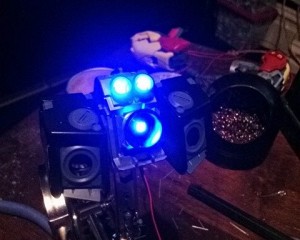
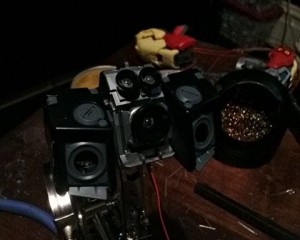
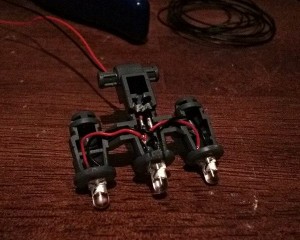
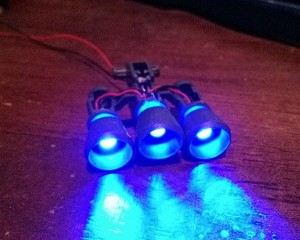
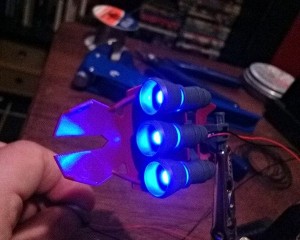
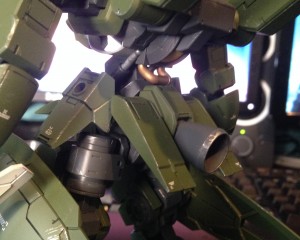
Advanced Modeler – Modeling Competition 2017 7 years, 6 months agoMore led work, 19 done so far, lord know how many more I’ll do.
Added a large thruster bell to the inside of the shoulder armour since I’m removing the 3 little pop out ones.-
lord of LEDs
-
Blows my little LED setup out of the water.
-
-
richigobankai posted an update in the group
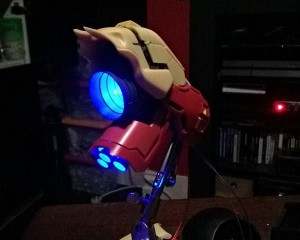
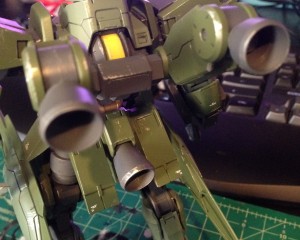
Advanced Modeler – Modeling Competition 2017 7 years, 6 months agoI’m massively behind schedule with this, and with more work on the horizon, I’m pretty sure I’m not gonna finish on time.
Ah well, soldier on.
Fitted some leds in the leg thrusters.-
Nice lighting!!!.
-
-
minimad posted an update in the group
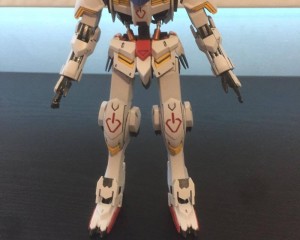
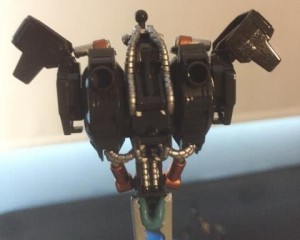
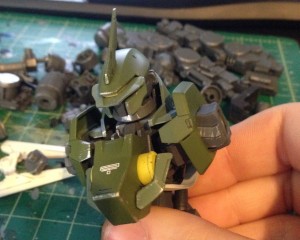
Intermediate Modeler – Modeling Competition 2017 7 years, 6 months agoWIP 03: Didn’t get as much done since the last WIP with final year college work, but still getting places. I decided to remove the antenna on the head as I just thought it… -
thejes1 posted an update in the group
Beginner Modeler – Modeling Competition 2017 7 years, 6 months agoWIP #3 finished the frame and topped it off with a gloss coat. -
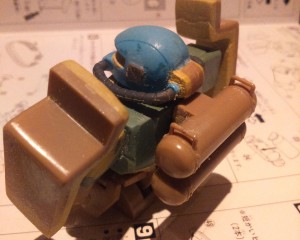
Mathew posted an update in the group
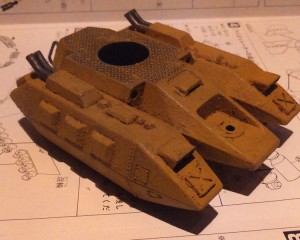
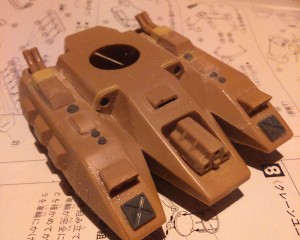
Advanced Modeler – Modeling Competition 2017 7 years, 6 months agoThe MS-06V is painted and fully assembled (glued together) although the arms, shields and head are detachable due to the balljoints I added to those sections. I decided to…-
I like the color scheme. Cool tank.
-
-
thejes1 posted an update in the group
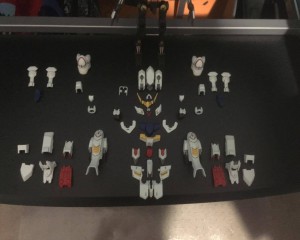
Beginner Modeler – Modeling Competition 2017 7 years, 6 months agowork in progress #2 cut and sanded parts. used some markers for the nub marks and preparing to hand paint some details -
thejes1 posted an update in the group
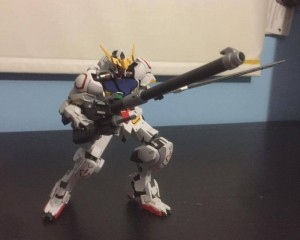
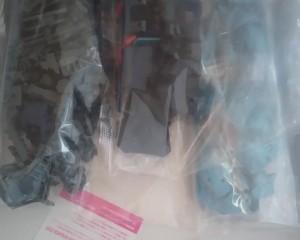
Beginner Modeler – Modeling Competition 2017 7 years, 7 months agoChanging my model kit because something went wrong> Anyway here is my first work in progress. I’m going to go with the 1:100 barbatos and the first thing I did was wash the parts. -
richigobankai posted an update in the group
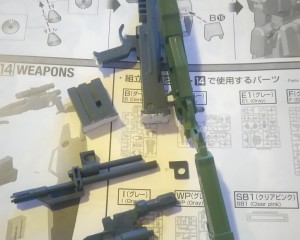
Advanced Modeler – Modeling Competition 2017 7 years, 7 months agoHad a few setbacks lately, but ha time to play again.
This time with the weapons.
Used a zoids double beam cannon set, but these things dont have grips since they’re normally… -
minimad posted an update in the group
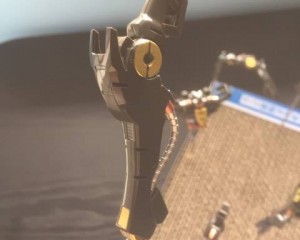
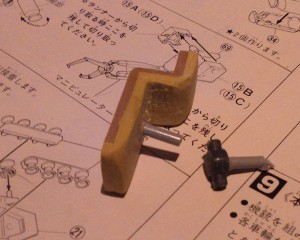
Intermediate Modeler – Modeling Competition 2017 7 years, 7 months agoWIP 02: Took care of the seam lines on the weapons using cement and putty, had to modify the sniper. Cut off the square piece on the barrel that pegs onto the main body of the… -
Mathew posted an update in the group
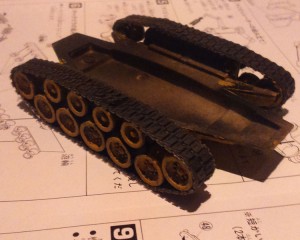
Advanced Modeler – Modeling Competition 2017 7 years, 7 months agoThe large tanks are kept in place with the help of some Milliput. The tank tracks have been added although despite the detail added to the wheels, nobody will see them as they’re pretty much covered by the sides.-
Excellent ! Another tank
-
-
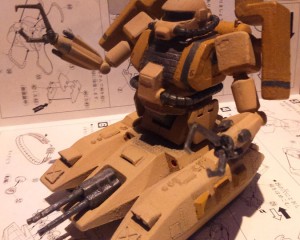
Mathew posted an update in the group
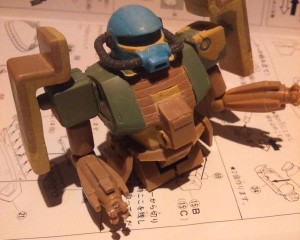
Advanced Modeler – Modeling Competition 2017 7 years, 7 months agoThe shields are now connected to the shoulder, the HiZack head has been modified to resemble a Zaku with Kotobukiya square mold used to cover the sides. The exhaust section… -
Mathew posted an update in the group
Advanced Modeler – Modeling Competition 2017 7 years, 7 months agoThe Shields from the MS-06V kit were particularly thin, and in order to use a balljoint I had to file the polycap down a bit, then apply milliput to hold it in place and… -
decops posted an update in the group
Intermediate Modeler – Modeling Competition 2017 7 years, 7 months ago -
Mathew posted an update in the group
Advanced Modeler – Modeling Competition 2017 7 years, 7 months agoThe left shoulder has been filed back to a squarish and the upper arms are attached. The shields still need to be attached to the shoulders and the HiZack head needs to look more like a Zaku head. - Load More


![IMG_3840[1]](https://hobbylink.tv/wp-content/uploads/rtMedia/groups/310/2017/02/IMG_38401-300x240.jpg)
![IMG_3815[1]](https://hobbylink.tv/wp-content/uploads/rtMedia/groups/310/2017/02/IMG_38151-300x240.jpg)
![IMG_3814[1]](https://hobbylink.tv/wp-content/uploads/rtMedia/groups/310/2017/02/IMG_38141-300x240.jpg)
![IMG_3844[1]](https://hobbylink.tv/wp-content/uploads/rtMedia/groups/310/2017/02/IMG_38441-300x240.jpg)
![IMG_3811[1]](https://hobbylink.tv/wp-content/uploads/rtMedia/groups/310/2017/02/IMG_38111-300x240.jpg)
![IMG_3812[1]](https://hobbylink.tv/wp-content/uploads/rtMedia/groups/310/2017/02/IMG_38121-300x240.jpg)
![IMG_0797[1]](https://hobbylink.tv/wp-content/uploads/rtMedia/groups/312/2017/02/IMG_07971-300x240.jpg)

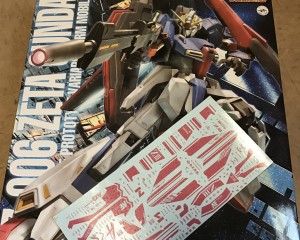
wowowowow, where did you get the waterslide decal? love this kit!!
ebay