Hey all! It’s time for another tutorial on the Haropla vignette series.
In the last update, we got the Haro itself ready to go. Now all that’s left is to bring the display base to life. We’ll go over three techniques to paint smooth gradients… without using an airbrush.
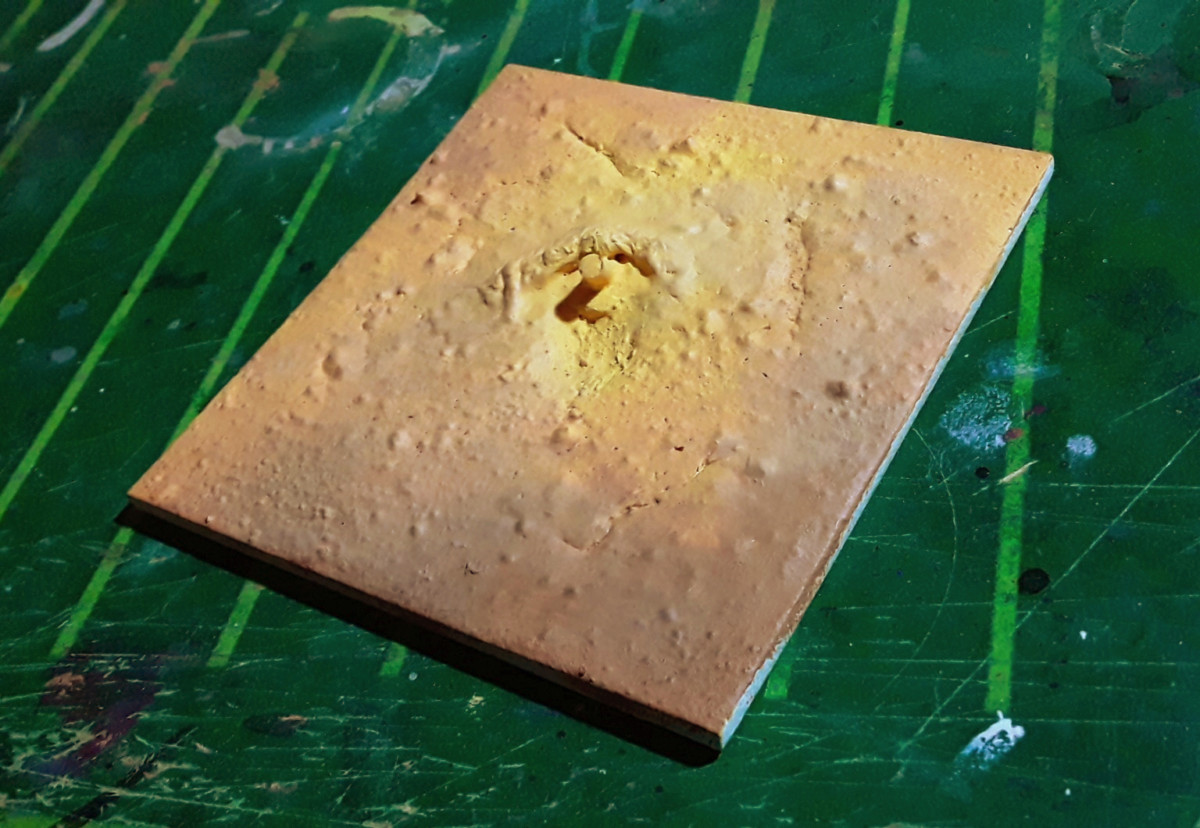
Just like in the Galbaldy diorama series, this rusty boy’s base will be a piece of a recycled signboard. I cut it to a size that seemed good for the scene I had in mind, and attached a piece of leftover sprue which plugs into the Haro, so as to stop it from falling… or rolling away, haha!
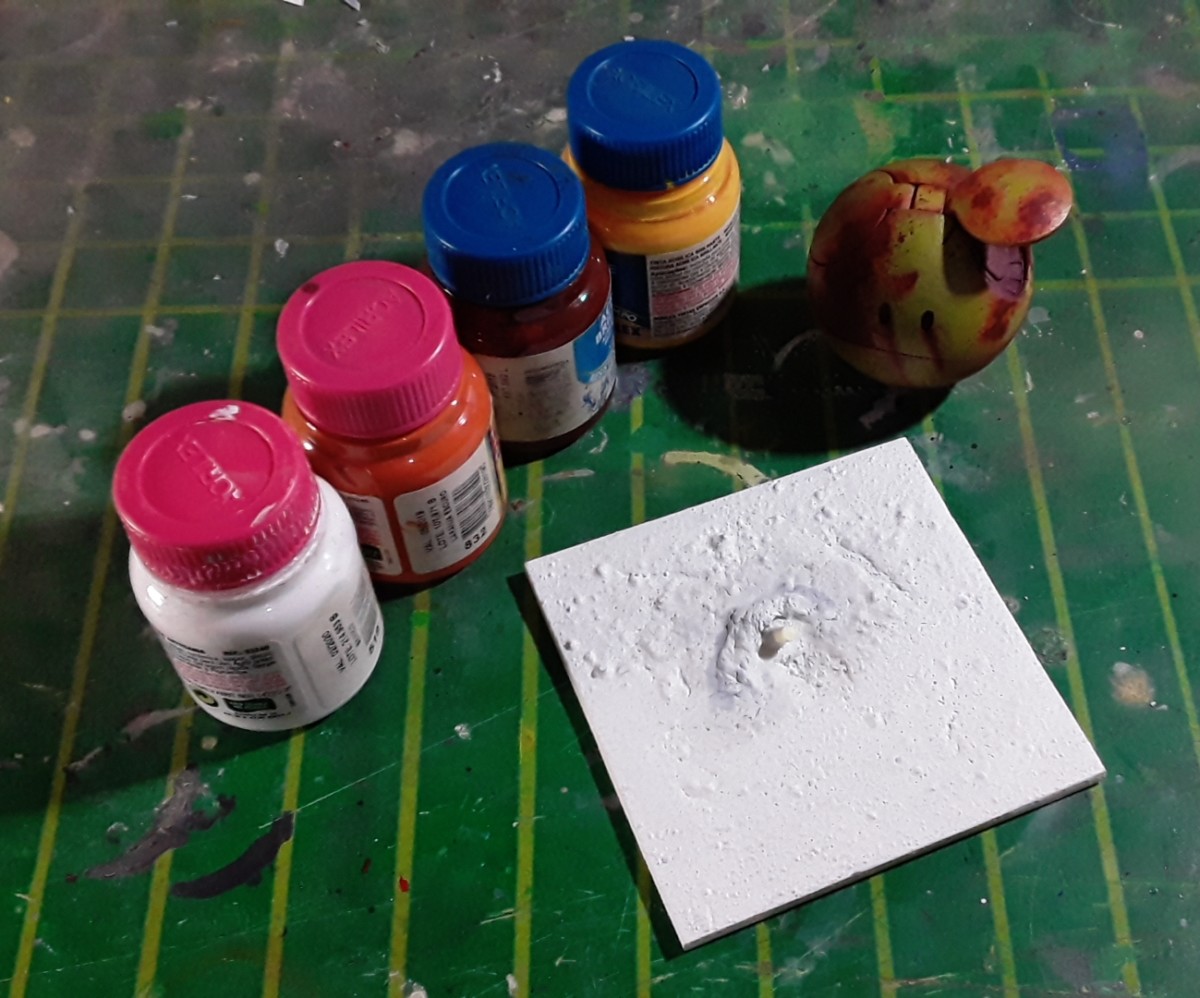
I’ve already gone ahead and made the texture with a similar procedure as my previous diorama build, so we can dive right into painting.
We’re going to be using cheap acrylic craft paints today. Painting dirt doesn’t require much precision and cleanliness, so I’m saving my lovely fine hobby paints for something else. Also, this can be done pretty much only with acrylic paints. Unlike enamel and lacquer thinners, the water we use to thin acrylics doesn’t reactivate or remove the underlying coats of dry paint. Feel free to experiment with other types of paint if you have a rather weak thinner, but I’d strongly advise you to stick with water-based acrylics.
That said, let’s hop onto the workbench and get started.
Painting over wet paint (“wet on wet”)
The first technique consists of laying down the base color and applying a moderately modified shade while the first coat is still wet. I like to call it “wet on wet”, because that’s what we’re doing: we’re brushing a color over another, but neither is dry.
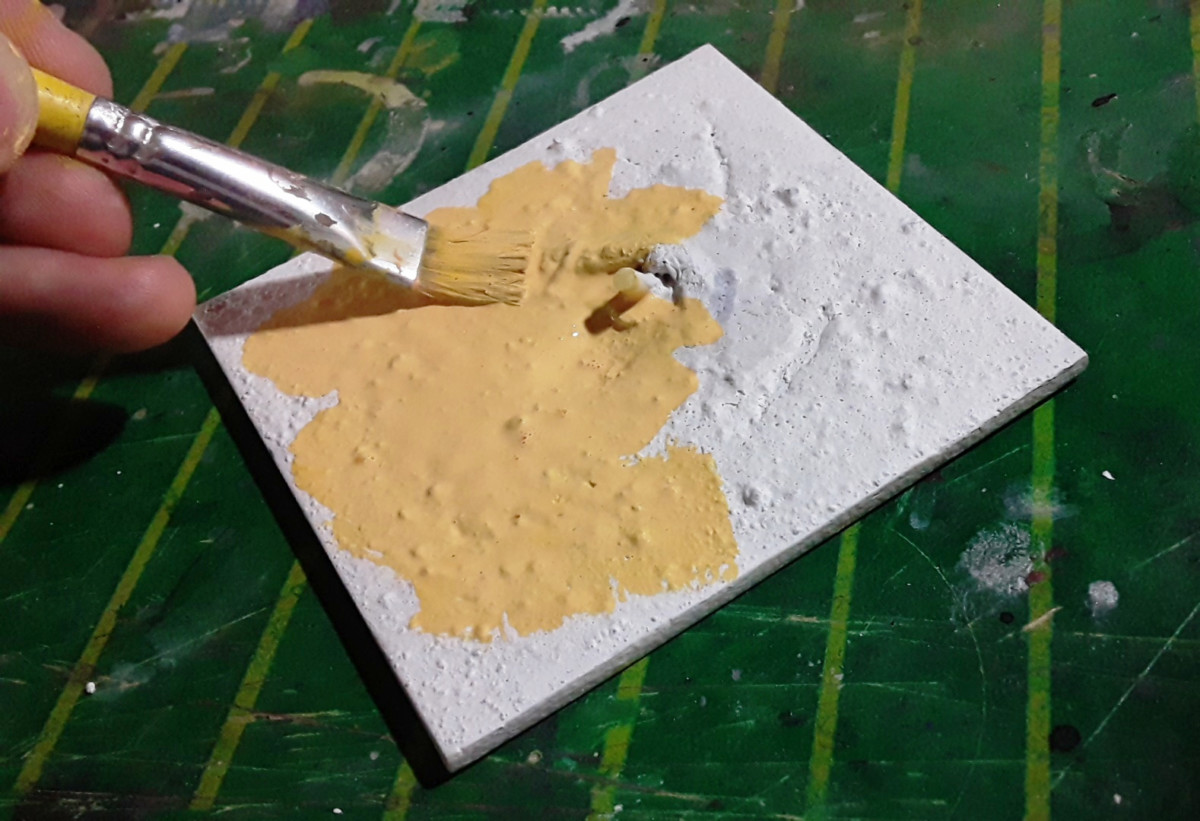
Moving the brush around mixes the colors together gradually, creating a range of inbetweens in the process. At the same time, the motion helps spread these new colors over the areas we touch with the brush. Needless to say, this technique is tricky to control and produces more random shapes, which is probably why it works so well for terrain. After all, just like this method, nature isn’t very tidy and orderly.
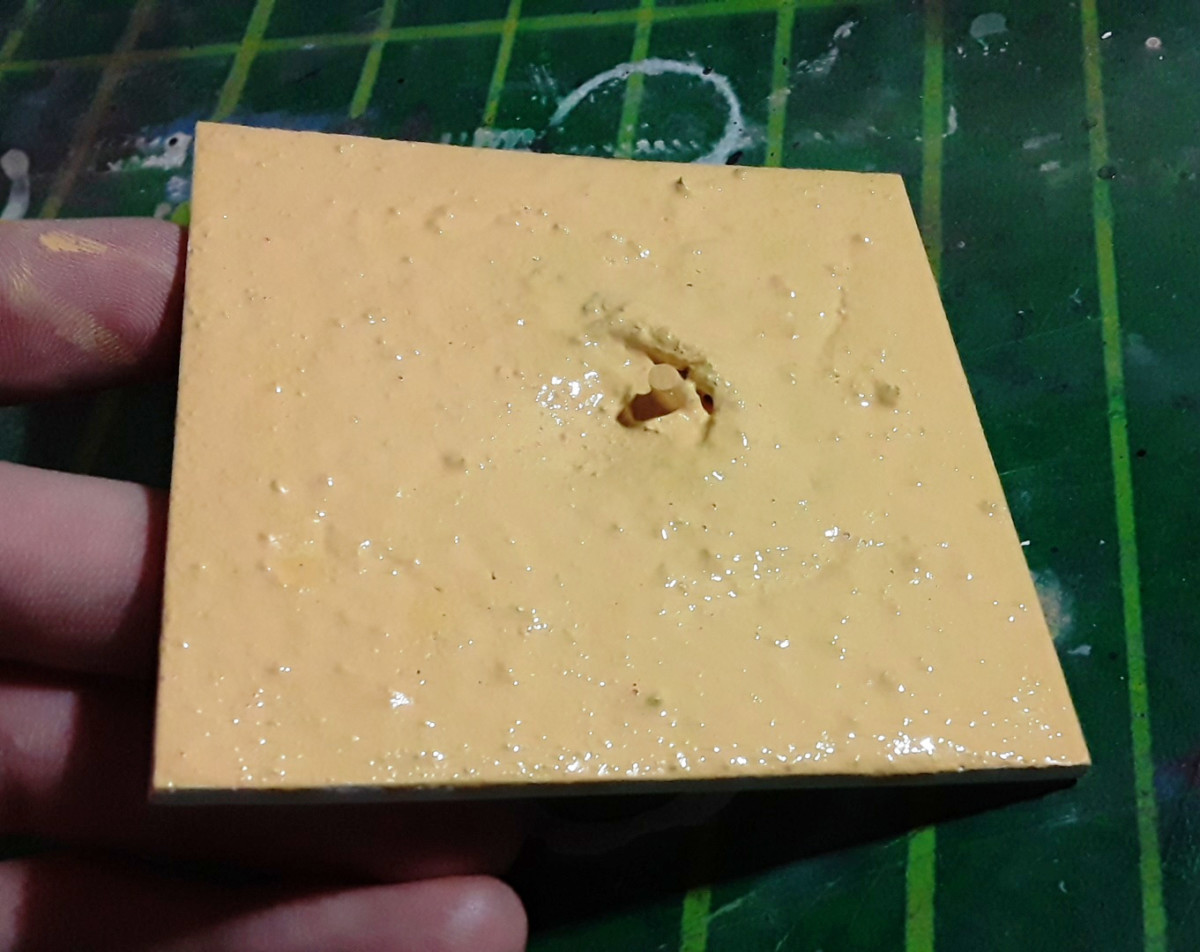
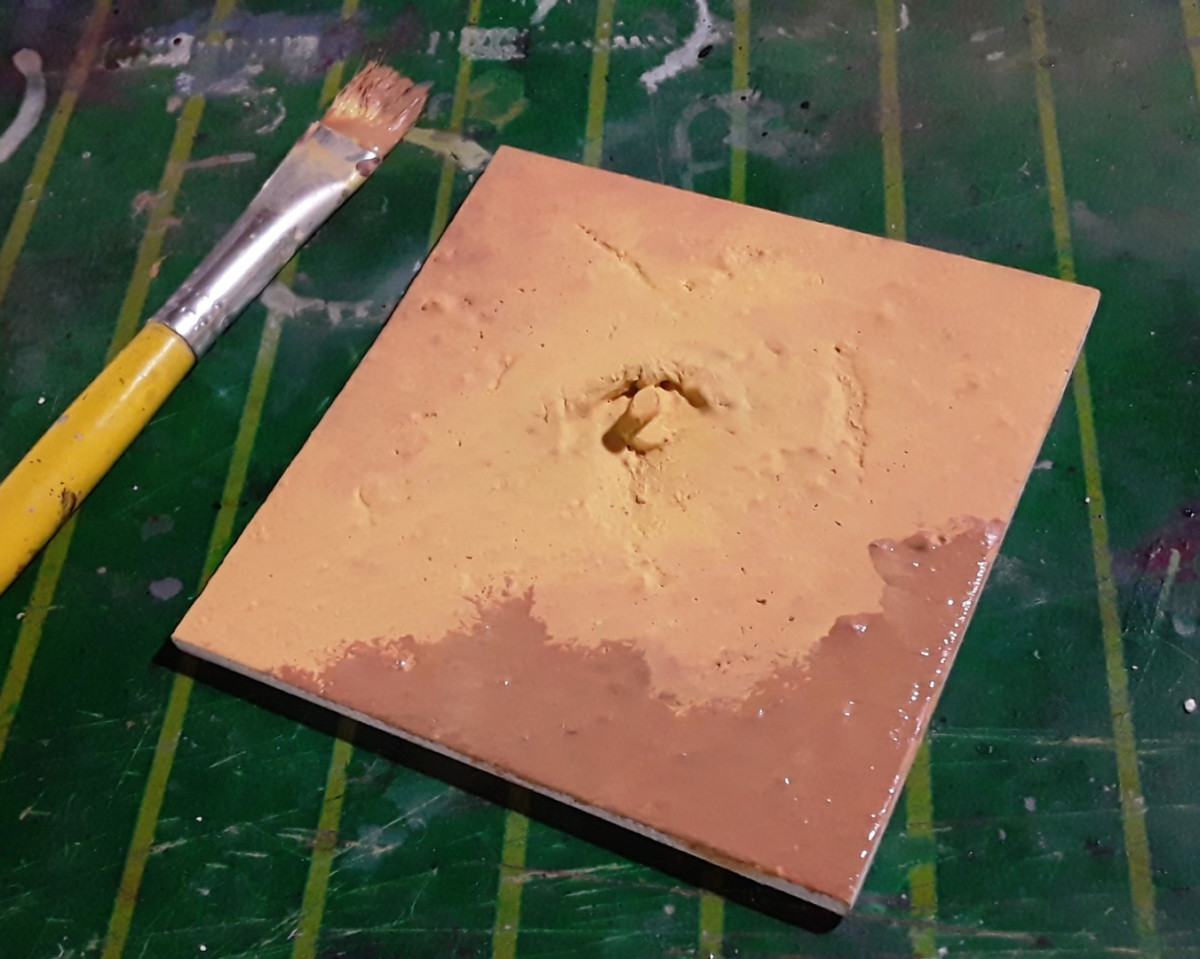
In my vignette, I started with a neutral sand color. After adding a few drops of reddish brown, I went in and stippled on the resulting shade around the top left corner. For the right, I applied less paint, and spent more time blending the colors together. If you look at the second picture above, you’ll probably tell at first glance how the effect is more noticeable on the left. That’s because the more you work up the gradient, the more subtle it gets. Intensity is the property of this technique you can control the most; unlike, as we saw earlier, the shape. If we try painting a perfect green square that fades into a previously applied coat of teal paint, we’ll most likely ruin the straight lines when blending. On the other hand, we can easily adjust the transition from green to teal to our liking.
Fading with water (“wet on dry”)
The next technique is relatively straightforward. Unlike the previous method, we need the base color to be fully dry before brushing on the next one. Hence why I refer to this approach as “wet on dry”.
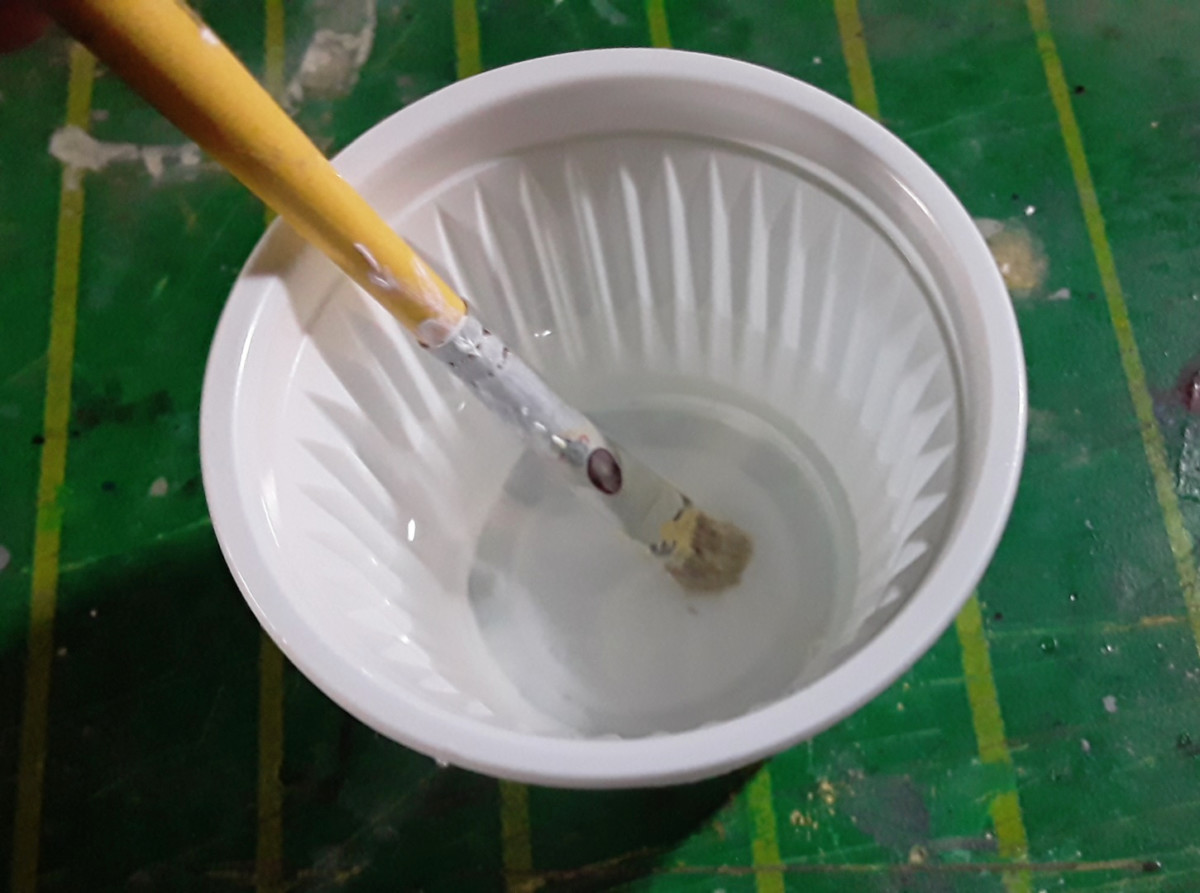
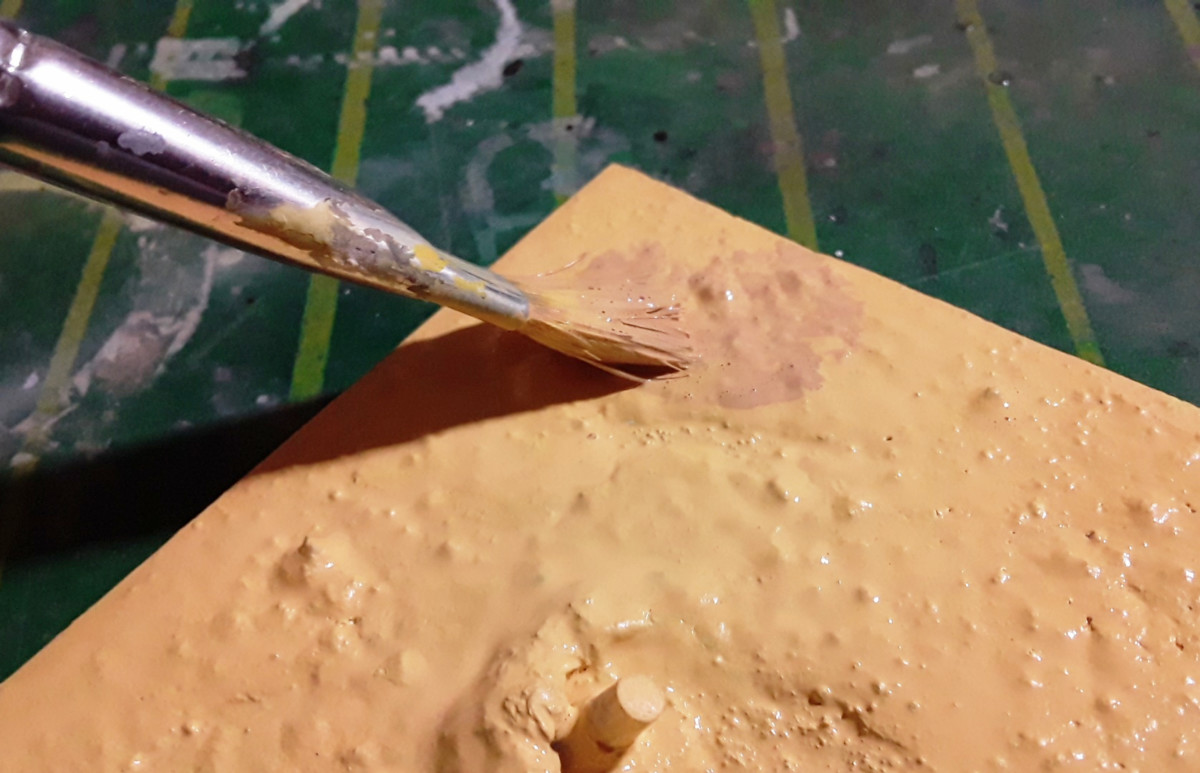
I’ve waited a good 20-30 minutes for the sand tones to set, so we are good to go. I’ll demonstrate this technique by making a larger patch of dark-colored dirt on another corner. I’ve added more brown to the mixture, thinned it down a little and brushed it onto the base. I had also prepared some water and a clean, finer brush beforehand. We’ll use it to smudge the fresh paint towards the dry surface.


Dip the brush in the water and remove the excess on a paper towel. We want the bristles to be damp, not soaking wet. Then the rest is simple; just gently run the brush across a section of fresh paint. Drag the paint from the wet area onto the dry area. This way, the water trapped between the bristles will thin the paint and consequently increase its transparency as you move the brush. Repeat in little sections until the gradient covers the whole area.
As you can tell, this method allows for more accuracy than the previous one. The fading process doesn’t change the shape of the painted area significantly. We have far more control over the effect. This also means that you can apply it to plastic models, as long as you keep factors like paint consistency in mind. In fact, you can achieve stunning effects with this method; some that we’d normally only associate with airbrushing. A modeler who has mastered this technique and uses it to create amazing works of art is Win Eiam-Ong, also known as The Paint Pusher (and the talented individual from whom I picked up this trick!). I’ve seen Win handpaint gradients to emulate beam effects, light up monoeyes, and all sorts of shading and highlighting effects. I highly recommend checking out his work; it’s a great source of inspiration.
Pigments (“dry on dry”)
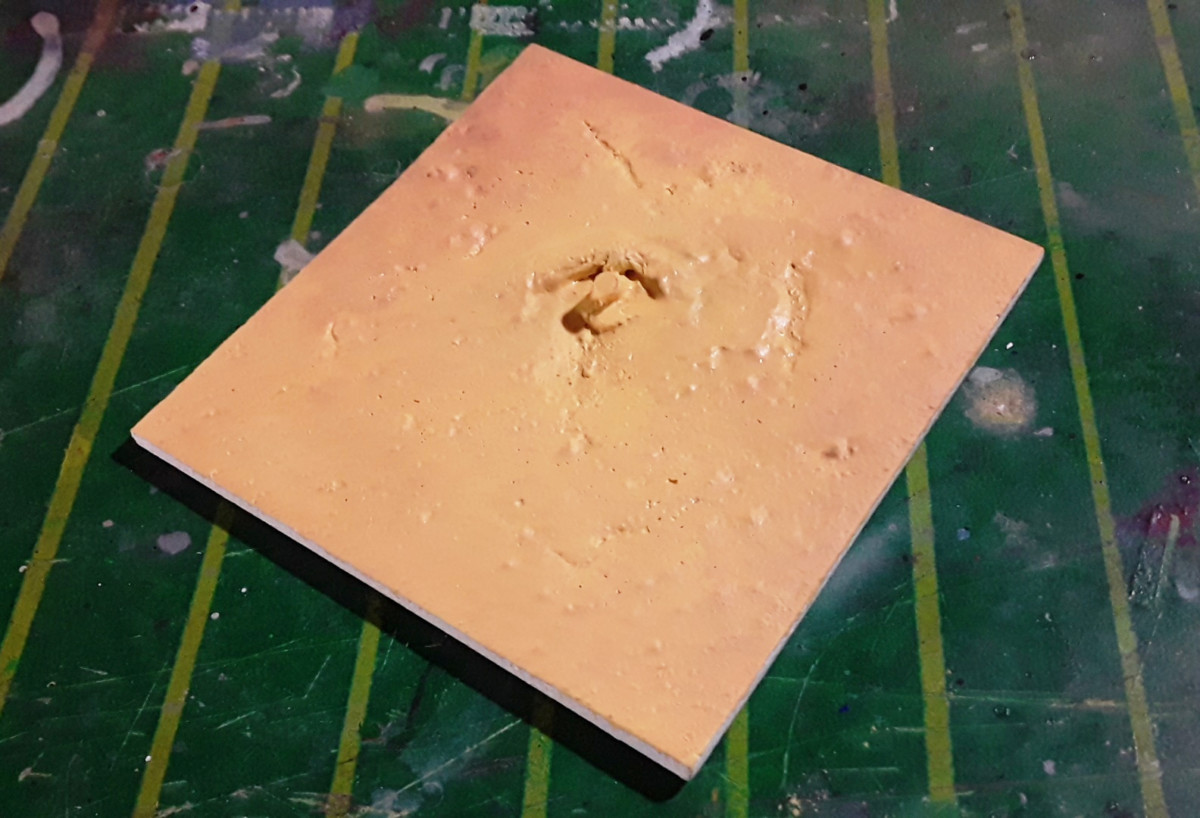
The last technique I’ll be showing you today may look familiar to those who followed the Galbaldy Beta series. We’ll be using Tamiya Weathering Master set A to bring the handpainted colors together and enhance the overall look of the terrain.
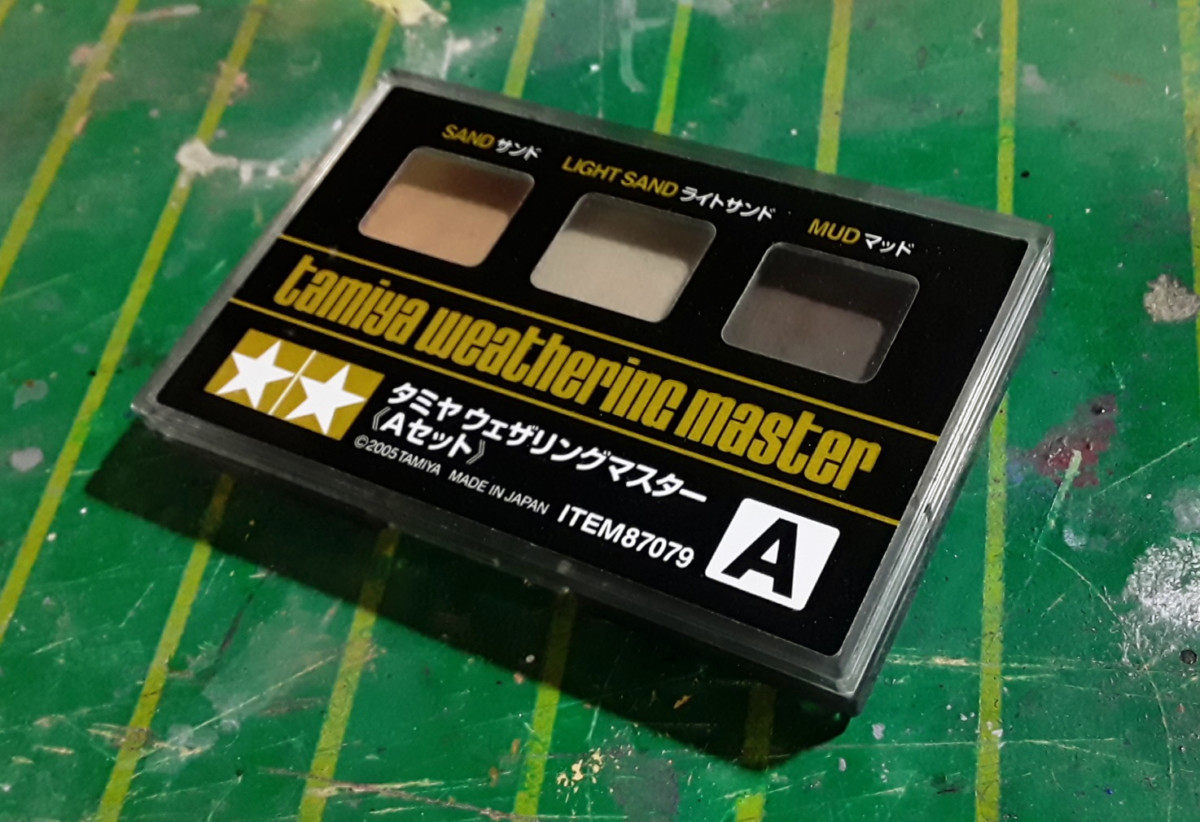
Since I’ve already shown you how I use this product in a past tutorial, I won’t go into much detail. But basically, I used all 3 colors and both ends of the tool included in the set. I went with the brush for minor application around the edges of the colors, and the sponge for open areas.
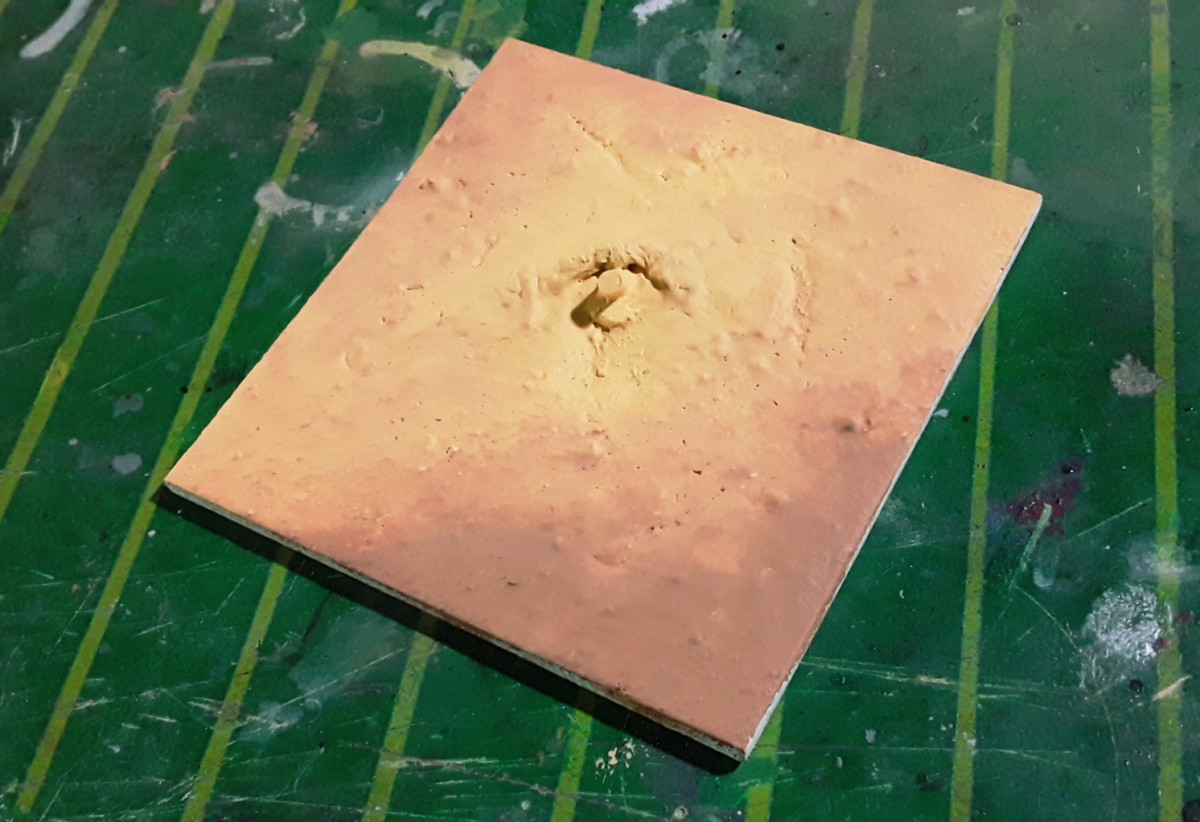
Apart from reducing the contrast between the colors we painted earlier, the pigments also added some new tones. This gives the vignette a nice color richness, which is a nice basis for the subsequent steps. What are these steps, you may ask. Well, my plans include brushing a brown wash over the surface, making little rocks and scattering around some junk.
But for now, that’s all! Let me remind you that you can apply these techniques on model kits, not only on diorama bases. Just make sure you take into consideration the differences between terrain and the non-porous nature of plastic. As you probably know, painting terrain is way more forgiving. Unlike with model kits, a thicker consistency or a more liberal application of paint won’t necessarily end up badly. In conclusion, as long as you thin your paint properly and brush thin layers, you’ll be fully able to implement the methods I demonstrated today on your builds.
Now go have fun and try something new. Happy modeling!