1/24 Audi Sport Quattro S1 [E2] – Available at HobbyLink Japan
There is no doubt that the ’80s were the wildest years of WRC, and that the Group B machines were the Sex Pistols of rallying. For some it is an era that will be forever remembered in a romantic sense; yet for others it was the aura of accidents and danger that lingers in their memory. Either way, Group B has and will forever hold a special place in rally fans’ hearts. The Audi Quattro S1 harks back to an era when development moved faster than red tape, safety was secondary, and blind faith is what piloted the cars down gravel and tarmac roads all around the world. Now Aoshima brings a bit of the luster of 1986 straight to your model cabinet.
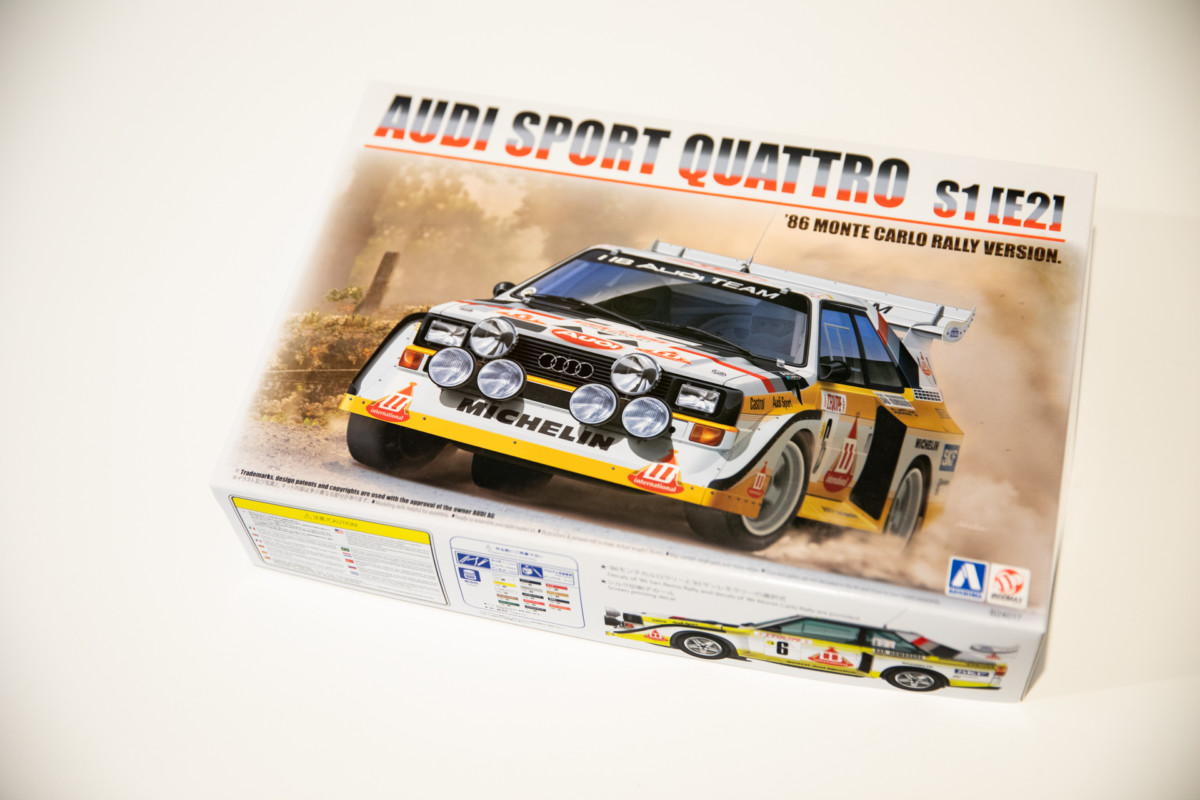
Aoshima has made many dreams come true with the Beemax collaboration of classic rally cars, and at the top of everyone’s wish list has been the Audi Quattro S1. This kit embodies everything of the Group B era so expectations were high and they didn’t disappoint at all.
The kitset
The Audi comes molded in predominantly white and black, with chromed sprues for the optional front light pods and front and rear light housings. Clear windows, nice slick rubber tires, and additional trim are also included to build this up just as it appeared in the 1985 Sanremo and 1986 Monte Carlo rallies.
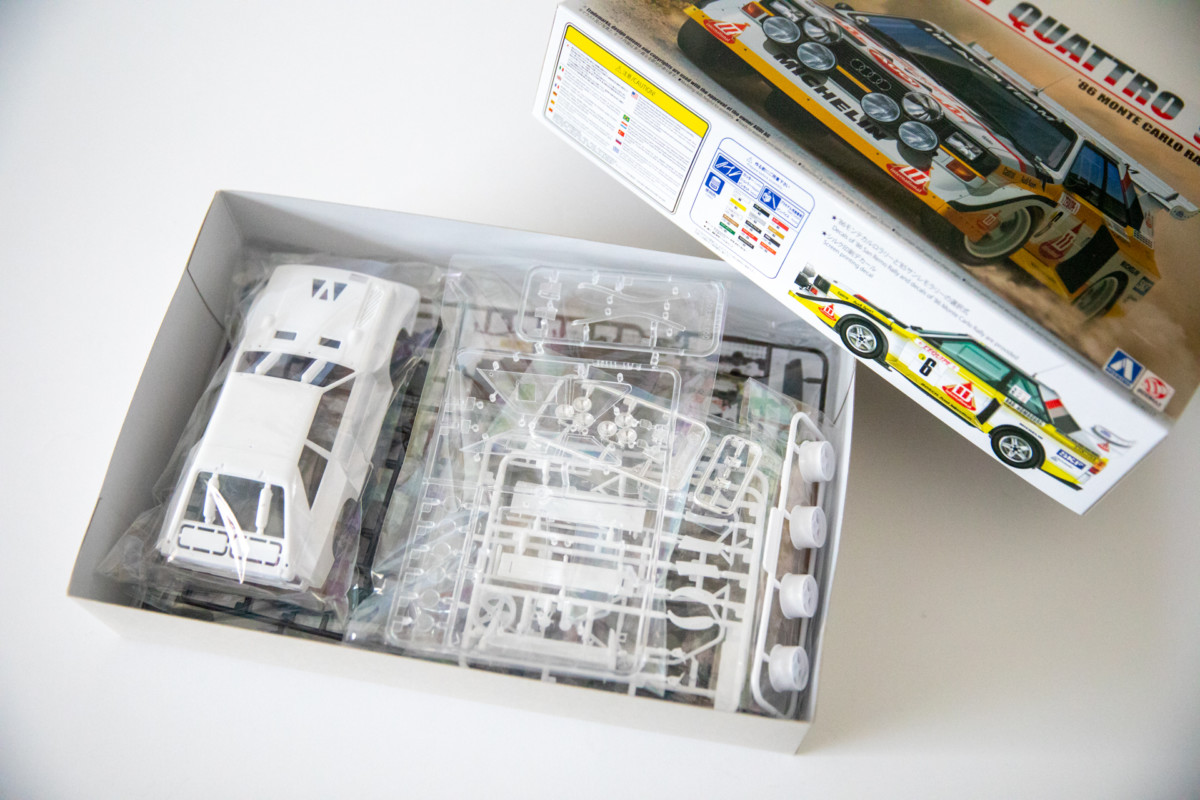
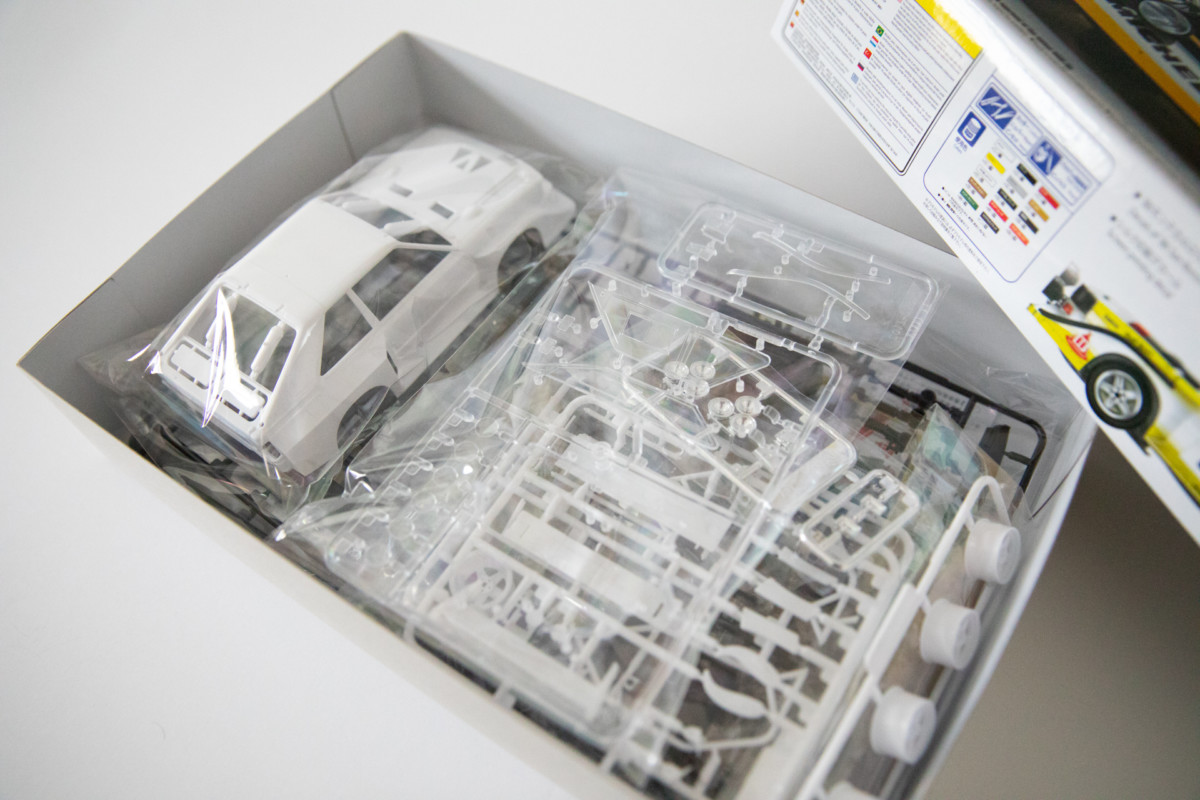
The sprues are well cast, with little to no flash. The proportions of the car are also exceptionally good. The S1 was oddly short in wheelbase, but brutish in appearance – a trait that Aoshima has replicated very well in the body lines.
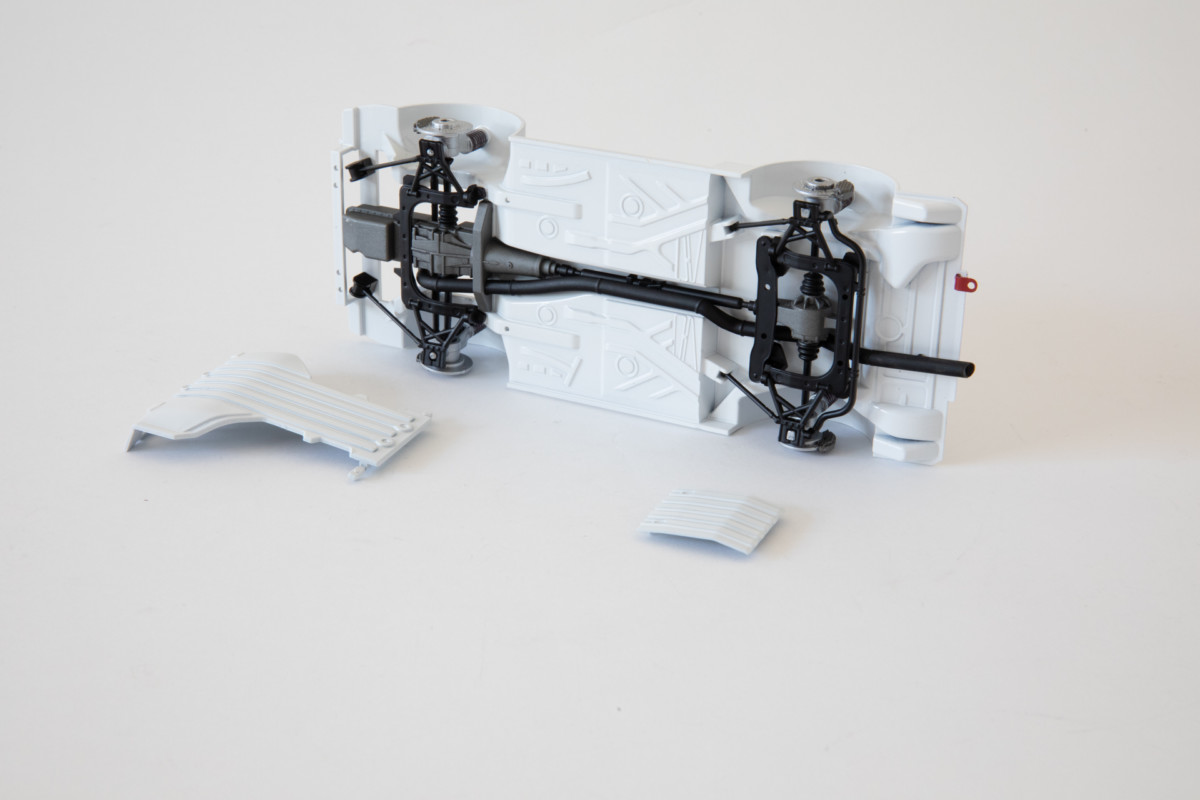
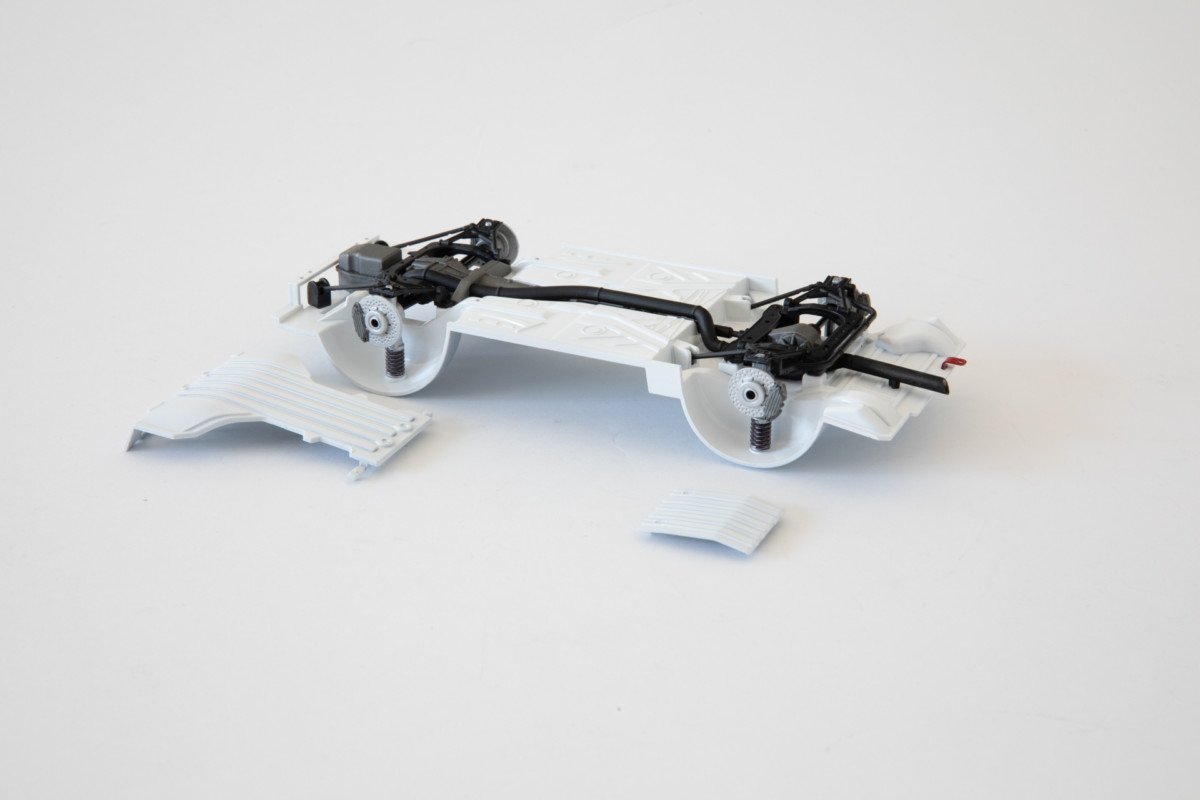
Chassis and suspension
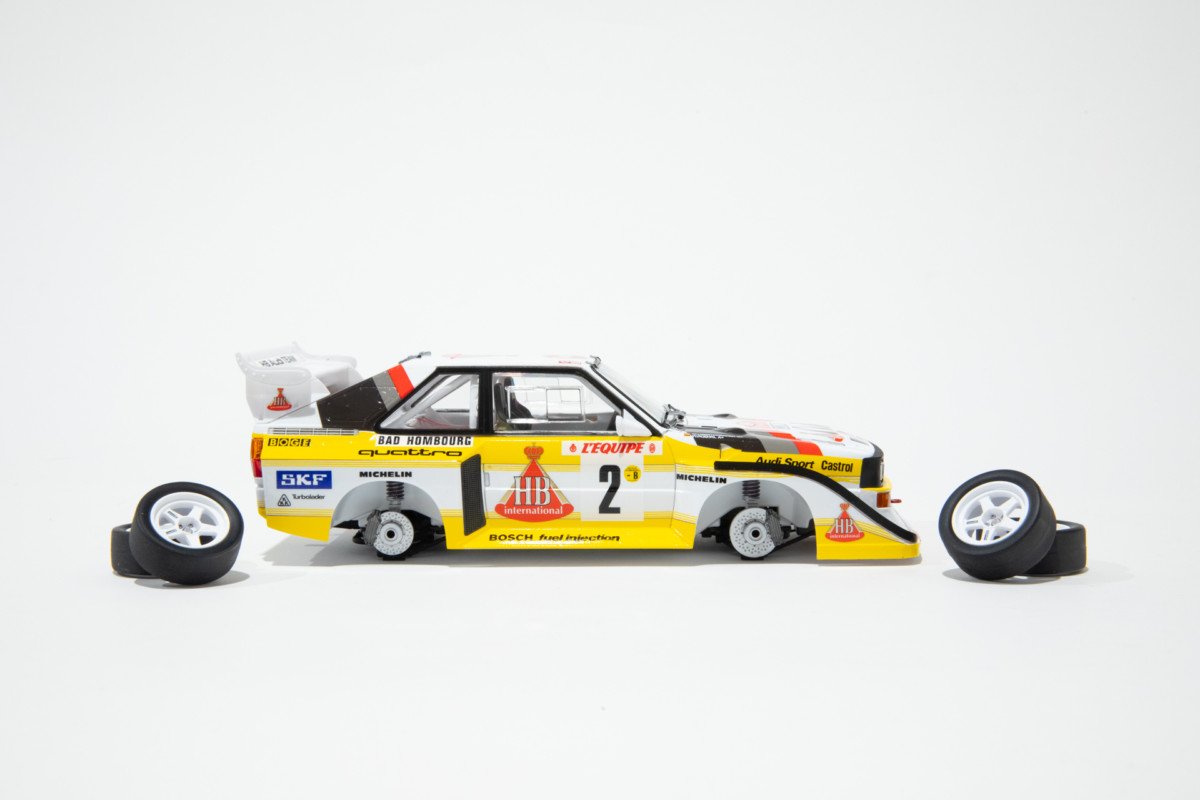
Just as per the ’80s, the suspension and setup on the Audi can be explained in one word – simple. While the underneath of the S1 consists of merely 9 pieces, the end result is a very clean and nice-fitting stance for the Audi. The white chassis with aluminium and black accented components really stands out boldly, and is a stark reminder of how fast technology has changed since 1986.

All the suspension components are cast in black, and finished off in semi-gloss black and metallic grey accents. The suspension uprights are very well held in place resulting in all 4 wheels touching the ground evenly. I also test fitted the body onto the chassis prior to installing the suspension to double check the ride height. Aoshima’s great fitment and tooling has the Quattro sitting perfectly at the right height straight out of the box.
Cockpit
This kitset has adopted a ‘tub’ style approach, where the entire cockpit is built and then glued to the chassis. Inside, the S1’s detail is great right out of the box, the only issue was that the tub is cast in black and needs to then be painted white. A few coats of primer were needed to hide the black plastic, and then I finished the interior off in Tamiya’s TS pure white.


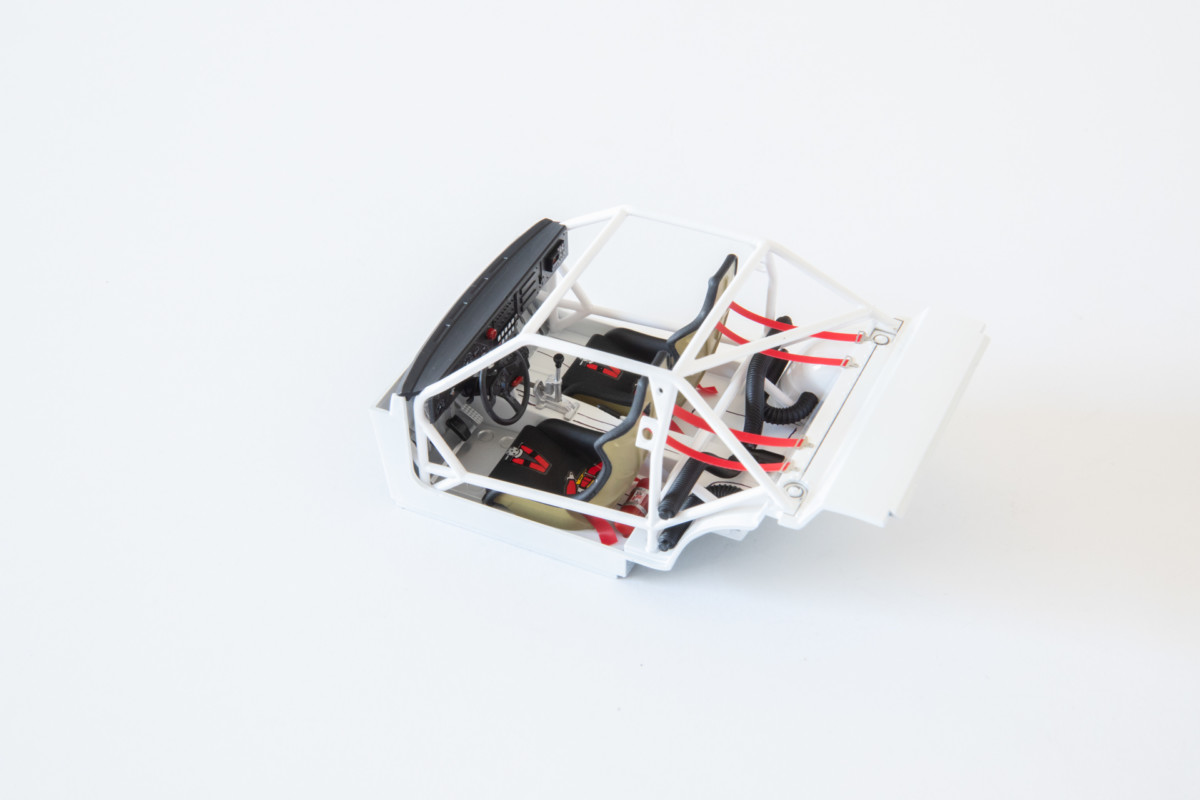
I used the kitset decals for the racing harness, yet couldn’t skip the lack of visible belts behind the seats. To fix this issue I cut 2mm strips of red electrical tape to length, and ran them from the rear of the cockpit to the seats for that little extra detail.

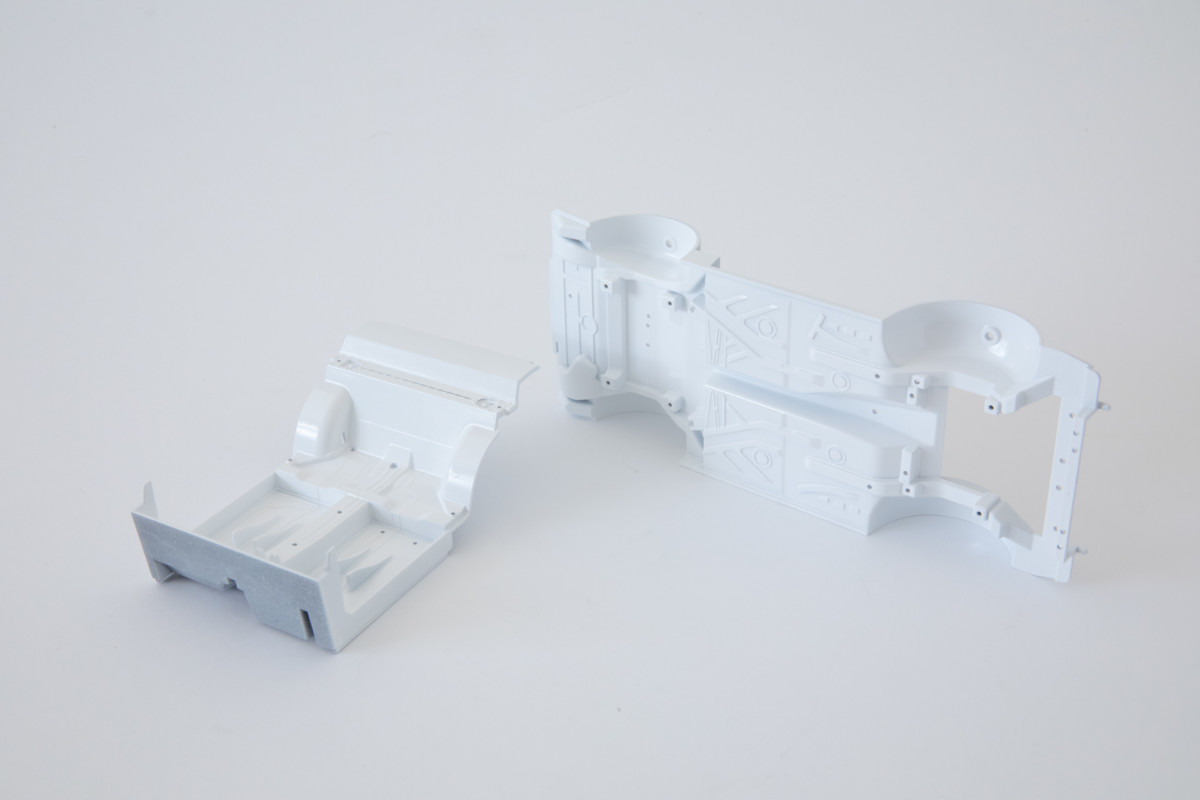
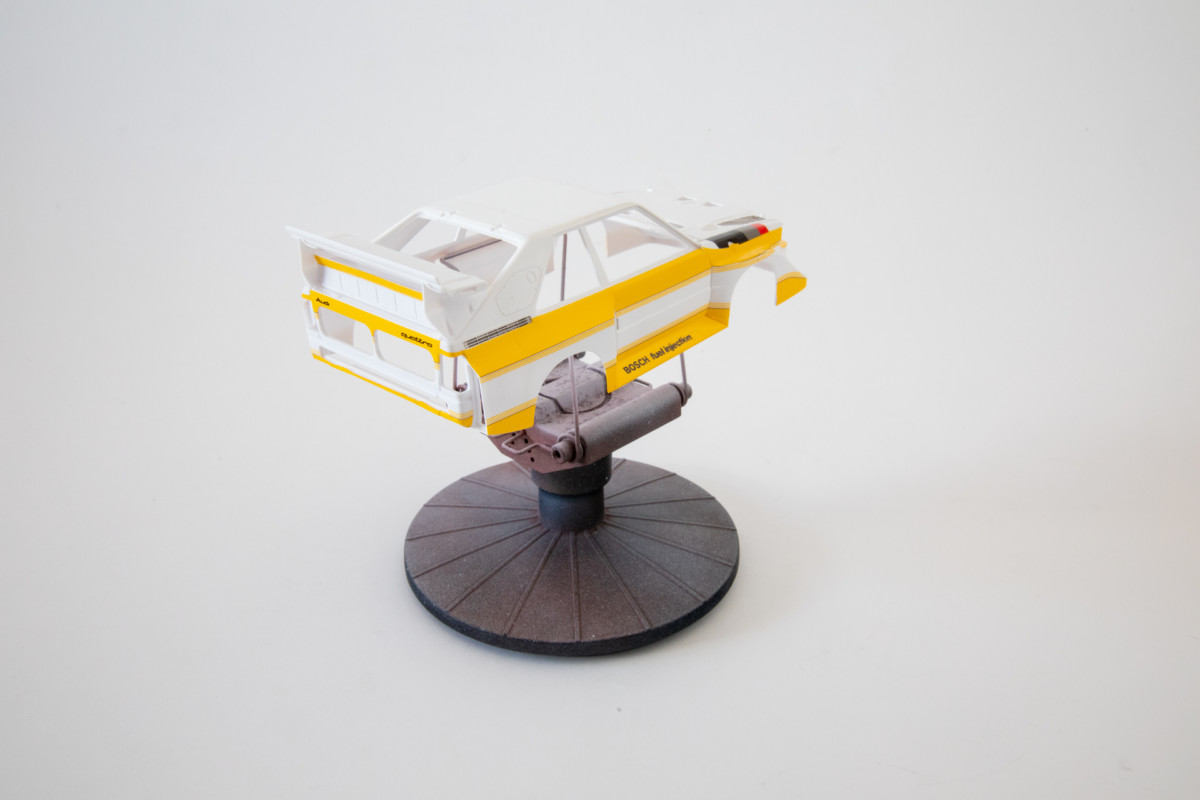
The body
The Quattro bodywork comes molded in white, which makes painting a breeze. The biggest challenge is to carefully remove the support sprues that are contained inside the rear of the body. The rear contains a couple of very thin areas so a bit of careful surgery is required; side cutters do an excellent job of cleanly removing the sprues.
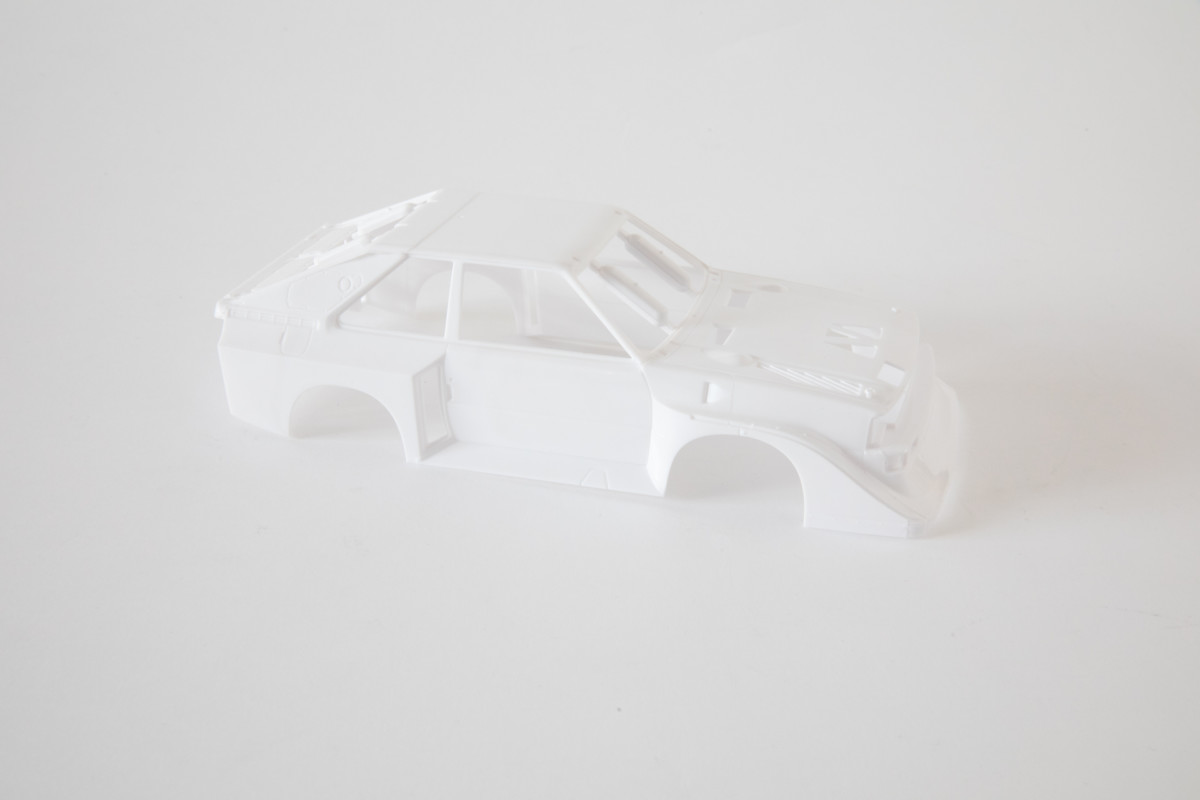
For some, these sprues can be an annoyance, although they provide support and rigidity so the body doesn’t get squashed before it hits your model bench, so for that reason alone I applaud the use of them by Aoshima.
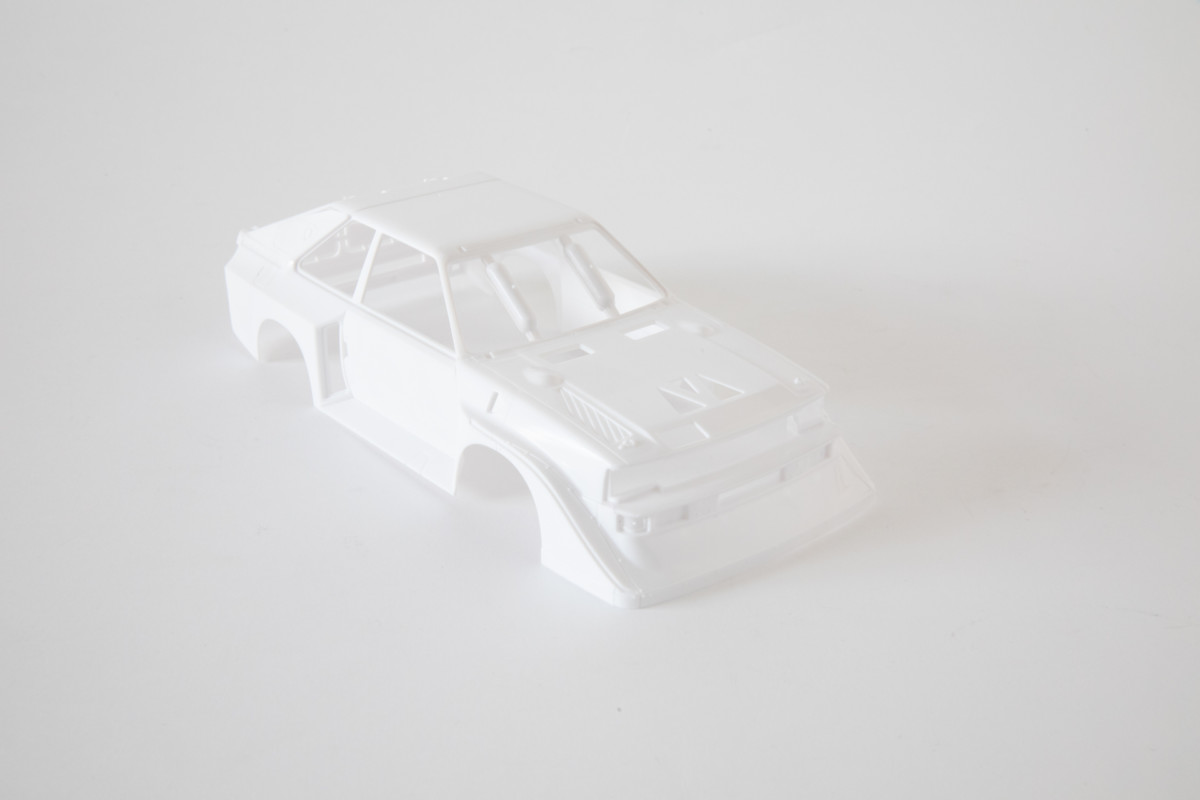
A white body on a white background doesn’t give much to look at but the casting is super clean, and details are superbly added into the body. With all the details already cast into it, there is no need for adding vents that require joints to be filled later. Bravo Aoshima! It was at this stage that I veered off the instruction booklet and skipped ahead. I shot the body in pure white Tamiya spray and left it to cure for three days before adding the panel line accent wash to the door jambs and panel gaps.
Rather than continuing on and adding the trim to the body, I actually went ahead and applied all the decals. The reason for this was many decals end seamlessly where lights are installed, windows meet the body, and underneath places where other trim is to be installed. By doing the decals prior to adding the body trim, it would allow for a cleaner final look to the kit.
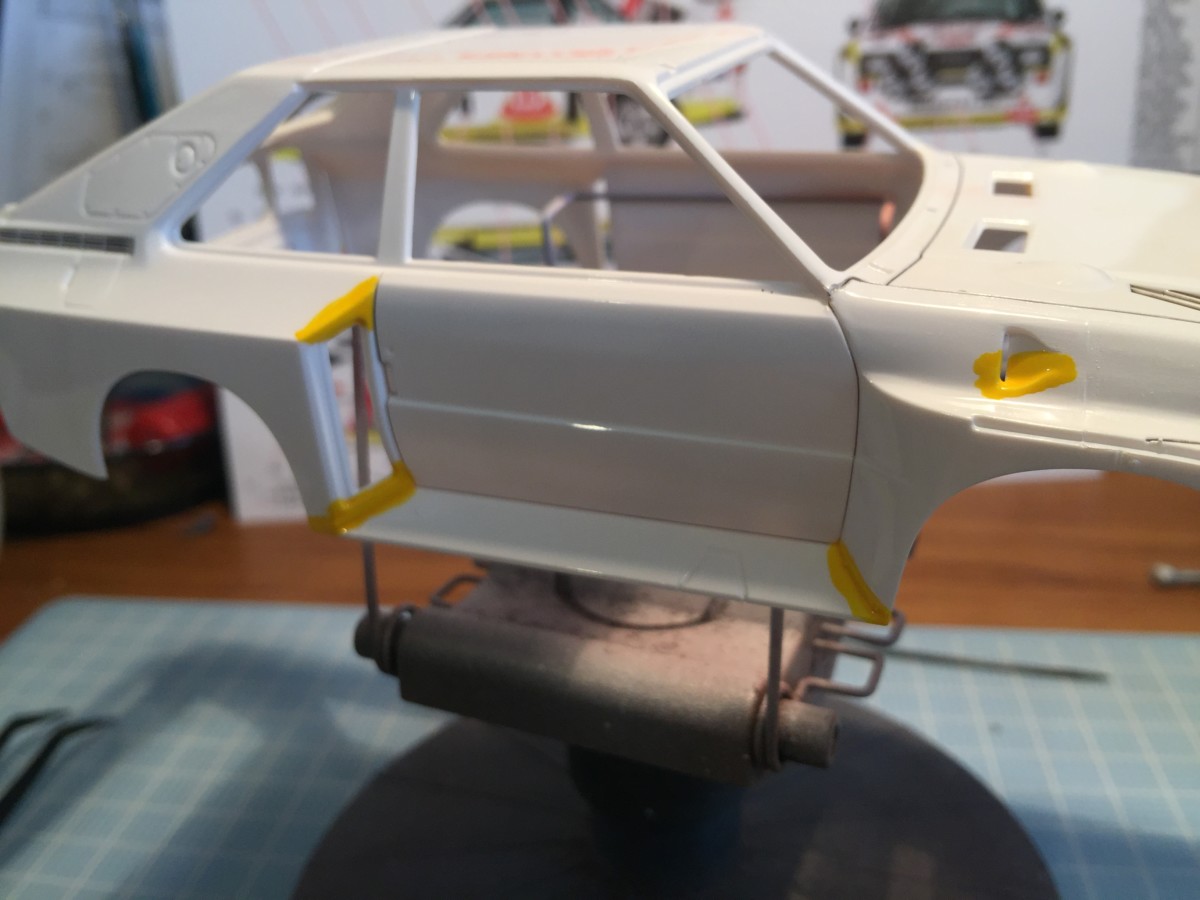
Before starting the yellow base stripes, there were two small areas of concern that I had for decals conforming to the body. These were in the area where the fenders meet the bottom skirts, and also in the vent on the front fender. I brushed in a little bit of Tamiya enamel (X-8 Lemon Yellow) paint to allow for some discrepancy in the decals final positioning — you really don’t want small strips of the white body to show through here if the decal comes up a wee bit short. The color match for paint against the yellow decals is perfect and this little trick really added to the overall finish of how the decals came out.
Decals
I am not going to lie, prior to beginning I closed my eyes and took a deep breath before dropping the first decals into water. The Audi appears to be a big job, although once I started it wasn’t half as scary as I imagined it would be. You will need one thing to assist you in making a great job on the decals and that is a bottle of decal solution.
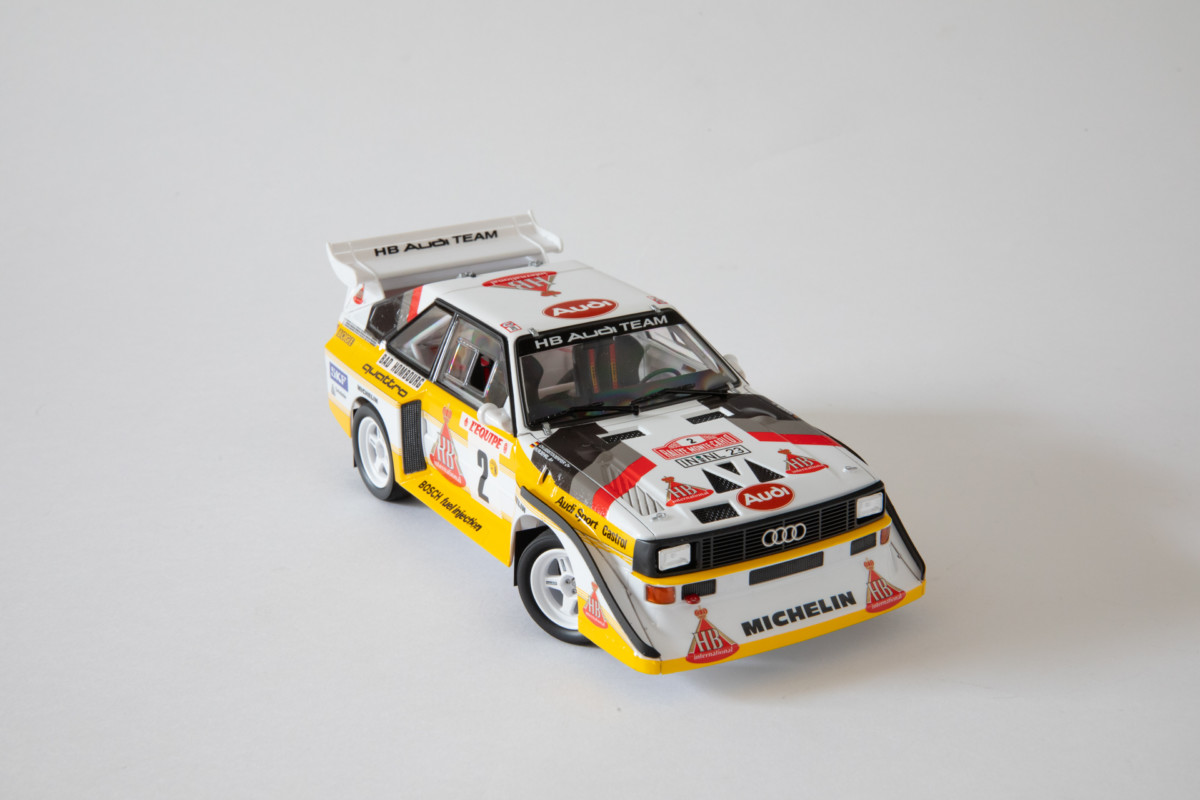
I started by applying the yellow base to the entire kit, and with no borders on the decals they laid down nicely, and responded well to the decal solution. The way the yellow jigsaw is arranged on the body works very well. The decals are thin, yet very strong, and could be finessed well with a wet paint brush once the decal solution started to take effect.

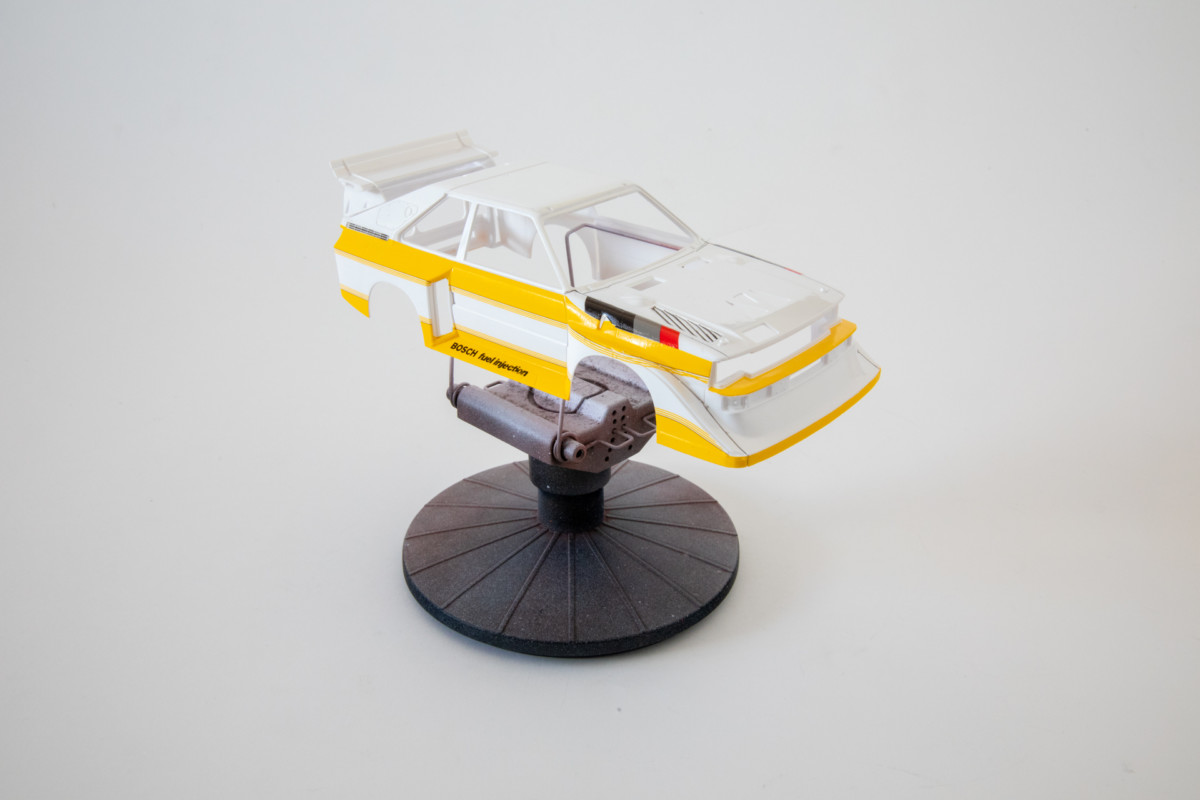
Once the yellow had been laid down on the body, the rest of the HB tobacco markings can be added with the smaller sponsor decals. As the kit is absent of the ‘HB’ lettering, I printed my own although there are a few different outlets that you can purchase them from. The base of the logo seen below comes with the kit, so without the HB letters this still makes for a great model!

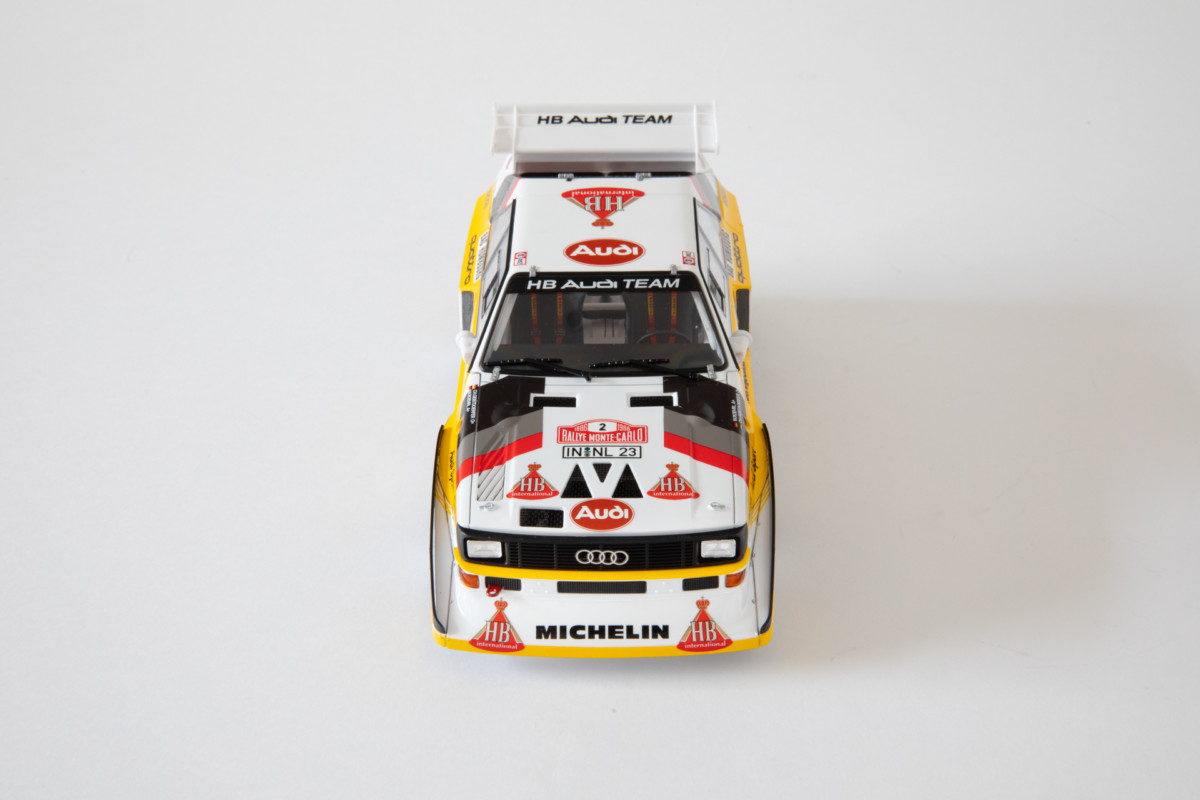
It is important to check through the instructions at this point as there are two different drivers, and two different rallies all packed onto the sheets. Walter Rohrl and Hannu Mikkola also ran slightly differing liveries on their cars as well. Luckily, different colored instructional numbers will indicate which rallies require their own specific decals to keep you on the right path.
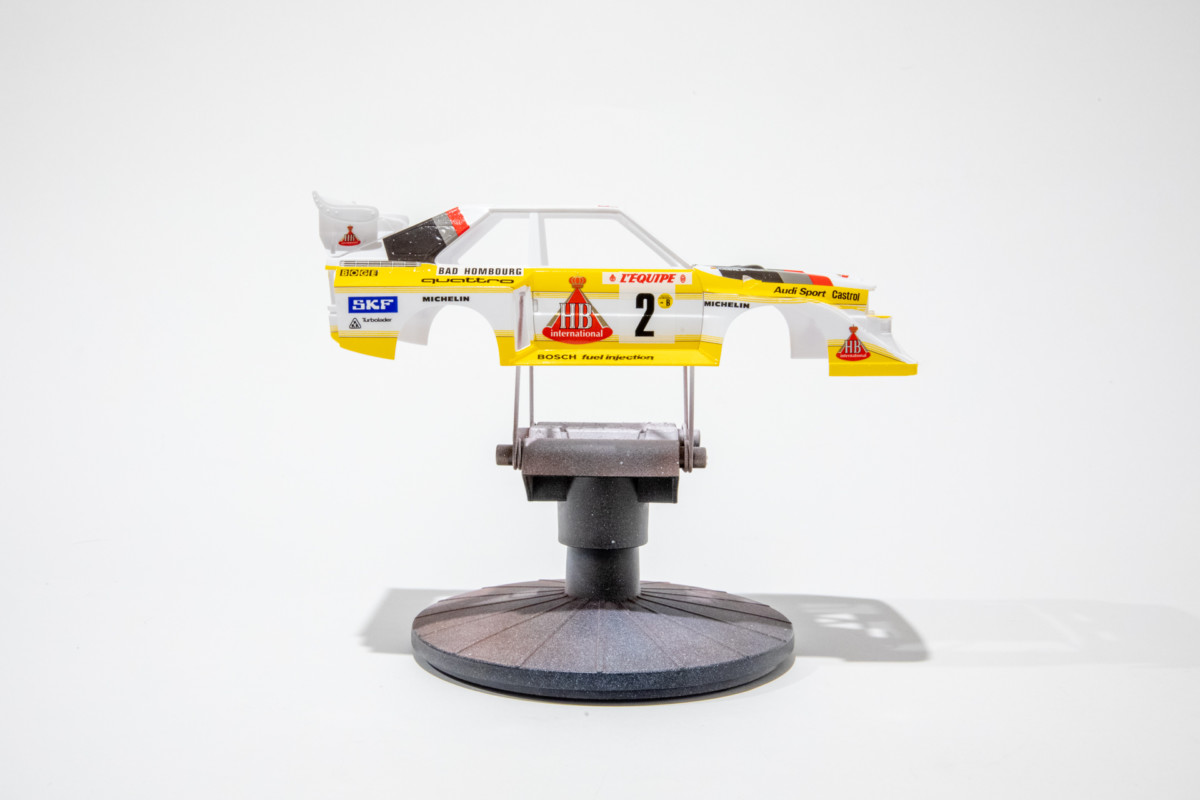
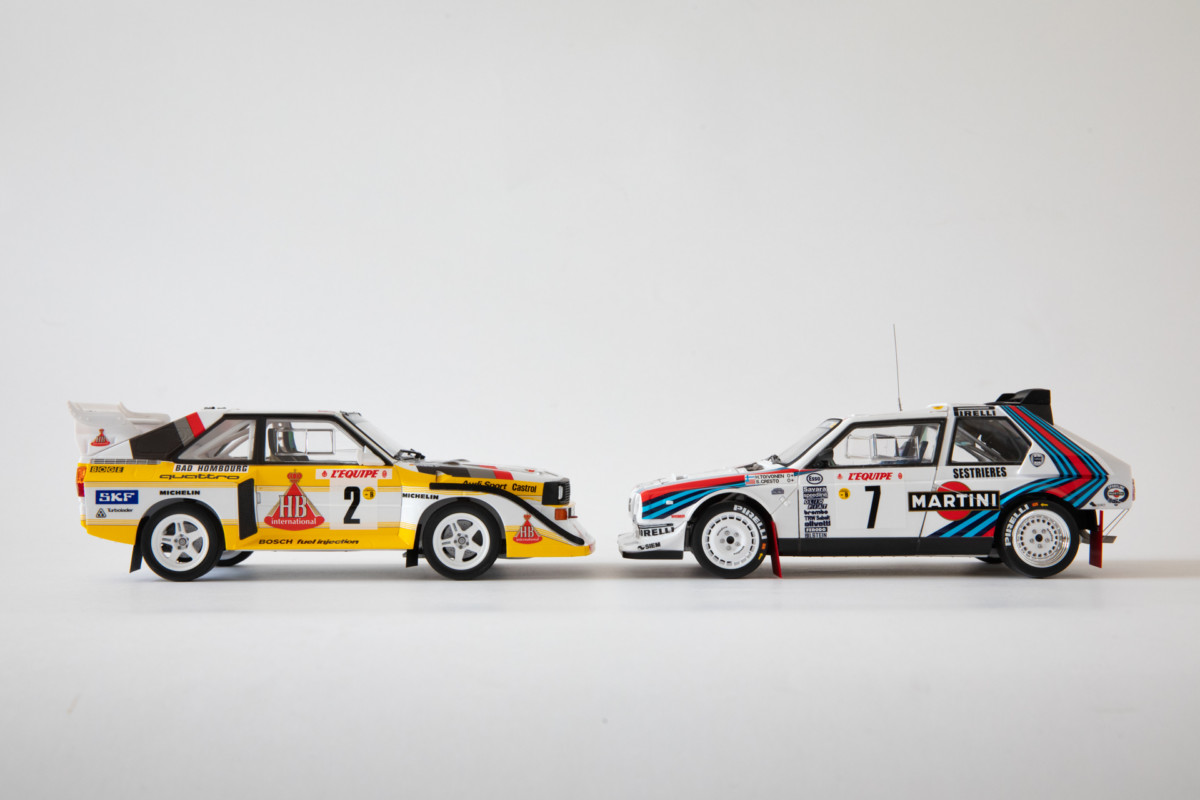
I chose to build the #2 car driven by Walter Rohrl in the 1986 Monte Carlo rally livery. For anyone wishing to do the SanRemo livery option, be careful not to include the ‘Bad Hombourg’ decal on the rear fenders. This sticker referenced the town (Bad Hombourg) in which Audi utilised as their starting point each year prior to Day One of the Monte Carlo rally, this sticker didn’t appear on the SanRemo car which is the other option in this kit.
The timeless livery comes together quite quickly once the yellow base has been applied. The white doorcard decals are nice and thick which stops the yellow bleed coming through from underneath.
Wheels and trim
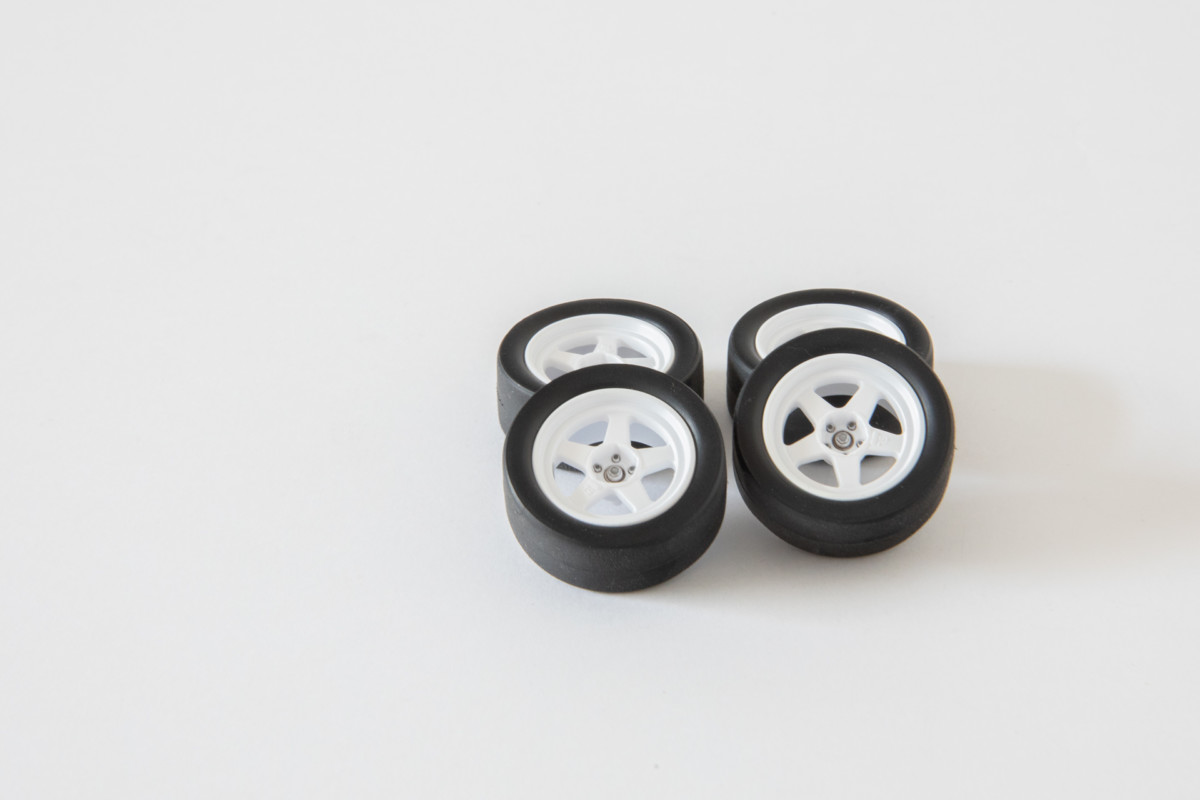
The Speedline 5-spoke magnesium rally wheels are very well reproduced and finish off the kitset superbly. The Audi S1 was famous for its aggressive aero, and famous bespoke tarmac and gravel wheels. Aoshima has recreated the 16-inch wheels very well, and they are the perfect ‘odd’ size once applied to the kit.
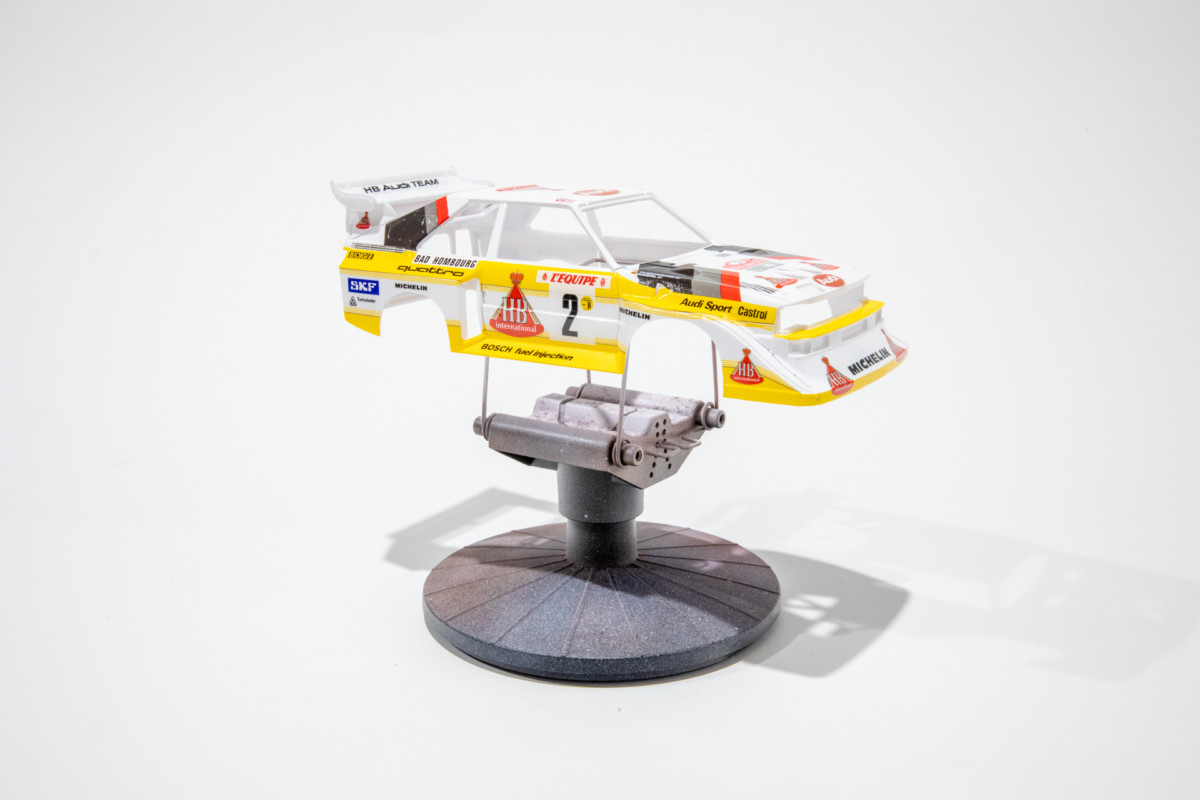
With the decals all complete, the trim can now be added for a seamless finish. The vents for the rear brakes and the cooling in the rear of the car slot in perfectly. The windows are installed onto the outside of the body, a style that I prefer as it means there is no window rubbers molded onto the body requiring precise painting. The large rear wing is applied to the boot lid and the aggressive shape is finally complete.
The finished product
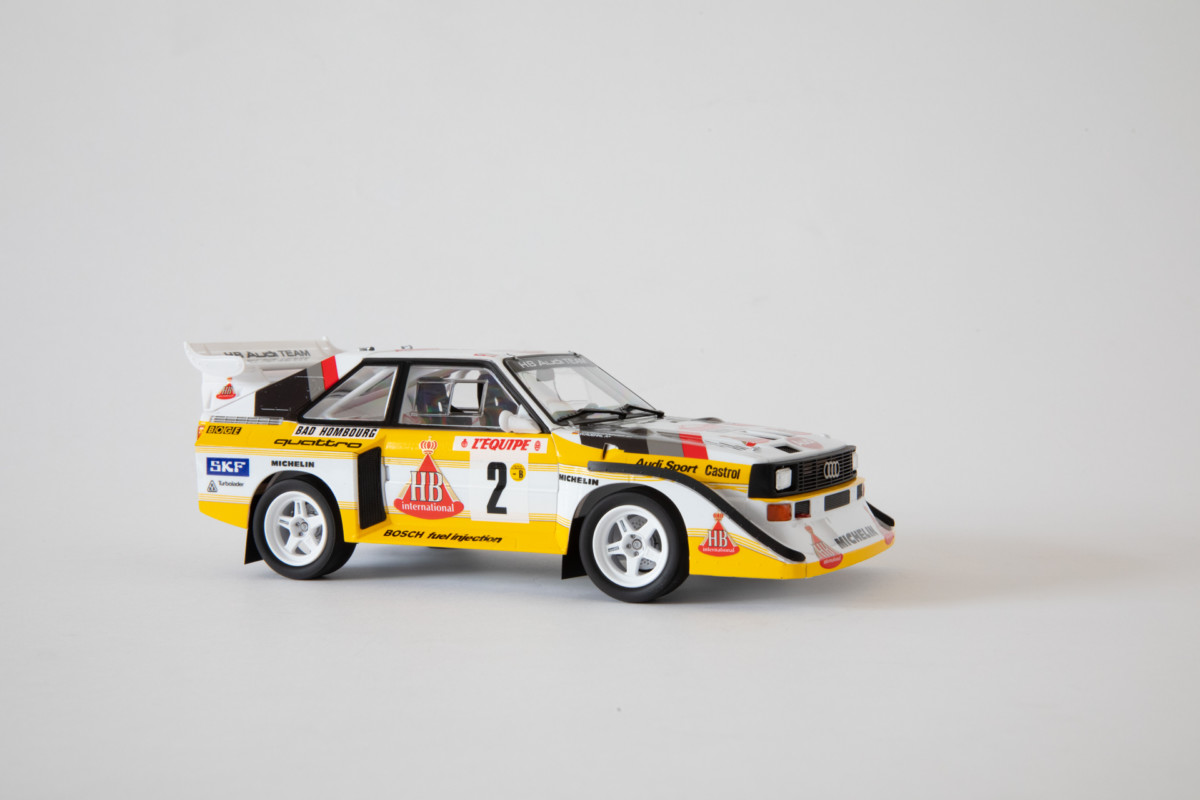

The final product is hard not to love, an iconic car finally available at a great price and produced to a very high standard. There has long been a gap in the market for these classic rally cars and Aoshima and Beemax have filled that perfectly. Aoshima has so far released the Lancia S4 and the Audi Quattro among others, making the perfect lineup for the 1986 season.
The S1 Quattro is a solid 9/10, all it is missing is a gravel setup included in the kit to make it truly a perfect 10/10. A timeless livery, and golden era of rallying immortalised in 1/24 scale makes the Audi S1 a must have for anyone who wants a trip down memory lane.