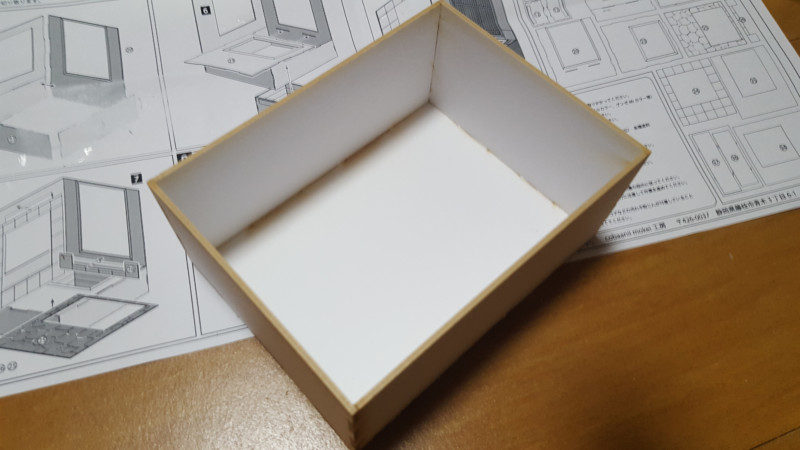
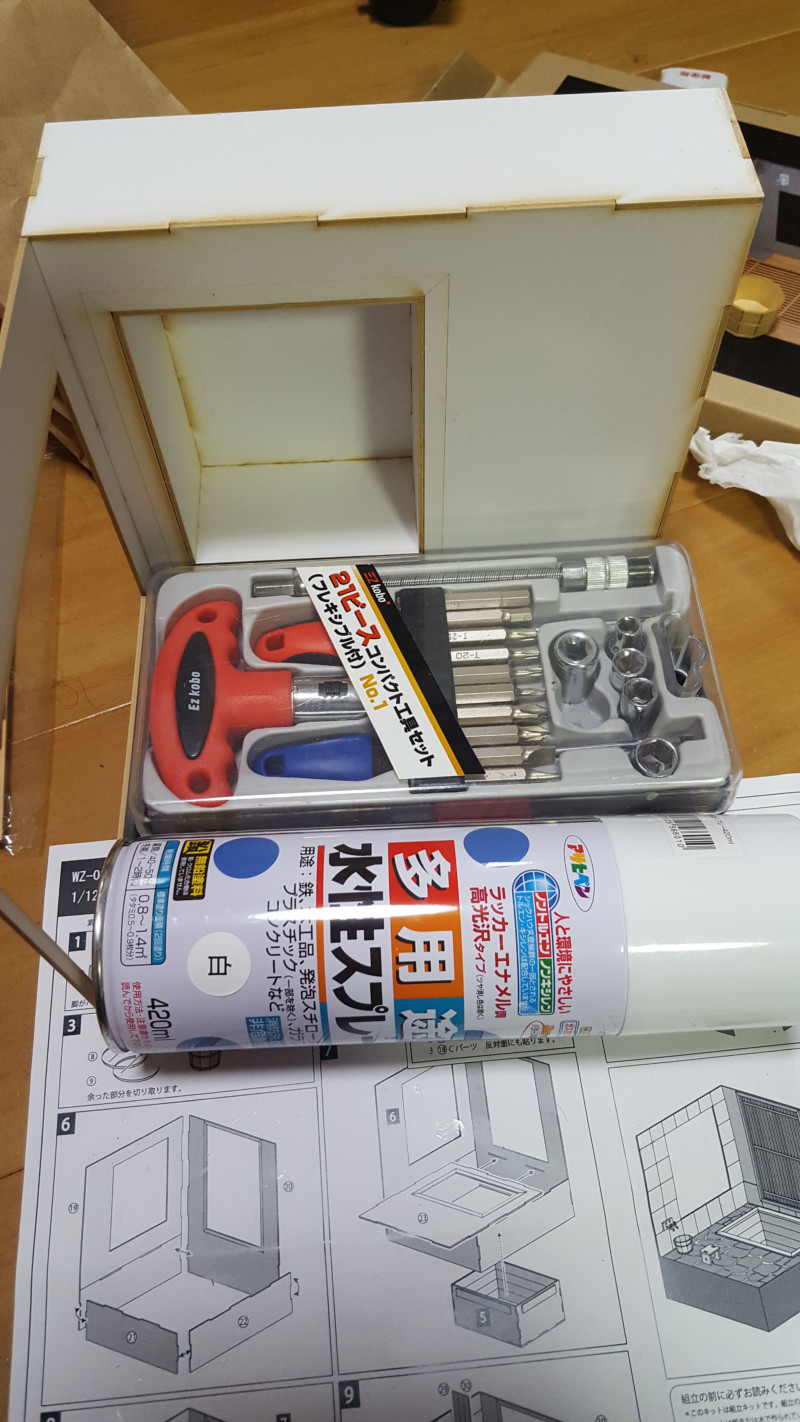
Welcome back to fumbling through a wood kit with me for the first time! This time, we’re taking a look at building the main structure of cobaanii’s 1/12 Open-Air Bath Made of Cypress! As you can see above, the very first step after building the accessories is to build the basin of the bath.
This part consists of 5 panels that have tab-like edges that slot together very precisely, and stay in place with a little wood glue. Many of the structure pieces feature these tabs, which really help to get everything to come together neatly.
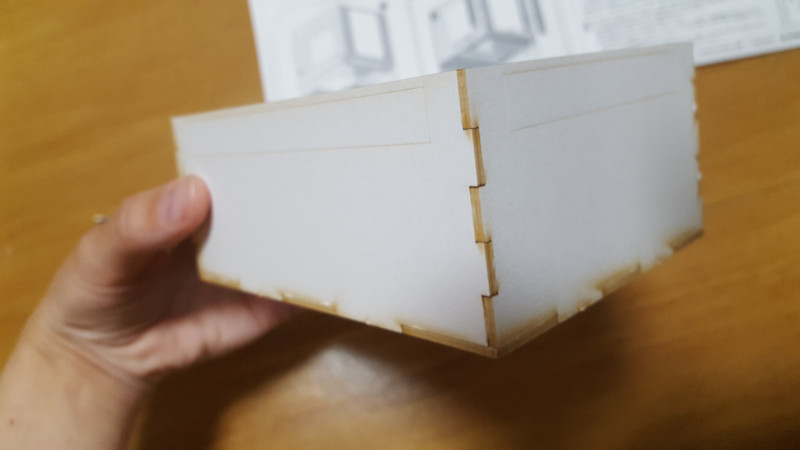
This is what the seams look like. I put wood glue on each surface that touches another surface using a cotton swab, to make sure that there wouldn’t be any gaps or weak seams once dry. And it looks pretty good!
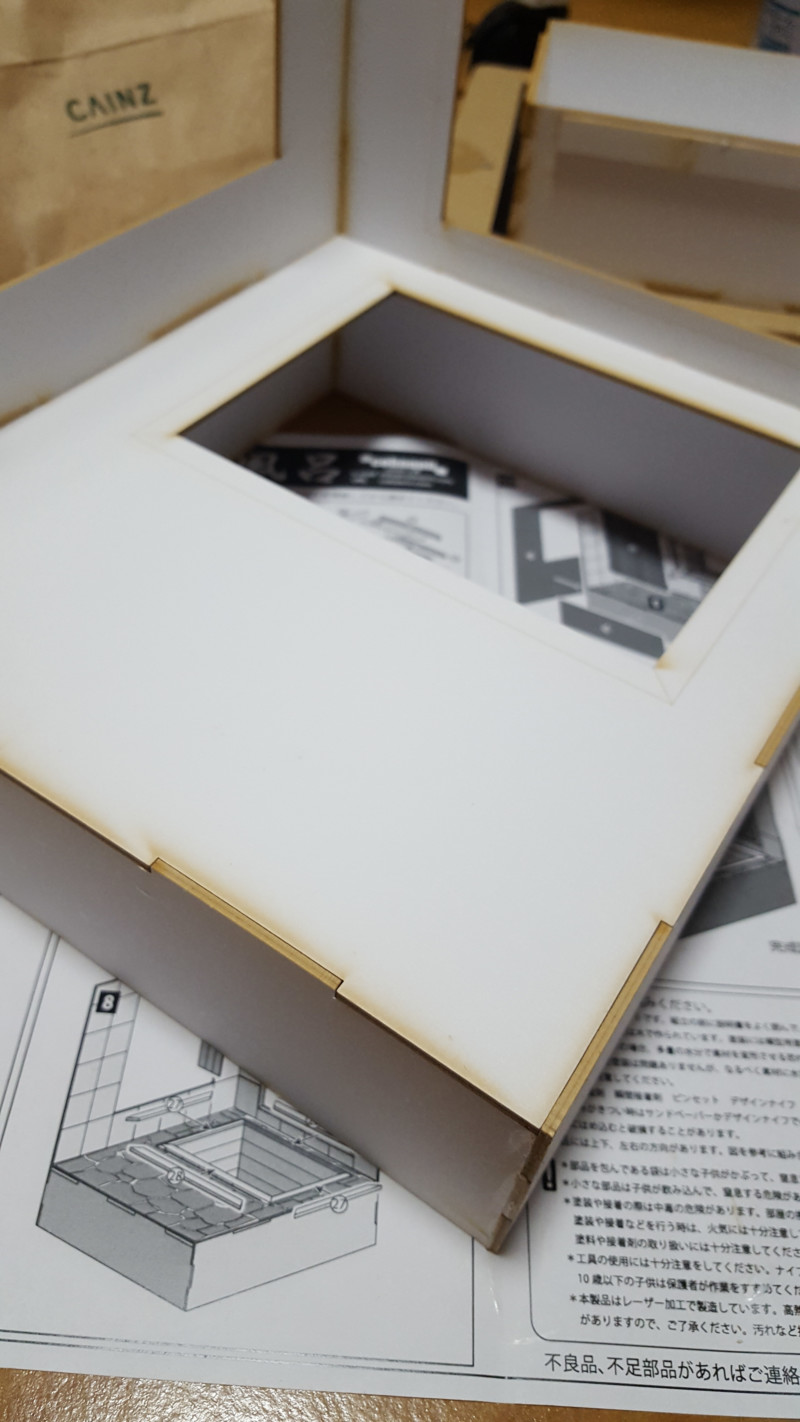
It’s important to note the rectangular outlines at the top of each panel here. We’ll be gluing additional slats to those spaces next, so they need to be facing out instead of in.
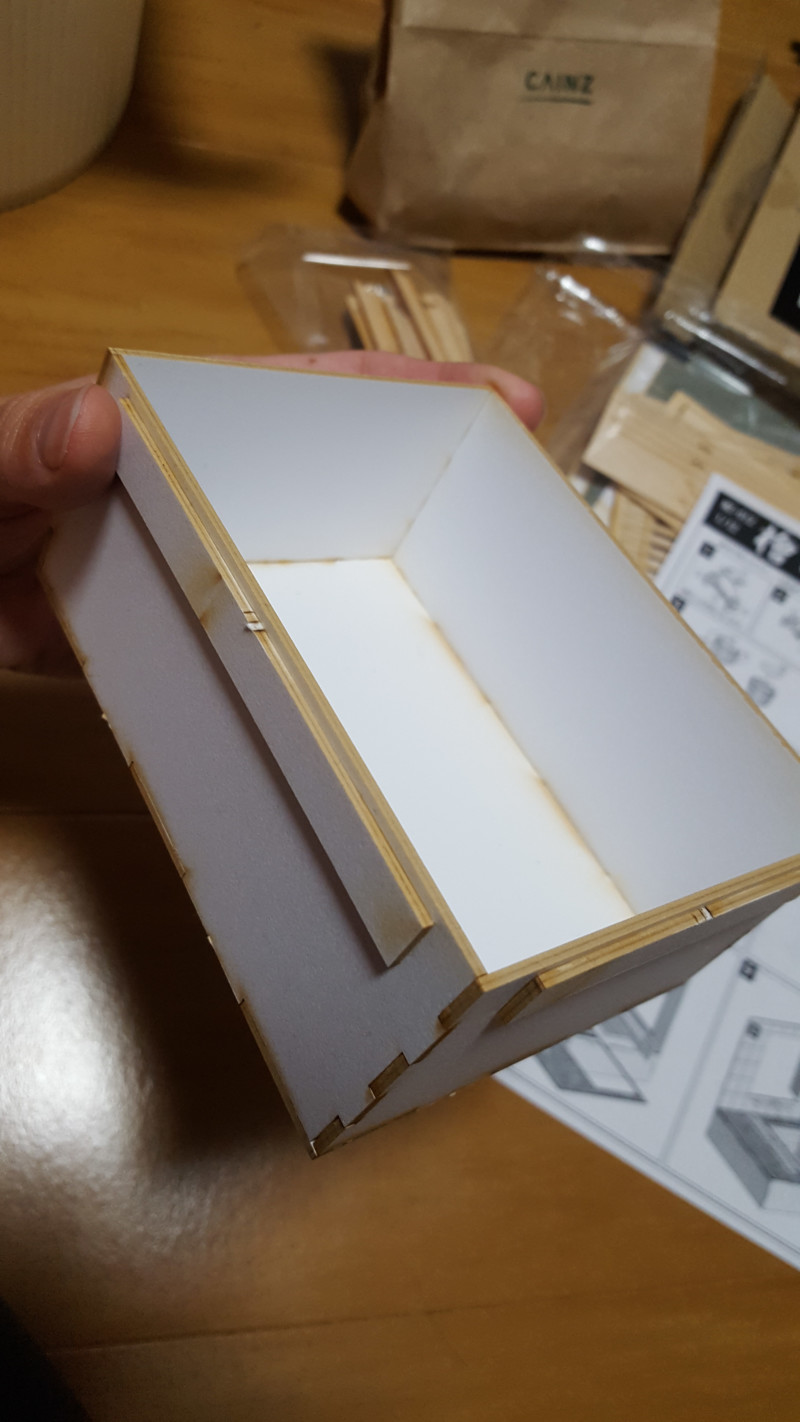
Here are those slats in place. I did them one at a time, very carefully, to make sure they’re lined up as best as they can be with the guides. These pieces will be what hold the basin in place in the floor, at the proper height, so it’s important that they’re all in the right places or you could end up with the basin sloped to one side.
Here’s where I made a mistake, though. The instruction manual calls for adding the cypress planks to the inside of the basin next, but I didn’t realize I missed this step until I had attached the basin to the rest of the structure! I’ll cover that step later on, but if you’re building this kit yourself, it’s best to attach the planks when the manual calls for it.
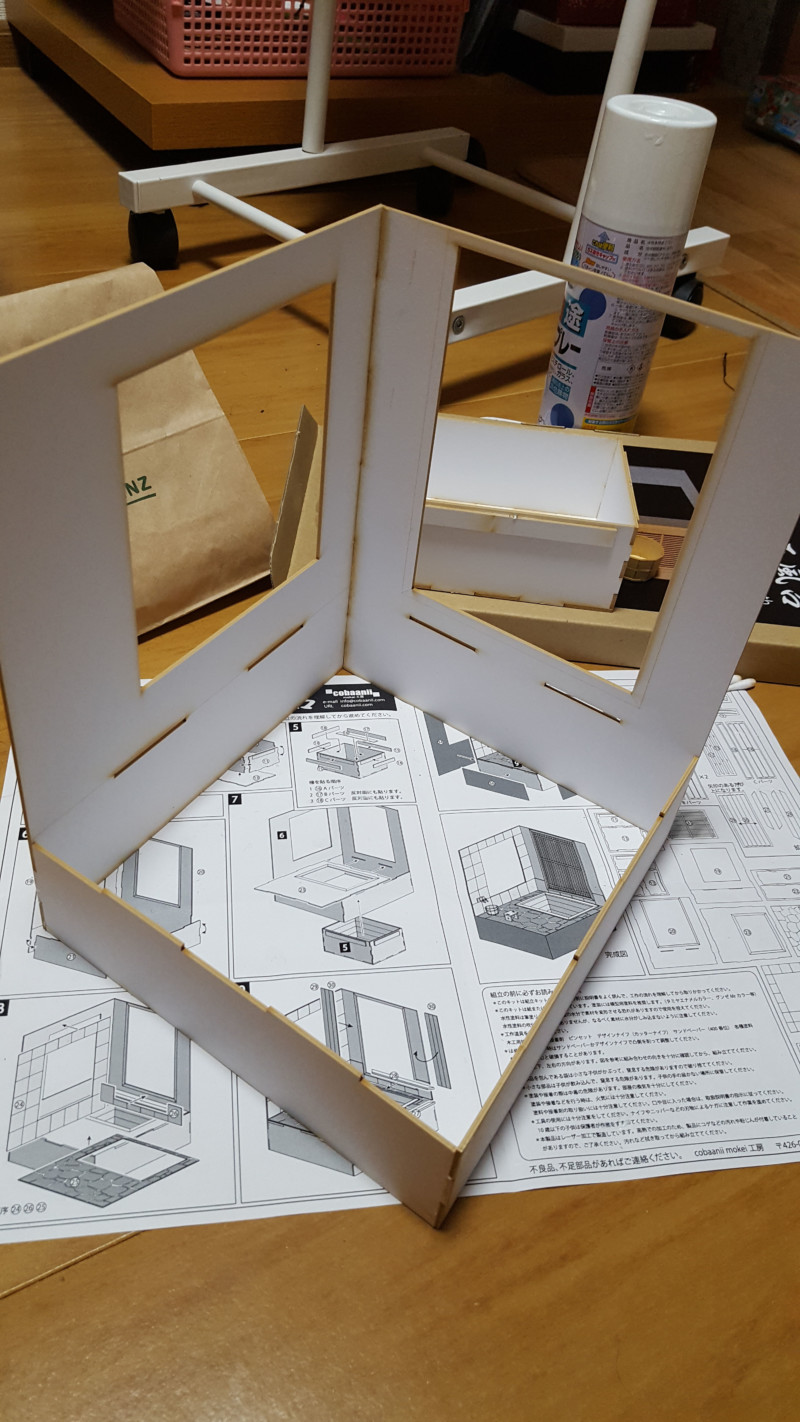
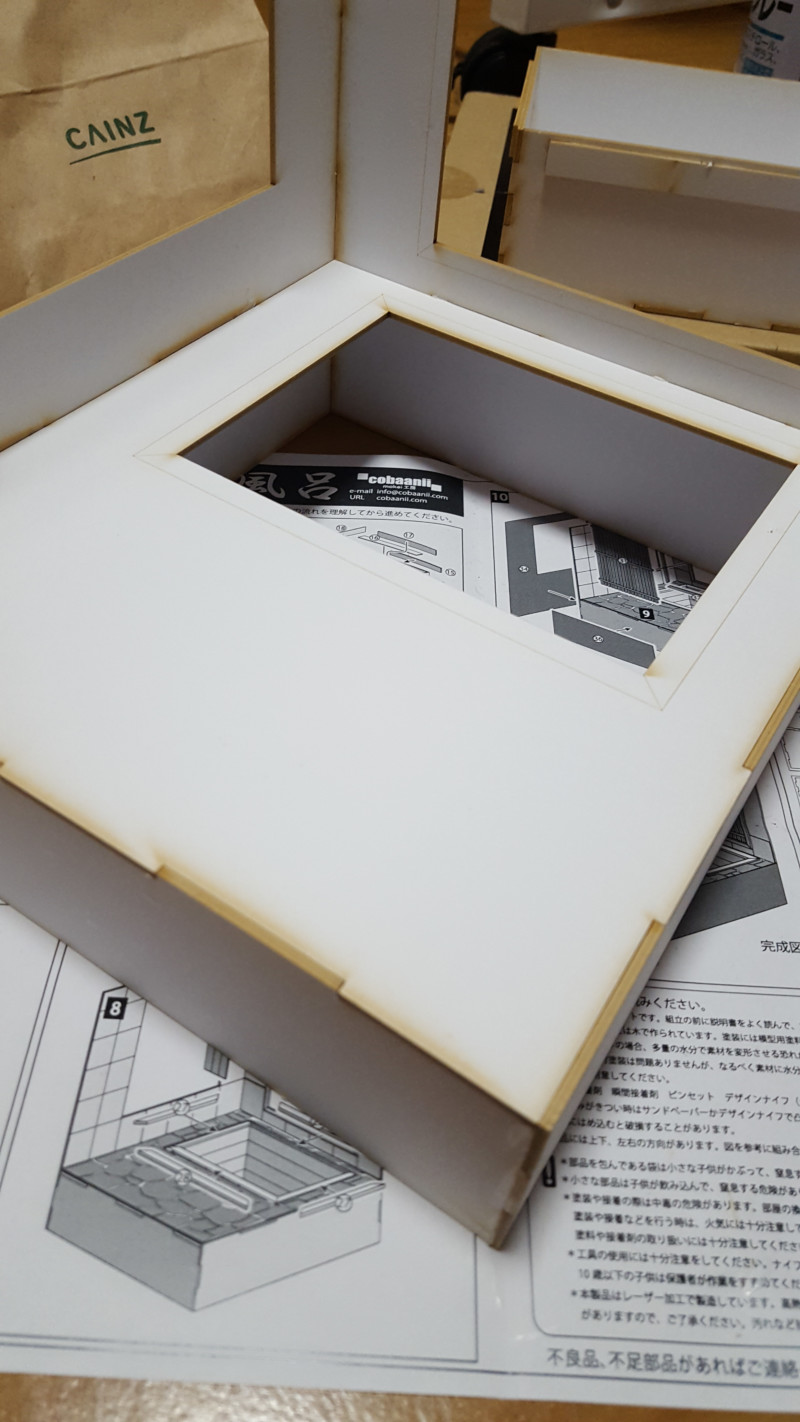
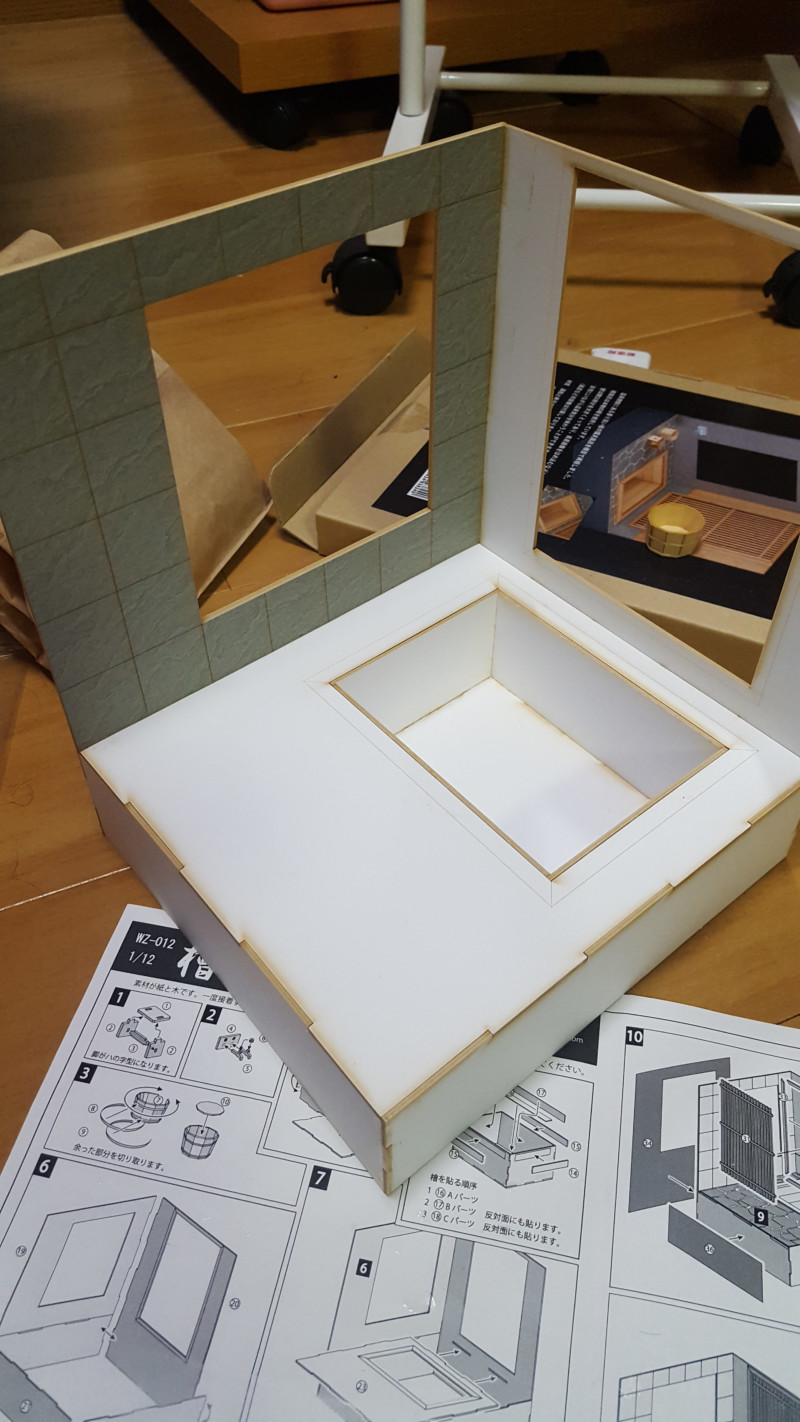
Next, we glue the back walls together, then add the front frame parts. I photographed this after getting all four pieces in place, because I assembled all four pieces at the same time. I found that gluing the back walls only and leaving them to dry wasn’t going to work; they’re heavy and it’s hard to get them set at just the right angle. To ensure that the glue dried with the walls in the proper 90-degree setting, I put all four pieces together. This forced the correct shape and made my life easier!
Next, we add the floor, which is very easy and just pops in on top of everything else! If your frame is even slightly skewed, setting the floor in place will force it into the perfect shape. Because I set all four frame pieces at once I had no problem getting it in there.
Everything is still in this basic white color — but when the model is finished, none of that will be showing. We’re truly just building the structure here and have plenty of gorgeous wood and faux masonry parts to cover that up with later!
Next, we’re going to be seating the basin in the floor. You have to push the basin in through the bottom, as the slats on the outside prevent it from sliding through the top. Glue goes along the top of each of those planks to secure it in place.
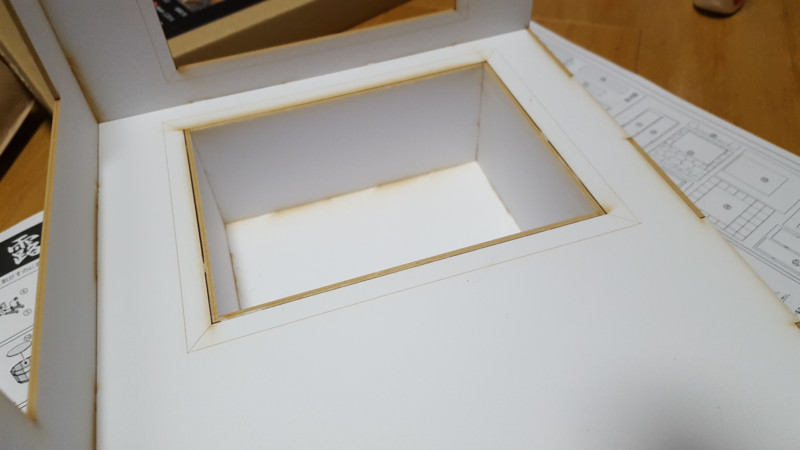
This is the only part of the kit so far where I’ve seen a gap (it’s visible on the left side of the basin above). However, this isn’t something I’m too worried about, as the edges of the basin will be covered by planks, too, as shown in the guide markings above. I’m sure I can cover the gap with the overlaying planks.
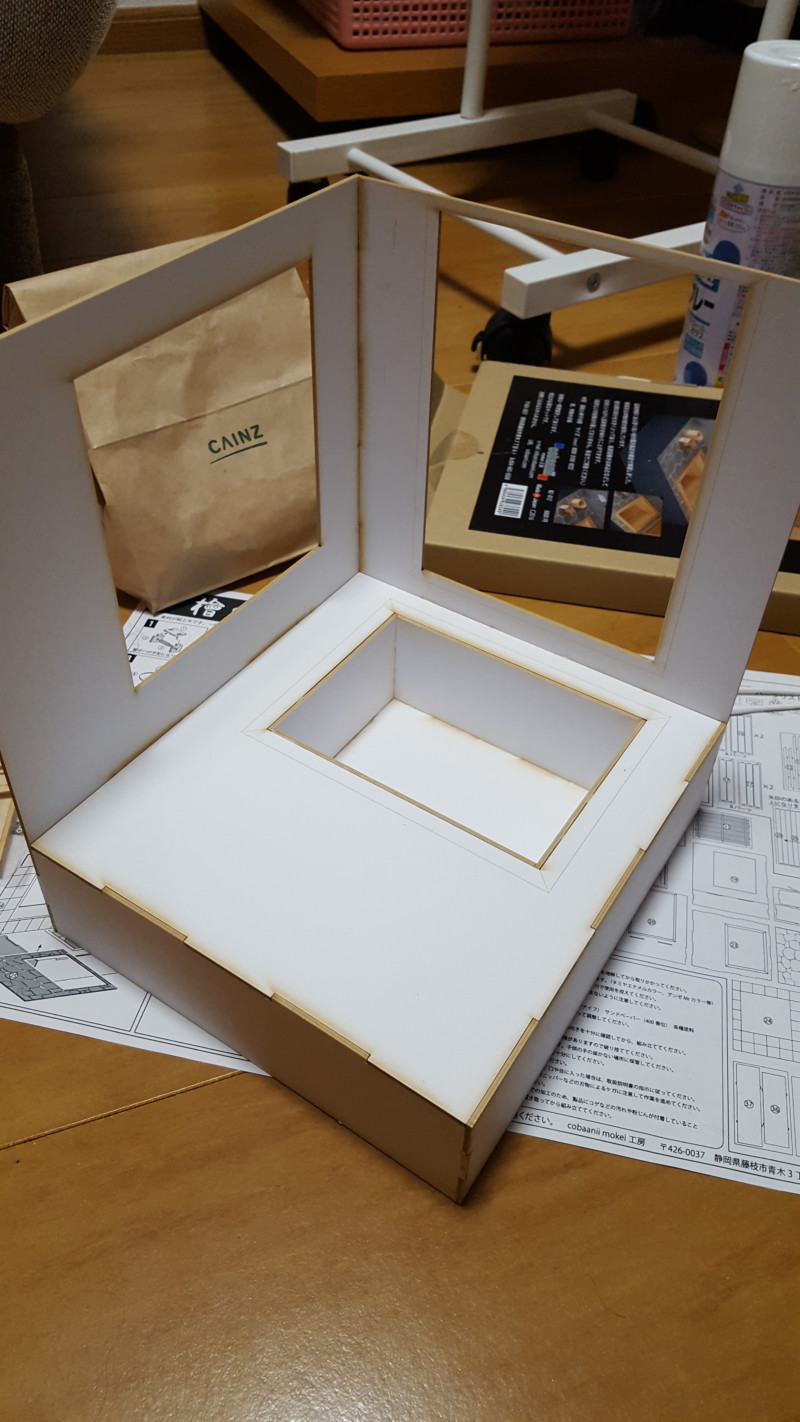
Here’s another look at the whole frame so far.
cobaani stresses again that you must put the next parts on in the correct order for everything to sit properly. We’re starting with the left wall.
Like the planks on the side of the basin, the wall decor is glued directly to the wall. I absolutely covered the back of this piece in glue to make sure no edges would be left gappy or sticking up. To make sure I got all the corners flat, too, I heaped some of my nearby tools on top while the glue set.
Here’s the result. It’s perfect! I want to point out that I didn’t have to sand anything here; the wall cover lined up perfectly with all the edges, even the window, so it’s just fine.
Next, we add the floor masonry and the small strip below the door frame.
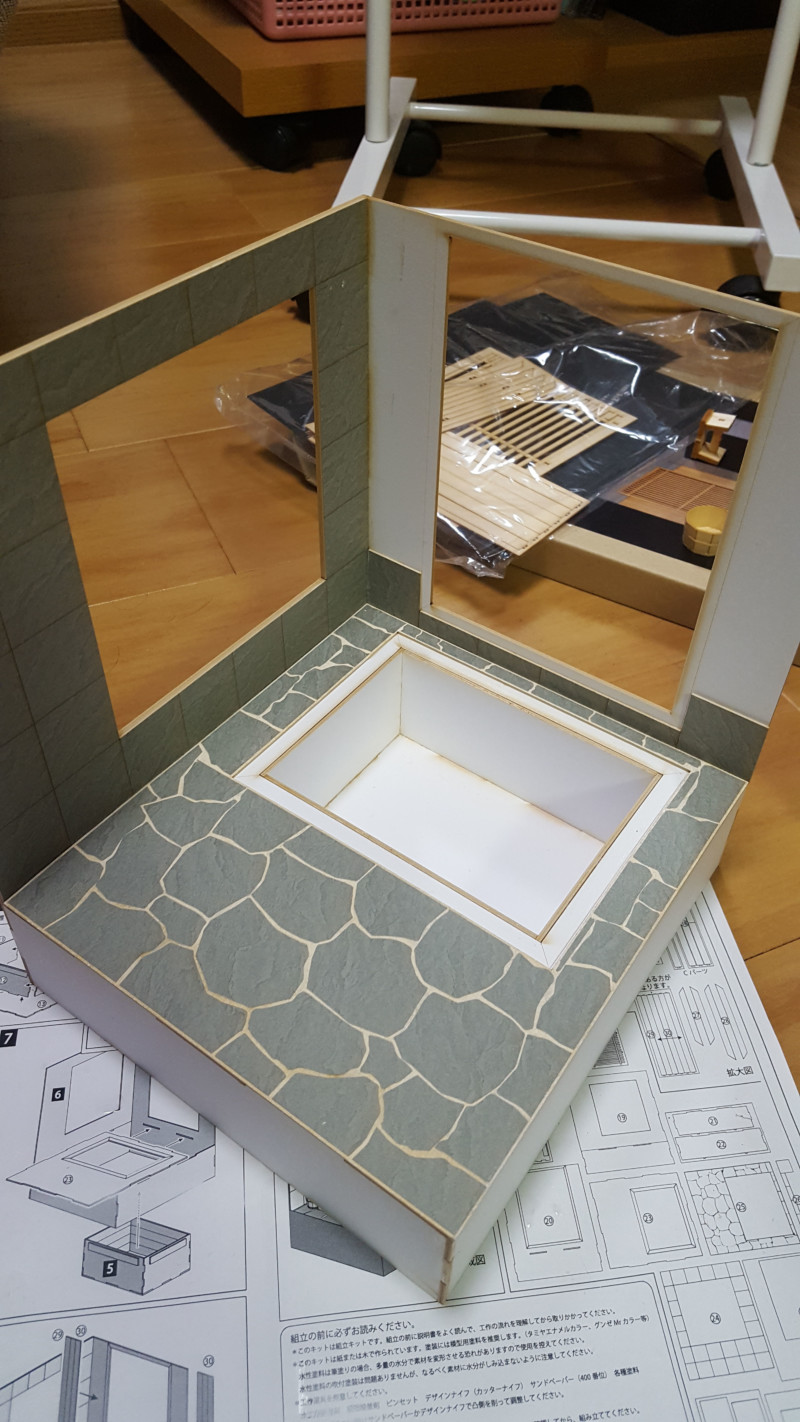
Both of these pieces did need sanding, as they both stuck out on the right, beyond the edge of the frame. I chose to sand the left side of both pieces, in case my sanding wasn’t entirely straight, so no matter what the right edge wouldn’t end up looking warped. It turned out fine, I’m pleased to say!
This is where we’ll stop this part of the build — just before we get to putting those lovely cypress panels on everything and affixing the rest of the detail parts. For now, we have our frame and our masonry, and I’m pretty sure I’m going to love the way this kit looks when it’s finished!
If you want to take on this kit or a similar kit, check out the links below:
– 1/12 Open-Air Bath Made of Cypress
– All cobaanii items