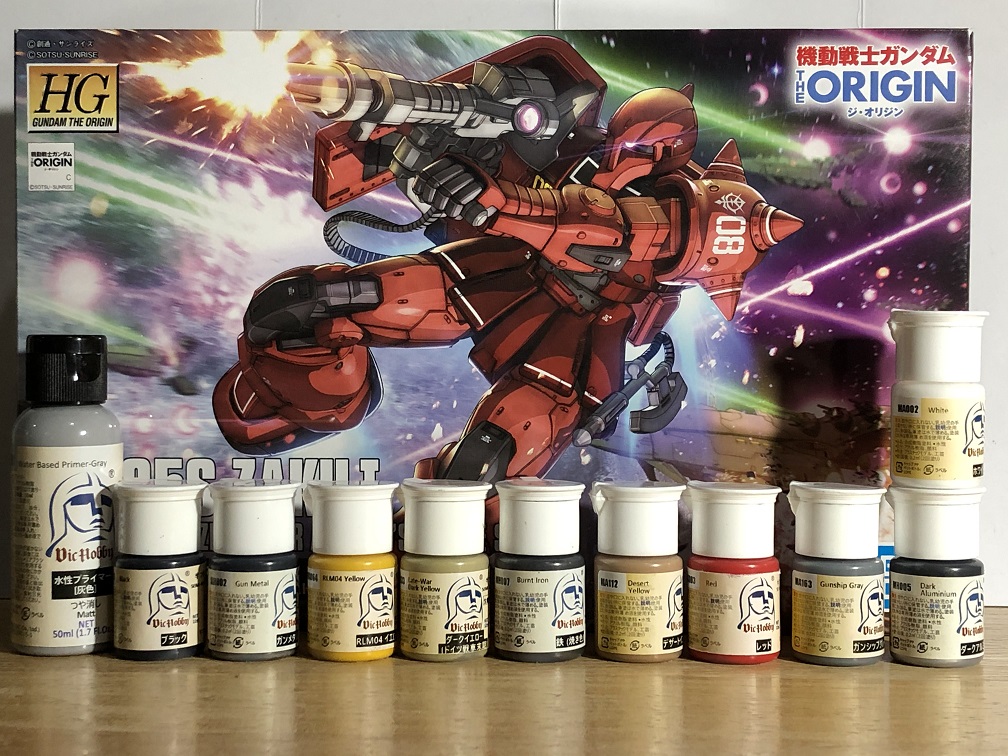
Hello there! I’m Anthony, and today I would like to introduce you to VIC Color acrylic paints.
Vic Hobby is a quickly-growing hobby paint manufacturer with a wide variety of colors for scale models in their VIC Color line. They also have water based primers, finishes, and now, metallic paints.
I believe that the best way to talk about them is to show you how they look! In this article, we’ll be using VIC Color in hand-painting a Gunpla kit to look like a military machine.
Keep in mind that this article is a review and not a tutorial. However, below you will find the list of tools used to carry out this project, in case you like to do one yourself. And at the end you will also find the list of paints I used.
In this article:
Tools to Get Started
For this project I used different types of tools, some of them you can find at hlj.com. Others are common items that you may already have around your home.
The tools used for this project are:
- A pallet
For Vic Hobby Acrylics I recommend you to use a common (dry) pallet rather than a wet pallet. This way you will have a better control with your water-paint ratios. - Brushes
I suggest you get at least 4 different types of brushes:- A big or medium size, flat bush. This will be useful to apply the primer and the base color.
- A medium size, round brush. This is to apply the paint coats.
- A small round brush or a medium size, round brush with a fine tip. This is to paint small details, like panel lines.
- And an old brush, any size and shape will do. This one is for dry brushing. You can use any type of brush for this, just keep in mind that this technique is known for destroying brushes.
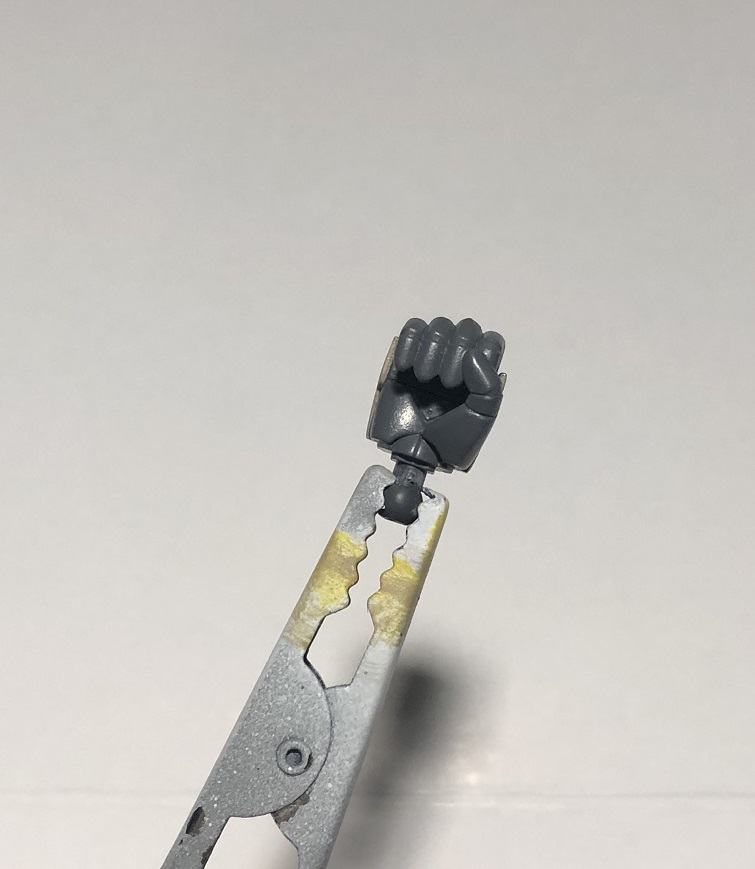
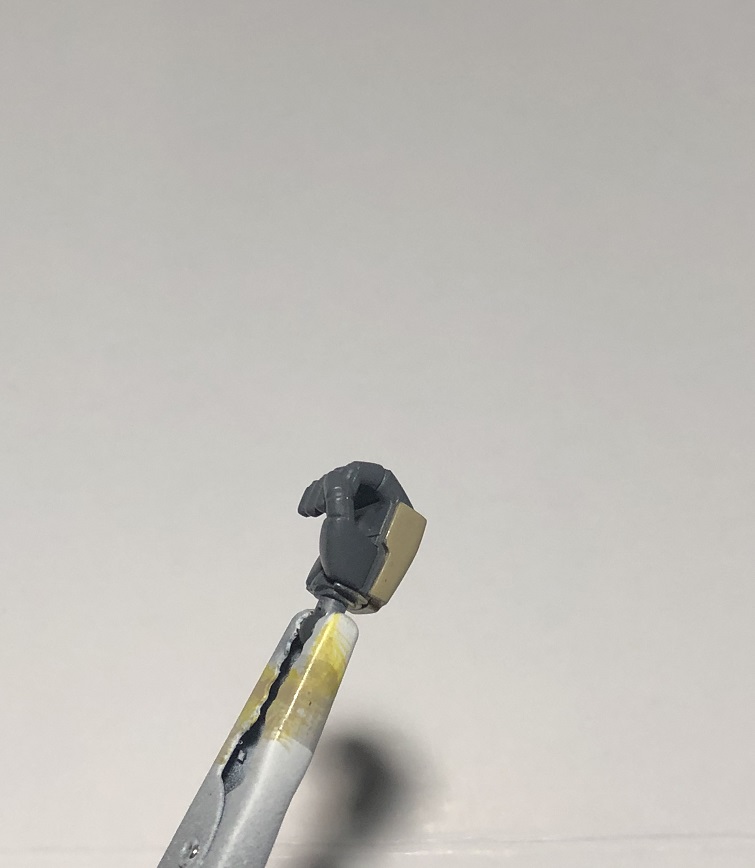
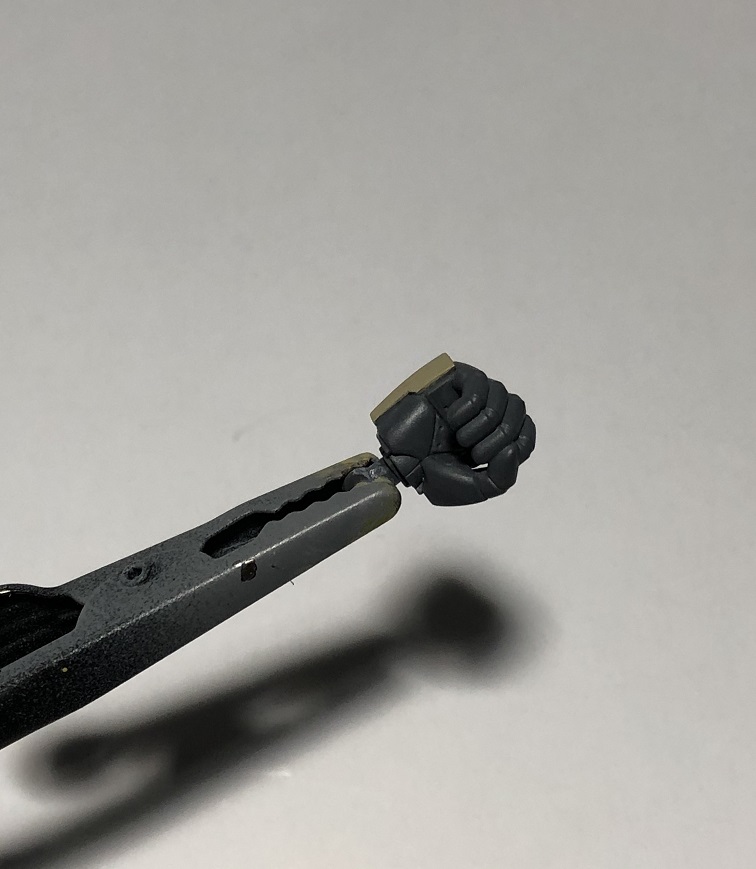
- Paint clips
These are useful to hold the pieces of the model kit while you paint them. You don’t wish to touch the pieces while the paint dries. - Hobby knife
- Nippers
- Sanding tools
As for household items goes, you may need:
- A glass or small container, with water to clean your brushes between colors.
- Paper towels: To dry your brushes after cleaning them or for the dry brush technique.
- A dropper. I did not add this to the first list because Vic Hobby bottles are designed as droppers. But you may need one for your water or thinner.
- A sponge. This is to create a chipping effect to the paint. I used a sponge for washing dishes. Just make sure to use a new one, you don’t want to stain your model kit.
If you have any question please make sure to leave it in the comments bellow, I’ll do my best to answer them.
Now, without further ado let’s start with the review.
VIC’s Semi-Gloss Acrylics
For this project, I used water to dilute the paints before applying them with a hand brush. I must say that this is not strictly necessary but highly recommended, especially for thicker paints like the primer and the darker colors.
These acrylic paints have a thinner consistency than other paints, excluding those specifically designed for airbrushing. Therefore, you can apply them with your hand brush directly from the bottle — but try not to apply more than 2 coats.

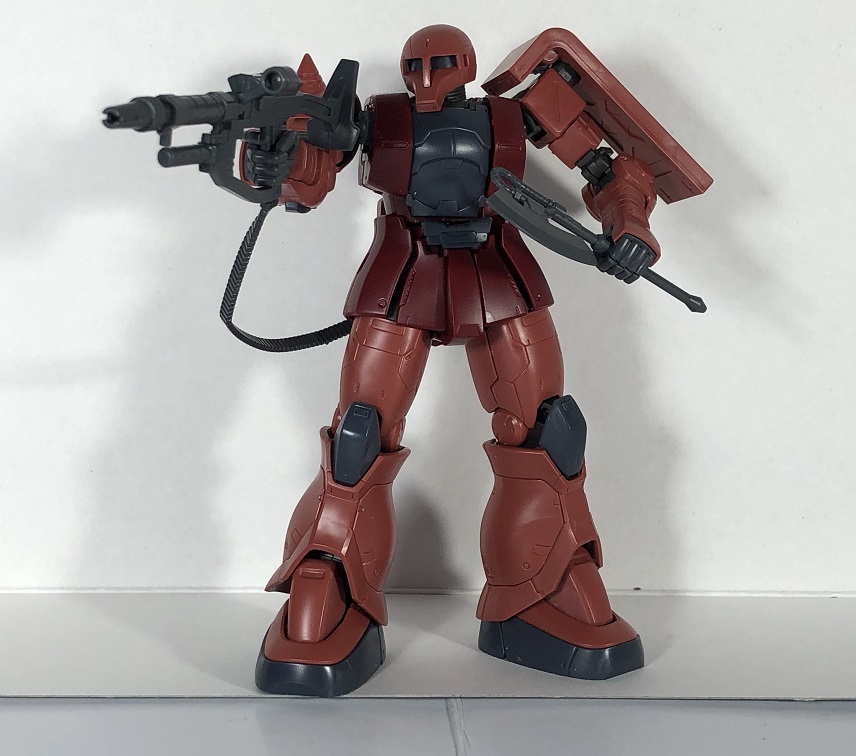
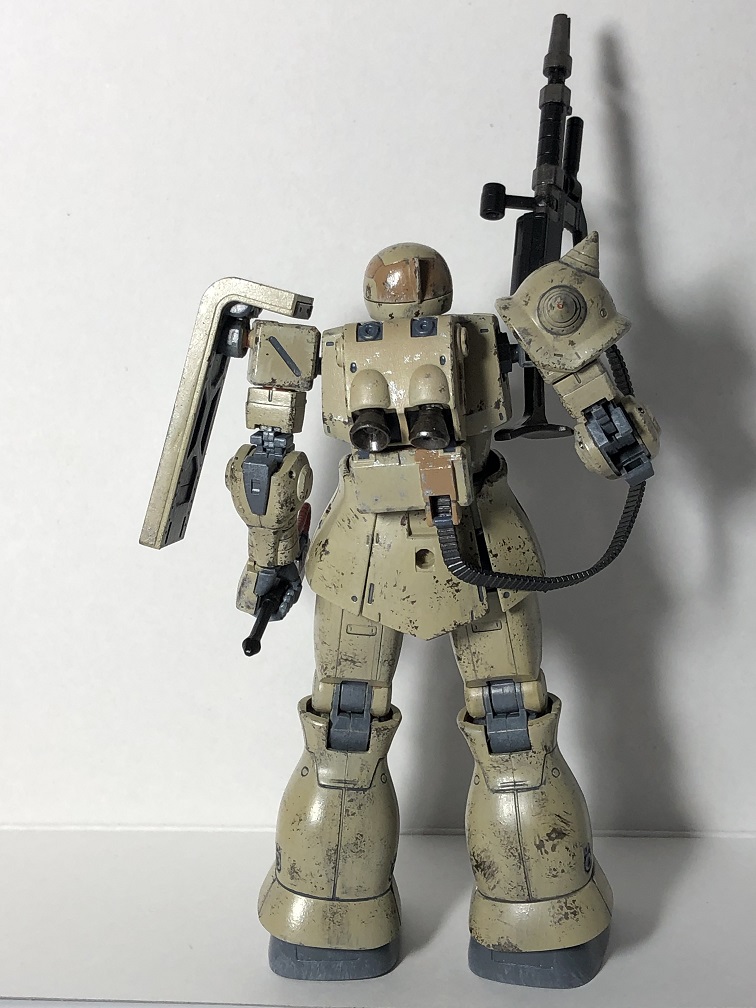
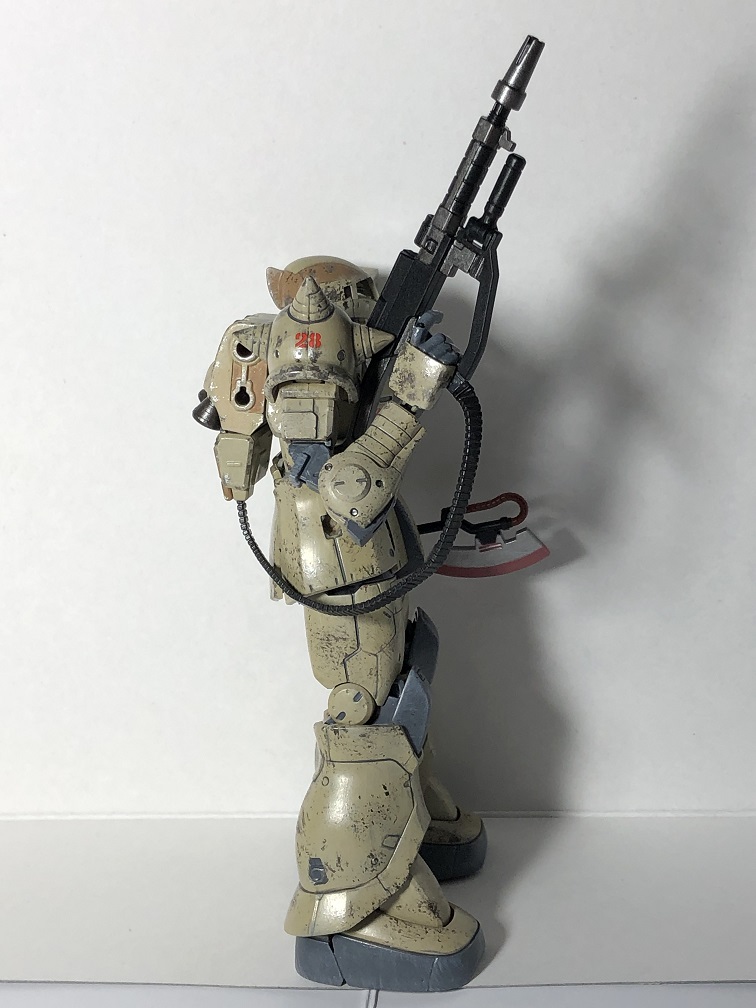
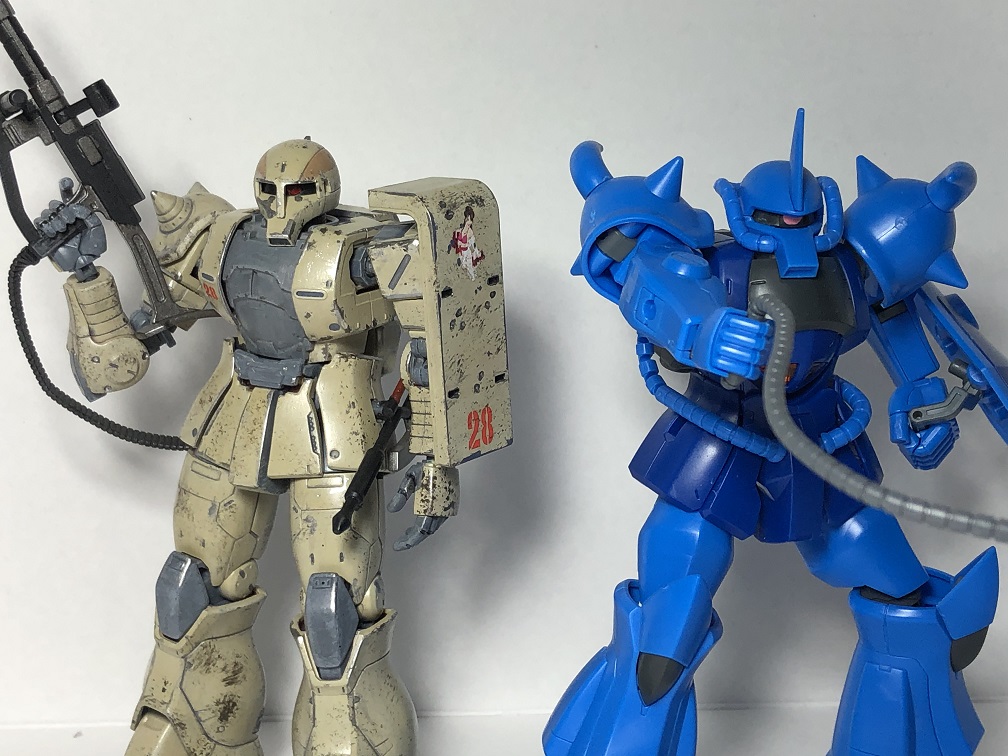
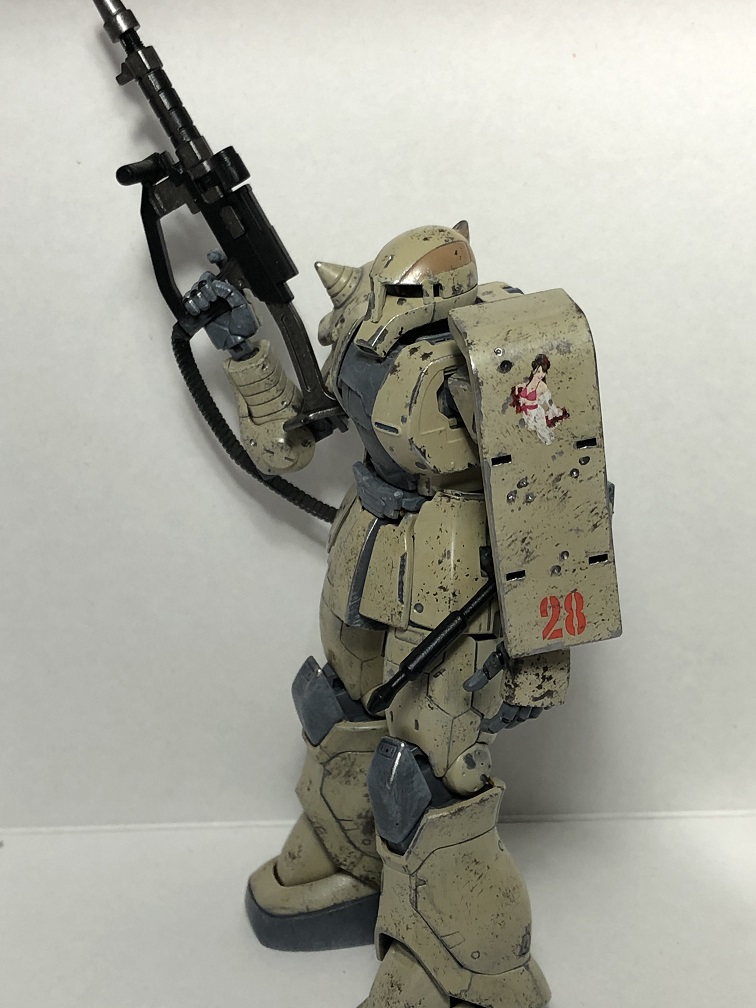
This is how the Zaku
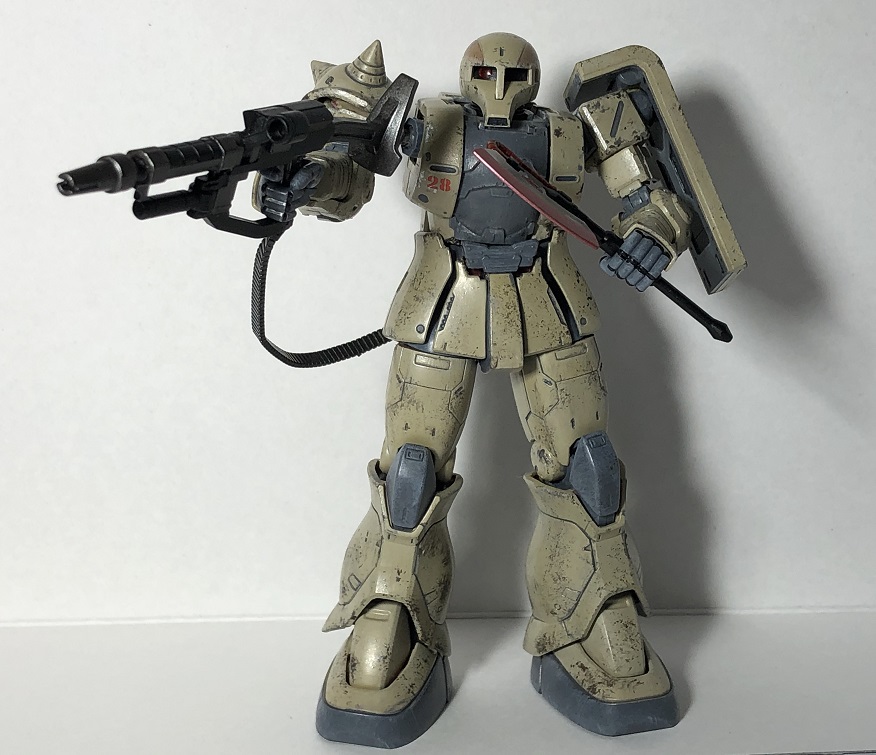
looked fresh from the box.This is the painted version of the same Zaku, painted only with VIC Color acrylic paints.
The paint-to-water ratio depends on the consistency of each paint, and what you want to achieve. I used a 1:1 paint-water ratio for the semi-gloss paints and the metallic paints, and a 1:2 ratio for the primer.
Keep in mind that this ratio will affect the number of paint coats you’ll need to apply to obtain a solid color. For the darker colors, only 2 coats were applied. Meanwhile, for the lighter colors up to 5 thin coats were needed.

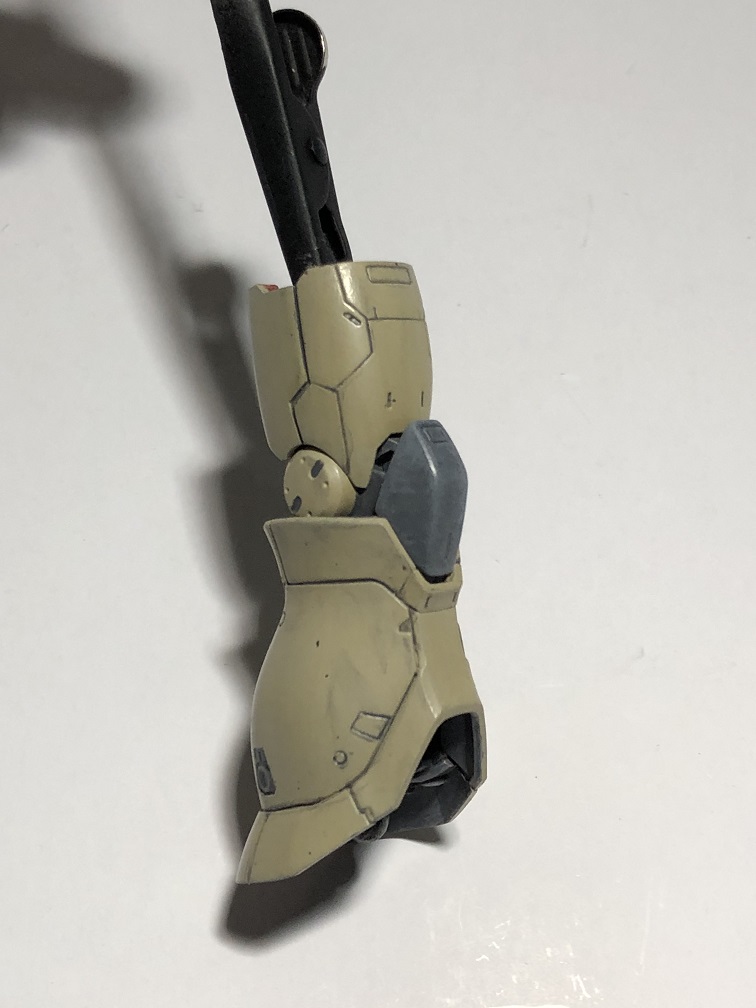
For the kit, I started with a coat of Water Based Primer-Gray. Then, I used RLM04 Yellow as the base color with a thin coat. And finish it up with 5 thin coats of Late-War Dark Yellow.
Even after all these coats, all the details and panel lining are still visible thanks to the highly-liquid consistency of the paints!
I must confess that this amazed me!
I also used a 1:2 paint-water ratio to accomplish some nice panel lining with Gunship Gray.

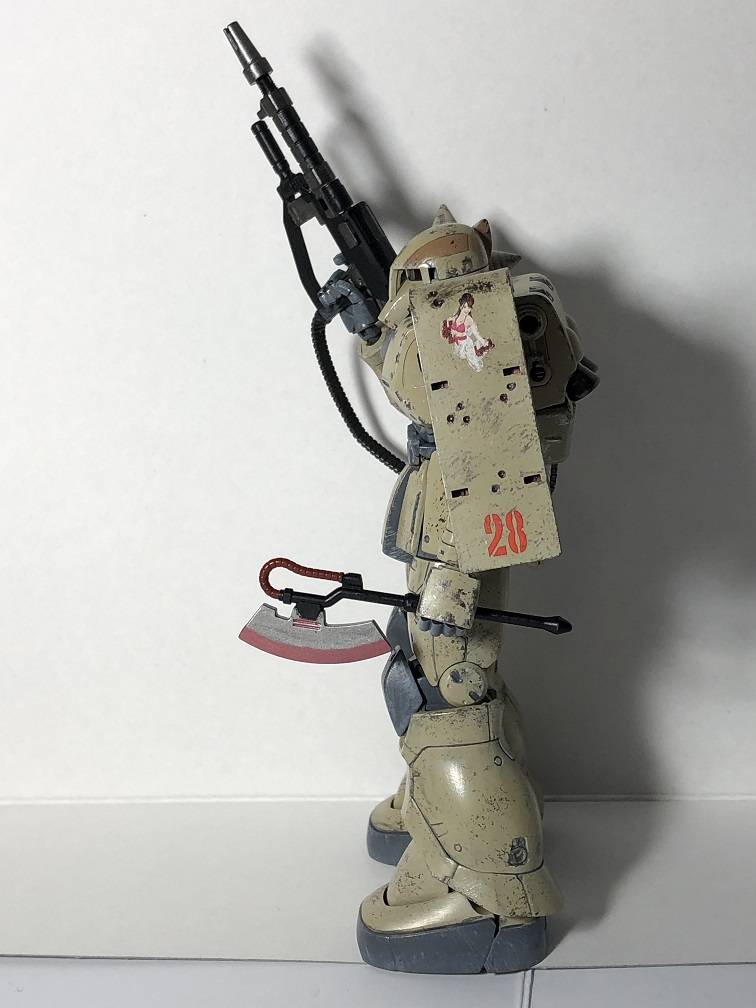
At first I wasn’t sold on the semi-gloss appearance, because I’m not used to finishes like this. But after adding some panel lining and chipping effects, I really liked how the paints look!


VIC’s Metallic Paints & Mixes
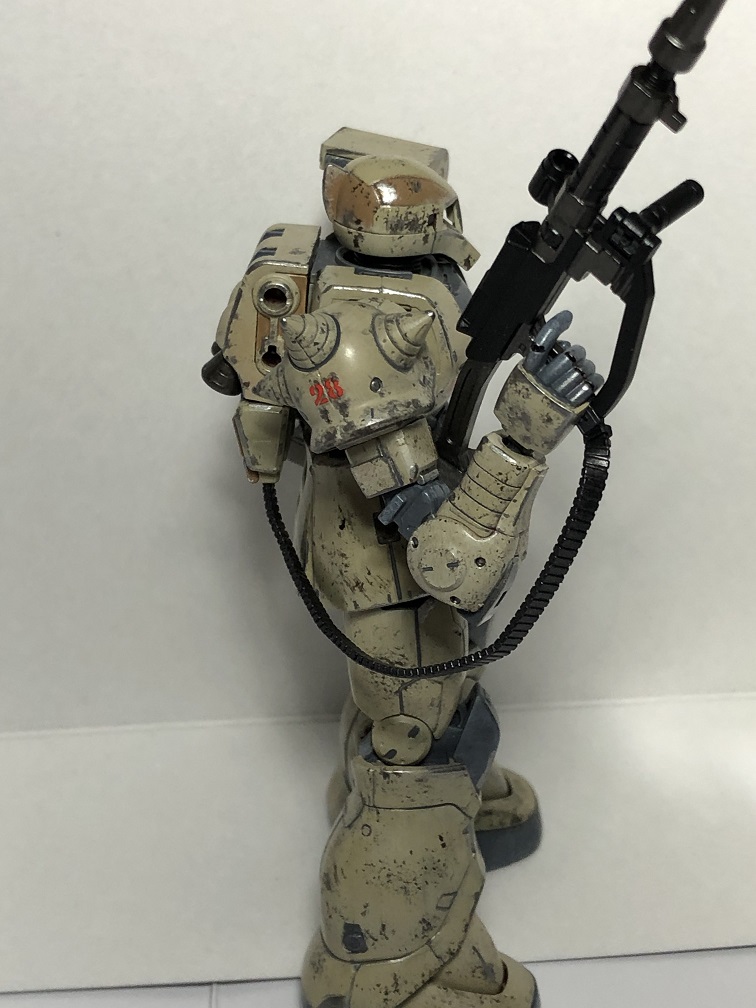
And then there are the metallic paints, which I loved straight away! VIC Hobby just recently released 5 colors in the new metallic line. I used them to add some metallic details to the gun, the axes, the backpack thrusters, and for some chipping effects.
You can see a few more examples of these paints in action here: VIC Hobby Metallic Paints
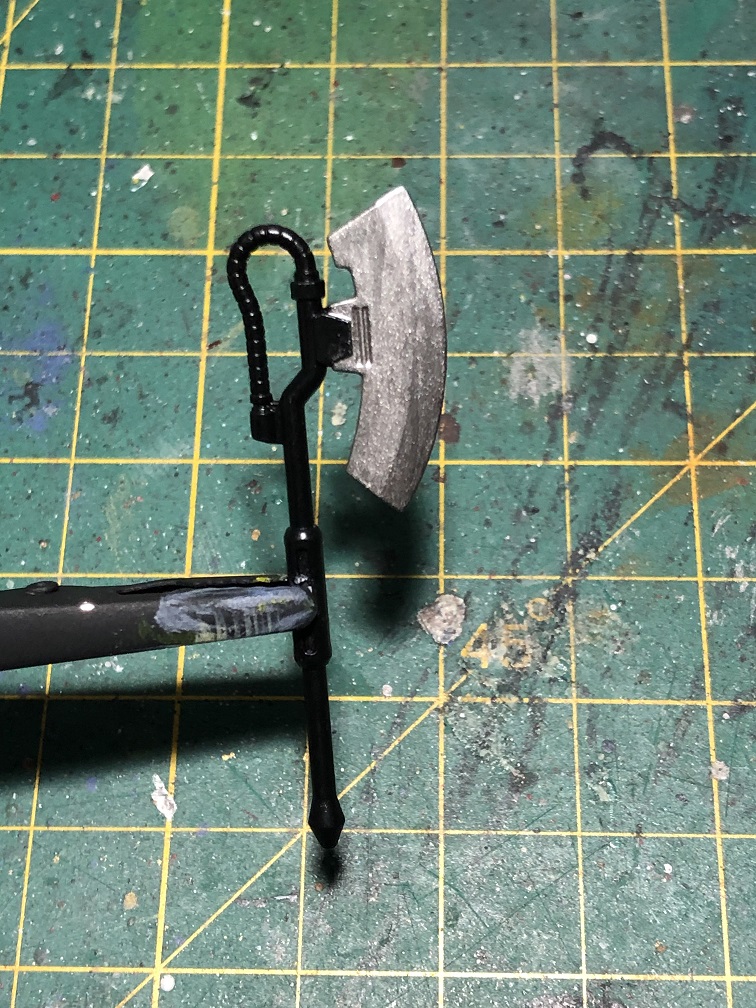

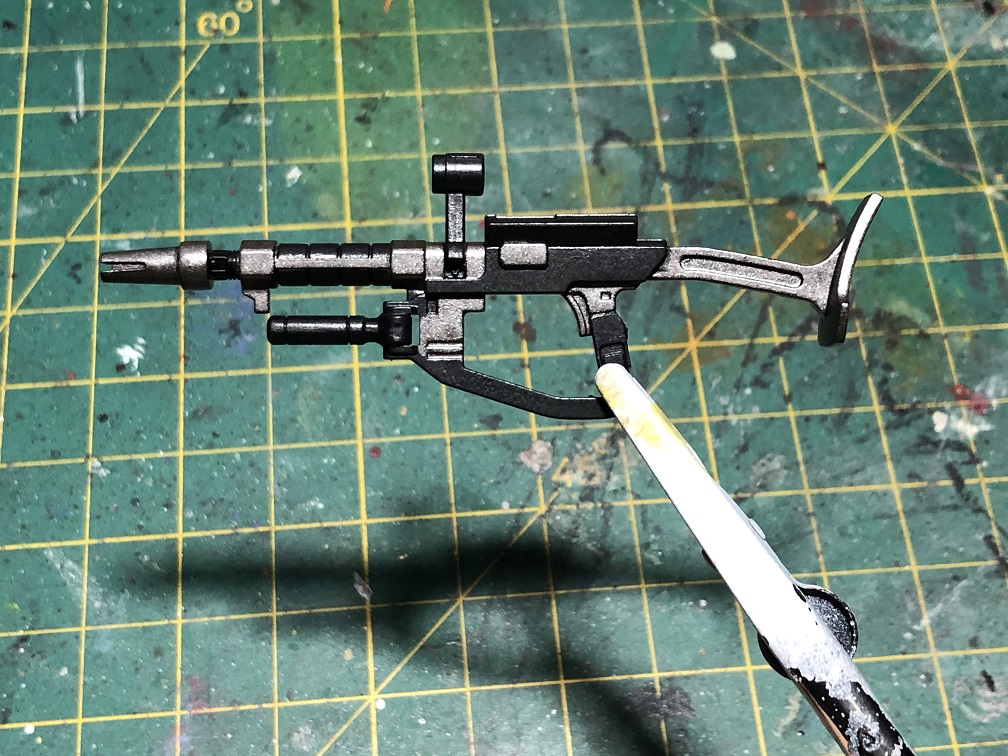
For the blades on the axes I used Dark Aluminum. Then some Burnt Iron for the gun and the thrusters. And Gunmetal for chipping effect.
An other awesome use for this metallic paints is to mix them with other paints to create some nice metallic colors.
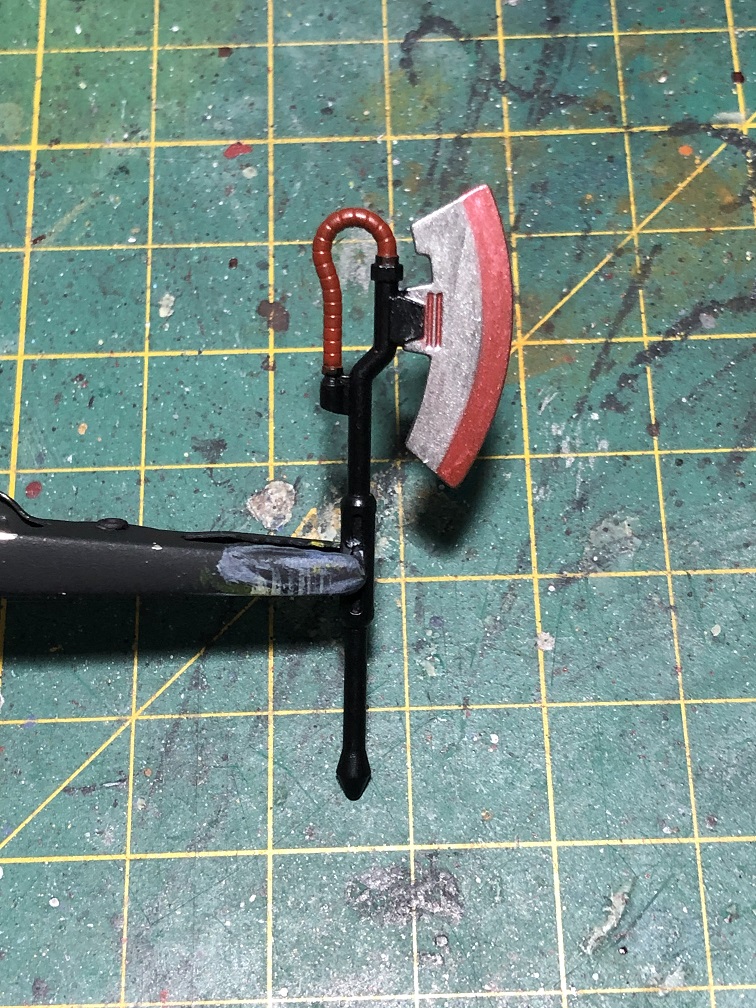
For the axe on the picture above I used Red for the hose and then mixed that same red paint in a 2:1 ratio with Dark Aluminum to obtain the color on the blade.
Now let’s talk about the brand new Metallic Paints.
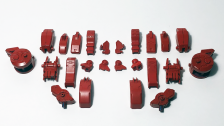
These are the 5 new metallic paints: Chrome Silver, Aluminum , Dark Aluminum, Gun Metal and Burnt Iron.
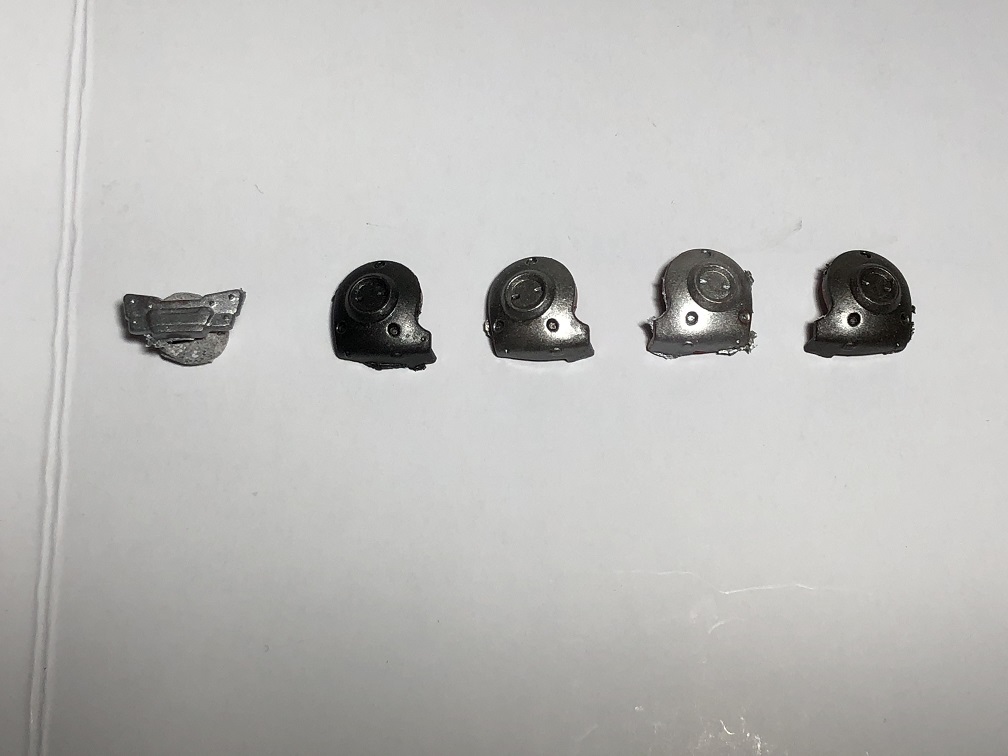

I painted these 5 pieces with a 1:1 paint-water ratio and with hand brush. For the Gun Metal, Dark Aluminum and Burnt Iron only 2 thin coats were required. The Chrome Silver and the Aluminum needed up to 5 thin coats. What really surprised me was that, after applying 5 coats of paint, all the small details of each piece was still visible.
All of them have a awesome coverage and the final result is just stunning! And they look way better in person. They are amazing paints and very useful! I’ll surely keep using them in future projects.
VIC Finishes
I do like this acrylic paints. I’ll be honest, I think they are more suitable for airbrushing. But they still perform amazing when painting with a hand brush. Just remember, apply thin coats and let each one dry before applying the next one.
The only thing that troubles me a little is the fact that Vic Hobby paints have a semi-gloss finish. This is because I usually use matte colors, especially for mechs. Nevertheless, the final result is not as glossy as the Gunpla plastic and that’s perfect for me.
The HG 1/144 Gouf of the picture above hasn’t been painted yet. You can see how the light reflects more on the plastic than it does over the semi-gloss paint.
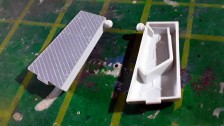
Fortunately for us, Vic Hobby also has some clear paints to accomplish a different finish. I used the Matte Clear for the shoulder pads.

This clear coat eliminates the glossy finish of the paint and leave the pieces fully matte. What I like about this varnish was the fact that I applied it with a hand brush!
The best part of these paints is the fact that HLJ is able to ship them though airmail! And they aren’t expensive! I really recommend them! Give them a try, you will be happy with the result.
And that’s all for now! Stay tuned for more! Se you on the next one. Happy modeling.

Check out VIC Color lines here!:
– VIC Primers
– VIC Metallic Paints
– VIC Finishes
– All VIC Paints