Hello there!
Welcome to a new customization tutorial here at hobbylink.tv!
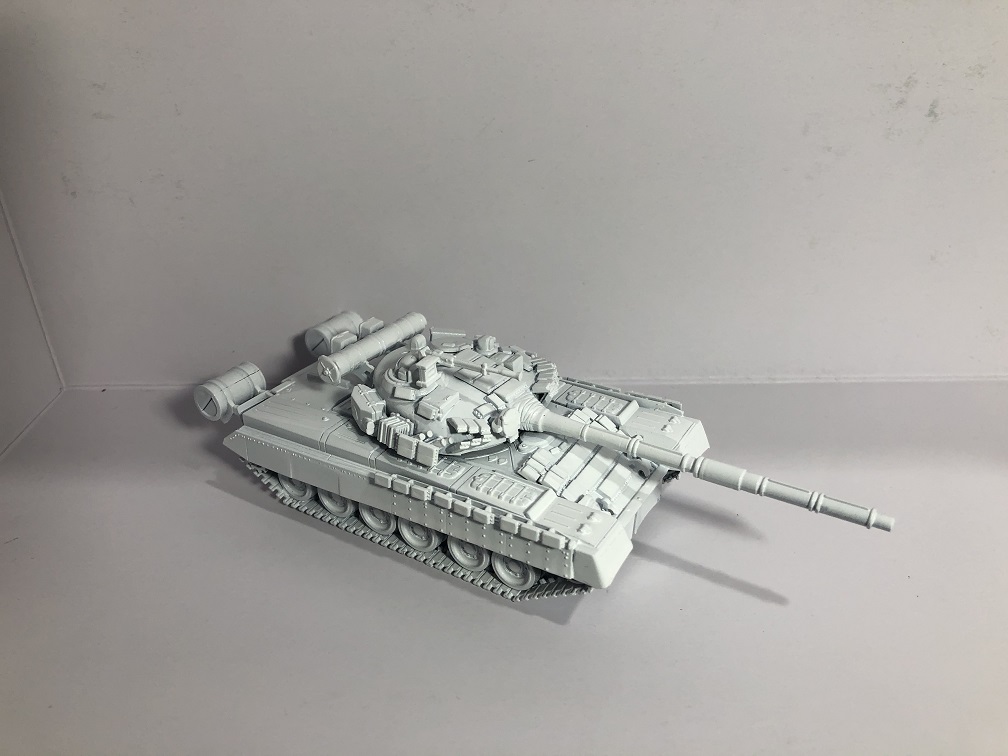
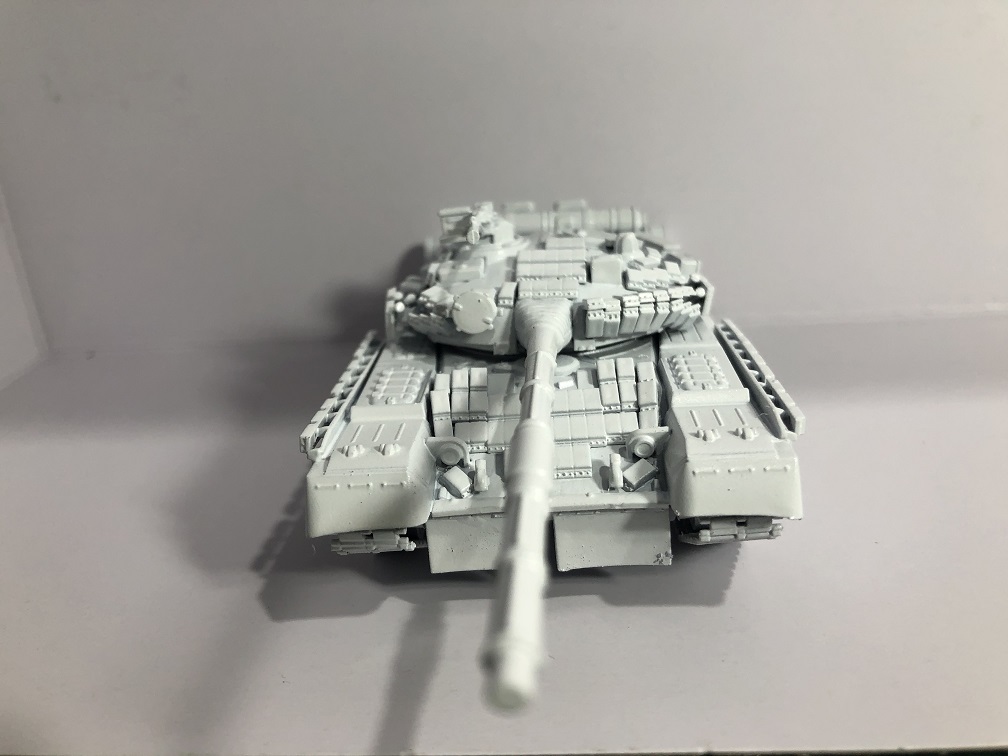
Today, I want to share with you a few tricks for painting camouflage with a brush. For this, we’ll be painting a 1/72 scale T-80 by Revell.
We’ll start by painting a winter camouflage and then we’ll be darkening it to create a dark pattern, resulting in a nice black/spec-ops tank.
Without further ado, let’s begin.
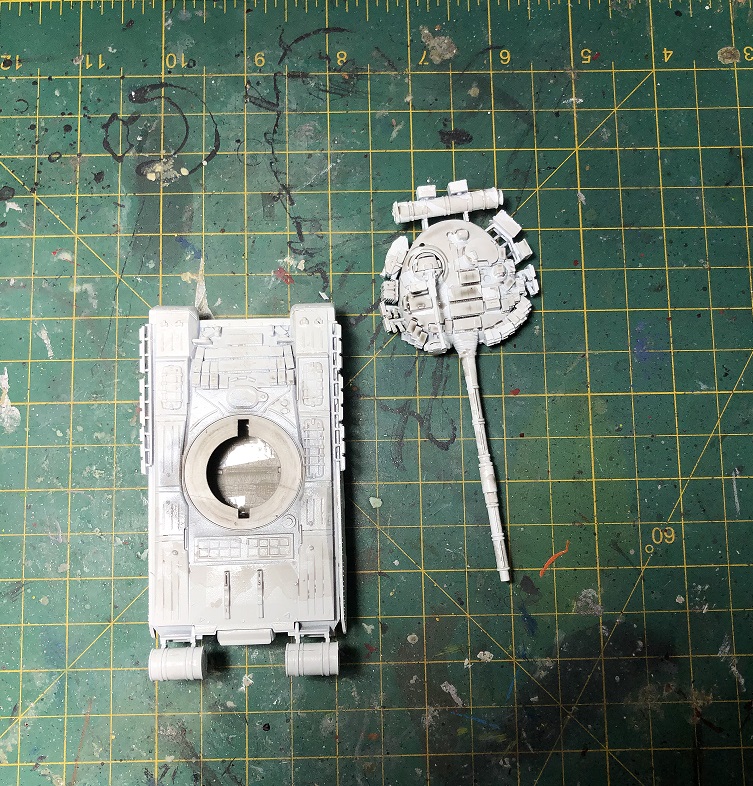
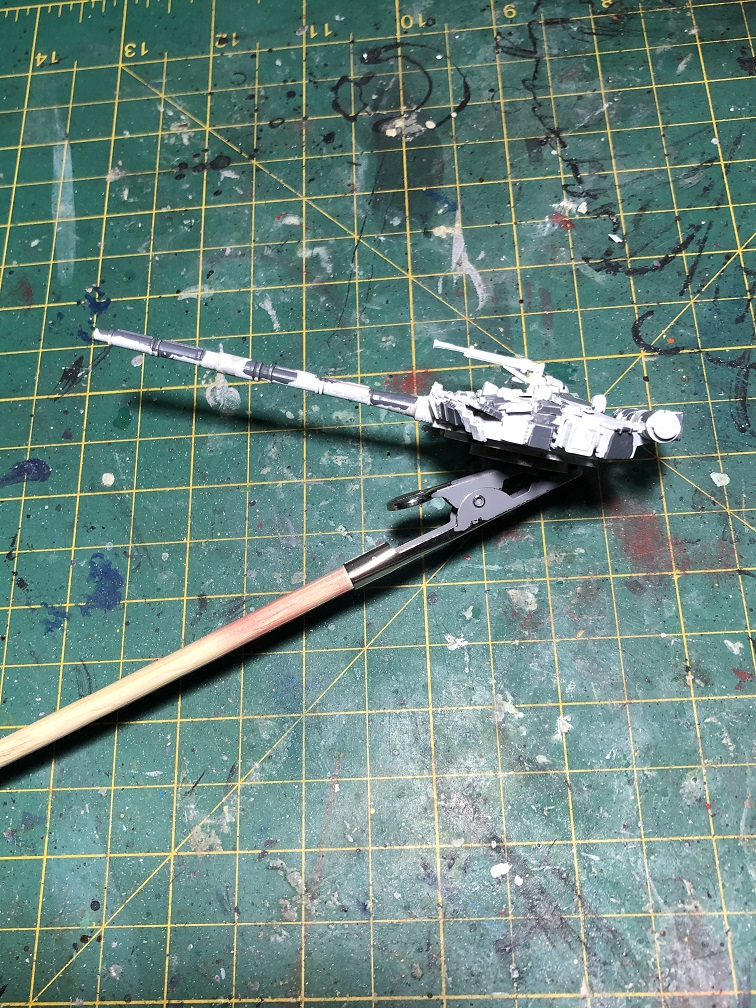
Building the model and base coating
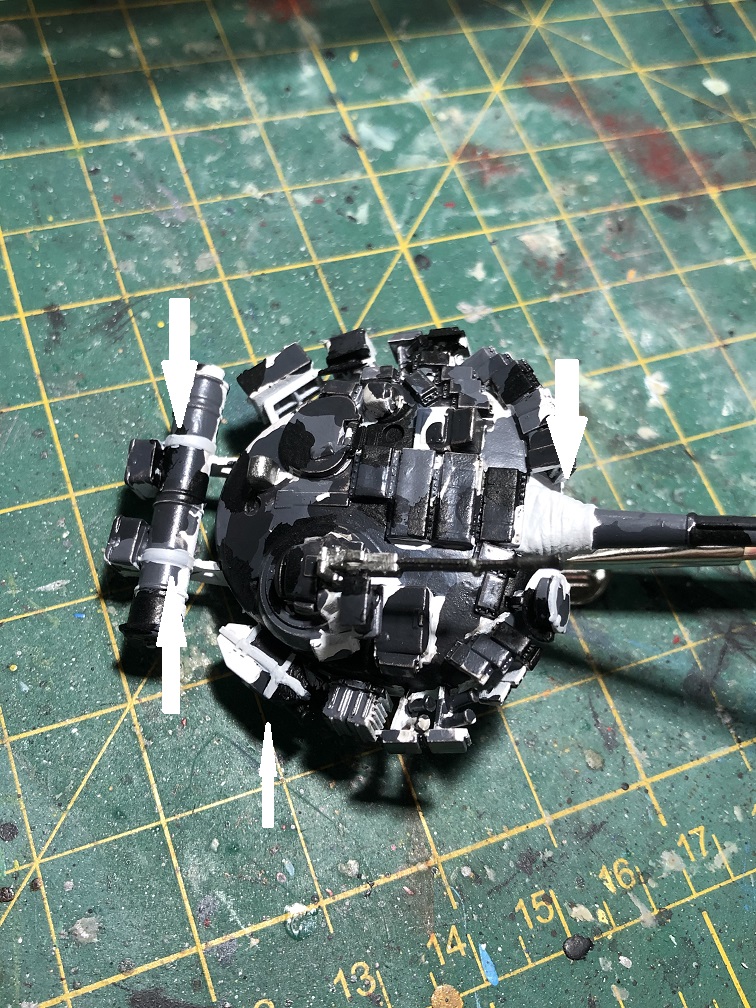
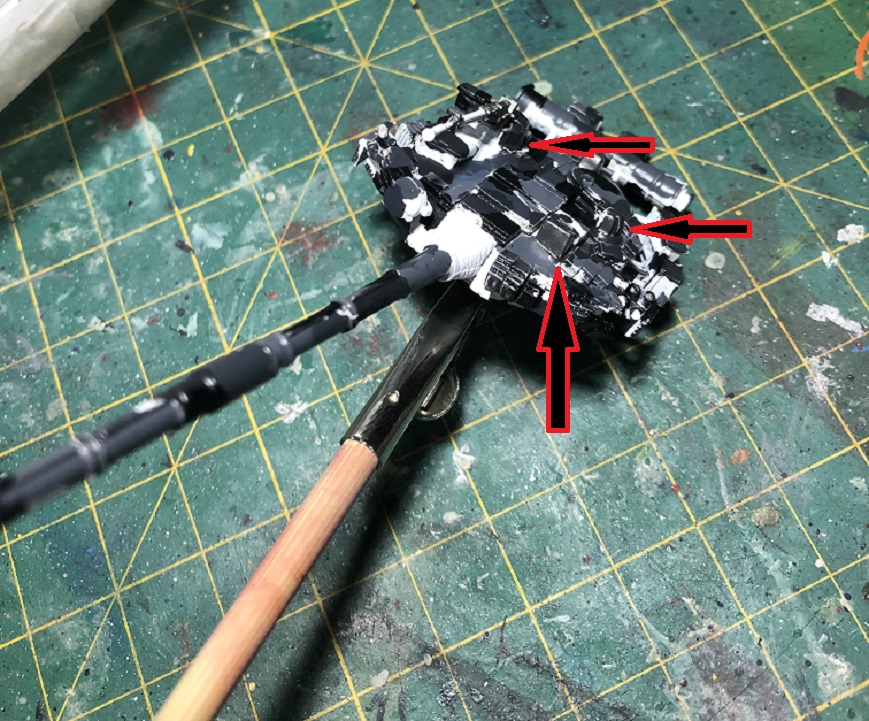
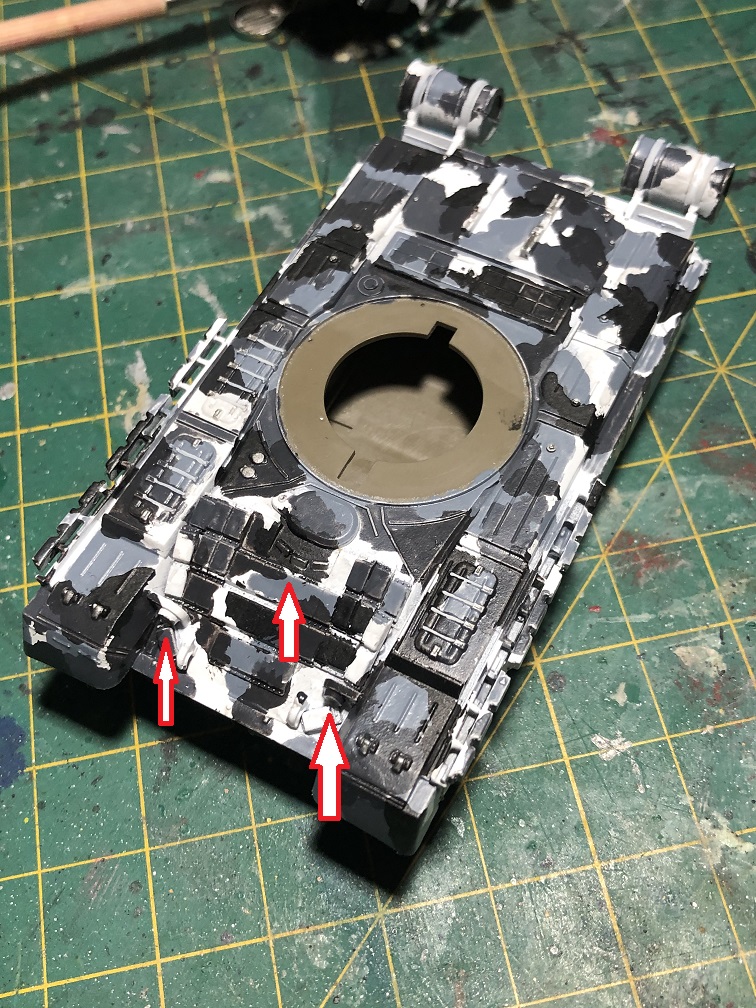
The building process for this kit is very straightforward, except for a few details:
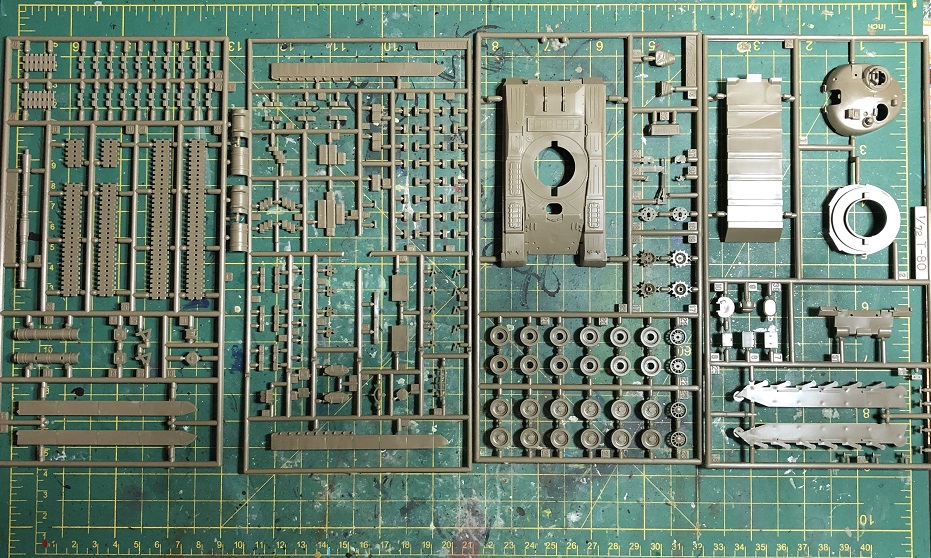

It looks overwhelming at first, especially with so many small pieces all over the model, but don’t worry. All you need to do is let the glue dry before advancing to the next step.
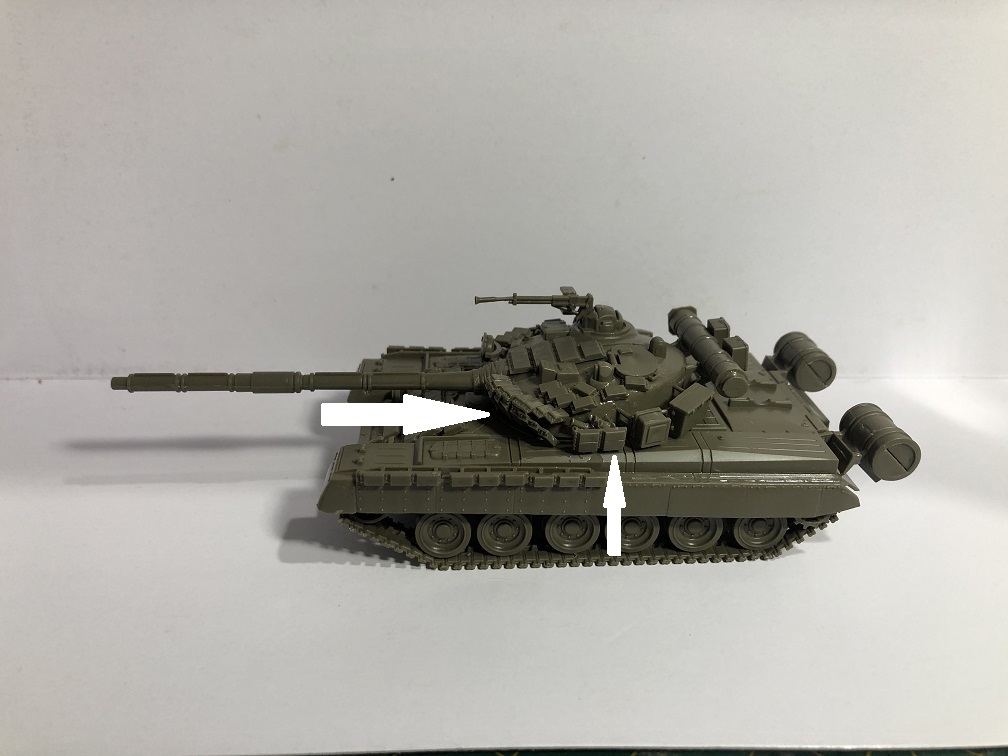
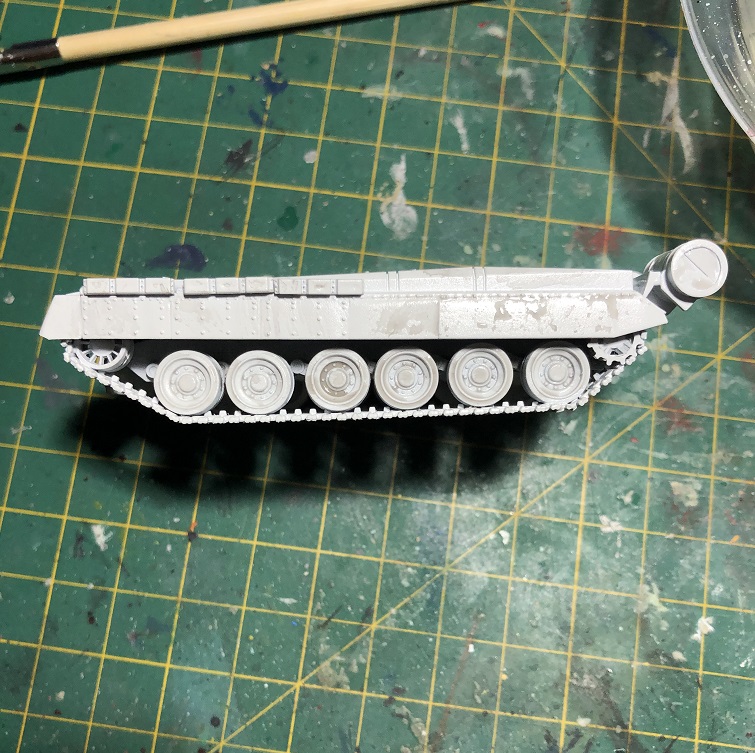
I glued everything, except the joint of the turret, to the “tank car.” This way the turret will be able to turn. Then let the glue to dry for one night before applying the base coat.
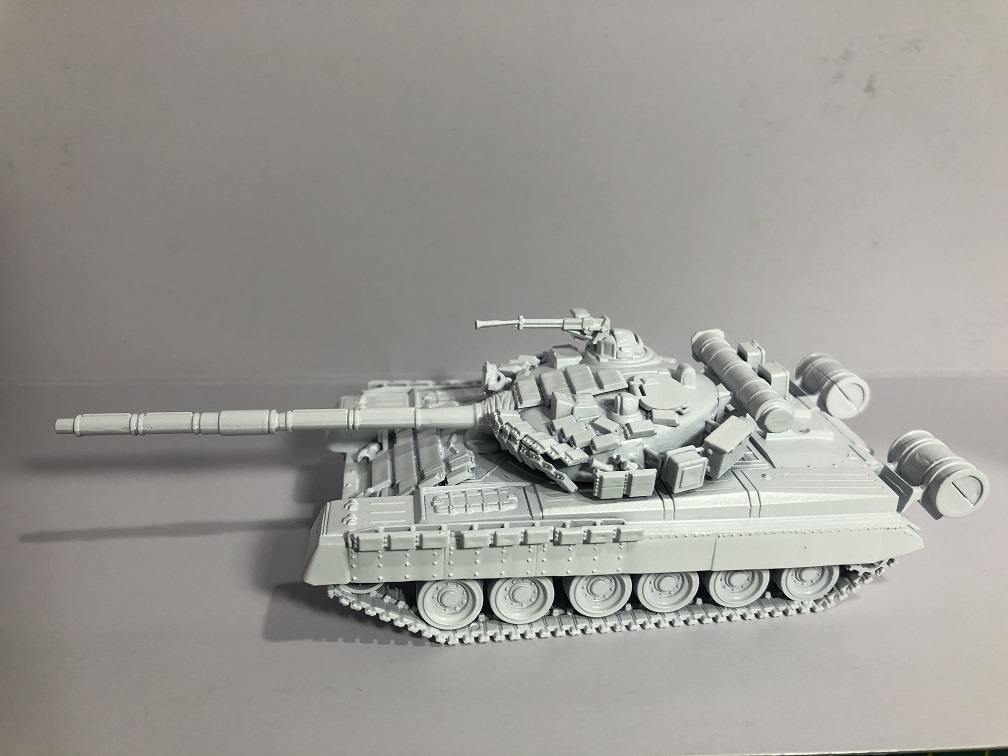
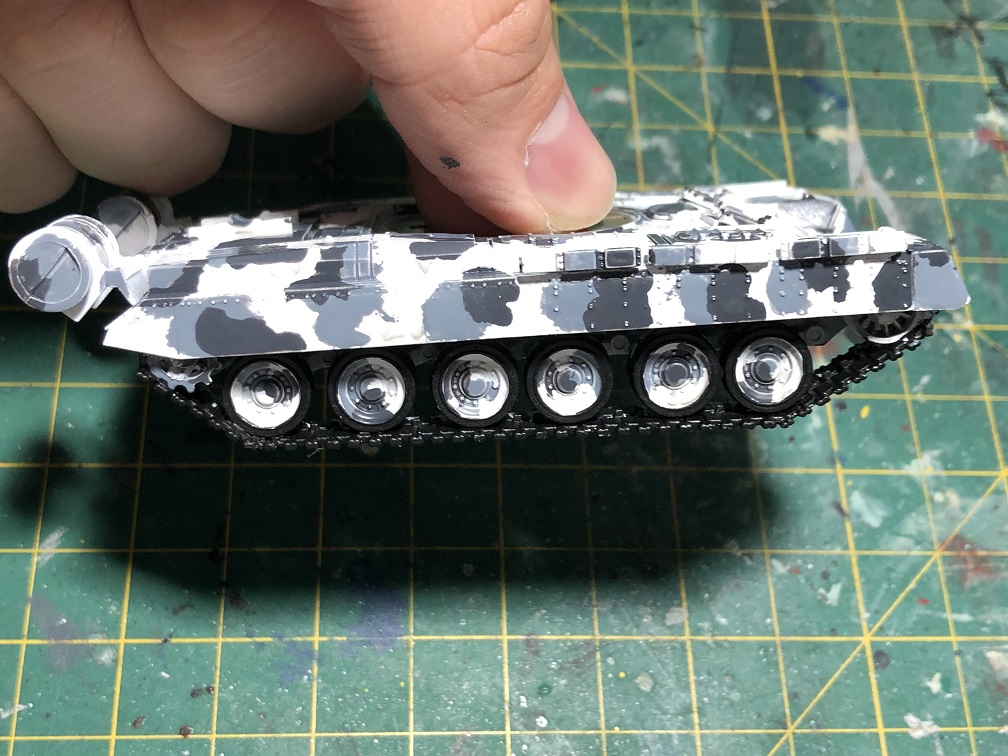
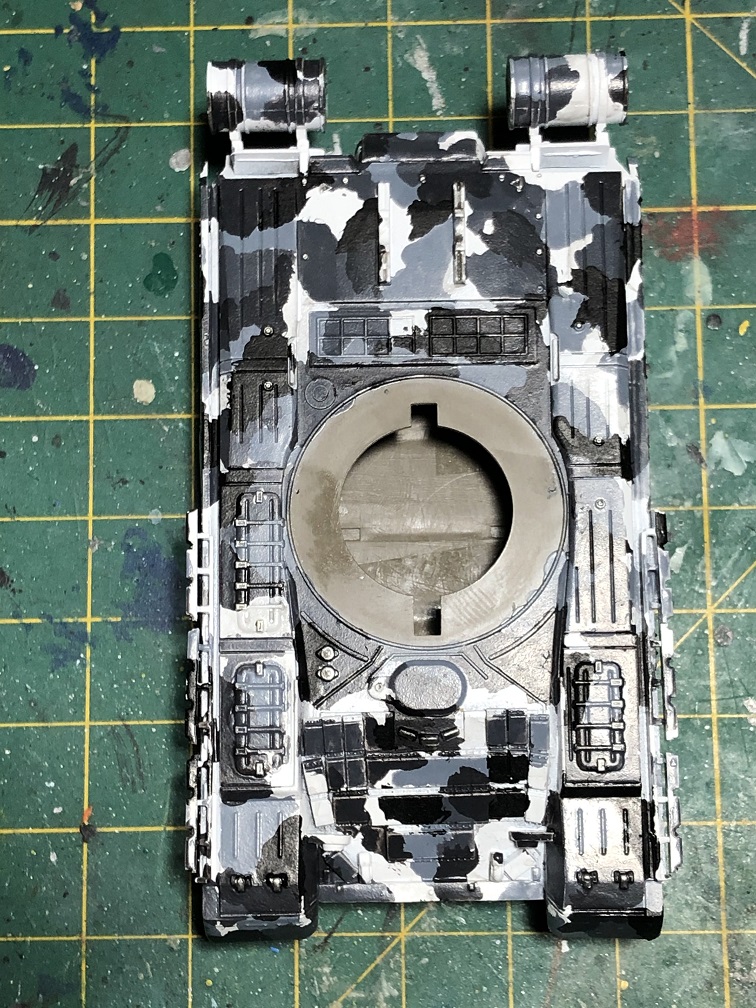
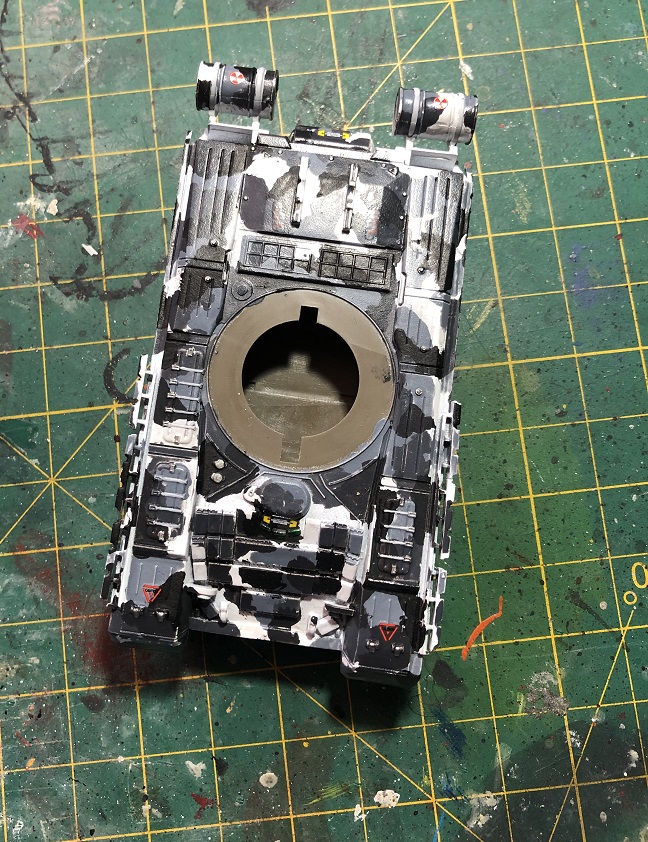
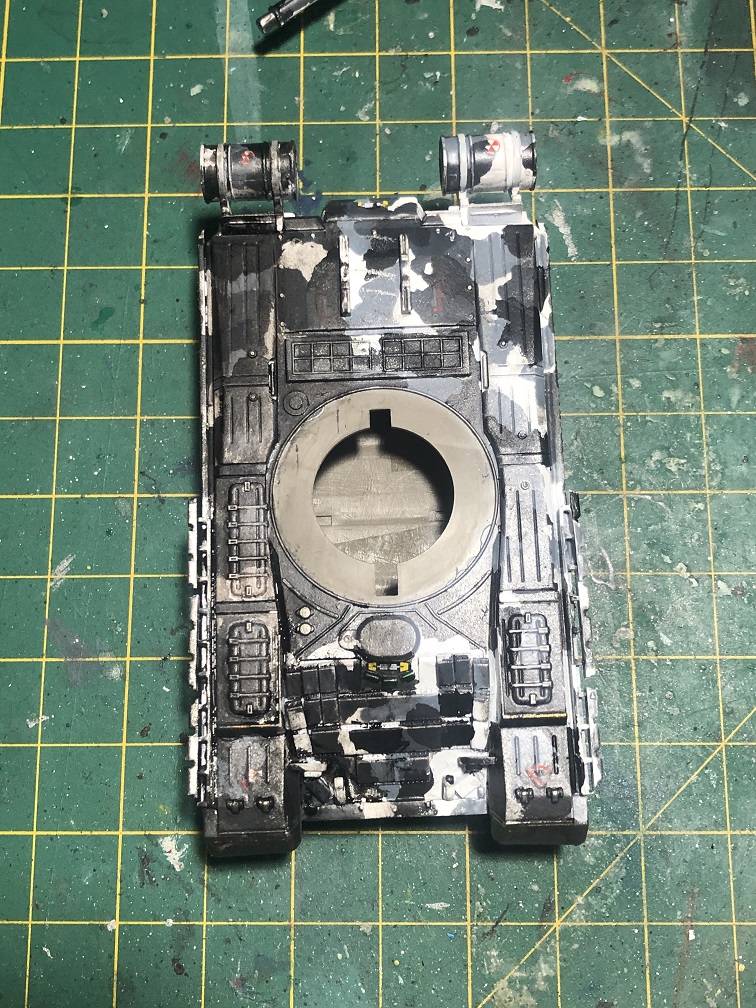
I used a white base coat because one of the colors for the camouflage is white, but you can apply grey or black.

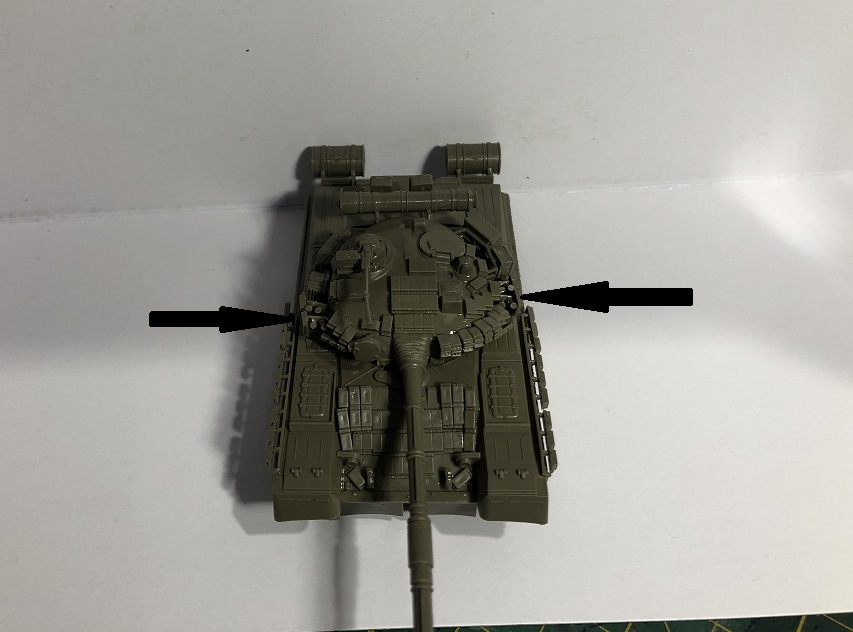
Make sure to leave unpainted the ring where the turret and the car make contact. Otherwise the turret won’t be able to turn easily.

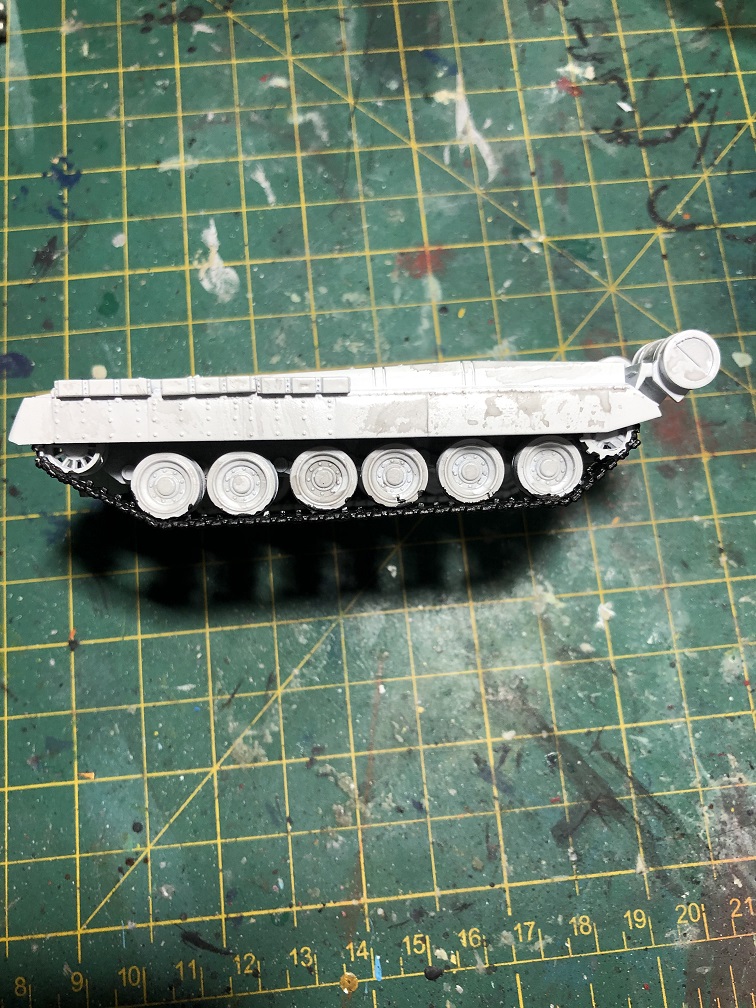
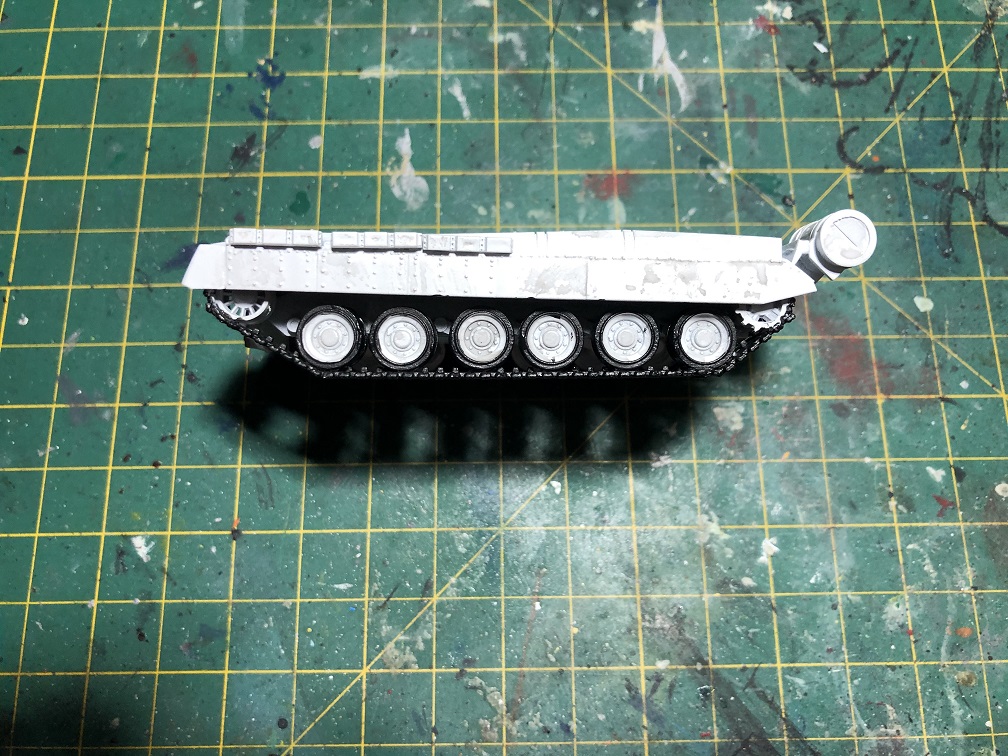
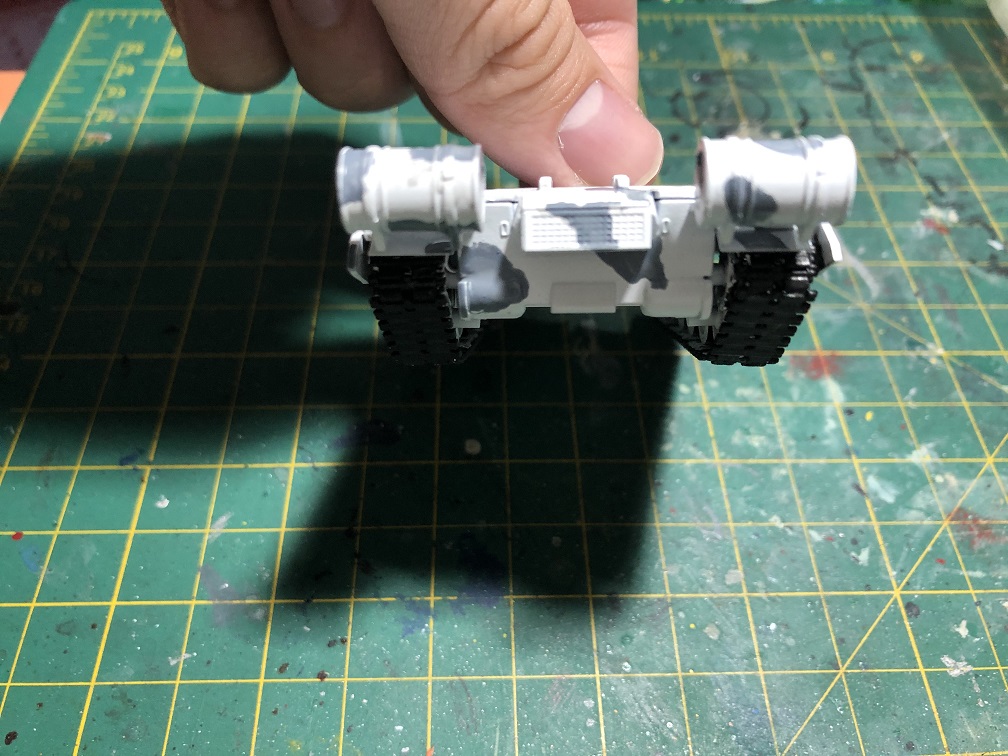
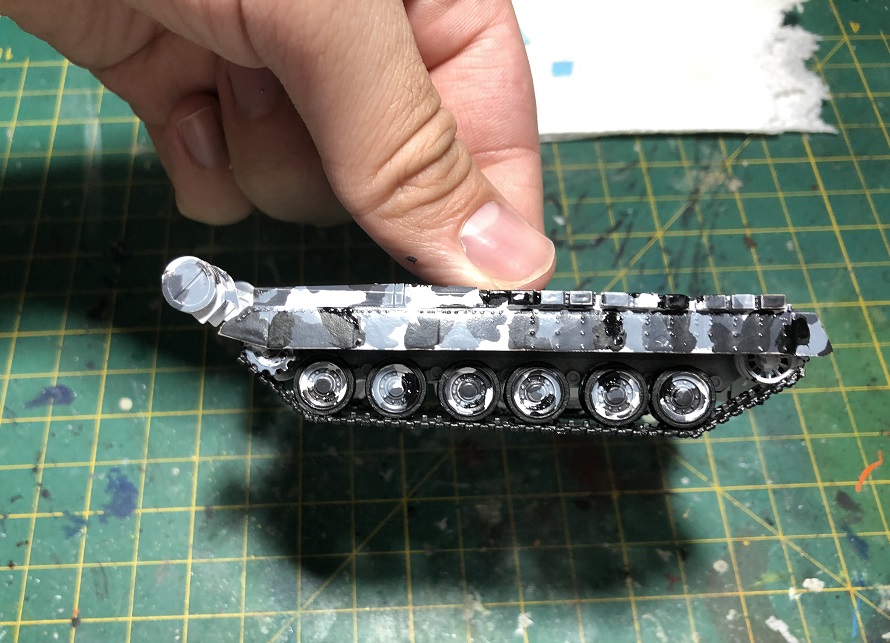
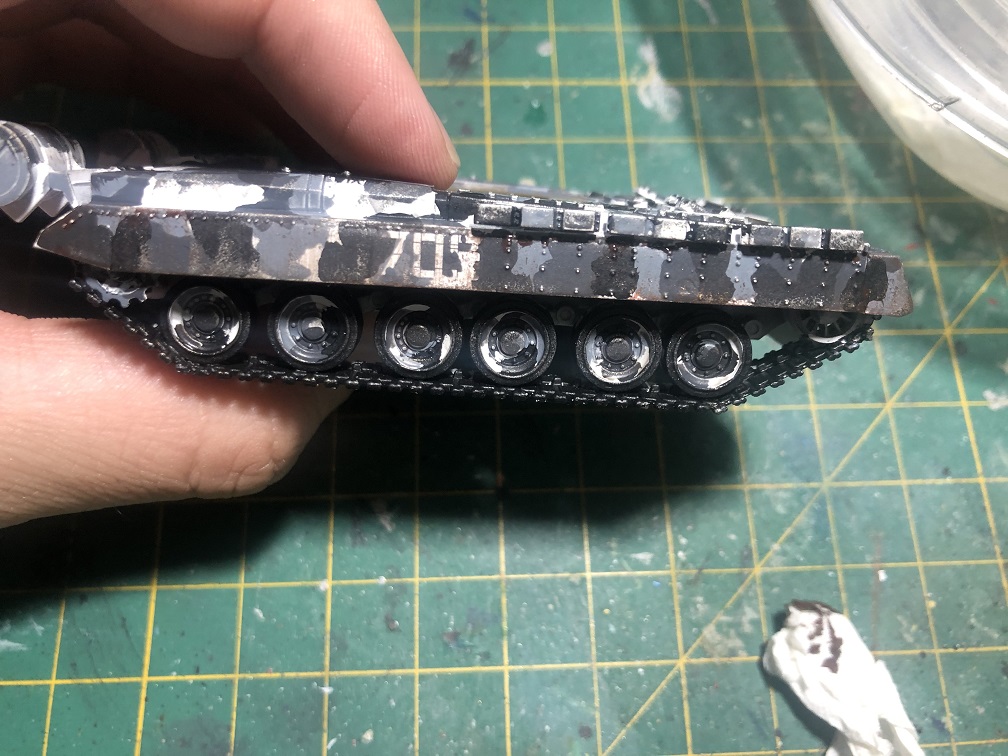
The tank tread
I recommend painting the treads at this early stage, because it can be a little messy, especially when painting the inner parts between the tread and the wheels.
For this, let’s use black paint.
Always thin your paints with water before applying them onto the model. Remember, 2-3 thin coats are always better than 1 thick coat.
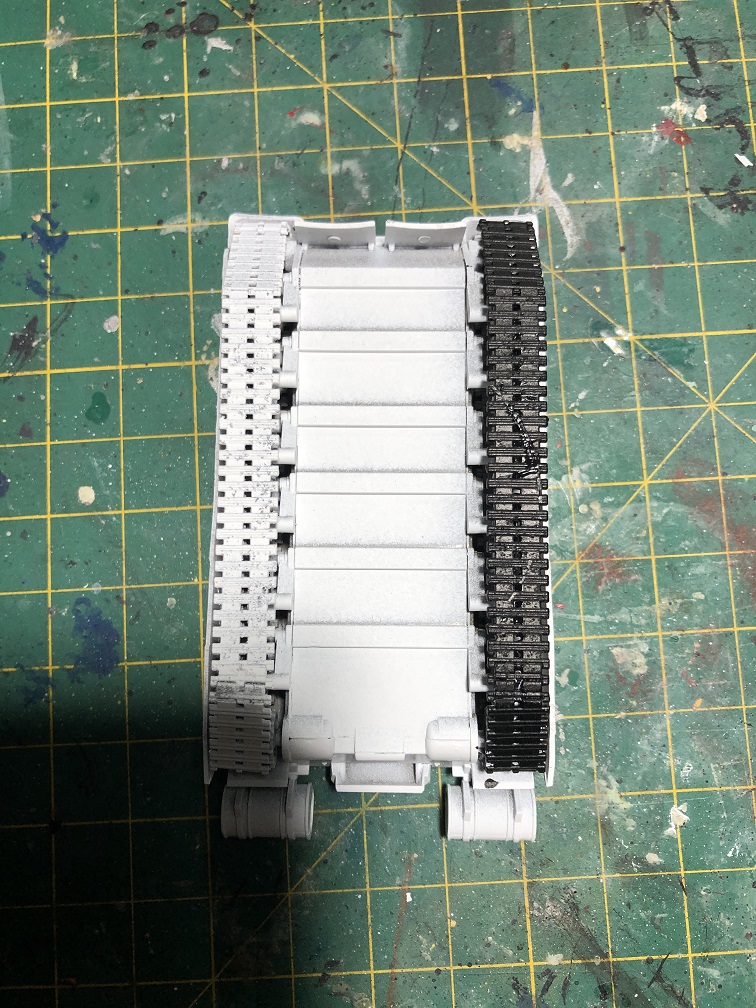
After the treads are dry, let’s start painting the camouflage.
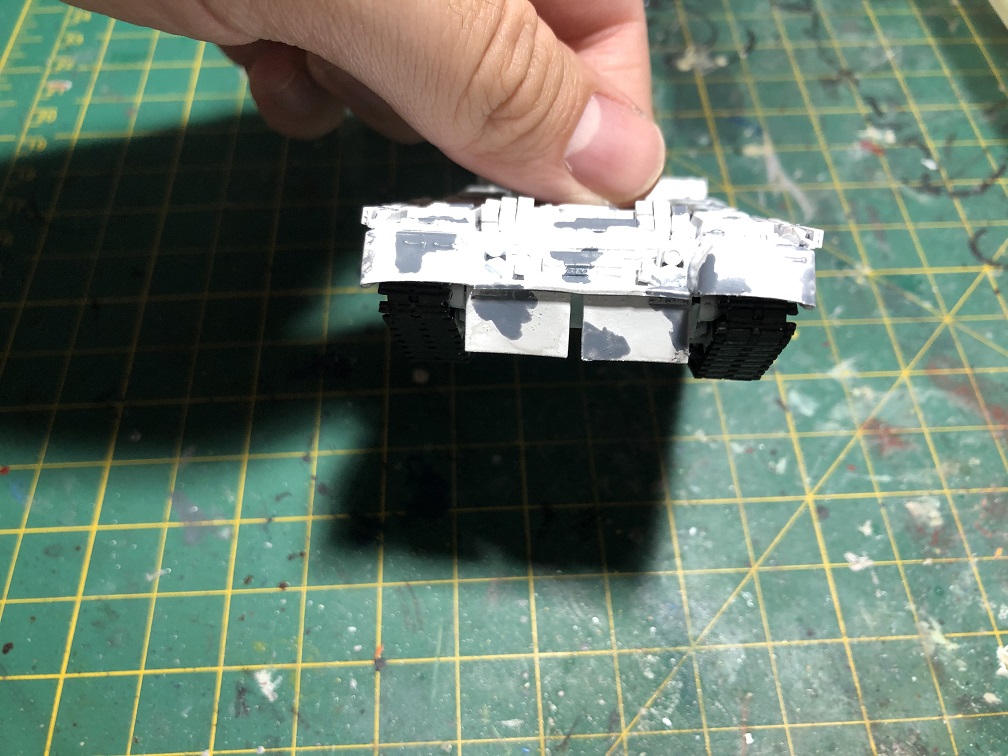
Creating a pattern for the camouflage
Thinking about how to make the camouflage pattern on the model kit I came up with an idea. Let’s create a random pattern by staining the white paint with a glaze. The glazing technique consists of mixing a color paint with clear paint to thin it a little.
I used a 50-50 mix of Citadel Null Oil and Lahmian Medium.
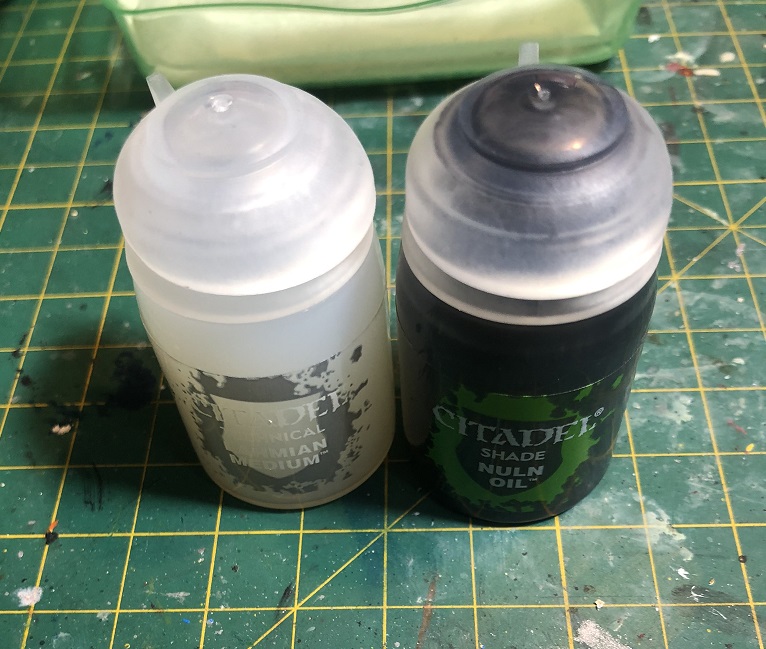
Then, let’s apply our mix all over the model. But, this time it didn’t go on evenly. After it dried, the T-80 ended with some dark stains all over the armor, but the white paint was also still visible.
Another way to do this is by using black or grey paint diluted with water, otherwise the stains would be darker and the white will be completely covered.
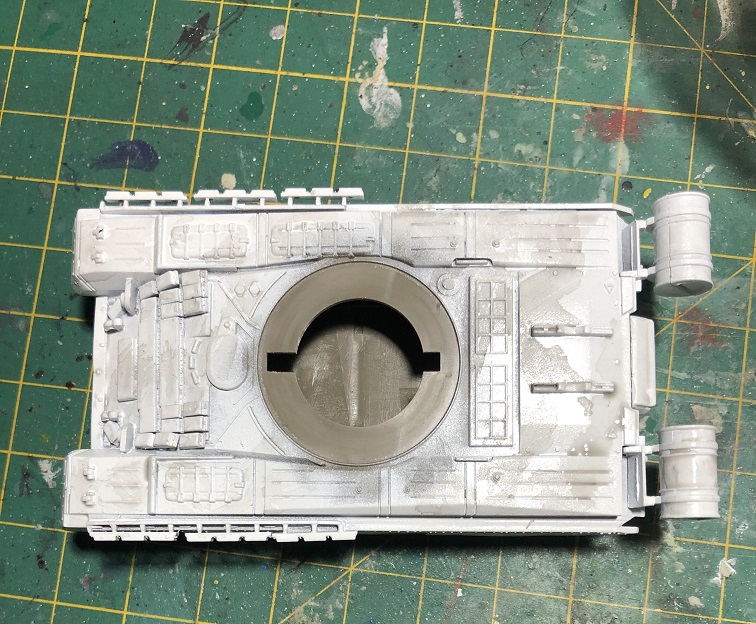

All this stains are going to be our pattern for the camouflage.
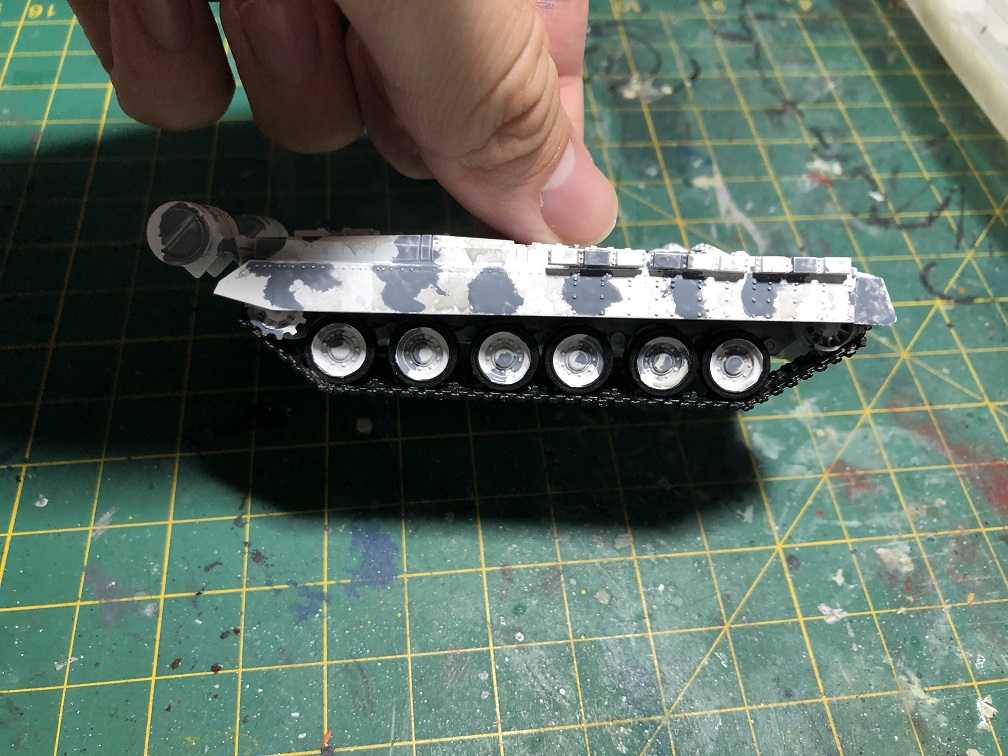
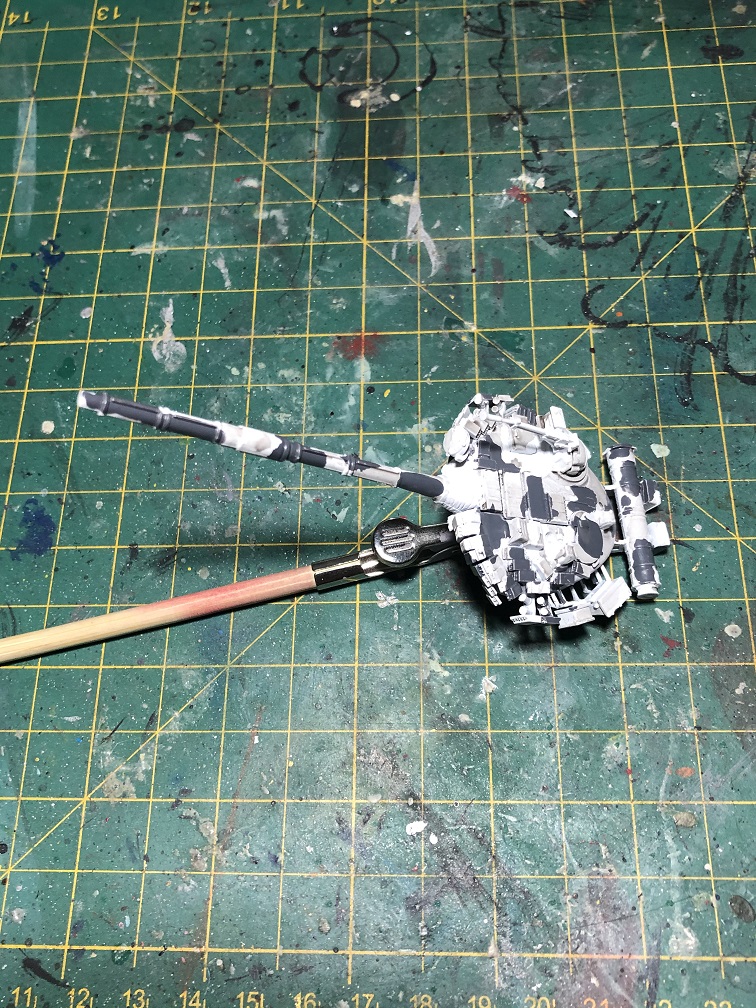
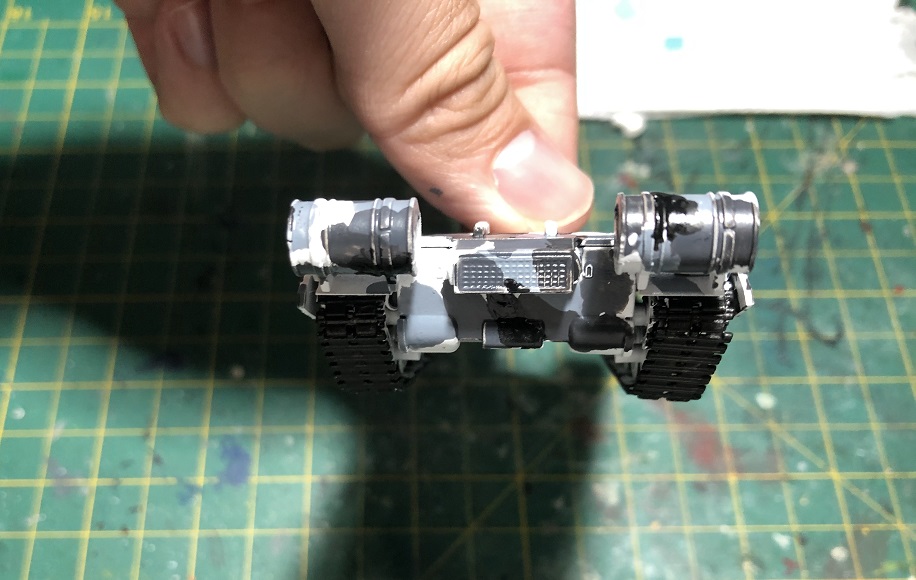
A simple way to paint camouflage
For this camouflage we’ll use 4 different paints and then mix them together. Just make sure that the paint is completely dry before applying the next color. The color paints are:
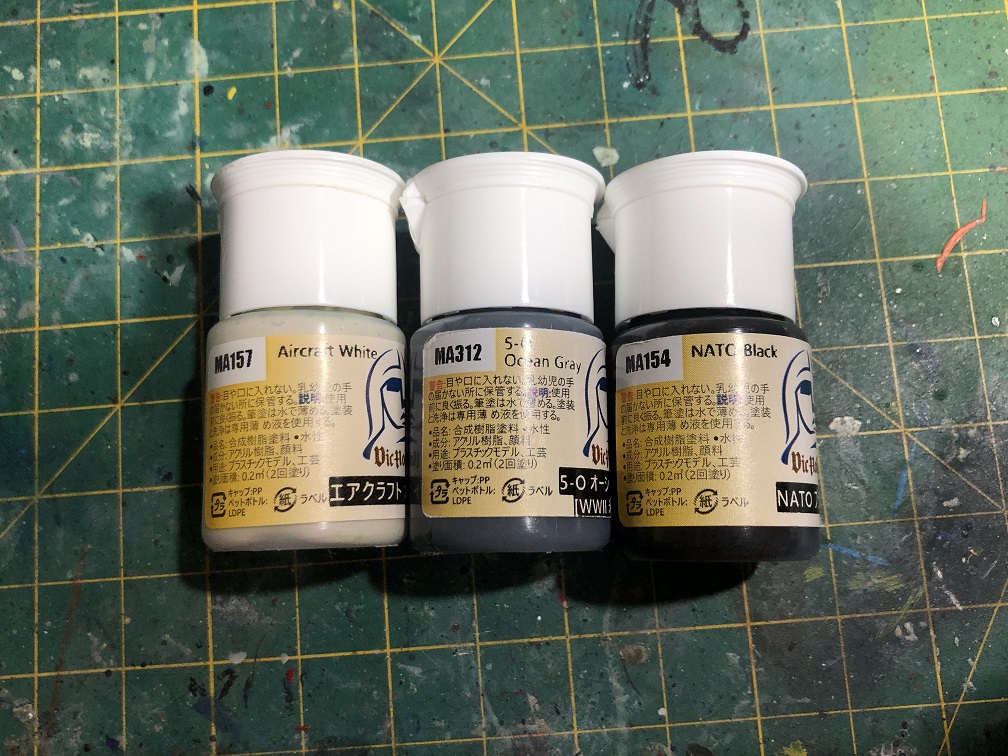
Aircraft White + Pale Gray
For the first color, let’s mix two parts pale gray with one part aircraft white.
And we’ll use it to cover some of the stains that our tank already has.


Pale Gray
The next color for the camouflage is going to be pure pale grey.


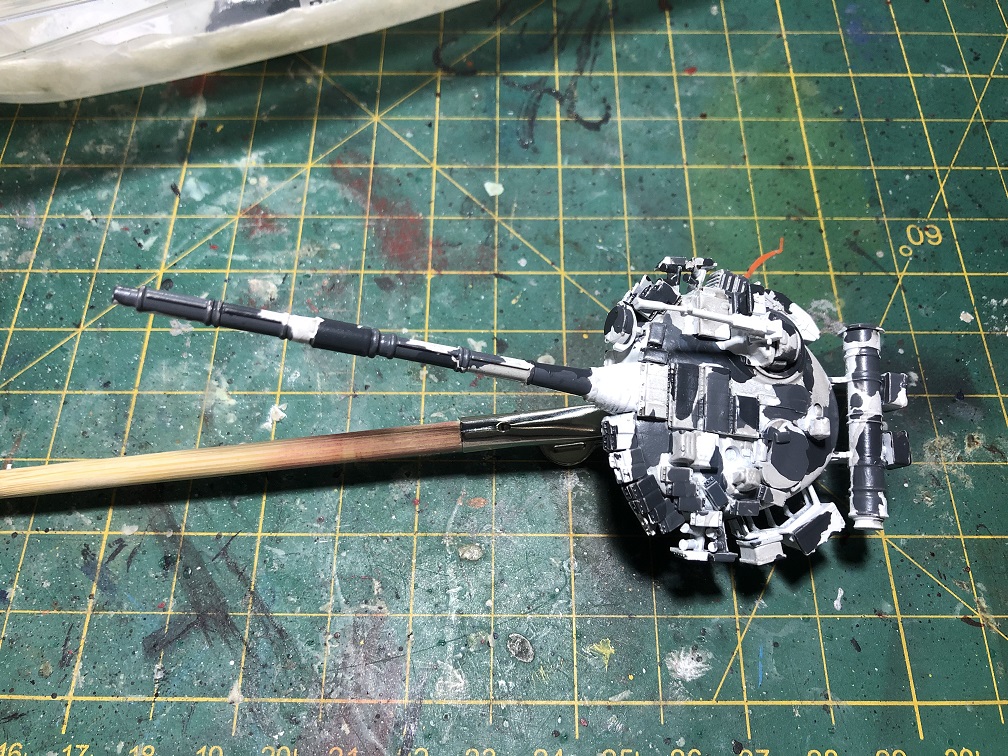
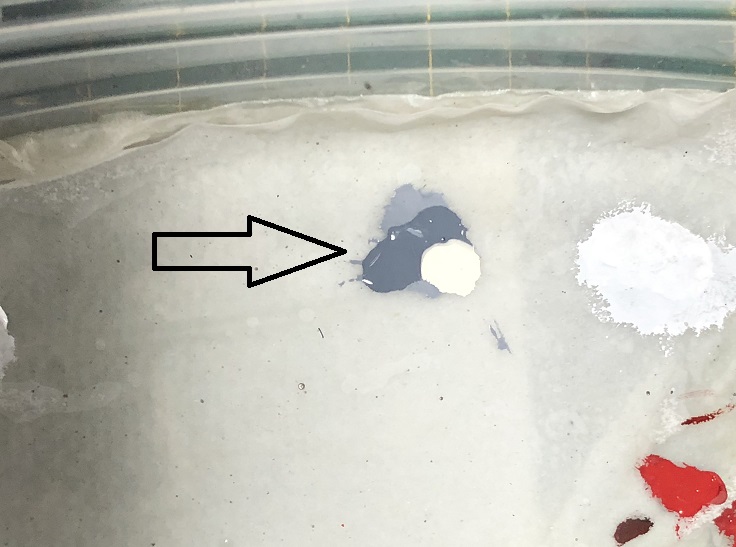
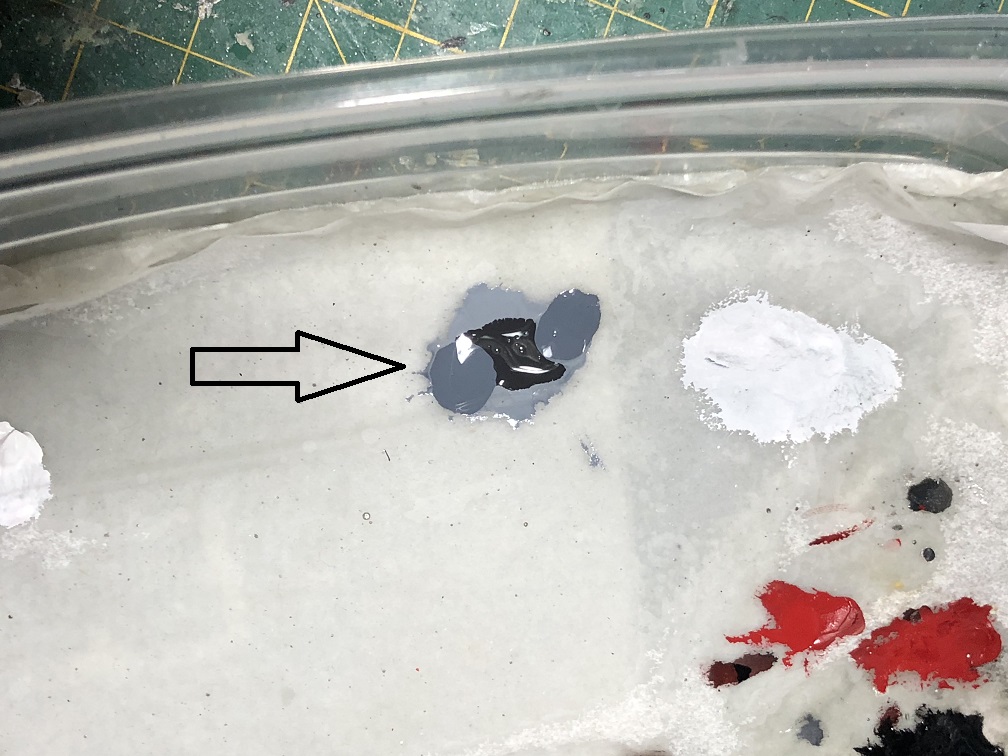
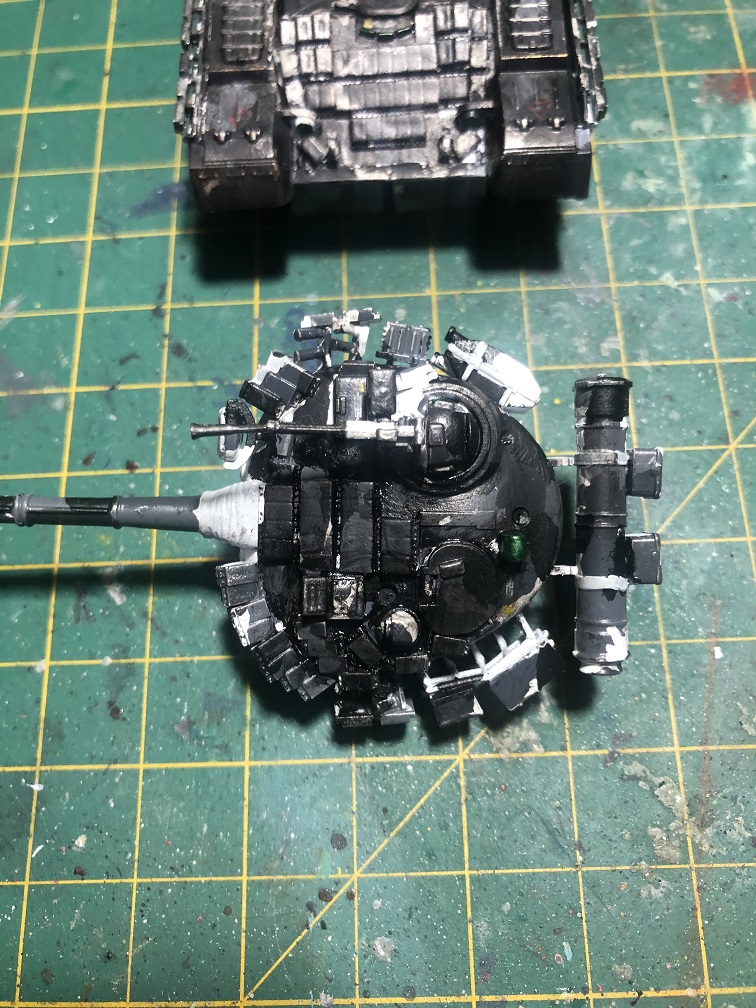
Nato Black + Pale Gray
Now, let’s mix two parts of pale gray with one of nato black in our palette.
The next step is to add this mix to our camouflage pattern. We’ll use the stains on our tank as guides and it’s OK if we paint over the marks we’ve already painted. Just be careful with the pure white that it remains on our tank.
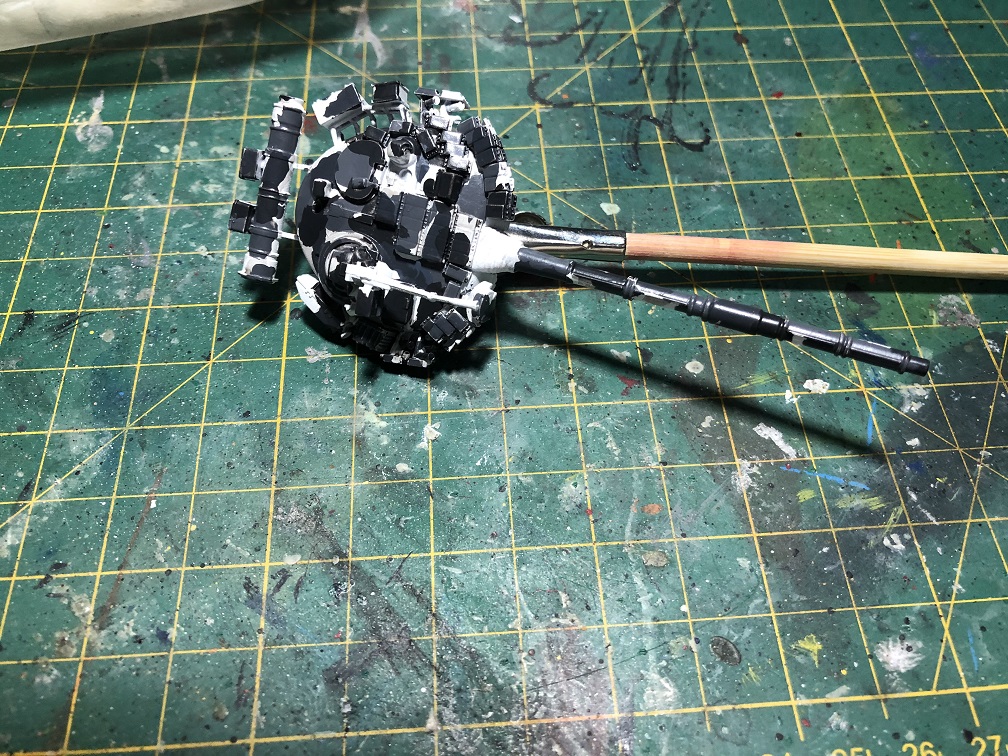

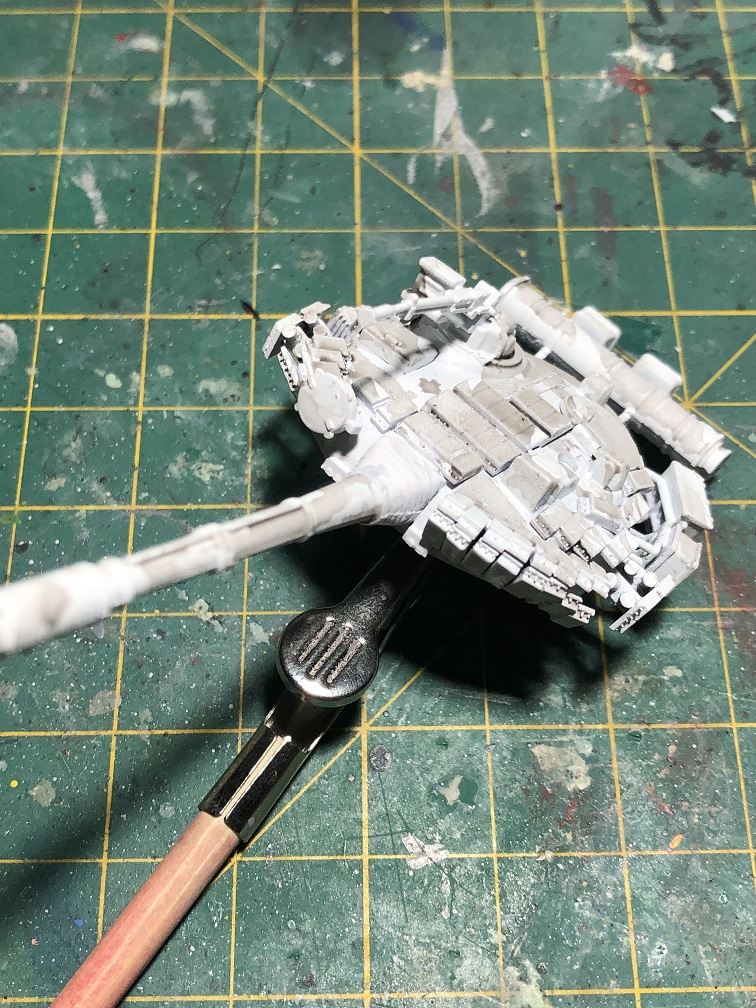
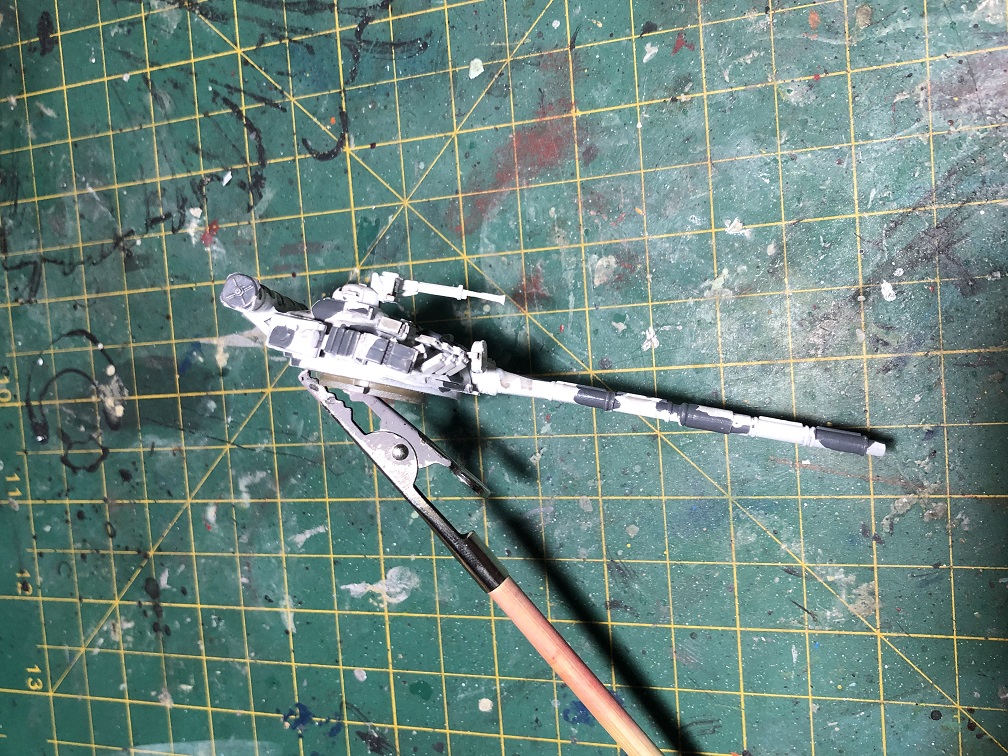
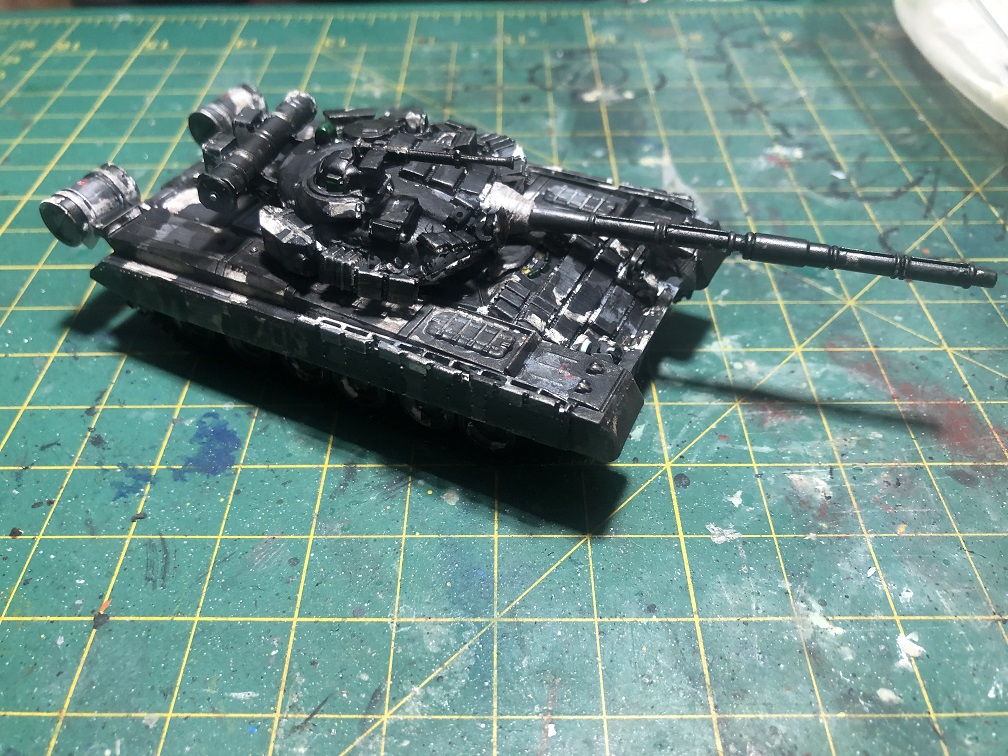
Pure Black
Let’s finish our camouflage by adding pure black paint to it. Don’t worry if you paint over the grey marks we’ve already applied, just try to avoid painting over the remaining white marks.

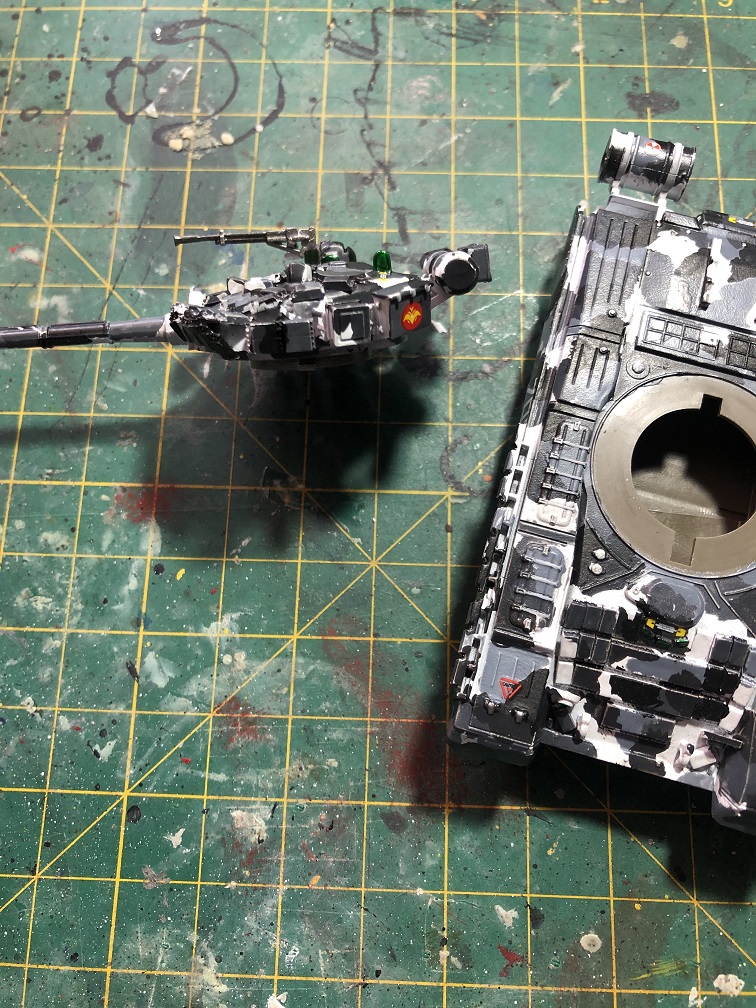
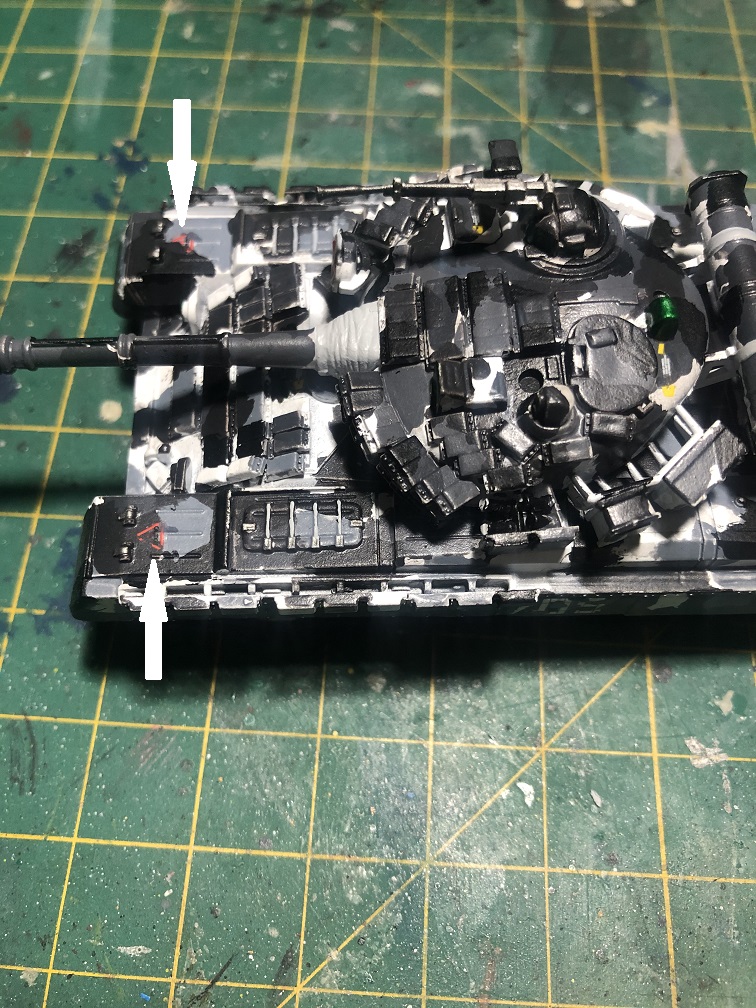
Details and decals
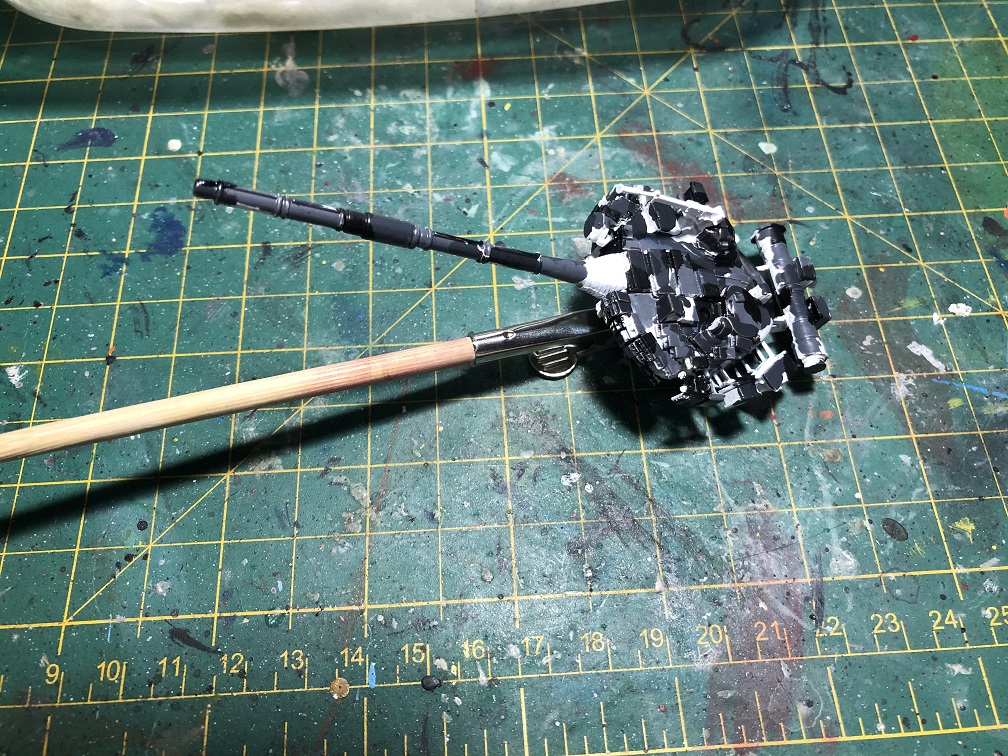
Before starting with the weathering process let’s add some final details. For example, we need to paint the machine gun mounted on the turret, the windows, the gun mantlet, and then let’s add some decals.
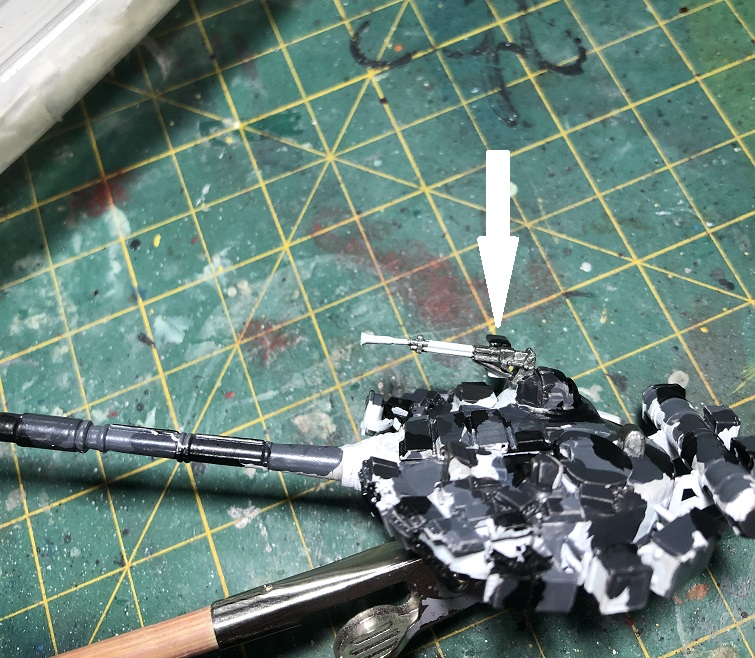
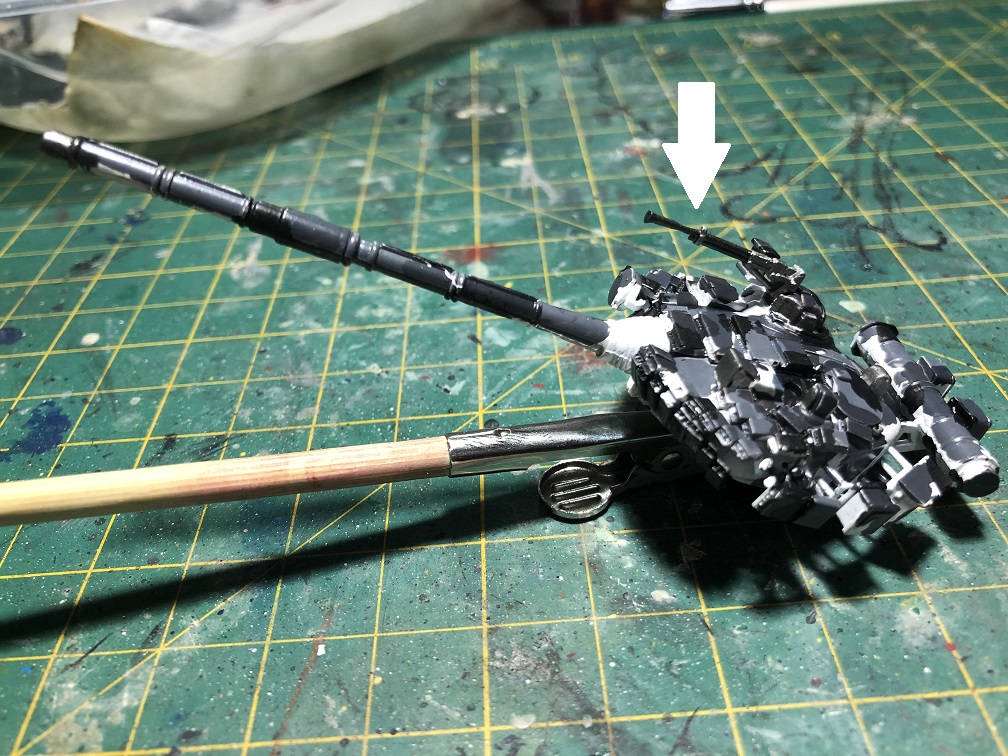
Painting the machine gun
For this, we’ll use some silver and black paint.
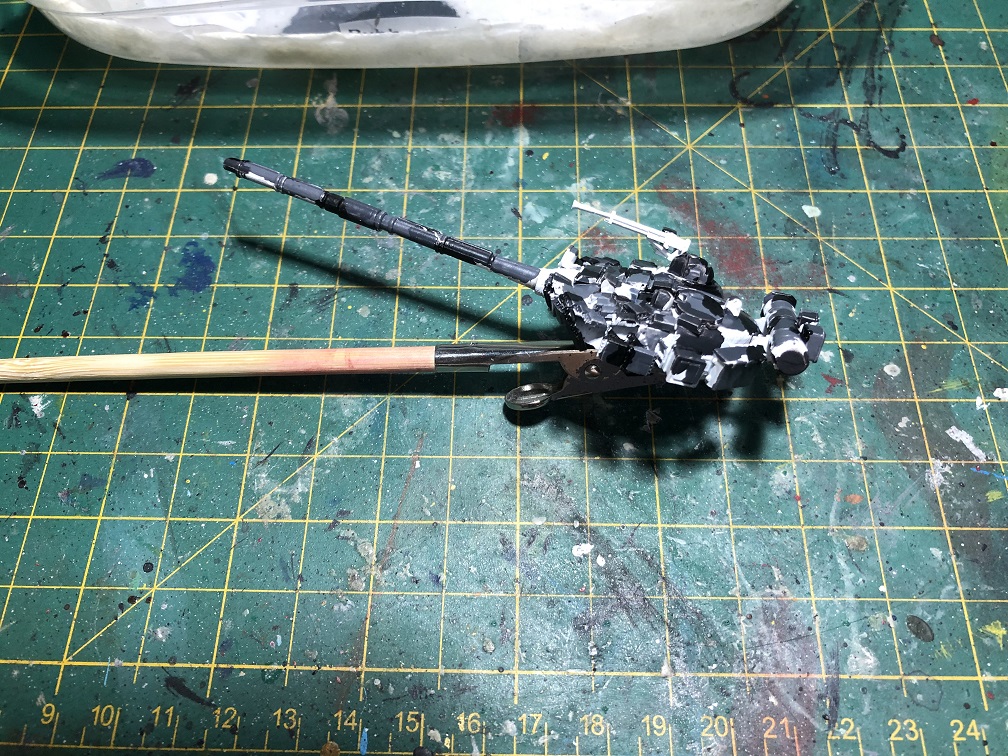
Painting the gun mantlet and straps
Let’s paint the gun mantlet and the straps with aircraft white, this way they will pop.
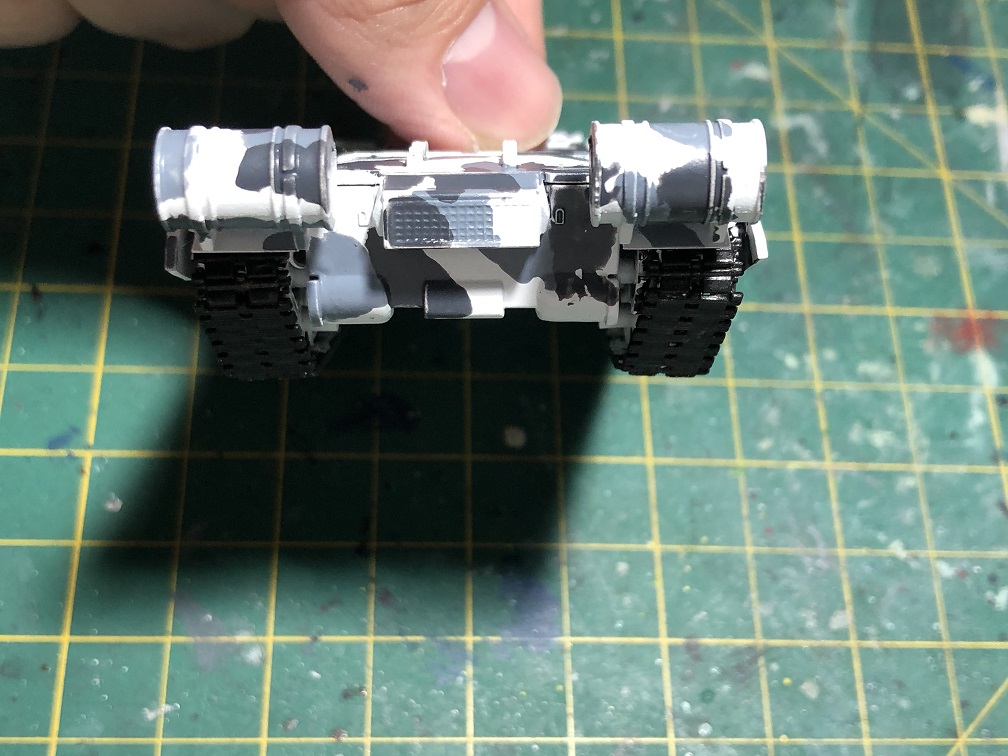
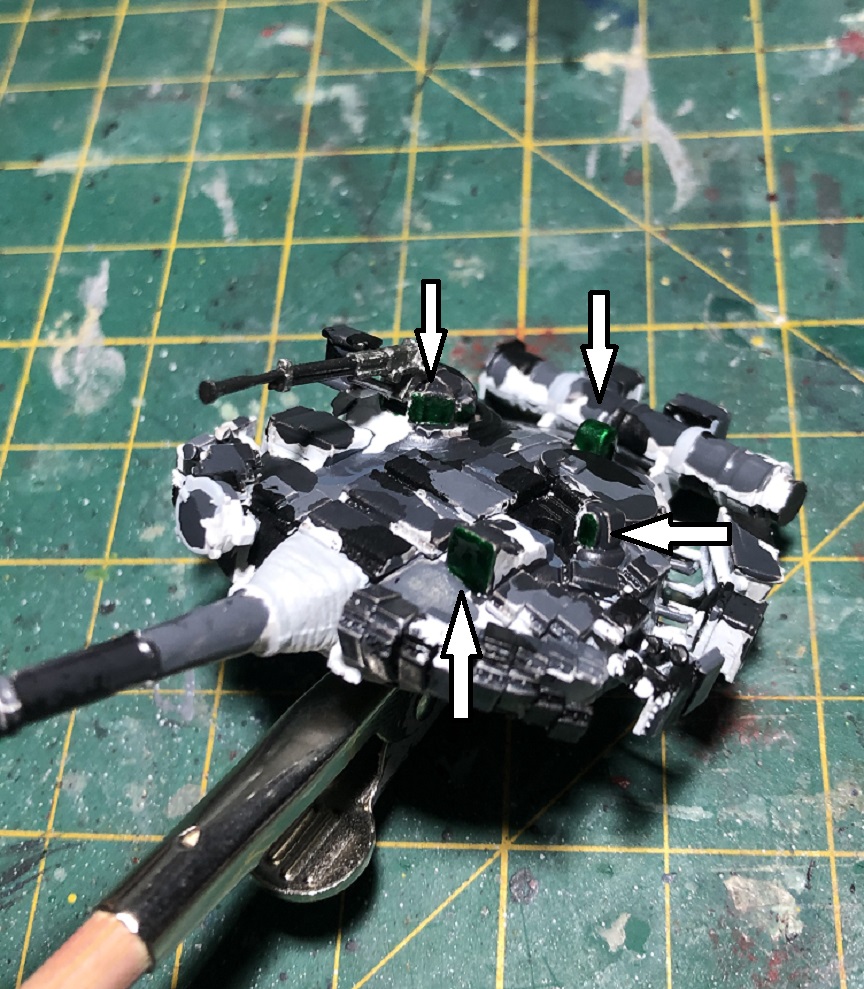
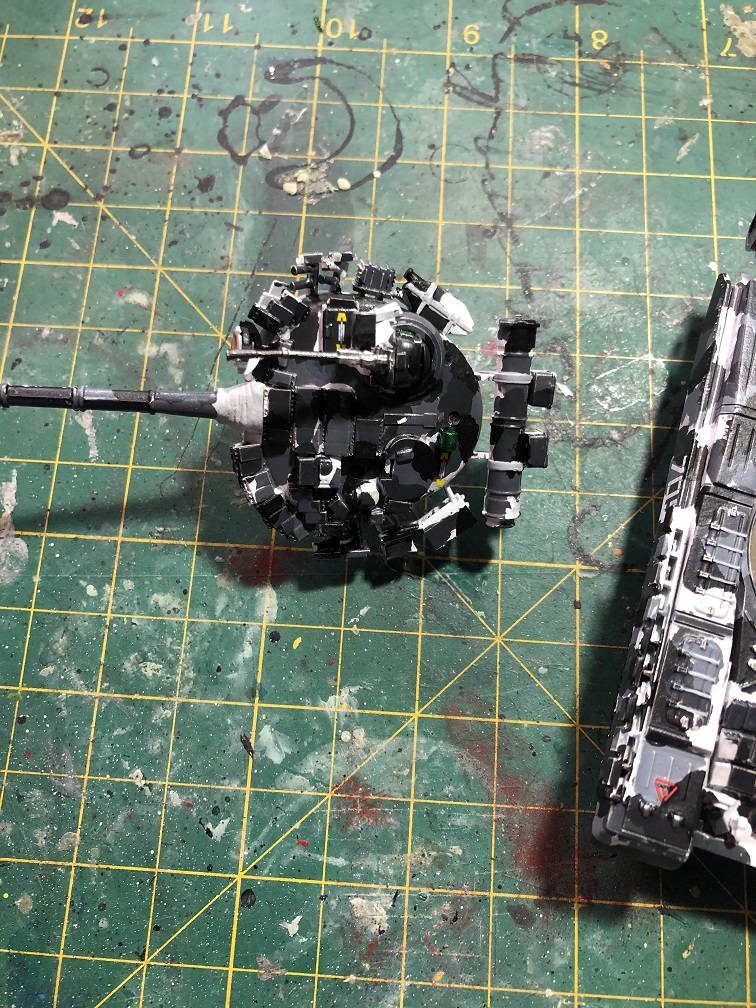
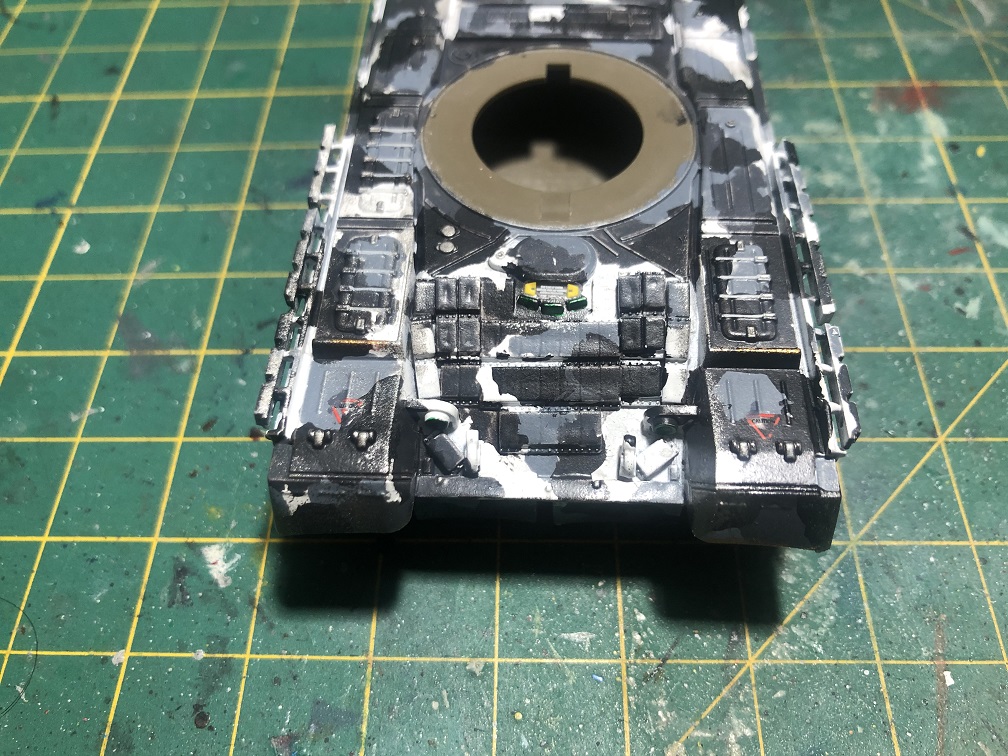
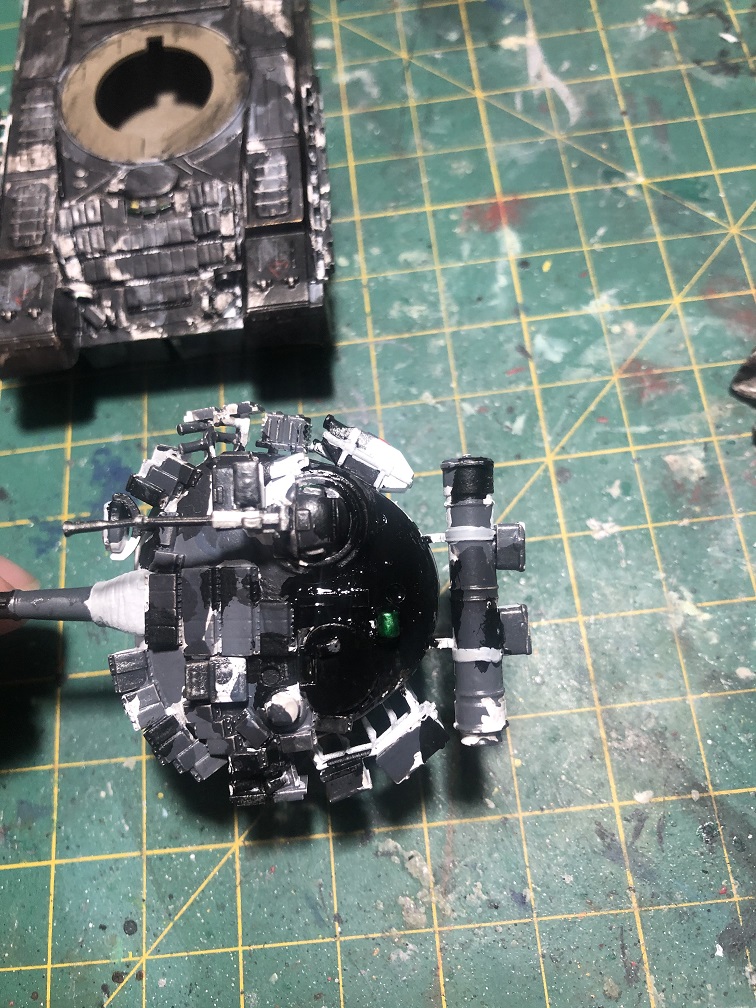
Painting the windows
Unlike bigger tank model kits, this little guy doesn’t come with clear plastic parts for the windows and visors, therefore we need to paint them.
But let’s twist this a little and add some cameras instead of “windows”, this way it may look more “futuristic”.
To archive this, let’s add silver paint where we want our cameras to be.
I also paint the headlights and the driver’s visor
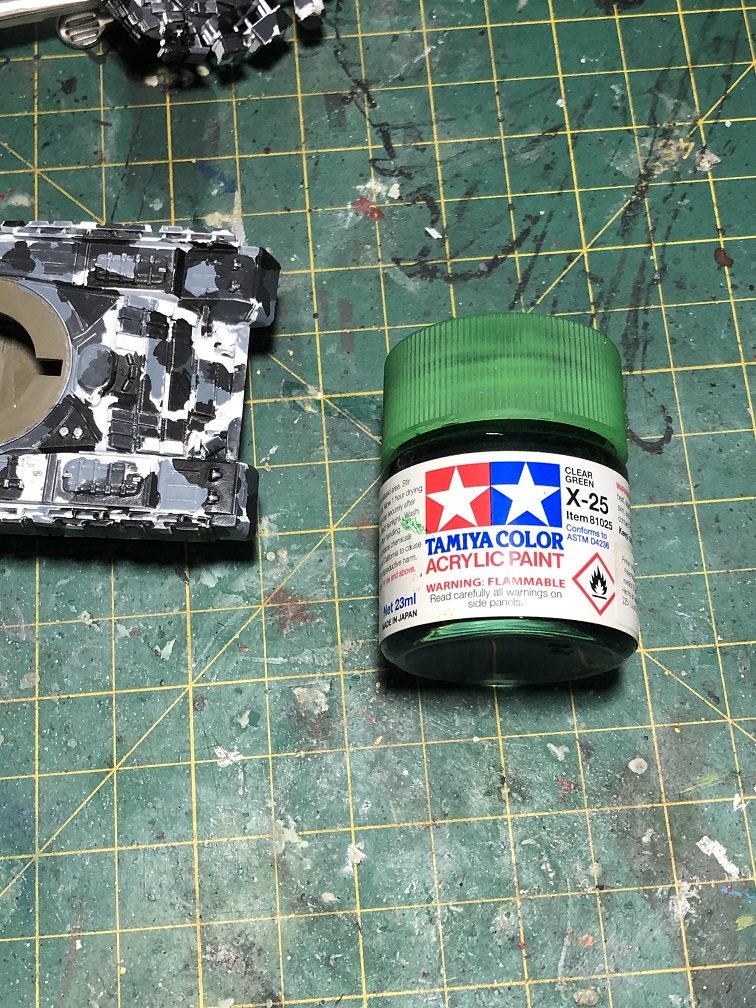
Then, lets add some clear paint. I recommend you use green, orange, red or yellow. I decided to use Tamiyas Clear Green.

Water transfer decals
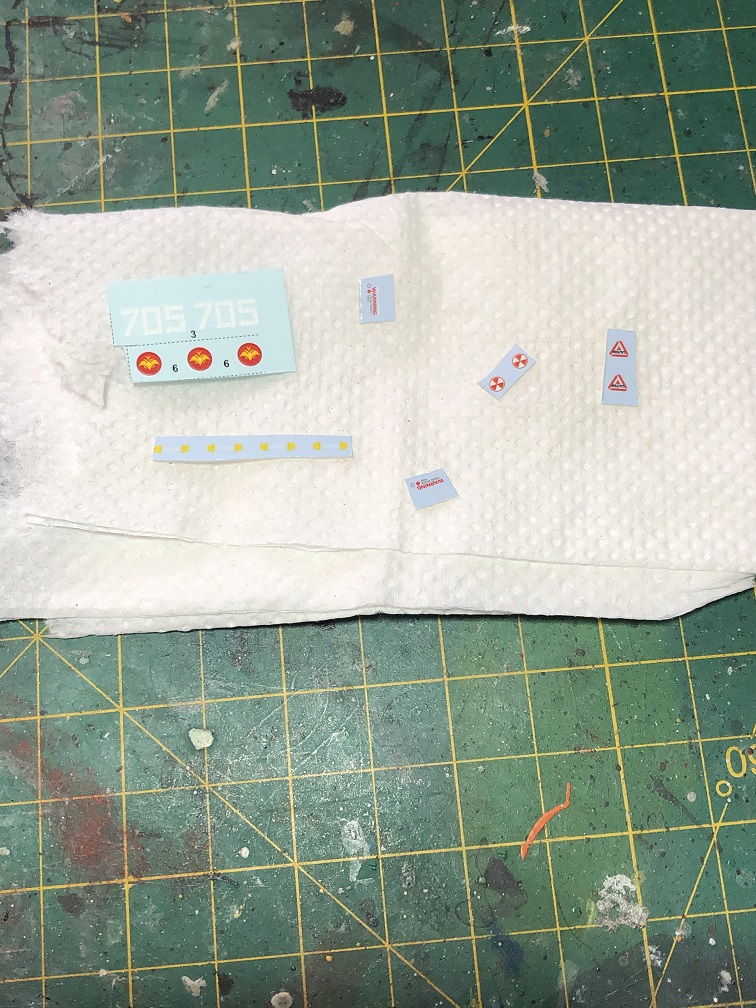
The kit comes with a few water transfer decals, I thought they were too few and decided to take some more from old kits.
This came with the model kit These are from other kits


Now, I’ll show you how to apply water transfer decals. It’s quite simple, all you need are:
- A hobby knife
- Paper towel
- A brush
- Warm water
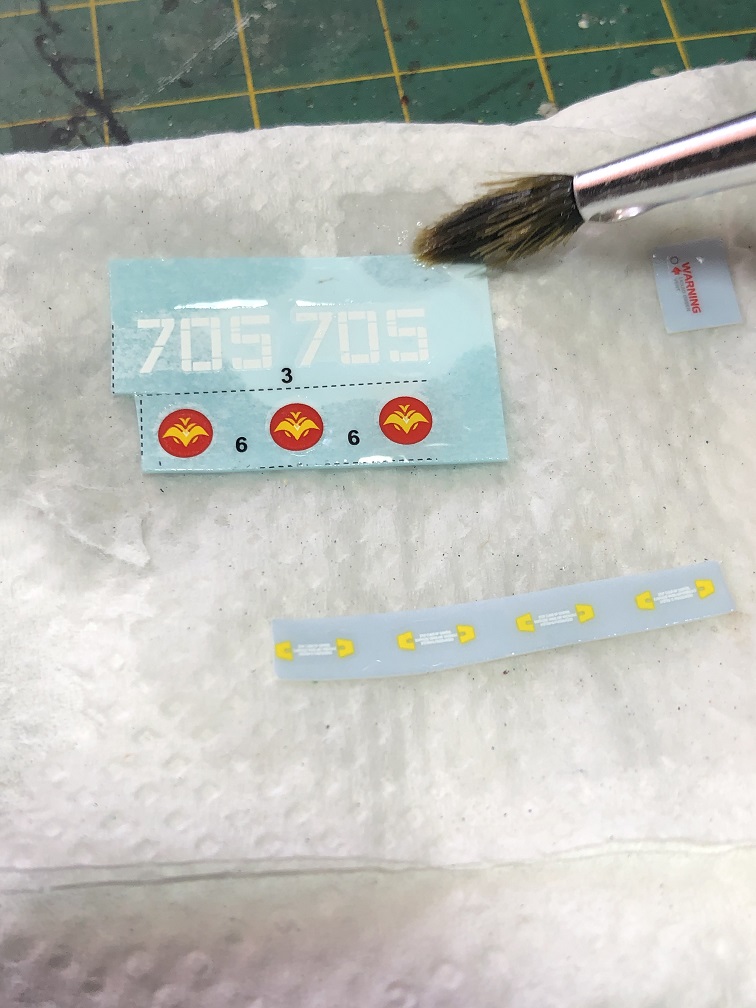
First, we need to cut the decals we’re going to use and place them over a paper towel. The, let’s apply some warm water with a brush. We need to make sure that everything gets wet. After a minute or two, we can separate de decals with our brush. Last, we place the decals were we want with help of our wet brush.
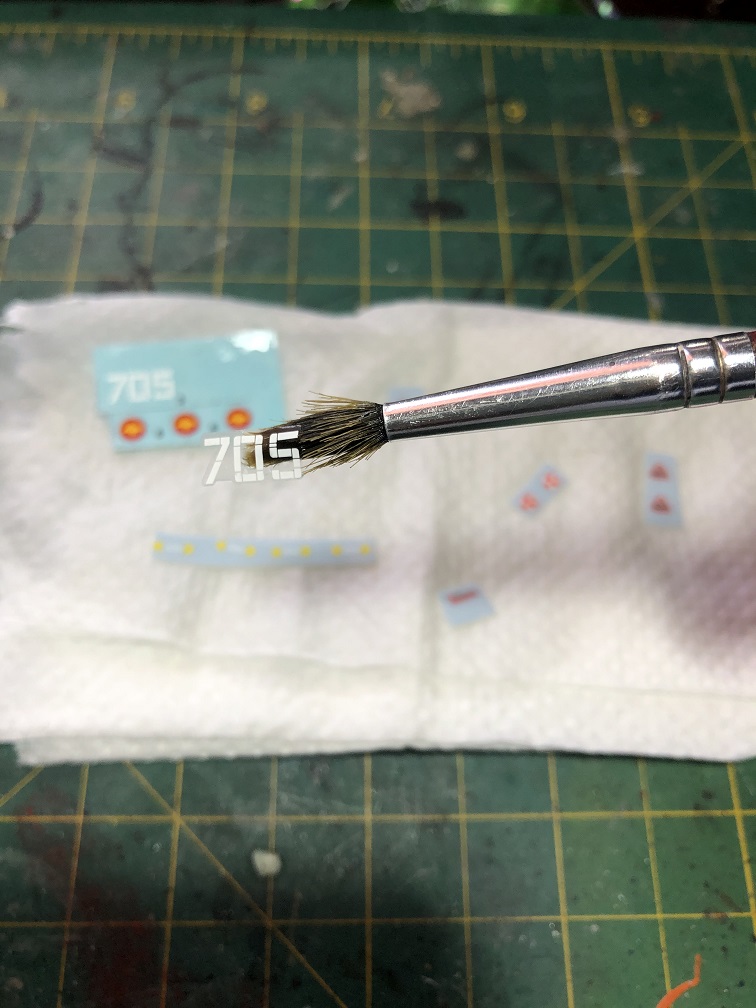
If you want to change the position of a decal, all you need to do is wet your brush again and use it to relocate your decal.
When you are satisfied with how it looks, use a paper towel to remove the excess water from your kit and let it dry. You can also add some decal glue to secure them in place.
Now, before we start weathering, we need to apply a clear paint coat or varnish to our tank to protect the paint job and decals.
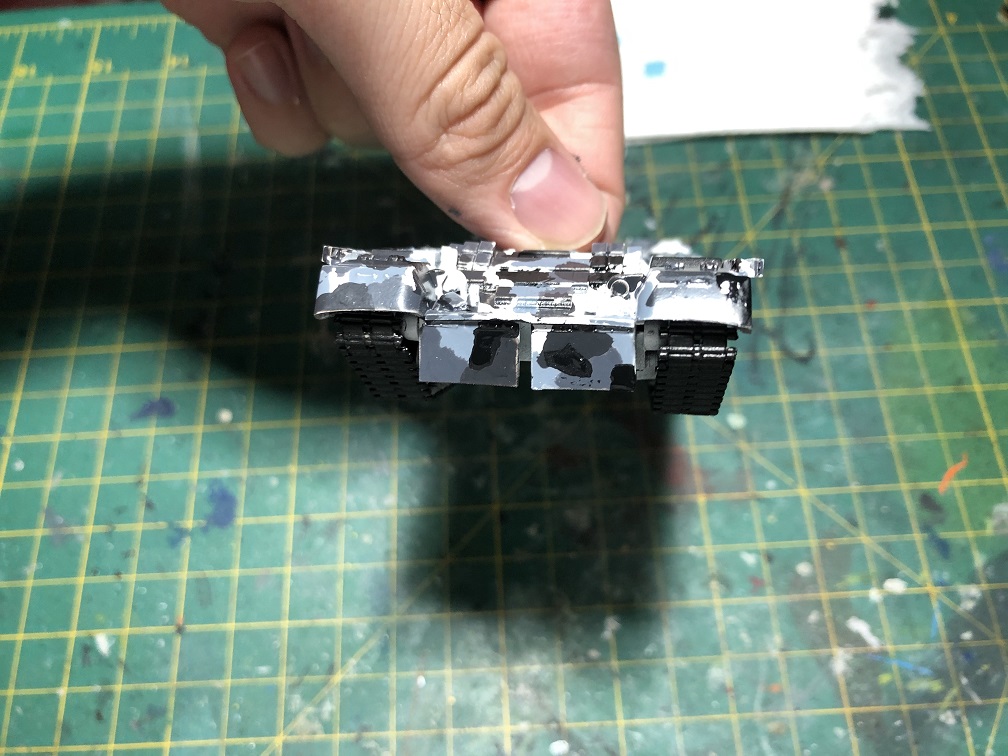
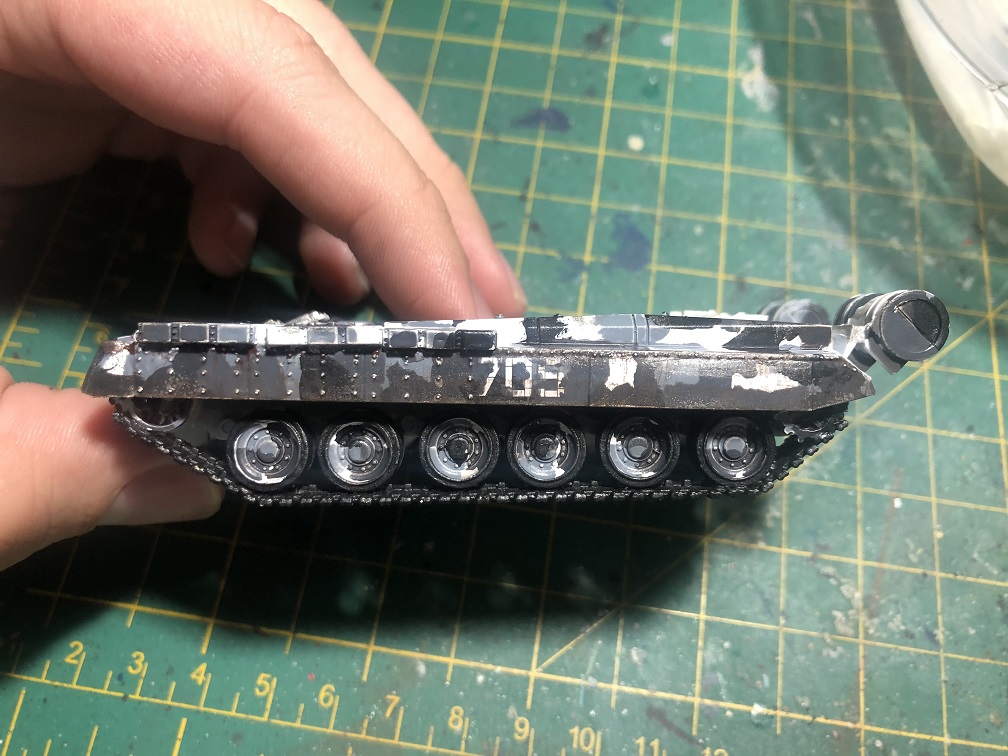
Weathering
This is the last part of the build and one of the most important. The weathering job for this kit will be quite simple but the results are going to be nice. It will consist of three parts:
- Decal “weathering”
- Simple chipping
- Shading
Decal weathering
First, let’s add some “scratches” to the decals or markings. All we need is a thin brush and the same colors we used to paint our kit. And what we are going to do is to paint some thin lines over the markings trying to match the paint that is behind them, this will create the effect of scratches.

This will create the effect that the markings have been scratched up a little over time.
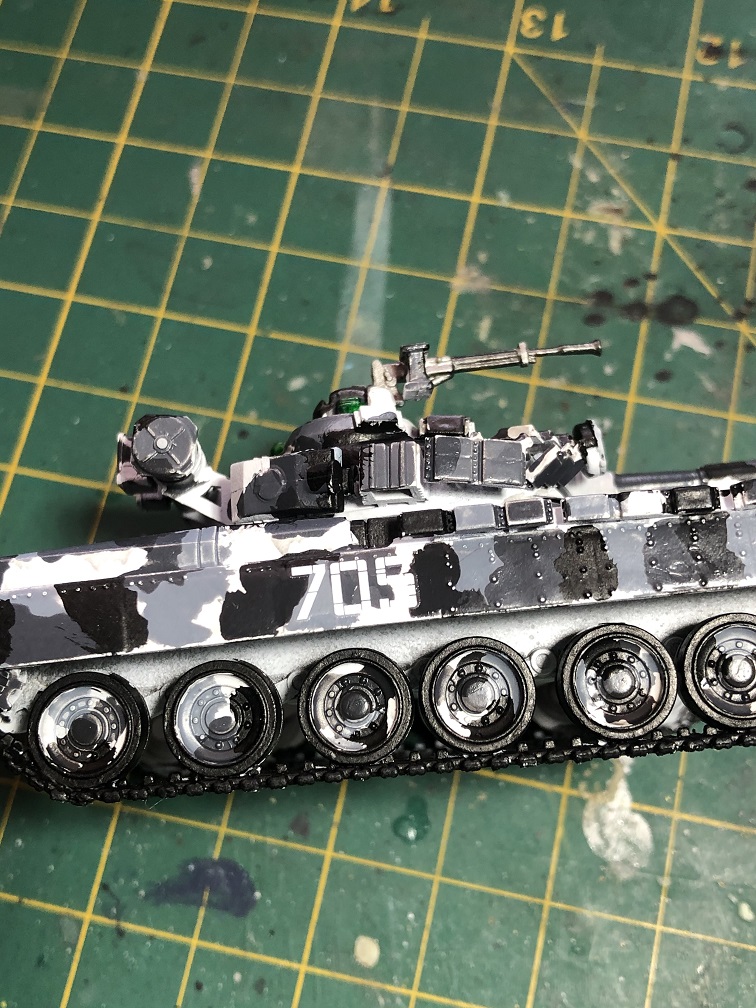
Simple chipping
There are a lot of ways to create this weathering technique. For this kit we’ll use one of the easiest methods. All we need is silver paint and a sponge or piece of foam.
And what are we going to do is pick some silver paint with our foam and apply it at the edges of the amor.

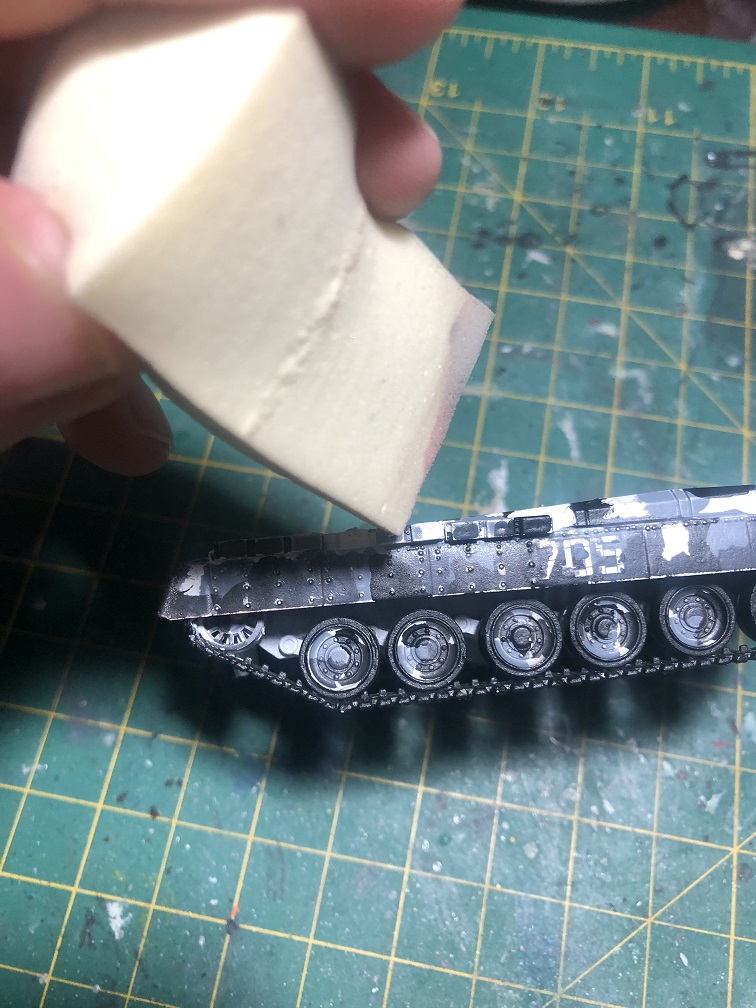

This will create an scratching effect on the armor. You can also do this with orange, brown, or copper colors to create a rusting effect.
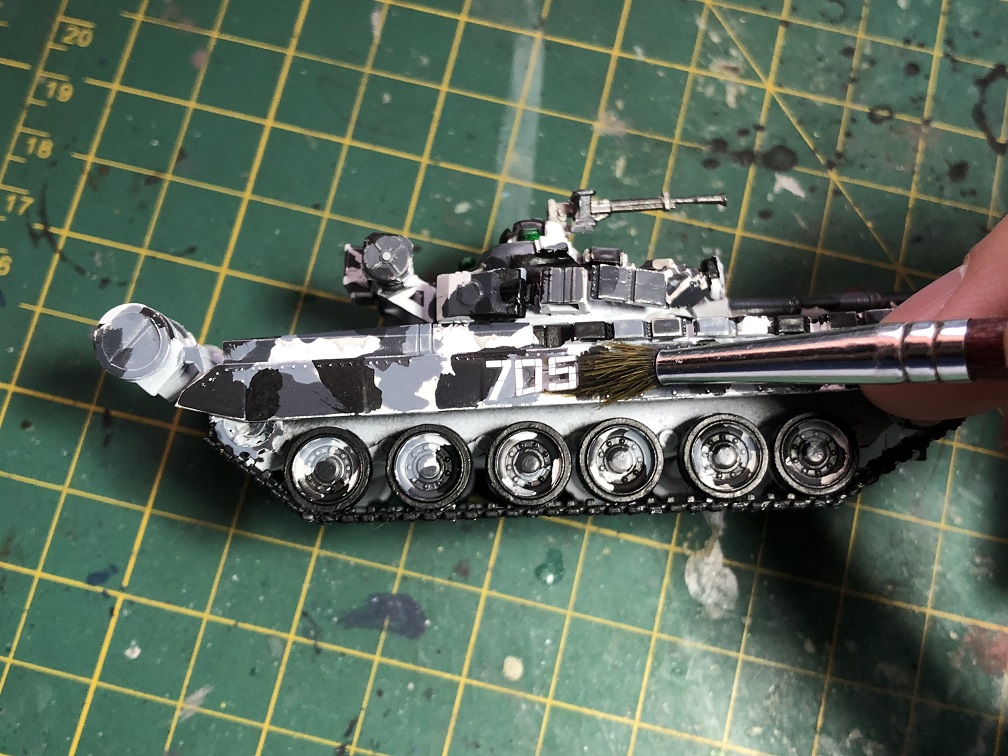
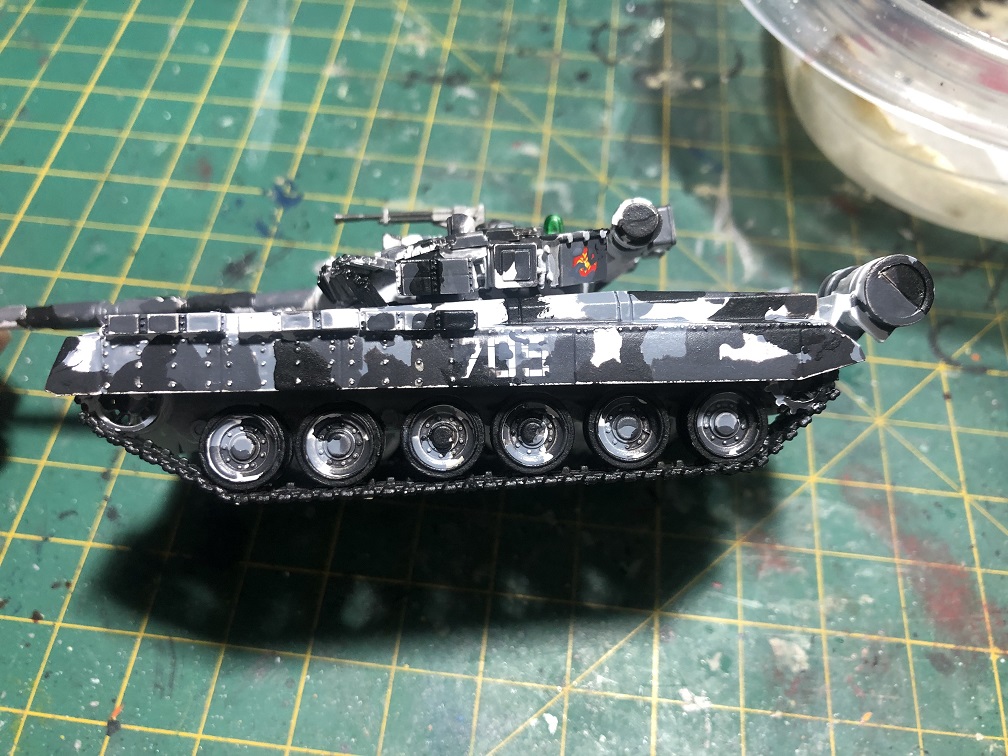
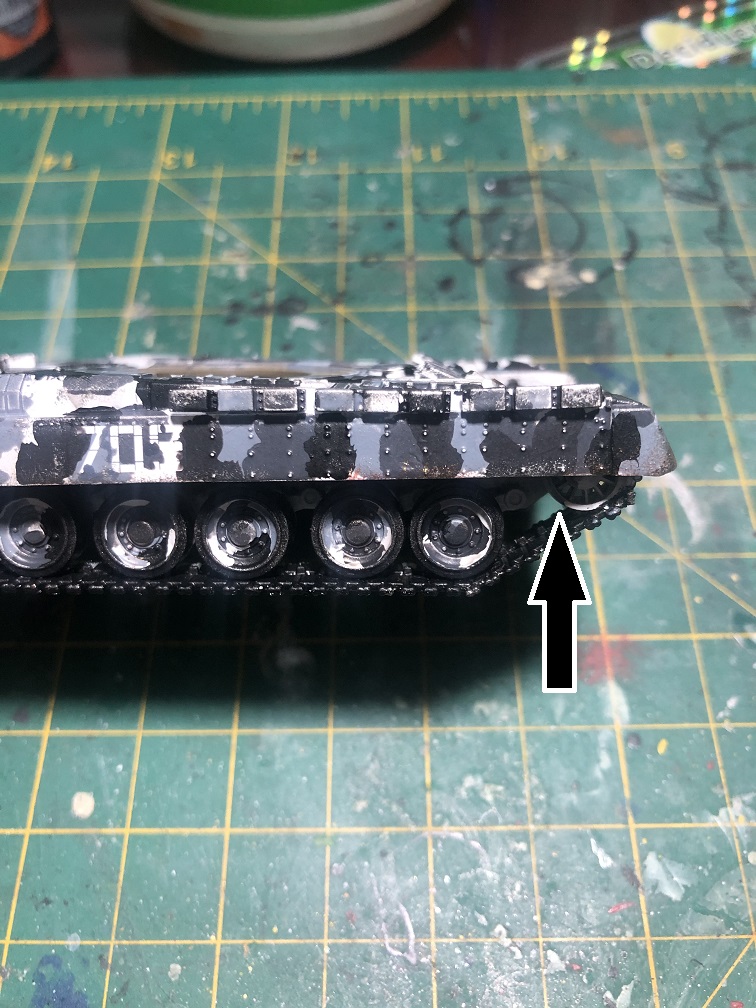
Shading
This technique is quite simple but effective. What we are going to do is apply a diluted dark paint (brown, grey or black) to the whole model and then we’ll remove it with a paper towel before it dries. With this will archive a shadowing to the paint job and panel lining.
Here you can see the difference. The right side has thee original paint job, while the left side has been darkened with this method.
We need to make sure that our paint is thin enough to get inside all de recesses. Now, this is how you do it:
It’s really simple, but it creates some awesome effects. Try this method with other colors too, like some brown or orange to create rusty or muddy effects.


Just remember, the longer the paint stays on the model kit and the thicker it is, the harder it will be to clean it.
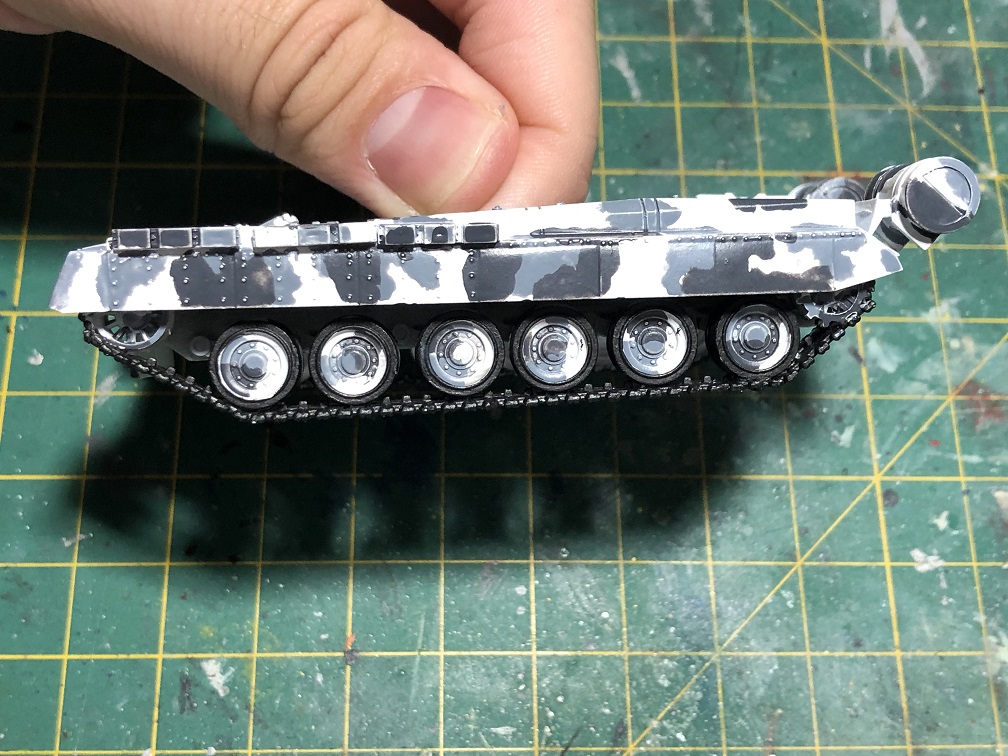
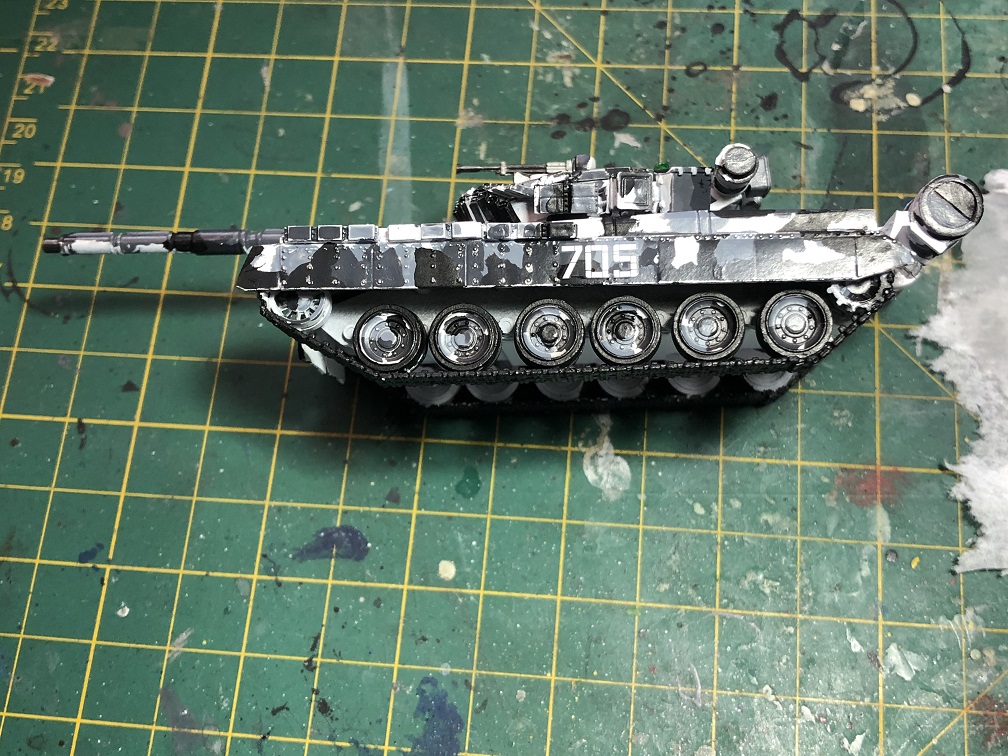
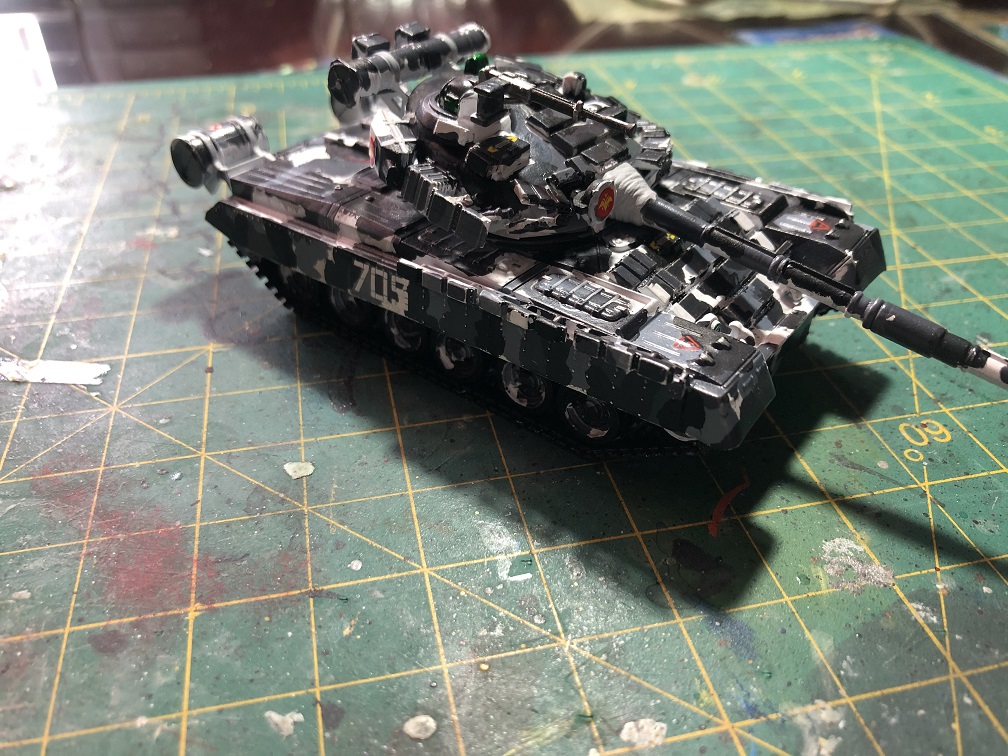
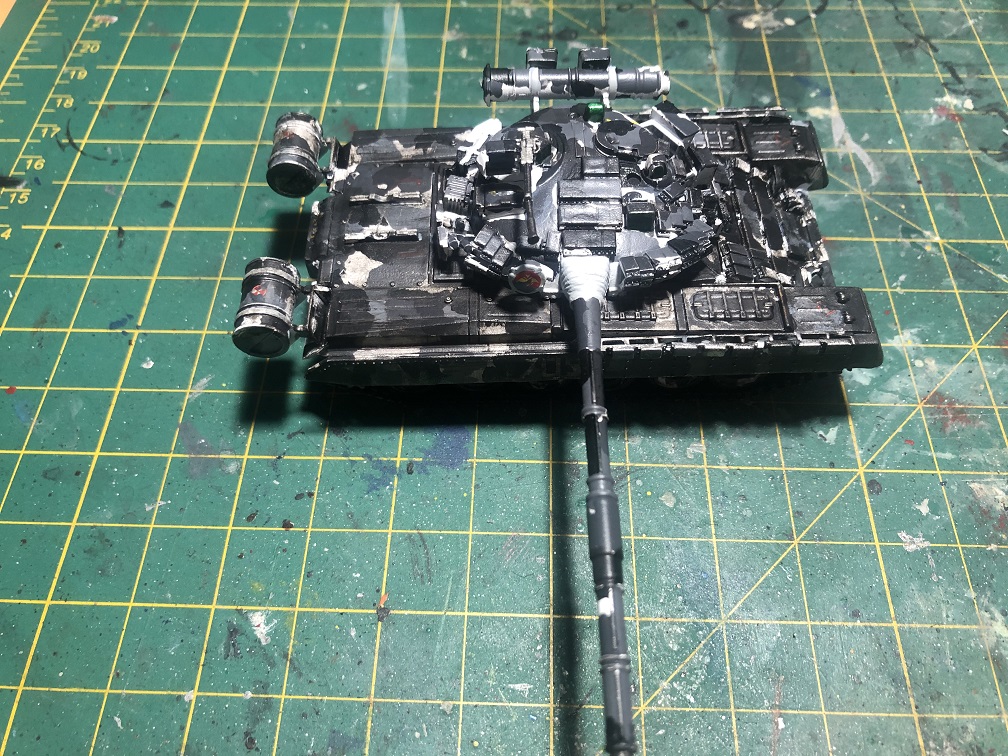
T-80BV ready for the shelf!

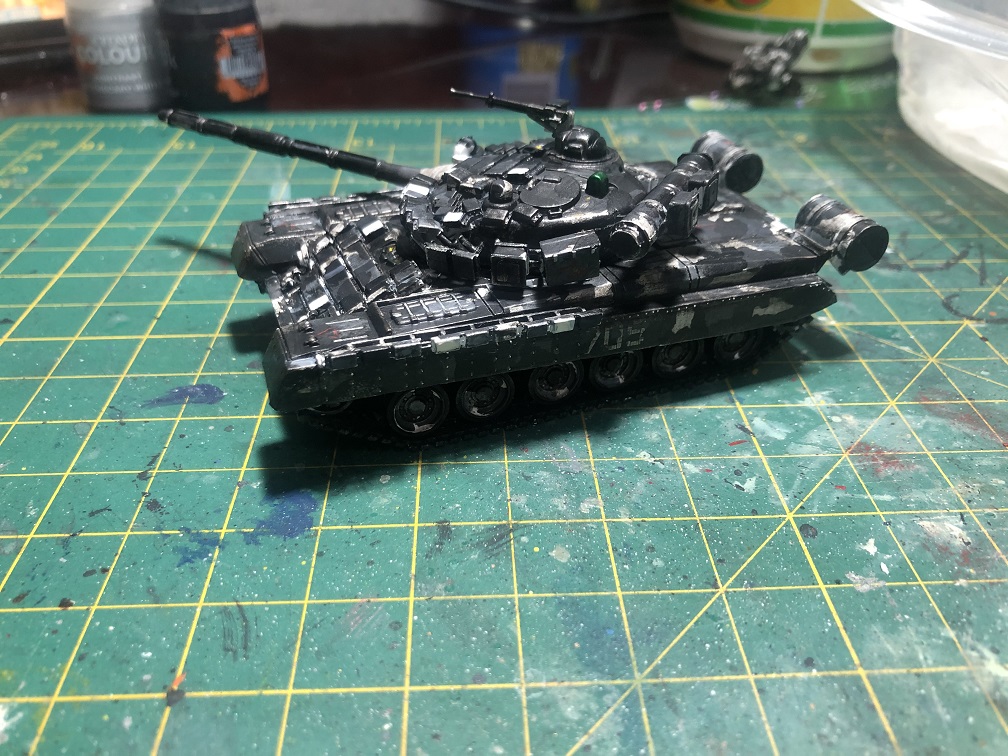
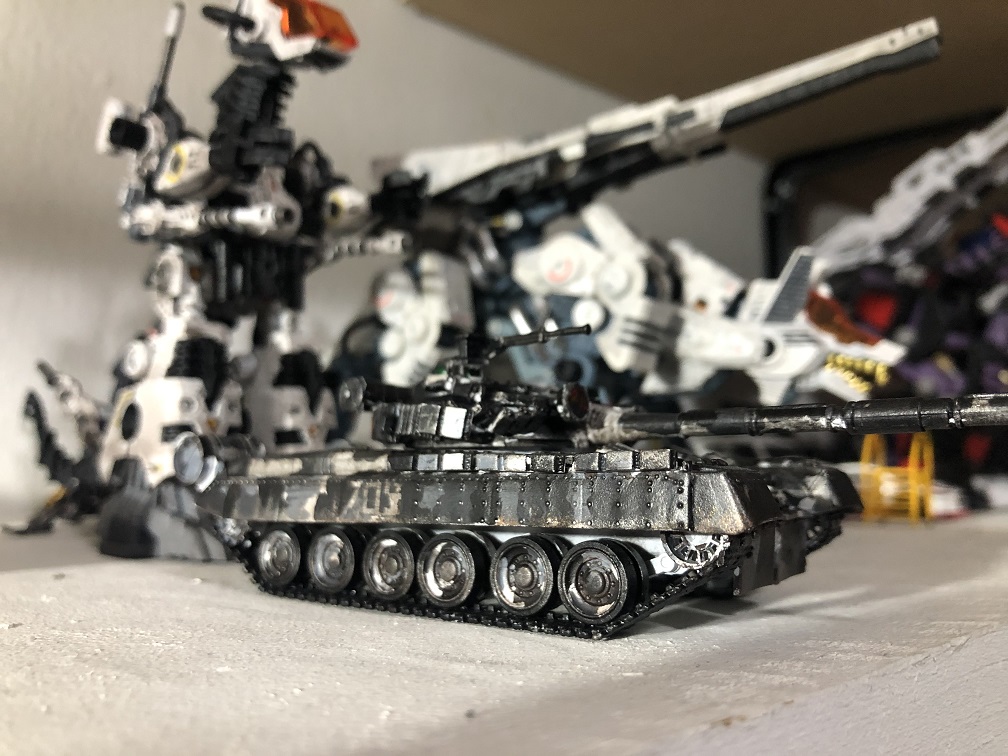
And now our little tank is ready to join our forces on the shelf. If you want to remove this effect it can be done with some thinner an a cotton bud.
Well, that’s all for today. I hope this article inspire you to apply some of this effects to your own model kits.
Remember, if you wish to get some of the paints or even the T-80BV model kit you can do it at hlj.com.
See you next time! Happy painting!