-

katafuji joined the group
Automotive addiction 7 years, 10 months ago -
Moldrunner posted an update in the group
Automotive addiction 7 years, 10 months agoConsider it DONE..
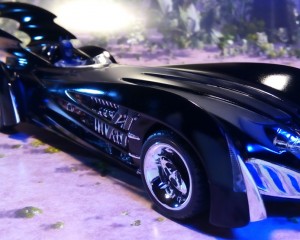
– Cheap Revell kit in 1/24; was given as a present from my brother, ten years ago
with not much details but flesh on some parts, others would build…-
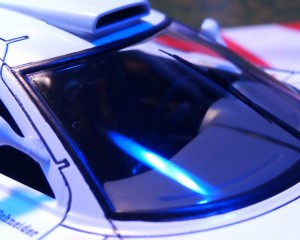
Don’t forget the rubber sealing around the front and backshield.
No one will ever recognize it .. -
Sense of accomplishment, wasn’t it? Keep it up.
-
It was a 4 month project. It was more a happy that it is done :D. My workbench is a mess since then, and I haven’t touched anything modelrelated. But I ordered gunpla for 100€..
-
-
Kevy1247 joined the group
Aircraft Modelling 7 years, 11 months ago -
Kevy1247 joined the group
Automotive addiction 7 years, 11 months ago -
Moldrunner posted an update in the group
Automotive addiction 7 years, 11 months ago -
UrielVentris posted an update in the group
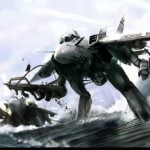
Aircraft Modelling 7 years, 11 months agoI’m interested in getting into aircraft modeling and I wanted to start with my favorite plane of all time the SR-71 Blackbird. Any suggestions on a good kit and scale?
-
UrielVentris joined the group
Aircraft Modelling 7 years, 11 months ago -
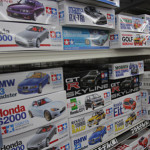
GundamJeebs posted an update in the group
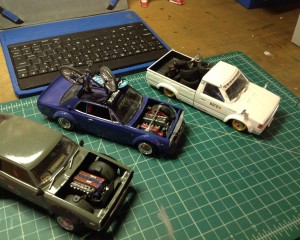
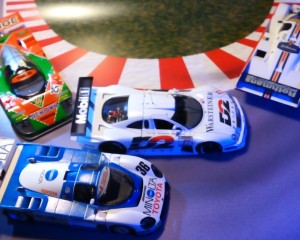
Automotive addiction 7 years, 11 months ago-
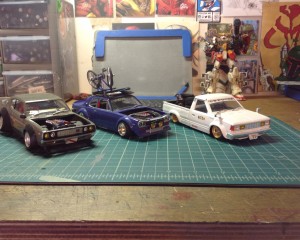
If they are all custom tuned, it was alot of fun. Like the one in the center, what is it?
-
-
GundamJeebs joined the group
Automotive addiction 7 years, 11 months ago -
Moldrunner posted an update in the group
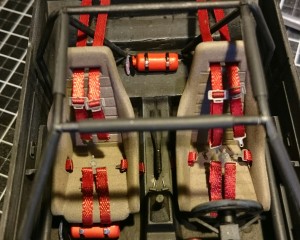
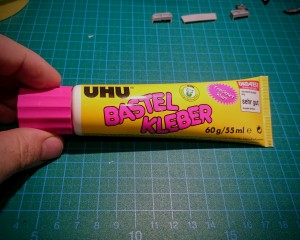
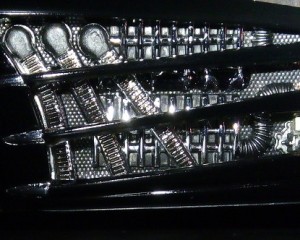
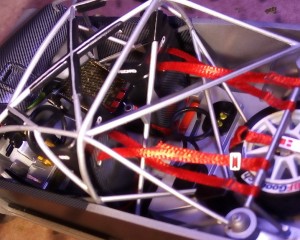
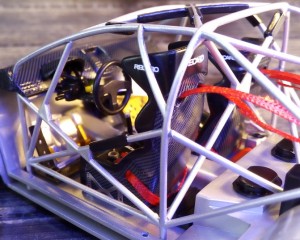
Automotive addiction 7 years, 11 months agoI highly recomend this product.
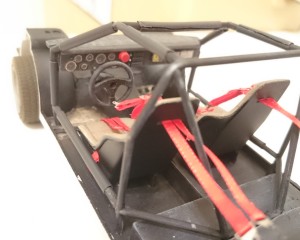
Glued belts, clearparts and the rings on the instruments with it. -
Moldrunner posted an update in the group
Automotive addiction 7 years, 11 months ago-
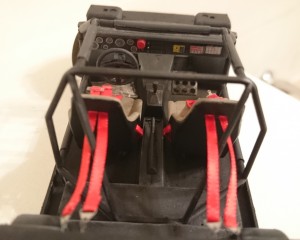
Soften as in making it look weighted? Use longer seatbelts. Or glue them to the seats. I always do.
I wish the older rally cars had this kind of sealbelts. I saw one rally car without helmets on drivers, roll cage & seatbelts.
-
Yes, that’s why I build cheap-o’s sometimes. Not only a good break from expensive kits, but also easy on the wallet.
-
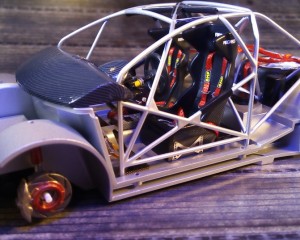
It was a birthdaypresent from my brother 13 years ago. Now it is time to give it back..^^. With all the photoedged parts and extras it isn’t that cheap anymore. But it gives you alot of space to impovise and scratchbuild.
-
I glued the ones in the middle but it was hoping i could manage to leave the mainbelts free. Sadly they dont bend on their own so much, that it would look realistic. Esp. In front of the seat. They also look too new.
-
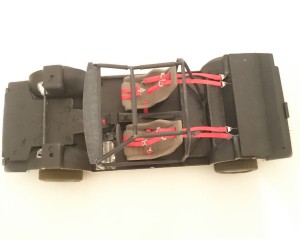
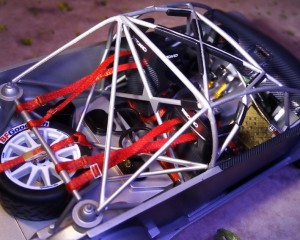
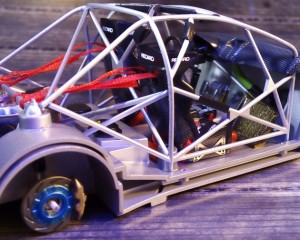
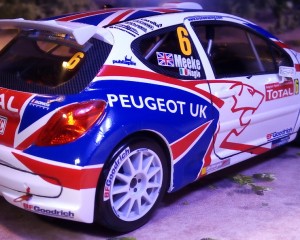
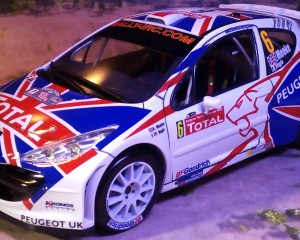
Not sure how the old seatbelts were installed, but the new ones are installed like my Peugeot 207 posted here. A cross at the end to the nearest horizontal bar of a roll cage.
You can always weather the seatbelts.
As a modeler progress, they will get to a point where they won’t finish a kit ever because they always think something isn’t right &…[Read more]
-
It’s said, some died over it…
-
-
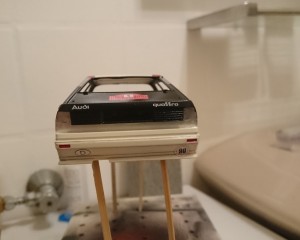
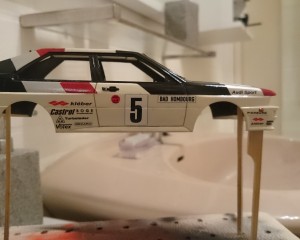
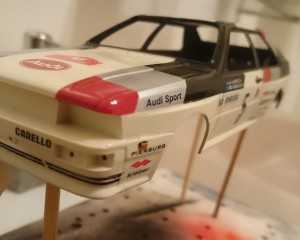
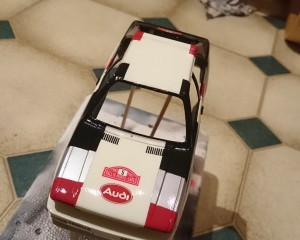
Moldrunner posted an update in the group
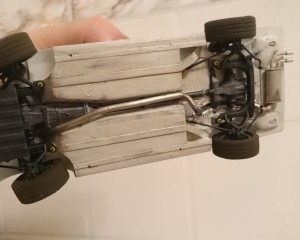
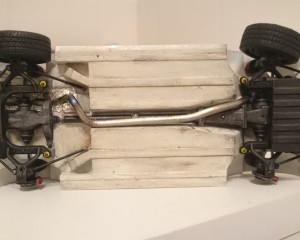
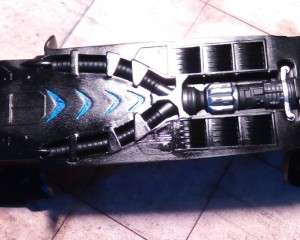
Automotive addiction 7 years, 11 months agoFinished the underside of my Audi Urquattro. Want to preserve it with a topcoat but I am afraight that using just a matt coat will unify all the different shinings to much.any suggestions?-
All matte undercarriage & semi or glossy sidewalls of tires. In rally, everything is dirty.
-
-
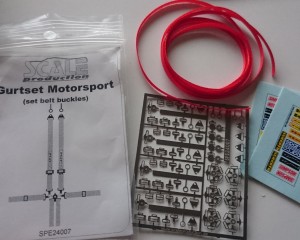
Moldrunner posted an update in the group
Automotive addiction 7 years, 12 months agoI bought me this set. I am supprised you recomend woodglue for the belts. Never would have thought about it. Thanks for the tip.-
No problem. Sorry I’m so late, but I think your WIP is taking shape. Wood glue gives you time to fiddle with the seatbelts & if you screw up like touching the glue on the seat, you can wipe it off with a damp cloth or q-tip. Easy. CA on PE. Don’t bother with plastic cement except for interior to underside bonding. Also, wood glue on clear parts.…[Read more]
-
-
nobody posted an update in the group
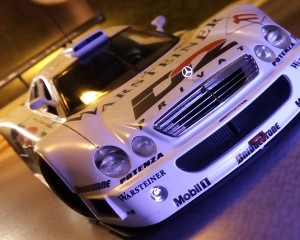
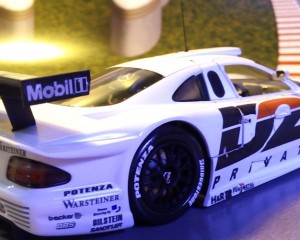
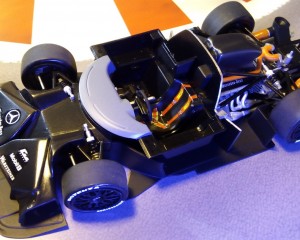
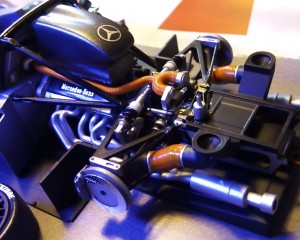
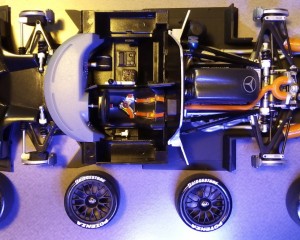
Automotive addiction 7 years, 12 months agoTamiya Mercedes CLK-GTR 2.0.* Found this improperly built & painted kit in my stash
* Disassembled it & removed paints
* Lot of sanding, polishing & puttying even the clear parts
* New 3rd-party decals
* New color scheme
* DIY PE hood grill & side vents
* PE wheel pins, brake discs & windshield wiper
* Baremetal -
John C posted an update in the group
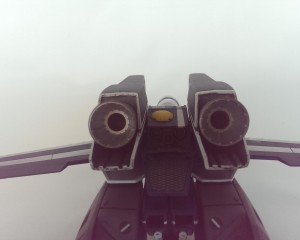
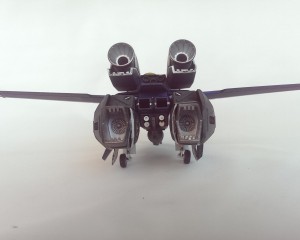
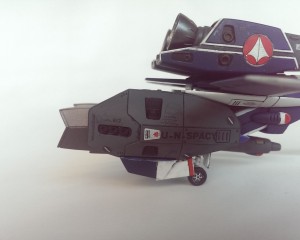
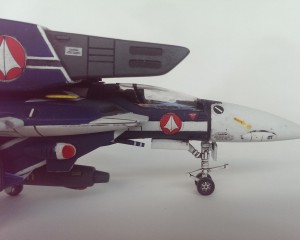
Macross Kits 8 years agoHere is a video of that VF-1J.
Thanks for the good words on this. I admit I do want to do another if I get the chance
-
awesome!!!!
-
-
nobody posted an update in the group
Automotive addiction 8 years ago -
Rafi joined the group
Macross Kits 8 years ago -
Moldrunner joined the group
Automotive addiction 8 years, 1 month ago -
nobody posted an update in the group
Automotive addiction 8 years, 1 month ago-
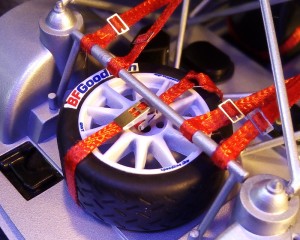
The bundled 6-point seatbelts & tire belt were a nightmare.
-
I bought a set for my 1981 Audi Quattro Ralleycar. Got some tips for the belts?
-
I don’t know where to buy the Belkits seatbelts. They’re wovern fiber. No adhesives. I used wood glue. You can buy the other PE seatbelts in different colors (I don’t paint them, but you can). 1 side is adhesive. Like stickers. Cut to size & install. + PE buckles. You need 2 pairs of tweezers or needle-nose pilers to bend them. A magnifier would…[Read more]
-
1 thing for sure is the 3rd party merchandises or grade-up kits can & will cost more than the model kits. If you care about details, it’s worth it. Like you can detail gunplas with metal parts & whatnots. Or military kits with aftermarket upgrades. Insane details.
-
Ok you bought it. So wood glue for belts & CA (instant glue) for PE buckles. Have patience.
-
https://www.youtube.com/results?search_query=photo+etch
They explain it better than I do.
-
-
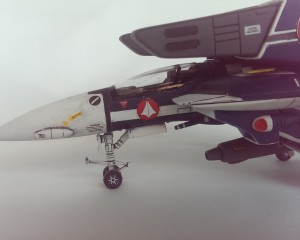
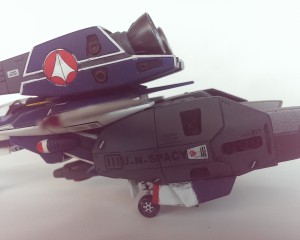
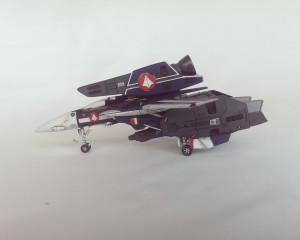
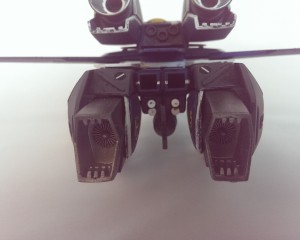
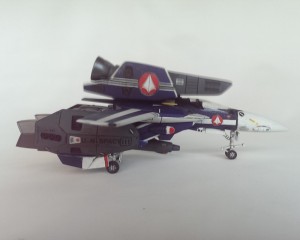
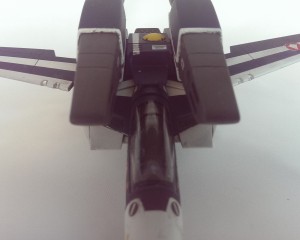
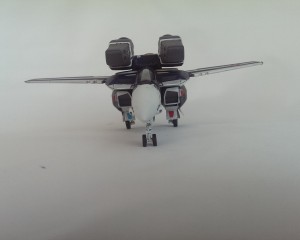
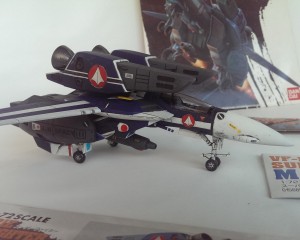
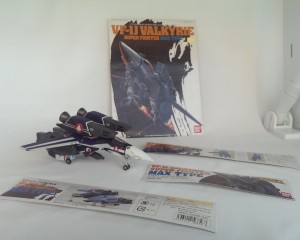
John C posted an update in the group
Macross Kits 8 years, 1 month agoThis is a build I finished last year of the old orginal VF-1J Max super Valkyrie.
Not bad kit for it’s age. Not as good as the latest Hasegawa kits. Bit still a piece of modeling history-
I like it, it looks great for a kit with so many years on his back
-
A really good-looking result for such an aged kit !
very good work, Max has got a beautiful plane now !
-
- Load More