I always wanted to make a video of how to drive a gundam, thinking of how would the cockpit of Gundam looks like, and here it is:
1. Choose of models:
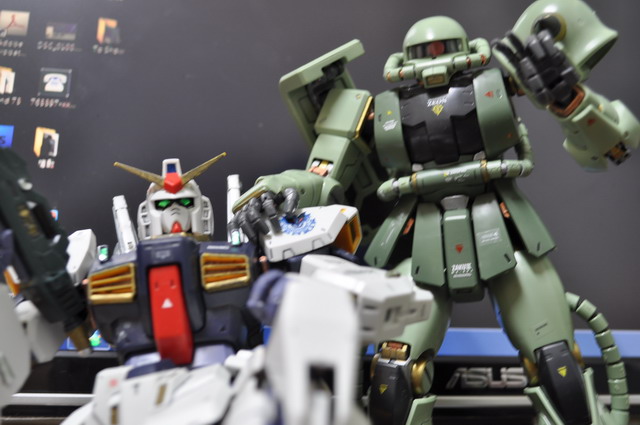
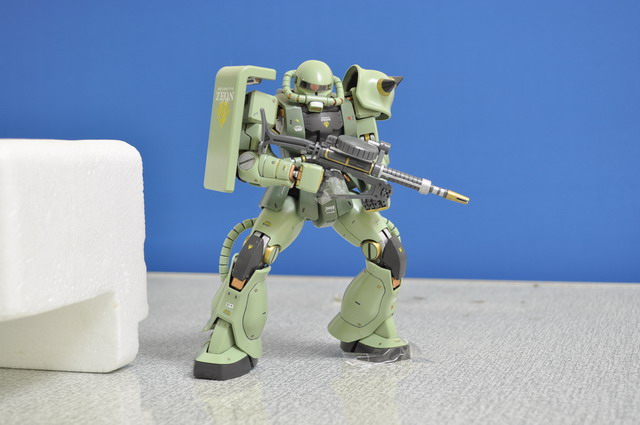
At least the Gundam I am going to use must have more detailed structure to open the cockpit, so they must be MG size or PG size, I choose MKII and ZAKU 2.0 as his opponent.
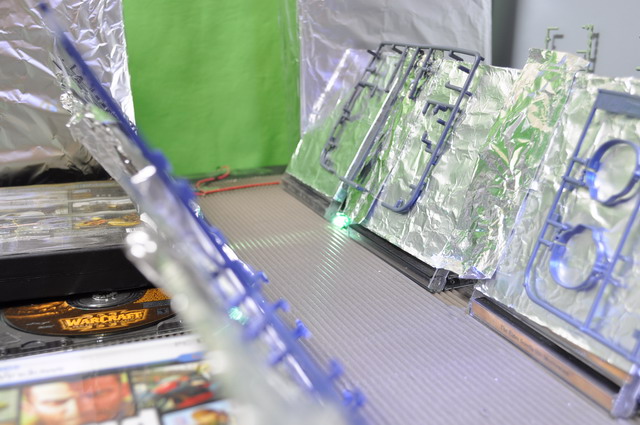
2. The scenes:
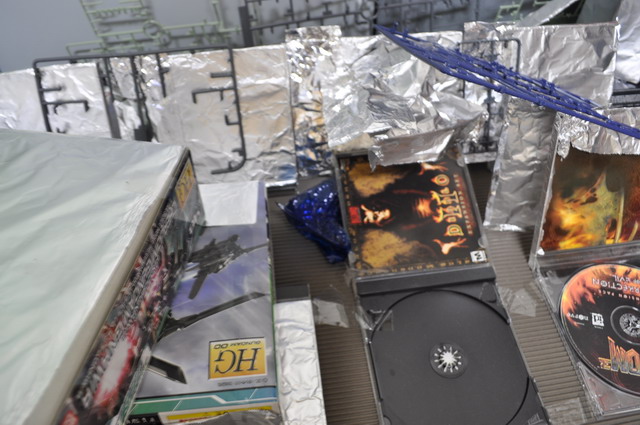
First the launch pad, the movable plates are CD box covered with foil paper, and the launch door are HG gundam model box covered with foil paper.
The cockpit are styrofoam covered with black paper, and the joysticks are made with toothpick.
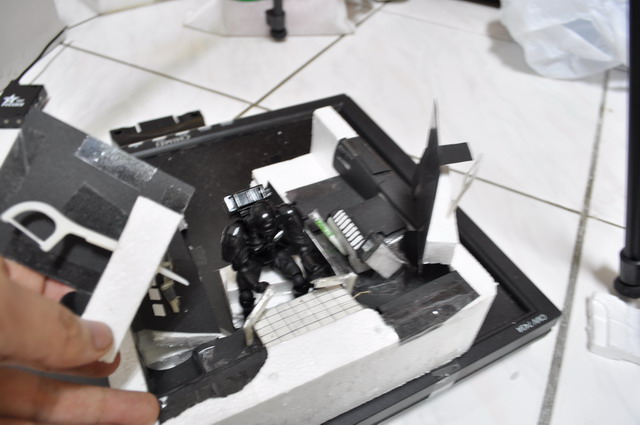
The monitor: use black paper as the body, and cover it with invisible plastic board, the black bottom makes the effects more visible while we add them,
and the plastic board could reflect the pilot image make the monitor looks more realistic.
3. Main techniques
The main techniques here in this video is stop motion of course, the idea is using the fast changing between photos to make the models looks like moving by themselves.
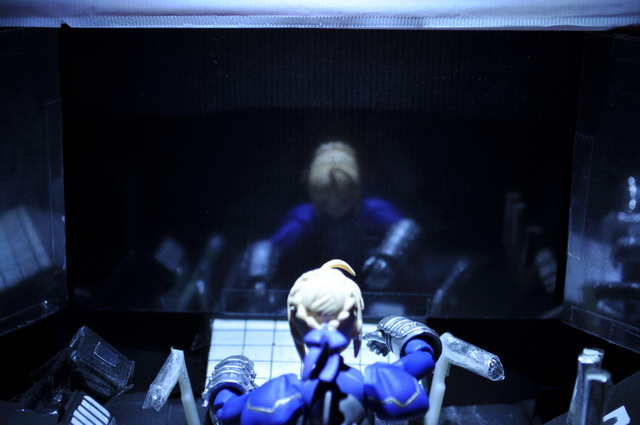
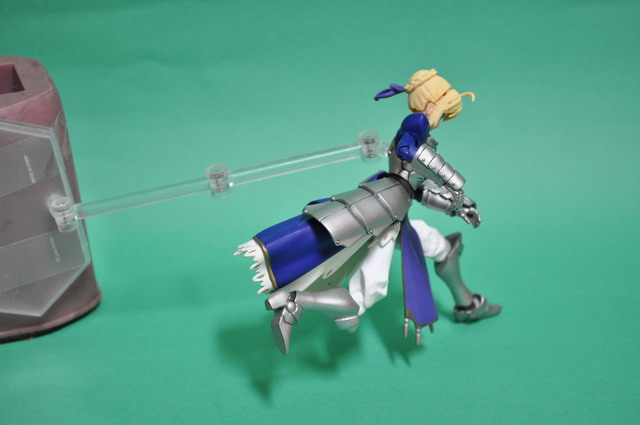
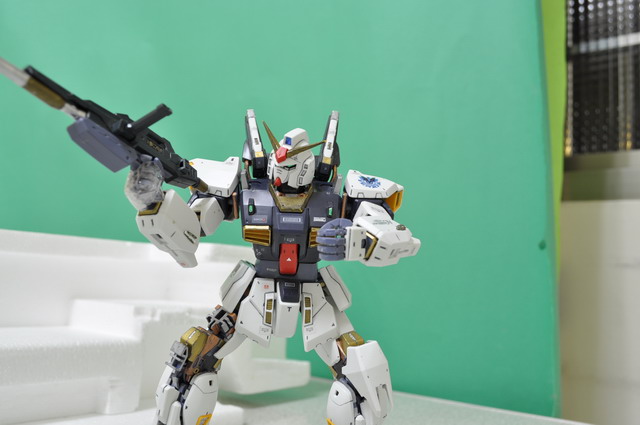
Besides the above,the most used techniques here in this video is the green screen skill, like the photos below:
Saber Lily walking
MKII image
The Desktop Arena
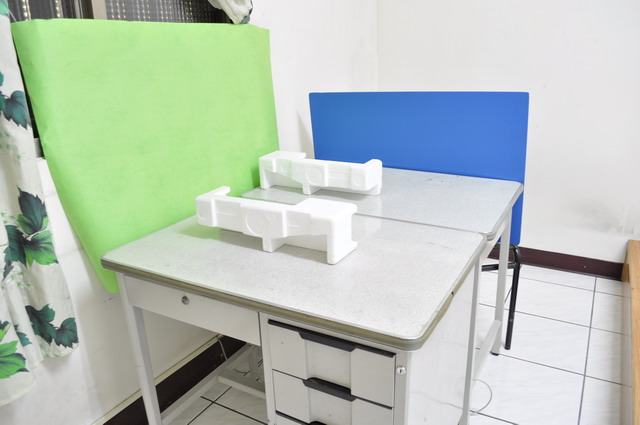
The launch pad, the green side is where
I put the universe image.
A little trick for the green screen, the
main purpose of the green screen is to get rid of the color you pick from the image, so basicaly green screen can be blue or red screen, it does not matter,
the main point is to make sure the item you wish to keep has different color from the color of the background in order to get rid of it without deleting the item itself.
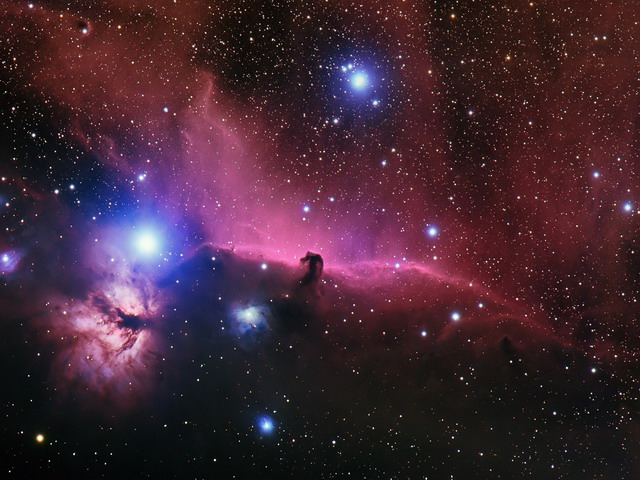
The space background:
below is the space background I choose for this video, I personally prefer them with more colorful space; in order to make
the space more alive, please set at least two layers, one layer in the bottom and another under it, then make
the two layer move toward the same direction with different speed, then you will see the scene looks more real and flexible, you can even add the third or forth layer with other elements like growing stars, planes,etc.
Well, this is all of the main techniques I used in this video, thanks for watching.
John Huang
z3r0717
stop motion is not easy yet you make it so enjoyable. Thanks for the behind scenes, very interesting.. 🙂
George
What about your animation setup? I assume you use capture software, right?
Great stuff as always. (But my favorite is the Master Huang fight! Seriously, anyone who hasn’t seen that has to go on Youtube and look it up!) Maybe next time around I’ll have something on this level to enter.
HLJ : Luke
I dont think John uses any special capture software besides Corel Video Studio x2 which is just for video editing mainly, not really designed just for stop motion.
Amazing work by John and you will see more from him in the future so stay tuned!
Sandro Fernandes Barcelos
Thank you very much John, for providing us with the making off.
Hug my friend.
Congratulations again for animation.