-

Joshua Darrah posted an update in the group
What are you building? 9 years, 5 months ago Hey hobbylinkers!
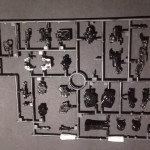
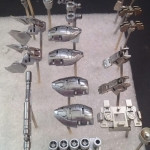
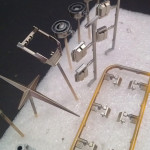
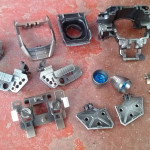
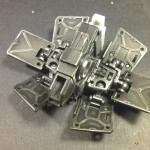
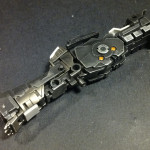
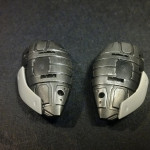
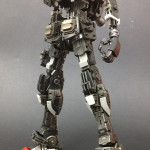
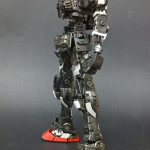
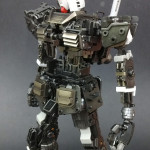
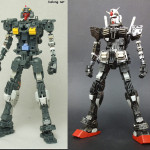
This is my first post on here, and I thought I’d share my work (play!) on building my MG RX 78-2 3.0. I’m finding this kit really interesting to build hey, I’m a big fan of super detailed and realistic looking inner frames (like my MG hi-nu, MG NU Ver Ka, MG strike freedom) because I have fun displaying the completed painted frames on their own for a month before I even add the armour. Ha! So this change in focus of the MG 3.0 is interesting, skipping some of the internal frame mechanical detail – oh how I wish there were pistons!! – and giving us incredible moving armour panels and separation. I’m enjoying it so far a lot. And boy those arm mechanical parts were sooo tricky to do.So here’s some shots of my build so far. I’m going for a realistic looking inner frame finish and here’s my process (all paint using decanted Tamiya sprays, through my airbrush. (and note that I use the ‘metallic’ sprays, these seem to have finer particles of the metallic elements, and give a MUCH better chrome or polished gold effect than the usual silvers and golds of tamiya’s range)
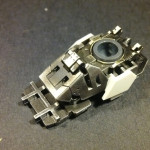
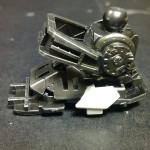
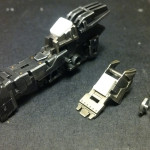
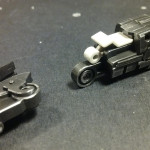
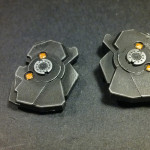
1 – LAY THE BASE! – I Spray a super glossy coat of Tamiya TS14 Gloss black on the frame parts, including some yellow parts. This lays the perfect base for a chrome or shiny gold finish
2 – BRING OUT THE SHINE! – I Lightly airbrush Tamiya Metallic silver TS83, or Tamiya Metallic Gold TS84 over the gloss black until the right amount of shine remains.
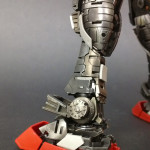
3 – DIRTY IT UP! – Now I spray edges and crevices with Tamiya Matt black TS6 mixed with a little extra Tamiya Matt Clear to make it all look dirty
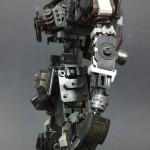
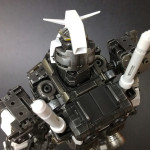
4 – SCRATCH AND SMUDGE! – Next I dip my finger tip into some Tamiya Metallic silver TS83, and lightly rub it on the raised edges of the parts giving some scratched away appearance.(those of you who have done the 3.0 kit, might notice that I painted some of the sub-internal white and grey frame parts that contain some exposed armour pieces, in the dirty metallic finish as well. To do this I just masked off the armour area, and that protected it from the spray great).
So here’s some photos of the painting and build for you all, I’m really happy with the ‘heavy’ look of the inner frame. And I can tell you this whole painting process is killer fun to do. I encourage anyone who hasn’t tried it to give it a go!
See ya!
Jozaeh

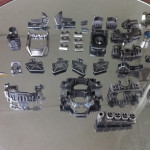


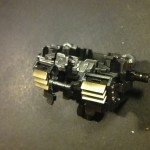

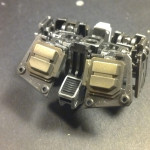


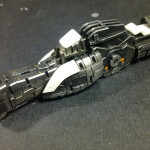
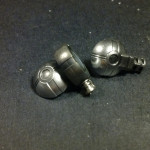


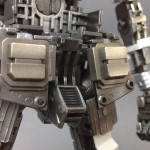


NICE!!!!!!! LOVE the inter frame and how you did the inside of the thrusters