-

MohnJadden posted an update in the group
Intermediate Modeler – Modeling Competition 2017 6 years ago Update 2: feet and midsection, http://imgur.com/a/ABzPM 2/10/17Picking up from last time, here’s that big gap in the feet that I filled and sanded smooth, using Perfect Plastic Putty. This is my go-to putty. It’s nontoxic, can be tinted with paint or food coloring, dries fast, and sands smooth. It’s water soluble for easy clean-up.
–
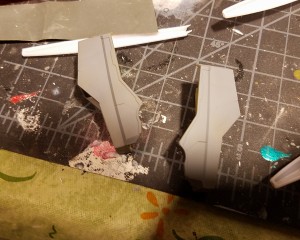
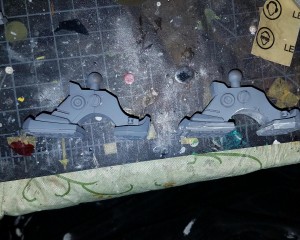
There are some gaps in the feet where the soles meet the foot proper. On the left is without any putty, on the right is with.
–
Same as above. The tolerance for the soles is not super tight and will either need to be filled or accepted. To me, it couldn’t get away as a panel line, so I opted to fill.
–
I mixed up the order because of upside-downness. Left is puttied, right is not.
–
Same as above.
These don’t show the completed feet, and I swear I could have taken a photo, but I have a cat on my lap and can’t be bothered to kick her off and go take photos.
The trick with Perfect Plastic Putty is to use your method of choice to fill the gap – I used a small dental spatula, but have also used blunt tip needles and Luer lock syringes in the past (they come in multiple different gauges, check out your local medical supply store or Aliexpress) – or just my fingers.
After you fill it, let it dry, and get some more in the gap. After that dries, smooth it with a wet finger and sand to fit.
–
The soles of the feet have some really nifty details. Here they are compared against one of the candidates for green that my friend liked for the armor. Needless to say, they could stand out a bit more.
–
These leg armor pieces had sink marks that were pretty large. Again, Perfect Plastic Putty, filled and sanded smooth, and you can barely see anything under the primer.
I did have to rescribe a panel line, which could have been engraved a lot deeper, on each leg, but it was very easy to do. Dymo tape next to the line, Tamiya panel line scriber dragged across a couple of times. I highly recommend the scriber, but cheap dental picks (I got mine at Widget Supply) can do the trick if needed.
–
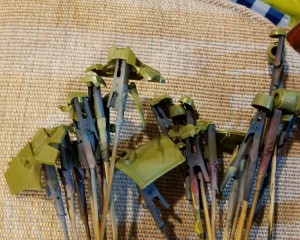
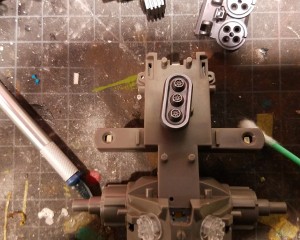
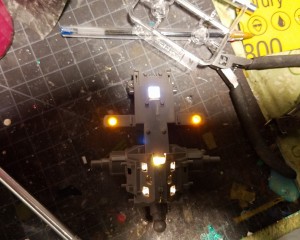
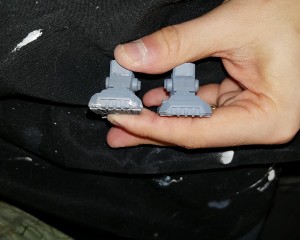
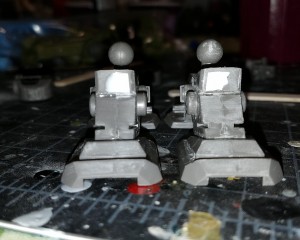
Here’s the bulk of the main body and “head.” None of this will be showing through the armor and other external frame parts, given the way the kit is engineered. This is a good thing, because all the LEDs are in this assembly.
–
Sneak preview of the lights.
–
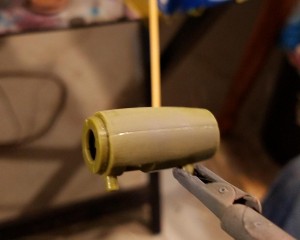
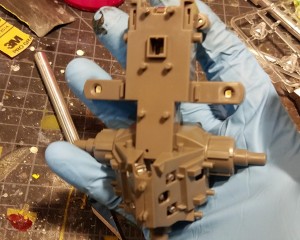
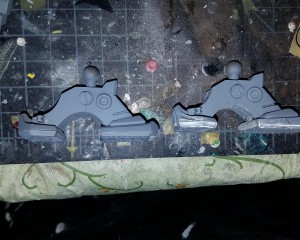
This is the rear armor part that will go between the head halves, There is no seam to worry about for the head, just this part and its counterpart (heh) on the front.
This was primed, hit with Alclad gloss enamel black base, and then Mr. Metal Color iron. I used old pajama pant legs to polish the surfaces, and then a Dremel with a cloth polishing wheel to get the pipes.
–
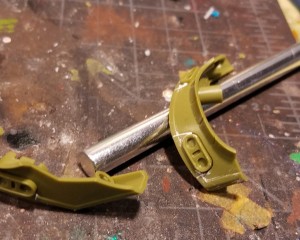
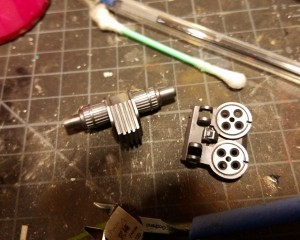
Here’s the main leg hip part and one of the light covers done in the same painting as above, to try and show how metallic it looks.
–
Another frame part on top of the gray plastic of the kit. This really shows off the metallic nature of the Mr. Metal Color. I can’t recommend this stuff enough as inner frame paint.
–
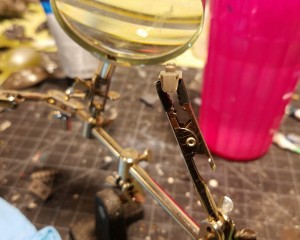
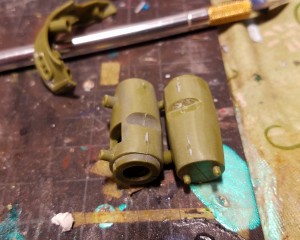
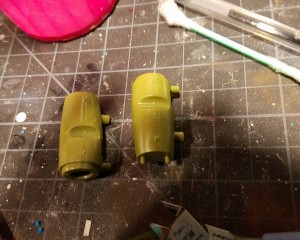
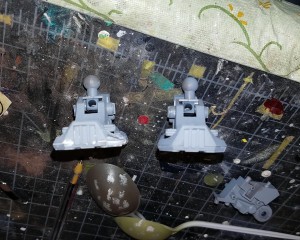
Here are the head-side light modules. These have big seams and the join isn’t engineered well enough to be perfect for Extra Thin filling. I would recommend using conventional plastic cement in a tube (or that weird trapezoidal Testors dispenser bottle) on the joining edges in order to get a more bulgy weld. After sanding the seam once it cured, this was the result. I’m not sure how well it will hold up.
–
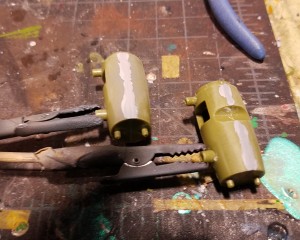
Alas, under primer, it didn’t hold up. I let it dry and approached it with fillers.
–
The same part under flash to highlight how really bad this seam is and how much it needs filling.
–
I opted against Perfect Plastic Putty, mainly because I was going to have to do a lot of wet sanding to get an even join. You can easily wet sand PPP but I was worried it would take too much away.
Out comes the Mr. Surfacer. I have three thicknesses: 500, 1000, and 1500.
Mr. Surfacer is a lacquer putty compound. It’s what you use to make textures, or to paint it on to tough seams. Since it’s a lacquer, it is not water-soluble, so I can take the finished parts to the sink for a super smooth wet sand.
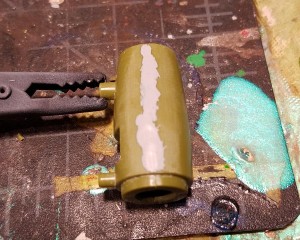
This is the 500, applied across the bad join. It dries in 30ish minutes.
–
On goes the 1000, which is slightly thinner.
The lacquer carrier fluid evaporates very quickly in these products, so they do shrink inwards a little. Be mindful if you try this to start at lower viscosity and move up – the 500 gets into a lot of corners and such, but it sinks a lot into the seam. 1000 and later 1500 are thin enough to get in and fill the gap, making it easier to sand away later. Not pictured: the 1500 application.
–
After all three types of Mr. Surfacer are applied, I went to the sink and progressively wet sanded with 400, 600, and 800 grit. The result is absolutely smooth and perfect. Once the primer goes on this join should be fully sanded away and invisible.
–
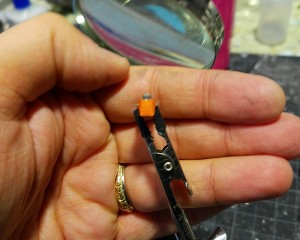
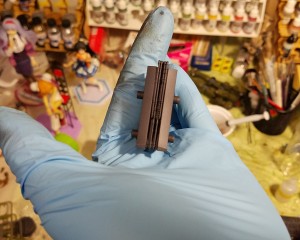
It’s time for the cockpit decal. This part is the cockpit.
If nothing else this is good for illustrating the scale – remember in the movie how the Jaeger pilots had all that equipment around them contained in the cockpit? Looks like it’s two humans tall. This is HUGE scaled, I wish 1/350 had props and stuff other than model ships to display the giganticness of this beast.
–
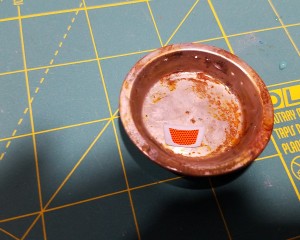
The cockpit grid decal was easy to use. Standard waterslide operations – let it soak for 30 seconds in water, take it out, give it another 20 seconds, slide it off onto its target with a damp Q-tip.
–
I normally use Tamiya Mark Fit but I finally got my hands on Mr. Mark Setter and Mr. Mark Softer. They are fantastic – it went on quickly and held shape easily.
–
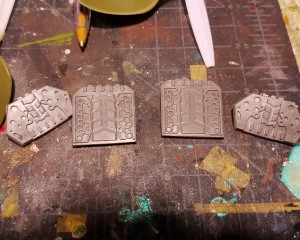
The shoulders have some more gaps that required filler. PPP again with the spatula and finger smoothing. The oblong parts will be painted in steel, their surfaces green.
Why they couldn’t just mold the oblongs as parts to go in without the shelf of the panel to the left is beyond me.
–
The parts of the midsection are all ready to go for priming!

Ugh, it rearranged the photos. Correlate the bottom photo with the top comment and vice versa on up. Sorry about that. No real way around it based on how the system organizes it.