-

Kamui04 posted an update in the group
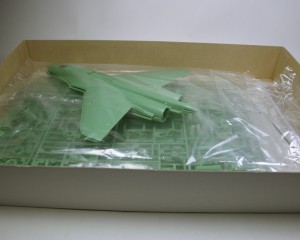
Intermediate Modeler – Modeling Competition 2017 6 years ago Finally had time to start working on the Idolm@ster Su-33.
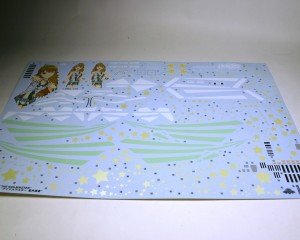
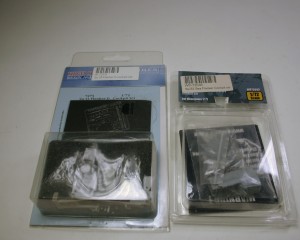
Photo 1 & 2 are the content and the huge decal sheets.Now let’s address the elephant in the room, the decals are not completely accurate to the game skins. Yes it’s a fictional scheme from a videogame, but at least I want it to look like it appears in the game. So, what’s the problem?
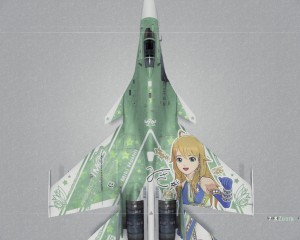
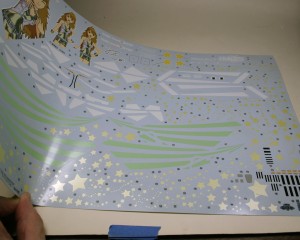
On Photo 3 you can see a screenshot of the IM@S2 Su-33 from Ace Combat: Assault Horizon. I don’t have a way to capture from AC6 on the Xbox360, but it shows the effect of the stars and ribbons which disappear on certain angles. The decals as seen on Photo 4 don’t have this effect where the stars and stripes don’t disappear under certain angles, because they have a solid color layer under the translucent pearl layer. Originally the first batch of kits didn’t even had the pearl effect, they were just solid colors. The later kits released they added the layer of pearl but still had a solid color under them.This problem I’ll address later in the build.
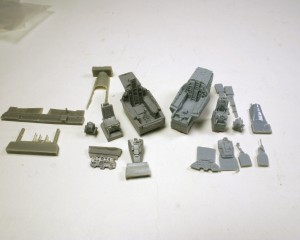
Photo 5,6 – Now back to the construction. I was checking which resin cockpit to use. The Aires or the Wolfpack. The wolfpack one is easier to fit but the detail seems rough or overdone, specially the ejection seat.
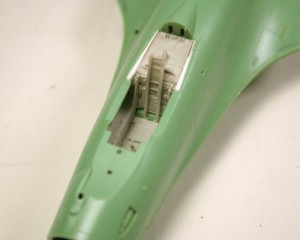
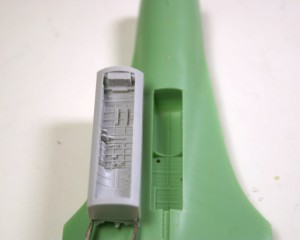
Photo 7,8- The Aires pit needs some work to make it fit. You need to remove a lot of resin and pretty much pretty much leaving a hole at the bottom. No big deals since it’ll be covered by the ejection seat once installed. The top and front corner of the kit’s nose landing gear bay needs to be shaved down almost paper thin too.
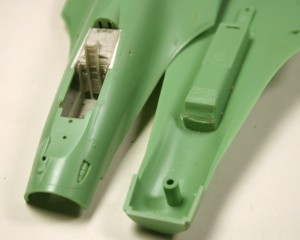
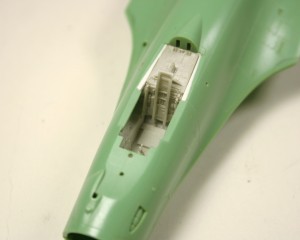
Photo 9,10,11 – Here’s the Original nose landing gear bay compared to the resin one, at the front the resin also got the inset battery. Would the resin wheel bay fit without so much problem or interfering with the cockpit tub? Nope, in fact I had to shave some more resin from the cockpit tub bottom and the resin bay front corner had to be shave paper thin too.
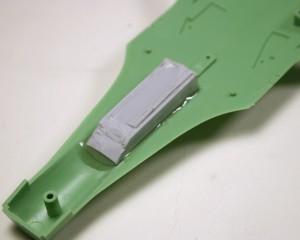
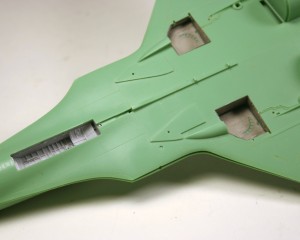
Photo 12 – The whole Wolfpack wheel bay set installed.
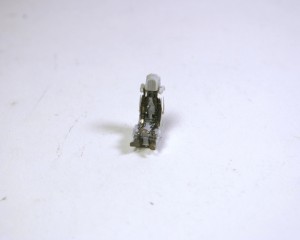
Photo 13 – The resin ejection seat with the Photoetch seat belts glued. They are a royal PITA